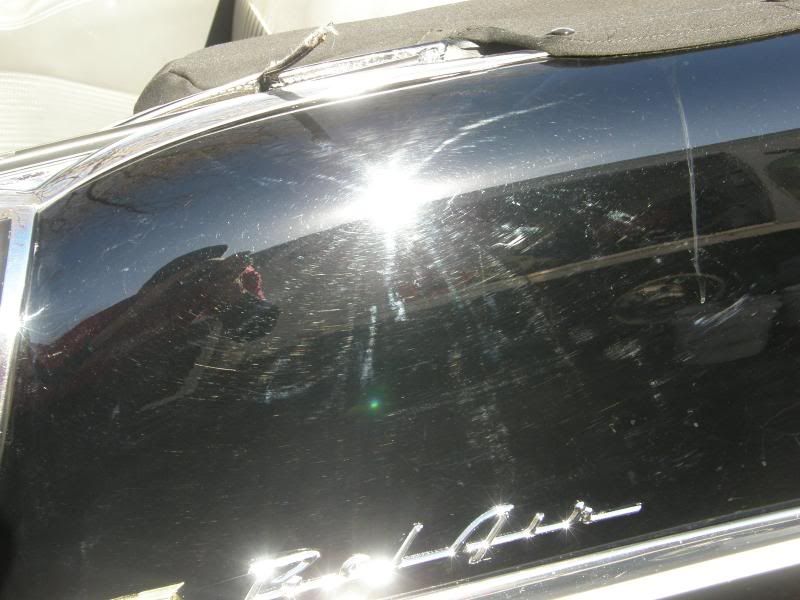
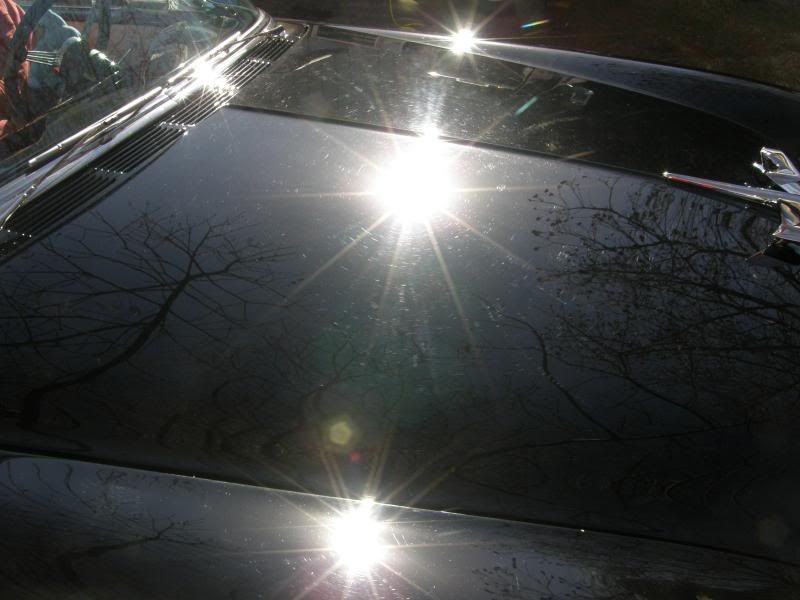
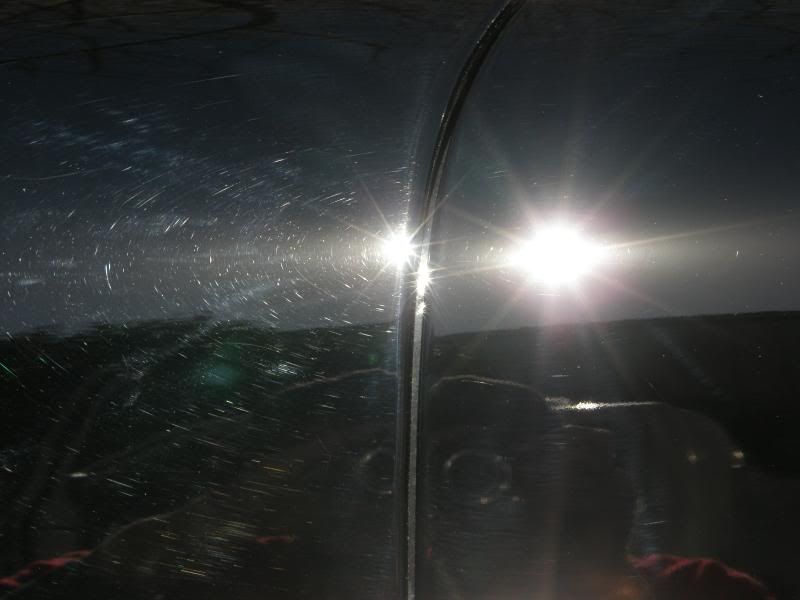
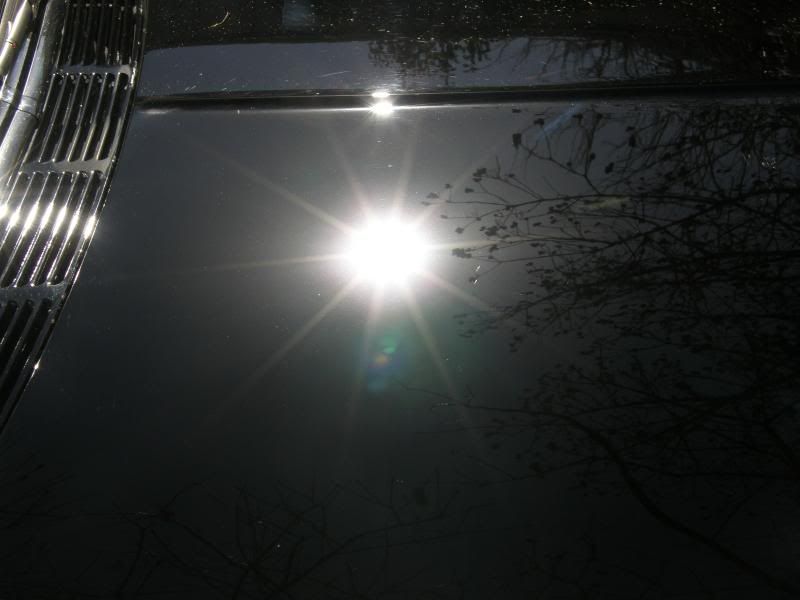
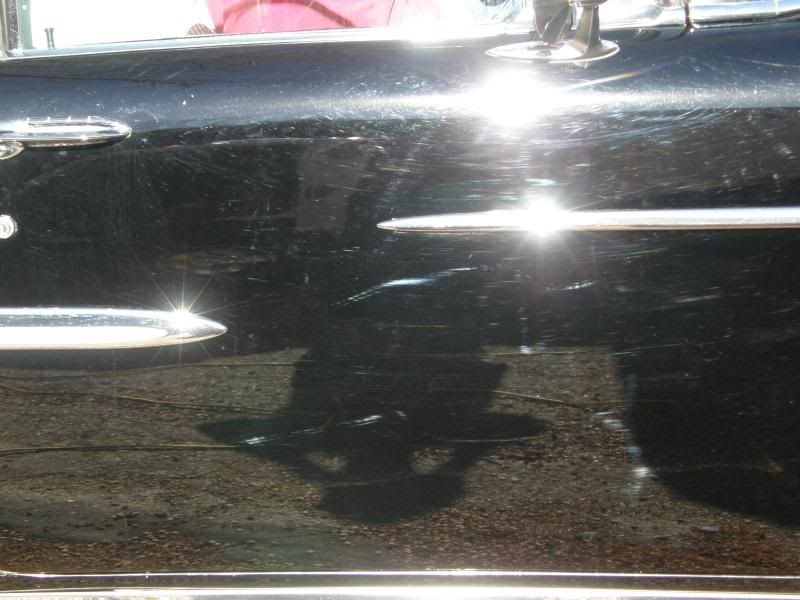
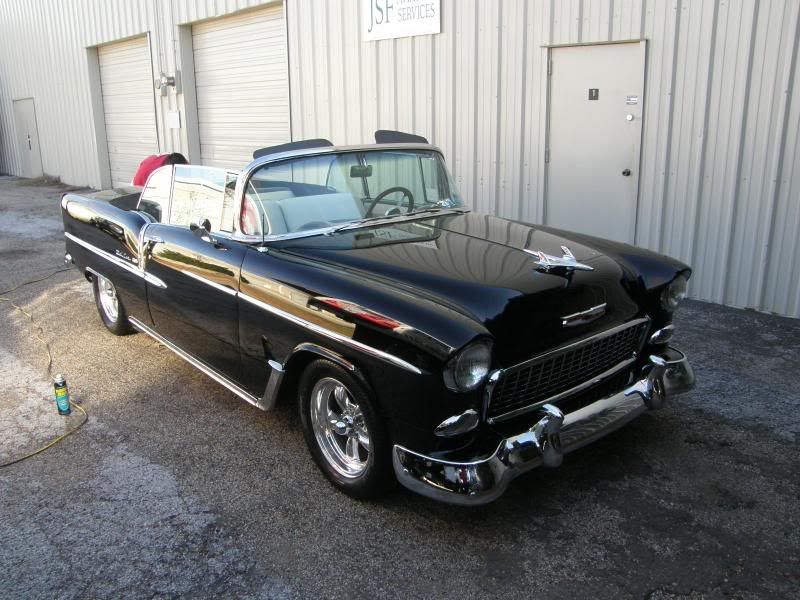
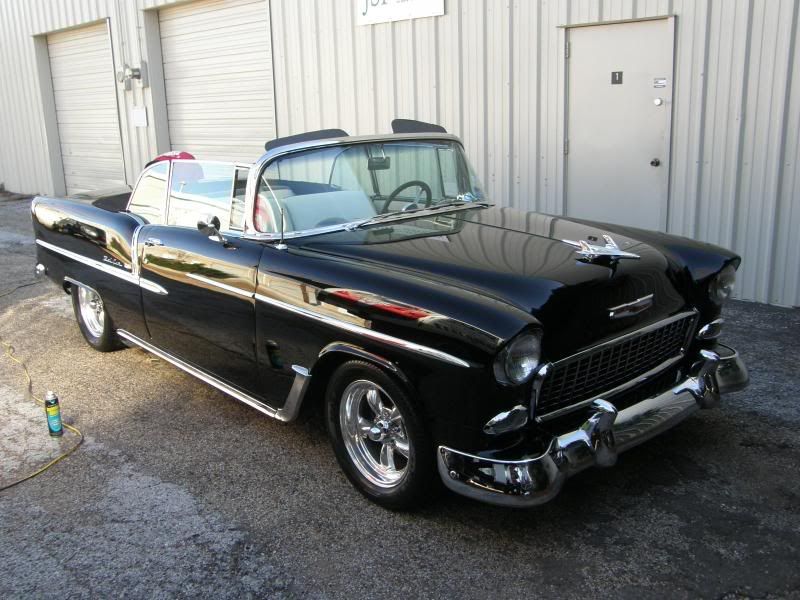
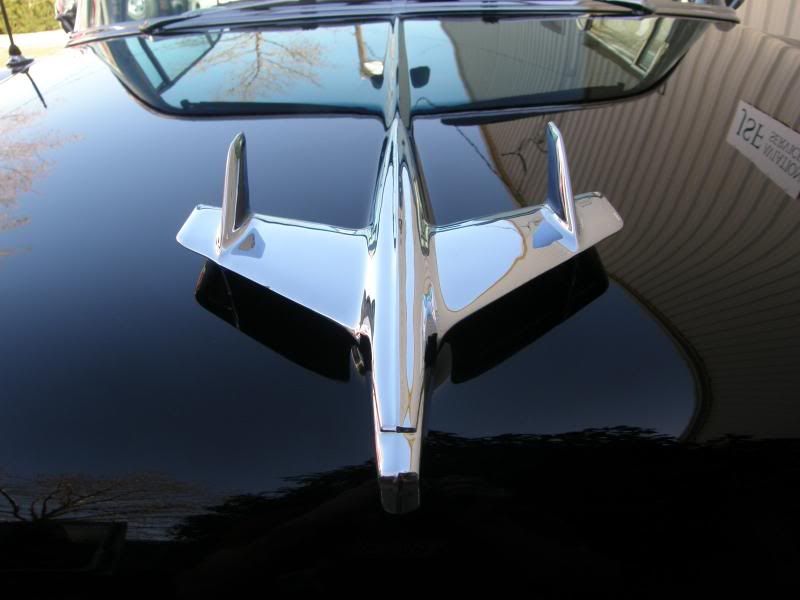
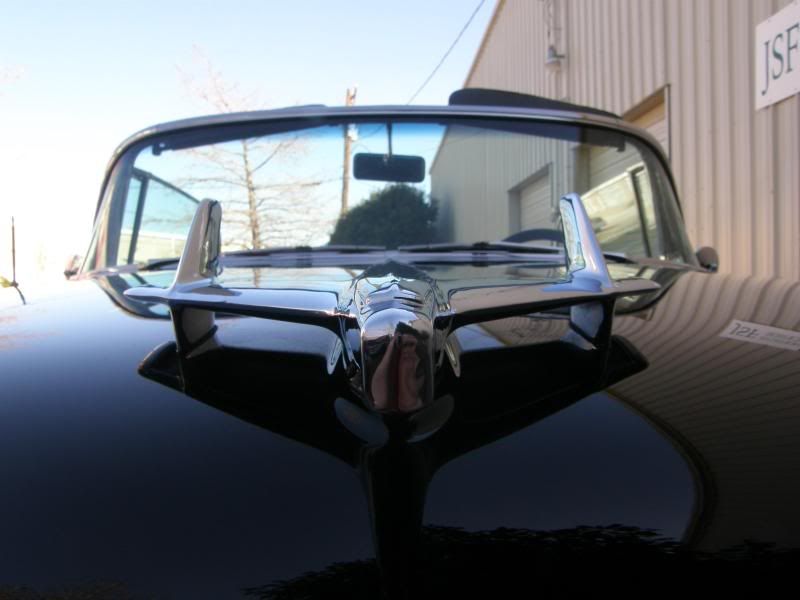
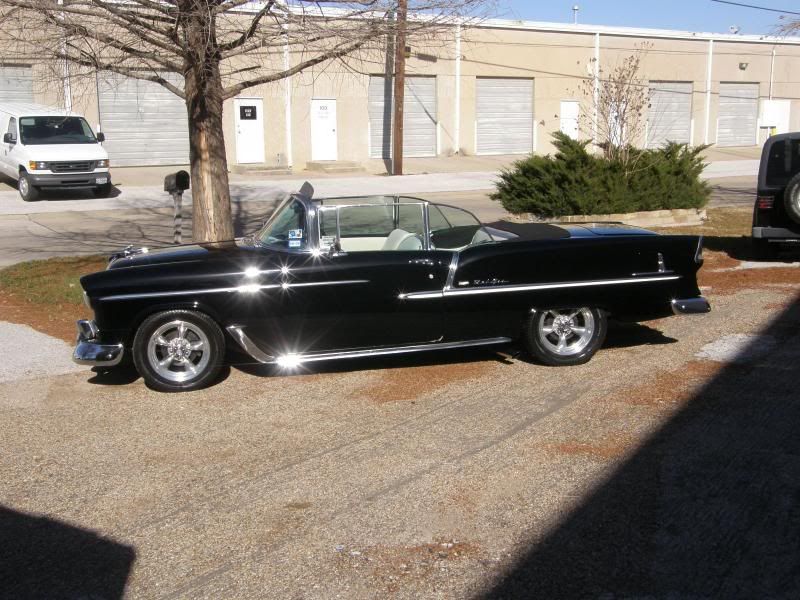
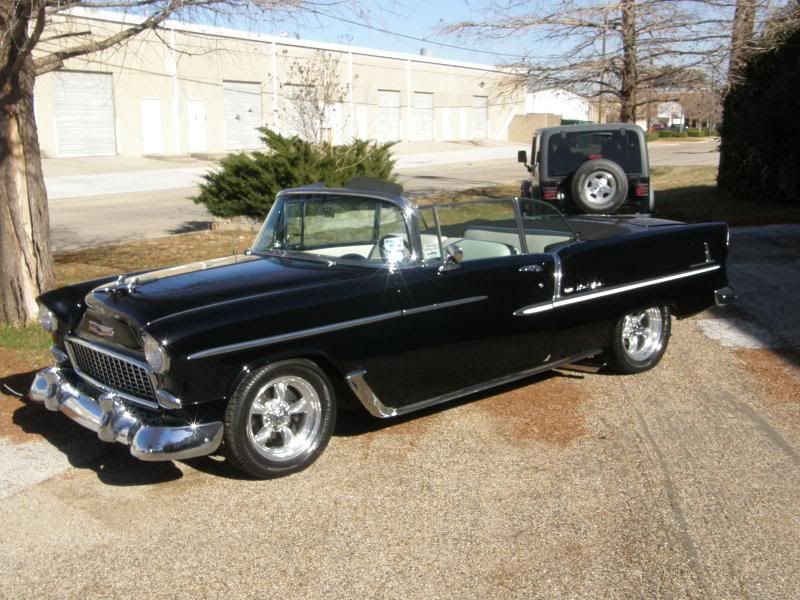
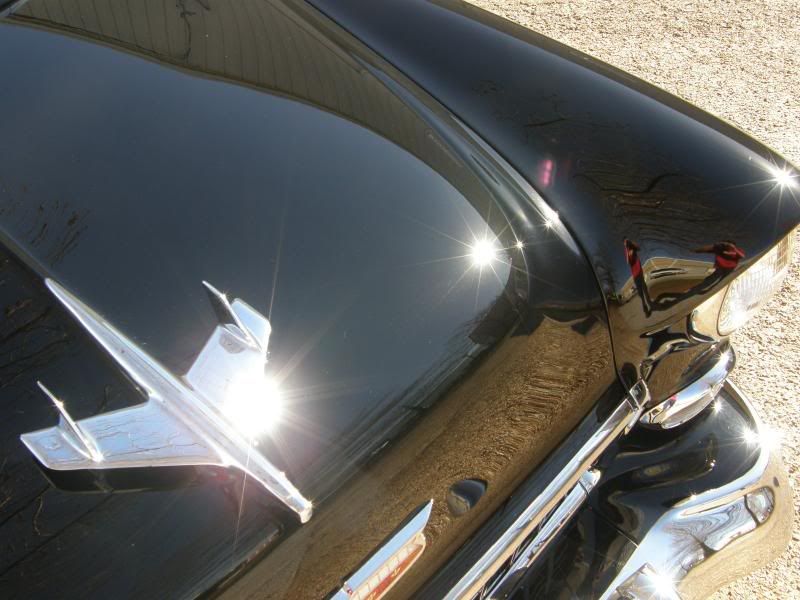
This was a 1955 Chevy Bel Air that a client had in storage. I first saw this car at a shop getting some mechanical work performed and when he showed it to me I noticed a TON of swirls. I told him that we should do some paint correction on it but he was on a tight budget just spending a large coin on the mechanical work, so I convinced him to try my Platinum Gloss Package that incorporates an hour worth of compound treatment to work out about 60-70% of the paint issues like swirls, holograms and slight RIDS. We schedule the vehicle and here is what I saw after we washed twice with Dawn soap and using the Lavender Gloss-It clay using the Dawn soap as the lube.
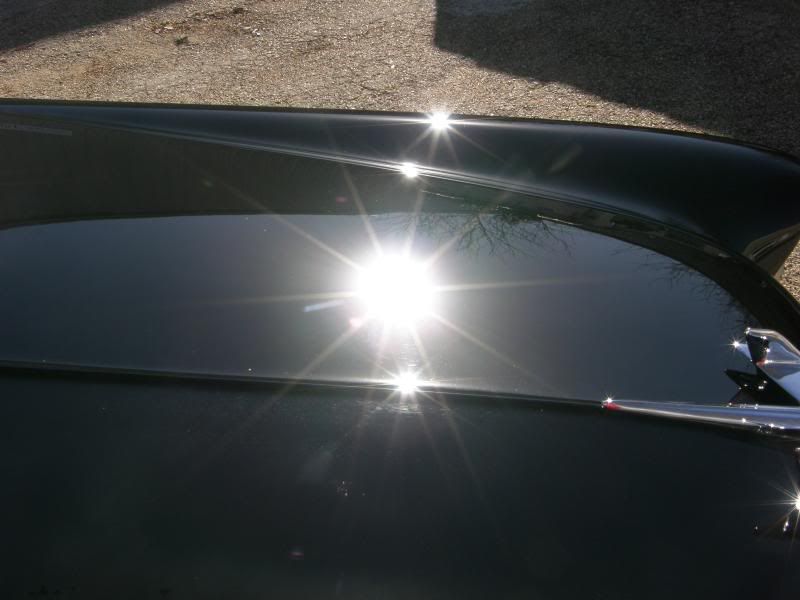
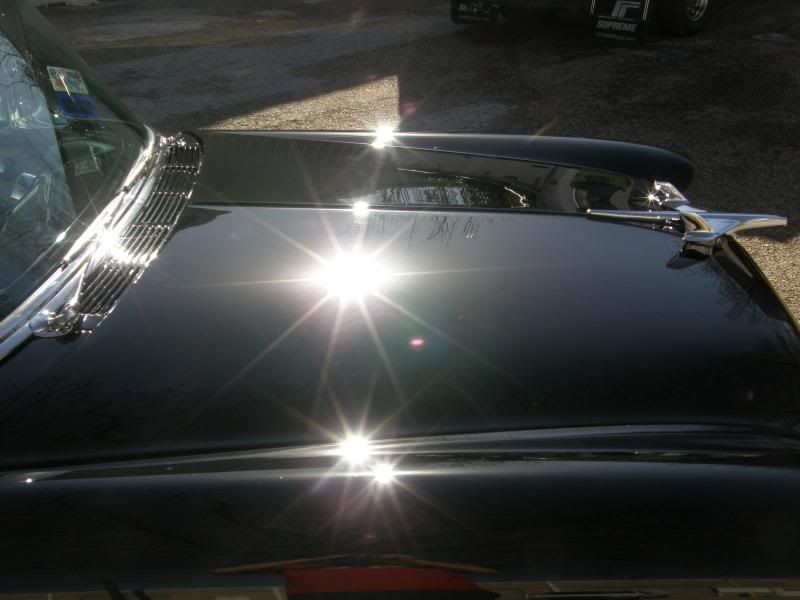
So I wanted to try out and see how the new Gloss-It Evolution Polish beta did out in the sun. I only had 3 hours to complete this detail and time was important to me so I opted to use the 7424, a green UK 3M pad and the beta evolution polish on speed 6 of the 7424.
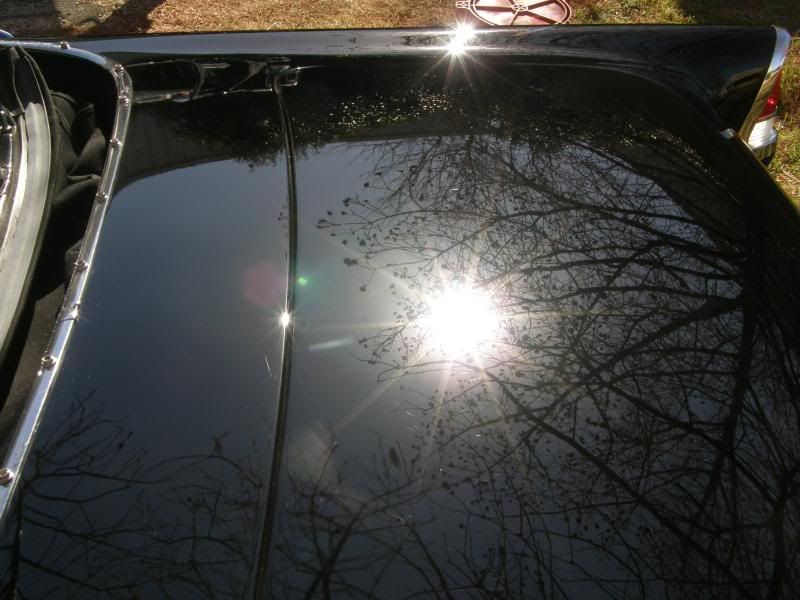
I started out on the rear driver side and worked my way around.
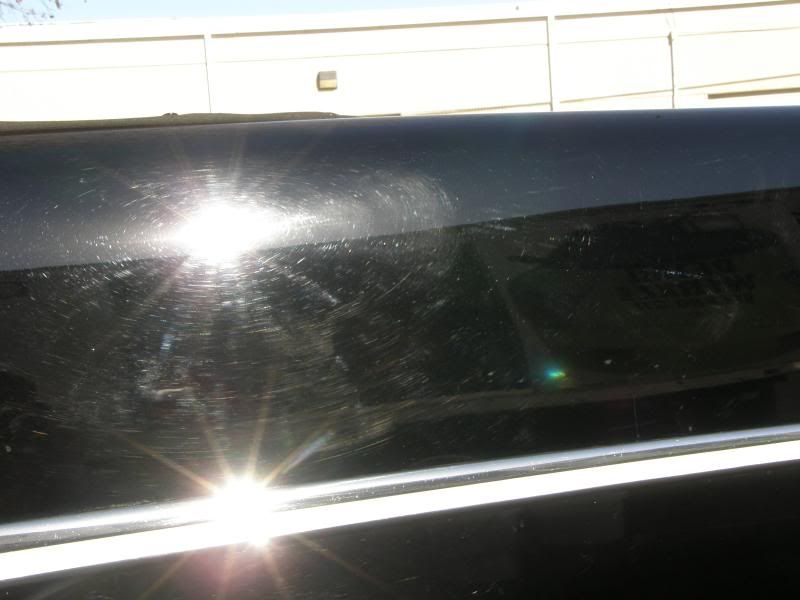
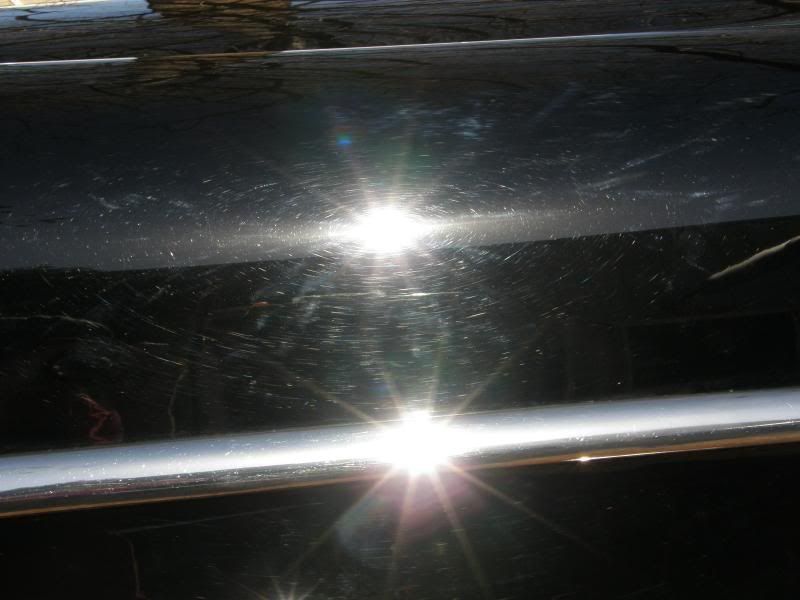
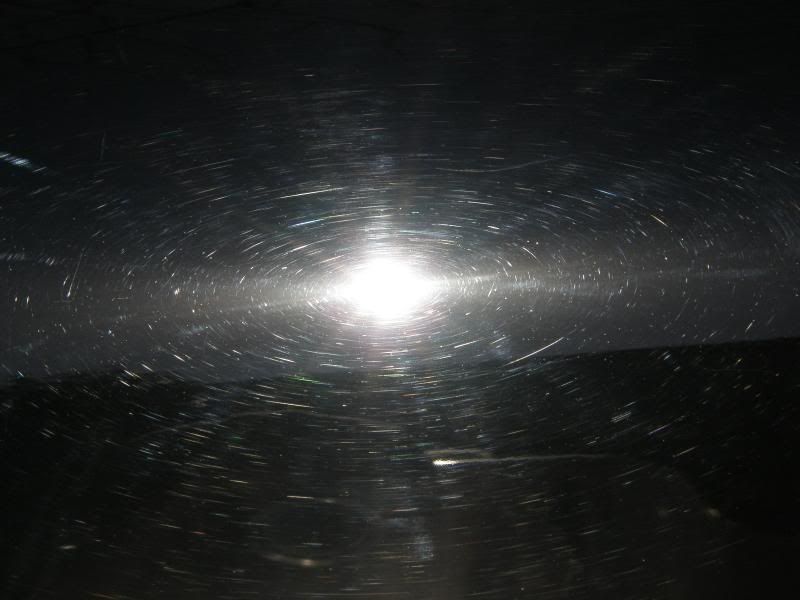
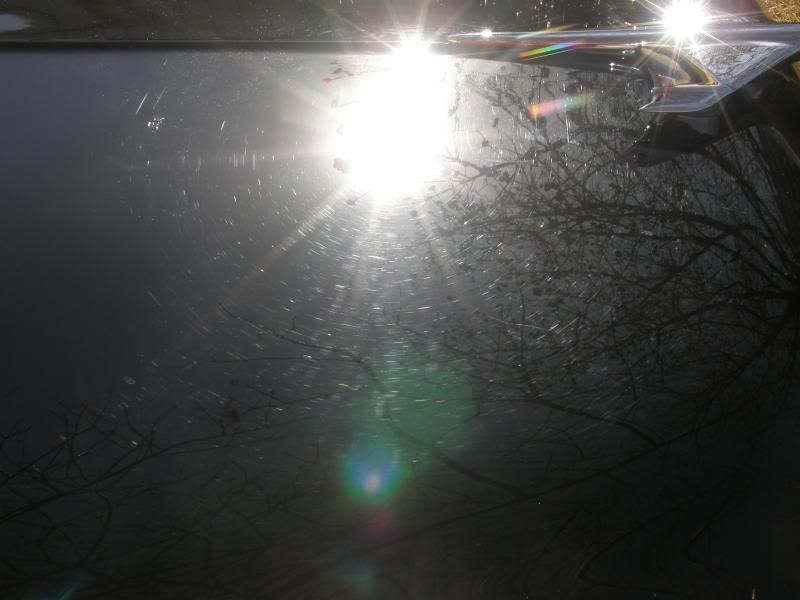
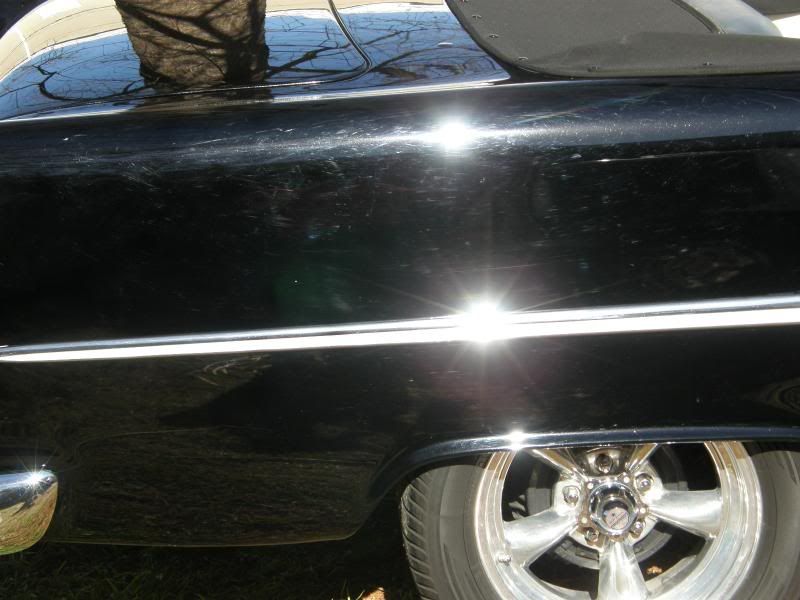
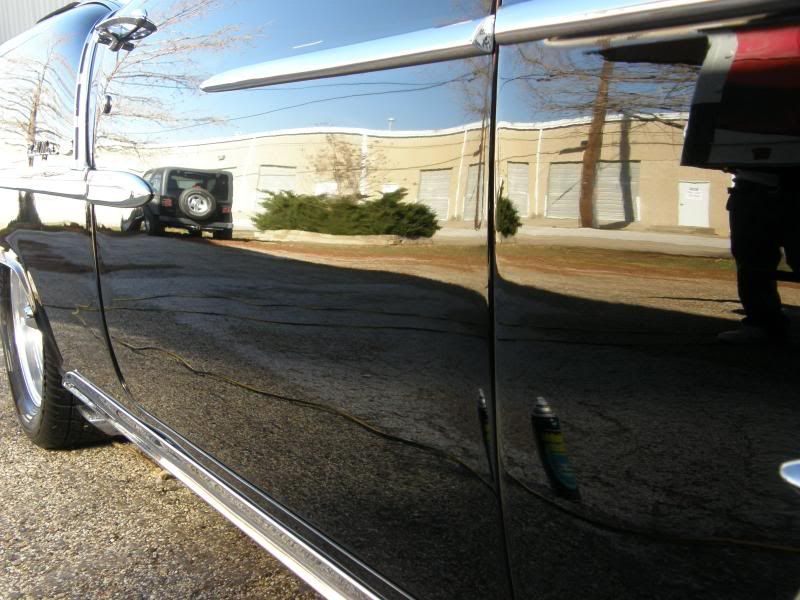
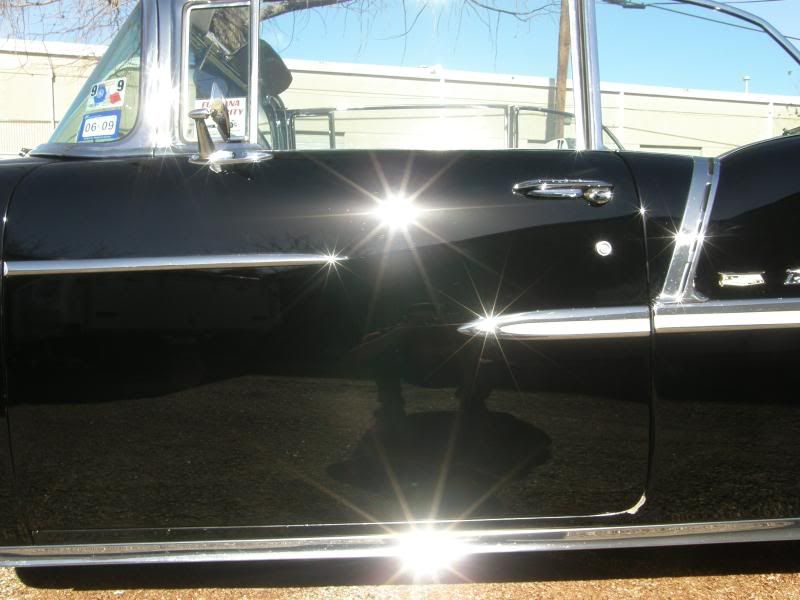
Here is a close 50/50 shot of the rear fender worked and the next panel raw. You can really see how bad the paint was damaged with swirls and RIDS. The beta knocked out just about all of the swirls and tore into the RIDS pretty good. Again I was not even trying to get this much correction. I was hoping for at least 60% better correction.
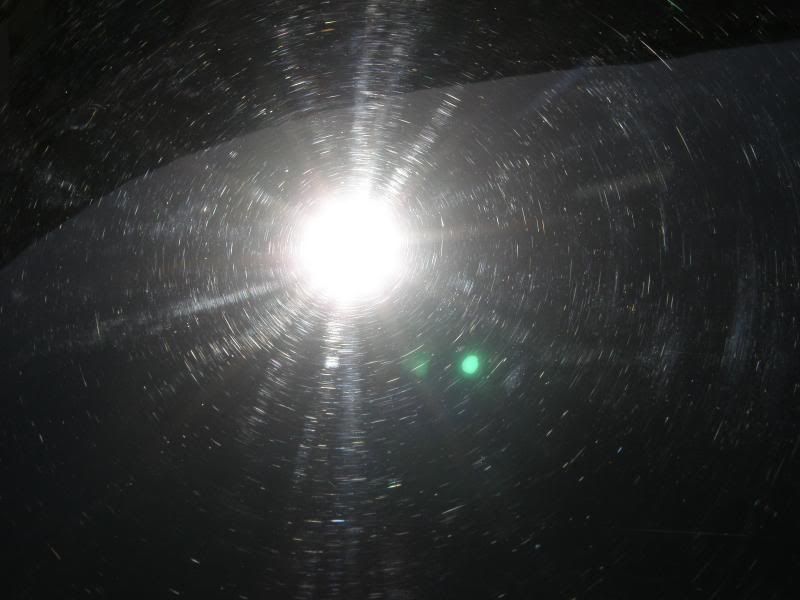
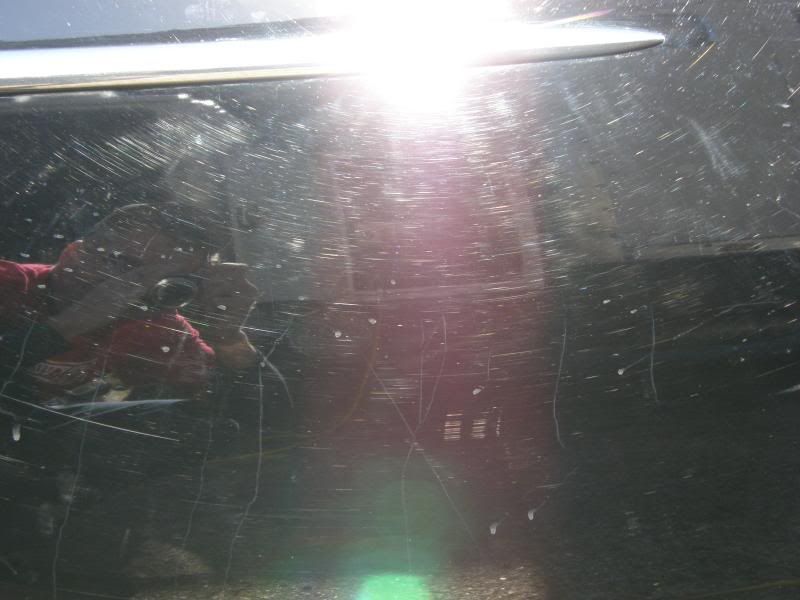
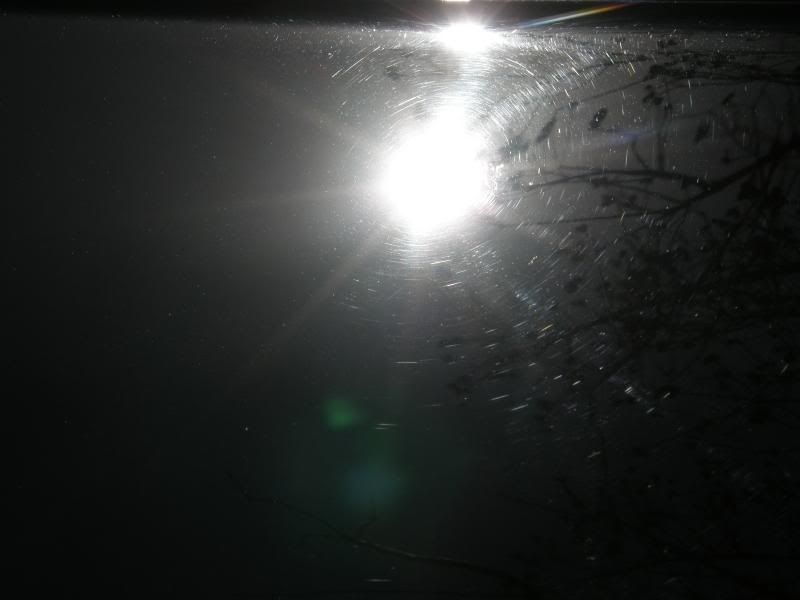
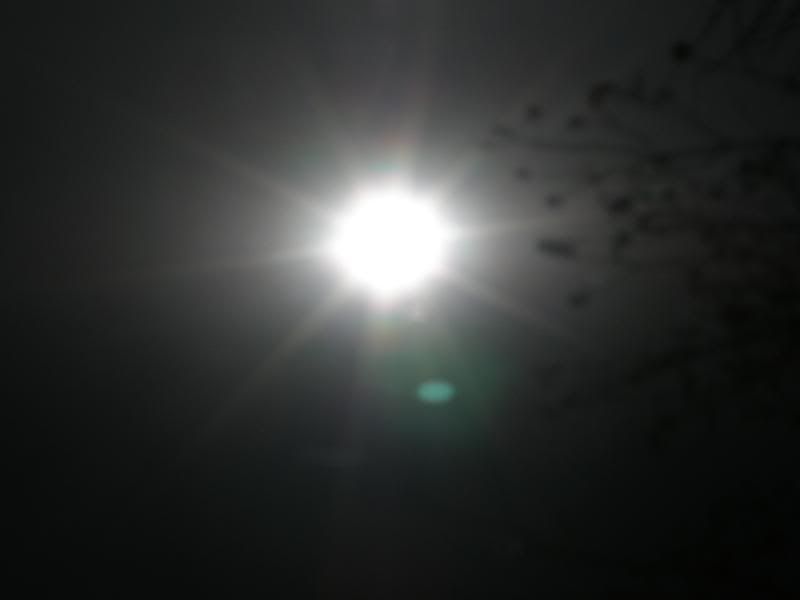
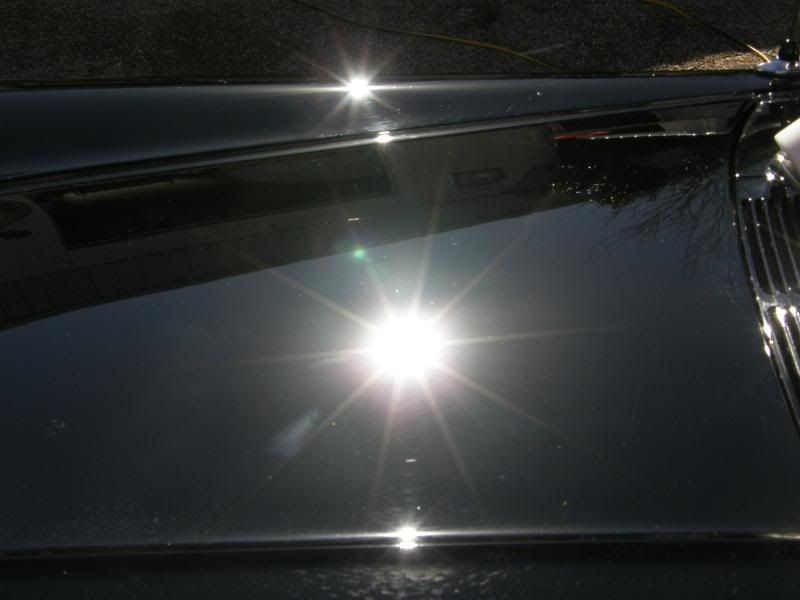
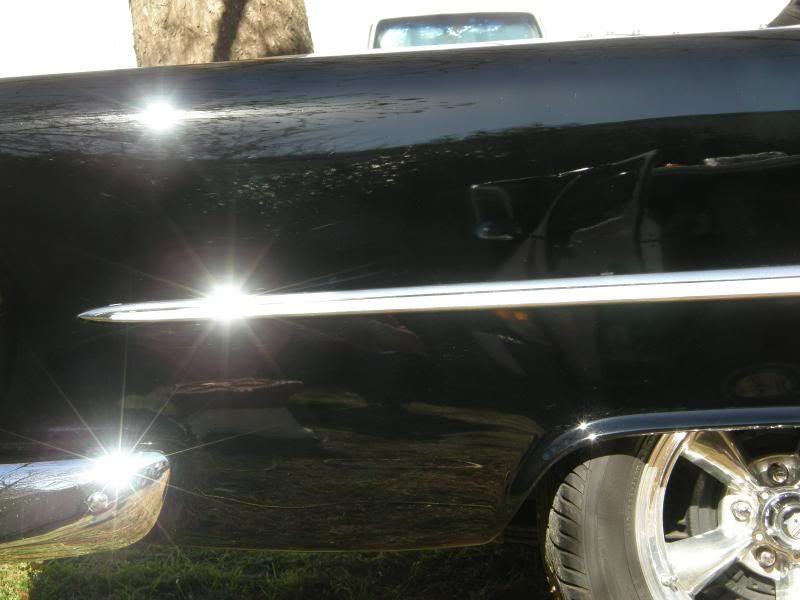
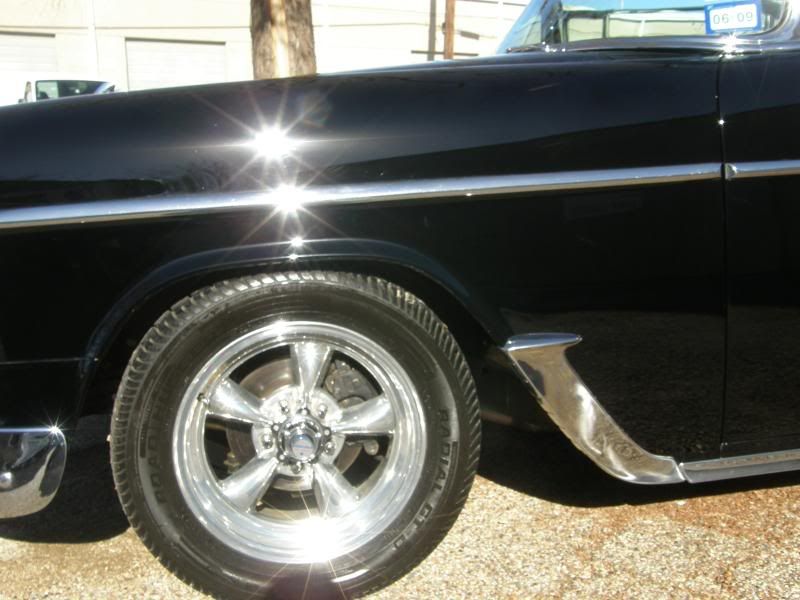
Next panel looked like this.
Working it using the 7424, green UK 3M pad and beta. I worked this panel around 2-3 mins.

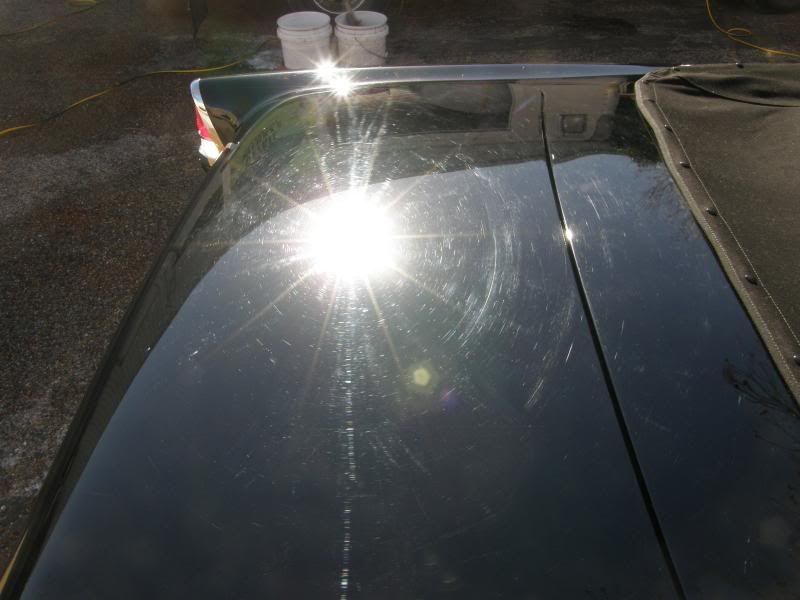
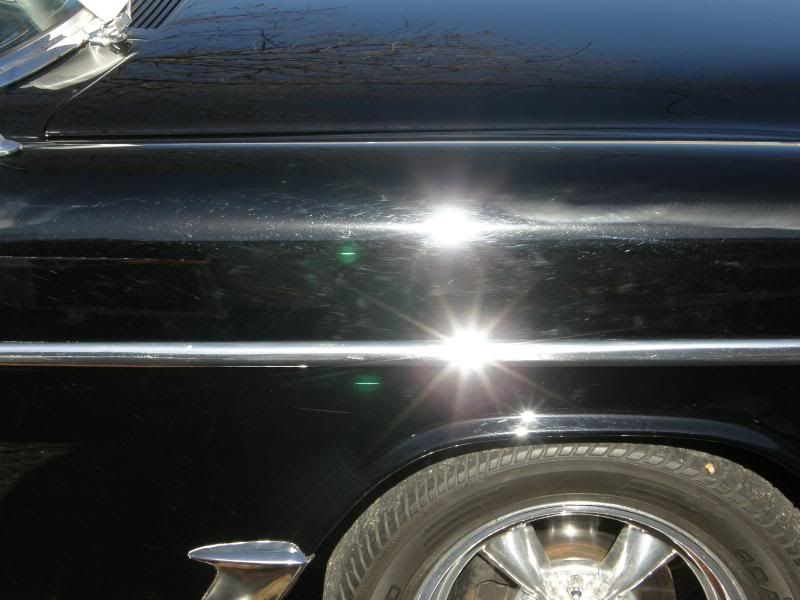
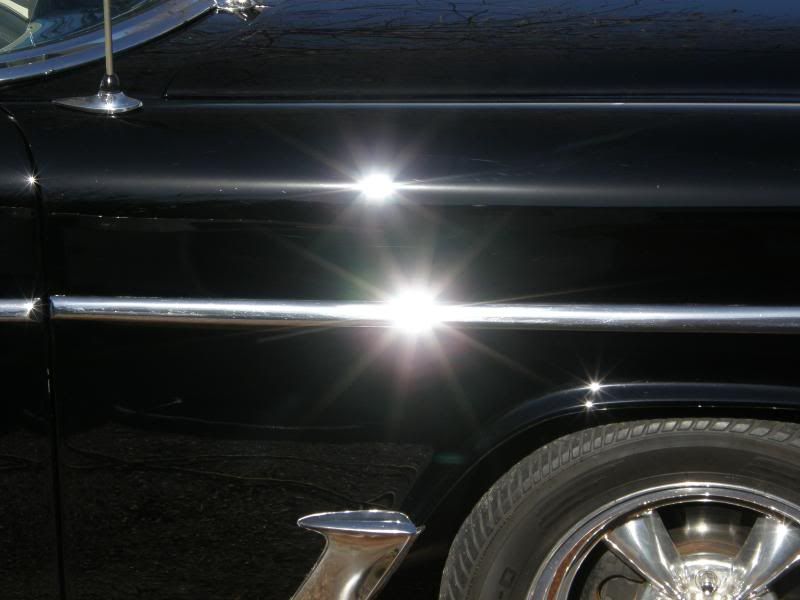
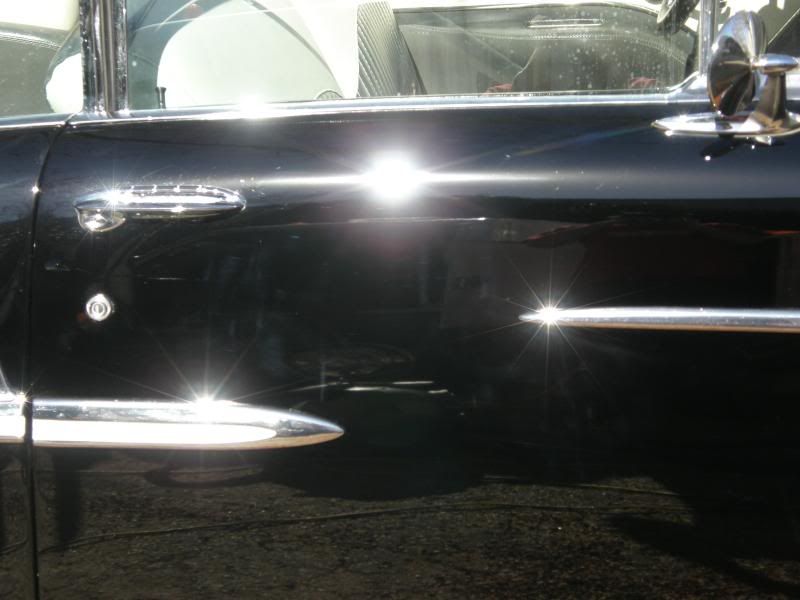
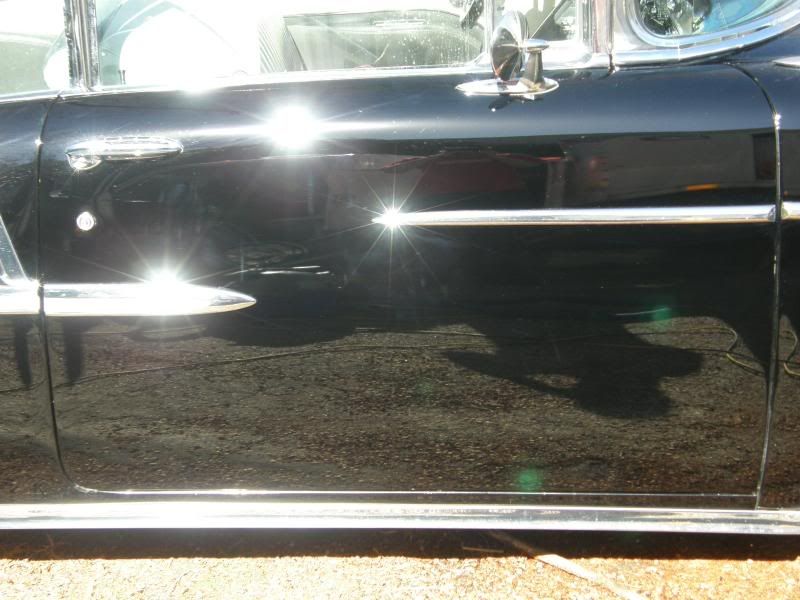
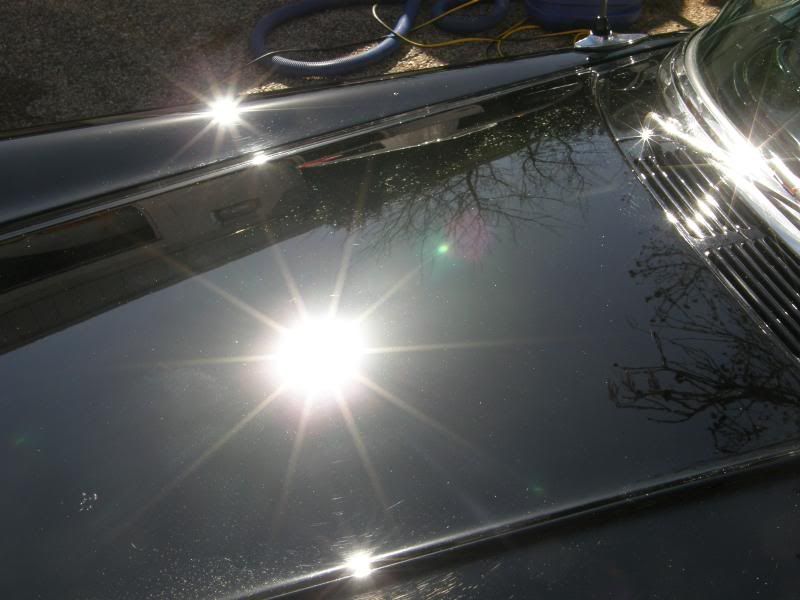
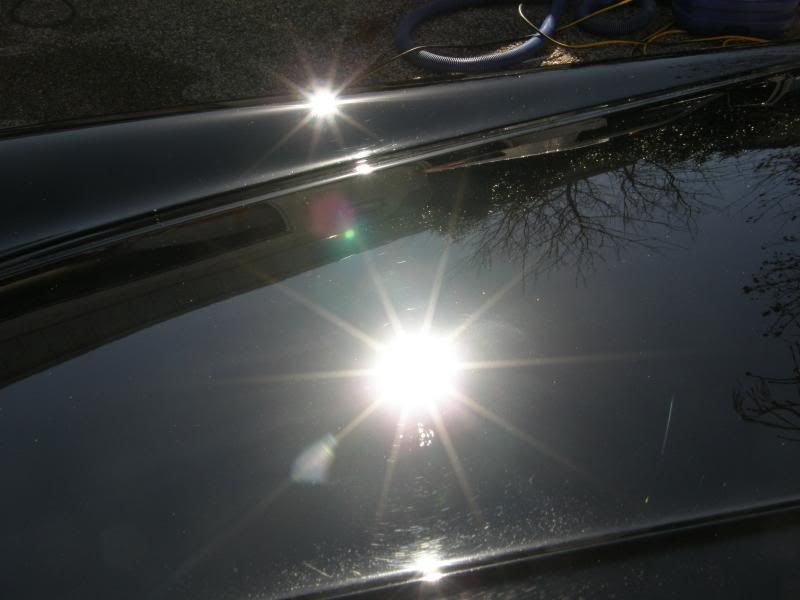
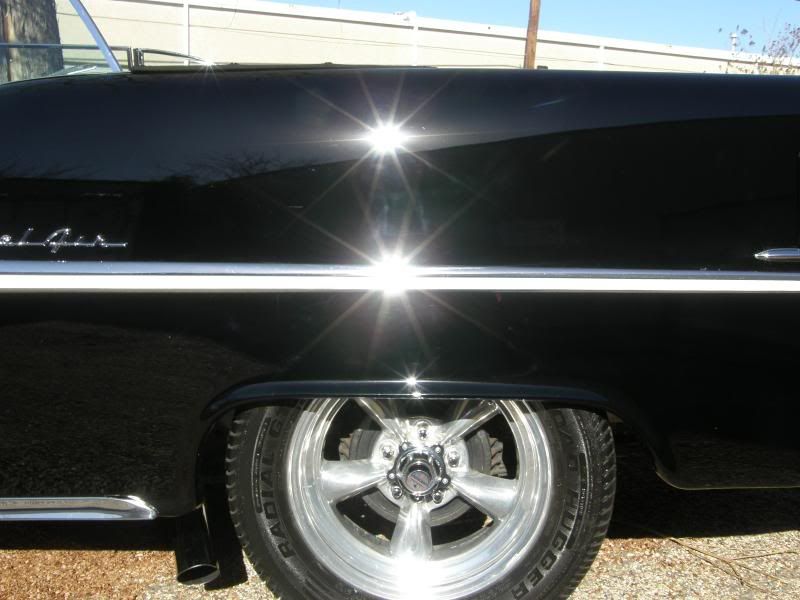
I was more than happy with the outcome. I knew that the client was going to be blown away with this detail by seeing the results I was achieving. I continued around the car. And here are the results of the driver side once I was completed.
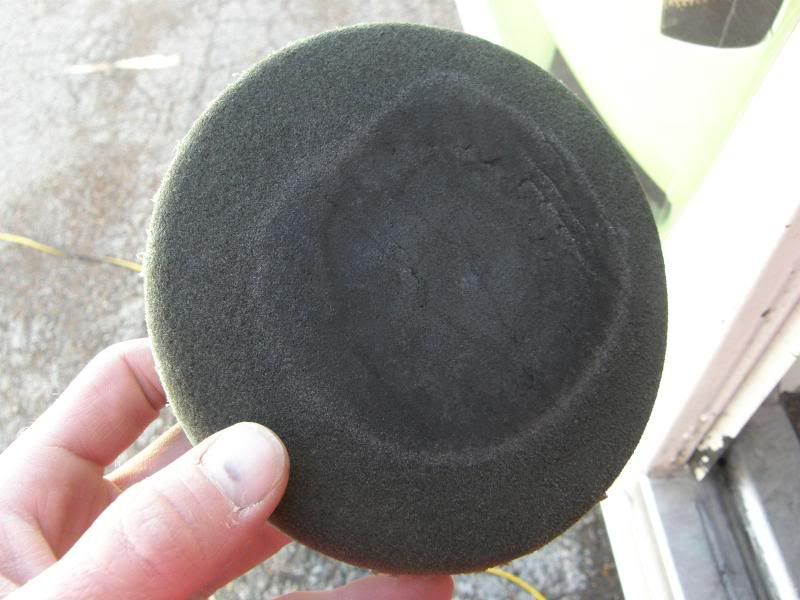
Here is what my pad looked like after the driver side. The paint was oxidized really bad and it destroyed this brand new green UK 3m pad. Even at this state it was still doing a good job.
So I wanted to try out and see how the new Gloss-It Evolution Polish beta did out in the sun. I only had 3 hours to complete this detail and time was important to me so I opted to use the 7424, a green UK 3M pad and the beta evolution polish on speed 6 of the 7424.
I started out on the rear driver side and worked my way around.
Here is a close 50/50 shot of the rear fender worked and the next panel raw. You can really see how bad the paint was damaged with swirls and RIDS. The beta knocked out just about all of the swirls and tore into the RIDS pretty good. Again I was not even trying to get this much correction. I was hoping for at least 60% better correction.
Next panel looked like this.
Working it using the 7424, green UK 3M pad and beta. I worked this panel around 2-3 mins.
I was more than happy with the outcome. I knew that the client was going to be blown away with this detail by seeing the results I was achieving. I continued around the car. And here are the results of the driver side once I was completed.
Here is what my pad looked like after the driver side. The paint was oxidized really bad and it destroyed this brand new green UK 3m pad. Even at this state it was still doing a good job.


")
") Your results with a random orbital are just amazing. It gives me hope!
Your results with a random orbital are just amazing. It gives me hope!