Detail Werkz is quickly growing in the Dallas/Fort Worth area as Aluminum Plane Correction Experts. This is our 3rd plane to do Aluminum Correction and one of the worst we have encountered to date.
The owner told me that he just did not have the time like he use to to upkeep the aluminum and had let it go for almost 9 month or more. Seeing one of our other planes that we did he took notice of our correction ability's and called and scheduled a day to correct and bring life back to his Cessna 170.
There is really no prep-work for planes. You get what you get and you don't throw a fit pretty much. As far as aluminum planes go you don't start washing them etc, as you will just make maters worse.
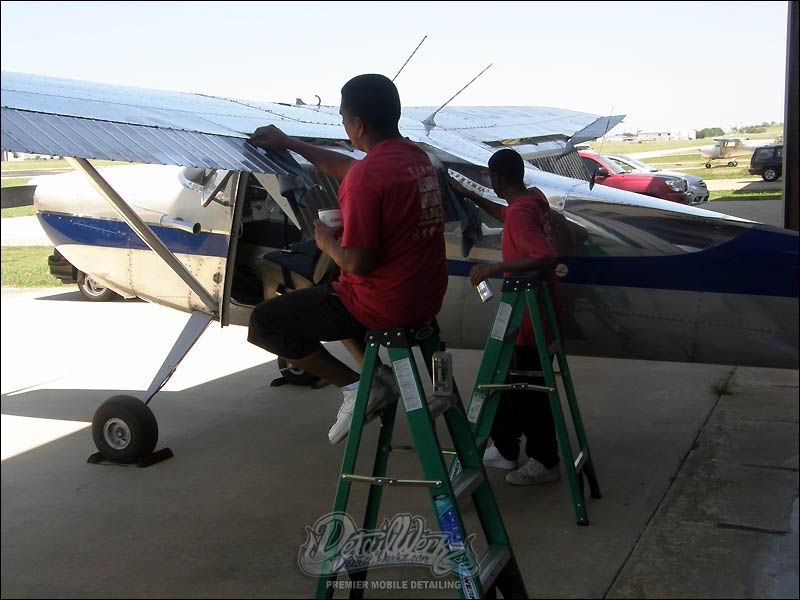
Our plan of attack was that Jose & Sesar would tackle the wings. Chris would tackle the passenger side, and I would tackle the driver side.
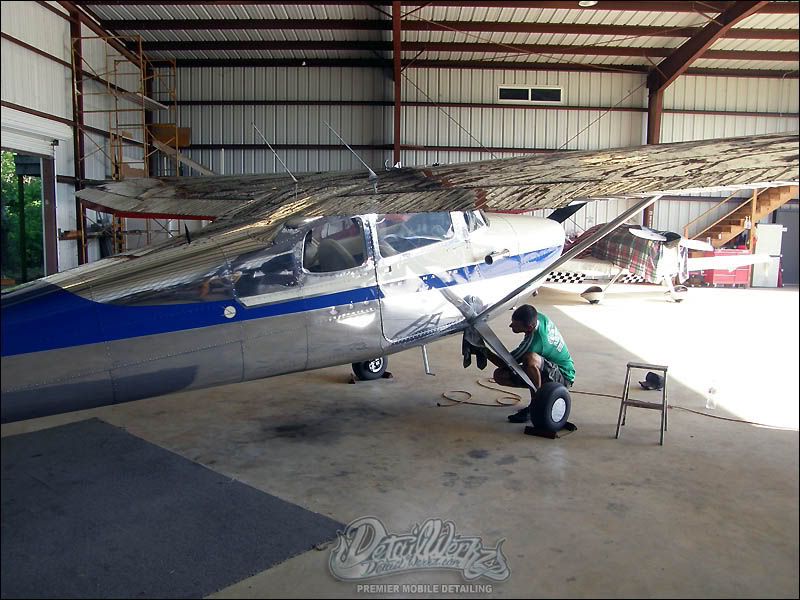
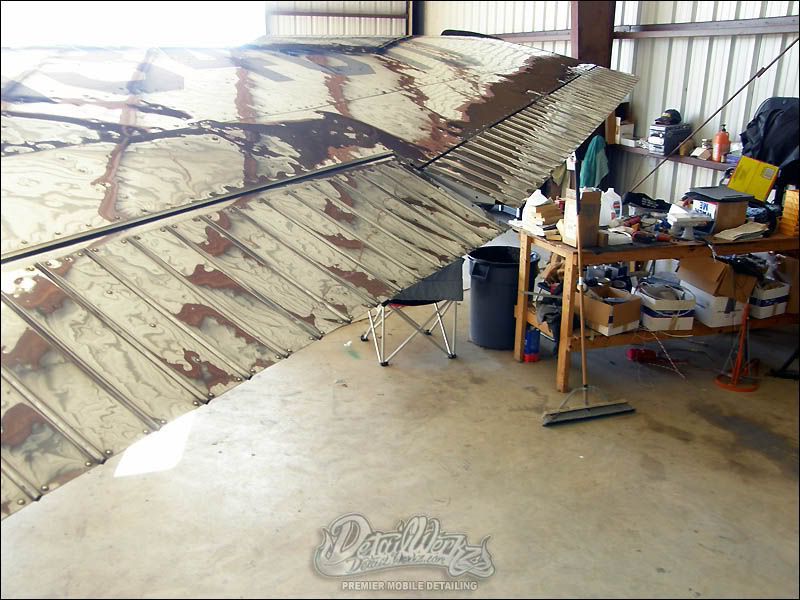
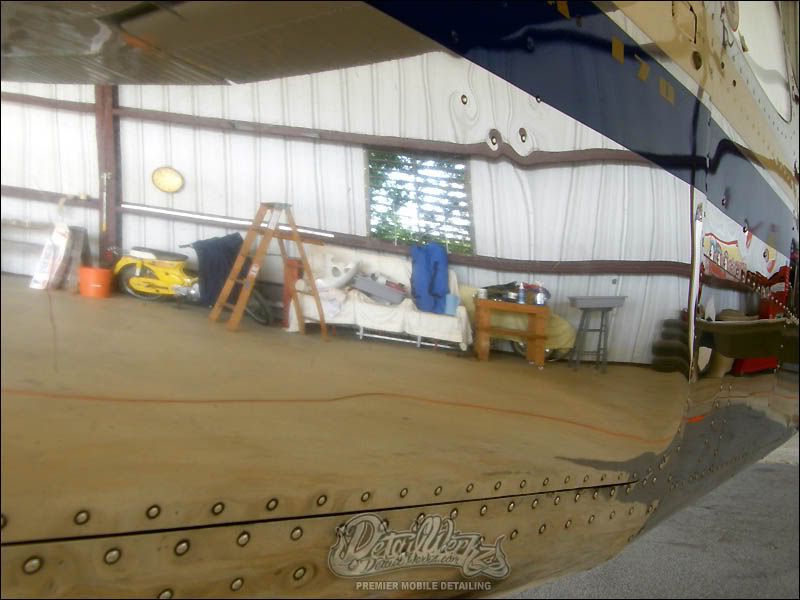
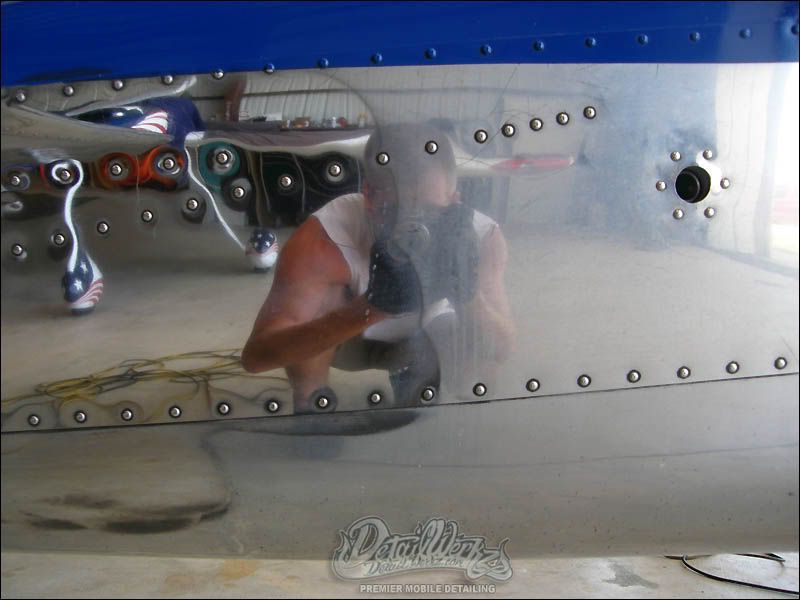
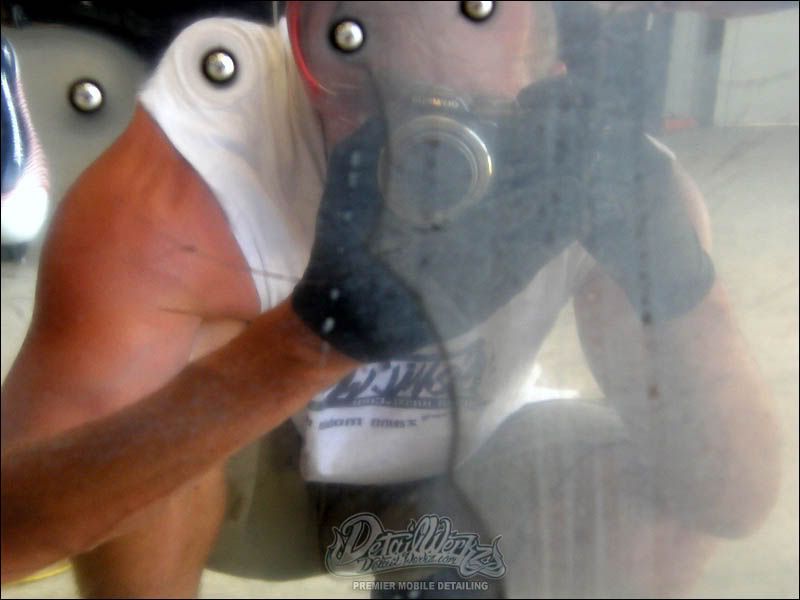
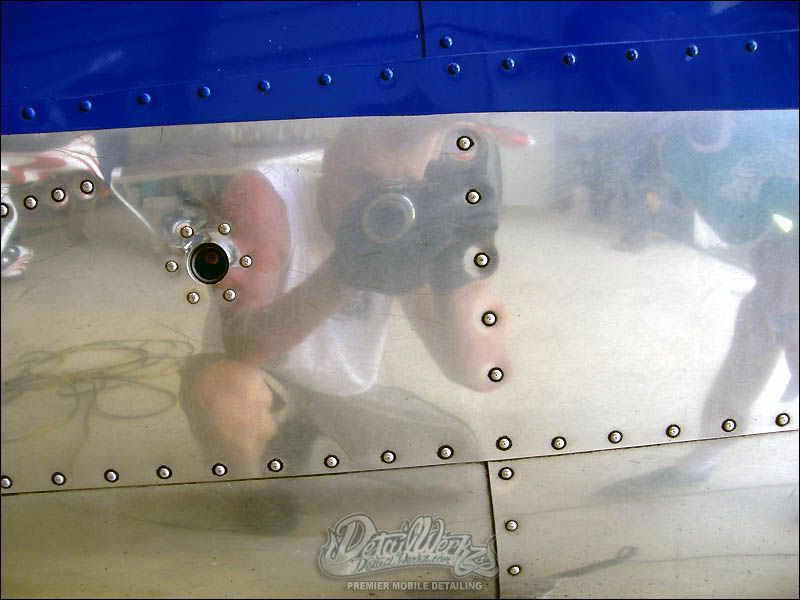
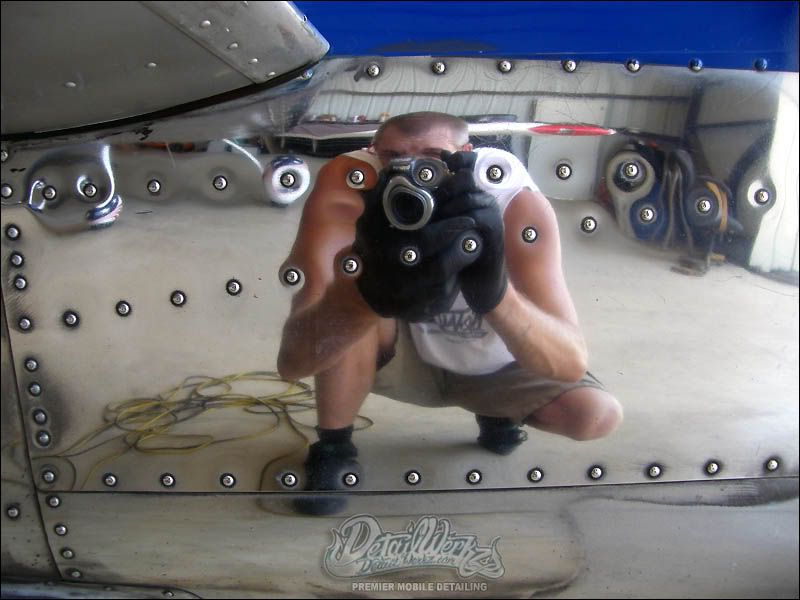
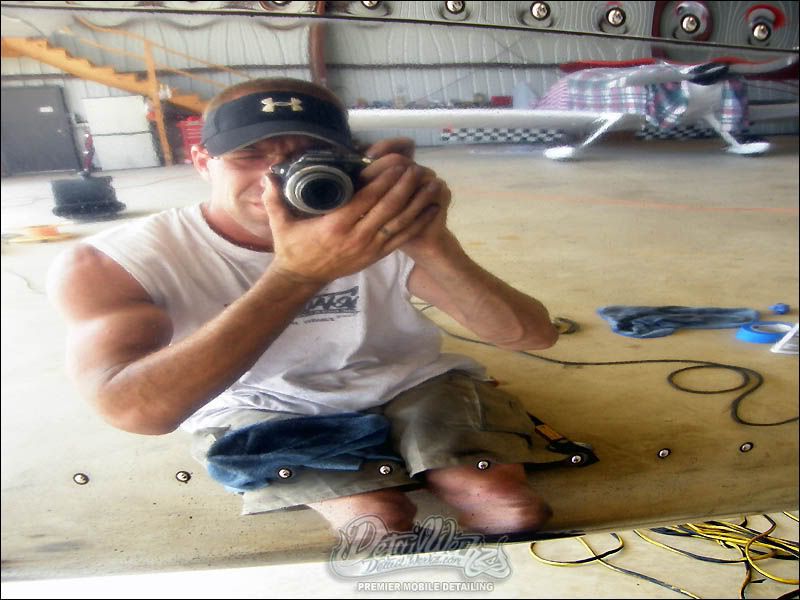
Here are a few shots of the plane as we arrived and started to set up equipment and get ready for a long days correction.

We have had great luck using the Cyclo Polishes for our aluminum correction machines. This job was no different Chris and I started out using the Cyclo Polishers and the GI 4 inch Cyclo Green/Yellow Edge pad system. We started using the Yellow side of the pads and product of choice was White Diamond Aluminum polish. In my honest opinion this is some of the best aluminum polish on the market that I have come across.
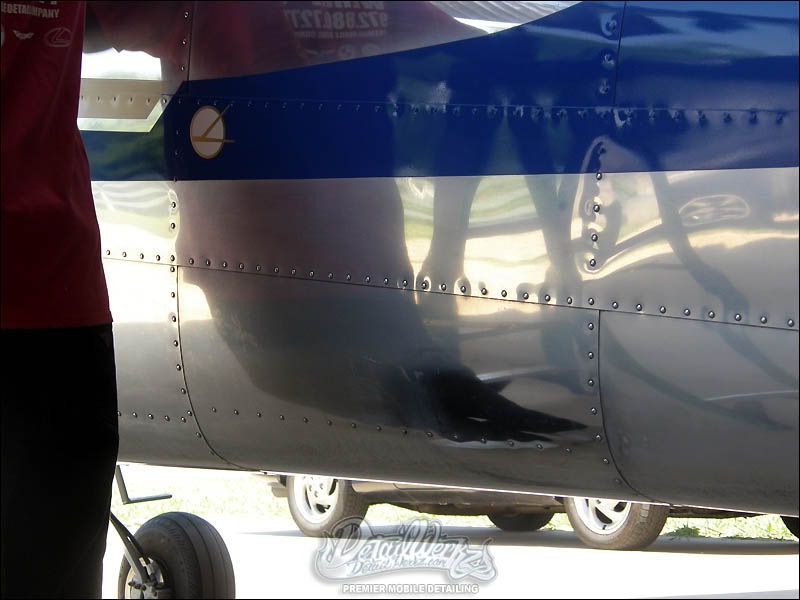
Here are a few 50/50 shots of correction and non-correction.
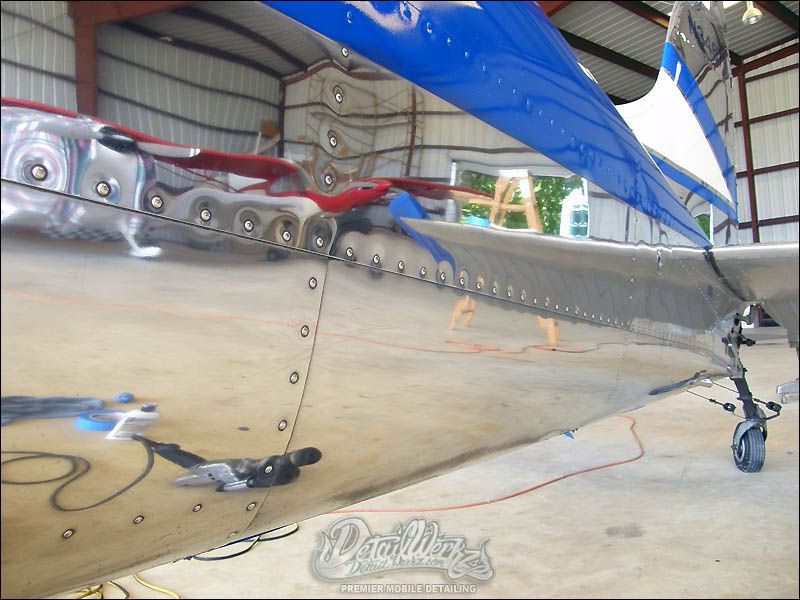
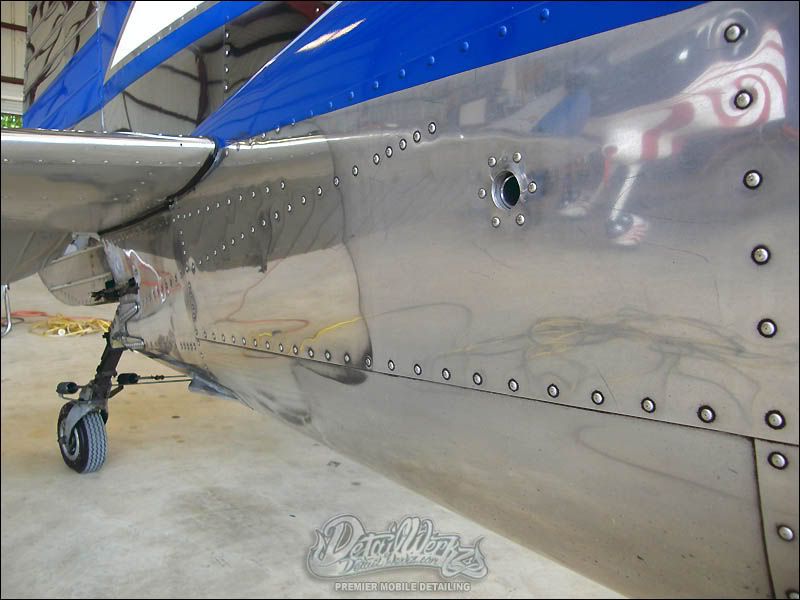
Here is a shot of the fuselage before.
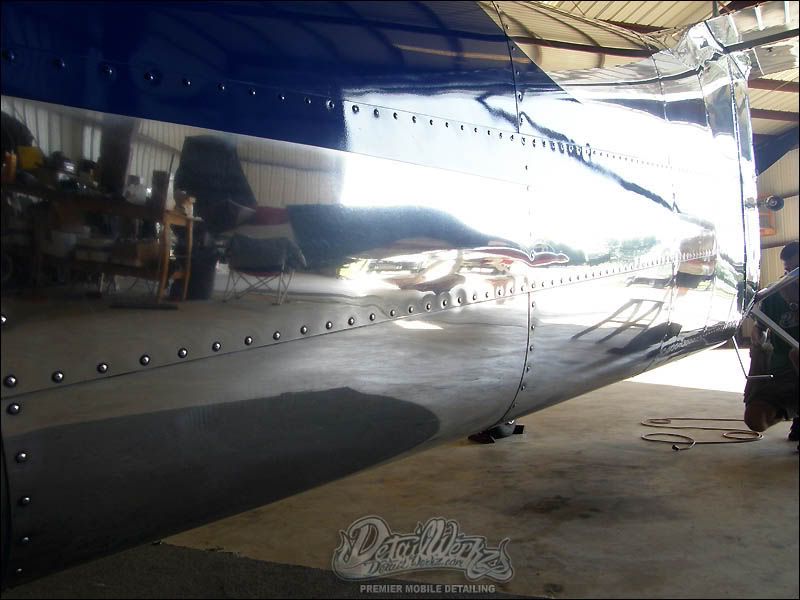
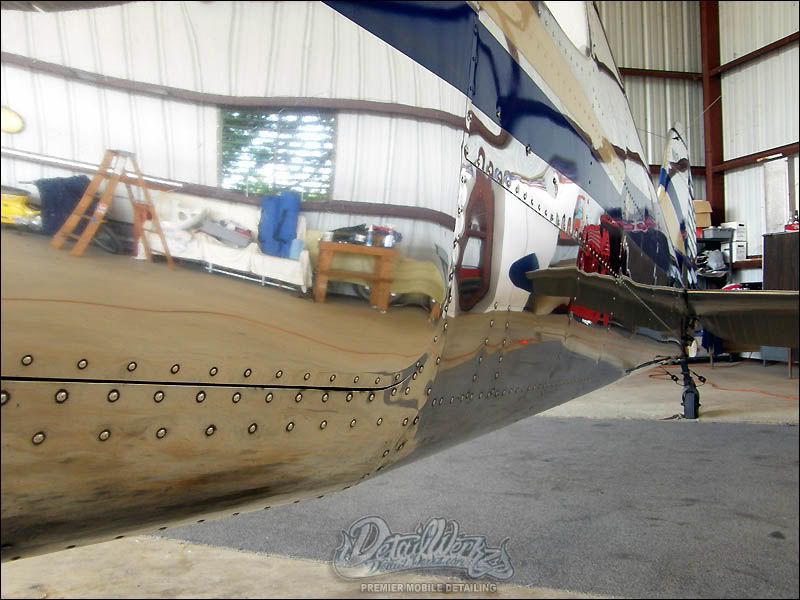
And here is the same area after correction has been obtained.
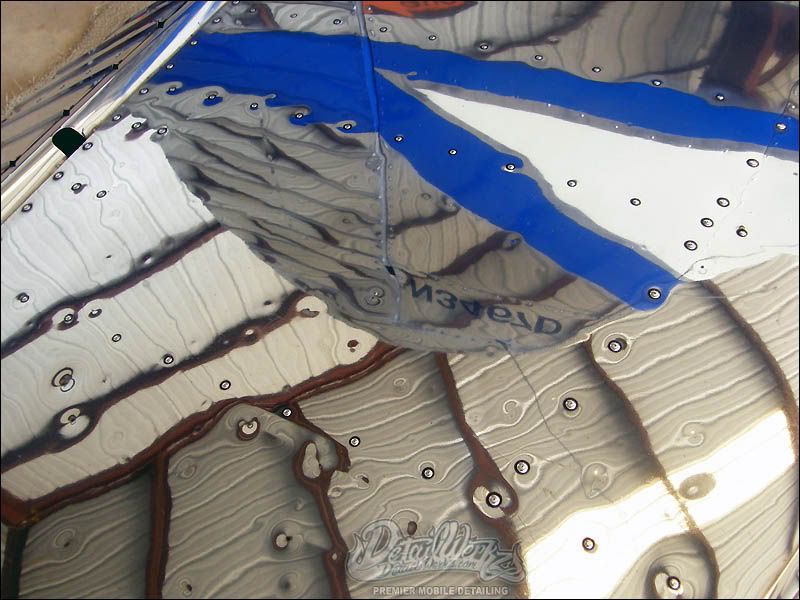
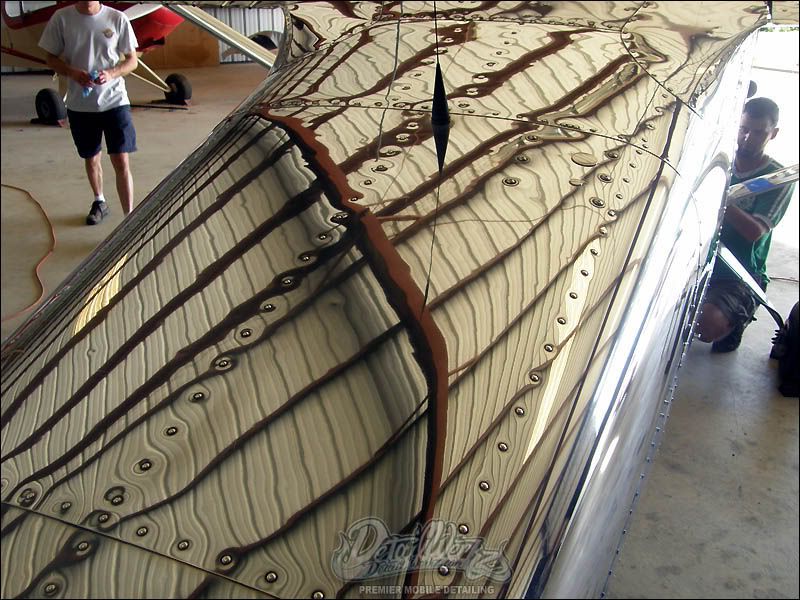
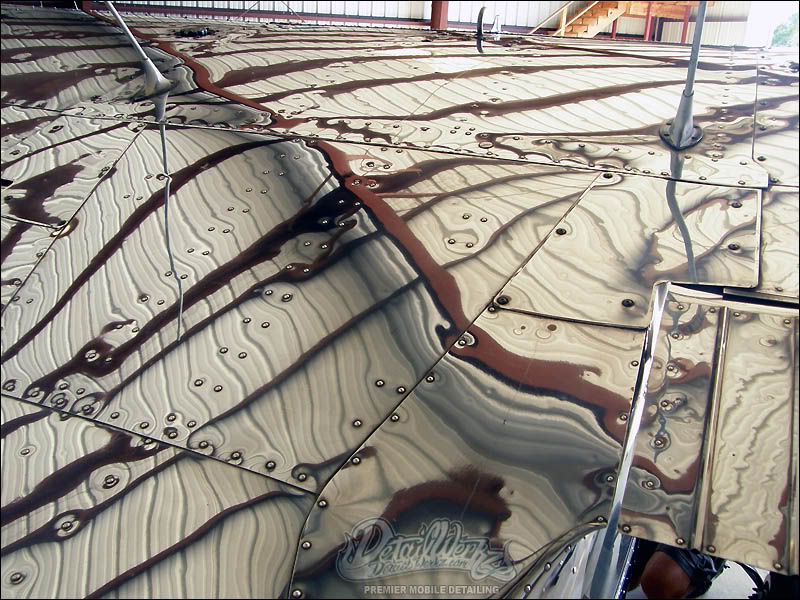
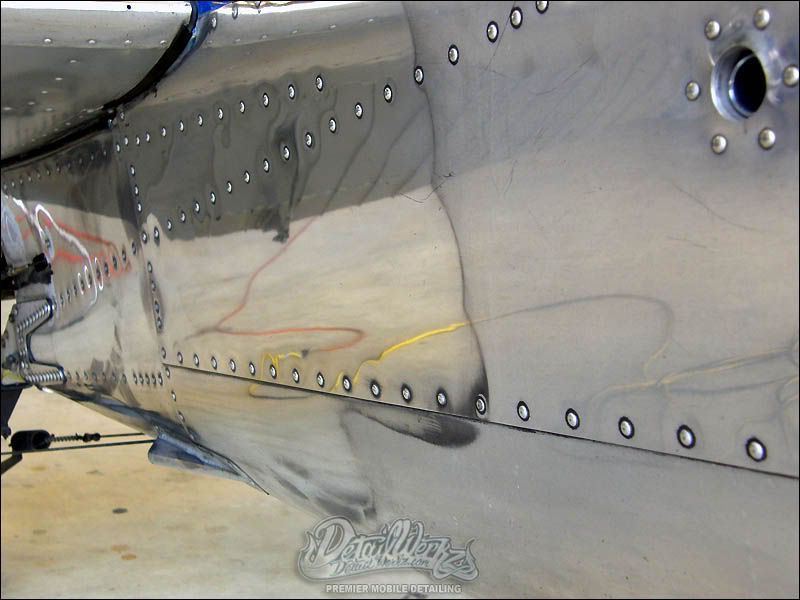
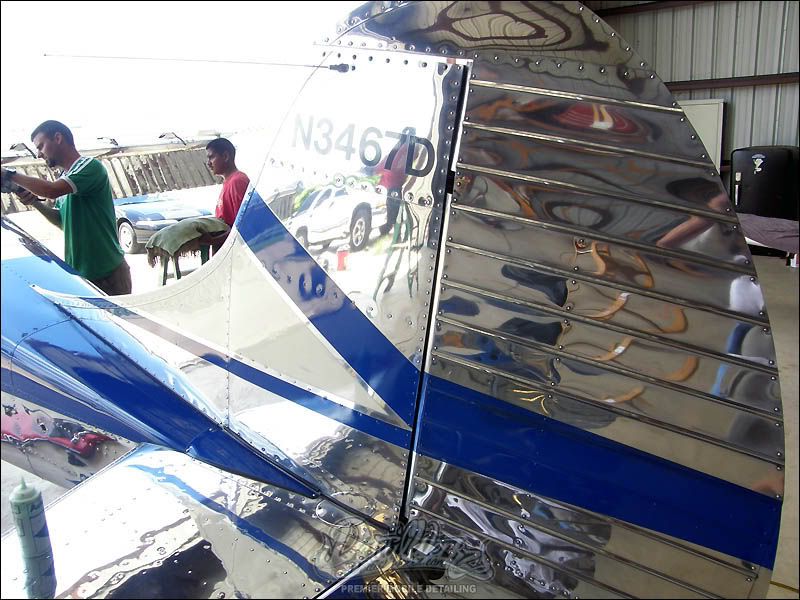
Here are some more 50/50 shots. You can see just how oxidized this plane had become.
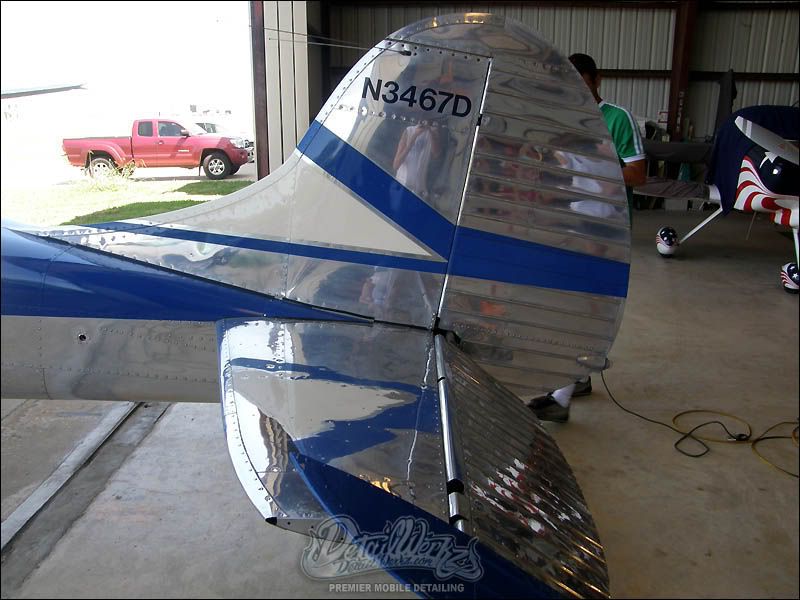
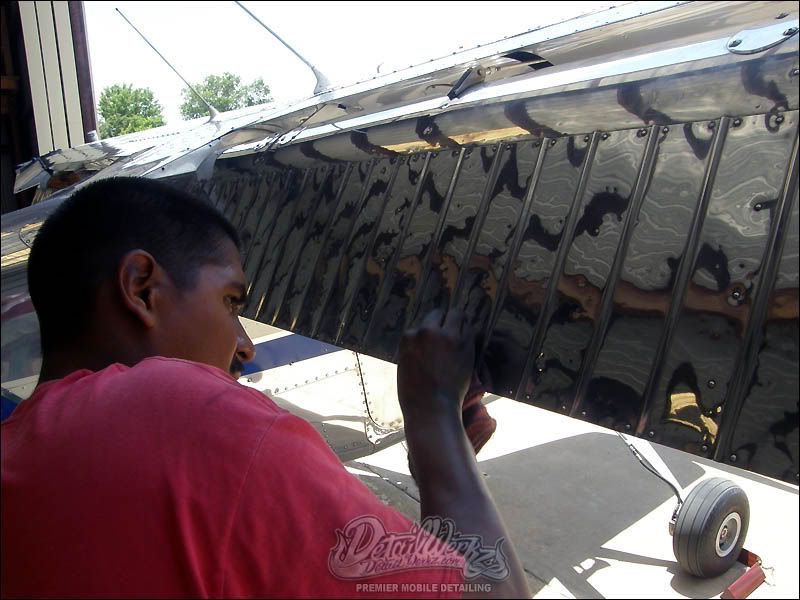
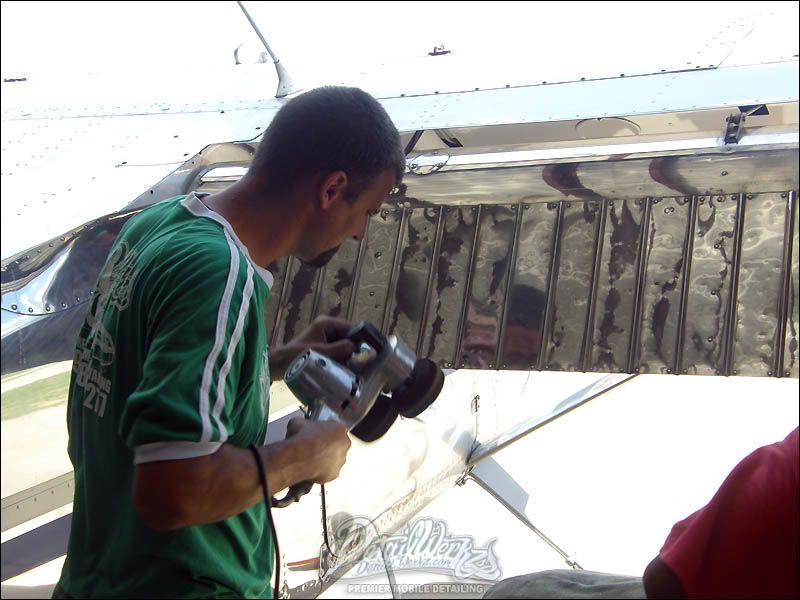
The owner had just completed some paint work on the plane to make upkeep a tad bit easier. Under the wings were painted, but the painter had sprayed some type of chemical on the wing tips and had really stained them something good. We had to break out the Nuvite and manually by hand attack these areas. This was by far the most time consuming of the project as each fin was damaged and needed to be hand polished out. Also you have to be really careful with these and not apply much pressure or you can deform the aluminum and make bends/creases and can decrease performance of the aircraft.
Here is Jose, Sesar working on the wing tips.

Once the hand polishing was achieved, we had to go back over the areas with the Cyclo to remove the deeper scratches the Nuvite put into the soft aluminum. Again we grabbed the White Diamond, GI Yellow 4 inch pad and the Cyclo Polisher to completed this process.
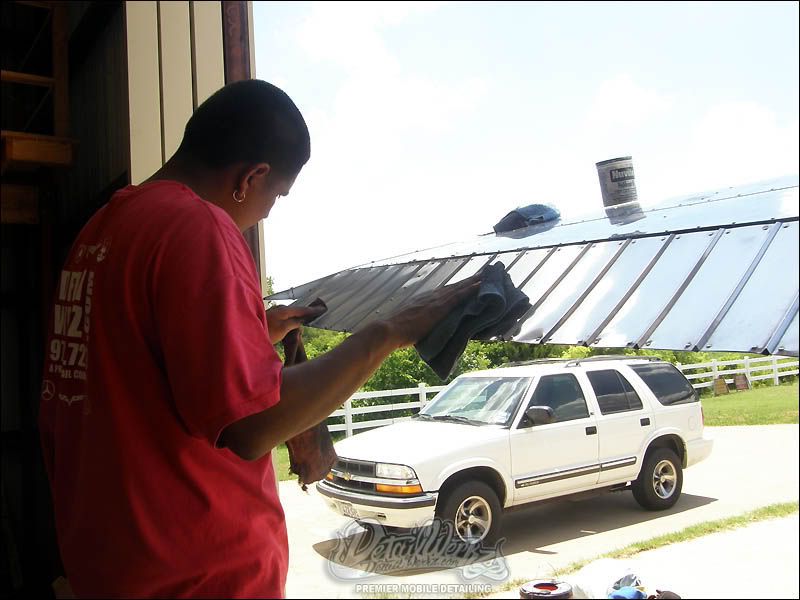
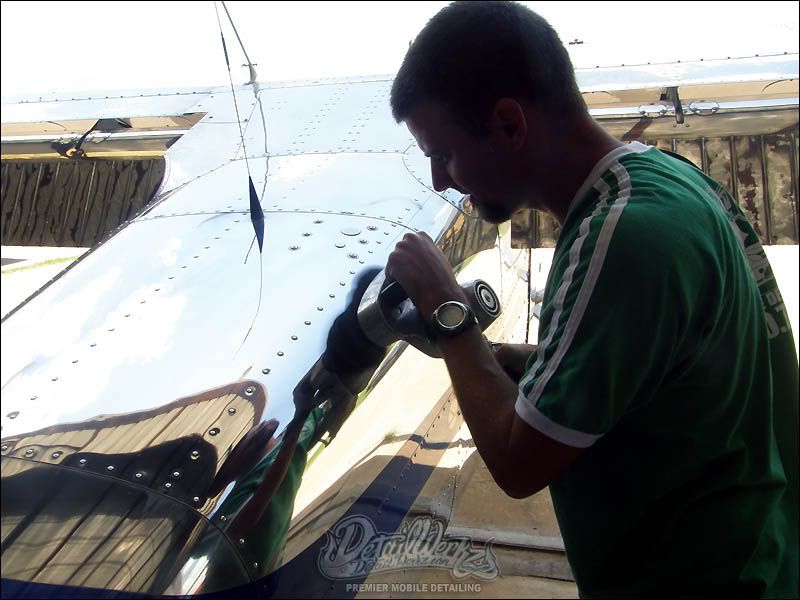
Here is Chris working on the tips of the wings with the Cyclo Polisher.

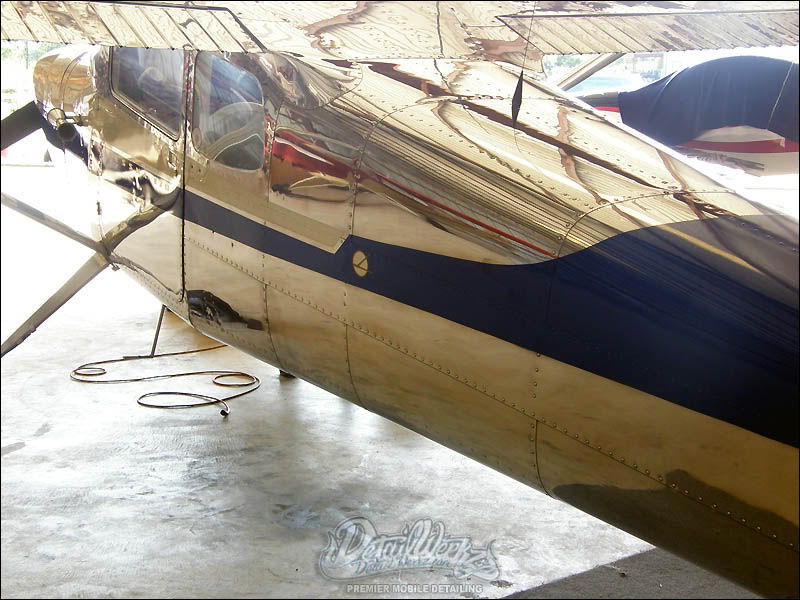
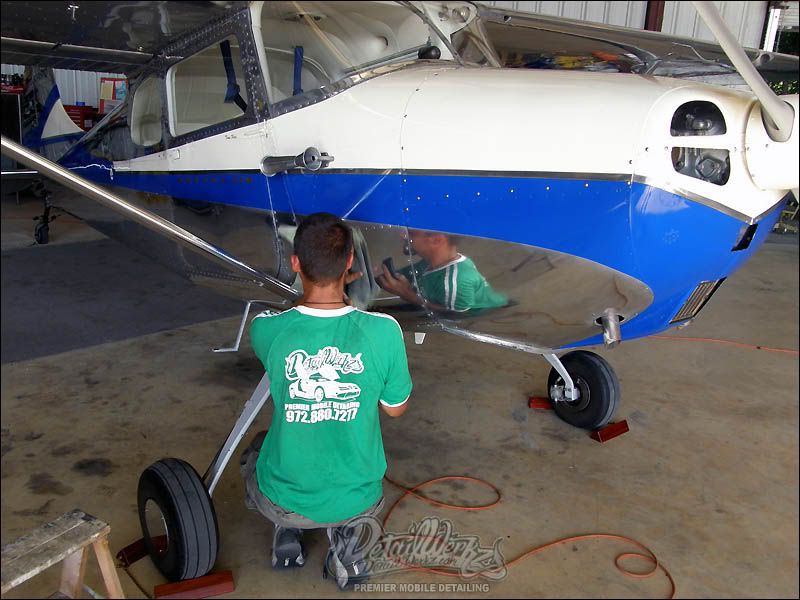
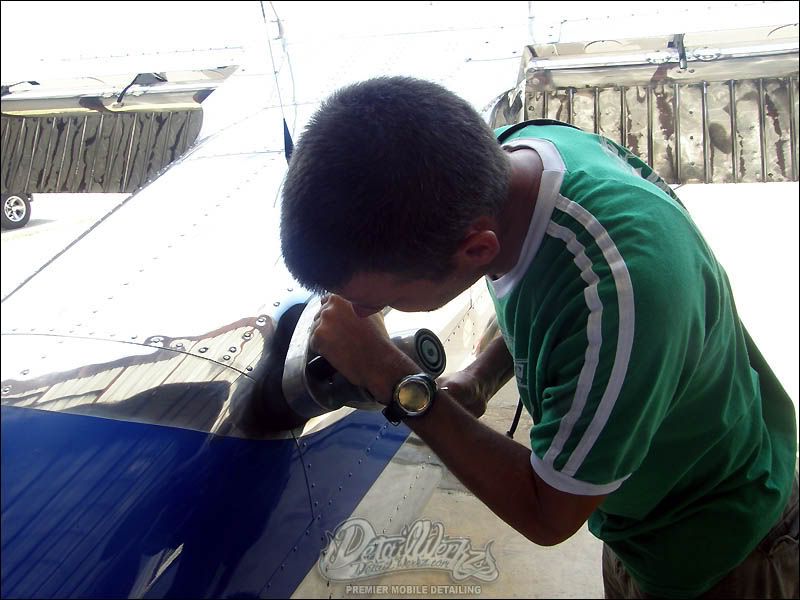
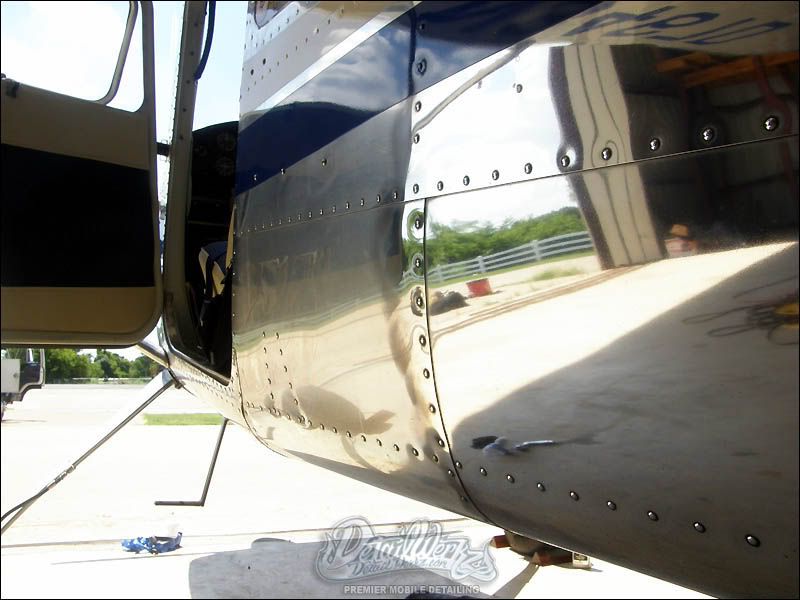
Here are more shots of Chris working the fuselage with the Cyclo polisher.

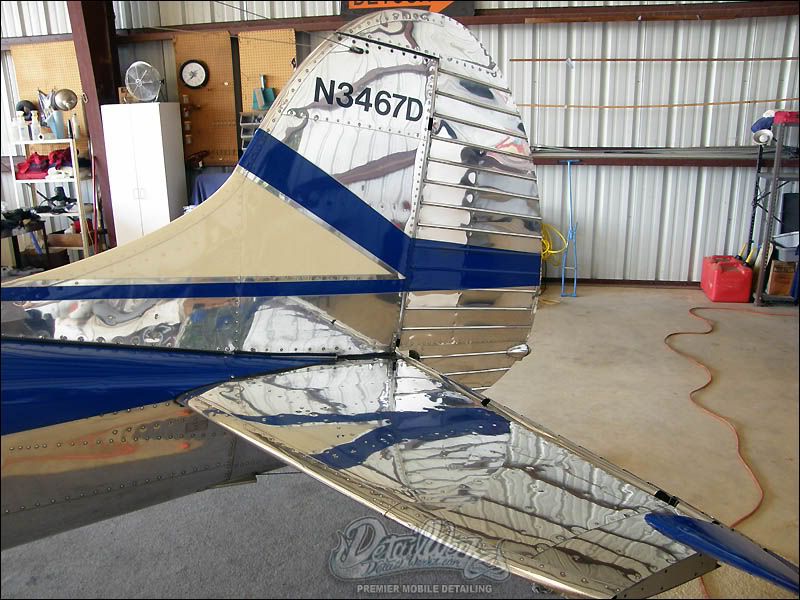
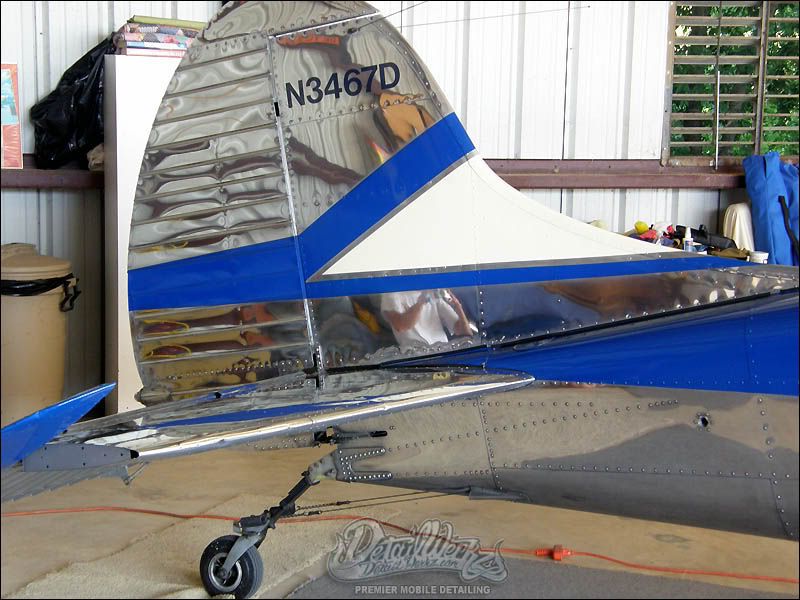
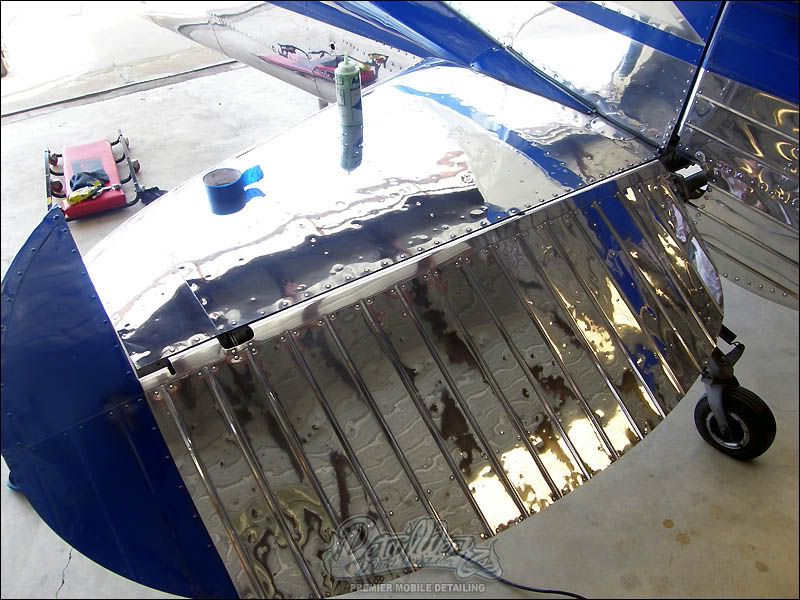
Here are some shots of the rear wing after I just completed the correction.
More shots of the before and after.
This project took 7.5 hours with 4 guys working non-stop for completion of this aluminum correction.
We clayed the painted areas using the GI Green Clay and applied some GI Gloss Finish to help give protection from the elements and to help reduce drag and static electricity.
The owner told me that he just did not have the time like he use to to upkeep the aluminum and had let it go for almost 9 month or more. Seeing one of our other planes that we did he took notice of our correction ability's and called and scheduled a day to correct and bring life back to his Cessna 170.
There is really no prep-work for planes. You get what you get and you don't throw a fit pretty much. As far as aluminum planes go you don't start washing them etc, as you will just make maters worse.
Our plan of attack was that Jose & Sesar would tackle the wings. Chris would tackle the passenger side, and I would tackle the driver side.
Here are a few shots of the plane as we arrived and started to set up equipment and get ready for a long days correction.
We have had great luck using the Cyclo Polishes for our aluminum correction machines. This job was no different Chris and I started out using the Cyclo Polishers and the GI 4 inch Cyclo Green/Yellow Edge pad system. We started using the Yellow side of the pads and product of choice was White Diamond Aluminum polish. In my honest opinion this is some of the best aluminum polish on the market that I have come across.
Here are a few 50/50 shots of correction and non-correction.
Here is a shot of the fuselage before.
And here is the same area after correction has been obtained.
Here are some more 50/50 shots. You can see just how oxidized this plane had become.
The owner had just completed some paint work on the plane to make upkeep a tad bit easier. Under the wings were painted, but the painter had sprayed some type of chemical on the wing tips and had really stained them something good. We had to break out the Nuvite and manually by hand attack these areas. This was by far the most time consuming of the project as each fin was damaged and needed to be hand polished out. Also you have to be really careful with these and not apply much pressure or you can deform the aluminum and make bends/creases and can decrease performance of the aircraft.
Here is Jose, Sesar working on the wing tips.
Once the hand polishing was achieved, we had to go back over the areas with the Cyclo to remove the deeper scratches the Nuvite put into the soft aluminum. Again we grabbed the White Diamond, GI Yellow 4 inch pad and the Cyclo Polisher to completed this process.
Here is Chris working on the tips of the wings with the Cyclo Polisher.
Here are more shots of Chris working the fuselage with the Cyclo polisher.
Here are some shots of the rear wing after I just completed the correction.
More shots of the before and after.
This project took 7.5 hours with 4 guys working non-stop for completion of this aluminum correction.
We clayed the painted areas using the GI Green Clay and applied some GI Gloss Finish to help give protection from the elements and to help reduce drag and static electricity.