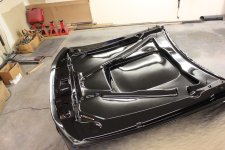
New member here but I just finished a project that I`m really proud of so I wanted to share it. I`m a major DIY`er making a lot of the custom parts for my car and this time I wanted a custom fiberglass hood but instead of using a bunch of bondo and panel adhesive I chose to make a mold and mold my own fiberglass hood, the top side and the under side. Here are a few pics I took along the way. This is my first attempt at anything like this and it came out great.. Gotta LOVE YouTube!
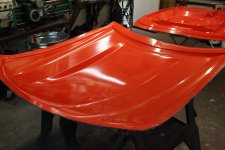
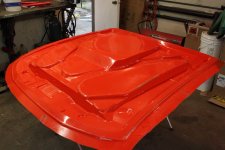
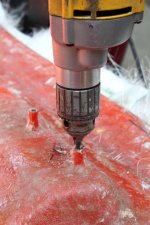
The two orange parts are the actual molds I made. One for the top of the hood the other for the underside.
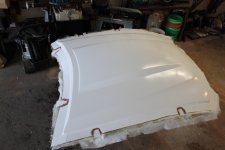
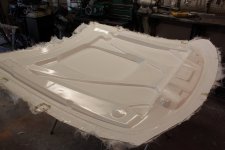
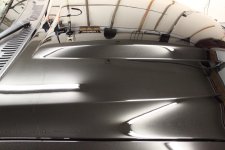
The two white parts are the actual hood pieces right out of the molds. These get trimmed then glued together then painted.
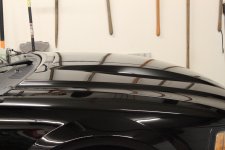
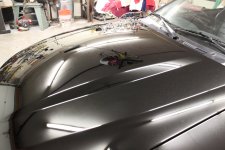
Since I`ve never painted before I relied on a buddy of mine to help me through the process but as of about 2 hours ago we just finished painting the hood for good and being black it came out perfect! Now I wait two weeks then sand/polish it..
This entire process from starting to make the molds to painting the hood today took 10 weeks.
I spent 6 months researching chemicals, suppliers, processes, equipment, etc and created a step-by-step recipe for myself then started purchasing the materials and equipment. It`s actually fairly easy to do just a lot of little steps that need to be observed.
Fitment is 10000% spot on and I made sure it was perfect before painting it.
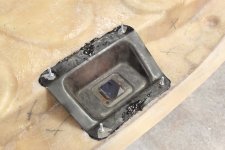
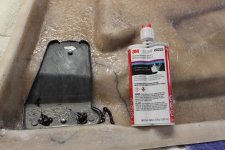
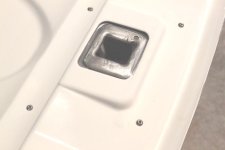
I also wanted to use the factory latch and hinge mechanisms so I found someone that was willing to cut a hood apart and sell me the factory pieces which are glued and bolted with stainless steel screws/nuts. When making the molds I incorporated drill bushings into the mold so I can locate screw holes exactly where the factory holes are. Fitment and operation is perfect.
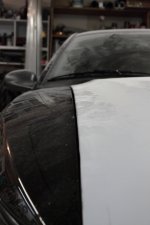
A pic of how it fits right after I glued the halves together. I first remove the factory fender shims so I can see how good it fit and this allows me to re-shim the fender to match the contour of the hood. As you can see it`s nearly perfect w/o shims.
Update: I started making the molds in early July and 3 1/2 months later this hood is DONE!
Block sanded with 2500 then finish polished with Meg205 and it came out great. I went over every square inch with a tiny pen light making sure to remove any small swirls or scratches wanting to make sure it was as good as I could get it before calling it done. Next year I`ll ceramic coat the whole car to help keep it looking decent.