imported_Dave KG
New member
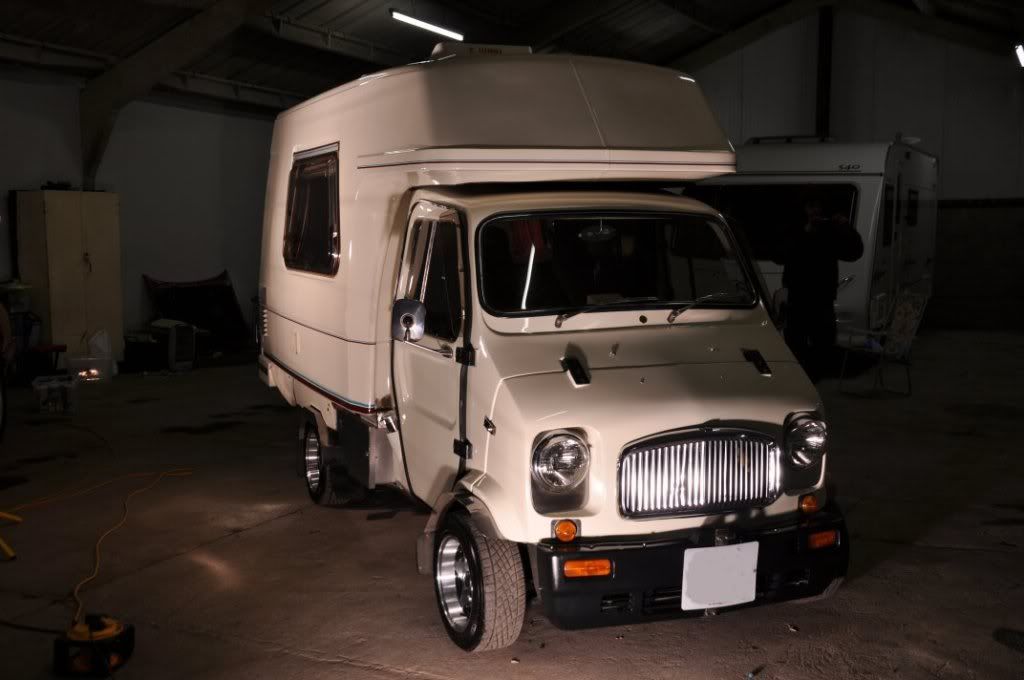
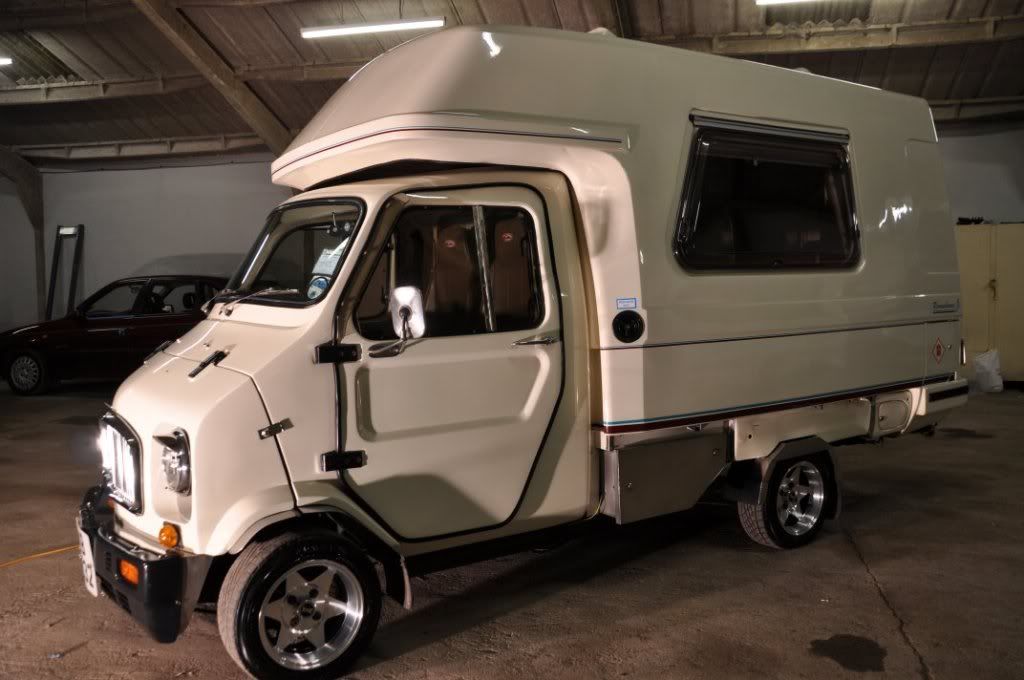
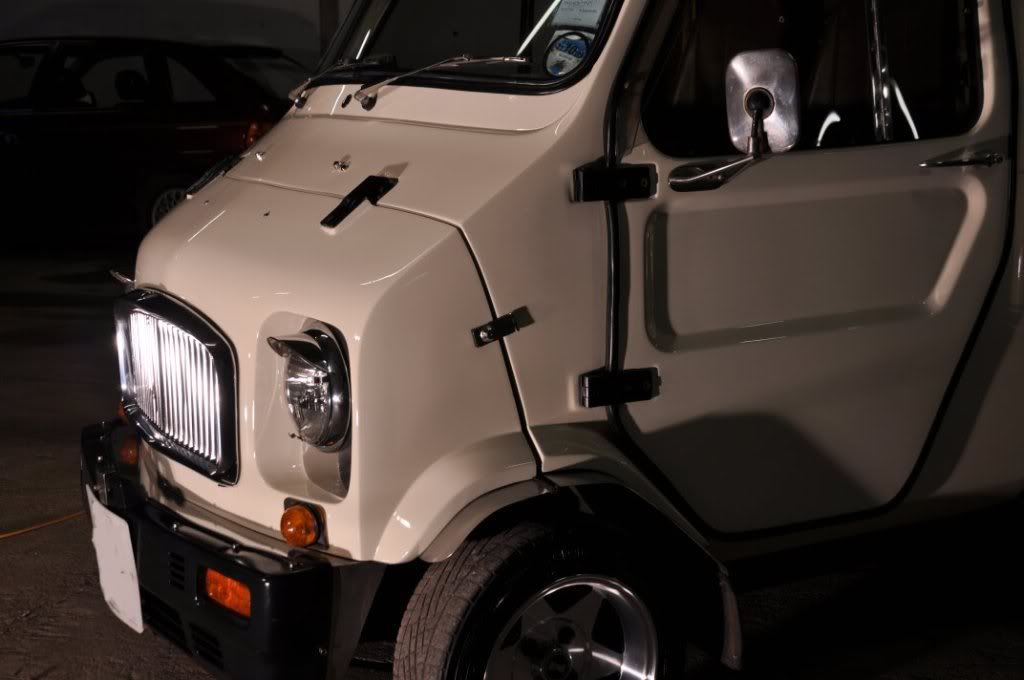
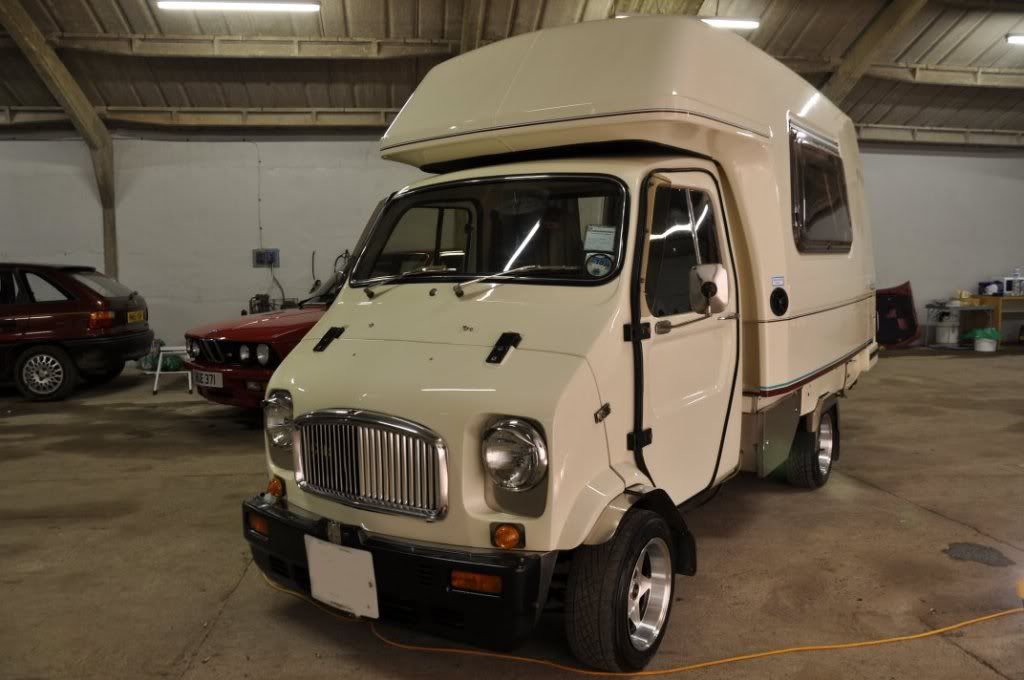
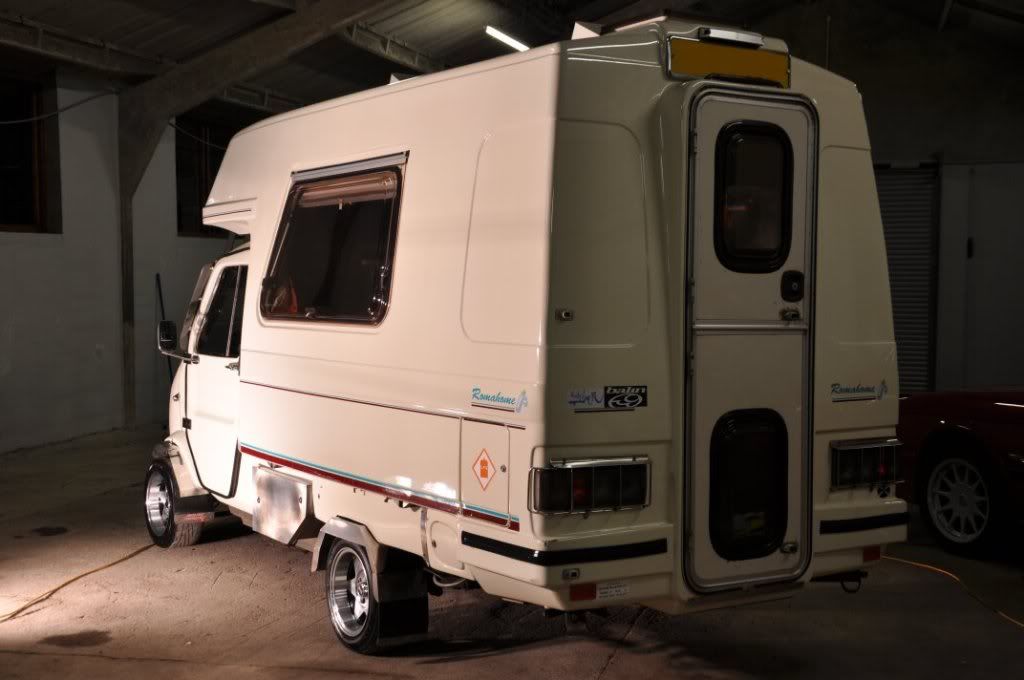
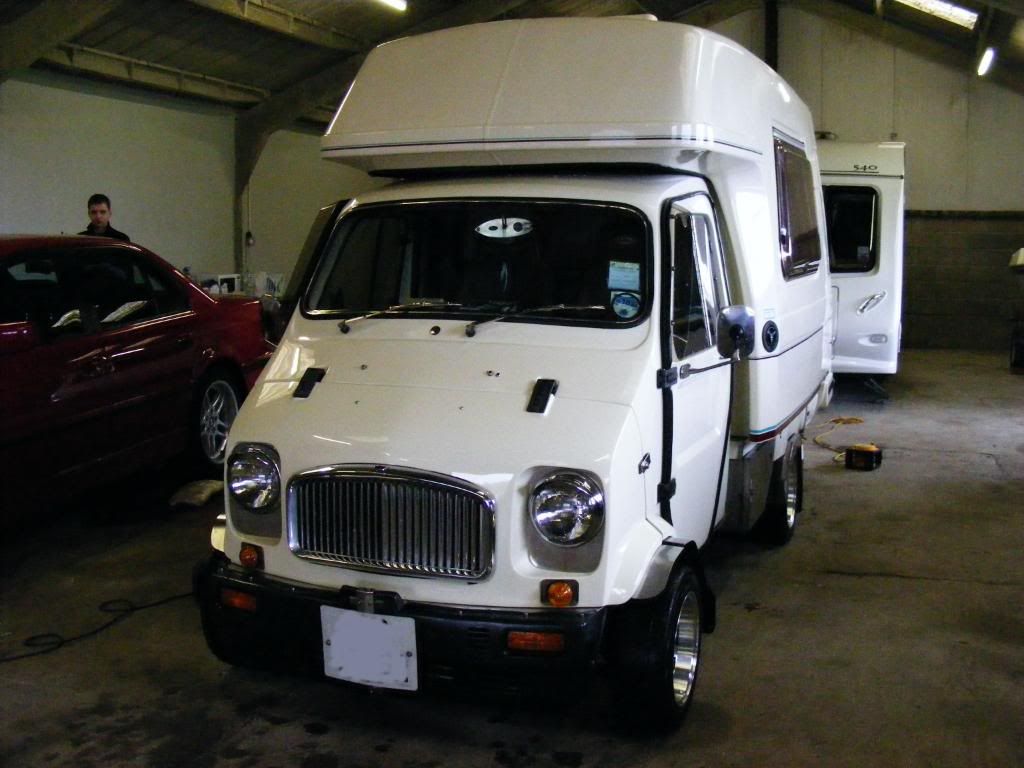
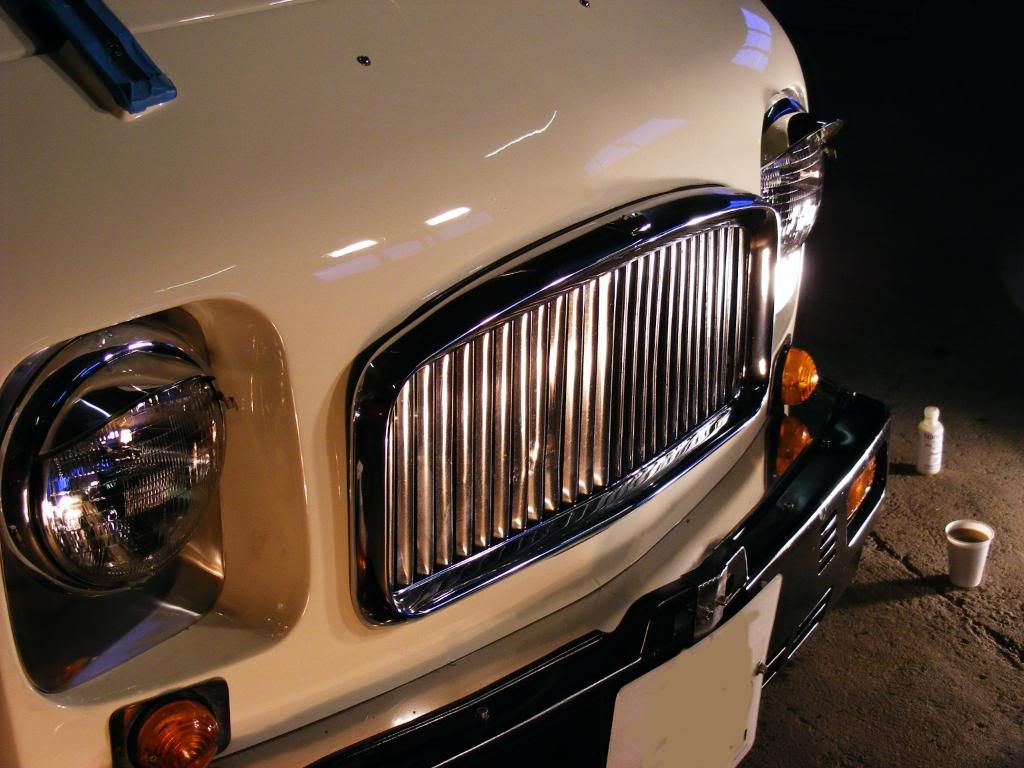
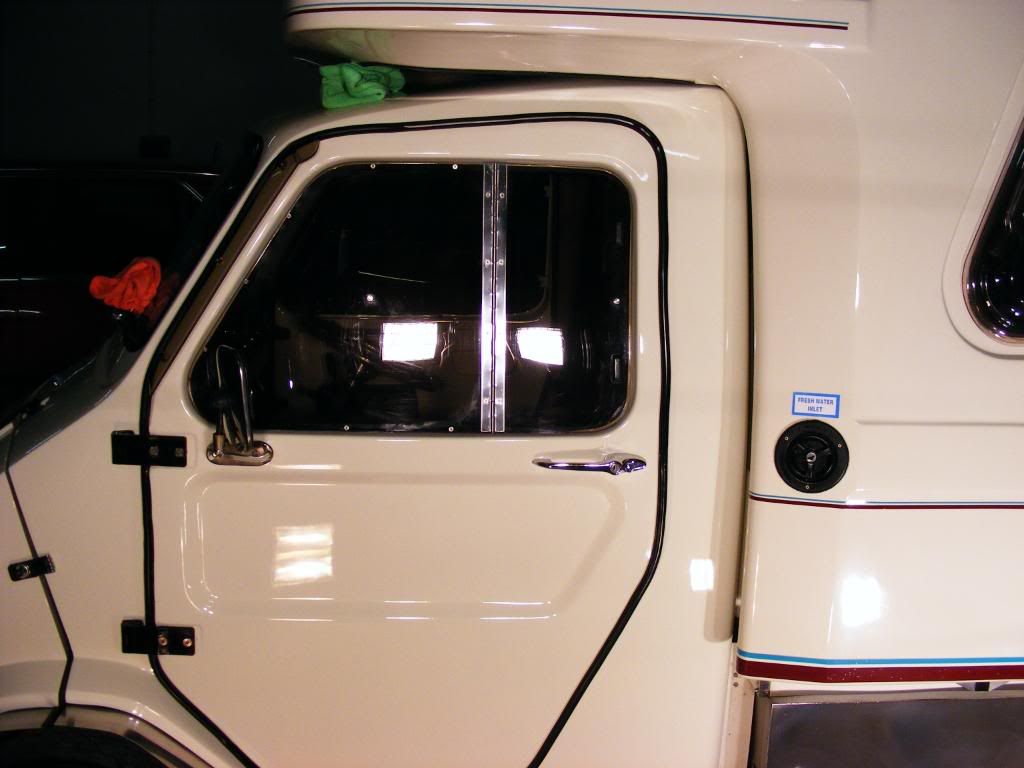
This vehicle is completely unique!
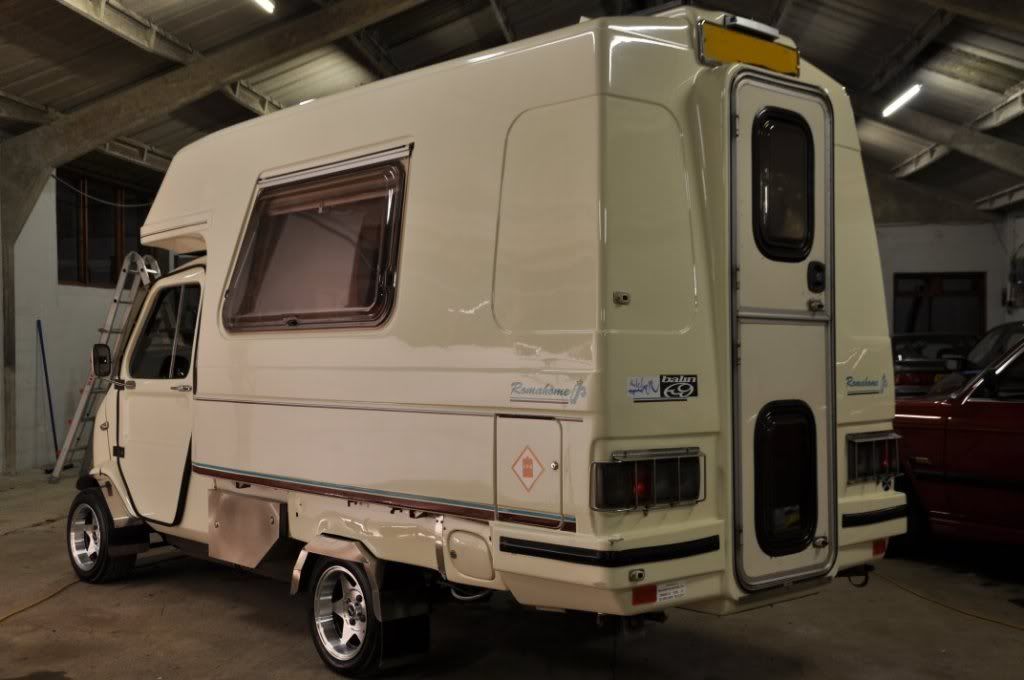
A labour of love for its owner, three years long and counting, Stevie has rebuilt it from nothing but a shell. The cab is a 1979 Mini pickup, running a rebuilt 1275cc BMC A-Series+ Engine (Mini Cooper), single SU carb (as opposed to the twin SUs the Cooper ran) and fully ported and polished head. Stevie did the rebuild himself... The back is from a 1987 Honda Acty. Join the two together and you have this completely unique creation - it may not be to everyone's tastes, but you can never deny the amount of work that has gone into the van - all the stainless is home made by the owner, the bumpers are home made, the engine is a home rebuild, the list goes on! I have a huge amount of respect for this project, and think the van is fantastic - which is why I was delighted to be able to help out with something I am good at, and do an assissted detail with Stevie in preparation for the show season.
This is part 1, of what will be many parts over the coming weeks (engine is being re-painted then the whole bay will be perfected, interior is being reupholstered.... and more! )
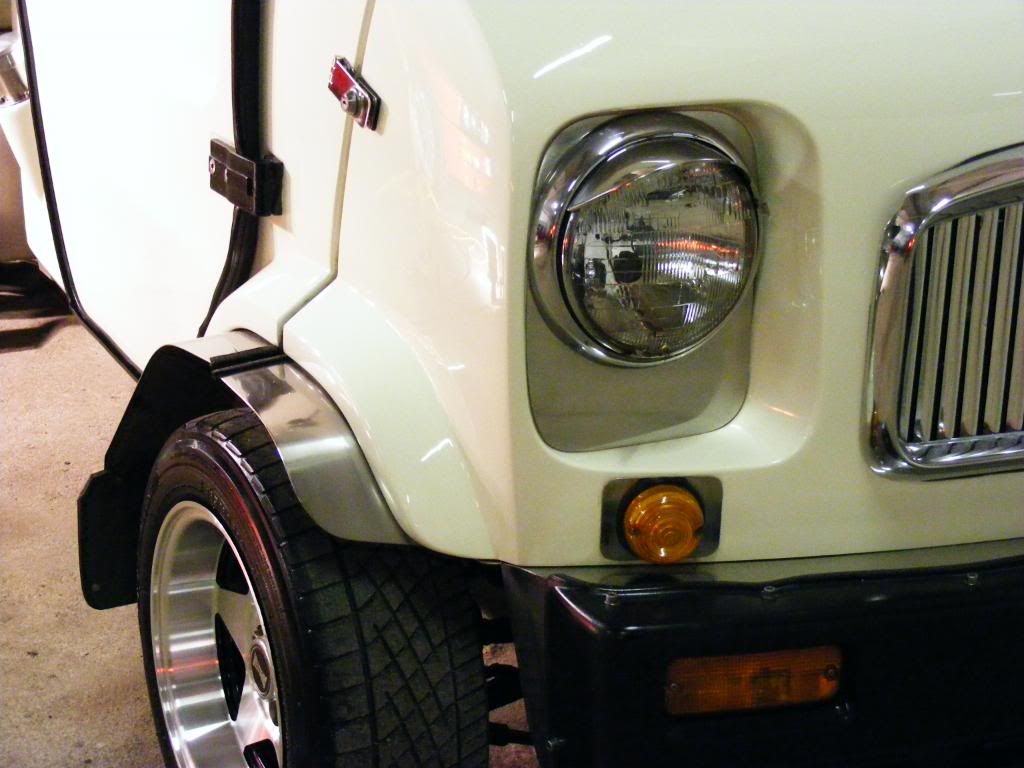
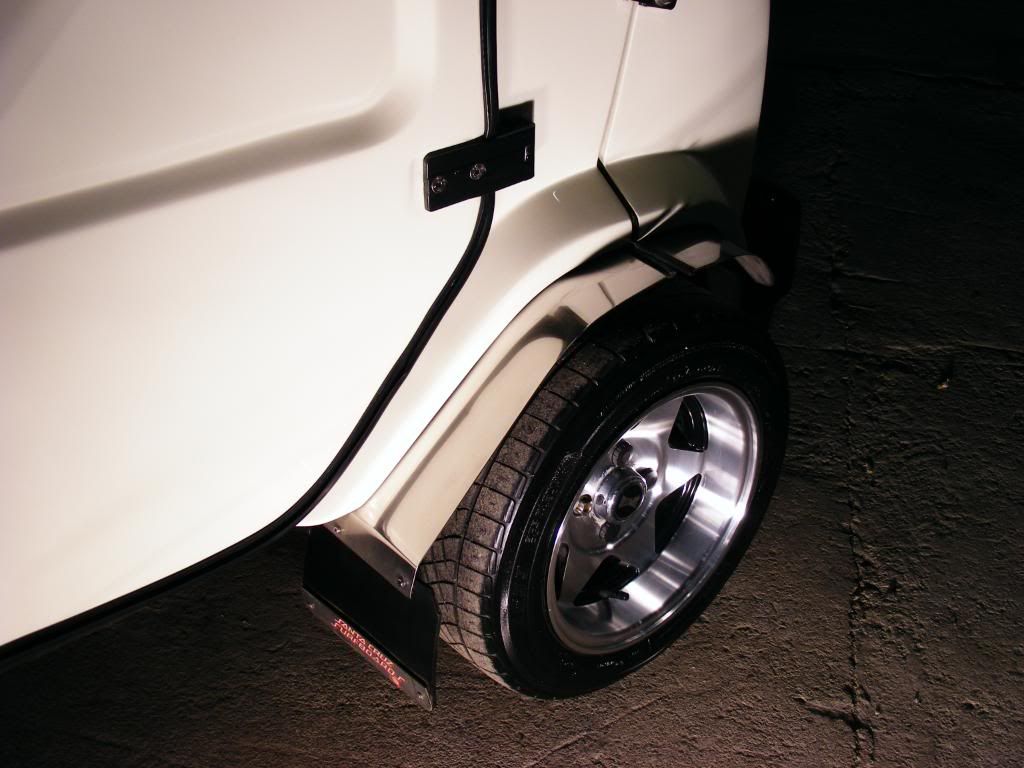
So here she is...
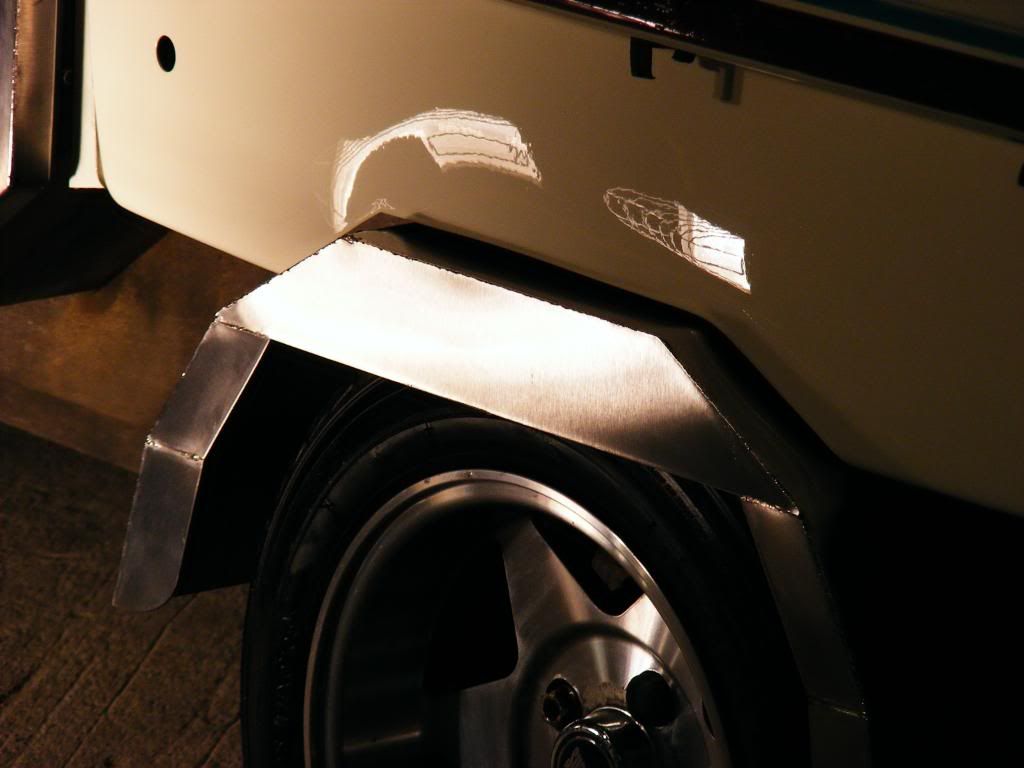
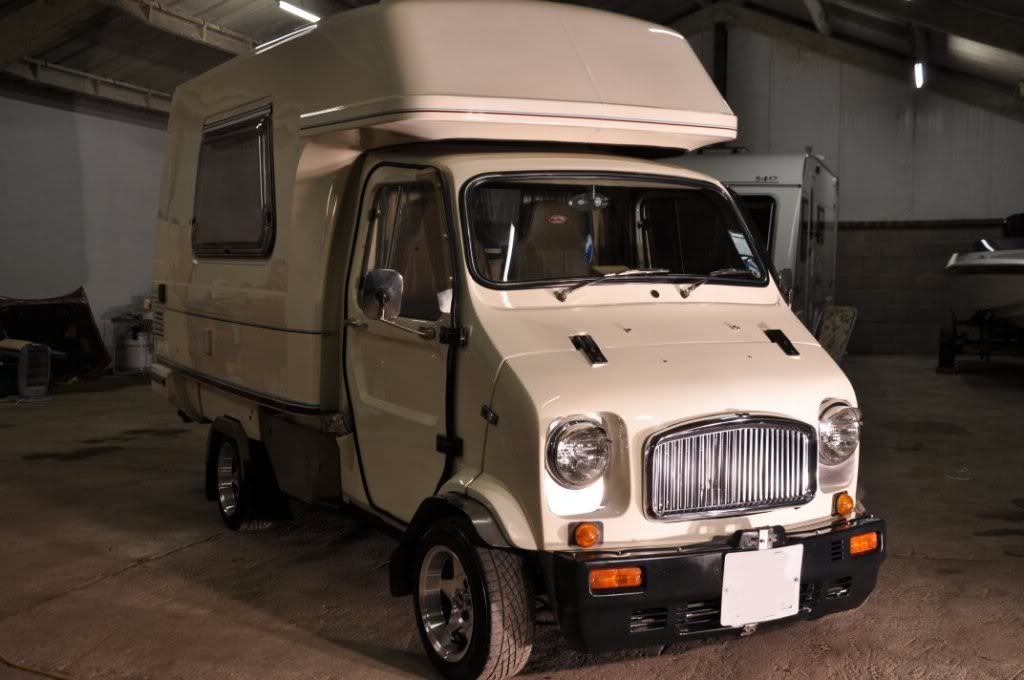
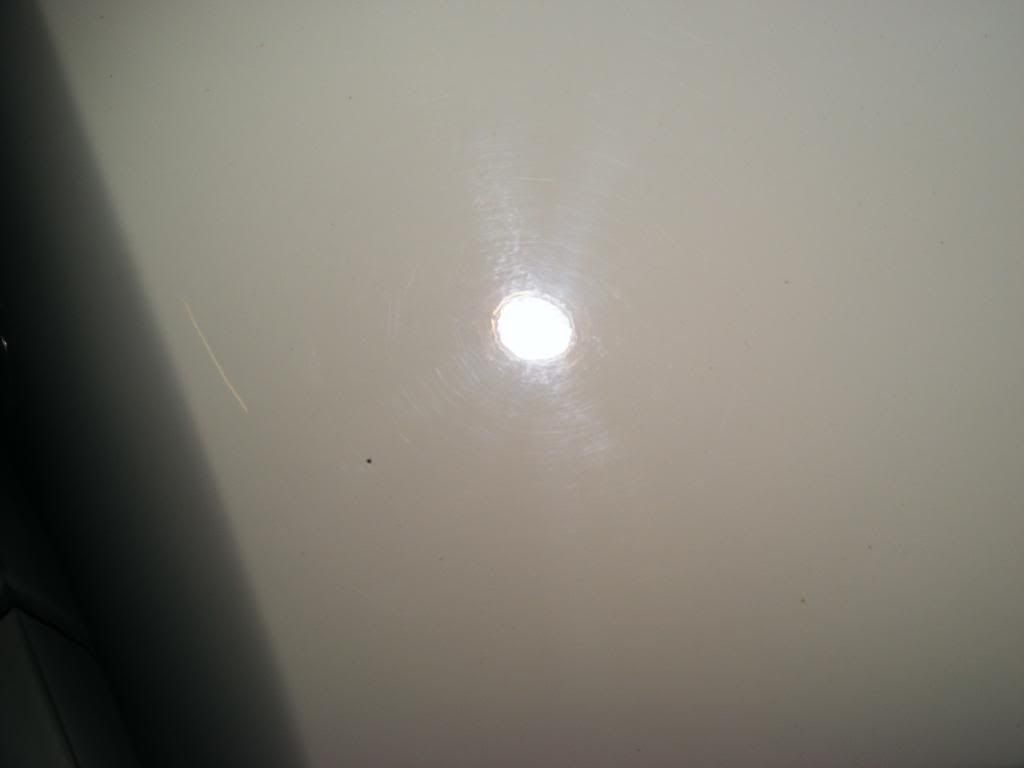
I had previously worked with the owner doing a full machine polish on the cab and back, so only a quick reminder of technique and product was required and Stevie was off polishing his van! Some swirls before, only light as was fully compounded a few months back:

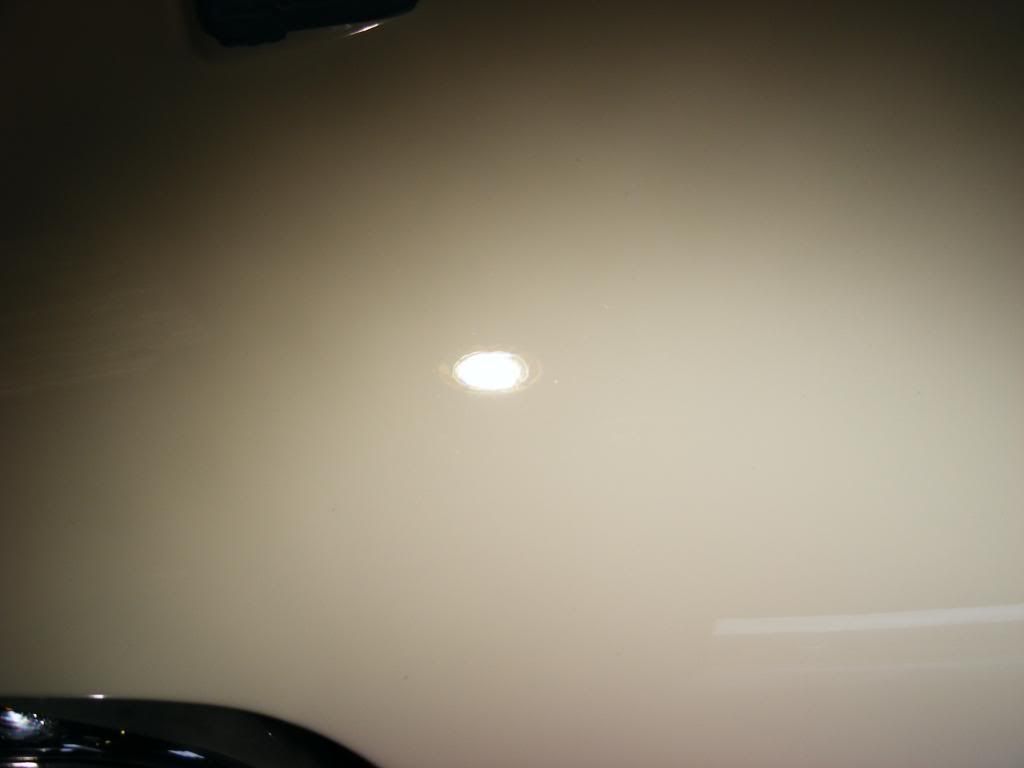
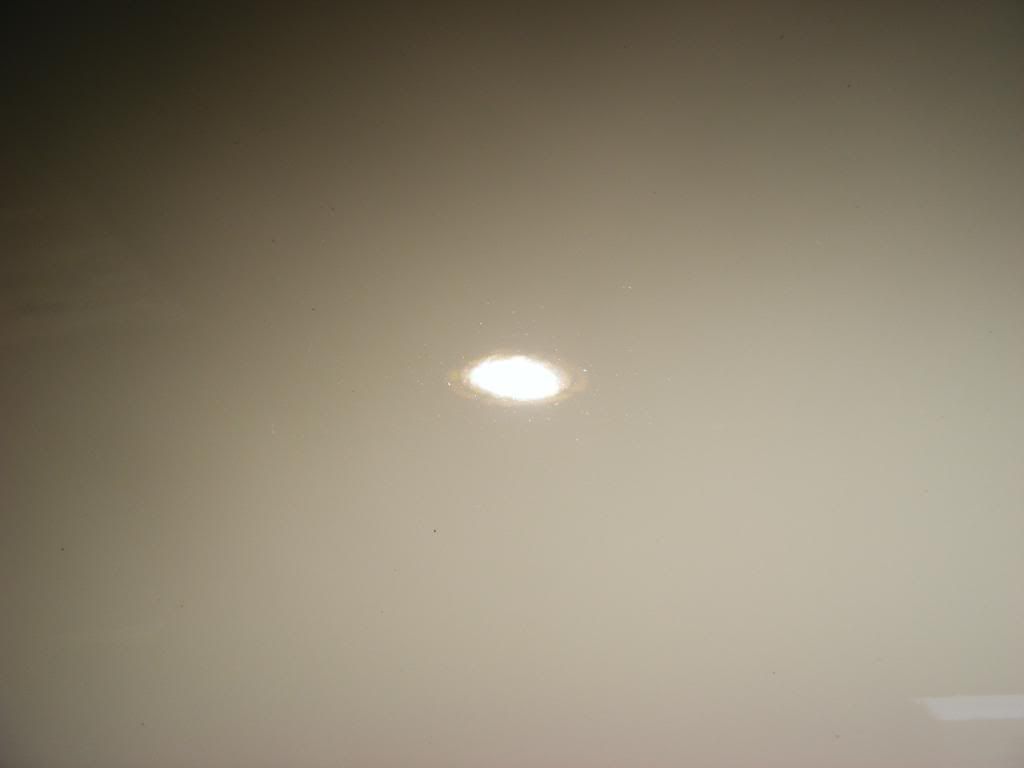
Menzerna PO106FF Final Finish, Meguirs W8006 polishing pad was all that was needed to restore the luster back and remove the swirls:
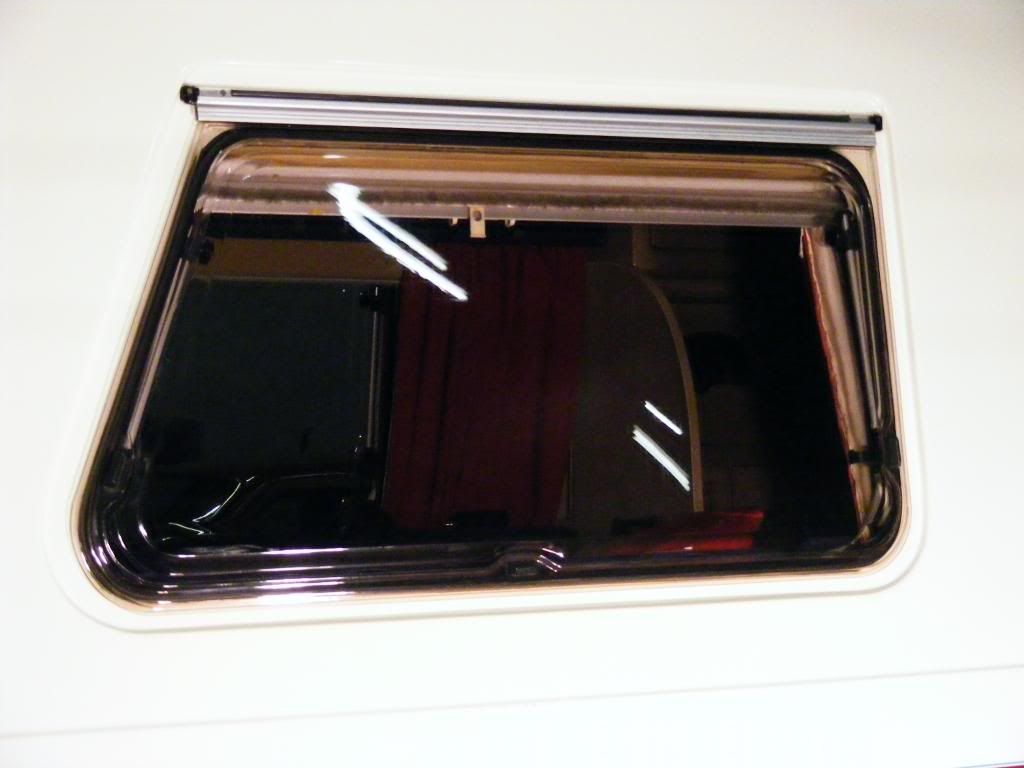
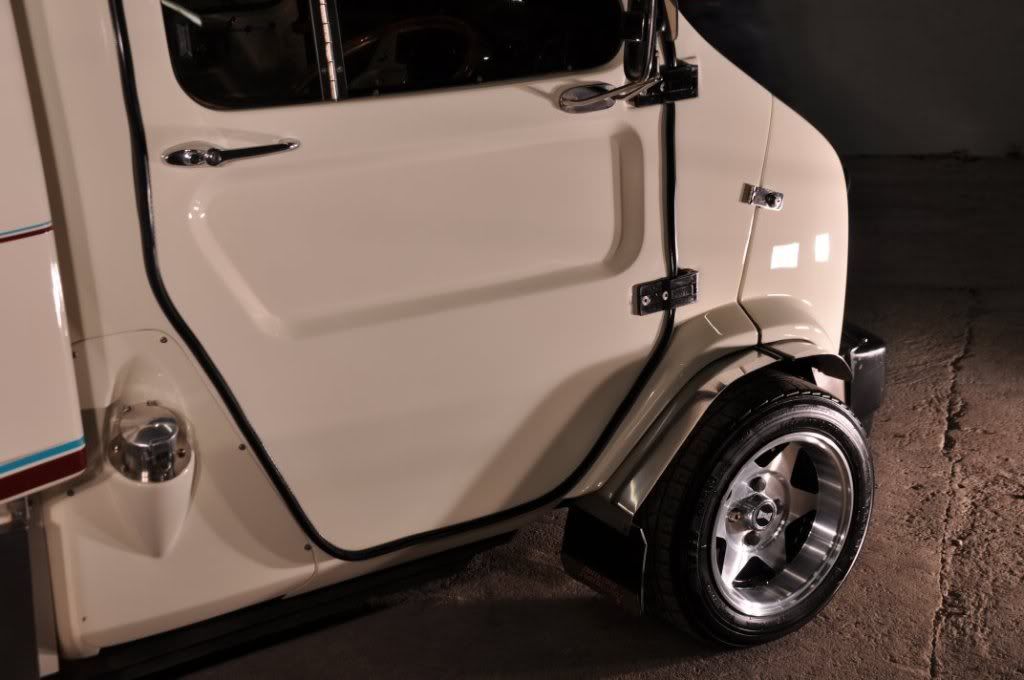
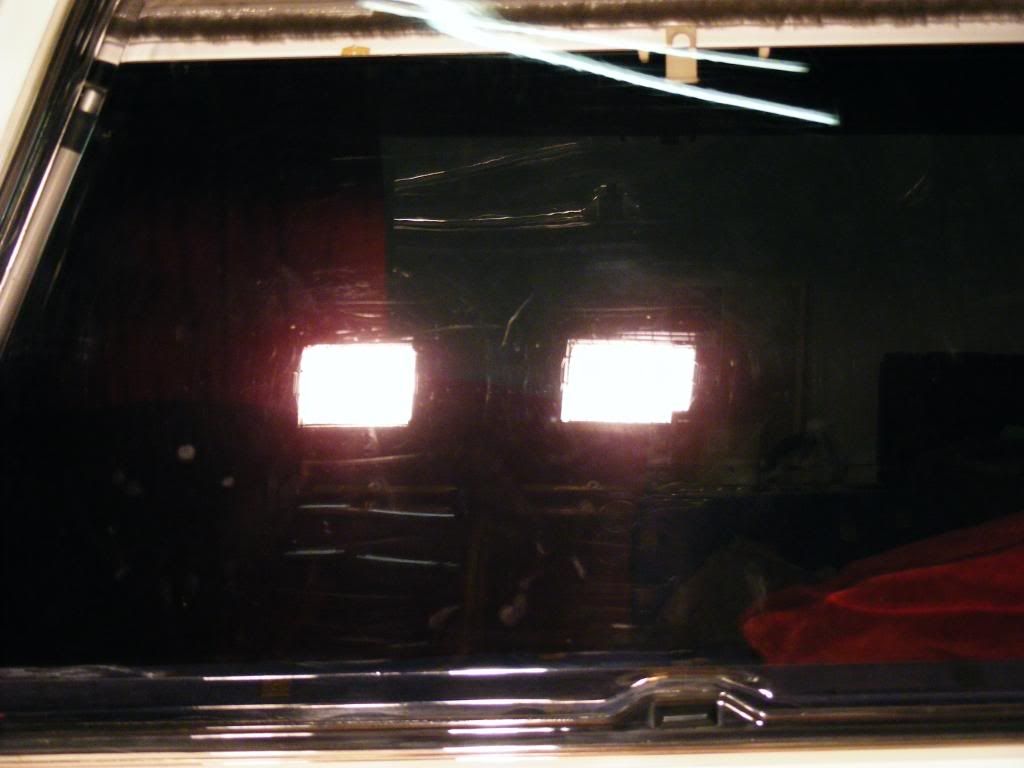
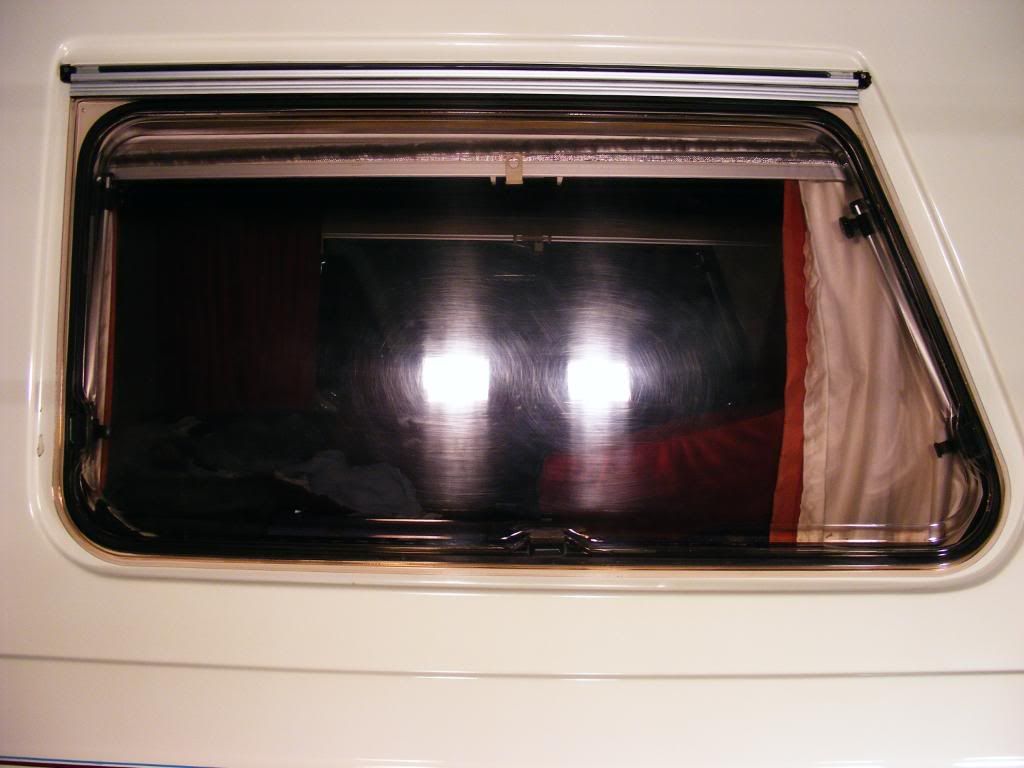
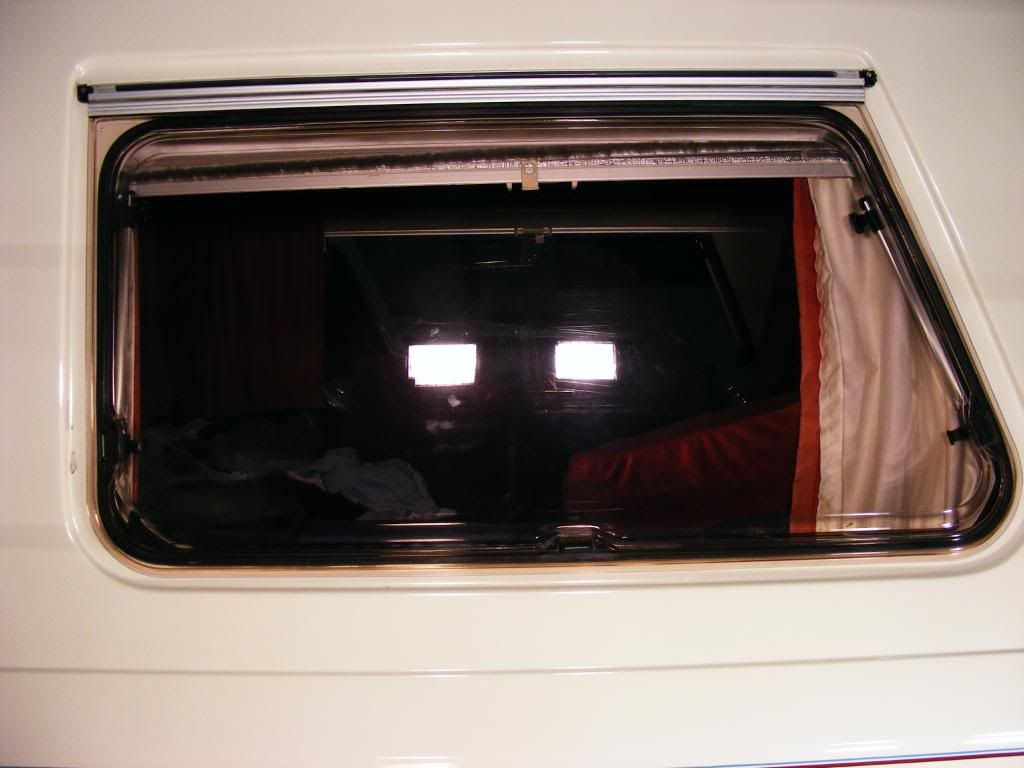
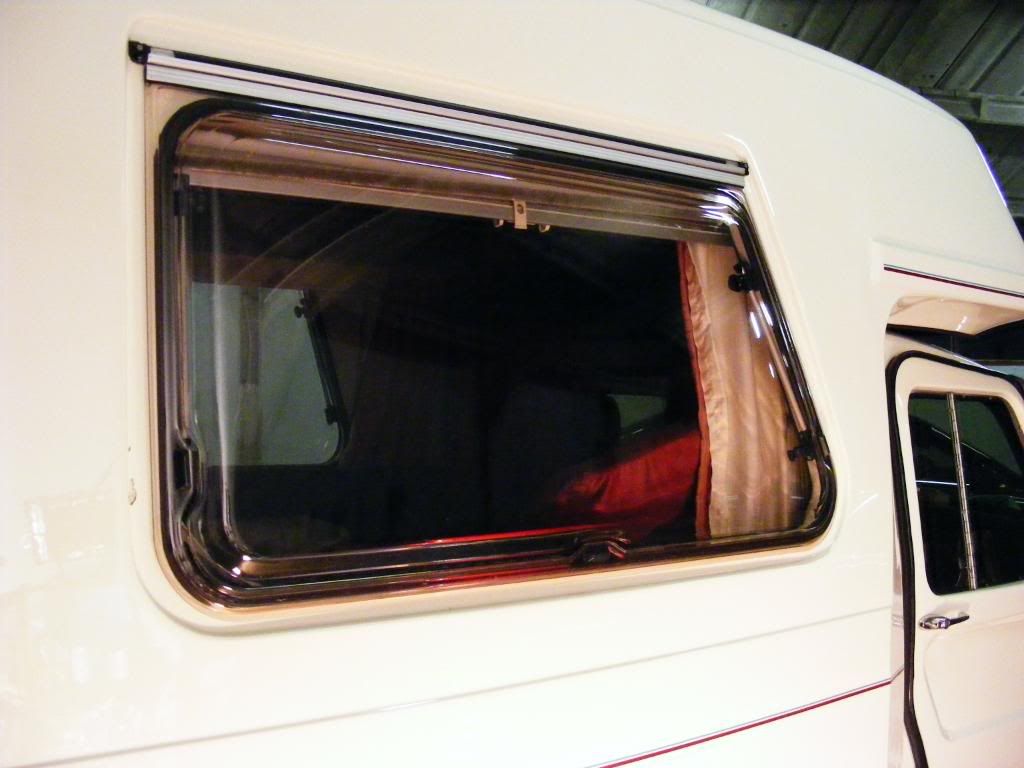
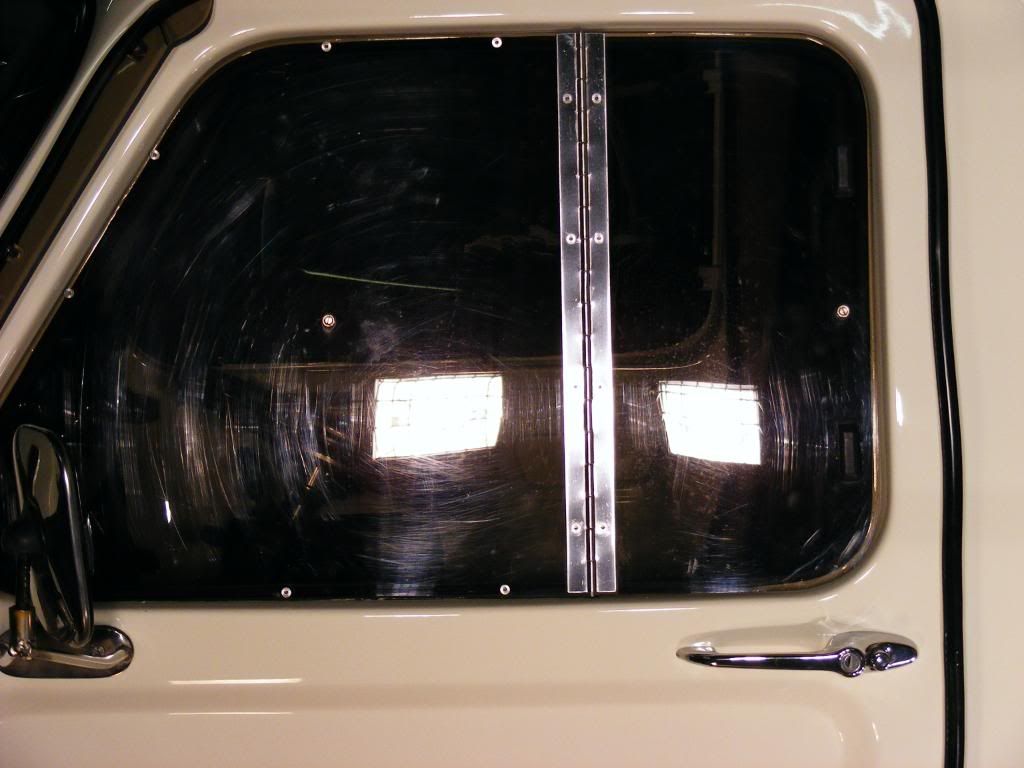
This detail was more than just the paint though, this van is very intricate with a lot of parts not normally seen on an everyday road car that would require attention... Such as the scratches Plexiglass...
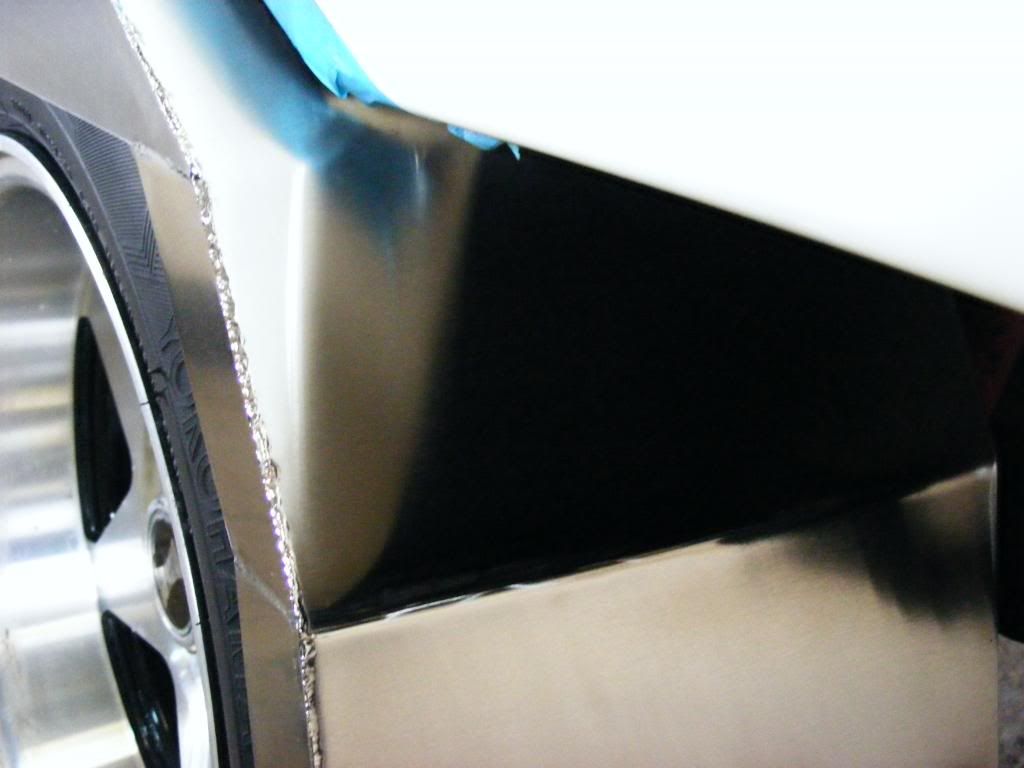
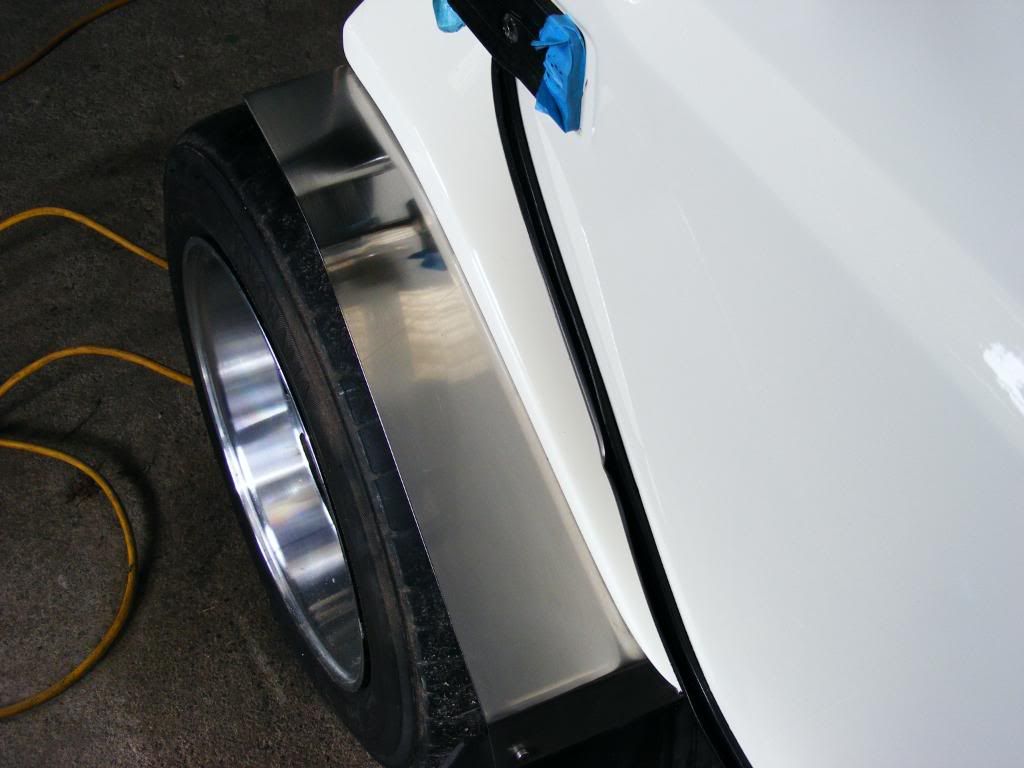
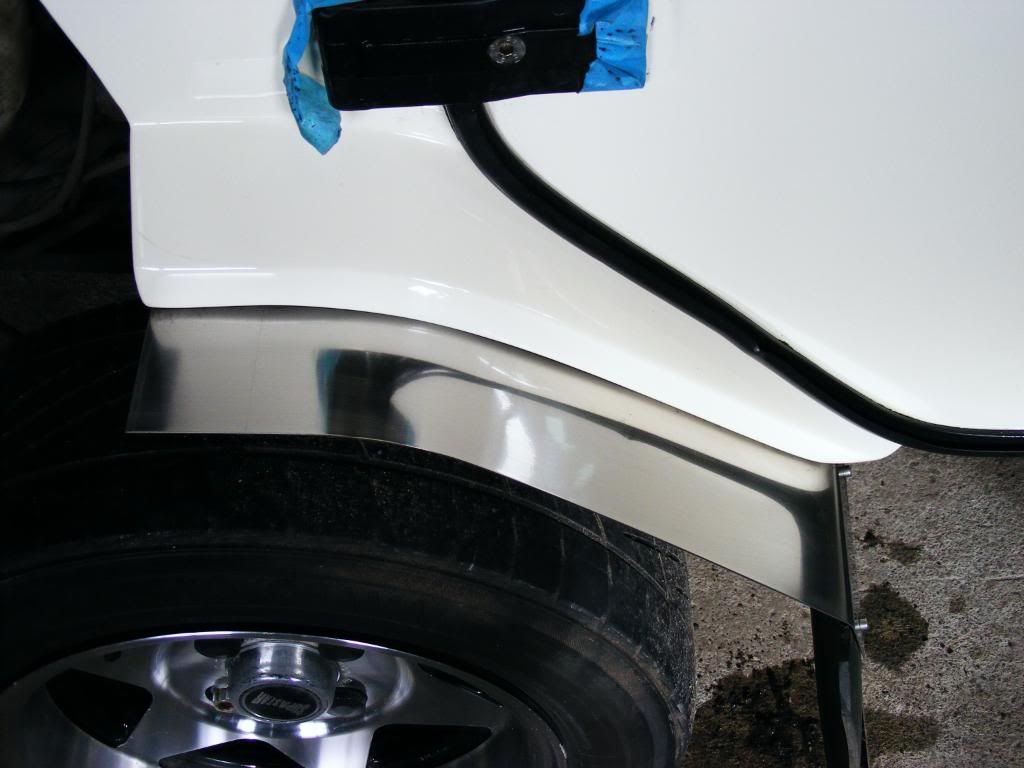
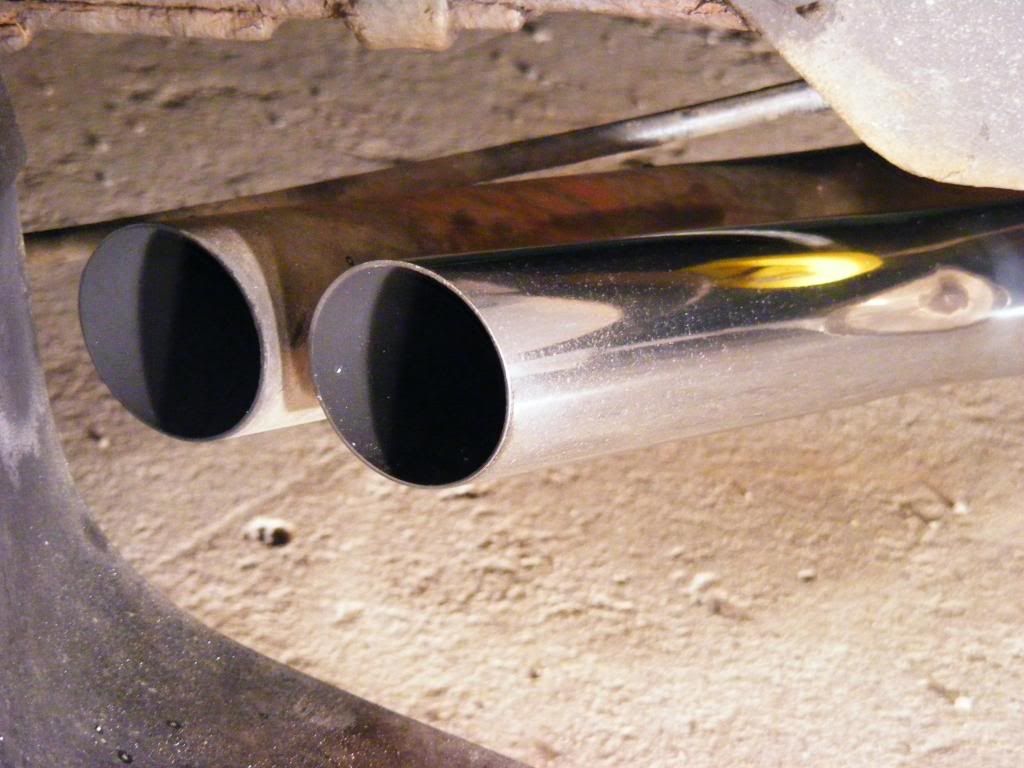
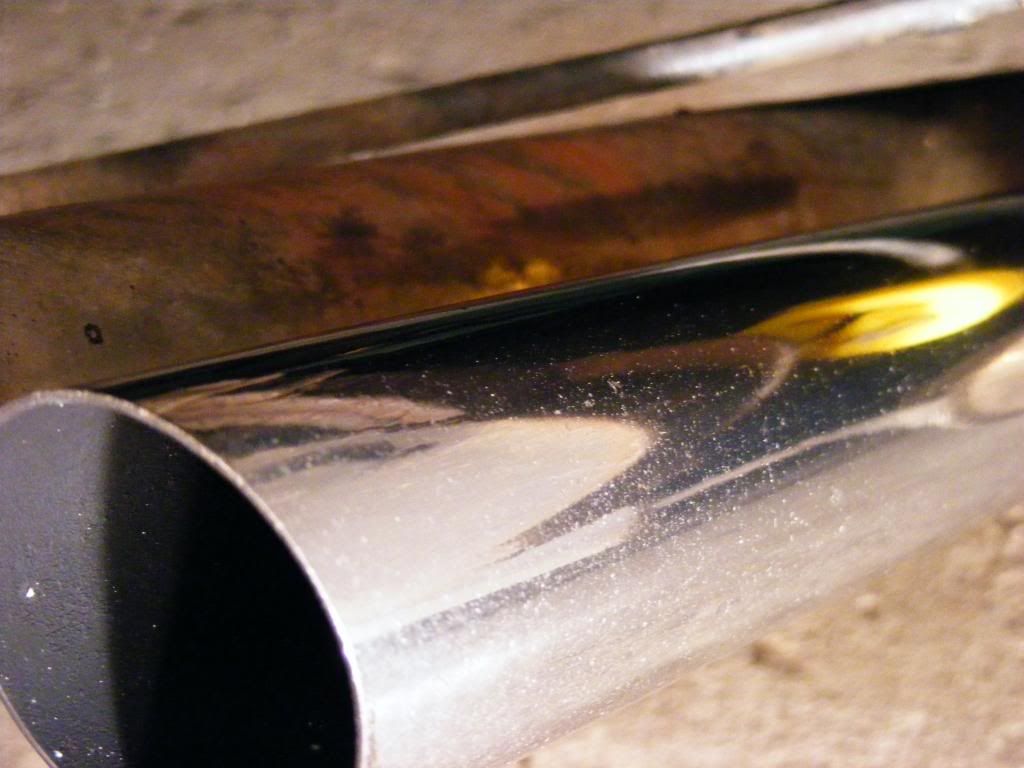
and the dull stainless steel brightwork to name but two:
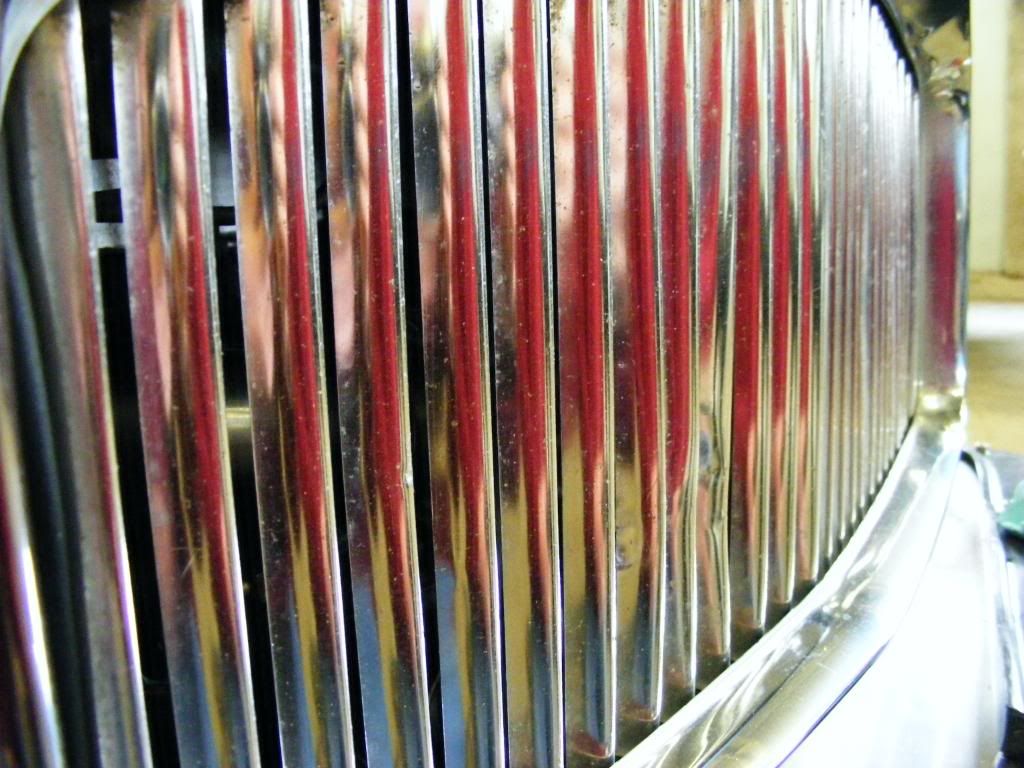
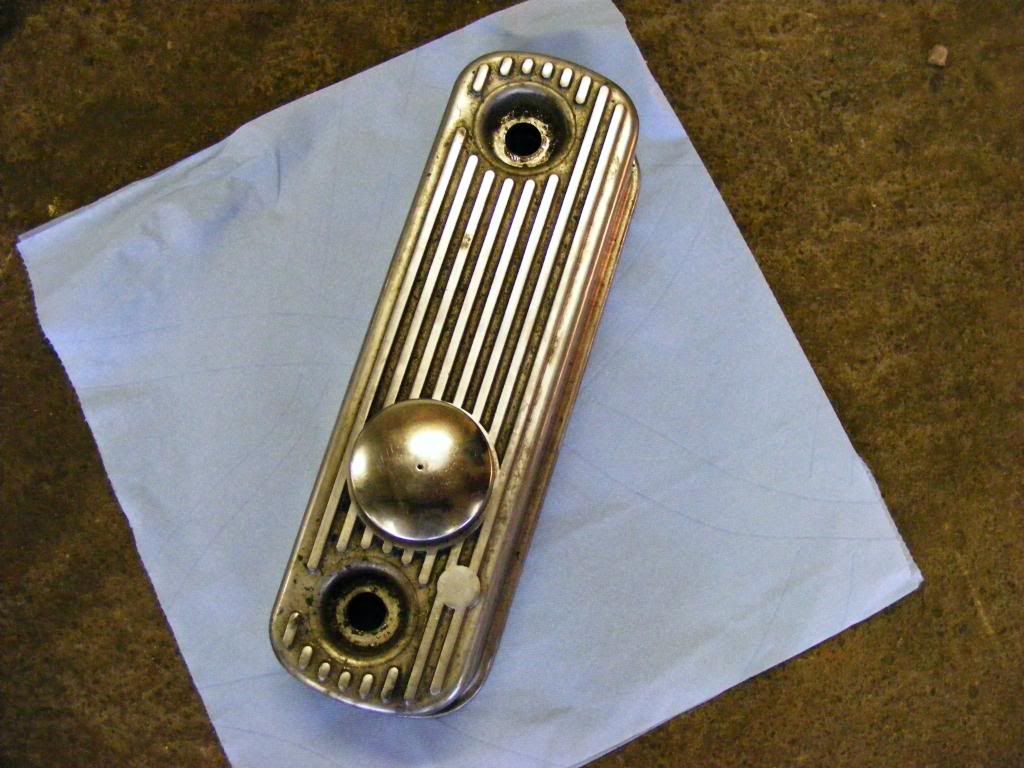
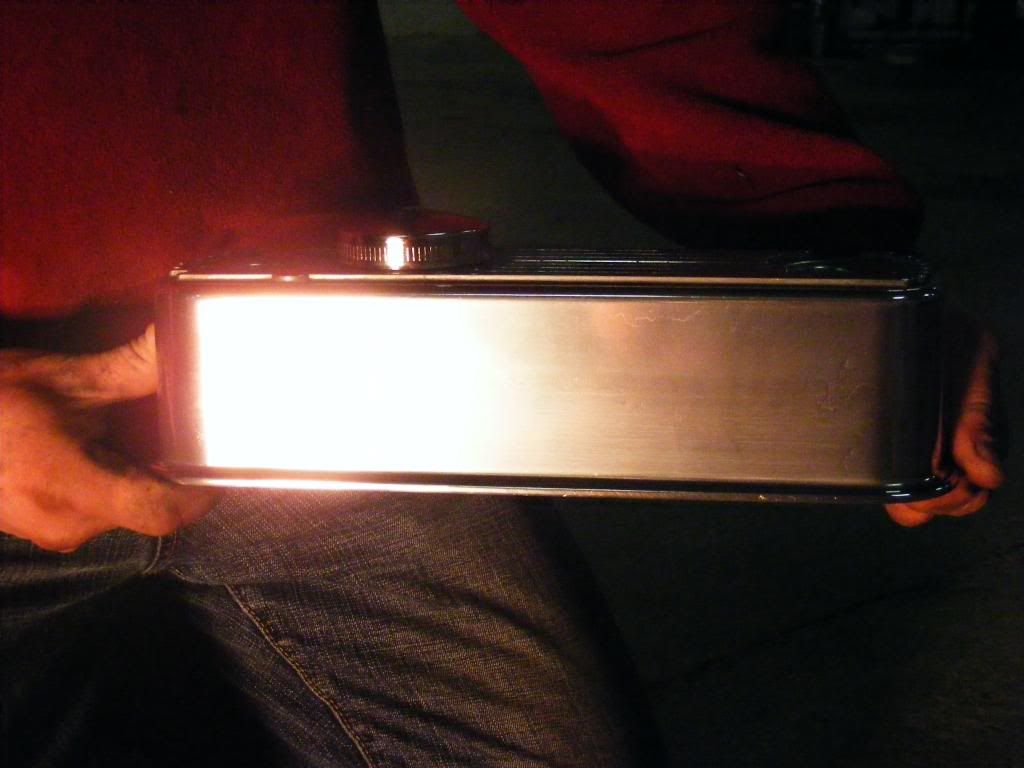
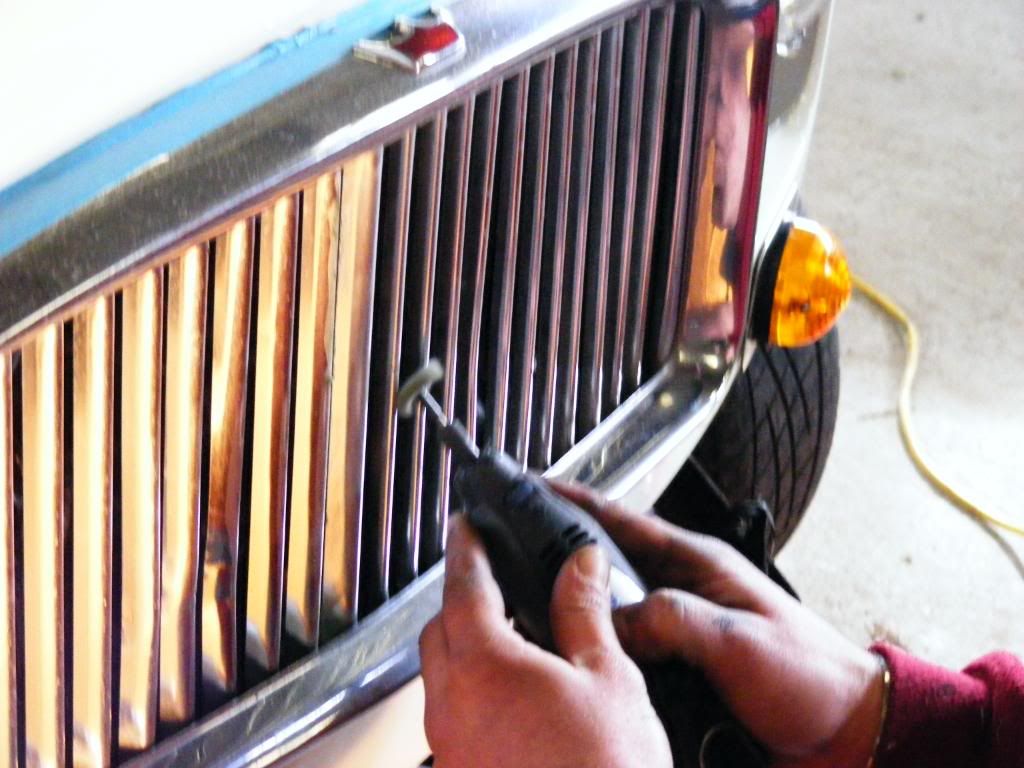
I set about the brightwork, kicking off in the engine bay with the rocker cover...
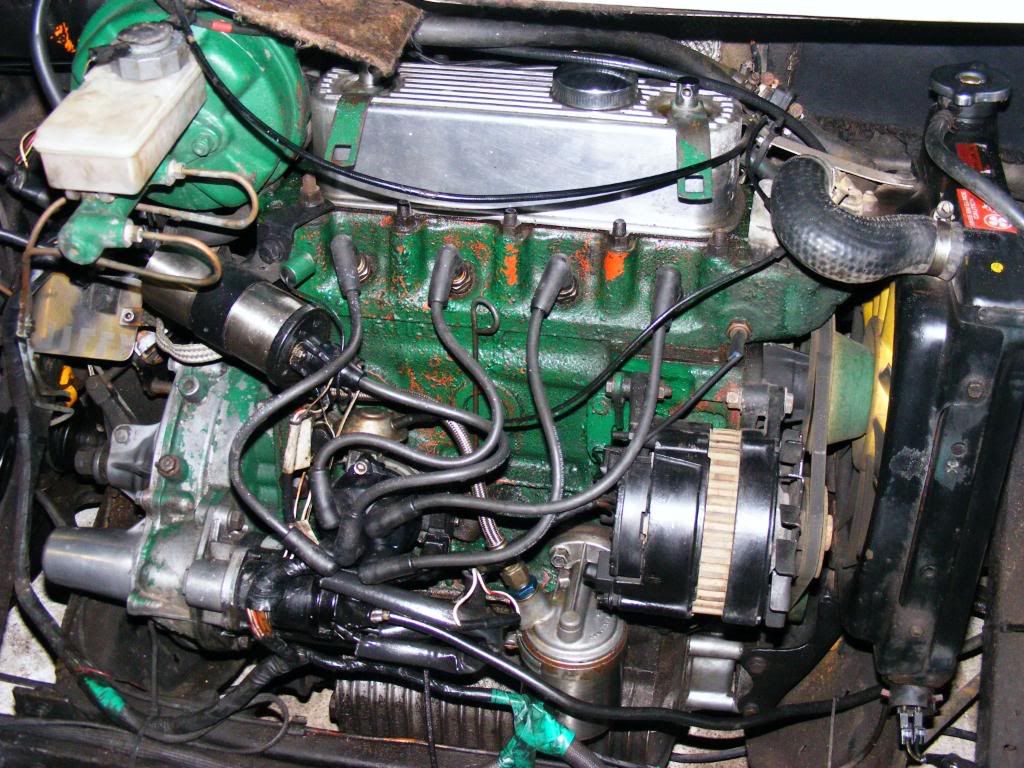
No access in here, so off it came:

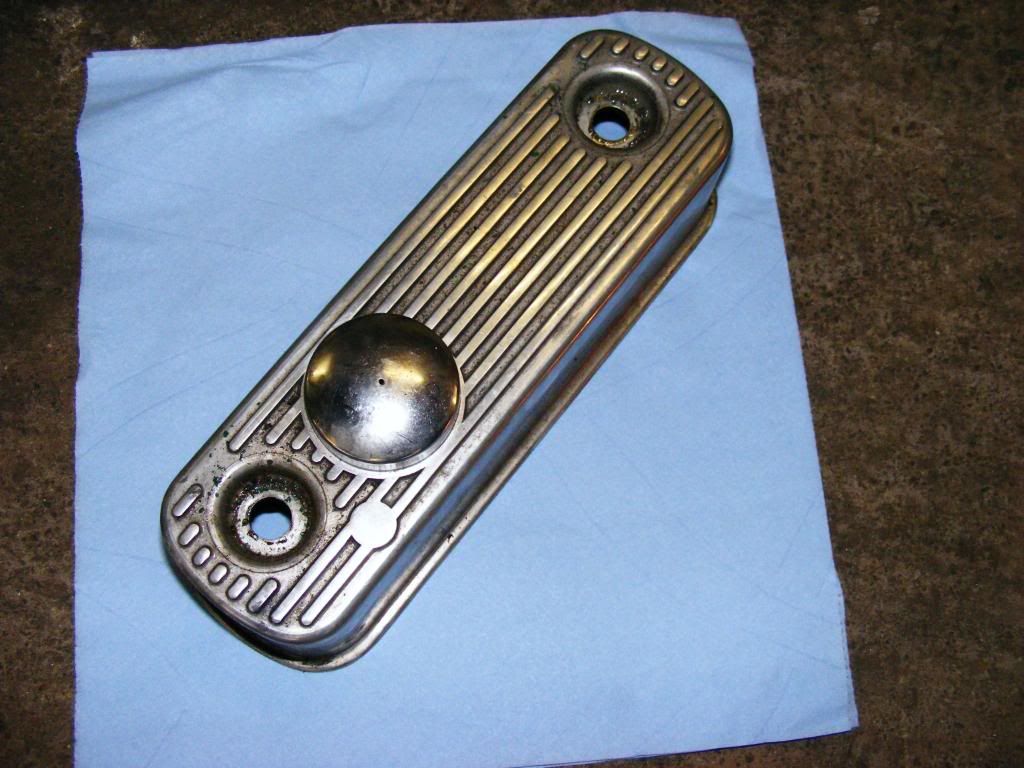
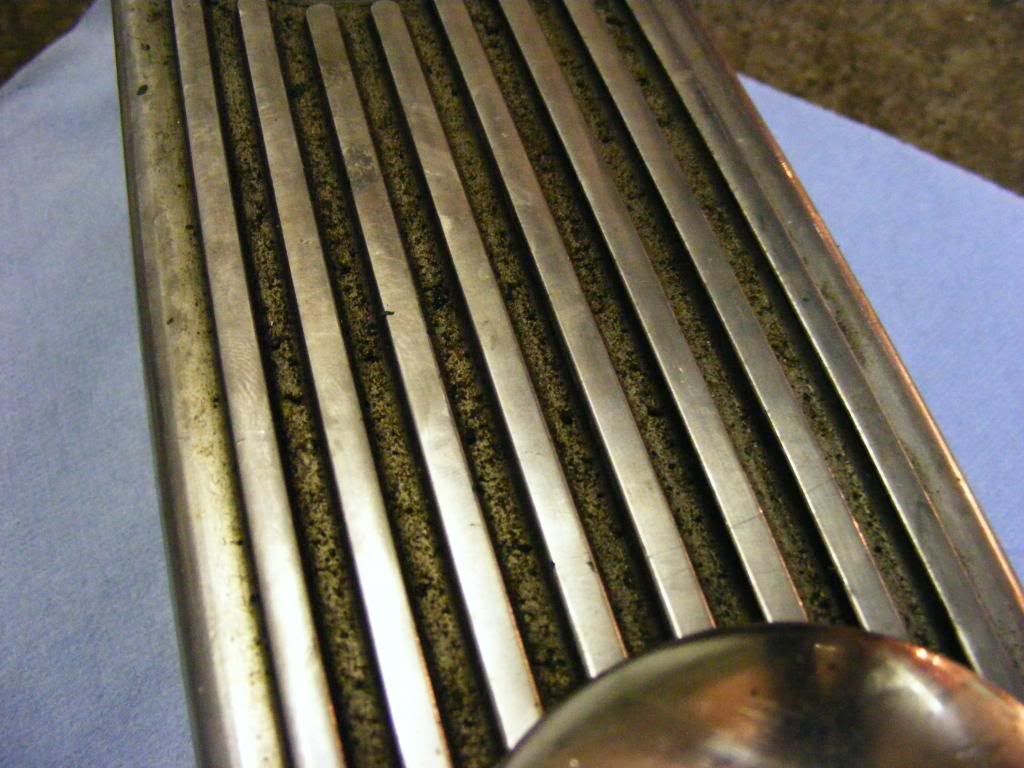
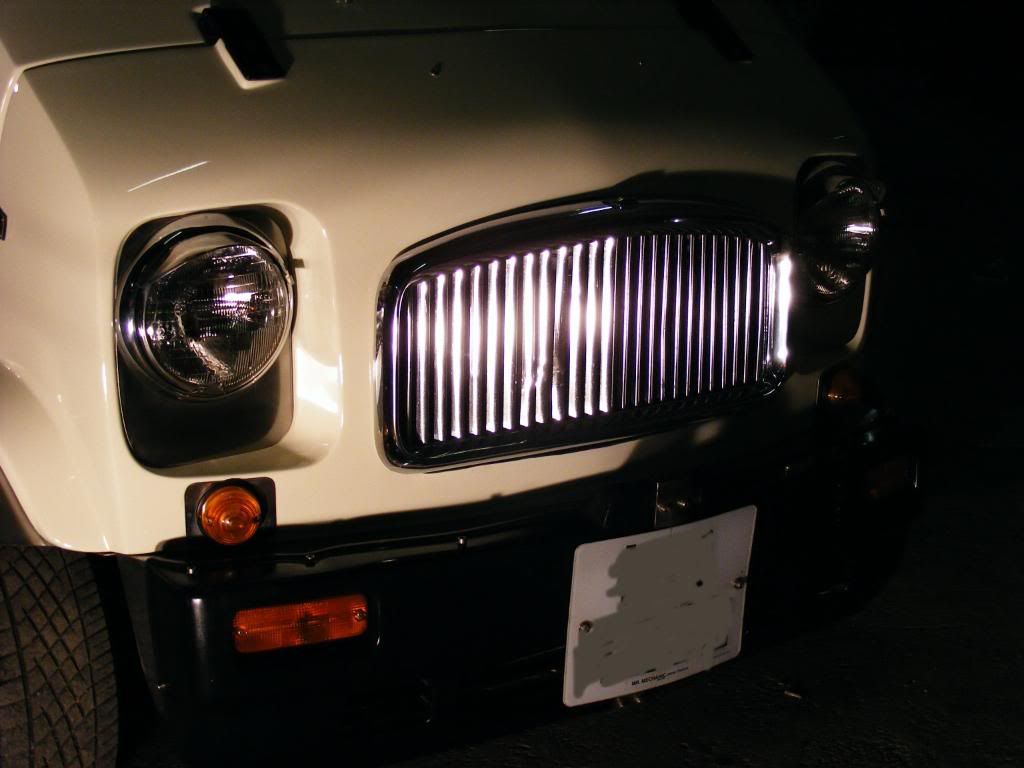
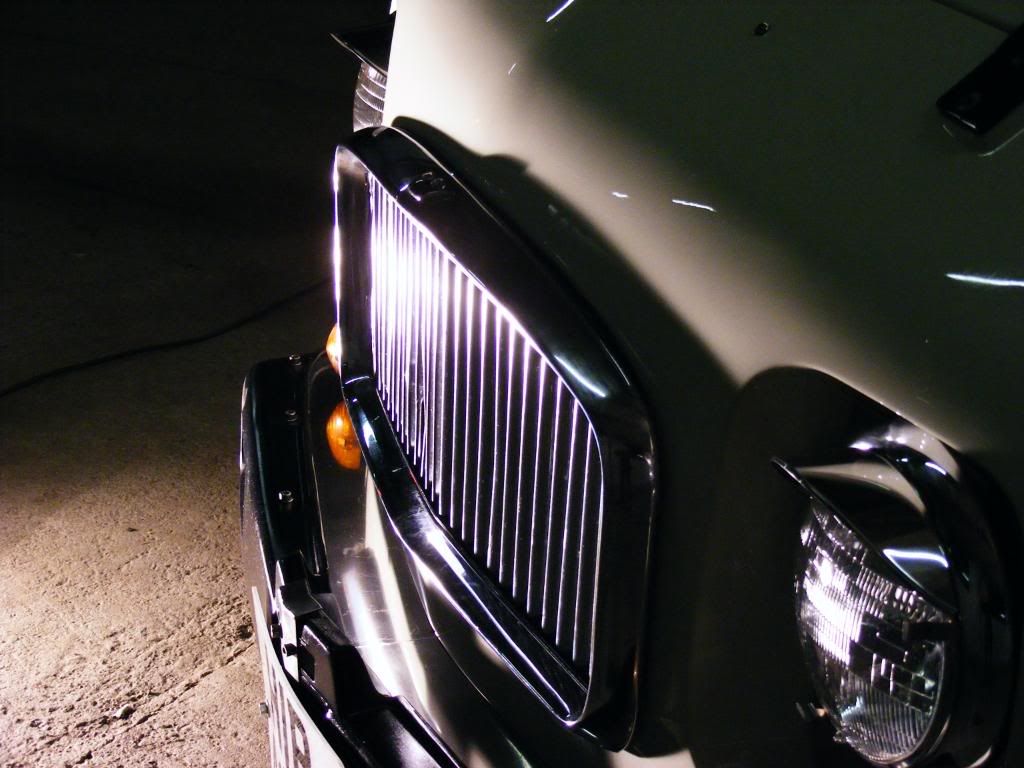
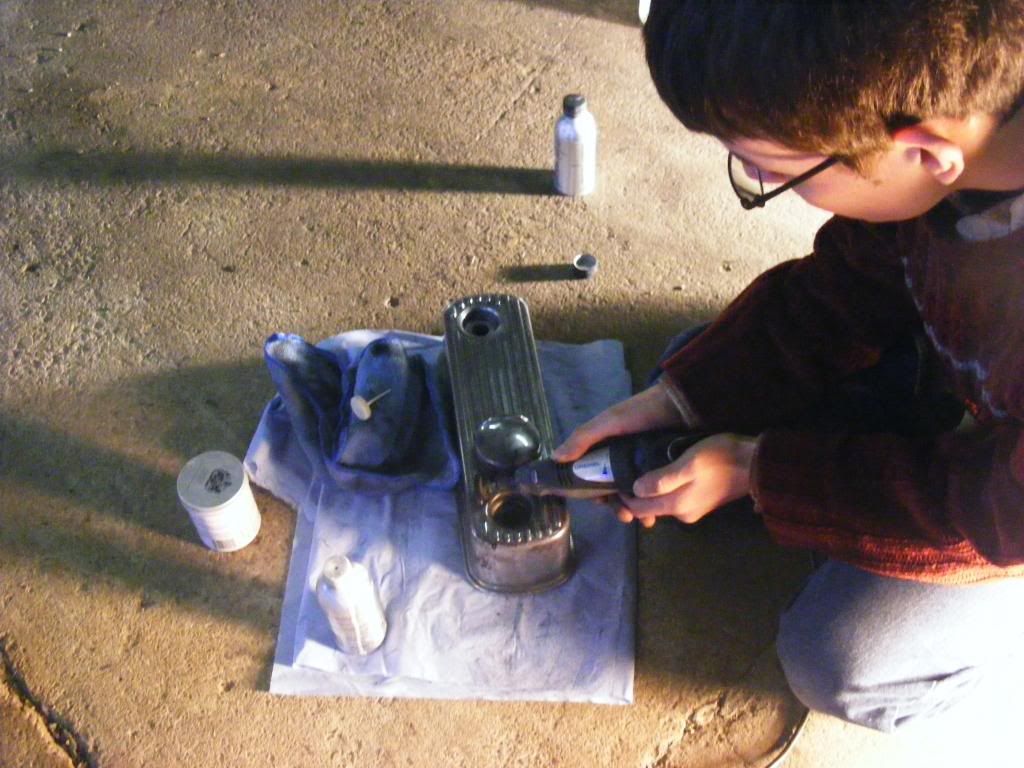
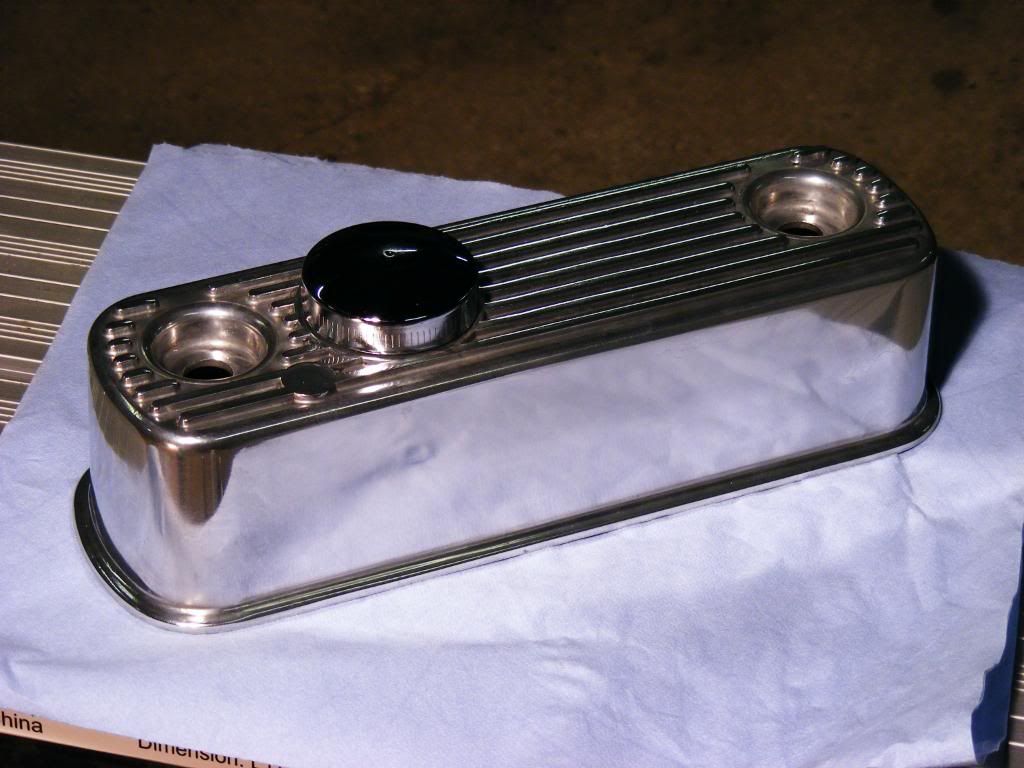
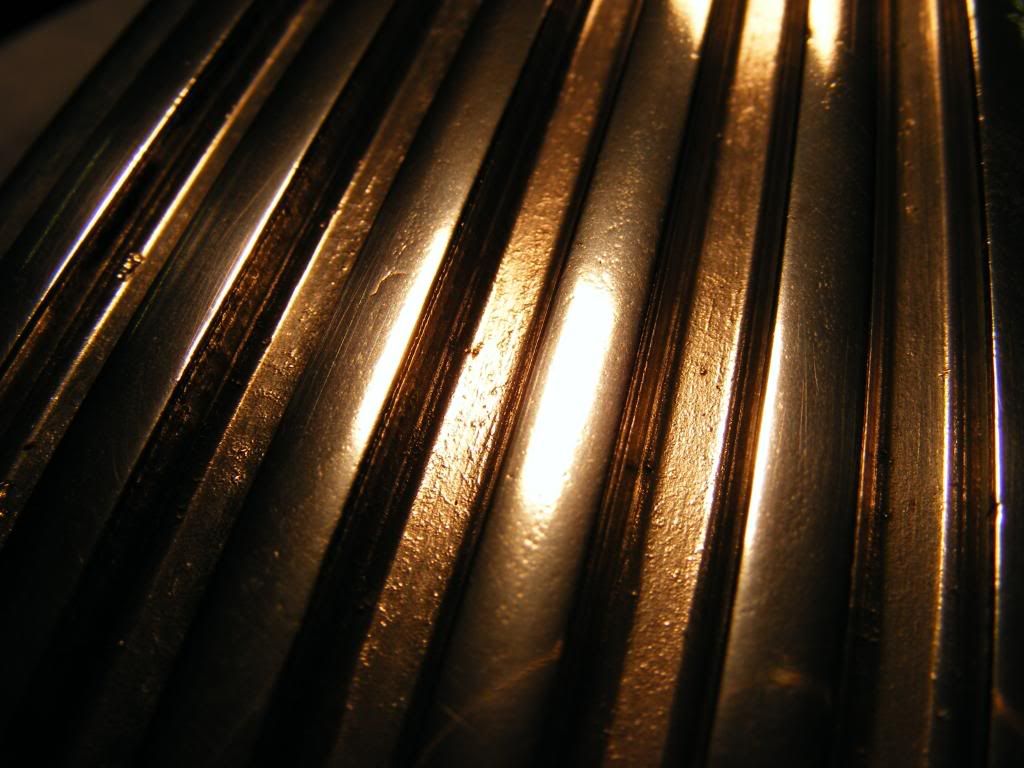
Reminscent of the Rolls Siver Ghost of a couple of years ago, it was time to get out the Briliant polishes again! Briliant #1 Metal Restorer was used to remove pitting and restore the finish, and the lustre was then restored using Briliant #2 Alu and Stainless polish.... flat sides were easy and polishes by PC7424. The barred top was done carefully, using a Dremel to get into the slots...
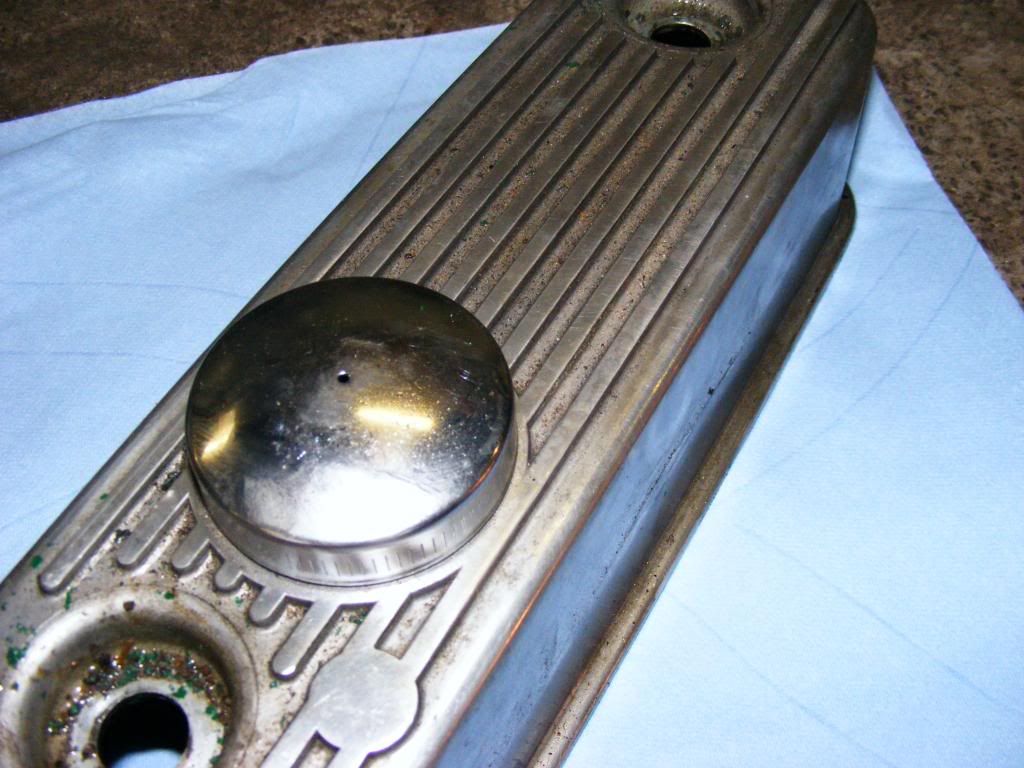
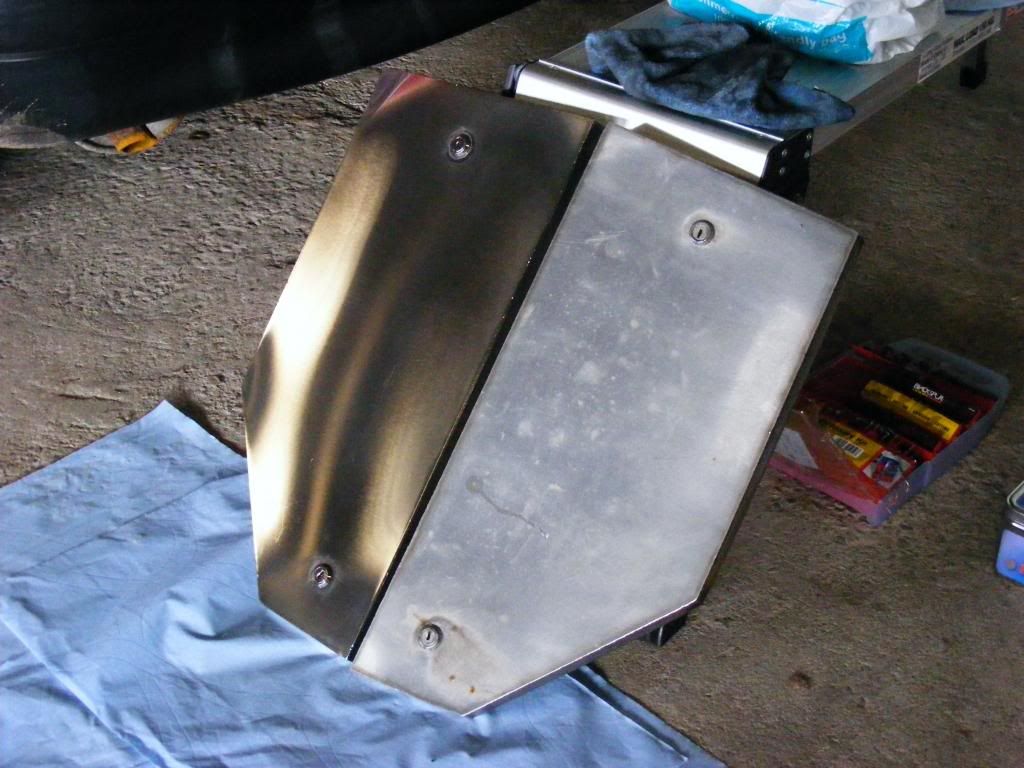
The side before:
and after:
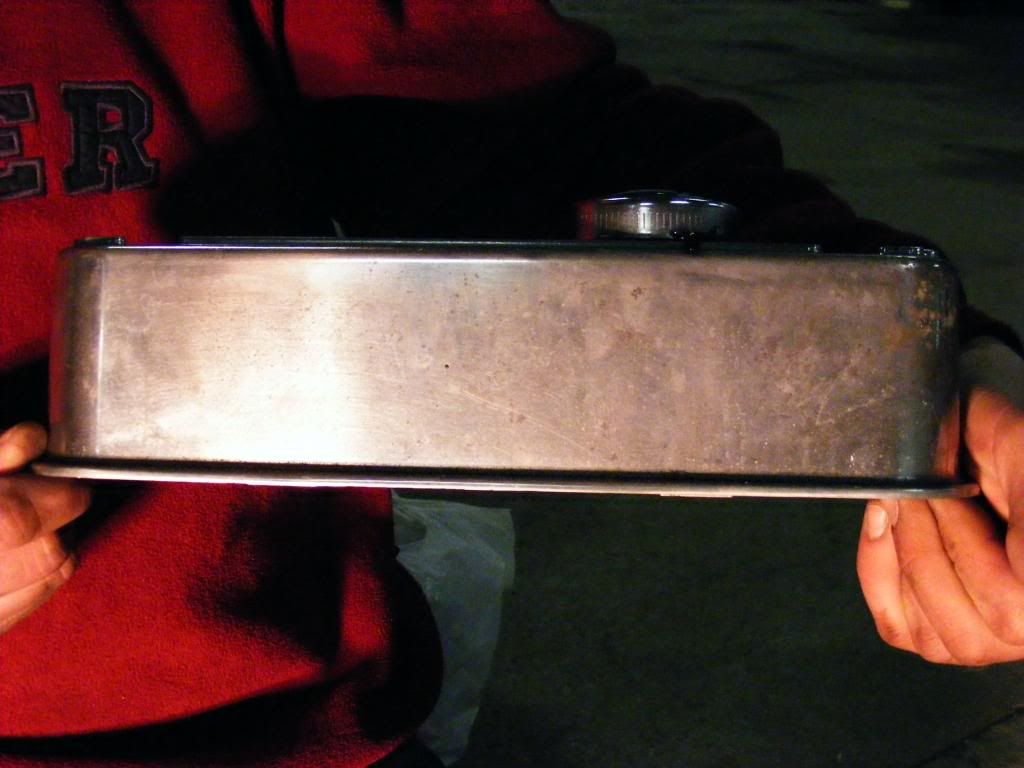
The finished article, protected with Renaissance Wax:


A labour of love for its owner, three years long and counting, Stevie has rebuilt it from nothing but a shell. The cab is a 1979 Mini pickup, running a rebuilt 1275cc BMC A-Series+ Engine (Mini Cooper), single SU carb (as opposed to the twin SUs the Cooper ran) and fully ported and polished head. Stevie did the rebuild himself... The back is from a 1987 Honda Acty. Join the two together and you have this completely unique creation - it may not be to everyone's tastes, but you can never deny the amount of work that has gone into the van - all the stainless is home made by the owner, the bumpers are home made, the engine is a home rebuild, the list goes on! I have a huge amount of respect for this project, and think the van is fantastic - which is why I was delighted to be able to help out with something I am good at, and do an assissted detail with Stevie in preparation for the show season.
This is part 1, of what will be many parts over the coming weeks (engine is being re-painted then the whole bay will be perfected, interior is being reupholstered.... and more! )
So here she is...
I had previously worked with the owner doing a full machine polish on the cab and back, so only a quick reminder of technique and product was required and Stevie was off polishing his van! Some swirls before, only light as was fully compounded a few months back:
Menzerna PO106FF Final Finish, Meguirs W8006 polishing pad was all that was needed to restore the luster back and remove the swirls:
This detail was more than just the paint though, this van is very intricate with a lot of parts not normally seen on an everyday road car that would require attention... Such as the scratches Plexiglass...
and the dull stainless steel brightwork to name but two:
I set about the brightwork, kicking off in the engine bay with the rocker cover...
No access in here, so off it came:
Reminscent of the Rolls Siver Ghost of a couple of years ago, it was time to get out the Briliant polishes again!
Briliant #1 Metal Restorer was used to remove pitting and restore the finish, and the lustre was then restored using Briliant #2 Alu and Stainless polish.... flat sides were easy and polishes by PC7424. The barred top was done carefully, using a Dremel to get into the slots...
The side before:
and after:
The finished article, protected with Renaissance Wax:

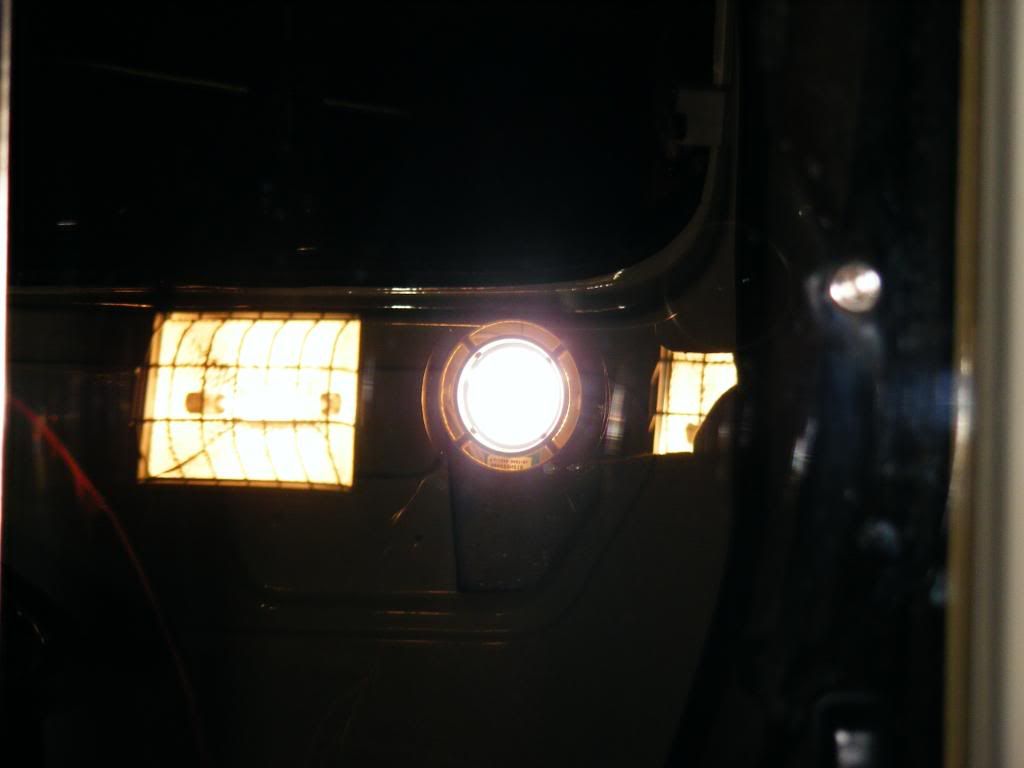
") are being replaced with HID ones and so the surrounds will be polished then once they are removed from the vehicle.
are being replaced with HID ones and so the surrounds will be polished then once they are removed from the vehicle.


") ) which added a subtle extra shine to the polished rims.
) which added a subtle extra shine to the polished rims.