Leadfootluke
New member
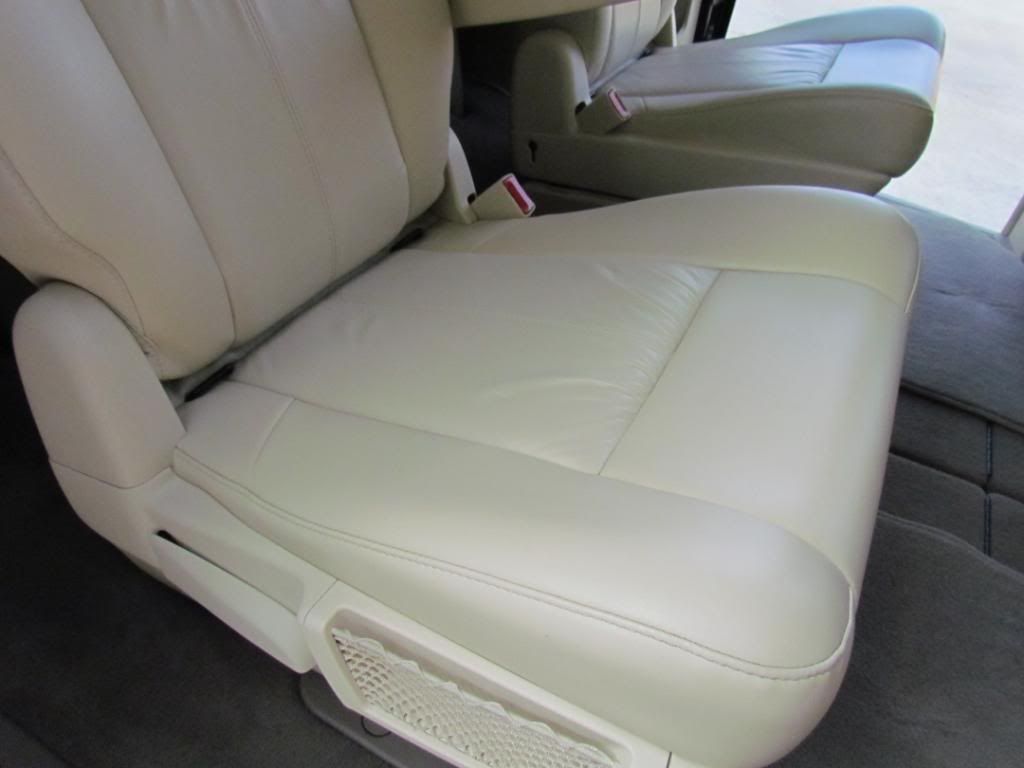
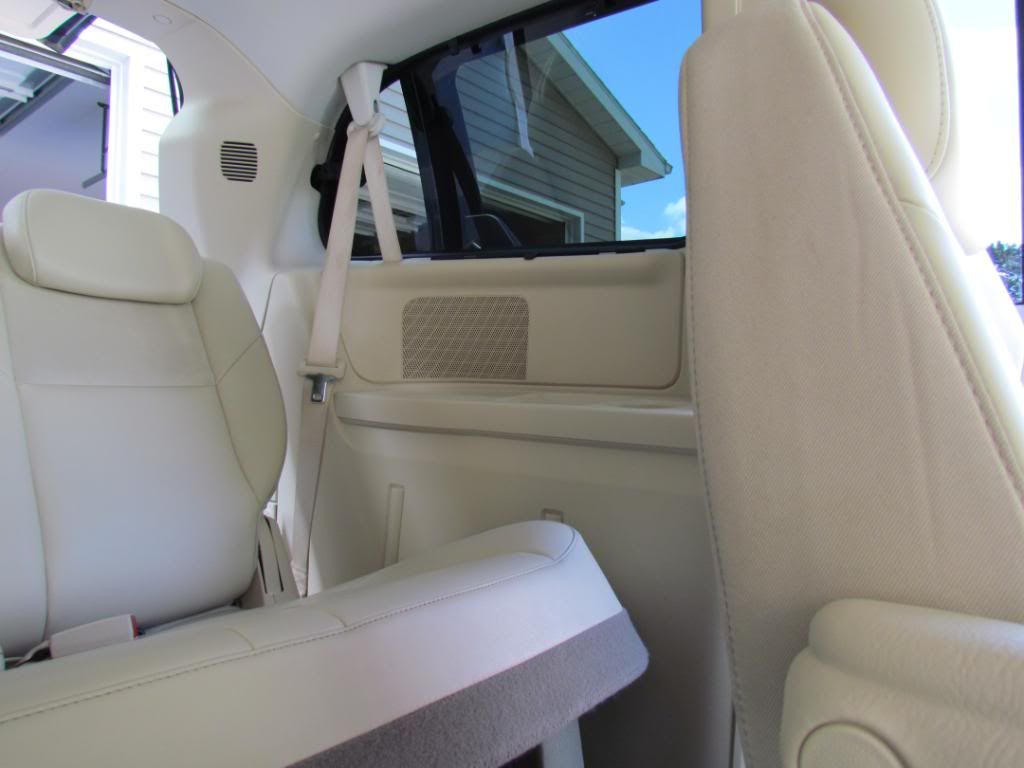
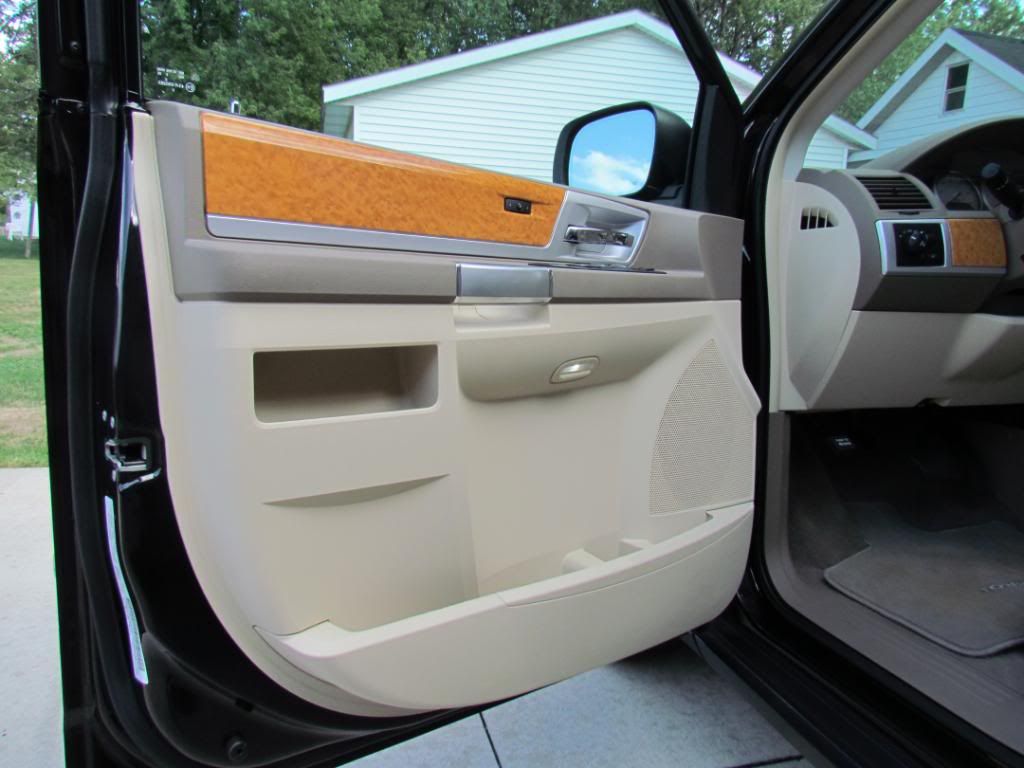
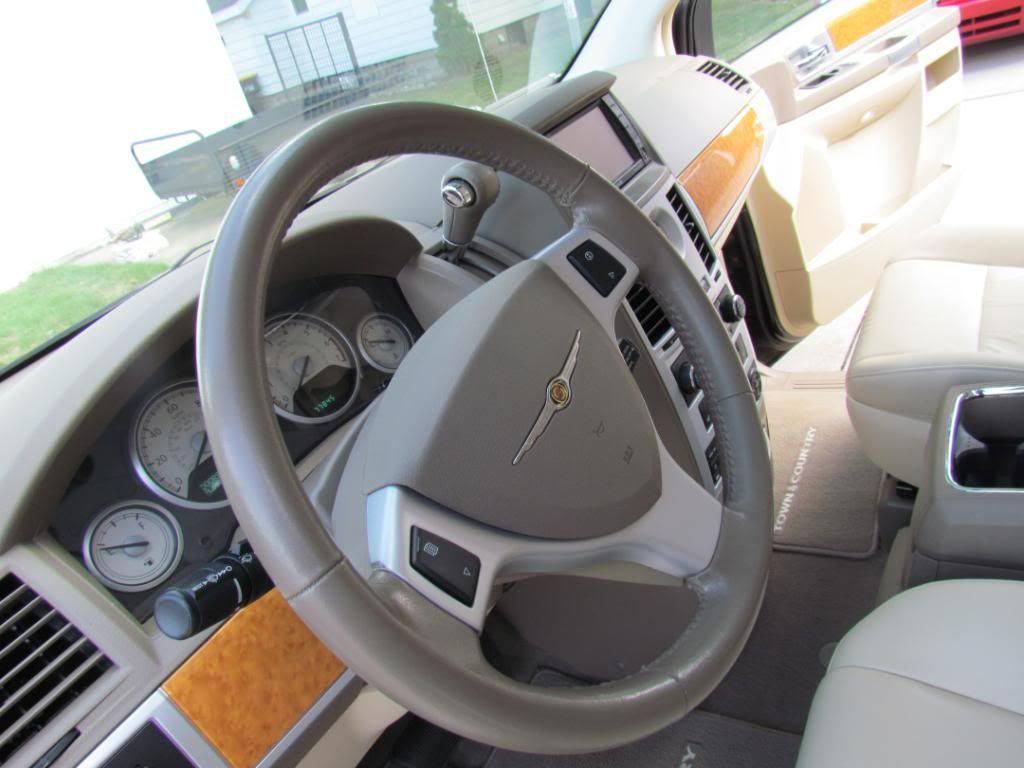
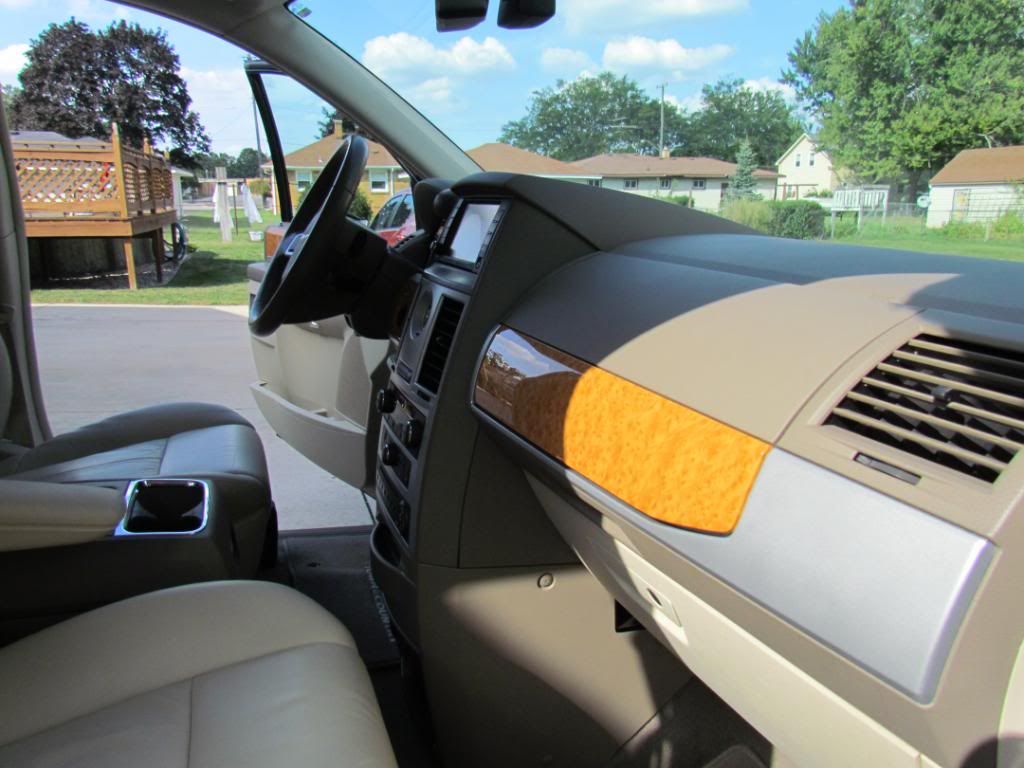
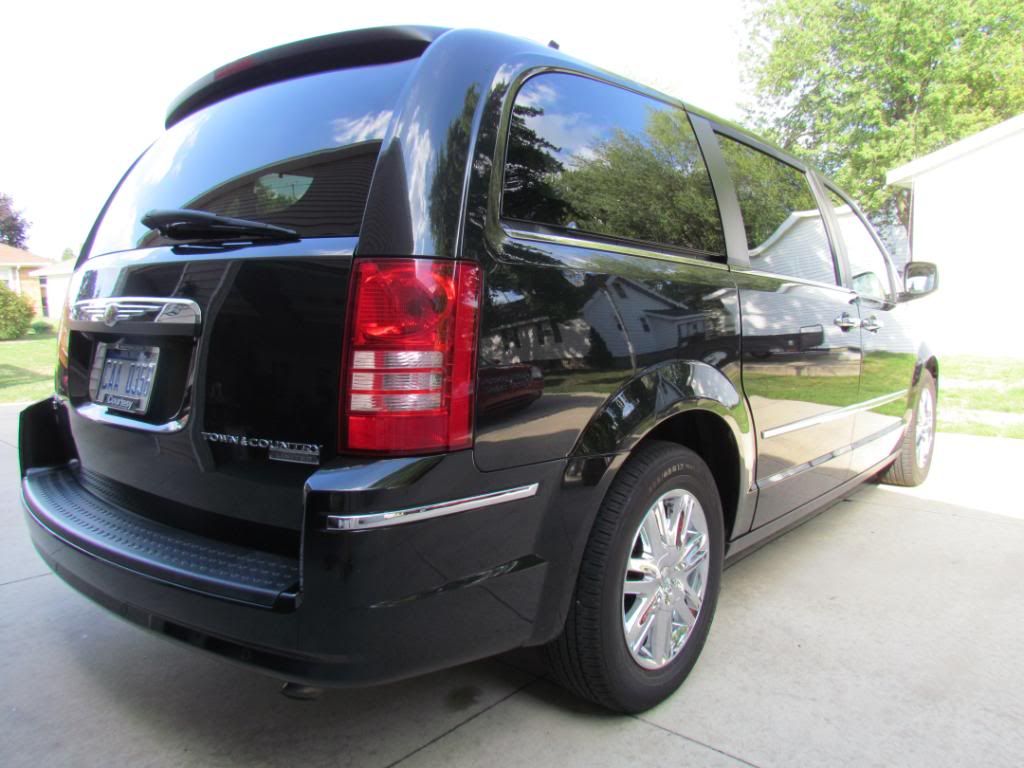
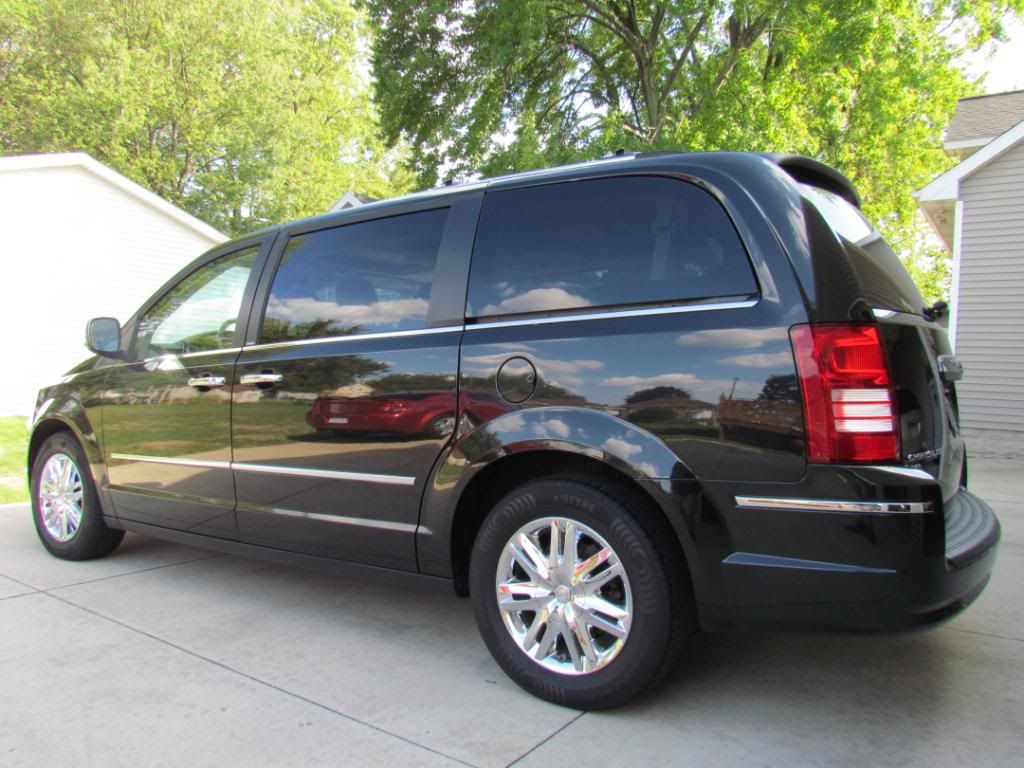
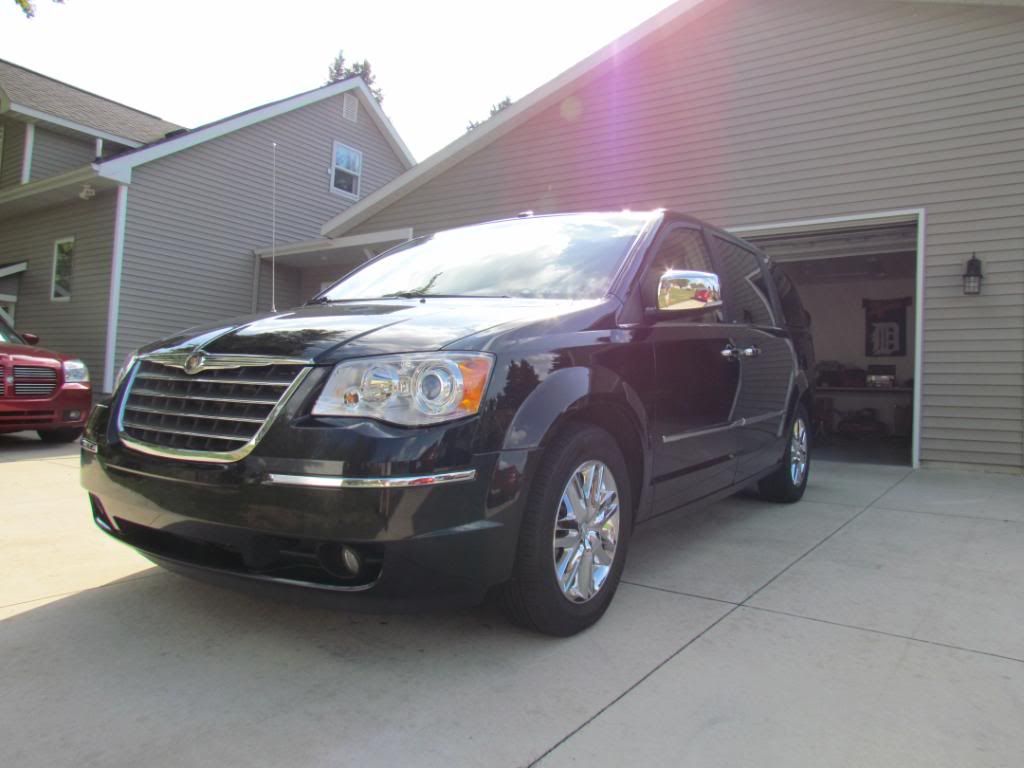
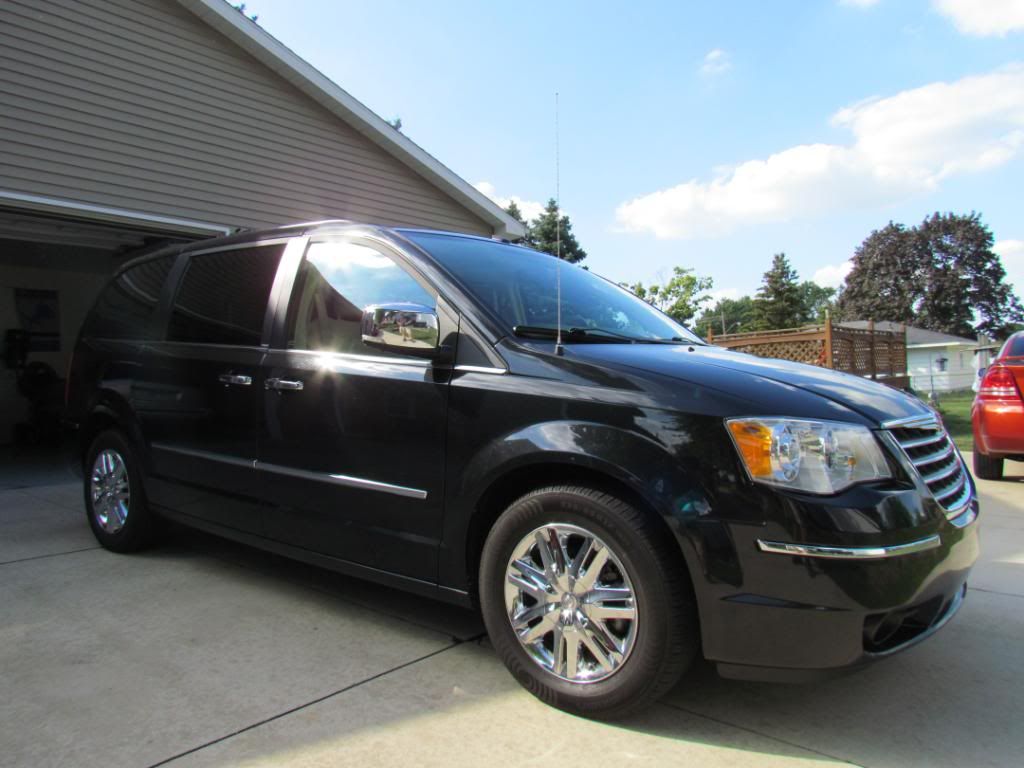
It seems weird using the work "restoration" when referring to a 2010 Chrysler Town and Country, but it was definitely in need of being restored to it's original condition. I was asked to clean the interior and spend as much time as I needed on it. I was thrilled as that meant I didn't have a specific budget or deadline to work with.
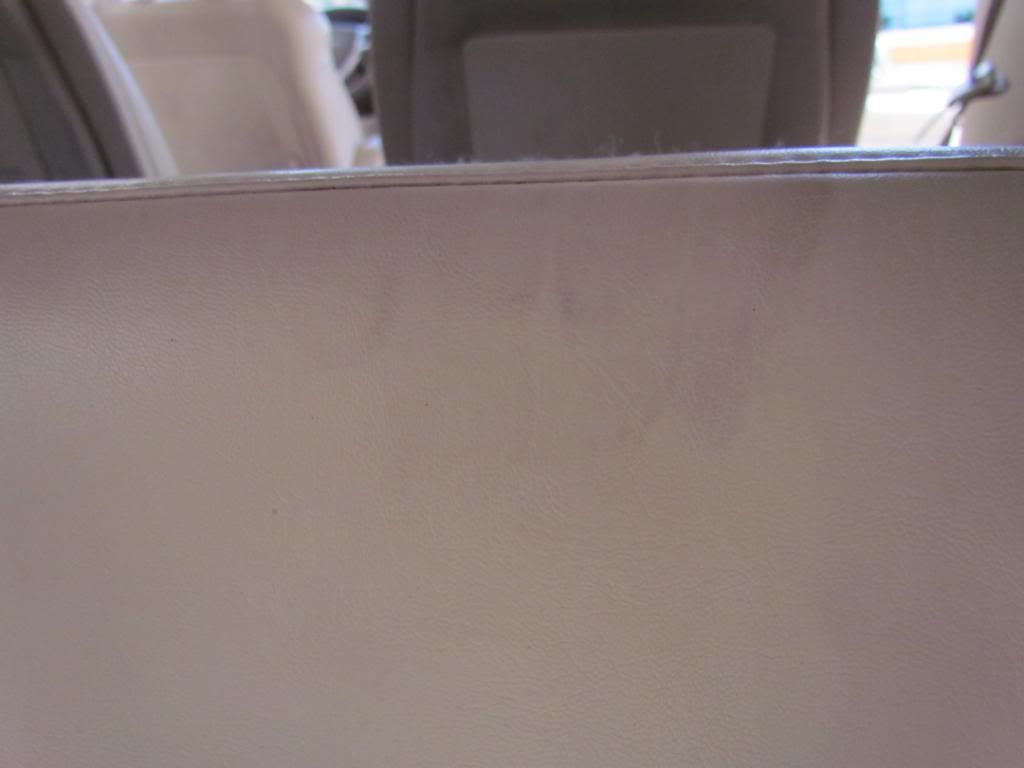
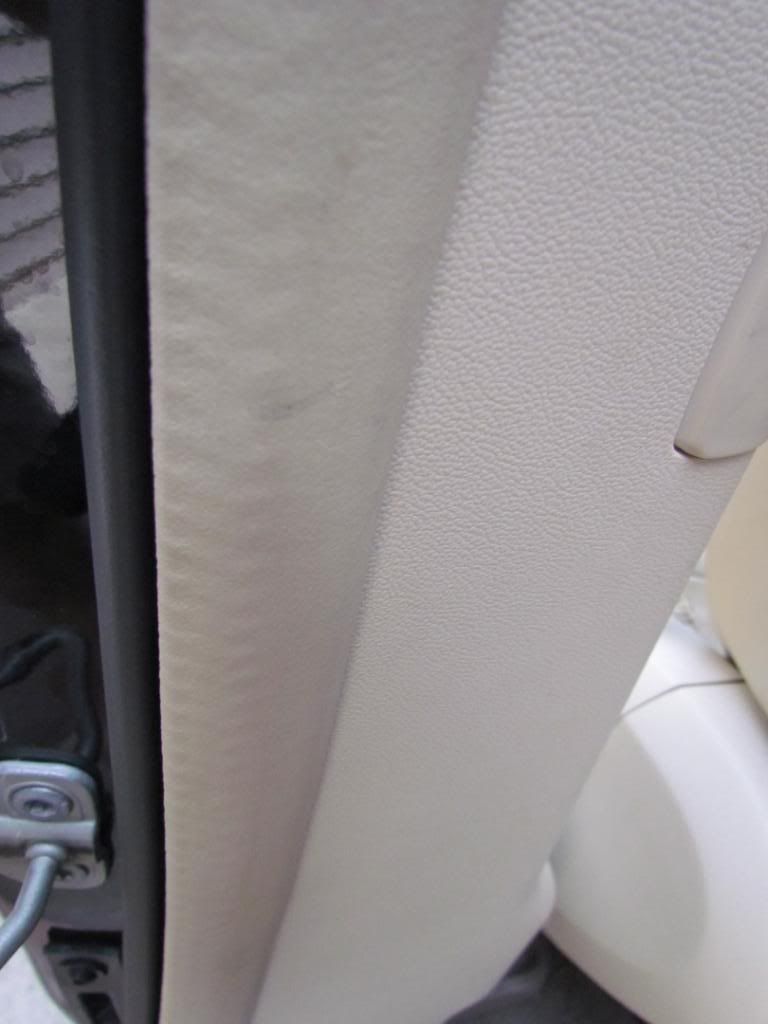
I knew the client had young kids and there was going to be a problem area or two but I just had to smile when I saw the inside of the van. This interior is what I would call a 20 footer, just like with paint jobs, this interior's issues were in the details and more visible the closer you got to the fabric and the more light you had.
A litany of before images.

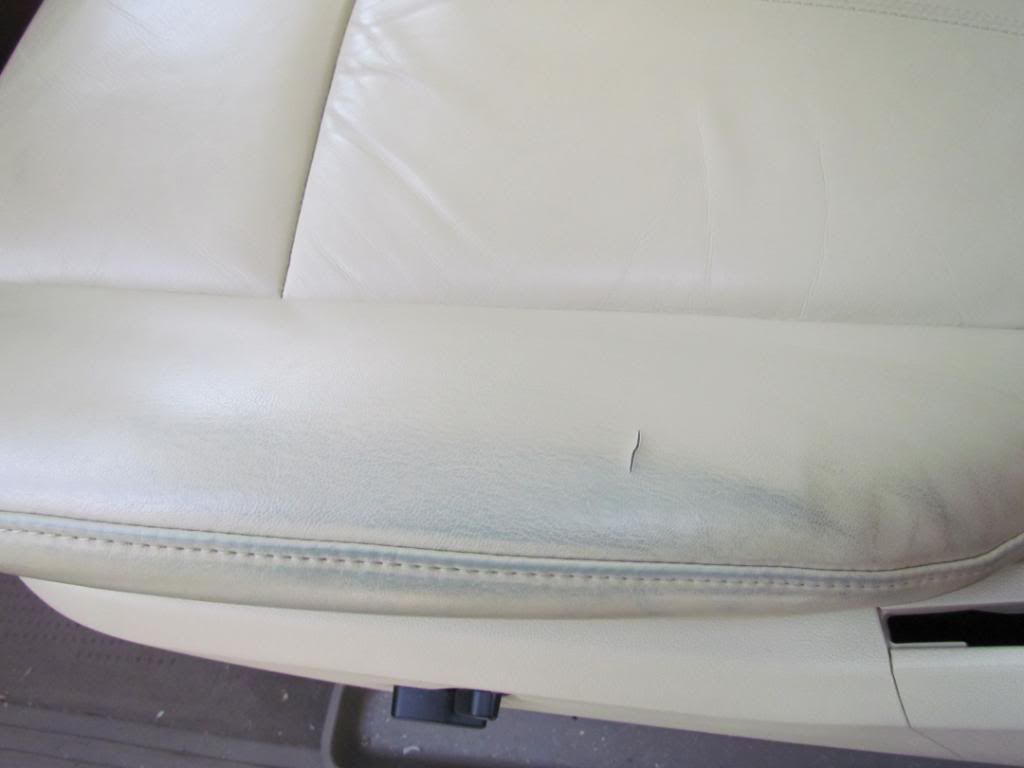
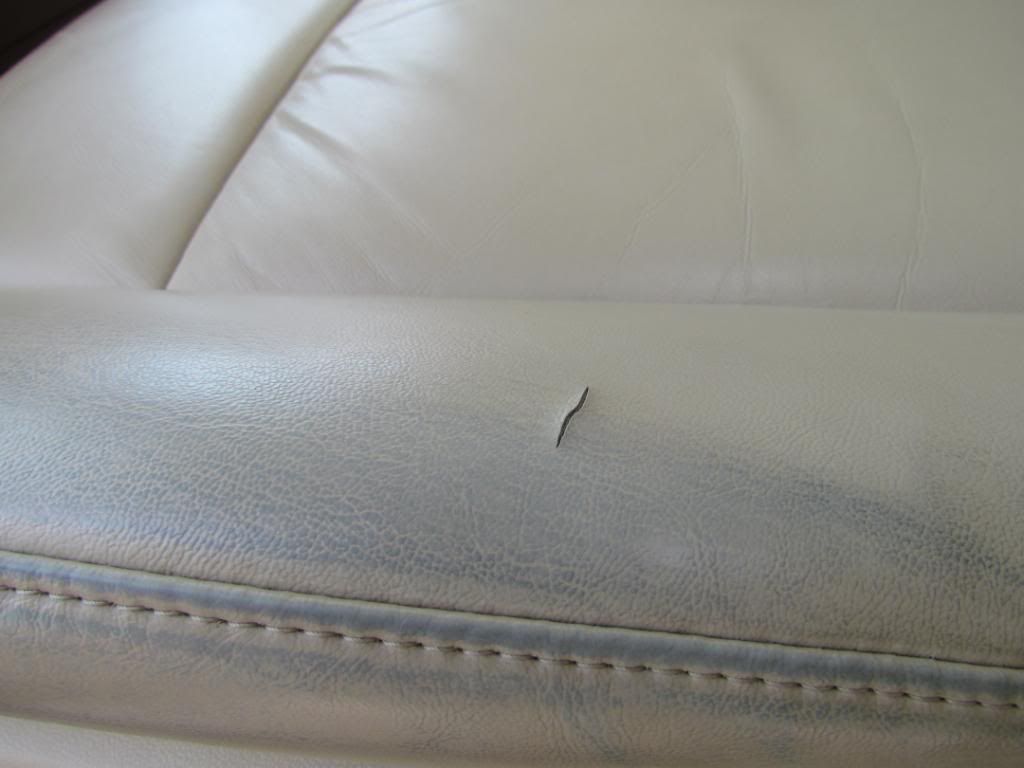
The first major issue. Not so much the tear but the denim transfer that was apparent over the left side of the seat and bolster.
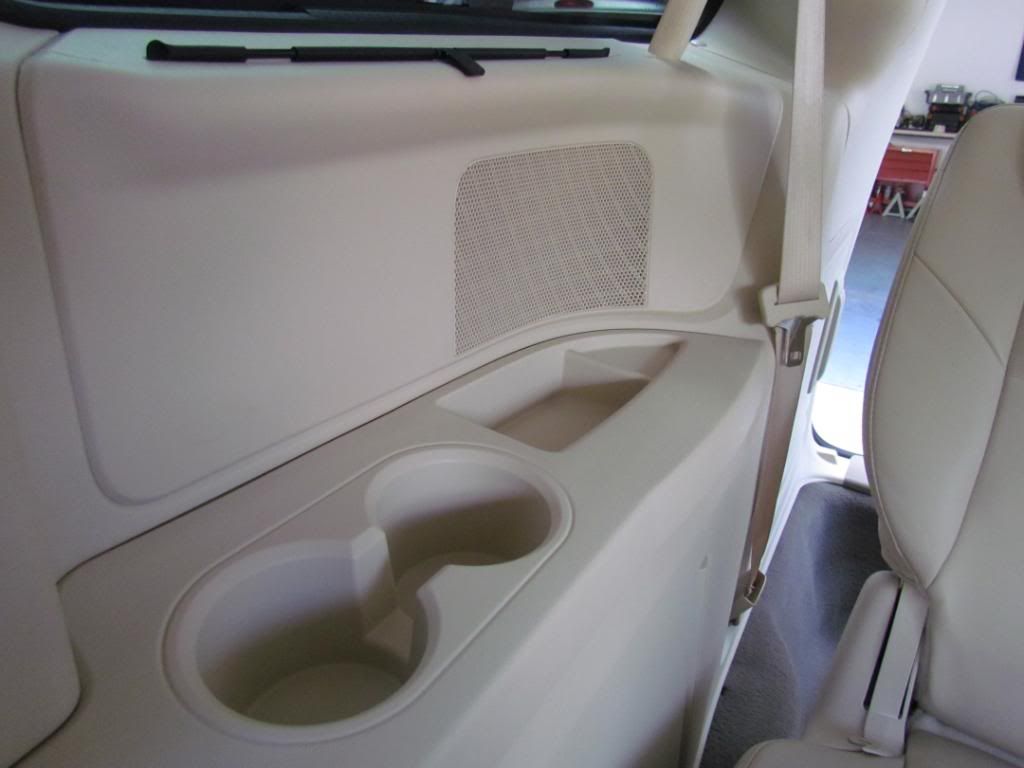
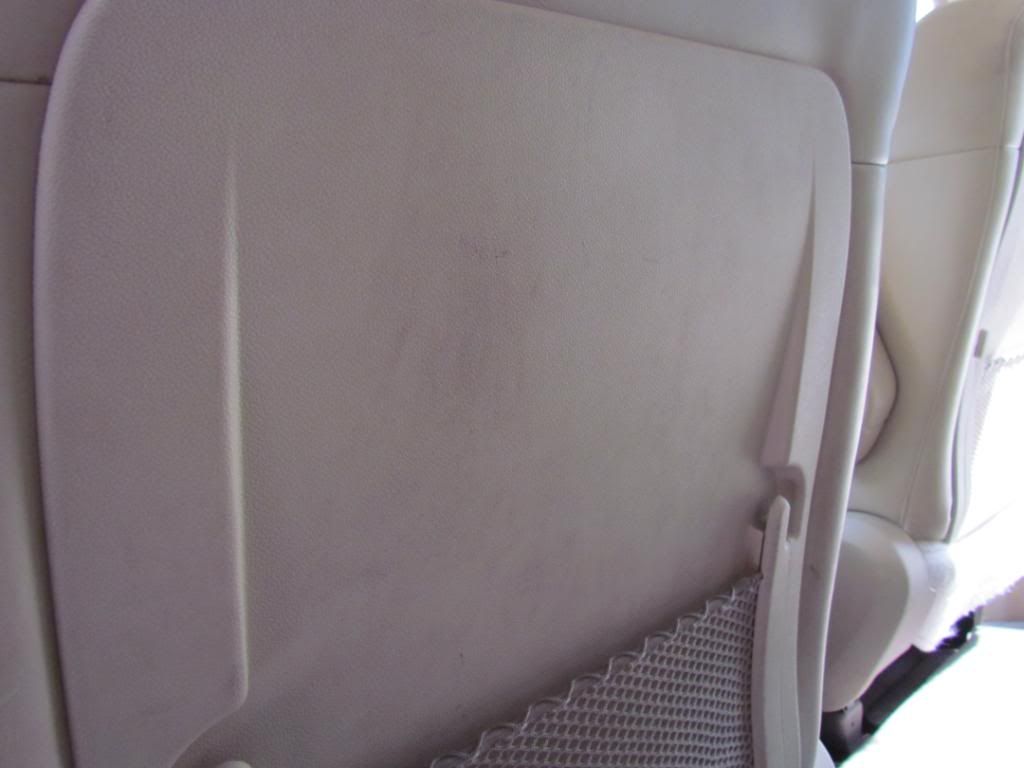
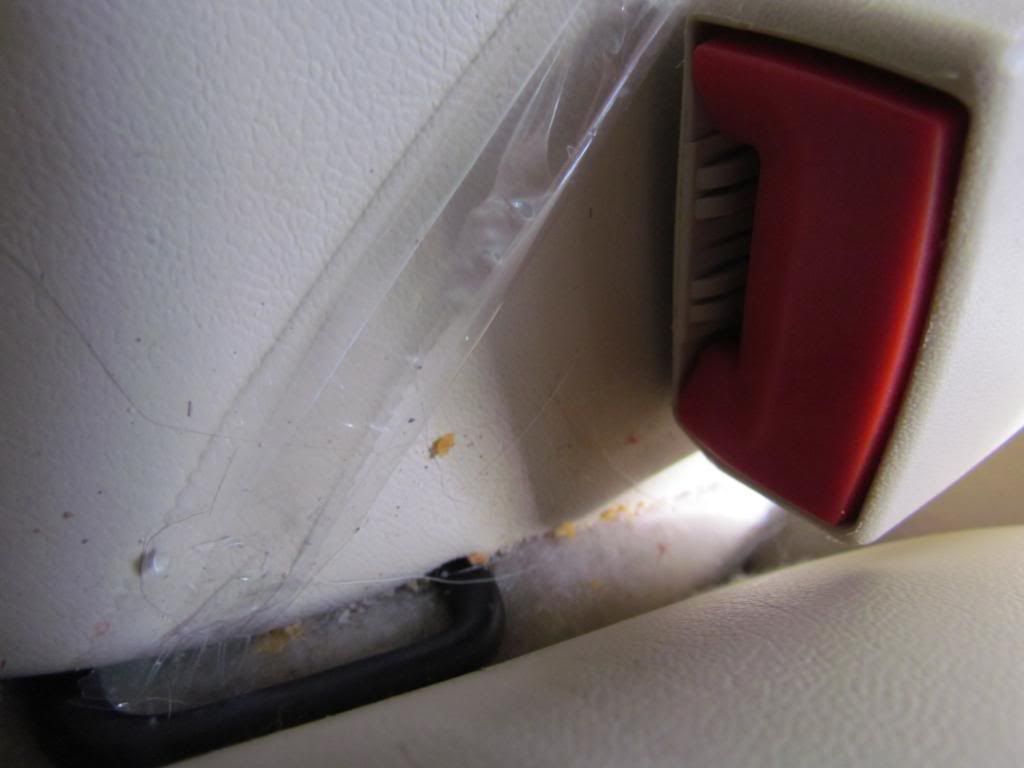
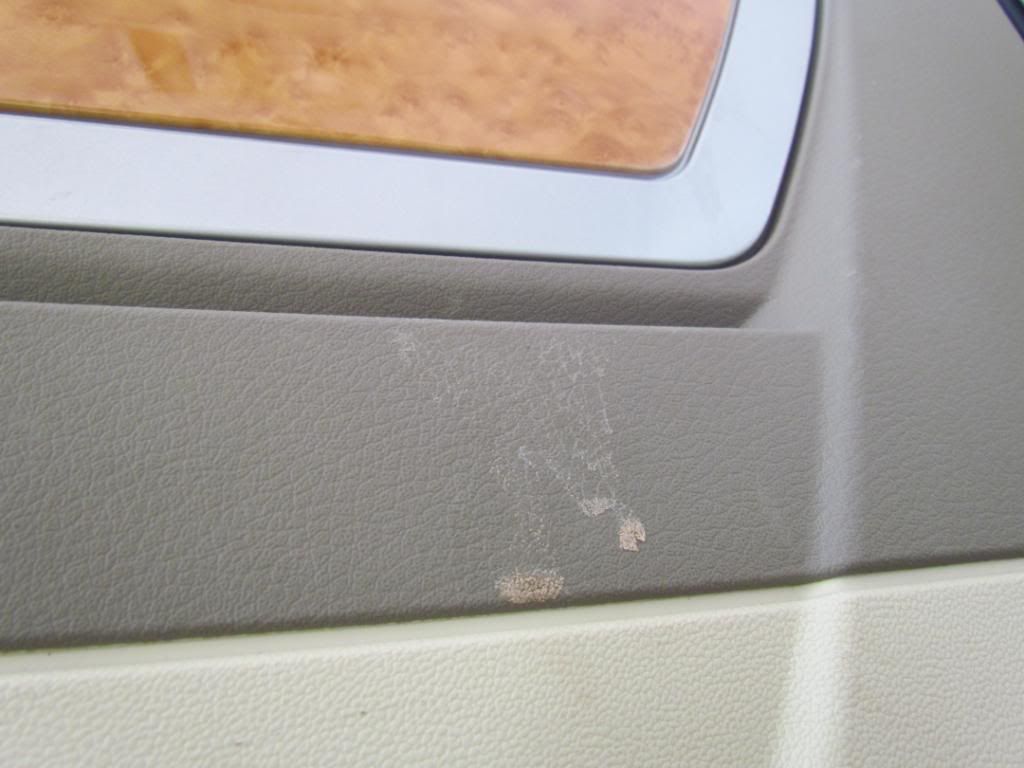
There was a large amount of staining on the seat backs. The plastic had scuffs and stains and the clothe portions of the seats were dirty and stained as well.
The family has a dog that rides in the van as well.
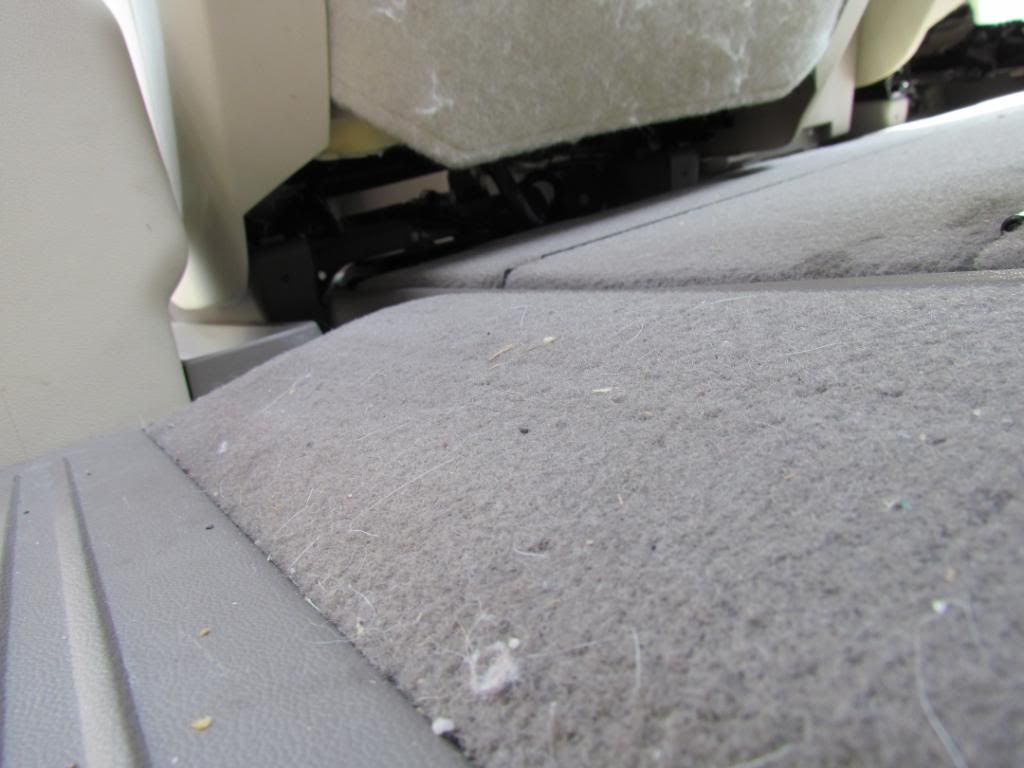
Spills!


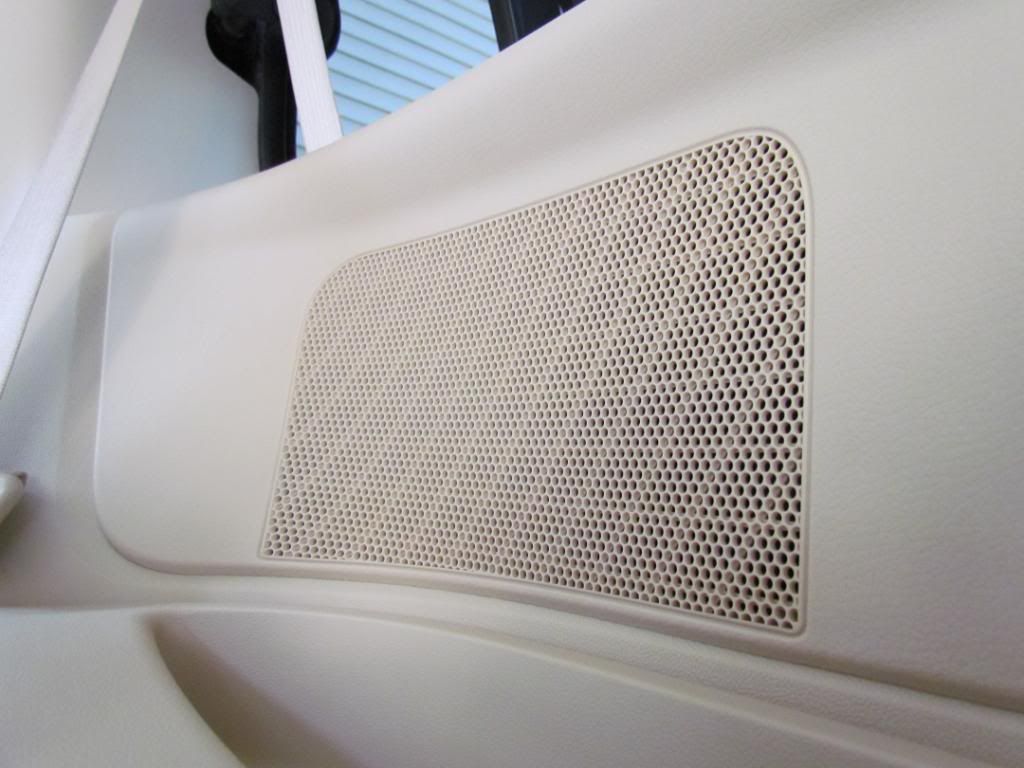
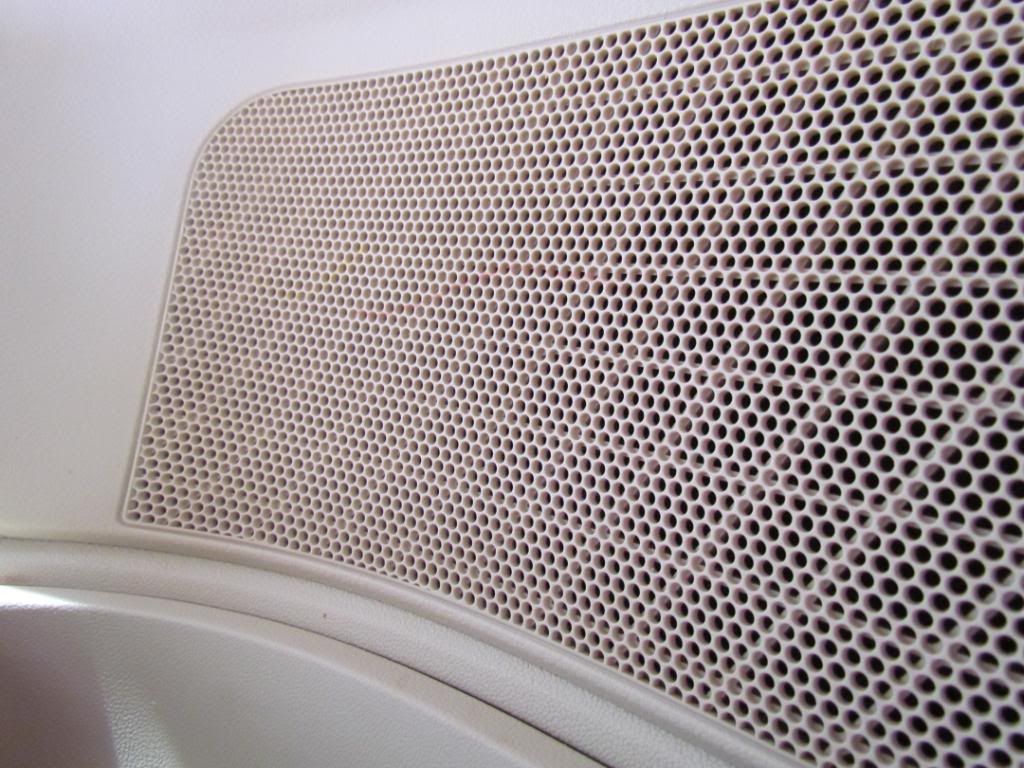
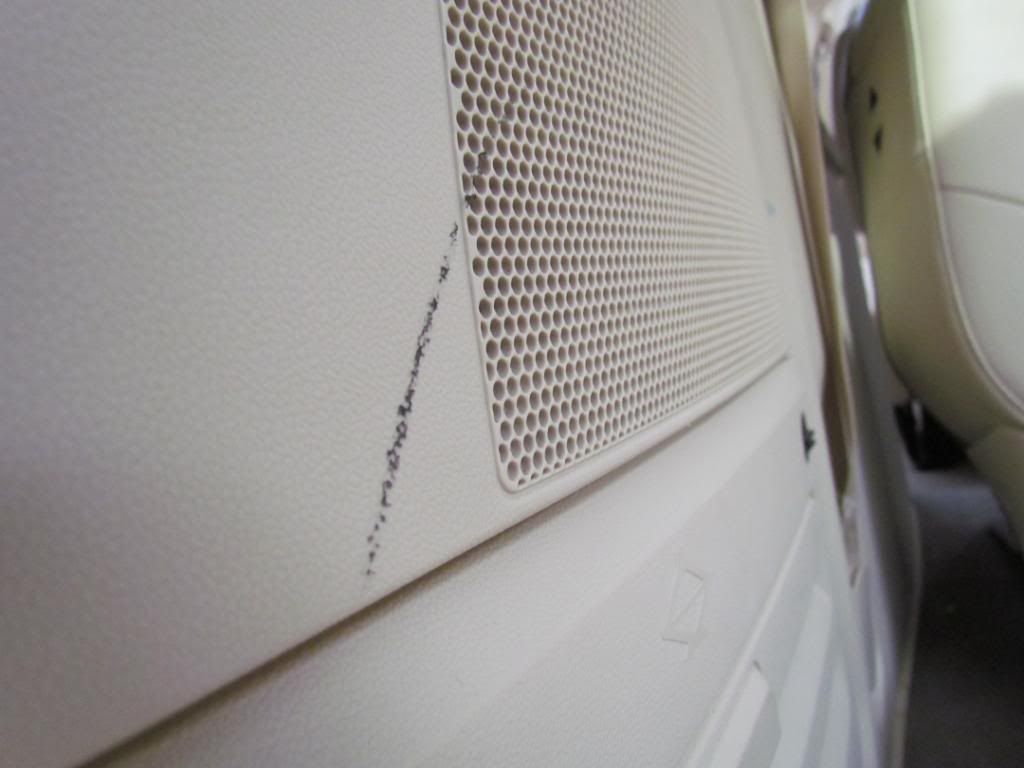
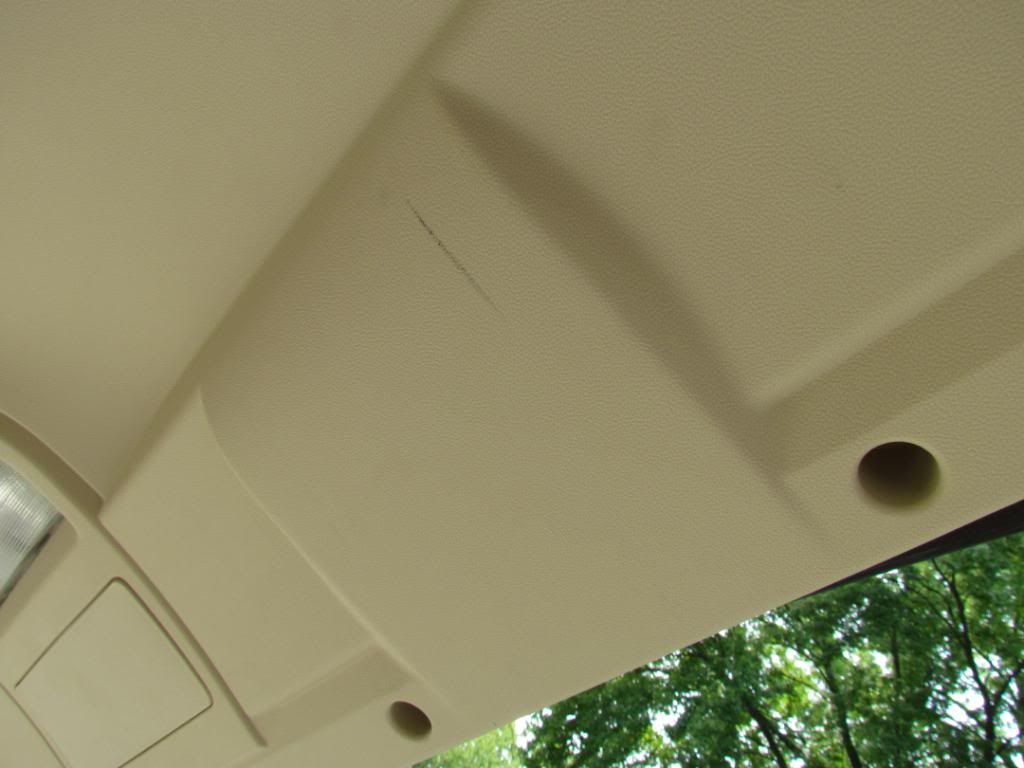
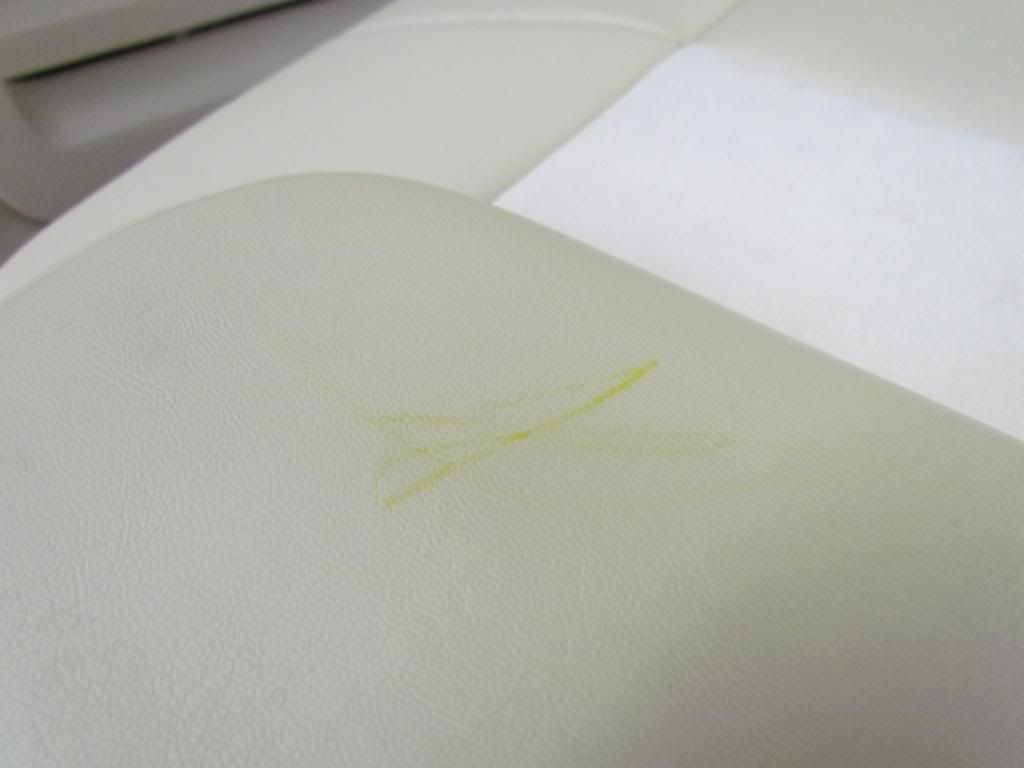
And there was a lot of crayon and marker on the plastic and the speaker grills.
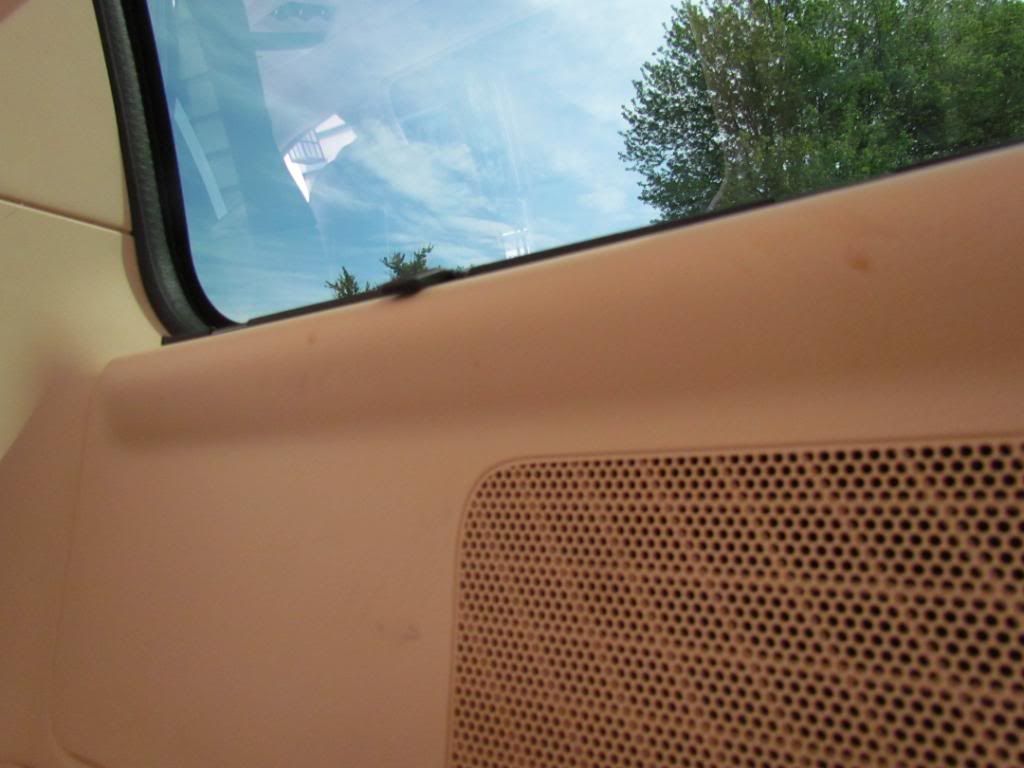
Stickers on the windows too

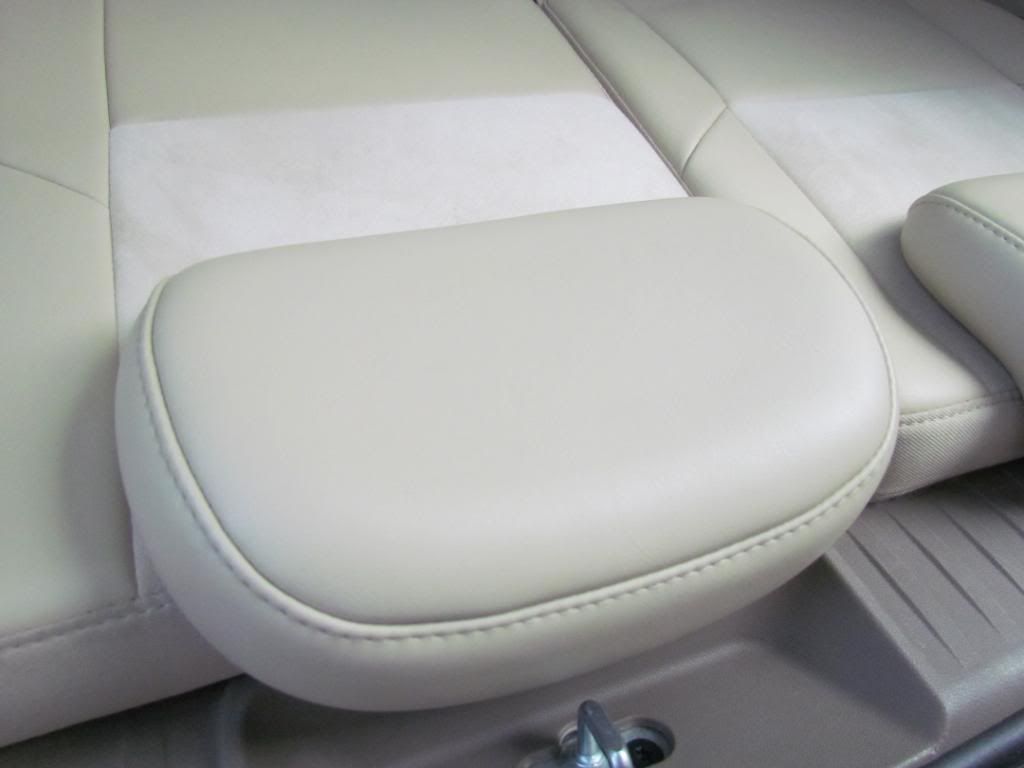
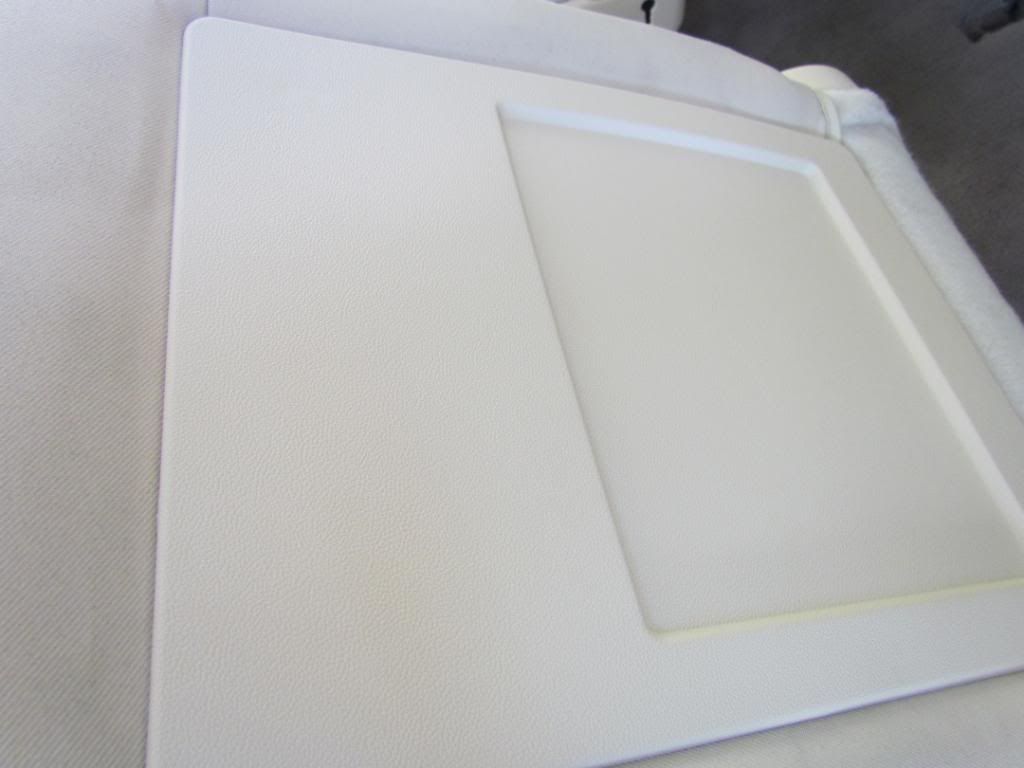
And then there was the leather.

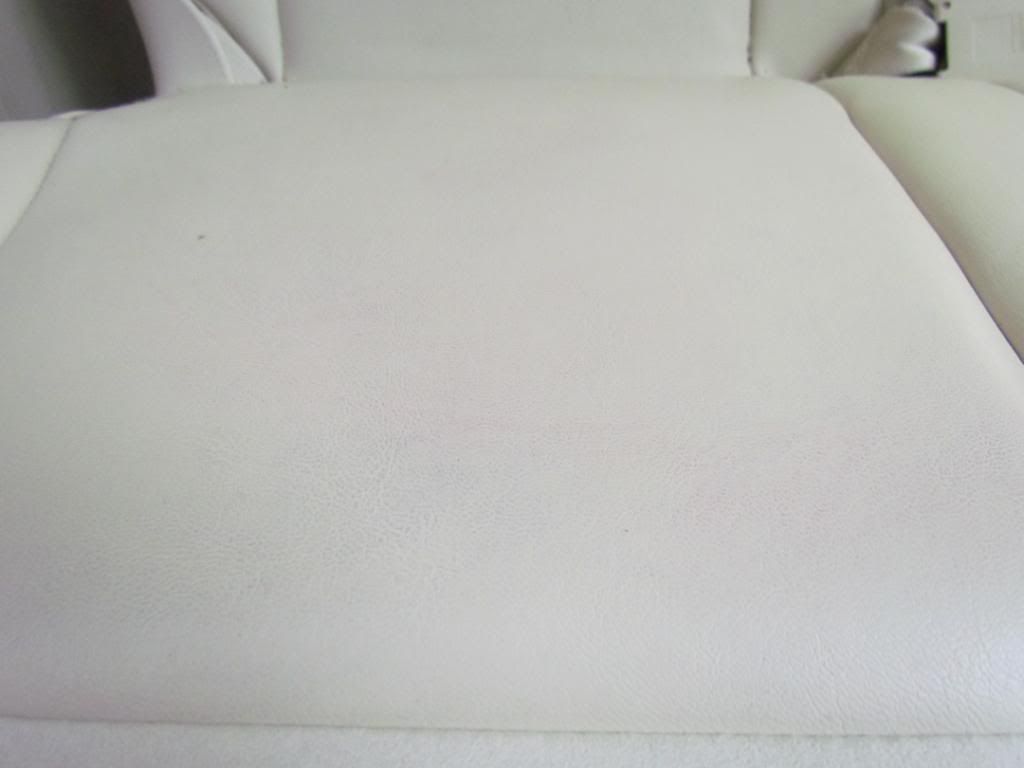
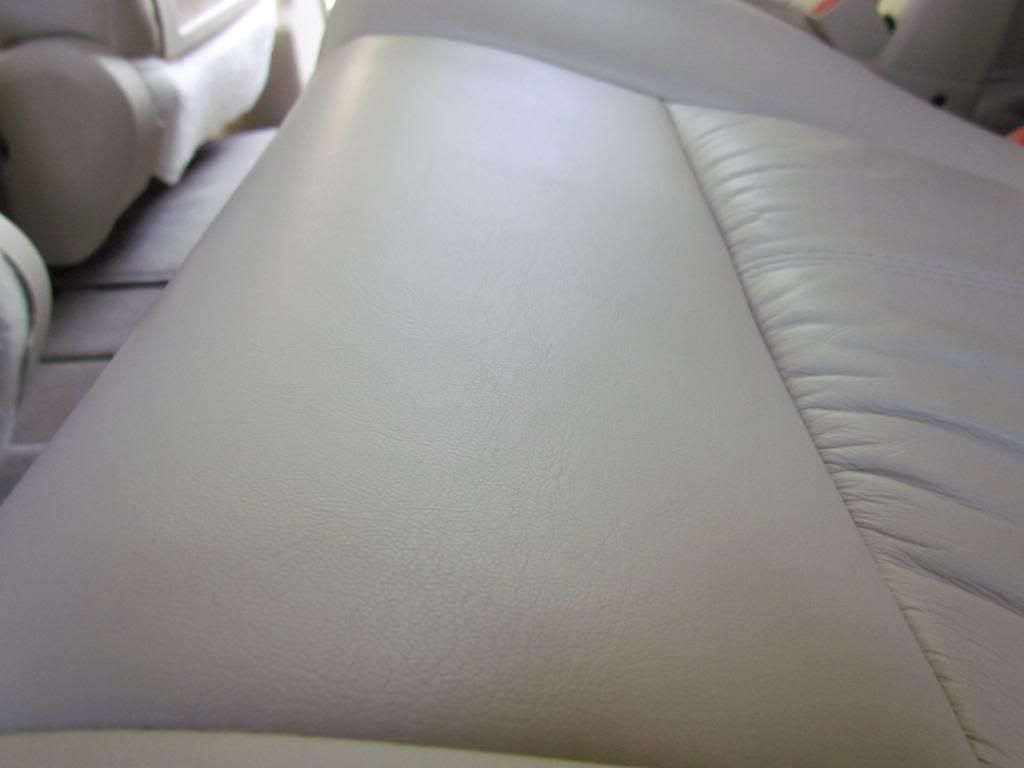
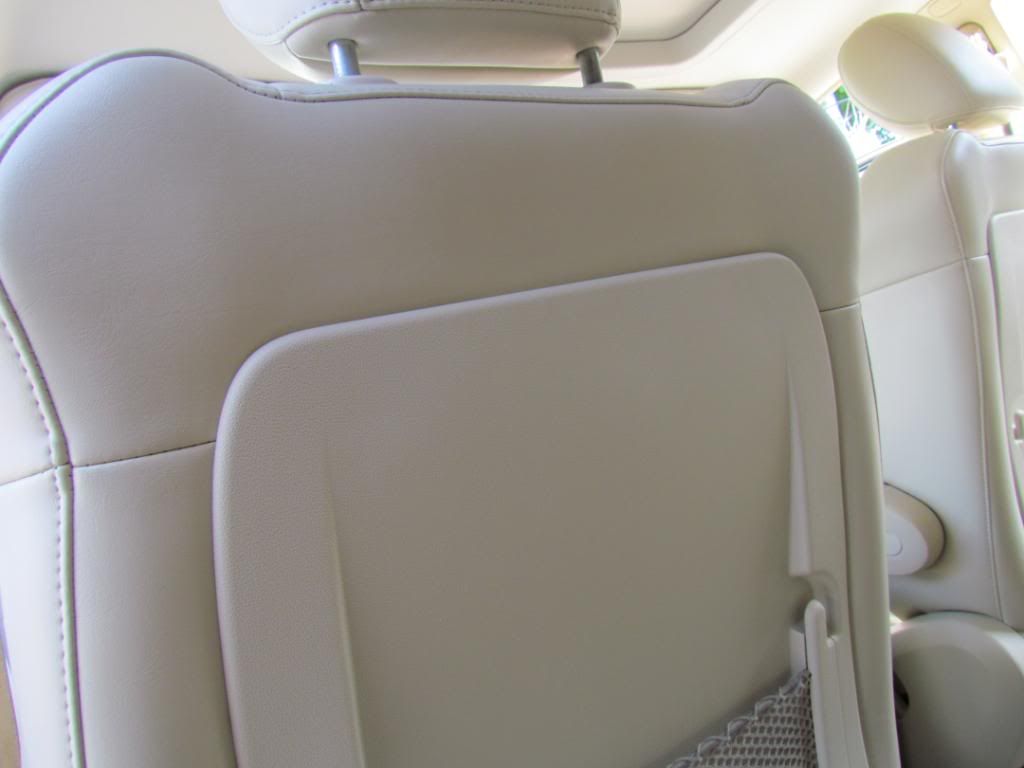
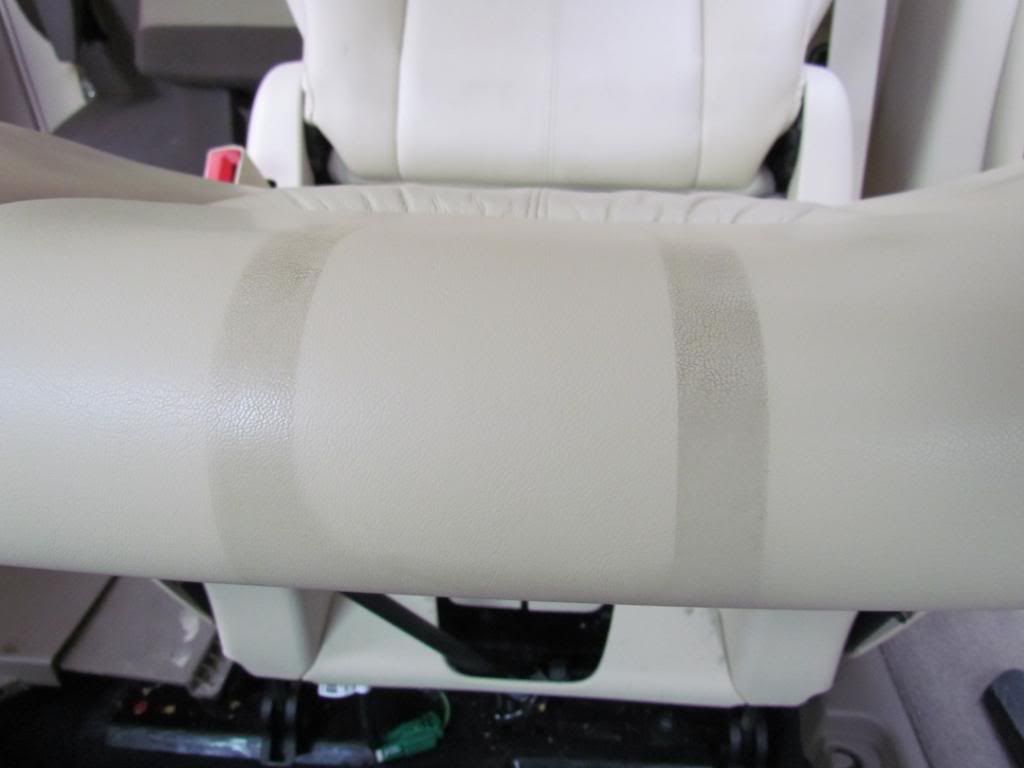
It's a little hard to see, but the whole seat had a red transfer on it.
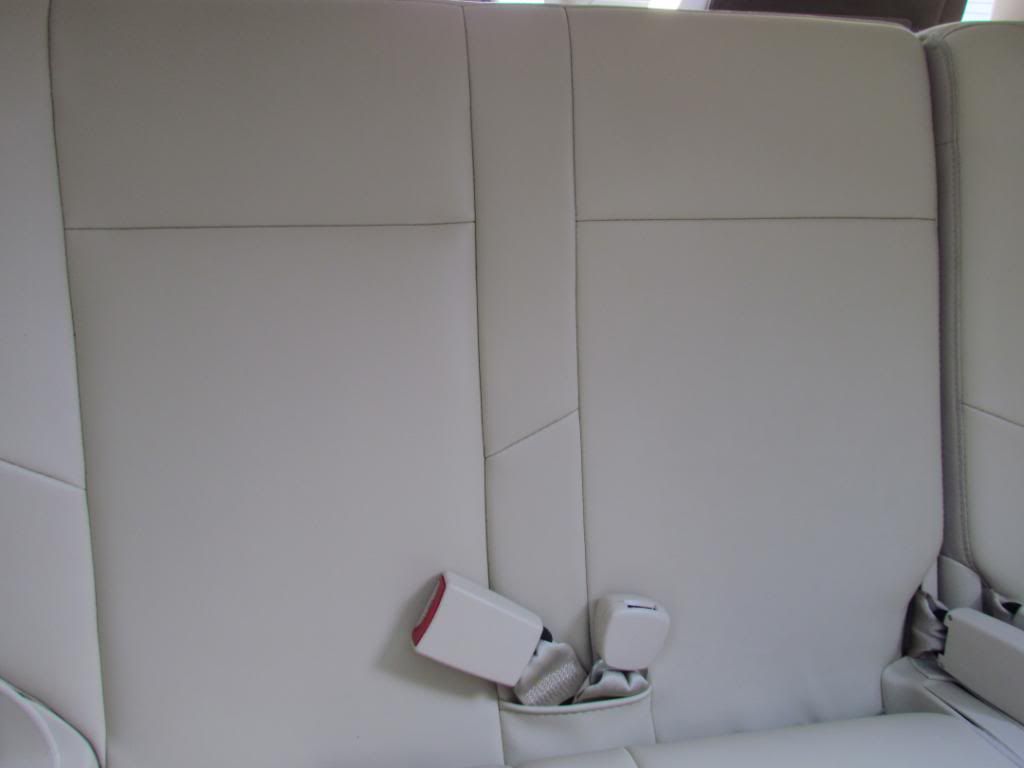
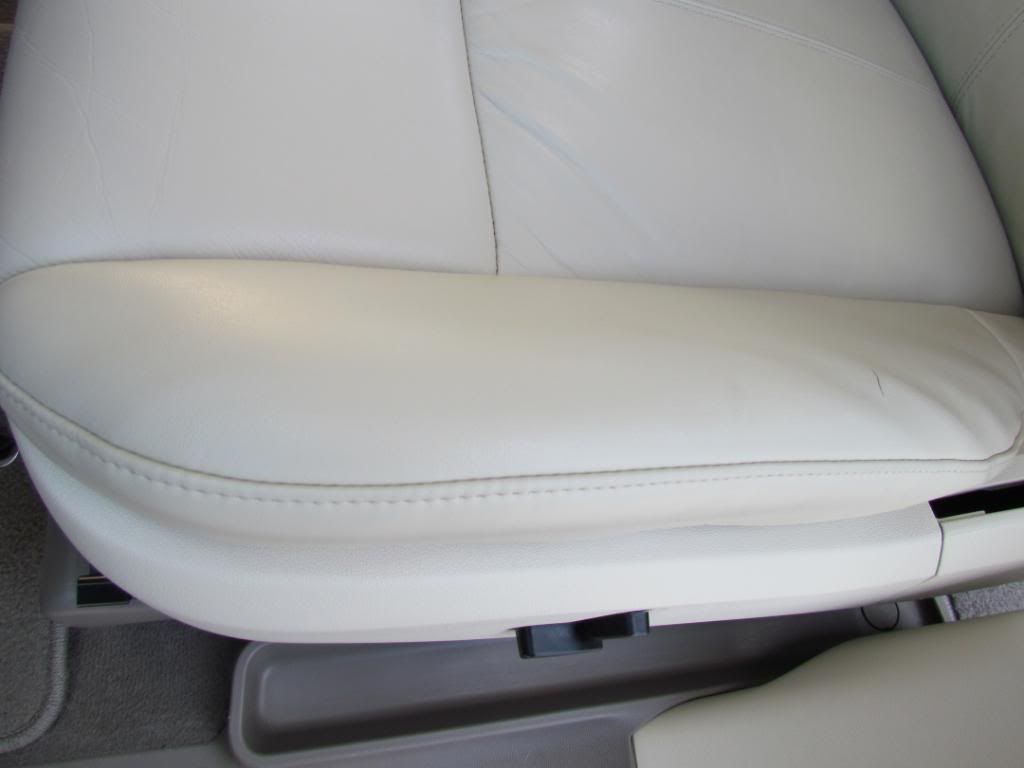
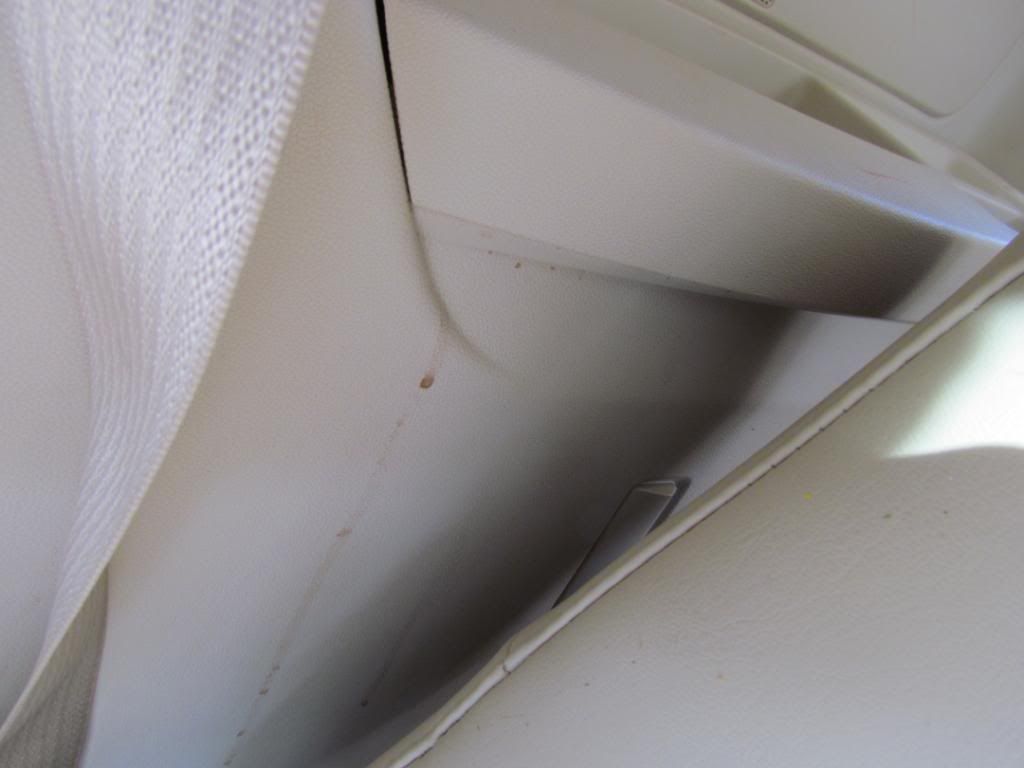
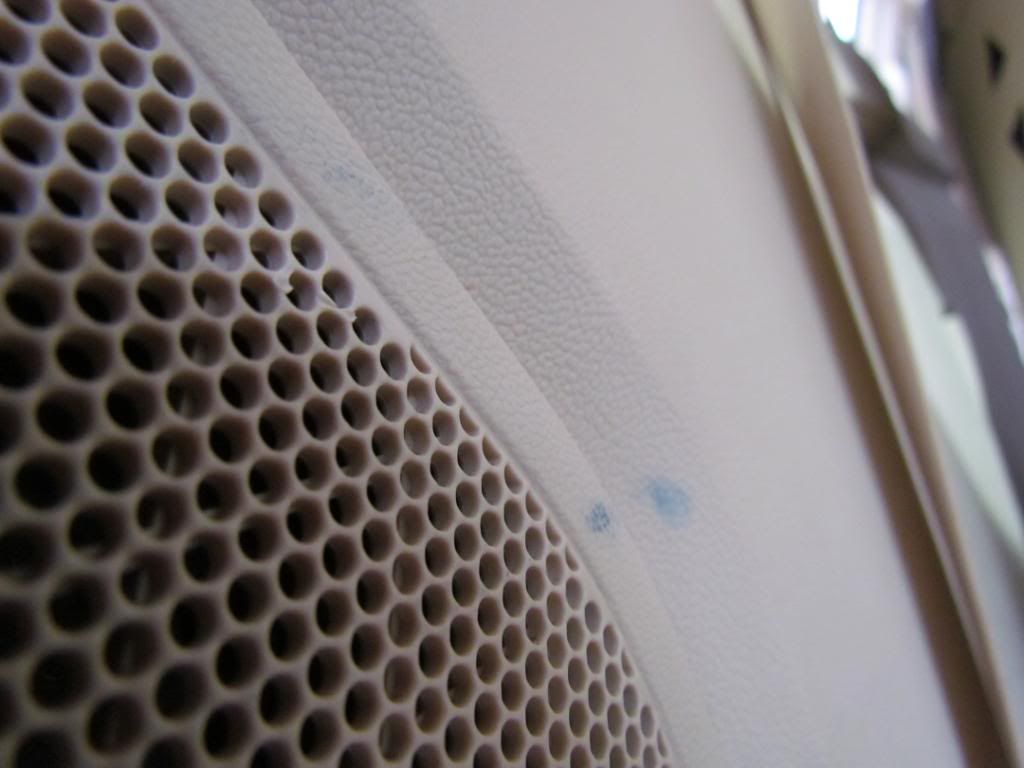
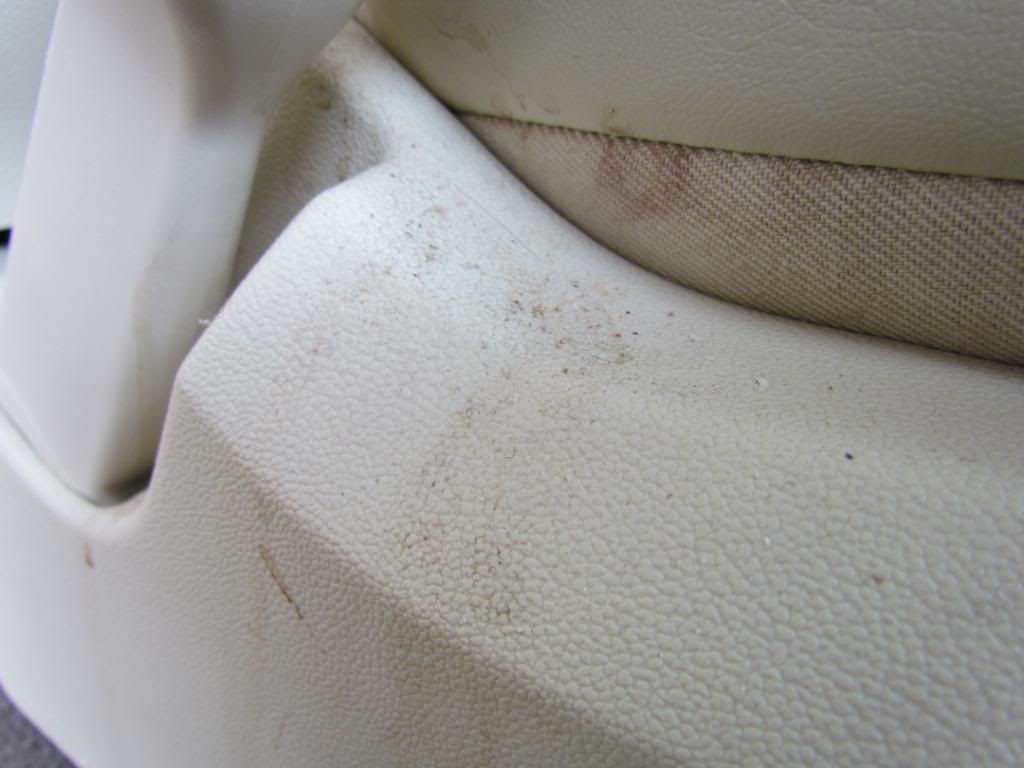
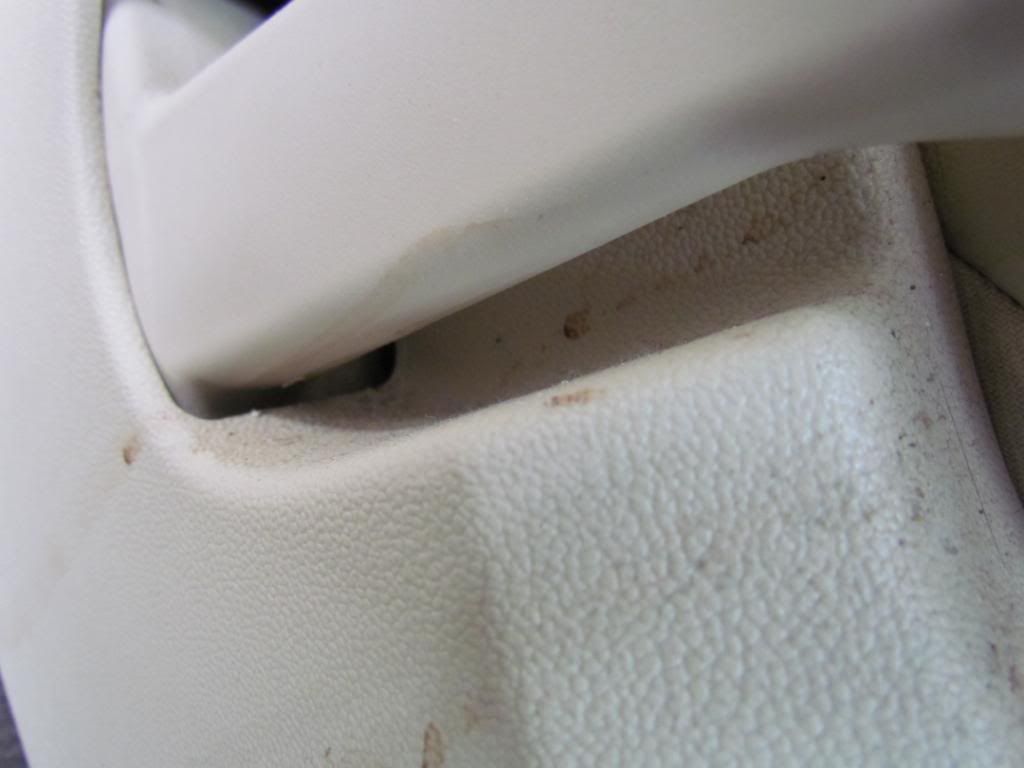
A lot of other random stains.
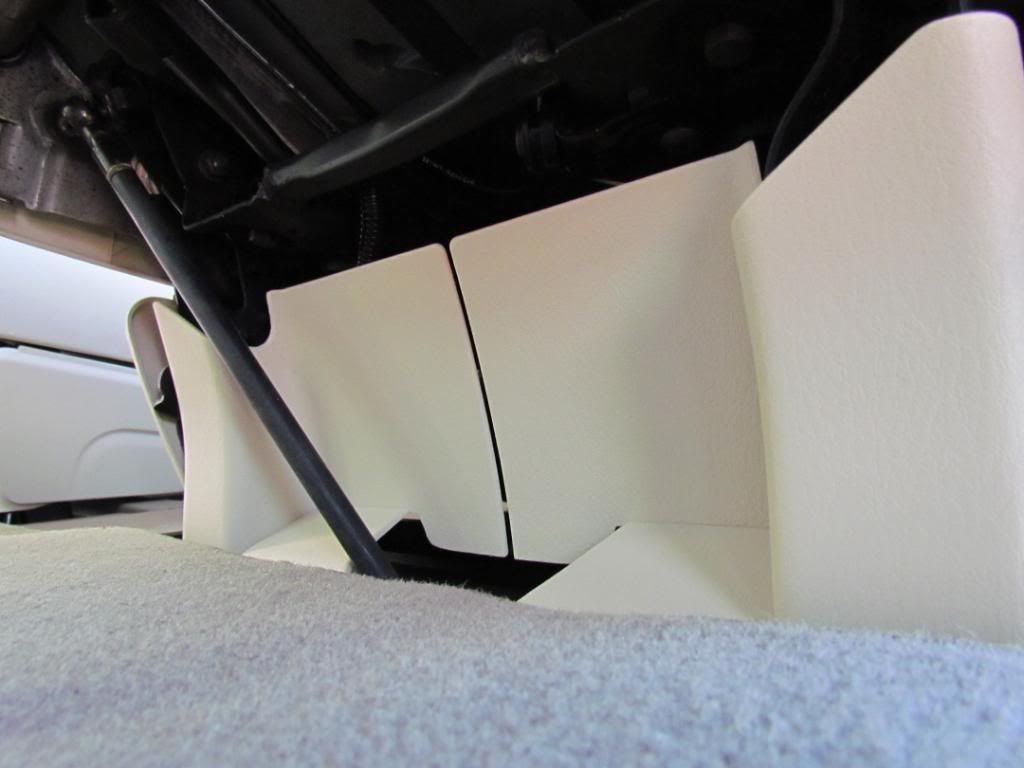
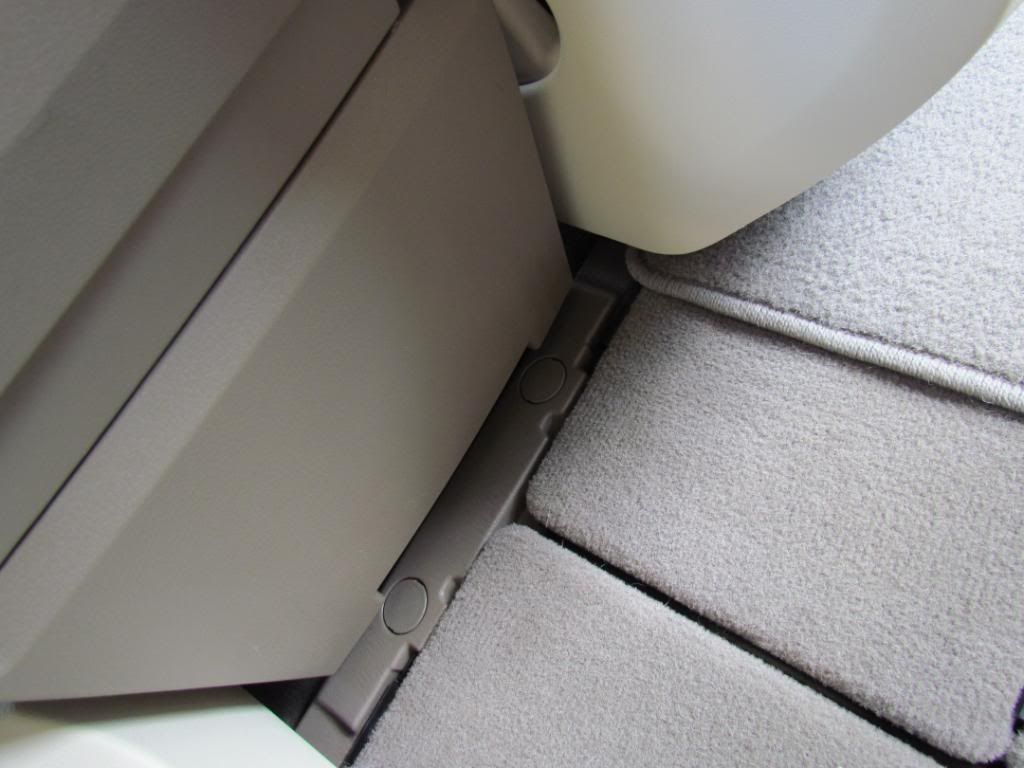
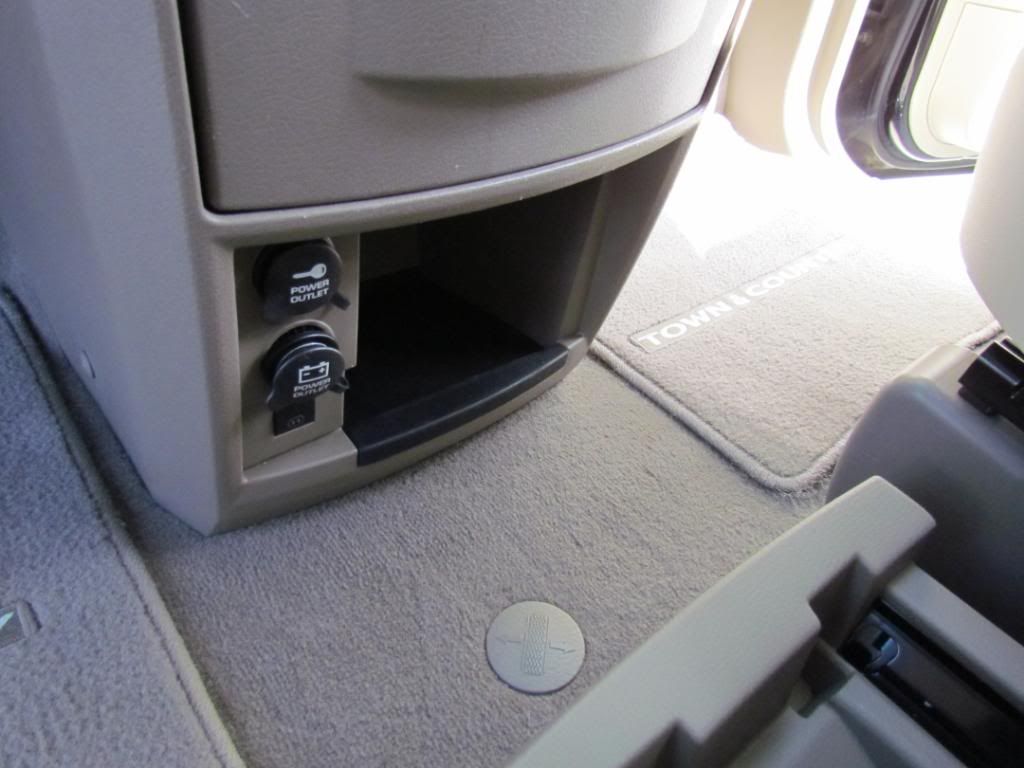
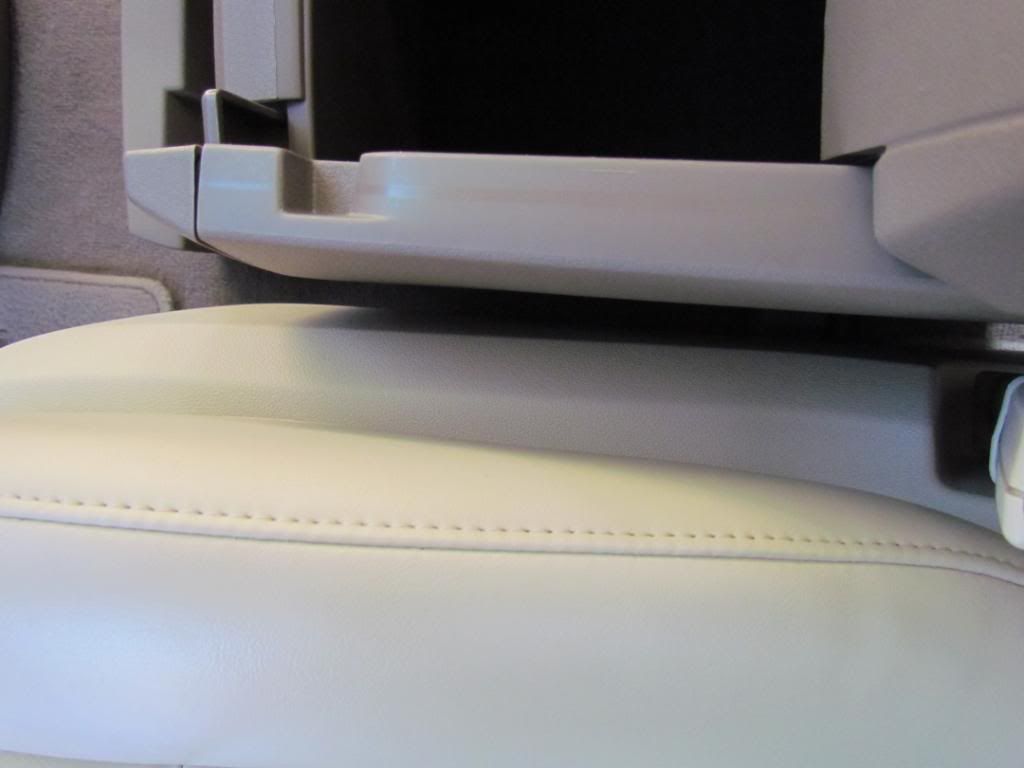
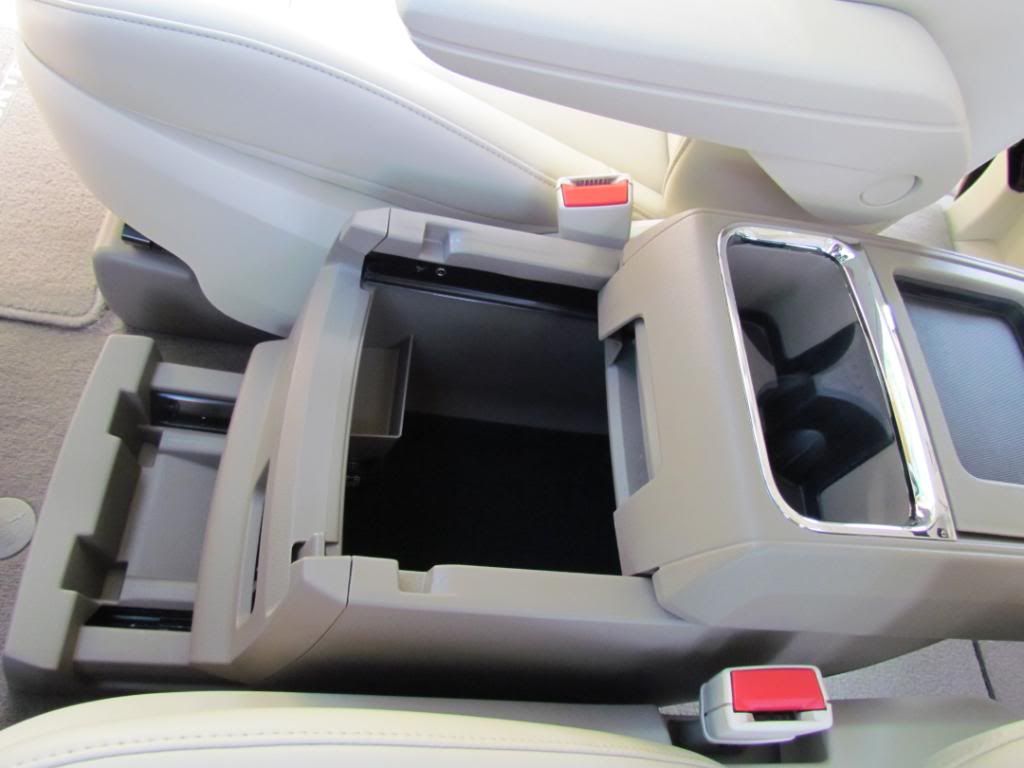
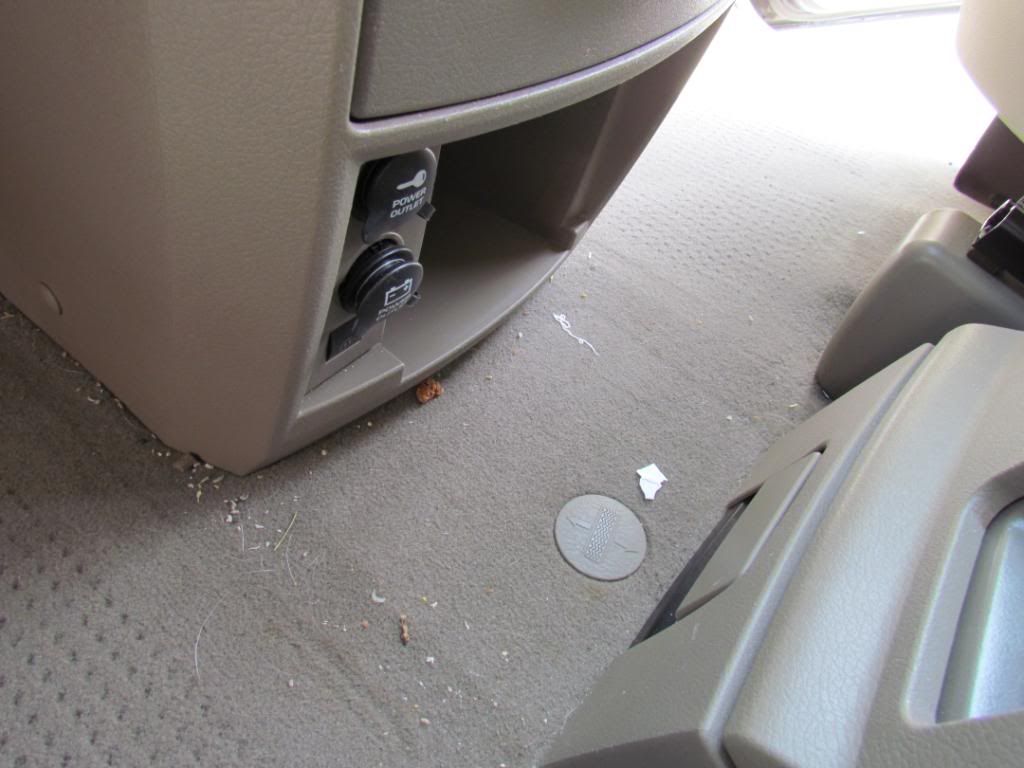
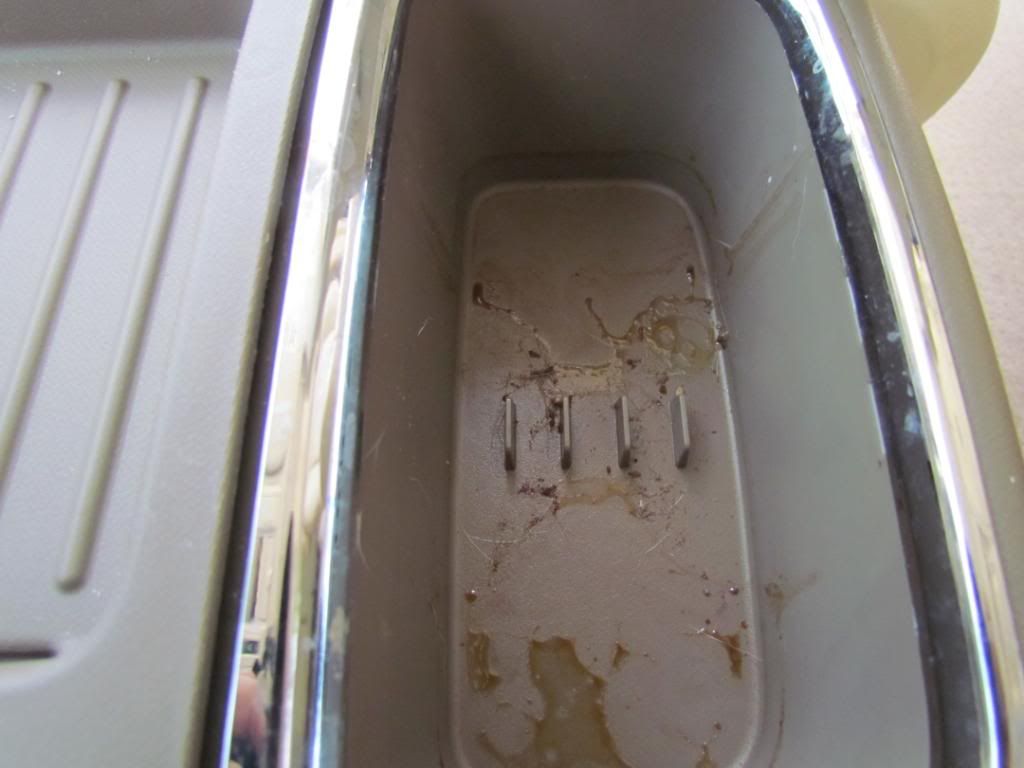
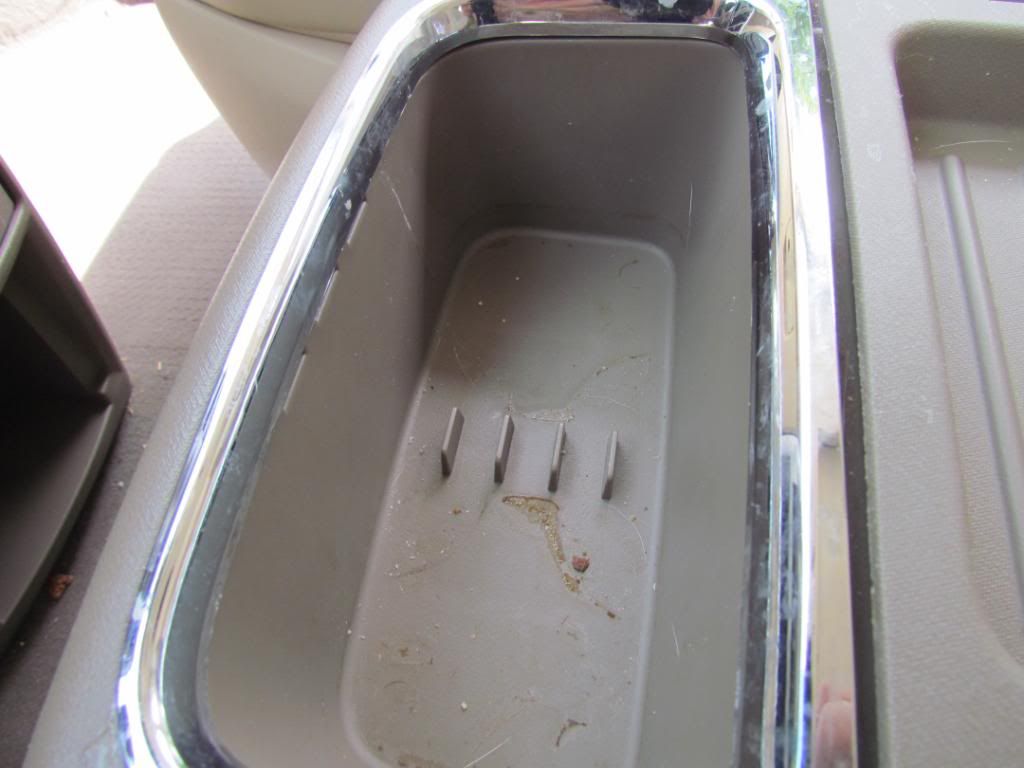
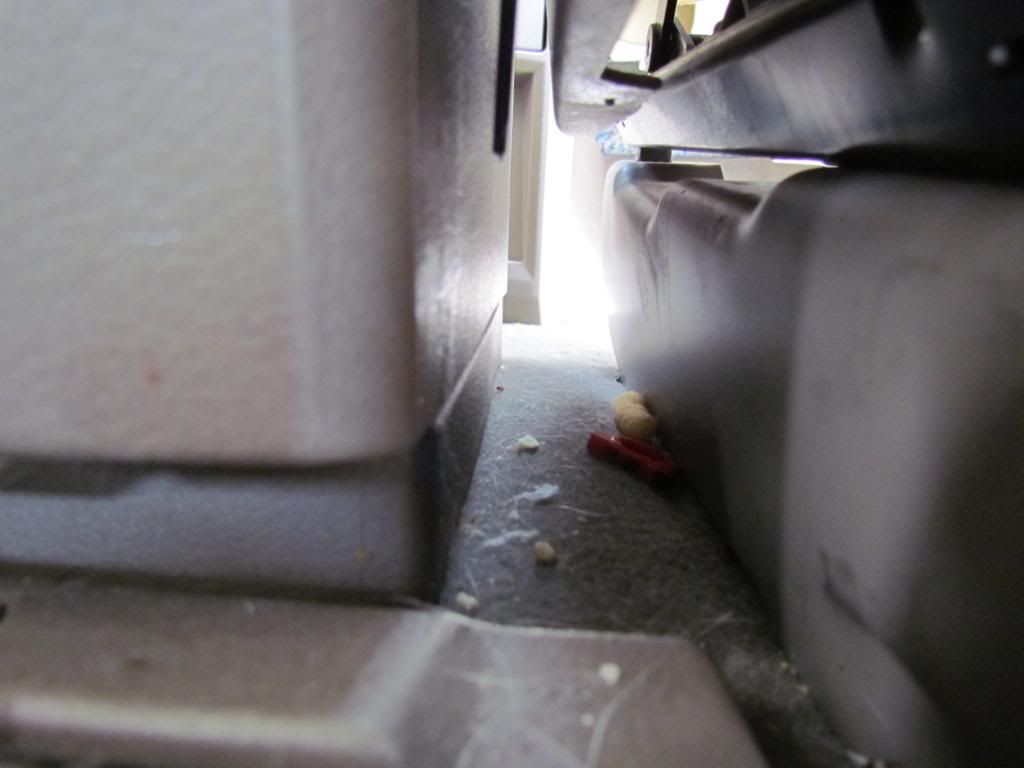
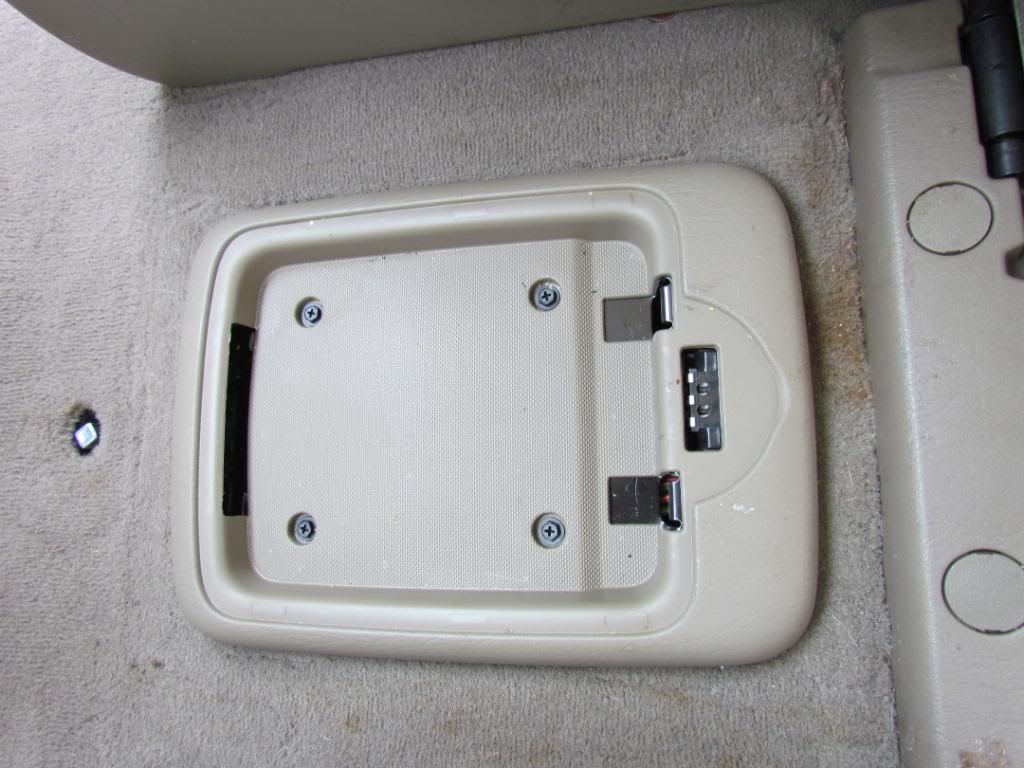
Removing the center counsel revealed more spills.

I wiped the seats down with hot damp towels before testing Megs D103 at 10:1 [recommended interior dilution], Adam's Leather and Interior Cleaner, and Optimum Power Clean at 3:1 [safe interior diliution]. Those were used from left to right respectively. After each product was applied and agitated with a soft brush/towel they were removed, wiped down with a damp cloth, and toweled dry. When the leather was cleaned and rinsed and dried I applied a coat of Collinite Sapphire Leather & Vinyl Treatment Wax #855 which technically cleans the leather again and leaves the leather protected, but not shiny.

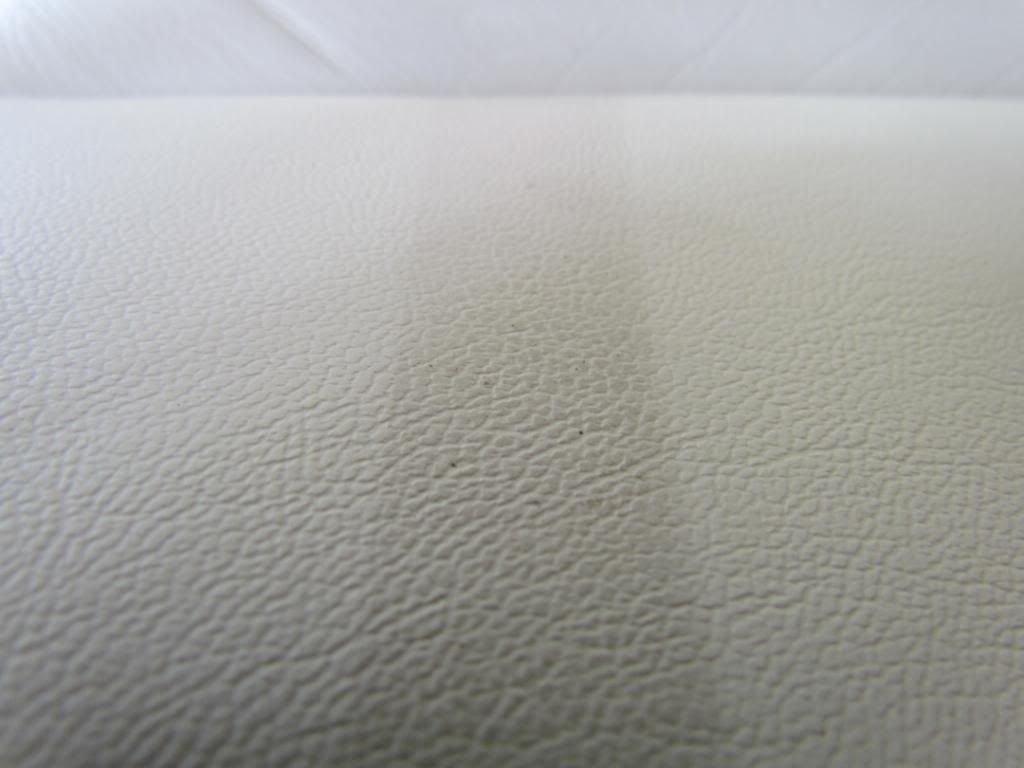
Adams Leather and Interior Cleaner on the left and OPC on the right. OPC cleaned the leather significantly better.
I knew the client had young kids and there was going to be a problem area or two but I just had to smile when I saw the inside of the van. This interior is what I would call a 20 footer, just like with paint jobs, this interior's issues were in the details and more visible the closer you got to the fabric and the more light you had.
A litany of before images.
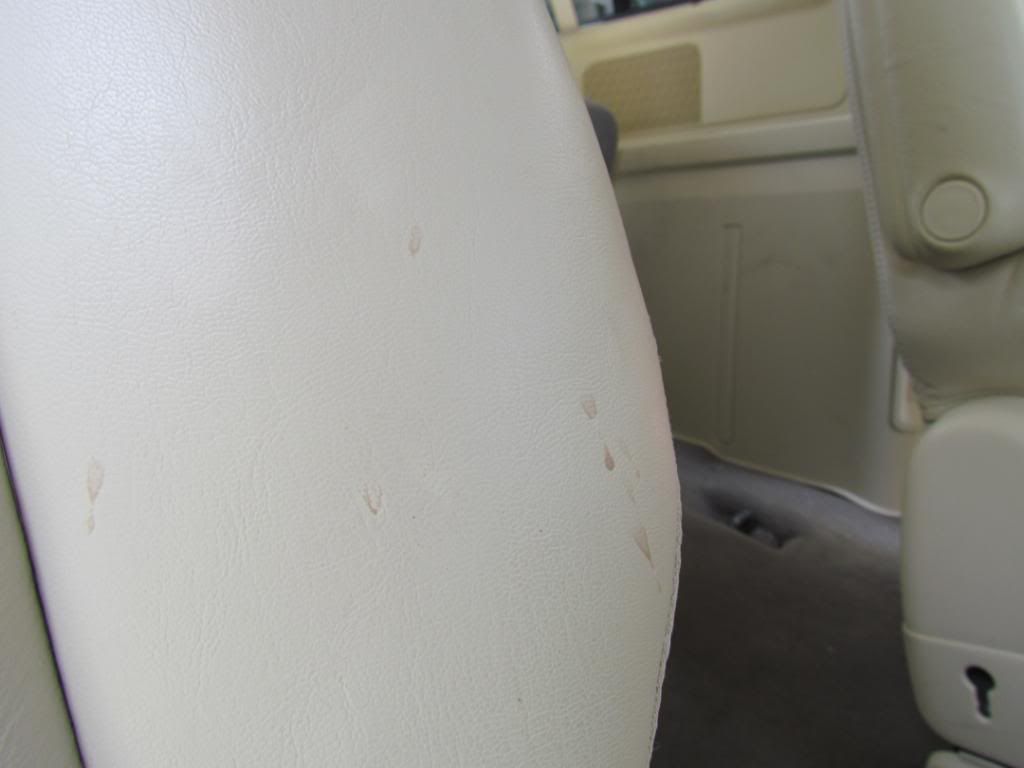
The first major issue. Not so much the tear but the denim transfer that was apparent over the left side of the seat and bolster.
There was a large amount of staining on the seat backs. The plastic had scuffs and stains and the clothe portions of the seats were dirty and stained as well.
The family has a dog that rides in the van as well.
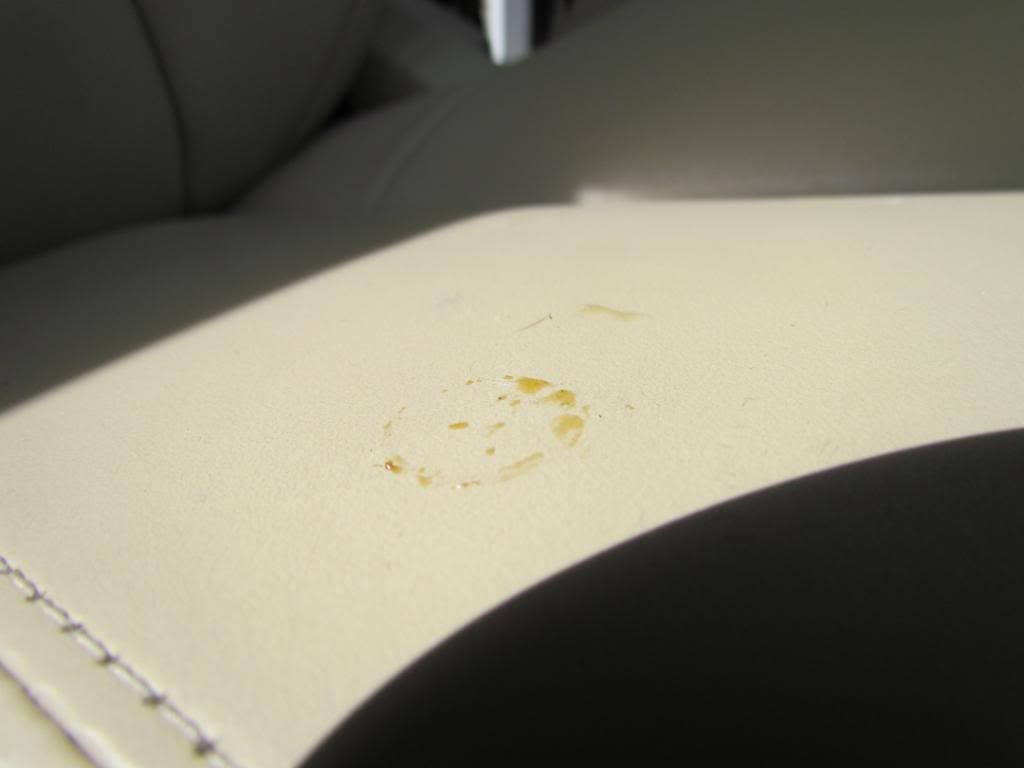
Spills!
And there was a lot of crayon and marker on the plastic and the speaker grills.
Stickers on the windows too
And then there was the leather.
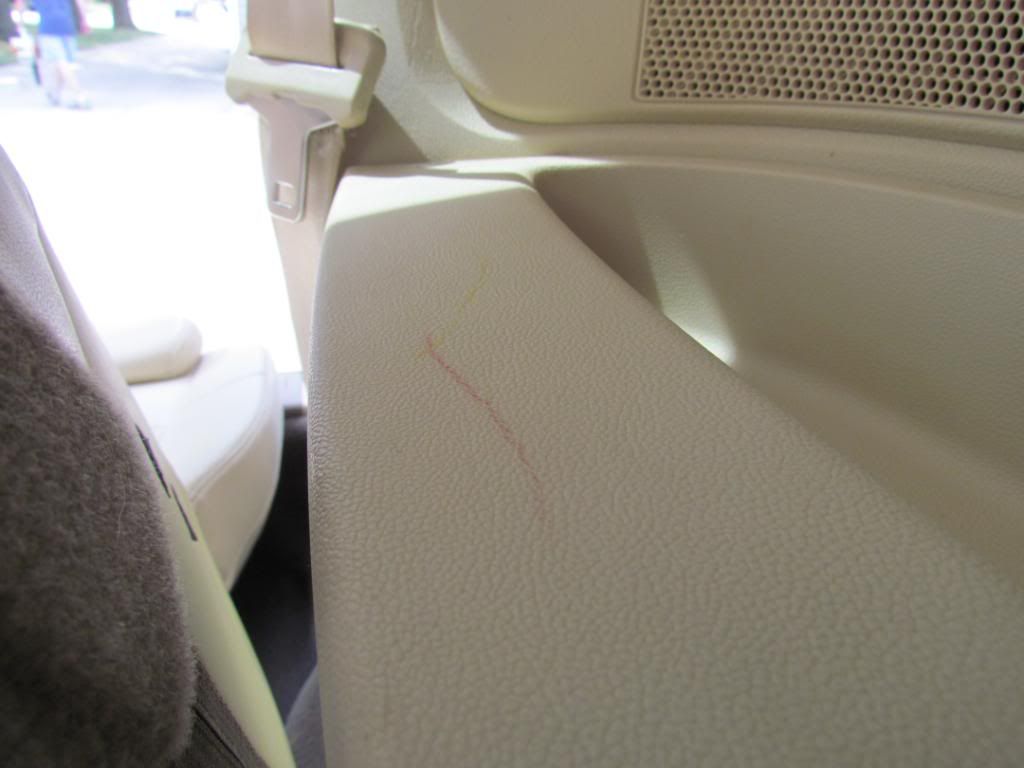
It's a little hard to see, but the whole seat had a red transfer on it.
A lot of other random stains.
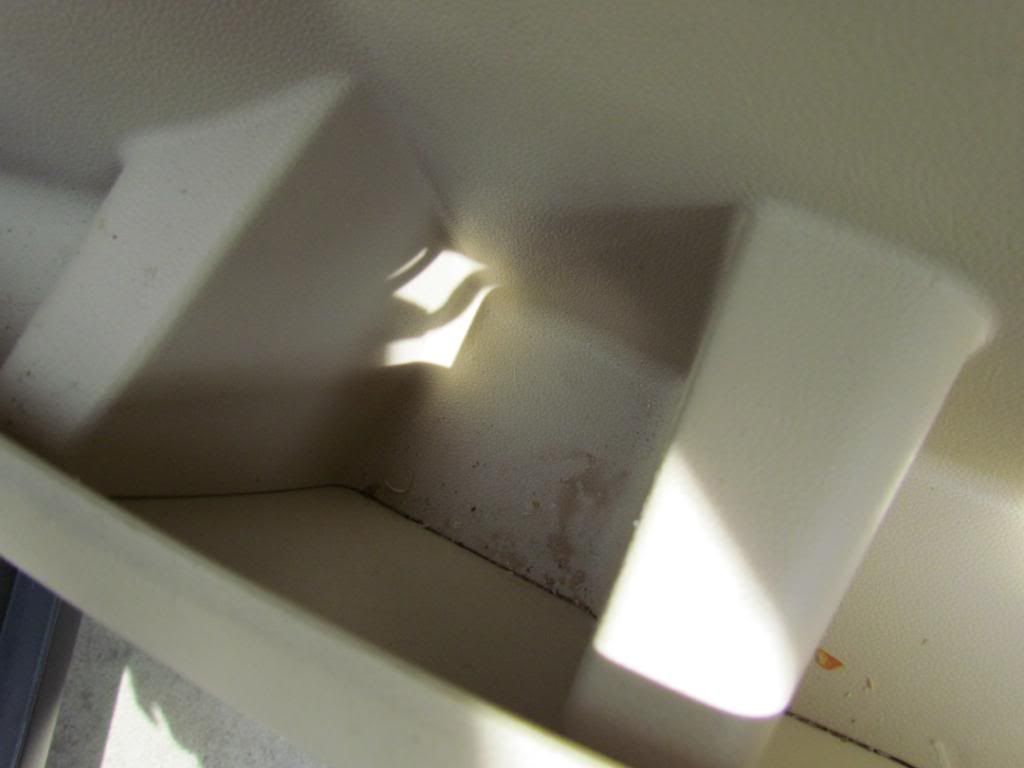
Removing the center counsel revealed more spills.
I wiped the seats down with hot damp towels before testing Megs D103 at 10:1 [recommended interior dilution], Adam's Leather and Interior Cleaner, and Optimum Power Clean at 3:1 [safe interior diliution]. Those were used from left to right respectively. After each product was applied and agitated with a soft brush/towel they were removed, wiped down with a damp cloth, and toweled dry. When the leather was cleaned and rinsed and dried I applied a coat of Collinite Sapphire Leather & Vinyl Treatment Wax #855 which technically cleans the leather again and leaves the leather protected, but not shiny.
Adams Leather and Interior Cleaner on the left and OPC on the right. OPC cleaned the leather significantly better.