Eric_Witt
New member
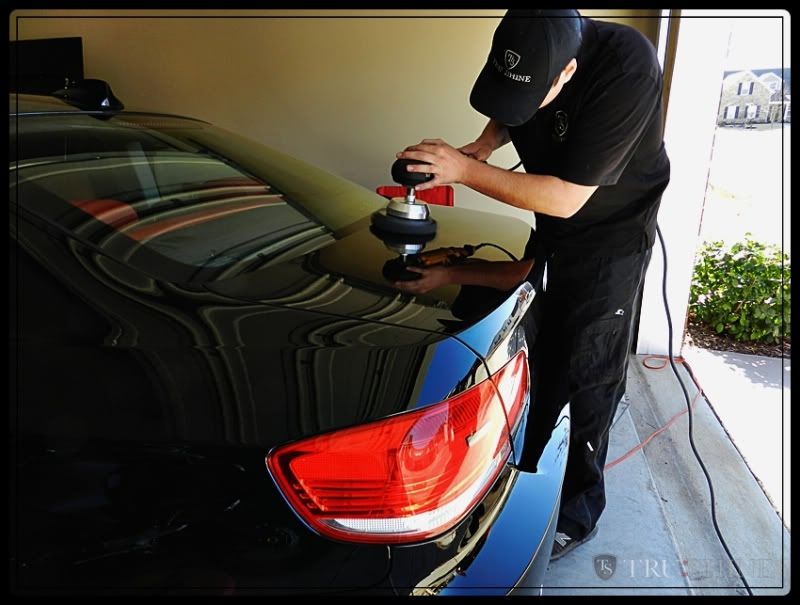
BMW Jet Black...... A professional detailers favorite color............Or worst Night mare?
Different manufacturers all use different types of paints and clear coats. Some paints can be soft, some can be hard. For example, Honda, Porsche, Nissan GTR..... all of these paints are typically very soft and require an art form of polishing to refine down and finish off the paint swirl free.
Then on the other end of the spectrum, you have paints from GM, such as Corvettes, or Cadillac's, or anything GM related, that are extremely hard and difficult to "cut". For example, If you have a Cadillac Escalade panel covered in swirls and scratches. it will take 3-4 passes of a heavy cutting combination to remove the 98% of defects, versus the same combination on softer paint which can take only 1-2 passes.
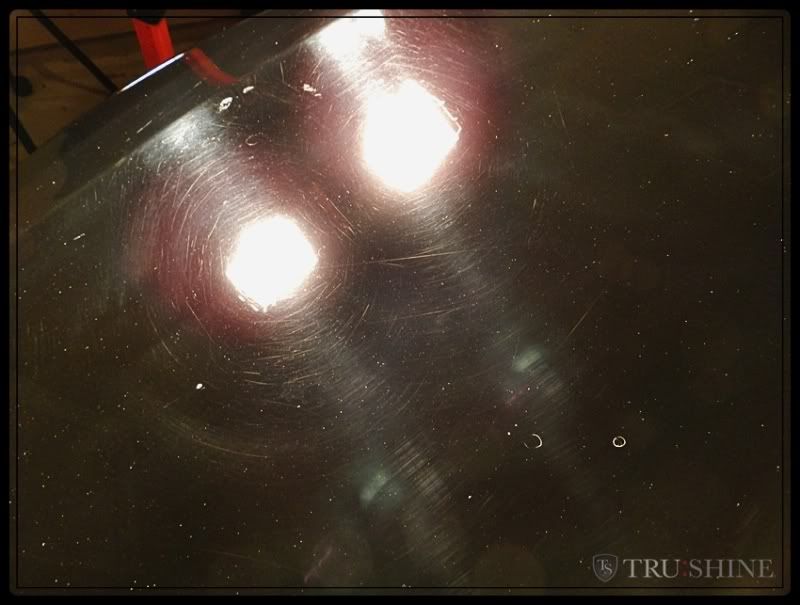
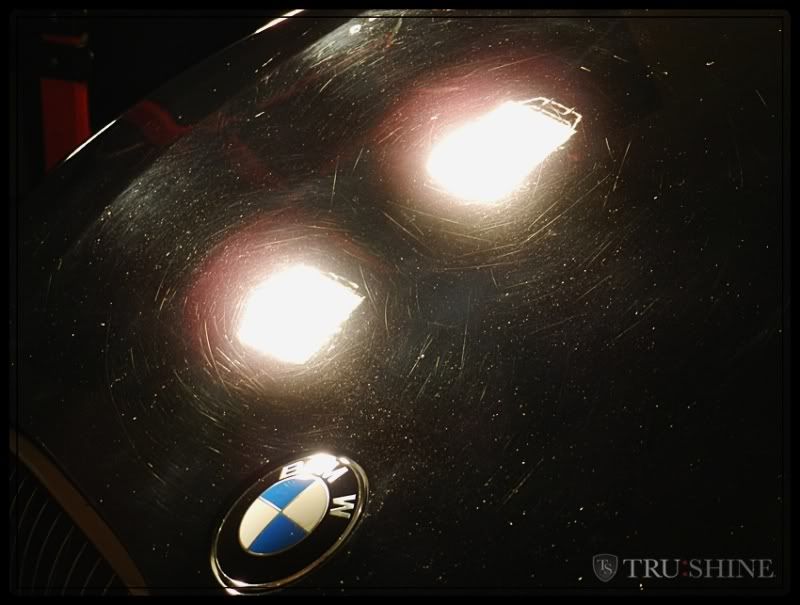
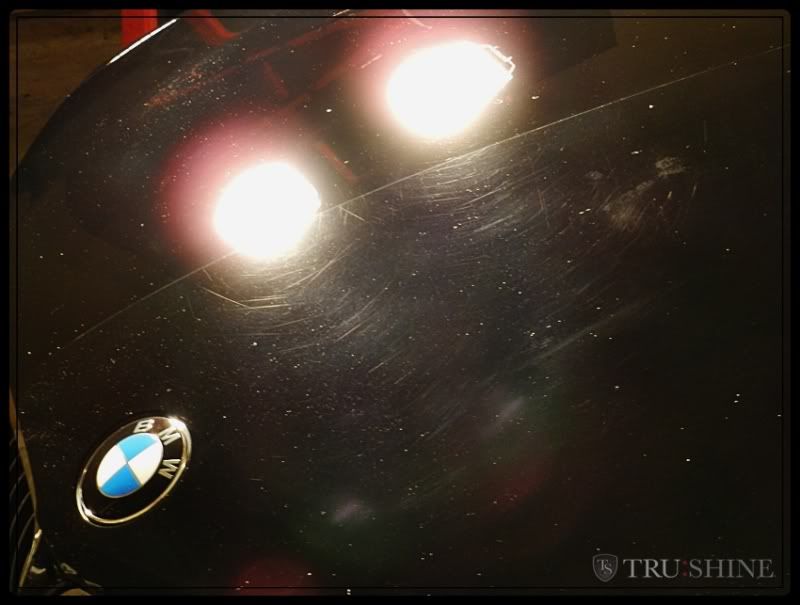
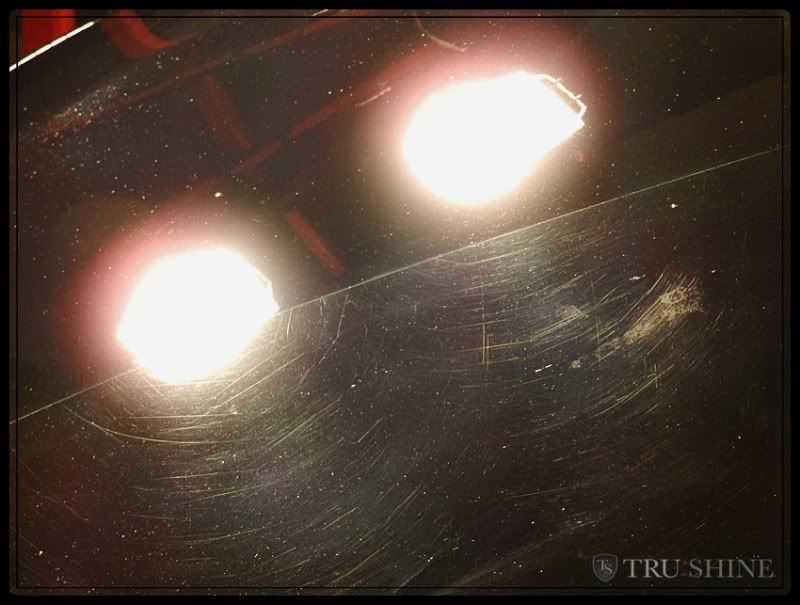
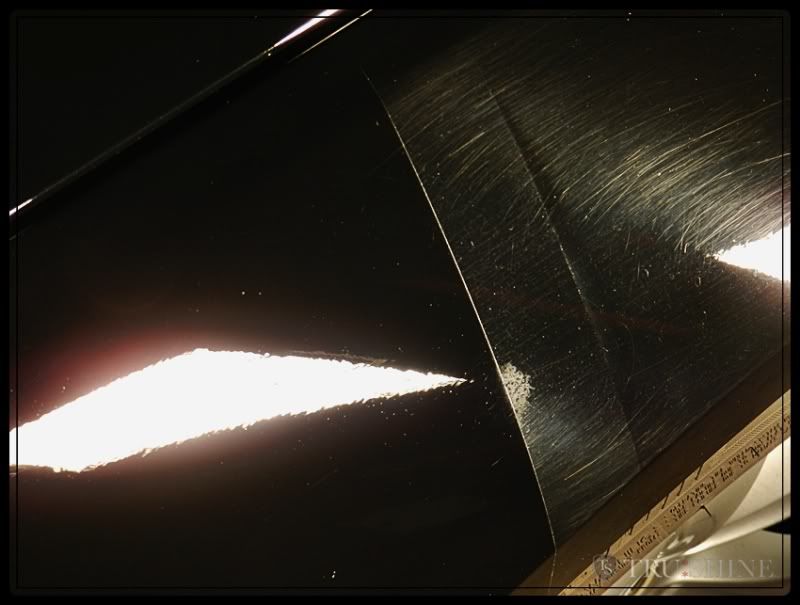
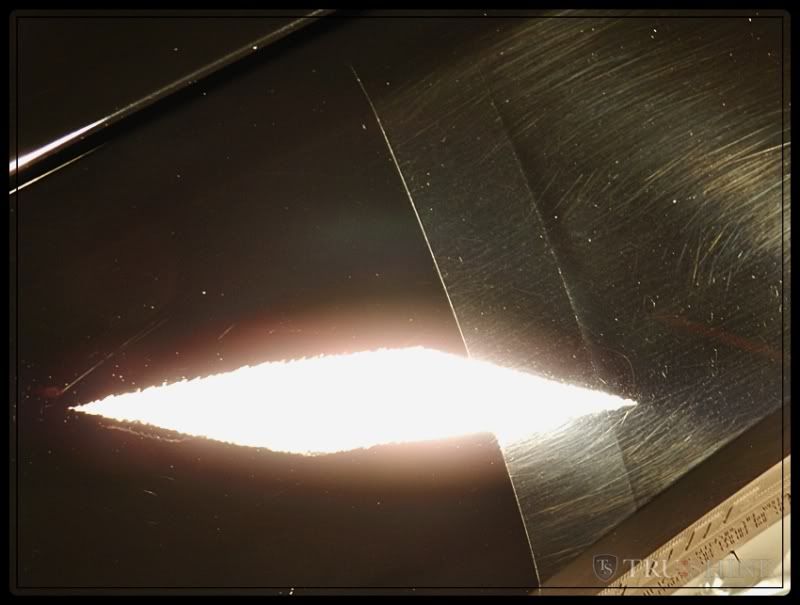
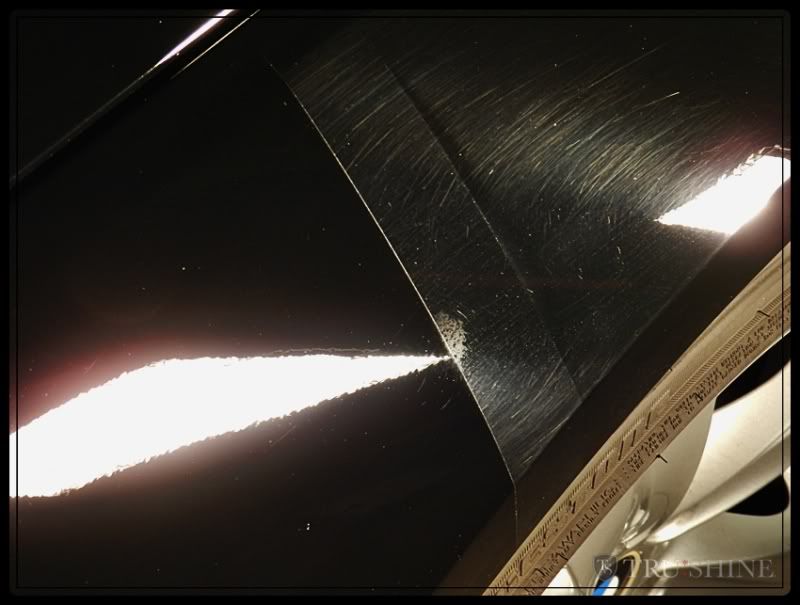
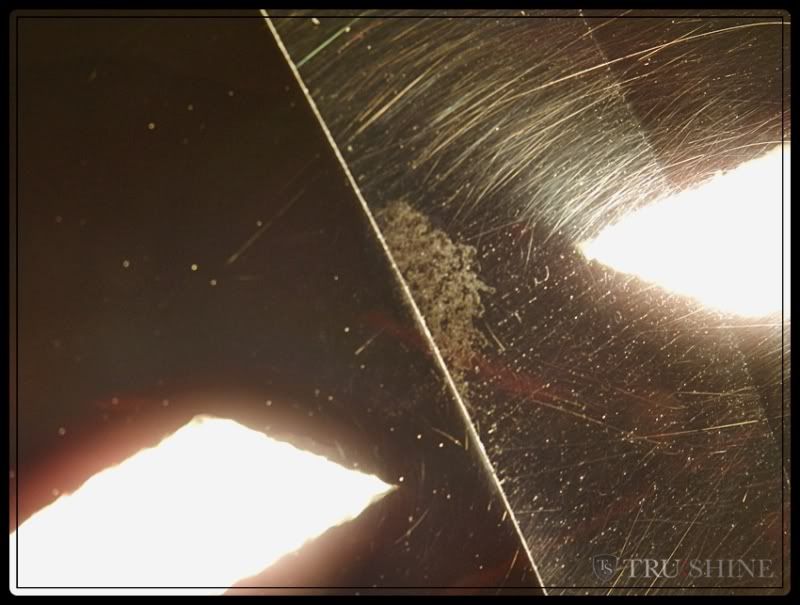
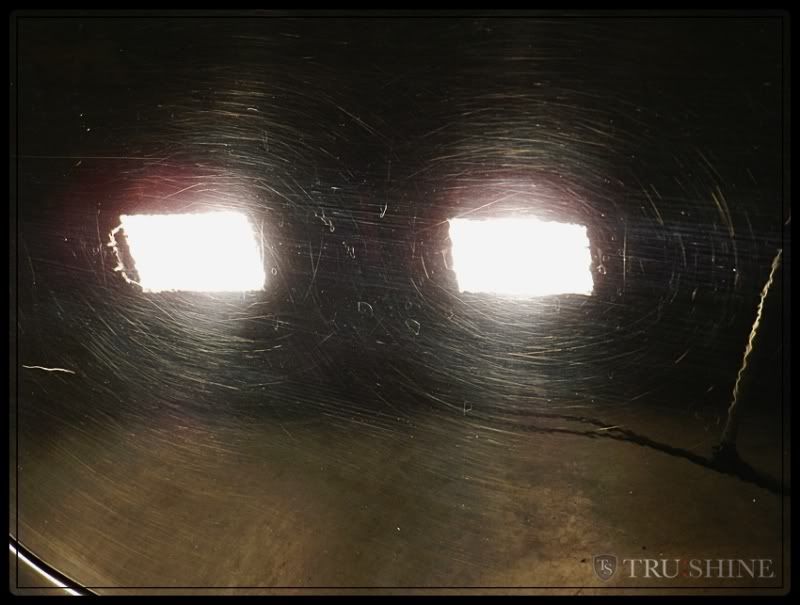
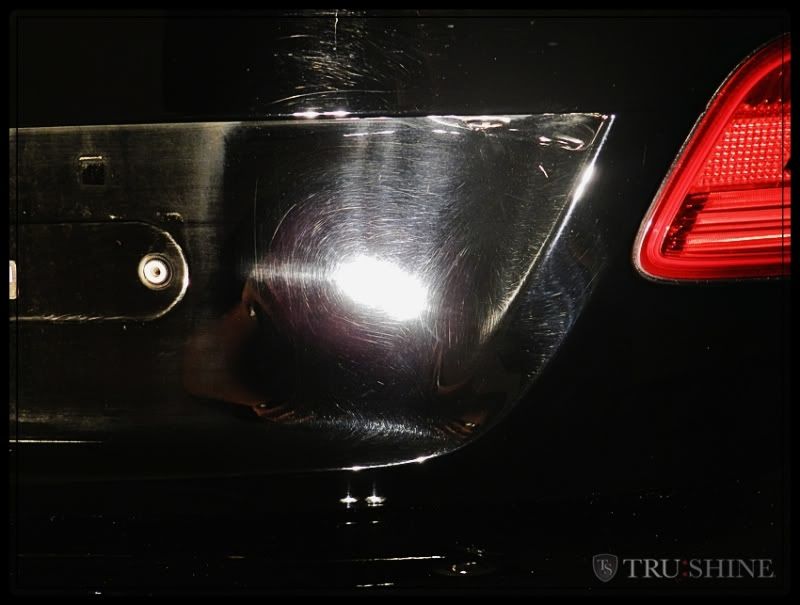
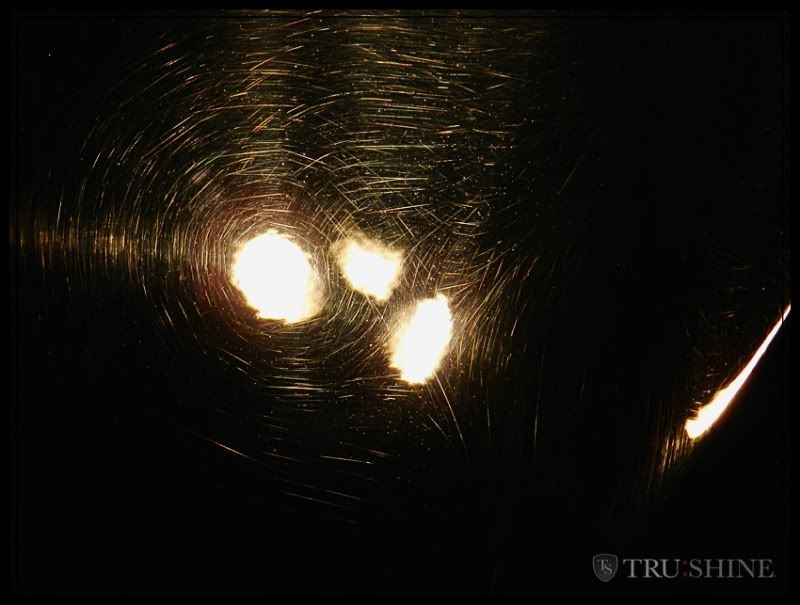
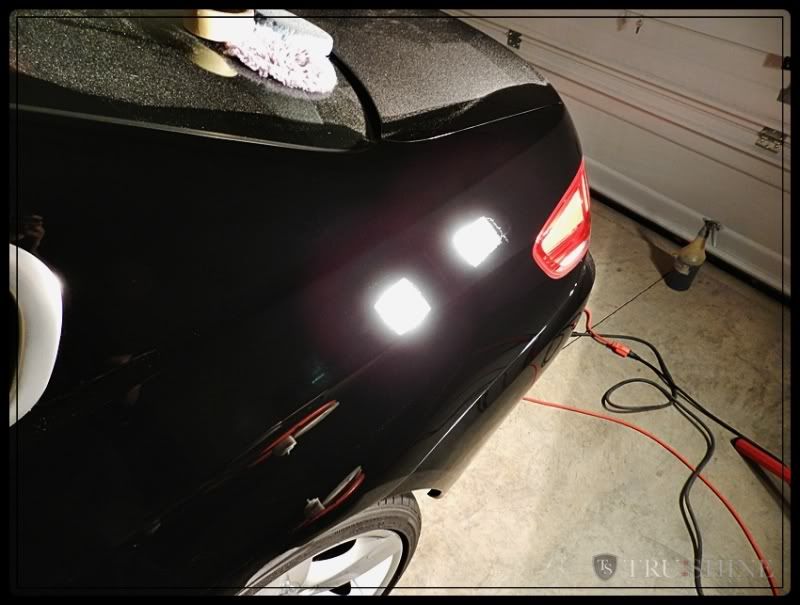
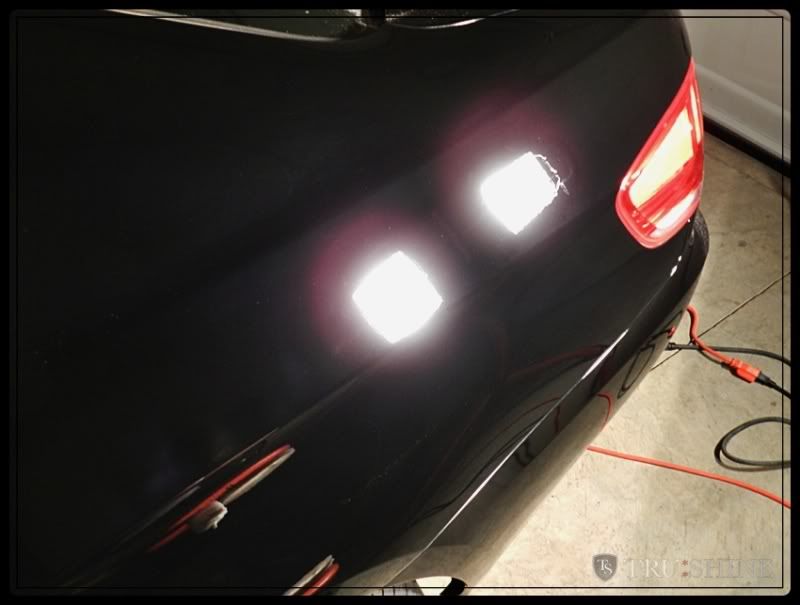
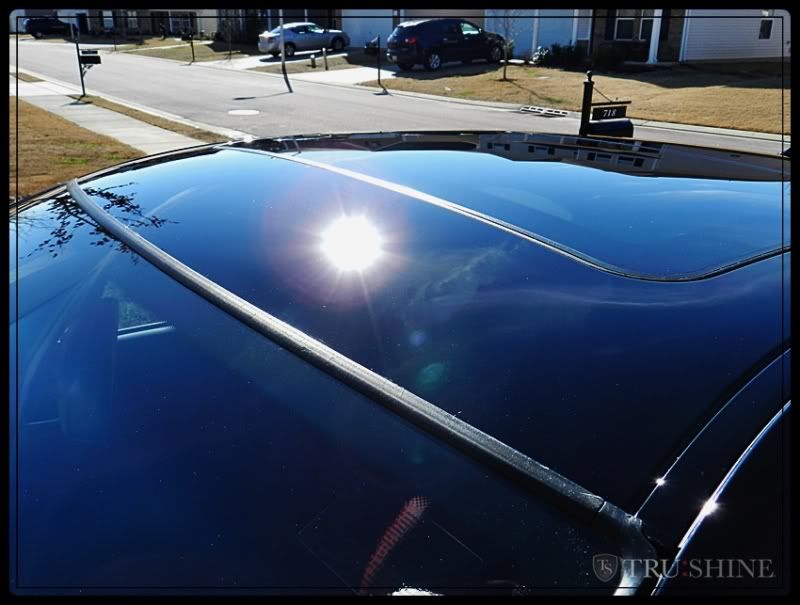
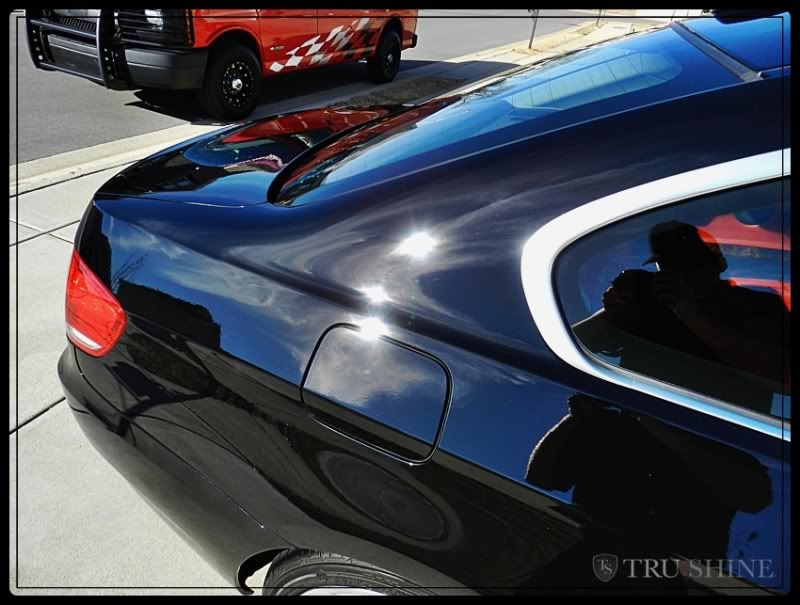
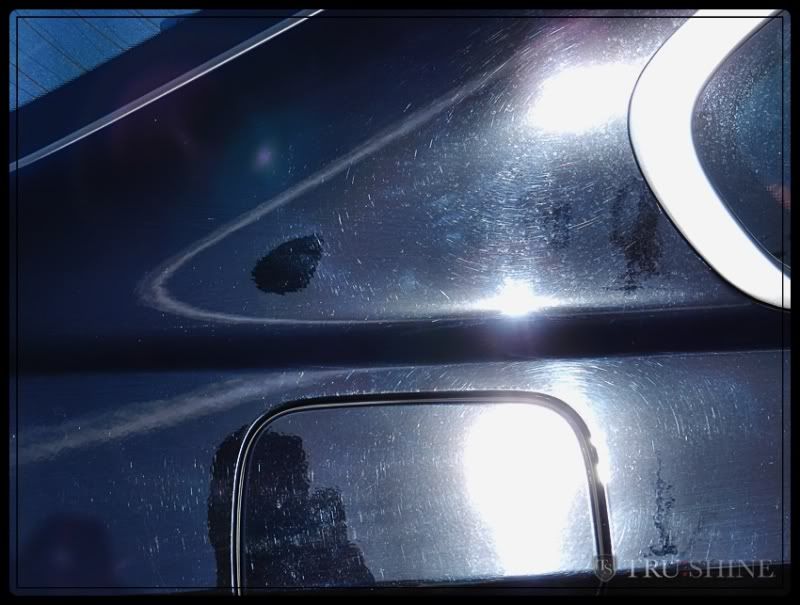
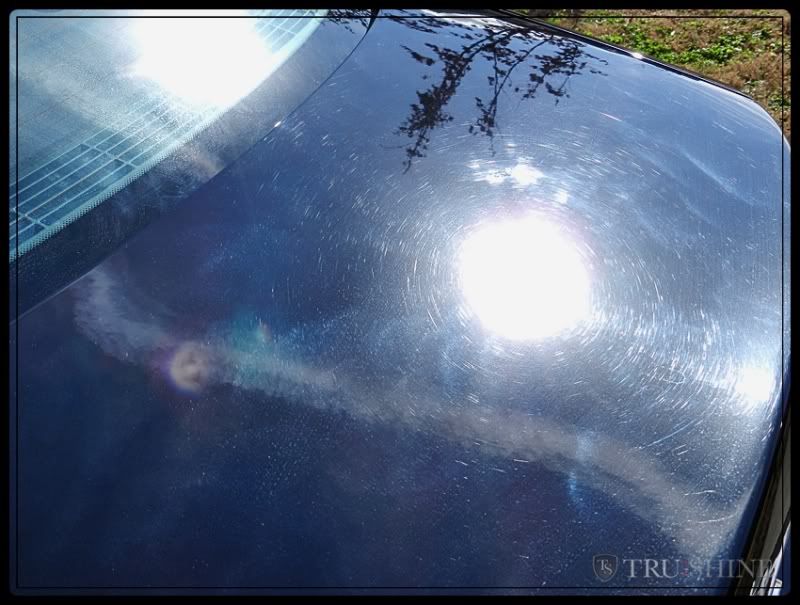
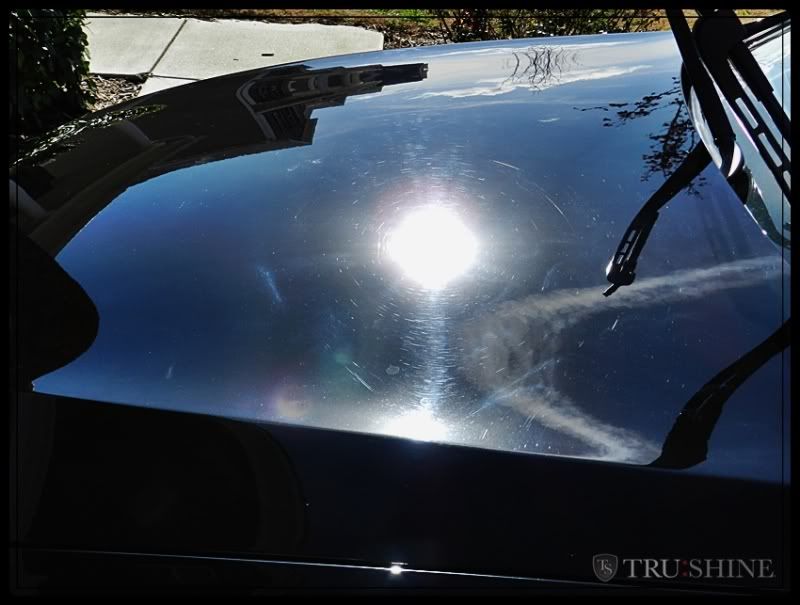
With this being said, you are left with "BMW Jet black" a paint that is in a class of its own.... you always hear of the horror stories on the detailing forums about "BMW Jet black". Some detailers say "Paint is Paint". Which is true, it can all be refined and polished out, but the journey to get it swirl free is the trick. From My experience with JB, it seems that the top surface of the paint is very soft, which is great for removing the light scratches. But the deeper you get, it seems the RID's and Scratches get more difficult to remove and level out. So this paint actually has the worst of both worlds, soft and difficult to finish out and very hard deep down to make it difficult to correct deeper RID's and scratches.
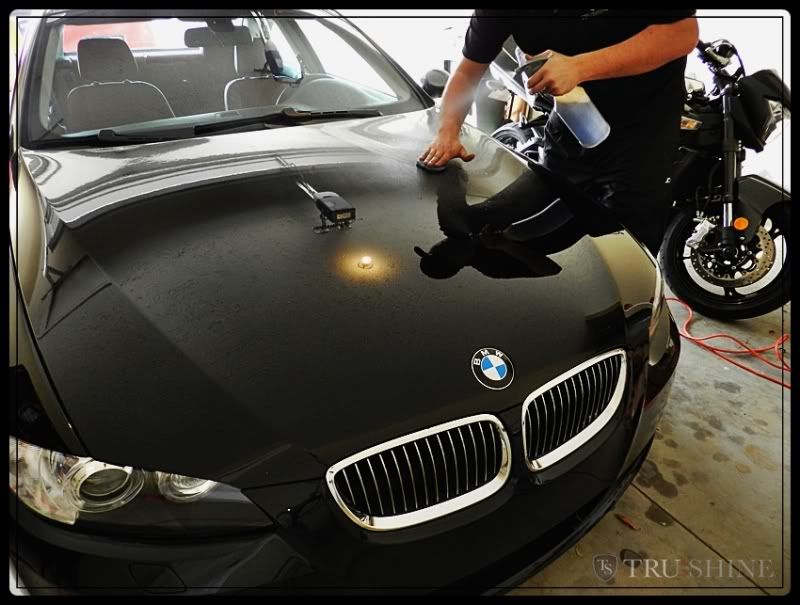
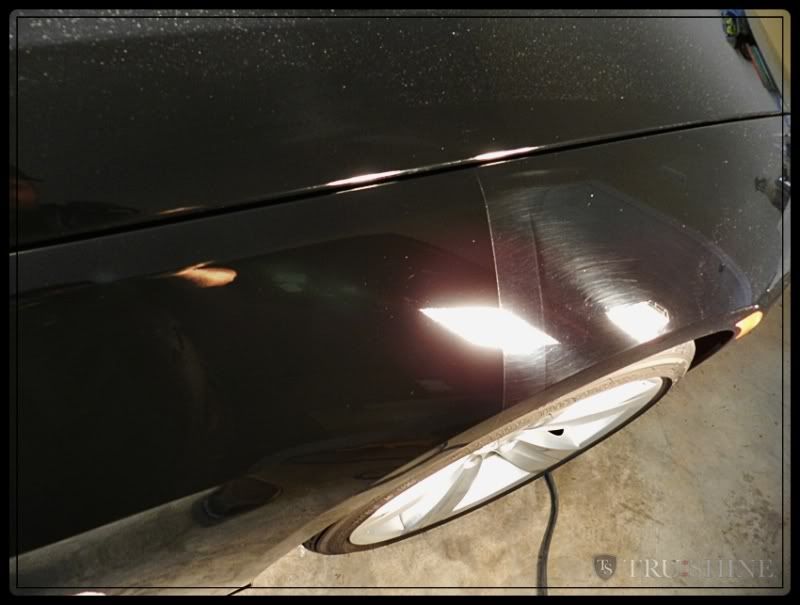
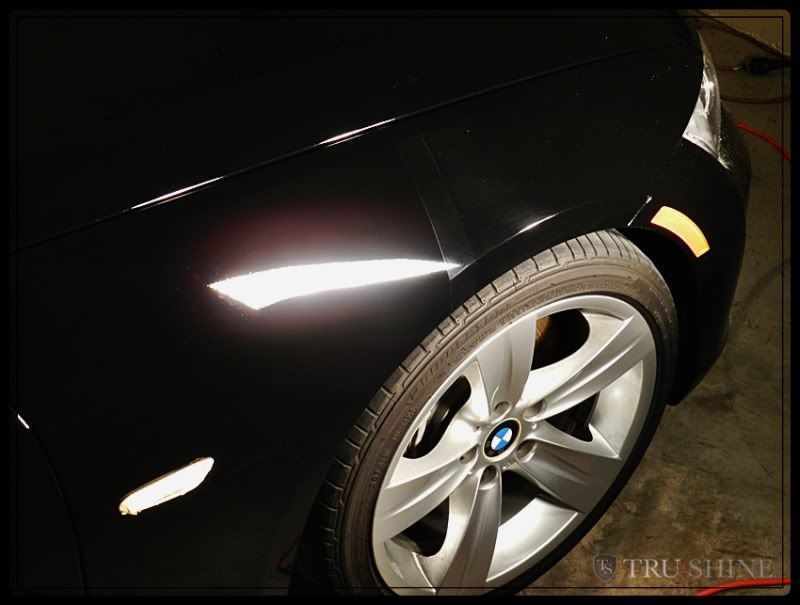
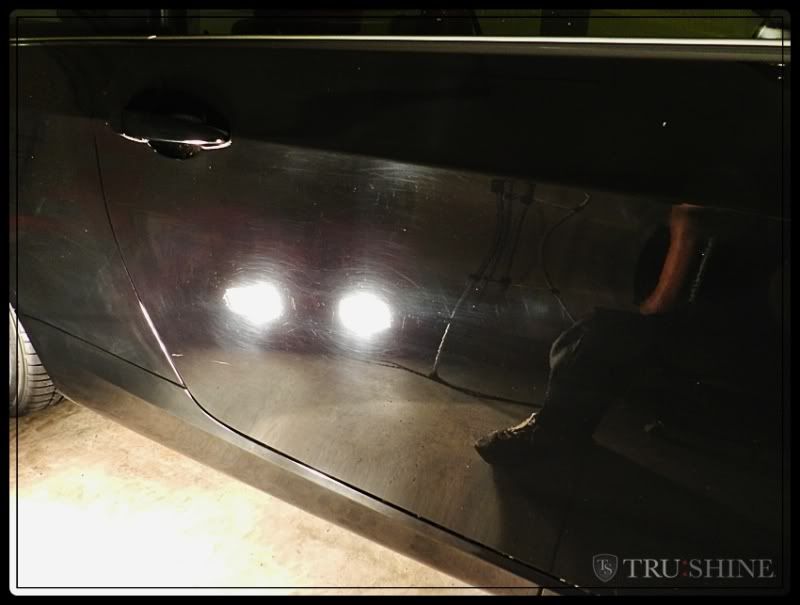
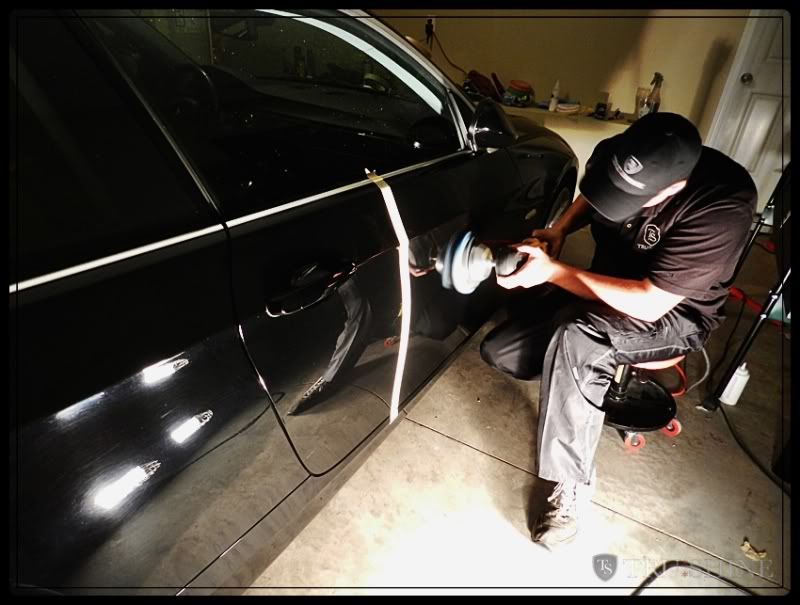
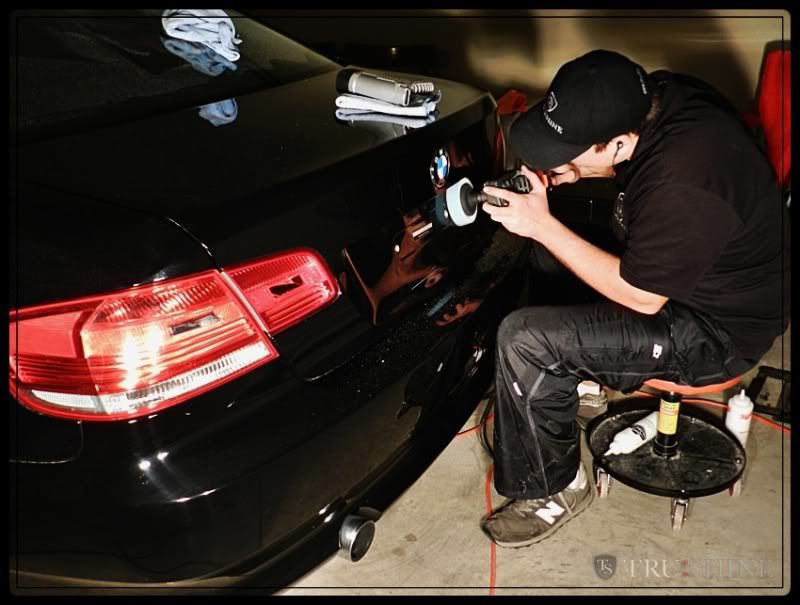
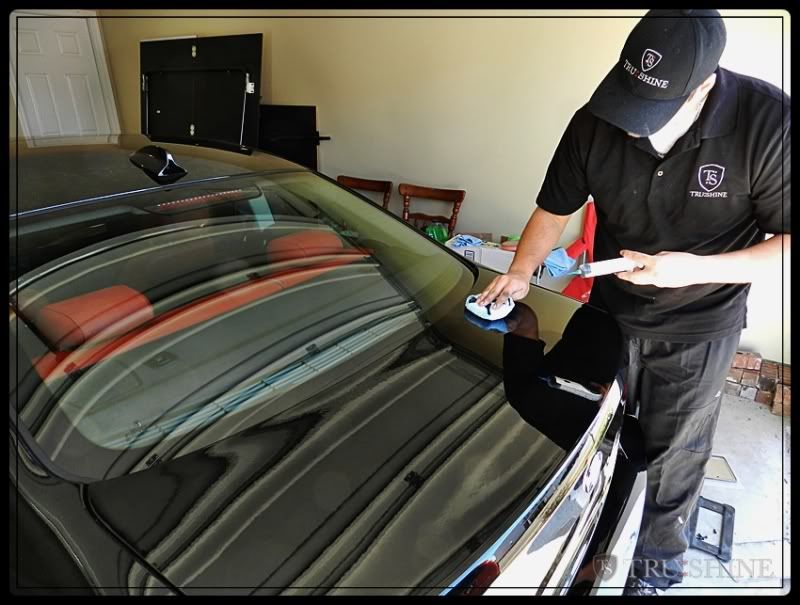
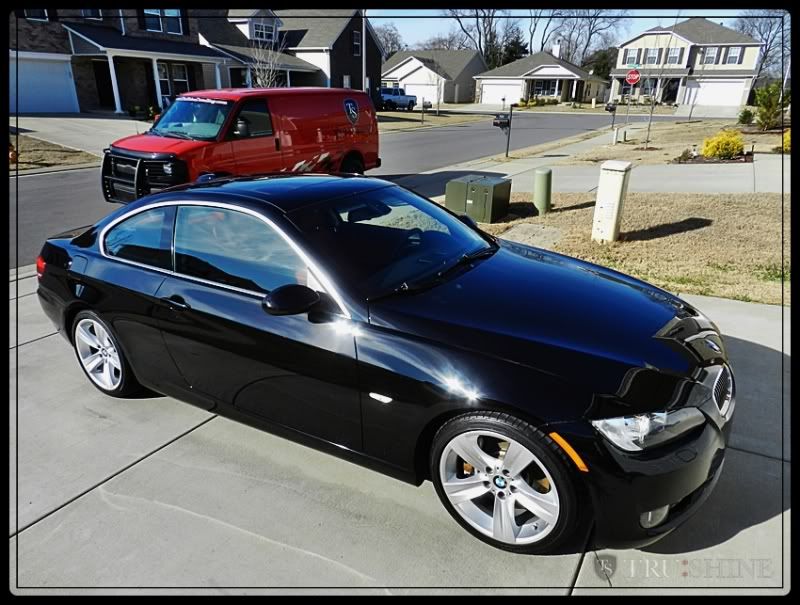
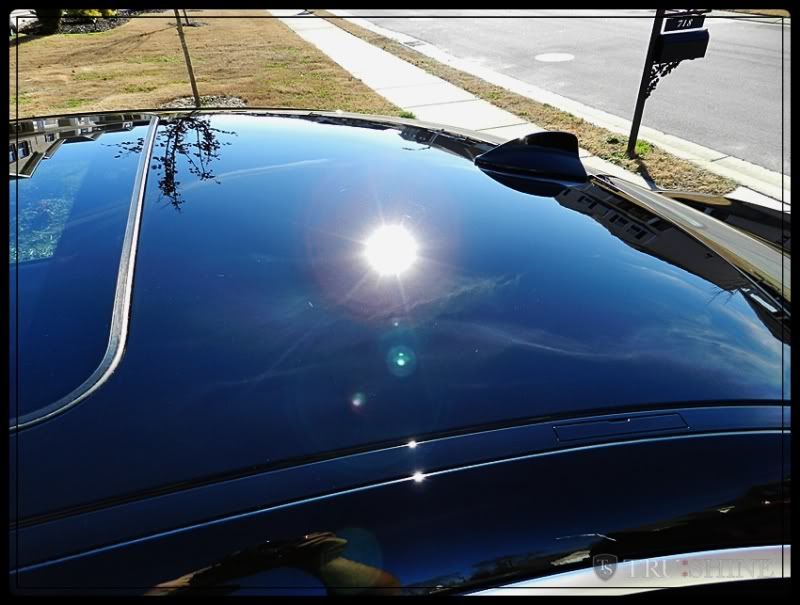
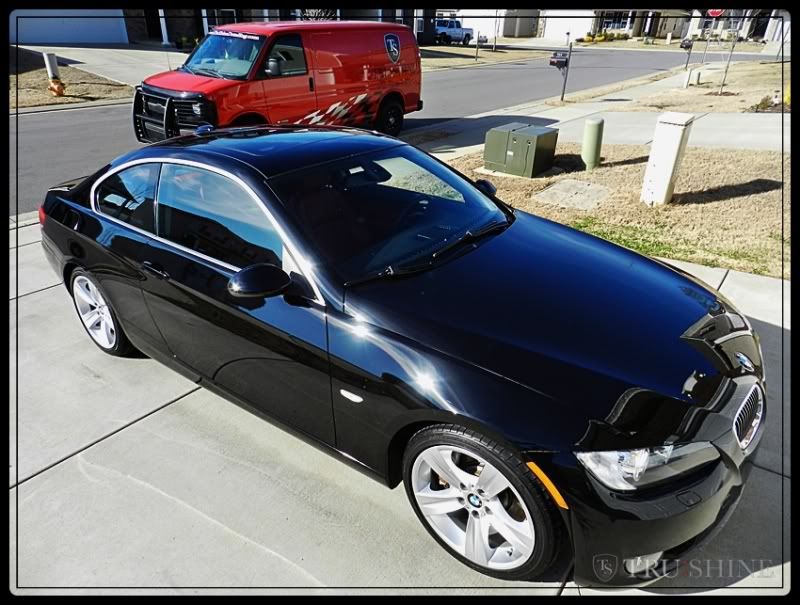
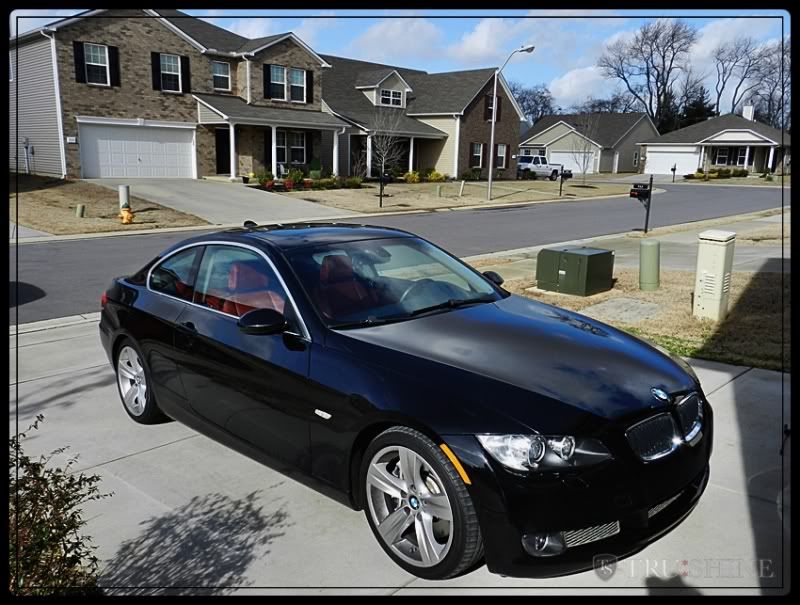
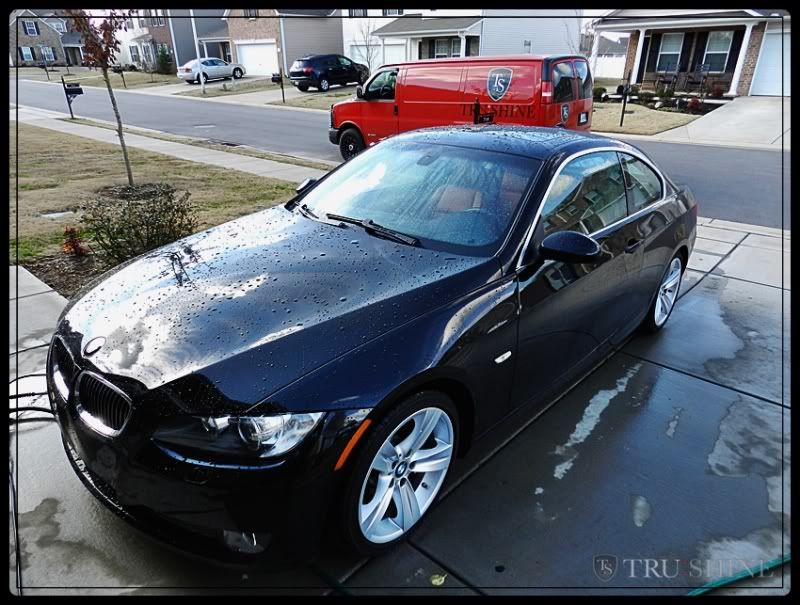
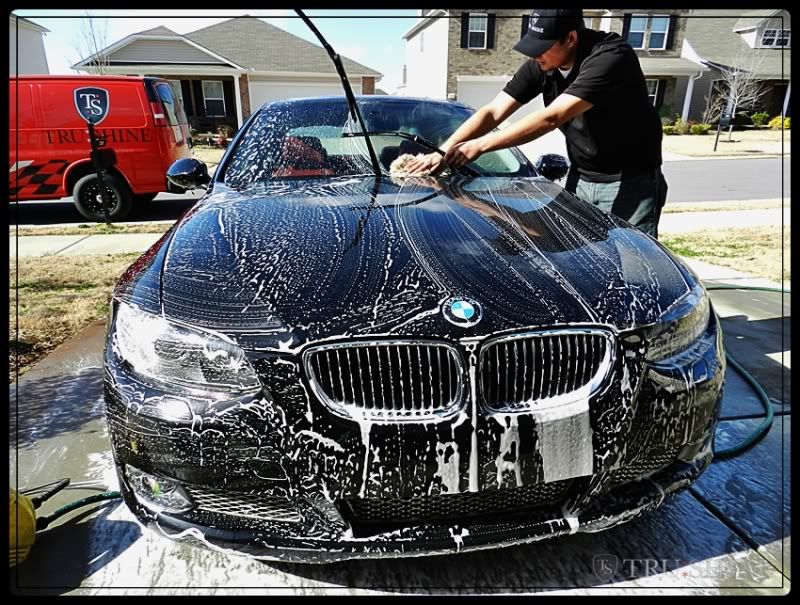
Here is an 07 BMW 335i that this customer contacted me about reviving. He wanted the car to look brand new, but he didn't want to have to get it repainted (Which surprisingly, a lot of people consider doing because they aren't properly informed about the potential of paint correction). The surface has light ACID rain etching and lots of surface scratches.
Enough with all of this reading, lets get to the pictures.
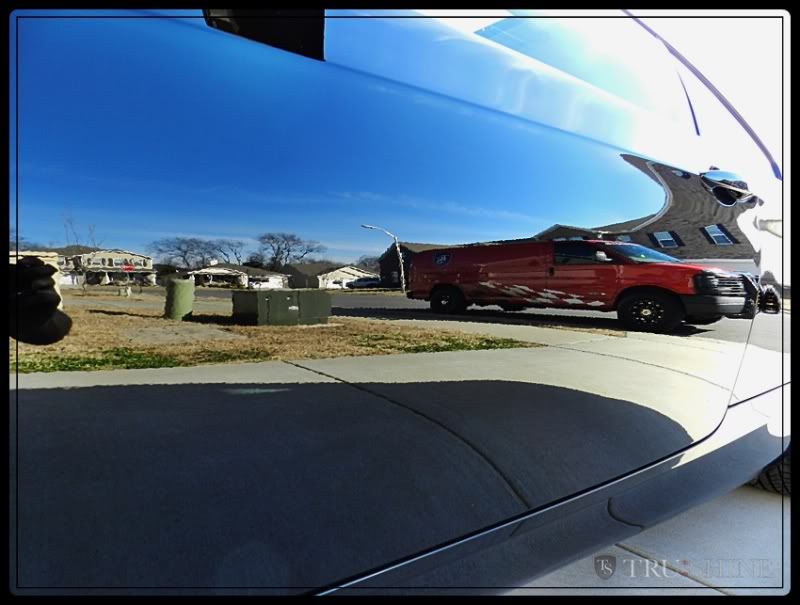
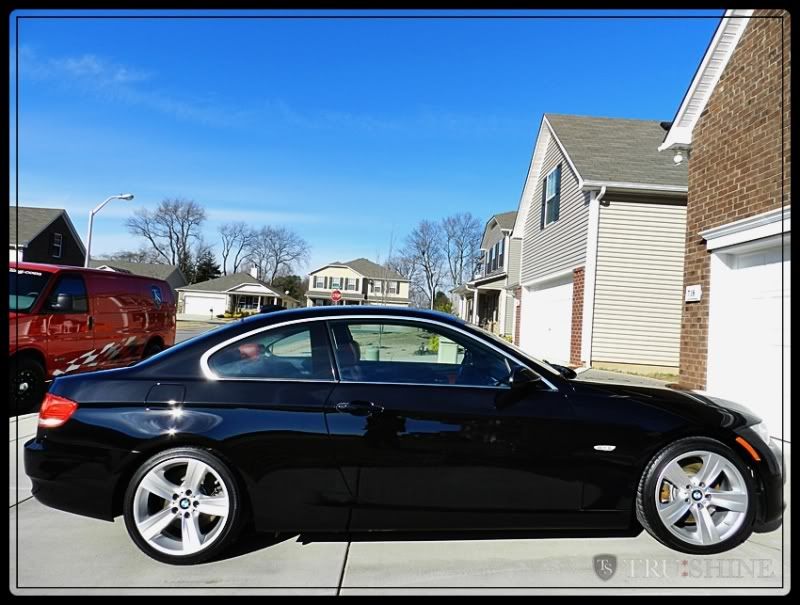
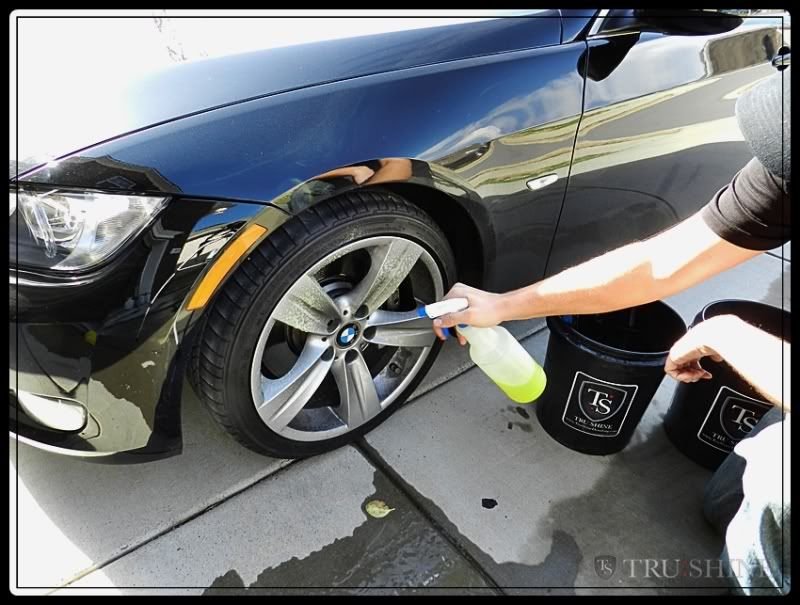
Here is the car when I arrived before the wash.
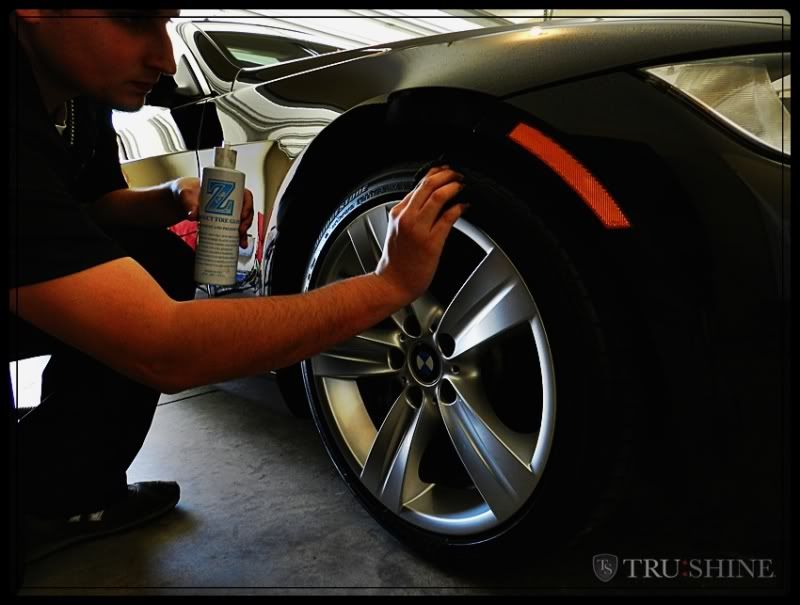
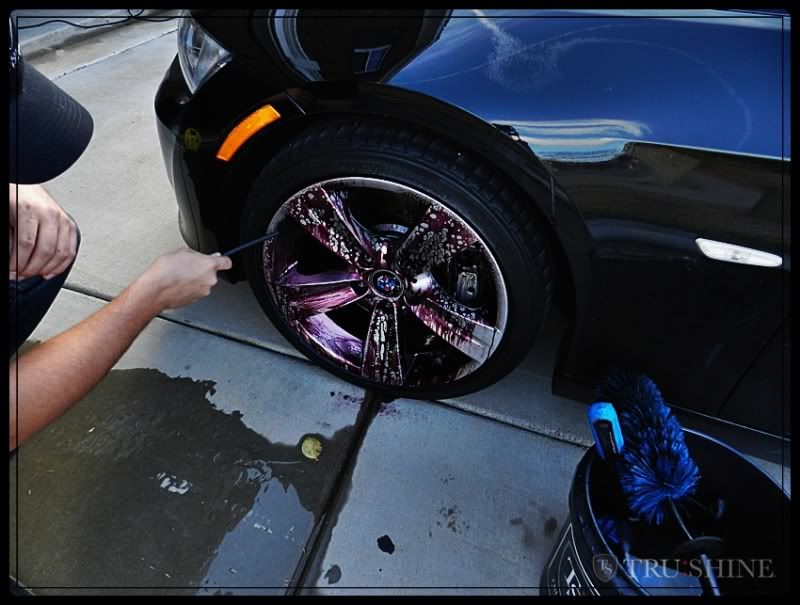
For the Washing process, I always start with the wheels first. This is to prevent the paint from getting wet and creating water spots while taking my time cleaning the wheels.
It is good to use a pH balanced wheel cleaner when cleaning your wheels. Sometimes it's ok to use a diluted "Wheel bright" such as Meguiars Wheel Bright, but only on painted or clear coated wheels. (But only ever so ofter, using it time after time will create a dull finish to your wheels)
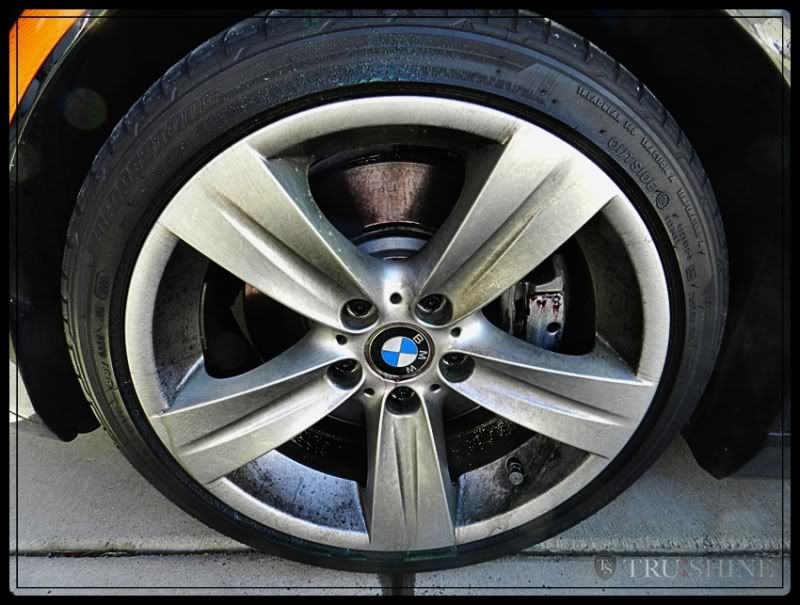
Here I am using Sonax Full Effect. This wheel cleaner is pH balanced and is safe for any type of wheel, (painted or polished). The Sonax FE will actually disolve the Iron particles in the brake dust and turn a red color to inform you of it working.
(right after spraying)
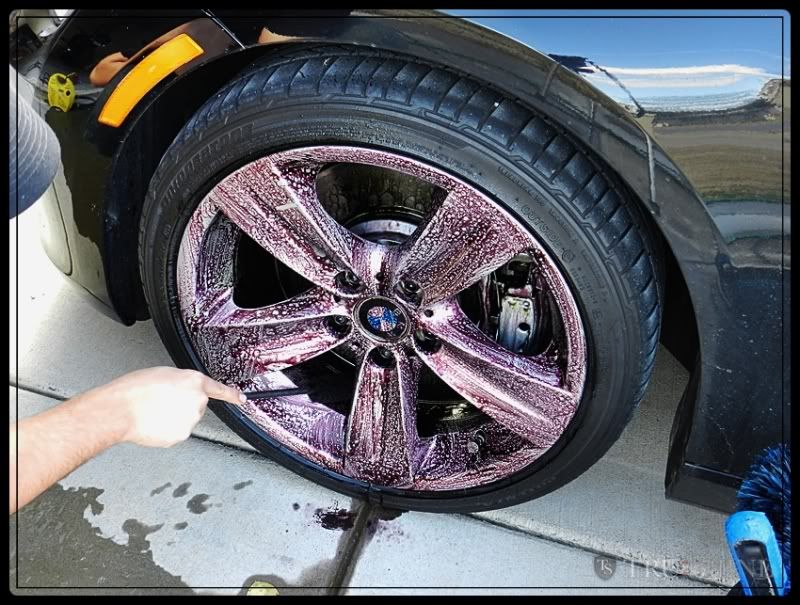
(after 1 min)
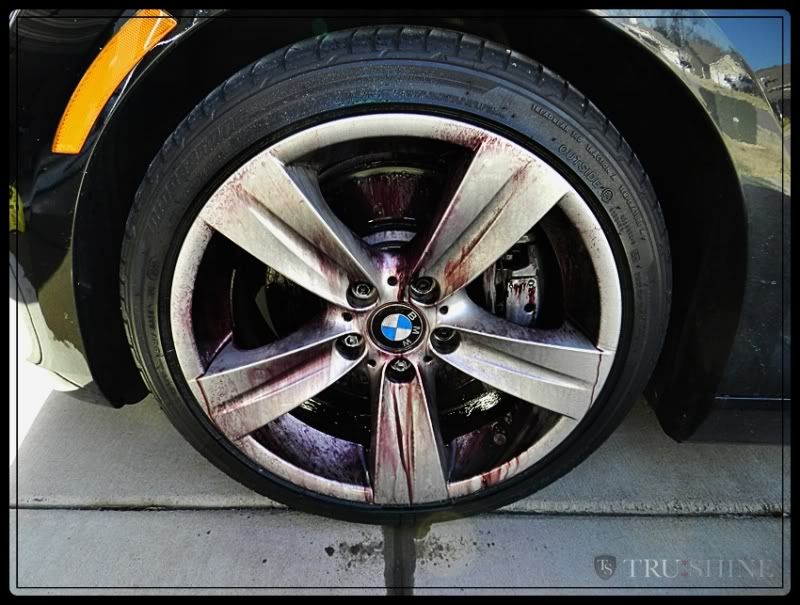
I wanted to compare a different product that is designed for decontaminating any type of surface (Not a wheel cleaner), that dissolves iron particles just like Sonax FE. which is CarPro IronX.
here is a pic of Iron X reacting after 10-15 seconds. ( a lot faster then Sonax which takes 45-1min. to start changing)
(after 20-30 seconds) passenger side

I'm not determining which is better by how fast they react to the brake dust, just doing a little experiment. IronX is not a wheel cleaner, just a pH balanced decontaminate product that can help clean wheels.
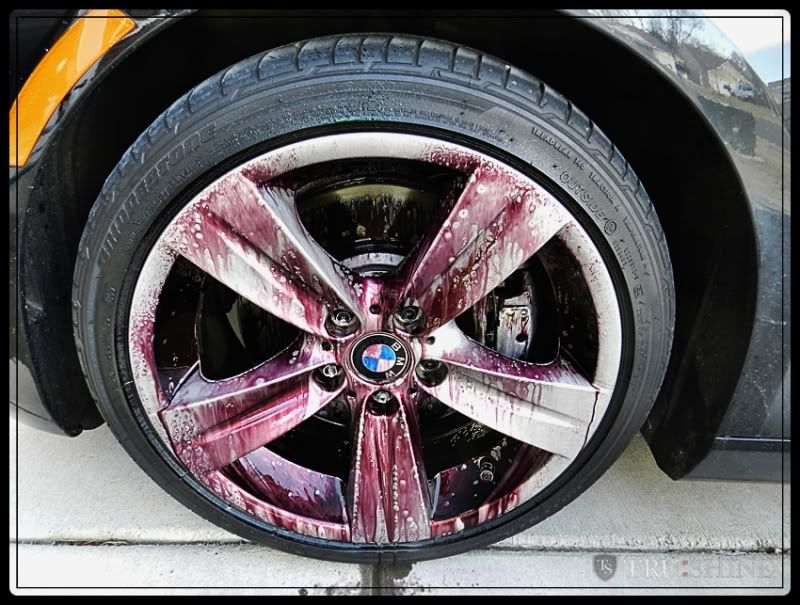
I decided to spray IronX over the Sonax to see what the reaction would be like. The IronX really added to the effect.
(driver side with Sonax then IronX)
With the help of the EZ Detail brush and Wheel woolie's, I was able to get deep into the wheel and safely clean them
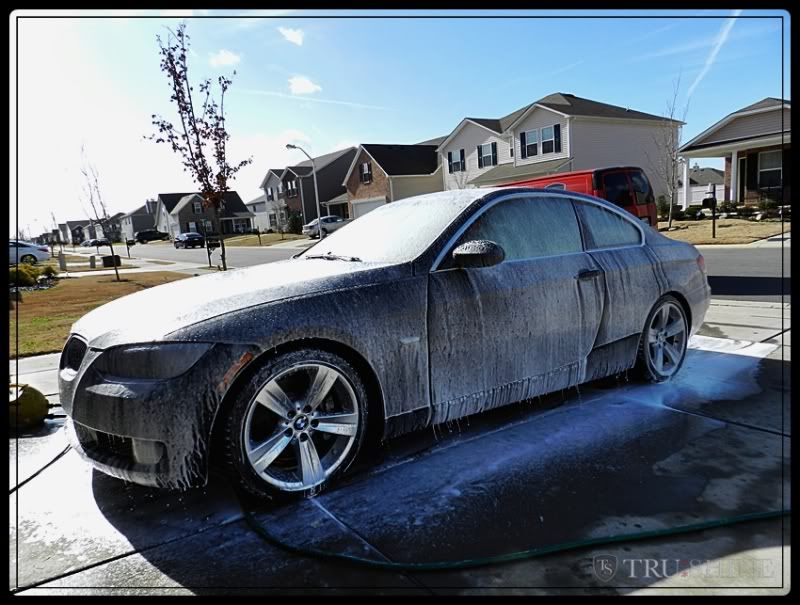
Next I Pre-Rinse the car knocking off any heavy/loose debris.
Then I give the car a good foam bath. the foam helps give the dirt some suspension while agitating the surface with a 100% sheep skin wash mitt. that is my Favorite method of washing to help prevent additional marring of the paint.
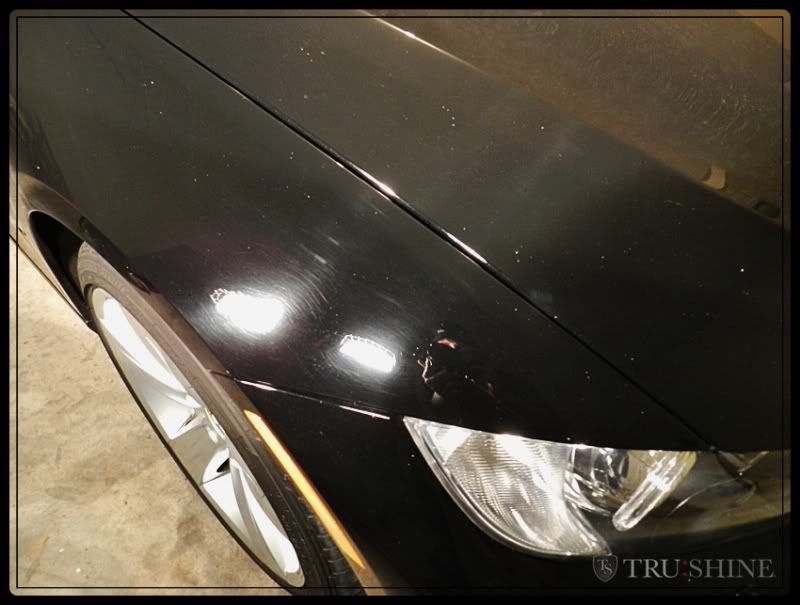
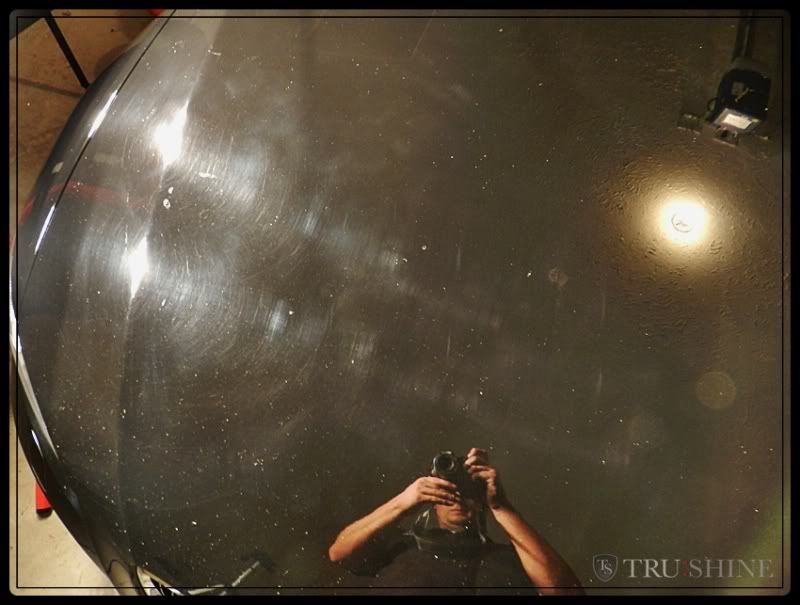
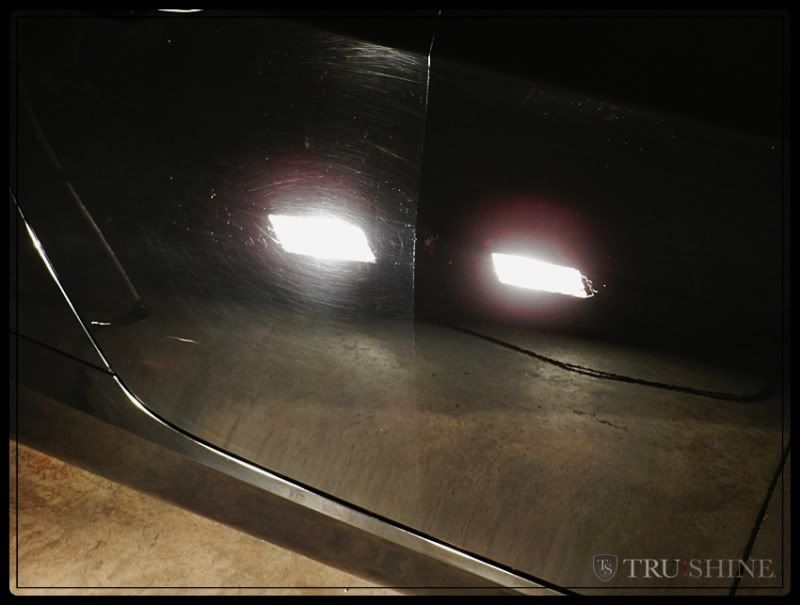
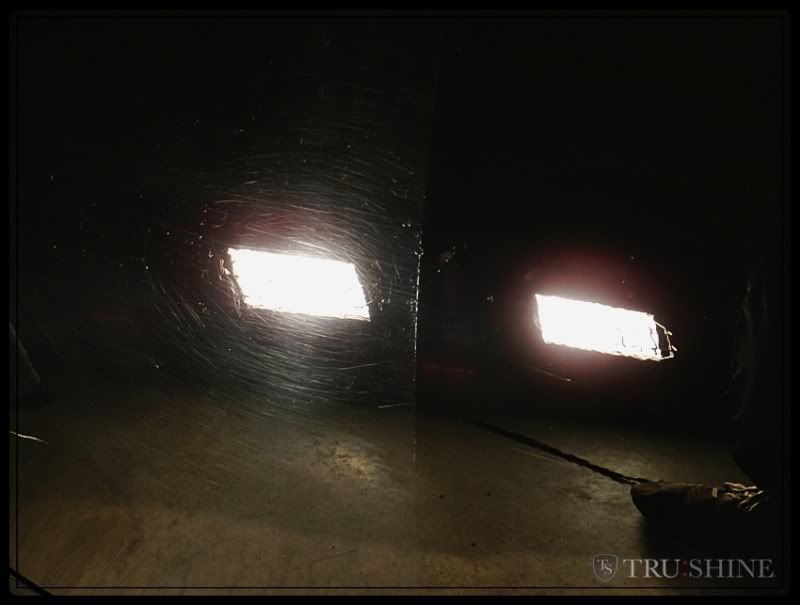
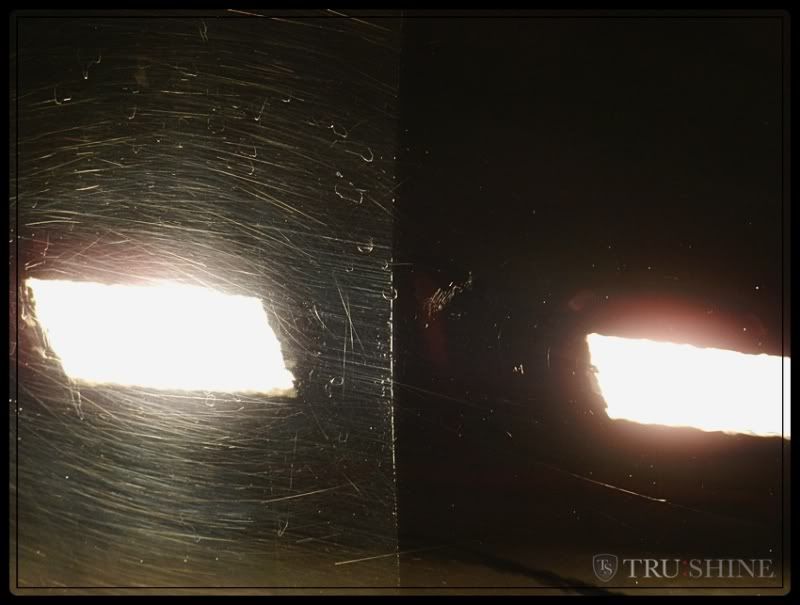
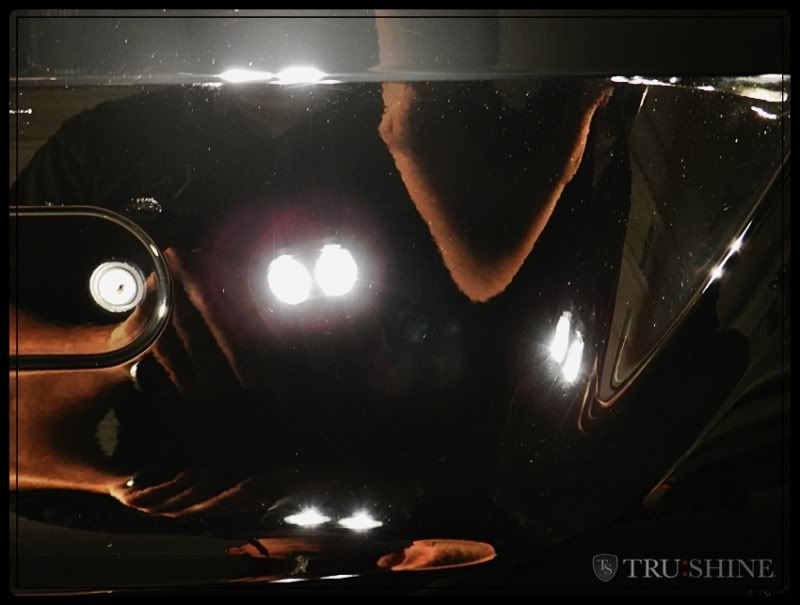
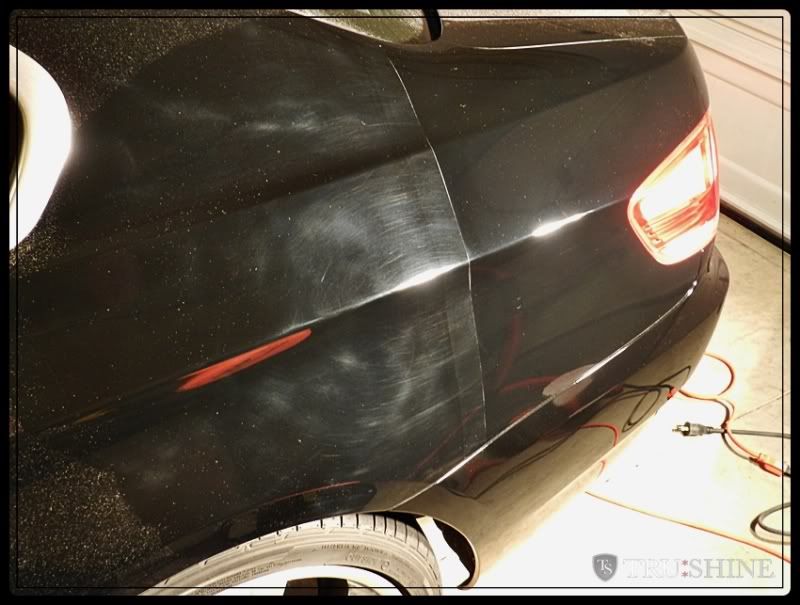
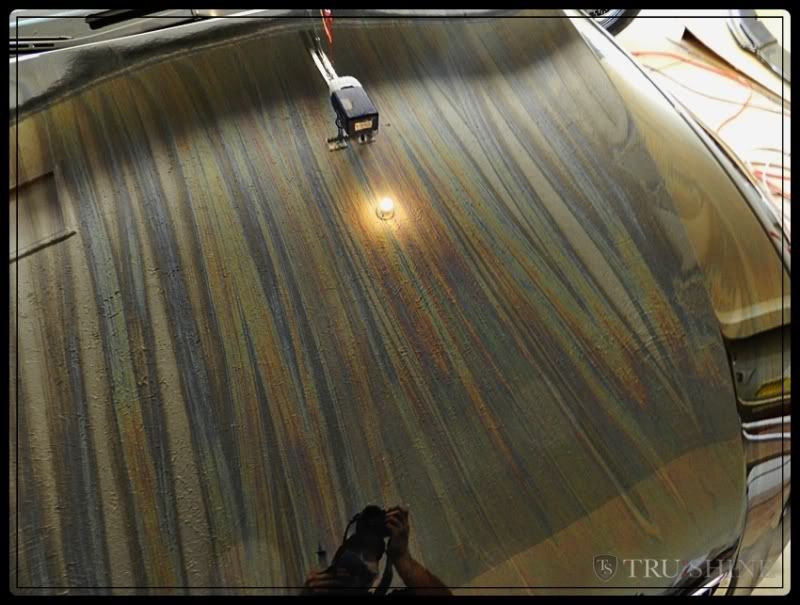
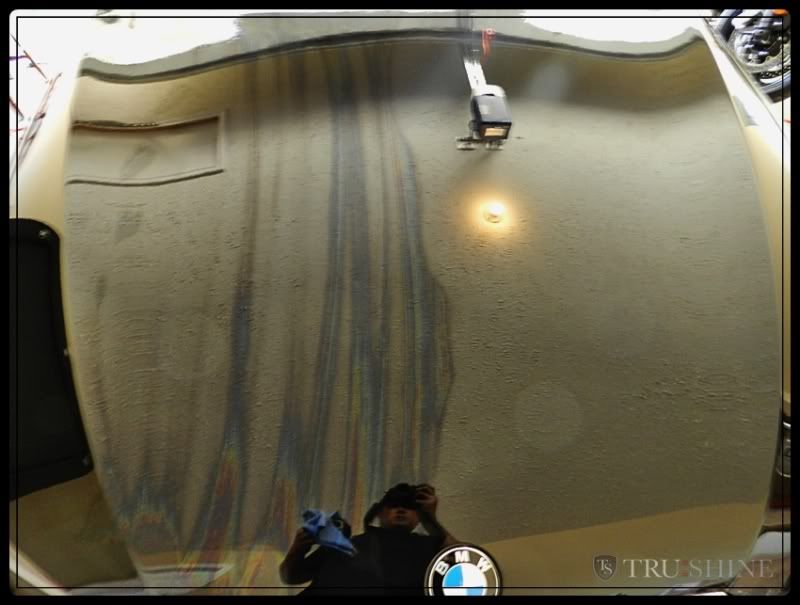
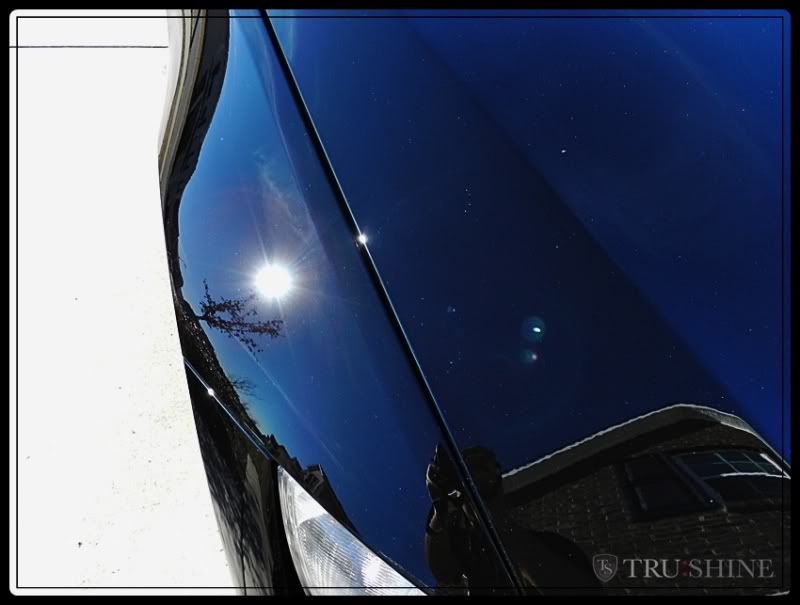
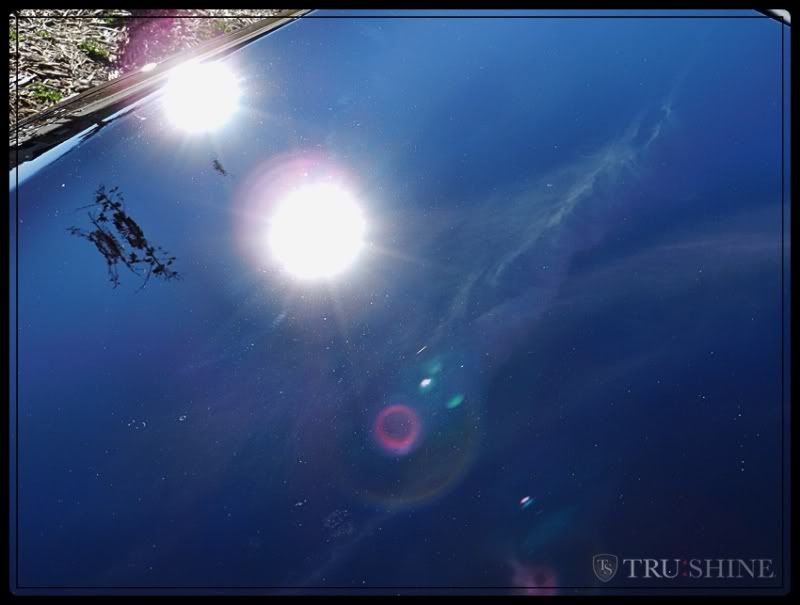
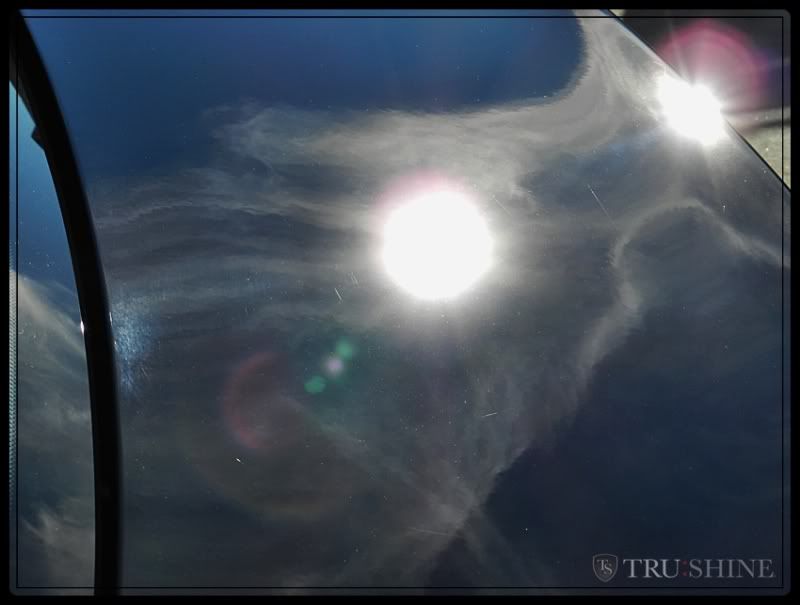
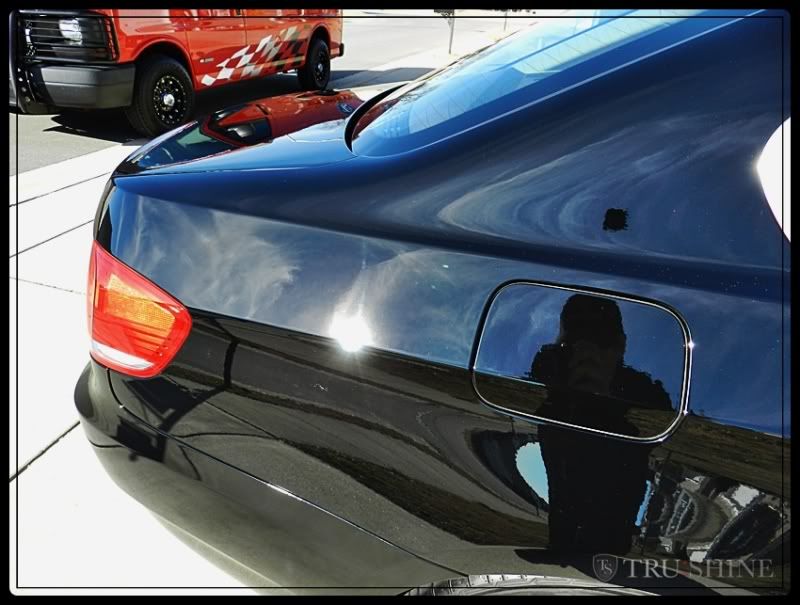
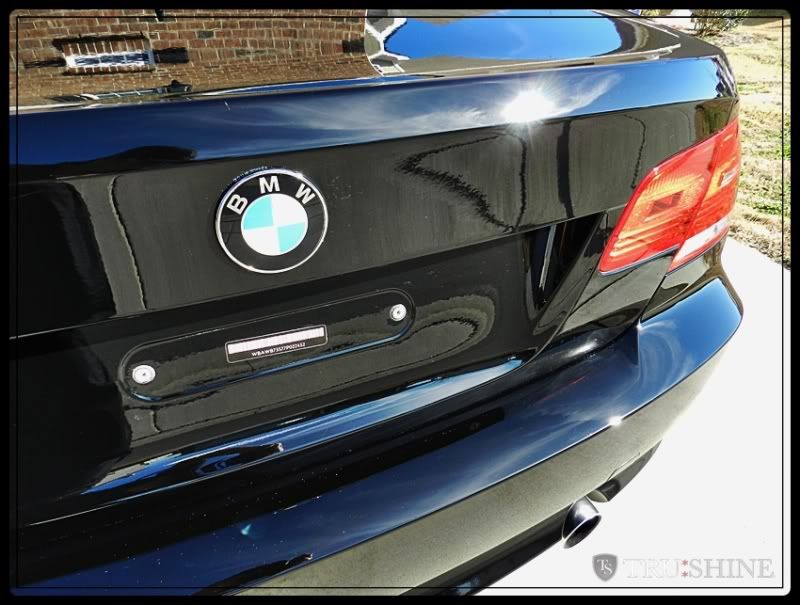
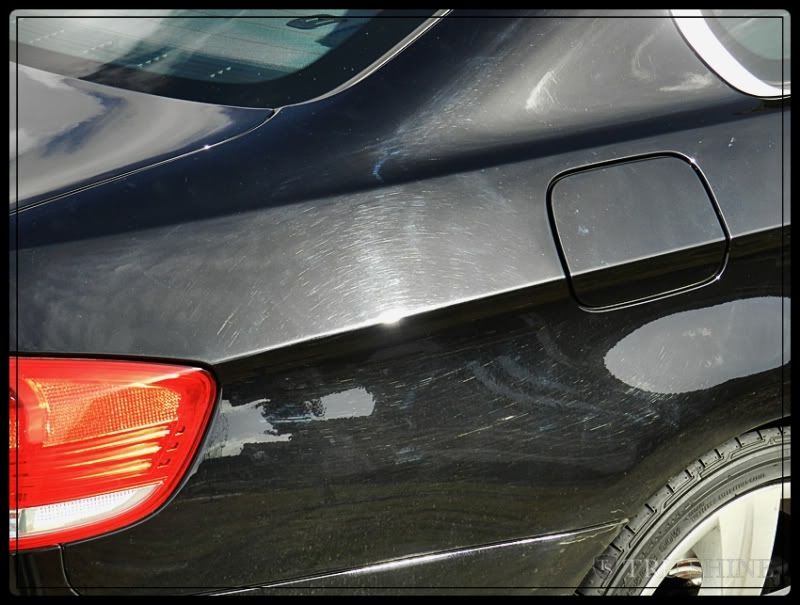
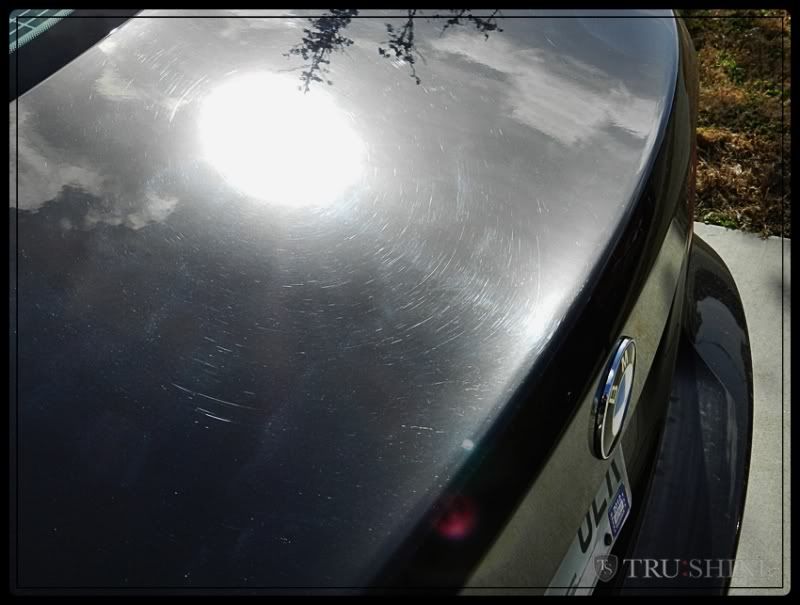
waxes and oils on the surface can hide lighter defects and scratches, so striping all of the old stuff off is crucial, here is what the paint looks like after the stripping wash.
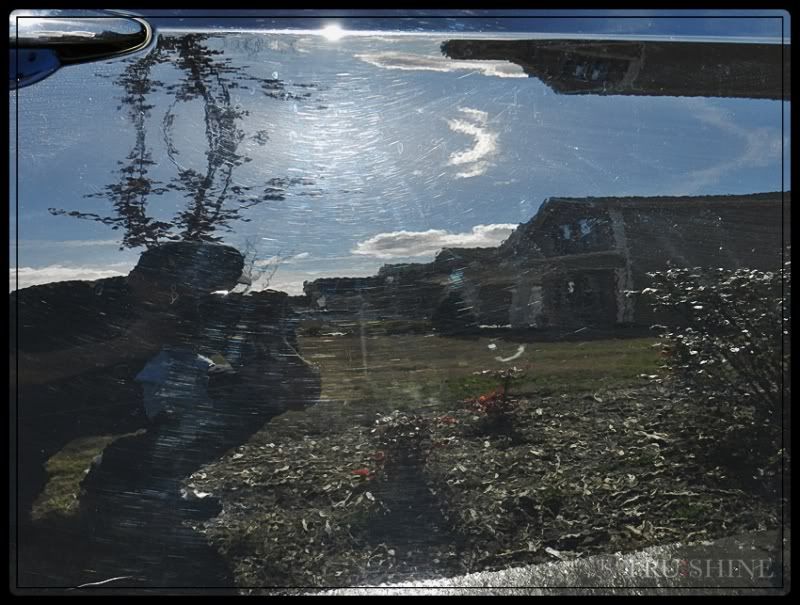
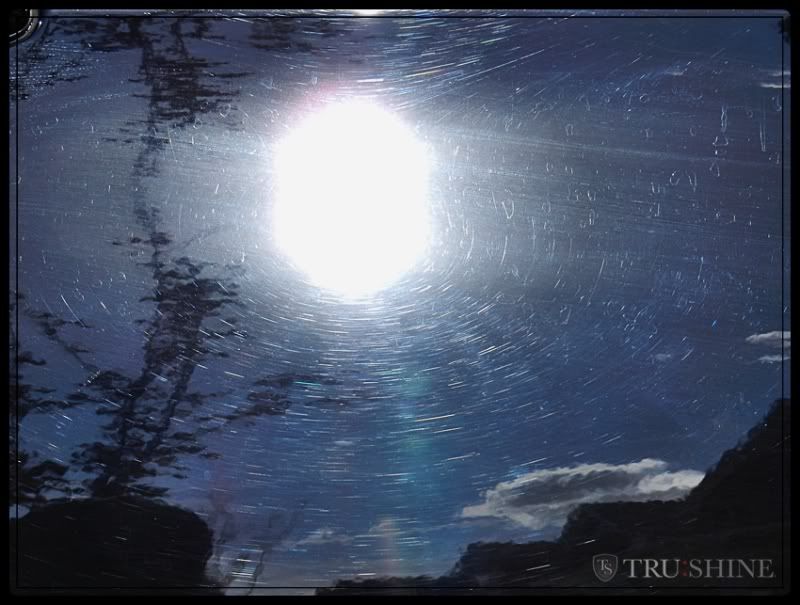
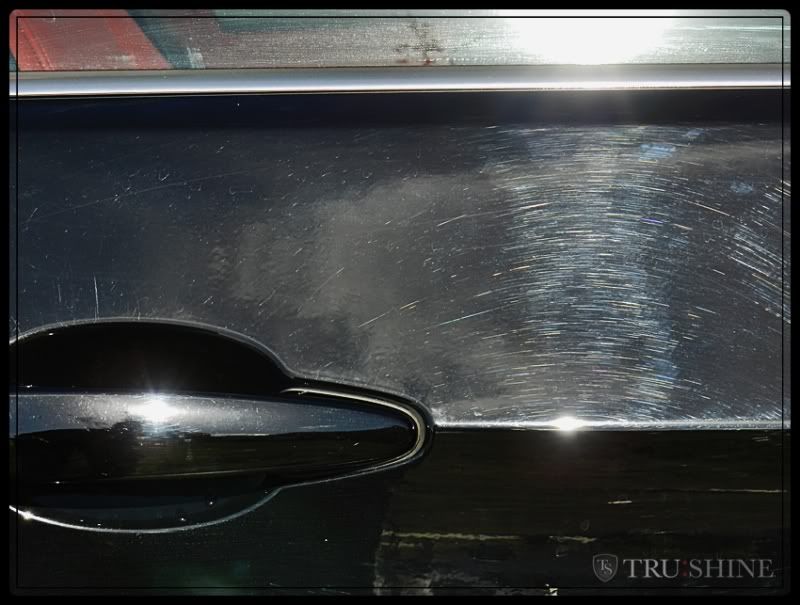
Here you can see some of the light acid etching that was talked about earlier.
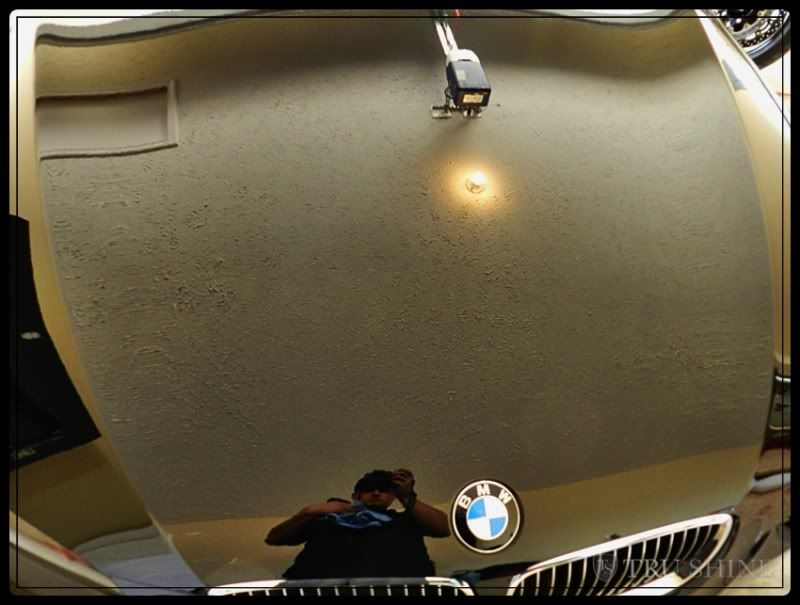
Next the car was brought inside for the prep and decontamination.
I clayed the car using Clay magic blue fine clay with Megs Window cleaner as lube. ( I feel that the window cleaner helps clean the surface as I am claying along with it being very inexpensive)