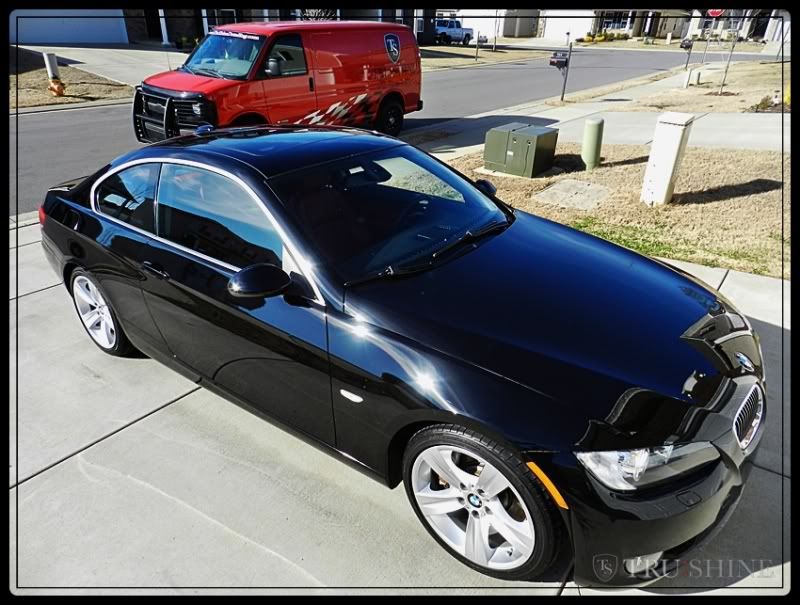
BMW Jet black gets PWNED by Tru Shine + Opti Guard application!

Tru_Shine

New member


BMW Jet Black...... A professional detailers favorite color............Or worst Night mare?


Different manufacturers all use different types of paints and clear coats. Some paints can be soft, some can be hard. For example, Honda, Porsche, Nissan GTR..... all of these paints are typically very soft and require an art form of polishing to refine down and finish off the paint swirl free.

Then on the other end of the spectrum, you have paints from GM, such as Corvettes, or Cadillac's, or anything GM related, that are extremely hard and difficult to "cut". For example, If you have a Cadillac Escalade panel covered in swirls and scratches. it will take 3-4 passes of a heavy cutting combination to remove the 98% of defects, versus the same combination on softer paint which can take only 1-2 passes.


With this being said, you are left with "BMW Jet black" a paint that is in a class of its own.... you always hear of the horror stories on the detailing forums about "BMW Jet black". Some detailers say "Paint is Paint". Which is true, it can all be refined and polished out, but the journey to get it swirl free is the trick. From My experience with JB, it seems that the top surface of the paint is very soft, which is great for removing the light scratches. But the deeper you get, it seems the RID's and Scratches get more difficult to remove and level out. So this paint actually has the worst of both worlds, soft and difficult to finish out and very hard deep down to make it difficult to correct deeper RID's and scratches.


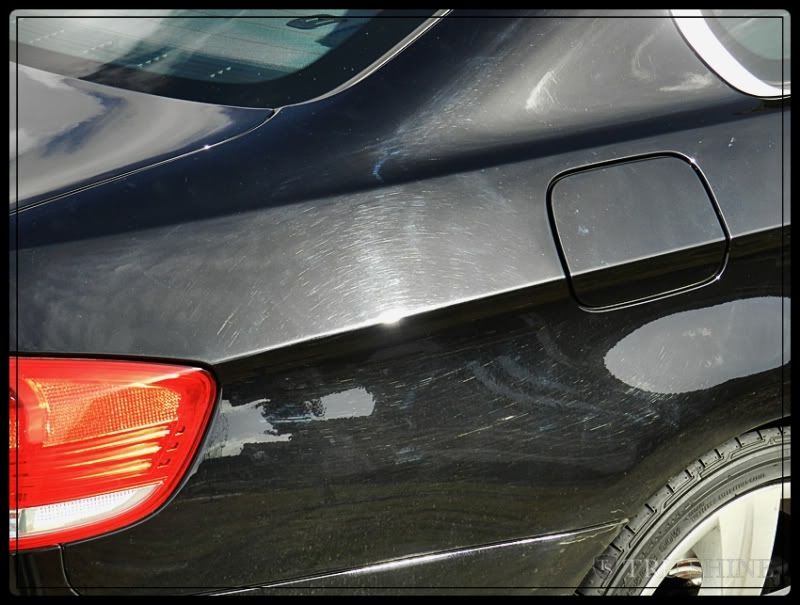
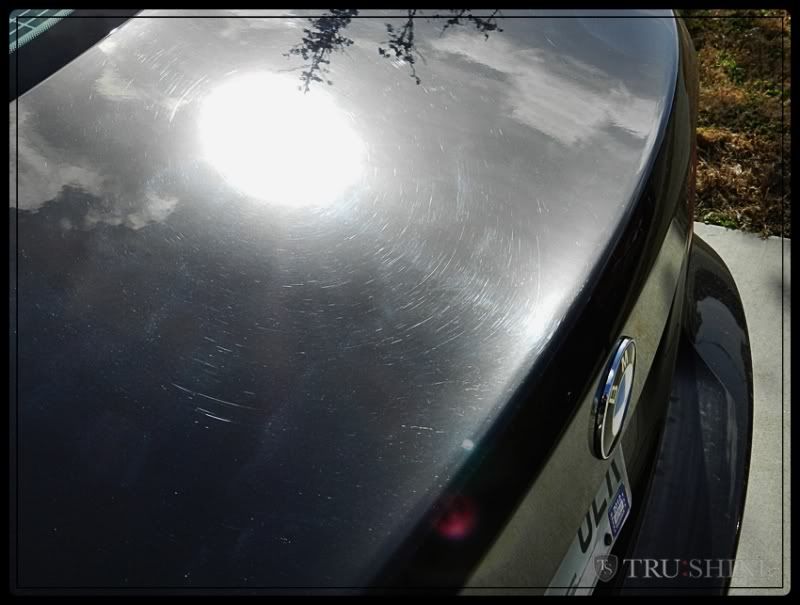
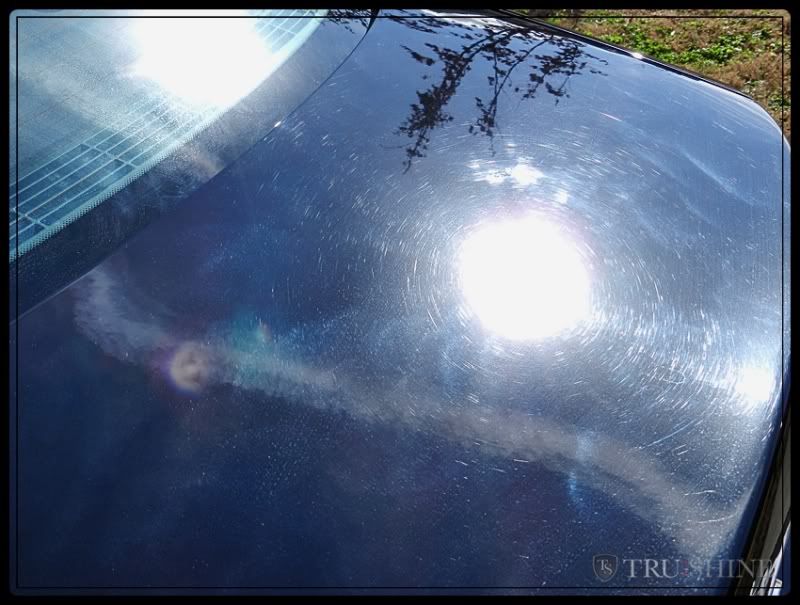
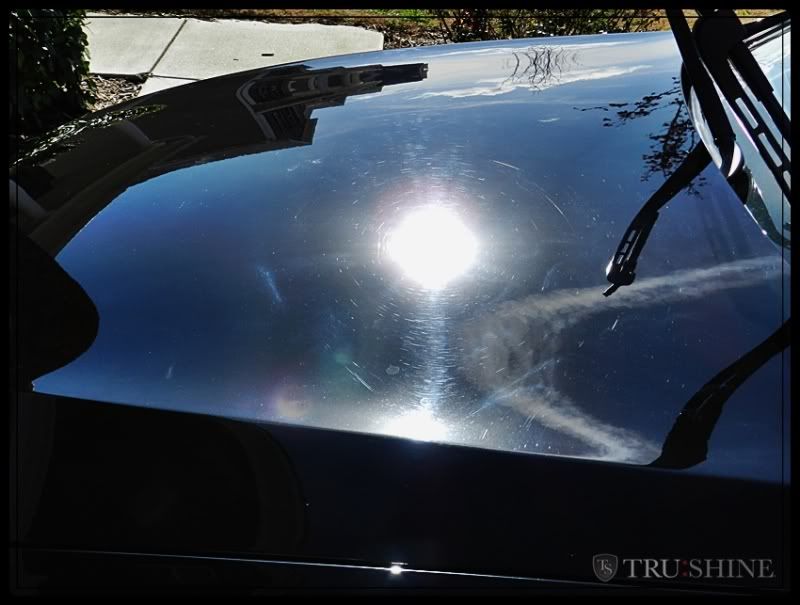
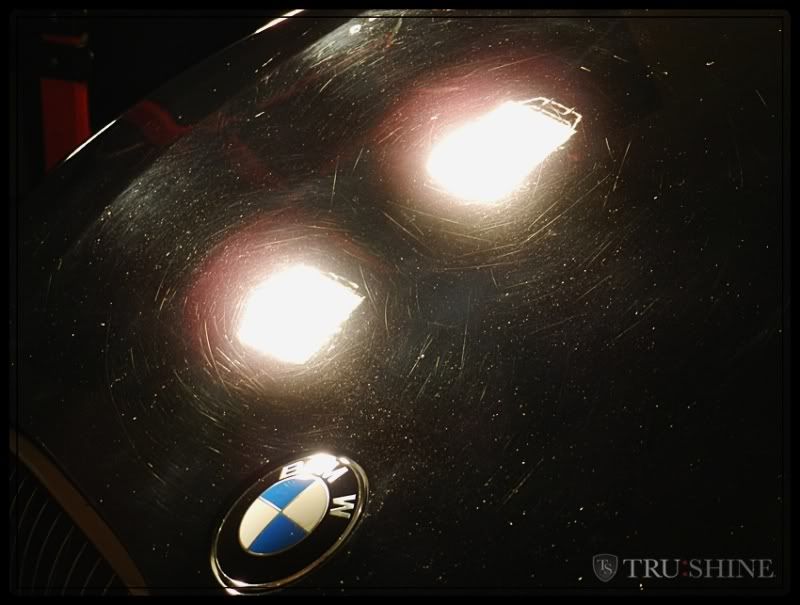
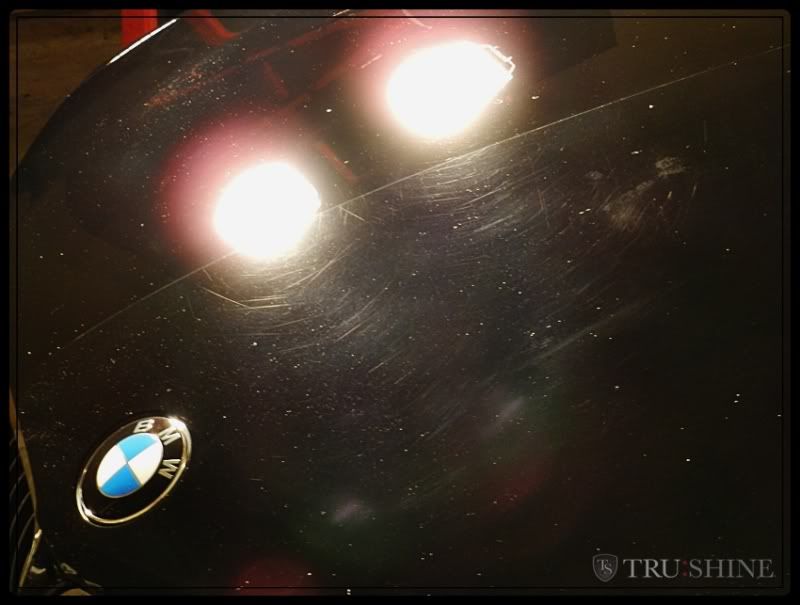
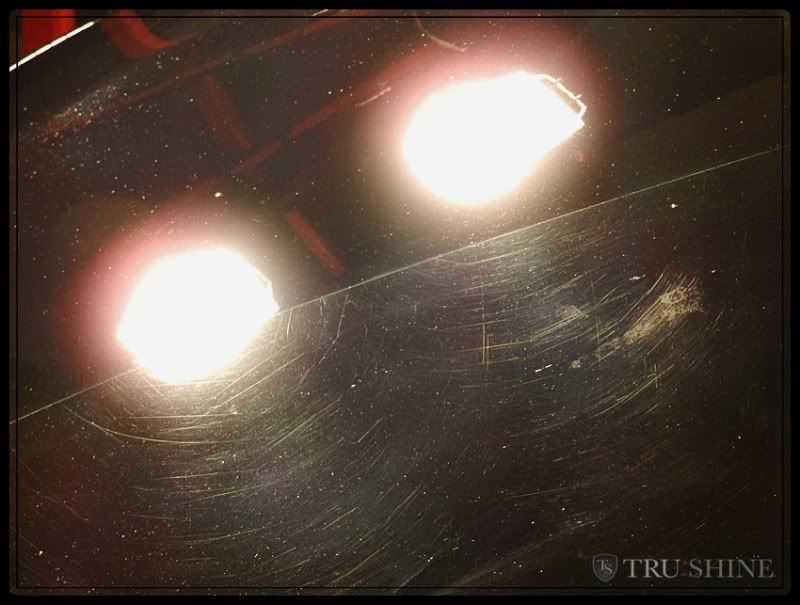
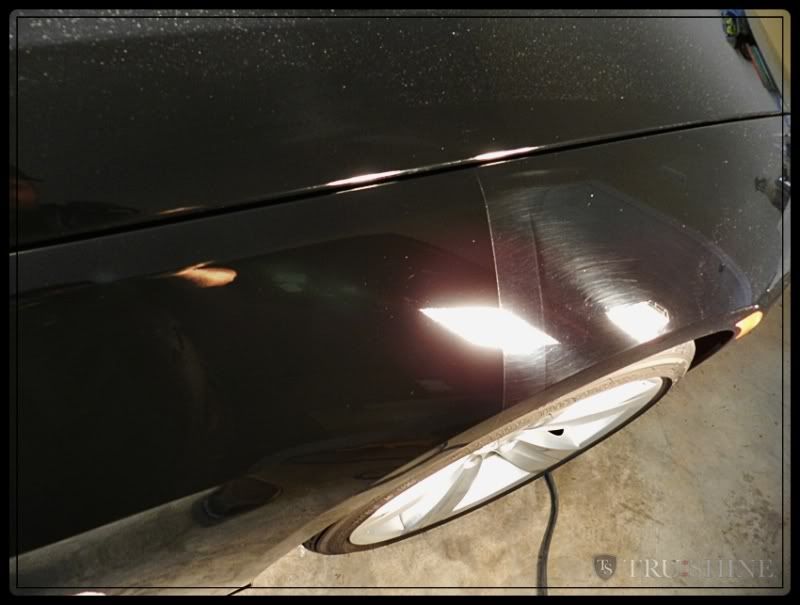
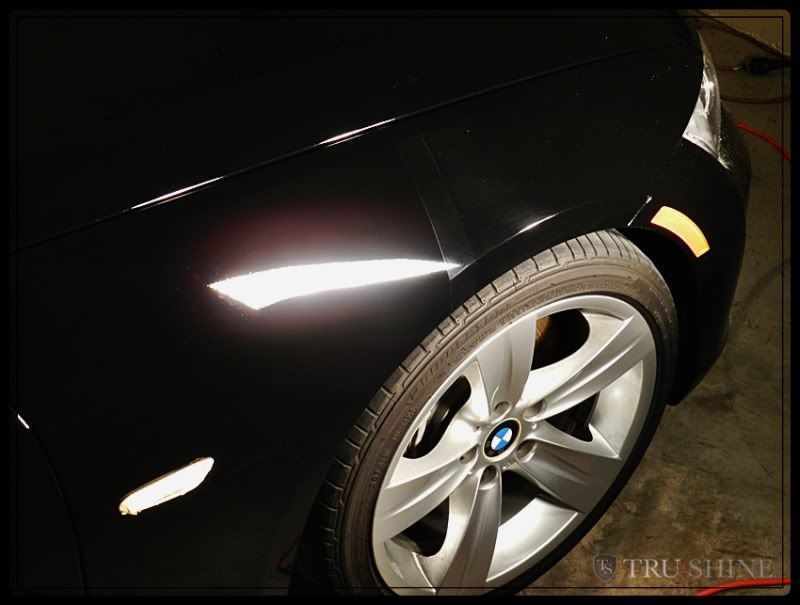
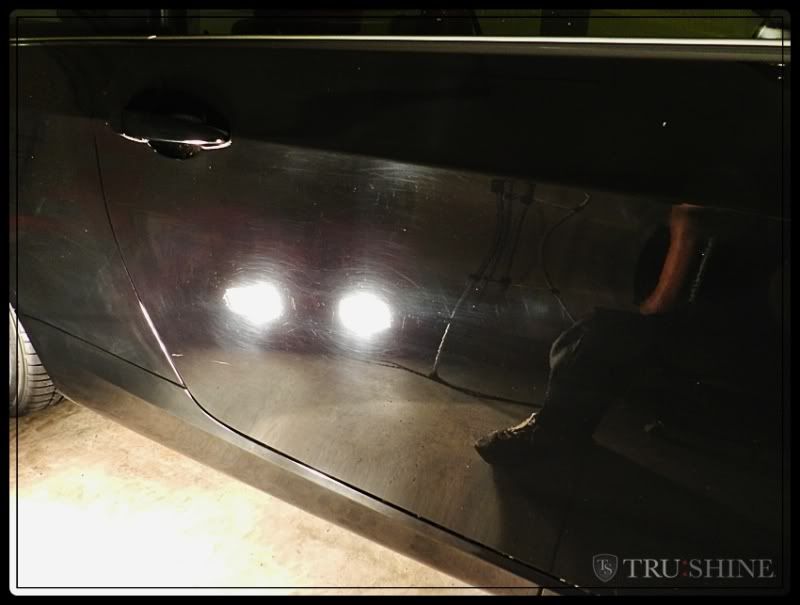
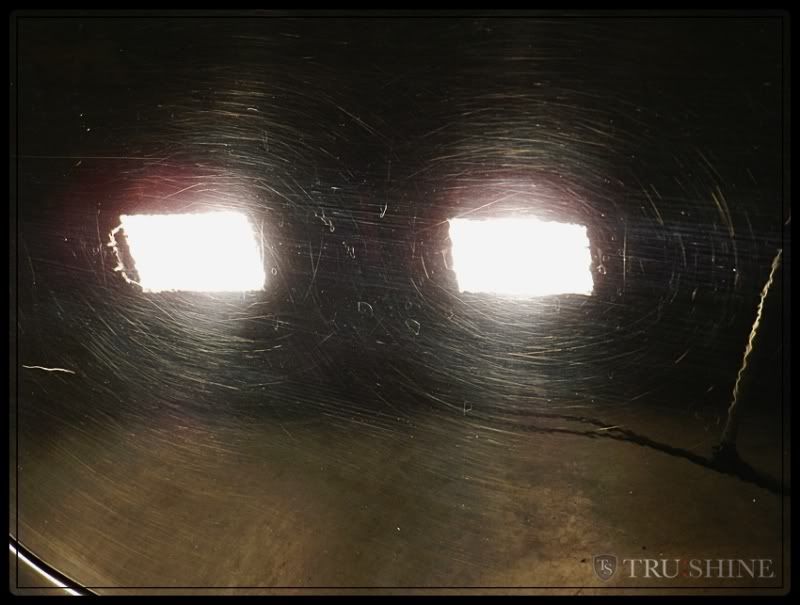
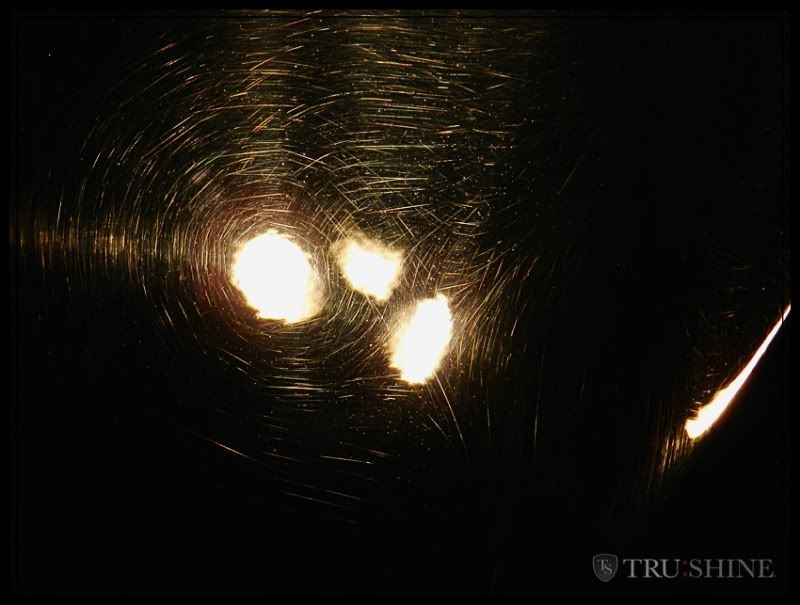
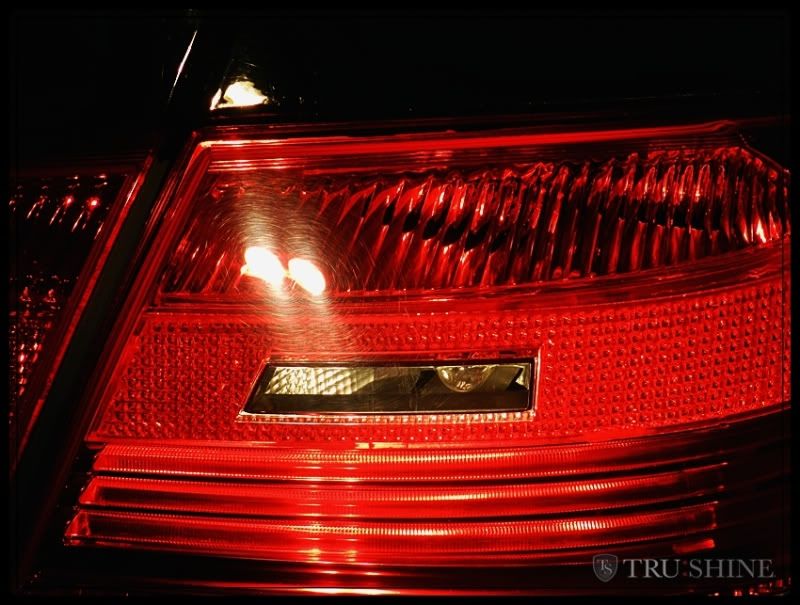
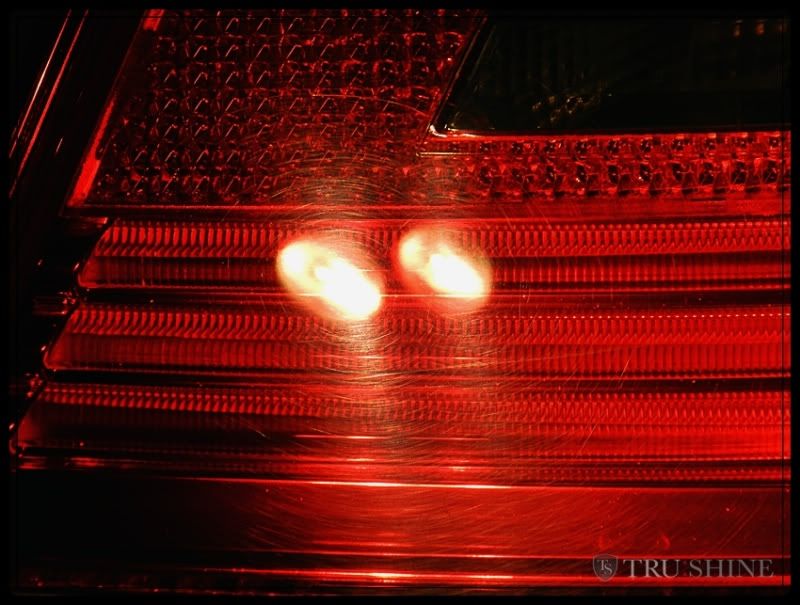
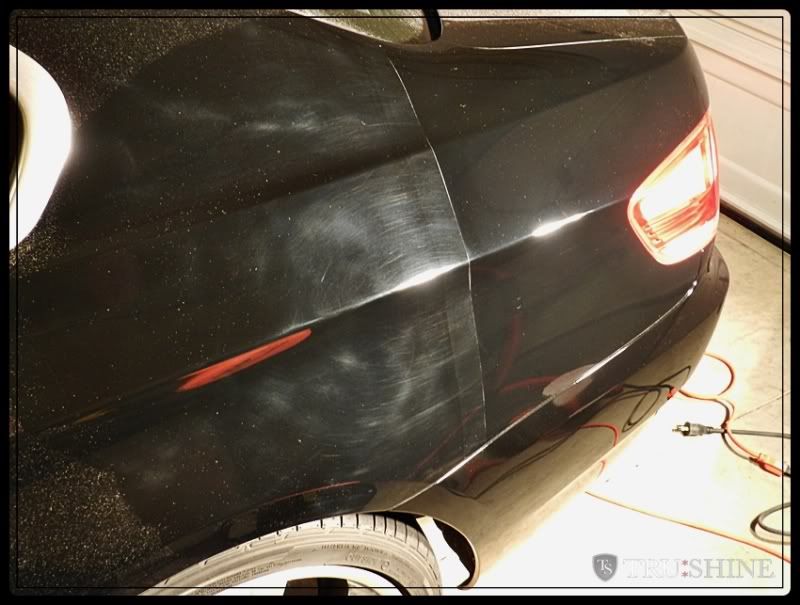
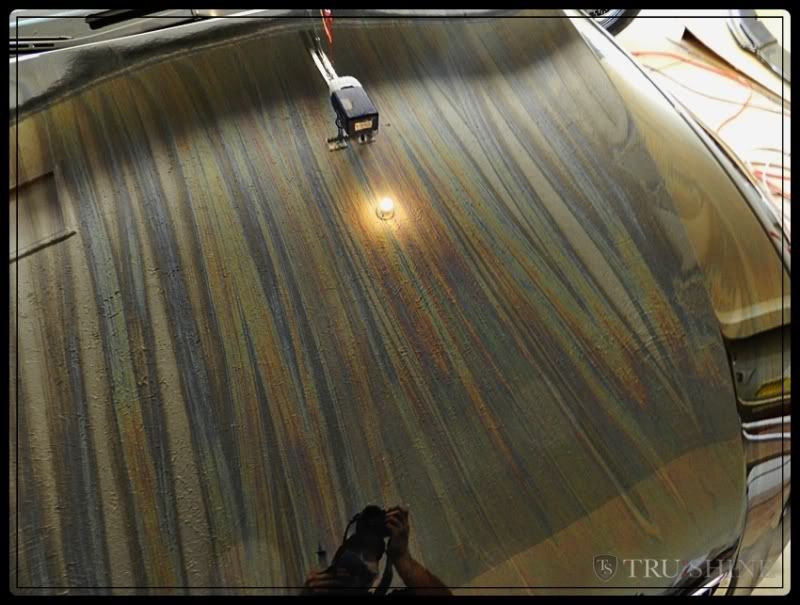
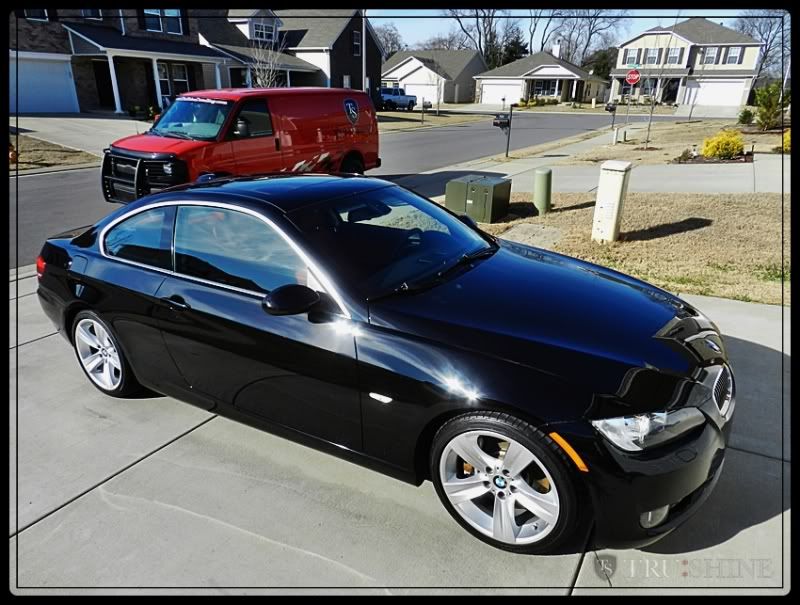
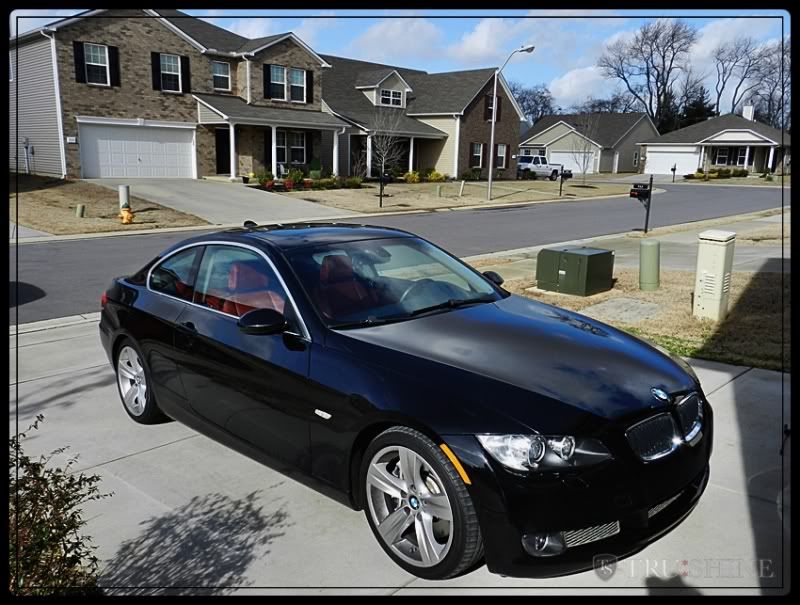
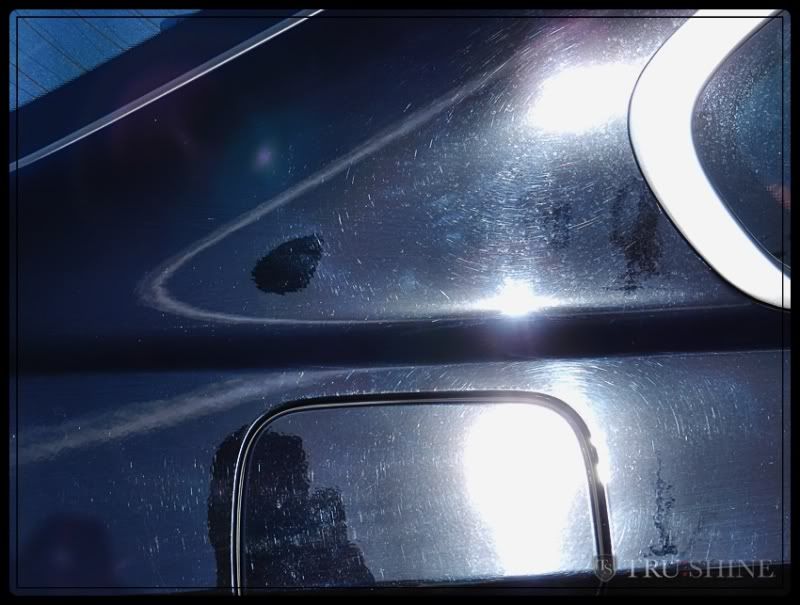
Here is an 07 BMW 335i that this customer contacted me about reviving. He wanted the car to look brand new, but he didn't want to have to get it repainted (Which surprisingly, a lot of people consider doing because they aren't properly informed about the potential of paint correction). The surface has light ACID rain etching and lots of surface scratches.


Enough with all of this reading, lets get to the pictures.


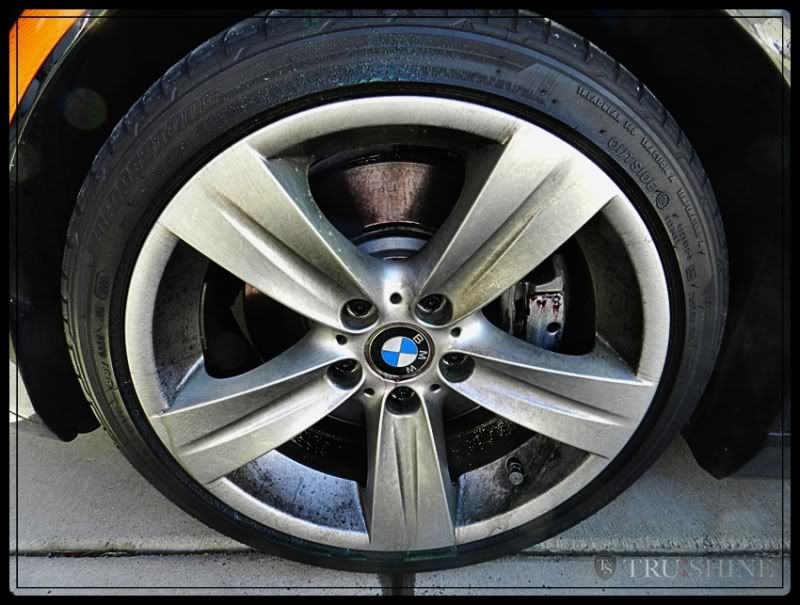
Here is the car when I arrived before the wash.


91897b75.jpg


c80fc194.jpg


5c3e42bd.jpg


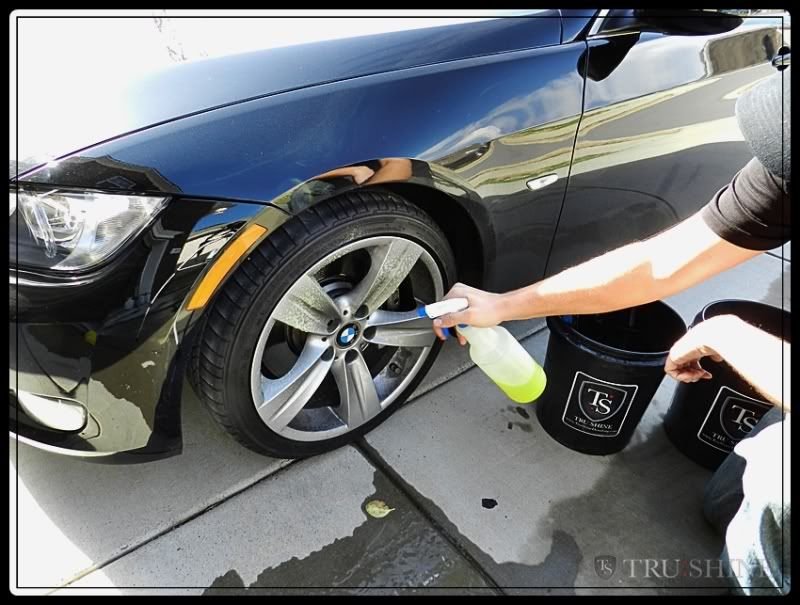
For the Washing process, I always start with the wheels first. This is to prevent the paint from getting wet and creating water spots while taking my time cleaning the wheels.


It is good to use a pH balanced wheel cleaner when cleaning your wheels. Sometimes it's ok to use a diluted "Wheel bright" such as Meguiars Wheel Bright, but only on painted or clear coated wheels. (But only ever so ofter, using it time after time will create a dull finish to your wheels)


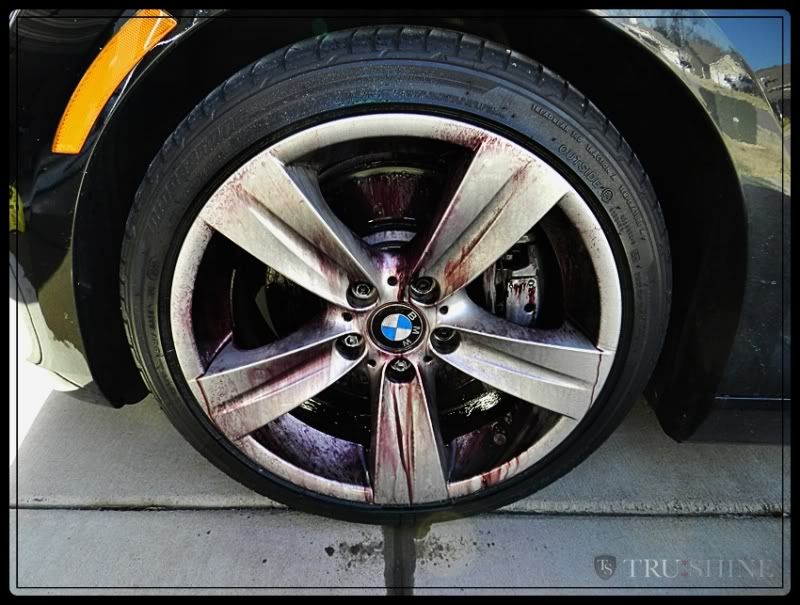
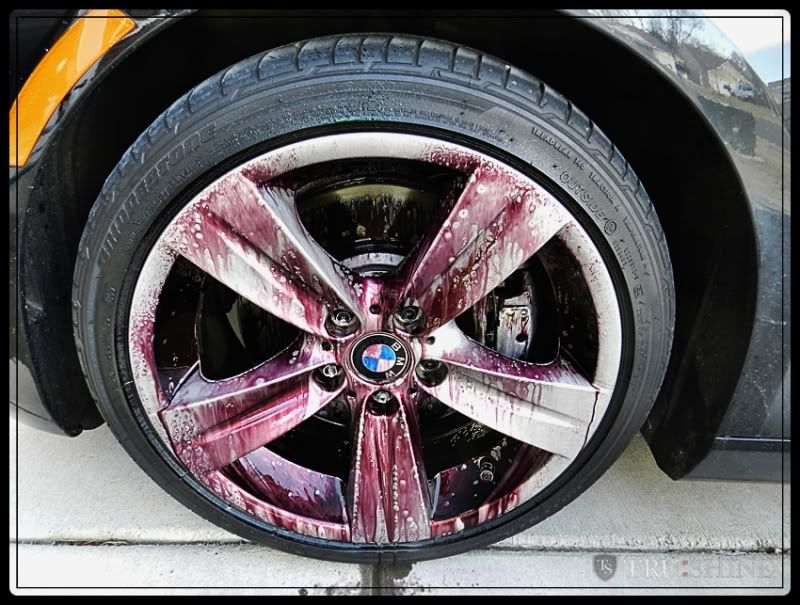
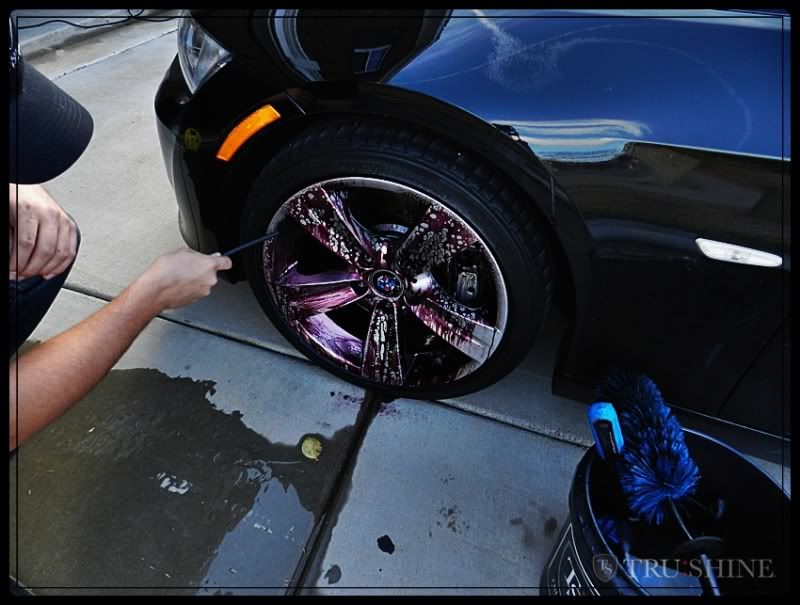
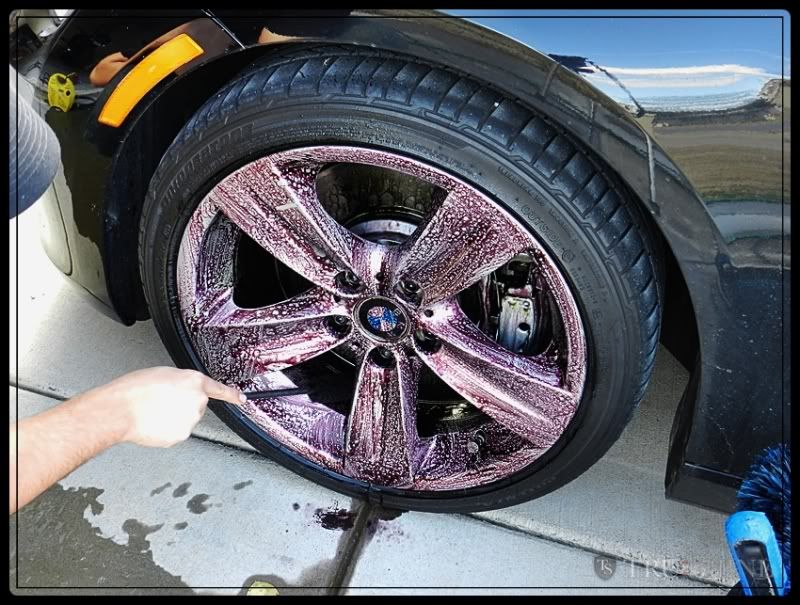
Here I am using Sonax Full Effect. This wheel cleaner is pH balanced and is safe for any type of wheel, (painted or polished). The Sonax FE will actually disolve the Iron particles in the brake dust and turn a red color to inform you of it working.


f8dc980f.jpg


(right after spraying)

2a3557d8.jpg


(after 1 min)

6fd0ad2f.jpg


I wanted to compare a different product that is designed for decontaminating any type of surface (Not a wheel cleaner), that dissolves iron particles just like Sonax FE. which is CarPro IronX.


here is a pic of Iron X reacting after 10-15 seconds. ( a lot faster then Sonax which takes 45-1min. to start changing)


(after 20-30 seconds) passenger side

e7dc7325.jpg


I'm not determining which is better by how fast they react to the brake dust, just doing a little experiment. IronX is not a wheel cleaner, just a pH balanced decontaminate product that can help clean wheels.


I decided to spray IronX over the Sonax to see what the reaction would be like. The IronX really added to the effect.


(driver side with Sonax then IronX)
6b3cf910.jpg


With the help of the EZ Detail brush and Wheel woolie's, I was able to get deep into the wheel and safely clean them

08e33e28.jpg


af23664b.jpg


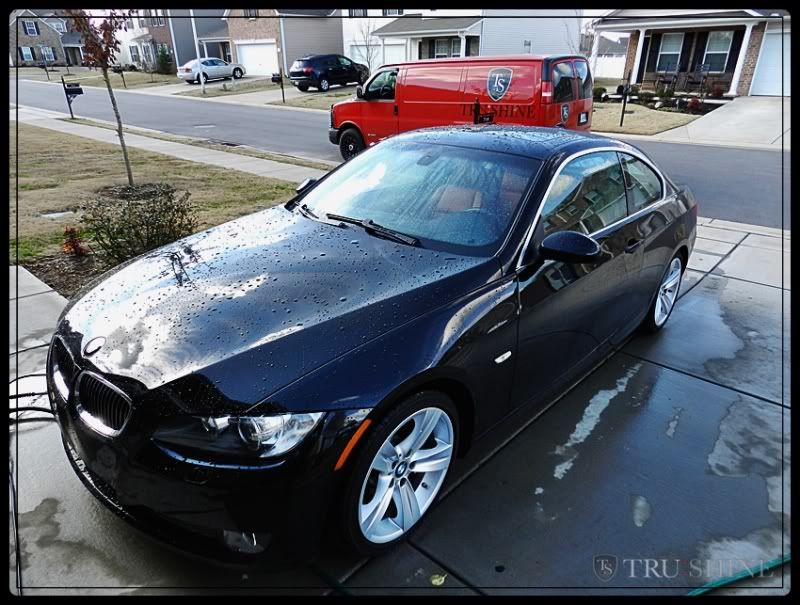
Next I Pre-Rinse the car knocking off any heavy/loose debris.


42d92ae8.jpg


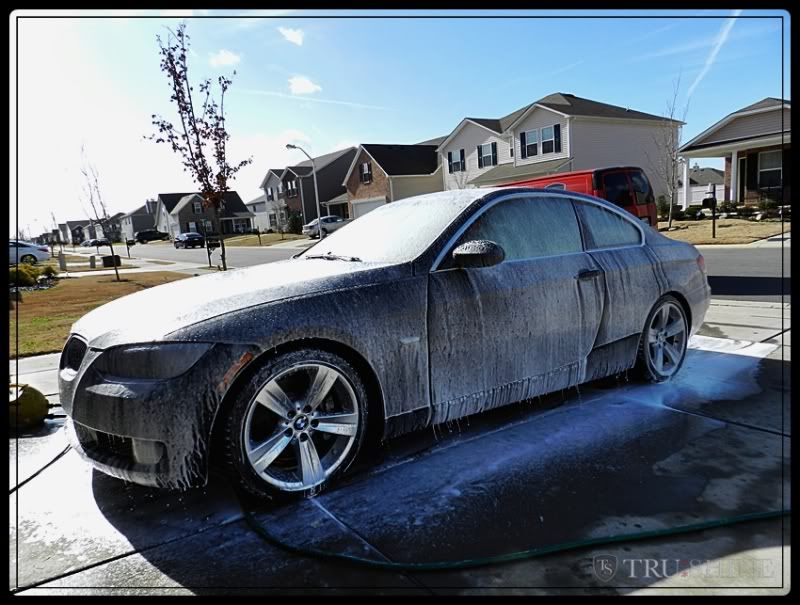
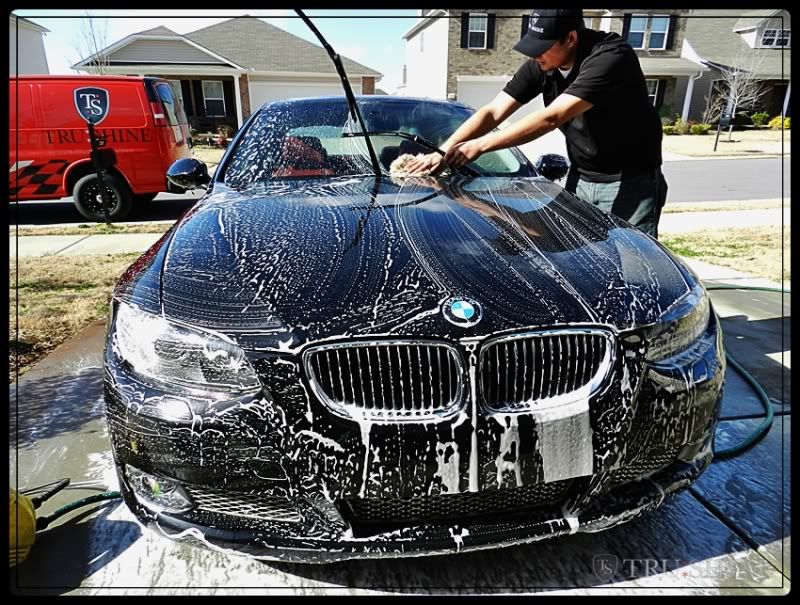
Then I give the car a good foam bath. the foam helps give the dirt some suspension while agitating the surface with a 100% sheep skin wash mitt. that is my Favorite method of washing to help prevent additional marring of the paint.


3000818d.jpg


0f228ce1.jpg


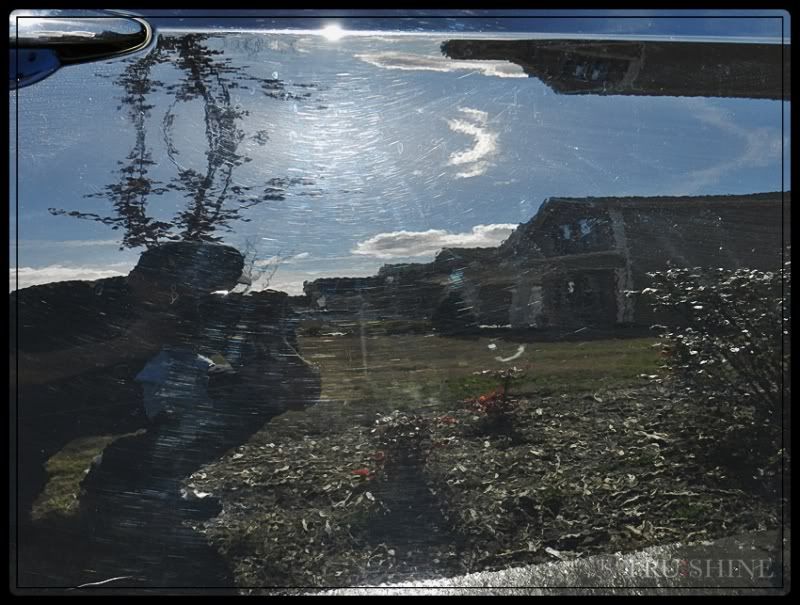
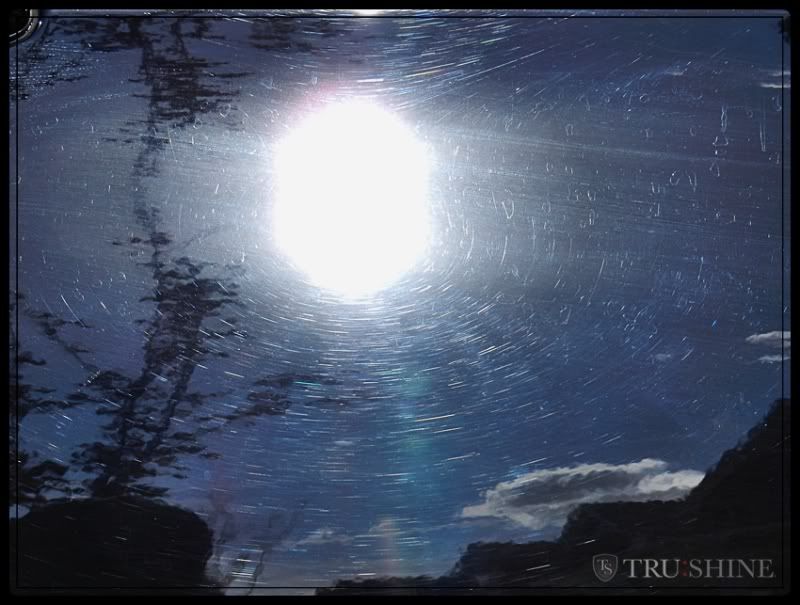
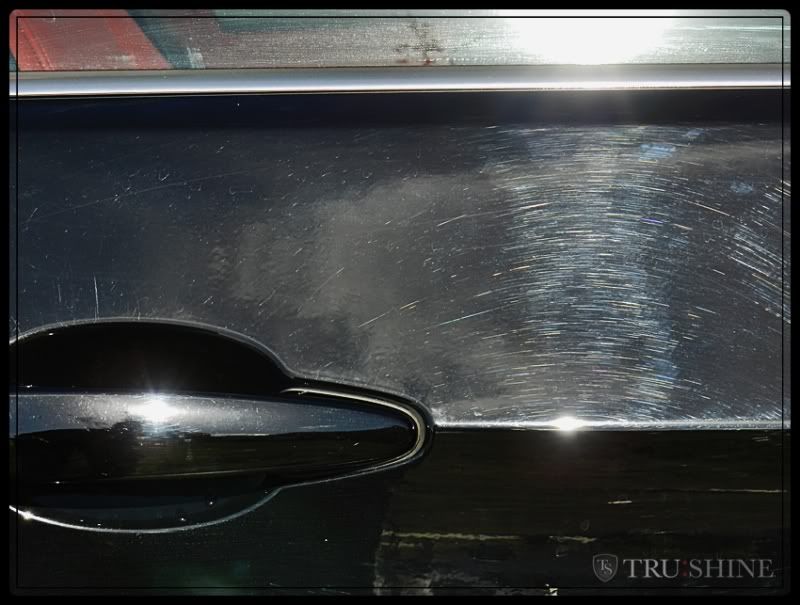
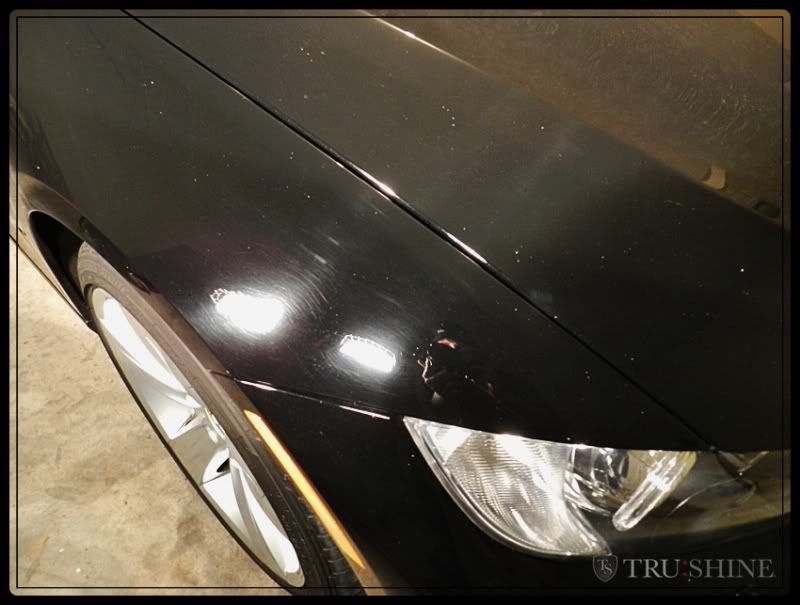
waxes and oils on the surface can hide lighter defects and scratches, so striping all of the old stuff off is crucial, here is what the paint looks like after the stripping wash.
b5b65139.jpg


57d4cf32.jpg


64081495.jpg


Here you can see some of the light acid etching that was talked about earlier.


70f4e84c.jpg


0181c82e.jpg


3ae68f73.jpg


Next the car was brought inside for the prep and decontamination.


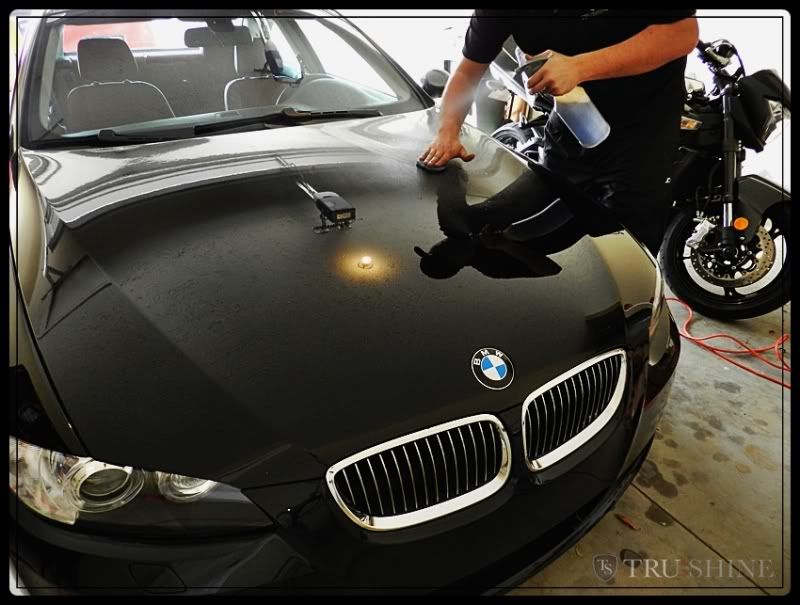
I clayed the car using Clay magic blue fine clay with Megs Window cleaner as lube. ( I feel that the window cleaner helps clean the surface as I am claying along with it being very inexpensive)

af2c0660.jpg


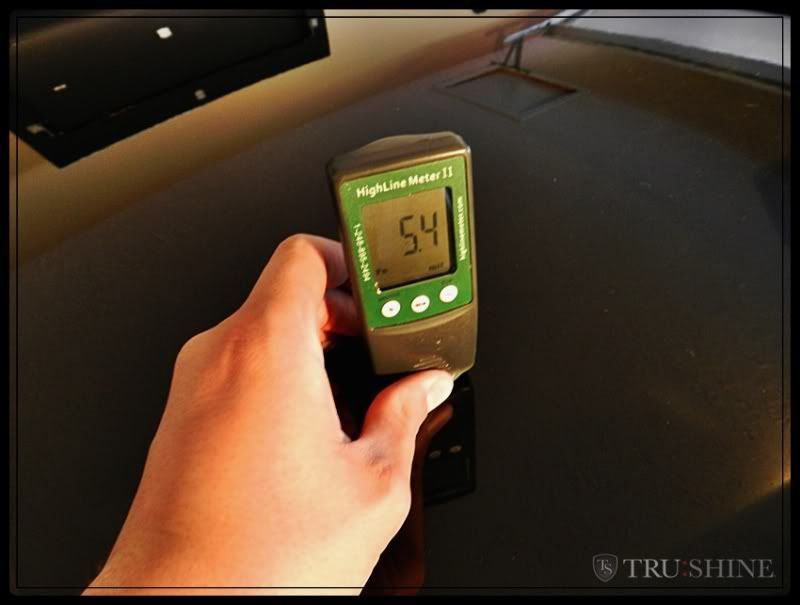
Testing the paint thickness making sure there are no surprises.


1805c0ba.jpg


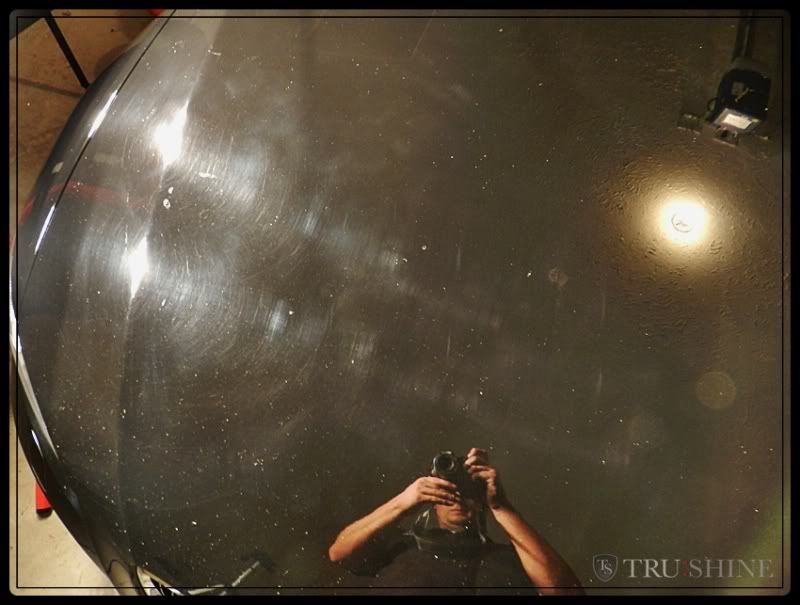
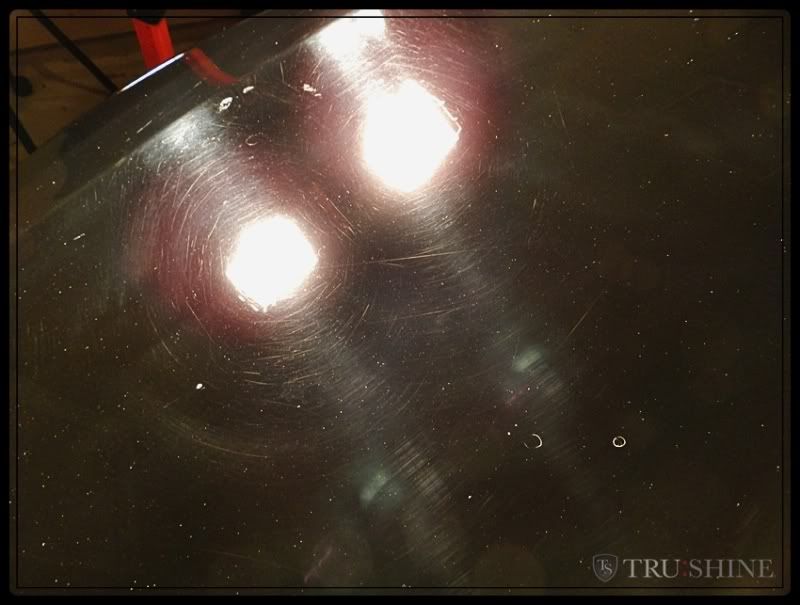
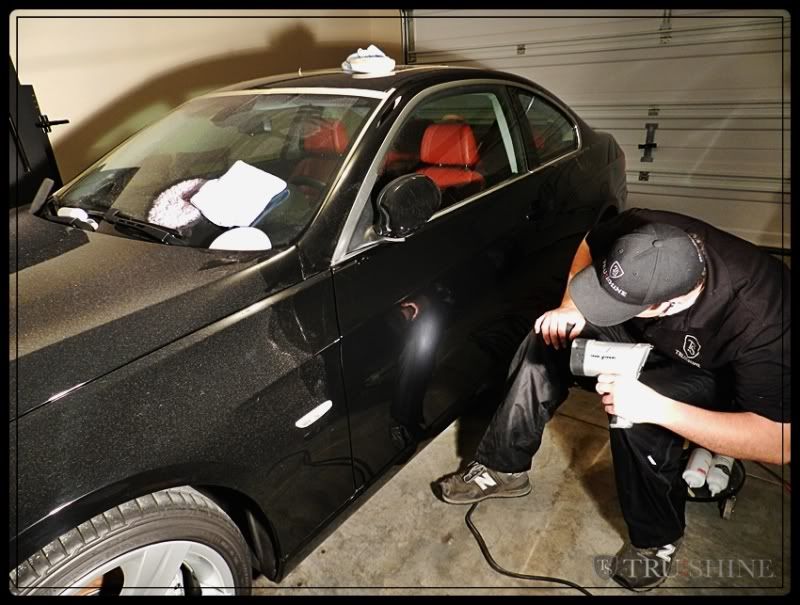
Here is the surface under some halogen lights


53320080.jpg


67767588.jpg


63a37bf7.jpg


79ec6781.jpg


Here is a Test area.


ec688ca8.jpg


c87d494a.jpg


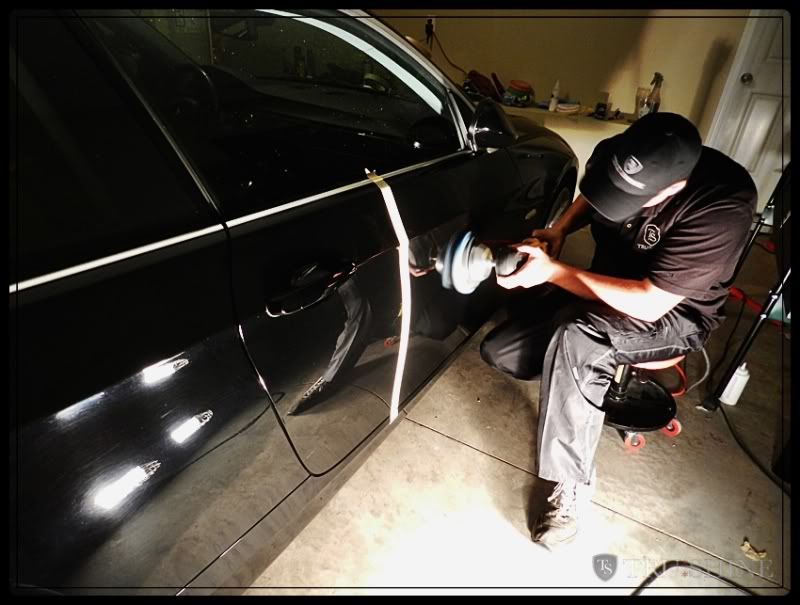
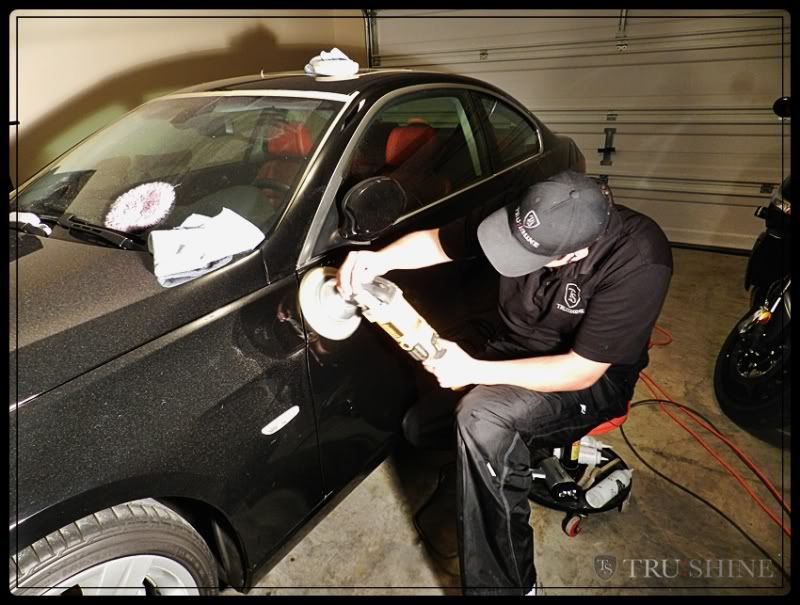
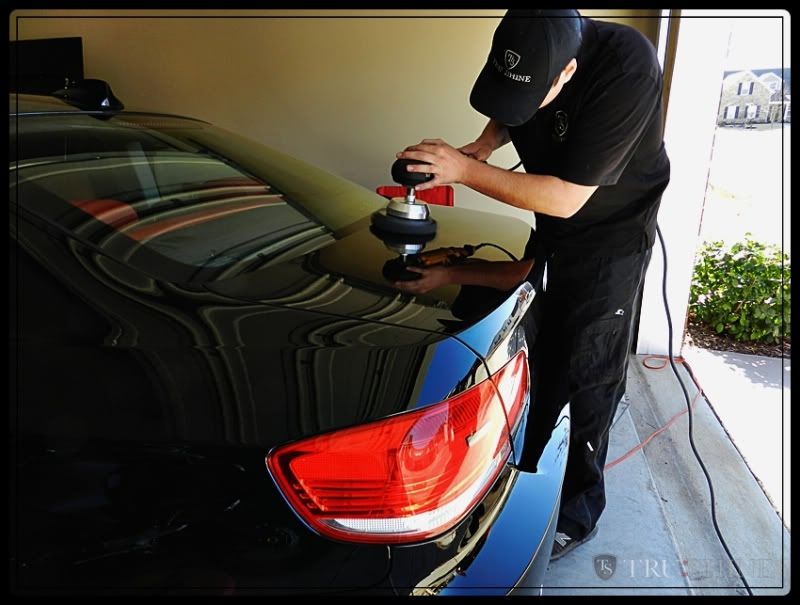
For this car, I decided to hit it head on! my Dewalt 849x and dynabrade, with Meguiars M101 compound and Lake country Cyan pad.


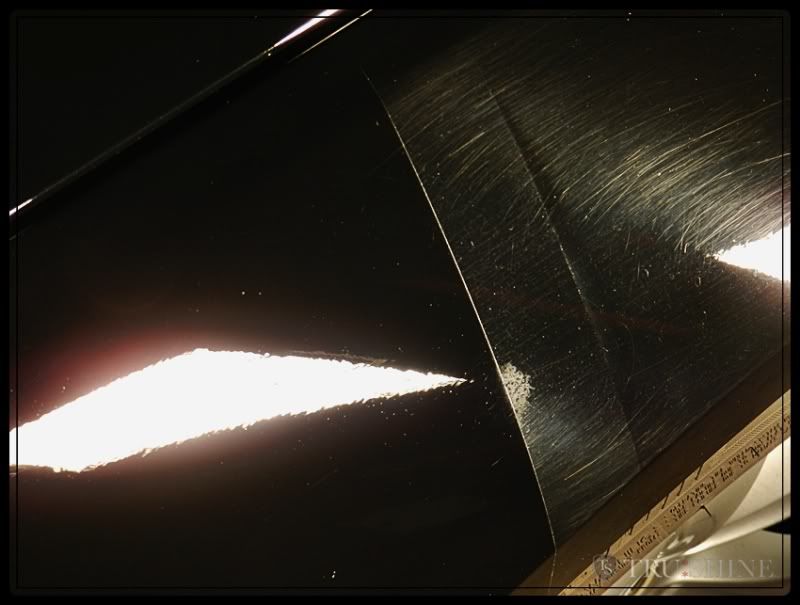
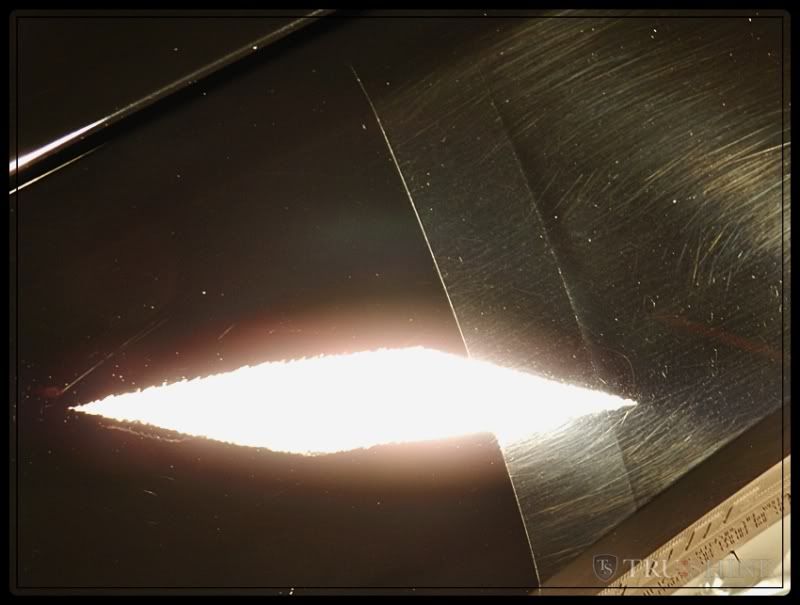
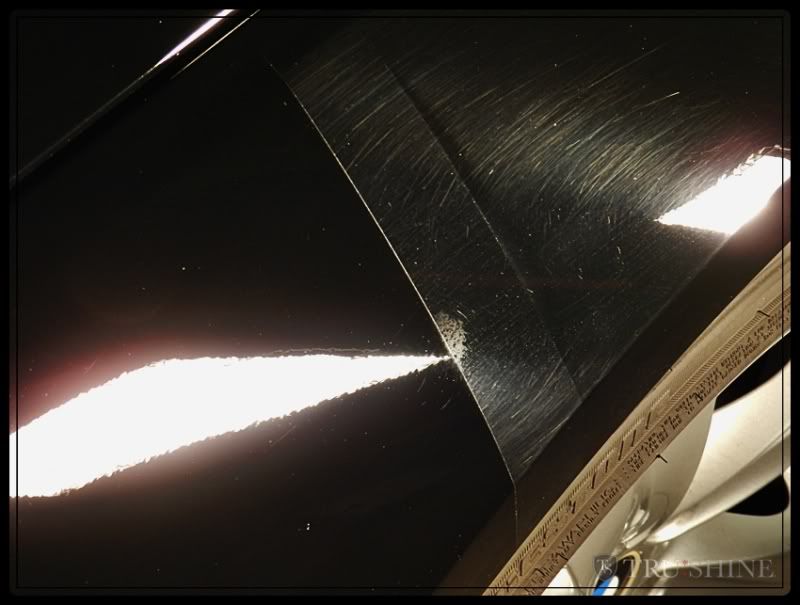
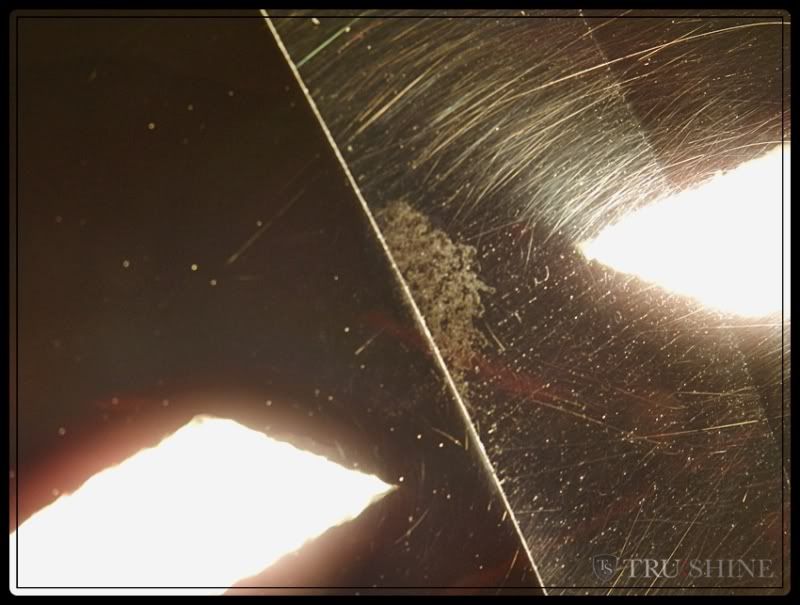
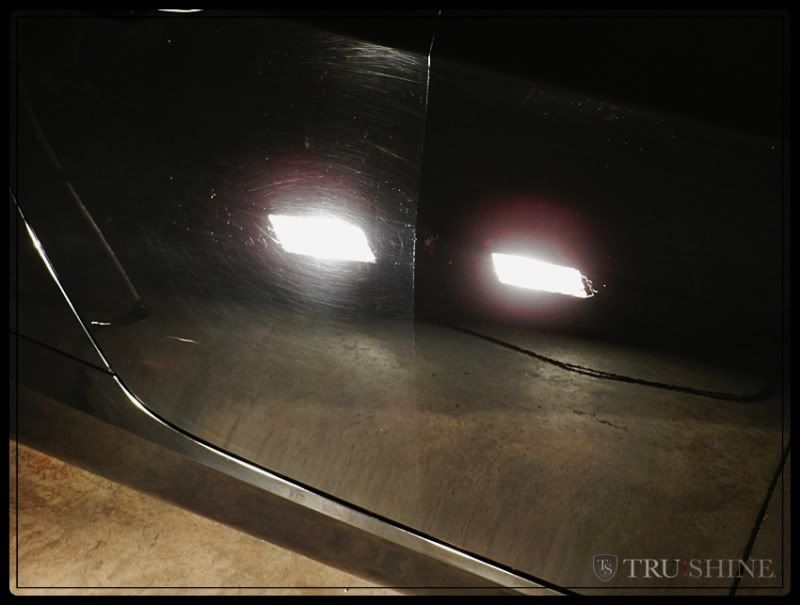
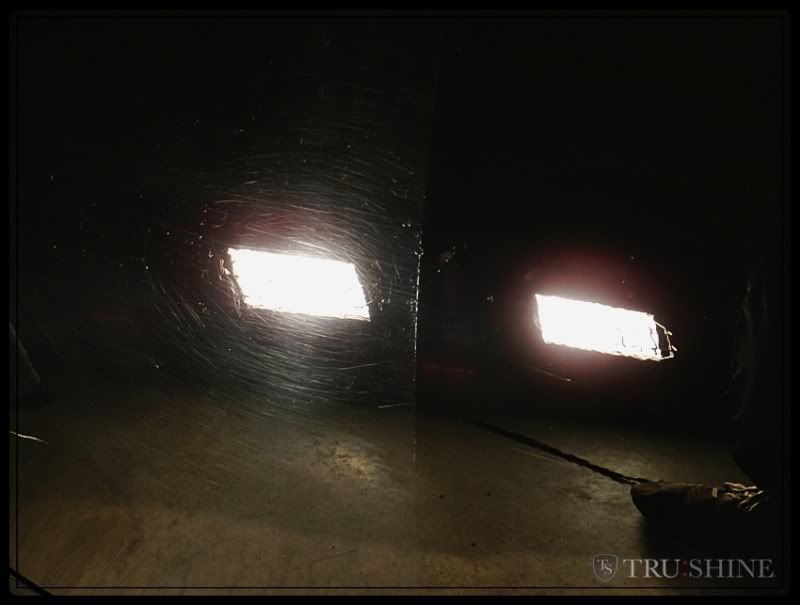
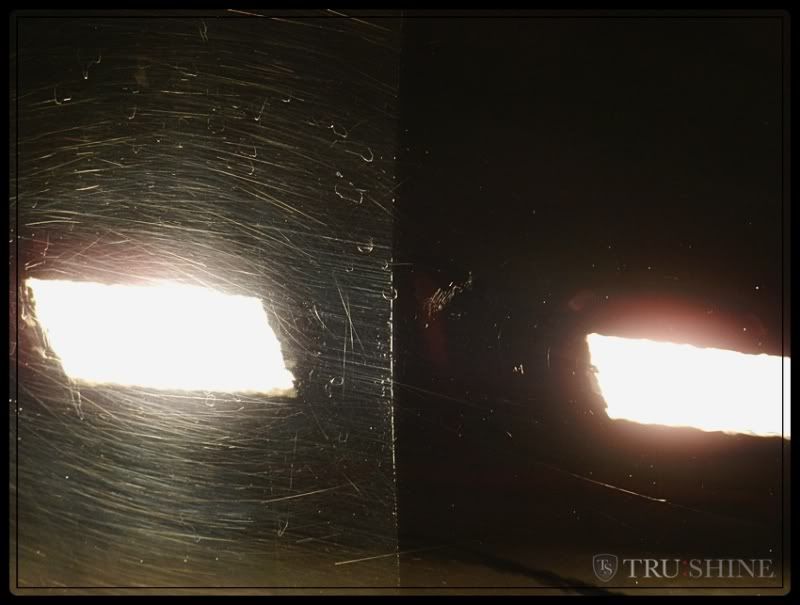
here is a 50/50 picture of the front fender.


efcf77d7.jpg


ece542fa.jpg


79bca191.jpg


here you can see a bird etching spot that was removed halfway during the 50/50


0716a5f6.jpg


b3531e9e.jpg


a0cb55c3.jpg


abae86fe.jpg


49723b63.jpg


Here you can see the beastly 849x and Dynabrade with Cyan/101


d261ebc8.jpg


After 2 passes with cyan/101 (gotta love how 101 finishes down)


9c6c80b3.jpg


5d611cca.jpg


74f5dd56.jpg


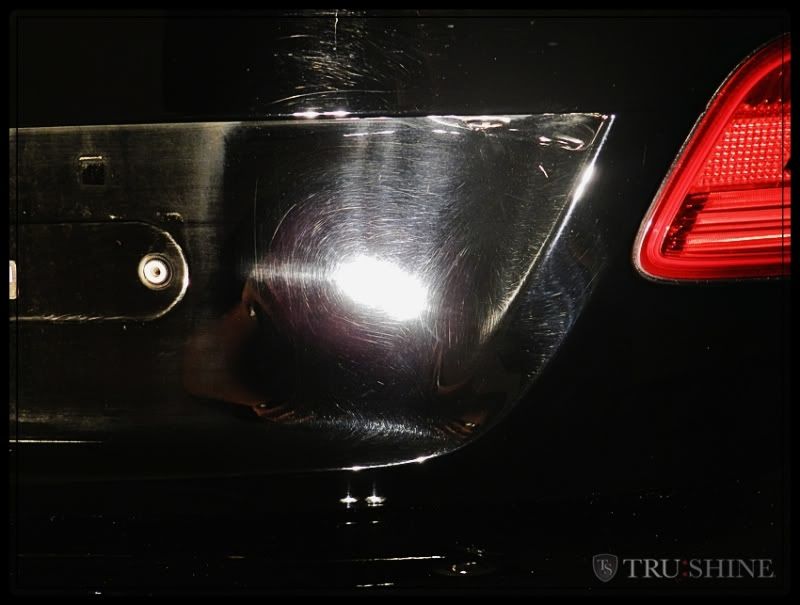
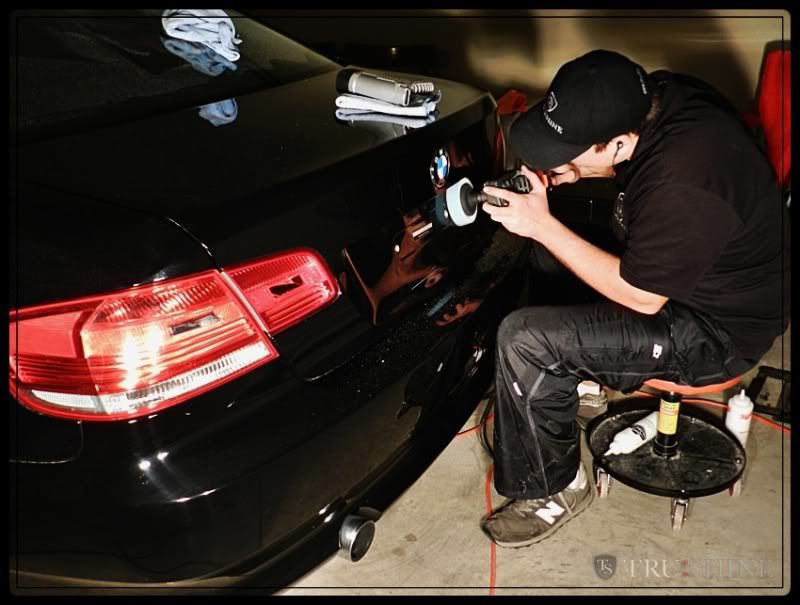
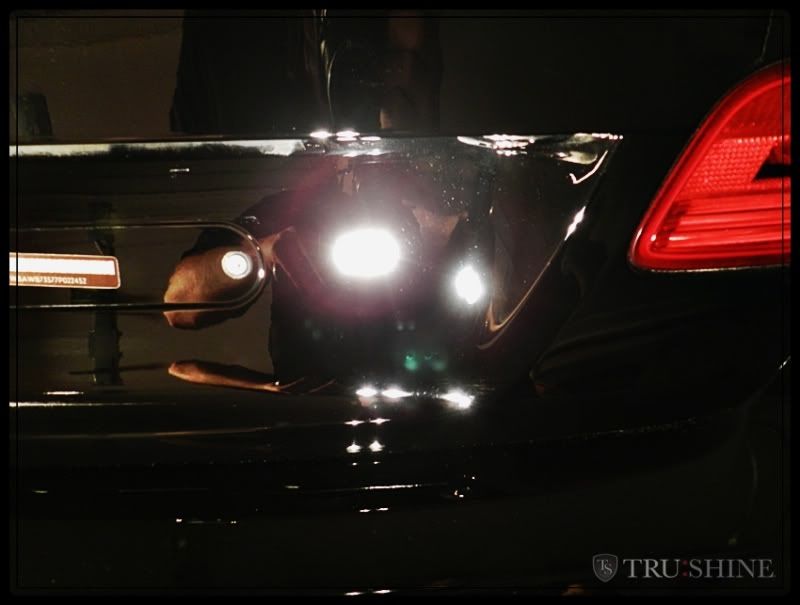
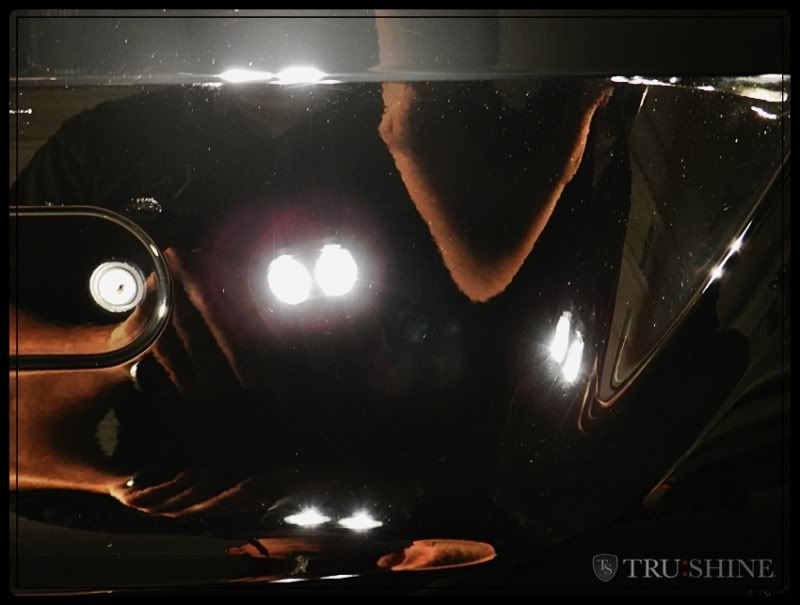
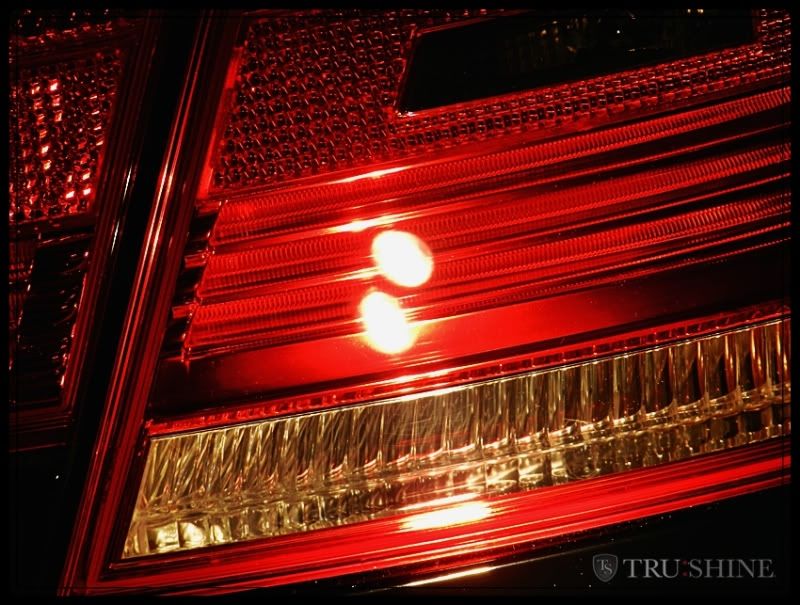
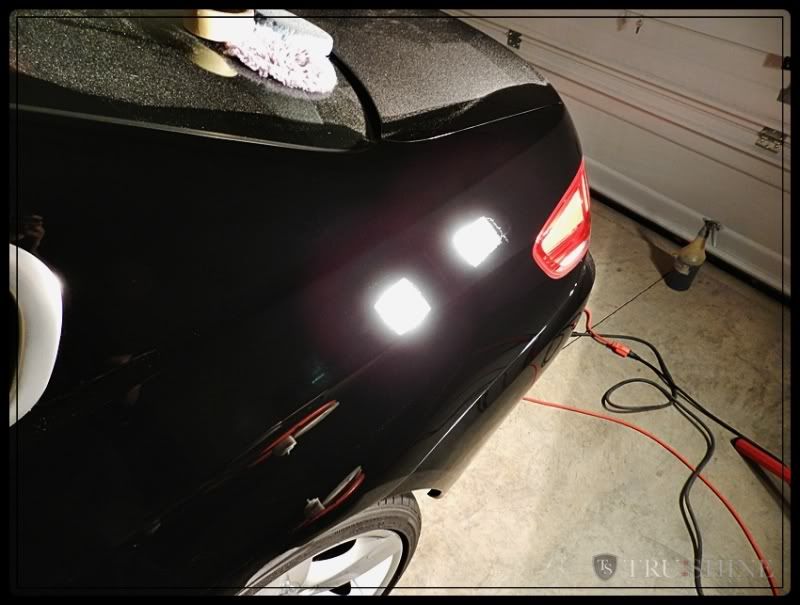
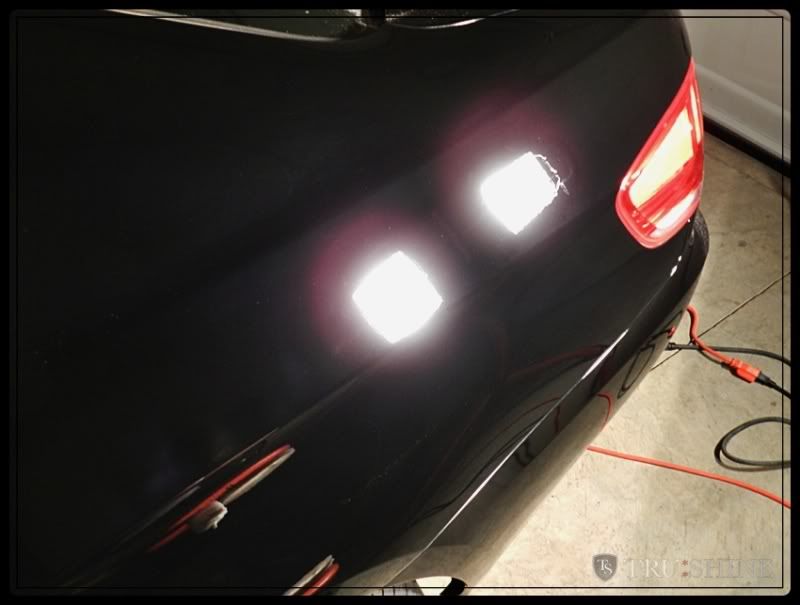
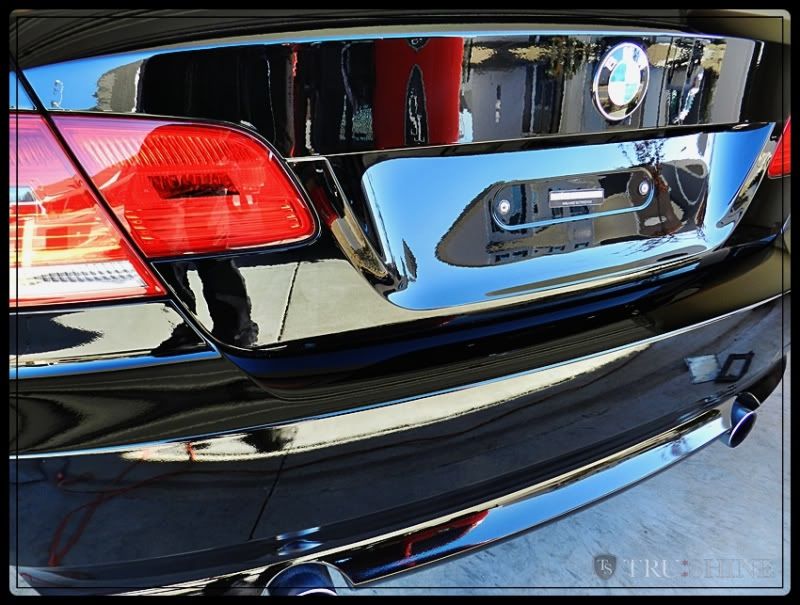
This is the area around the license plate and taillights.


353b23e6.jpg


9a59386d.jpg


37e44466.jpg


c04cf71e.jpg


Using my 4in Cyan and M101 on a 3in Rotary backing plate, I was able to get in all the tight areas.


7991e5d1.jpg


66ef12fb.jpg


b3bbab46.jpg


3664b9e1.jpg


here is a 50/50 using something I like to call the "Charlie Sheen Cocktail"

Lots of "Winning" using a combination of Meguiars top three game changers.


7f908a23.jpg


f7dbfe6c.jpg


dfee097f.jpg


7588a73e.jpg


6b4bc052.jpg


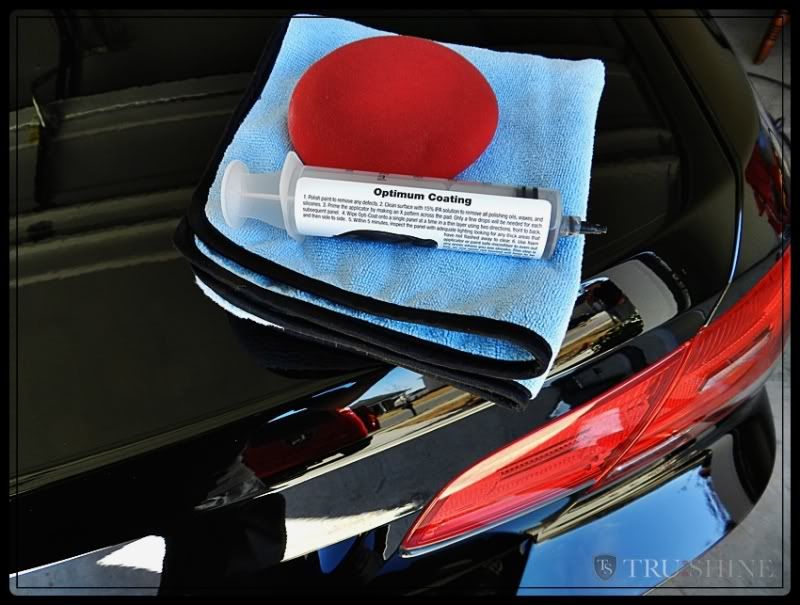
With this customer wanting Opti-Guard (aka Opti-Coat non 2.0) I knew that Optimum "prefers" you finish down with Optimum Finish Polish.


So for the Final Finishing step I use OPT Finish polish on the Lake Country Black Finishing pad on my 849/dynabrade.


94c06fa0.jpg


So Glossy!!


dc56c6a0.jpg


Also, before applying a permanent coating for protection. you want to clean off any oils from the compounds and polishes. For this you can either give the car a dawn wash, or....


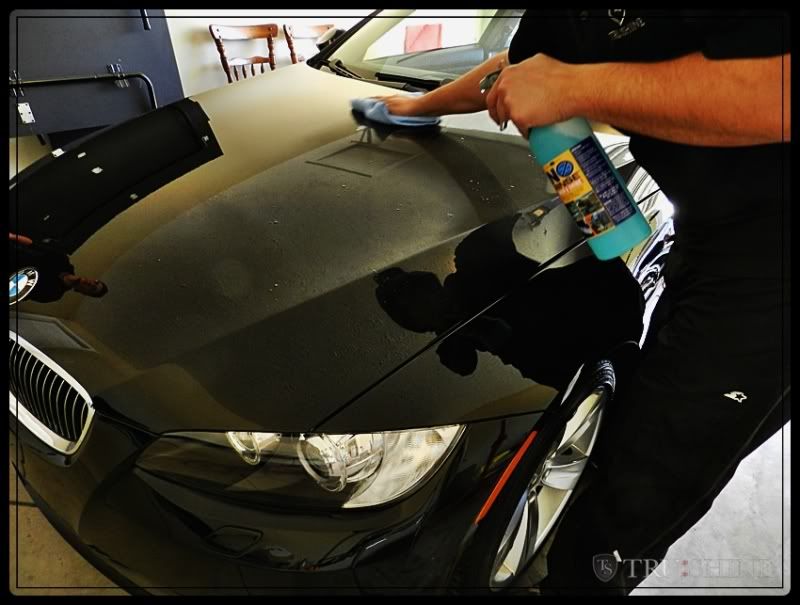
Optimum says if you use their products when buffing and polishing, you should only have to wipe the surface with a damp MF towel..... or an ONR wash.

So with me finishing down with OPT Finish polish, I opted to go for the ONR wash. ( the polymers in the ONR are suppose to help the Opti-Guard bond to the surface better)


The whole car was then cleaned with ONR and MF towel


74edb03d.jpg


766e1456.jpg


My method of application is taking a Foam applicator, wrapping it inside of a latex glove, and then using a piece of wrapped MF towel to apply it to the paint.


7ded12cf.jpg


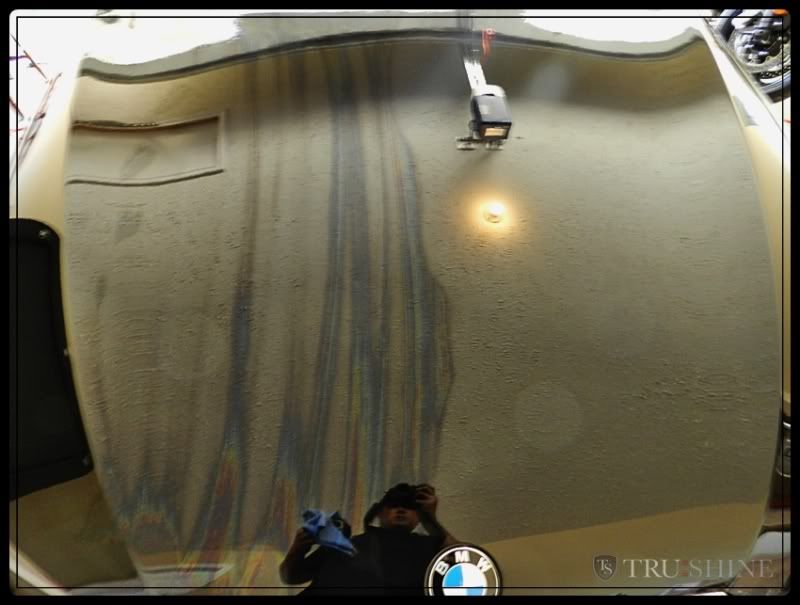
This is the Opti-Guard "Flashing". A slight rainbow effect. Letting it flash for 1min-2min depending on temperature and humidity.


dd9d0364.jpg


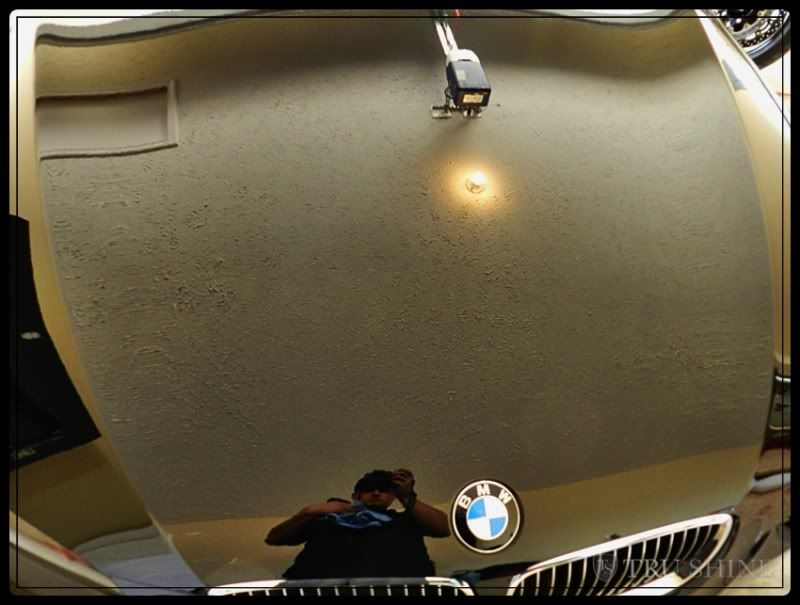
Then I knock down the high spots with MF towel gently wiping off the "un-flashed" left overs


a8b63559.jpg


95874516.jpg


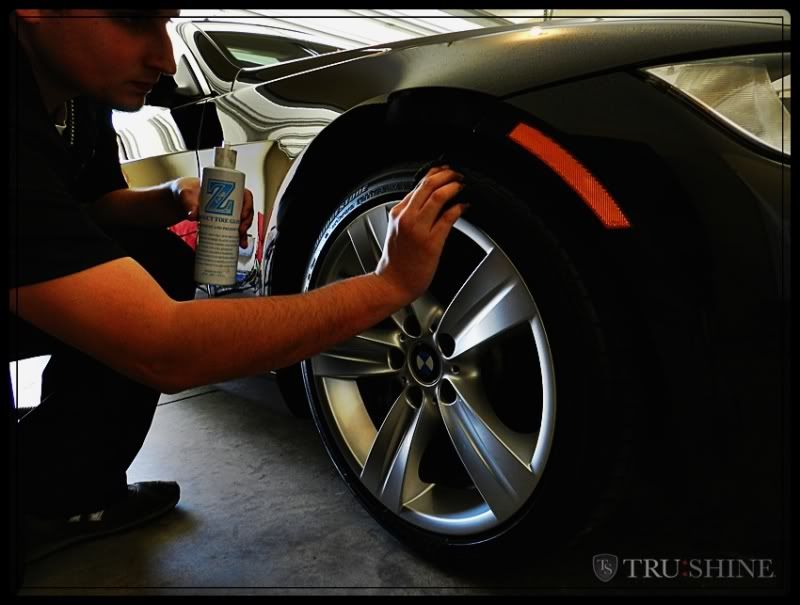
My new favorite Tire Shine..... Zaino Z16..... I had never used any Zaino products, but MAN! I love this stuff! I wish I would have found it sooner!


70c6111b.jpg


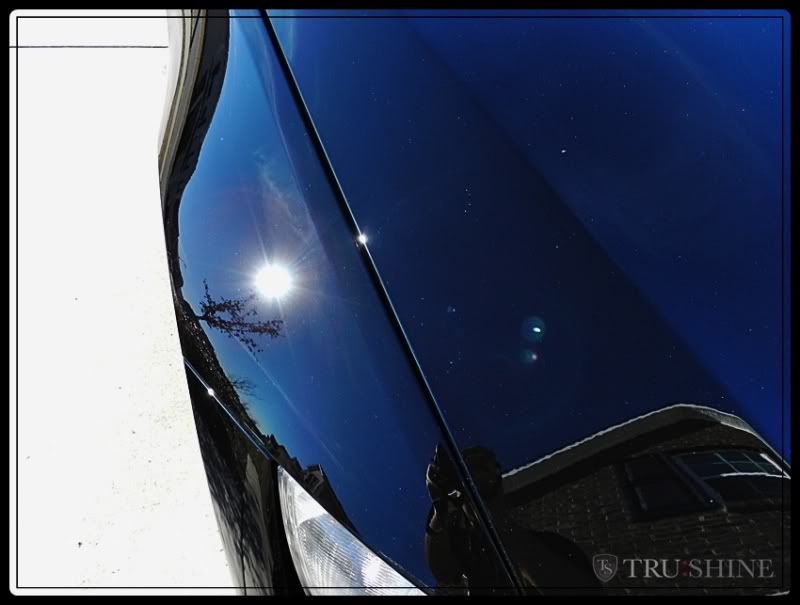
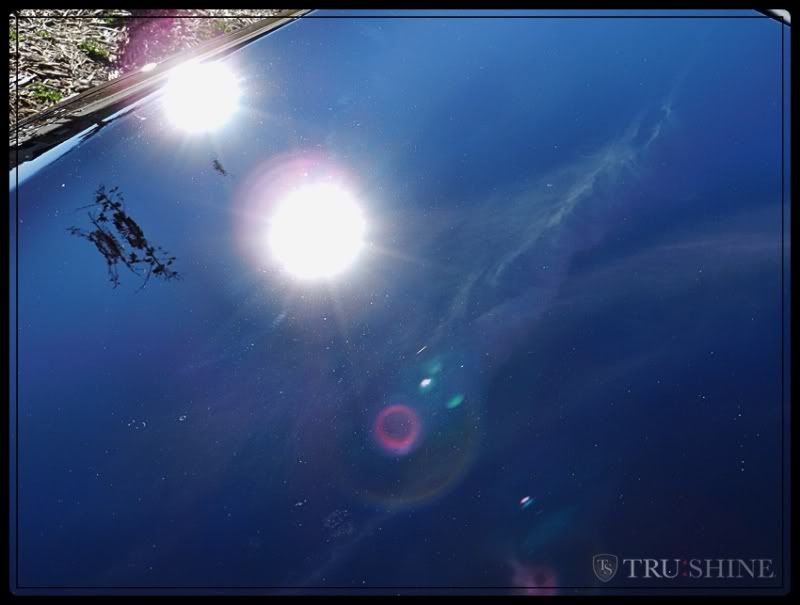
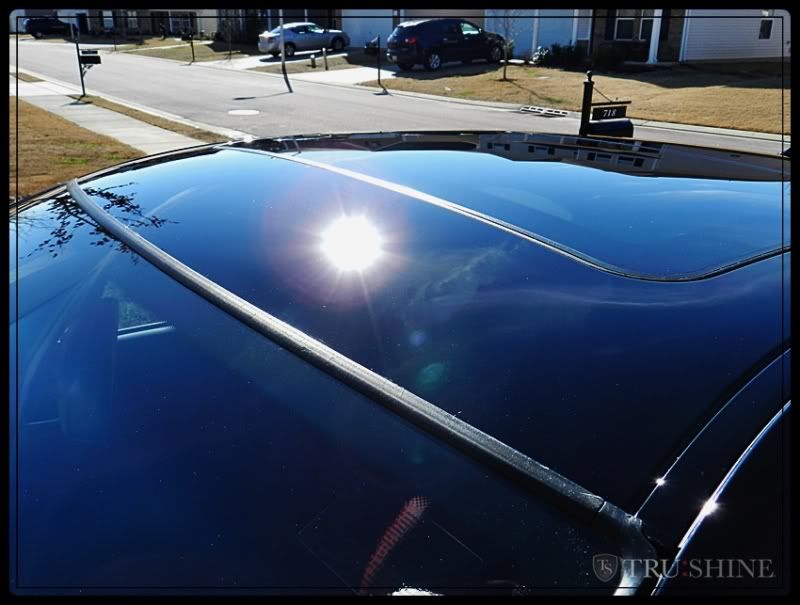
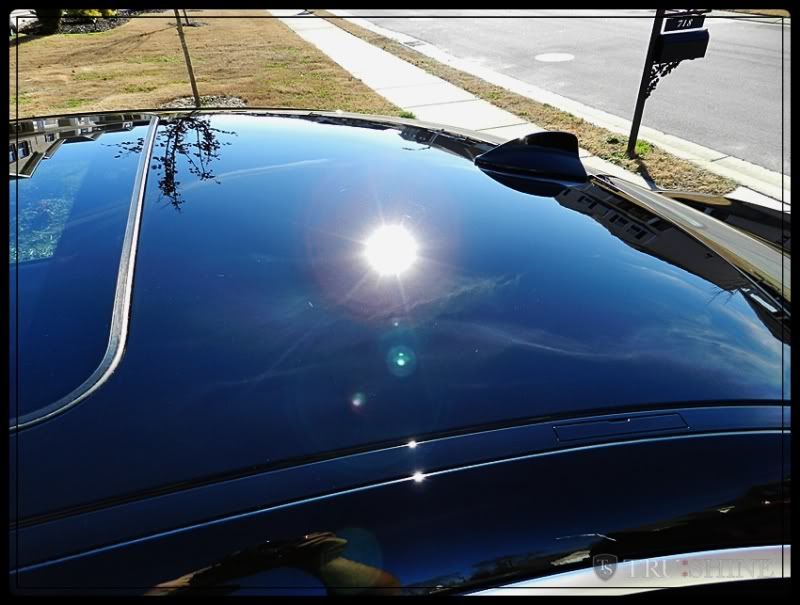
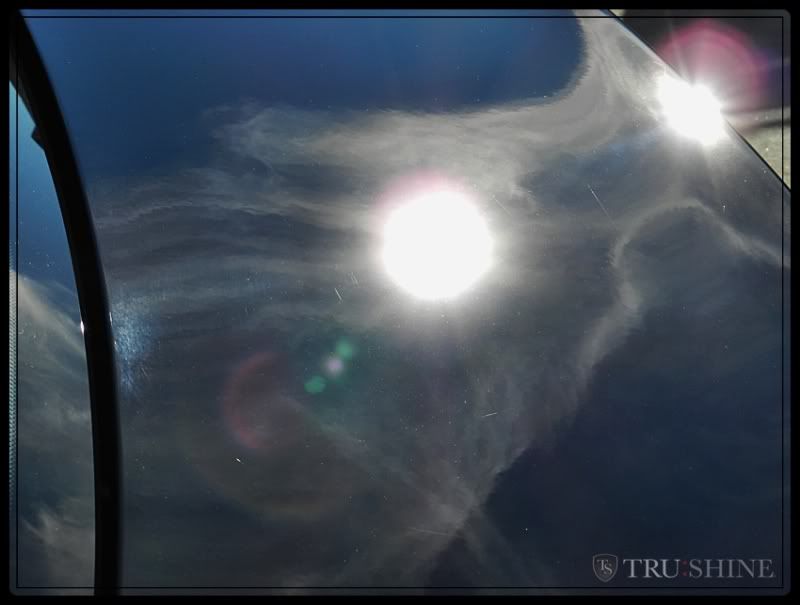
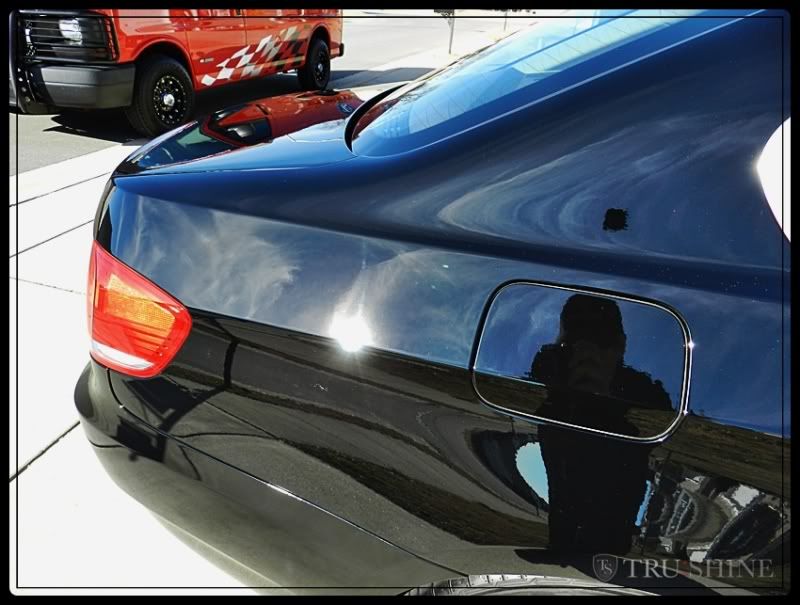
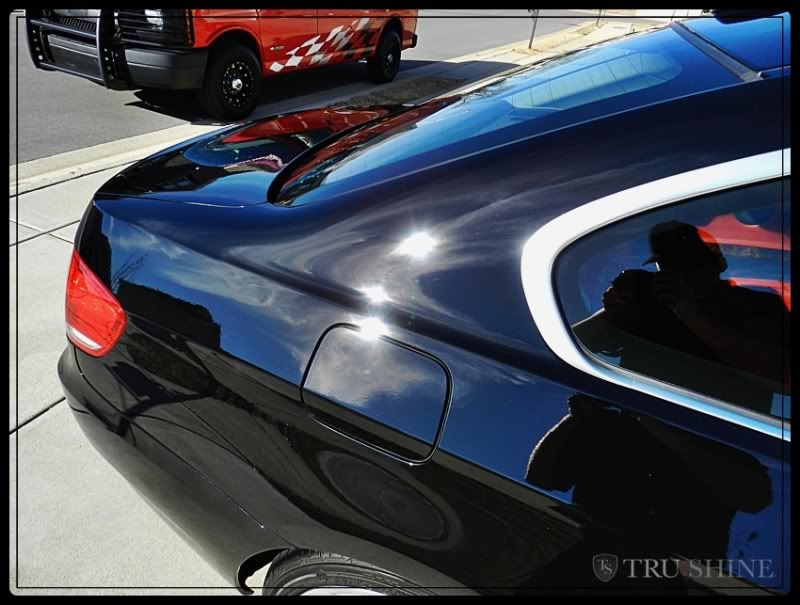
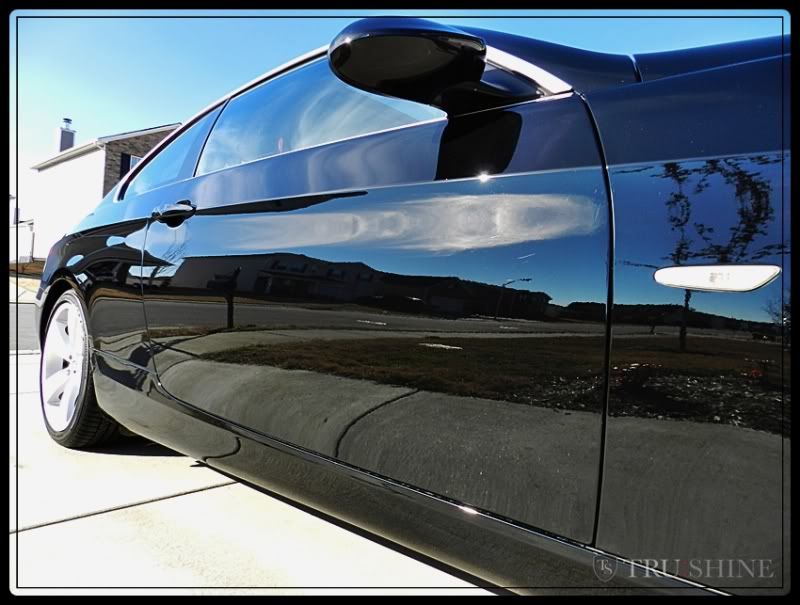
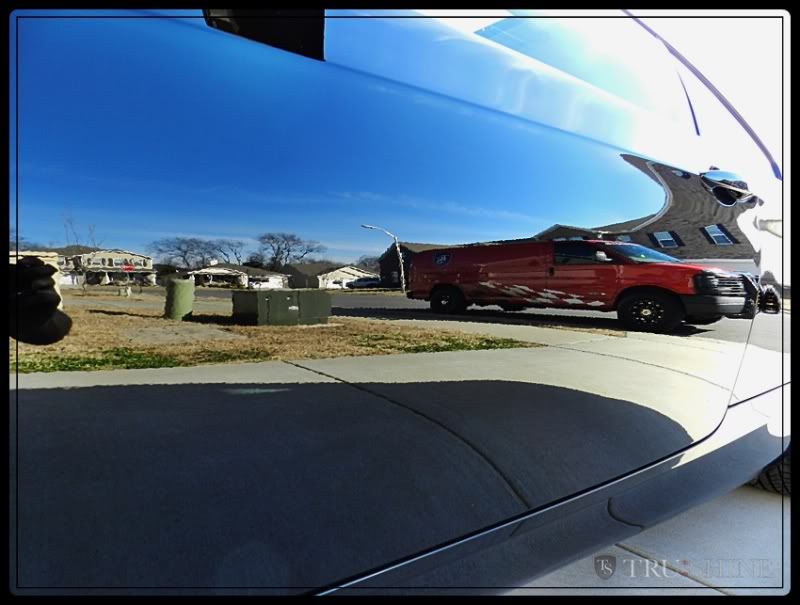
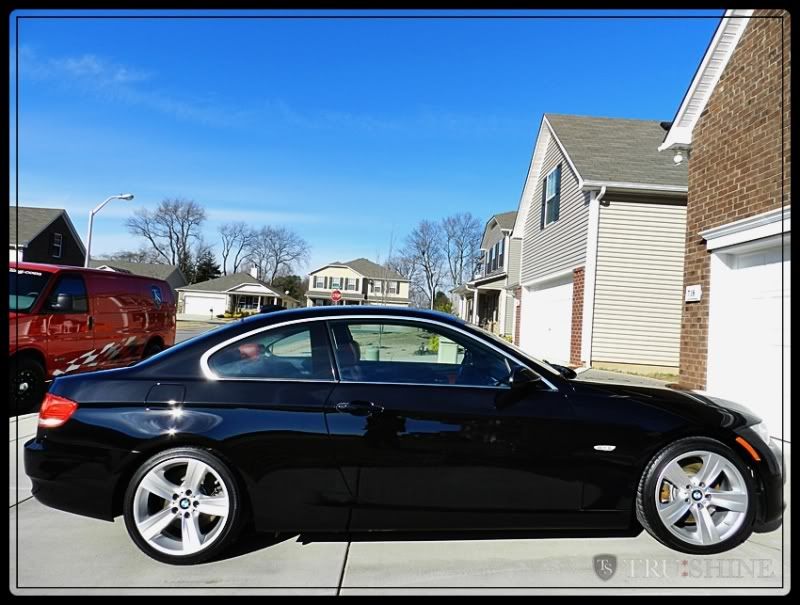
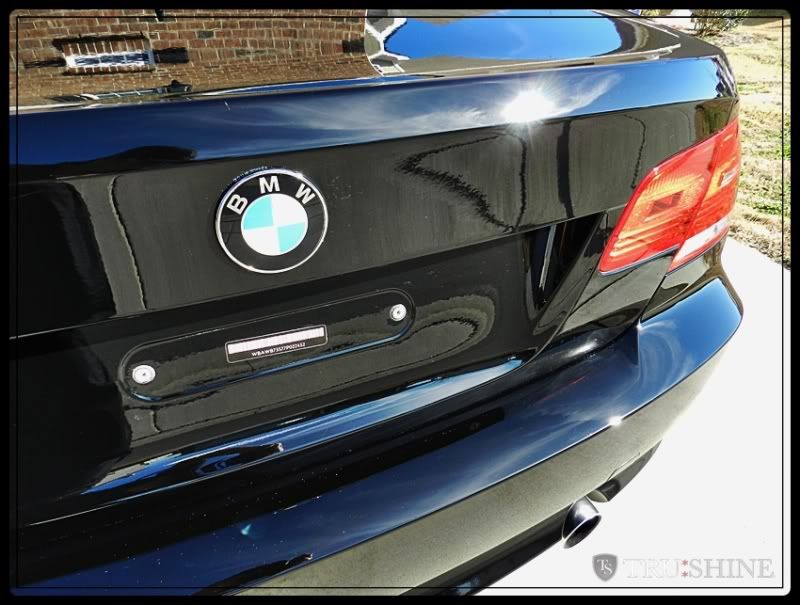
Now for the Final Sun Shots!


816d26f7.jpg


e41a9725.jpg


fb4f3535.jpg


e724e9a0.jpg


91ec467d.jpg


522aed4f.jpg


ad35a84c.jpg


099e8eae.jpg


24589a84.jpg


fe5a63fc.jpg


25fd0c7d.jpg


9f96c9da.jpg


a6707c77.jpg


A total of 16 hours went into this one.

Thanks for looking, hope you enjoyed.


-Eric Witt


Some very soft clear indeed, but she now looks better than new. Opti-Coat should help to fight against swirls and scratches in the future as well, leaving this baby looking nice for time to come.
 
Very nice work Eric! Excellent documentation with comparisons of the Sonax to Iron X too. Glad I could help by introducing you to the winning of the "Charlie Sheen Cocktail", doesn't have to make sense for it to work ;)


Chris @ Optimum gave me that same recommendation for the Opti-Guard application but I hadn't tried it yet. Looks like it lays super smooth with that. I'll try it next time.


Mike-Tyson-Hangover.jpg
 
Eric, your 100% right about BMW paints! Whenever I get them I always add a little more time than usual because there so"FUN" to work with!
 
thomasdekany said:
In 16 hours? That is amazing in itself.


Beautiful after shots. The 50/50 fender shots are awesome!


All thanks to my 849X w/ Dynabrade attachment and M101..... couldn't have done it without'em
 
Back
Top