baseballlover1
New member
This is the same car i did a while ago but the pics got messed up on it and i just did another write up. This write up was also done for a more consumer based forum so it is a little less specific i believe. here ya go!
When detailing a car, it is very important to set your mindset to perfection. Most of us live a life of rationalization however in some fields this rationalization needs to be turned off. This lack of rationalization means that there are no exceptions to perfection. Within the heart of just about every detailing shop there is a major flaw. This flaw is the fact that the time spent on the car is essential to make money. The company (or companies in question) makes its money on getting cars out as quickly as they can. For this exact reason Daniel Wendell works alone keeps the level of perfection up to his desired mark.
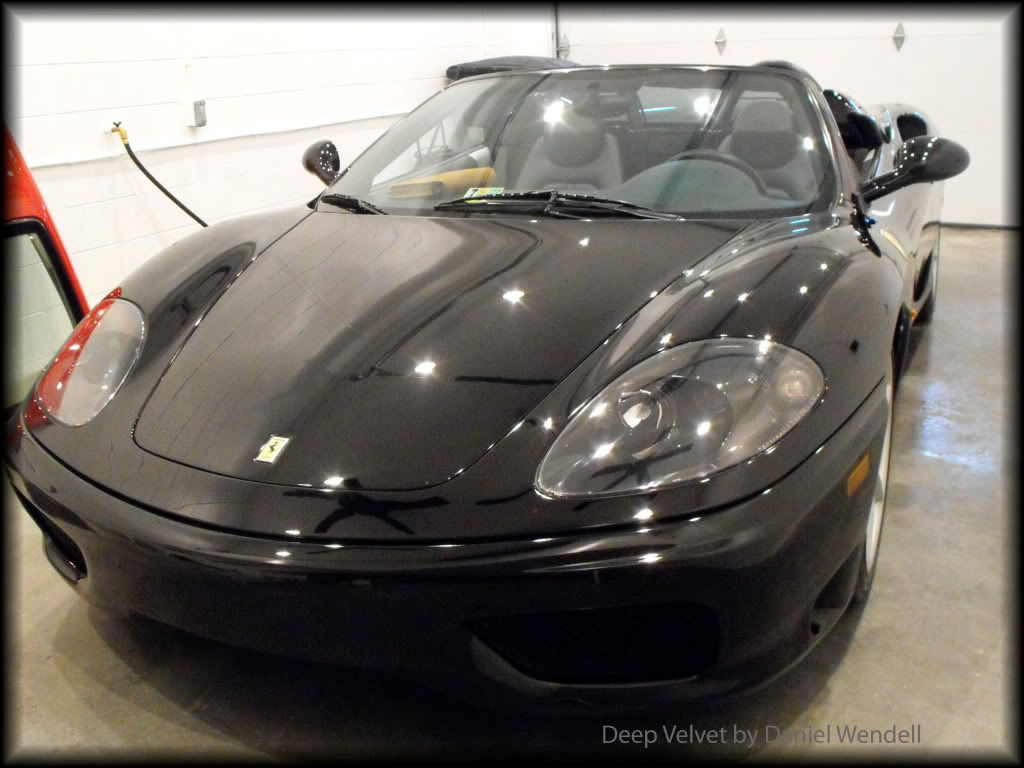
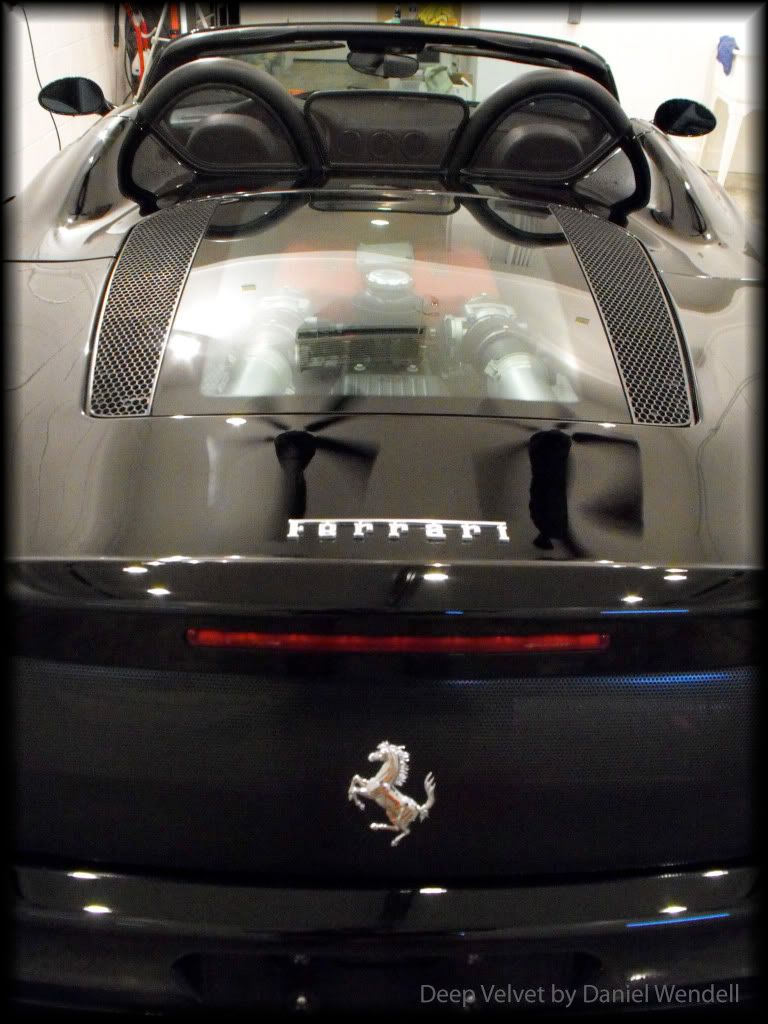
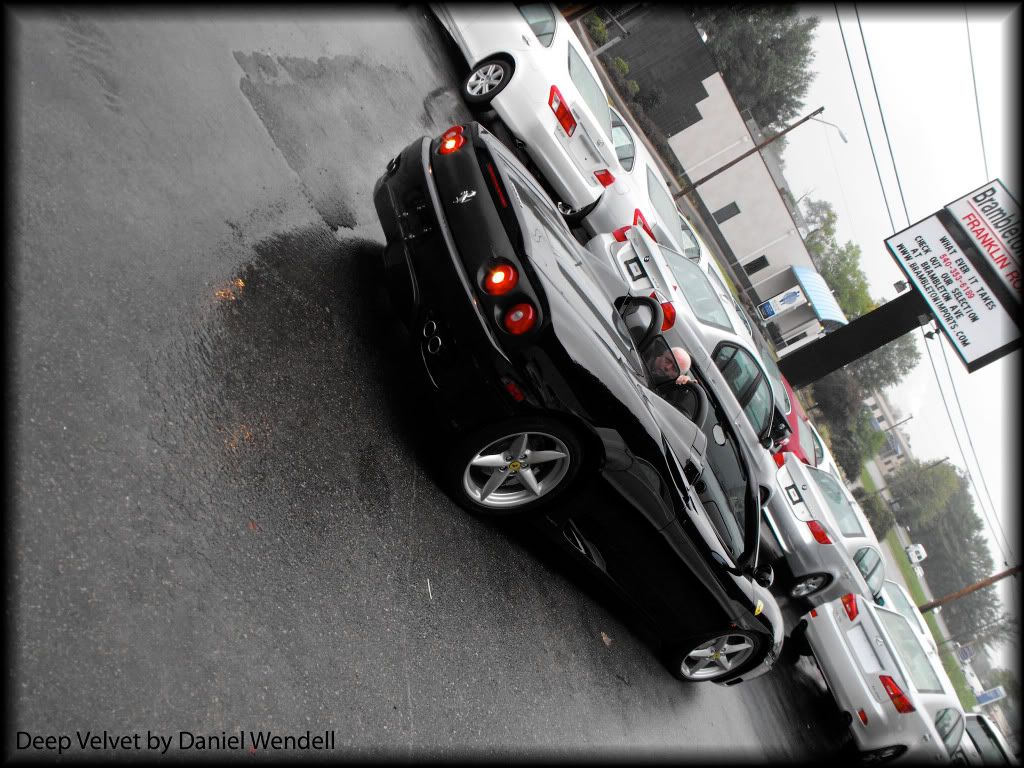
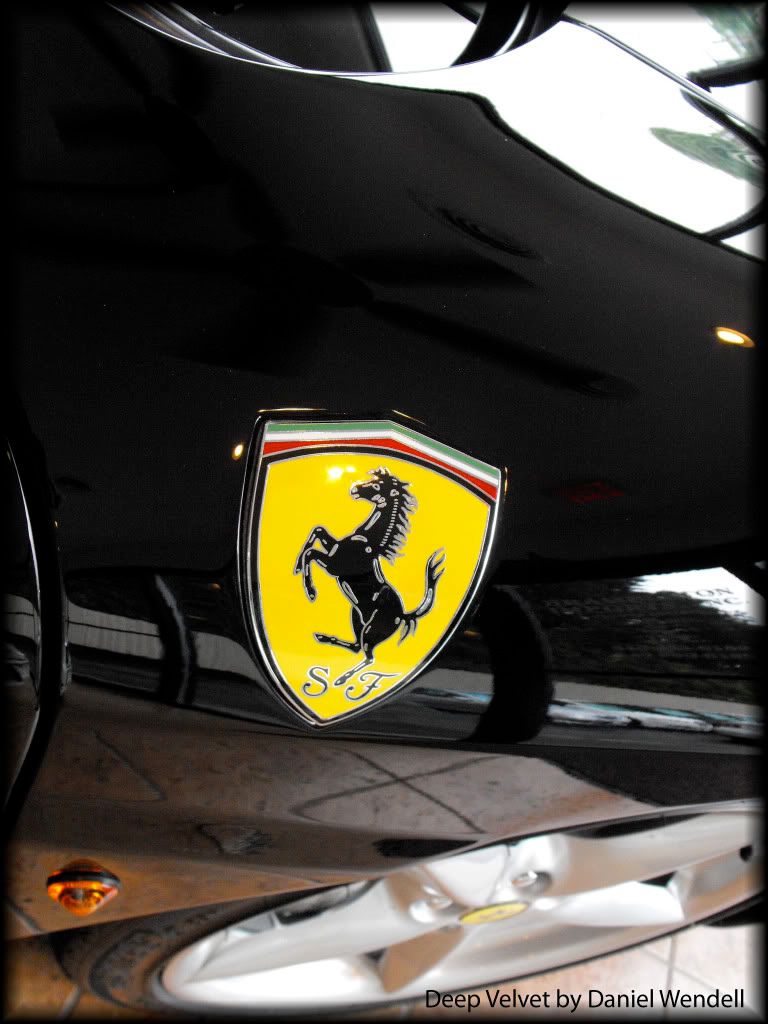
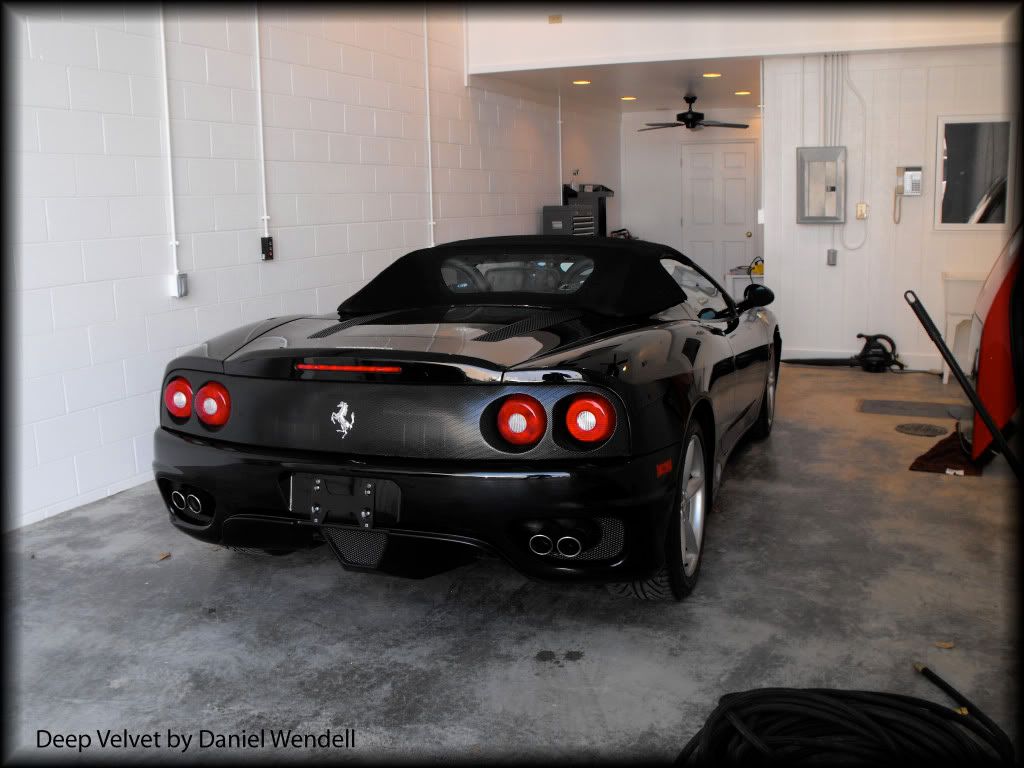
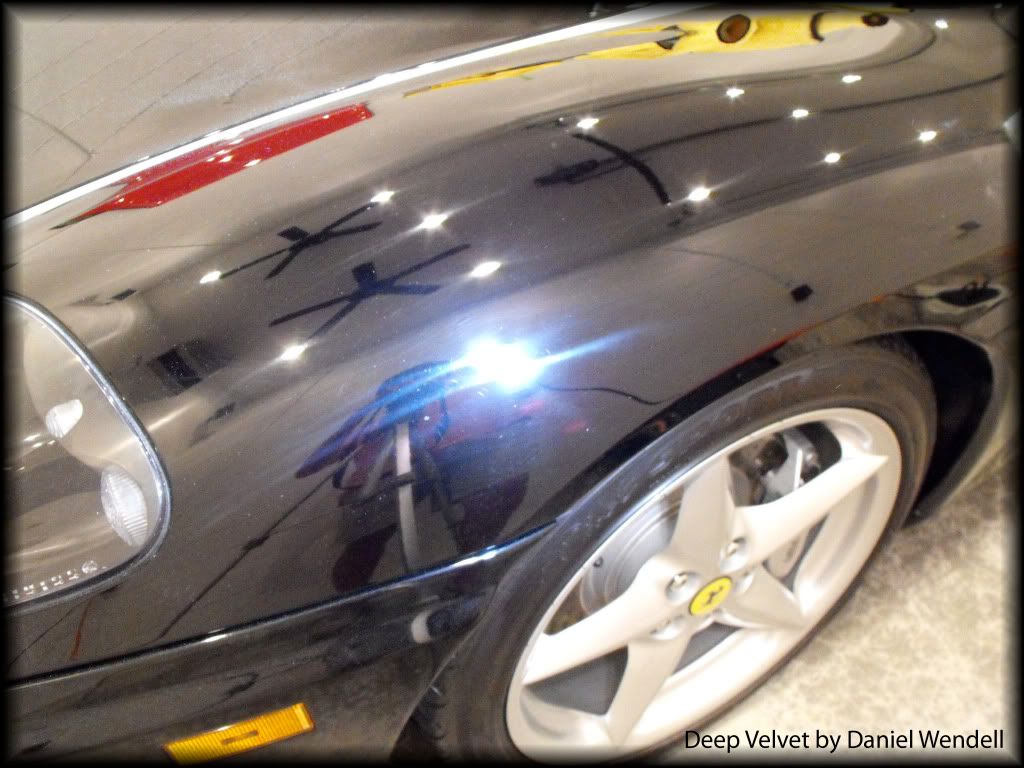
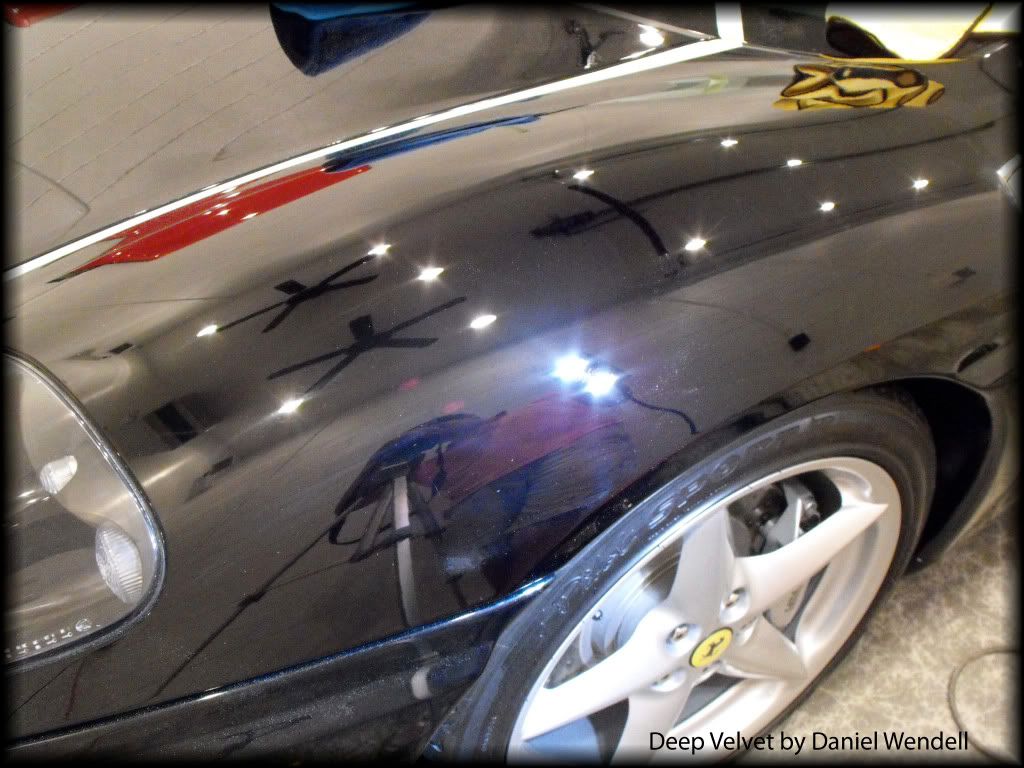
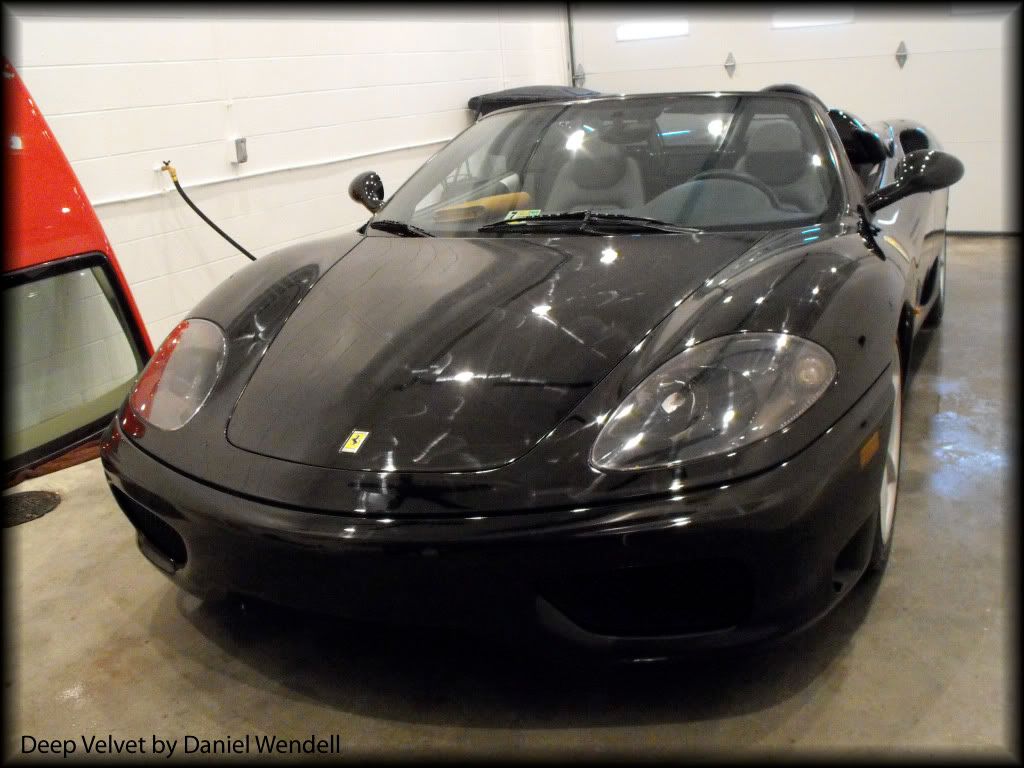
This particular car is a 2002 Ferrari 360 Spider that has about 10,000 miles on it. Many people think cars are delivered to the customer (when brand new) perfect. This is a common misconception. Many cars (especially exotics) go through grueling tests before they even get to the dealership. For example, every single Ferrari is test driven at the test track in Italy where the cars are made. I have had the pleasure of knowing a man who has been to the Ferrari plant in Italy and seen this with his own eyes. He said that he met the first driver of his Ferrari, which was a humbling experience because he finally knew how much time and effort went into the car that he was buying.
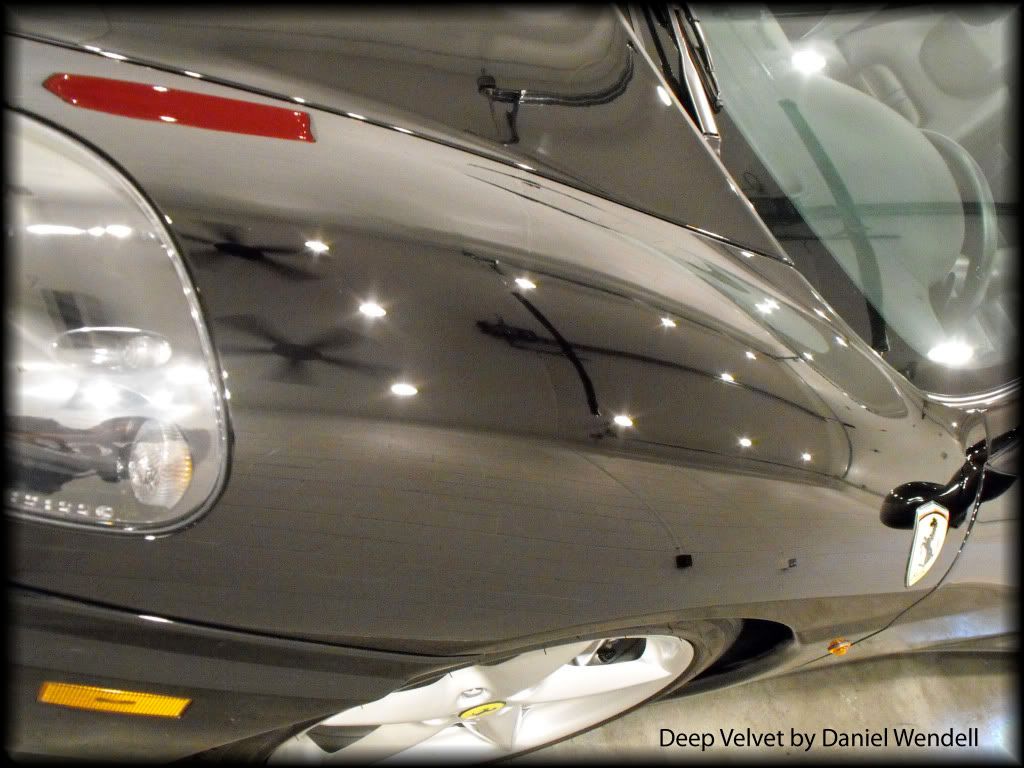
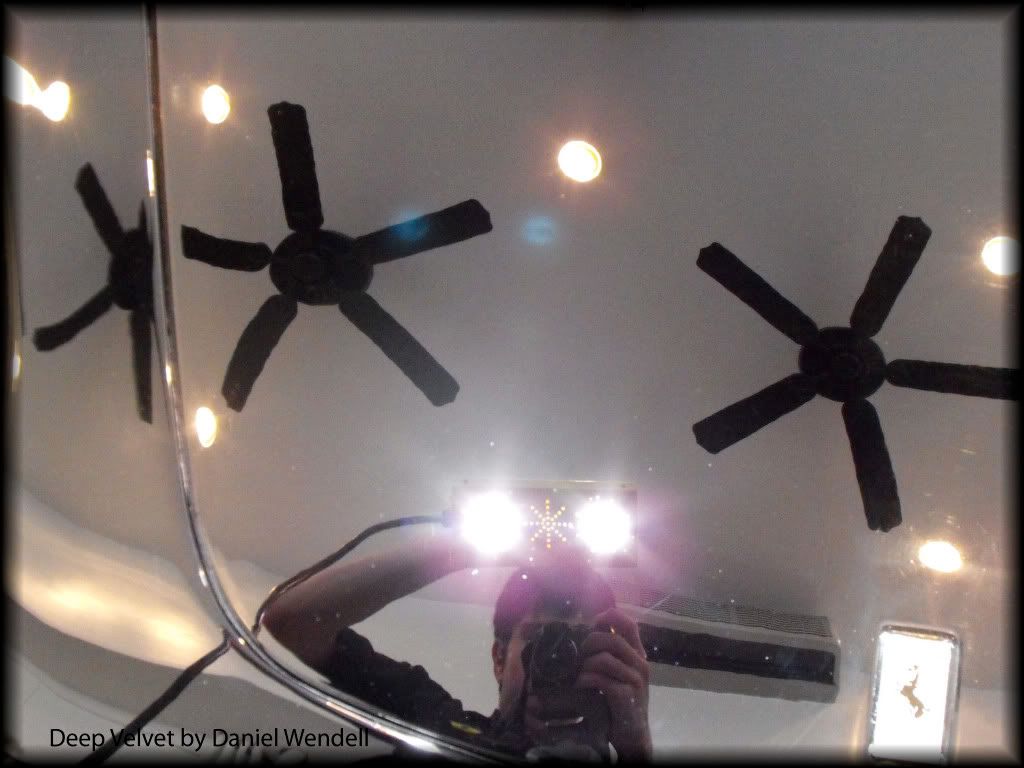
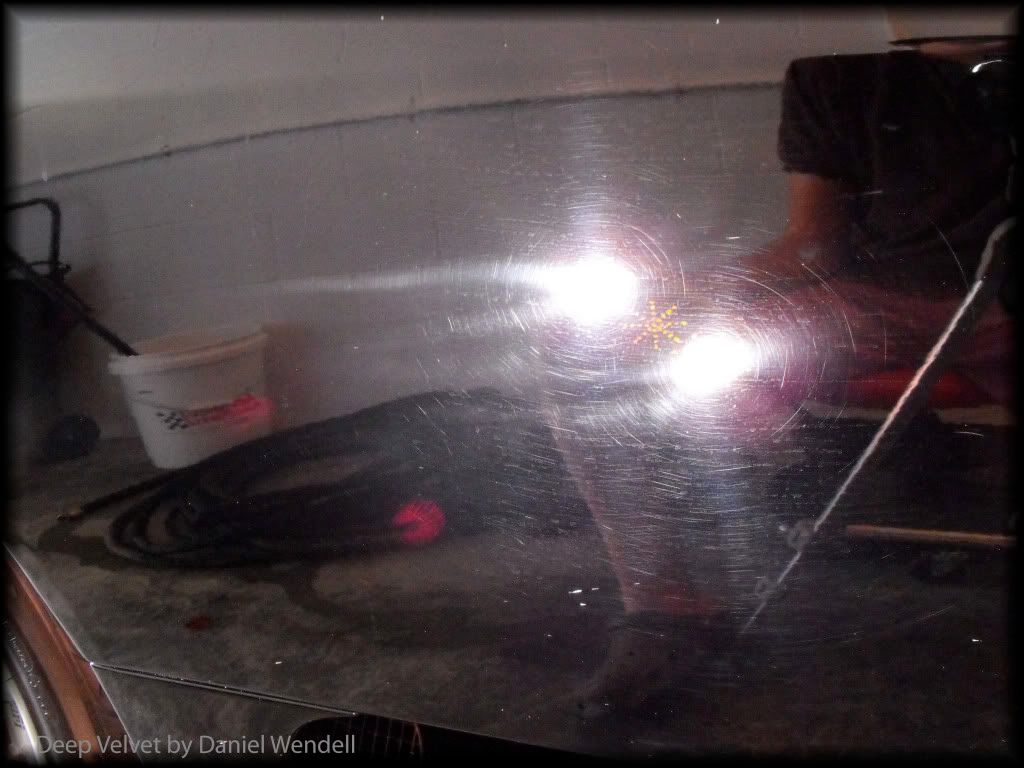
Now that I have explained a little about the background of this car, I will get a little more specific. This particular car had a good amount of swirl marks and another common defect in the paint known as holograms. Holograms are a mark left behind when an inexperienced detailer gets behind a polisher and tries to buff the paint to remove holograms. My educated guess would be these holograms were instilled in the car at the Ferrari factory. The swirl marks are a common defect that can be extremely hard to remove. Swirl marks are induced by incorrect washing techniques and/or improper care of the car. I have yet to find a Ferrari dealership (much less a Honda dealership) that spends the time and funds necessary to wash a car correctly.
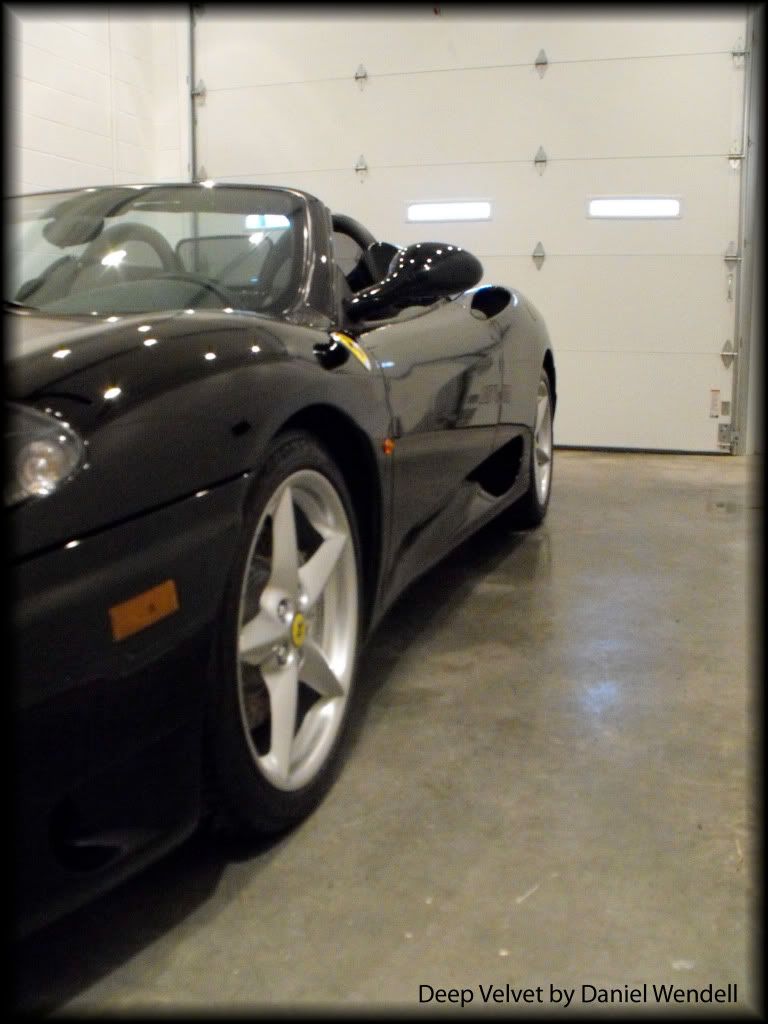
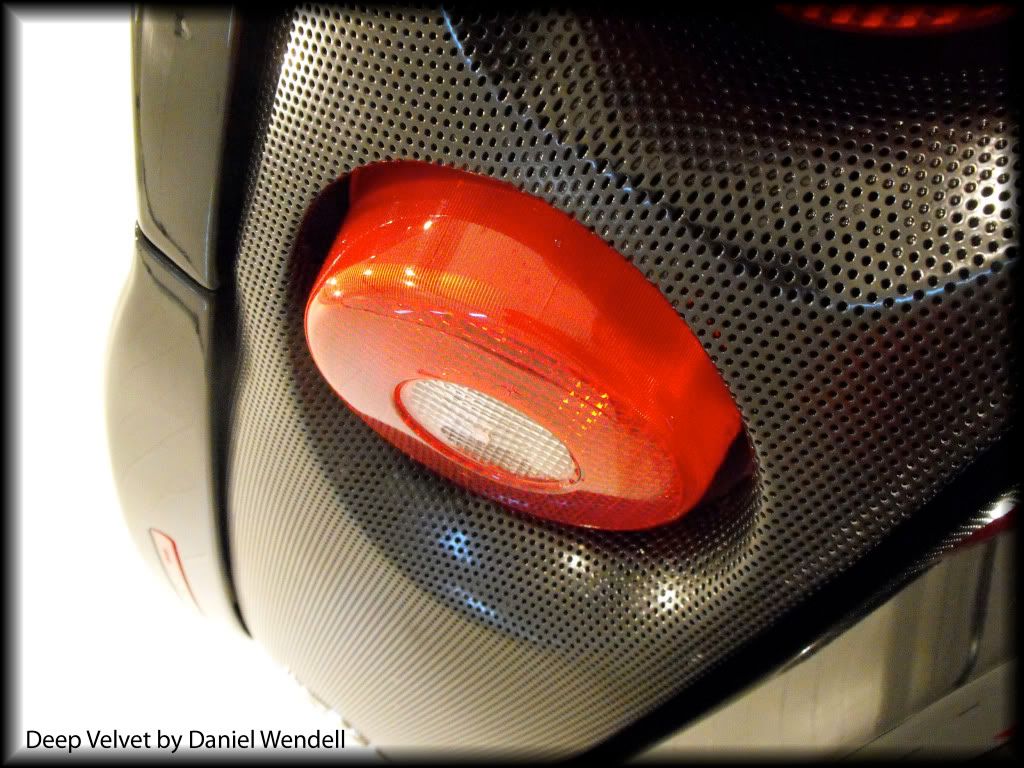
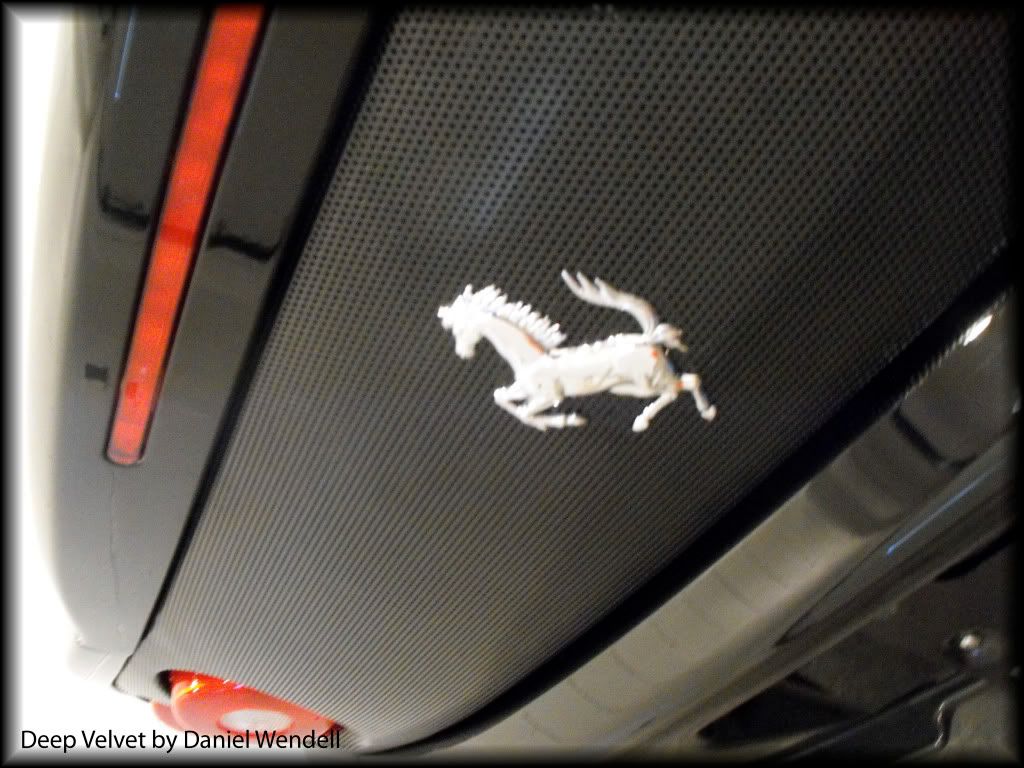
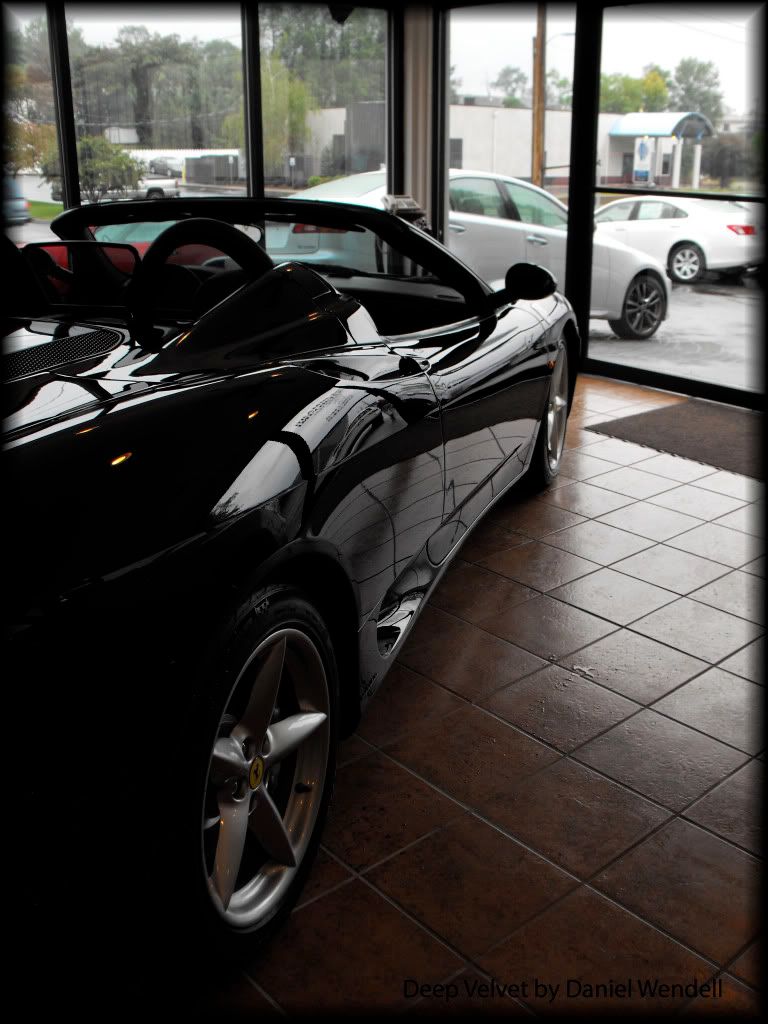
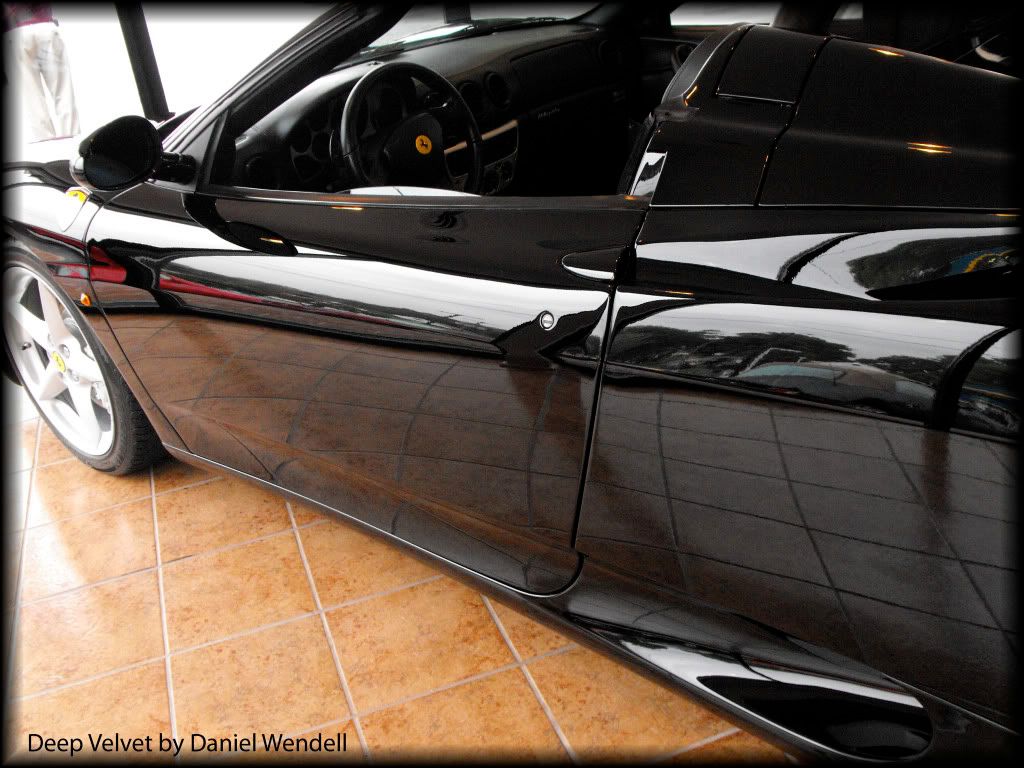
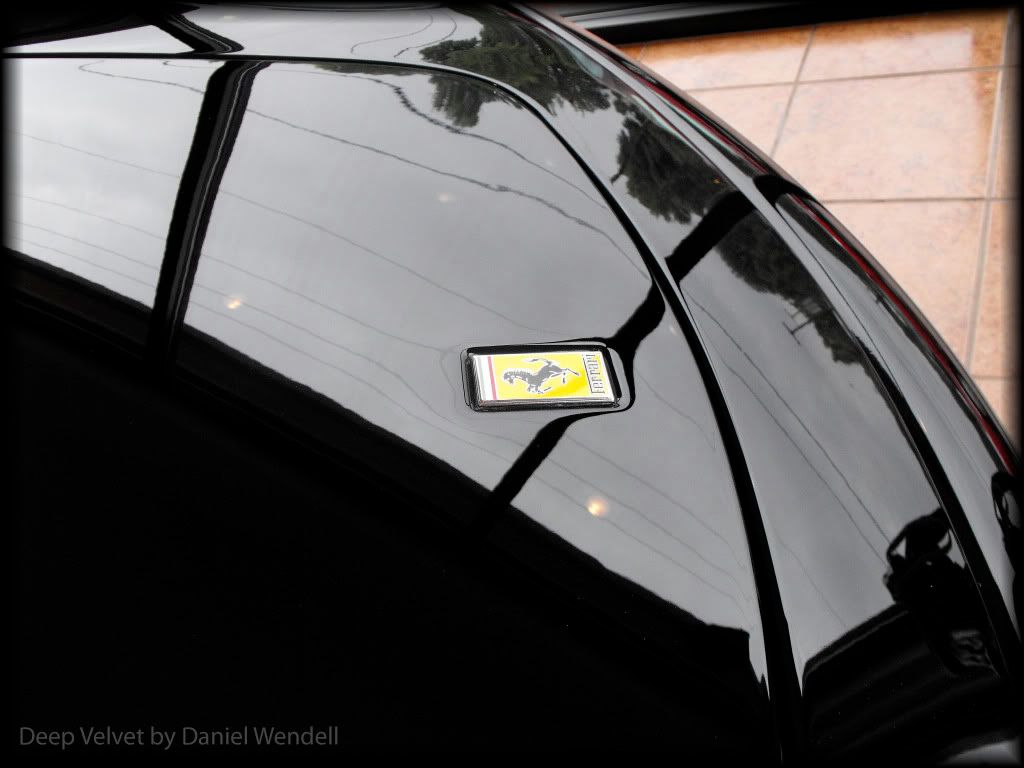
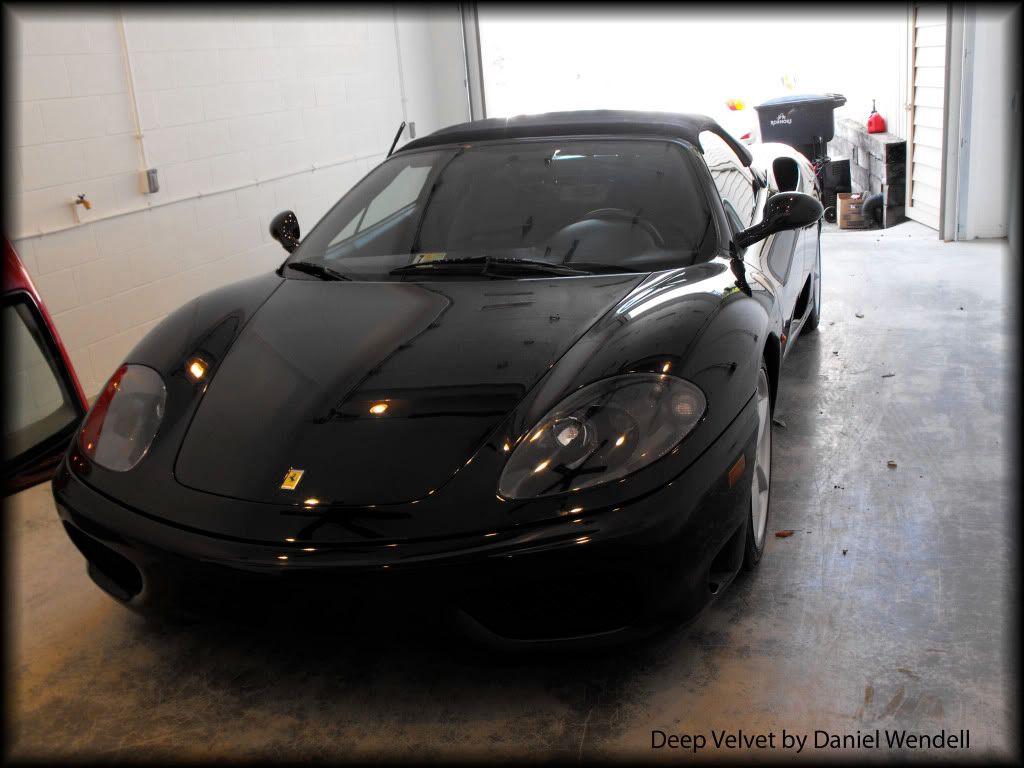
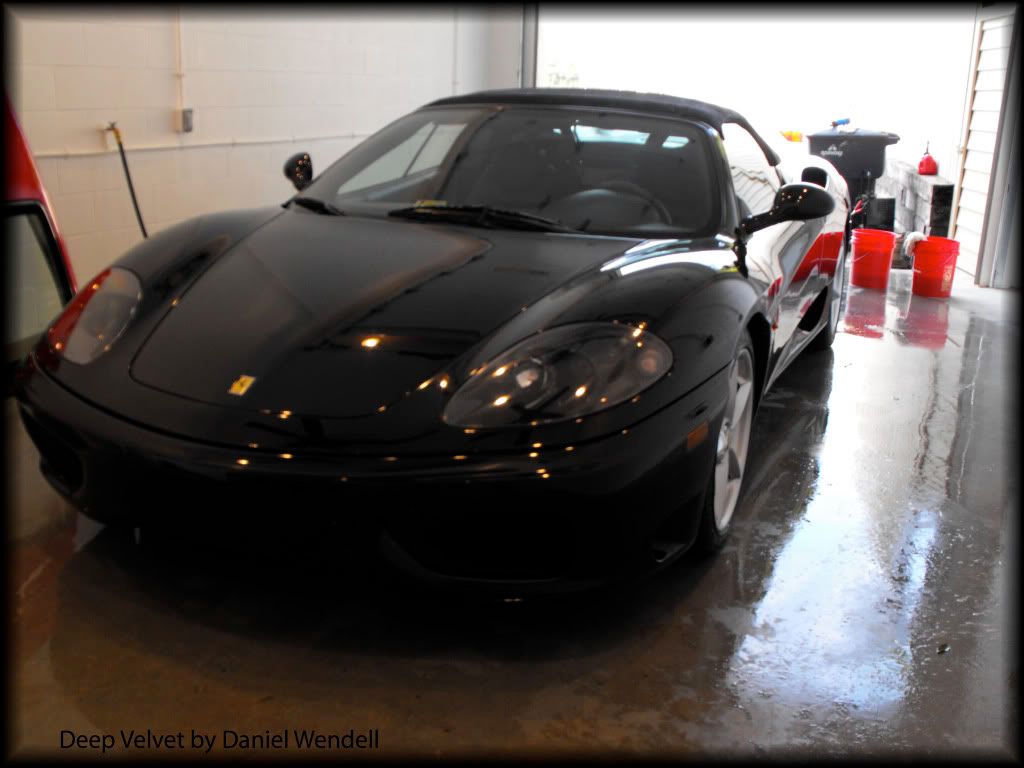
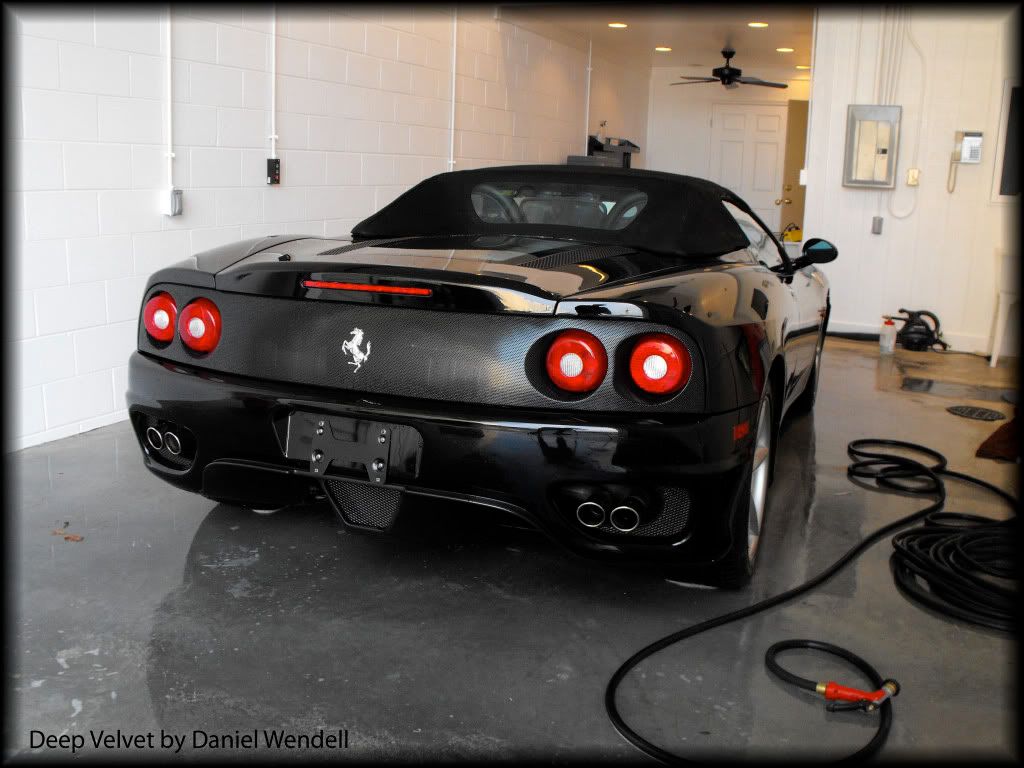
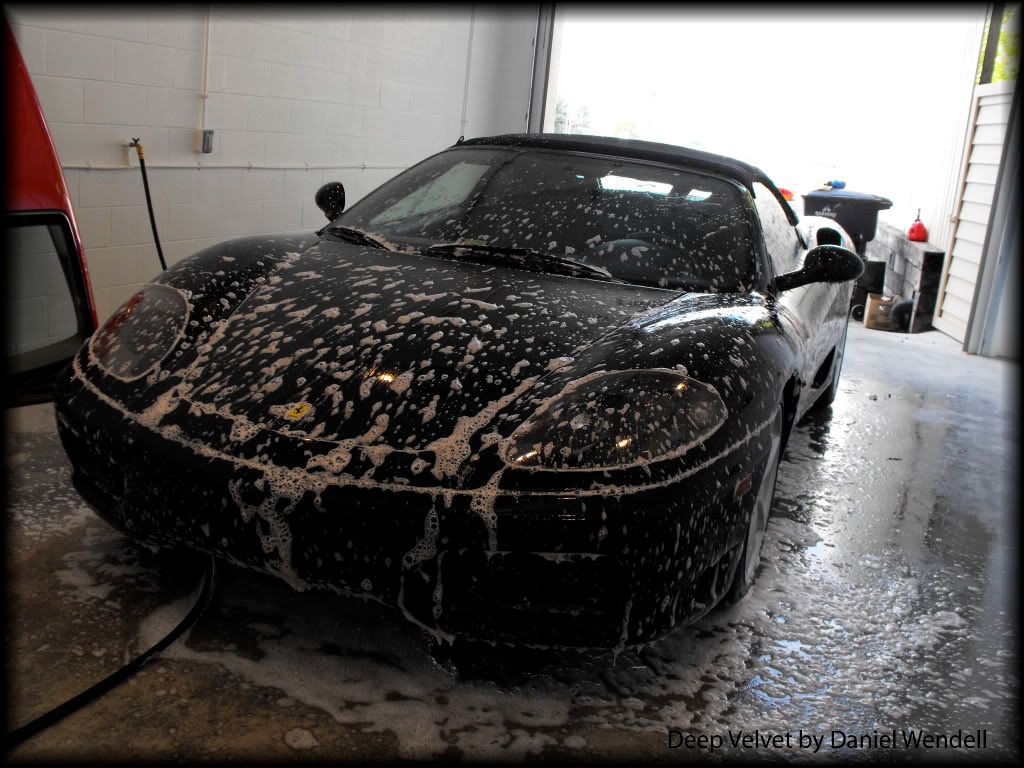
Here are some pictures of the car before the detailing commenced.
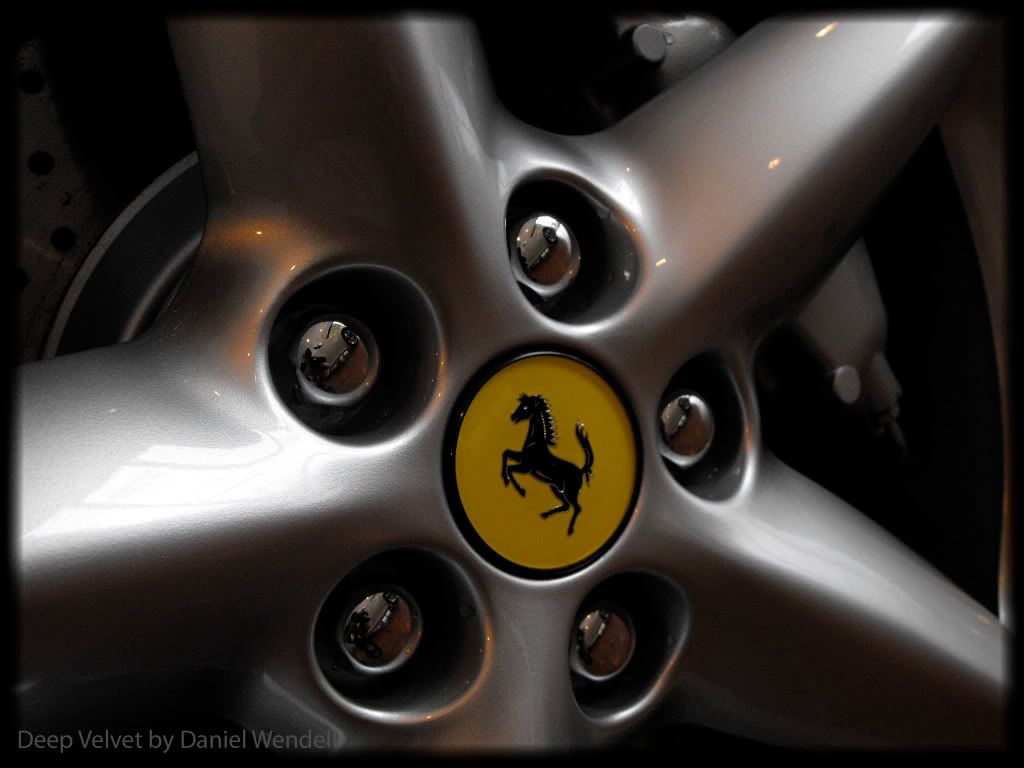
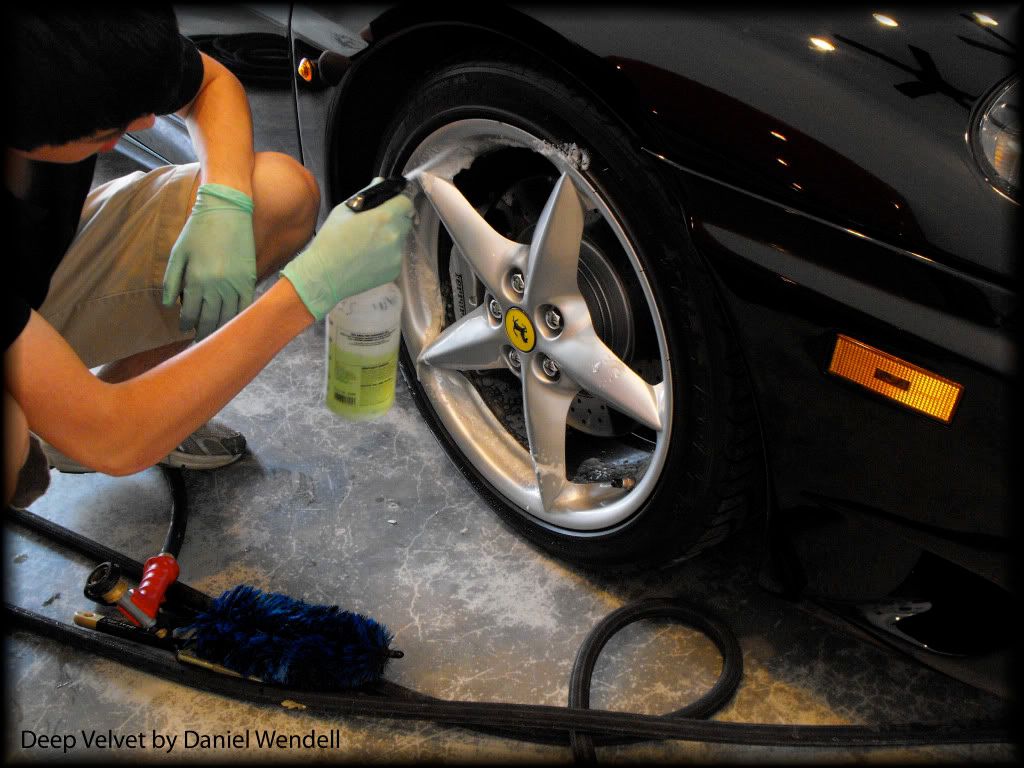
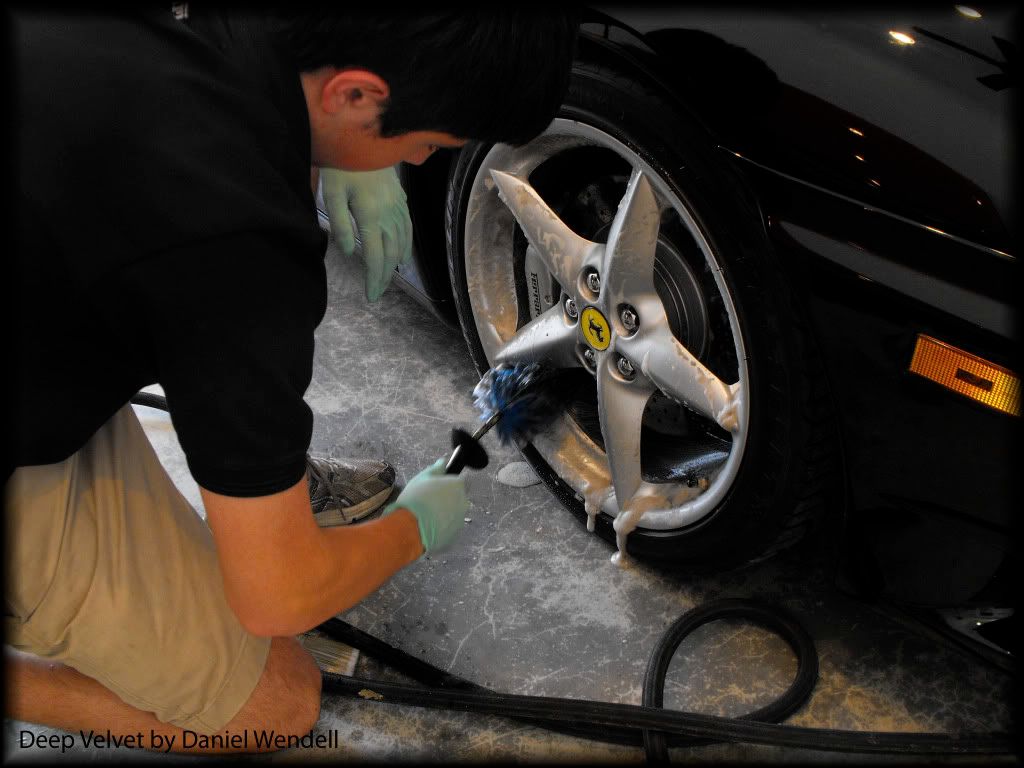
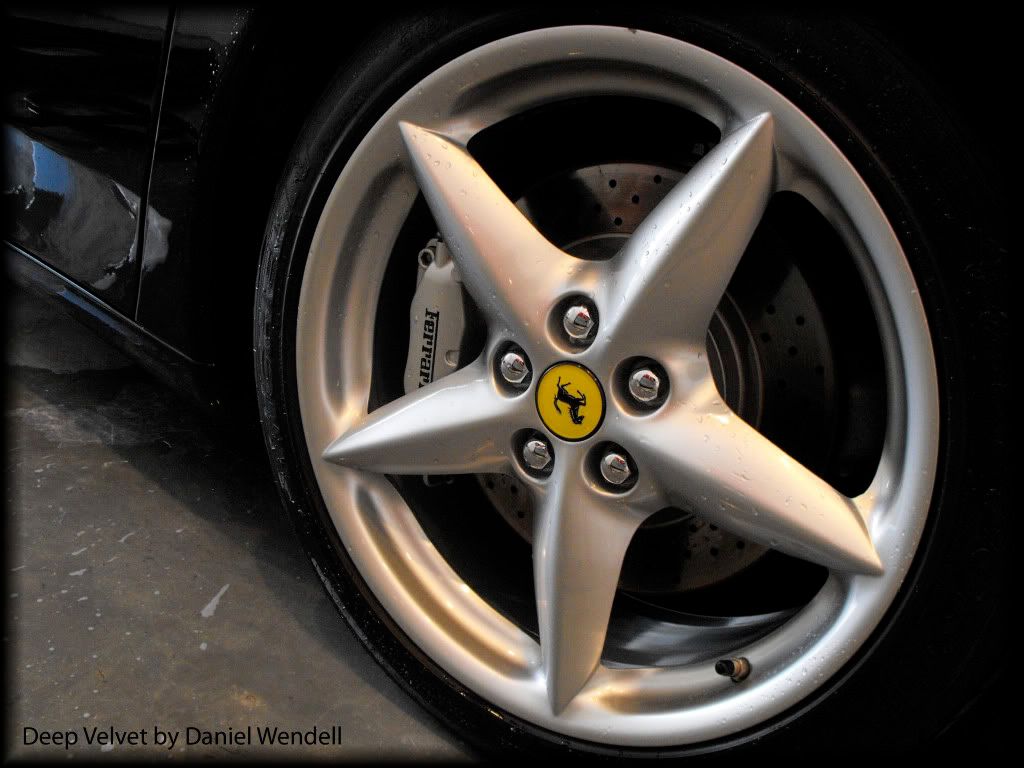
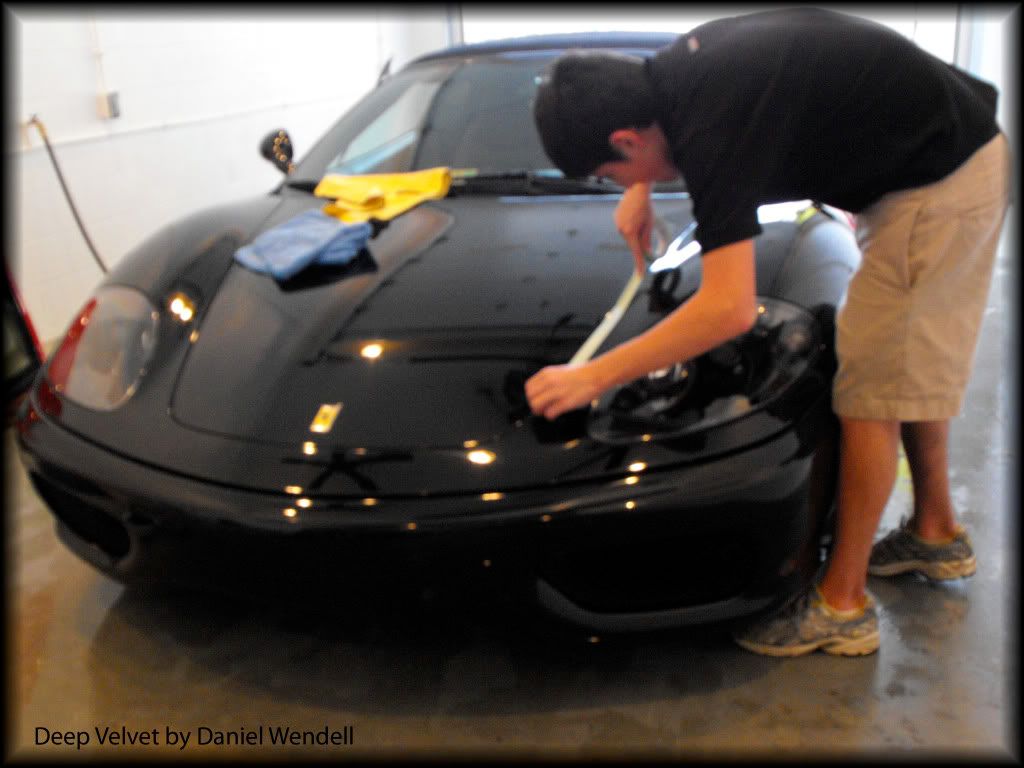
The way I start off every detail is by washing the car (correctly). The first step in washing a car is cleaning the wheels to perfection. This means using special wheel gel that is not acidic and does not corrode the alloy wheels found on today’s most expensive and luxurious cars.

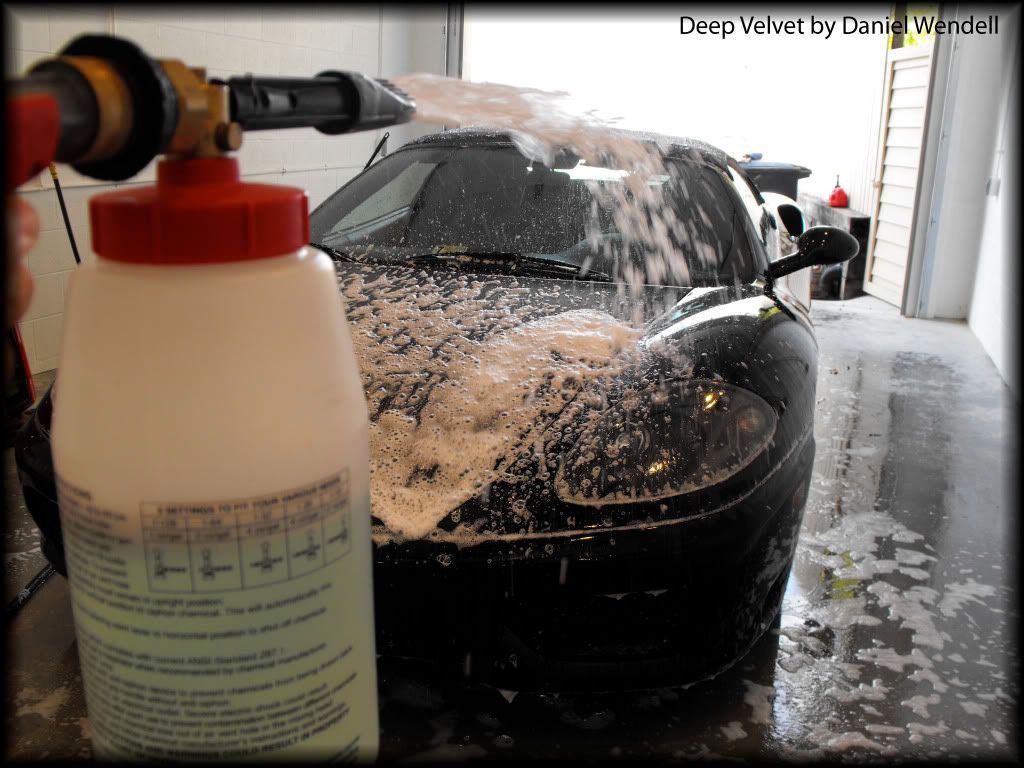
After this the car is sprayed off with pressurized water to remove loose dirt and particles. Immediately preceding this step, the car is then ‘foamed’ with a shampoo which helps dissolve some of the contamination and add lubricity to the paint.
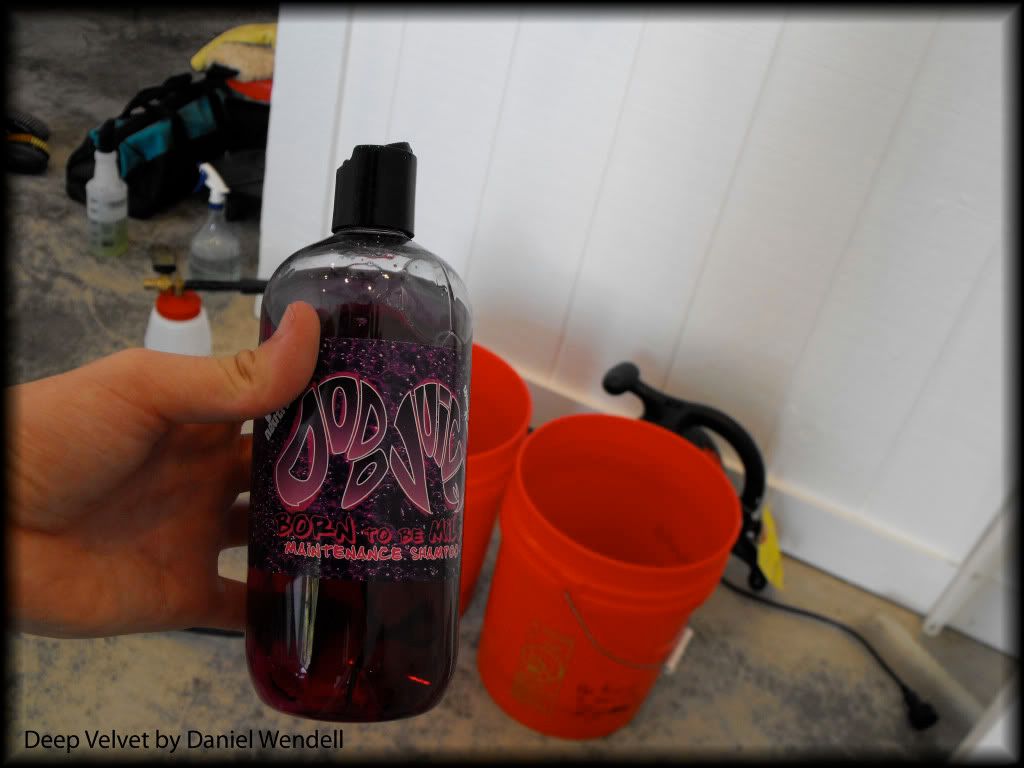
The car was then washed using the two-bucket method (a method to reduce the chance of inducing swirl marks), a sheepskin wash mitt and Dodo Juice Born To Be Mild.
Finally the car was then hosed down and dries using only high quality microfiber waffle weave towels.
What most people do not know is that the main part in a detail is not a ‘wax’ (or polymer sealant) it is the polishing. This is a fact; 98-99% of the great look that comes from a car is the pre-wax process. This in most cases means polishing however in others can mean adding excess oils to the surface to fill in the swirl marks in the finish and add depth and gloss to the paintwork. However in all circumstances I recommend removing the swirls and other defects instead of filling them in. This method is more expensive in the present however will pay dividends in the look of the car and the longevity of the look if properly maintained.
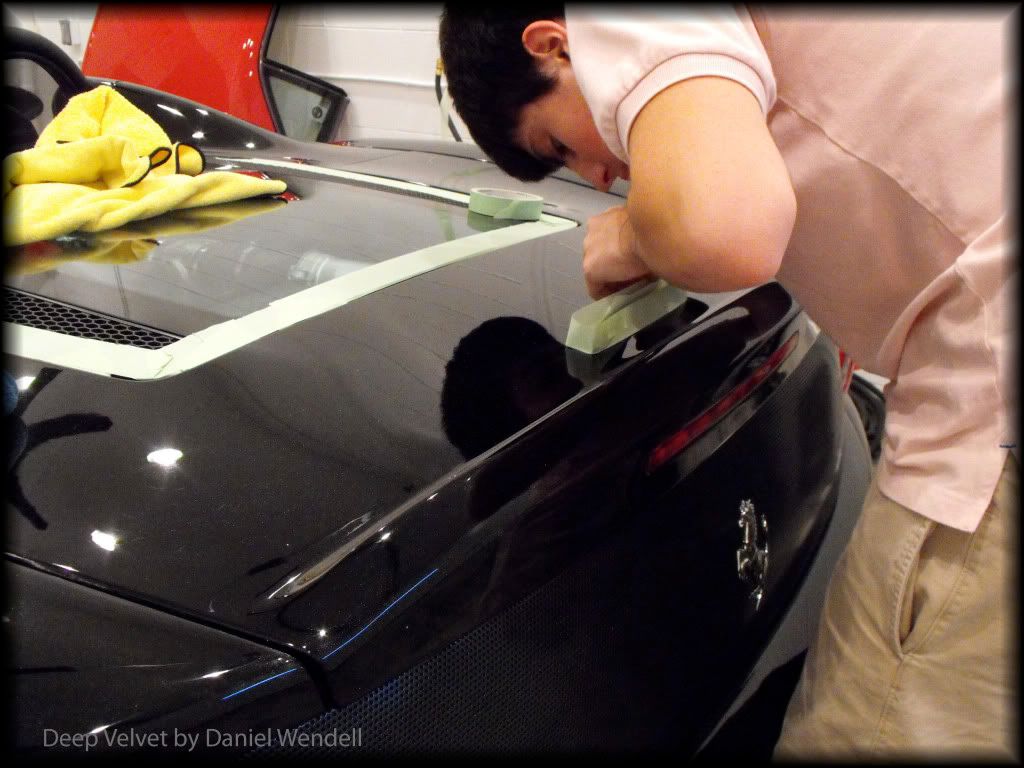
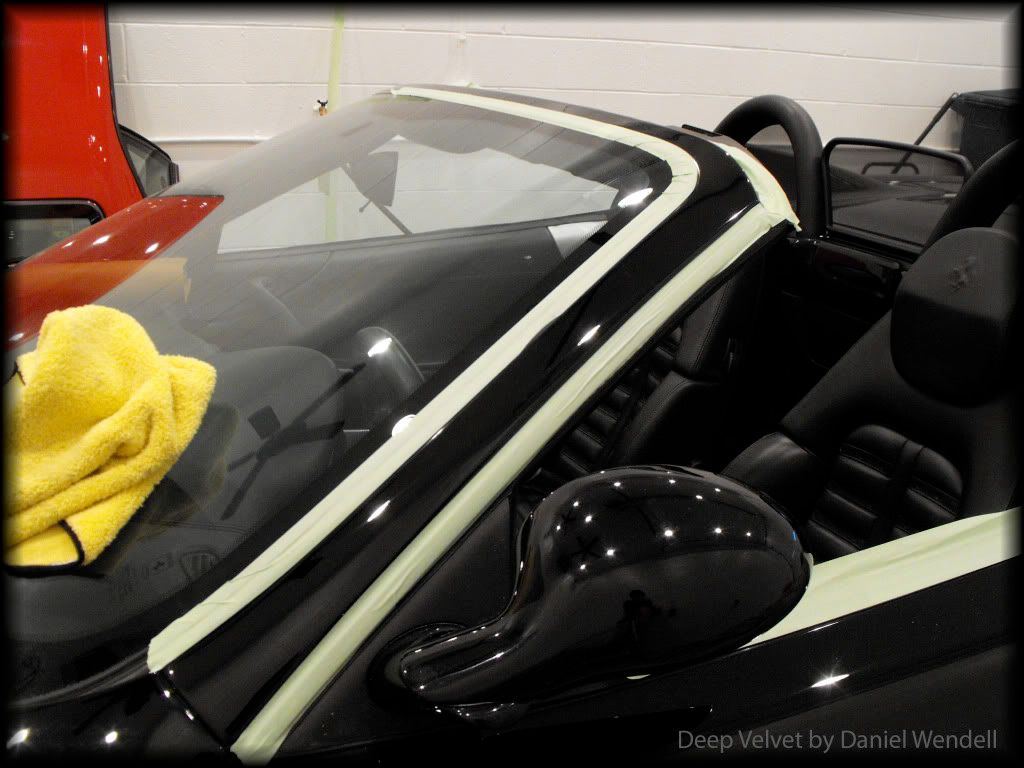
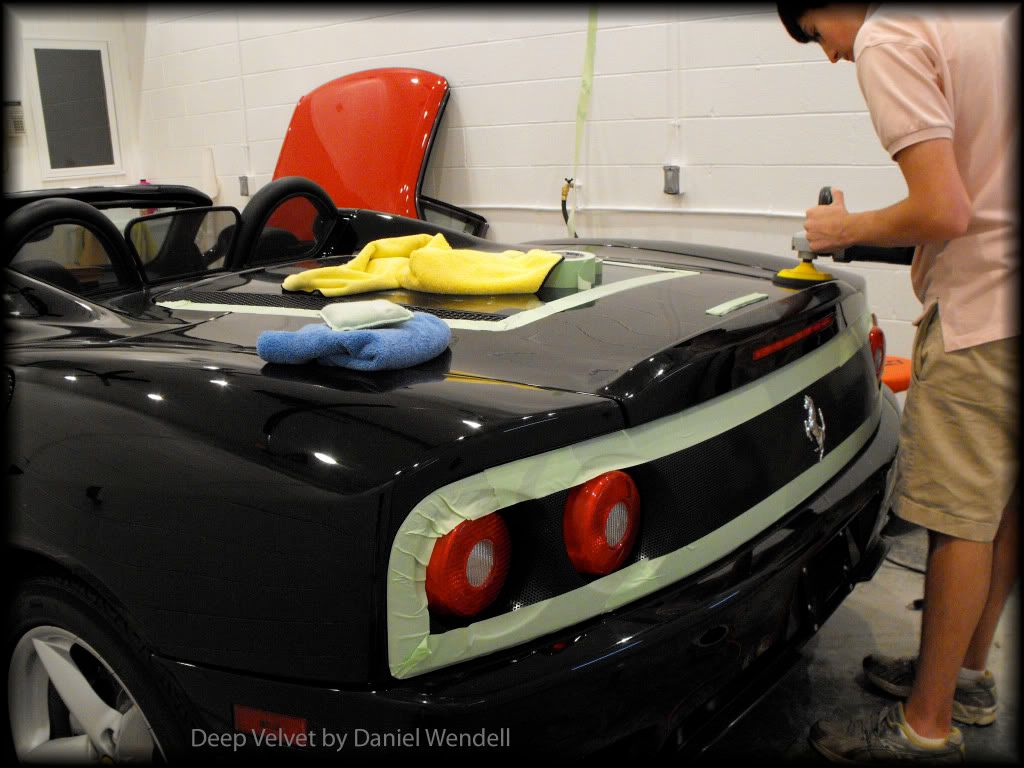
Before polishing it is important to tape up the cars trim so that polish residue does not stain it. This is done with special tape that has less adhesive then normal painters tape as to not leave any adhesive on the trim.
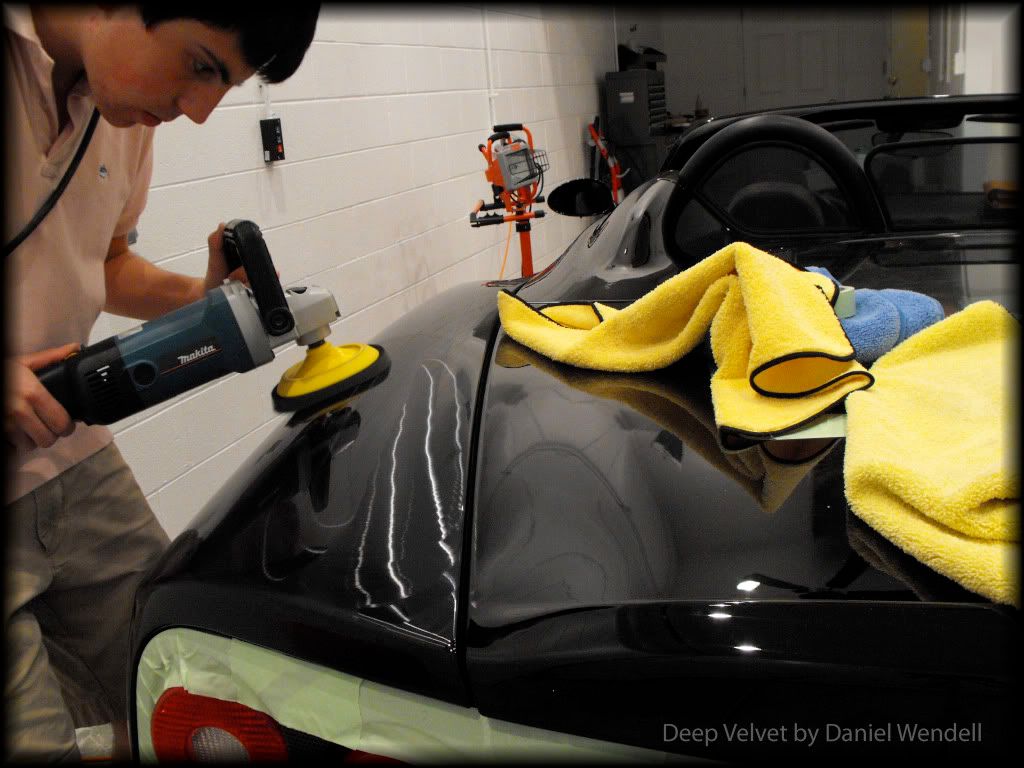
Every high quality detailer has an arsenal of different polishes for different uses and even some for the same. The polishes that are used by quality detailers are usually made specifically for a certain environment (most are the factories which have a set environment). This means that sometimes polishes might act up in, for instance higher temperatures or humidity. For that simple fact I carry quite a few different polishes with me on every detail.
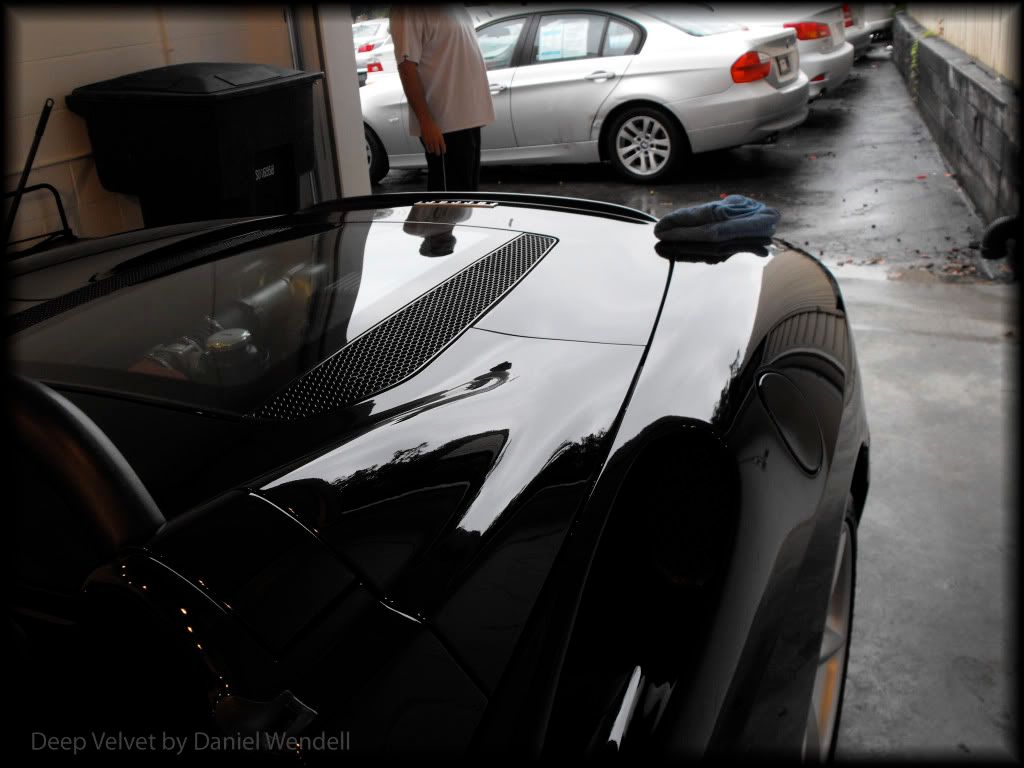
Due to the fact that some polishes act up, the first step of polishing is essential. This step is the testing step where you see what route you will need to take. Polishing is like having a map but no compass if this step is not carried out. When polishing it is essential to carefully examine and evaluate everything that goes on. For instance just about every polish’s abrasives are made to break down into smaller abrasives to refine the surface of the paint even more. If the abrasives are not breaking down, it is a problem. There are many more factors of why it is important to do a test panel first. My test panel was the hood of the car. With this panel I figured out that I must use a mild polish in conjunction with a finishing polish to make sure the surface is perfectly leveled true to reveal the deepest and best gloss possible.
After the test panel is complete you will know what your process will be. Once that is finished it is just mindless droning on, which gets extremely boring but is livened up by the constant hum of 900-2000 RPM’s in your ears.
Before:
50/50:
Finished:
Before:
After:
Before:
During:
After:
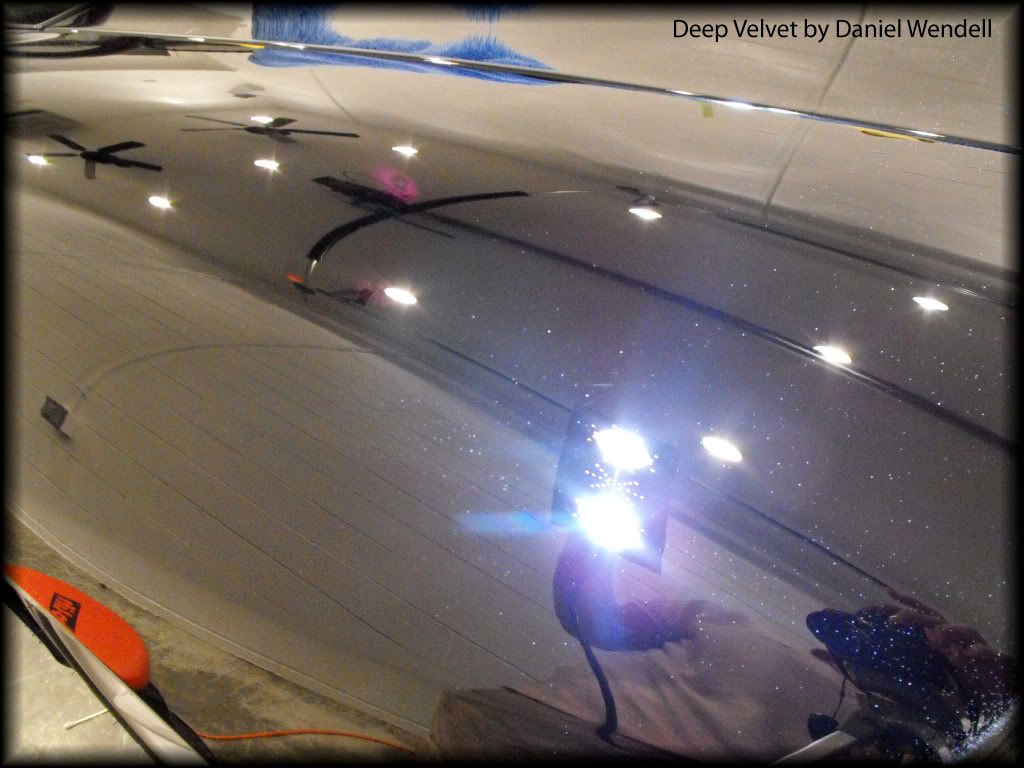
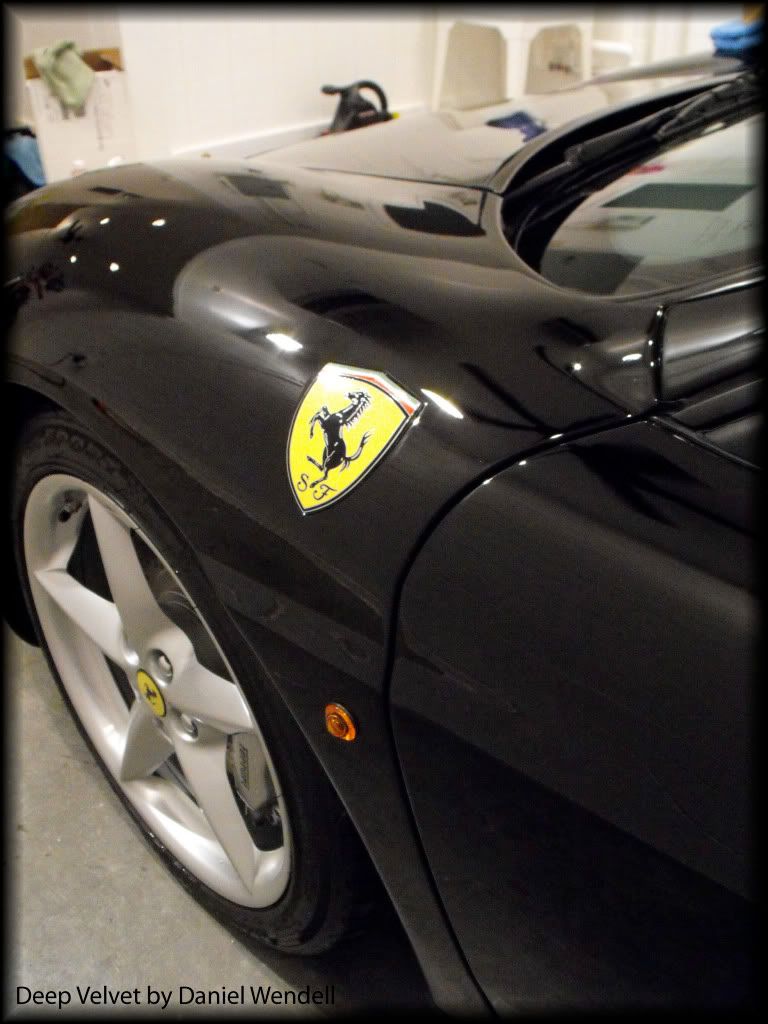
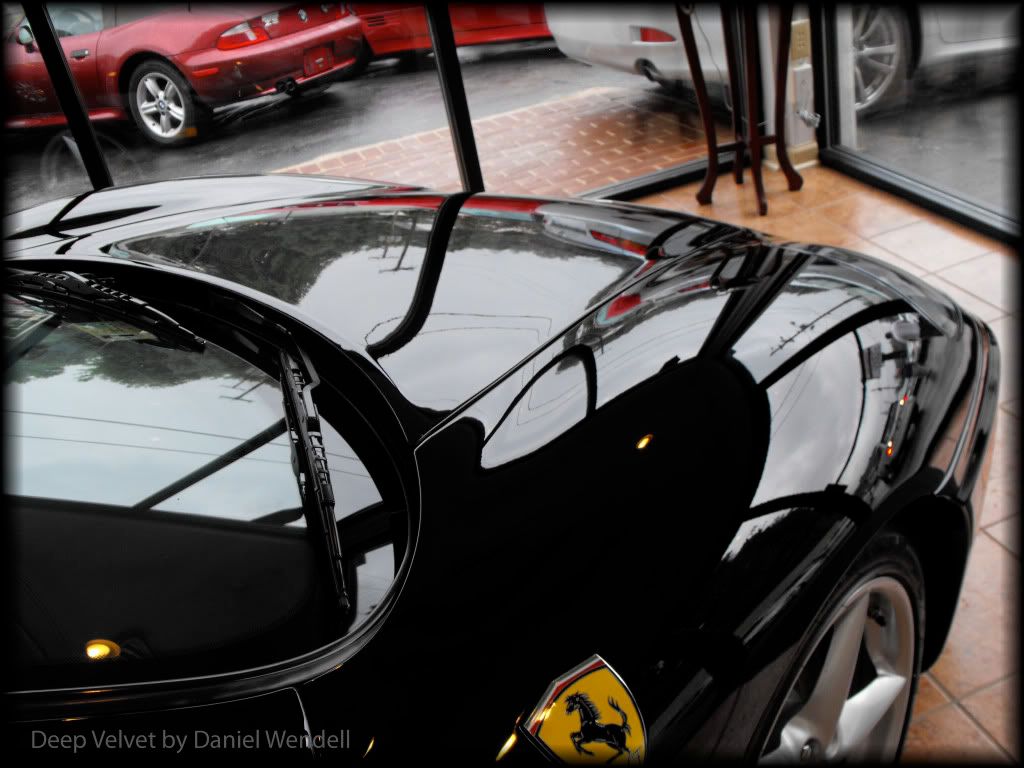
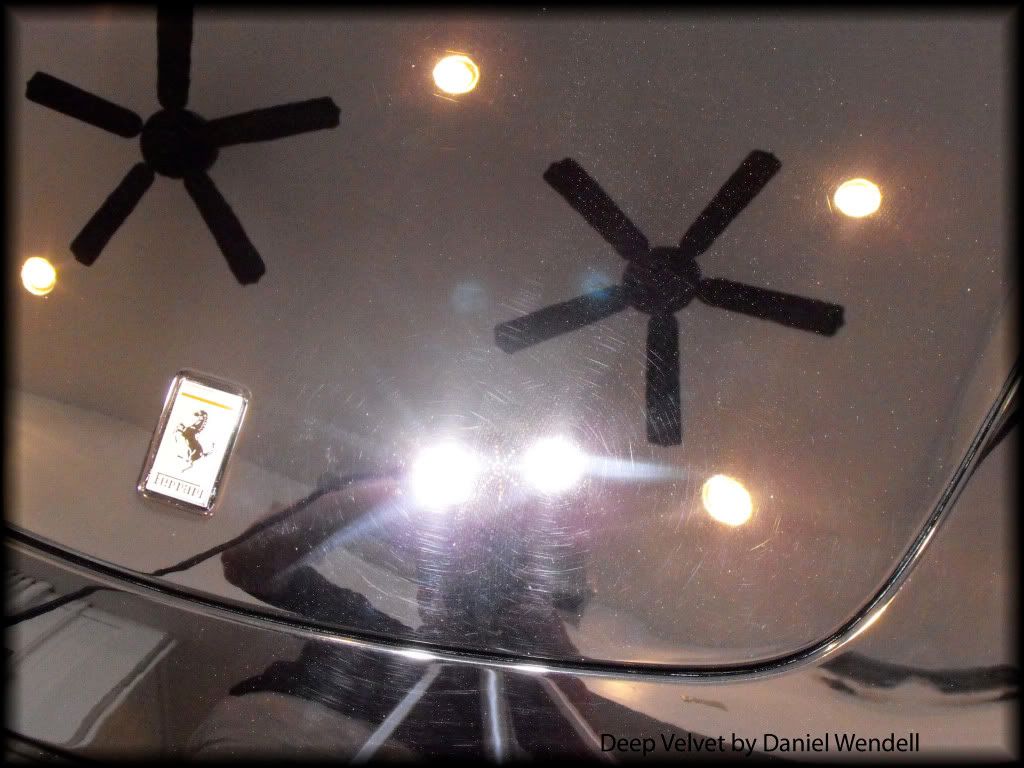
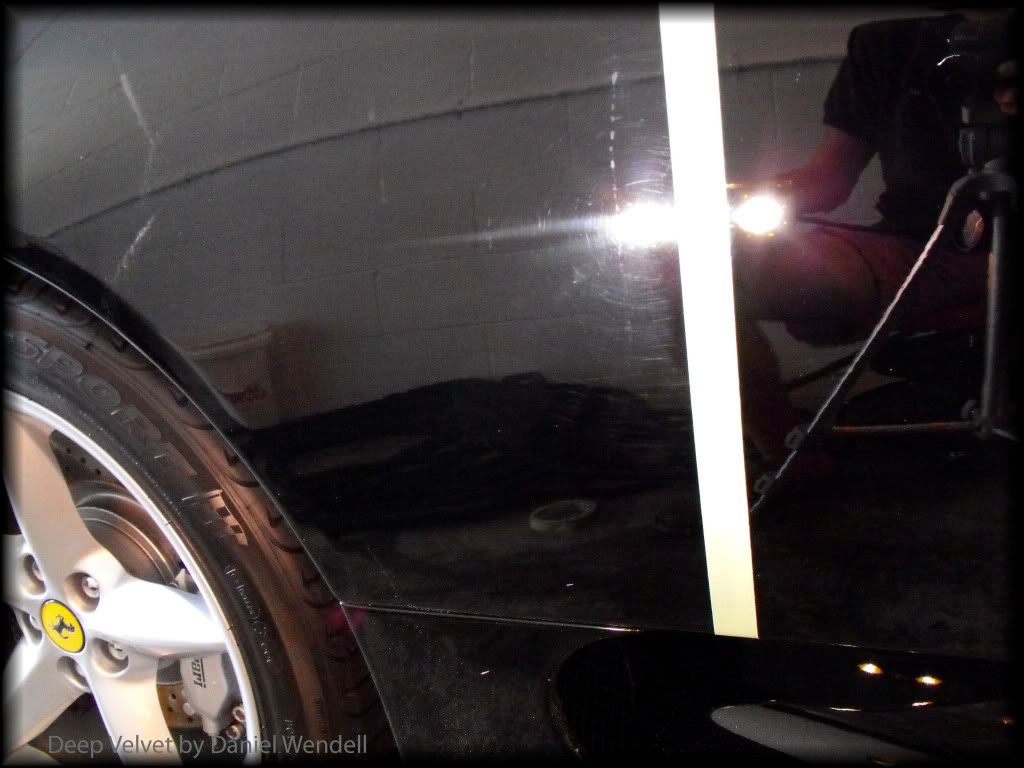
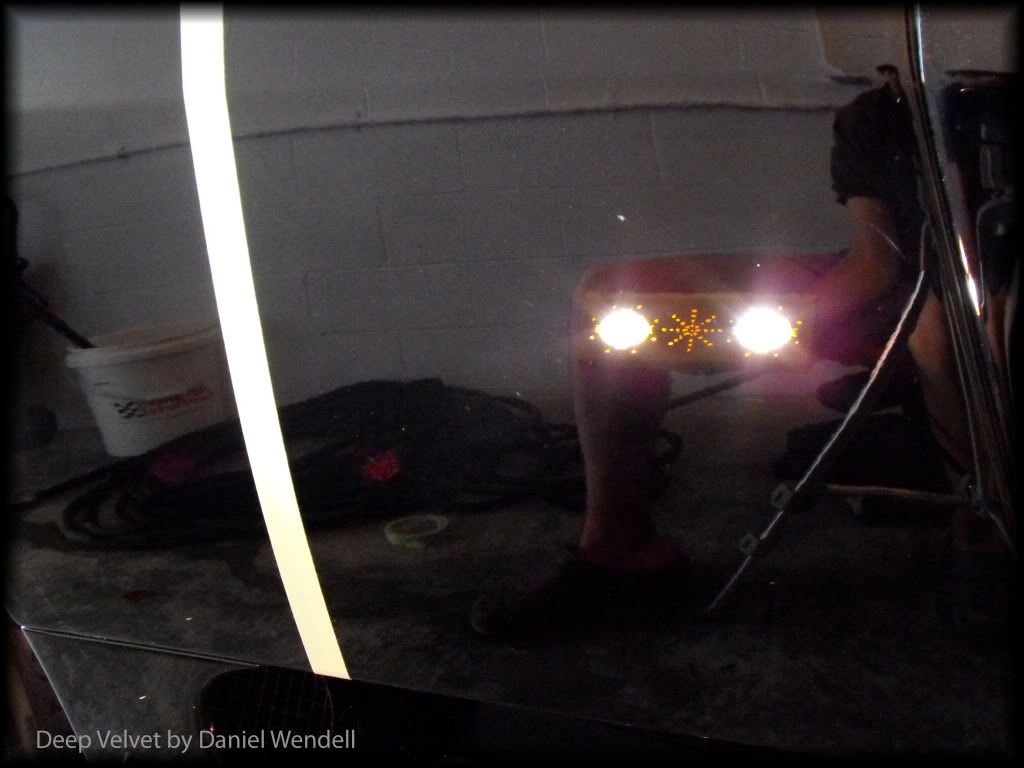
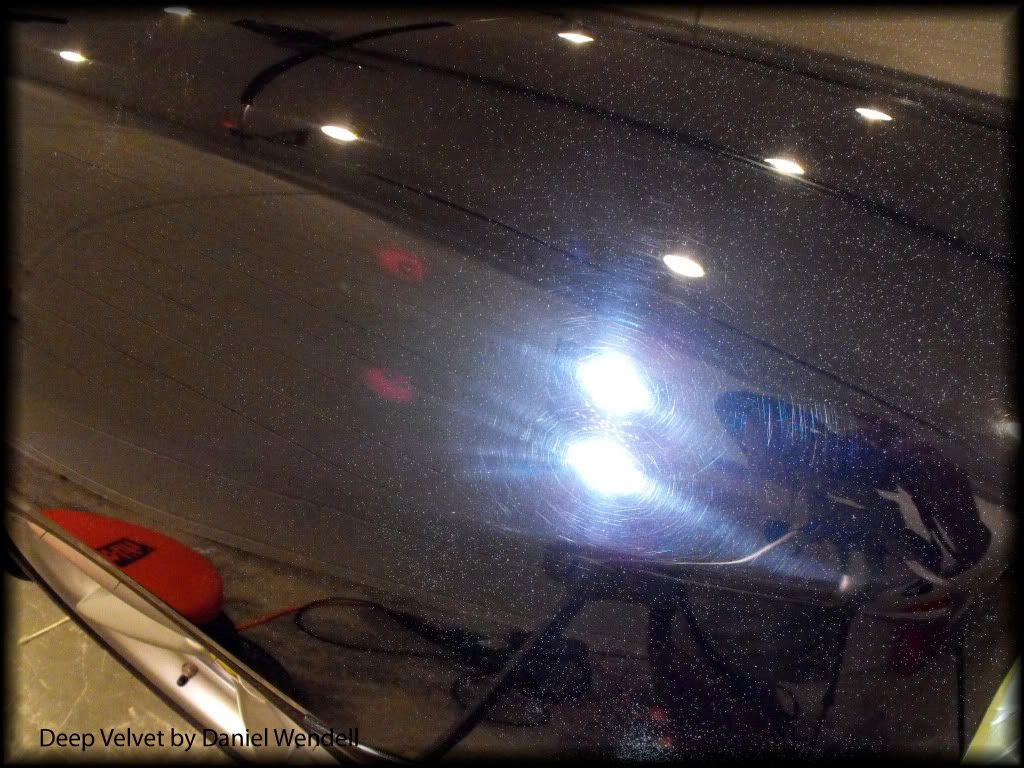
In this next picture you can see a 50/50 of unpolished and polished. If you look close the black is so much sharper.
After polishing is complete it is time to start prepping the surface for the wax or sealant. The car is first foamed to remove the loose dust and then washed a second time.
Immediately after cleansing the surface I apply a pre-wax cleanser, which adds depth and gloss to the paint. My preferred product for this step is Dodo Juice Lime Prime Lite.

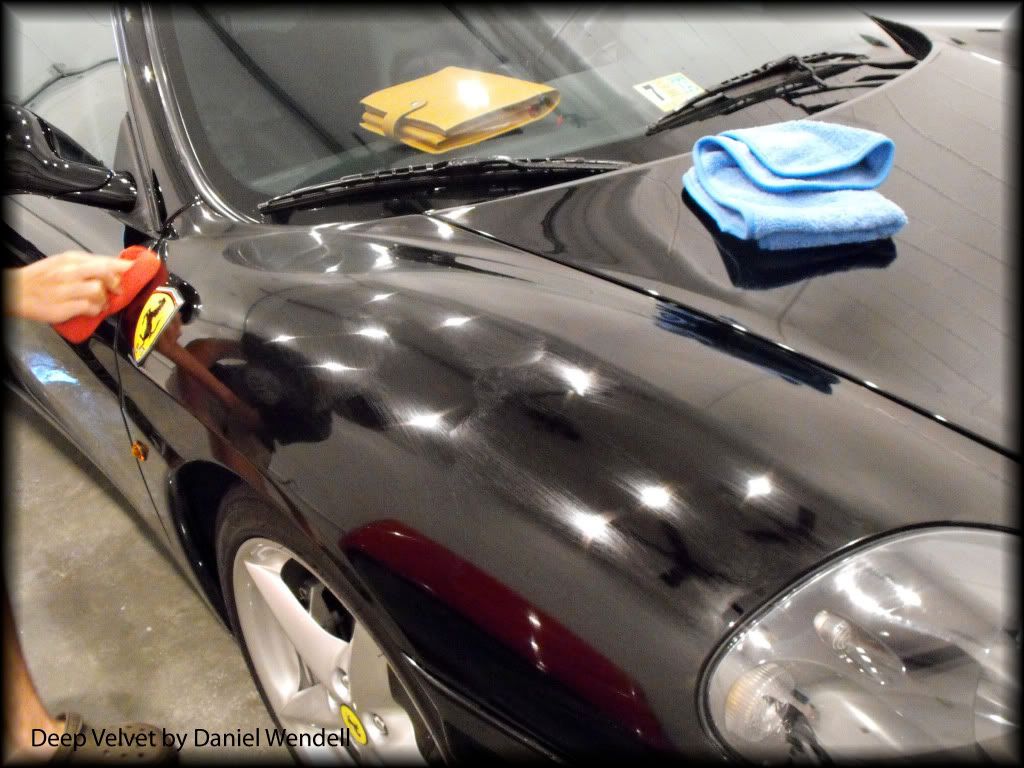
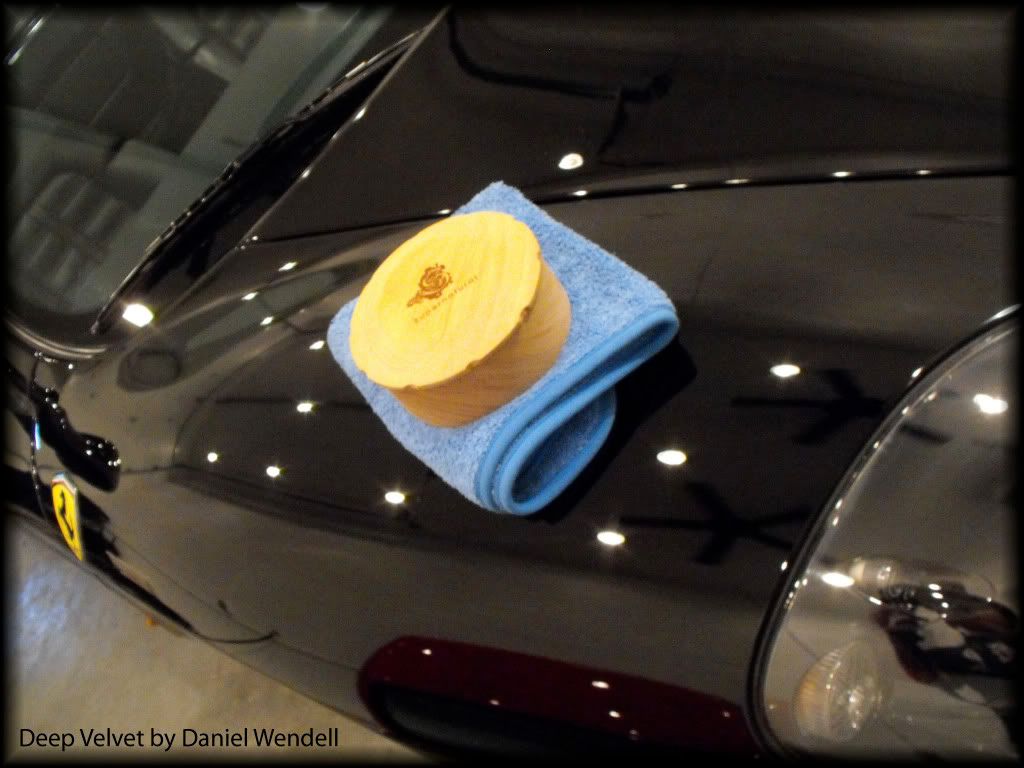
Finally after about 10 hours (which polishing can take up to 3 times longer) the paint is ready for the wax. The wax I used on this car was Dodo Juice Supernatural. This is the best superwax on the market (I feel). It is expensive however some clients and I myself have noticed a difference in the appearance when using the high-end boutique wax.
When detailing a car, it is very important to set your mindset to perfection. Most of us live a life of rationalization however in some fields this rationalization needs to be turned off. This lack of rationalization means that there are no exceptions to perfection. Within the heart of just about every detailing shop there is a major flaw. This flaw is the fact that the time spent on the car is essential to make money. The company (or companies in question) makes its money on getting cars out as quickly as they can. For this exact reason Daniel Wendell works alone keeps the level of perfection up to his desired mark.
This particular car is a 2002 Ferrari 360 Spider that has about 10,000 miles on it. Many people think cars are delivered to the customer (when brand new) perfect. This is a common misconception. Many cars (especially exotics) go through grueling tests before they even get to the dealership. For example, every single Ferrari is test driven at the test track in Italy where the cars are made. I have had the pleasure of knowing a man who has been to the Ferrari plant in Italy and seen this with his own eyes. He said that he met the first driver of his Ferrari, which was a humbling experience because he finally knew how much time and effort went into the car that he was buying.
Now that I have explained a little about the background of this car, I will get a little more specific. This particular car had a good amount of swirl marks and another common defect in the paint known as holograms. Holograms are a mark left behind when an inexperienced detailer gets behind a polisher and tries to buff the paint to remove holograms. My educated guess would be these holograms were instilled in the car at the Ferrari factory. The swirl marks are a common defect that can be extremely hard to remove. Swirl marks are induced by incorrect washing techniques and/or improper care of the car. I have yet to find a Ferrari dealership (much less a Honda dealership) that spends the time and funds necessary to wash a car correctly.
Here are some pictures of the car before the detailing commenced.
The way I start off every detail is by washing the car (correctly). The first step in washing a car is cleaning the wheels to perfection. This means using special wheel gel that is not acidic and does not corrode the alloy wheels found on today’s most expensive and luxurious cars.
After this the car is sprayed off with pressurized water to remove loose dirt and particles. Immediately preceding this step, the car is then ‘foamed’ with a shampoo which helps dissolve some of the contamination and add lubricity to the paint.
The car was then washed using the two-bucket method (a method to reduce the chance of inducing swirl marks), a sheepskin wash mitt and Dodo Juice Born To Be Mild.
Finally the car was then hosed down and dries using only high quality microfiber waffle weave towels.
What most people do not know is that the main part in a detail is not a ‘wax’ (or polymer sealant) it is the polishing. This is a fact; 98-99% of the great look that comes from a car is the pre-wax process. This in most cases means polishing however in others can mean adding excess oils to the surface to fill in the swirl marks in the finish and add depth and gloss to the paintwork. However in all circumstances I recommend removing the swirls and other defects instead of filling them in. This method is more expensive in the present however will pay dividends in the look of the car and the longevity of the look if properly maintained.
Before polishing it is important to tape up the cars trim so that polish residue does not stain it. This is done with special tape that has less adhesive then normal painters tape as to not leave any adhesive on the trim.
Every high quality detailer has an arsenal of different polishes for different uses and even some for the same. The polishes that are used by quality detailers are usually made specifically for a certain environment (most are the factories which have a set environment). This means that sometimes polishes might act up in, for instance higher temperatures or humidity. For that simple fact I carry quite a few different polishes with me on every detail.
Due to the fact that some polishes act up, the first step of polishing is essential. This step is the testing step where you see what route you will need to take. Polishing is like having a map but no compass if this step is not carried out. When polishing it is essential to carefully examine and evaluate everything that goes on. For instance just about every polish’s abrasives are made to break down into smaller abrasives to refine the surface of the paint even more. If the abrasives are not breaking down, it is a problem. There are many more factors of why it is important to do a test panel first. My test panel was the hood of the car. With this panel I figured out that I must use a mild polish in conjunction with a finishing polish to make sure the surface is perfectly leveled true to reveal the deepest and best gloss possible.
After the test panel is complete you will know what your process will be. Once that is finished it is just mindless droning on, which gets extremely boring but is livened up by the constant hum of 900-2000 RPM’s in your ears.
Before:
50/50:
Finished:
Before:
After:
Before:
During:
After:
In this next picture you can see a 50/50 of unpolished and polished. If you look close the black is so much sharper.
After polishing is complete it is time to start prepping the surface for the wax or sealant. The car is first foamed to remove the loose dust and then washed a second time.
Immediately after cleansing the surface I apply a pre-wax cleanser, which adds depth and gloss to the paint. My preferred product for this step is Dodo Juice Lime Prime Lite.
Finally after about 10 hours (which polishing can take up to 3 times longer) the paint is ready for the wax. The wax I used on this car was Dodo Juice Supernatural. This is the best superwax on the market (I feel). It is expensive however some clients and I myself have noticed a difference in the appearance when using the high-end boutique wax.