Big, Black, And Dirty.........(That's what she said!) Cadillac Escalade

Tru_Shine

New member


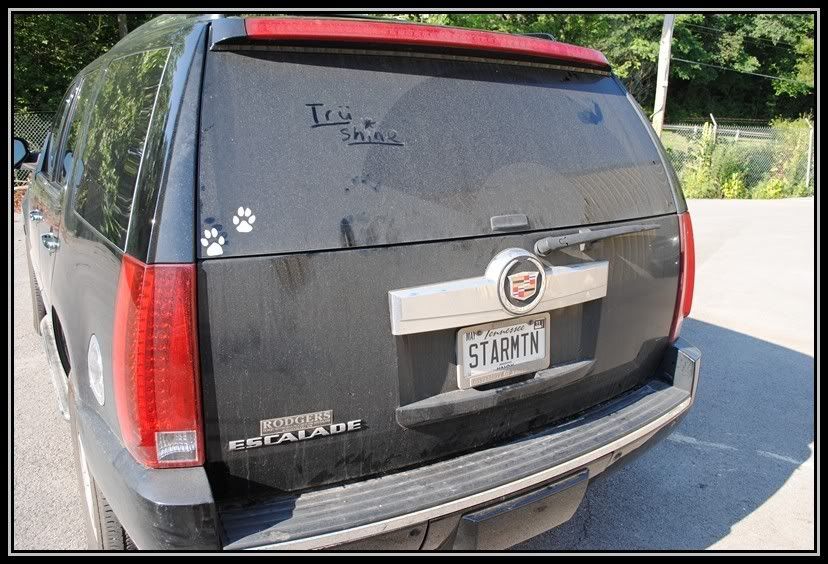
This is one of my older details that I had done, but forgot all about doing a write up on it. This job was over 25+ hours over the course of 2 1/2 days and I was just bout ready to slit my wrist half way through, lol. The GM clear coat is so hard, it's like trying to cut a Diamond sometimes.


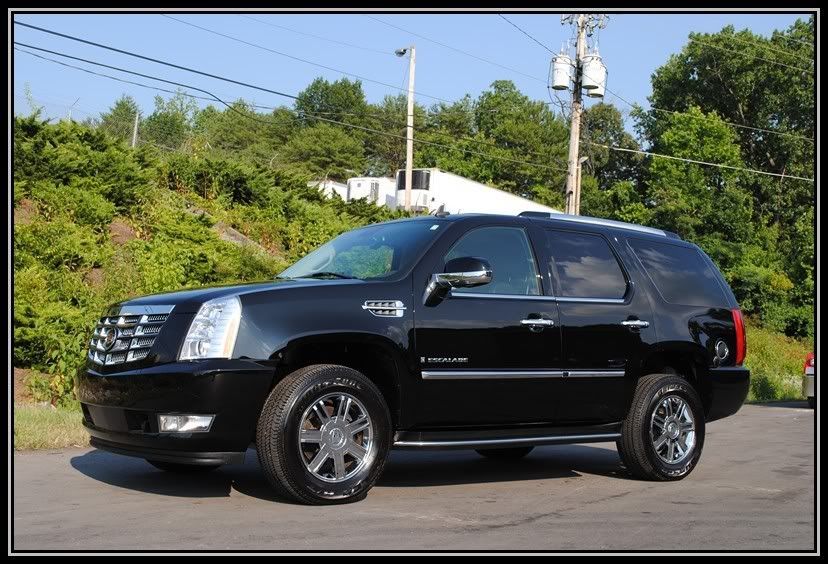
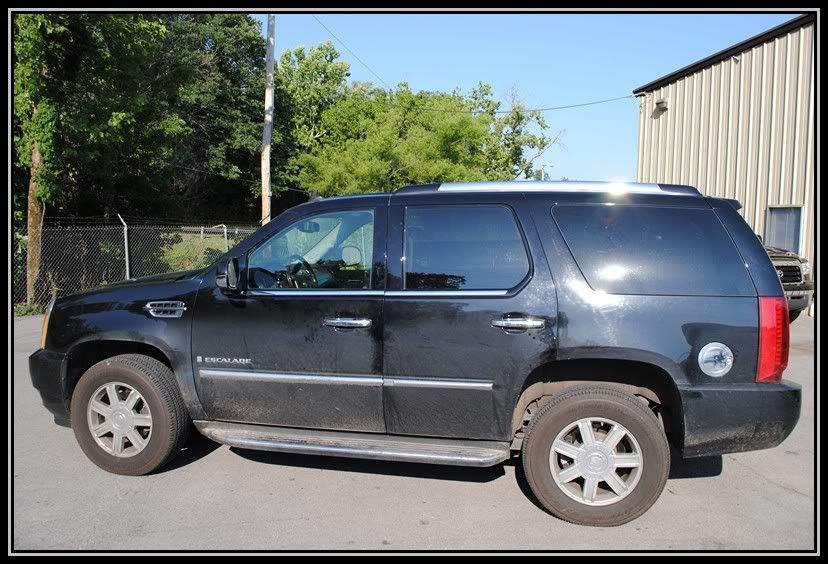
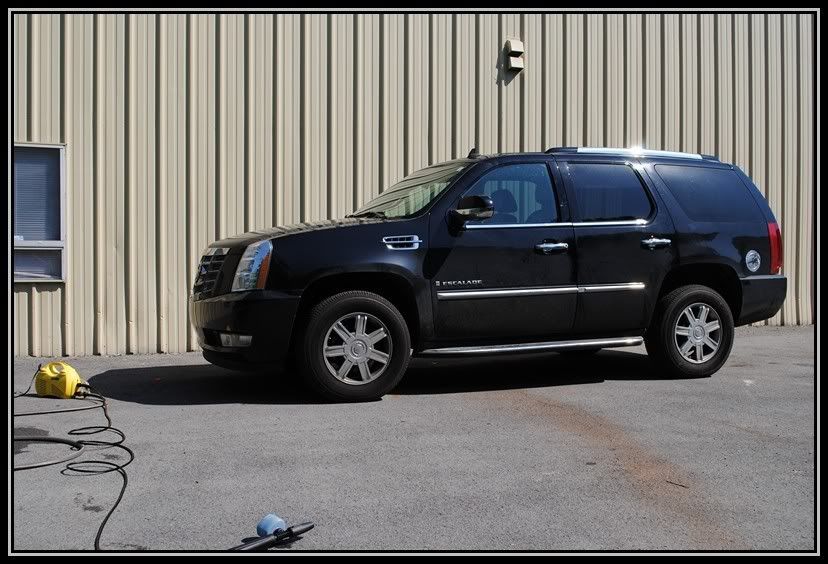
This Escalade came to me in pretty rough shape and I only had 2 days to complete. Lets begin, and see how it turns out on todays episode of Tru Life: I'm a detailer


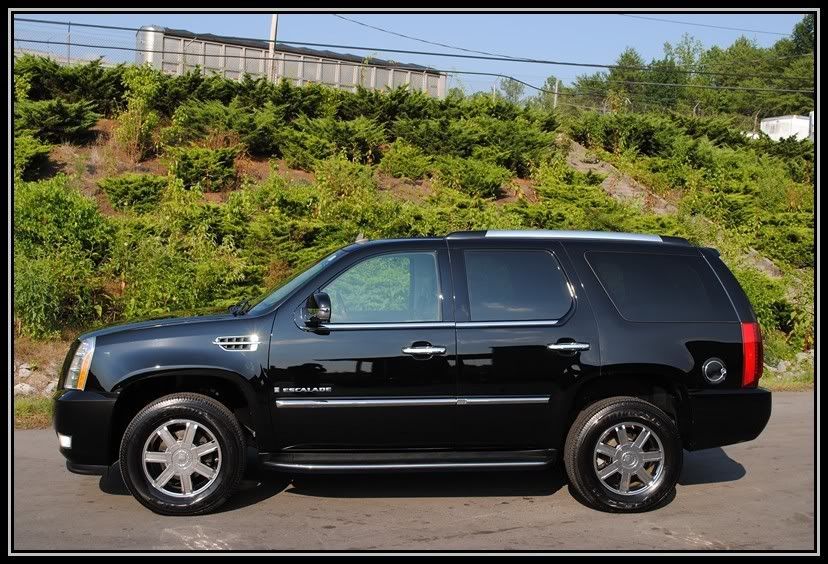
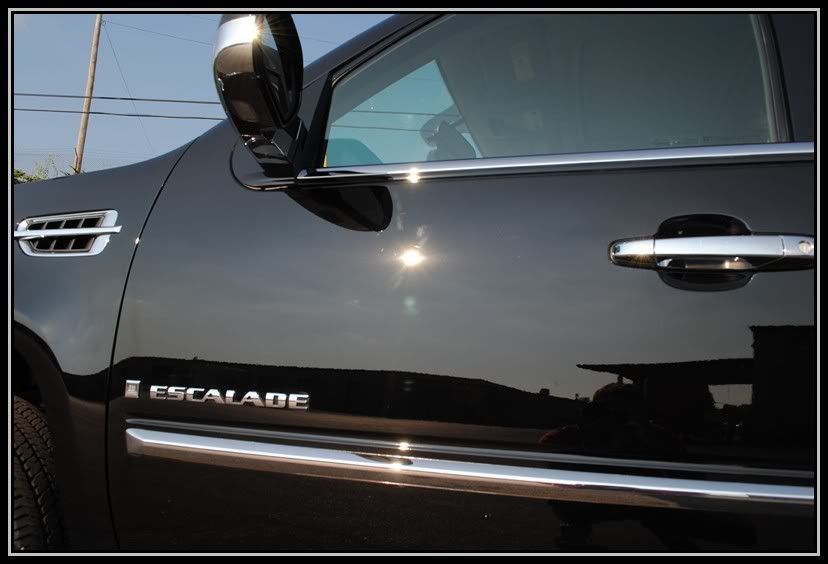
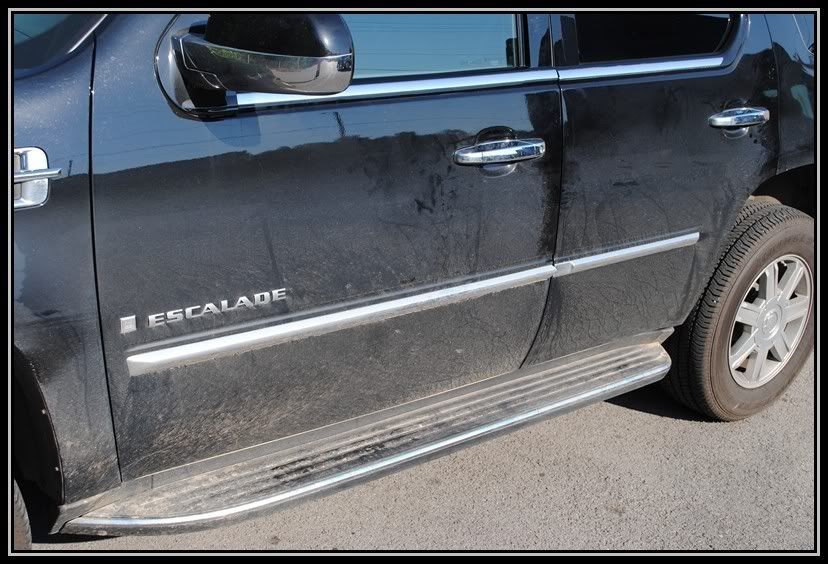
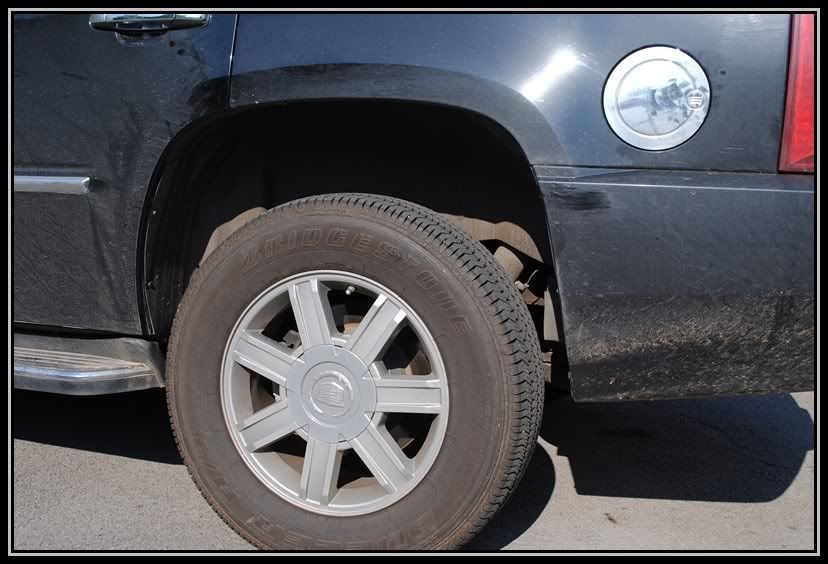
Here is what i was brought


Escalade001.jpg


Escalade003.jpg


Escalade004.jpg


Escalade005.jpg


Escalade006.jpg


Escalade007.jpg


Escalade008.jpg


Escalade009.jpg


Escalade013.jpg


Escalade015.jpg


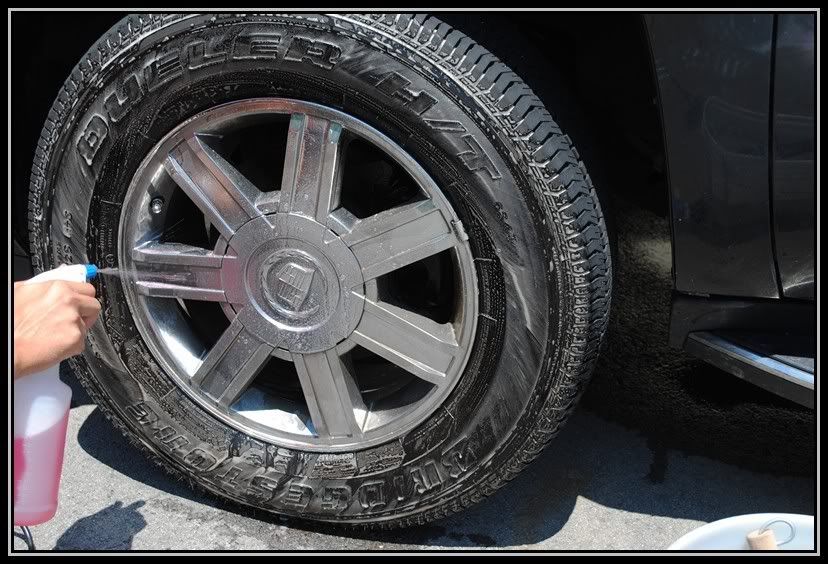
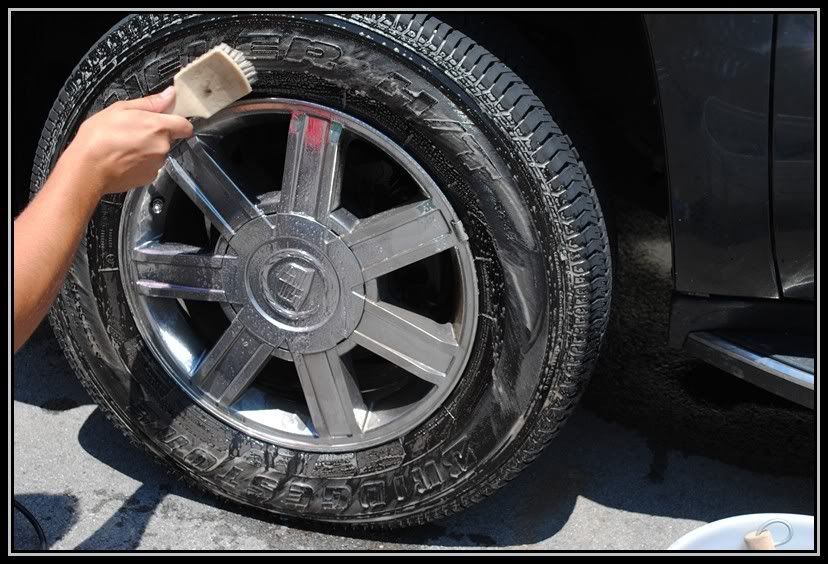
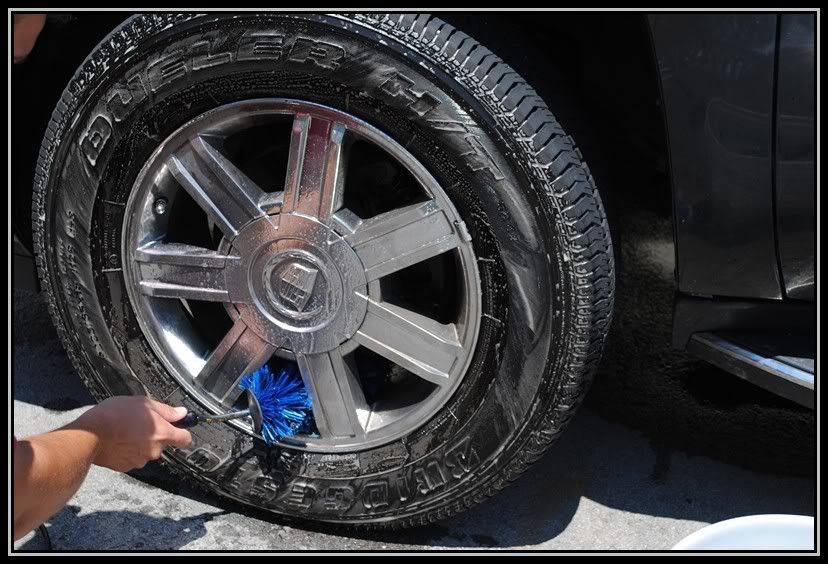
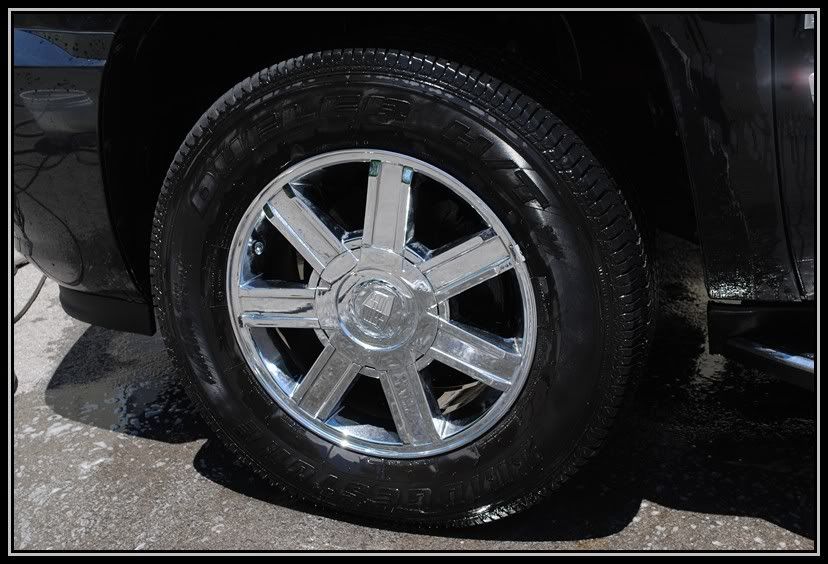
First the wheels and tires and Fender wells were cleaned with APC and Diablo wheel gel using various brushes


Escalade024.jpg


Escalade025.jpg


Escalade026.jpg


Escalade027.jpg


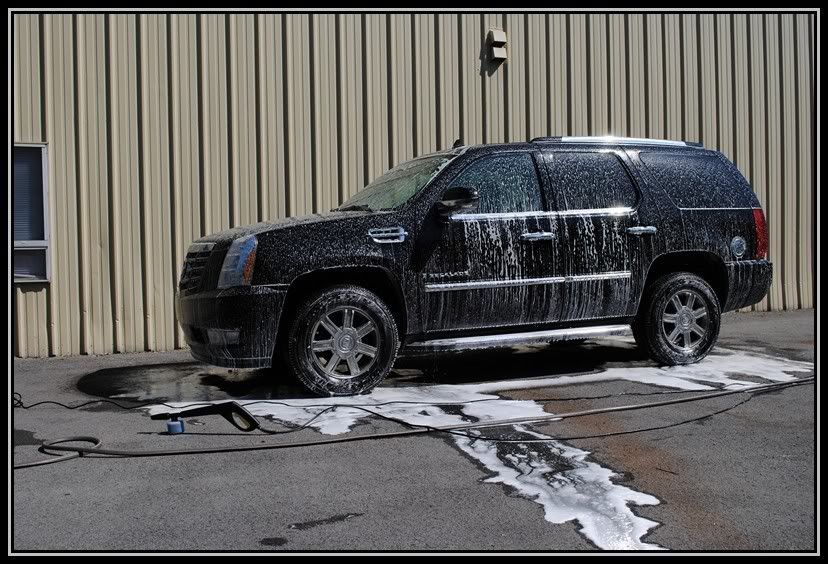
Then I foamed down the Escalade with my Karcher Foam gun and Karcher pressure washer


Escalade016.jpg


Escalade017.jpg


Escalade018.jpg


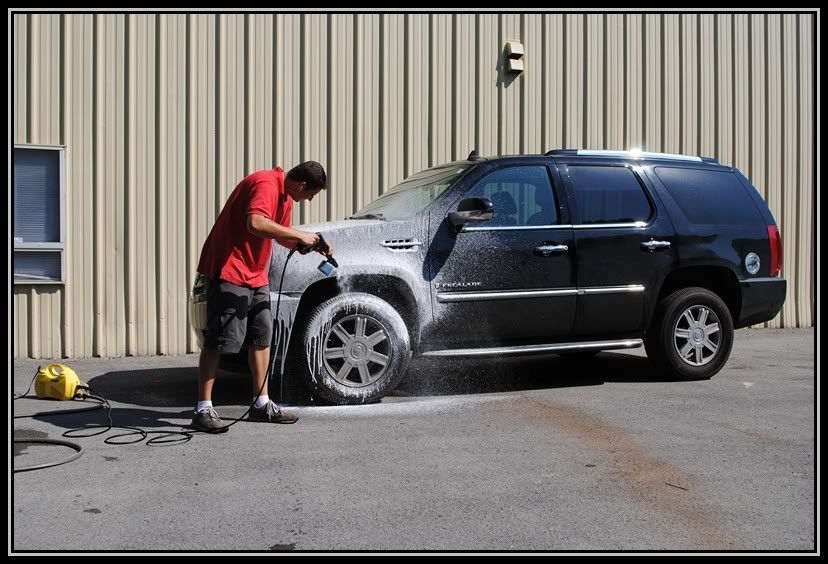
The Foam really helps breakdown and suspend the dirt up off of the vehicle keeping it from causing more harm to the paint.


I left the foam to dwell for a bit to help "roll off" some of the dirt with it.


Escalade019.jpg


Escalade020.jpg


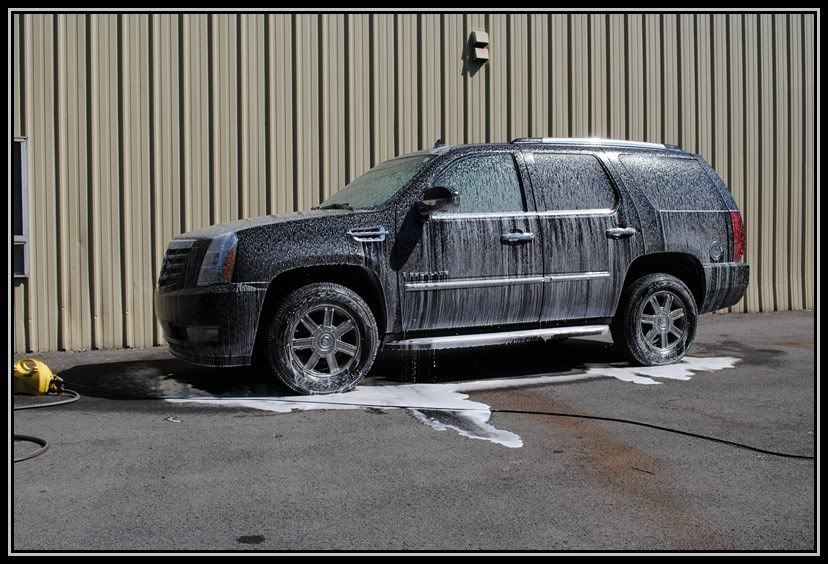
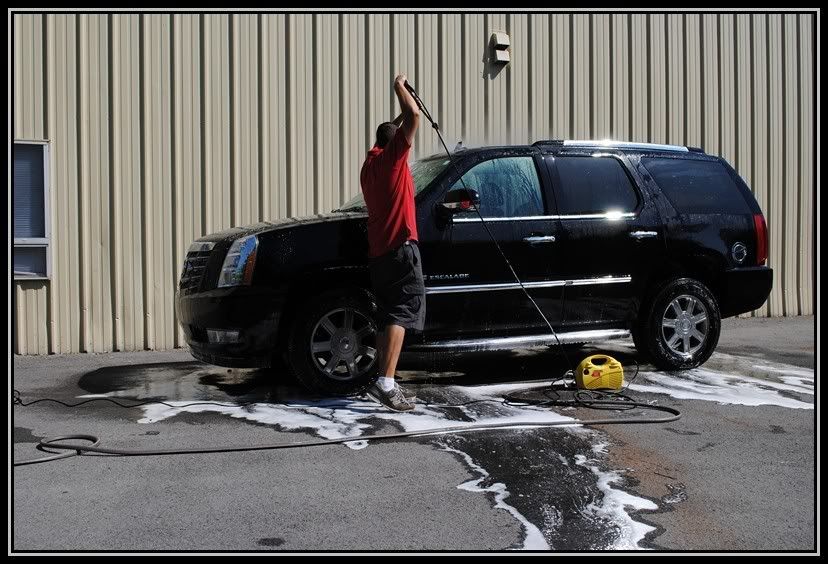
I ended washing the truck 2-3 times to get all of the grime out of all the concealed areas. it was Mitt Washed using the 2 bucket method and then rinsed thoroughly.


Escalade022.jpg


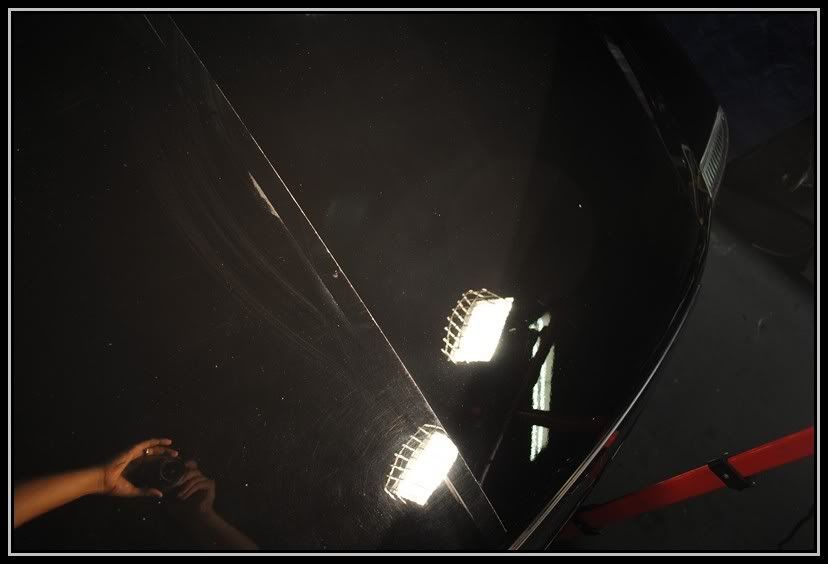
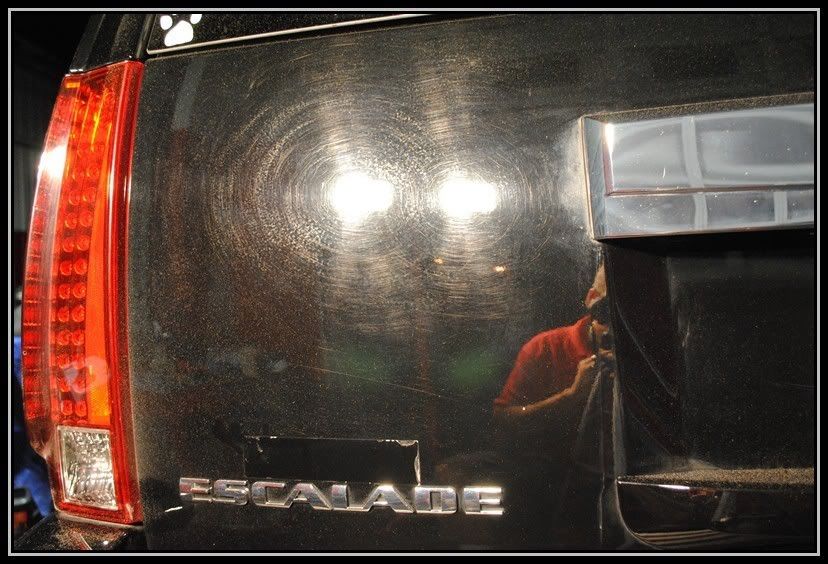
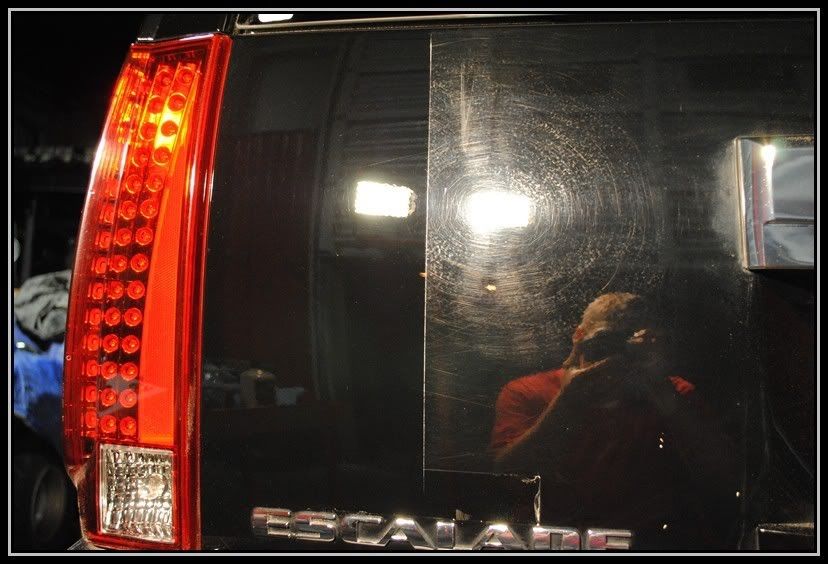
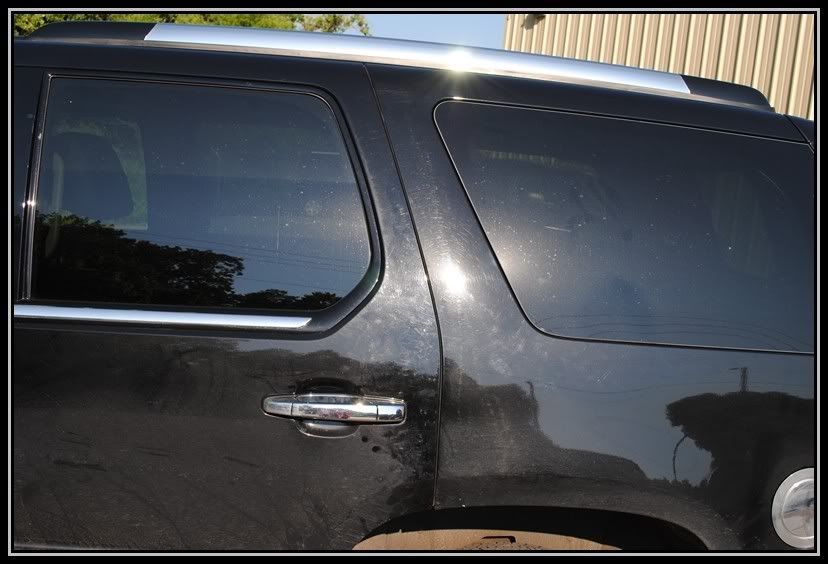
After all of the dirt was finally washed away, here is what the paint really looked like.


Escalade028.jpg


Escalade029.jpg


Escalade034.jpg


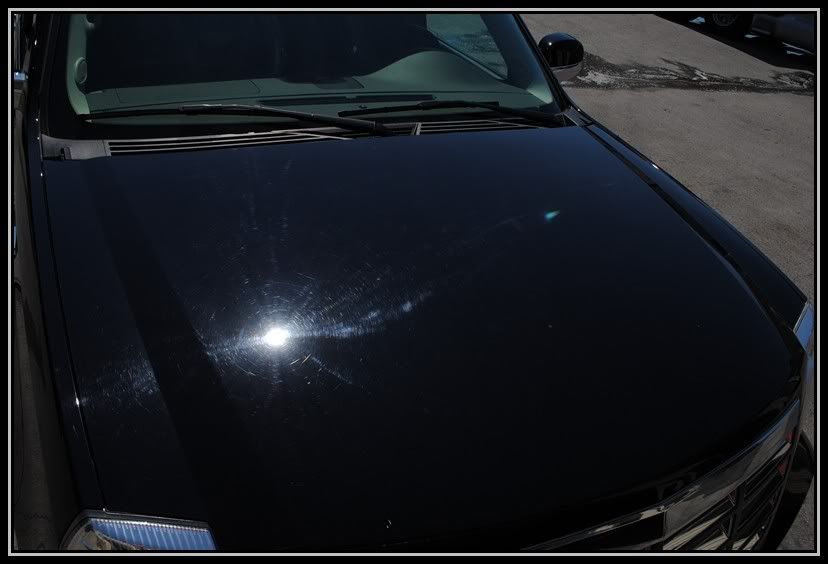
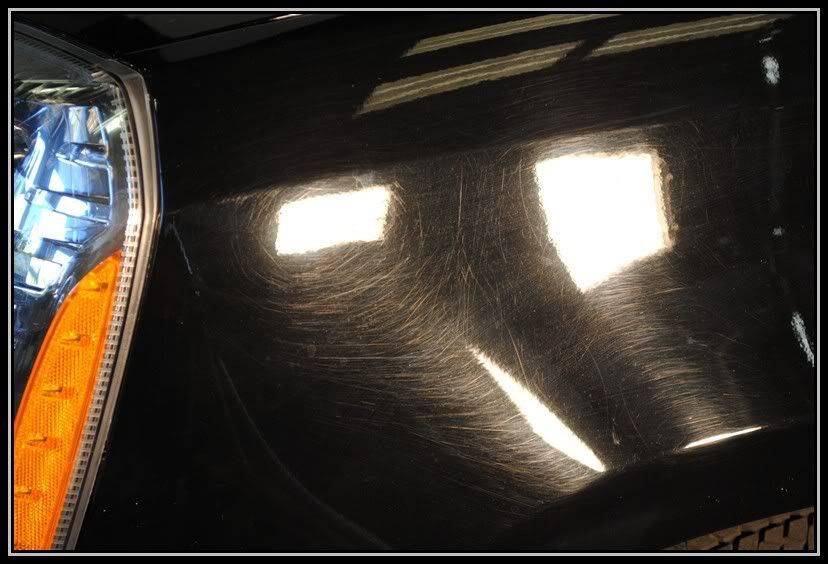
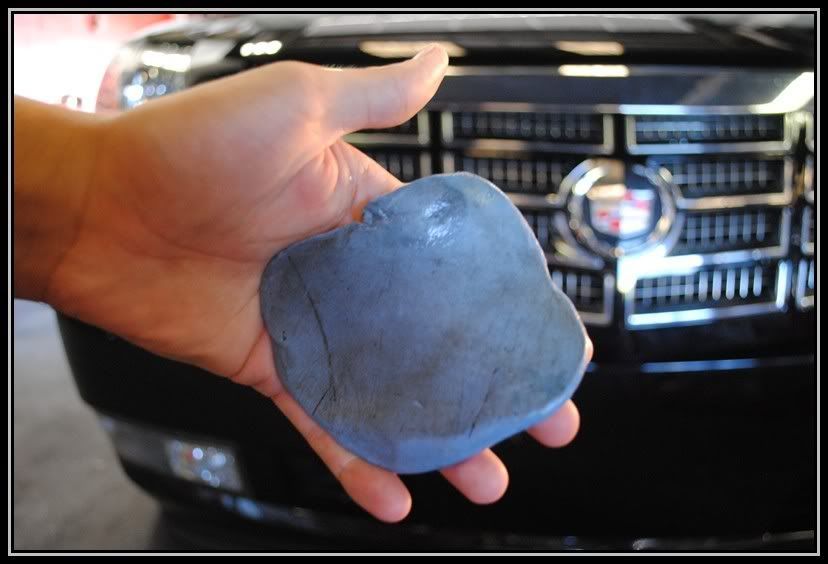
Next was getting it prepped and clayed, It was pretty bad, more then likely has never been clayed, this was just after one half of the hood. I had to fold the clay bar numerous times on this one.


Escalade037.jpg


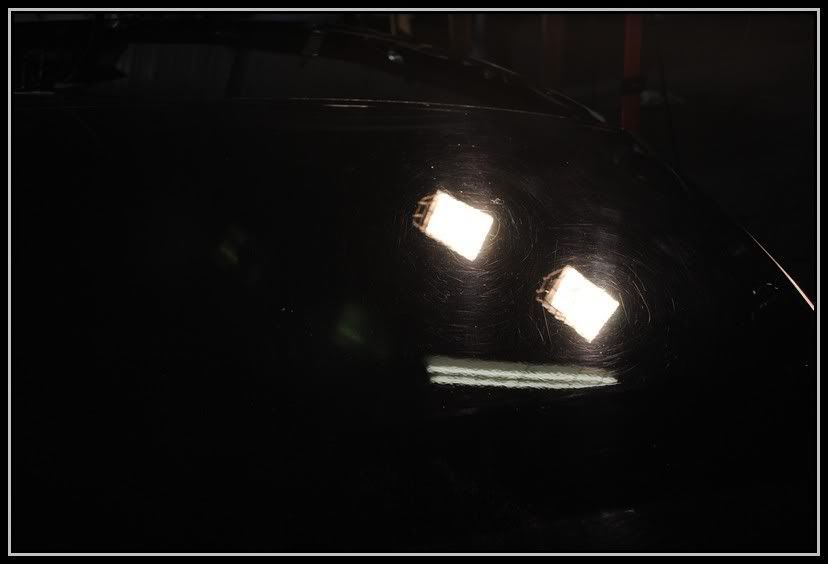
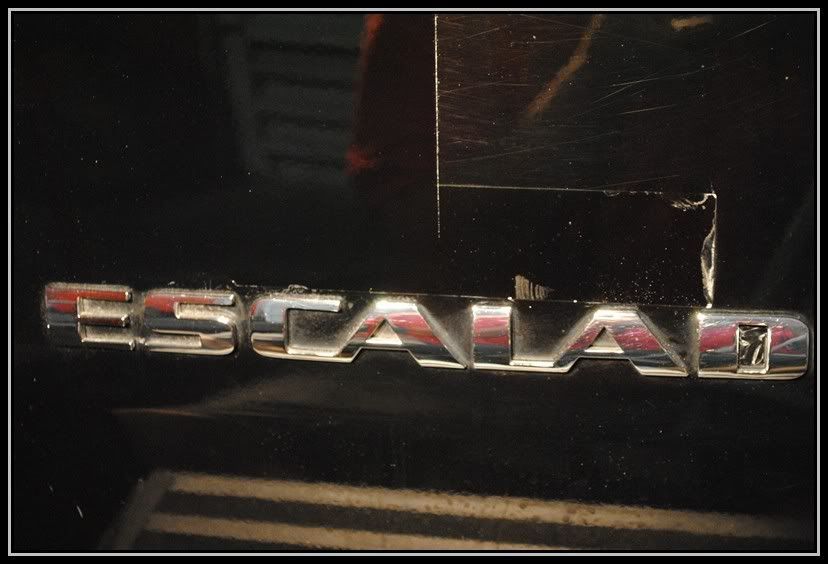
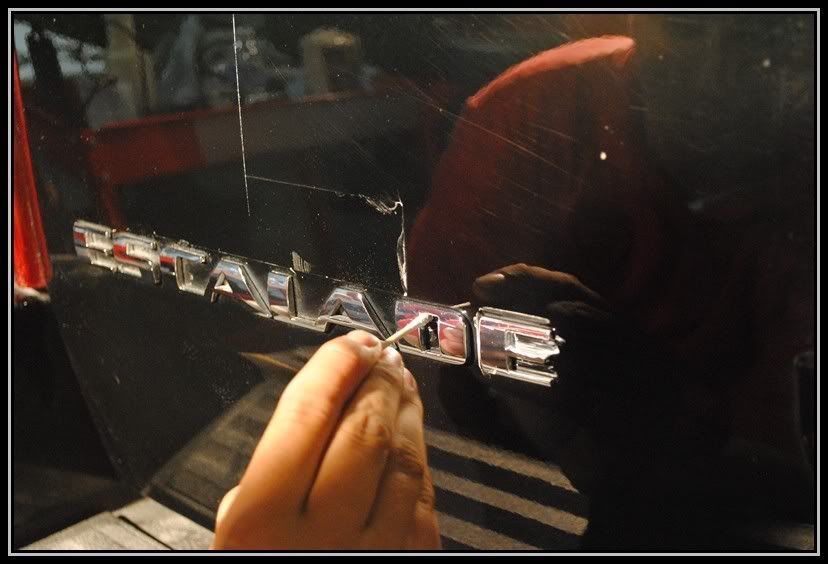
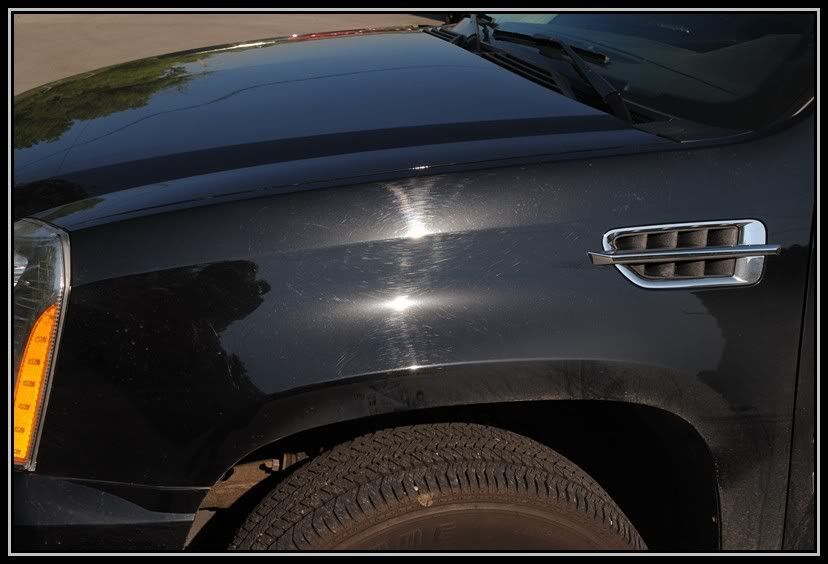
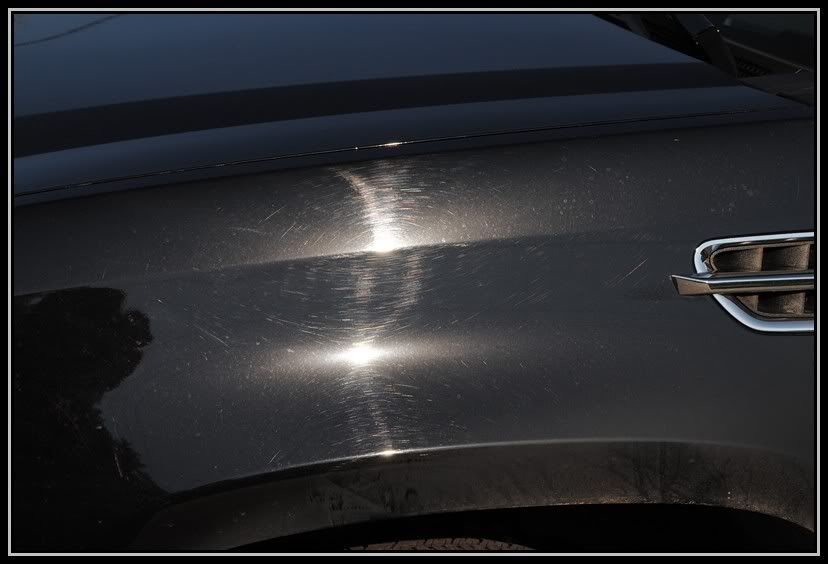
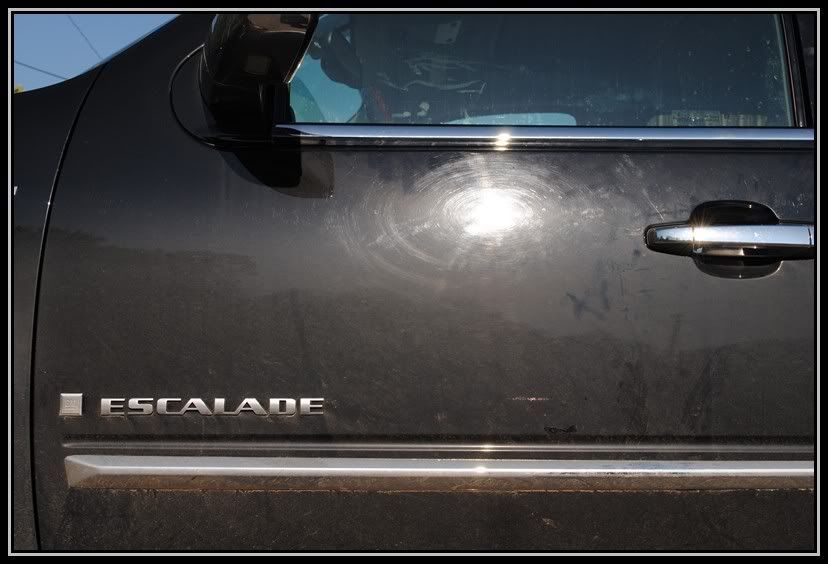
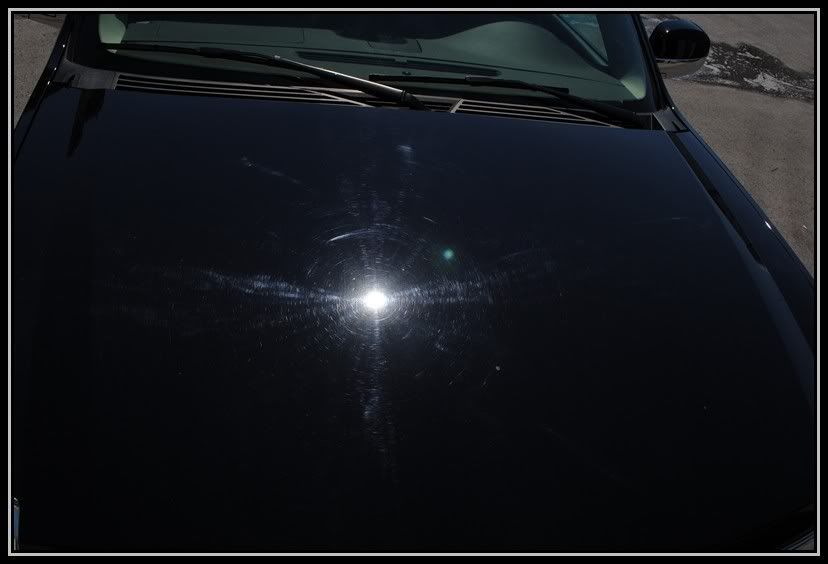
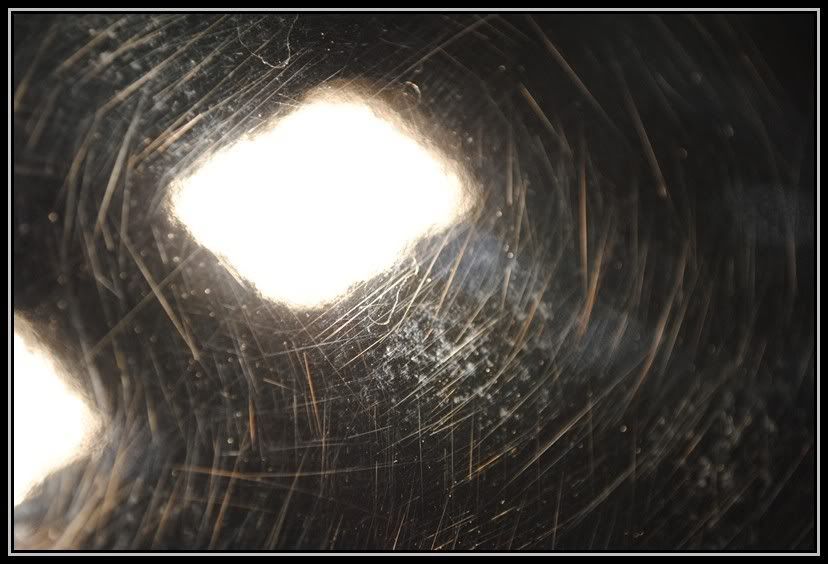
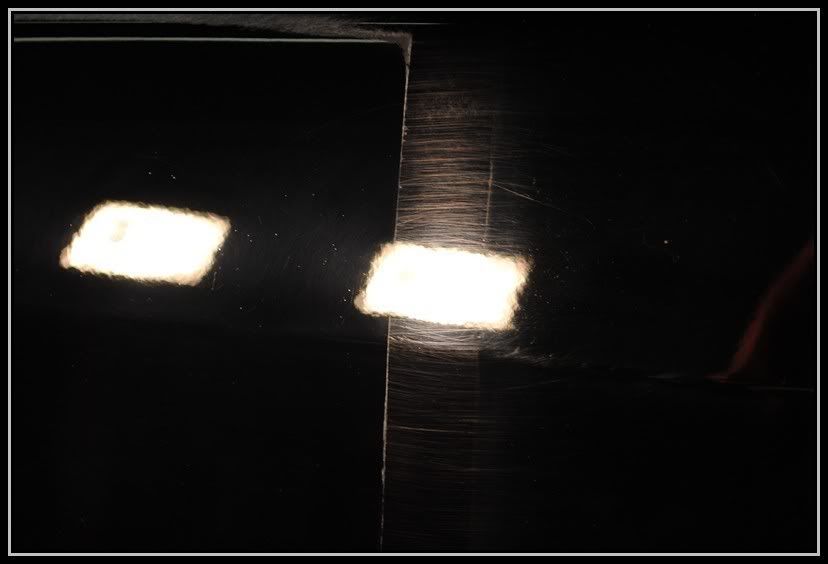
Now lets check out the paint close up and see what we have.


Escalade038.jpg


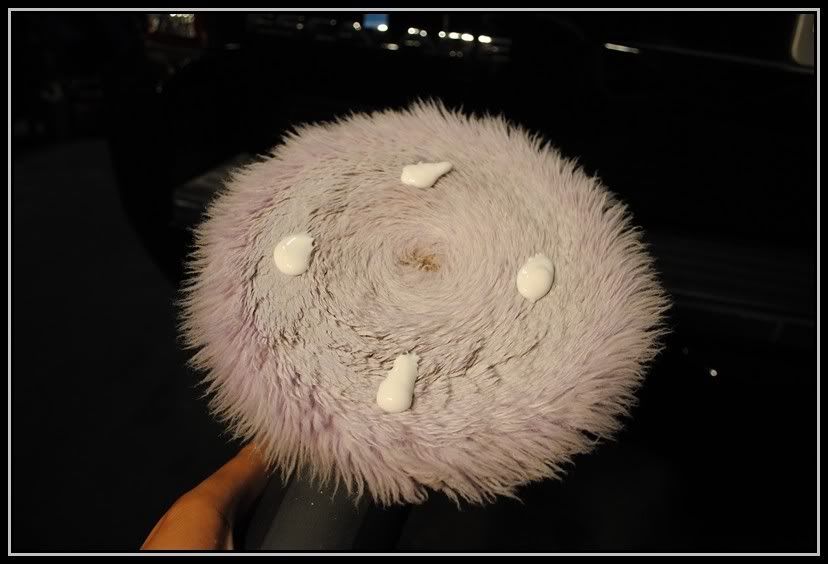
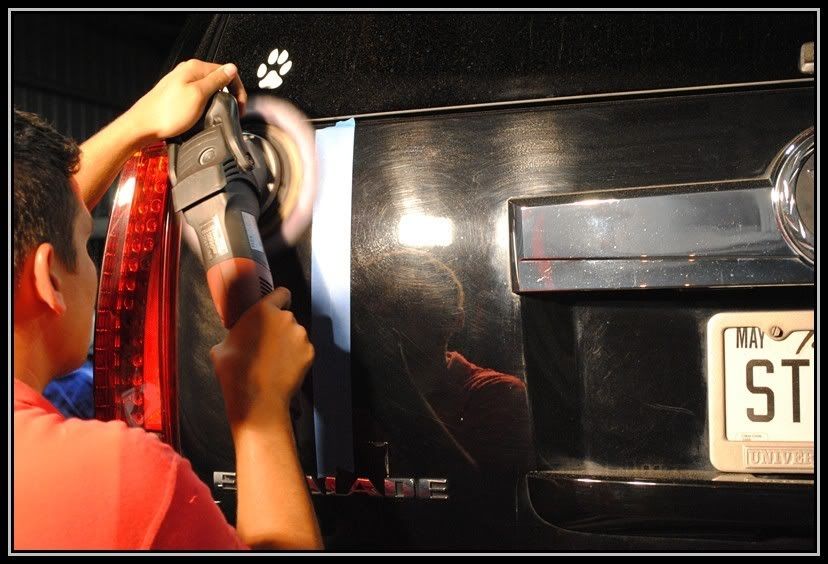
I did a test spot on the front fender and dived right into it using the Purple foamed wool pad with M105 on the FLEX 3401.


Escalade040.jpg


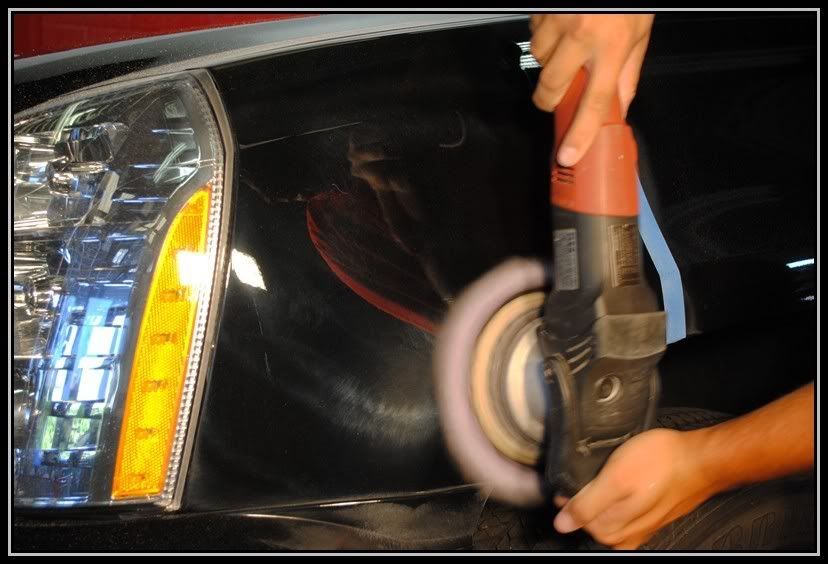
This clear coat was rock hard. I knew I was in for some late nights with this one. It took about 4-5 passes to get to the level I was looking for.


Escalade042.jpg


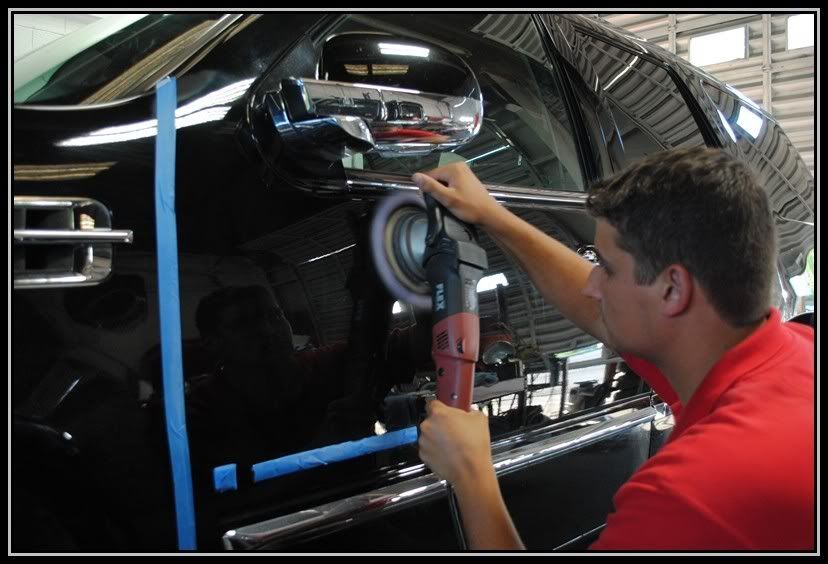
So I started making my way down the driver side using this combo.


Escalade045.jpg


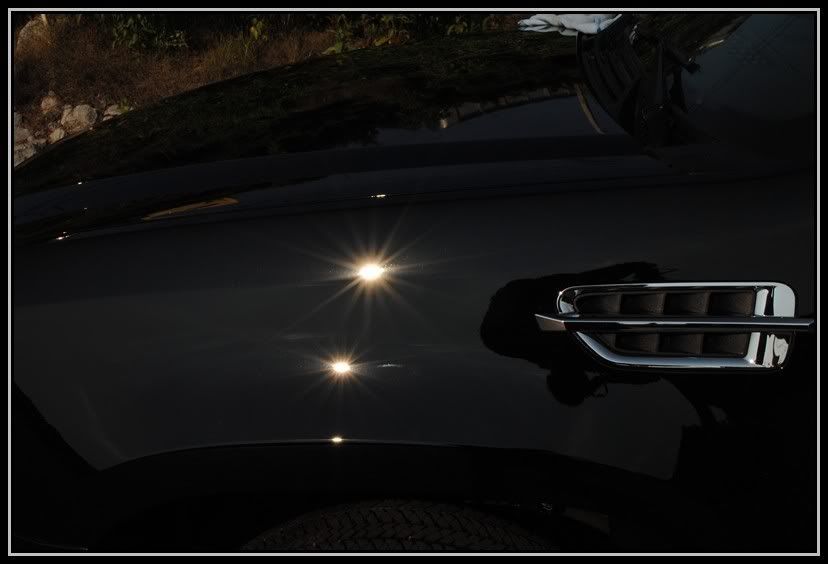
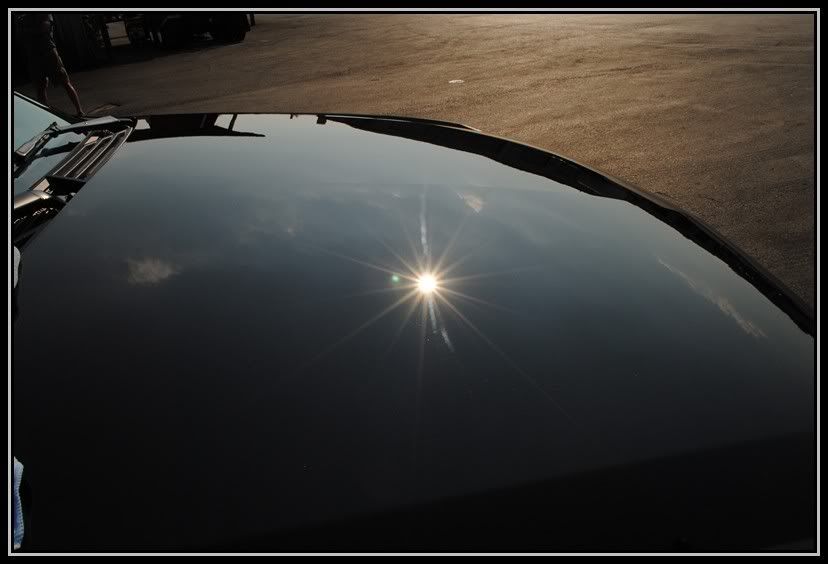
Here is the sun beaming through the garage door window


Escalade046.jpg


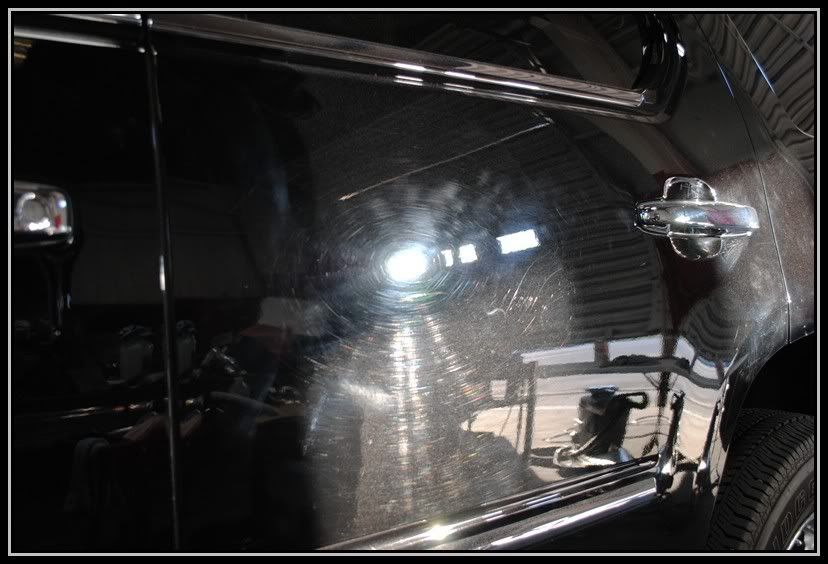
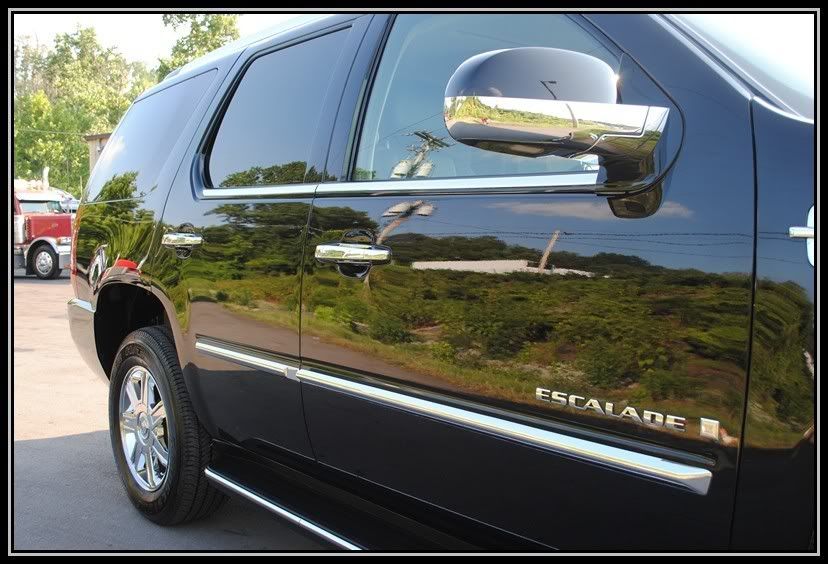
here it is after cutting the door


Escalade049.jpg


This is the hood 50/50 shot


Escalade063.jpg


Escalade065.jpg


Escalade076.jpg


And this is the rear hatch before and after


Escalade070.jpg


Escalade071.jpg


Escalade072.jpg


Escalade074.jpg


to remove all of the crud in between all the emblems. I used M105 on a Cue-tip.


Escalade080.jpg


Escalade079.jpg


So lets use the magic of time and skip to the Finals. after compounding the paint was polished using M205 and the Tangerine Hydro tech pad. then the paint was sealed using Black Fire Wet Diamond.


here are the finals.


Escalade082.jpg


Escalade083.jpg


Escalade081.jpg


Escalade084.jpg


Escalade085.jpg


Escalade089.jpg


Escalade090.jpg


Escalade091.jpg


Escalade092.jpg


Thanks for viewing, Have a blessed day!


Tru_Shine said:
Lets begin, and see how it turns out on todays episode of Tru Life: I'm a detailer


ROTFLMAO.....classic! :rofl


Also that cu-tip and M105 tip is great advice, I always wondered how people corrected around those areas. What about underneath the door handles? M105 and a foam applicator pad??
 
tssdetailing said:
WOW. Bet it goes back to original condition in a week. Escalades/Yukons/Suburbans are the worst treated cars in my opinon.


That's because they're so big that no one wants to wash them. They would rather run them thru the coin operated wash, I see that happening around here a lot.
 
Back
Top