The owners of this M3 also have another '98 M3 that I recently polished and performed leather restoration on. Next up is their brand new black Z06 Vette!
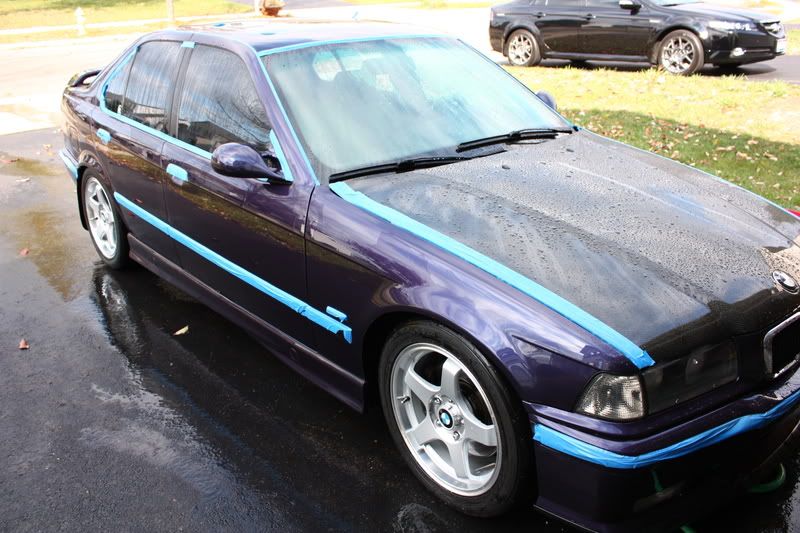
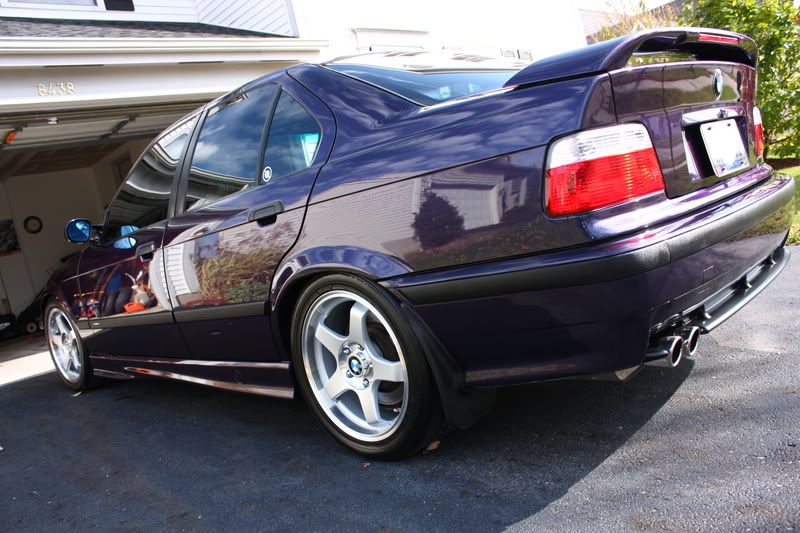
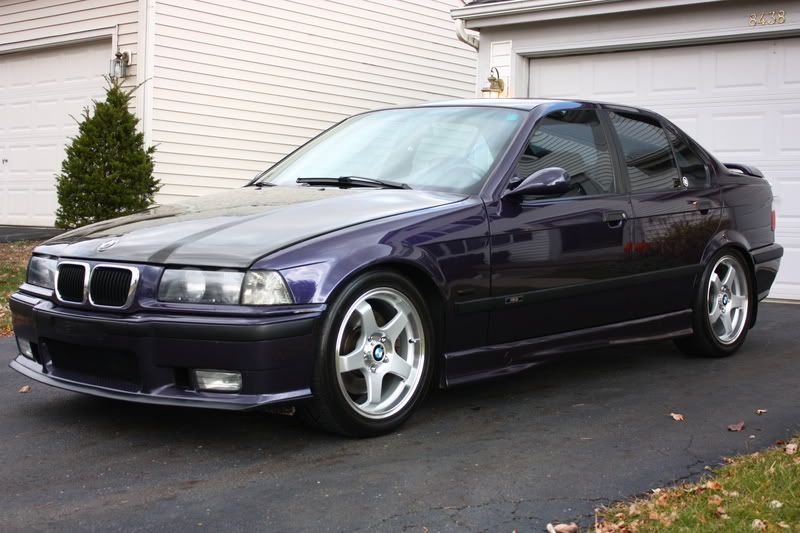
This 10 year old classic has about 110K on the odometer, and was actually in pretty good shape. It had moderate swirls, but time had left it with some deeper scratches, water spot etching (some severe), and bird poop etching as well. The interior just required a thorough cleaning (gotta love black interior!).
When I worked on their silver M3 a few weeks ago, I found it to have pretty hard clear coat, so I allowed for more time on this one since I was going for a higher level of correction, and because it is a darker color. After doing a test section, I found the M105/PFW combo to work the best for correction. It was doing a tremendous job correcting, and I was able to get an amazing finish afterwards for such a strong combination. The finish was so good in fact; that I was able to skip an intermediate polish as would be required with many compounds, and go straight to PO85RD/blue. After cleaning, IPA wipe downs, and sun inspections I was very happy with the combination, and confident that it was finishing down completely and not masking any potential marring and/or holograms.
Now on to the details:
Interior:
Clean all surfaces with Woolite/water
Treat leather with Zaino Z10
Megs Interior Detailer on console/controls
Optimum Protectant Plus on all vinyl & plastic surfaces
Vacuum
Clean rubber mats with Megs APC+
Windows cleaned with Stoner's Invisible Glass
Door shuts cleaned with Optimum No Rinse
Exterior:
Wash with Chemical Guys Citrus Wash & Clear at paint prep ratio (2oz/gal)
Wheels cleaned with P21S Wheel Gel
Megs APC+ on wheel wells
Clay with ONR lube
Wash #2 to remove residue from claying process
Stoner's Invisible Glass
Sonus Tire Gel
Chemical Guys VRP on plastic trim
Paint correction:
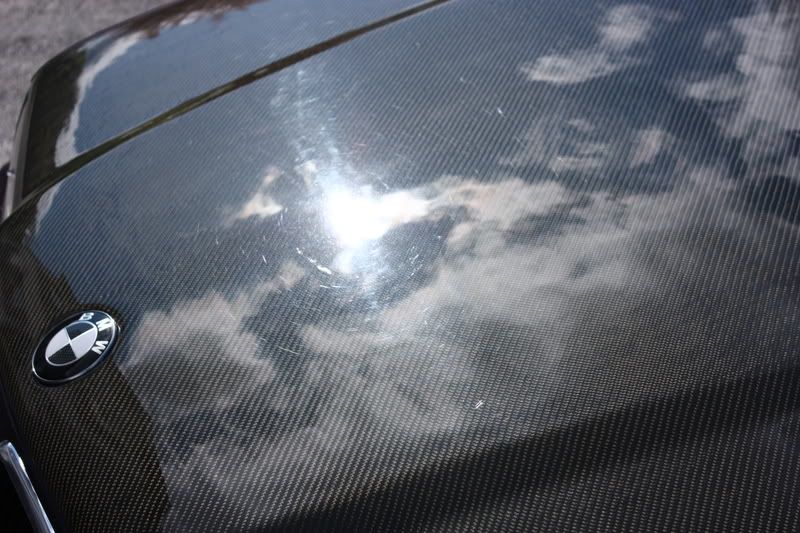
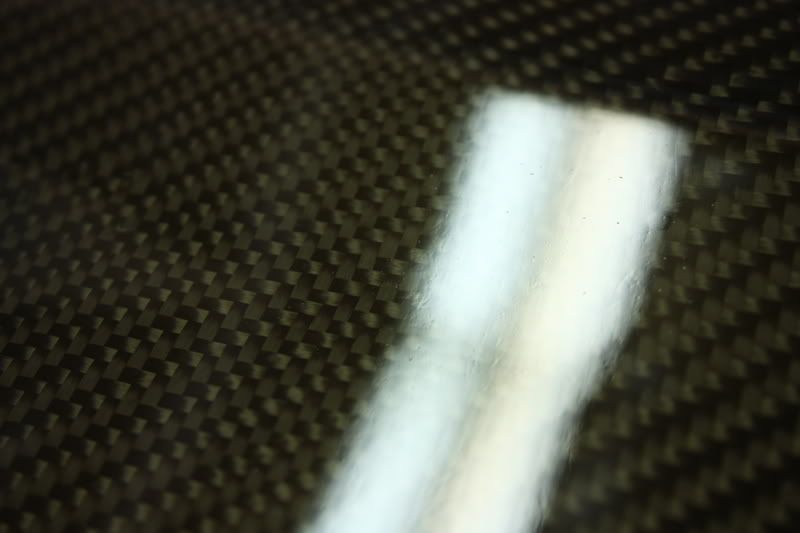
Carbon fiber hood: SIP/white followed by PO85RD/red
The rest of car:
Megs M105/PFW on compounding stage
Menzerna PO85RD/blue for finishing polish
Protection/LSP:
Optimum Opti-Seal
Optimum Car Wax
Tools Used:
Makita 9227c rotary
Porter Cable D/A (used with 3� PFW in tight areas)
Blaster Sidekick blow dryer
Canon Rebel Xsi with 18/55mm lense
Total time: 10 hours.
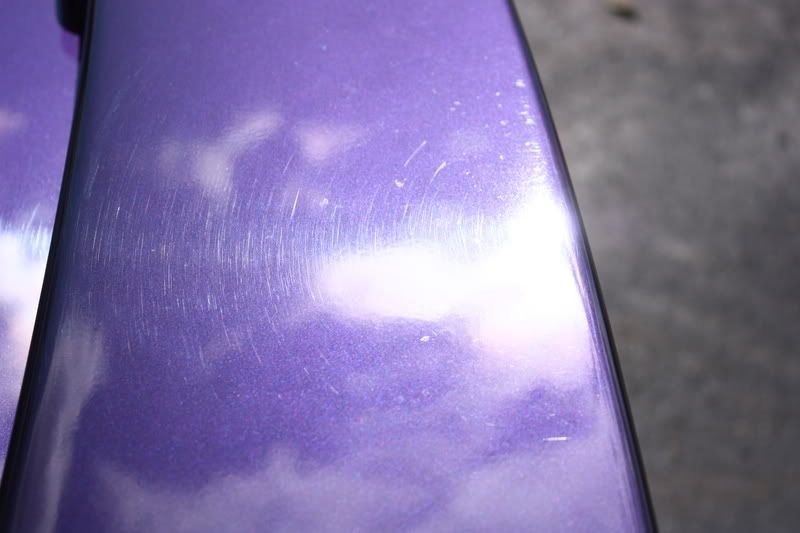
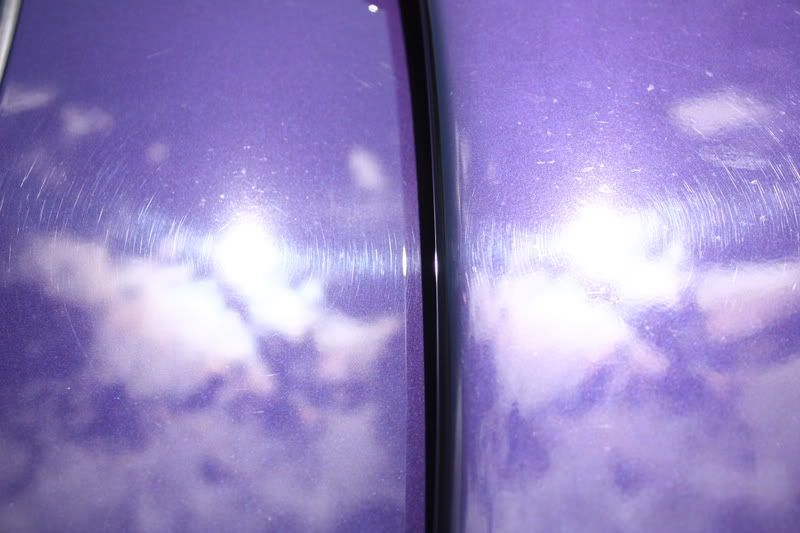
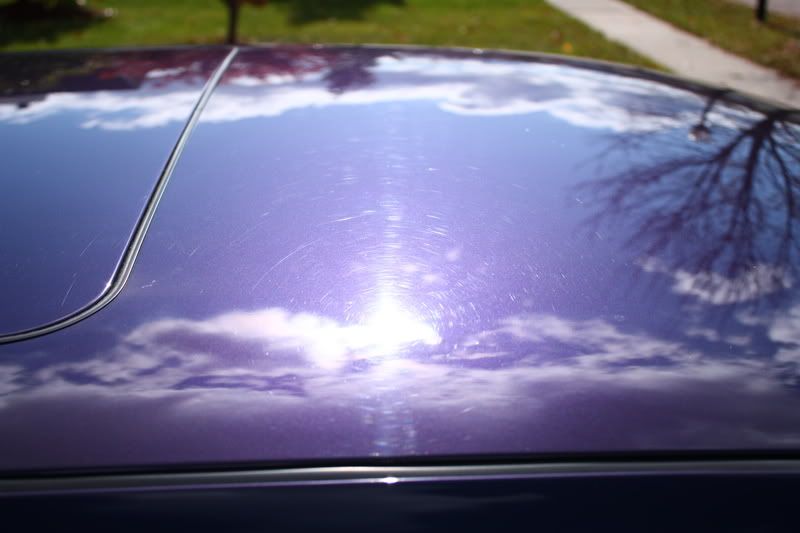
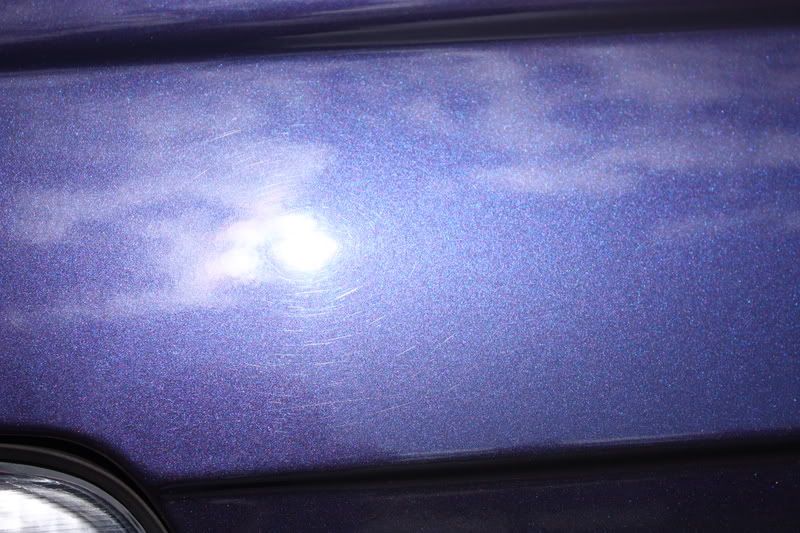
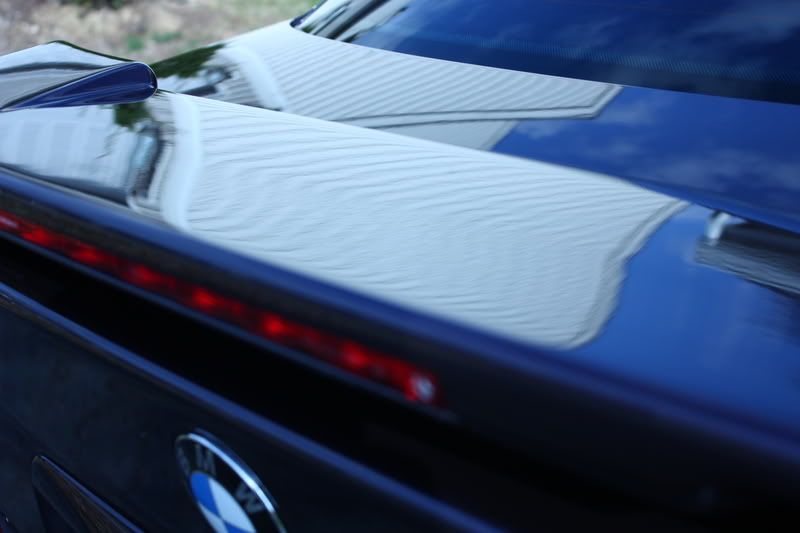
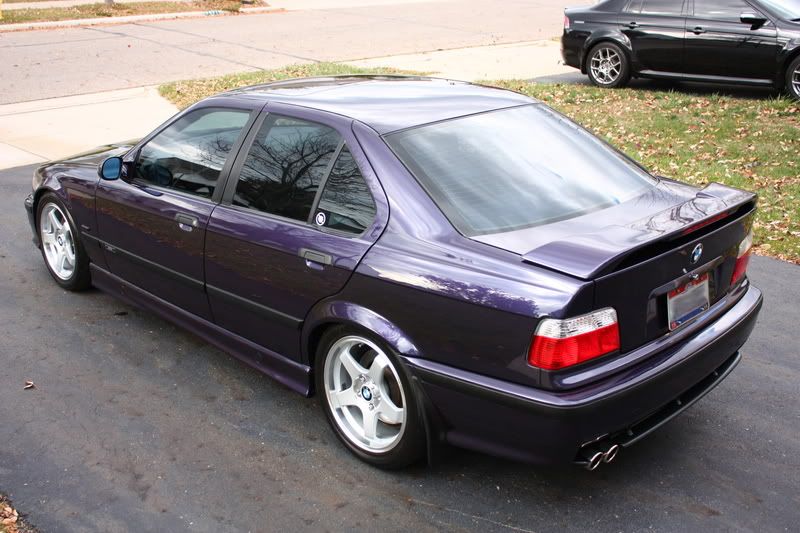
Upon initial sun inspection, I found the car to have moderate swirls (severe in a few areas…trunk lid and spoiler in particular), RIDS (more on these later), water etching, and bird poop etching as well.
Bird bombs can be hazardous to paint!
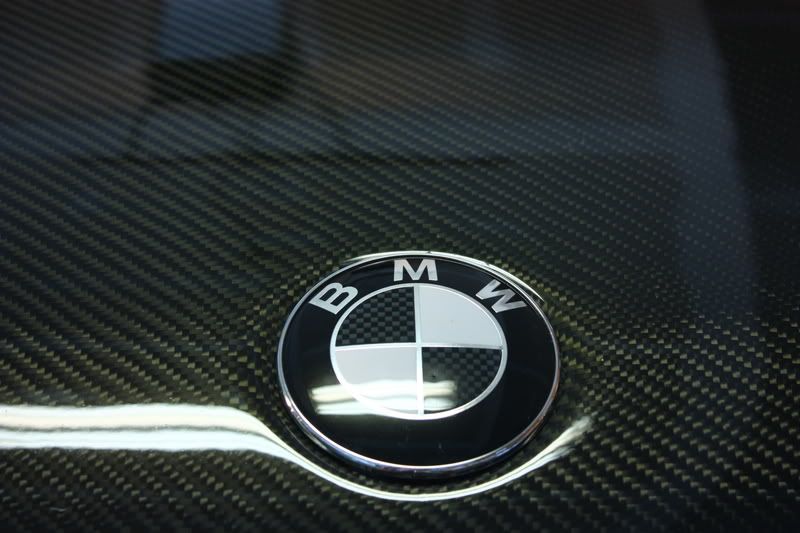
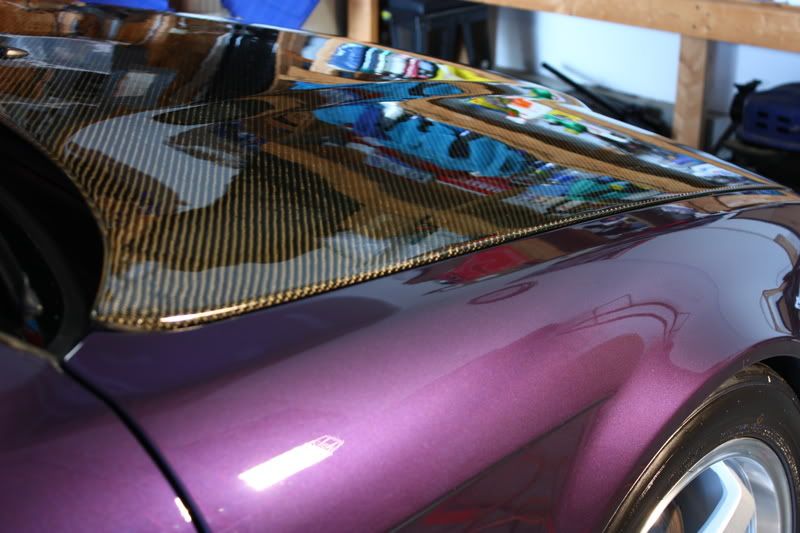
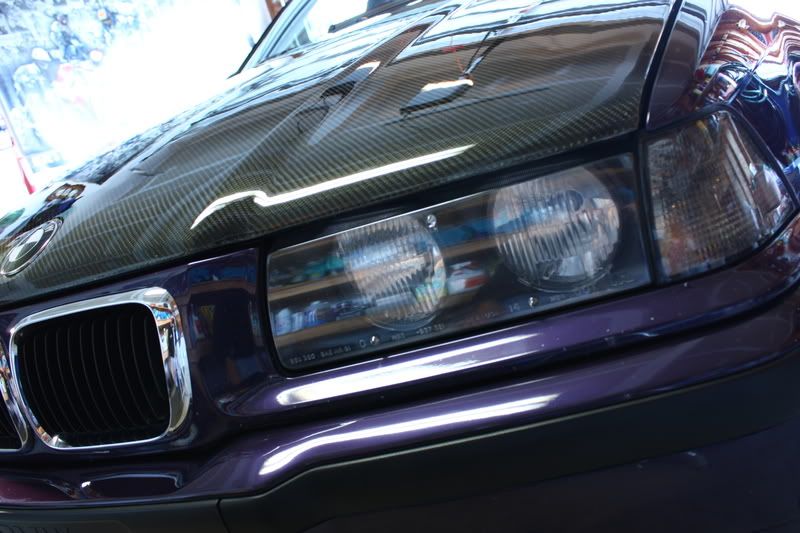
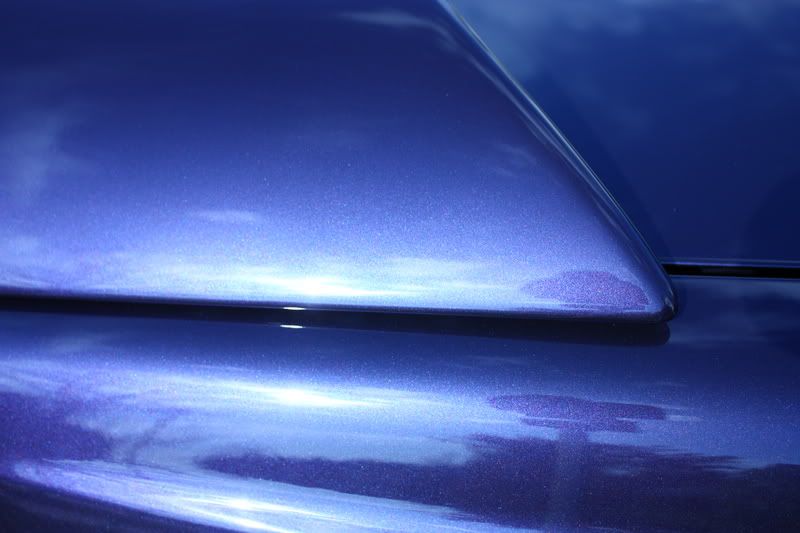
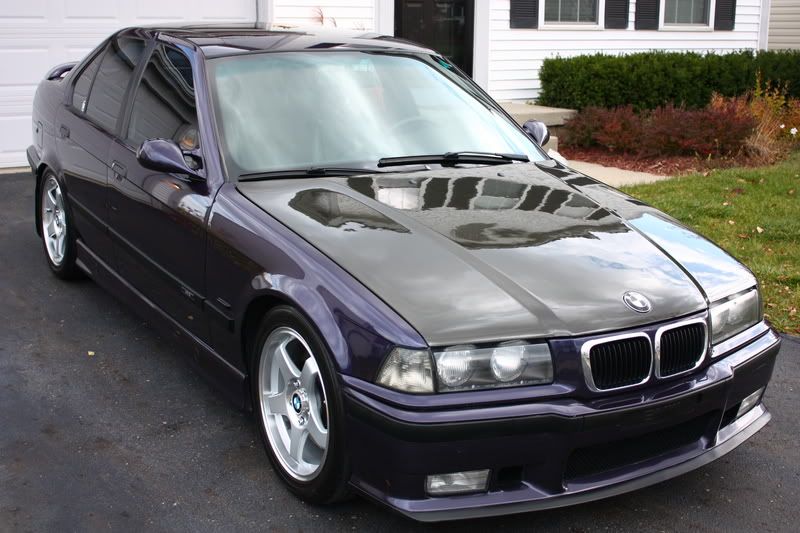
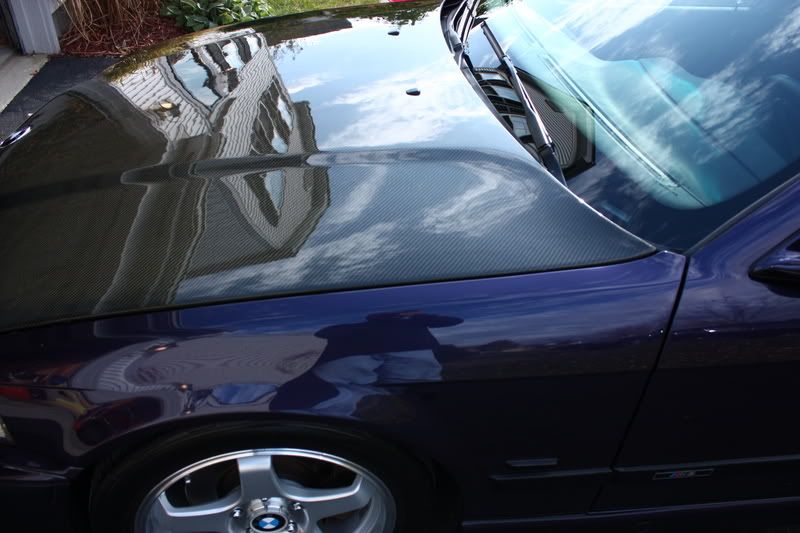
Nice carbon fiber hood:
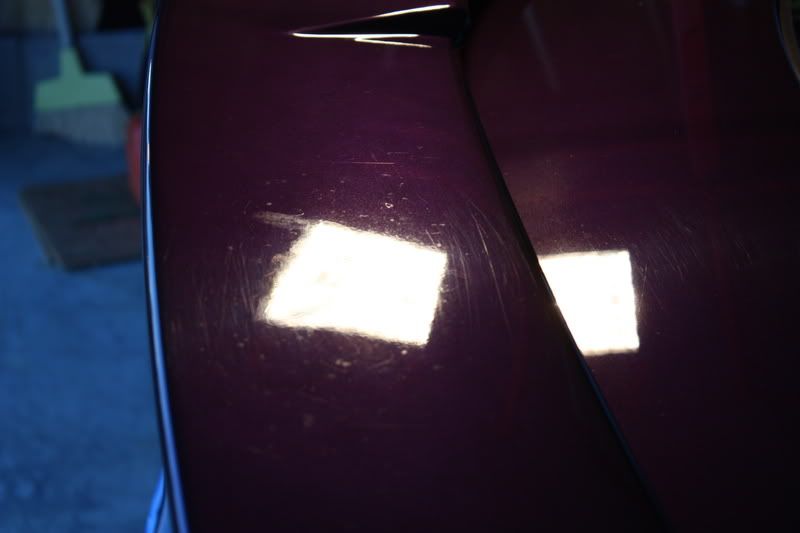
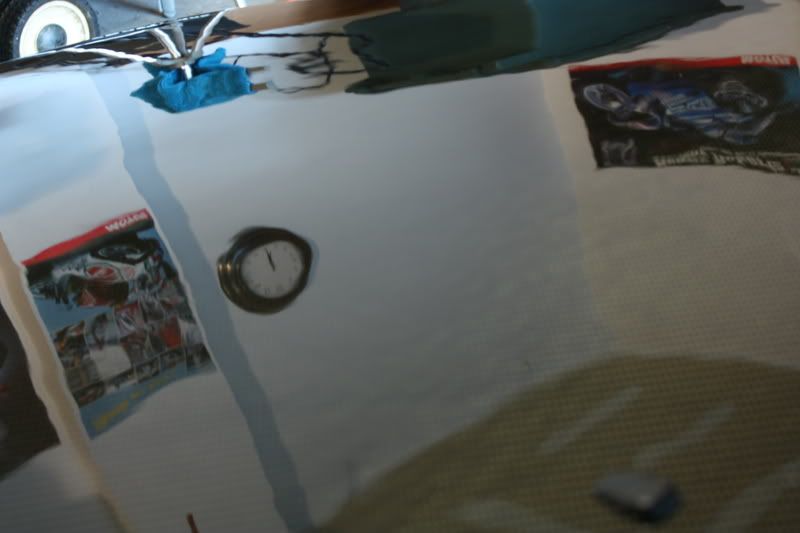
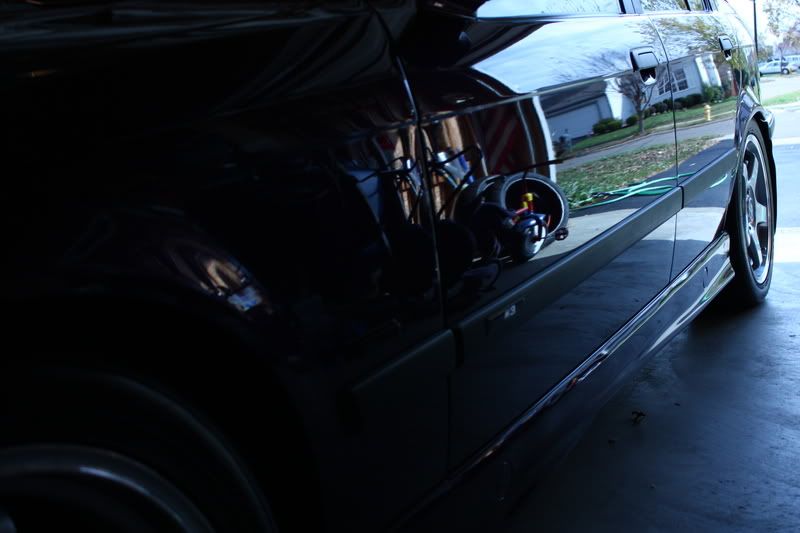
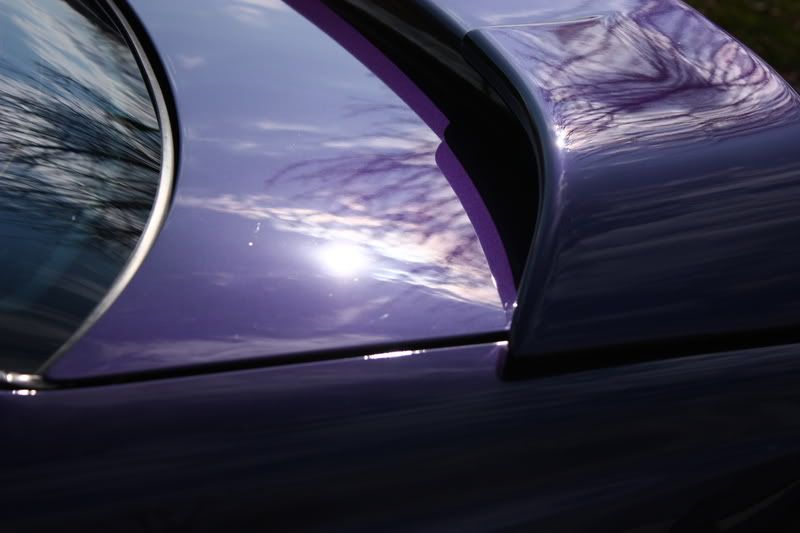
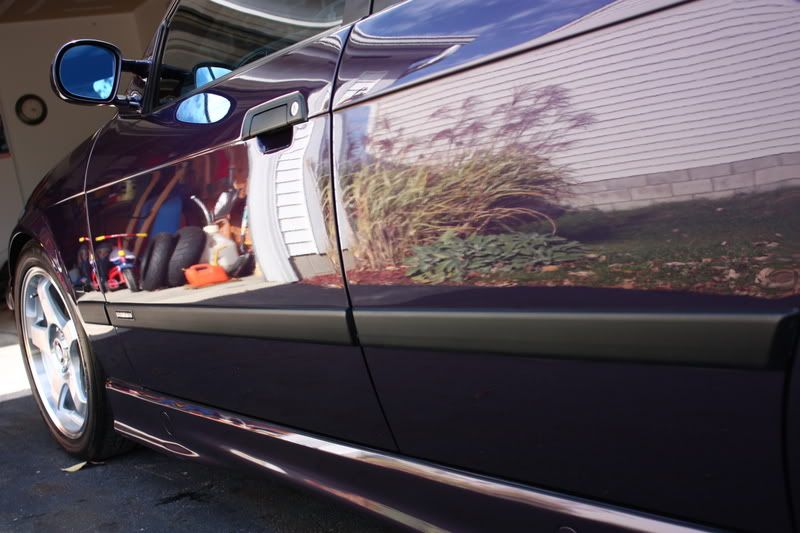
Here’s my test section for the painted surfaces.
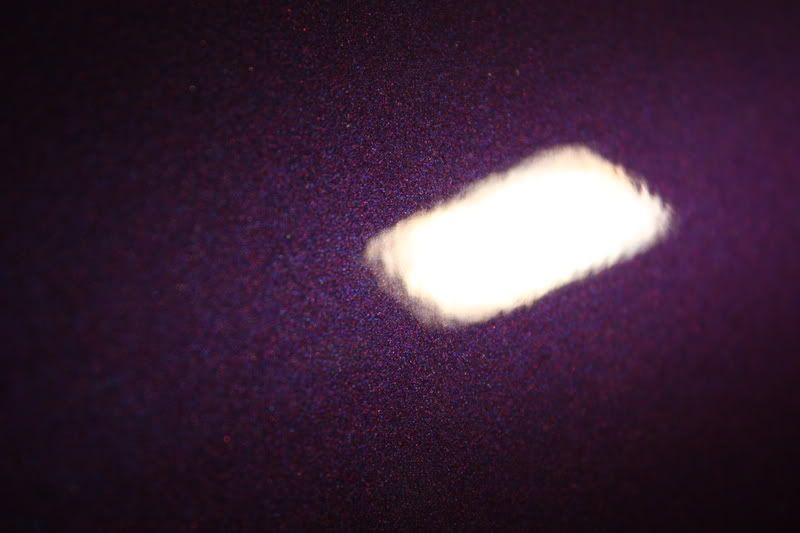
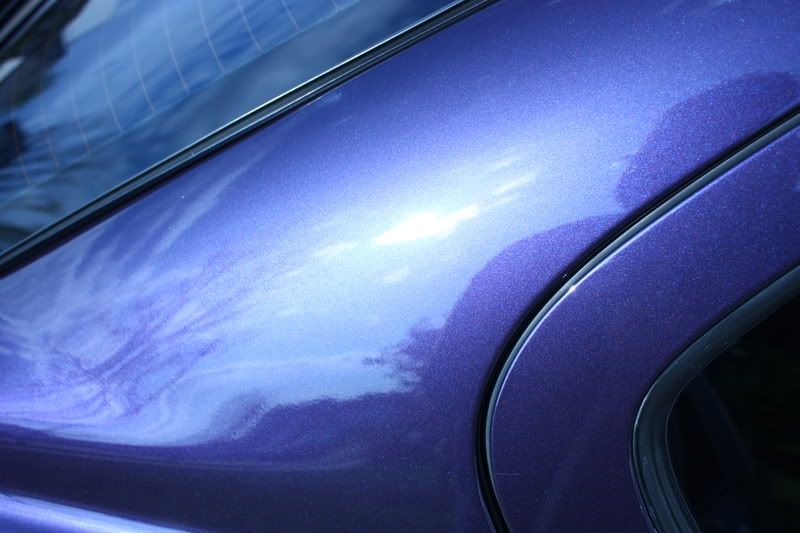
After 1 pass of M105/PFW (1000rpm). Notice how nice the finish looks for a compounding stage!
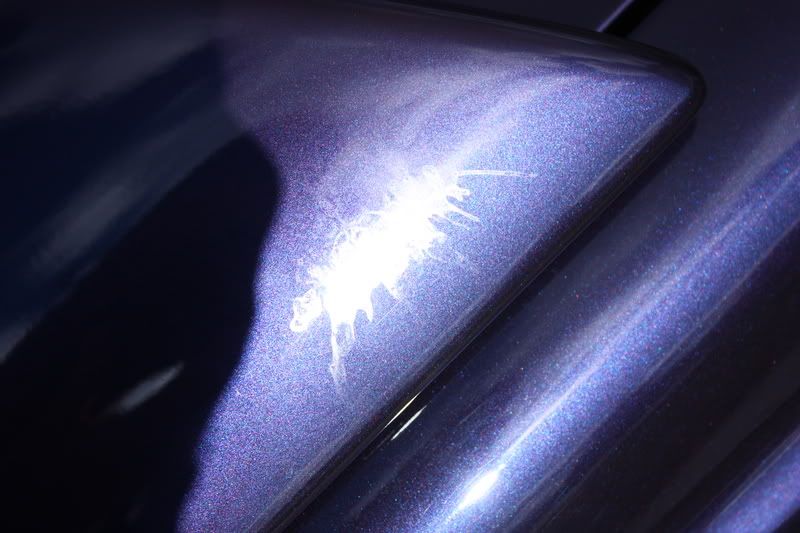
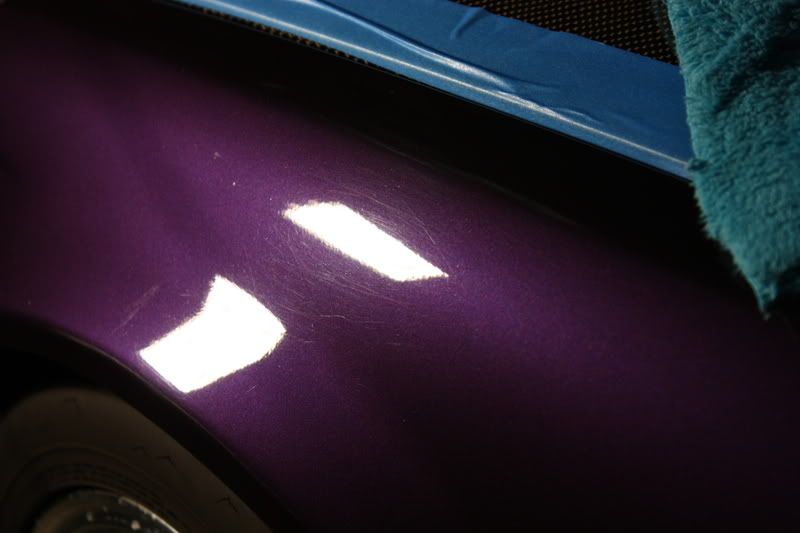
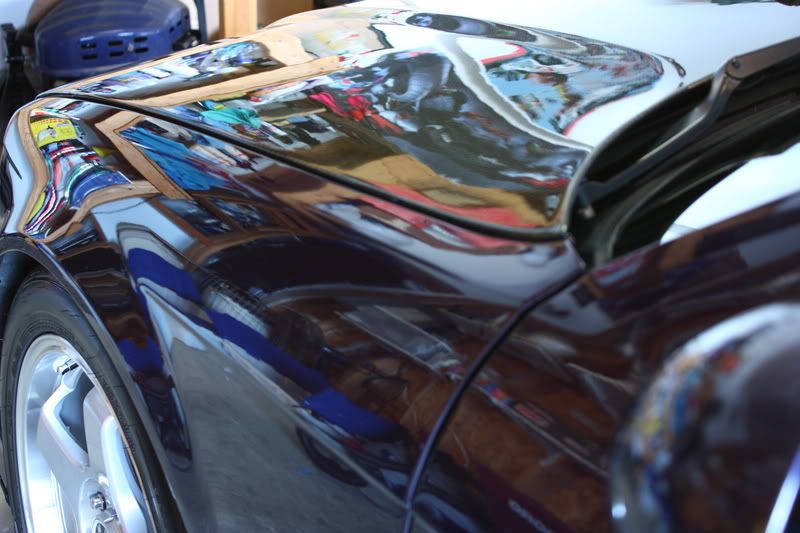
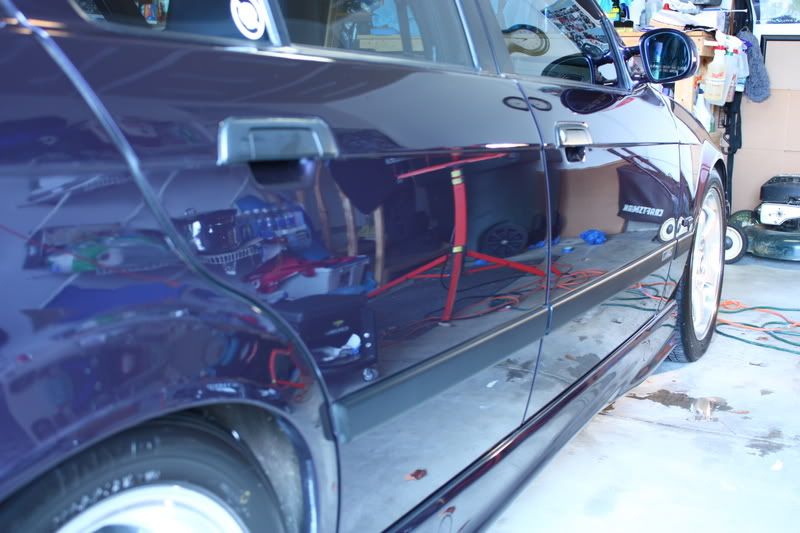
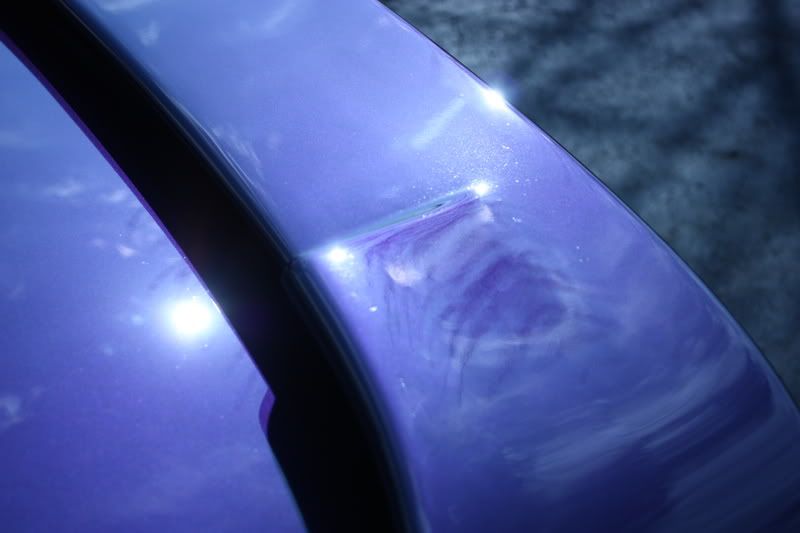
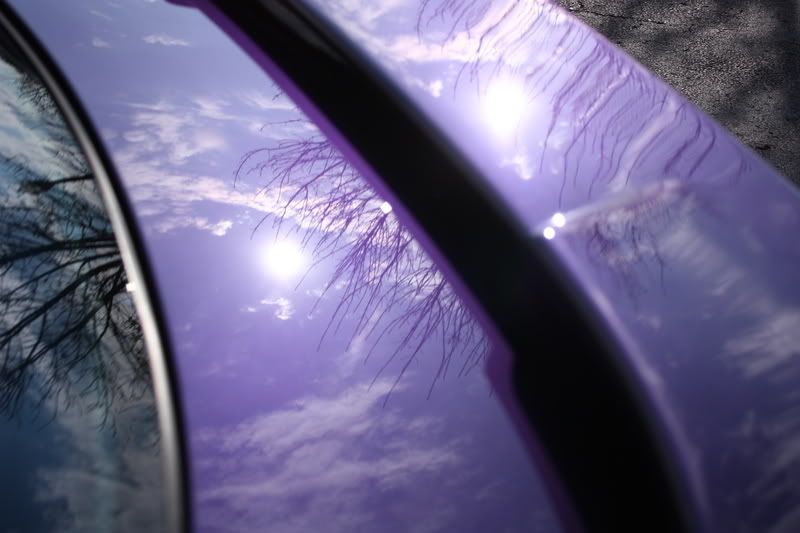
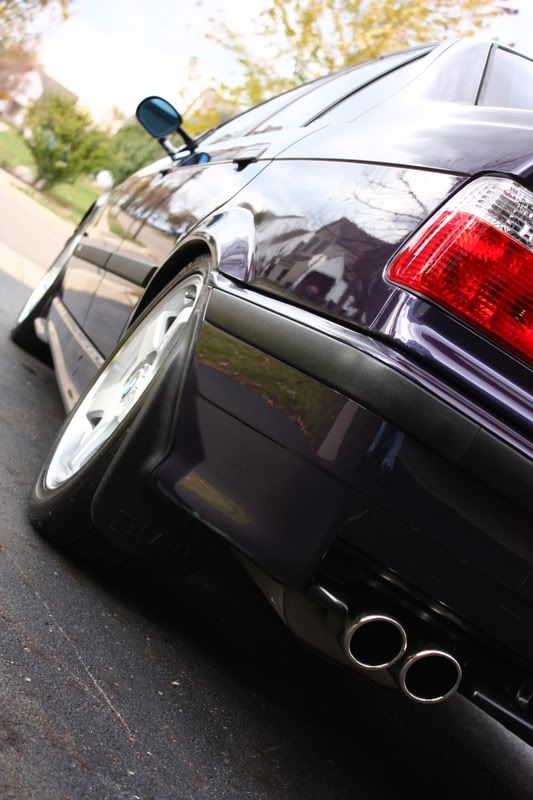
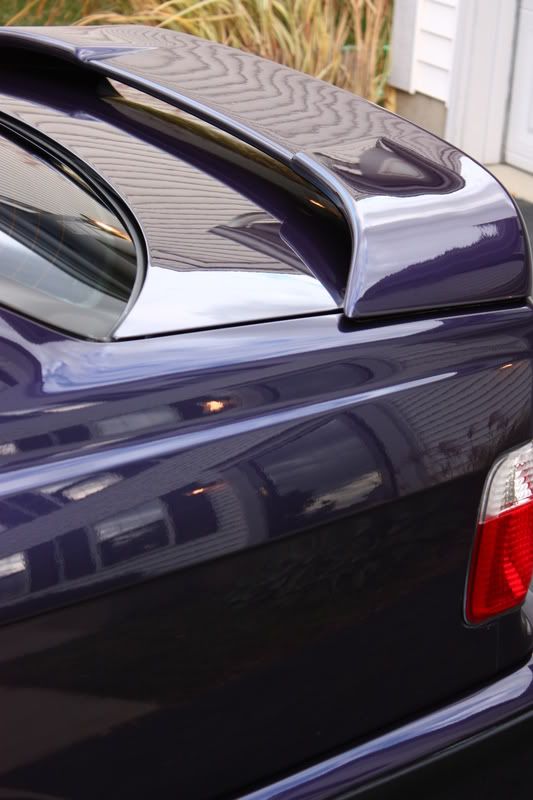
When a surface is covered in swirls, it’s sometimes hard to tell if there are any deeper scratches (RIDS) in the finish. Many times you don’t find out what you’re really dealing with until you’ve done at least one pass…sometimes it comes out clean, and sometimes you get a few surprises. Take a look at the photo below, and you can pick out one scratch in particular on the wing. It’s about an inch back from the leading edge, and you can see it’s about as wide as the reflection of the light.
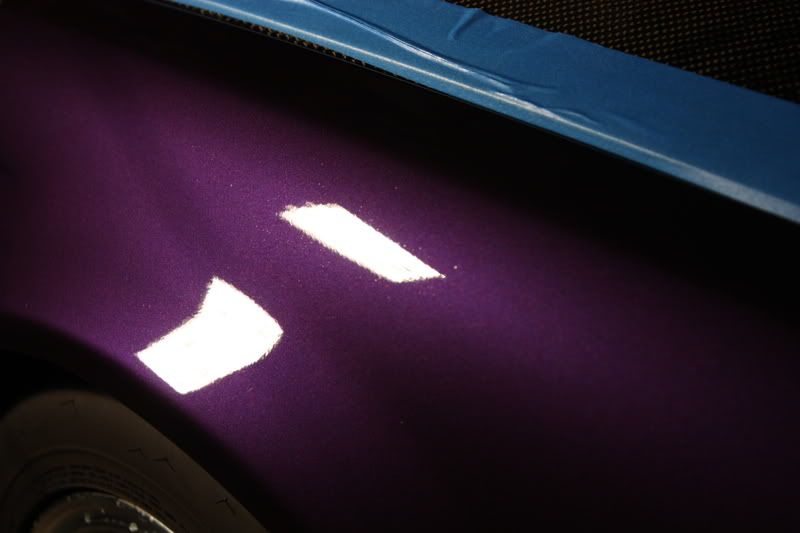
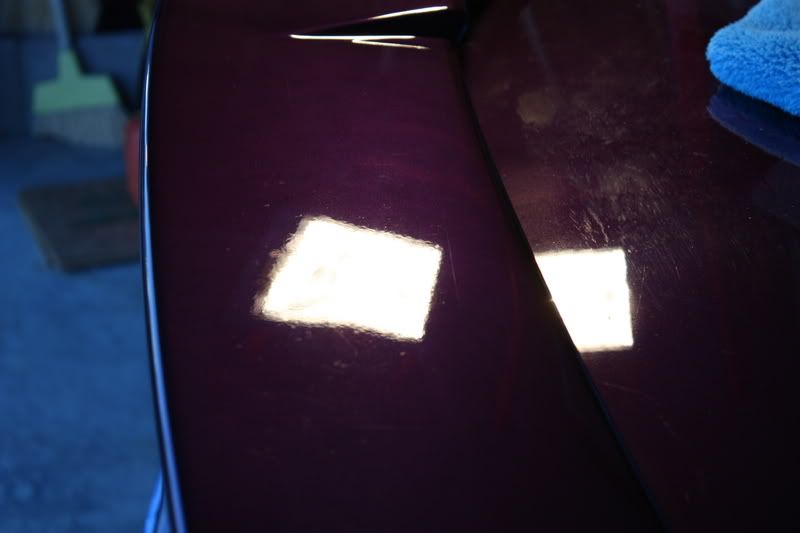
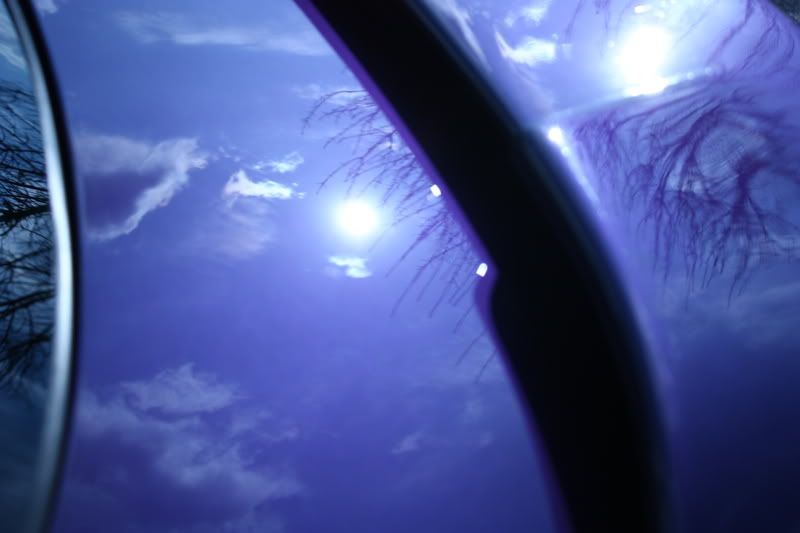
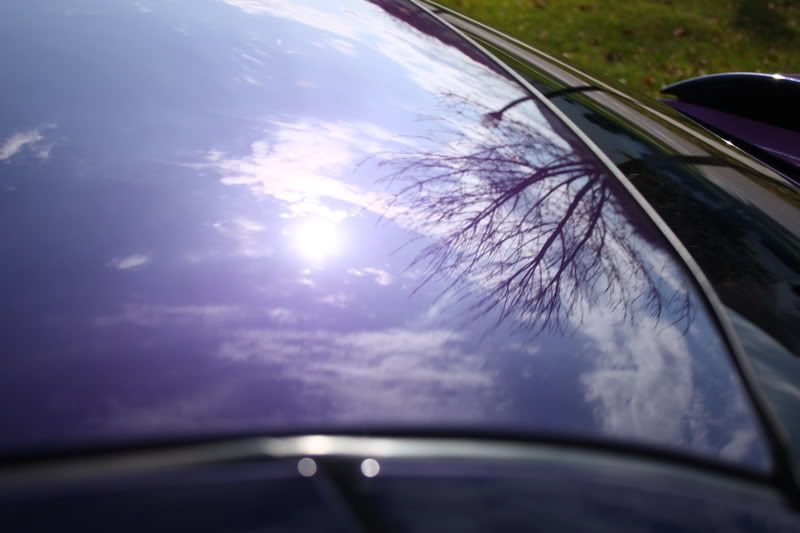
Now take a look at this photo. This is after 2 passes with M105. That long scratch we picked out in the photo above is gone, but there is another one that is clearly visible about an inch below where the other one was. In the first photo you don’t notice this one much, but after cleaning up the surface, you then see how bad it really is. The wing had a lot of deep scratches, and you can see how much water spot etching there is. Even after 4 passes with 105 at varying speeds and applications of water, some of the defects and etching just wouldn’t come out. It would have taken a lot of wetsanding to completely get rid of them. Upon initial inspection however, it was hard to tell that the condition was this bad.
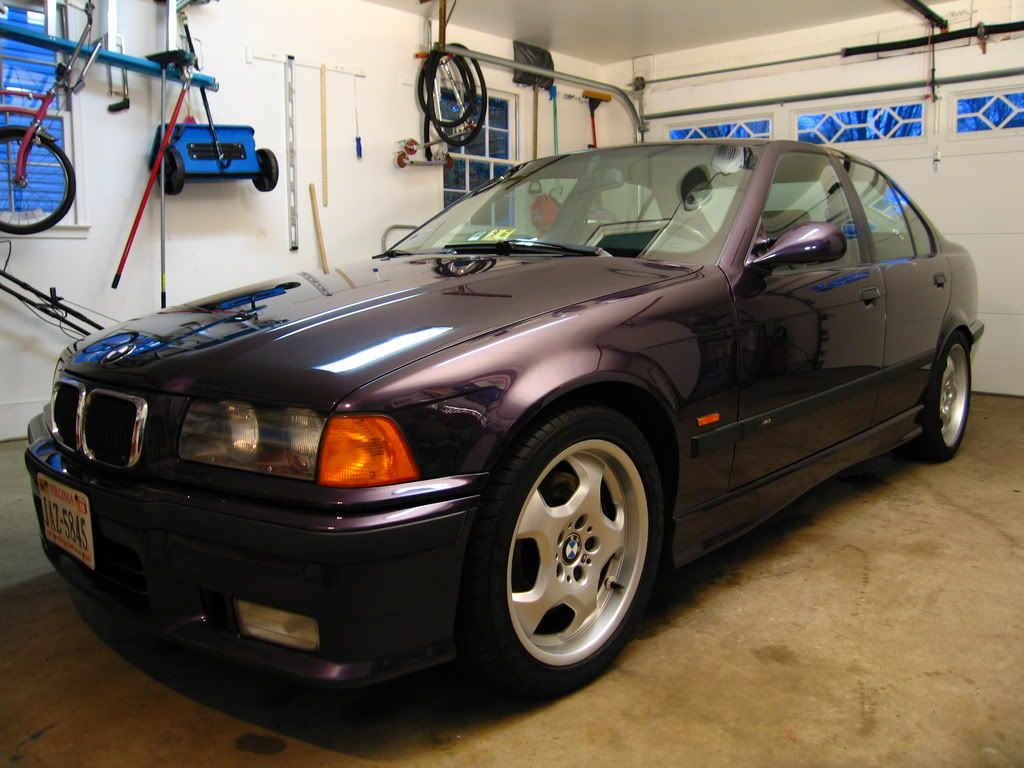
This 10 year old classic has about 110K on the odometer, and was actually in pretty good shape. It had moderate swirls, but time had left it with some deeper scratches, water spot etching (some severe), and bird poop etching as well. The interior just required a thorough cleaning (gotta love black interior!).
When I worked on their silver M3 a few weeks ago, I found it to have pretty hard clear coat, so I allowed for more time on this one since I was going for a higher level of correction, and because it is a darker color. After doing a test section, I found the M105/PFW combo to work the best for correction. It was doing a tremendous job correcting, and I was able to get an amazing finish afterwards for such a strong combination. The finish was so good in fact; that I was able to skip an intermediate polish as would be required with many compounds, and go straight to PO85RD/blue. After cleaning, IPA wipe downs, and sun inspections I was very happy with the combination, and confident that it was finishing down completely and not masking any potential marring and/or holograms.
Now on to the details:
Interior:
Clean all surfaces with Woolite/water
Treat leather with Zaino Z10
Megs Interior Detailer on console/controls
Optimum Protectant Plus on all vinyl & plastic surfaces
Vacuum
Clean rubber mats with Megs APC+
Windows cleaned with Stoner's Invisible Glass
Door shuts cleaned with Optimum No Rinse
Exterior:
Wash with Chemical Guys Citrus Wash & Clear at paint prep ratio (2oz/gal)
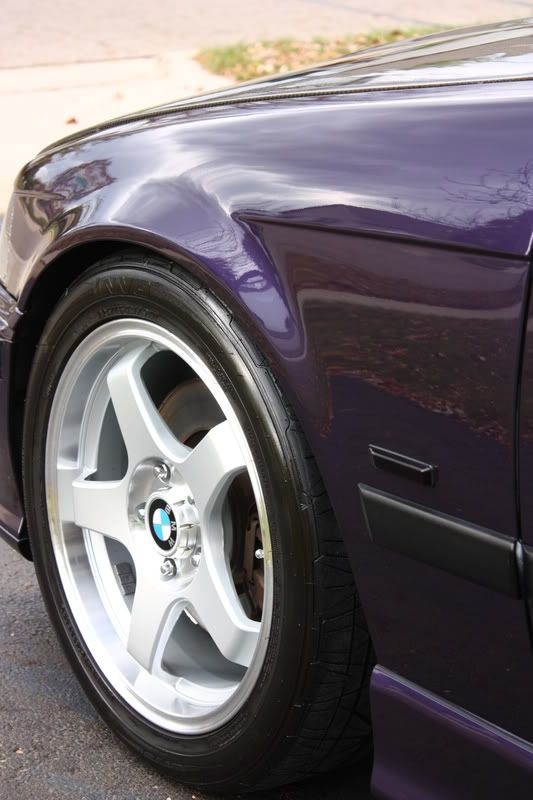
Wheels cleaned with P21S Wheel Gel
Megs APC+ on wheel wells
Clay with ONR lube
Wash #2 to remove residue from claying process
Stoner's Invisible Glass
Sonus Tire Gel
Chemical Guys VRP on plastic trim
Paint correction:
Carbon fiber hood: SIP/white followed by PO85RD/red
The rest of car:
Megs M105/PFW on compounding stage
Menzerna PO85RD/blue for finishing polish
Protection/LSP:
Optimum Opti-Seal
Optimum Car Wax
Tools Used:
Makita 9227c rotary
Porter Cable D/A (used with 3� PFW in tight areas)
Blaster Sidekick blow dryer
Canon Rebel Xsi with 18/55mm lense
Total time: 10 hours.
Upon initial sun inspection, I found the car to have moderate swirls (severe in a few areas…trunk lid and spoiler in particular), RIDS (more on these later), water etching, and bird poop etching as well.
Bird bombs can be hazardous to paint!
Nice carbon fiber hood:
Here’s my test section for the painted surfaces.
After 1 pass of M105/PFW (1000rpm). Notice how nice the finish looks for a compounding stage!
When a surface is covered in swirls, it’s sometimes hard to tell if there are any deeper scratches (RIDS) in the finish. Many times you don’t find out what you’re really dealing with until you’ve done at least one pass…sometimes it comes out clean, and sometimes you get a few surprises. Take a look at the photo below, and you can pick out one scratch in particular on the wing. It’s about an inch back from the leading edge, and you can see it’s about as wide as the reflection of the light.
Now take a look at this photo. This is after 2 passes with M105. That long scratch we picked out in the photo above is gone, but there is another one that is clearly visible about an inch below where the other one was. In the first photo you don’t notice this one much, but after cleaning up the surface, you then see how bad it really is. The wing had a lot of deep scratches, and you can see how much water spot etching there is. Even after 4 passes with 105 at varying speeds and applications of water, some of the defects and etching just wouldn’t come out. It would have taken a lot of wetsanding to completely get rid of them. Upon initial inspection however, it was hard to tell that the condition was this bad.

")