ReLoaDeD BuLLiT
New member
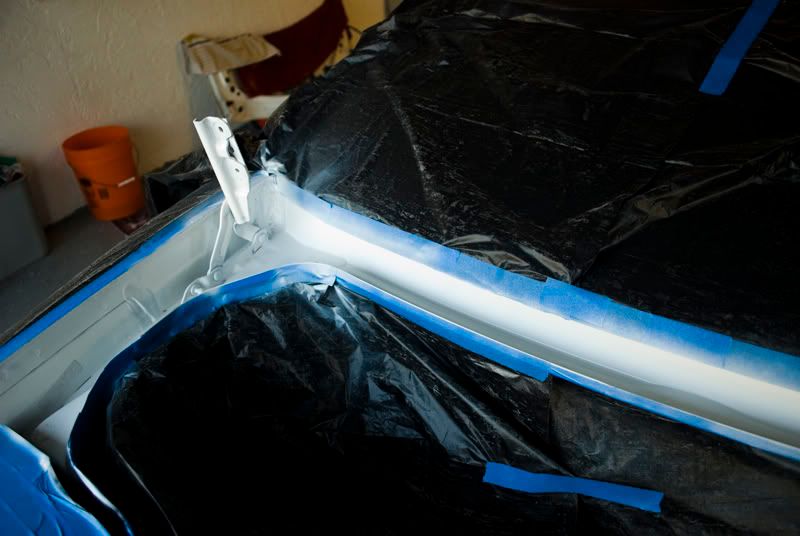
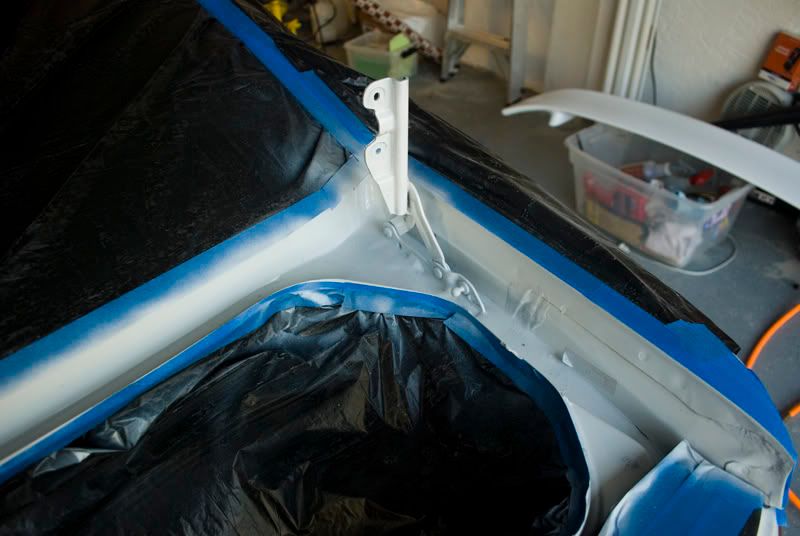
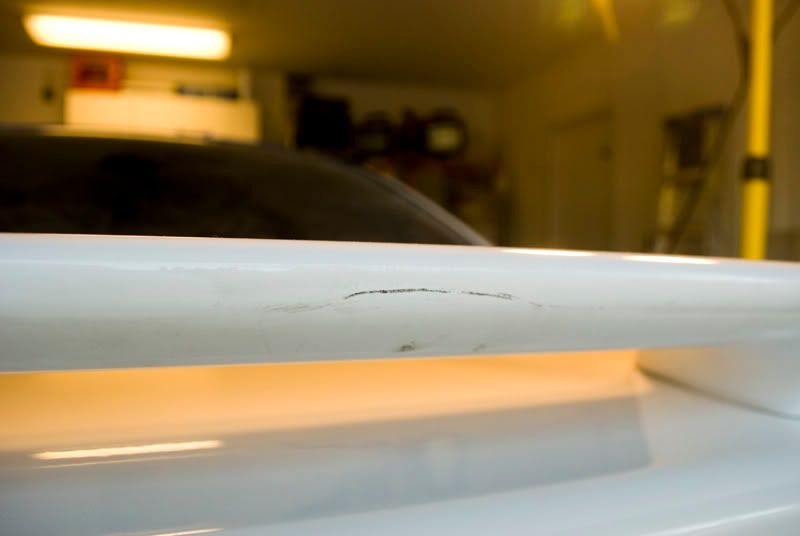
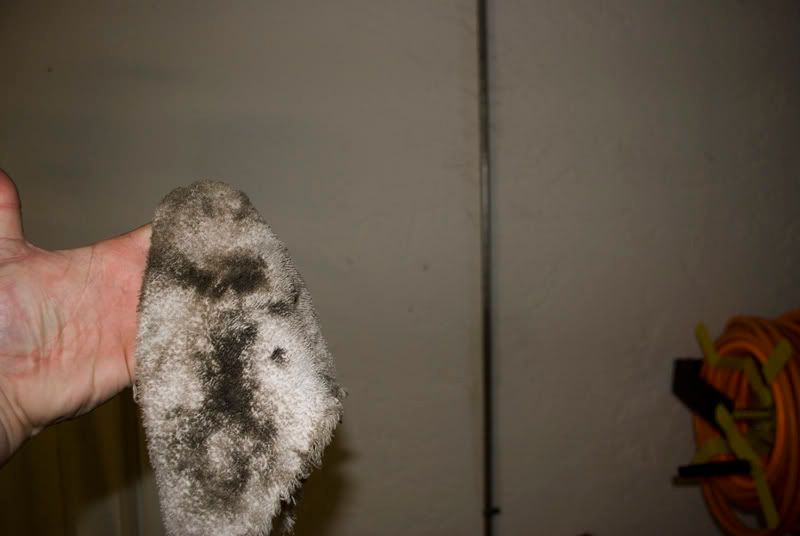
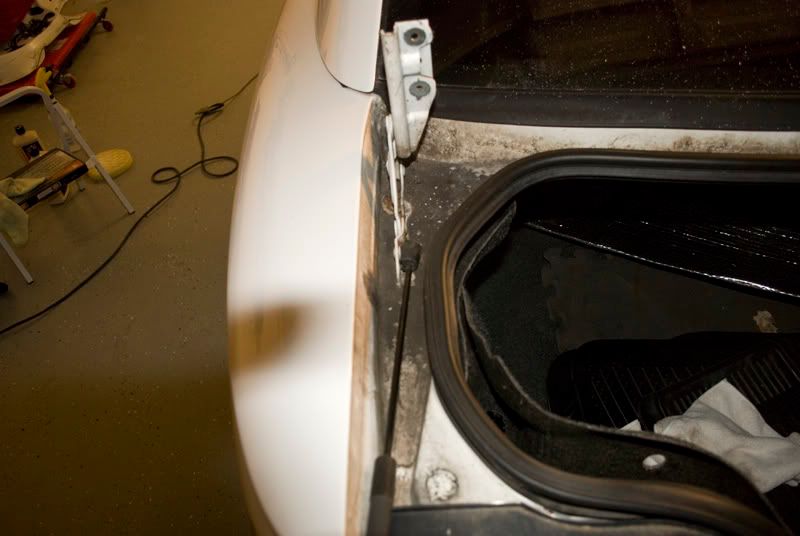
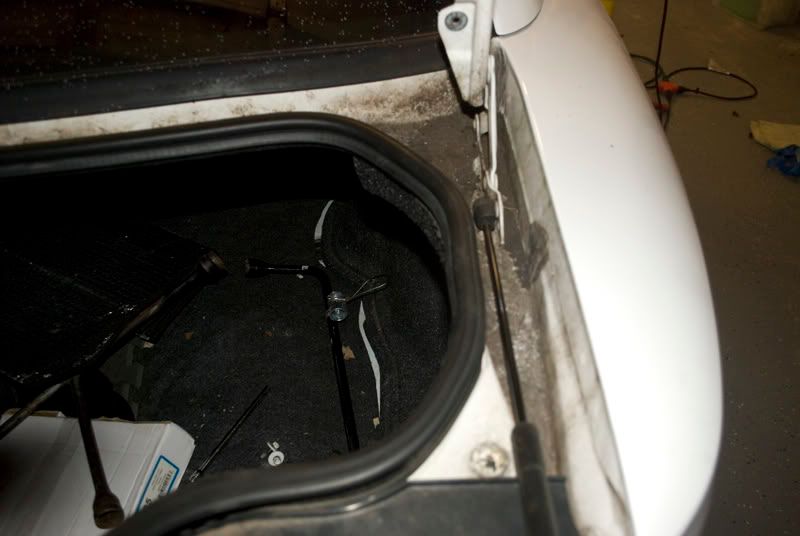
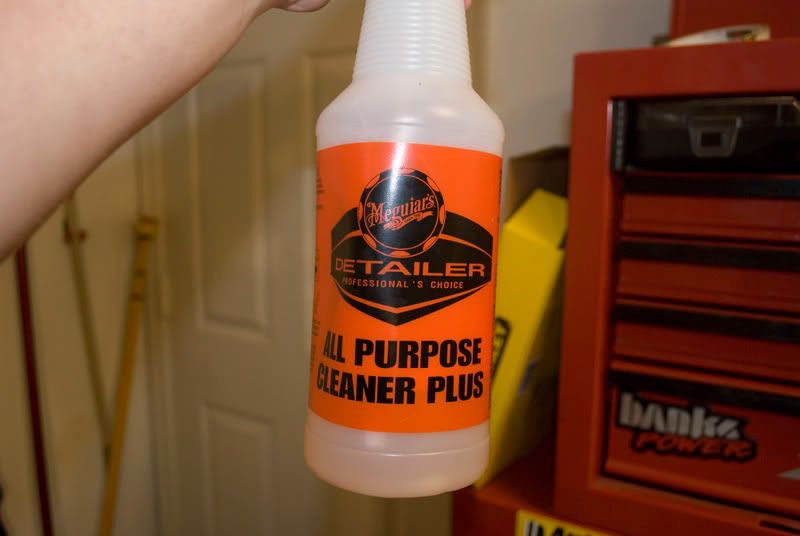
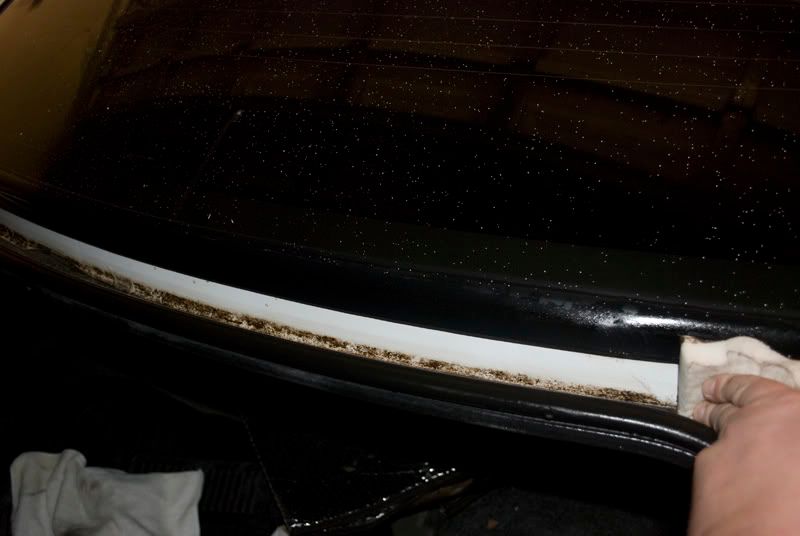
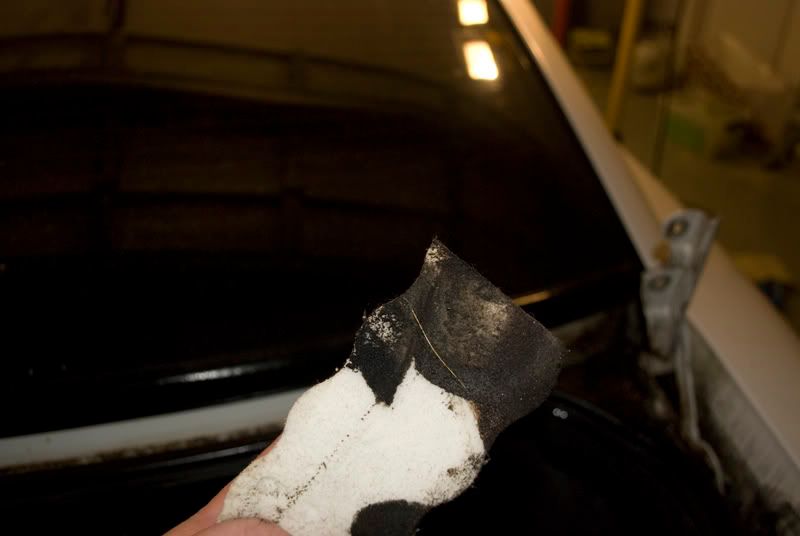
Got started on the Cobra's paint today. (it is in very rough shape...even my most aggressive pad combo isn't doing squat on this paint without 5-6 passes per pad. :shrug:
Process:
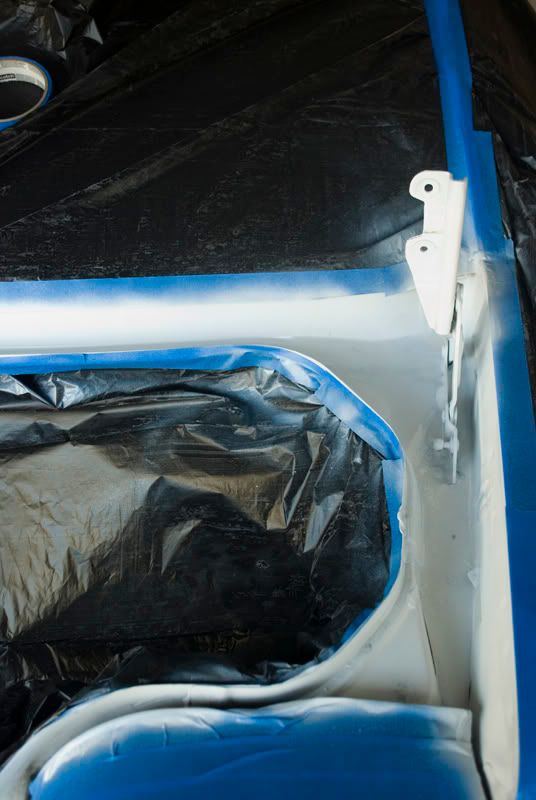
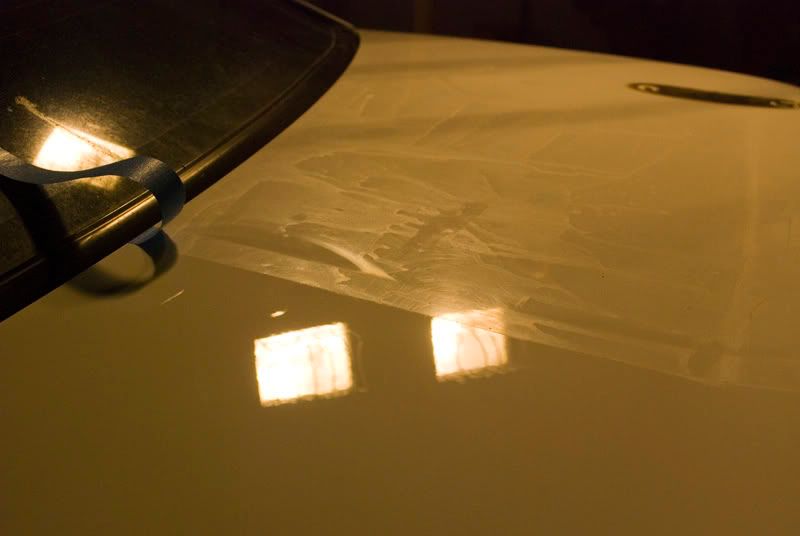
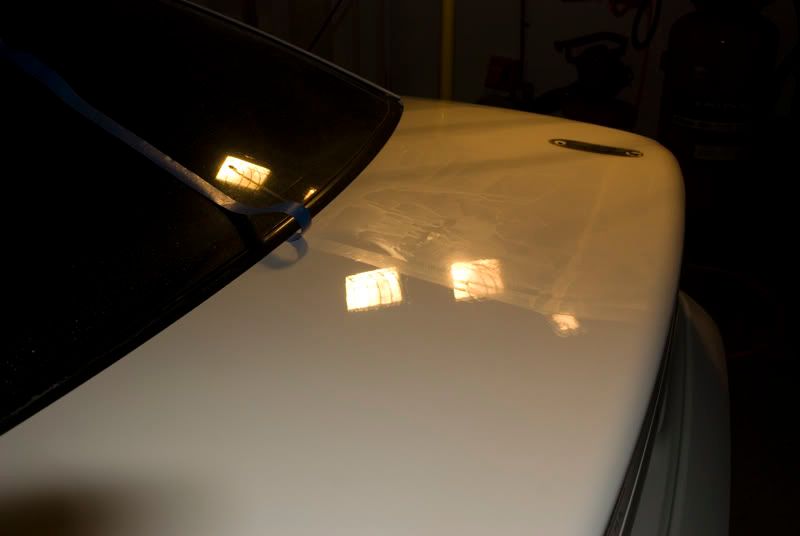
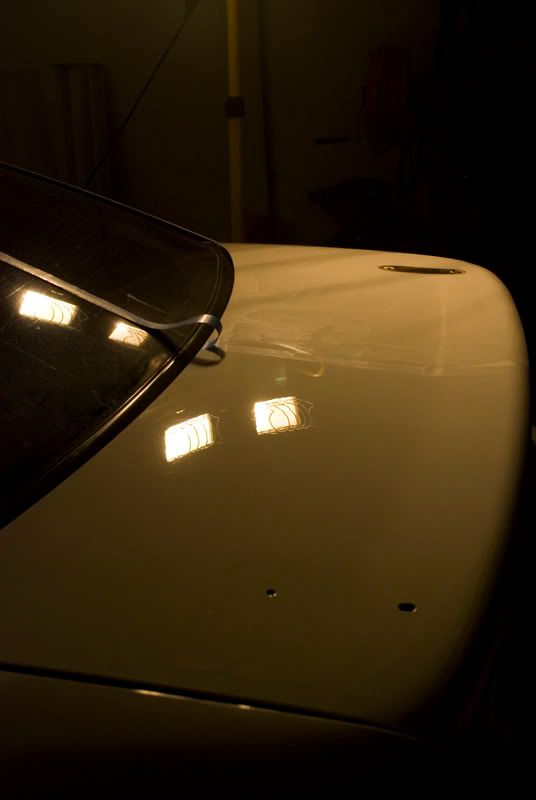
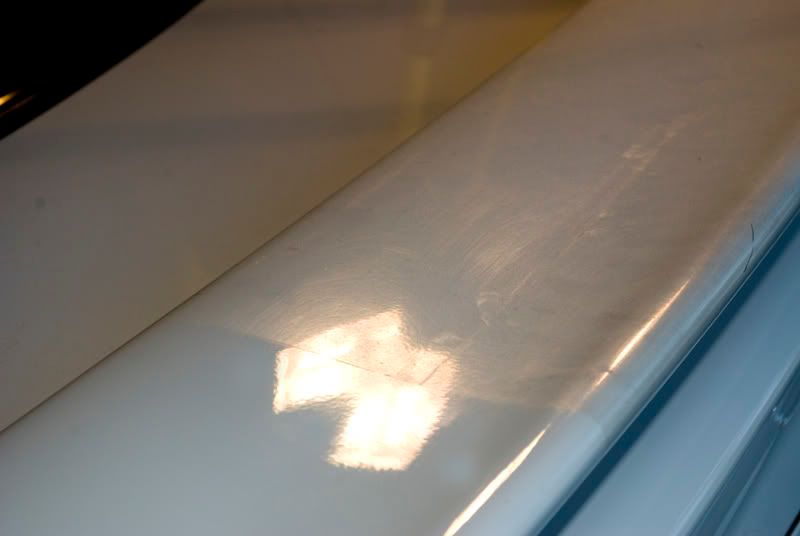
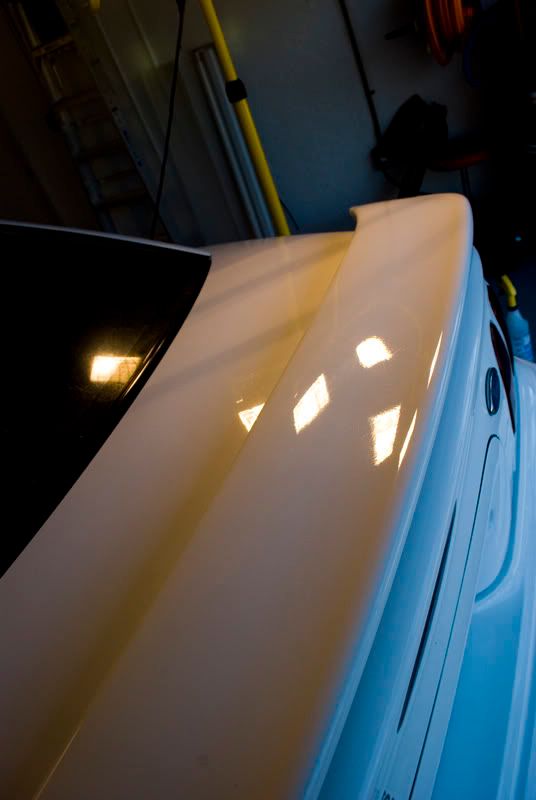
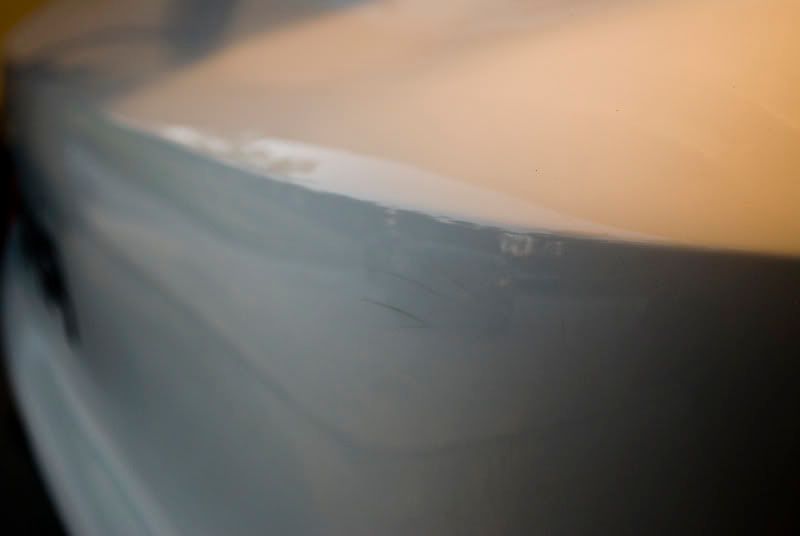
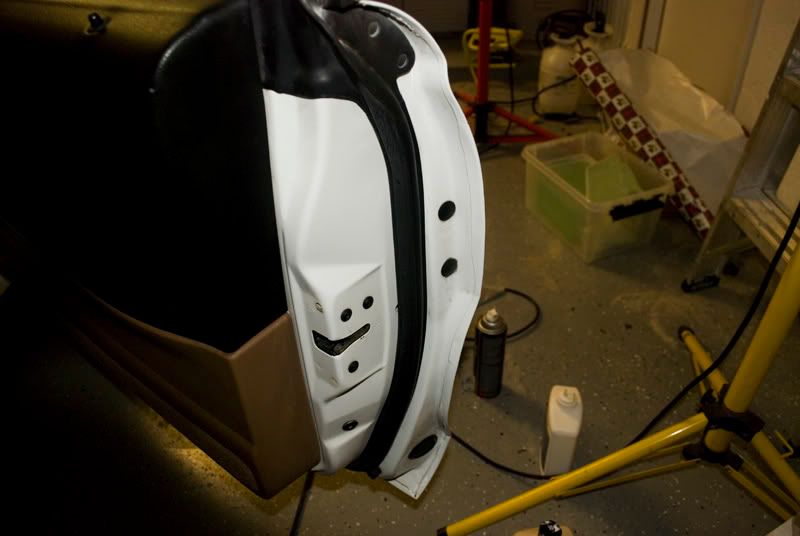
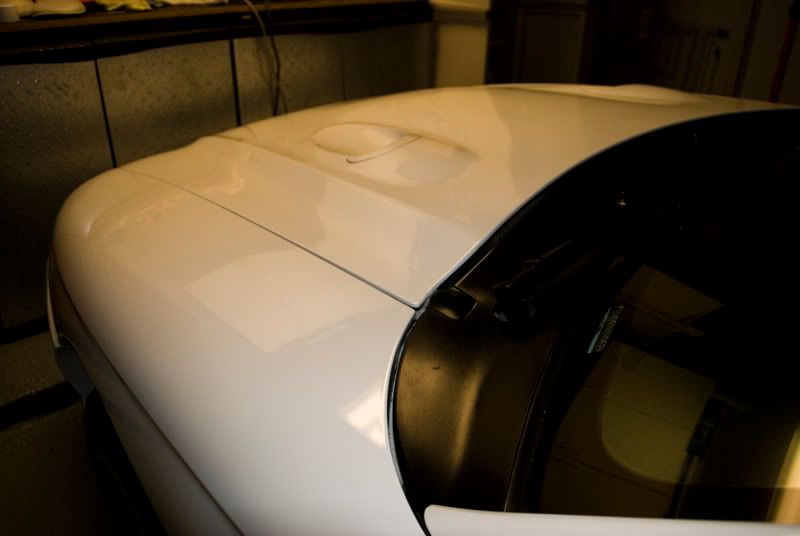
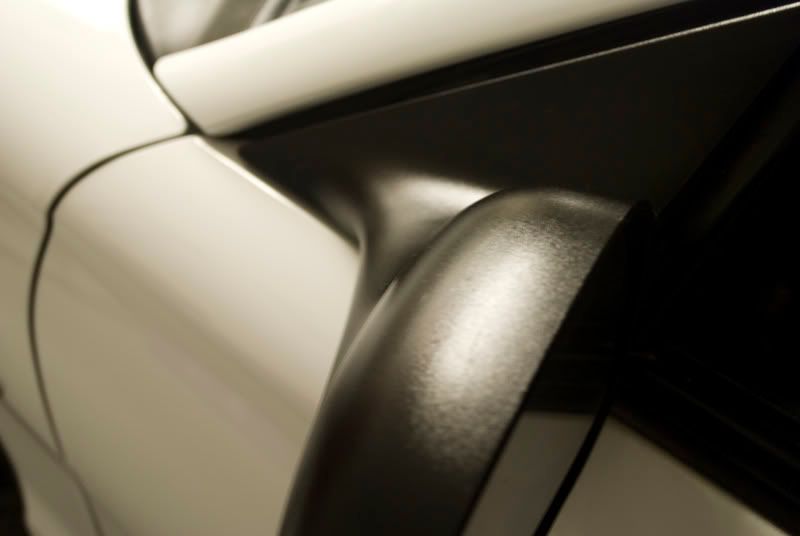
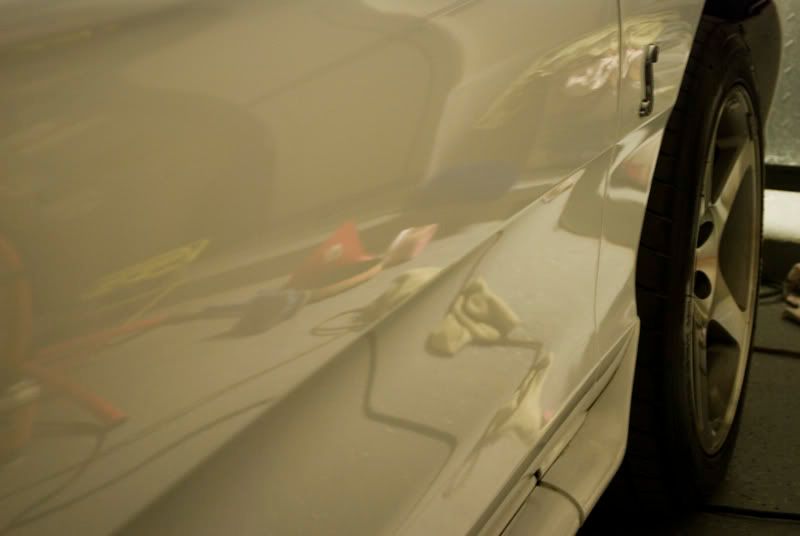
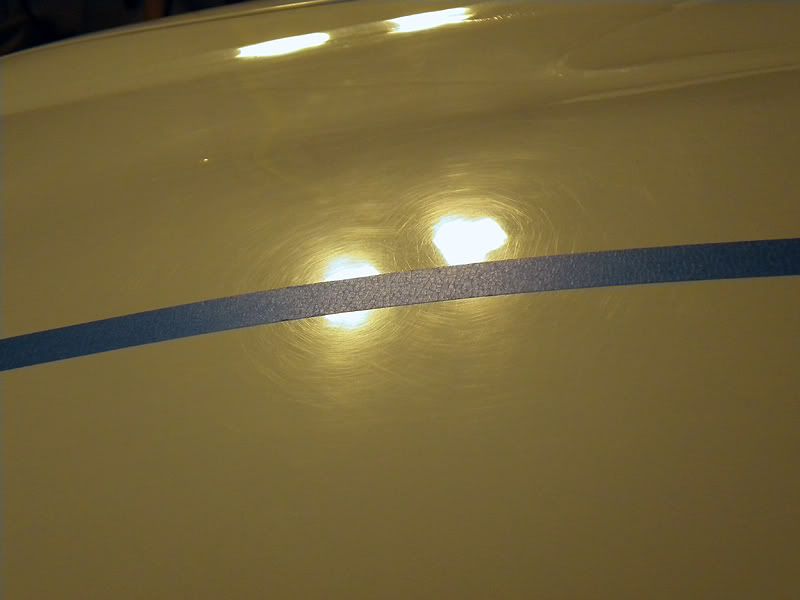
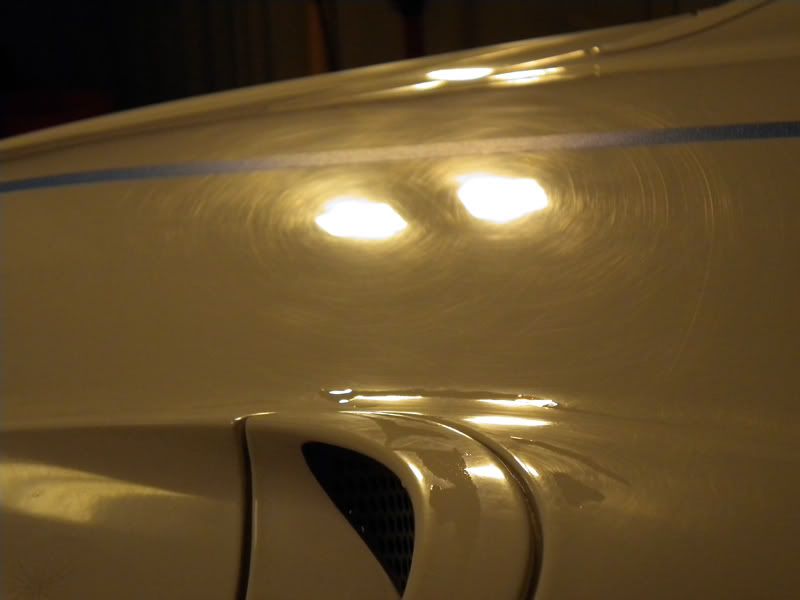
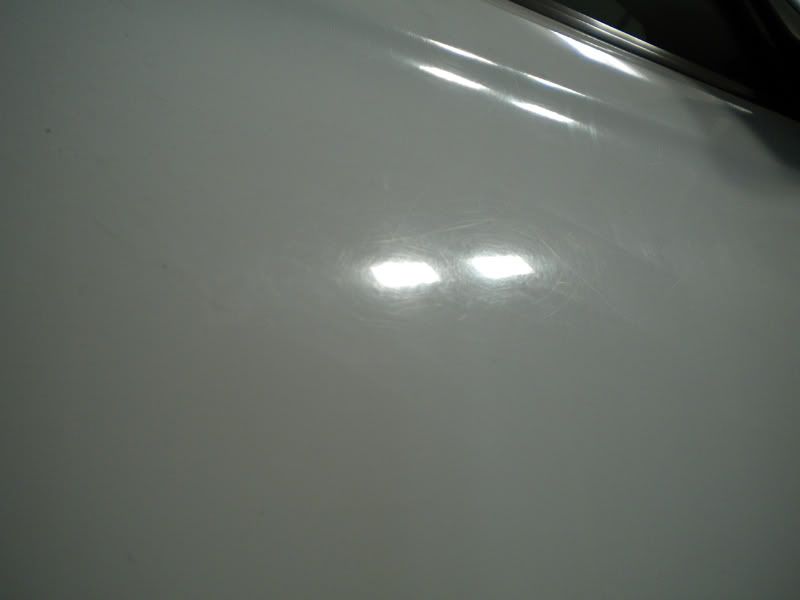
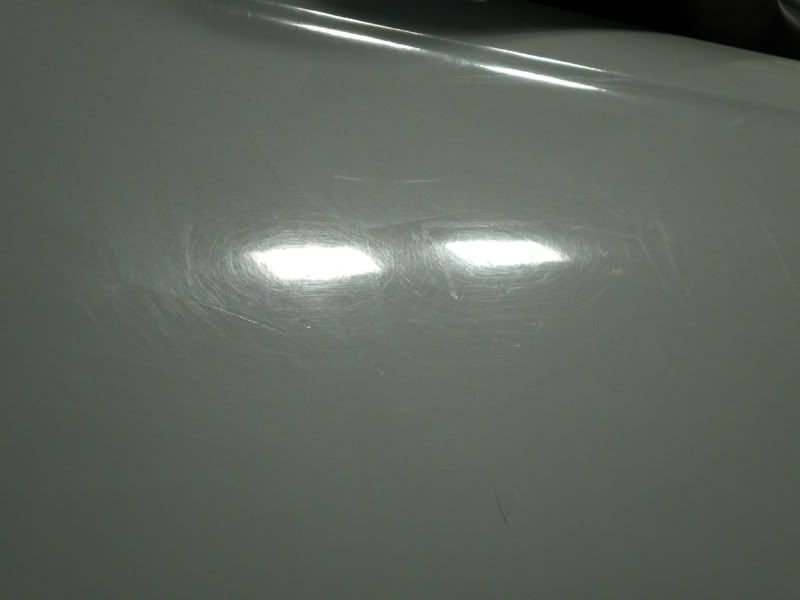
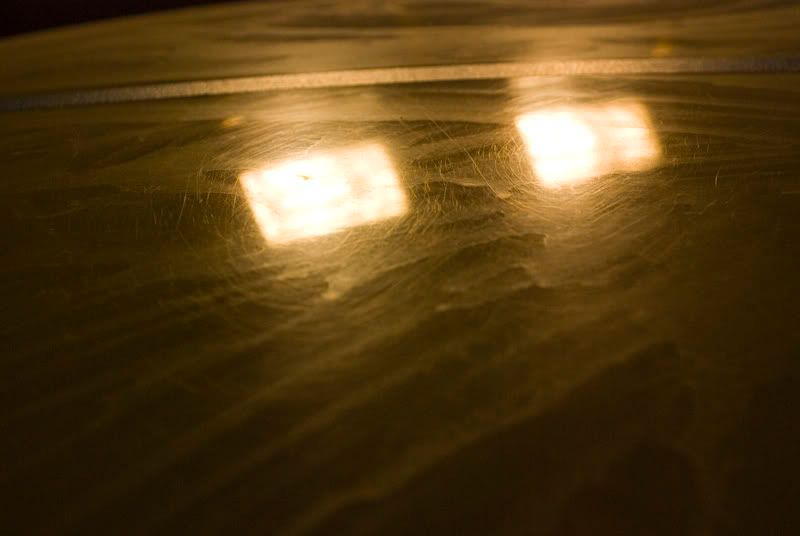
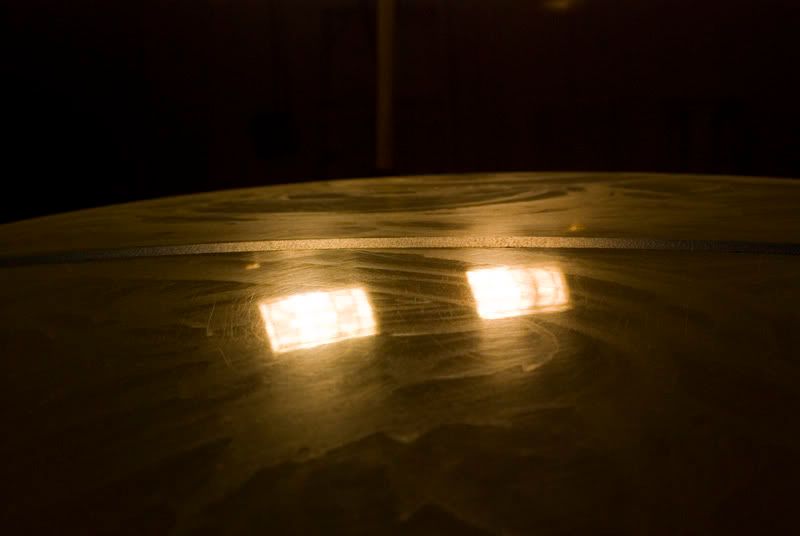
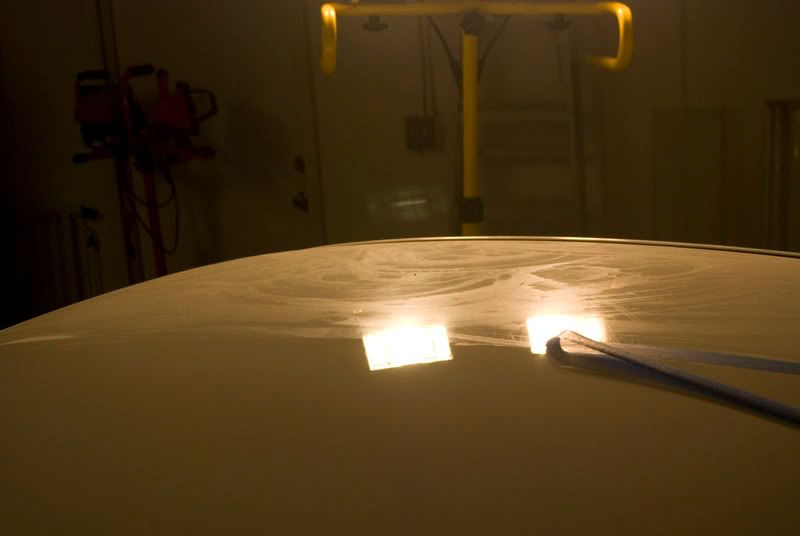
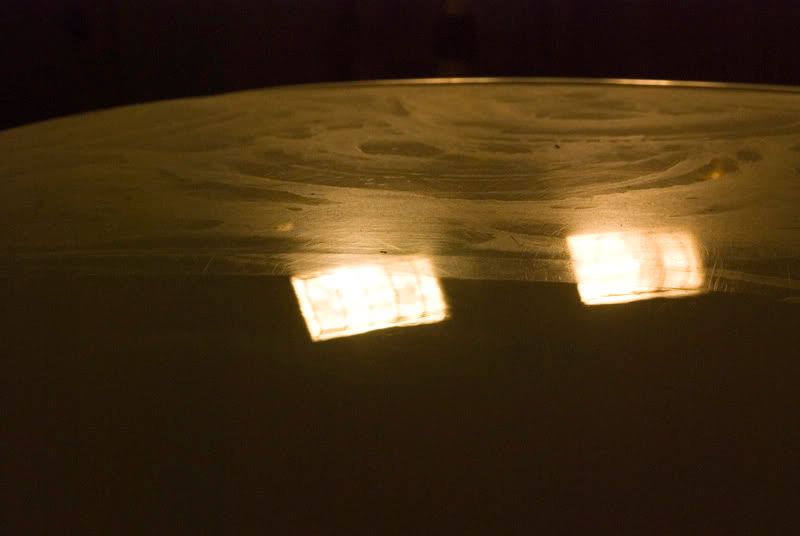
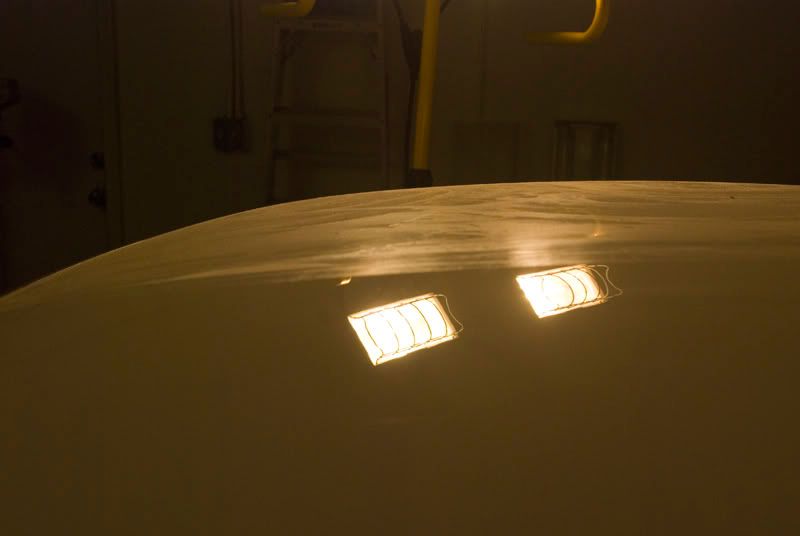
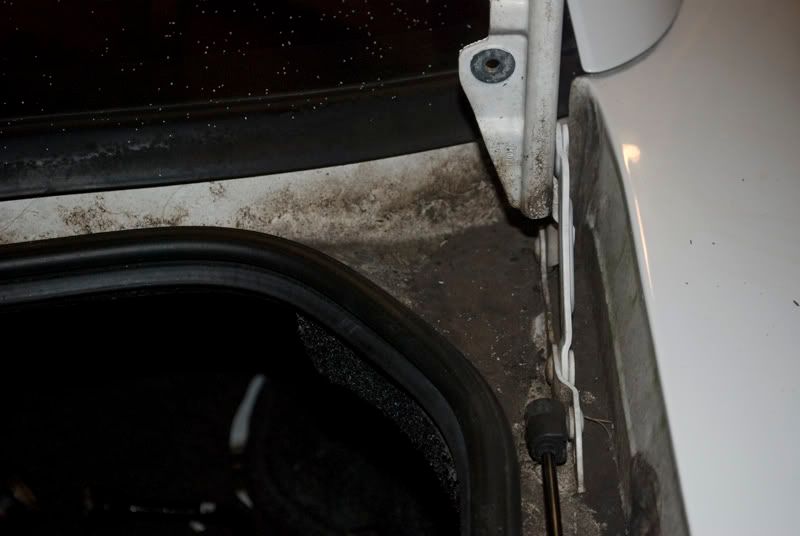
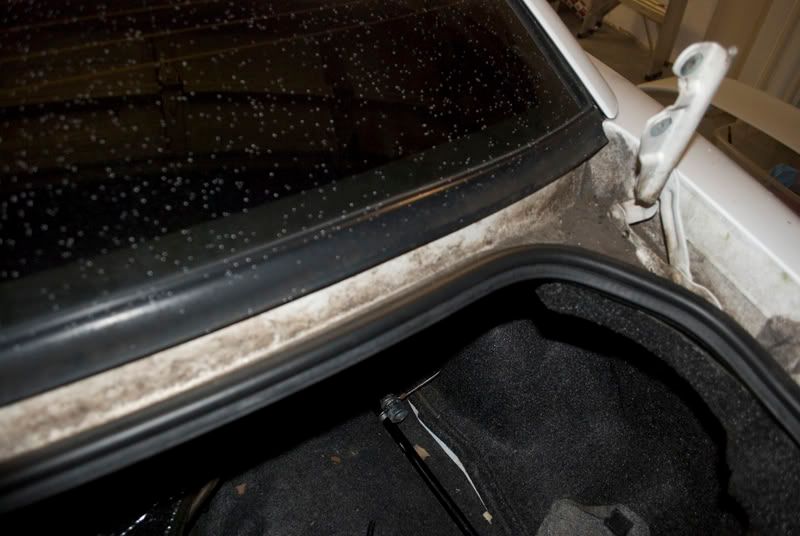
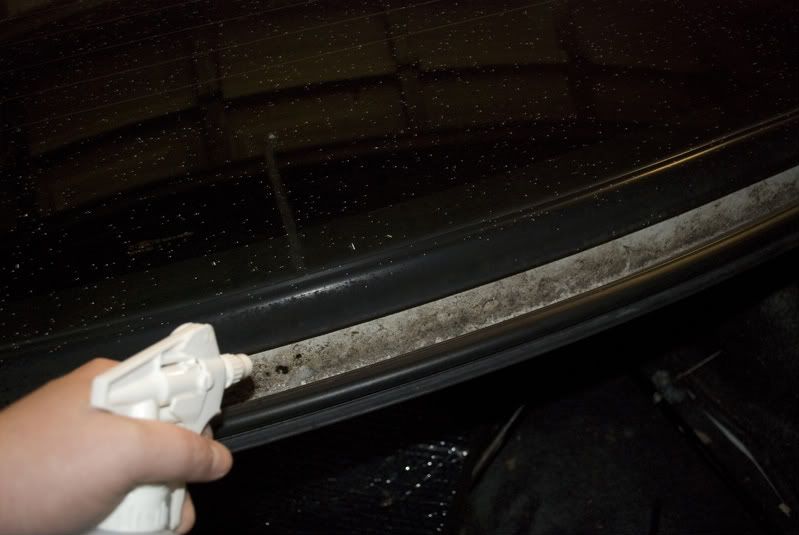
Also, it's VERY difficult to see the swirls unless you look at certain angles, as shown here:
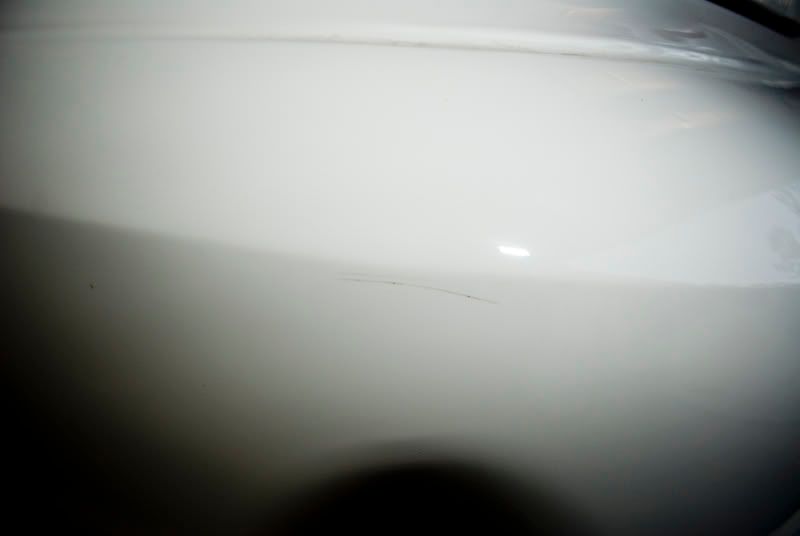
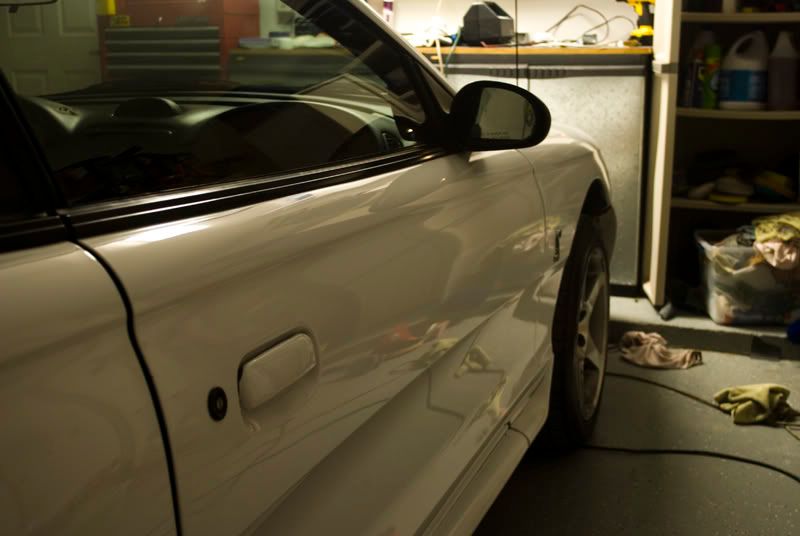
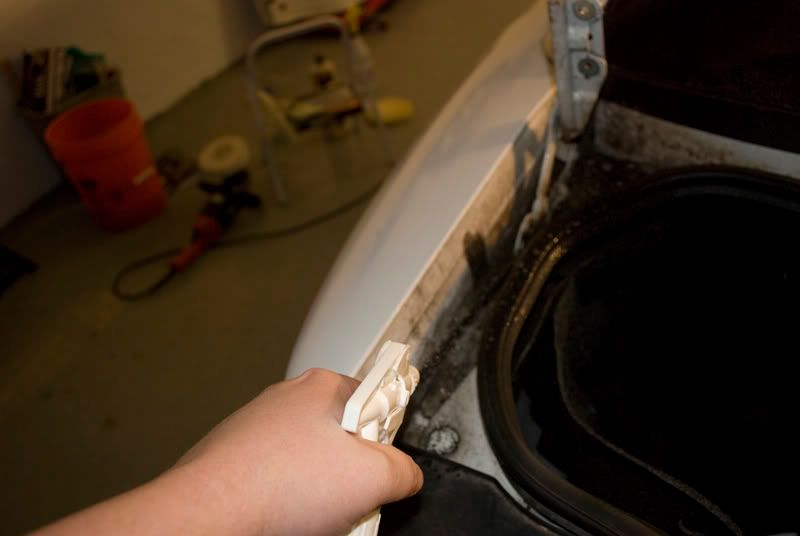
BEFORE:
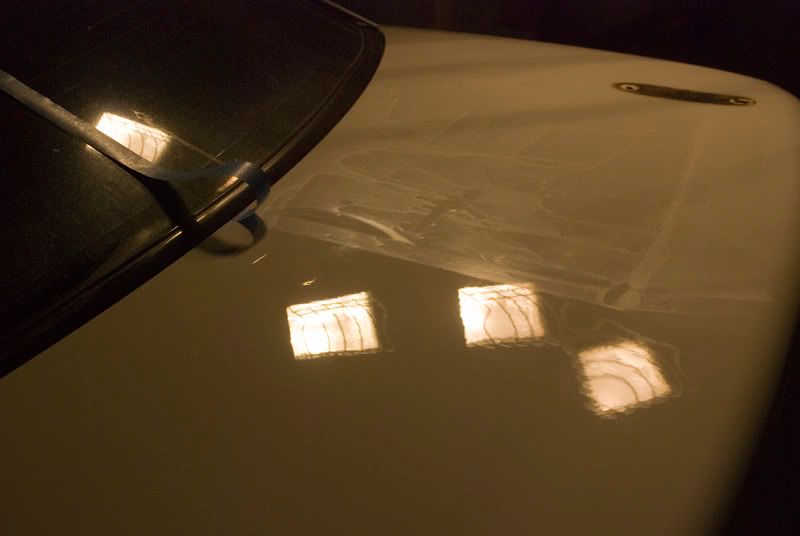
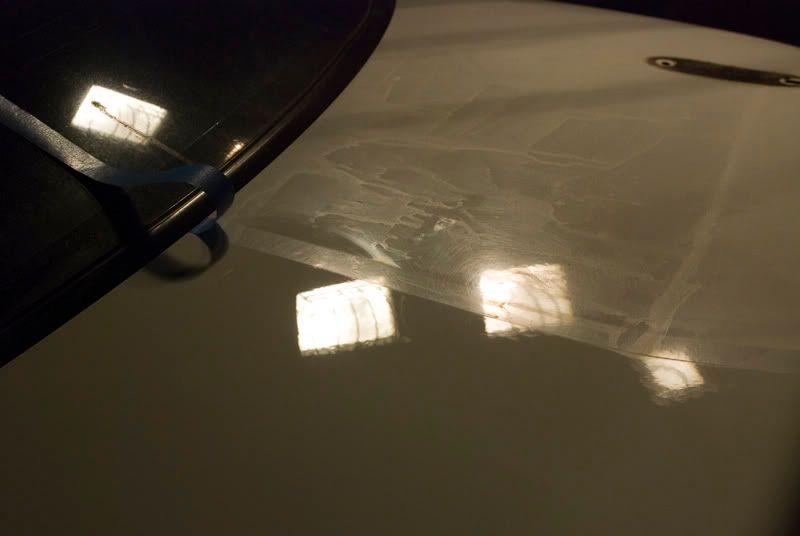
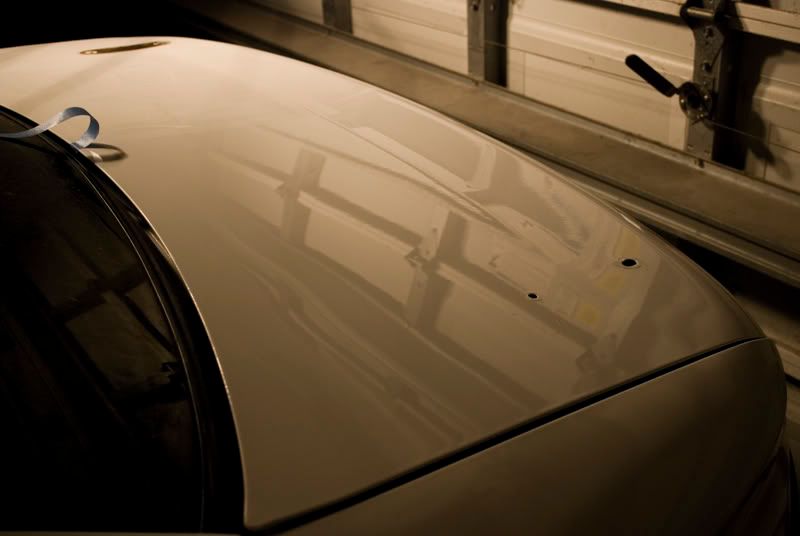
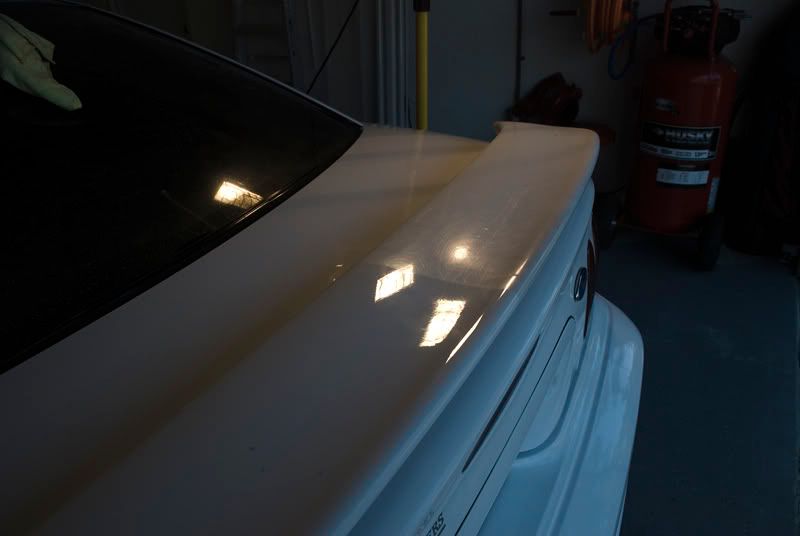
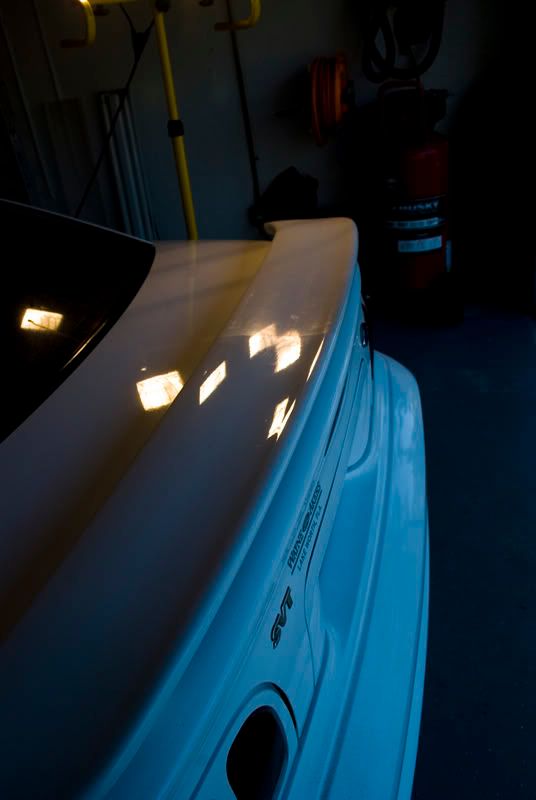
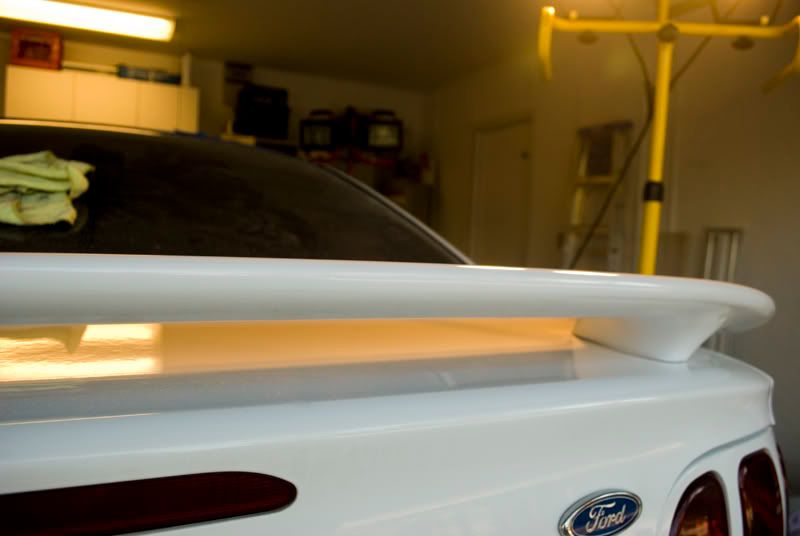
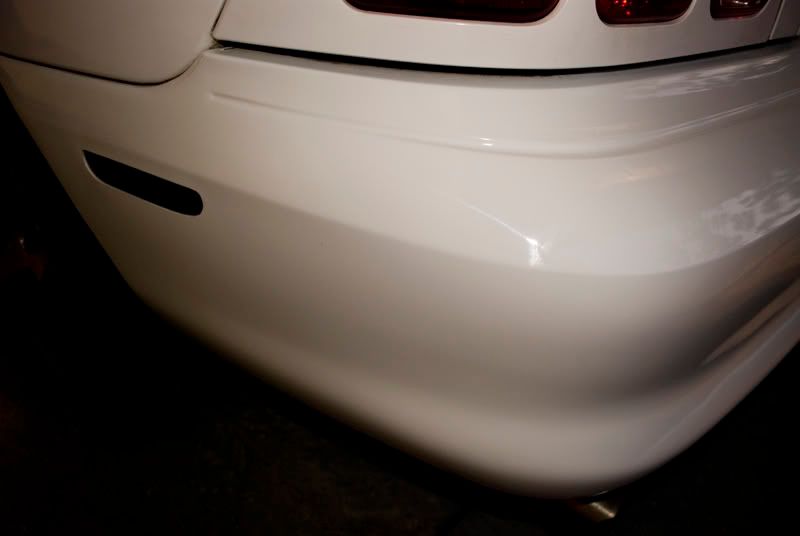
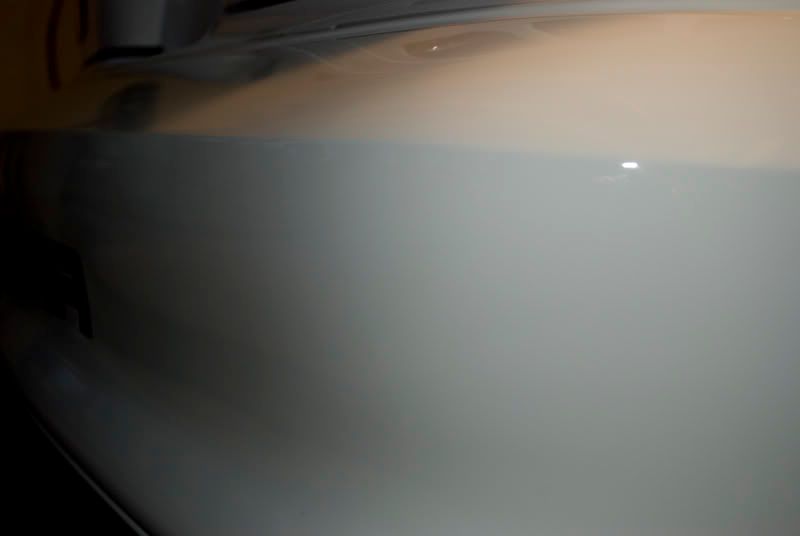
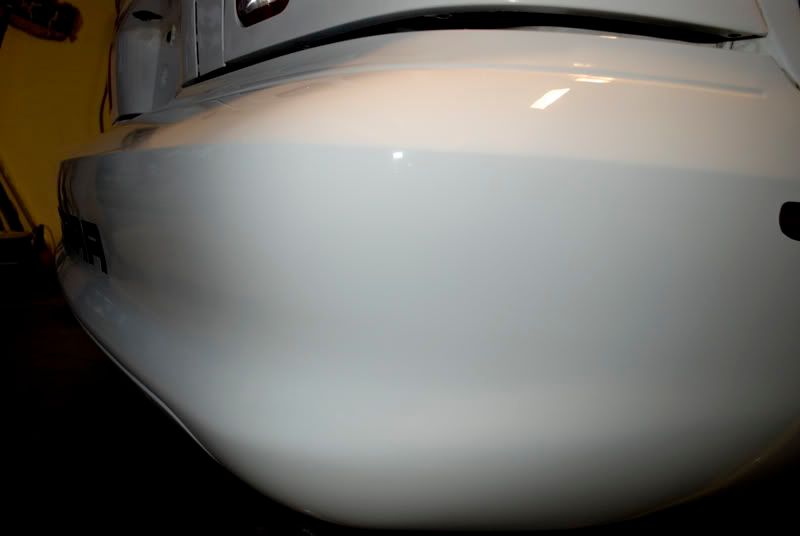
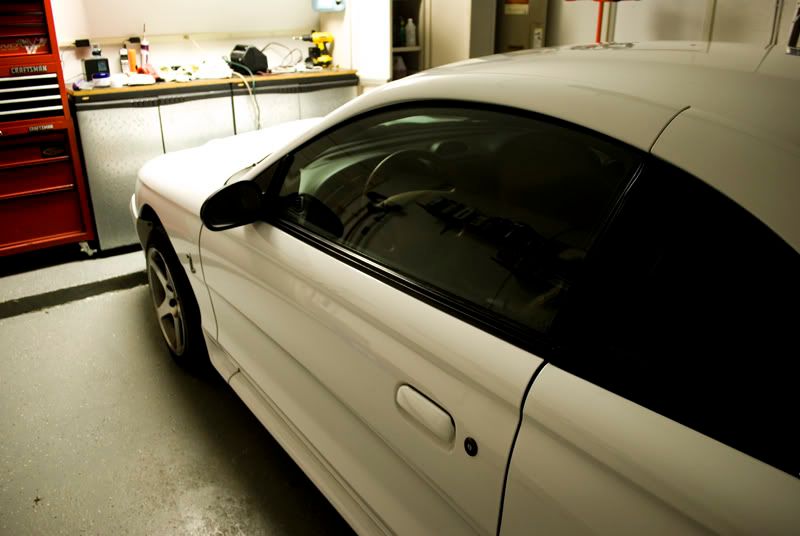
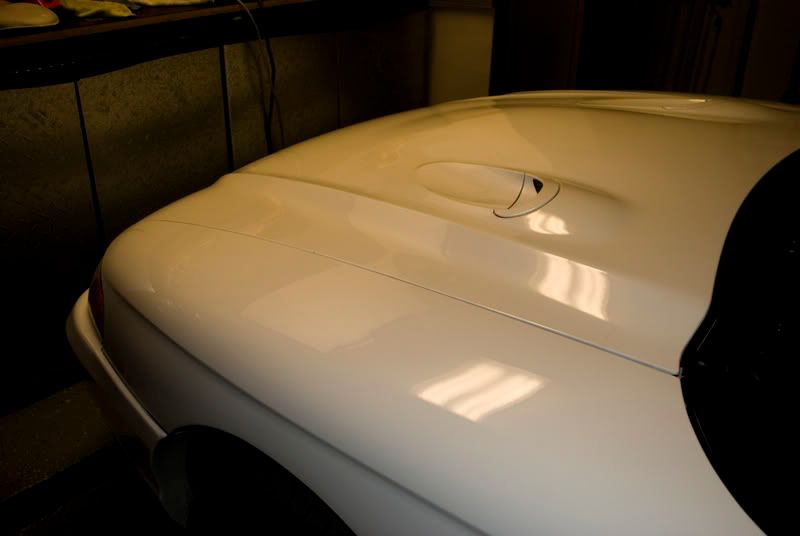
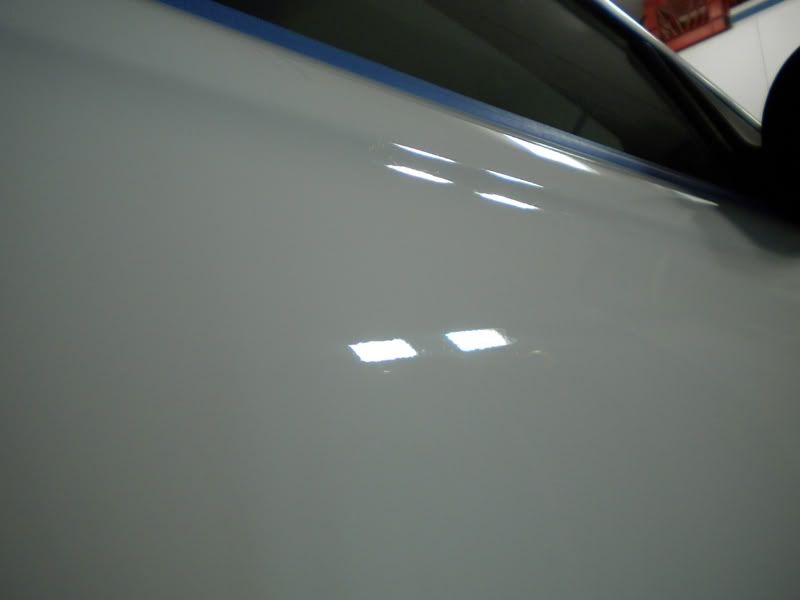
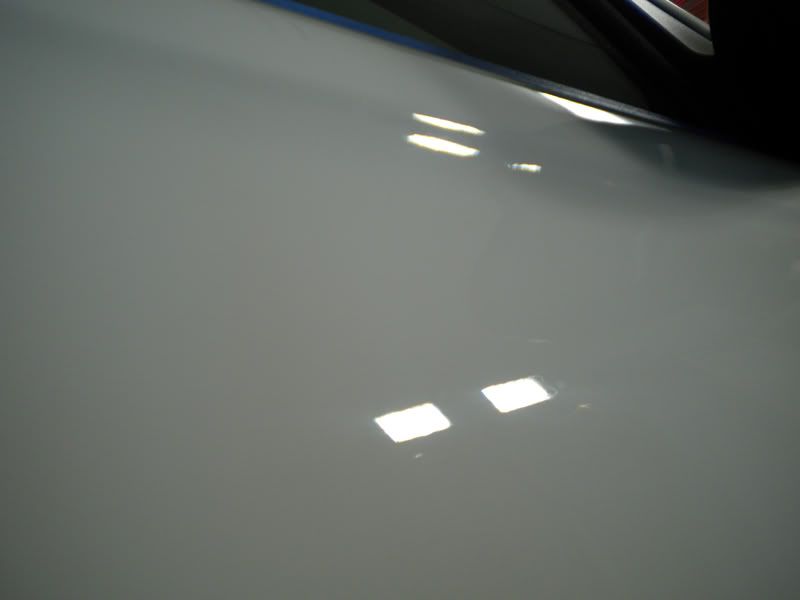
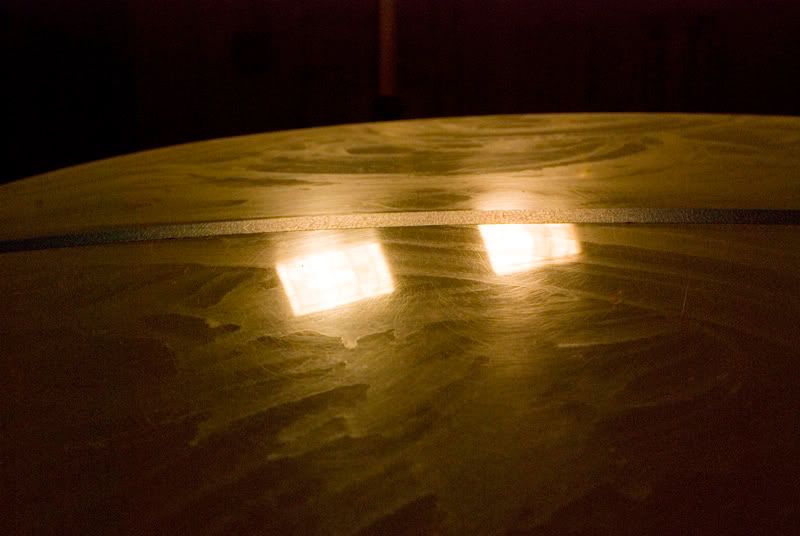
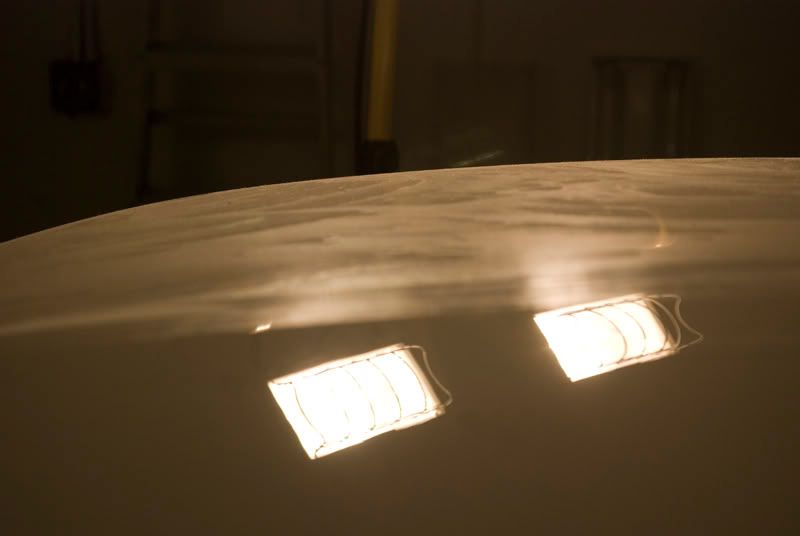
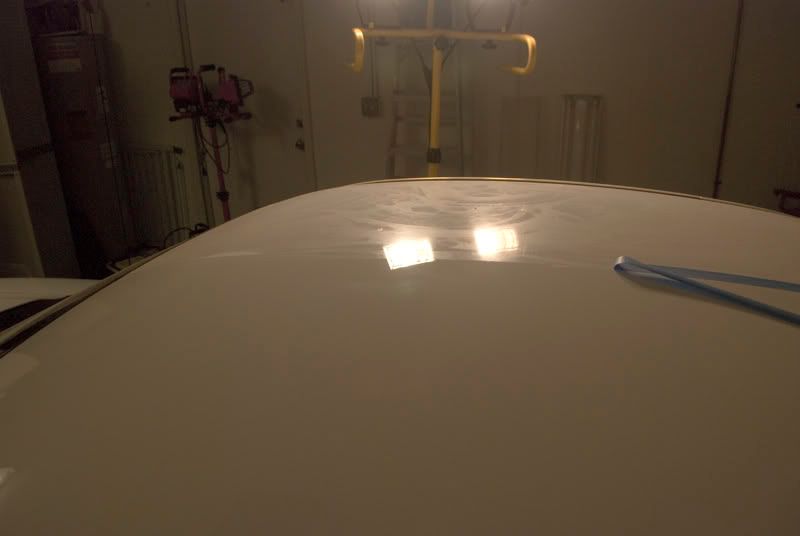
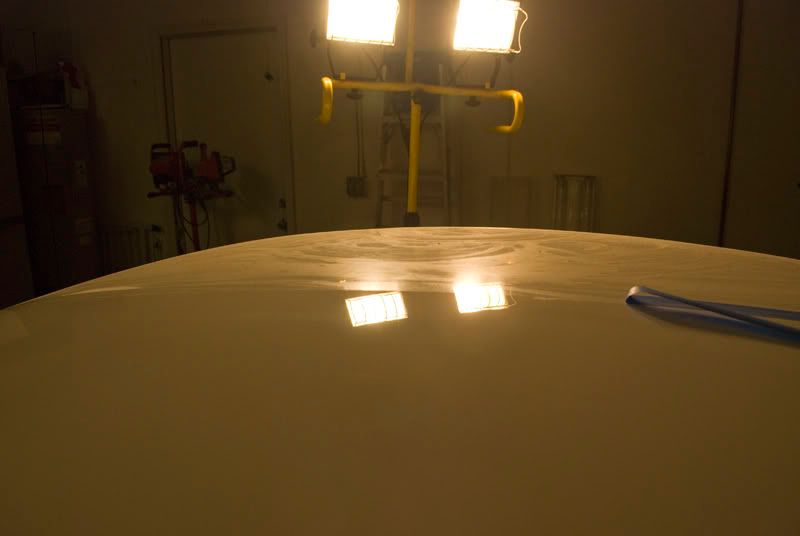
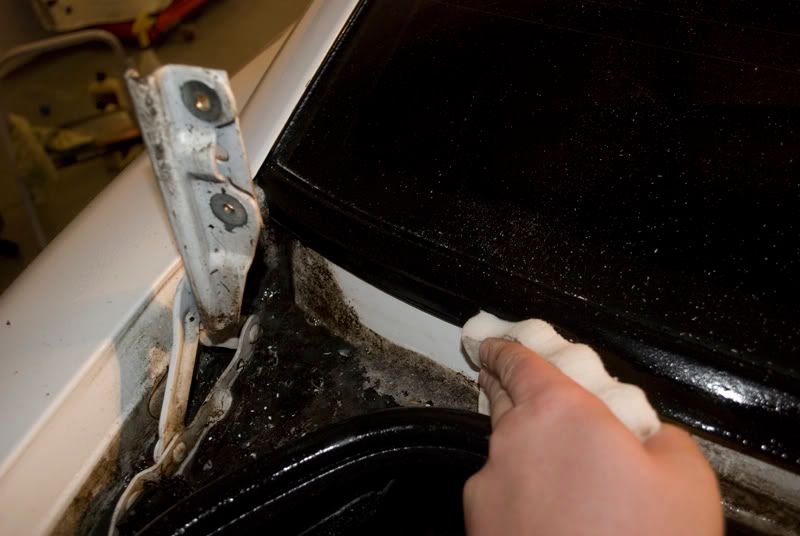
AFTER:

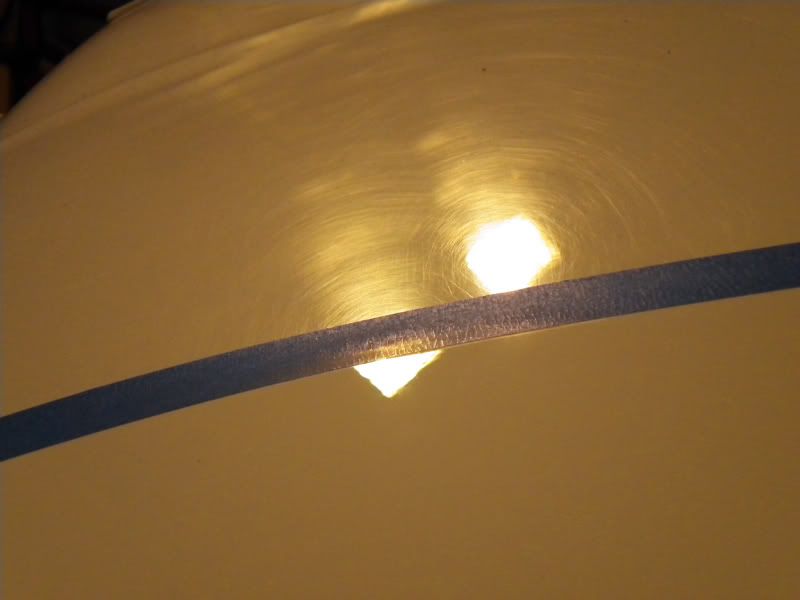
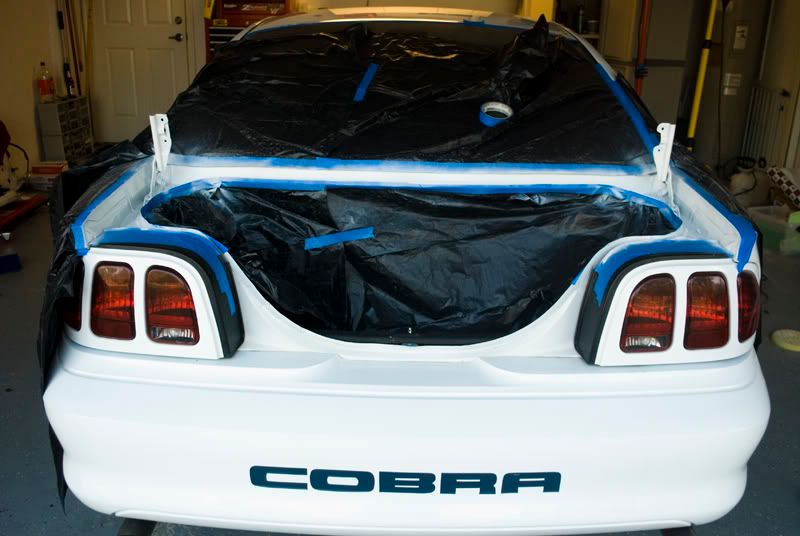
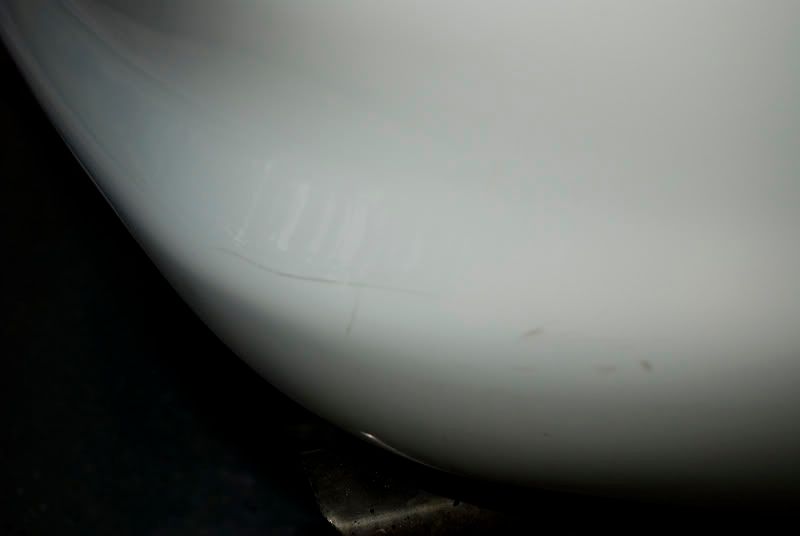
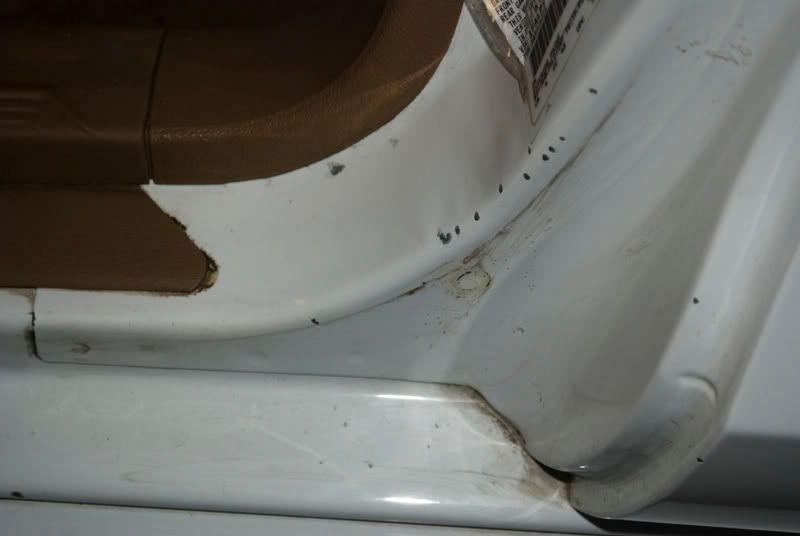
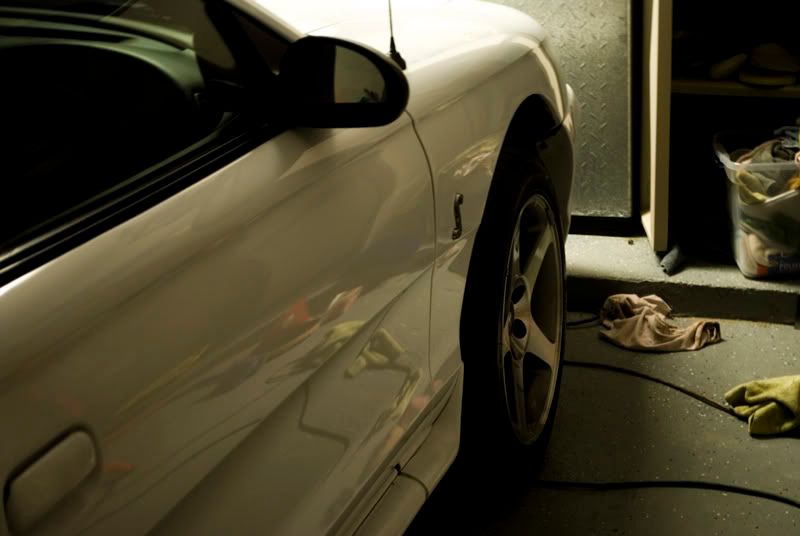
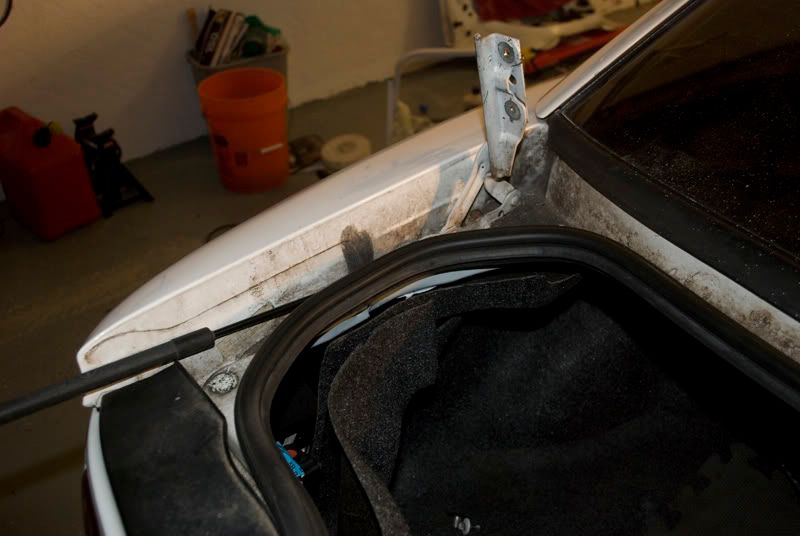
This is just a 'teaser' thread of the full detail. I will be working on this car for a week straight due to the poor paint condition. Even though it's white, you can still see the paint is rough. frown2.gif
Process:
- washed entire car with dishwashing soap to strip all wax off the vehicle
- claybarred entire car with megs claybar kit
- used burgundy wool (red) and menzerna power gloss 5x via rotary
- used megs m205 w/ orange ccs pad
- 2 coats of poorboys ex-p sealant
- 1 coat of s100 wax
Also, it's VERY difficult to see the swirls unless you look at certain angles, as shown here:
BEFORE:
AFTER:
This is just a 'teaser' thread of the full detail. I will be working on this car for a week straight due to the poor paint condition. Even though it's white, you can still see the paint is rough. frown2.gif

")