This is my first post in this section of the forum. I usually post in the click and brag but decided its time to start posting in here. Hope everyone enjoys!
The owner of this beautiful vehicle called me over the weekend on a reference from a friend of mine. We discussed what he wanted done to the vehicle and he chose one of my detail packages that included correction, interior and an engine bay cleaning. I would have to say that I'm completely beat after this detail totaling just over 30 hours . Hope everyone enjoys as I have quite a few photos.
Process
Wash/clay
-Two bucket wash w/ heavy mix of dawn
-DP Extreme Auto foam/heavy Dawn mix via AG Foam cannon
-Red LC wash mitt
-Dried with LC HD WW towels
-Pinnacle Clay bar
-Pinnacle clay lube
Interior
-1z Cockpit Premium
-Aerospace 303
-Stoners glass cleaner
-P21s TAW for floor mat cleaning
-Shop vac
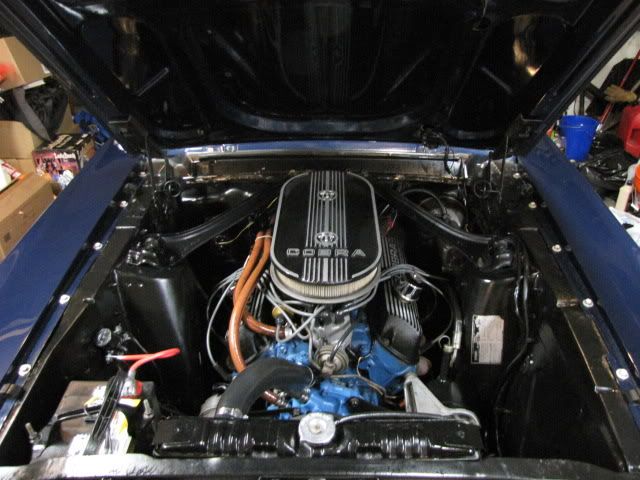
Engine Bay
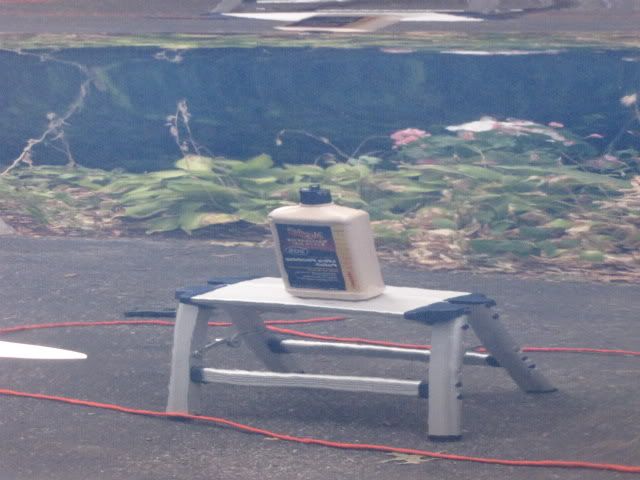
-P21s TAW for cleaning
-Combination of CD2 and Aerospace 303
Wheels/Tires
-Various Brushes w/ P21s Wheel Gel
-Meg's Gold class tire gel
-Wheel wells received some Aerospace 303
Correction
-PCXP 7424
-Megs 105 w/ LC Orange pad (2 Passes)
-Megs 205 w/ LC White pad (2 Passes)
-Spot buffed with LC Yellow foamed wool and M105 for some deep RIDs
LSP
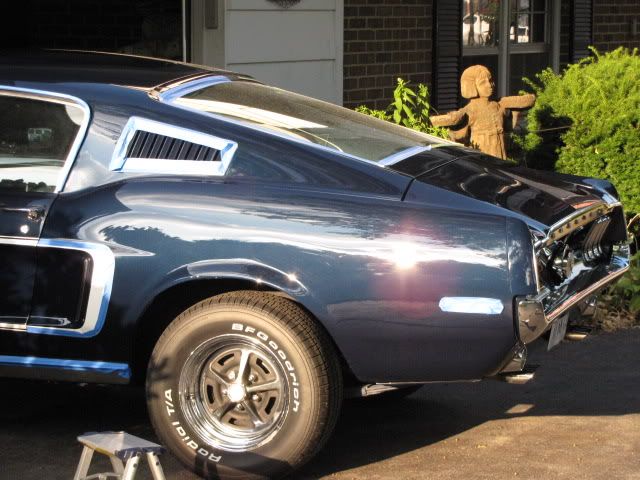
-Black Fire Wet Diamond Paint Sealant
-Pinnacle Souverän
-Exterior metal polished w/ Mothers.
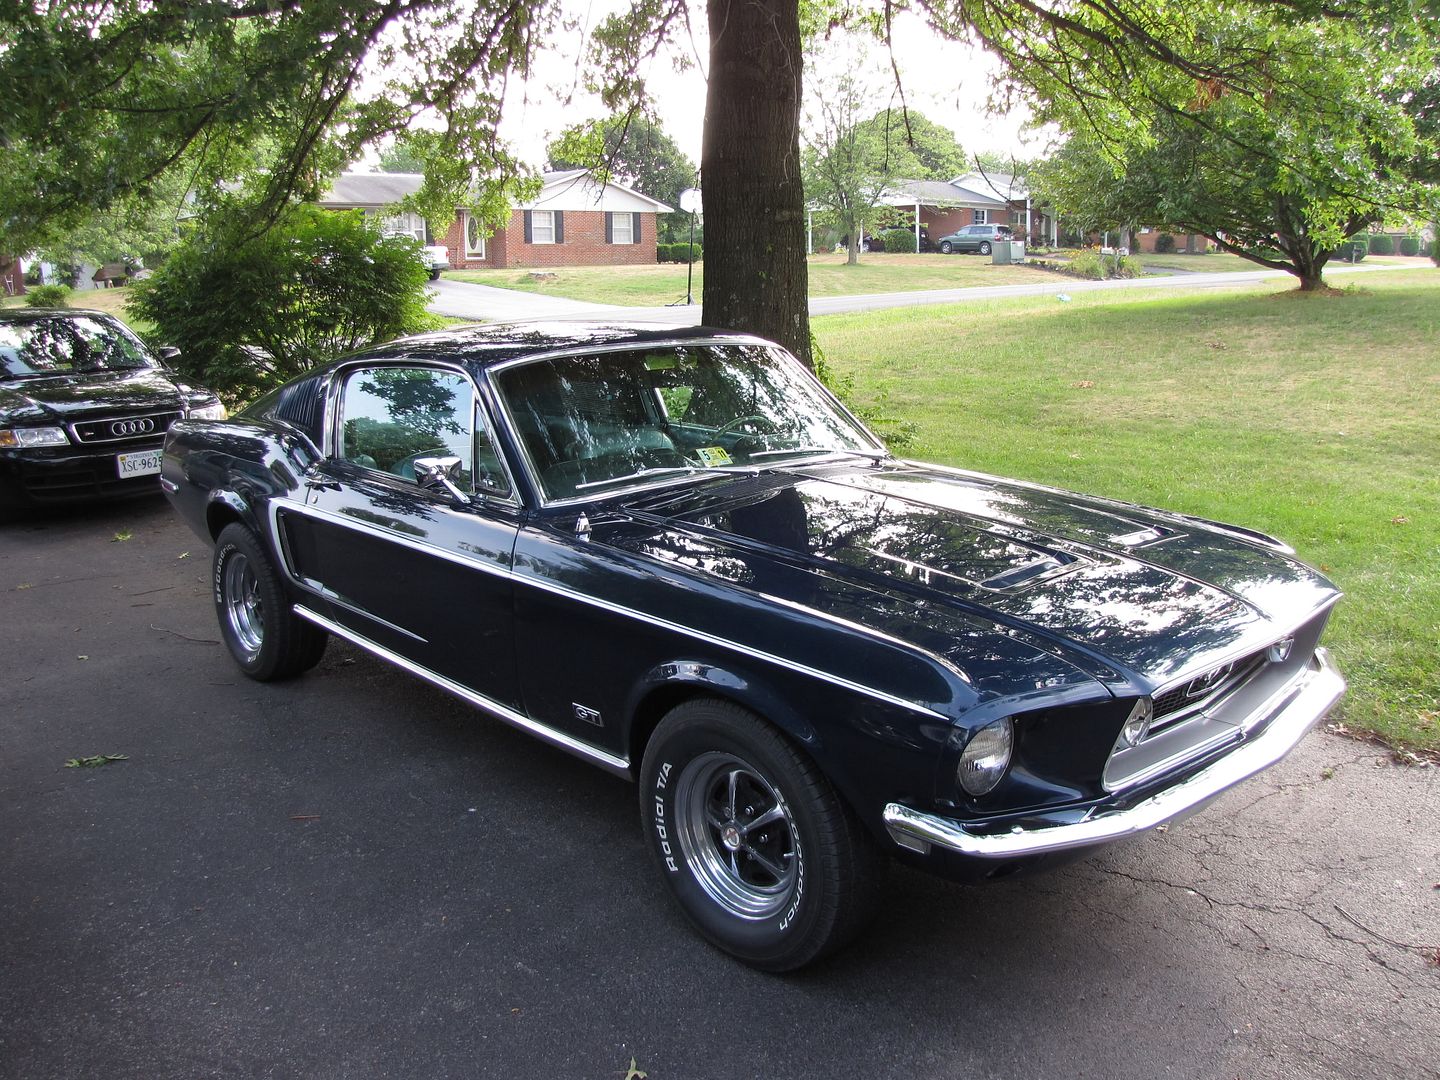
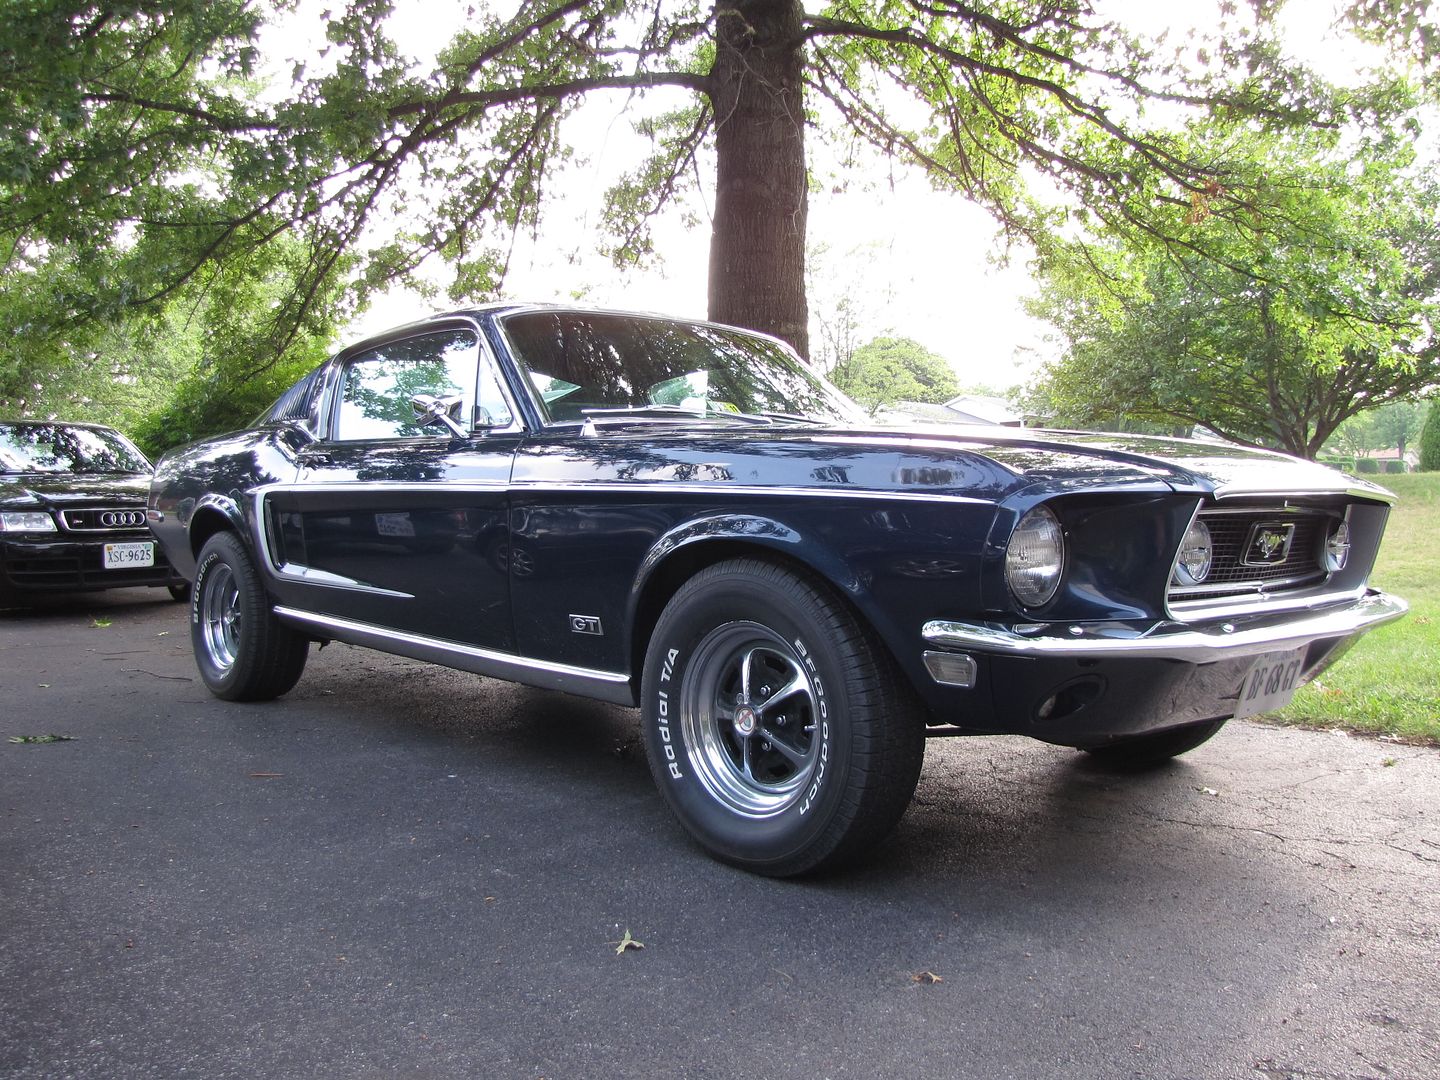
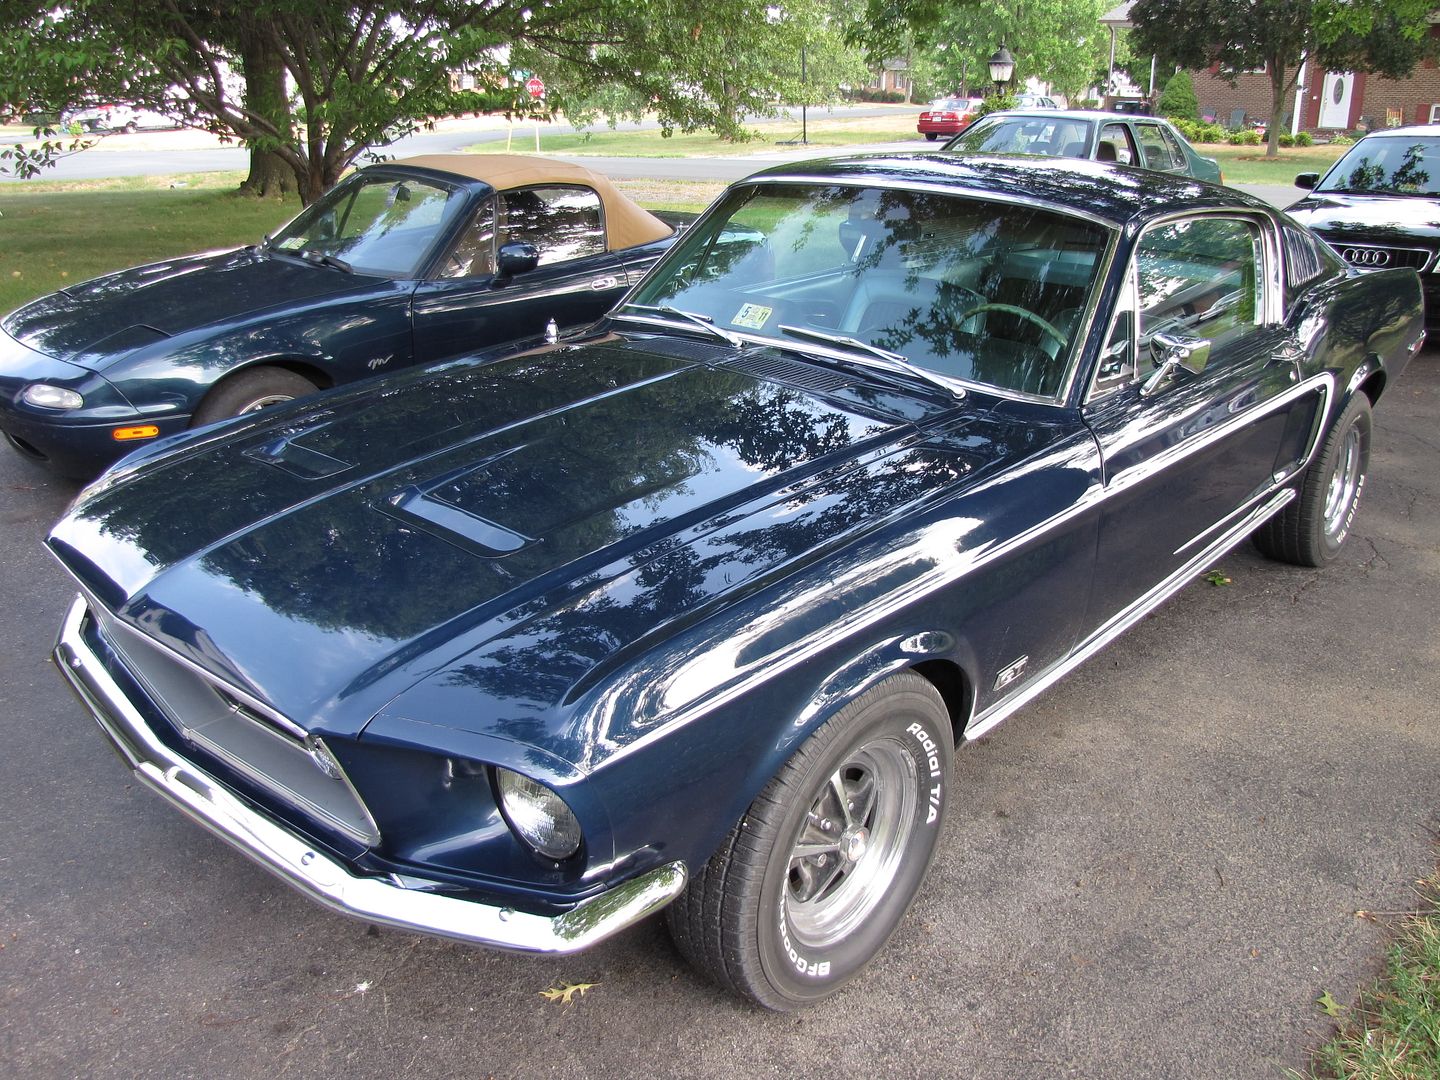
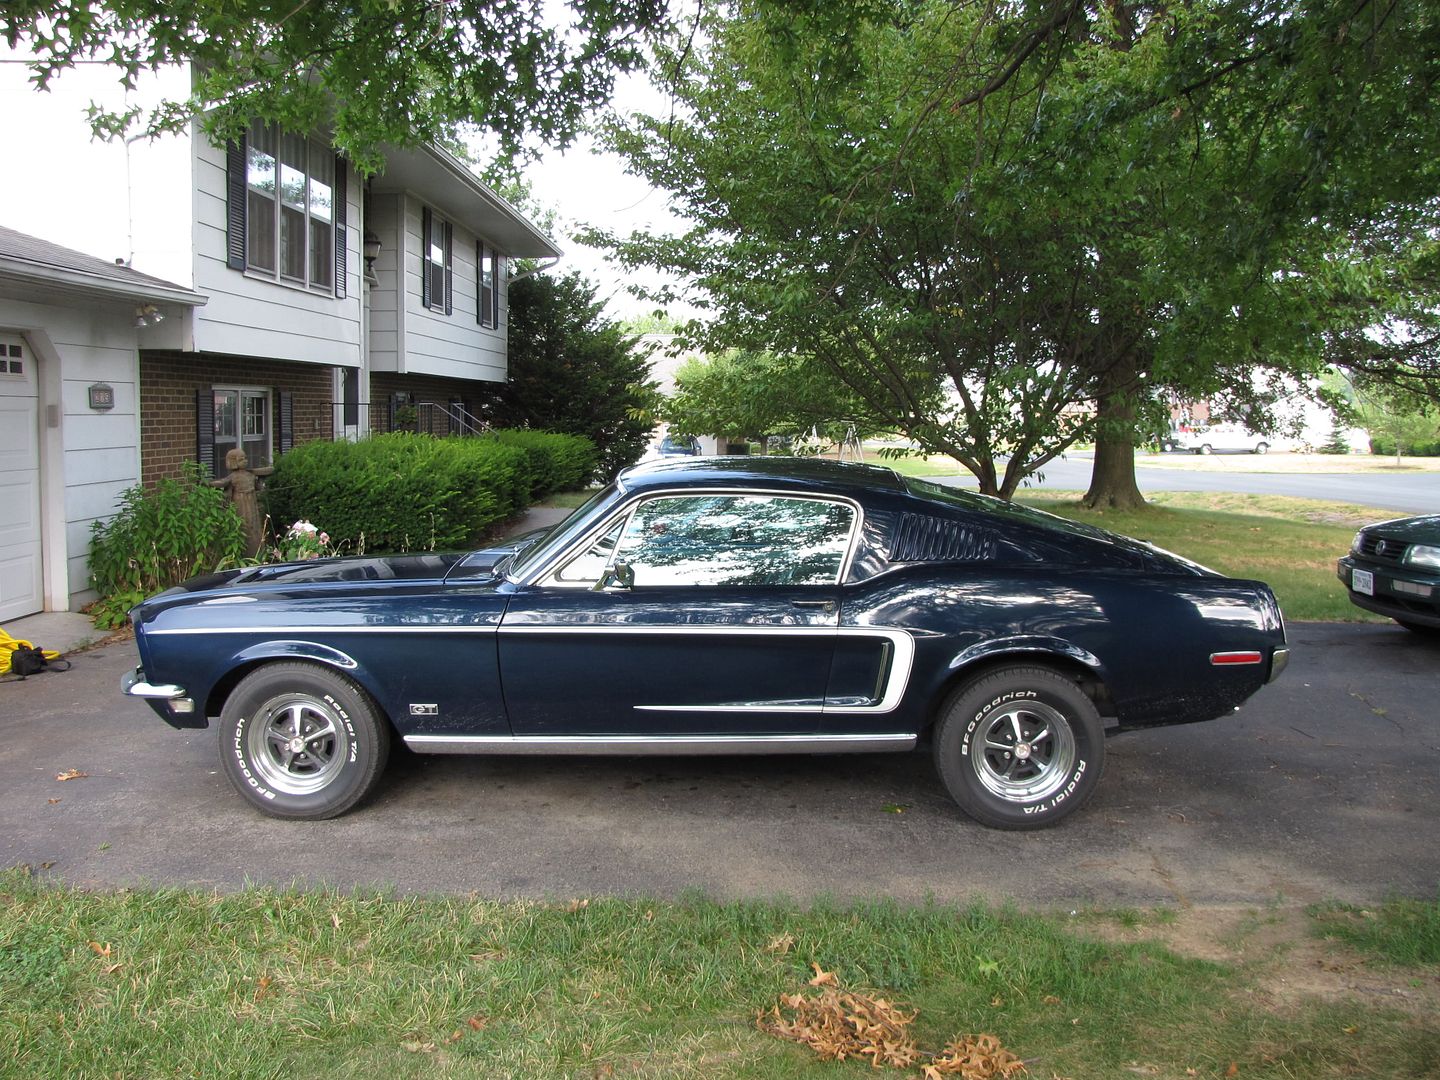
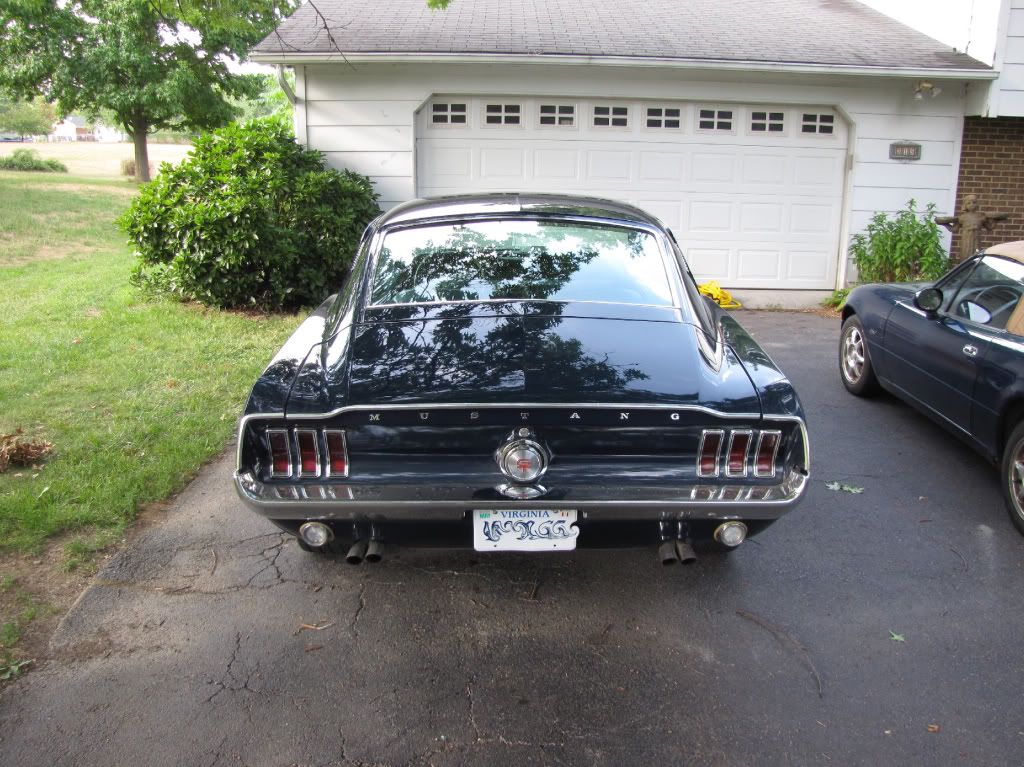
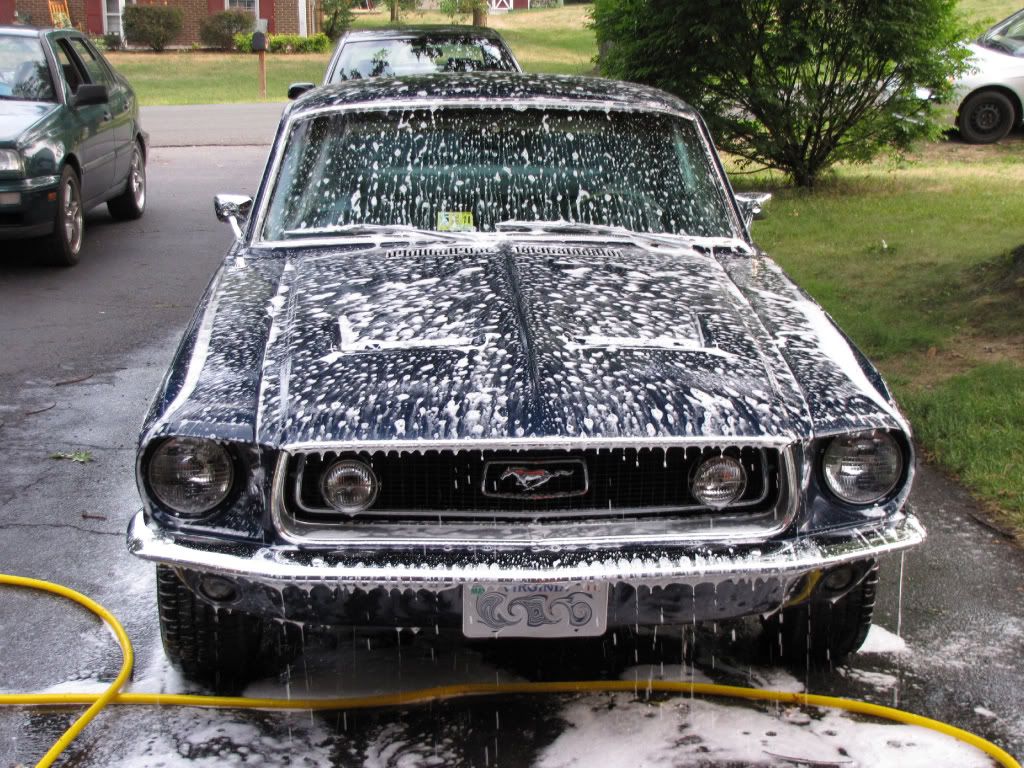
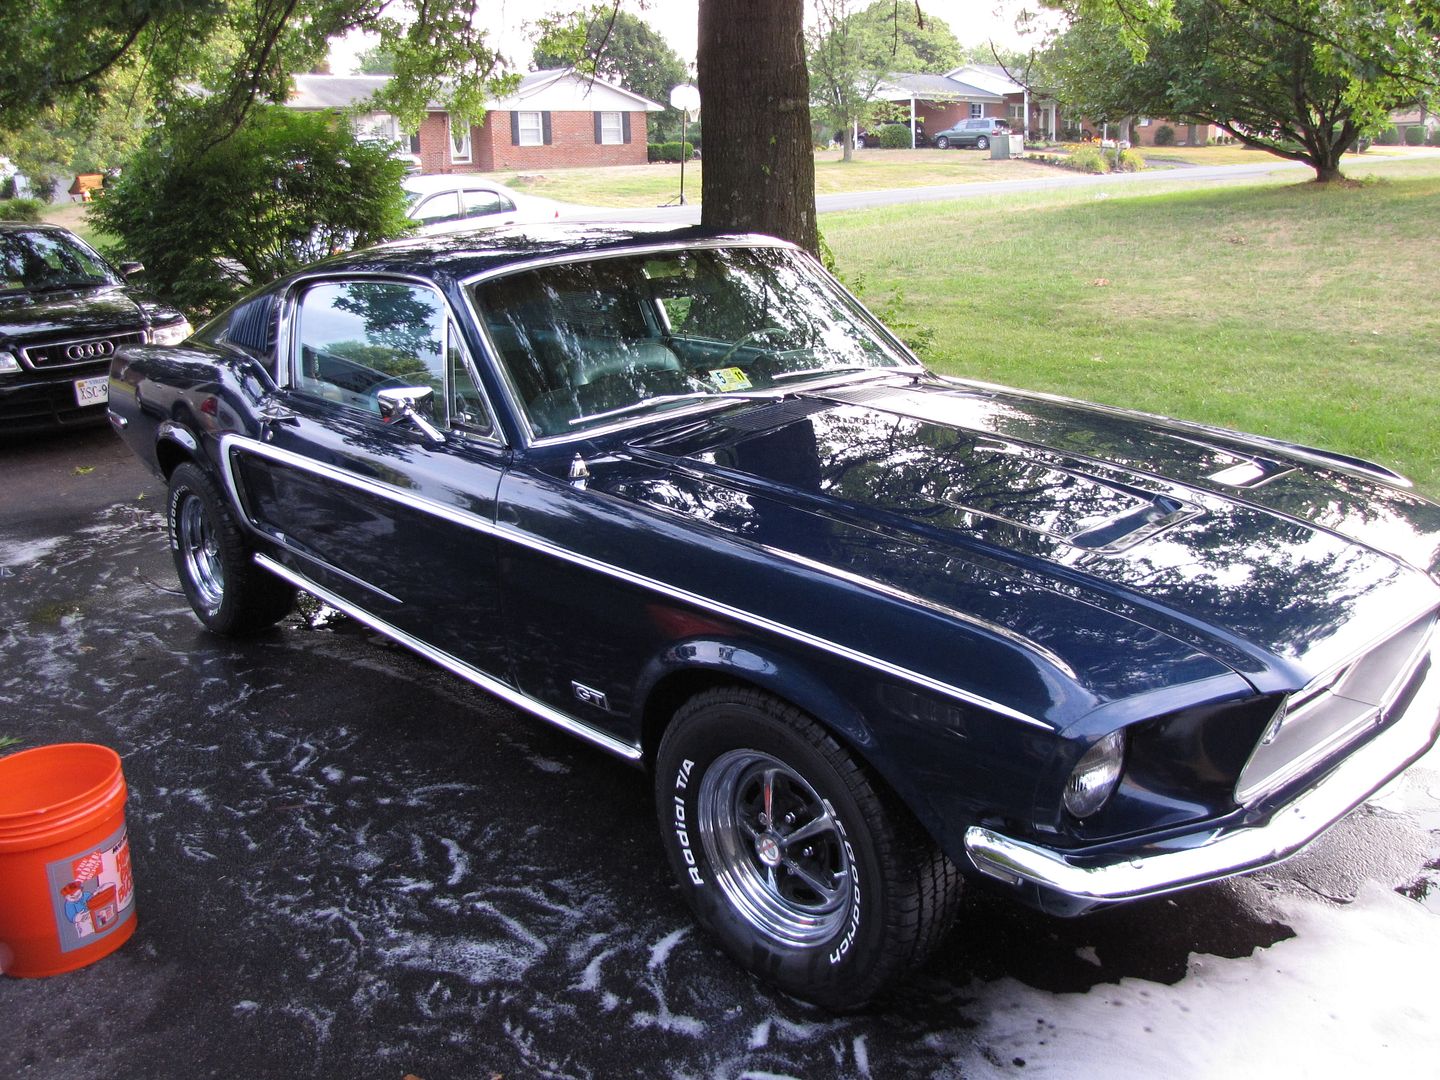
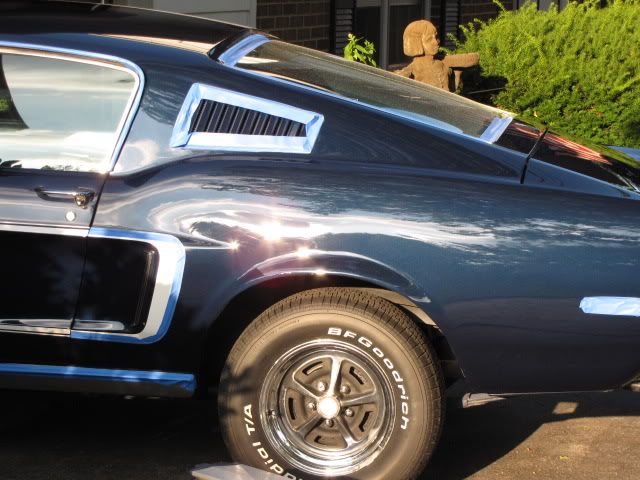
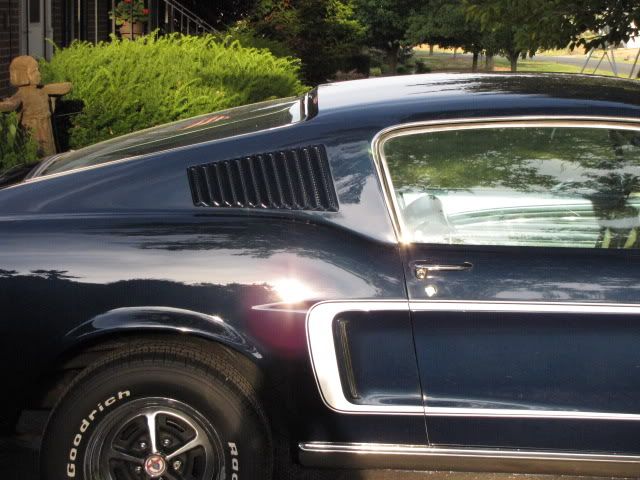
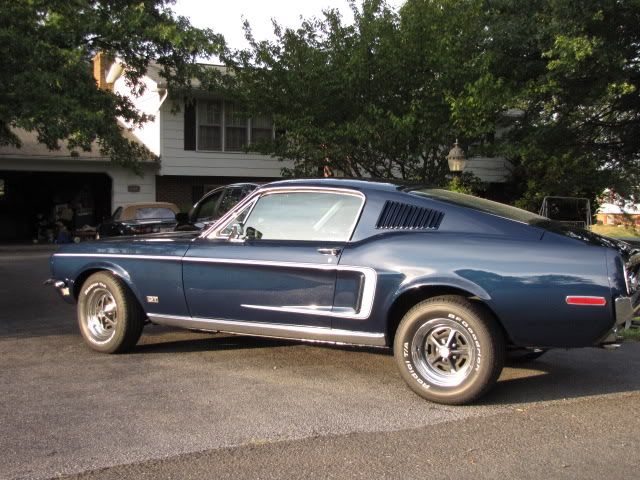
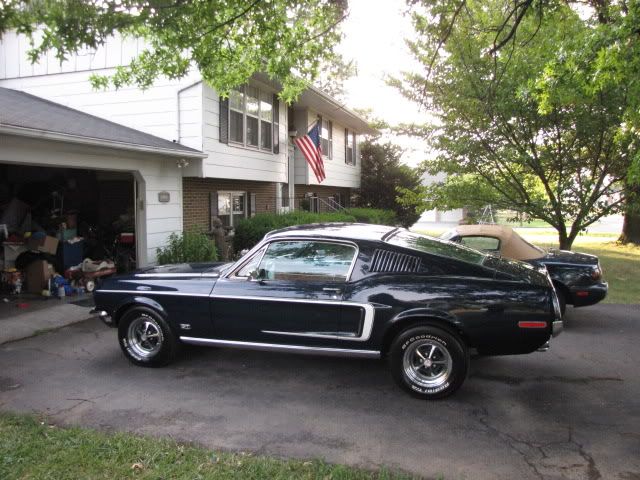
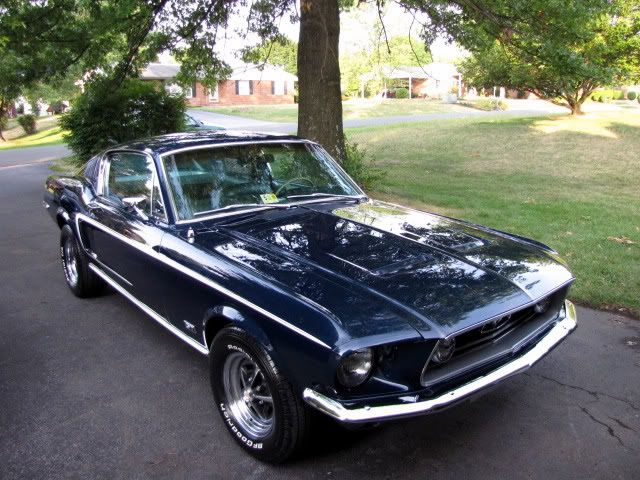
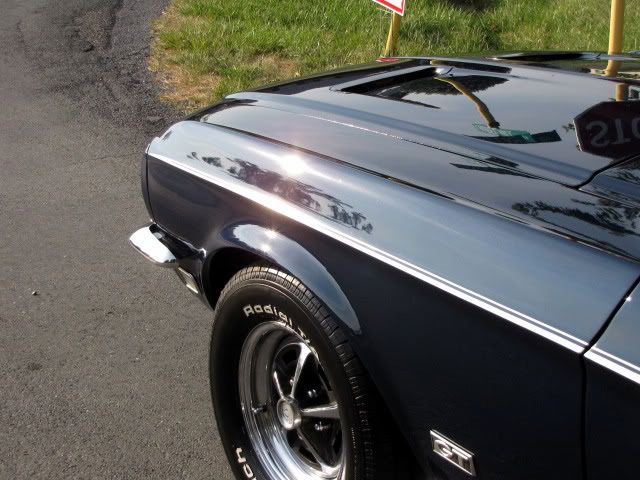
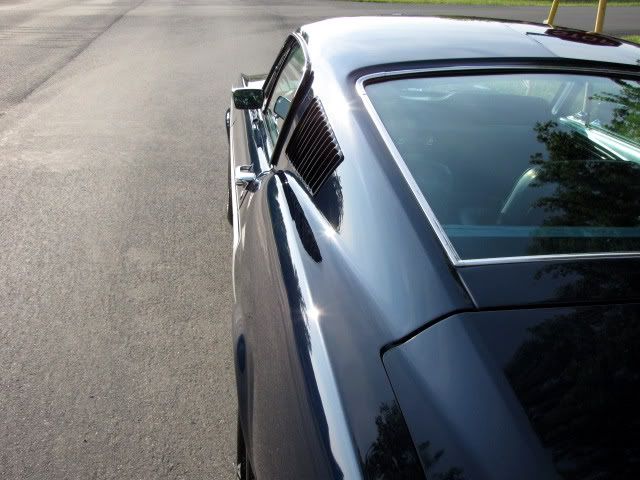
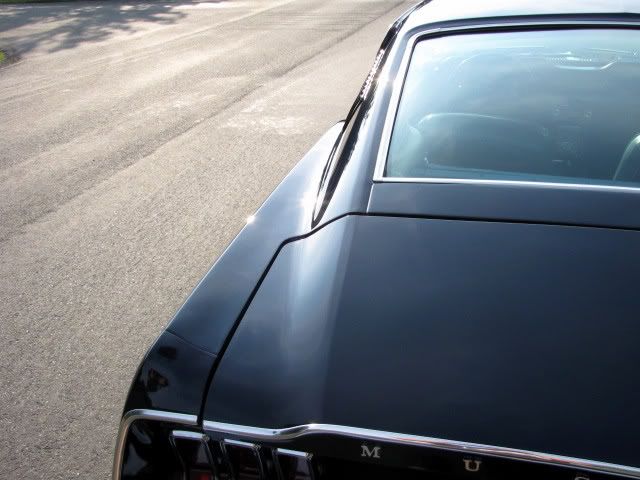
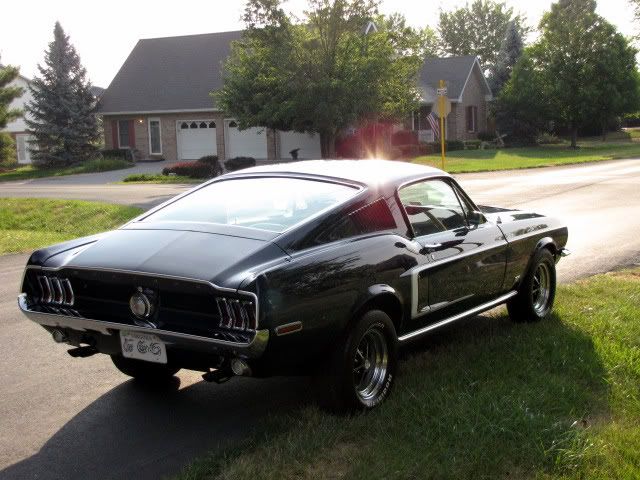
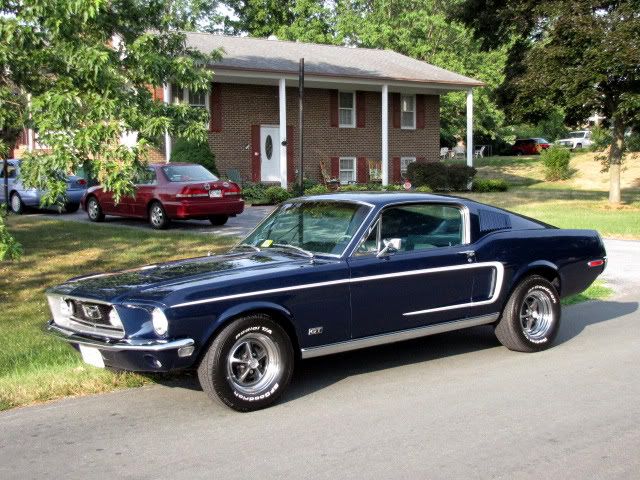
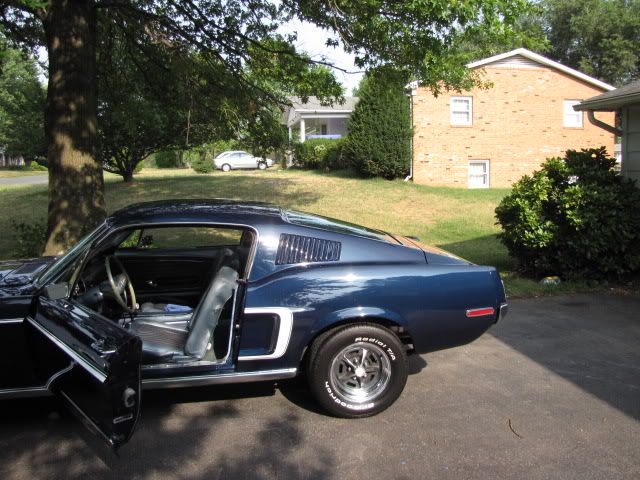
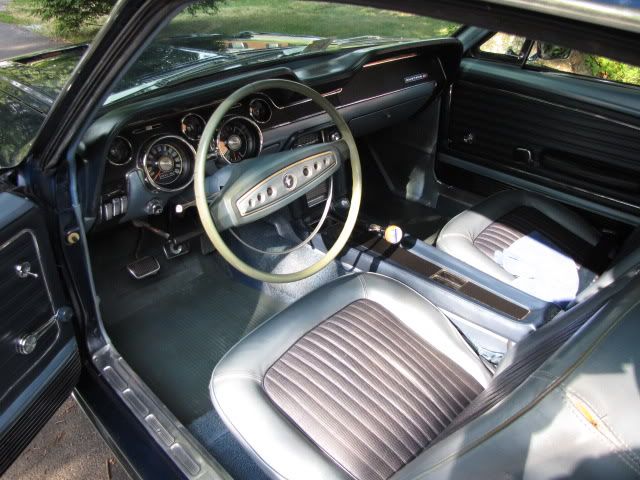
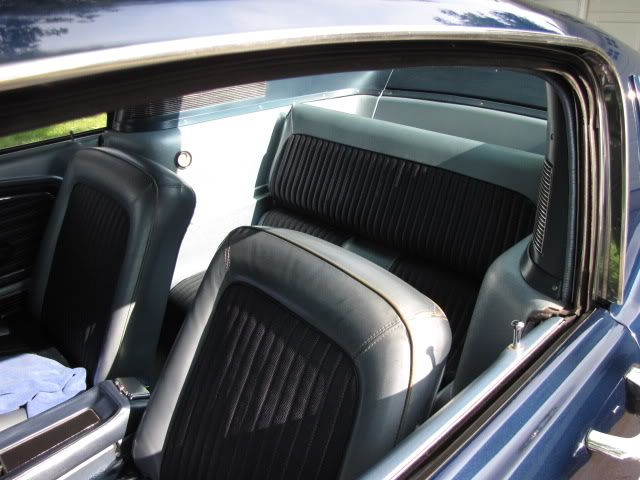
When I picked up the vehicle I was happy to see that the car was fairly clean and in decent condition. It was resprayed at one time in its life to a very nice metallic blue. Interior was completely stock and looked fantasitc for its age. Here are some pics of when I picked the car up and got it to the garage.
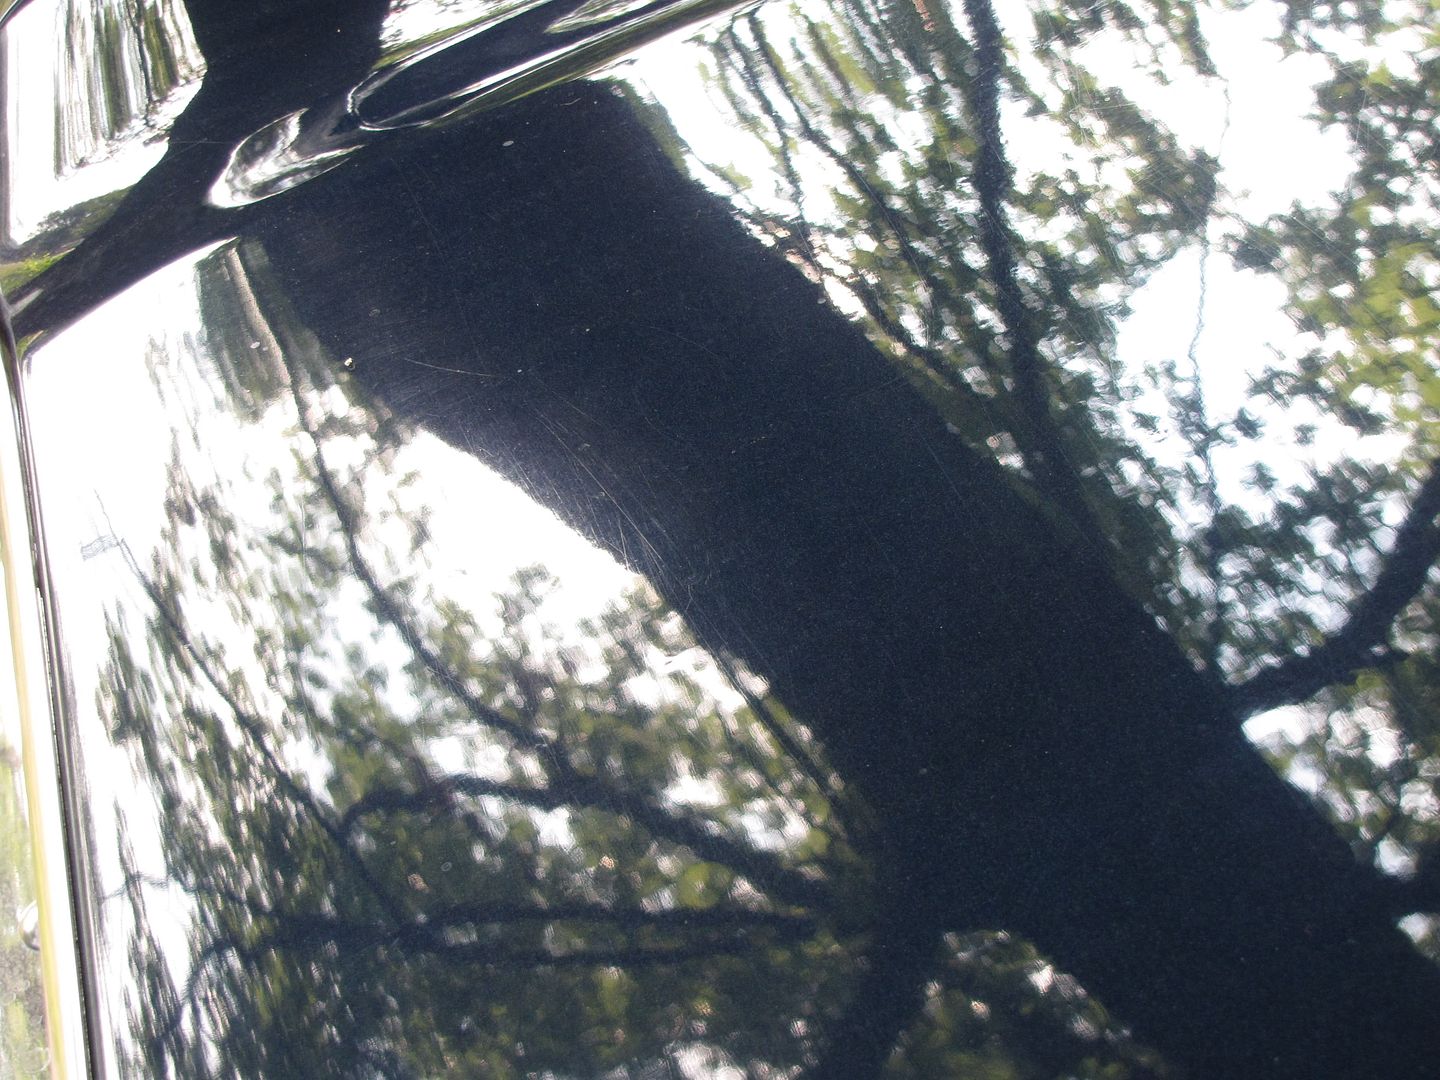
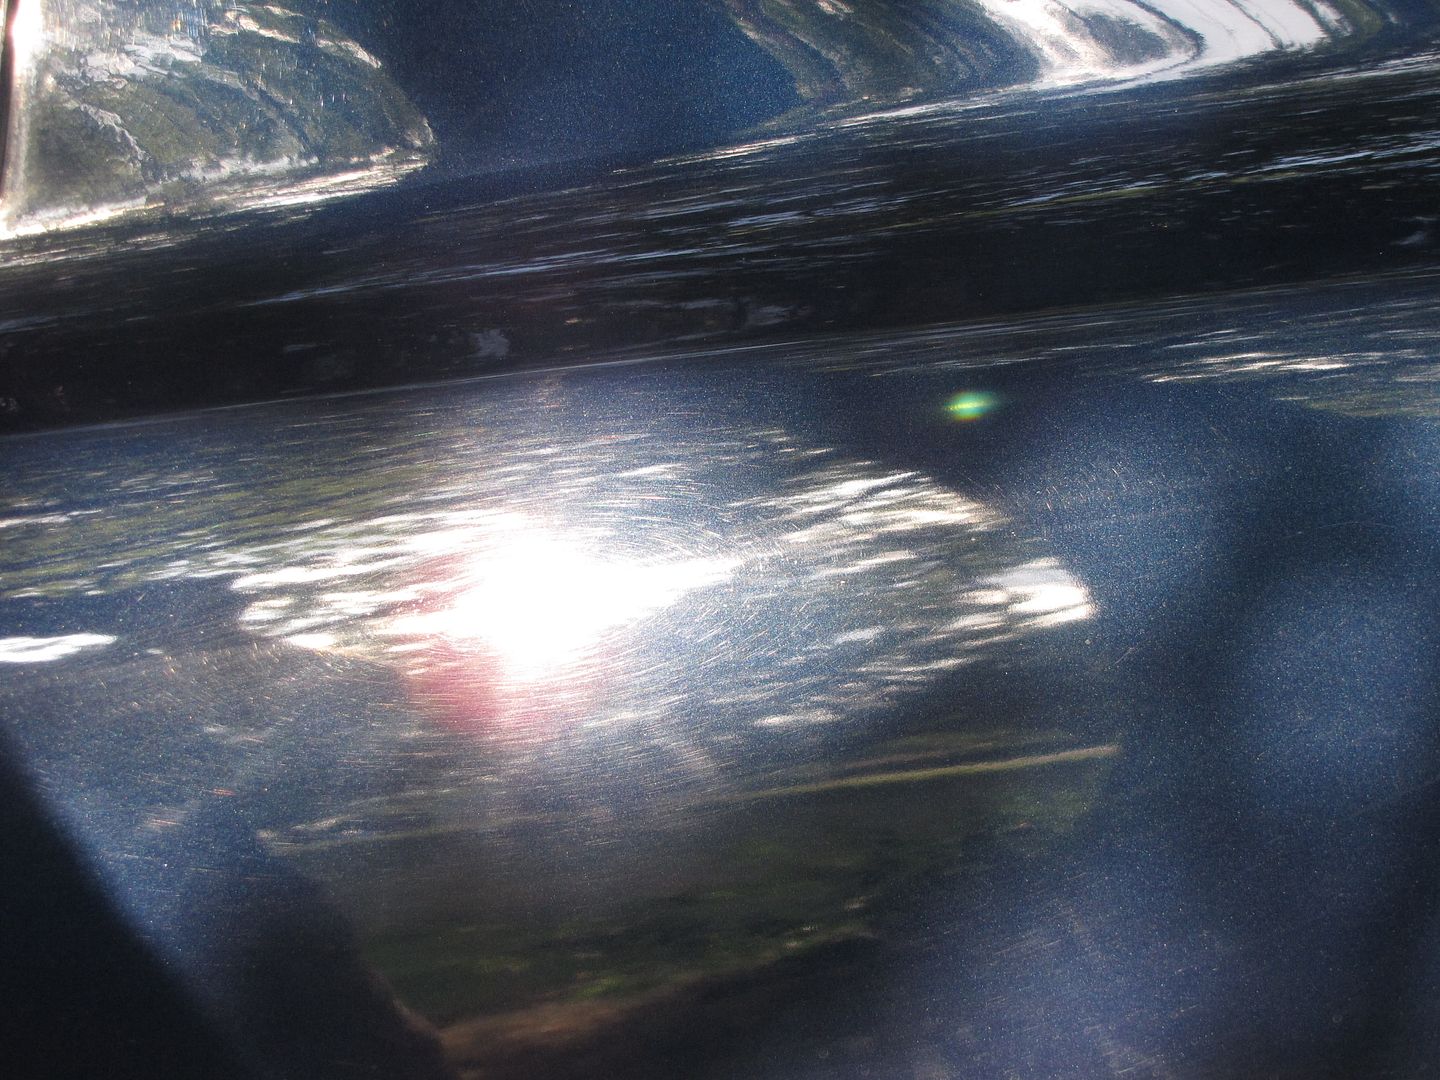
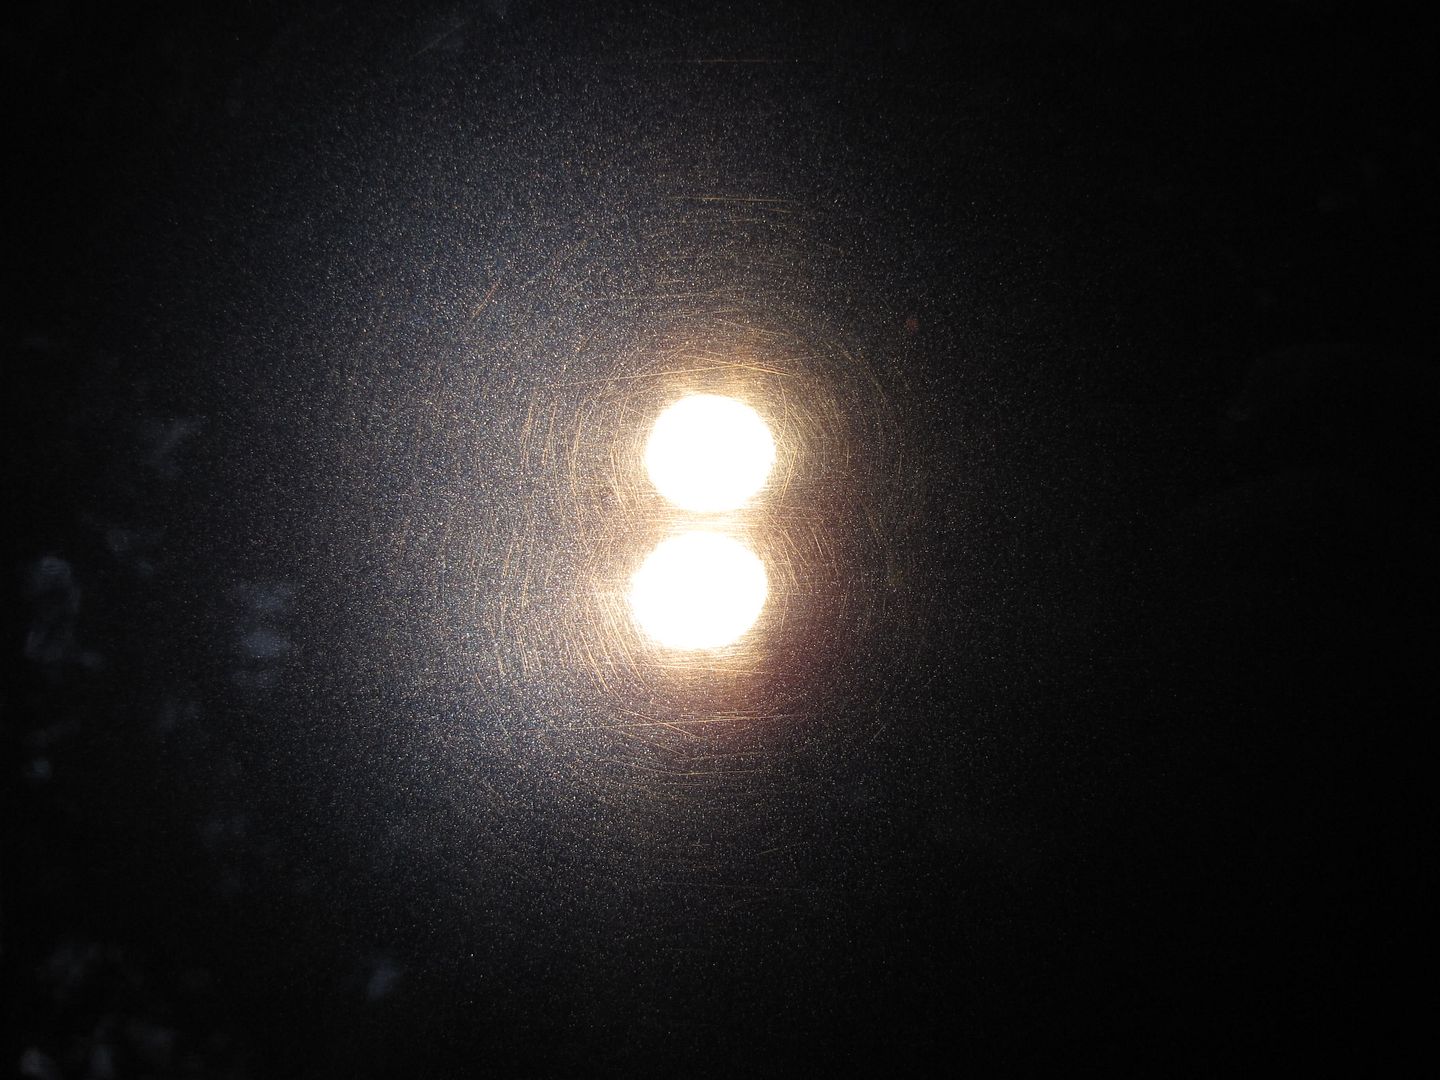
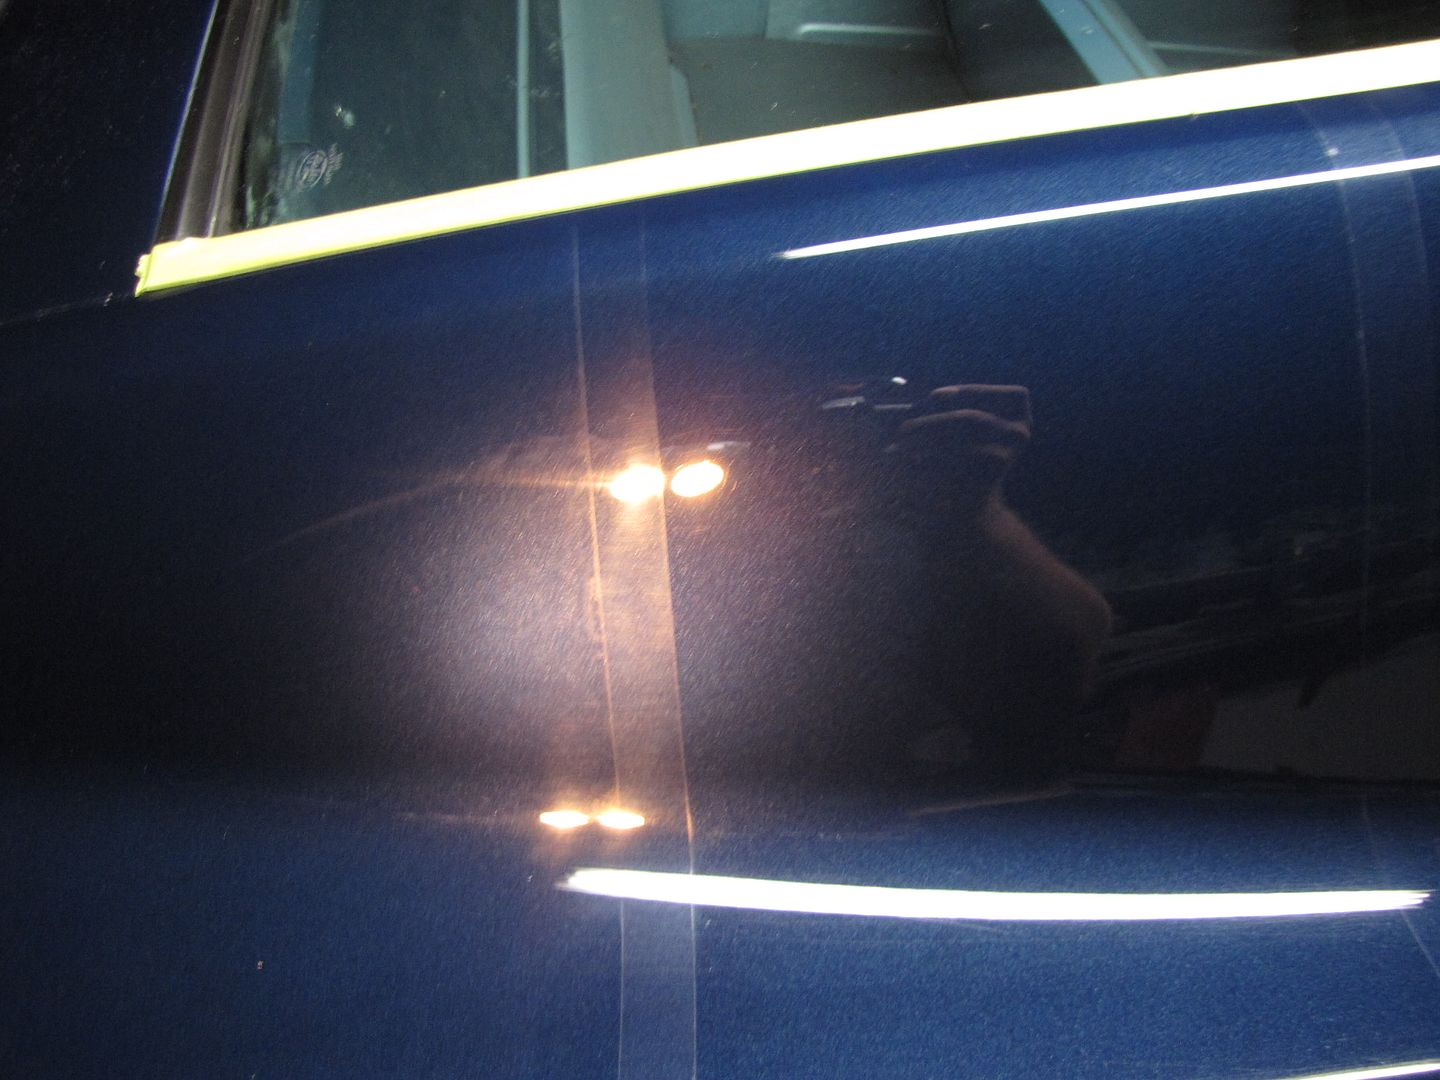
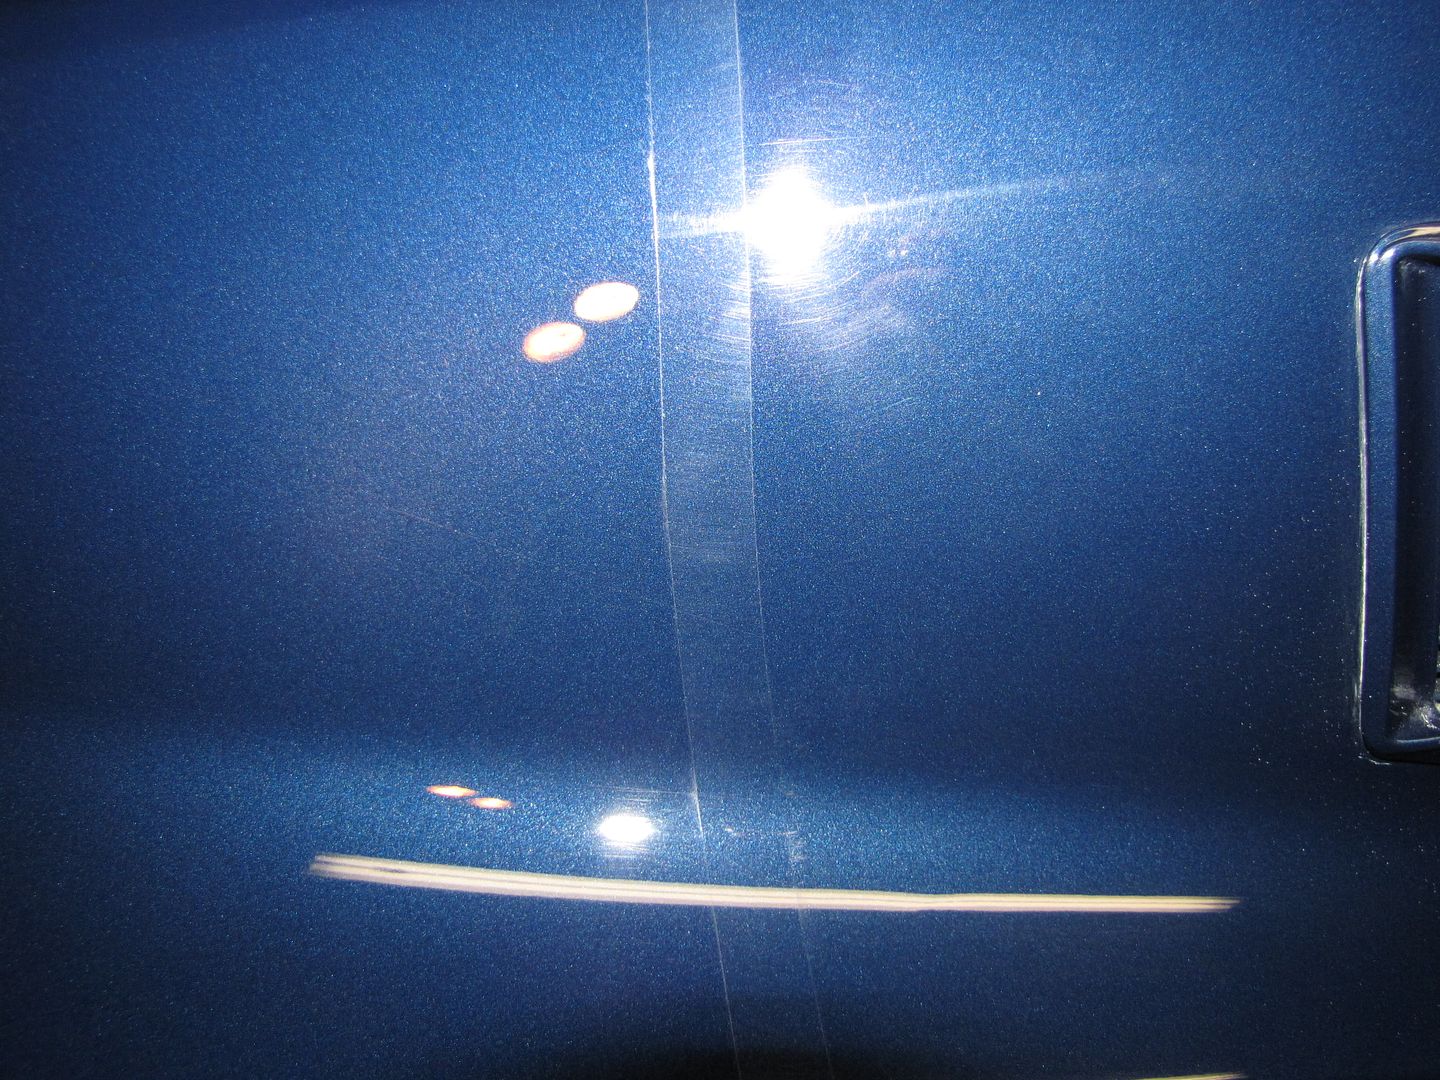
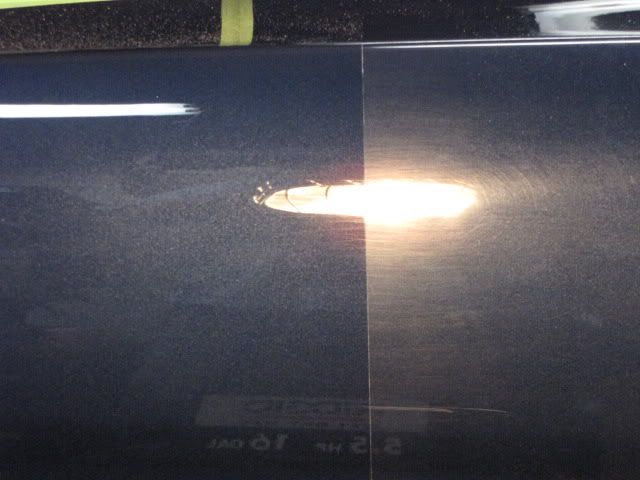
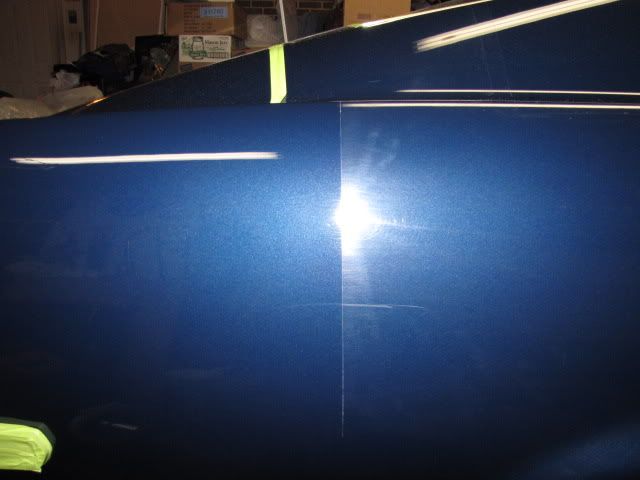
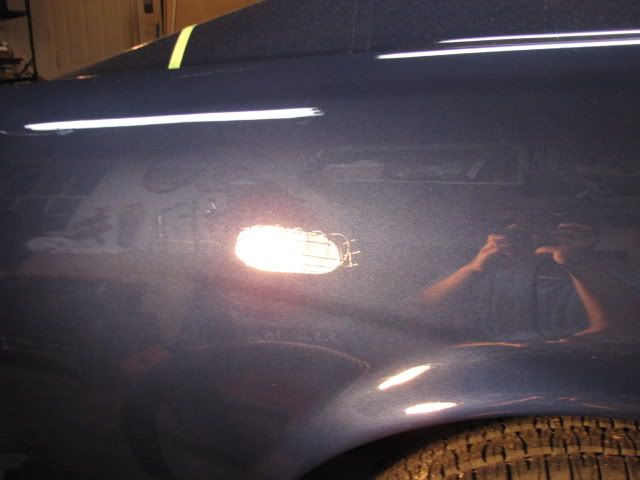
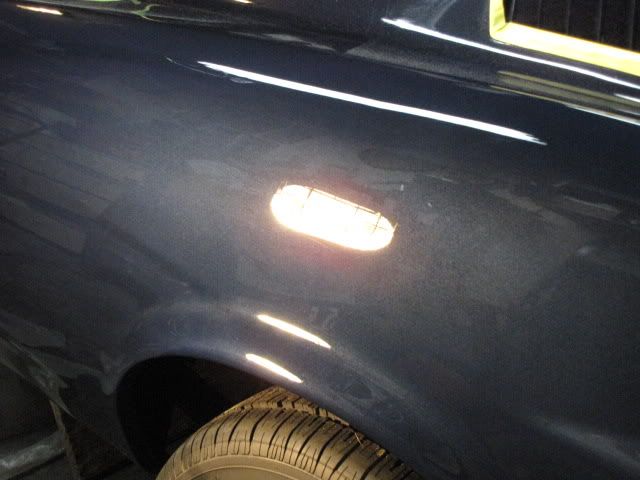
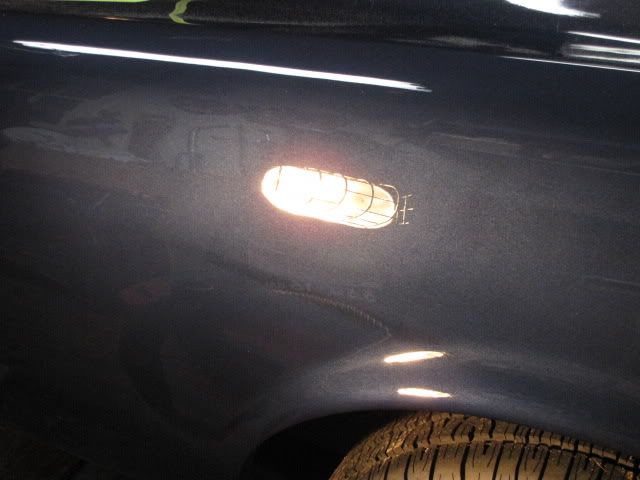
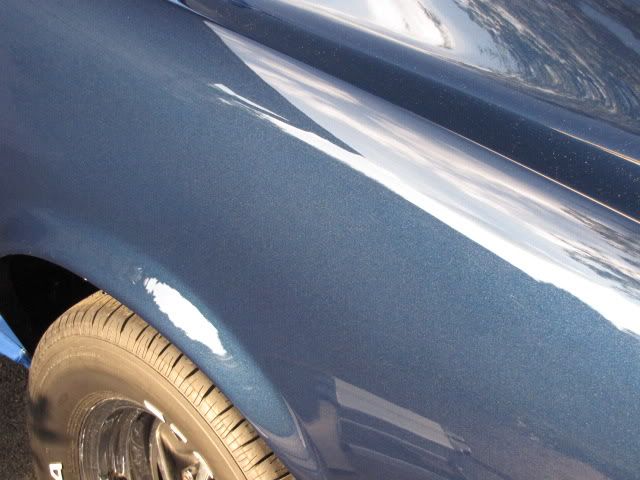
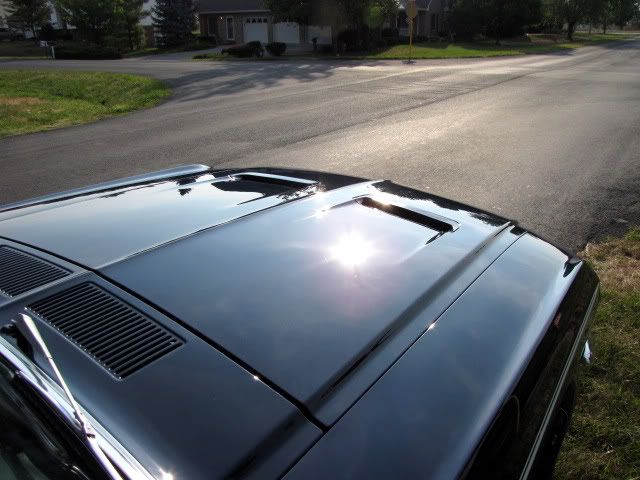
After seeing the car in the sun I saw a good amount of swirls and what looked to be like deep scratches or RIDS. Little did I know that once the inital swirls were removed that these deeper RIDs were all over the place and I knew then this was going to be a rough one to polish.
Here you can see if you look close some of these deeper scratches I am referring too. I thought that the trunk lid was the only place these were but boy was I wrong.
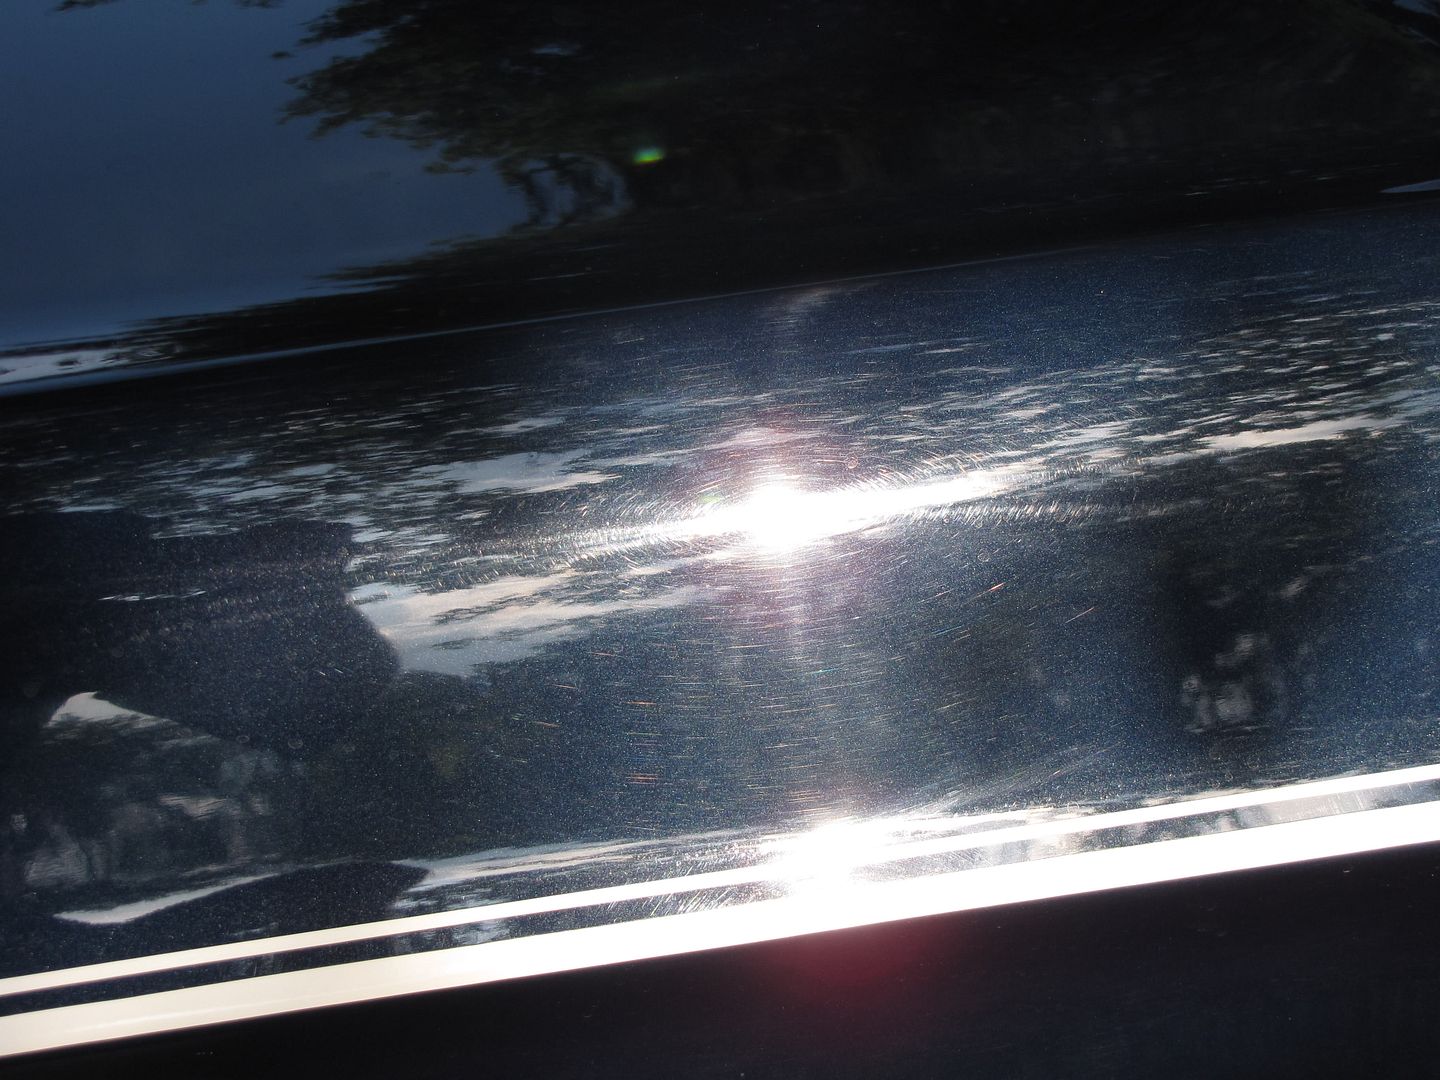
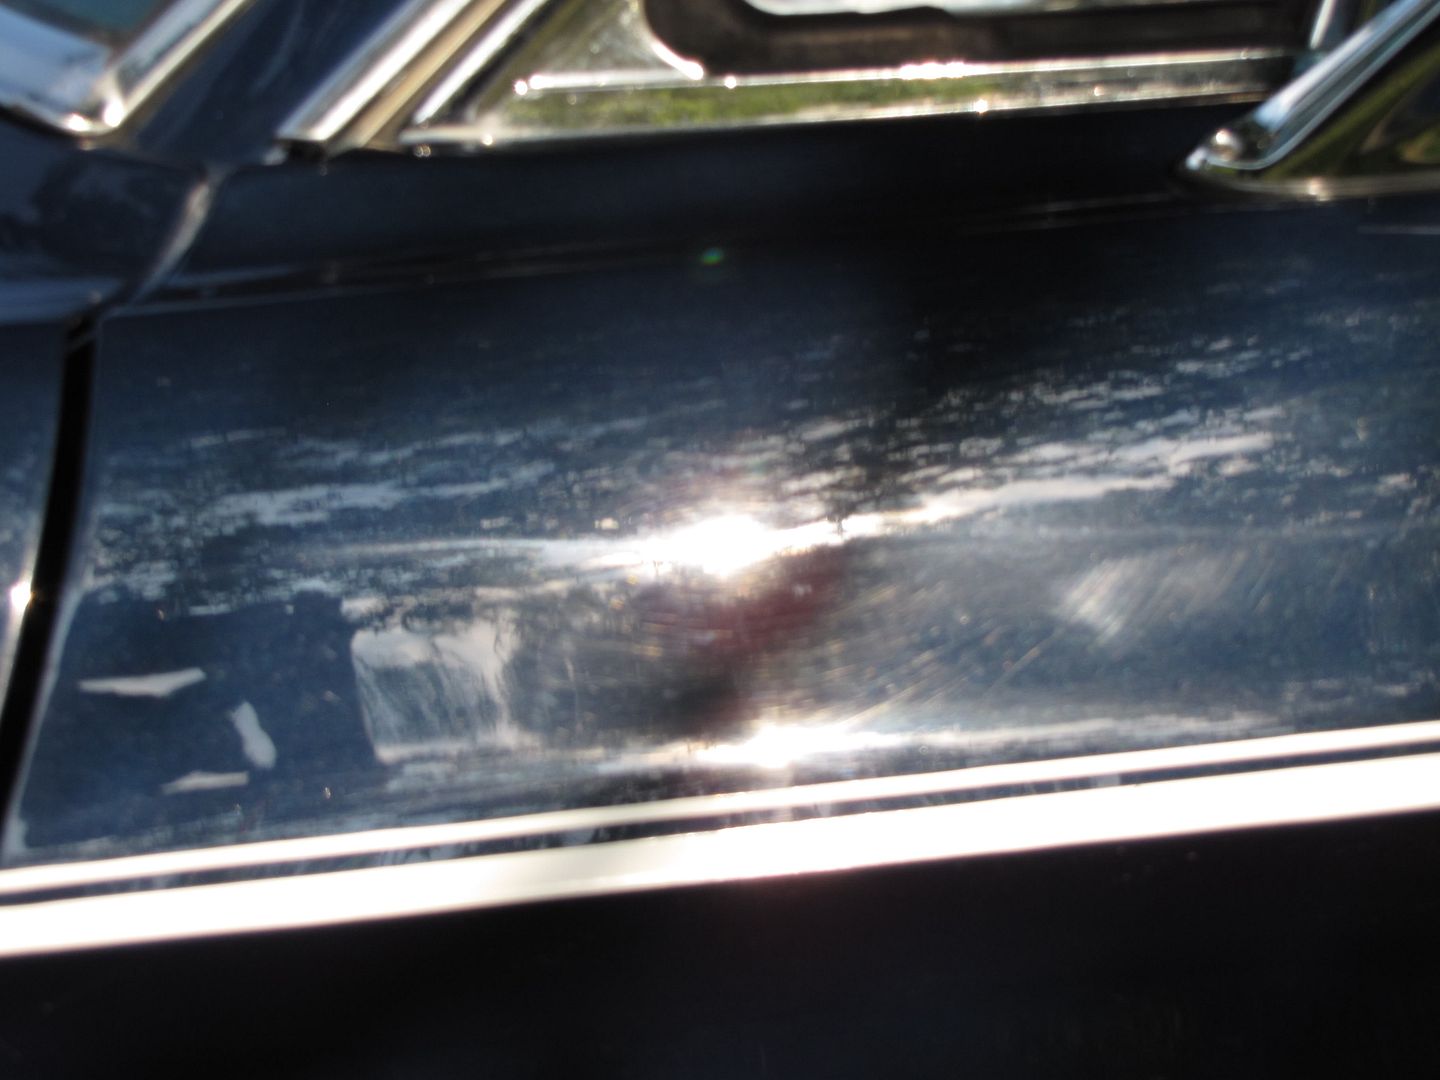
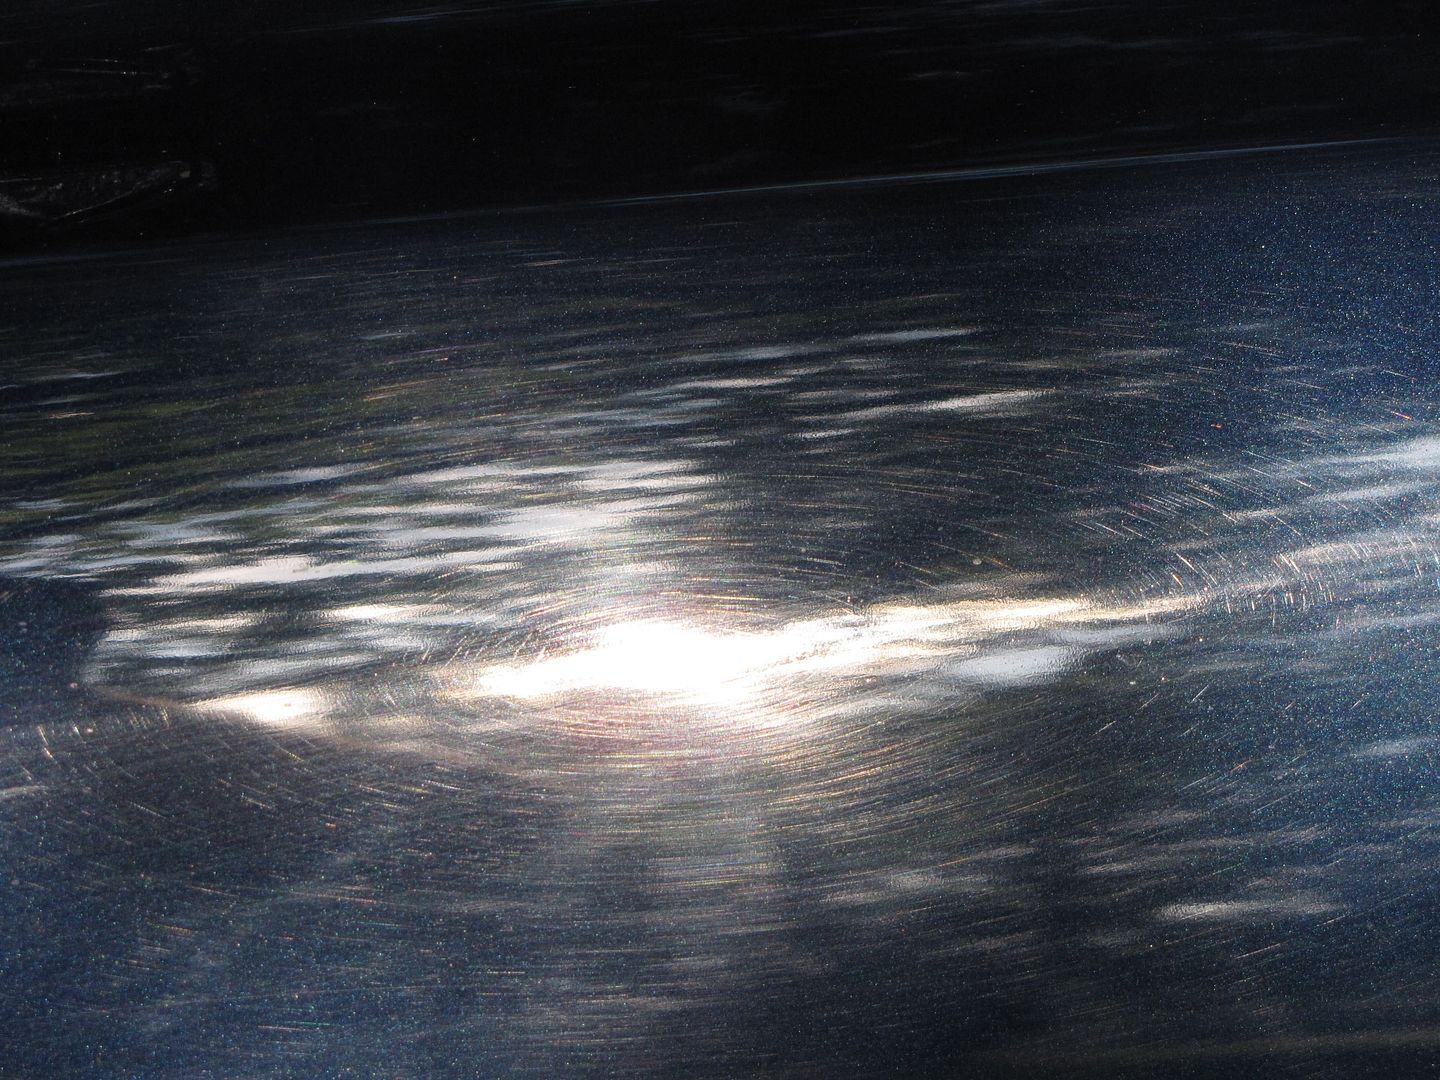
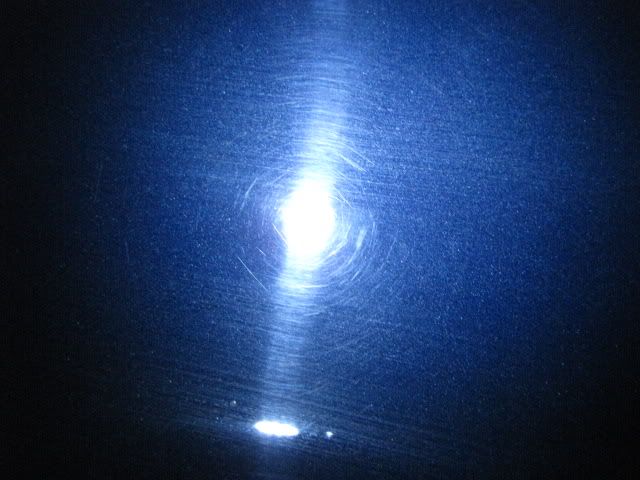
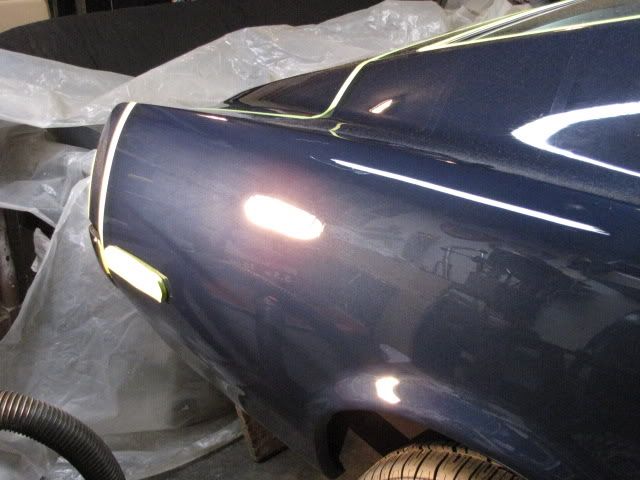
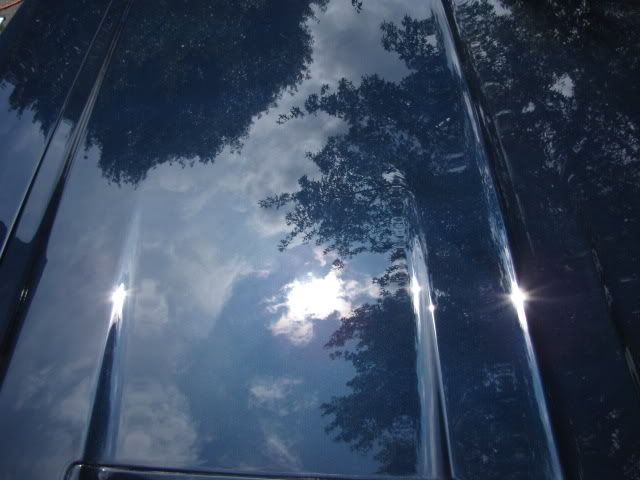
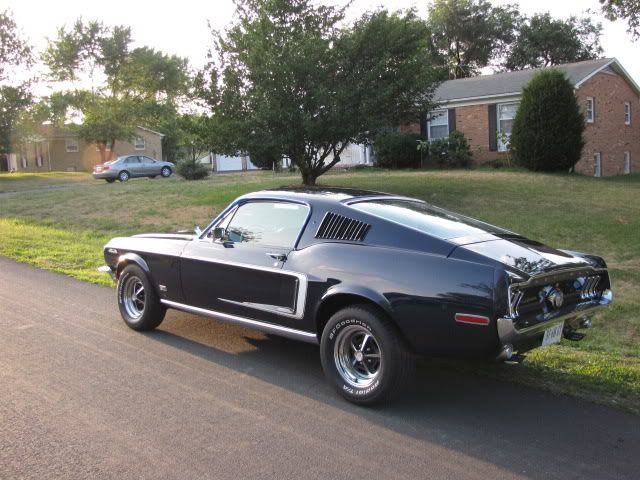
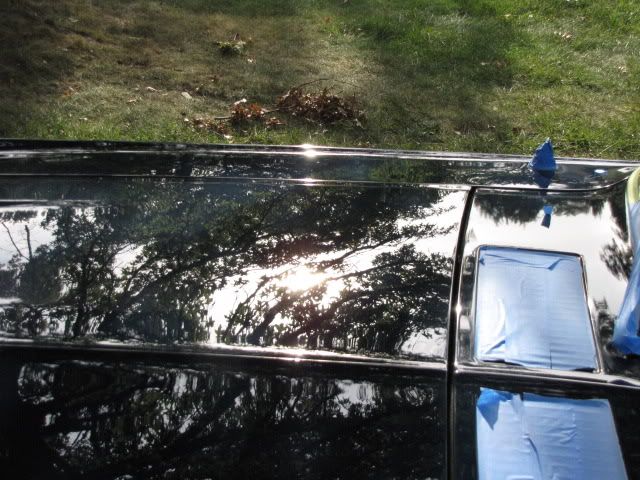
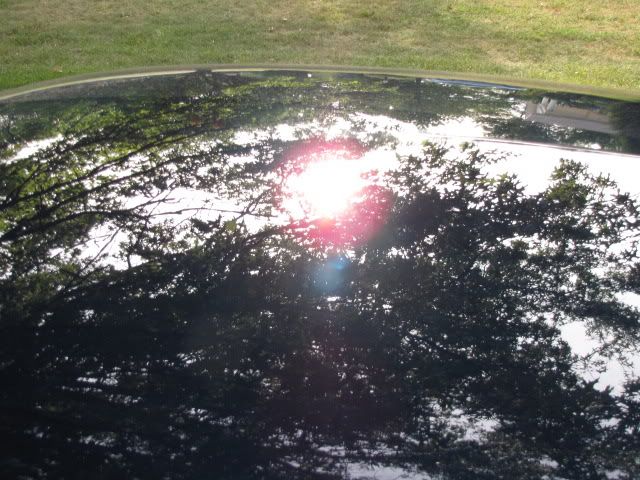
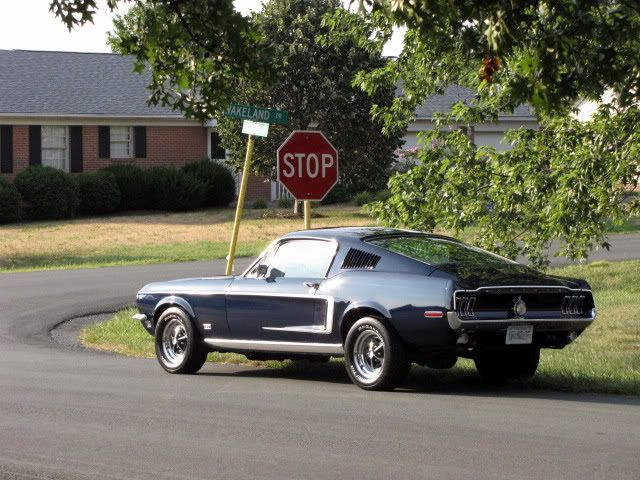
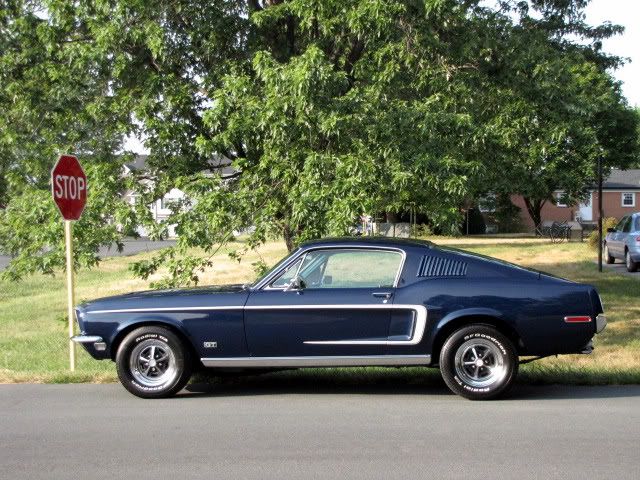
A few sun pics through the trees showing some swirls.
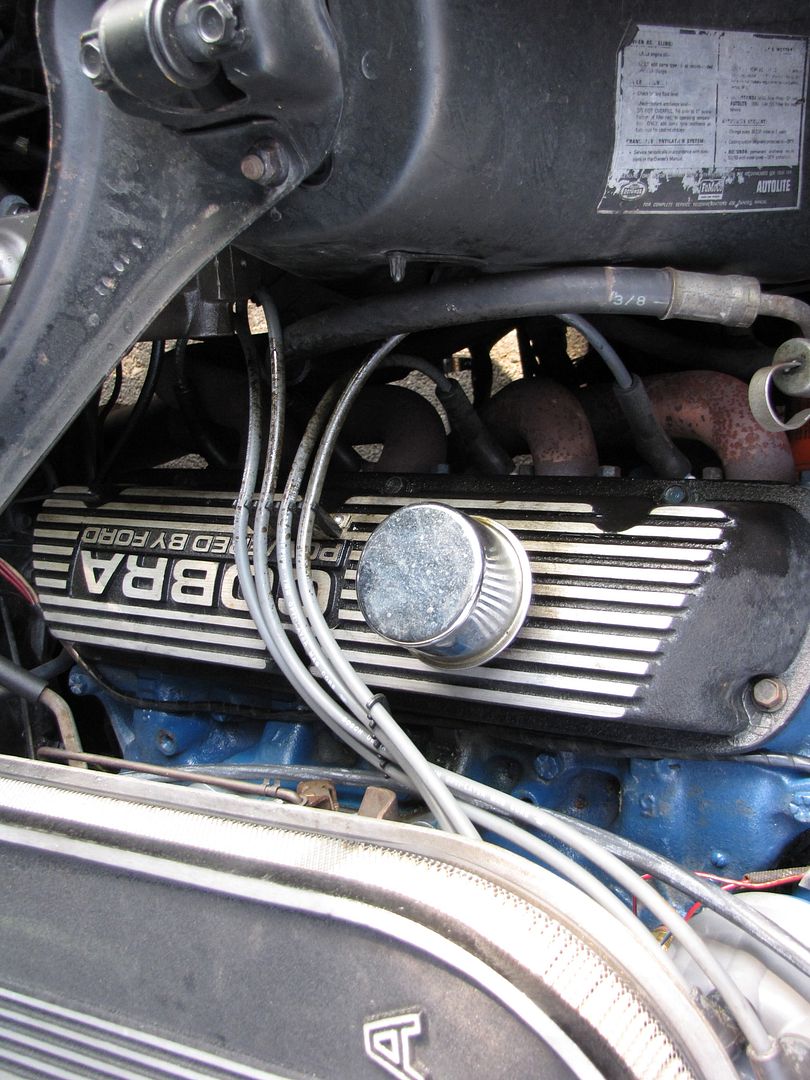
Some shots of the dirty bay

I washed the bay very carefully but did not take any during process pics of this. After the bay was completed I then moved onto the decontamination of the paint surface.
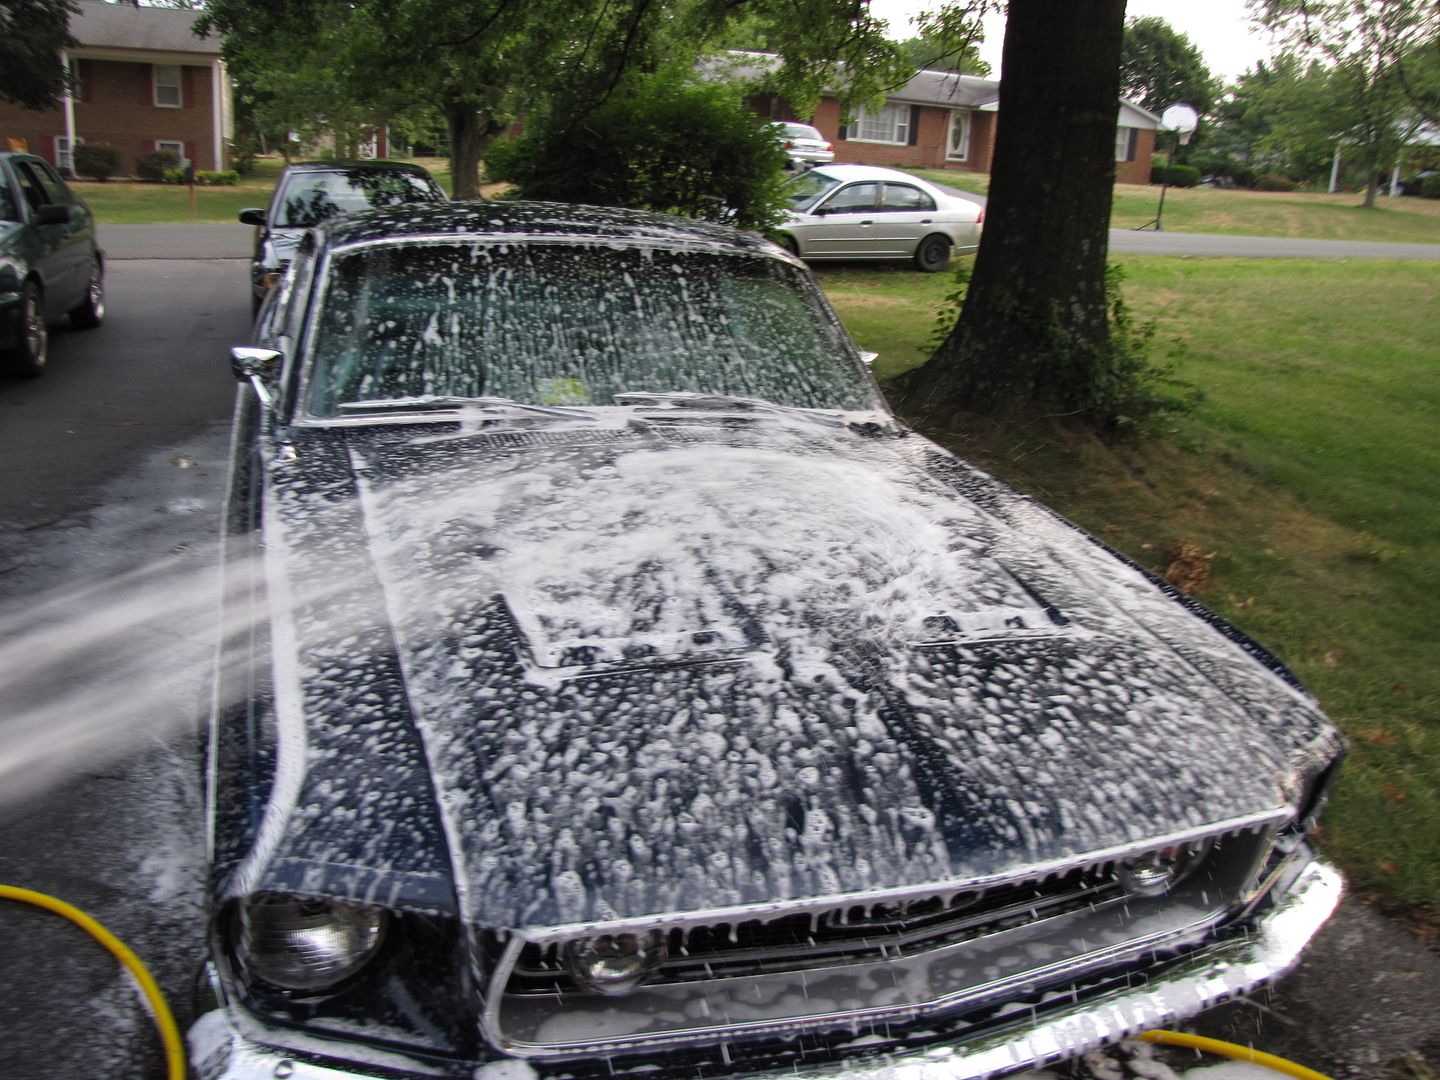
Foaming the car with my AutoGeek foam cannon
Foam mix dwelling
After rinse and Dry w/ LC WW HD drying towels
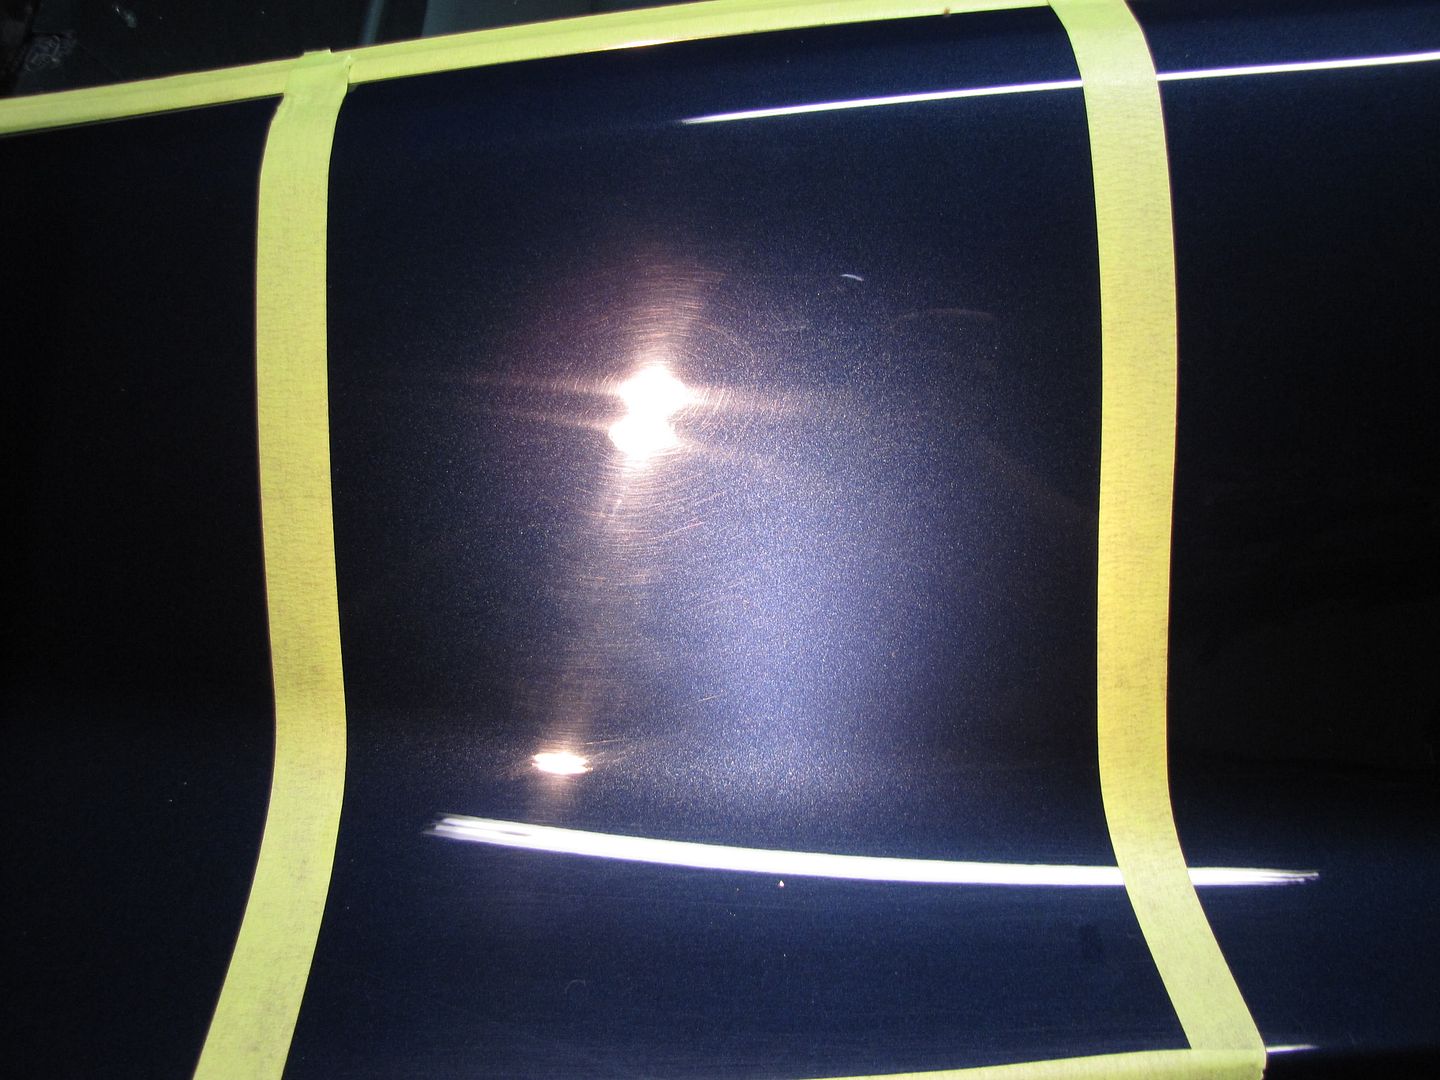
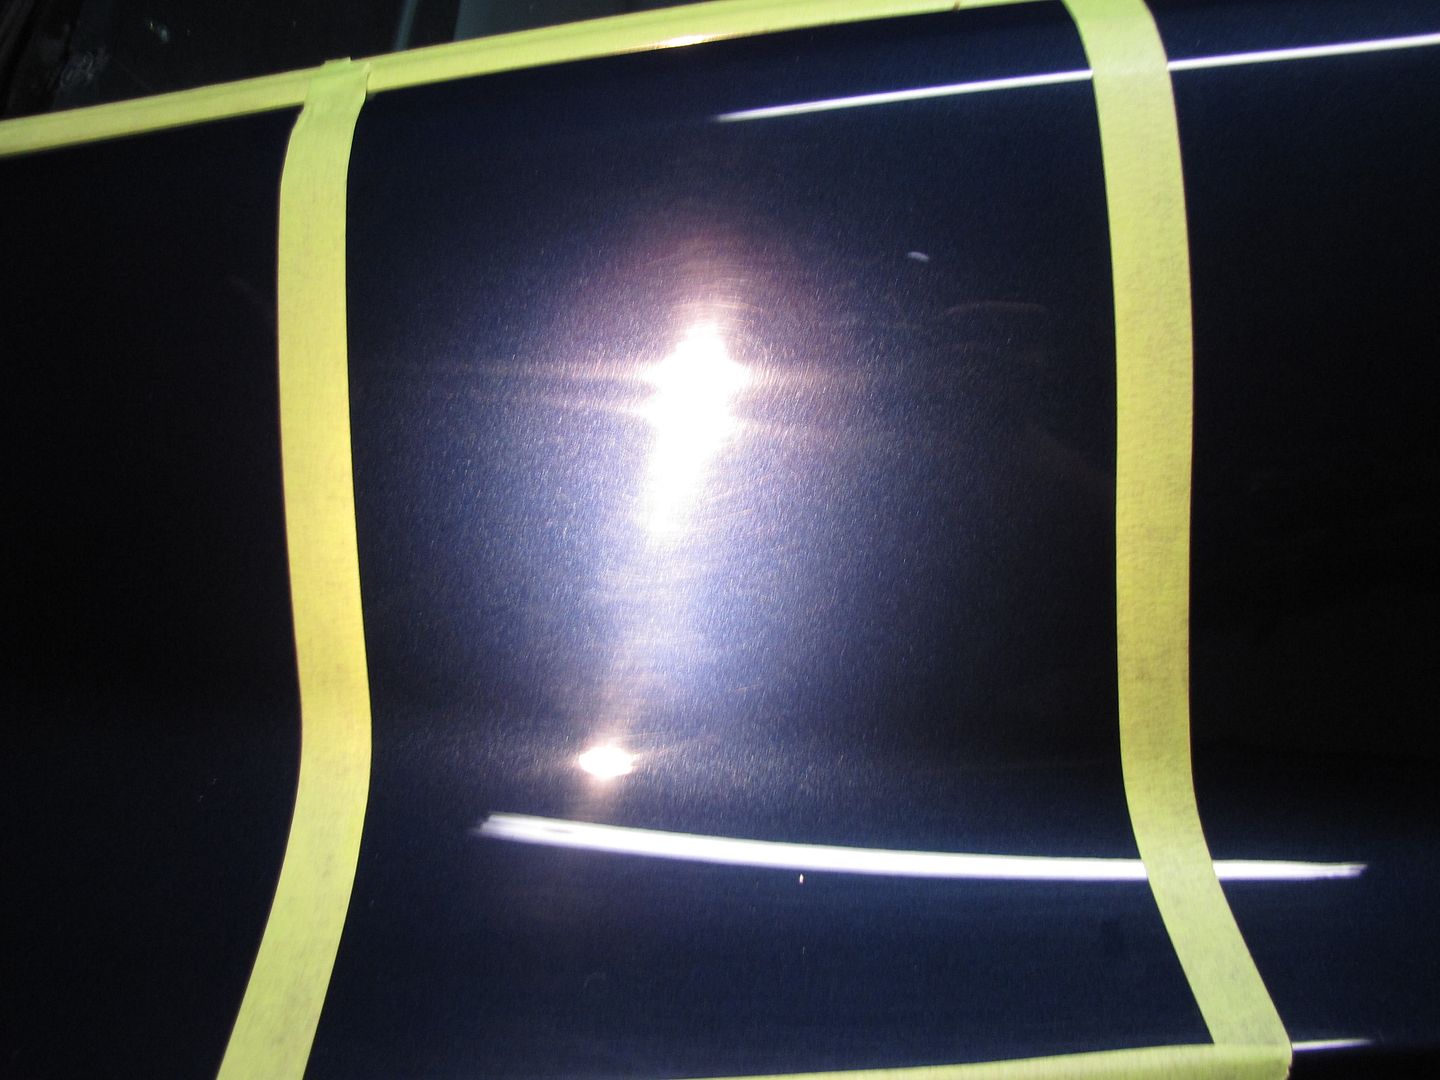
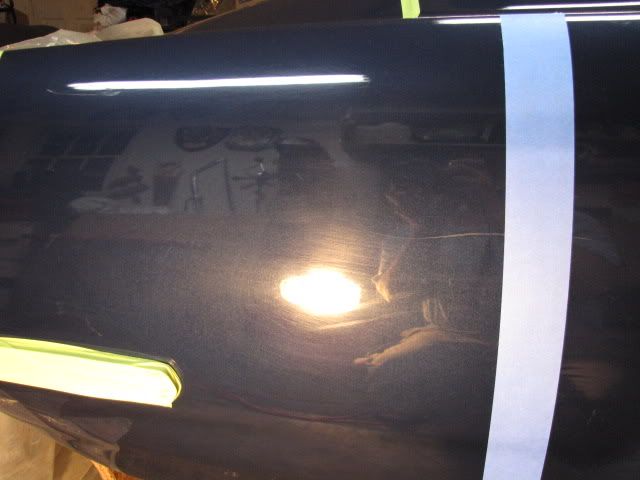
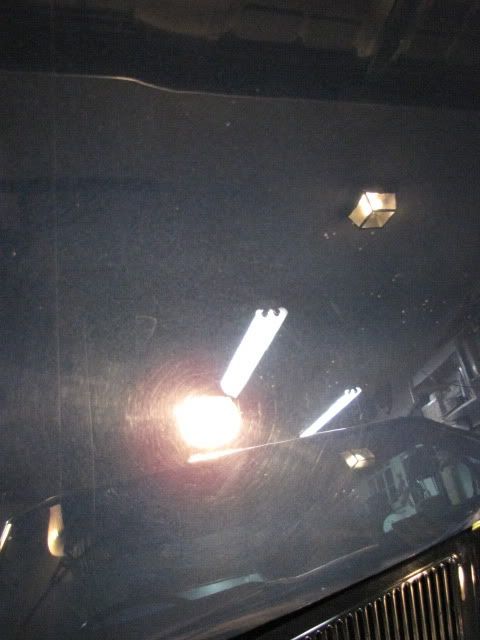
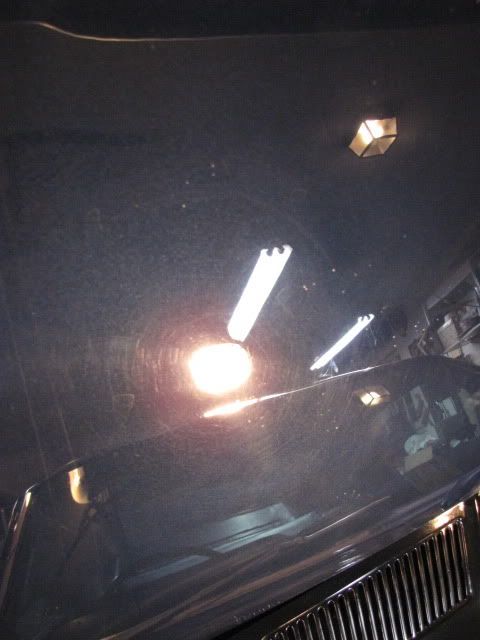
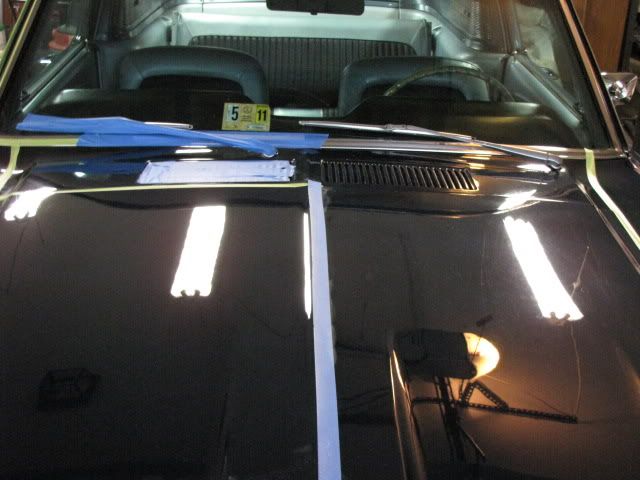
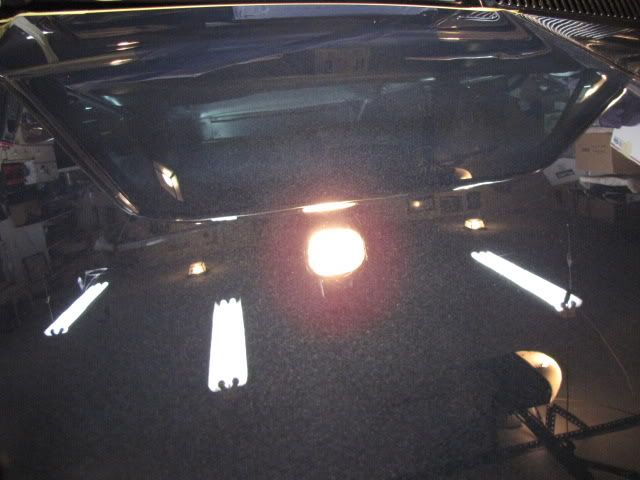
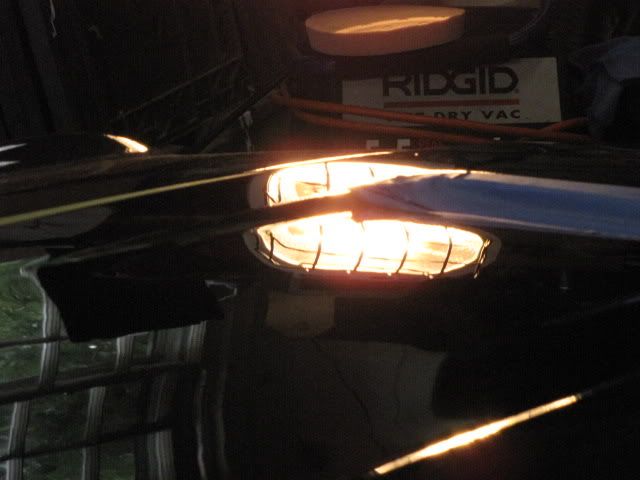
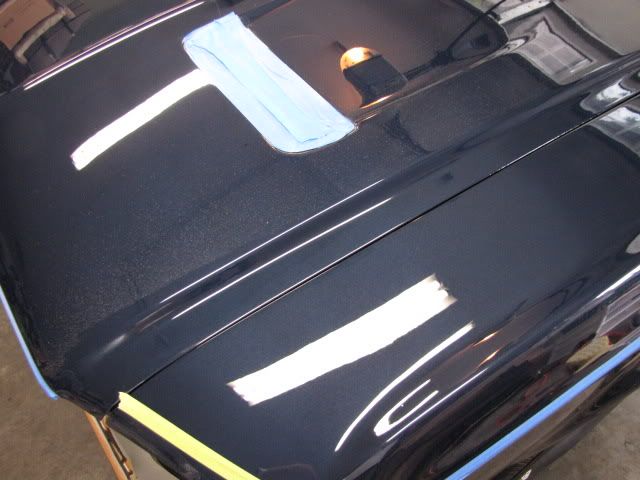
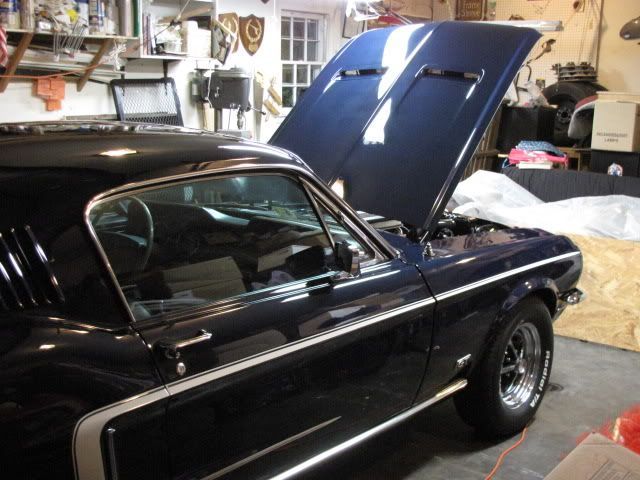
By this time it was getting dark out on the first day of the detail so I brought the car into the garage and put it under various lighting to see what I was working with. I taped the car up to get ready for the next day of polishing and also did a little test spot to see what my process would be for polishing.


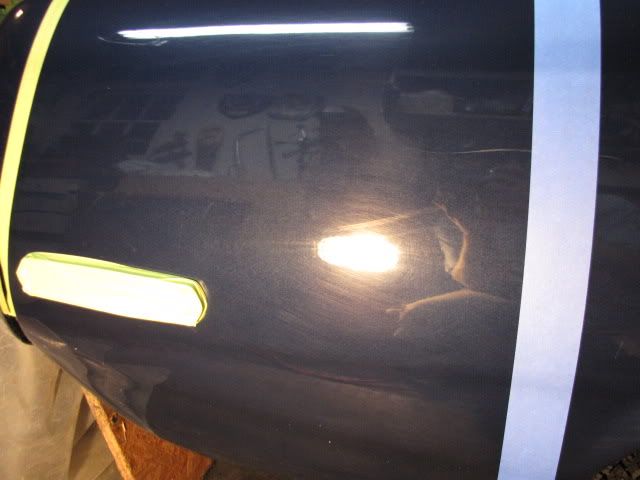
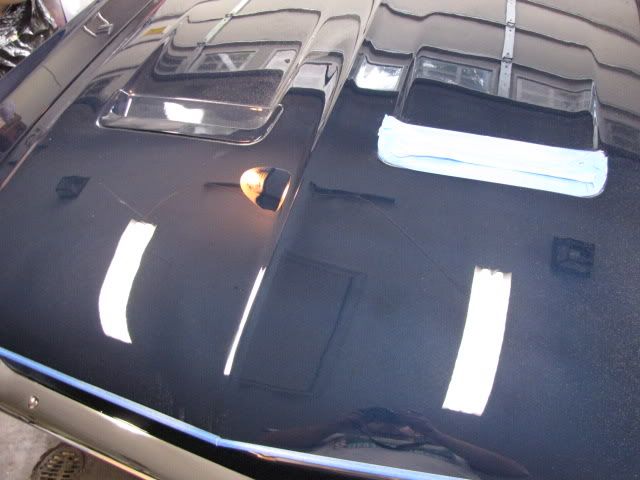
Here is my test area. I started out with a white pad and 205 and saw some pretty big changes but it was only removing light surface swirls and wasn’t touching the RIDS. I stepped it up to orange on 105 and saw great improvement and a lot of the RIDS in this area were removed. I had to spot compound with a LC Yellow foamed wool to remove some of the deep RIDS on quite a bit of the car.
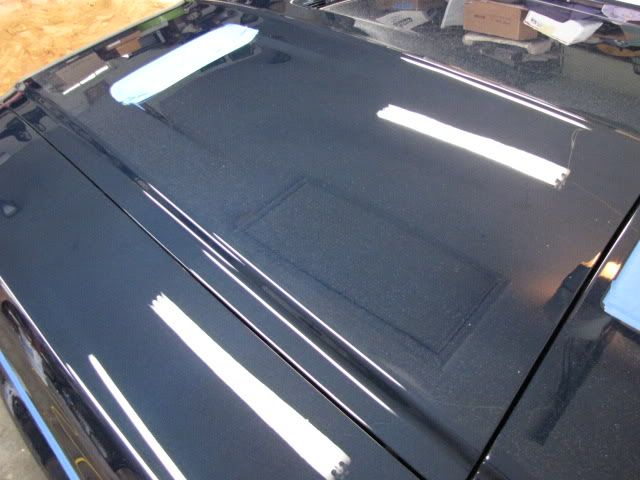
Test section before.
After

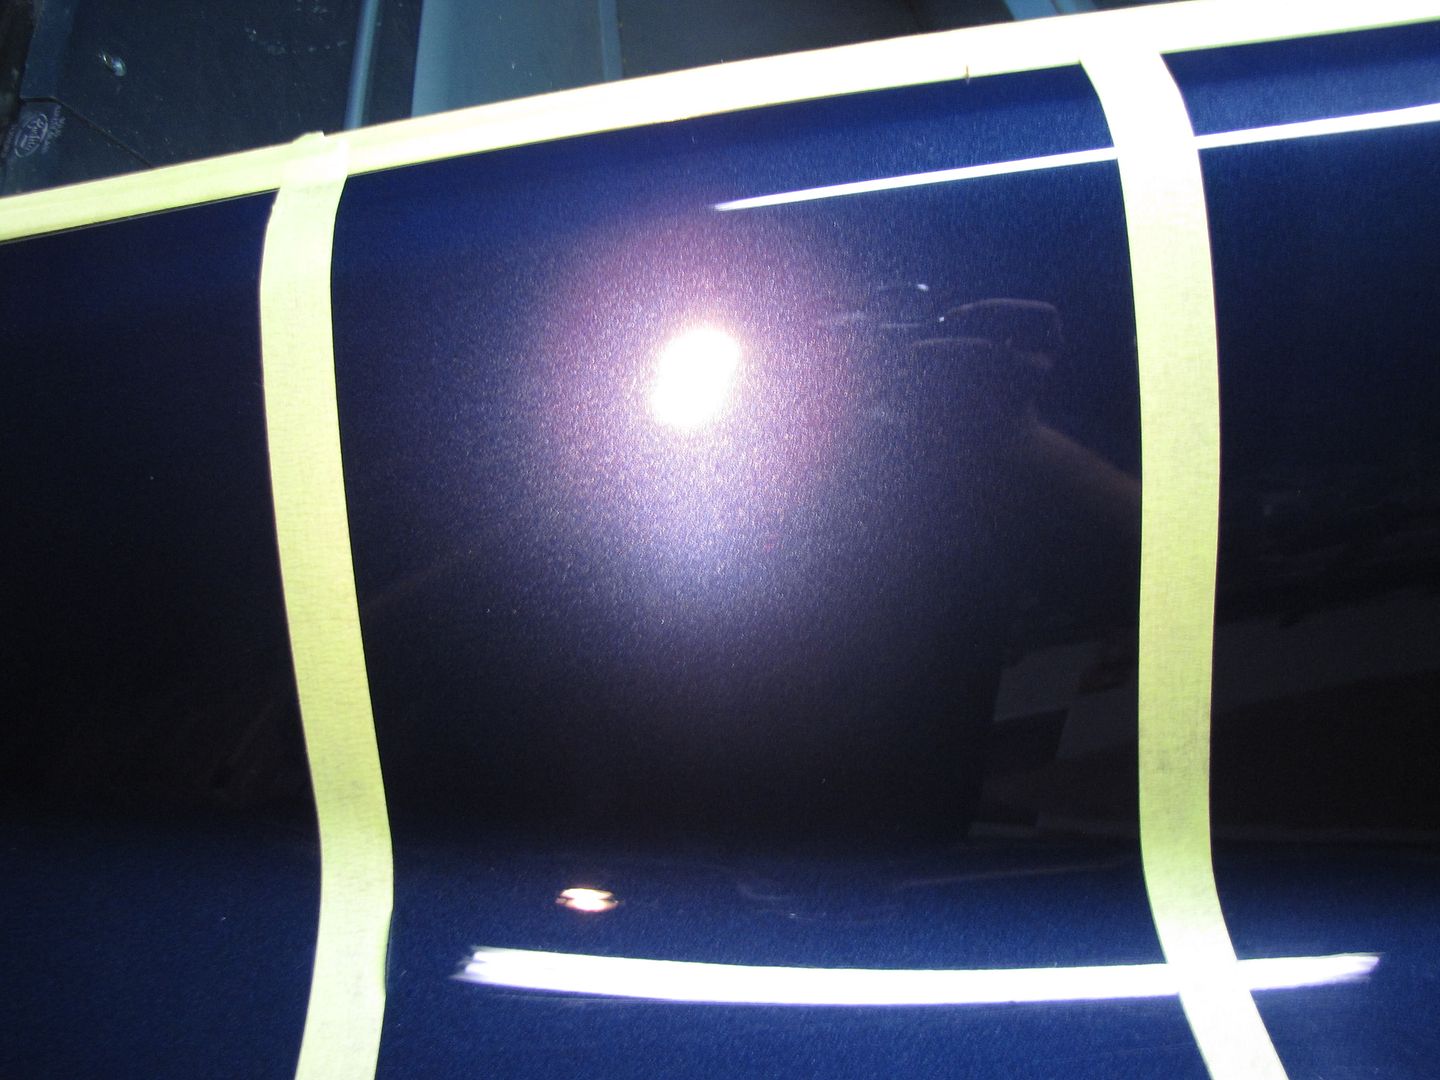
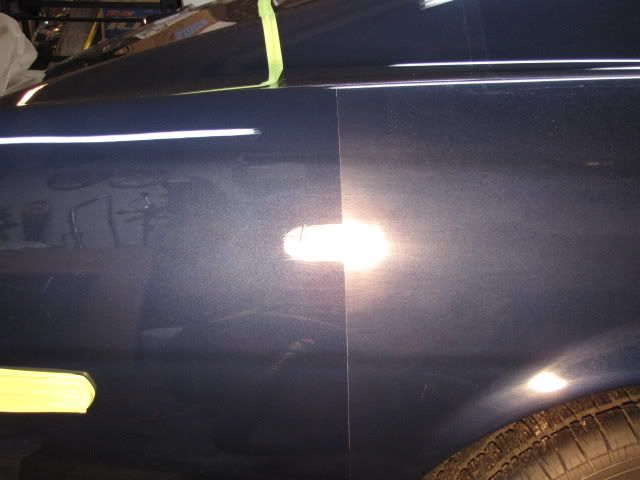
A few 50/50 of the test section.


The owner of this beautiful vehicle called me over the weekend on a reference from a friend of mine. We discussed what he wanted done to the vehicle and he chose one of my detail packages that included correction, interior and an engine bay cleaning. I would have to say that I'm completely beat after this detail totaling just over 30 hours . Hope everyone enjoys as I have quite a few photos.
Process
Wash/clay
-Two bucket wash w/ heavy mix of dawn
-DP Extreme Auto foam/heavy Dawn mix via AG Foam cannon
-Red LC wash mitt
-Dried with LC HD WW towels
-Pinnacle Clay bar
-Pinnacle clay lube
Interior
-1z Cockpit Premium
-Aerospace 303
-Stoners glass cleaner
-P21s TAW for floor mat cleaning
-Shop vac
Engine Bay
-P21s TAW for cleaning
-Combination of CD2 and Aerospace 303
Wheels/Tires
-Various Brushes w/ P21s Wheel Gel
-Meg's Gold class tire gel
-Wheel wells received some Aerospace 303
Correction
-PCXP 7424
-Megs 105 w/ LC Orange pad (2 Passes)
-Megs 205 w/ LC White pad (2 Passes)
-Spot buffed with LC Yellow foamed wool and M105 for some deep RIDs
LSP
-Black Fire Wet Diamond Paint Sealant
-Pinnacle Souverän
-Exterior metal polished w/ Mothers.
When I picked up the vehicle I was happy to see that the car was fairly clean and in decent condition. It was resprayed at one time in its life to a very nice metallic blue. Interior was completely stock and looked fantasitc for its age. Here are some pics of when I picked the car up and got it to the garage.
After seeing the car in the sun I saw a good amount of swirls and what looked to be like deep scratches or RIDS. Little did I know that once the inital swirls were removed that these deeper RIDs were all over the place and I knew then this was going to be a rough one to polish.
Here you can see if you look close some of these deeper scratches I am referring too. I thought that the trunk lid was the only place these were but boy was I wrong.
A few sun pics through the trees showing some swirls.
Some shots of the dirty bay
I washed the bay very carefully but did not take any during process pics of this. After the bay was completed I then moved onto the decontamination of the paint surface.
Foaming the car with my AutoGeek foam cannon
Foam mix dwelling
After rinse and Dry w/ LC WW HD drying towels
By this time it was getting dark out on the first day of the detail so I brought the car into the garage and put it under various lighting to see what I was working with. I taped the car up to get ready for the next day of polishing and also did a little test spot to see what my process would be for polishing.
Here is my test area. I started out with a white pad and 205 and saw some pretty big changes but it was only removing light surface swirls and wasn’t touching the RIDS. I stepped it up to orange on 105 and saw great improvement and a lot of the RIDS in this area were removed. I had to spot compound with a LC Yellow foamed wool to remove some of the deep RIDS on quite a bit of the car.
Test section before.
After
A few 50/50 of the test section.


") !
!")