Concours.John
Auto Detail & Restoration
Re: 66 VW Beetle. Mini Resto Part 1 UPDATED!
Here is an update. This will cover the seats.
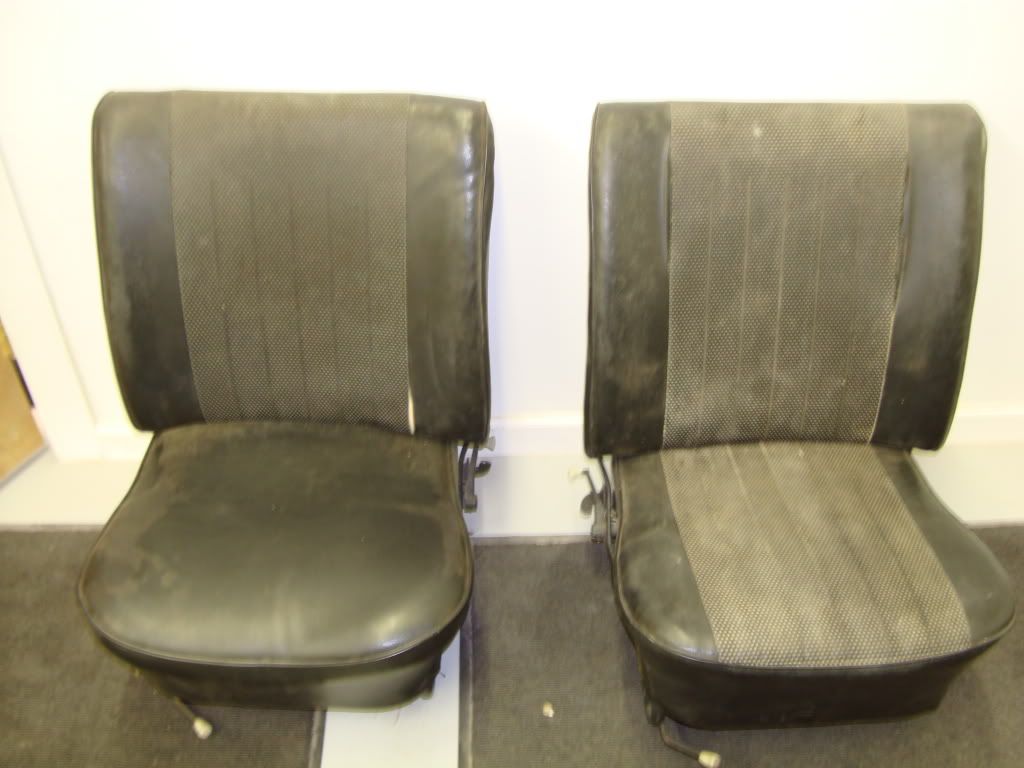
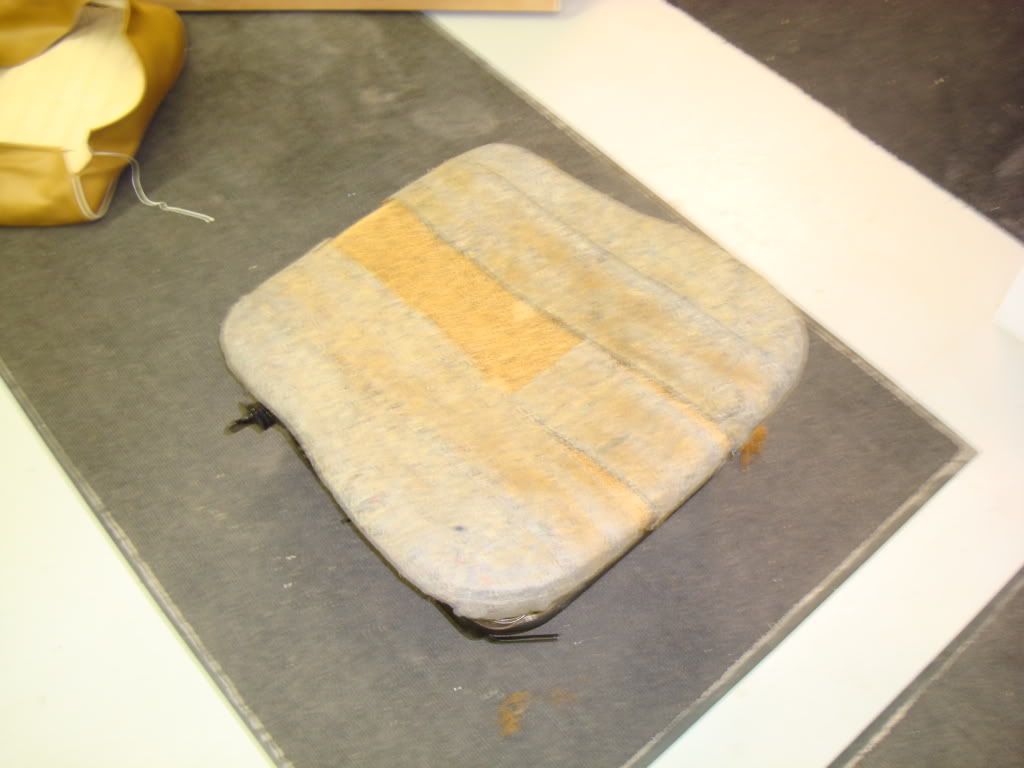
First off the front seats before.
Some pictures turned out blurry I kept bumping to my ISO setting accidentally. They didn't seem that bad on the camera screen. Sorry.
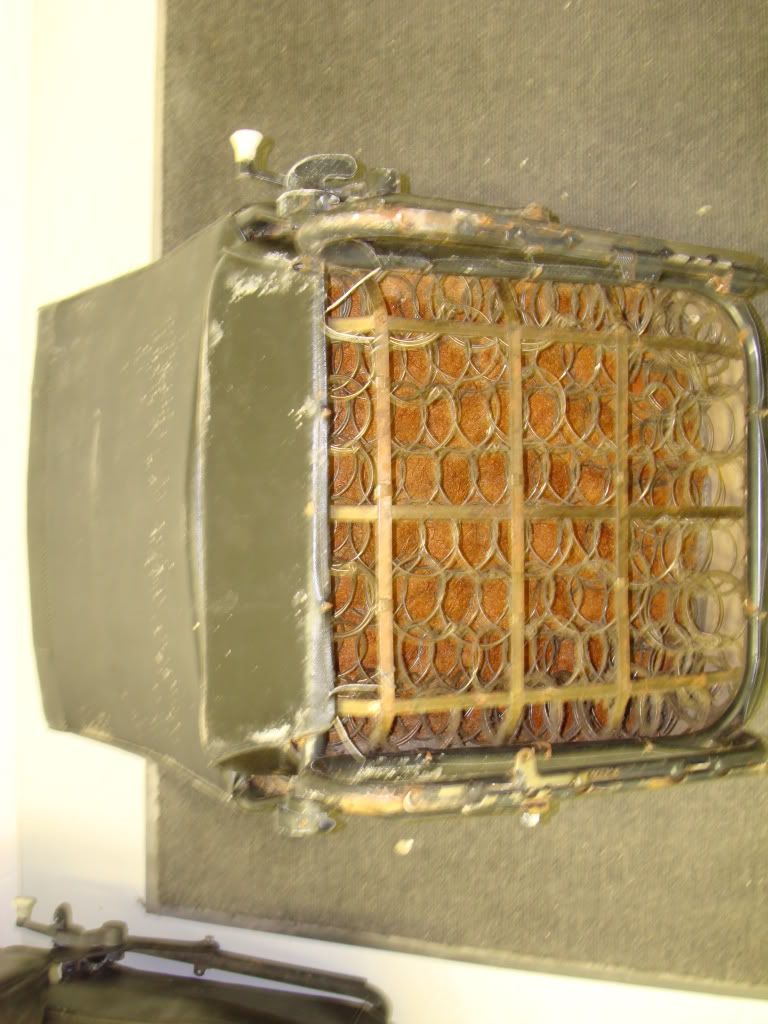
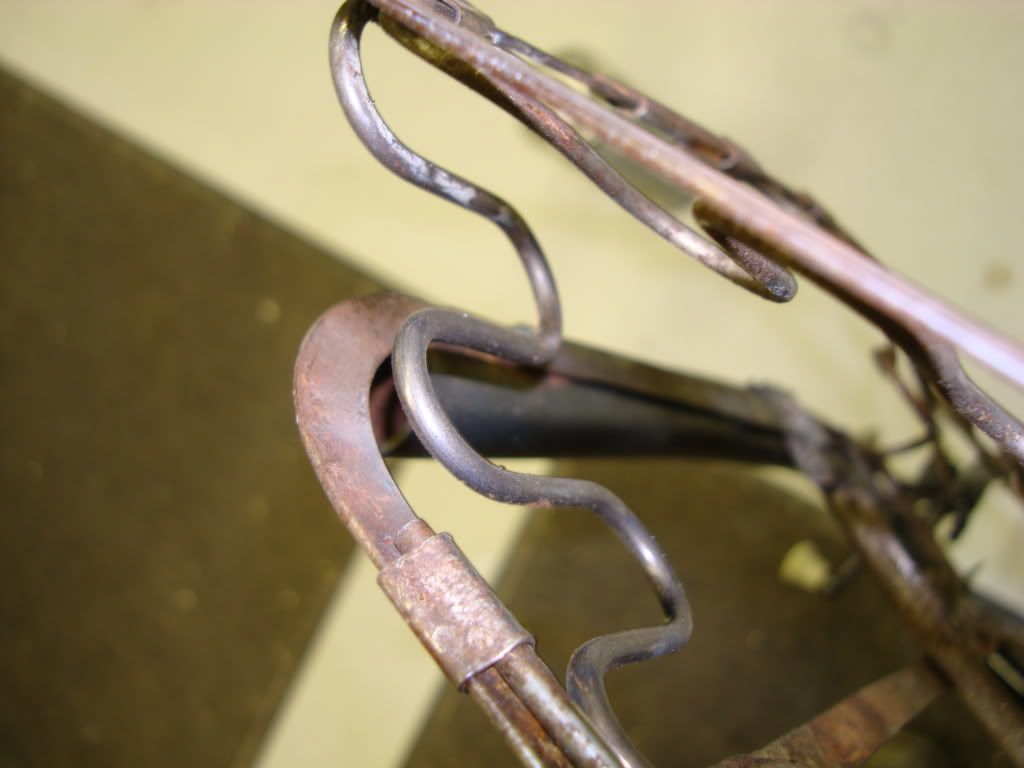
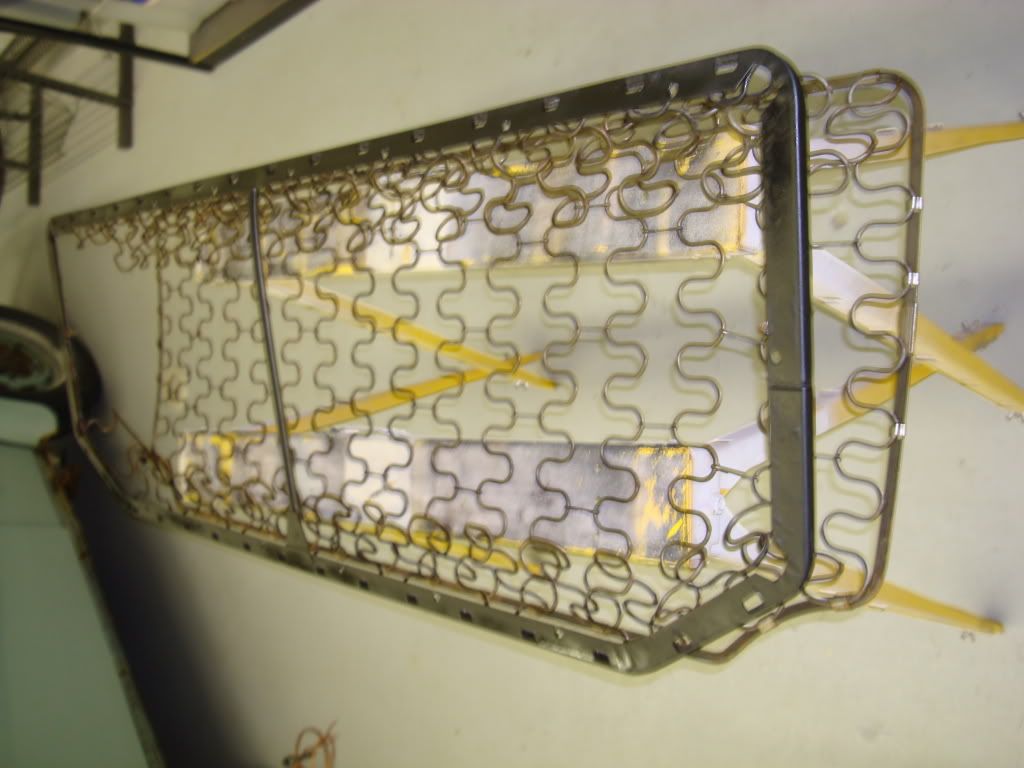
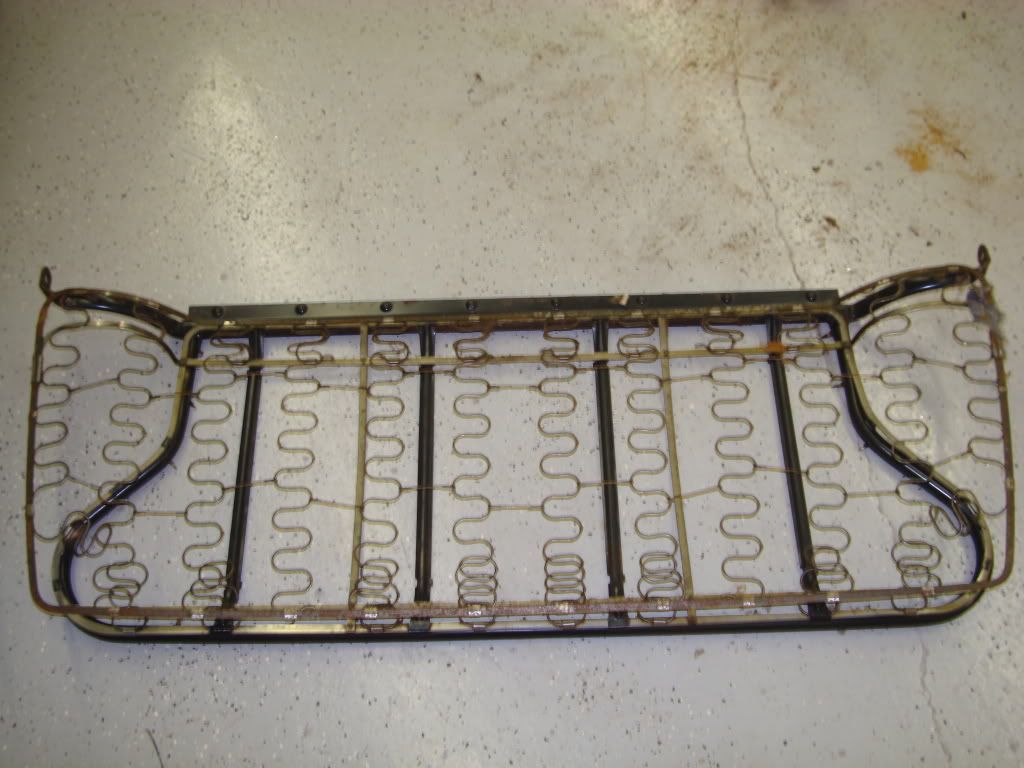
There were some broken springs and tabs which were repaired. Thaks to "Lil Joe" at Bataglia's there was no down time.
Berfore:
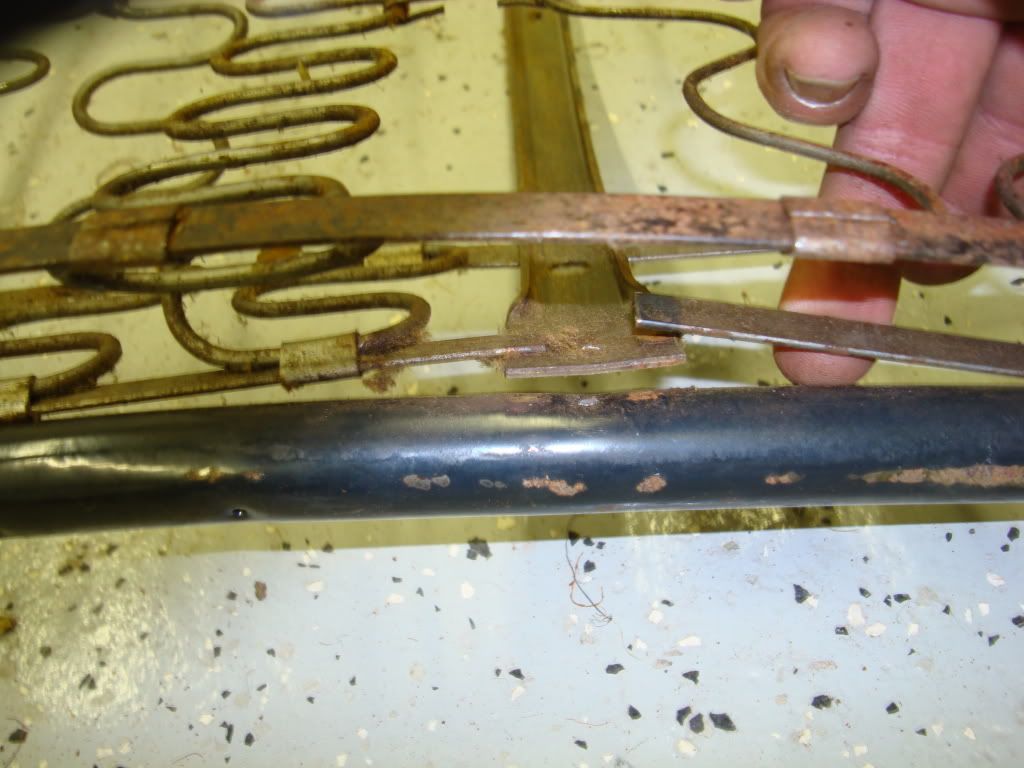

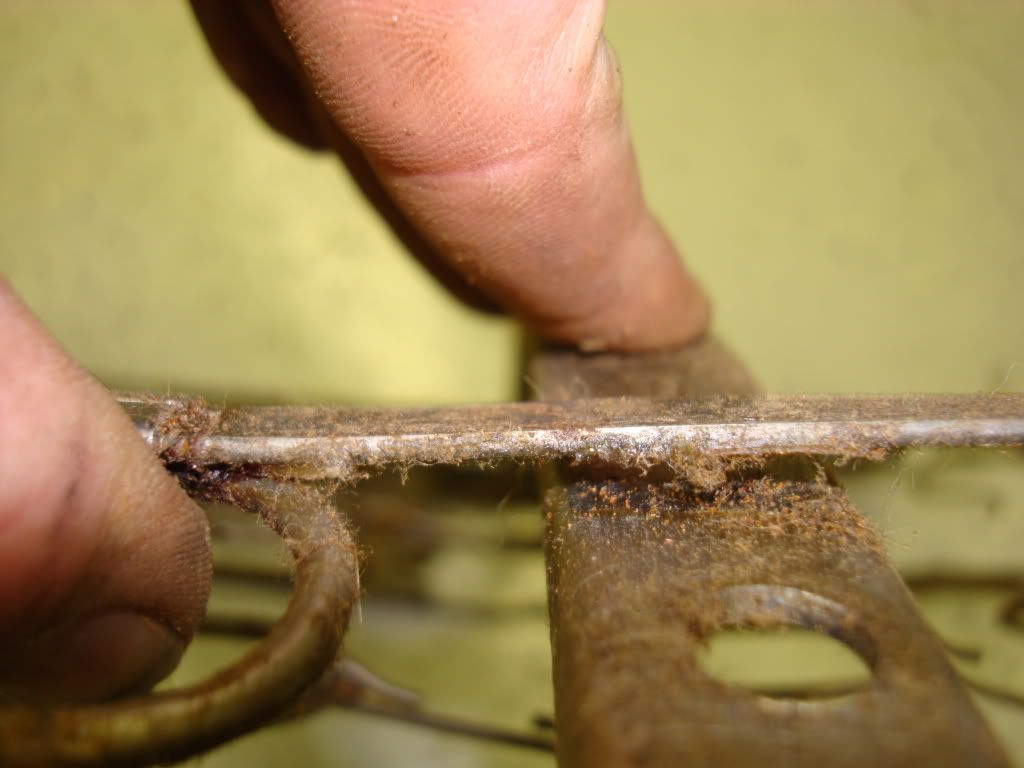
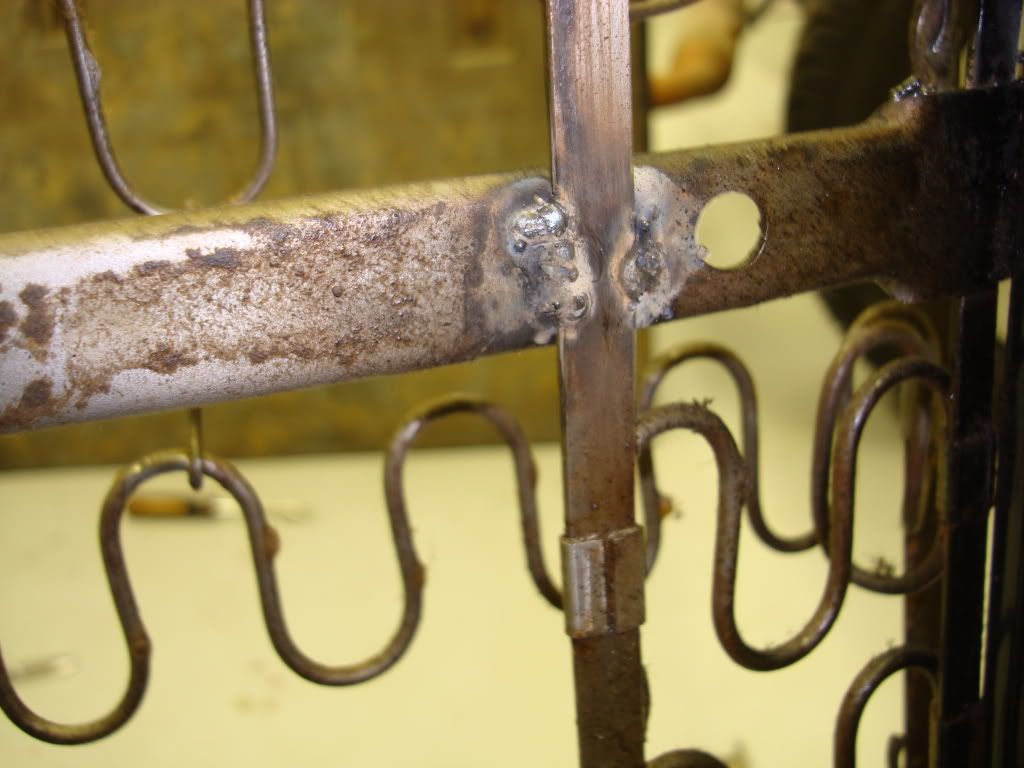
After: I replaced the section and tack welded the other areas. Welds were cleaned then primed. Not the pretiest but they were done without gas.
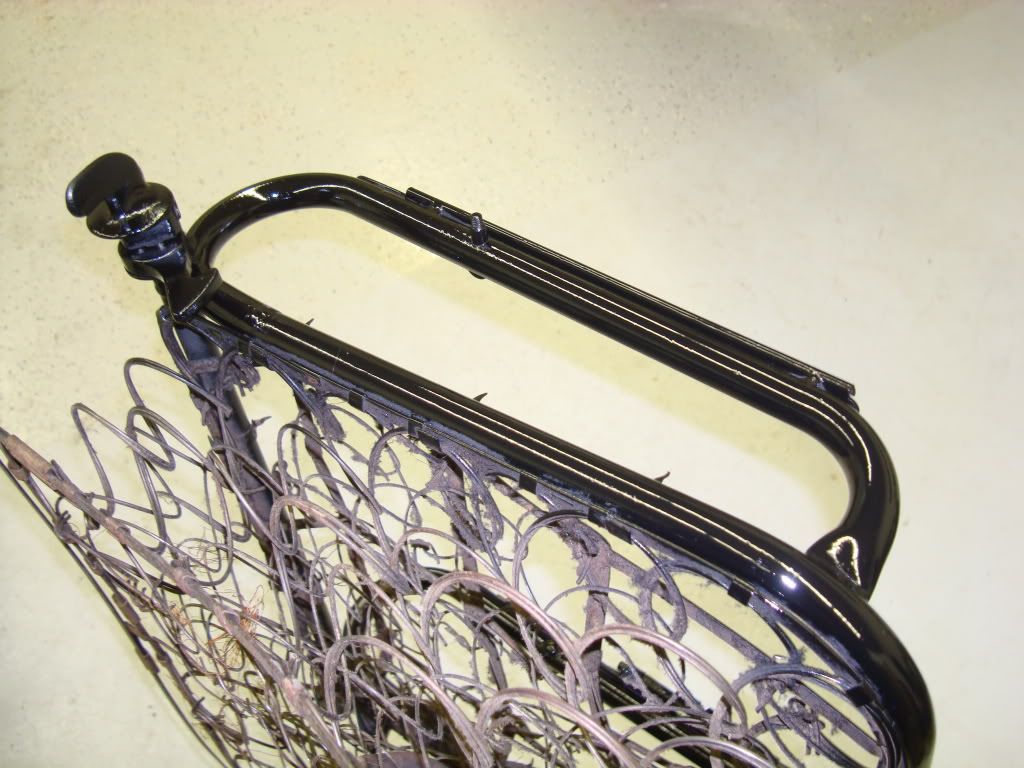
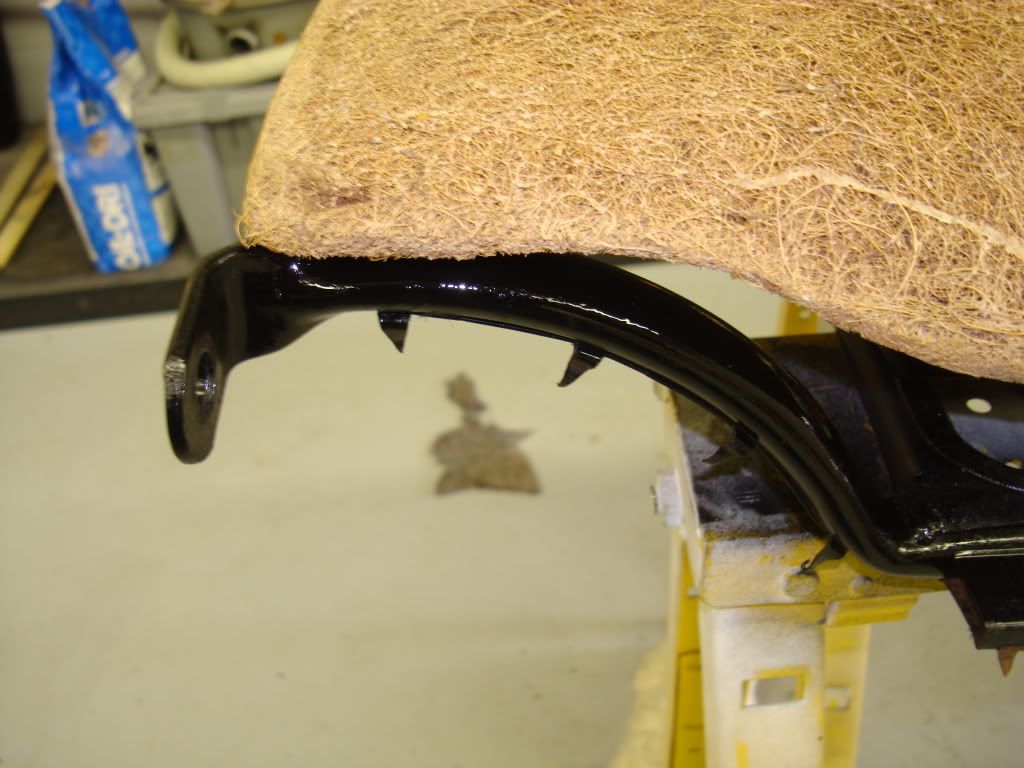
The frames were then sanded, primed and painted.
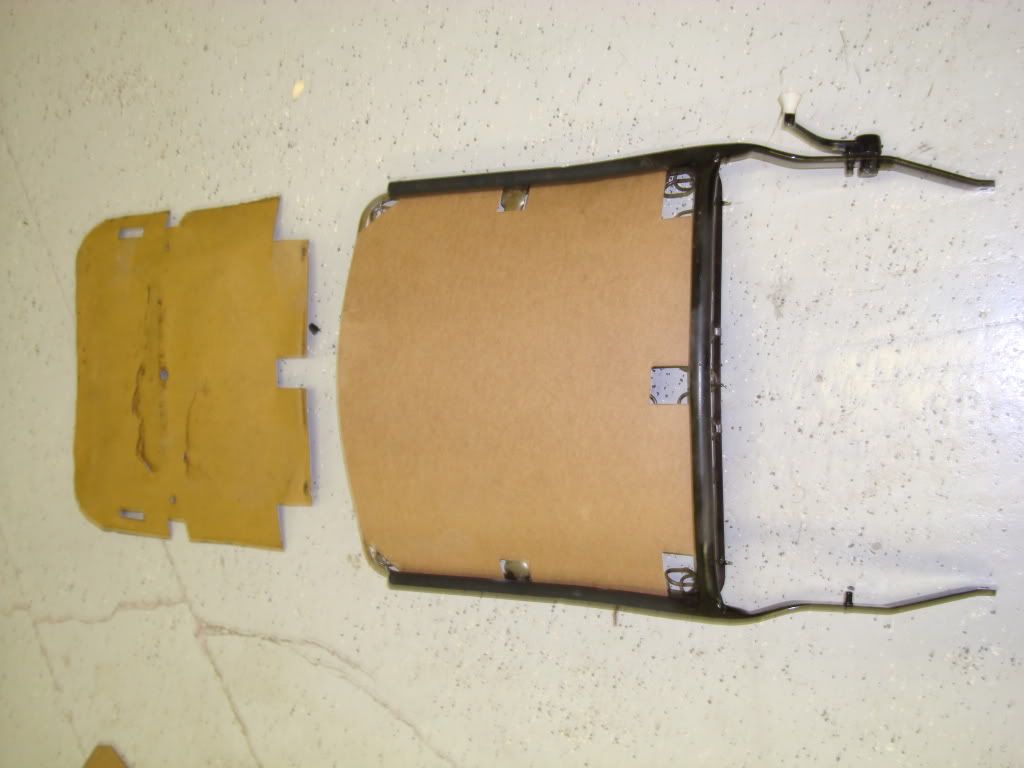
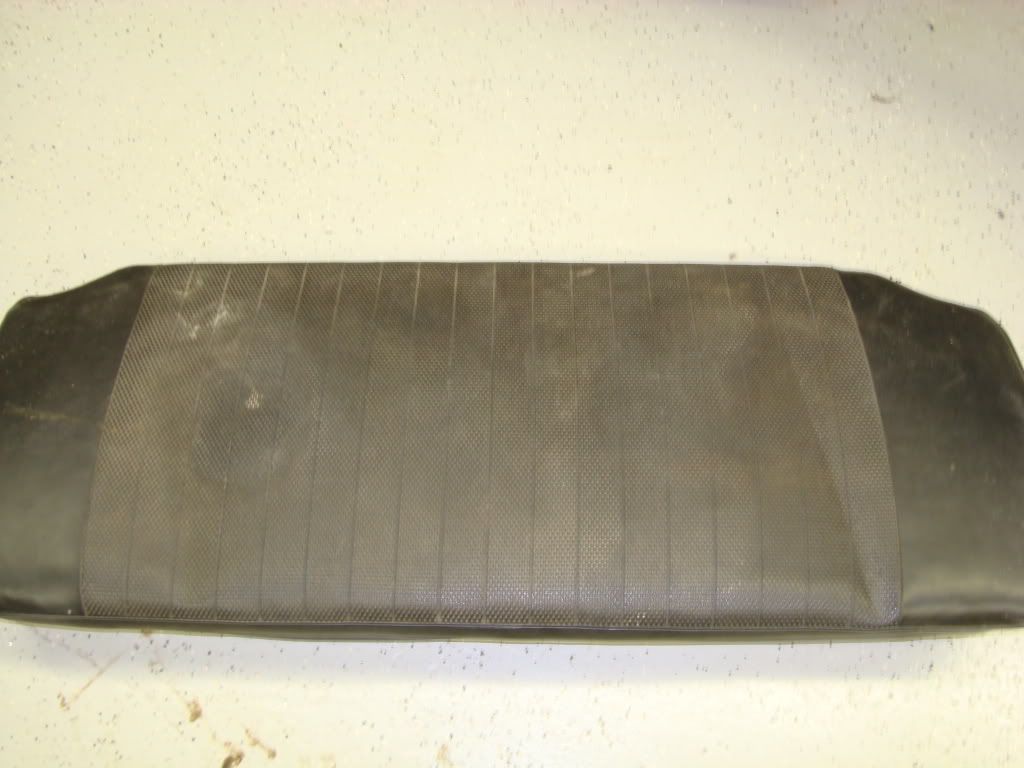
A prone area to failure was this thin board. It would get damaged from people getting in and out of the back by their knee. A new pattern was made and upgraded to a thicker hardboard.
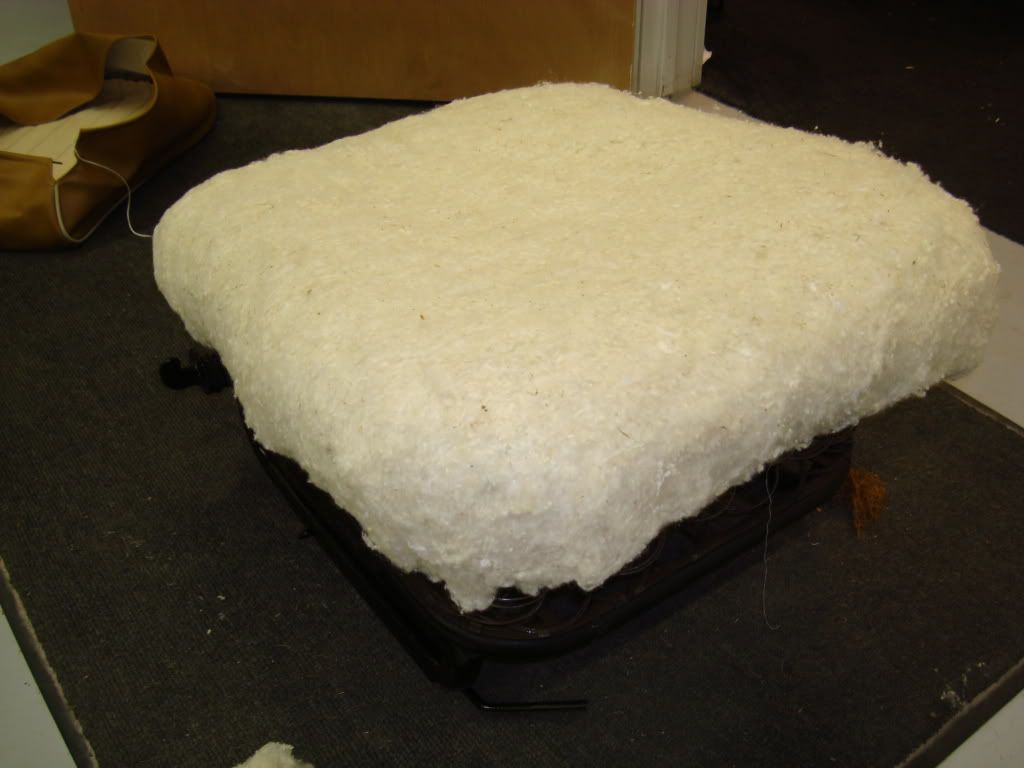
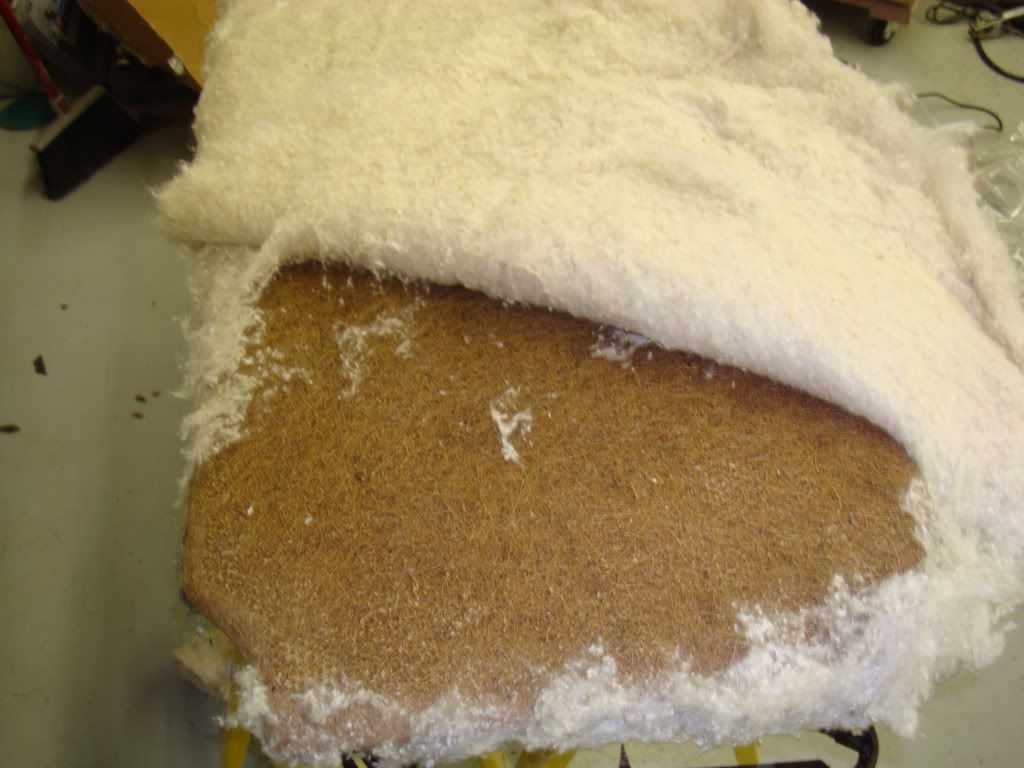
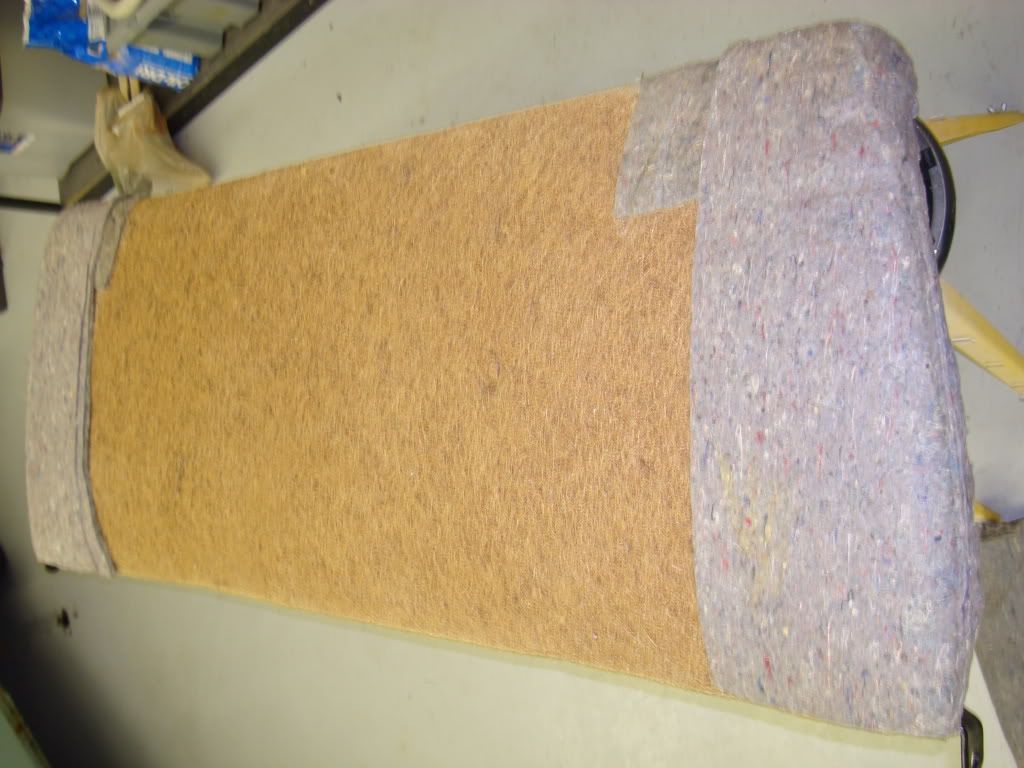
The process of the padding. New horsehair was fit first. Jute padding was added along the edges to provide a nice transition and rolled edge. Spun cotton was lightly glued. the spun cotton can be split and manipulated to give the perfect fit. These kits are very difficult sometimes to get the beading just right. The padding steps help insure a tight and nice looking fit.
Sometimes this took more than one attempt to get everything just right.
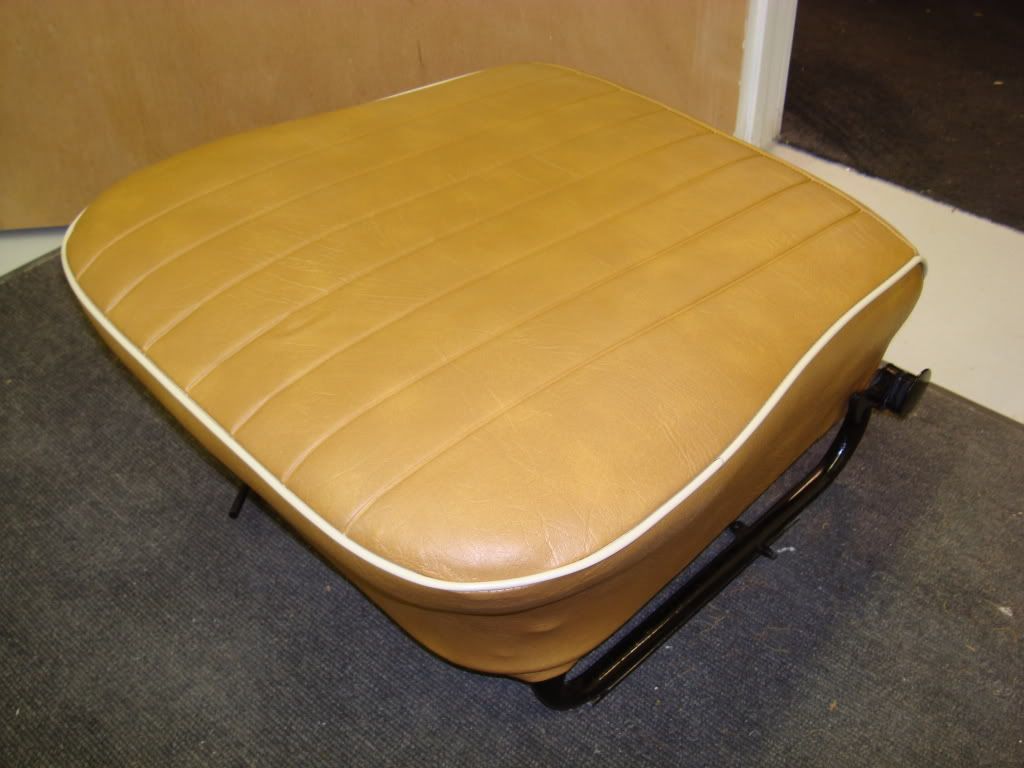

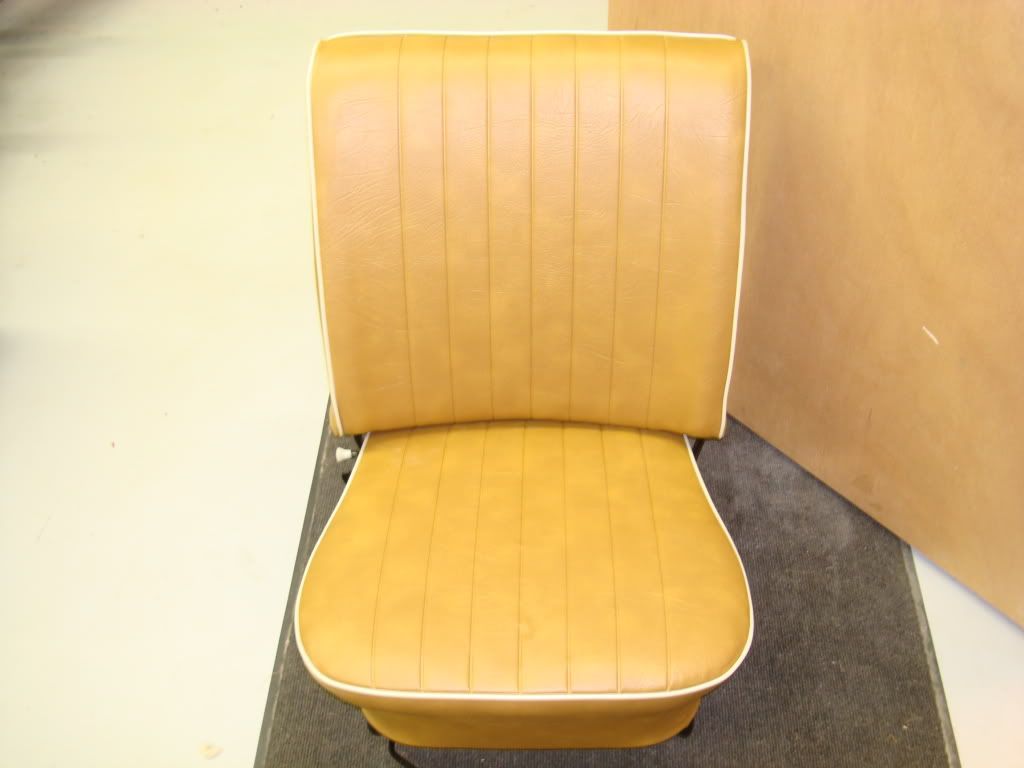
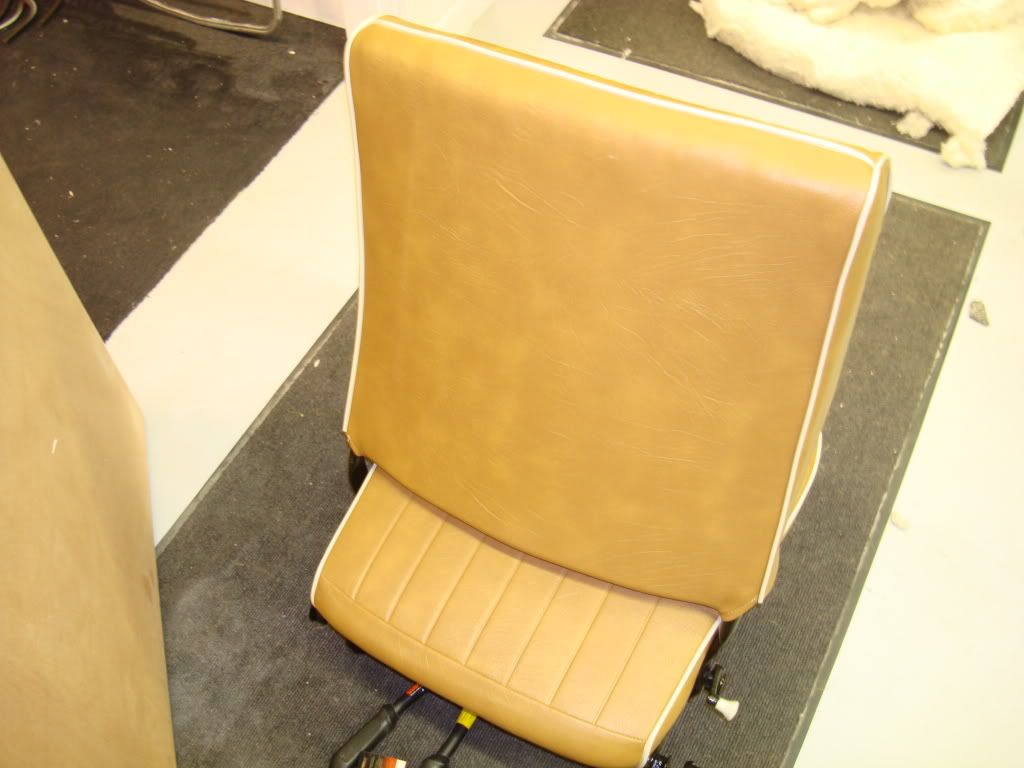
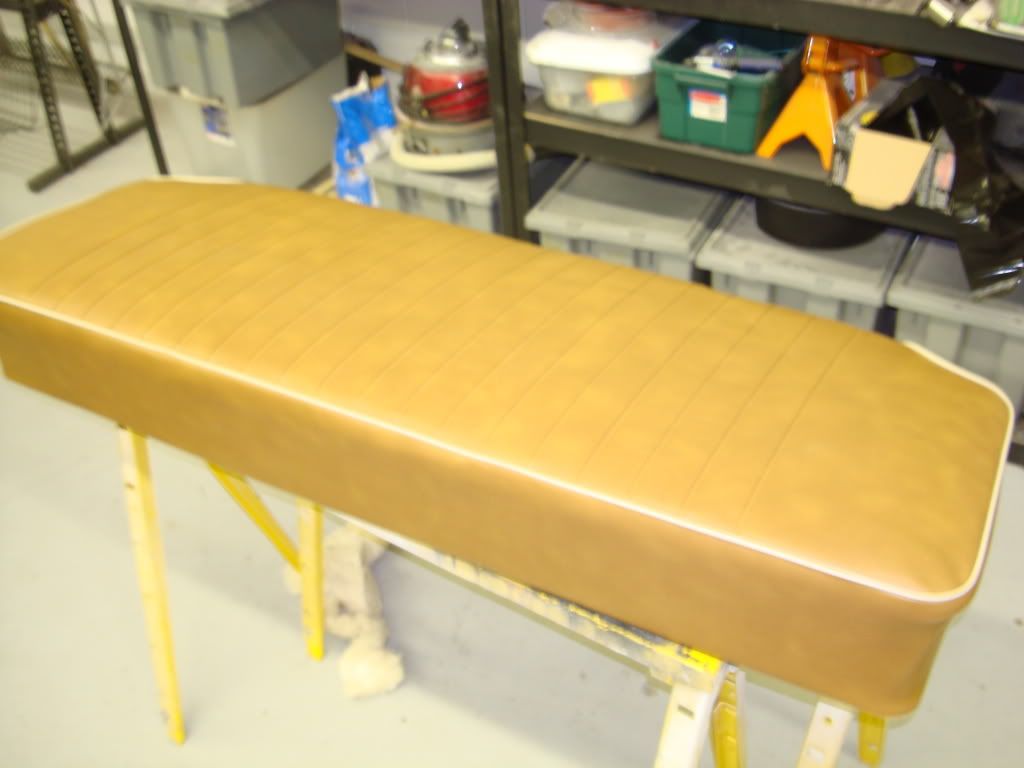
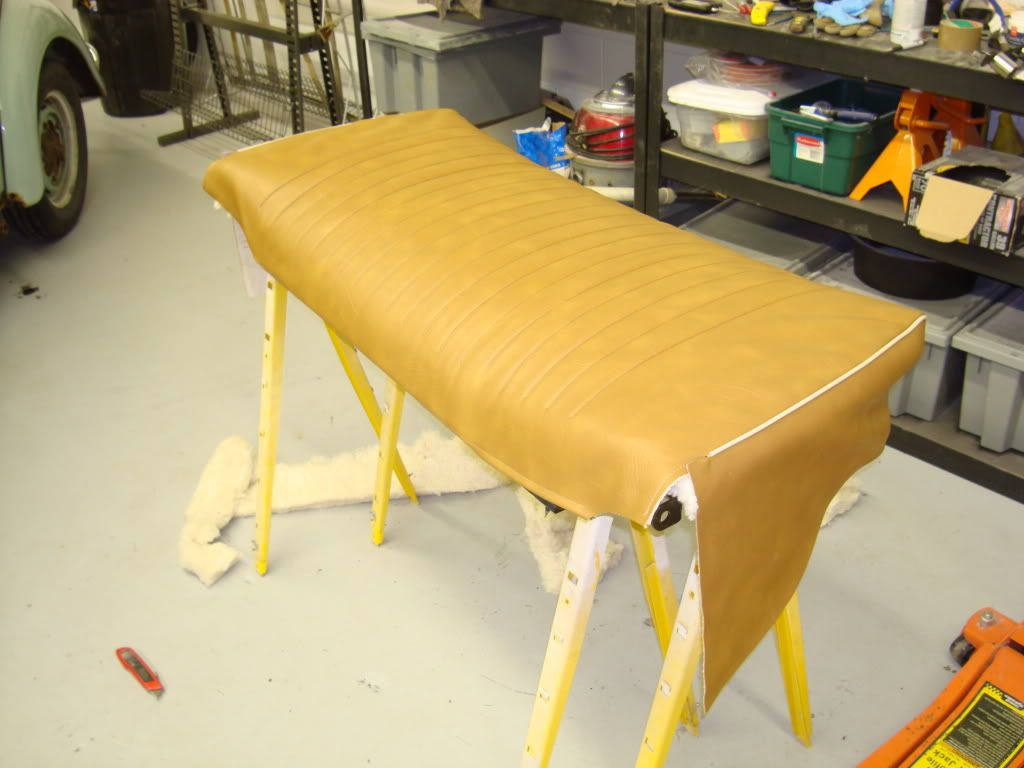
The complete seat
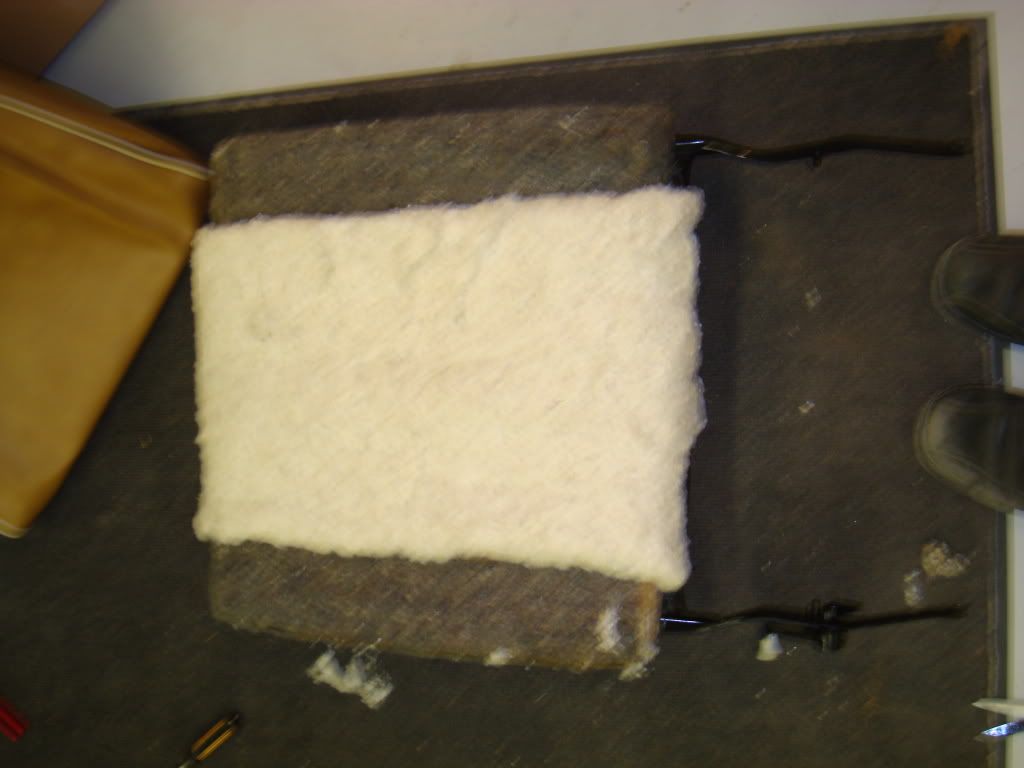
The rear seat same process.
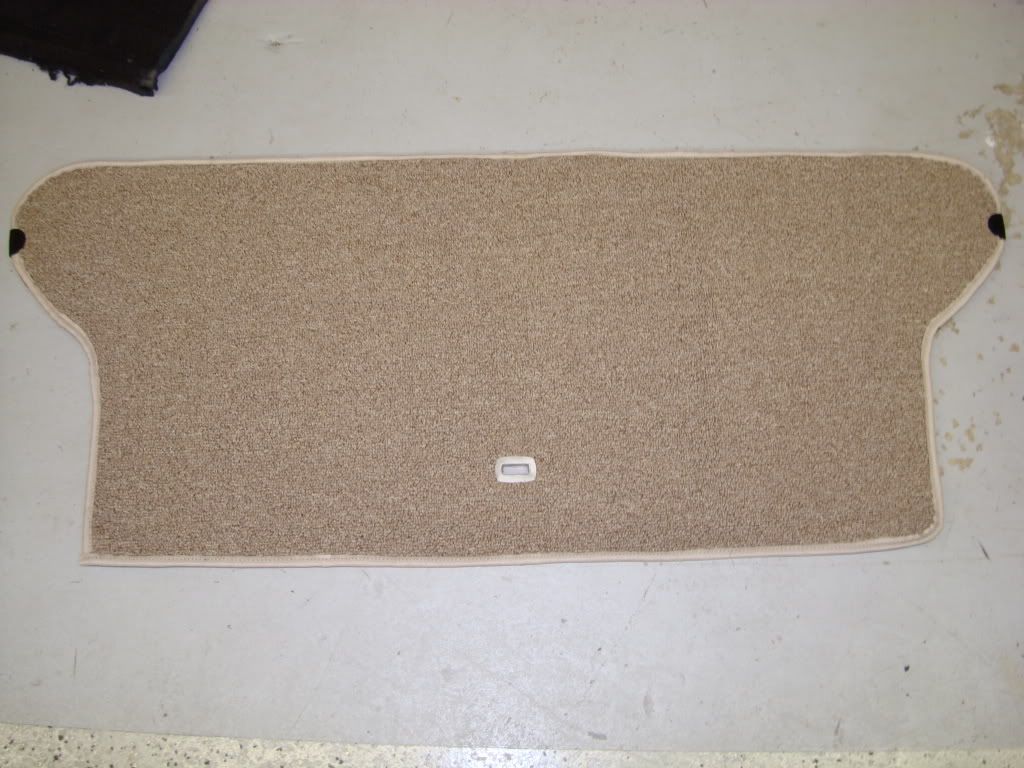
The Rear seat back.
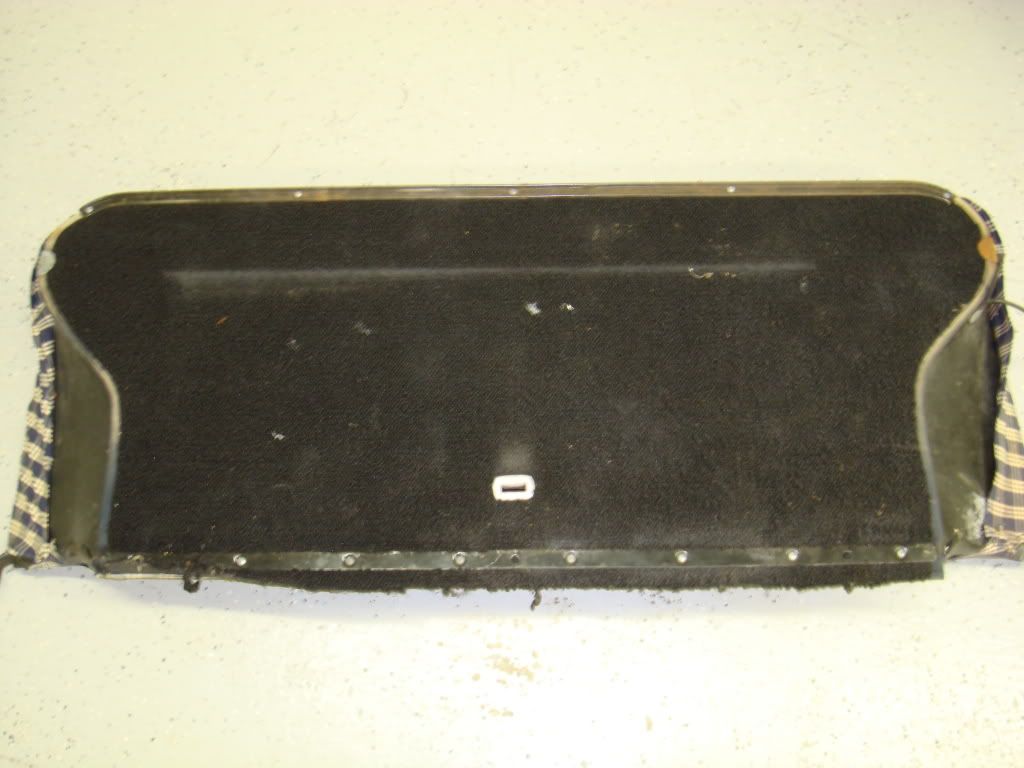

This will be attached later. There is metal trim around top and bottom. An extra piece of carpet came which I assume is a spanner when the seat is down. If thats the case a board needs to be made and hardware figured out. The company who does the kit will be letting me know what is missing.
I have to jump on another project. When I come back to this Part 2 will consist of the interior dash and jamb painting, insulation, headliner, carpet, window install.
Thanks for looking.
If a moderator could add "updated" to the main title that would be great.
Here is an update. This will cover the seats.
First off the front seats before.
Some pictures turned out blurry I kept bumping to my ISO setting accidentally. They didn't seem that bad on the camera screen. Sorry.
There were some broken springs and tabs which were repaired. Thaks to "Lil Joe" at Bataglia's there was no down time.
Berfore:
After: I replaced the section and tack welded the other areas. Welds were cleaned then primed. Not the pretiest but they were done without gas.
The frames were then sanded, primed and painted.
A prone area to failure was this thin board. It would get damaged from people getting in and out of the back by their knee. A new pattern was made and upgraded to a thicker hardboard.
The process of the padding. New horsehair was fit first. Jute padding was added along the edges to provide a nice transition and rolled edge. Spun cotton was lightly glued. the spun cotton can be split and manipulated to give the perfect fit. These kits are very difficult sometimes to get the beading just right. The padding steps help insure a tight and nice looking fit.
Sometimes this took more than one attempt to get everything just right.
The complete seat
The rear seat same process.
The Rear seat back.
This will be attached later. There is metal trim around top and bottom. An extra piece of carpet came which I assume is a spanner when the seat is down. If thats the case a board needs to be made and hardware figured out. The company who does the kit will be letting me know what is missing.
I have to jump on another project. When I come back to this Part 2 will consist of the interior dash and jamb painting, insulation, headliner, carpet, window install.
Thanks for looking.
If a moderator could add "updated" to the main title that would be great.
")


") .
.