Navigation
Install the app
How to install the app on iOS
Follow along with the video below to see how to install our site as a web app on your home screen.
Note: This feature may not be available in some browsers.
More options
Style variation
You are using an out of date browser. It may not display this or other websites correctly.
You should upgrade or use an alternative browser.
You should upgrade or use an alternative browser.
5 day detail - Ocean Blue 993 Turbo...
- Thread starter dengelson
- Start date
I was just at walmart and seen they have the Californa duster for 9.95 ,but its THIN!!!!!!!!!! and the handle is plastic. I got mine at CMA so I knew what I was looking at.CMA 's is the real deal ,wood handle and THICK!!!!!!! So its 19.95 I got the best which is what we are all striving for at this sight. If it doesn't do the job who cares if its free.
DETAILKING
New member
eom
Langley Interior Car Kare
New member
bottom line for almost everything but especially elctronics and.........detailing stuff... the original Miracle towel from CMA is sitll the best towel i have....but steve's are damn close....the neatitems are 3rd...i use them for all my interior stuff and lov'um....but there' still something about that original miracle...magic...towel...like Don said....the ones i got from putey's group buy are really nice too...have to see how they hold up..
the original Miracle towel from CMA is sitll the best towel i have....but steve's are damn close....the neatitems are 3rd...i use them for all my interior stuff and lov'um....but there' still something about that original miracle...magic...towel...like Don said....the ones i got from putey's group buy are really nice too...have to see how they hold up..imported_Clark
New member
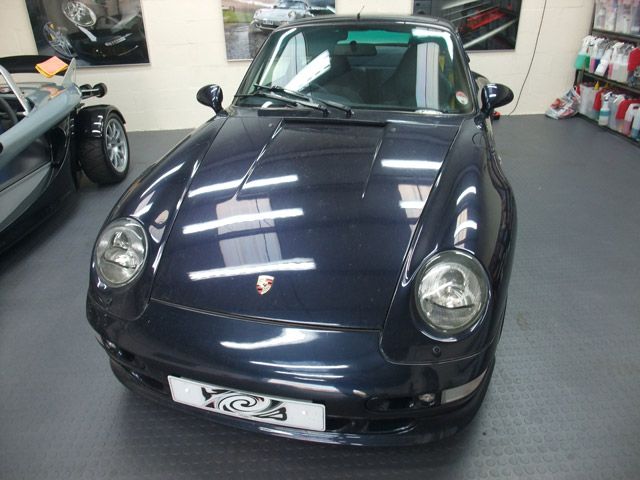
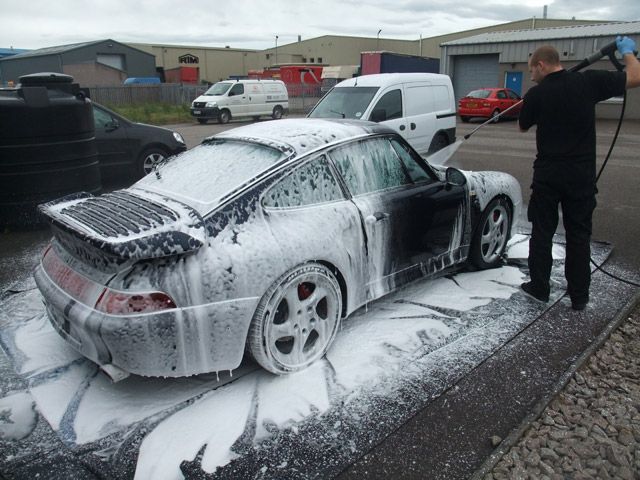
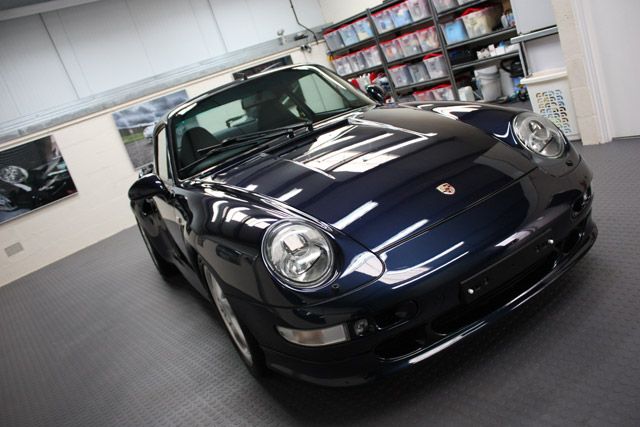
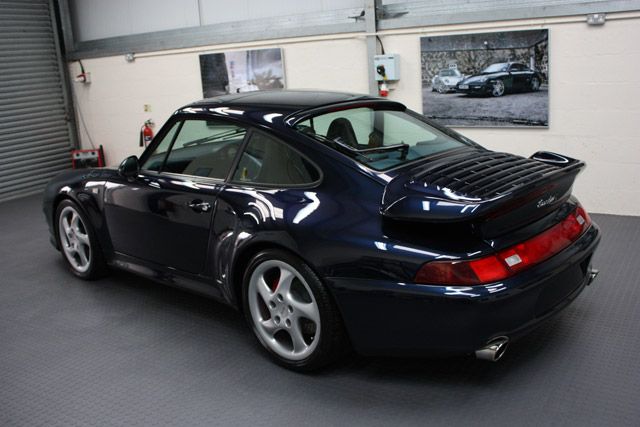
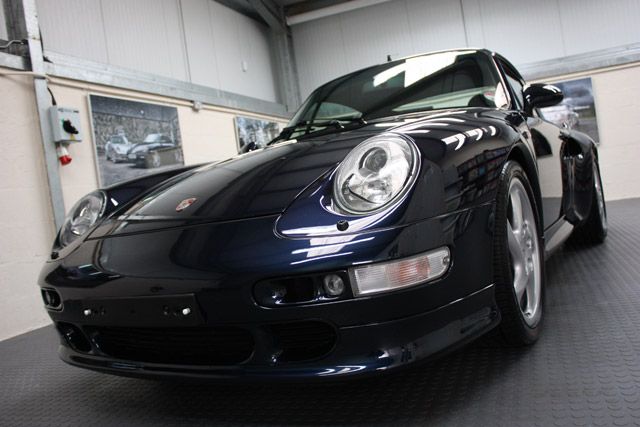
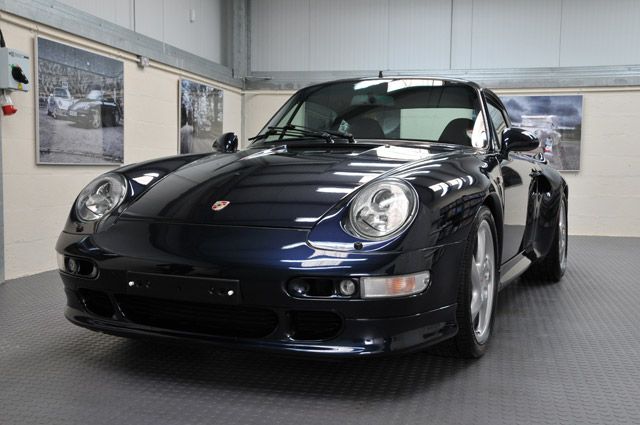
Some of you may know by now that I am rather fond of my Porsches, so when the owner of this one dropped in by a couple of months ago with a view to booking it in it goes without saying that I was rather looking forward to it 
The car by the owners own admission has had a hard life up to now, it's done over 90,000 miles, gets driven daily (even in winter) and pretty much every panel on the car has been painted at some point (to be fair 95% of it was done well although the after prep left a lot to be desired which we'll see in a minute!). He basically thought that most of the car was going to need a re-paint but I told him to leave the car with us for a week and hopefully by the end he'd be pleasantly surprised :thumb:
Anyways, enough of the blurb - let?s see some before shots:
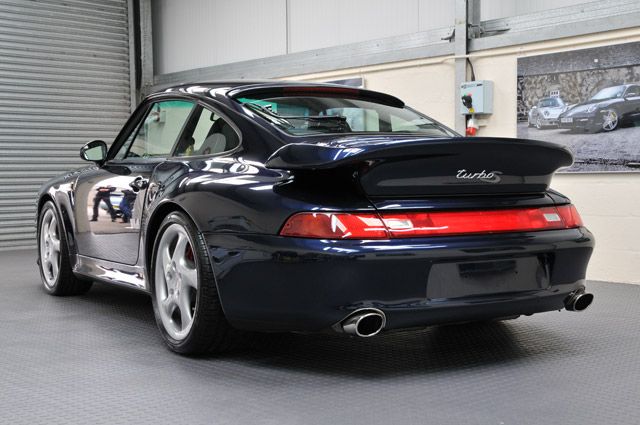
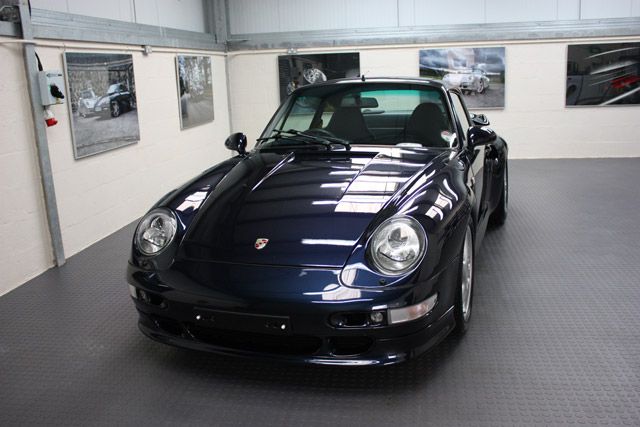
One tired looking 911:
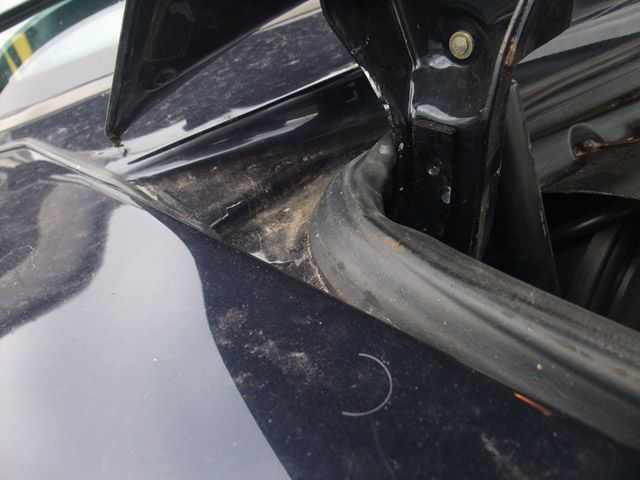
Someone's cat obviously likes to go for walks over the bonnet:
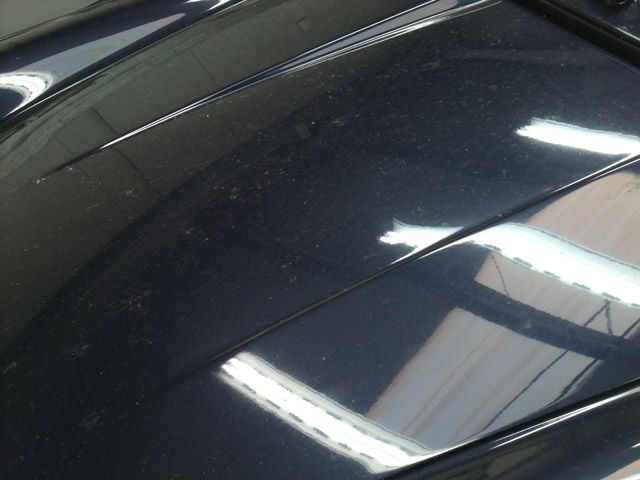
Couple of bird bombs:

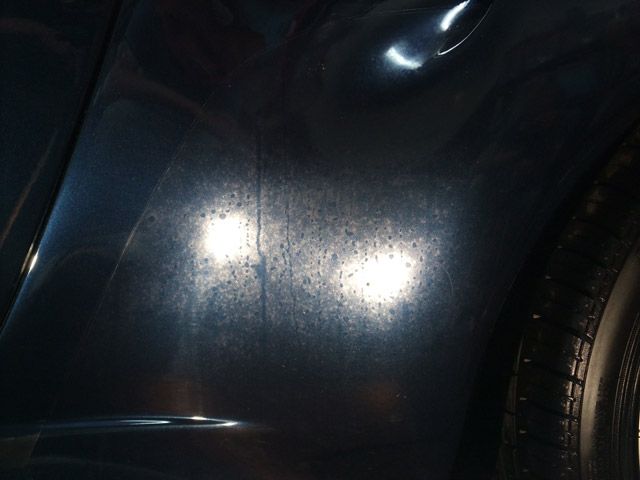
Very "milky" looking paintwork in places:
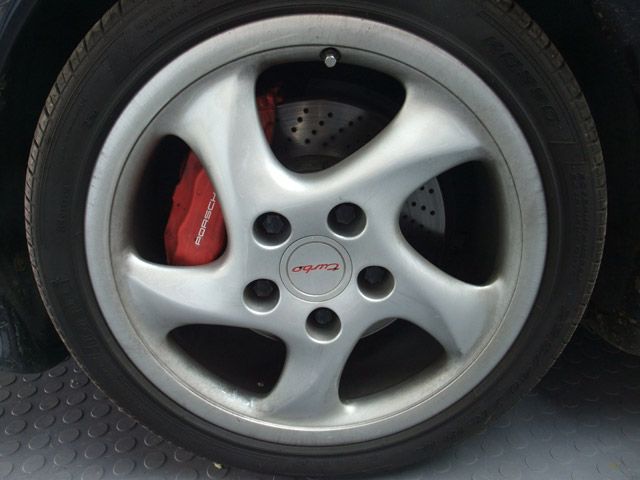
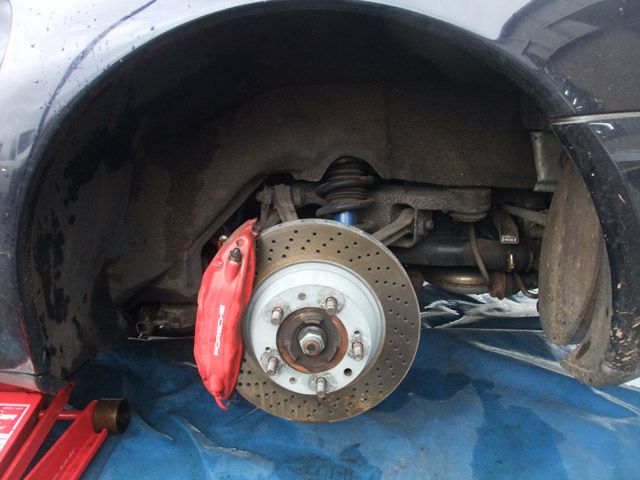
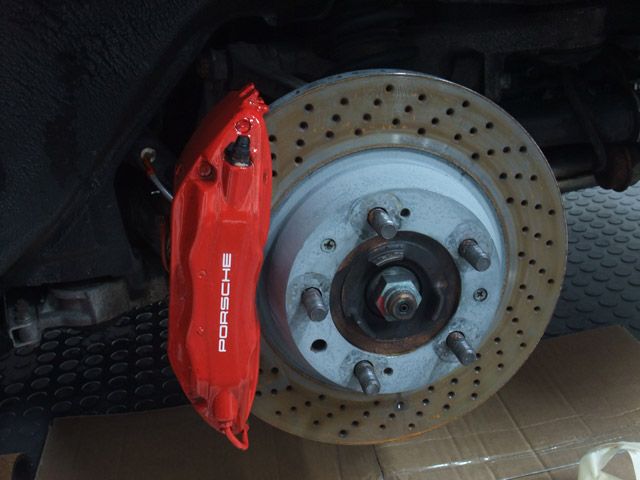
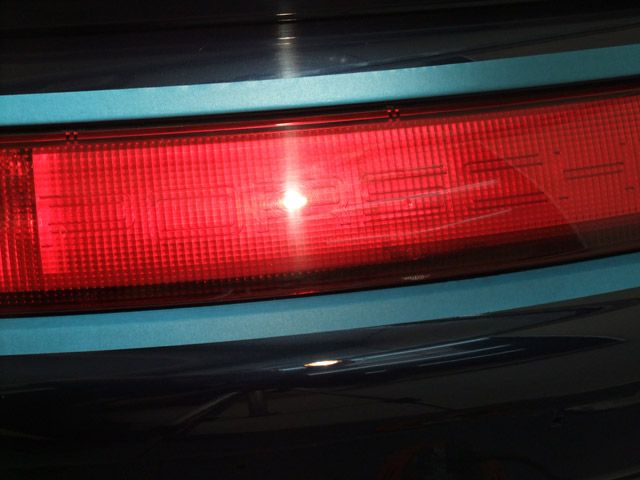
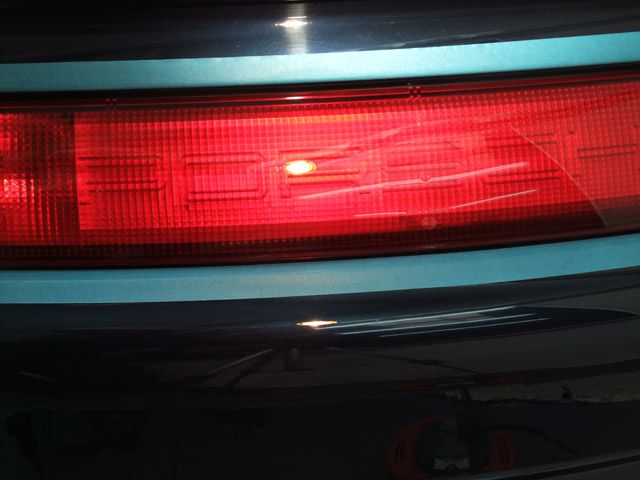
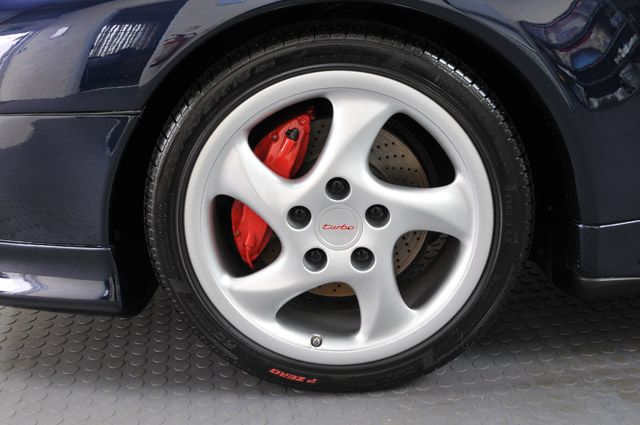
The "big reds" were looking more a sad pinky colour!
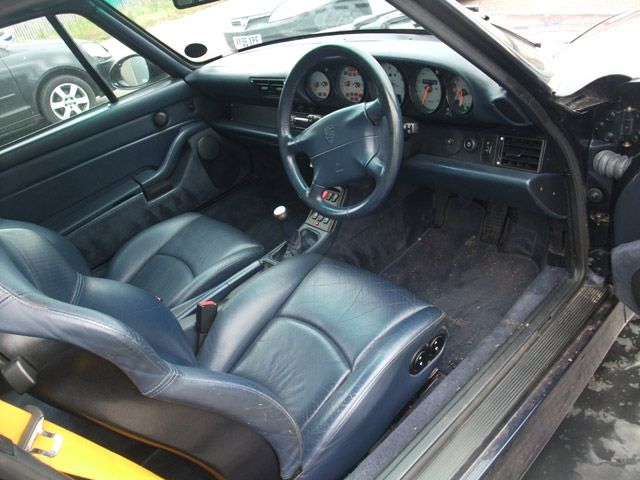
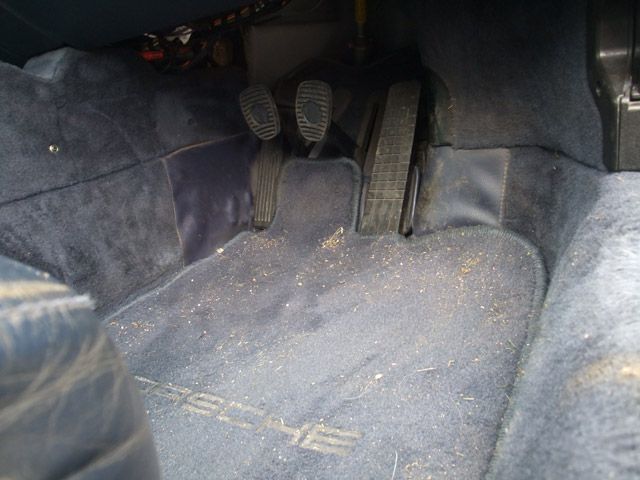
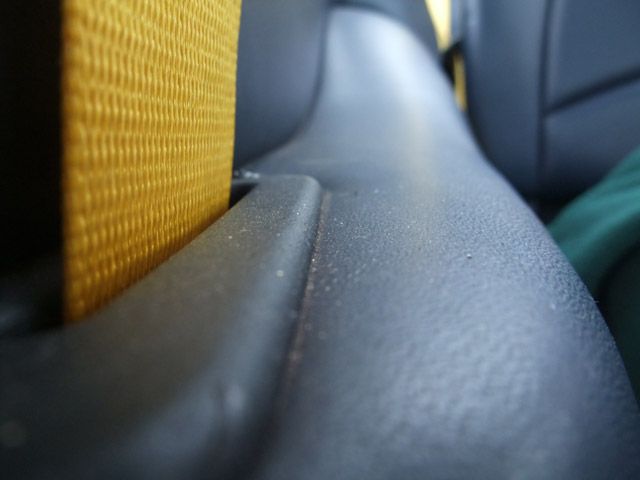
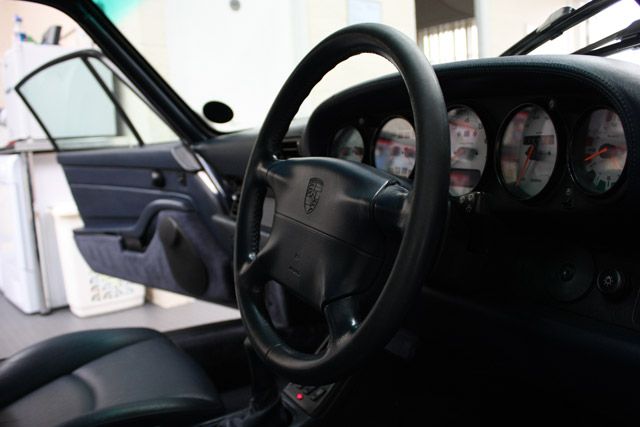
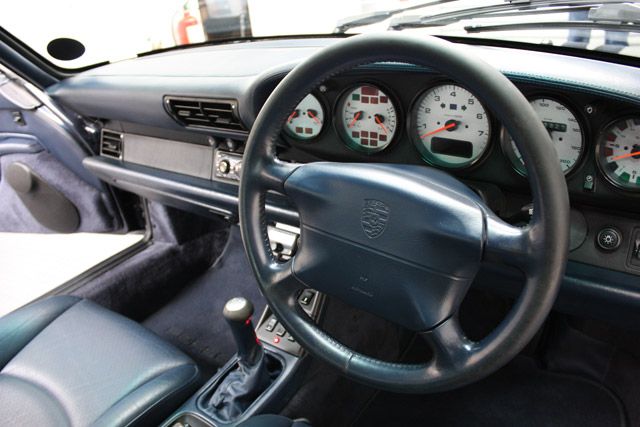
The interior was pretty grubby in places too:

First job was to remove the wheels to clean the arches properly:
For some reason I don?t have an after pic at this stage but you'll see later on that they were actually done :lol:
The wheels were put back on but not cleaned yet as the sealant I was going to use can't get wet for several hours so they would get done once the car was inside.
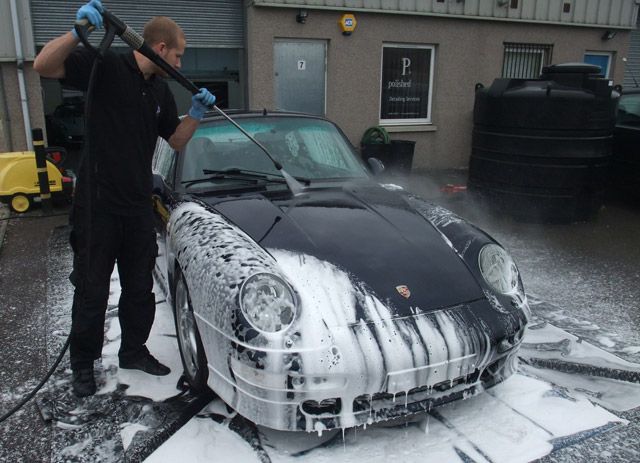
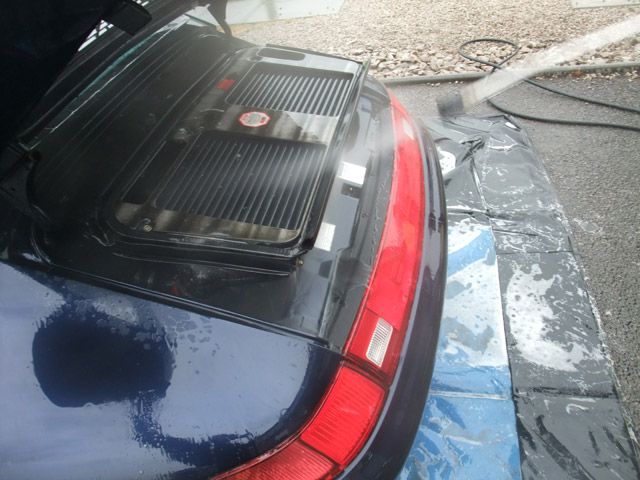
So, APC through the foam lance at a temperature of approx 60/70 degrees:
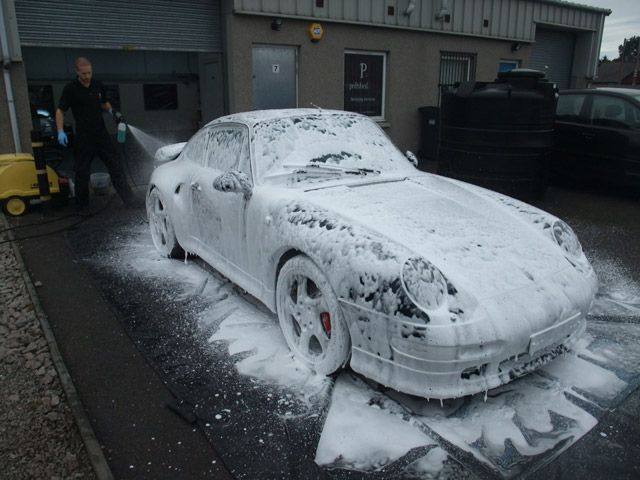
Then rinsed off thoroughly:
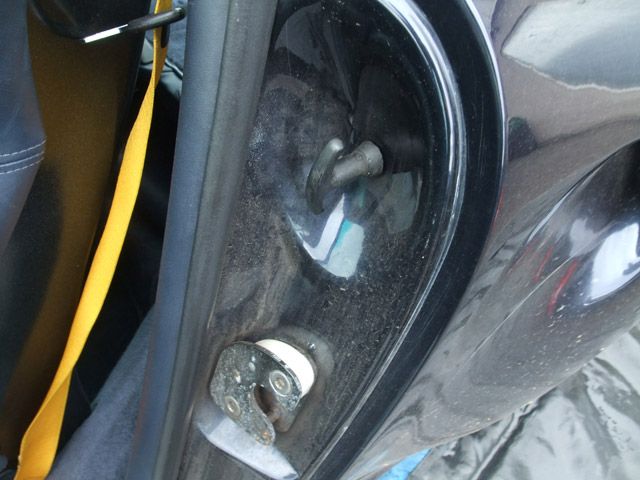
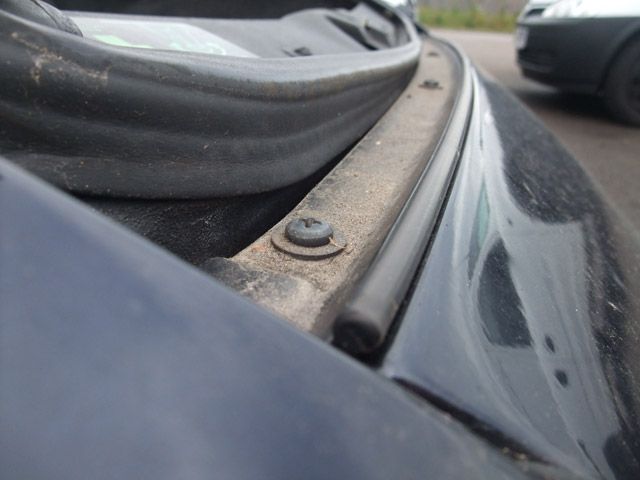
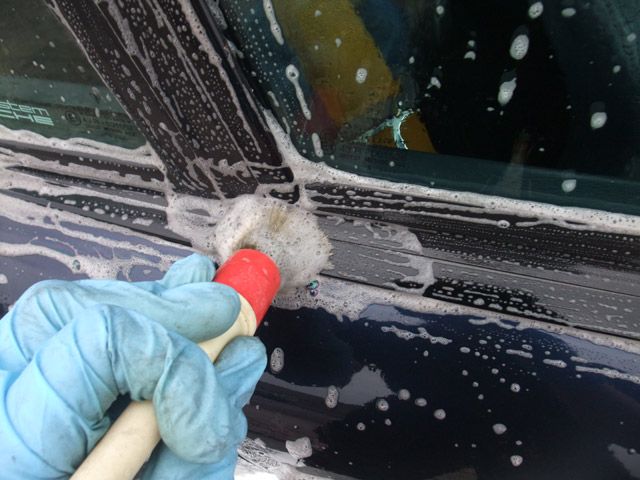
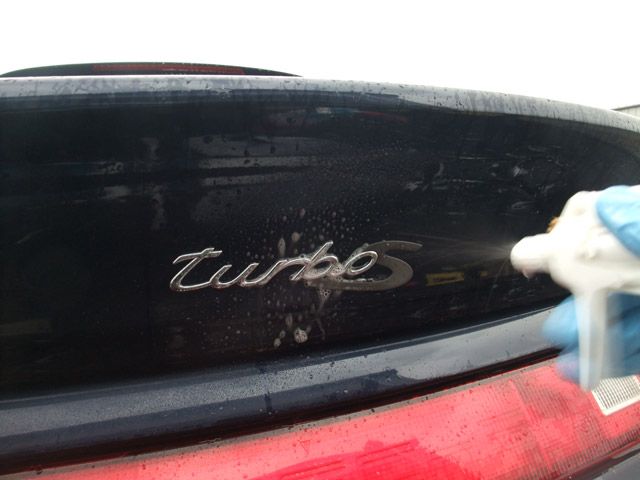
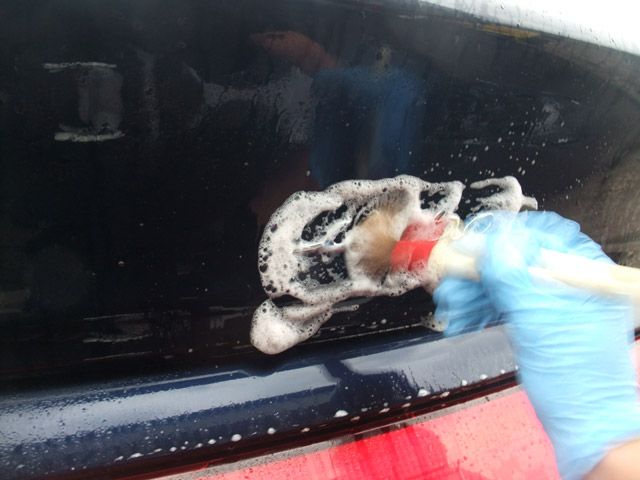
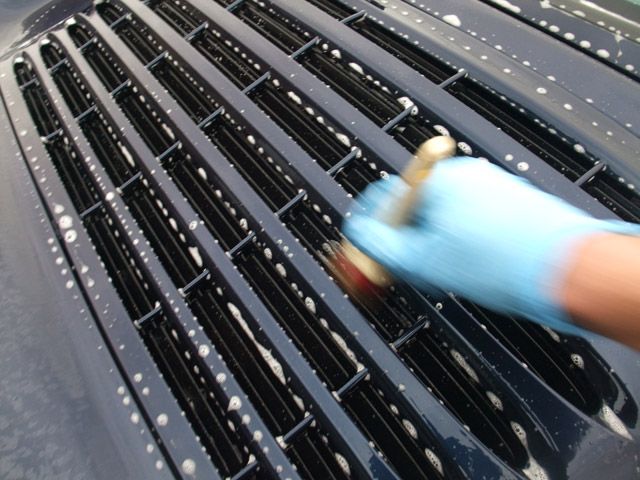
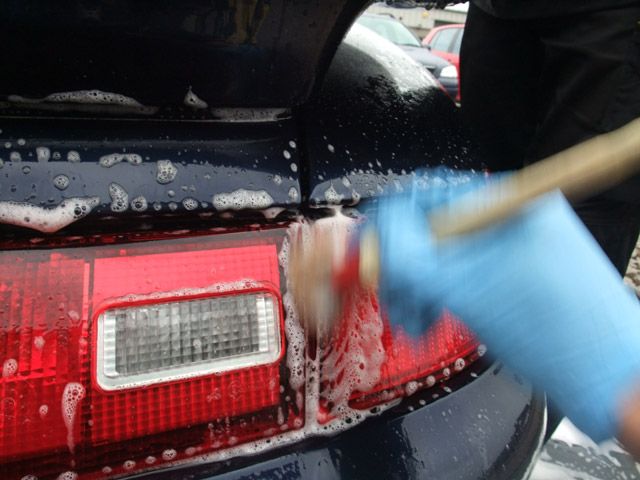
APC was then applied and agitated with Raceglaze Detailing brushes to clean all exterior trim/badge/shuts etc:

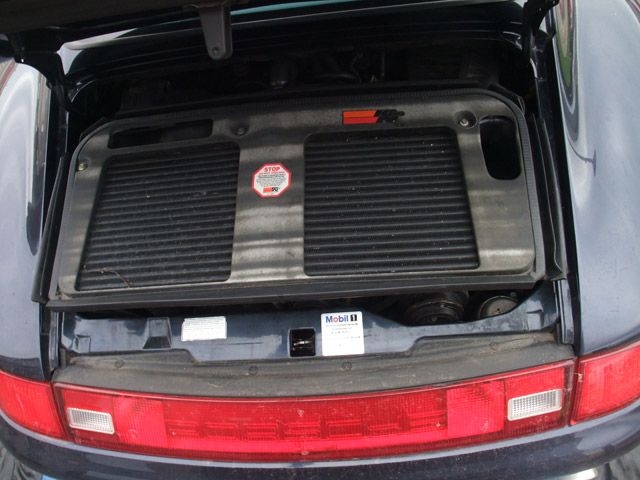
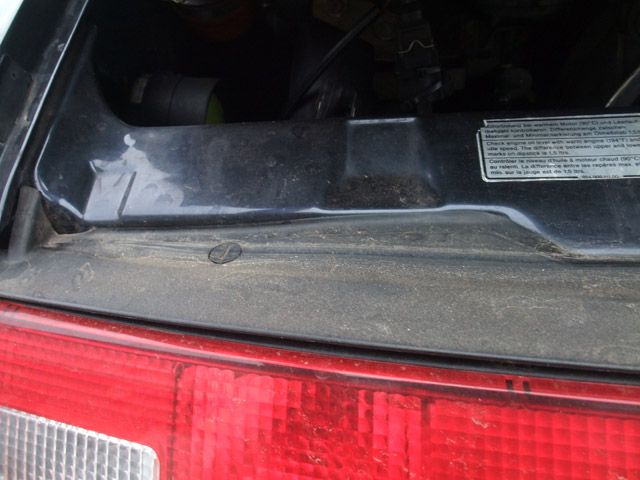
Engine bay was cleaned with Meguiars Super Degreaser:
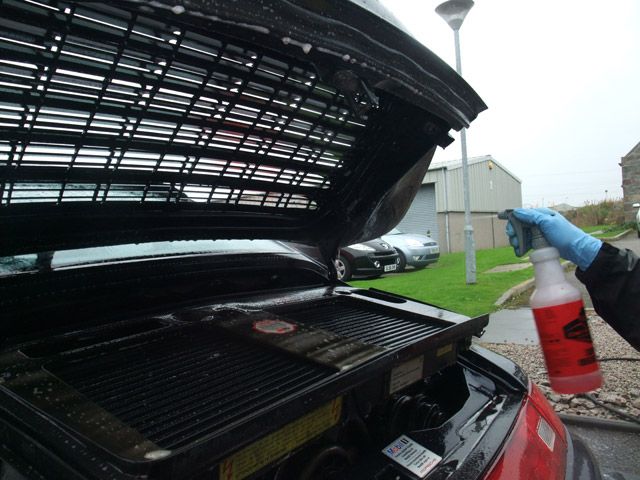
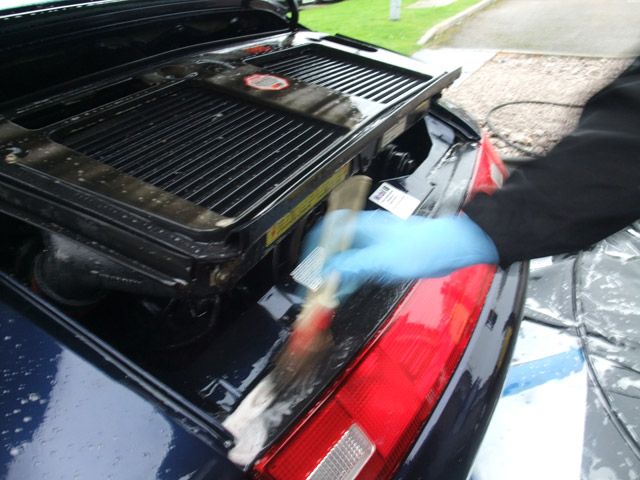
Not the most exciting engine to look at really!
The car was then washed with the 2 bucket method, Autosmart Tardis was used to remove some large tar deposits and then Iron Cut was applied to remove any iron contamination - no pics of this stage as it was really heavy with rain by now.
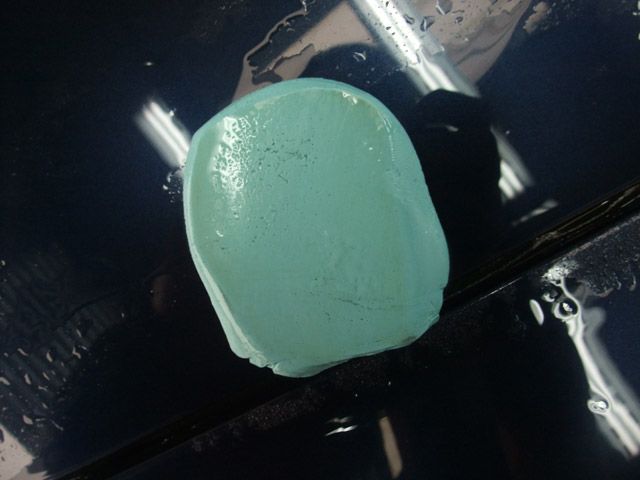
Inside, the car was clayed with Meguiars Mild which removed a little bit of contamination but not a huge amount:
After drying with PB towels and the Black Baron I turned my attention back to the wheels:
Process was as follows:
- Gloss-It wheel gel (4:1)
- Autosmart Tardis
- Iron Cut
- IPA wipe down
- Nanolex Professional Sealant
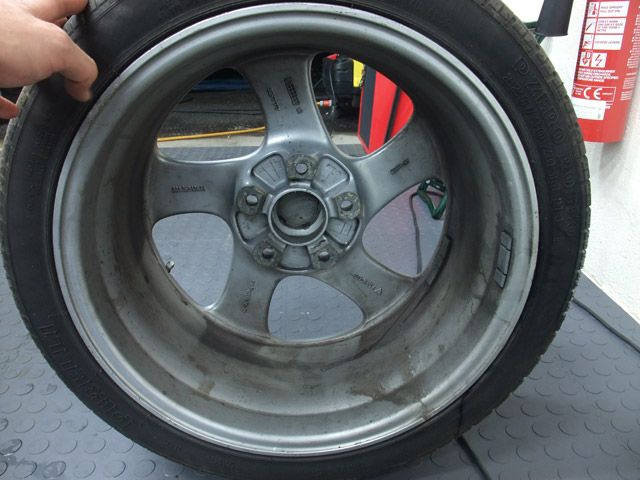
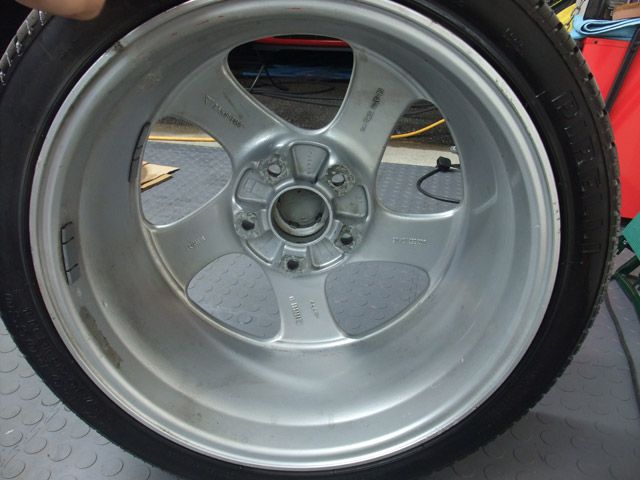
Unfortunately, the wheels had all been refurbished at some point and while the faces were pretty good the inner rims were really rough and a lot of dirt was trapped under the clear
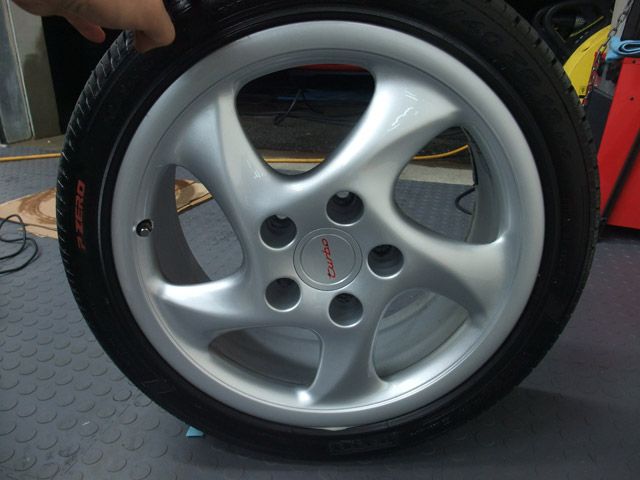
They came up pretty well considering:
However, you can see where old weight residue had been painted over:
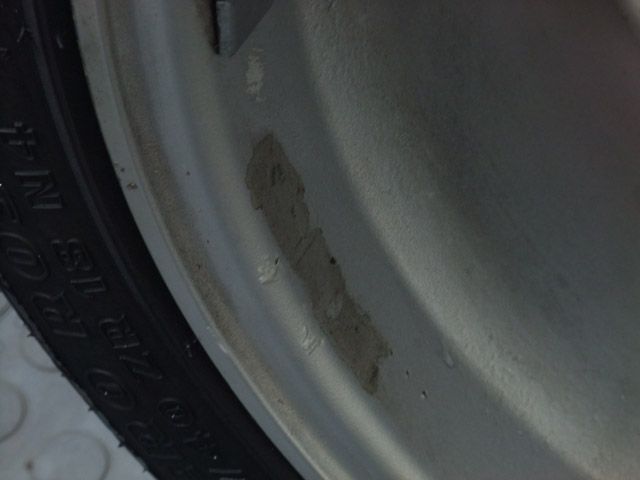
Seriously, how difficult would it be just to give the whole wheel a clean before painting?? This is one of the things that frustrates me the most and it's probably the same for detailers up and down the country.
The car by the owners own admission has had a hard life up to now, it's done over 90,000 miles, gets driven daily (even in winter) and pretty much every panel on the car has been painted at some point (to be fair 95% of it was done well although the after prep left a lot to be desired which we'll see in a minute!). He basically thought that most of the car was going to need a re-paint but I told him to leave the car with us for a week and hopefully by the end he'd be pleasantly surprised :thumb:
Anyways, enough of the blurb - let?s see some before shots:
One tired looking 911:
Someone's cat obviously likes to go for walks over the bonnet:
Couple of bird bombs:
Very "milky" looking paintwork in places:
The "big reds" were looking more a sad pinky colour!
The interior was pretty grubby in places too:
First job was to remove the wheels to clean the arches properly:
For some reason I don?t have an after pic at this stage
but you'll see later on that they were actually done :lol:The wheels were put back on but not cleaned yet as the sealant I was going to use can't get wet for several hours so they would get done once the car was inside.
So, APC through the foam lance at a temperature of approx 60/70 degrees:
Then rinsed off thoroughly:
APC was then applied and agitated with Raceglaze Detailing brushes to clean all exterior trim/badge/shuts etc:
Engine bay was cleaned with Meguiars Super Degreaser:
Not the most exciting engine to look at really!
The car was then washed with the 2 bucket method, Autosmart Tardis was used to remove some large tar deposits and then Iron Cut was applied to remove any iron contamination - no pics of this stage as it was really heavy with rain by now.
Inside, the car was clayed with Meguiars Mild which removed a little bit of contamination but not a huge amount:
After drying with PB towels and the Black Baron I turned my attention back to the wheels:
Process was as follows:
- Gloss-It wheel gel (4:1)
- Autosmart Tardis
- Iron Cut
- IPA wipe down
- Nanolex Professional Sealant
Unfortunately, the wheels had all been refurbished at some point and while the faces were pretty good the inner rims were really rough and a lot of dirt was trapped under the clear
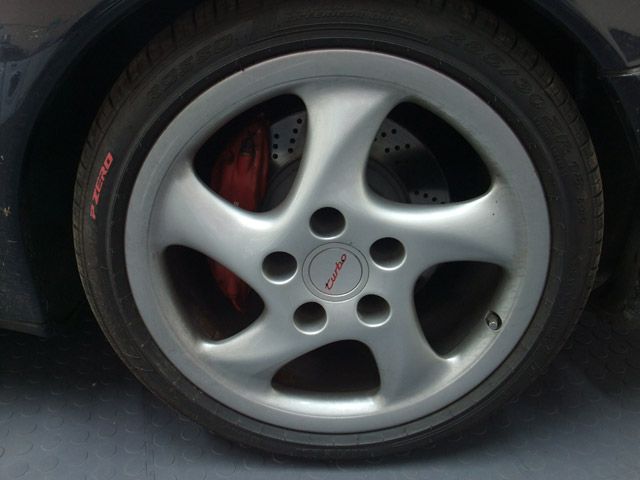
They came up pretty well considering:
However, you can see where old weight residue had been painted over:
Seriously, how difficult would it be just to give the whole wheel a clean before painting?? This is one of the things that frustrates me the most and it's probably the same for detailers up and down the country.
imported_Clark
New member
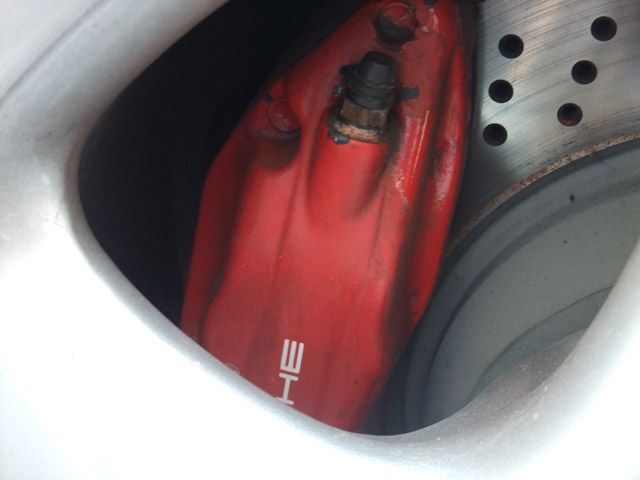
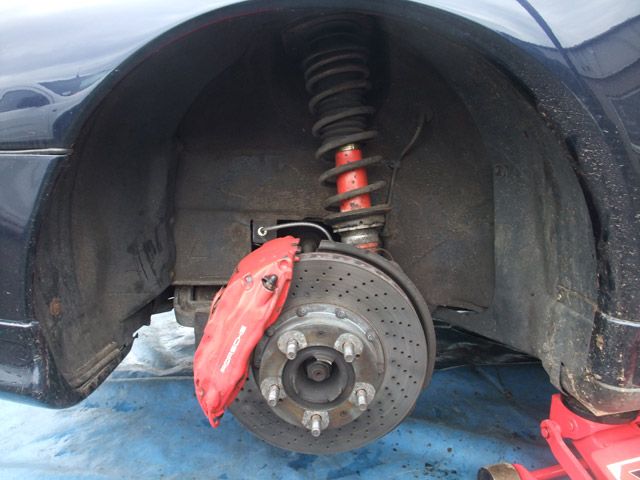
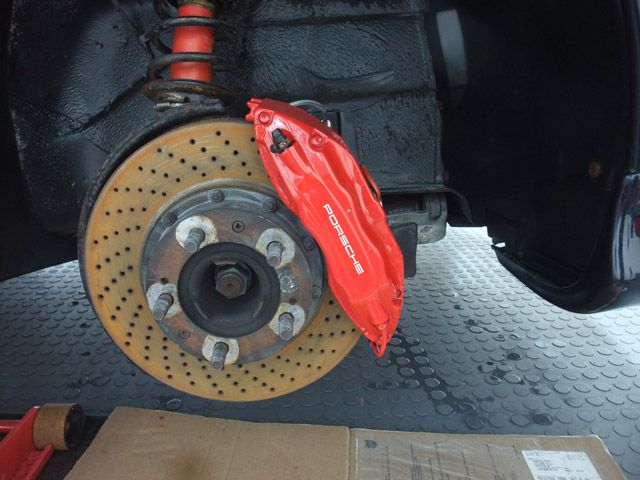
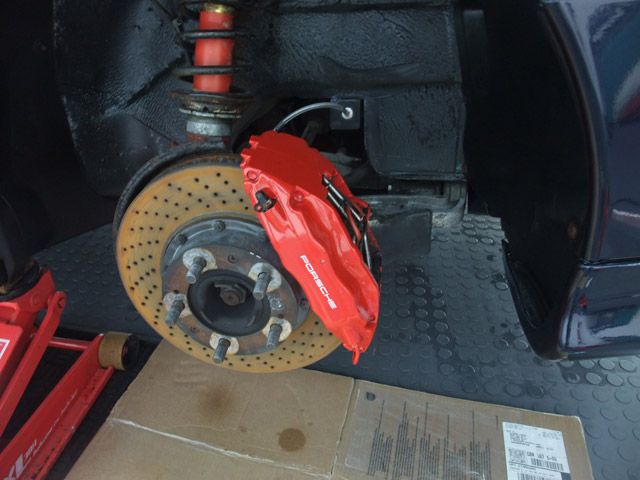
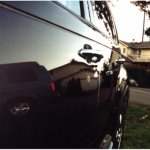
While the wheels were off I decided I needed to do something about those calipers, so we went from this...
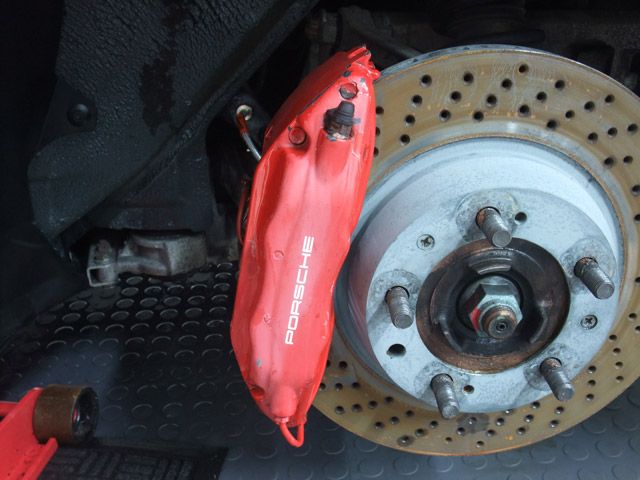
...To this...
This was achieved by removing any flaking bits of clear coat (if there's any left!)...
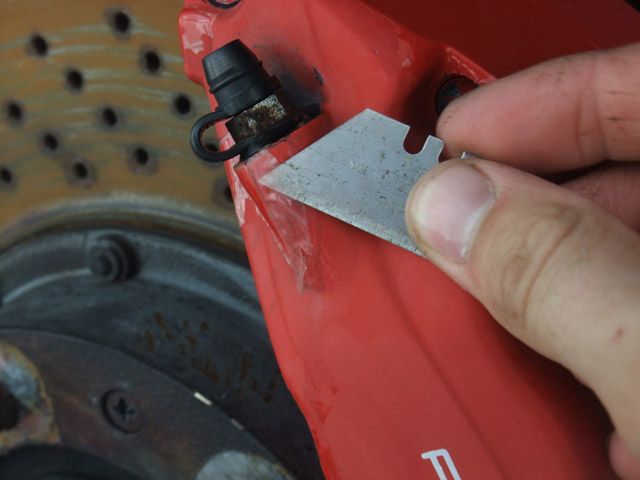
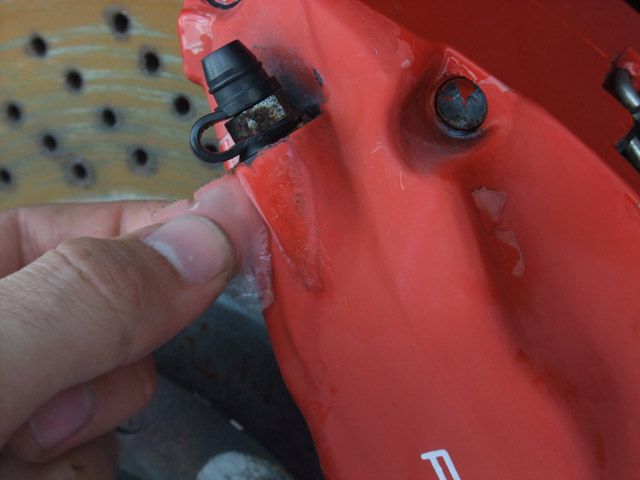
Then touch in any chips (Ford Colorado Red is a 99% match for these by the way :thumb") and apply several (think I applied 6 to each!) coats of lacquer...
and apply several (think I applied 6 to each!) coats of lacquer...
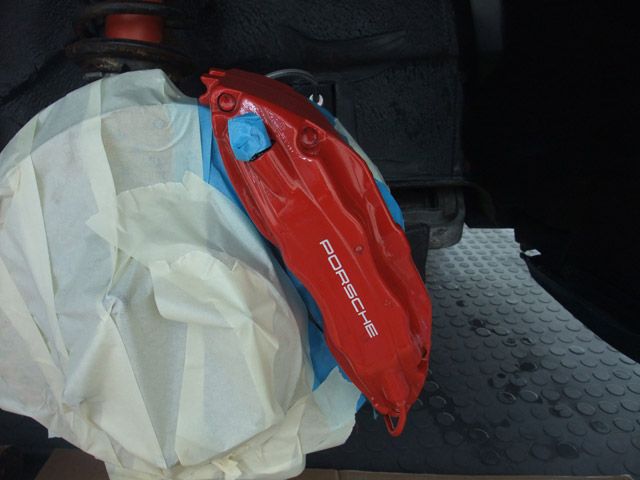
Et Voila!
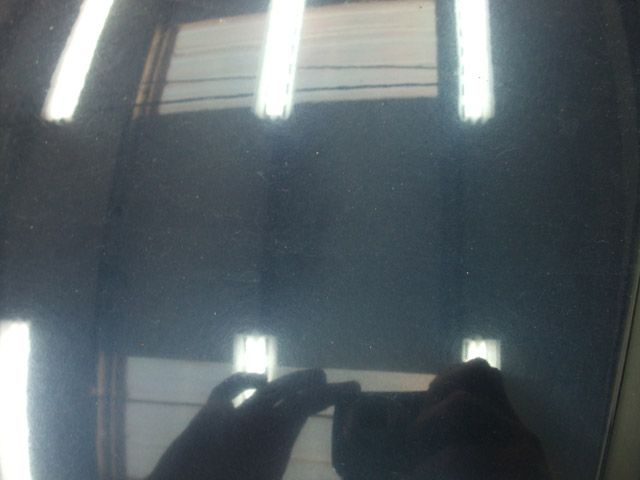
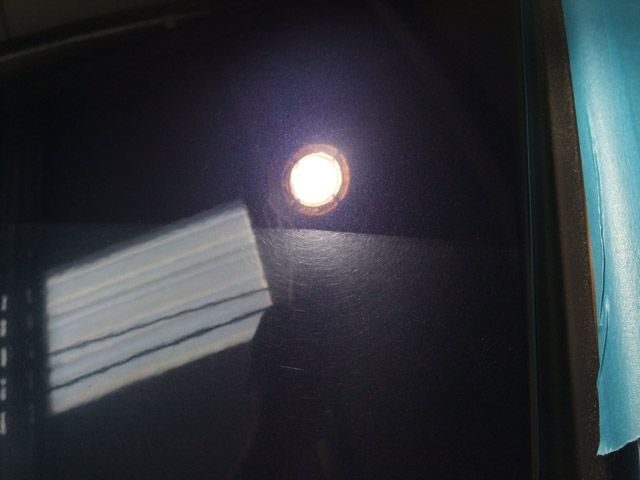
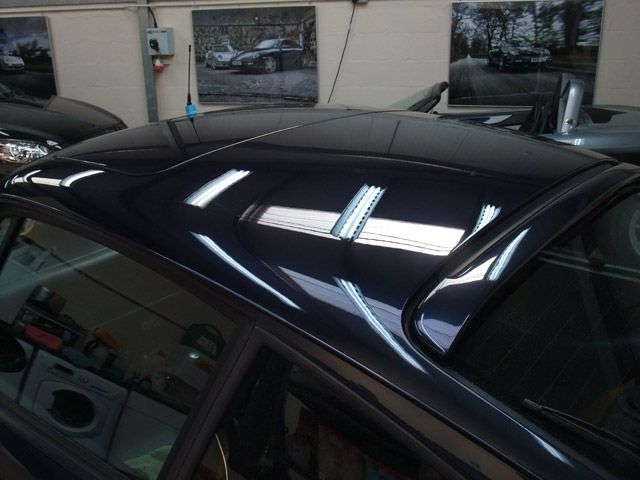
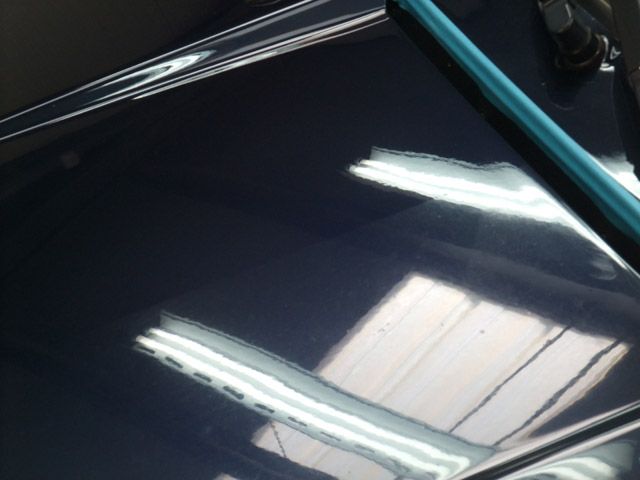
Once all 4 corners were done it was finally time to turn to the paintwork:
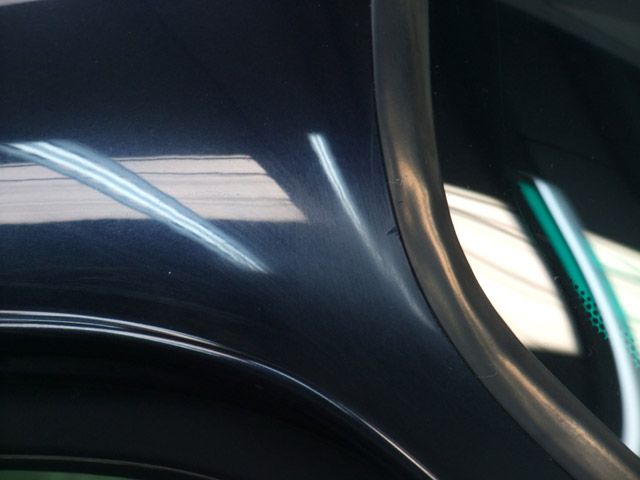
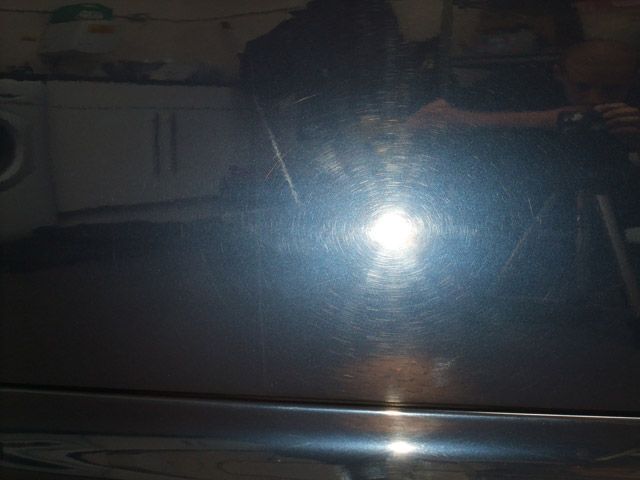

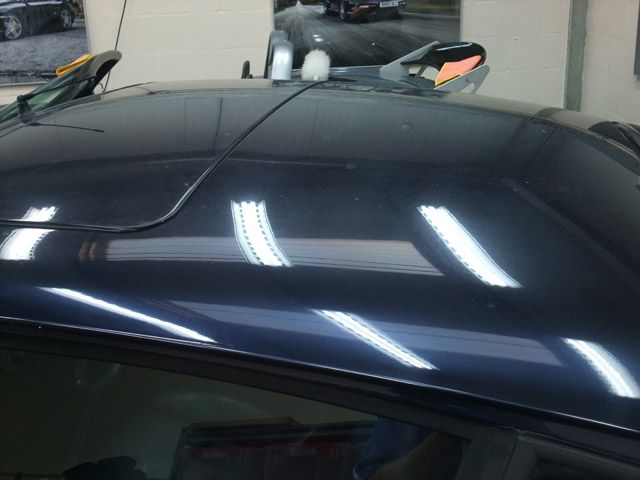
That "milky" look on the roof was actually DA sanding marks!
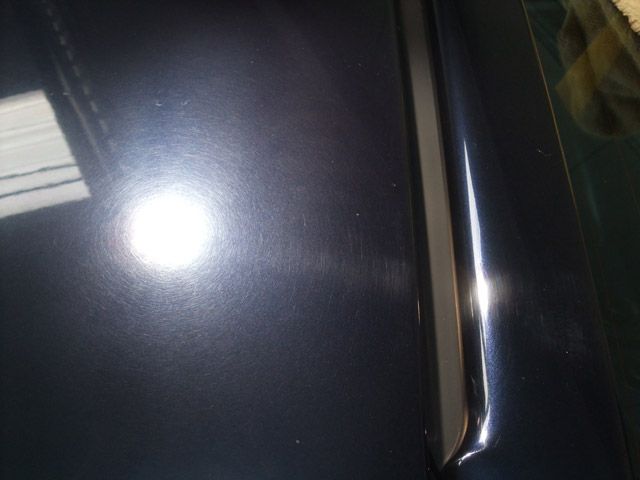
Mmmmm nice!
Paint thickness readings were all over the place with this car, the lowest readings were mid 200's with the highest spots up and over 1000 microns!
With the roof being one of the worst places for defects I chose this as a good start for a test section to determine what polish & pad combo I would need.
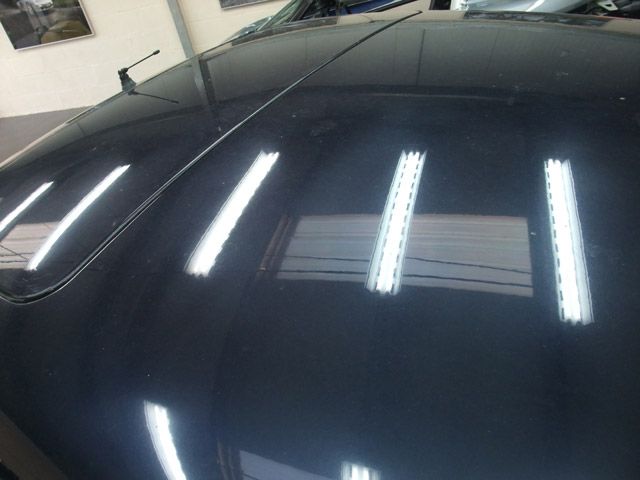
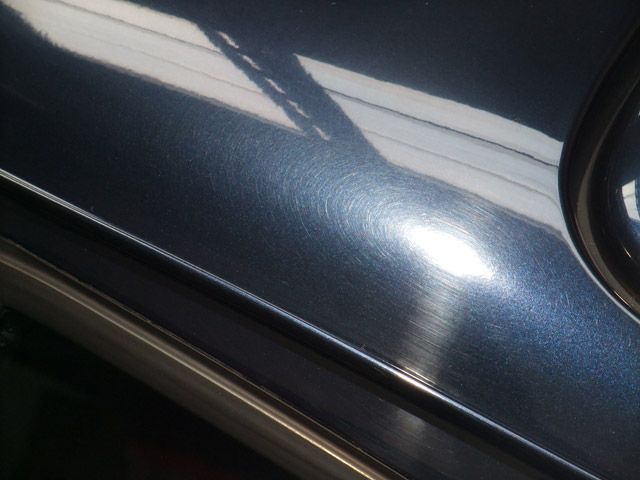
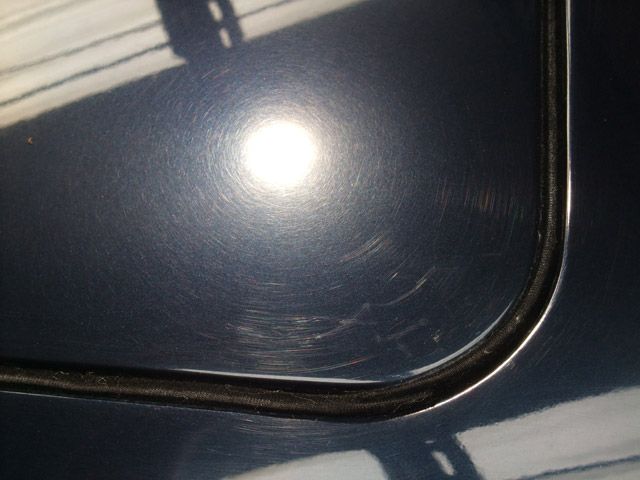
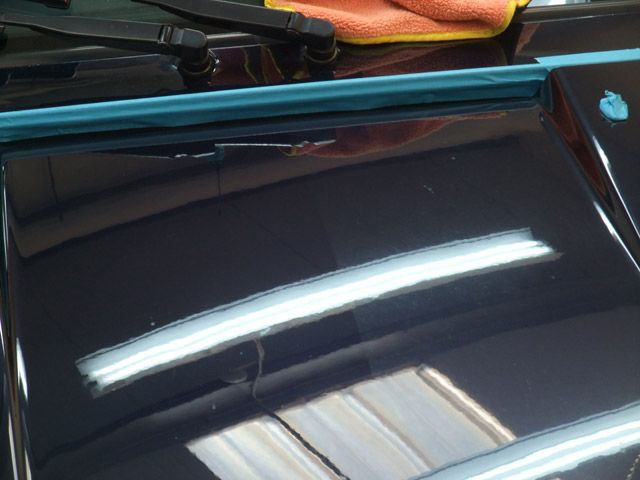
In the end, 2 hits of Menzerna 3.02 with an Orange Lake Country Hydrotech pad @1800rpm's gave surprisingly good results...
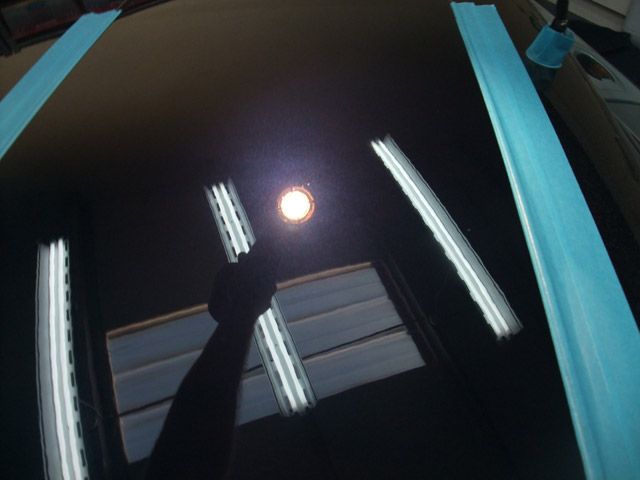
That's the good thing with a resprayed panel, sometimes it won't always be as hard as the original paint would have been and this was the case with the 911 - I'd say it was of medium hardness over the majority of the car and not once did I have to go any more aggressive than 3.02
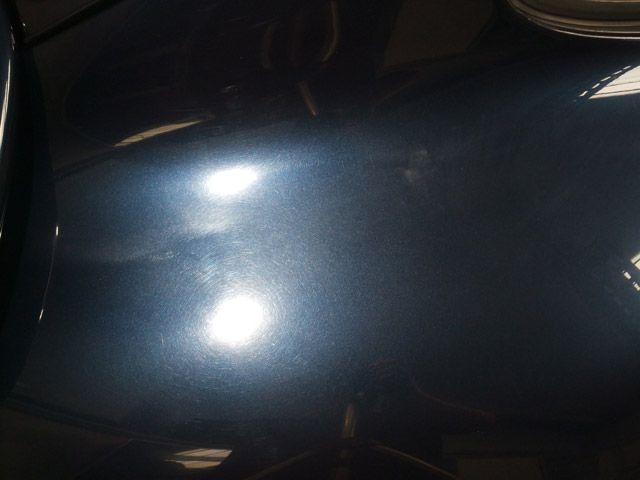
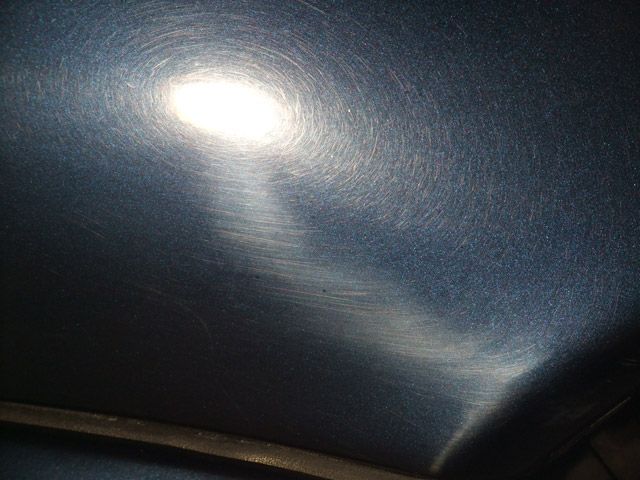
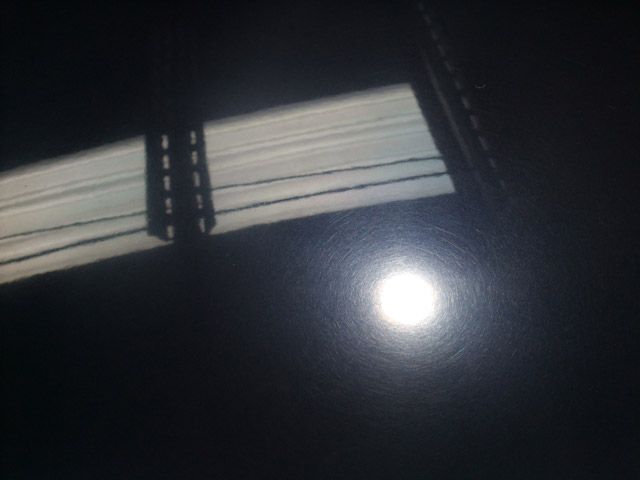
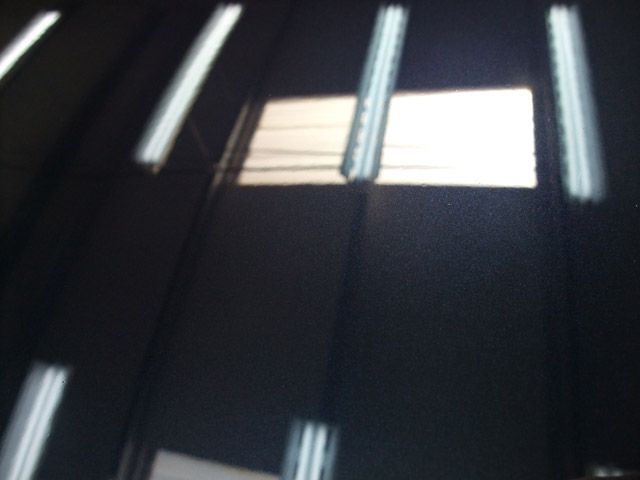
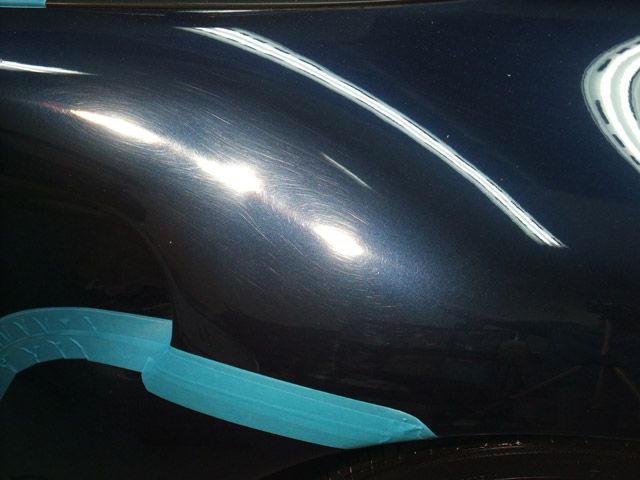
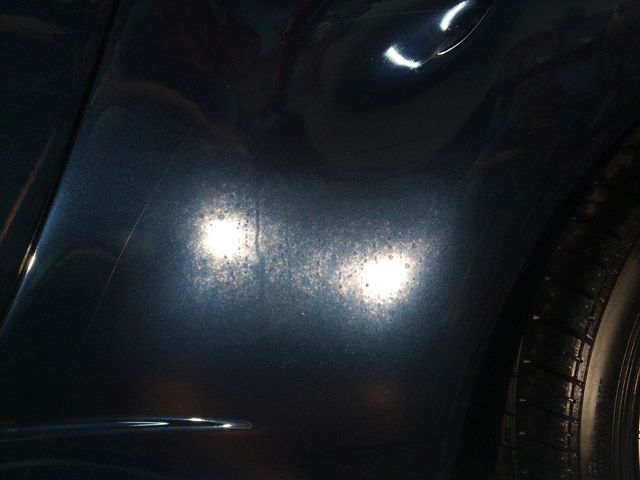
This was typically the level of defect left in:
Paint levels being what they were, it would have been possible to safely remove these if it had been a Ne Plus Ultra level of detail but the owner wanted it capped at 5 days to stay within budget so we had to find a good compromise :thumb:
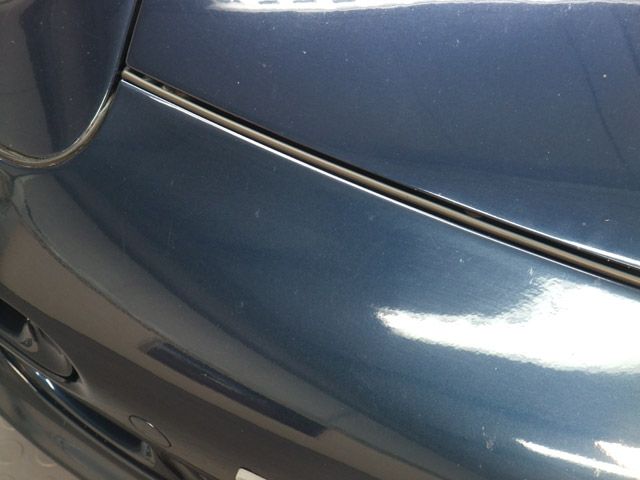
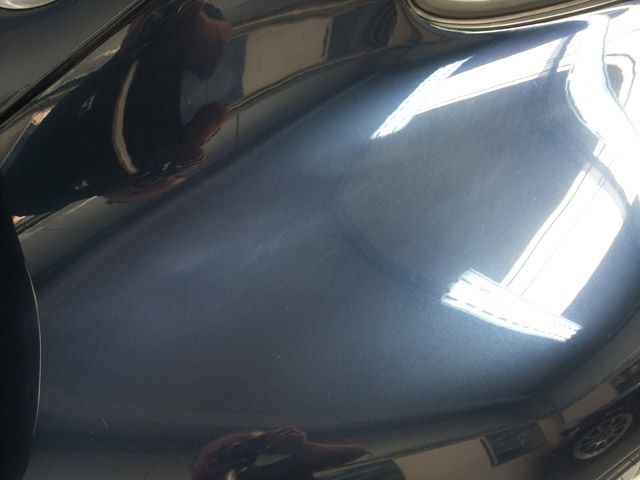
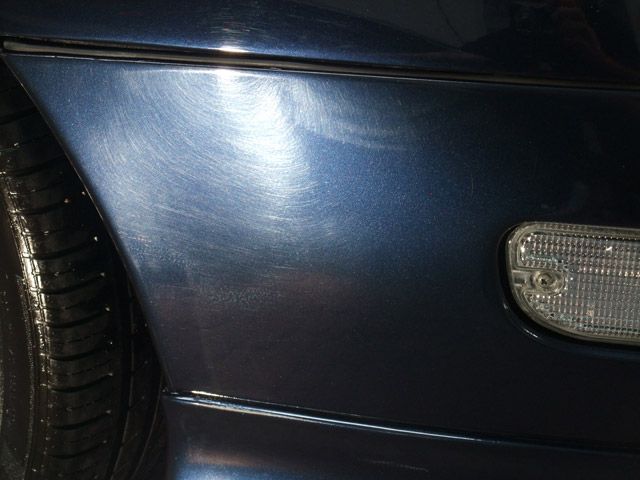
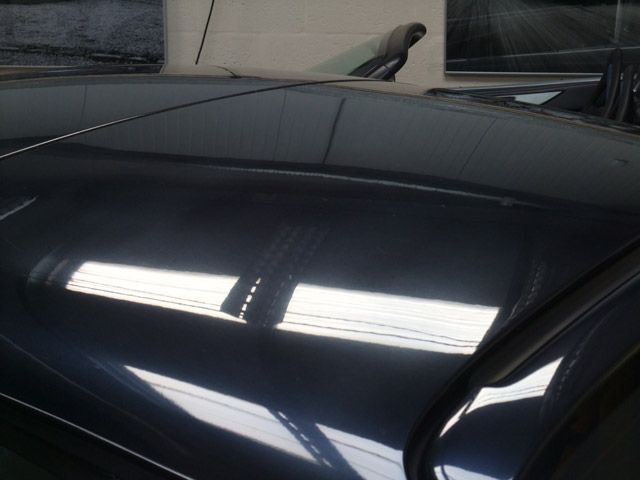
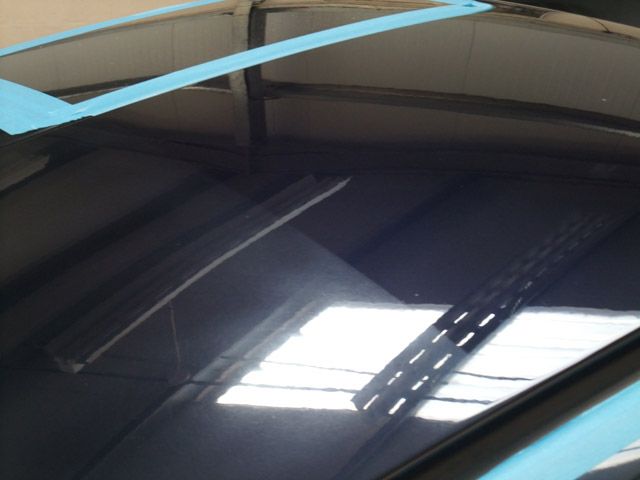
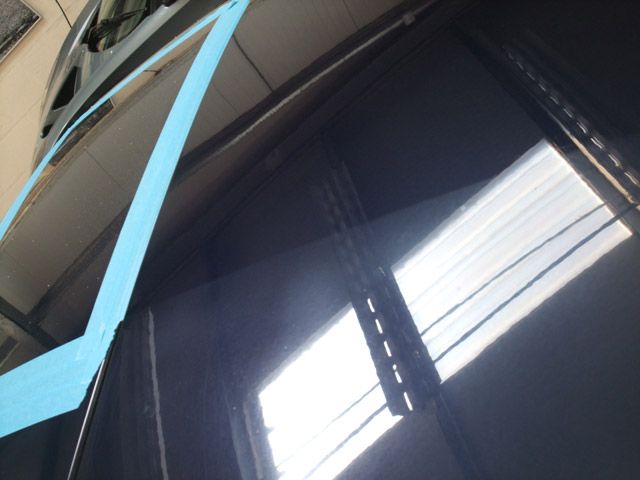
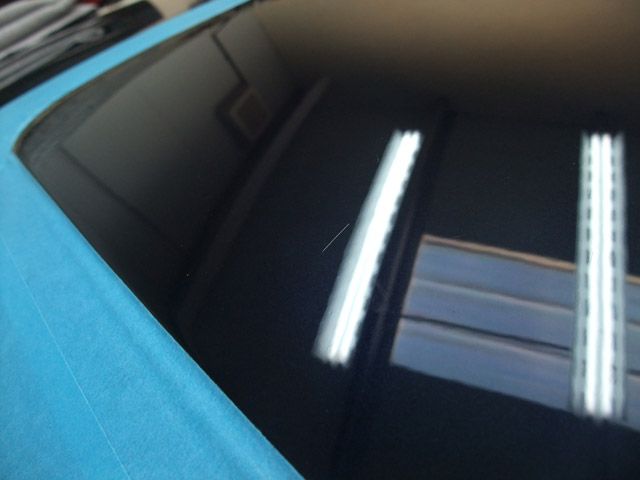
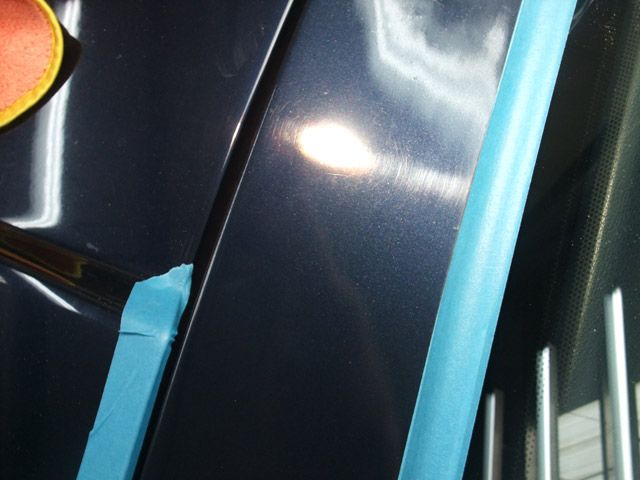
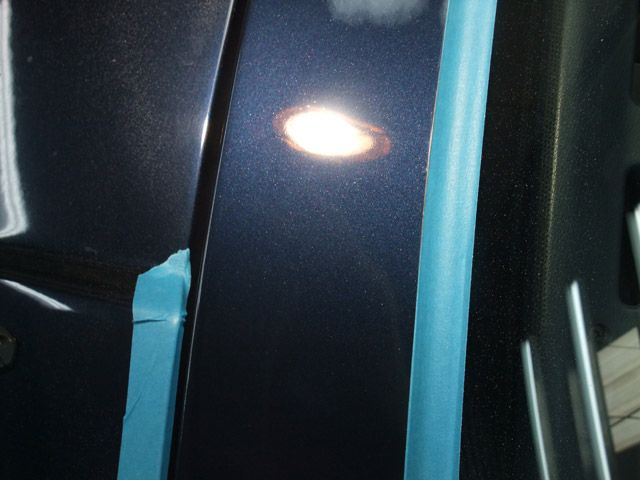
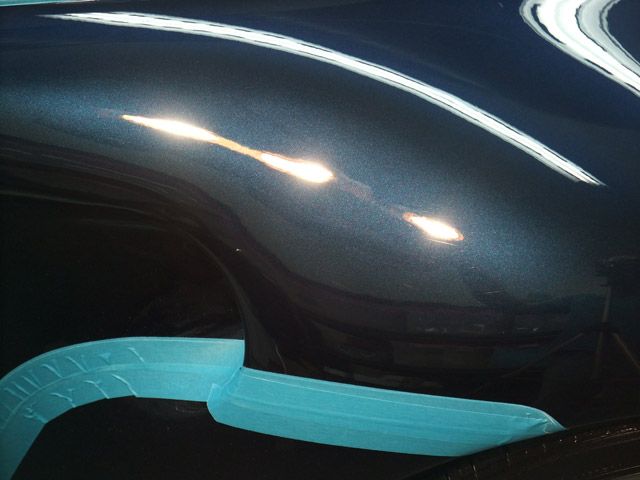
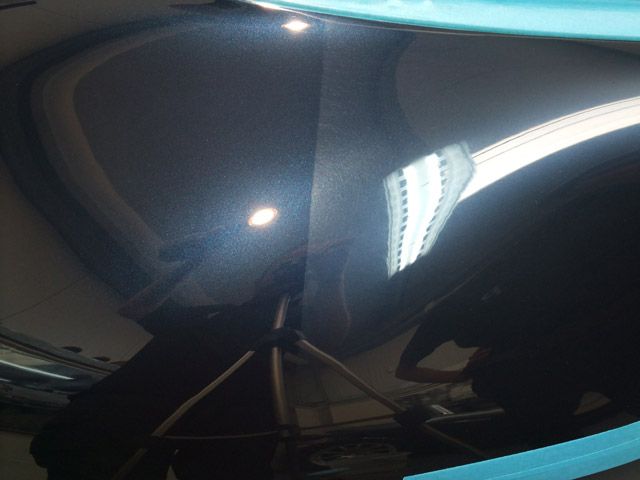
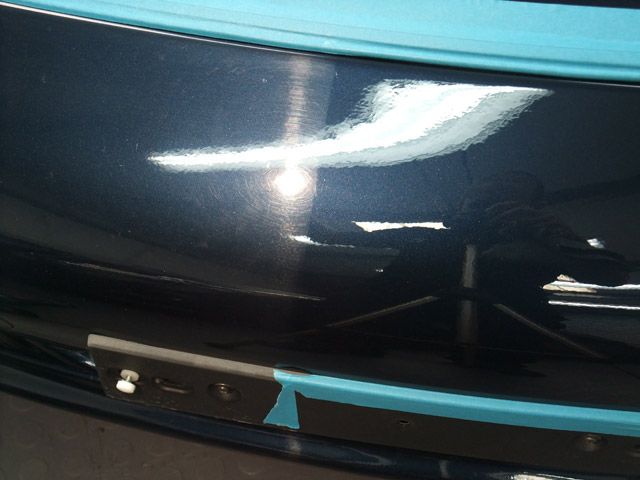
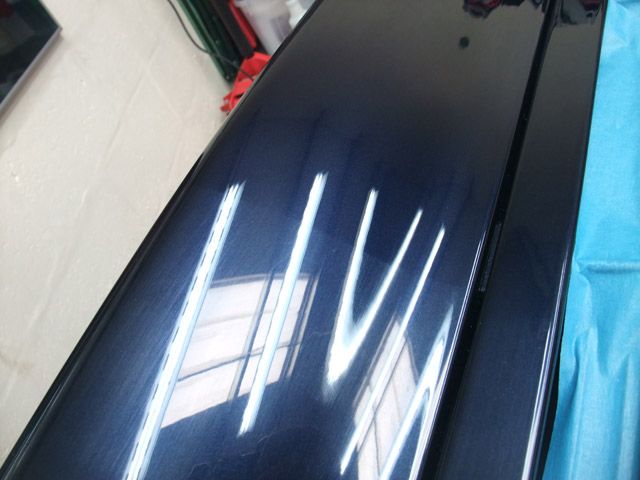
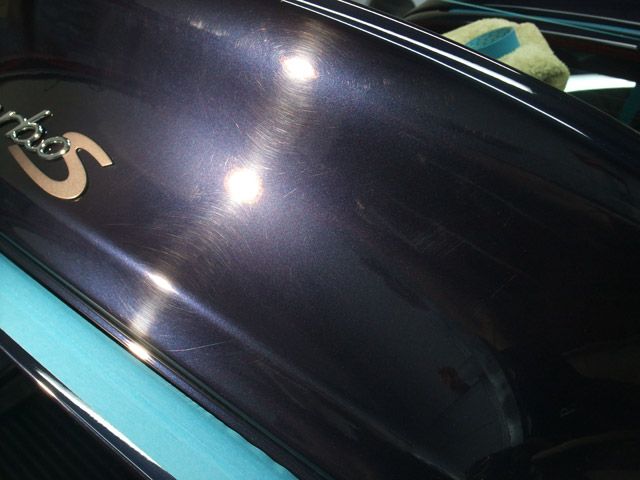
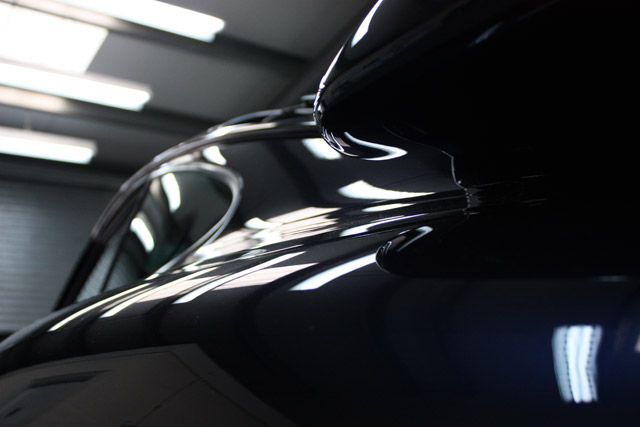
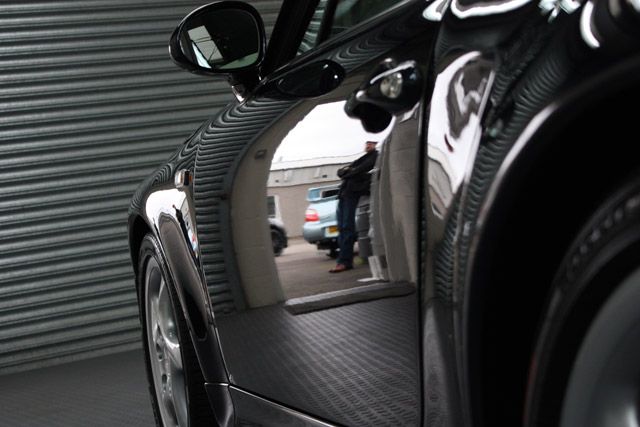
Here's a before and after showing the difference in the clarity of the paint:
Before:
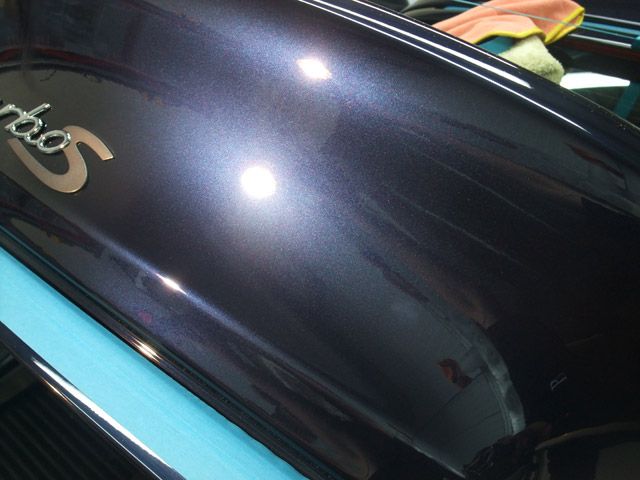
Milkyness gone
A few more before and afters:
Before:
After:
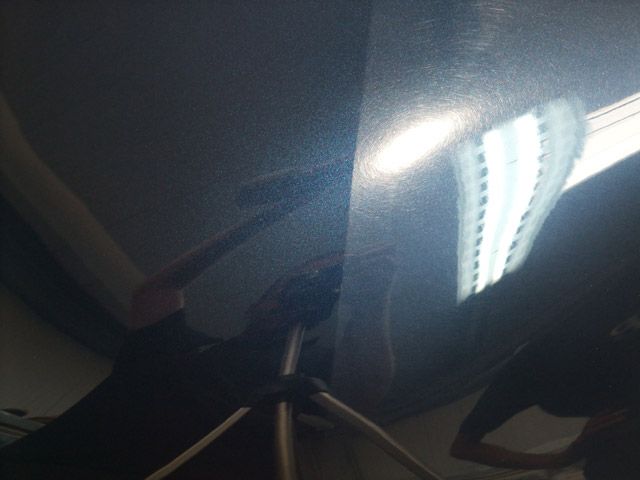
Before:
After:
Before:
After:
Few 50/50's:

...To this...
This was achieved by removing any flaking bits of clear coat (if there's any left!)...
Then touch in any chips (Ford Colorado Red is a 99% match for these by the way :thumb
and apply several (think I applied 6 to each!) coats of lacquer...
Et Voila!
Once all 4 corners were done it was finally time to turn to the paintwork:
That "milky" look on the roof was actually DA sanding marks!
Mmmmm nice!
Paint thickness readings were all over the place with this car, the lowest readings were mid 200's with the highest spots up and over 1000 microns!
With the roof being one of the worst places for defects I chose this as a good start for a test section to determine what polish & pad combo I would need.
In the end, 2 hits of Menzerna 3.02 with an Orange Lake Country Hydrotech pad @1800rpm's gave surprisingly good results...
That's the good thing with a resprayed panel, sometimes it won't always be as hard as the original paint would have been and this was the case with the 911 - I'd say it was of medium hardness over the majority of the car and not once did I have to go any more aggressive than 3.02
This was typically the level of defect left in:
Paint levels being what they were, it would have been possible to safely remove these if it had been a Ne Plus Ultra level of detail but the owner wanted it capped at 5 days to stay within budget so we had to find a good compromise :thumb:
Here's a before and after showing the difference in the clarity of the paint:
Before:
Milkyness gone
A few more before and afters:
Before:
After:
Before:
After:
Before:
After:
Few 50/50's:
imported_Clark
New member
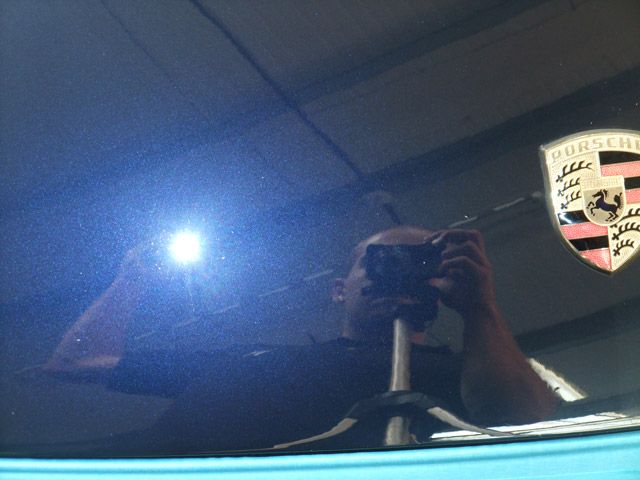
Bonnet under the Sun Gun:
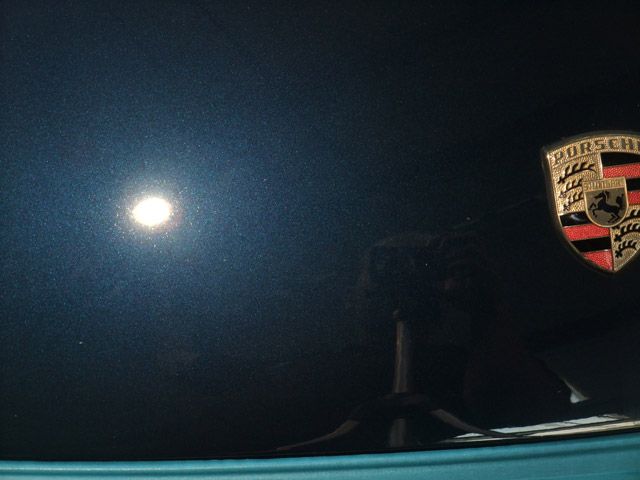
And under the Aquartz light:
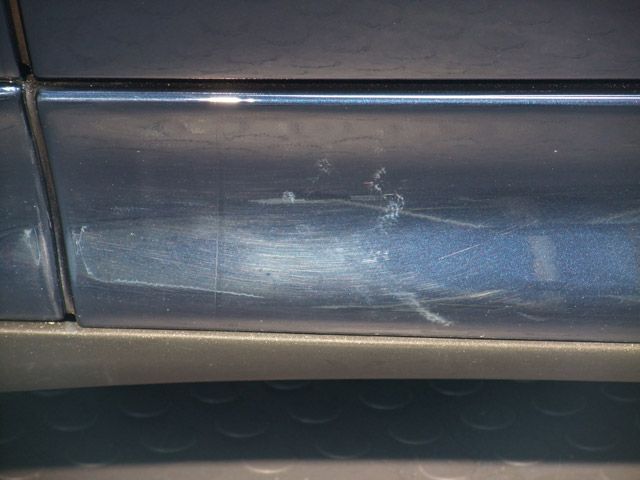
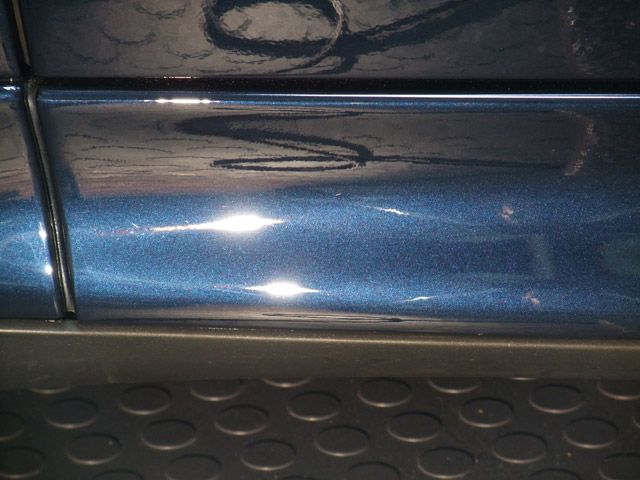
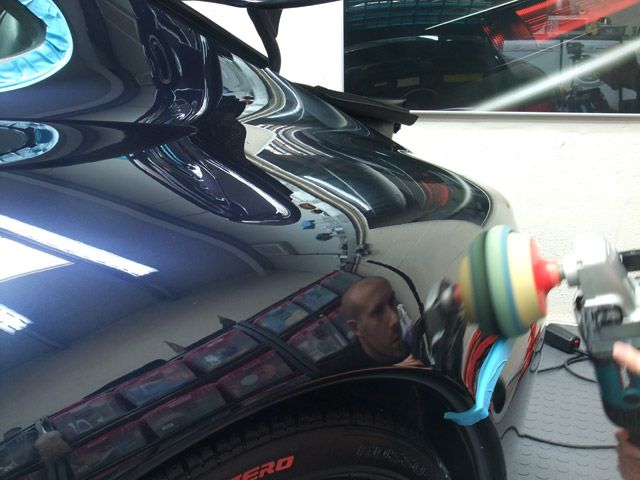
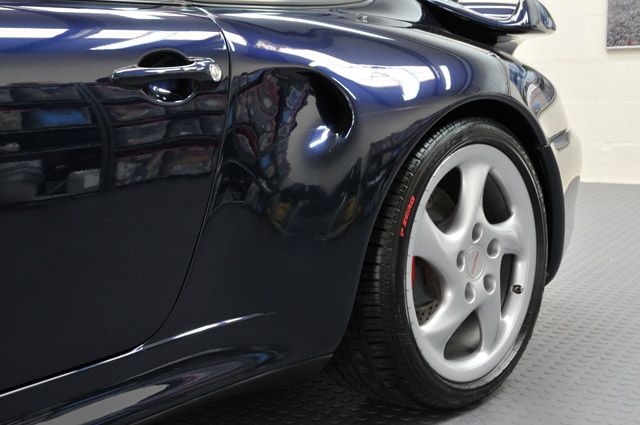
The paint protection film on the rear quarters were polished with Menzerna 203S @1200rpm's:
Before:
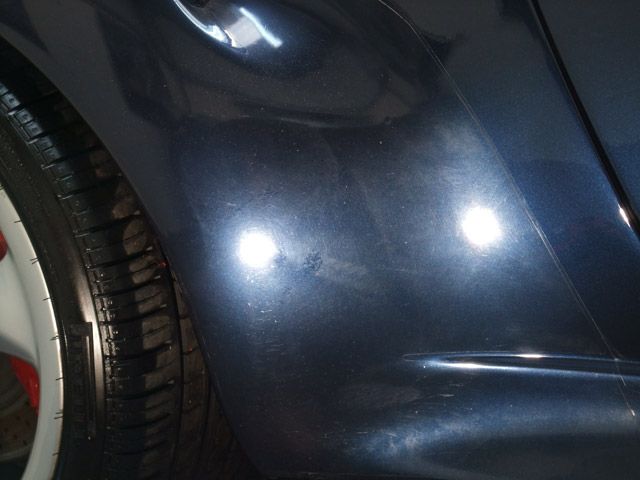
After:
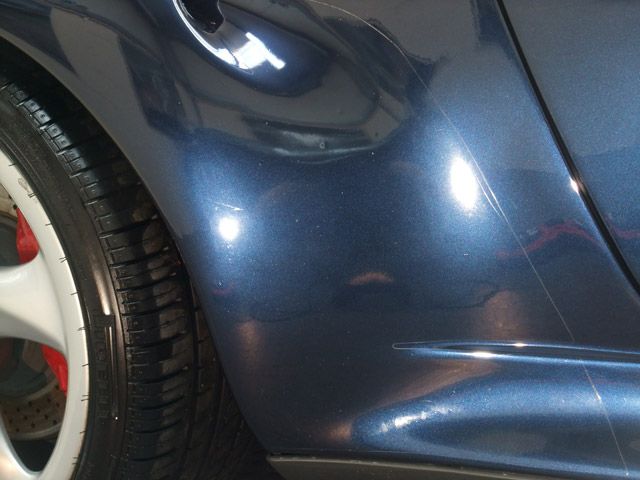
The Passenger side one didn't correct as well as the driver?s side though. I tried a few different things with no change other than the slight increase of clarity:
Before:
After:
The smaller pads were handy as ever on this one:

Rear bumper after, again showing 1 or 2 deeper randoms which were left:
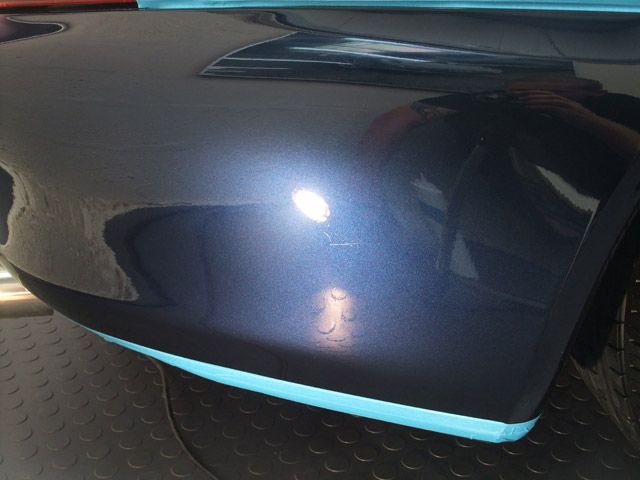
Before:
After:
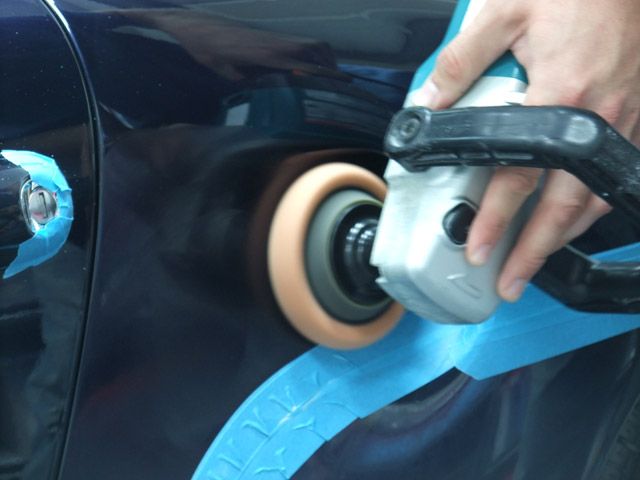
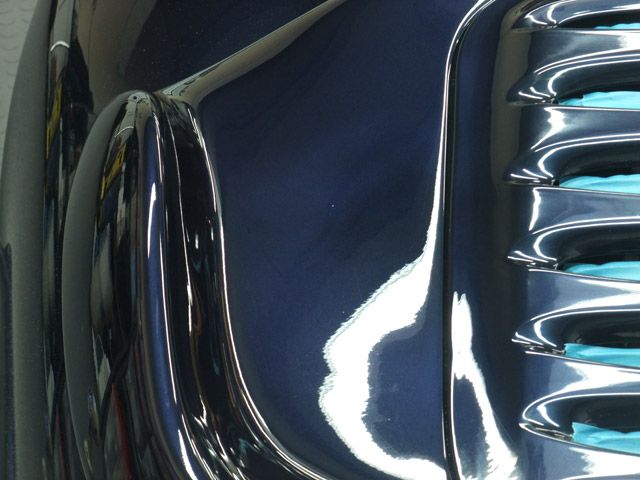
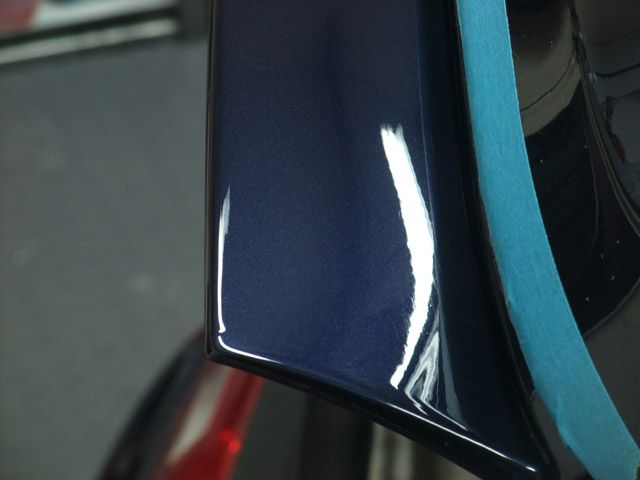
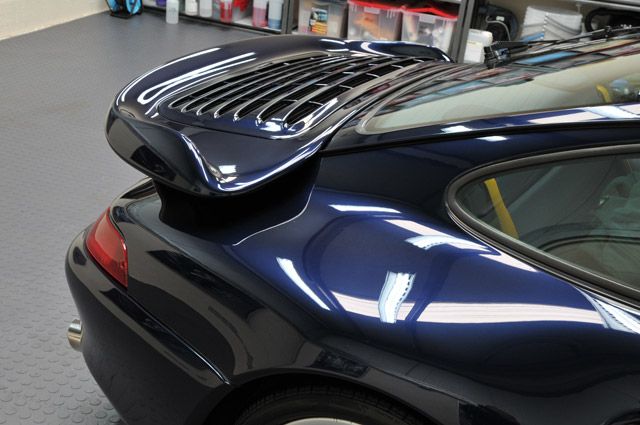
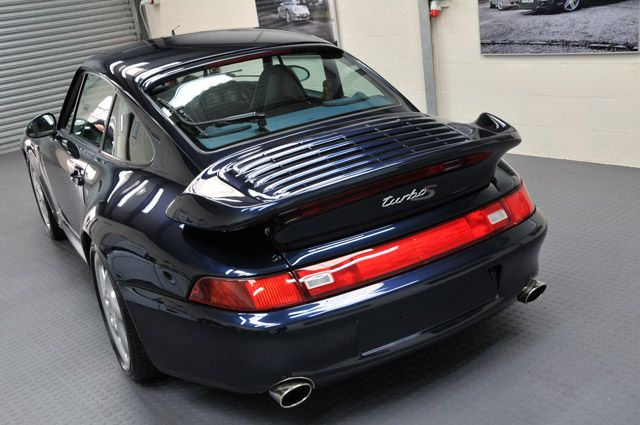
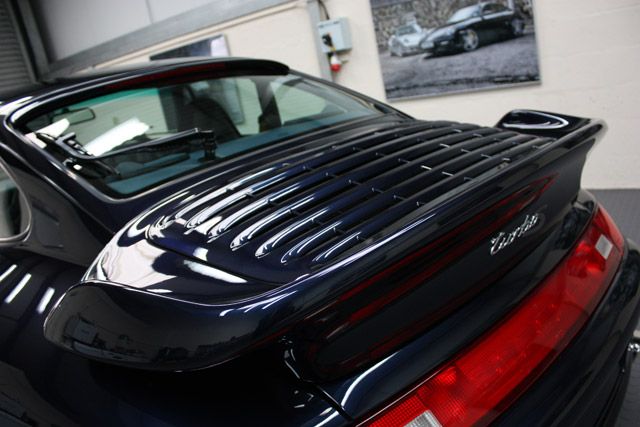
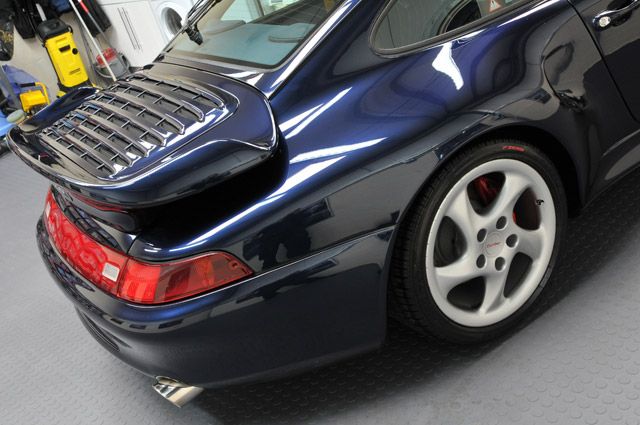
The Turbo spoilers are always a 2 second job to mask up! Not...
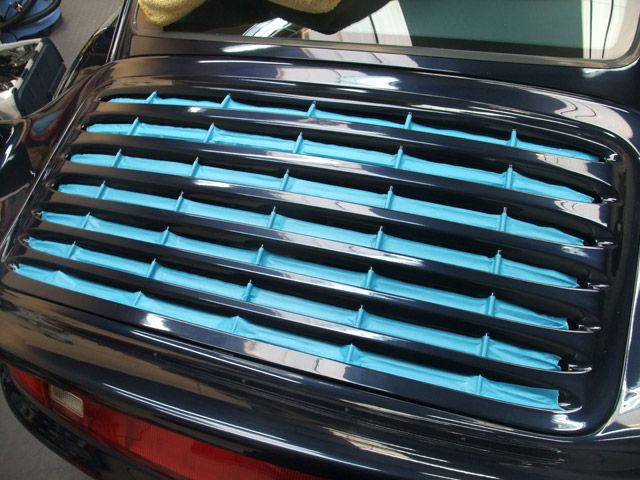
The top part with all the vents can actually be unclipped but this one had the "pull me much further and I'm going to snap in half" feel about it so I left it in place
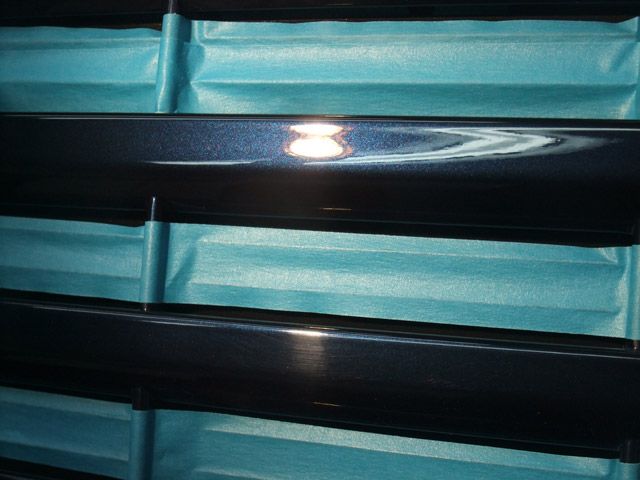
50/50:
Gloss-It Light Cut spot pad was used for these bits:
Before:
After:
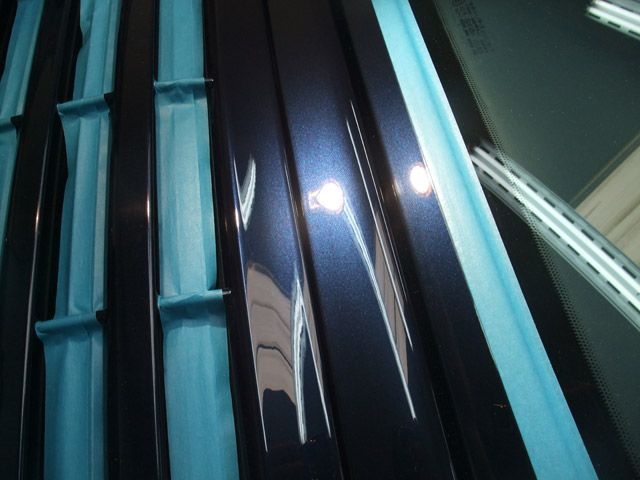
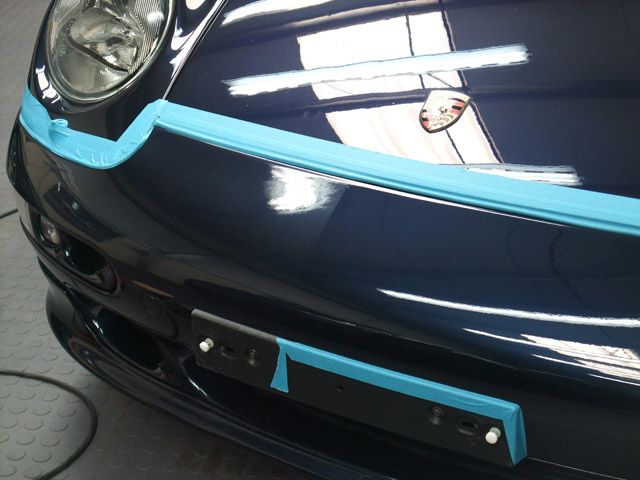
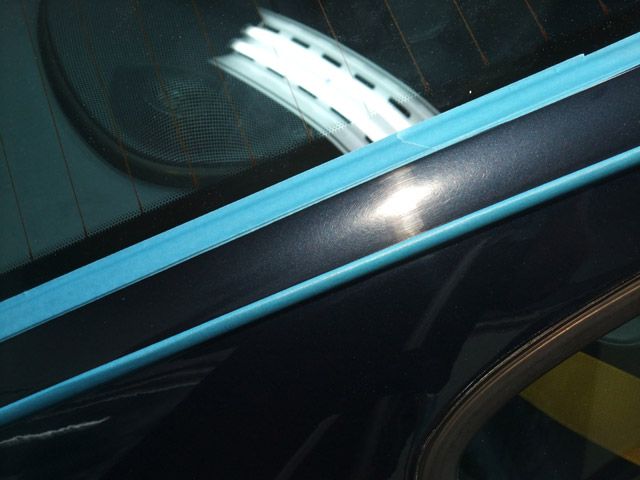
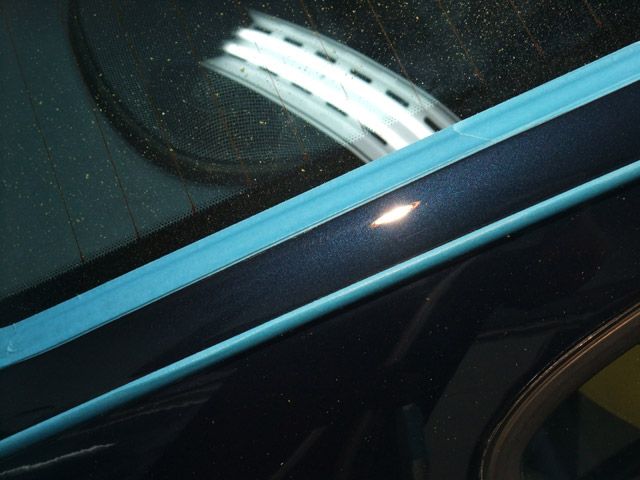
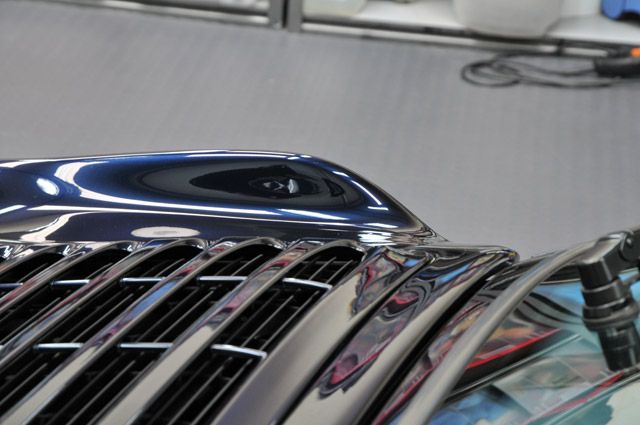
I always try to get the masking tape as close to or even tucked under the trims where possible as it prevents you from leaving a slightly duller masking line once removed:
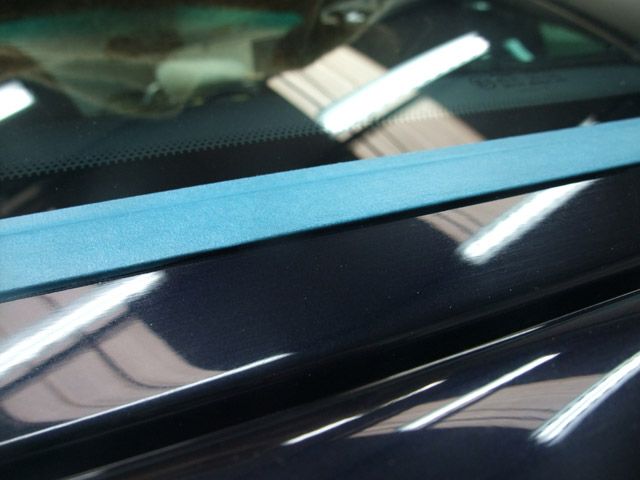
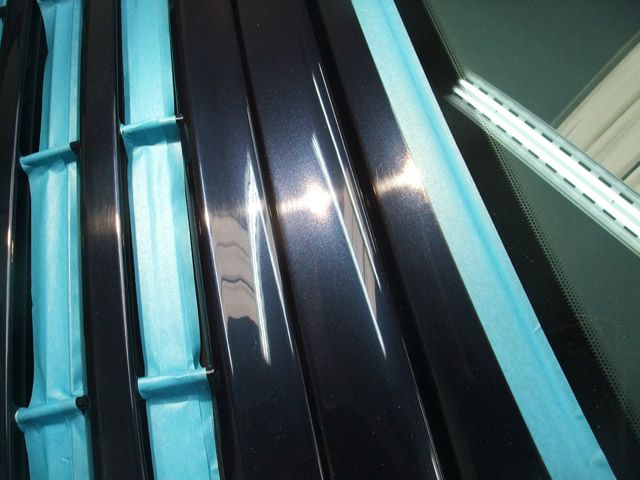
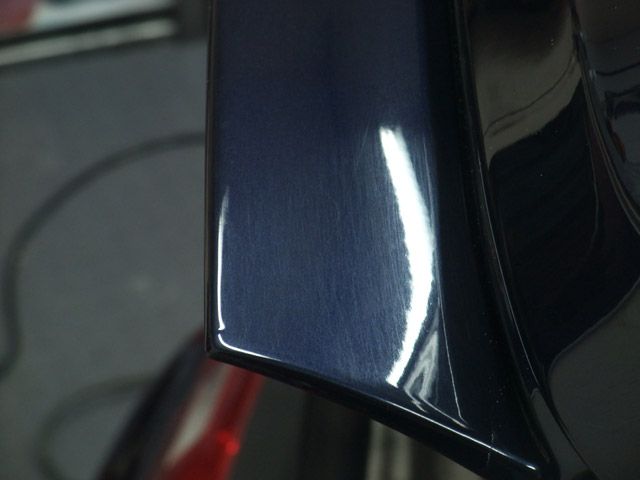
Top part corrected, lower part untouched:
Before:
After:
Before:
After:
Before:
After:
C Pillar before:
After:
And under the Aquartz light:
The paint protection film on the rear quarters were polished with Menzerna 203S @1200rpm's:
Before:
After:
The Passenger side one didn't correct as well as the driver?s side though. I tried a few different things with no change other than the slight increase of clarity:
Before:
After:
The smaller pads were handy as ever on this one:
Rear bumper after, again showing 1 or 2 deeper randoms which were left:
Before:
After:
The Turbo spoilers are always a 2 second job to mask up! Not...
The top part with all the vents can actually be unclipped but this one had the "pull me much further and I'm going to snap in half" feel about it so I left it in place
50/50:
Gloss-It Light Cut spot pad was used for these bits:
Before:
After:
I always try to get the masking tape as close to or even tucked under the trims where possible as it prevents you from leaving a slightly duller masking line once removed:
Top part corrected, lower part untouched:
Before:
After:
Before:
After:
Before:
After:
C Pillar before:
After:
imported_Clark
New member
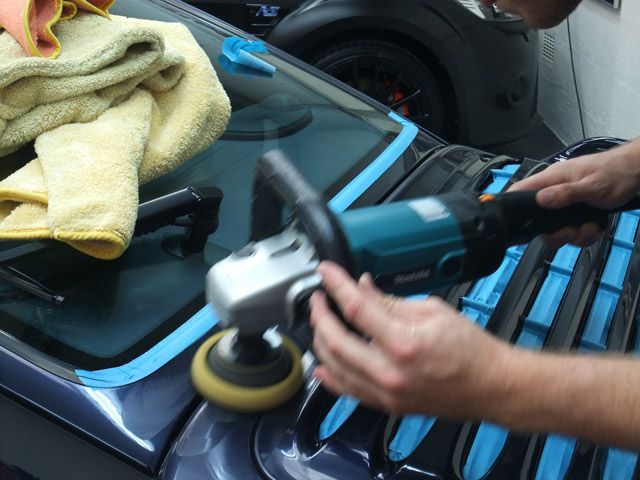
Once all the correction work was done I refined the finish with a Lake Country polishing pad and Menzerna 85RE @1500rpm's:
The paint was then dusted down and given a thorough IPA wipe down...
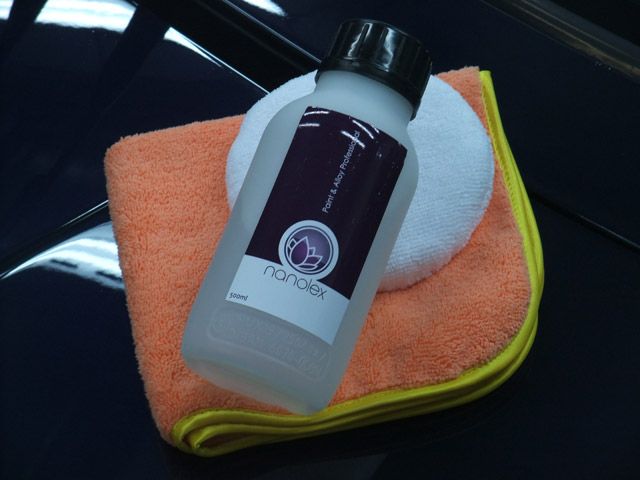
...followed by an application of Nanolex Professional:
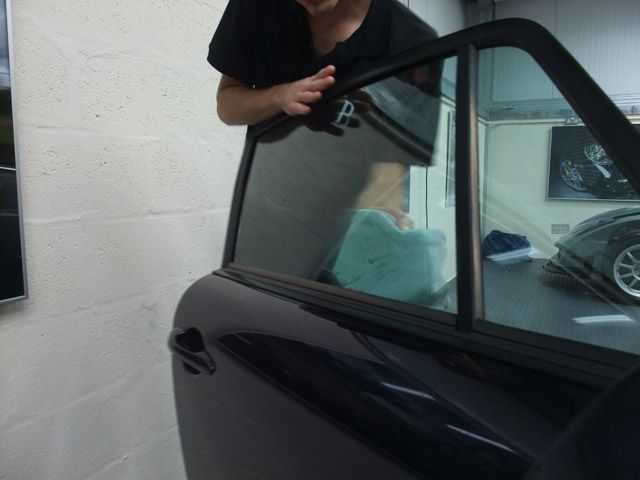
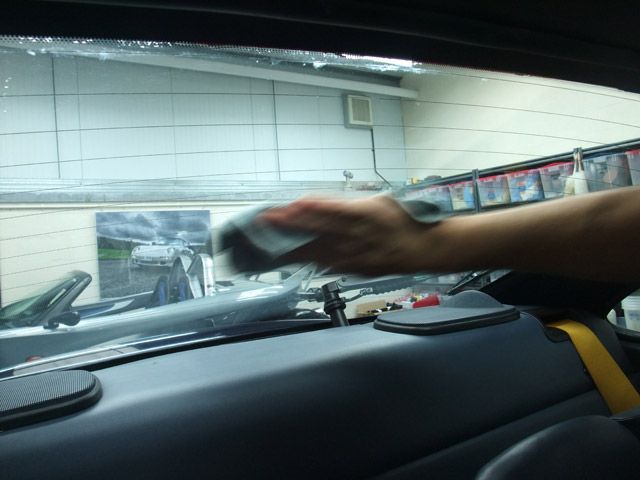
Nanolex was also applied to the exterior glass while 3M Glass cleaner was used for the interior:
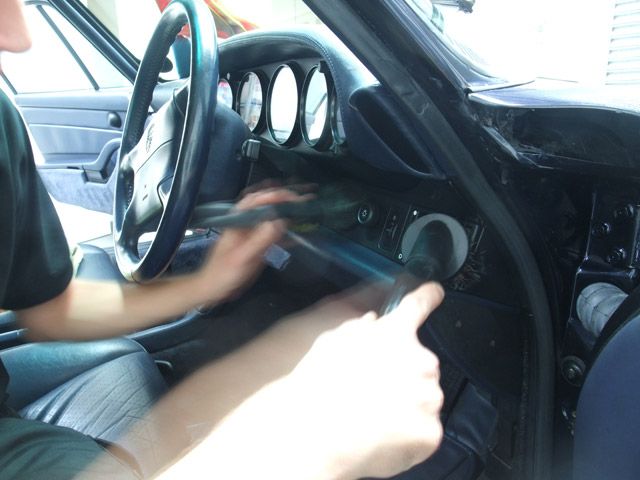
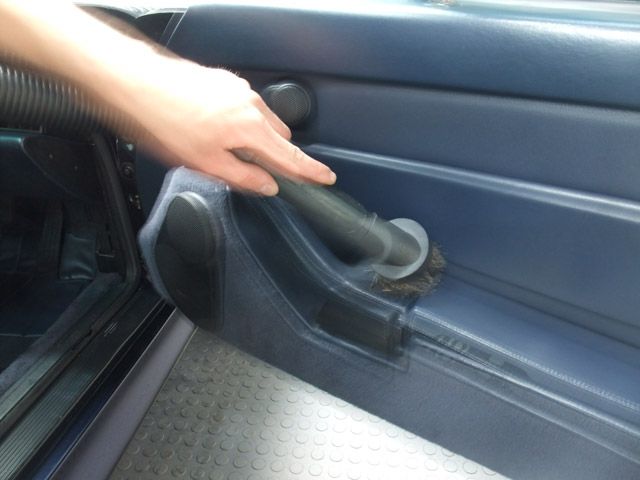
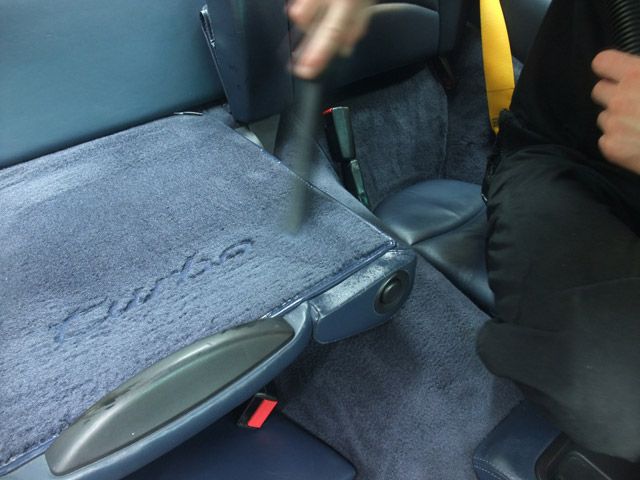
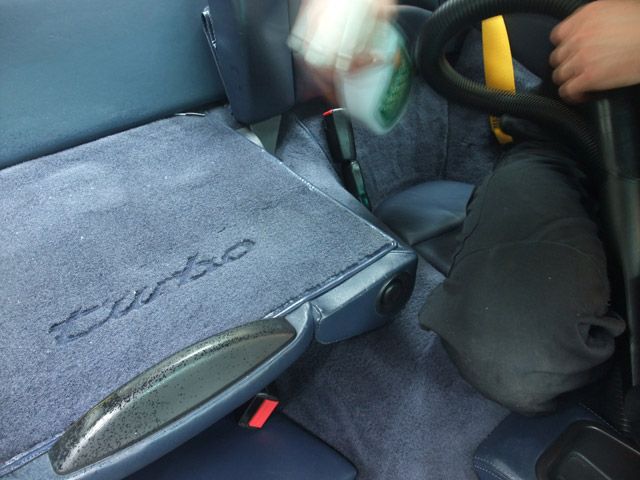
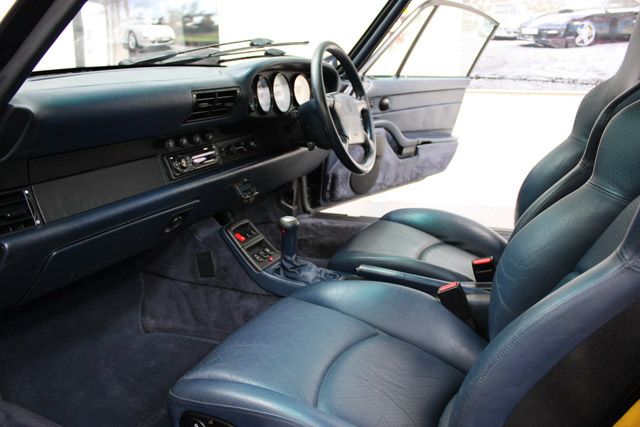
The interior was then thoroughly hoovered and dusted:
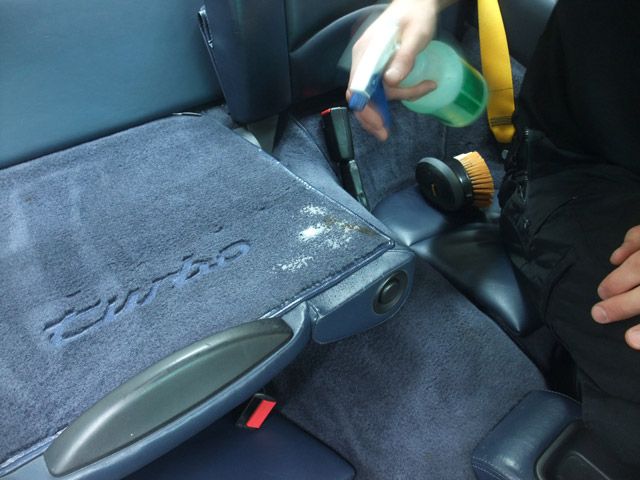
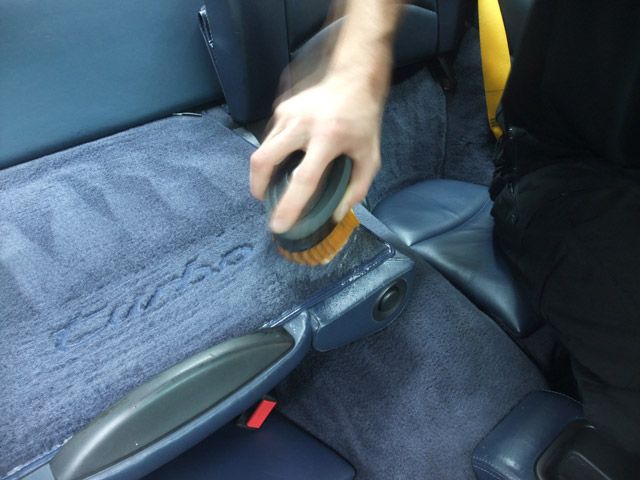
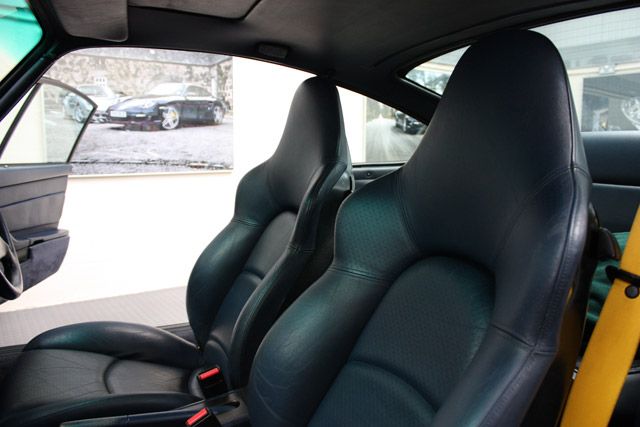
The leather was cleaned and conditioned with products we can't name yet and any grubby marks on the carpets were cleaned with APC:
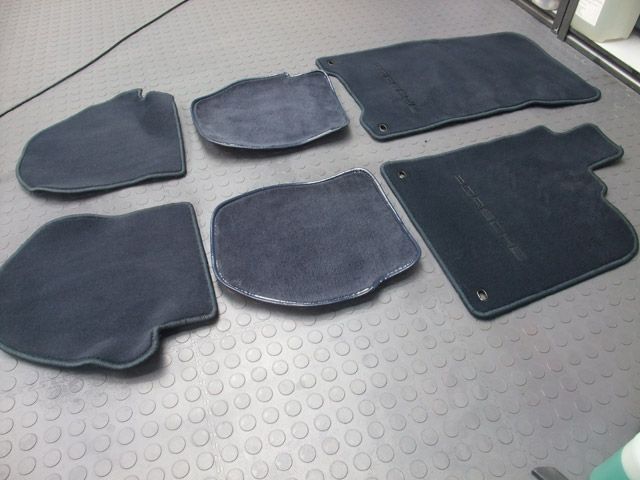
303 Fabric Guard was then applied:
Same process for the mats:
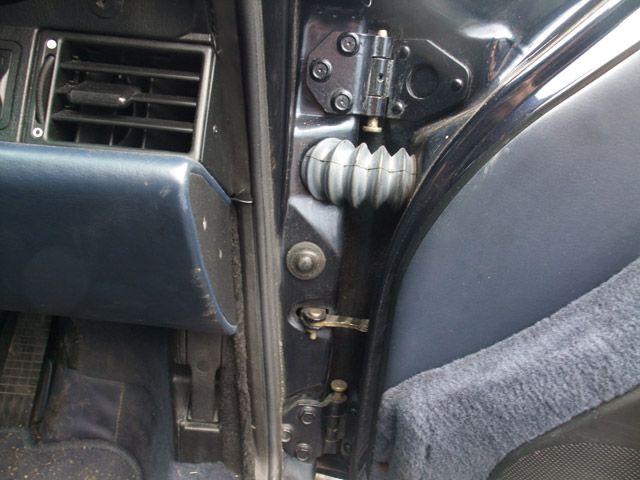
All Plastic and Vinyl surfaces were cleaned with APC and then protected with Werkstat Satin Prot and all the other various details such as the tailpipes (Raceglaze Alutec), shuts (Werkstat Prime Strong) & engine bay (303 Aerospace Protectant) etc were attended to.
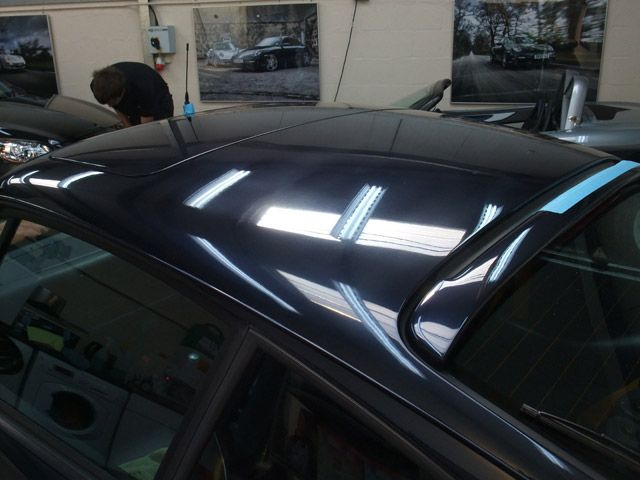
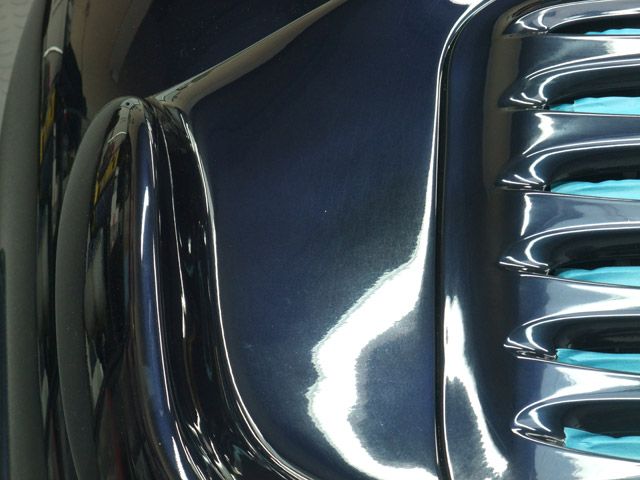
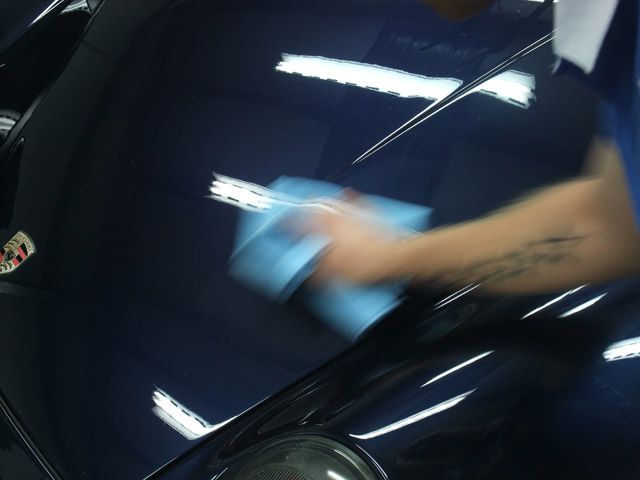
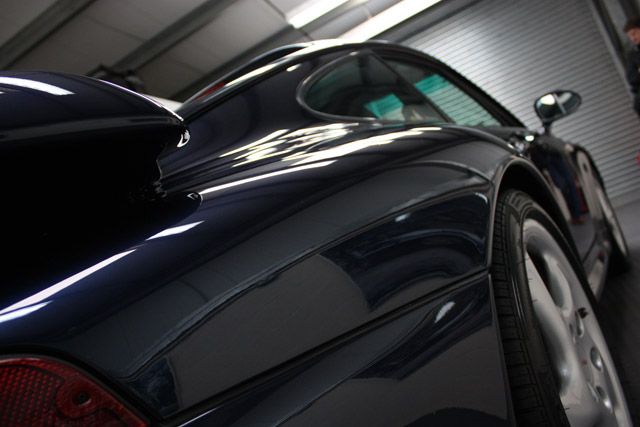
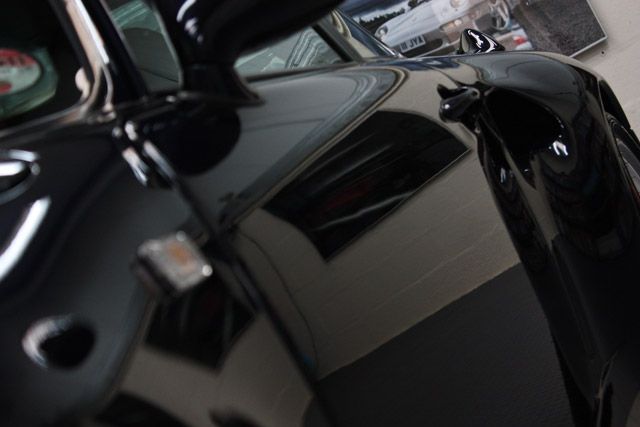
A final wipe down of the paintwork with Nanolex Spray in the morning removed some light hazing and left us with the following:
Wheel bolts painted black again:
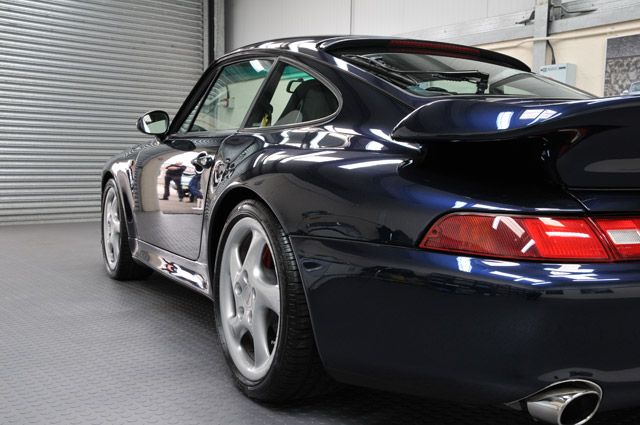
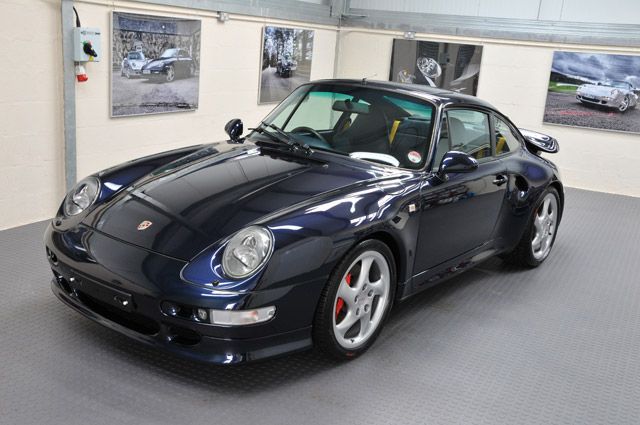
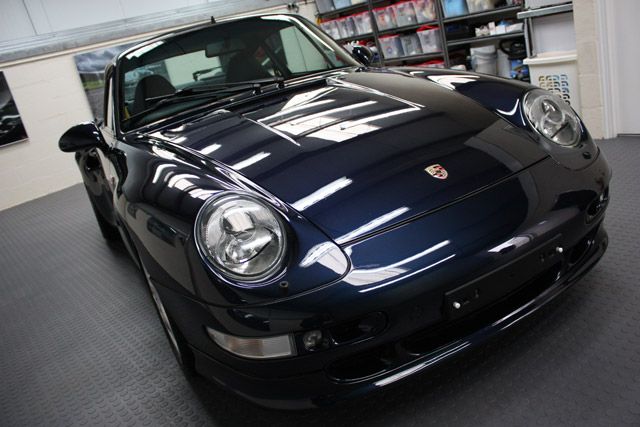
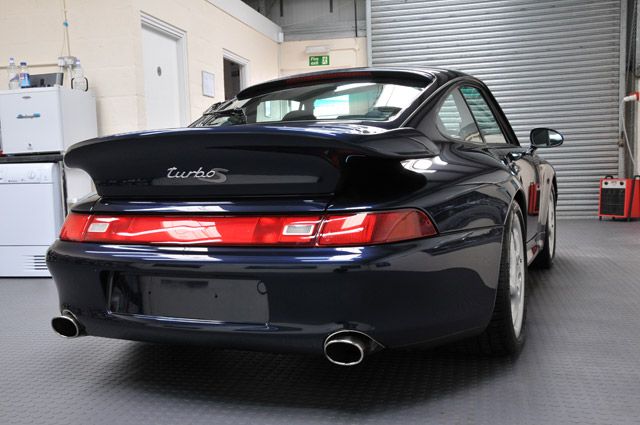

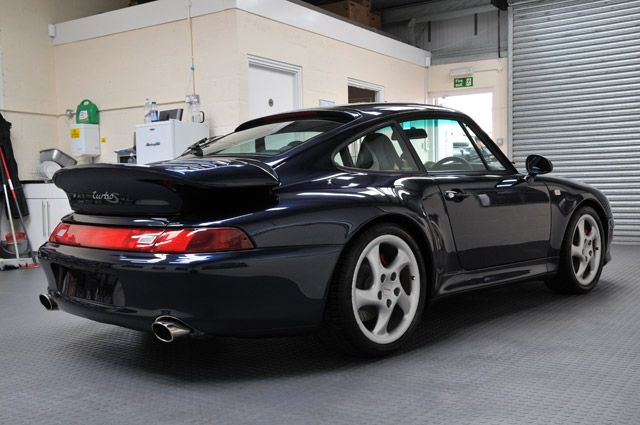
You may have guessed that I quite enjoyed this one and the owner was pretty pleased with it too :thumb:
Thanks for looking!
Clark
The paint was then dusted down and given a thorough IPA wipe down...
...followed by an application of Nanolex Professional:
Nanolex was also applied to the exterior glass while 3M Glass cleaner was used for the interior:
The interior was then thoroughly hoovered and dusted:
The leather was cleaned and conditioned with products we can't name yet and any grubby marks on the carpets were cleaned with APC:
303 Fabric Guard was then applied:
Same process for the mats:
All Plastic and Vinyl surfaces were cleaned with APC and then protected with Werkstat Satin Prot and all the other various details such as the tailpipes (Raceglaze Alutec), shuts (Werkstat Prime Strong) & engine bay (303 Aerospace Protectant) etc were attended to.
A final wipe down of the paintwork with Nanolex Spray in the morning removed some light hazing and left us with the following:
Wheel bolts painted black again:
You may have guessed that I quite enjoyed this one and the owner was pretty pleased with it too :thumb:
Thanks for looking!
Clark
Jeff U
Member
Stunning! Great job!!
:notworthy::notworthy::notworthy:
:notworthy::notworthy::notworthy:
imported_kakeuter
New member
Wow, that car looks unbelievable! Excellent work.
The clarity on the 911 looks great.
The clarity on the 911 looks great.
imported_RaskyR1
New member
Great work as always Clark! Excellent documentation and description of your process too. :notworthy:
It's also nice to see you on TID as well since I've always enjoyed seeing your work over on DW.")
It's also nice to see you on TID as well since I've always enjoyed seeing your work over on DW.
Tru_Shine
New member
Amazing! you sir deserve a round a Biscuits!:biggrin:
bmw5541
New member
Clark,
That was an AMAZING job. The results were awesome. The reflections that you got were killer.
I bow to your greatness:notworthy::notworthy::notworthy:
Not only was the detail a job well done, but the writeup was top notch as well.
Thank you for posting it here.
That was an AMAZING job. The results were awesome. The reflections that you got were killer.
I bow to your greatness:notworthy::notworthy::notworthy:
Not only was the detail a job well done, but the writeup was top notch as well.
Thank you for posting it here.
Street Dreams
New member
Always look through your writeups a few times and find some great attention to detail every-time, just sensational work, car looks stunning Clark!
michakaveli
New member
imported_Auto Concierge
New member
Clark, commented on this on DB, but bears repeating that this is stellar correction and attention to detail!!!
imported_wendell jarvis
New member
wow, very nice work and some beautiful cars
imported_Brian_Brice
New member
Very nice Clark. Brilliant turnaround.
microcarcare
New member
Hey Clark,
Ammar here from MICRO CAR CARE in Abu dhabi, UAE.
Well done. The car looks fantastic.
Ammar here from MICRO CAR CARE in Abu dhabi, UAE.
Well done. The car looks fantastic.
imported_Fast Eddie
New member
Unbelievable work, excellent turnaround on that car.