2002 35th Anniversary Camaro SS Limited Edition
To commemorate the Camaro and the end of its production, Chevrolet developed the Limited Edition 35th Anniversary Camaro SS for 2002. Just 3000 units were scheduled for production in the U.S., and 152 for Canada. The LS1 V-8 powerplant produced a conservatively rated 325hp and 350 lb-ft of torque.
The owner of this car contacted me last fall, and we were just now able to get this car in to be worked on. It only has 2600 miles on the clock, but 7 years of time on the finish. Overall it was very clean with a high gloss, but even as a garage queen it had plenty of deeper scratches from less than perfect washing and drying techniques. After I was done with the car I spent a bit of time with the owner teaching her how to properly care for it so she can keep it looking nice.
For those who normally read my posts, you know that I have a tendency for being long-winded with an overload of photos. For this one however, I am going to try my best to keep it brief!
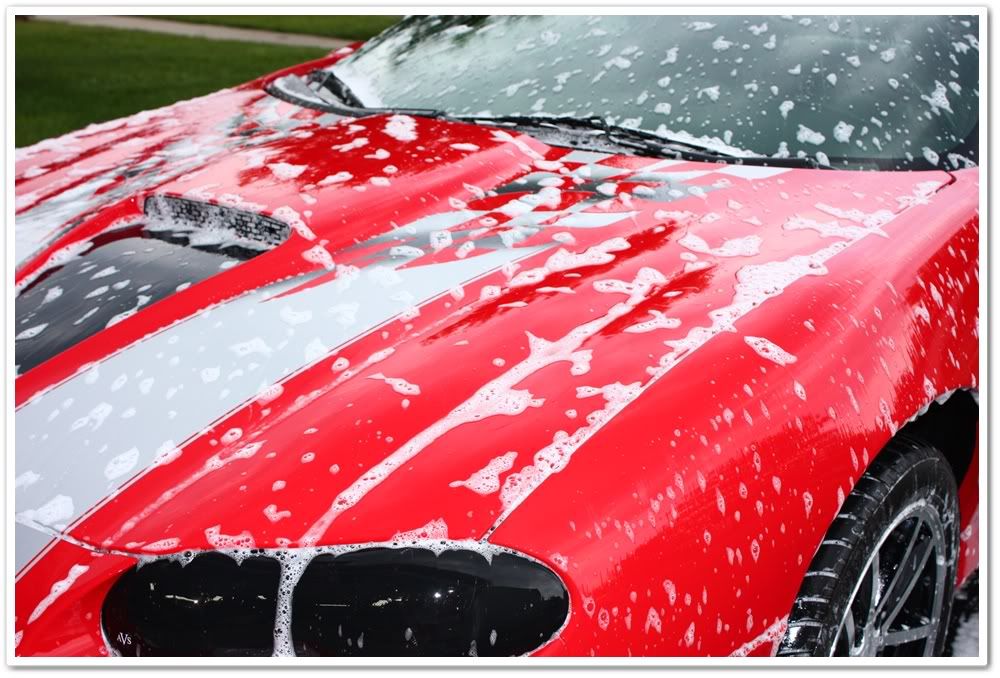
First up was the obligatory foam gun wash with Chemical Guys Citrus Wash & Gloss at paint prep ratio (2oz/gal) to remove the obvious layers of wax.
After washing I brought the car back in the garage for claying. I used Chemical Guys mild clay with Dodo Juice Born Slippy clay lube. I was amazed at how clean the surface was, and had difficulty finding anything to remove. Then I proceeded to do an alcohol wipedown to make sure I had an absolute clean surface to polish.
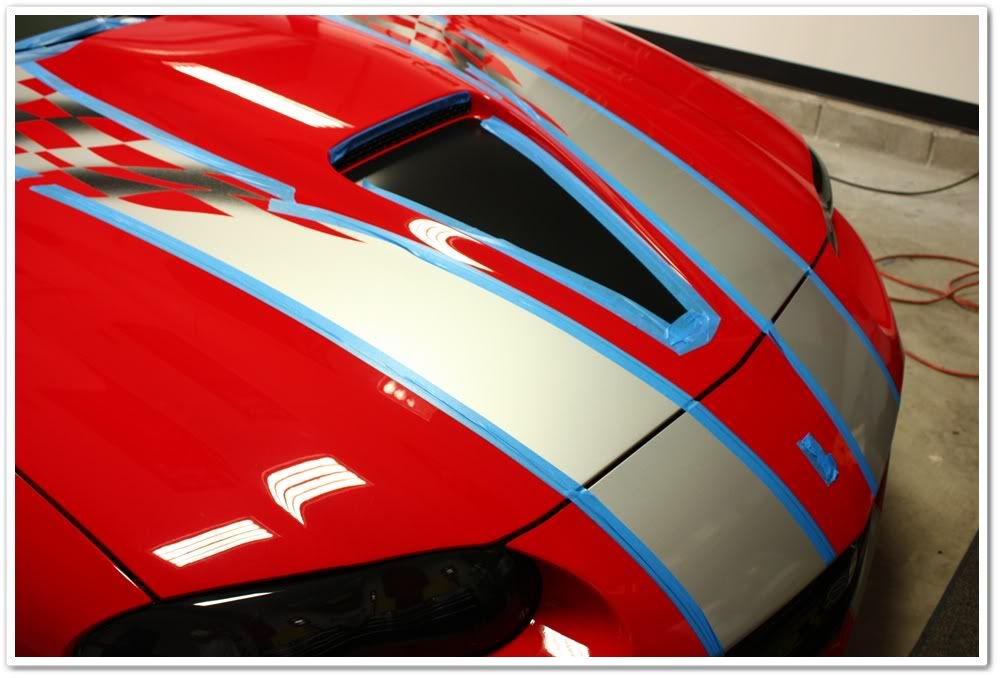
Unfortunately Chevrolet decided to apply vinyl graphics on this car, so it required a tremendous amount of tape to protect all of the edges.
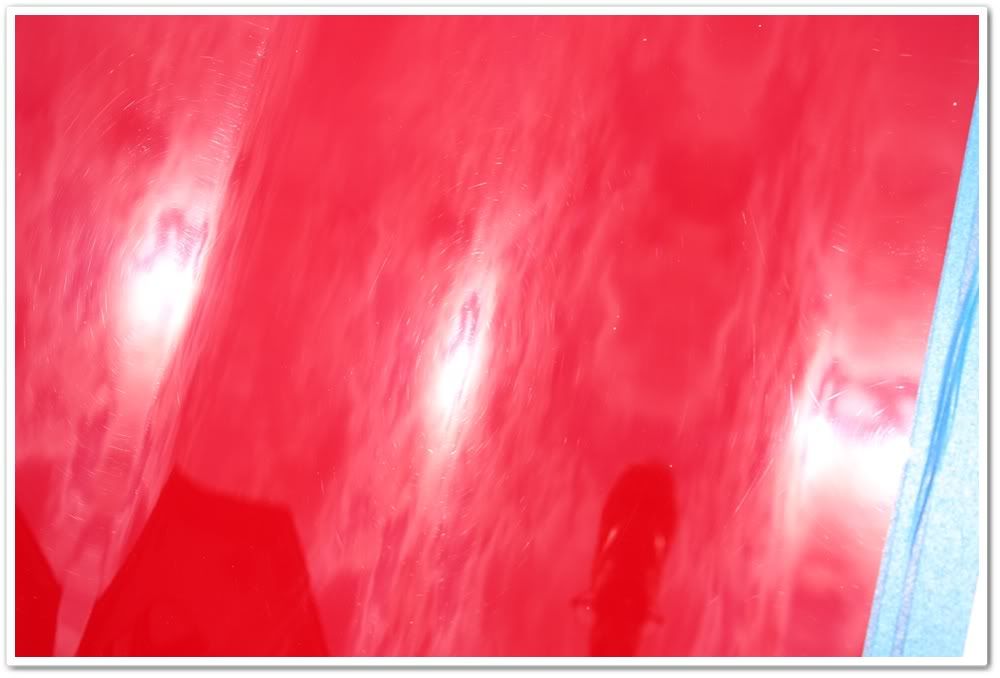
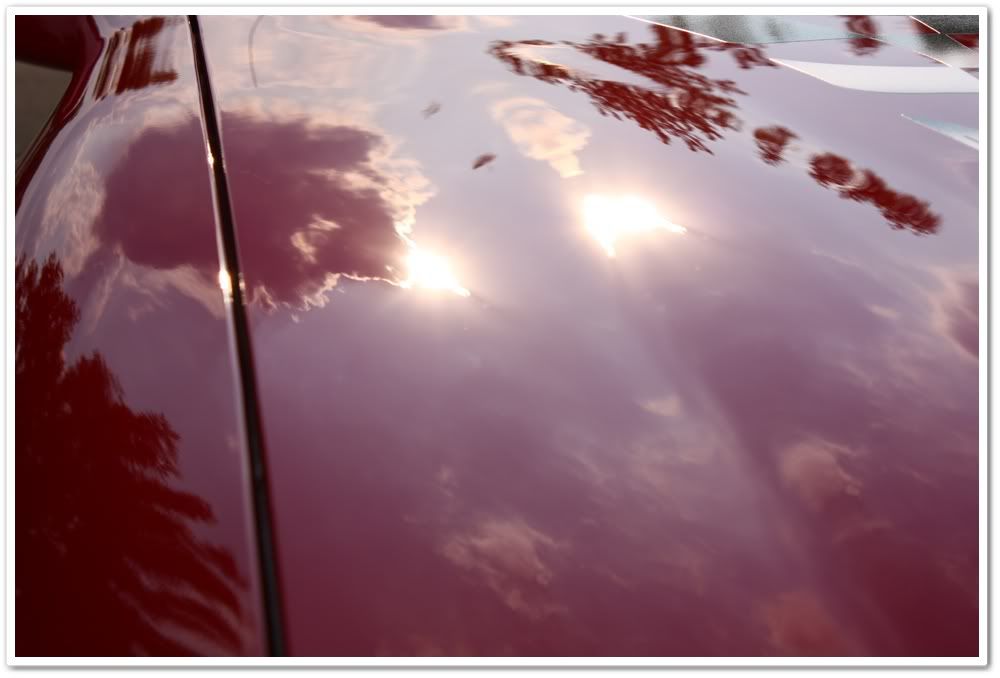
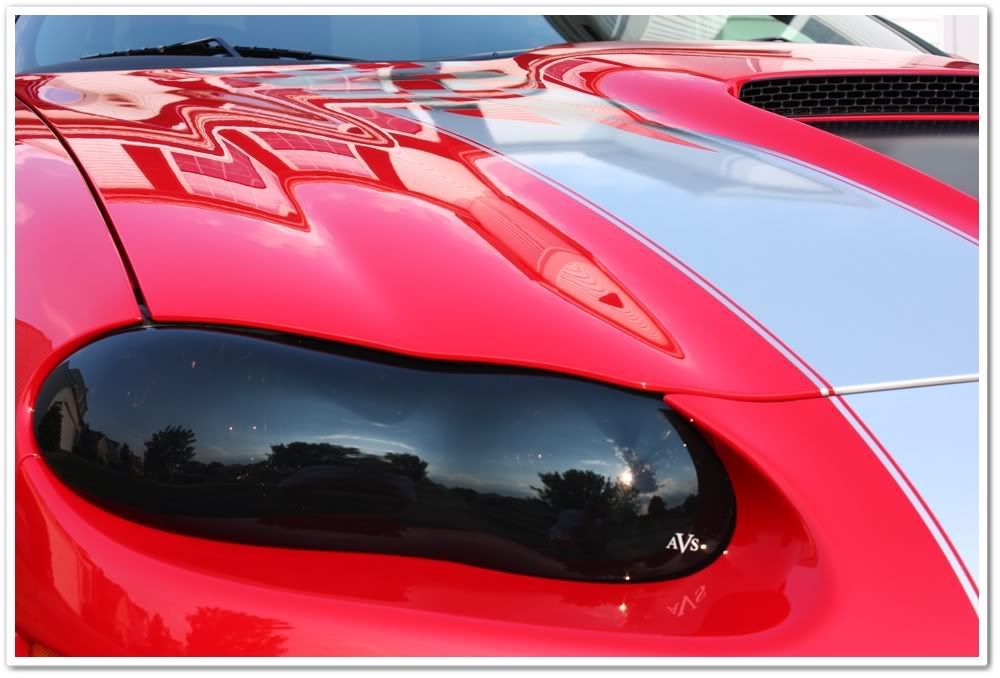
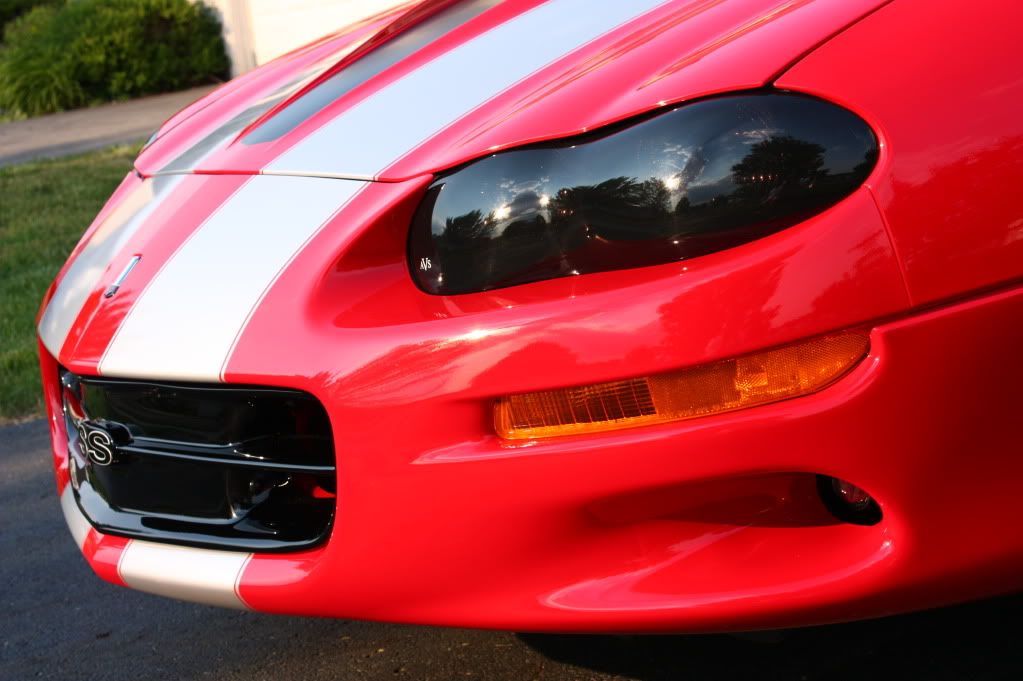
Out in the sun, you can get an idea of the condition of the paint:
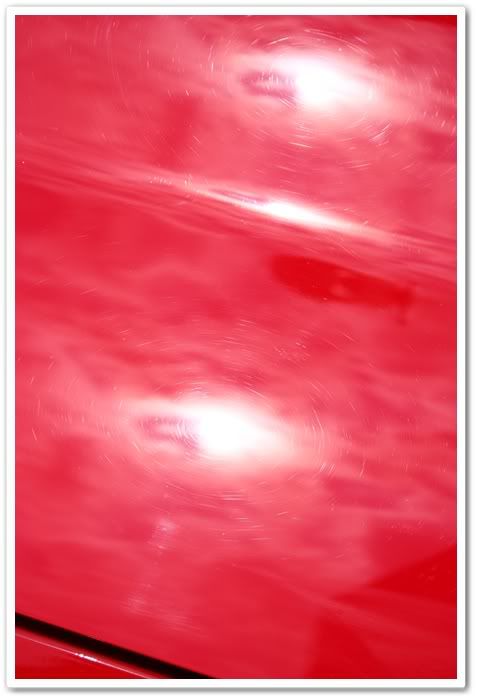
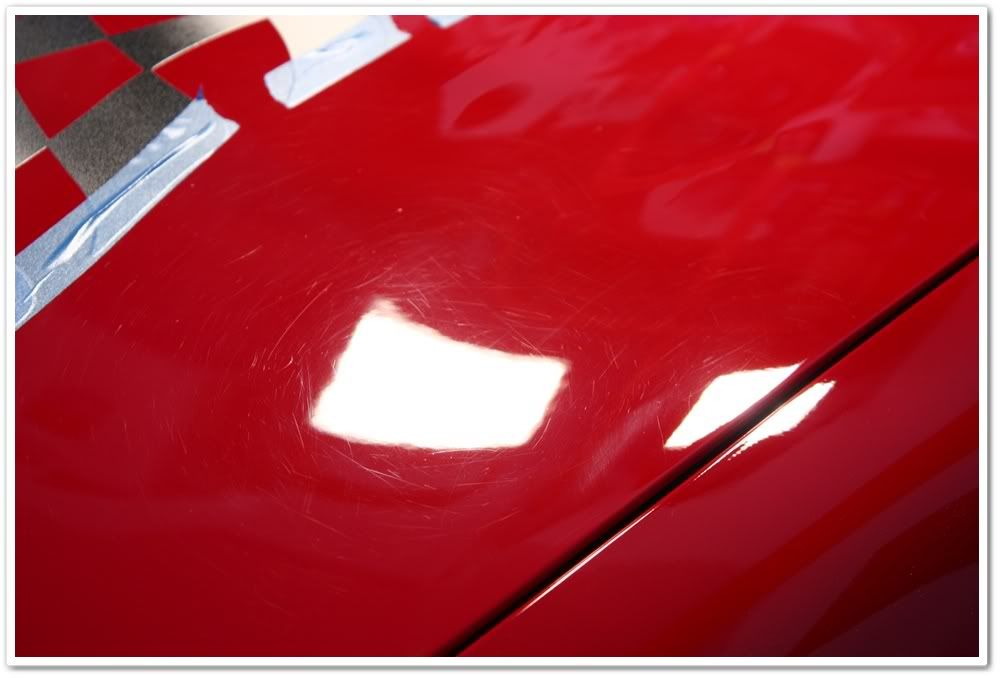
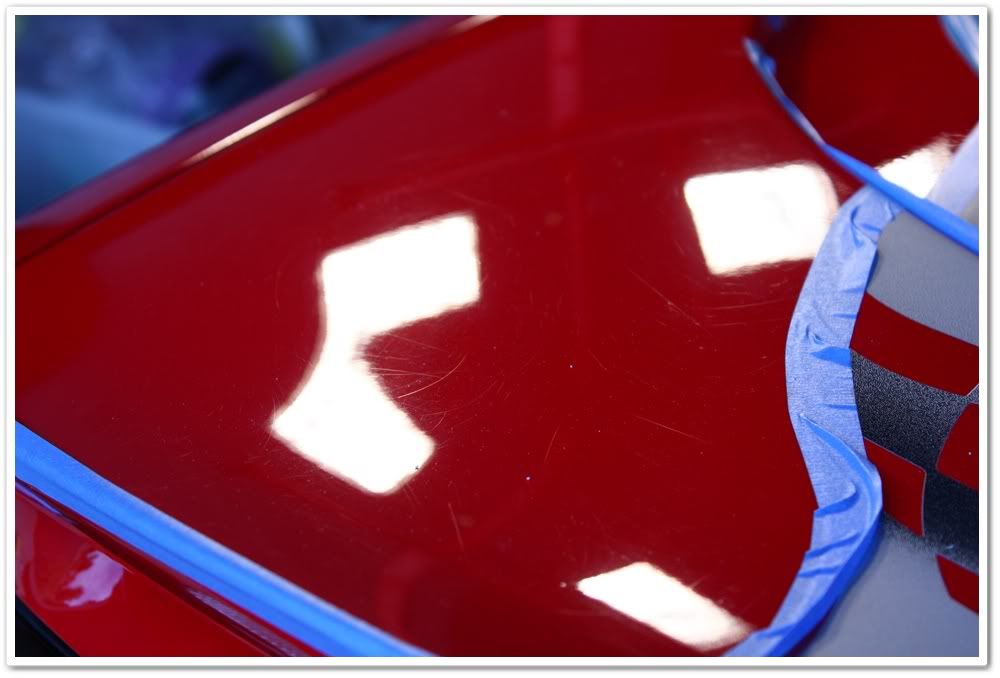
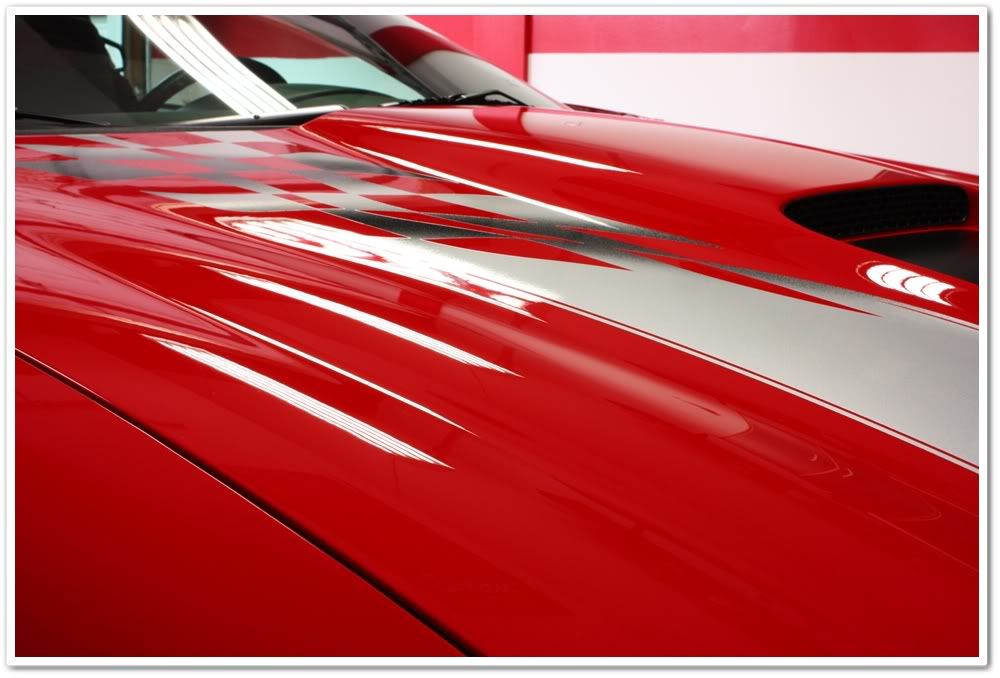
Under the halogens, the deeper scratches show up even better:
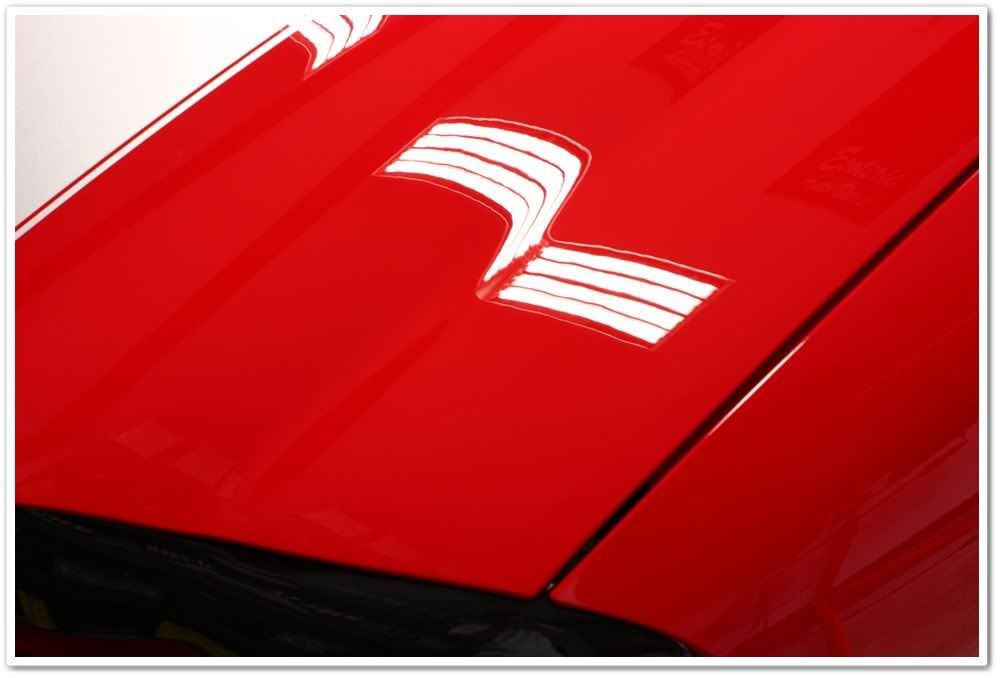
The hood had the deepest and most severe defects, so it required a little more muscle to correct. For this area I used Super Intensive Polish with a Micro Surface Tuff Buff black wool pad. It took a couple of passes, and left some holograms. I was able to clean it up with 106FF and a white pad, and then finished it off with PO85RD and a red pad. The amazing part of the hood and the trunk lid was that they were almost completely free of orange peel. You could tell that they had been sanded and polished smooth, but not the sides of the car. The owner said that there had been no body work done on this car, so I have to assume this was done by the factory.
For the rest of the car, I used SIP and an orange pad, and then went directly to PO85RD and a red pad to amp up the gloss quite a bit. I did a test with 106FF/white afterwards, and found there was no discernable difference in the finish by going directly to the finer combination, so I chose the PO85RD because I find it easier to work with than 106FF.
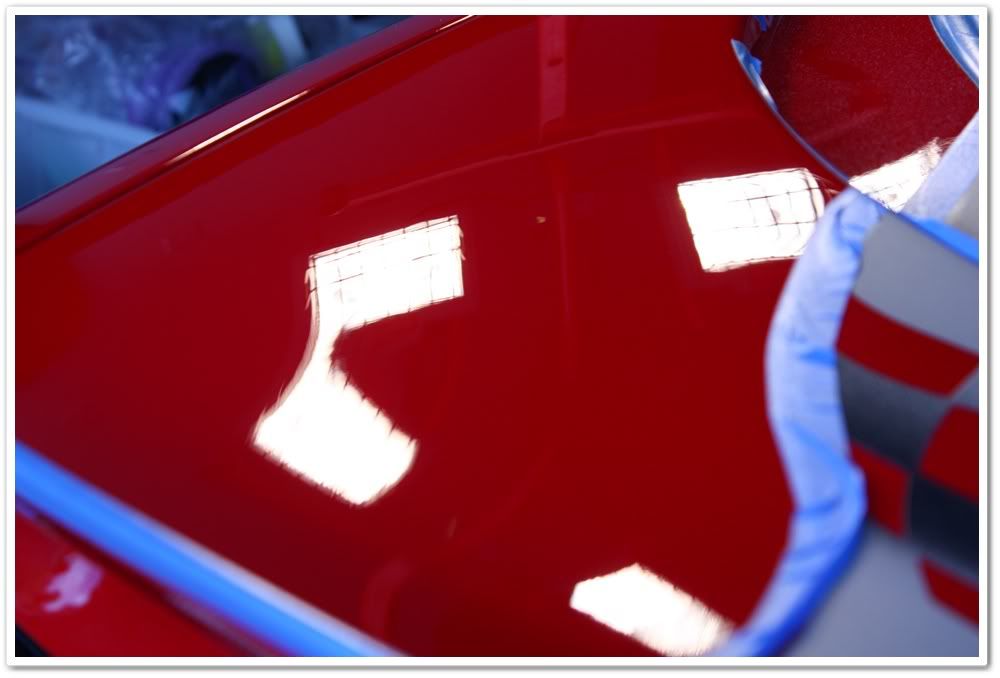
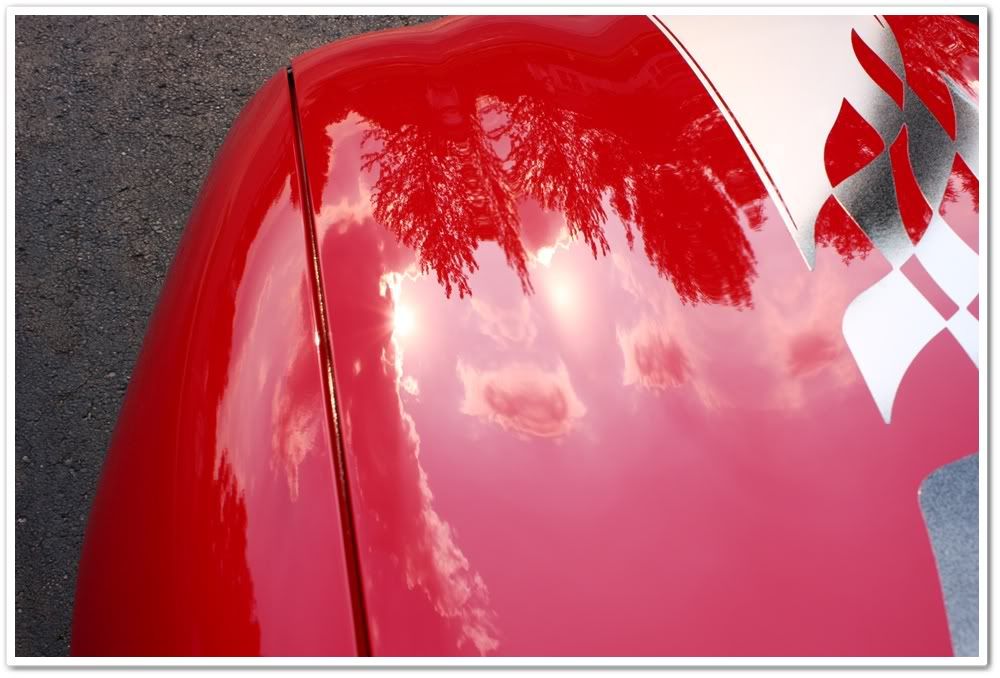
Here’s part of the trunk lid before and after SIP/orange. You can tell that some of the RIDS are pretty deep:
After just SIP/orange and before final polishing:
I didn’t spend a lot of time on the “during� photos, so now I’m going to go straight into the after shots.
I performed IPA wipedowns after each polishing stage to ensure I was getting proper correction. Once I was done, I sealed it with Optimum Poli-seal. Although carnauba paste wax looks tremendous on red, I chose to go with Optimum Spray Wax because all of the intricate vinyl decals. Removing paste wax from all of those edges can be quite time consuming, and I didn’t have that kind of time on this particular job.
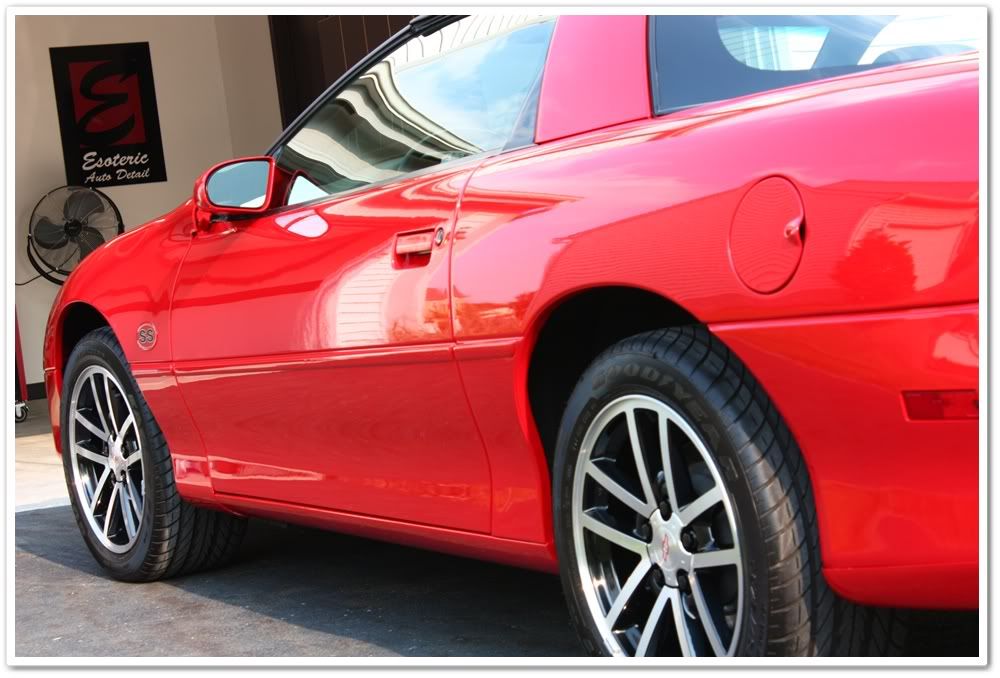
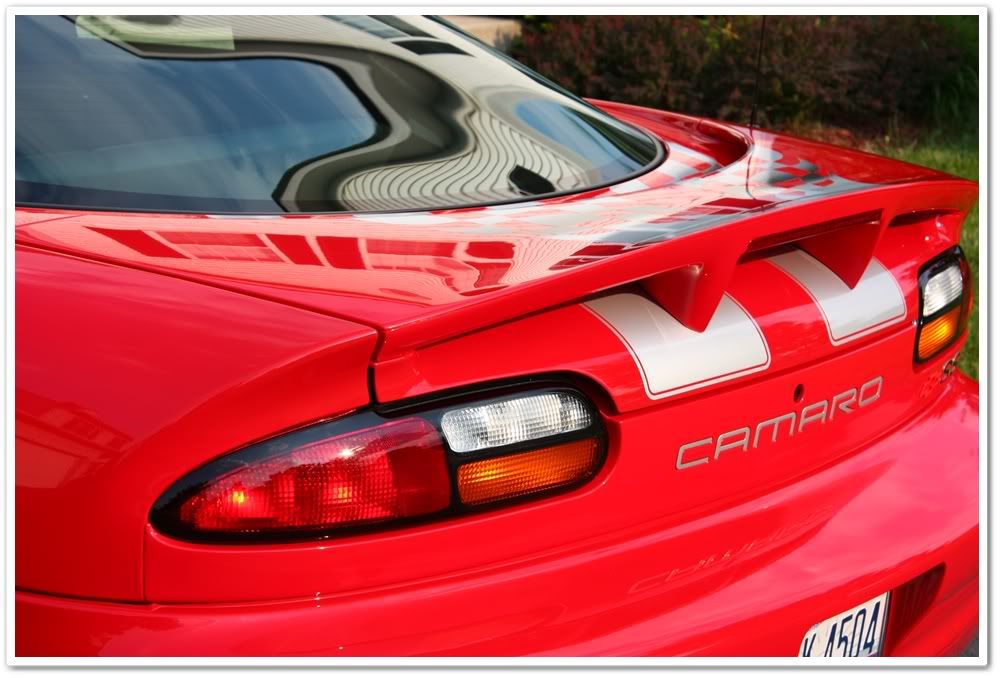
When all was said and done, I was able to get about 95% of the defects removed. There were some between the vinyl graphics that could only be made “better�, but the finish overall had a new depth and gloss to it that it hadn’t seen in quite a while. The owner said that it looked better than when it was originally delivered off of the truck 7 years ago.
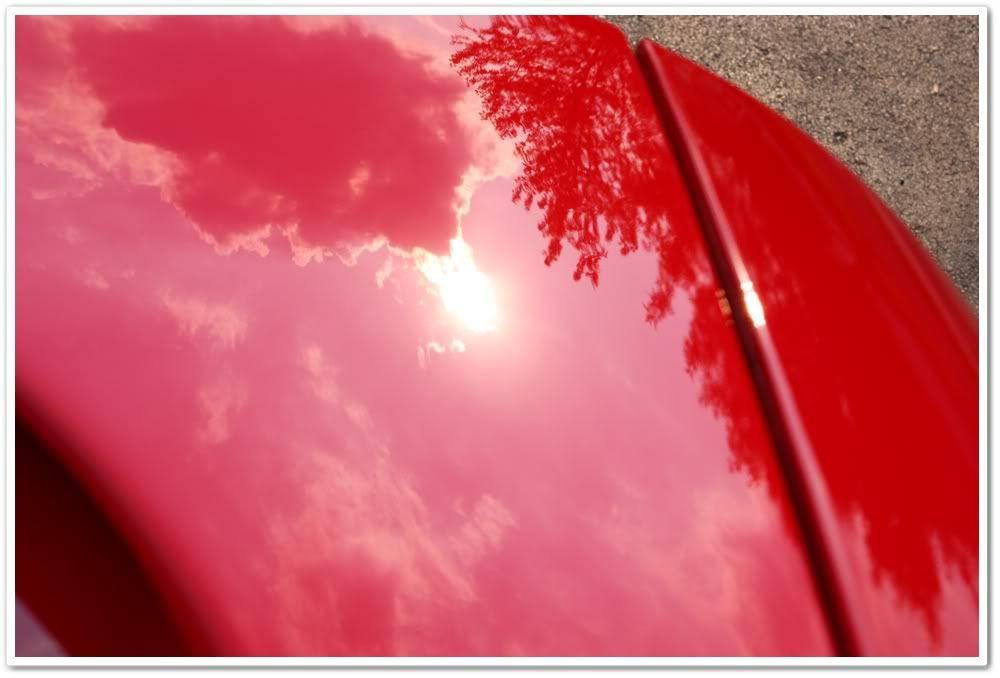
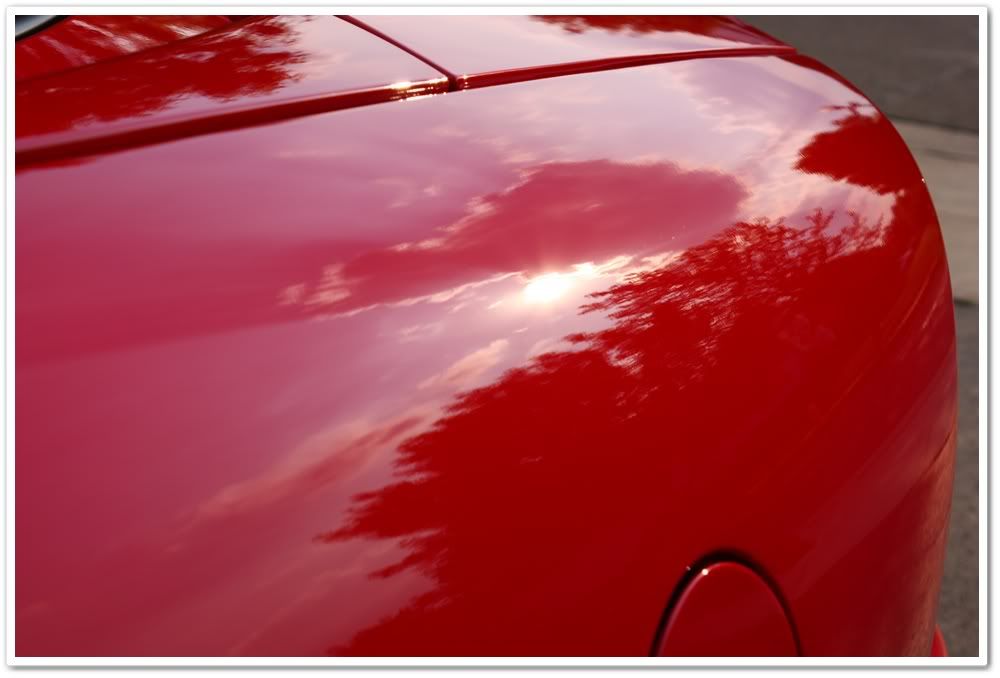
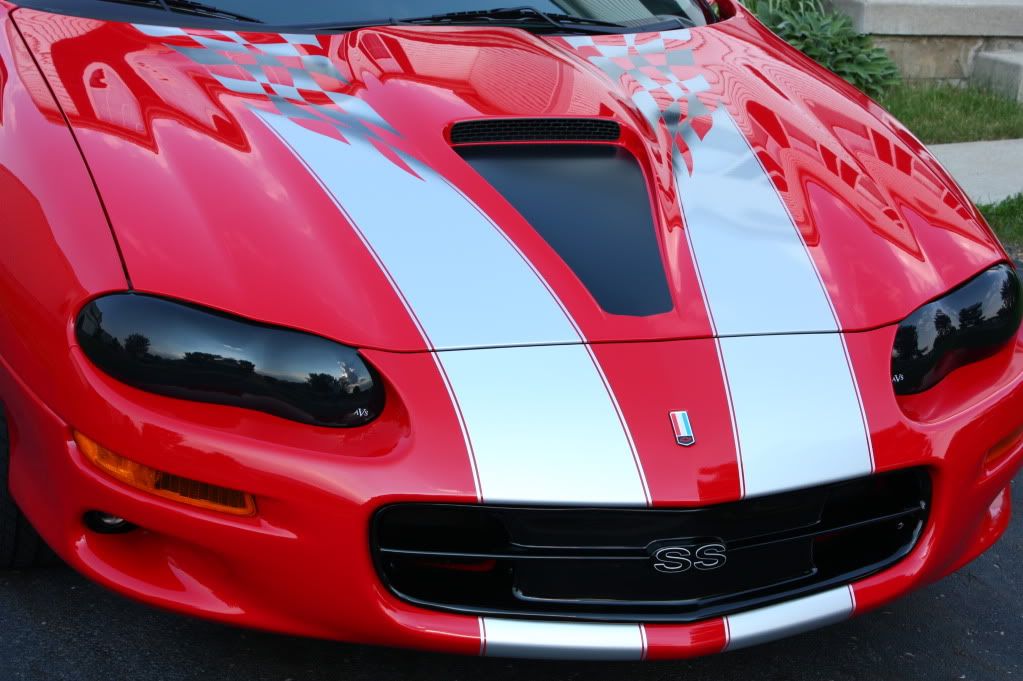
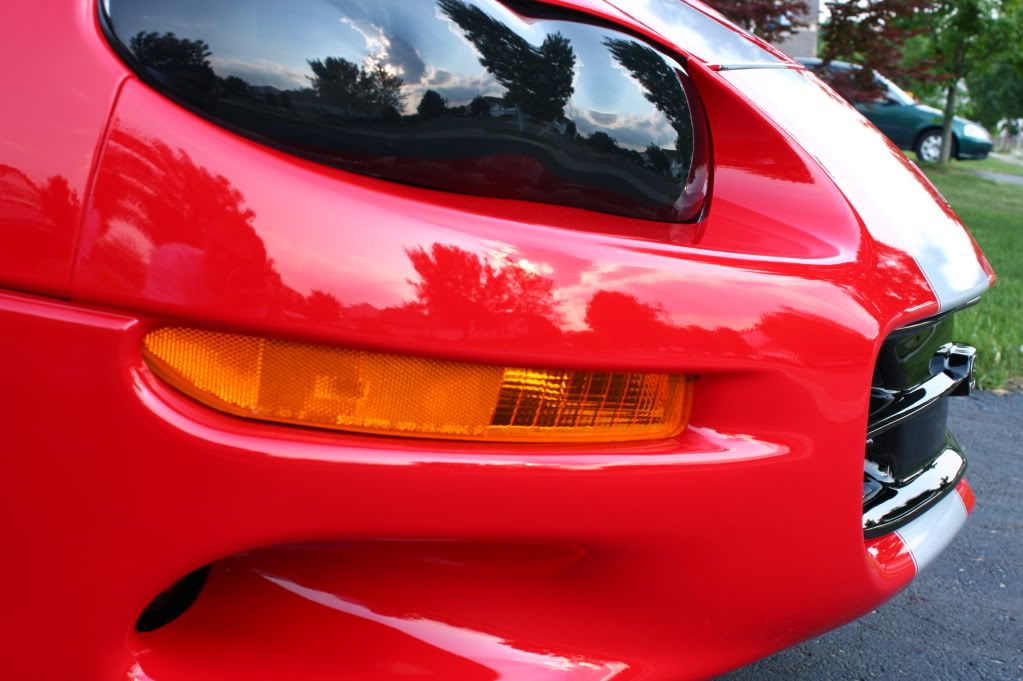
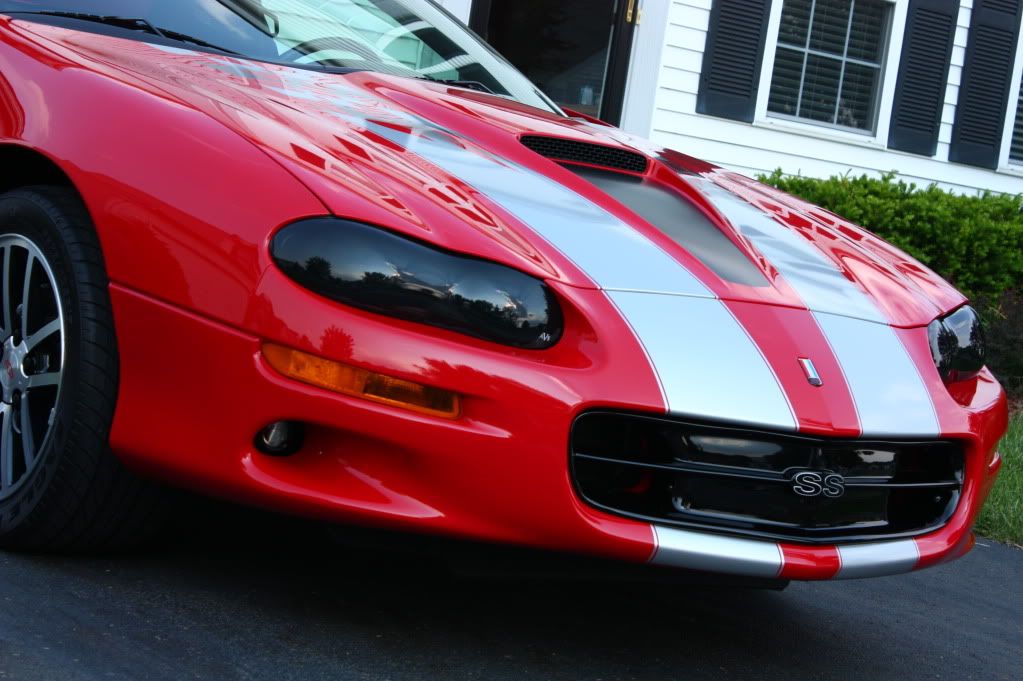
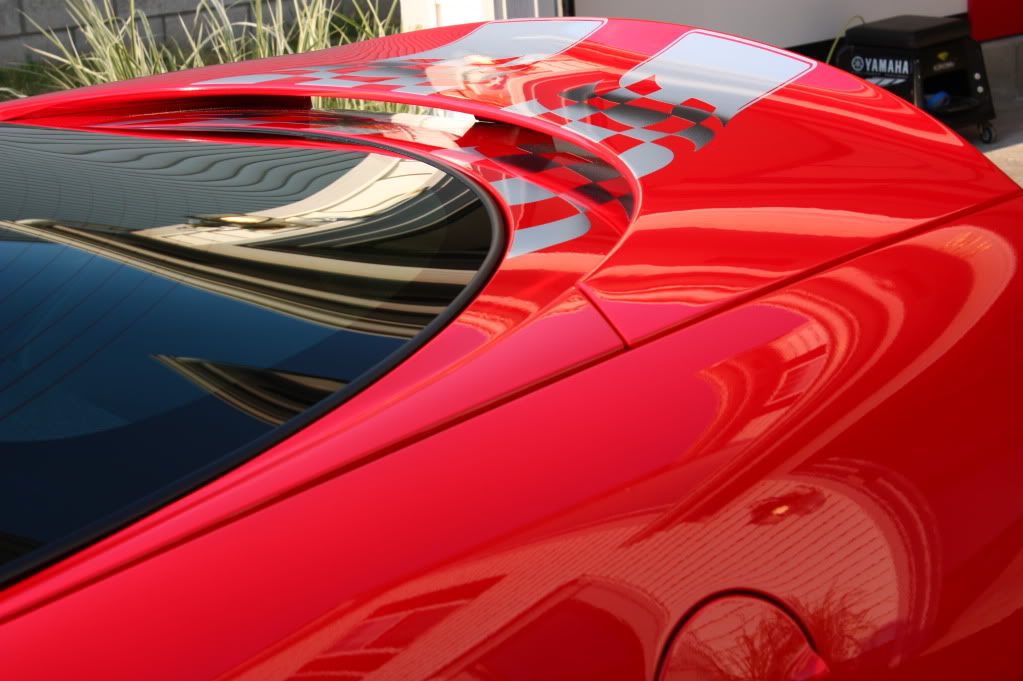
By this time the sun was deep in the sky and I was fighting the clouds as well, so I couldn’t get the best sun shots. I think you can tell though that the finish was pretty clean.
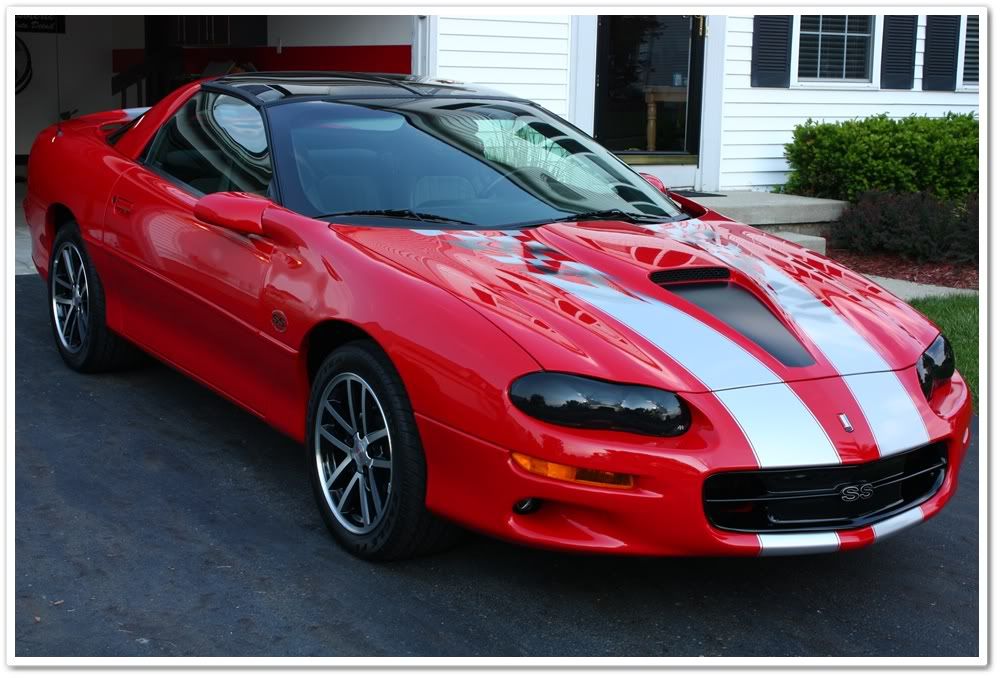
To commemorate the Camaro and the end of its production, Chevrolet developed the Limited Edition 35th Anniversary Camaro SS for 2002. Just 3000 units were scheduled for production in the U.S., and 152 for Canada. The LS1 V-8 powerplant produced a conservatively rated 325hp and 350 lb-ft of torque.
The owner of this car contacted me last fall, and we were just now able to get this car in to be worked on. It only has 2600 miles on the clock, but 7 years of time on the finish. Overall it was very clean with a high gloss, but even as a garage queen it had plenty of deeper scratches from less than perfect washing and drying techniques. After I was done with the car I spent a bit of time with the owner teaching her how to properly care for it so she can keep it looking nice.
For those who normally read my posts, you know that I have a tendency for being long-winded with an overload of photos. For this one however, I am going to try my best to keep it brief!
First up was the obligatory foam gun wash with Chemical Guys Citrus Wash & Gloss at paint prep ratio (2oz/gal) to remove the obvious layers of wax.
After washing I brought the car back in the garage for claying. I used Chemical Guys mild clay with Dodo Juice Born Slippy clay lube. I was amazed at how clean the surface was, and had difficulty finding anything to remove. Then I proceeded to do an alcohol wipedown to make sure I had an absolute clean surface to polish.
Unfortunately Chevrolet decided to apply vinyl graphics on this car, so it required a tremendous amount of tape to protect all of the edges.
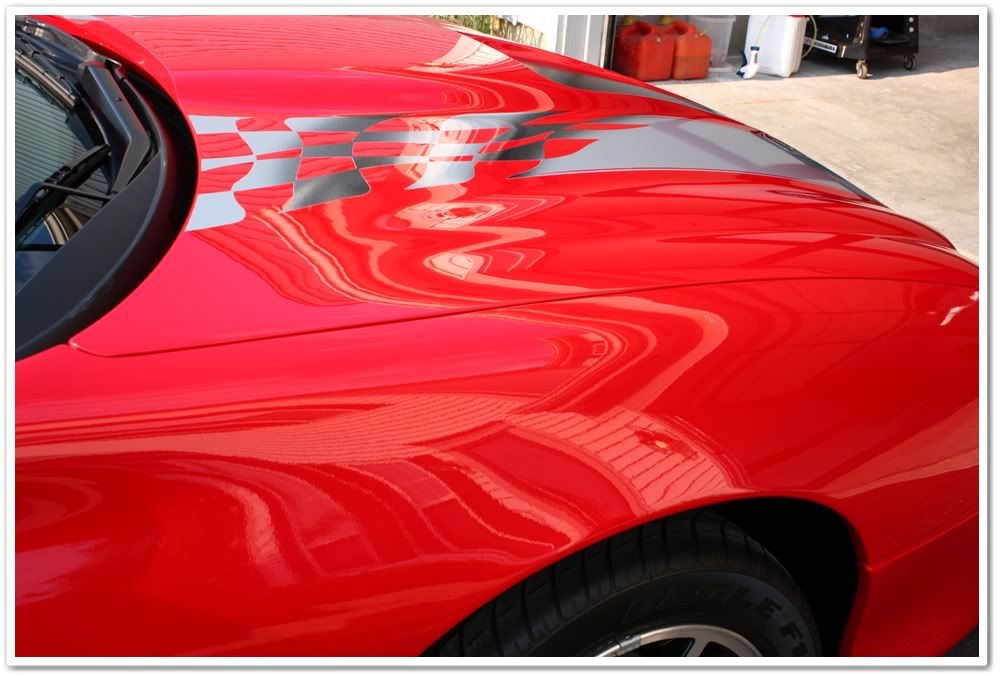
Out in the sun, you can get an idea of the condition of the paint:
Under the halogens, the deeper scratches show up even better:
The hood had the deepest and most severe defects, so it required a little more muscle to correct. For this area I used Super Intensive Polish with a Micro Surface Tuff Buff black wool pad. It took a couple of passes, and left some holograms. I was able to clean it up with 106FF and a white pad, and then finished it off with PO85RD and a red pad. The amazing part of the hood and the trunk lid was that they were almost completely free of orange peel. You could tell that they had been sanded and polished smooth, but not the sides of the car. The owner said that there had been no body work done on this car, so I have to assume this was done by the factory.
For the rest of the car, I used SIP and an orange pad, and then went directly to PO85RD and a red pad to amp up the gloss quite a bit. I did a test with 106FF/white afterwards, and found there was no discernable difference in the finish by going directly to the finer combination, so I chose the PO85RD because I find it easier to work with than 106FF.
Here’s part of the trunk lid before and after SIP/orange. You can tell that some of the RIDS are pretty deep:
After just SIP/orange and before final polishing:
I didn’t spend a lot of time on the “during� photos, so now I’m going to go straight into the after shots.
I performed IPA wipedowns after each polishing stage to ensure I was getting proper correction. Once I was done, I sealed it with Optimum Poli-seal. Although carnauba paste wax looks tremendous on red, I chose to go with Optimum Spray Wax because all of the intricate vinyl decals. Removing paste wax from all of those edges can be quite time consuming, and I didn’t have that kind of time on this particular job.
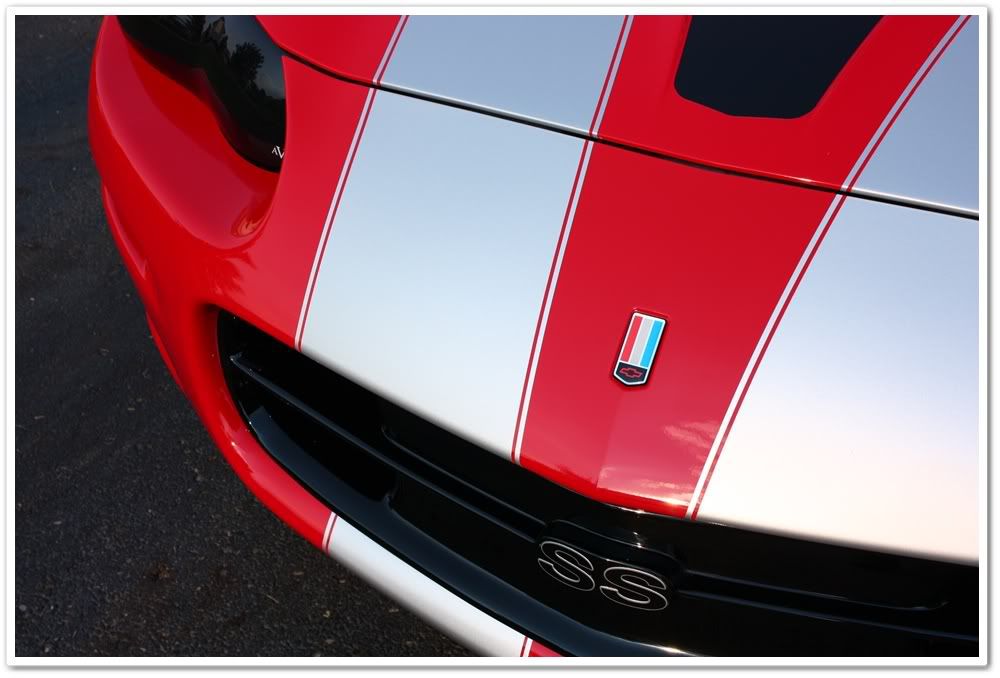
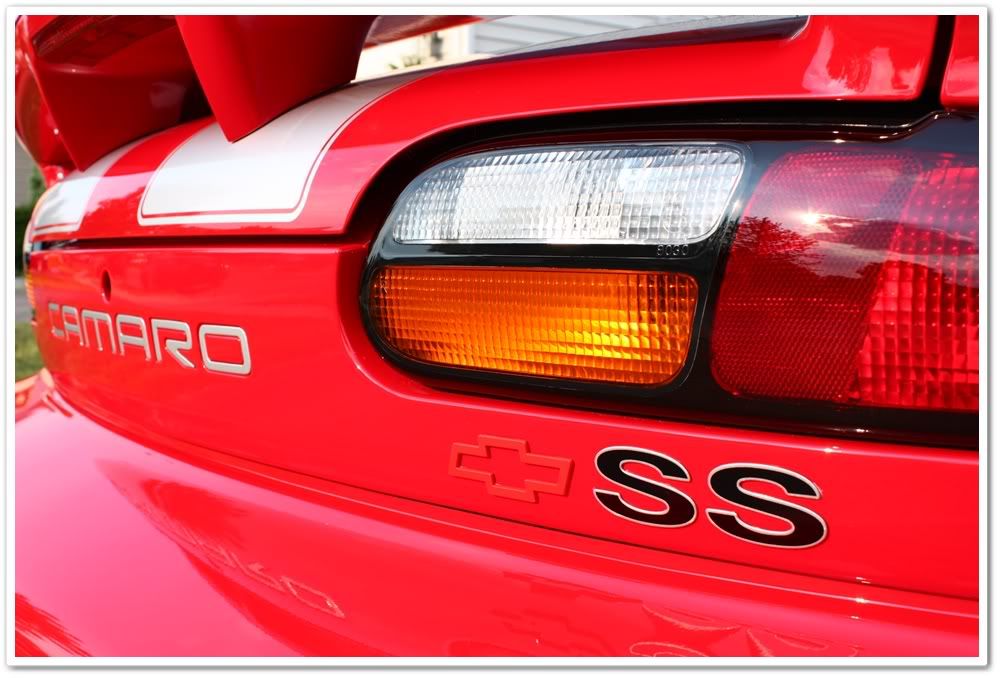
When all was said and done, I was able to get about 95% of the defects removed. There were some between the vinyl graphics that could only be made “better�, but the finish overall had a new depth and gloss to it that it hadn’t seen in quite a while. The owner said that it looked better than when it was originally delivered off of the truck 7 years ago.
By this time the sun was deep in the sky and I was fighting the clouds as well, so I couldn’t get the best sun shots. I think you can tell though that the finish was pretty clean.


")