The Critic
New member
It has been about 10 months since I last gave my personal car any kind of exterior detailing.
While the Opti-Coat 2.0 was still working fairly well, I felt that I had greatly improved my paint correction skills since my car was last worked on (thanks JSmooth), and as a result - I think I could get my car's finish to a much higher level.
In addition, when the car was last coated, I only did a light polish using a very light finishing polish, so there were still defects leftover from my tunnel carwash days.
So here we go...
Tools used:
Rupes LHR21ES - correction step
Rupes LHR12E - finishing step
Rupes LHR75E - used for the correction and finishing steps on the liftgate
Rupes Swirl Finder Pen Light
Products used:
Wash: Meguiars D110 Hyper Wash
Decontamination: Meguiars C2000 Fine Grade Detailing Clay
Clay Lube: Optimum No Rinse - Diluted 1:16
Correction Step: Meguiars M100 with Meguiars DMF6 Microfiber Finishing Discs (to remove Opti-Coat 2.0 and remove most defects)
Refinement Step: Meguiars M205 with Rupes Yellow Foam Polishing Pads
Pre-Coating Wipe-down: CarPro Eraser
Paint Protection: CarPro CQuartz UK, 2014 Edition. Two coats on the roof, one coat on the rest of the car.
Note: Also wiped down the car with CarPro Reload as per the application instructions.
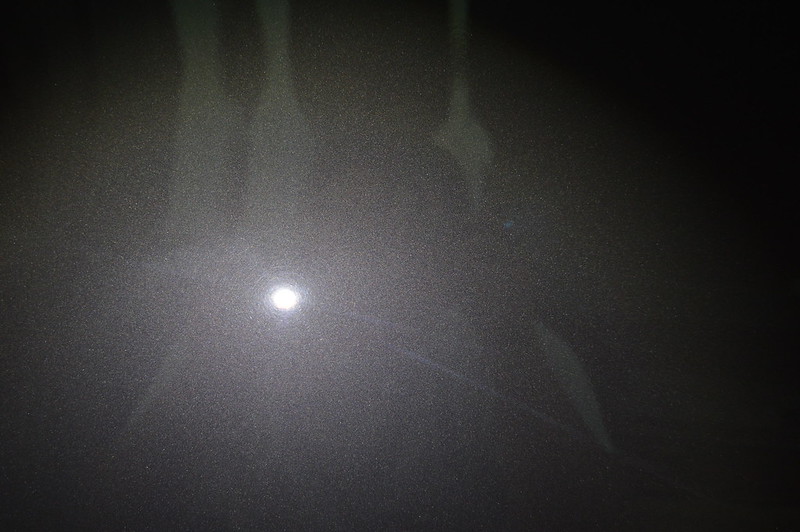
Here's a picture of the paint after the compounding step.
 DSC_1119 by thecritic89, on Flickr
I used light pressure, speed 3 and a total of 3 passes in approx 16"x16" sections; I think the total work time was about 2 minutes per section. There's a minimal amount of DA haze and some light to moderate micro-marring from the Meguiars microfiber finishing disc. I was getting 90% + correction with this combo and approach.
(For what it's worth, I later used M100 with the new-style Meguiars MF Finishing Discs and found that there's almost zero micro marring using the same approach, hmm...)
I did not take any additional pictures during the correction process, but I should mention that I tested multiple combos for the finishing step. HD Adapt wasn't working too well with the heat and humidity, but M205 was. This is somewhat unfortunate since Adapt finished out a hair better than 205, but we're splitting hairs here.
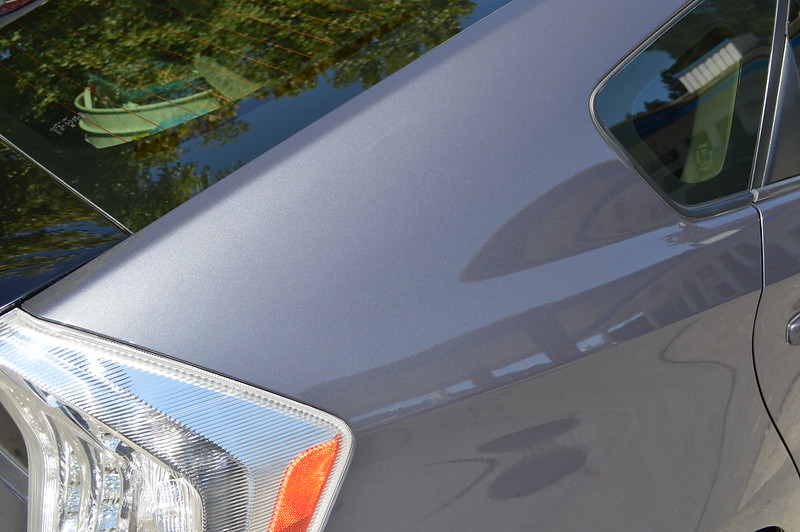
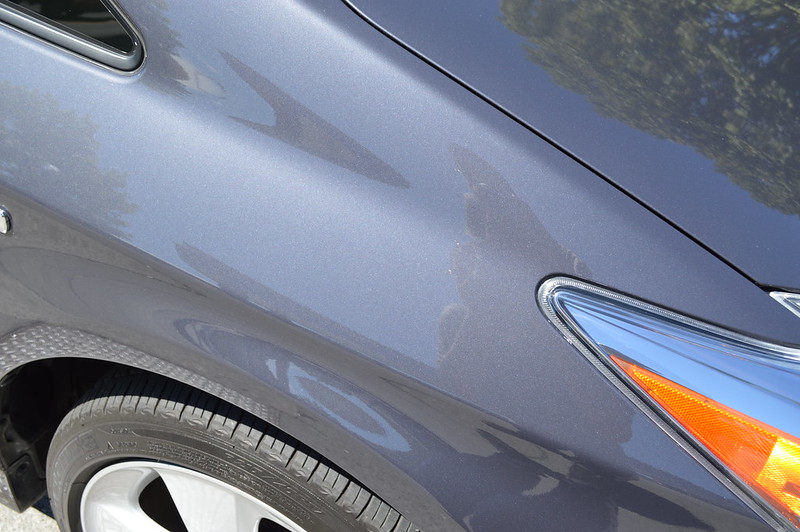
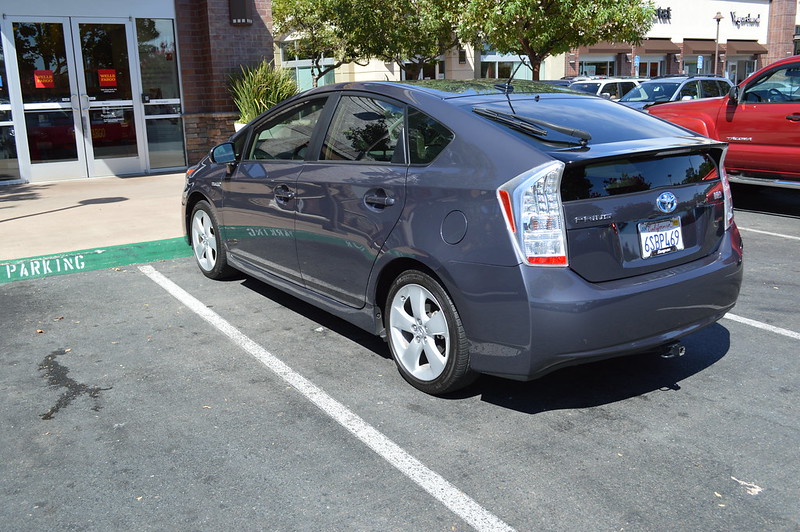
Anyway, here are some final pictures. My photography skills really do not capture the gloss and darkening effect that CQuartz UK added to the finish:
 DSC_1141 by thecritic89, on Flickr
 DSC_1139 by thecritic89, on Flickr
 DSC_1147 by thecritic89, on Flickr
 DSC_1142 by thecritic89, on Flickr
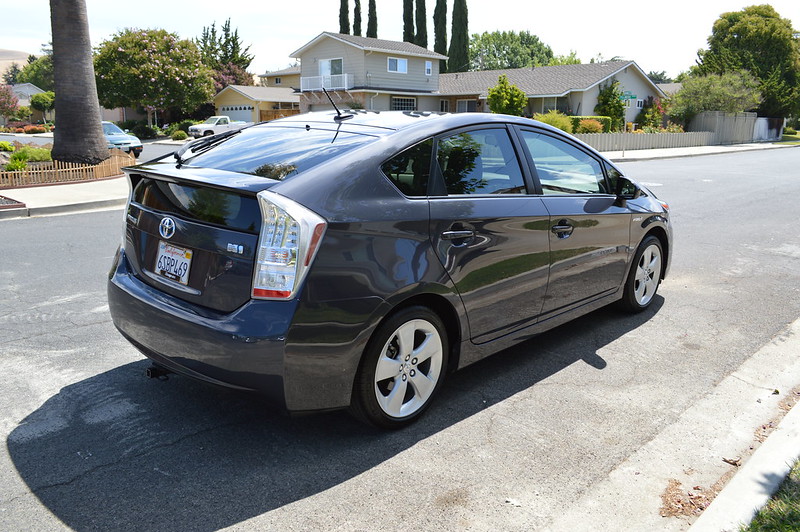 DSC_1127 by thecritic89, on Flickr
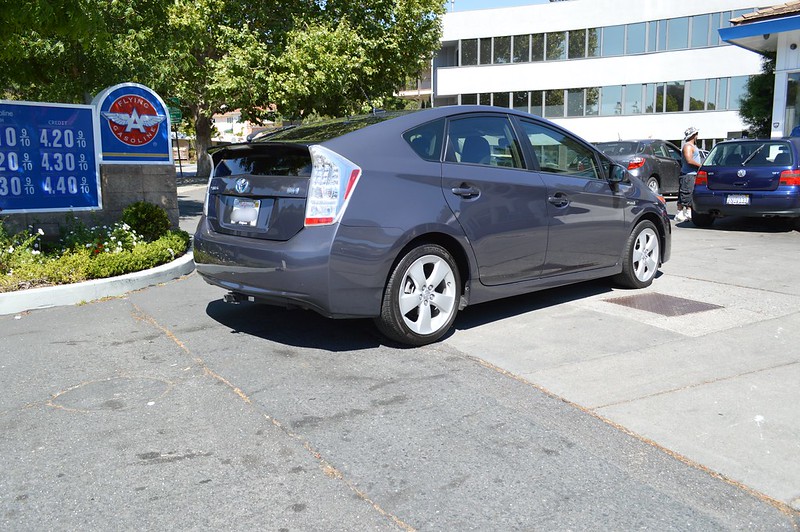 DSC_1131 by thecritic89, on Flickr
- Critic
While the Opti-Coat 2.0 was still working fairly well, I felt that I had greatly improved my paint correction skills since my car was last worked on (thanks JSmooth), and as a result - I think I could get my car's finish to a much higher level.
In addition, when the car was last coated, I only did a light polish using a very light finishing polish, so there were still defects leftover from my tunnel carwash days.
So here we go...
Tools used:
Rupes LHR21ES - correction step
Rupes LHR12E - finishing step
Rupes LHR75E - used for the correction and finishing steps on the liftgate
Rupes Swirl Finder Pen Light
Products used:
Wash: Meguiars D110 Hyper Wash
Decontamination: Meguiars C2000 Fine Grade Detailing Clay
Clay Lube: Optimum No Rinse - Diluted 1:16
Correction Step: Meguiars M100 with Meguiars DMF6 Microfiber Finishing Discs (to remove Opti-Coat 2.0 and remove most defects)
Refinement Step: Meguiars M205 with Rupes Yellow Foam Polishing Pads
Pre-Coating Wipe-down: CarPro Eraser
Paint Protection: CarPro CQuartz UK, 2014 Edition. Two coats on the roof, one coat on the rest of the car.
Note: Also wiped down the car with CarPro Reload as per the application instructions.
Here's a picture of the paint after the compounding step.
 DSC_1119 by thecritic89, on Flickr
I used light pressure, speed 3 and a total of 3 passes in approx 16"x16" sections; I think the total work time was about 2 minutes per section. There's a minimal amount of DA haze and some light to moderate micro-marring from the Meguiars microfiber finishing disc. I was getting 90% + correction with this combo and approach.
(For what it's worth, I later used M100 with the new-style Meguiars MF Finishing Discs and found that there's almost zero micro marring using the same approach, hmm...)
I did not take any additional pictures during the correction process, but I should mention that I tested multiple combos for the finishing step. HD Adapt wasn't working too well with the heat and humidity, but M205 was. This is somewhat unfortunate since Adapt finished out a hair better than 205, but we're splitting hairs here.
Anyway, here are some final pictures. My photography skills really do not capture the gloss and darkening effect that CQuartz UK added to the finish:
 DSC_1141 by thecritic89, on Flickr
 DSC_1139 by thecritic89, on Flickr
 DSC_1147 by thecritic89, on Flickr
 DSC_1142 by thecritic89, on Flickr
 DSC_1127 by thecritic89, on Flickr
 DSC_1131 by thecritic89, on Flickr
- Critic
