MirrorDetailing
New member
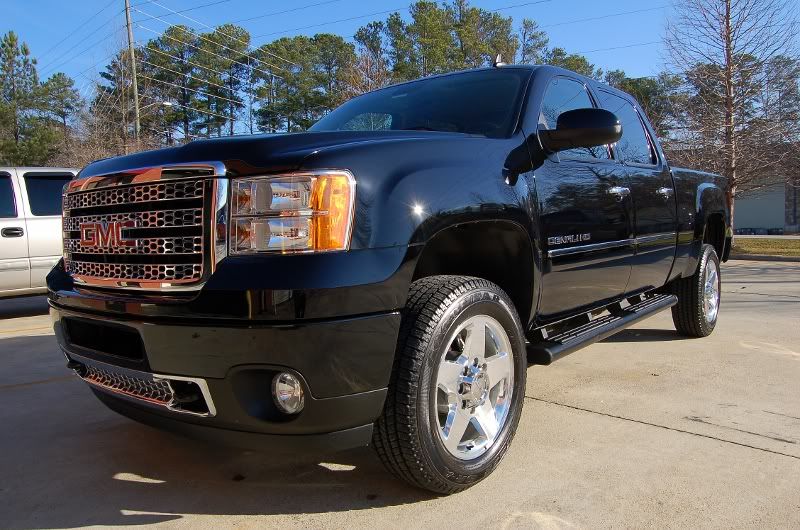
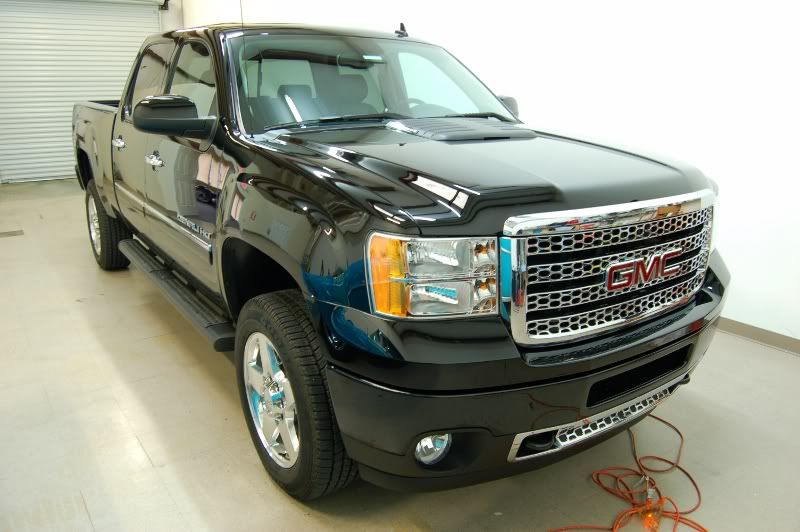
Customer contacted me last weekend about fixing some scratches he thought he had induced into the paint. Owner had been using a Boars Hair Wash Brush and thought that he had done this. To me it looks more like a sandy wash mitt from a dealership. After dropping off the truck, I realized it was a good bit more, but had a slight feeling they were not light. Once I got started, come to find out, it was some light scratches covering loads of deeper scratches. The owner wanted the truck to look like a new truck and 99-100% correction. So, fast forward through 28 hours worth of paint polishing, the owner also wanted the tail lights fixed as they were just as bad as the body and all the plastic trim dressed and protected.
Process:
ONR Wash
DI Light Clay w/ ONR Lube
2 IPA Wipedowns
Large Panel Buff Process:
2x 6" Microfiber Cutting Pad w/ M105 & D300 via GG DA
M205 via Tangerine Pad via GG DA
1-2 PO85RD w/ LC Black Pad via GG DA
Small Areas:
3" Micro Cutting Pad w/ M105 & D300 via GG DA
3" Tangerine Spot Pad w/ M205 via GG DA
1-2 3" Tangerine Spot Pad w/ PO85RD via GG DA
After every step IPA Wipedown
More IPA Wipedowns
LSP w/
Sealed w/ Blackfire
Waxed w/ Mightnight Sun
V7 Wipedown
Windows w/ Meguiars Window Concentrate
Tires w/ Meguiars Hot Shine
Wheel Wells w/ CG Black on Black
Trim w/ Restore Refinish
Load of pictures for this detail...
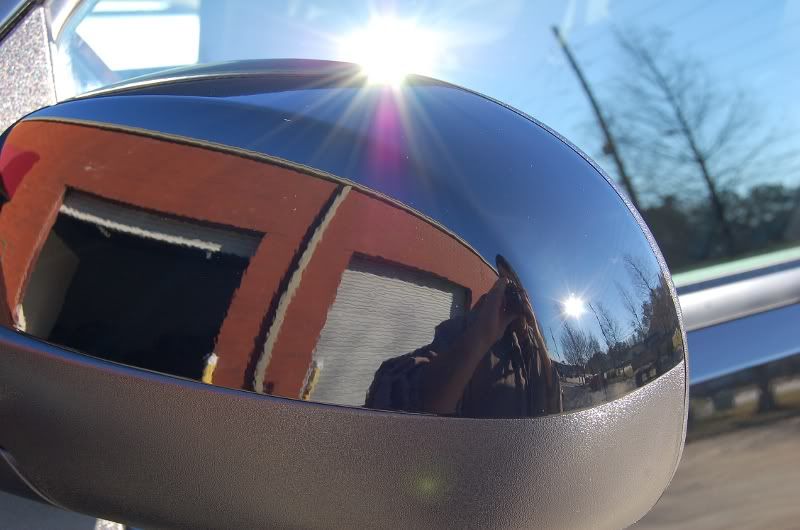
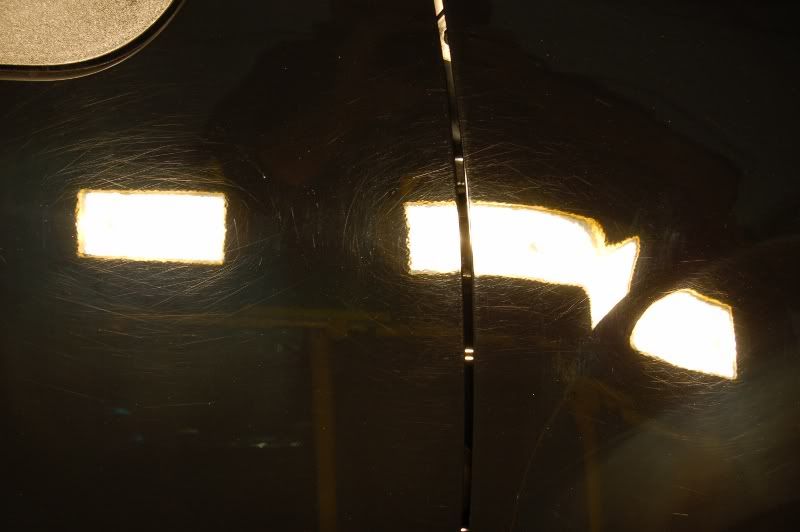
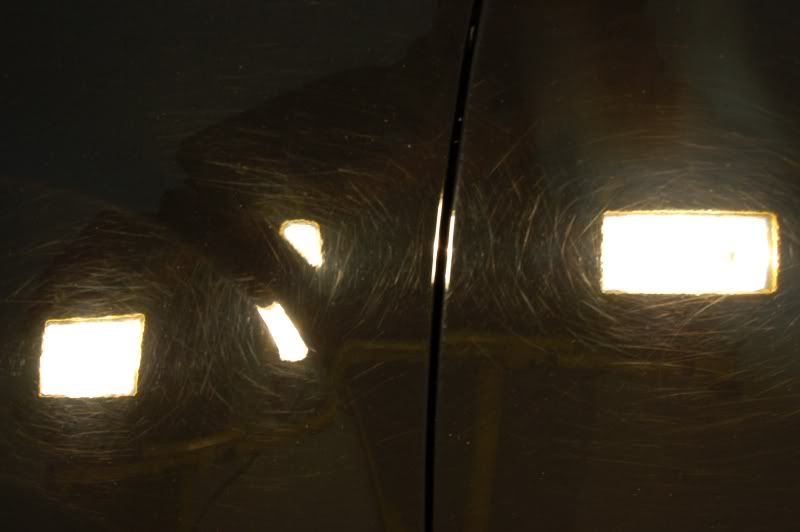
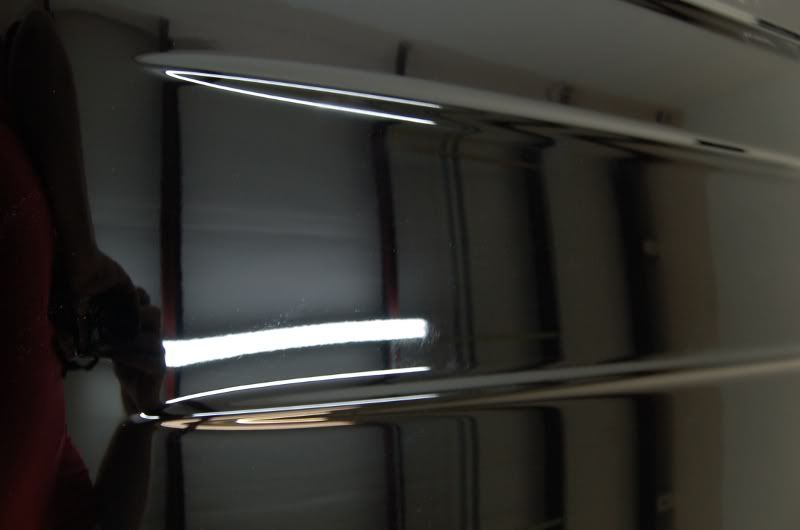
Before I started, got some pictures of the condition of the paint. Not how a 2011 with 5000 miles on it should look.
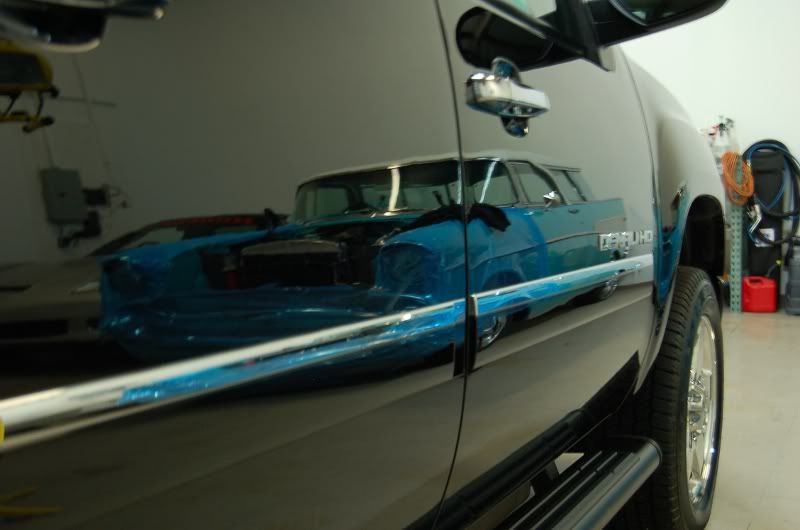
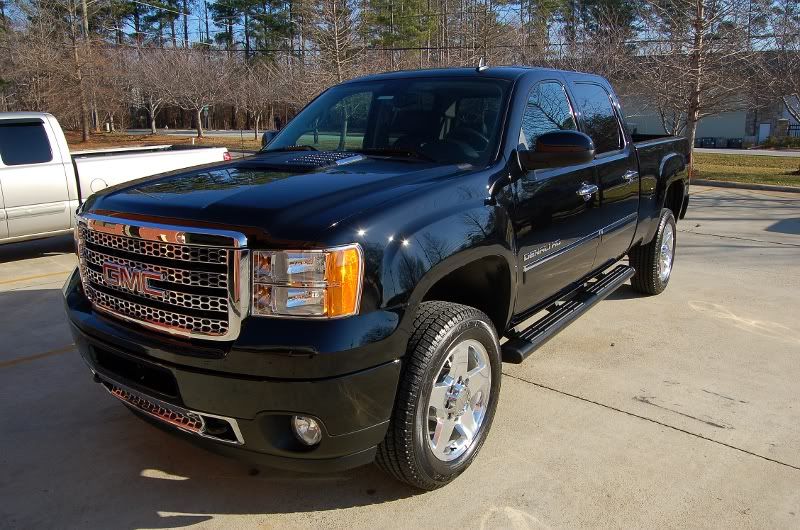
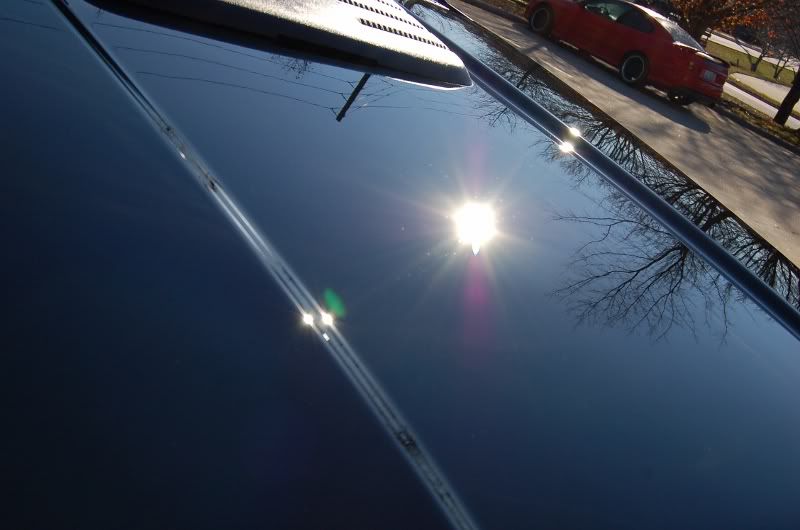
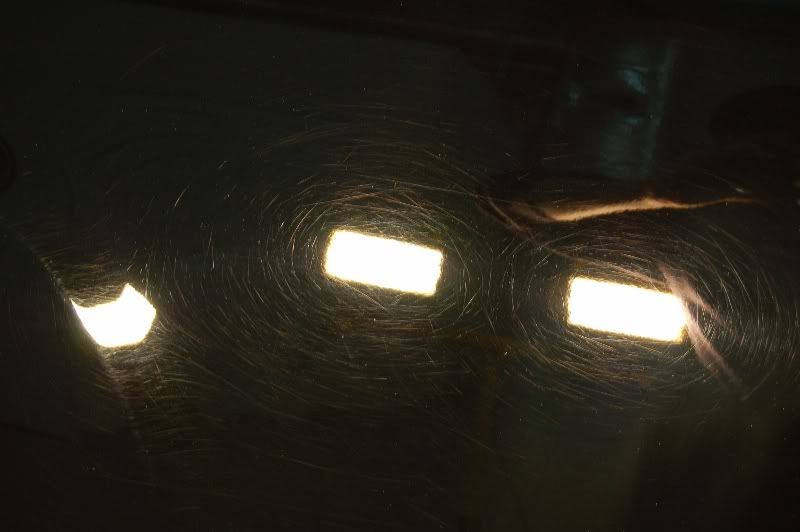
From afar it looks nice and shiney, as the owner keeps it waxed...
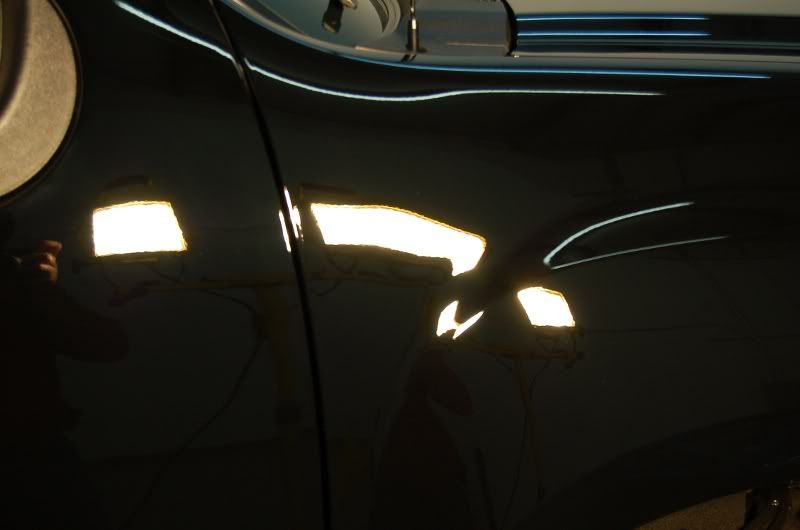
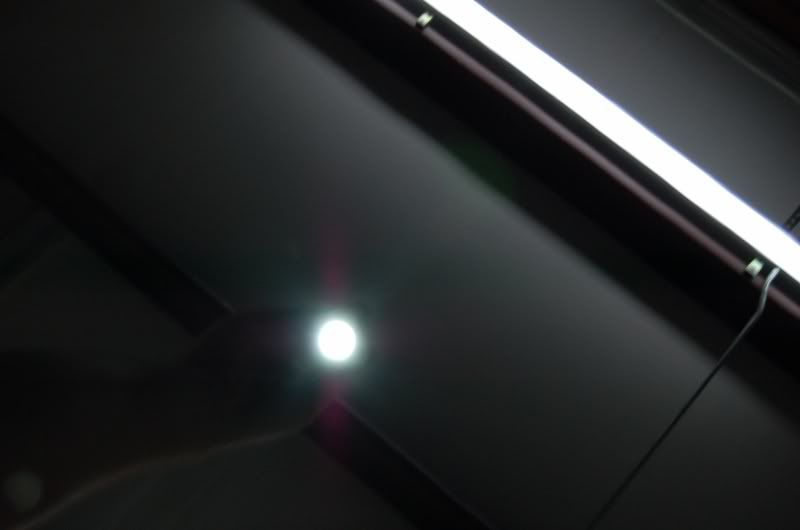
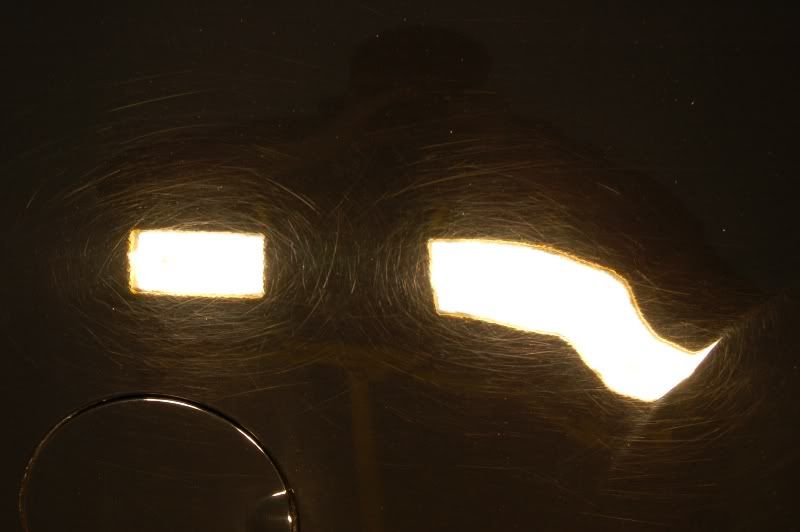
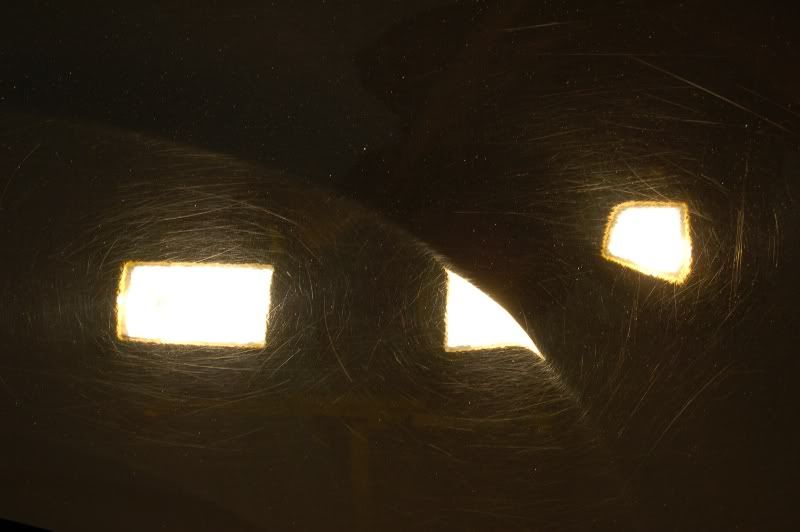
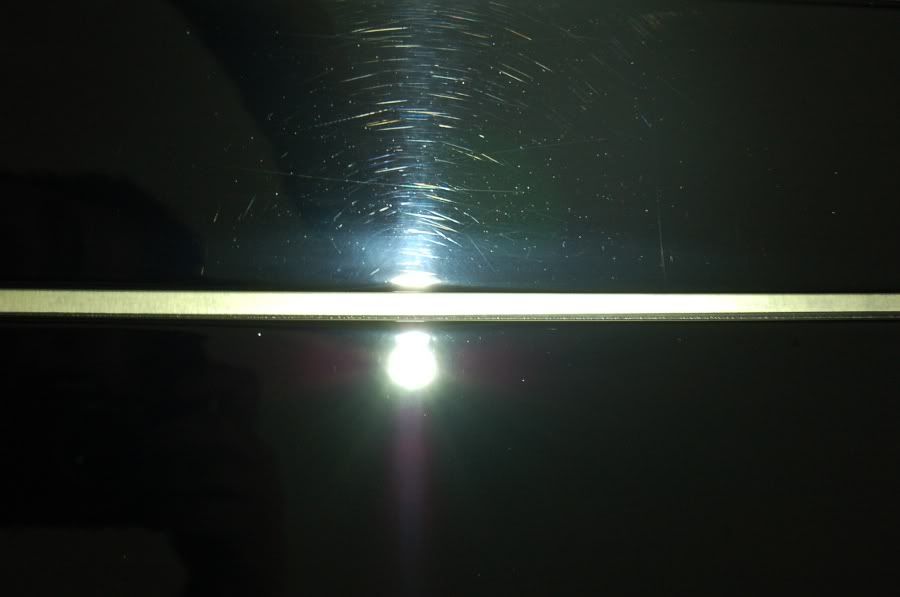
Under a light...not so good.
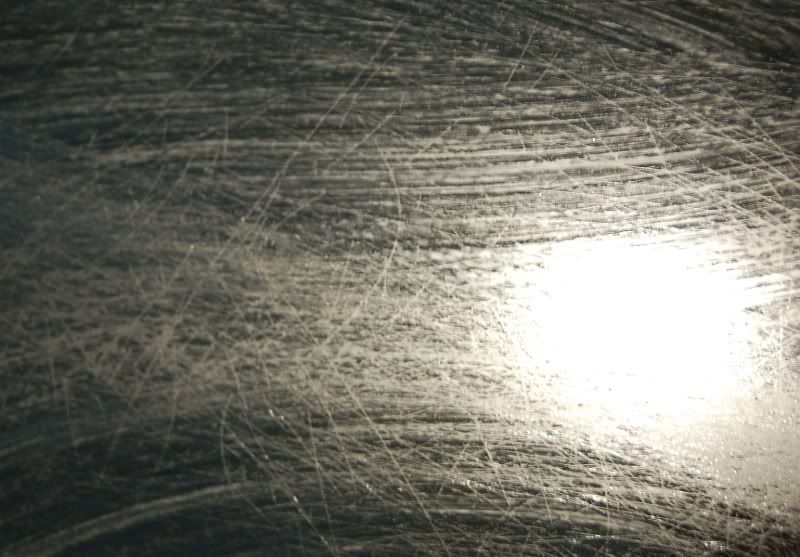
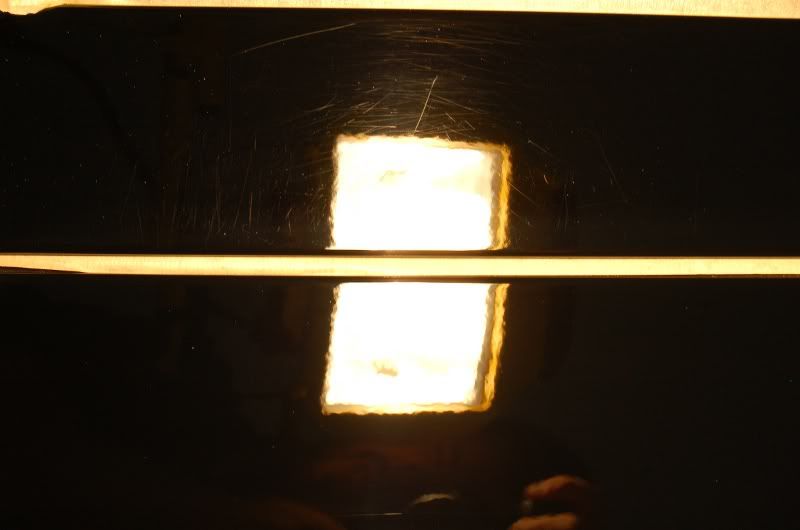
To give you an idea of how deep the deeper scratches were, here is some polish rubbed over the area...
I started on my test area, to figure out what it would take...
Area before...
Half and half before any final polishing...
Area done...but the down side was, when I stoke by LED light on the paint, the process that got me this finish, was not going to work. The 500w lights were not showing the mass amount of holograms from trying to finish down with the Dewalt and Micro Finish.
Once I had to retrace my steps and figure out a different process. Even the other process gave me headaches, as this paint was really REALLY soft, with M205 leaving me this finish...
But luckily that was a simple fix.
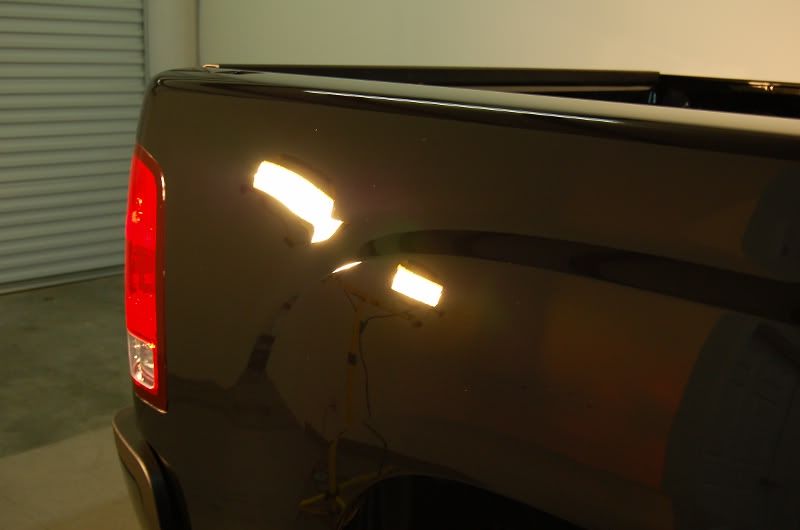
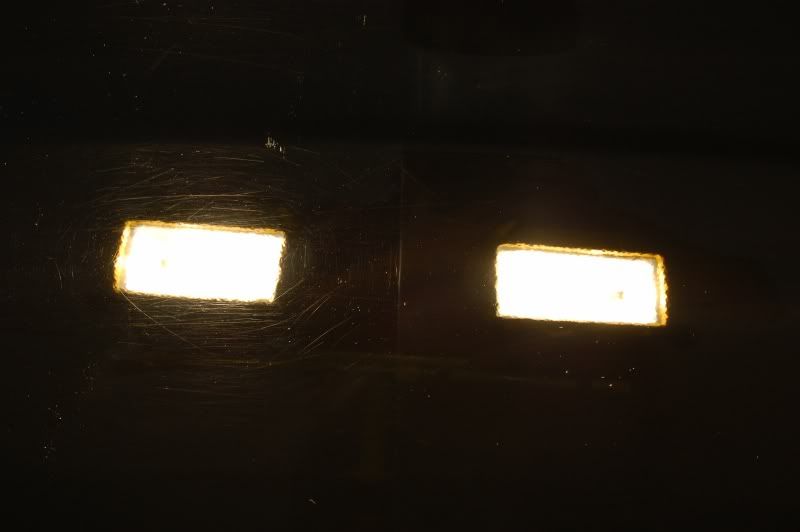
Now onto the tail lights. Just like the body, they were in bad shape...

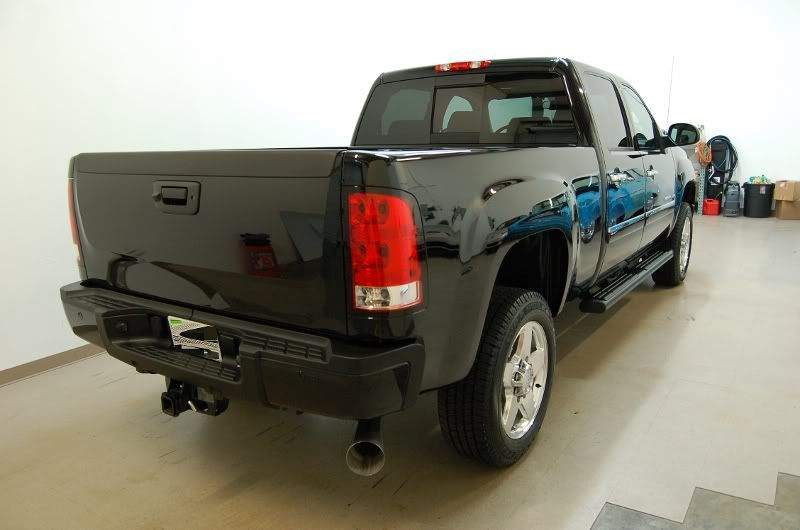
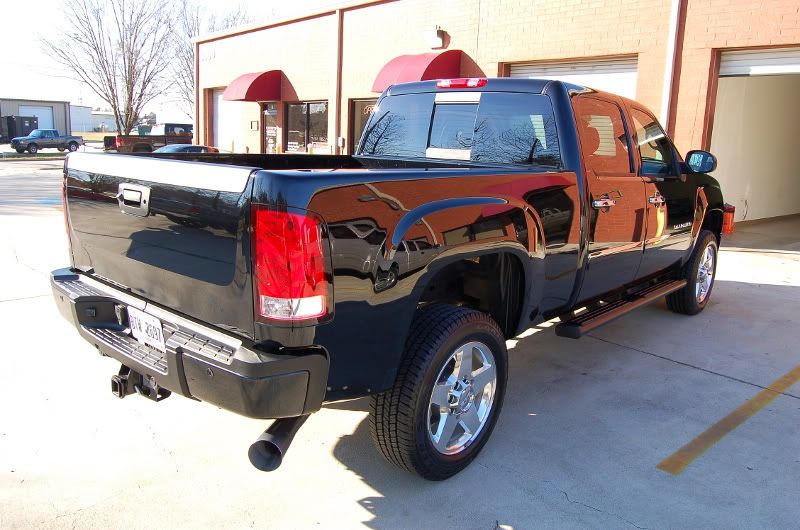
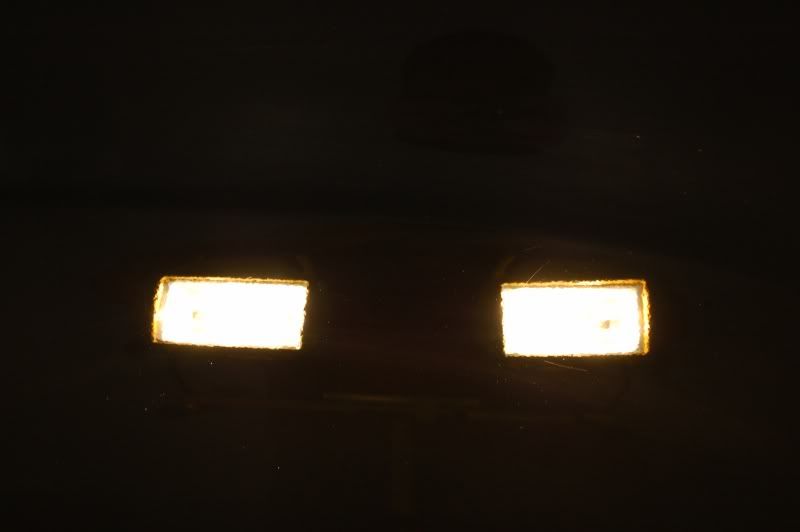
After...

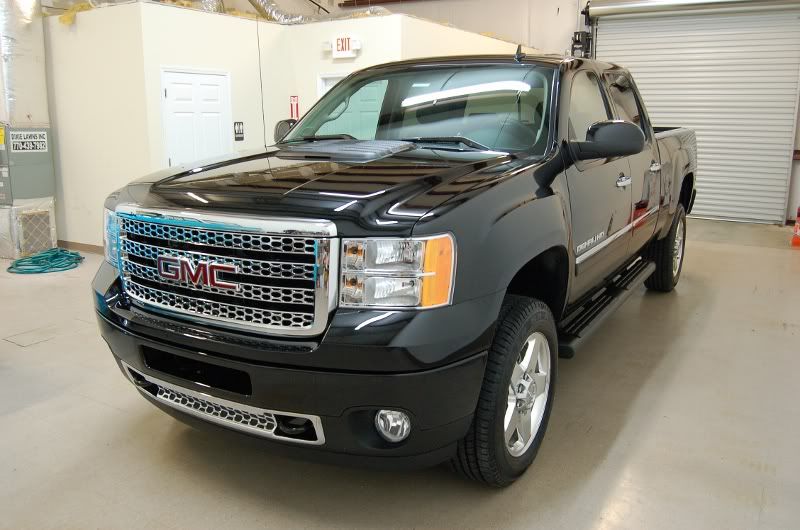
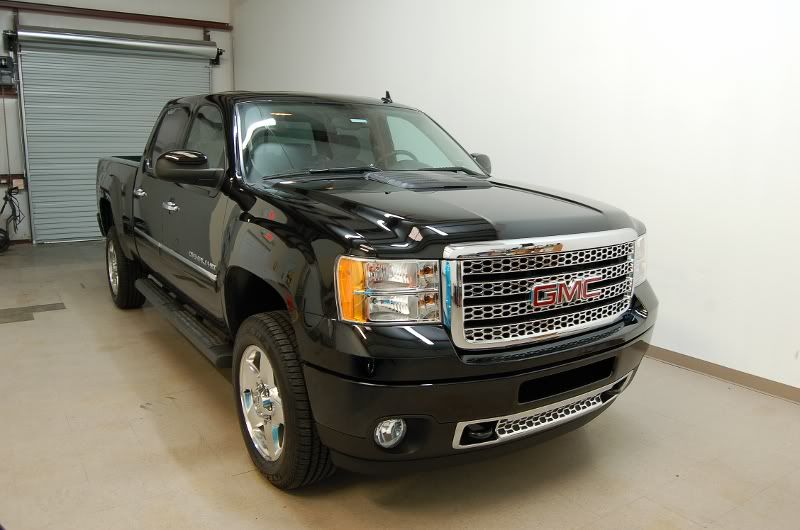
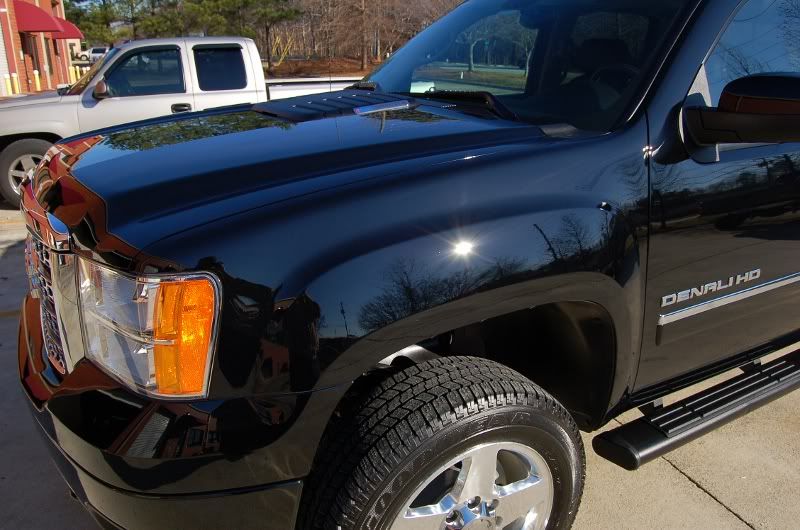
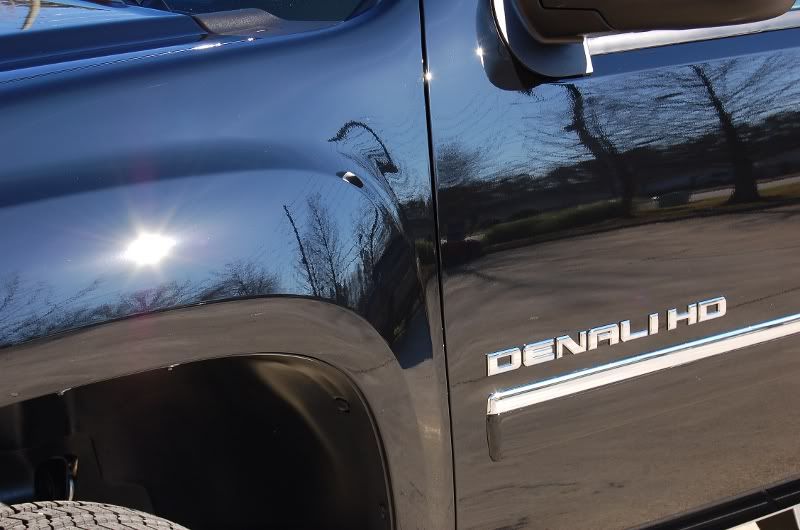
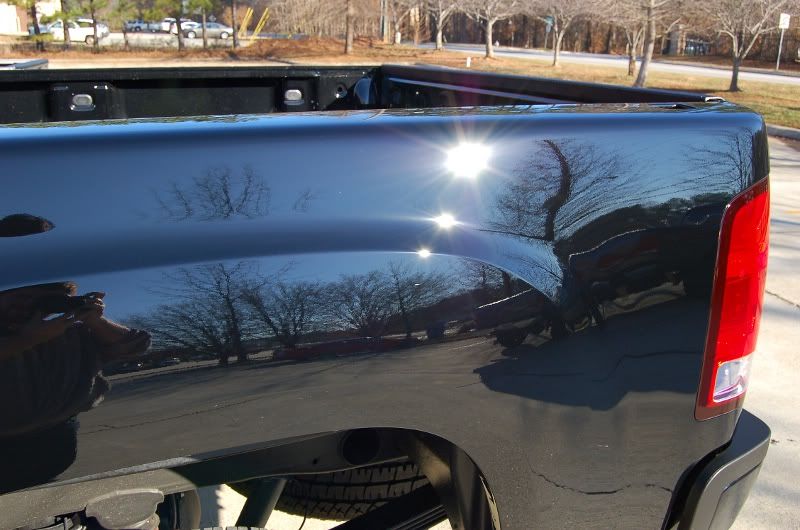
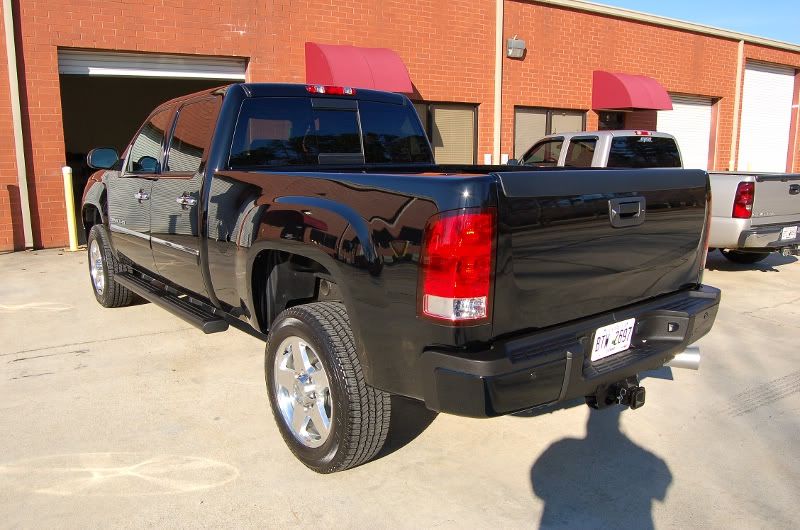
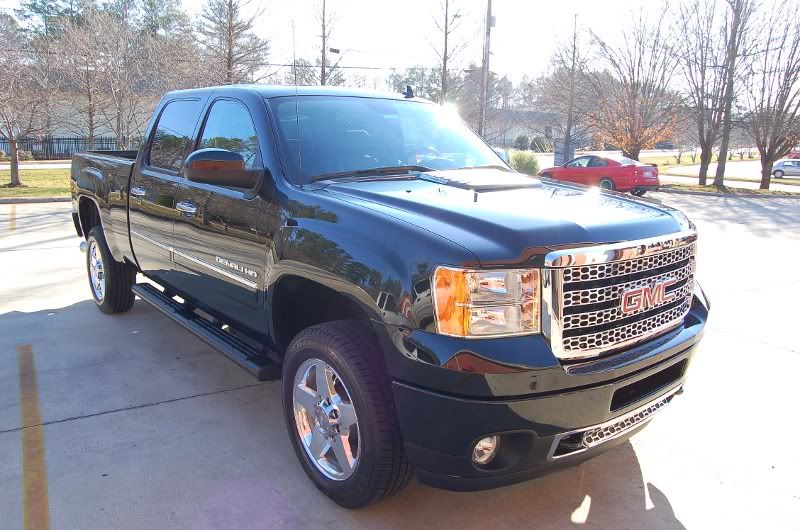
Now onto working on the whole paint after all...
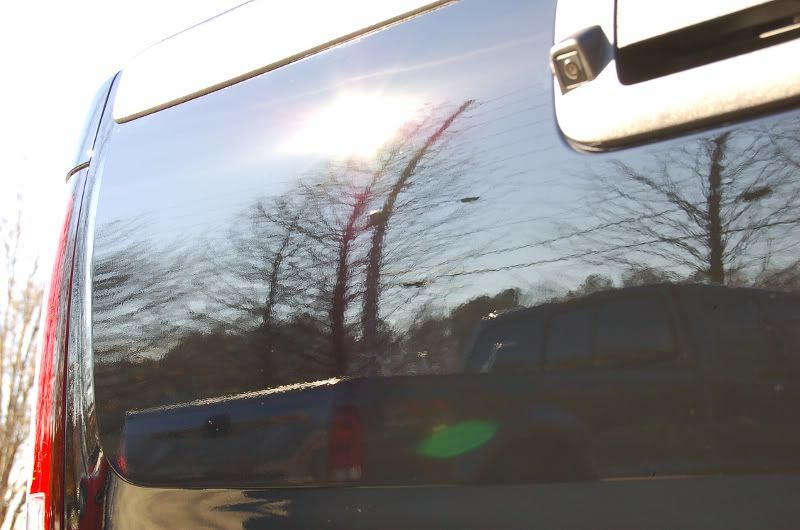
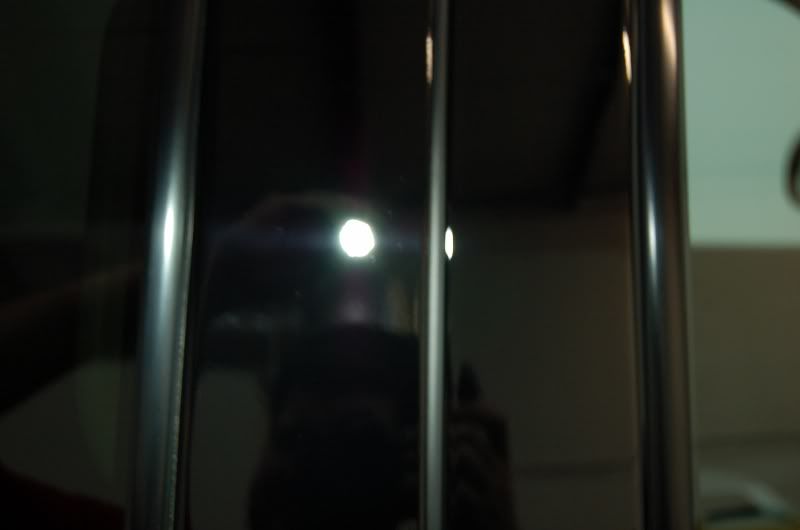
Pillars before and after...
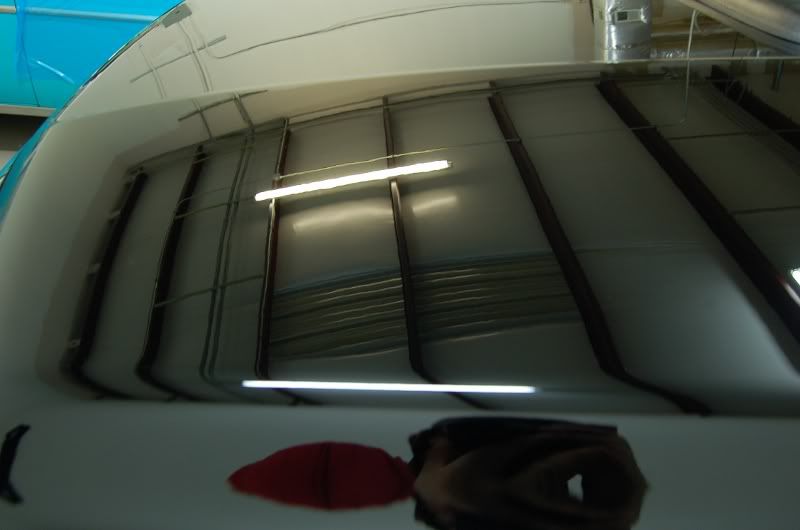
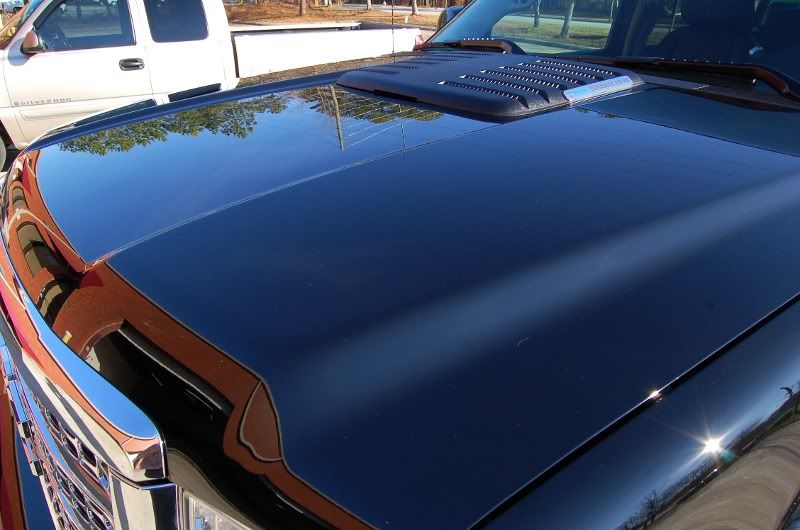
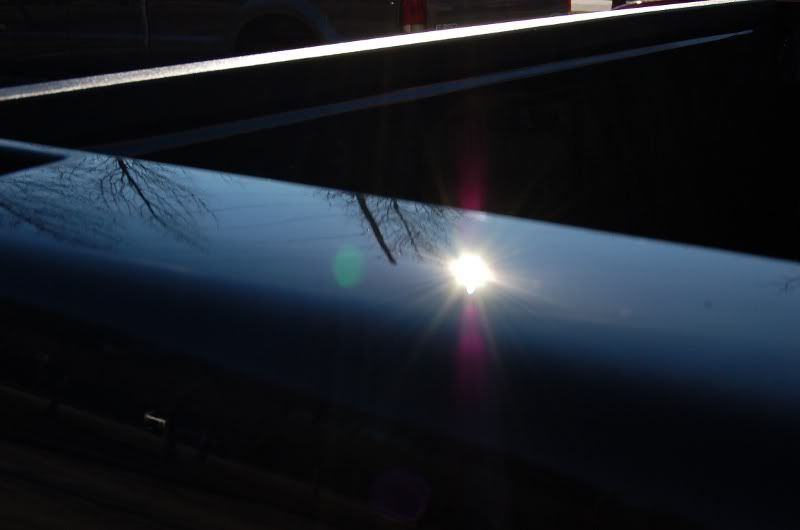
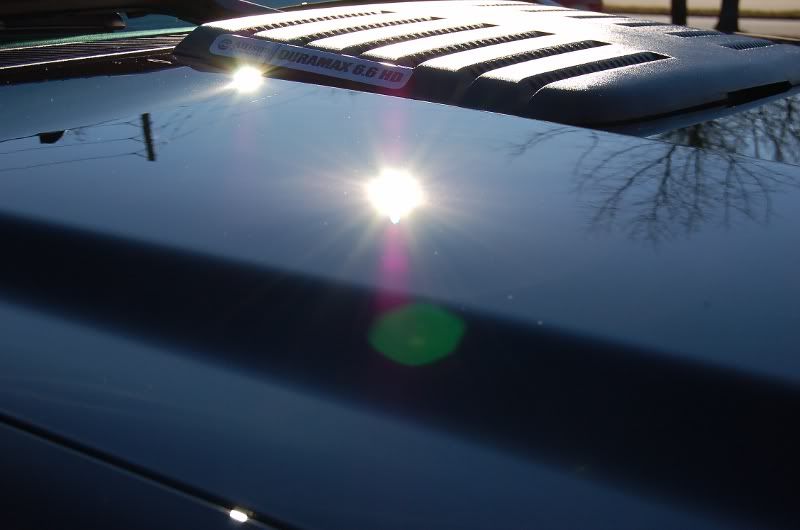
Now once the body was done, got to the roof and this is what I found...
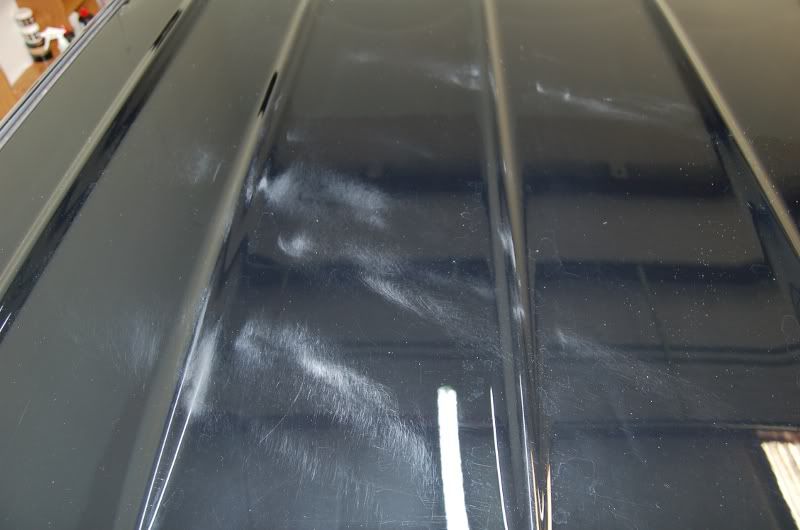
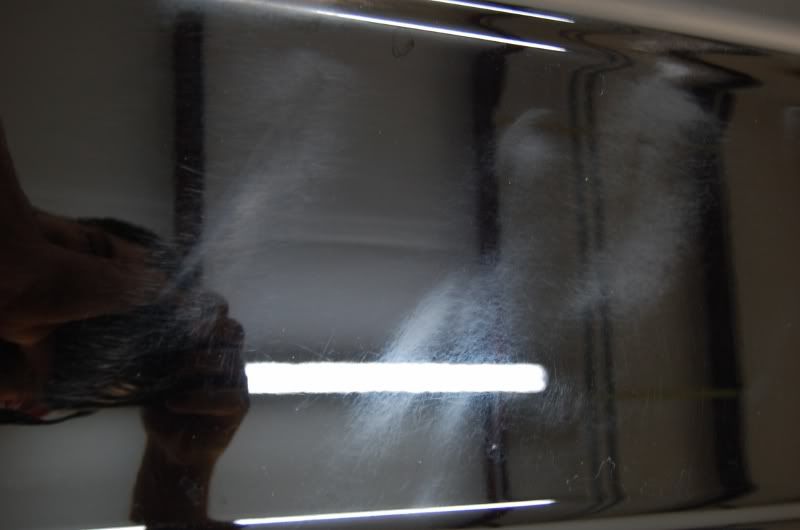
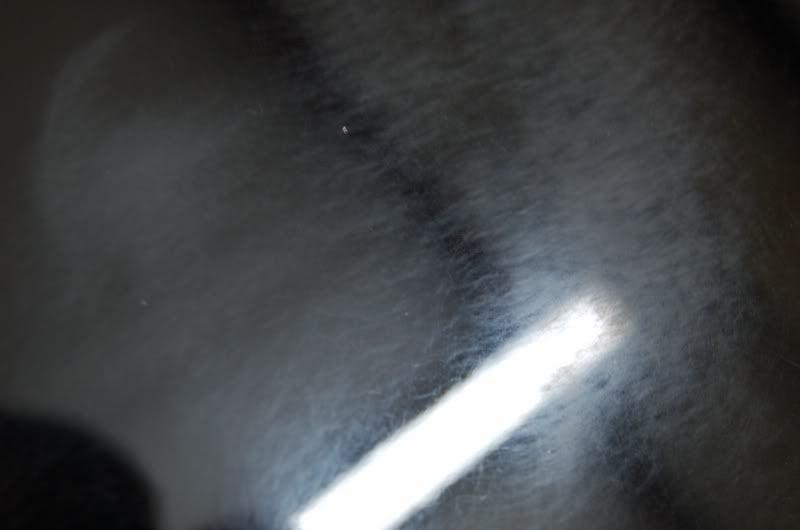
Owner did not want to wet sand them, as that was the only way to completely remove them, so I at least made them a lot less noticeable.
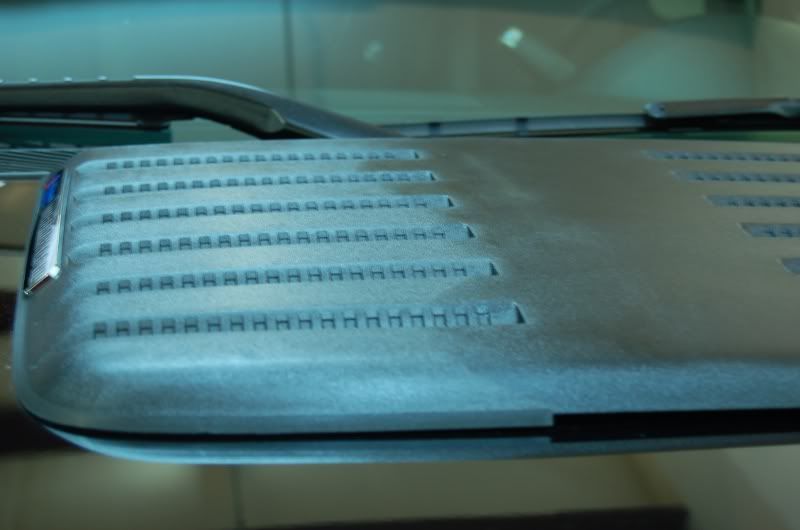
Once I was done with the truck, the owner wanted the plastic treated, just took one quick picture to give you an idea of the color difference it makes. This picture, the product was just applied so it was still drying.
Process:
ONR Wash
DI Light Clay w/ ONR Lube
2 IPA Wipedowns
Large Panel Buff Process:
2x 6" Microfiber Cutting Pad w/ M105 & D300 via GG DA
M205 via Tangerine Pad via GG DA
1-2 PO85RD w/ LC Black Pad via GG DA
Small Areas:
3" Micro Cutting Pad w/ M105 & D300 via GG DA
3" Tangerine Spot Pad w/ M205 via GG DA
1-2 3" Tangerine Spot Pad w/ PO85RD via GG DA
After every step IPA Wipedown
More IPA Wipedowns
LSP w/
Sealed w/ Blackfire
Waxed w/ Mightnight Sun
V7 Wipedown
Windows w/ Meguiars Window Concentrate
Tires w/ Meguiars Hot Shine
Wheel Wells w/ CG Black on Black
Trim w/ Restore Refinish
Load of pictures for this detail...
Before I started, got some pictures of the condition of the paint. Not how a 2011 with 5000 miles on it should look.
From afar it looks nice and shiney, as the owner keeps it waxed...
Under a light...not so good.
To give you an idea of how deep the deeper scratches were, here is some polish rubbed over the area...
I started on my test area, to figure out what it would take...
Area before...
Half and half before any final polishing...
Area done...but the down side was, when I stoke by LED light on the paint, the process that got me this finish, was not going to work. The 500w lights were not showing the mass amount of holograms from trying to finish down with the Dewalt and Micro Finish.
Once I had to retrace my steps and figure out a different process. Even the other process gave me headaches, as this paint was really REALLY soft, with M205 leaving me this finish...
But luckily that was a simple fix.
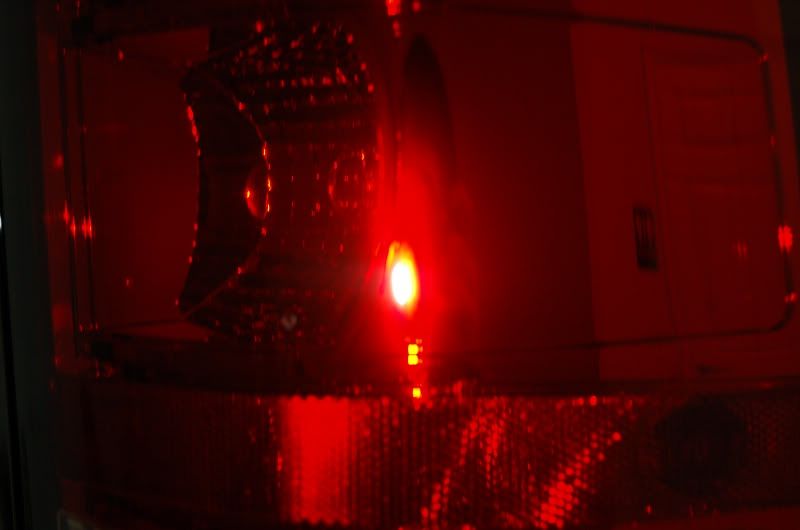
Now onto the tail lights. Just like the body, they were in bad shape...
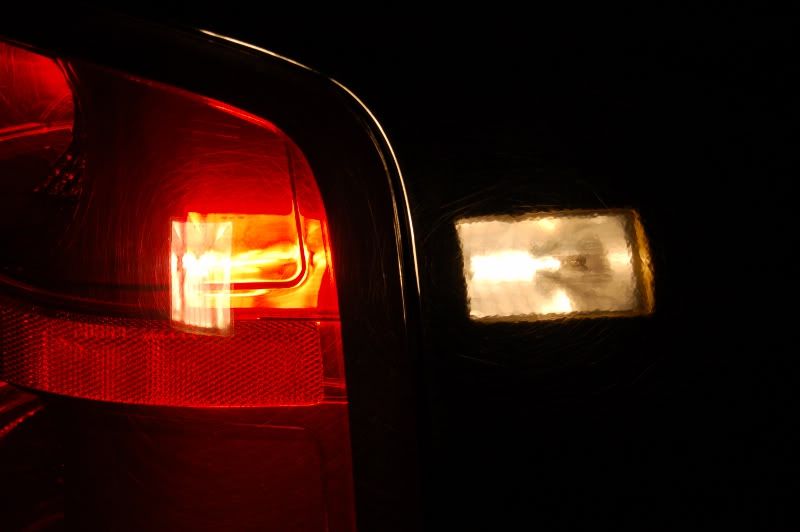
After...
Now onto working on the whole paint after all...
Pillars before and after...
Now once the body was done, got to the roof and this is what I found...
Owner did not want to wet sand them, as that was the only way to completely remove them, so I at least made them a lot less noticeable.
Once I was done with the truck, the owner wanted the plastic treated, just took one quick picture to give you an idea of the color difference it makes. This picture, the product was just applied so it was still drying.