Barry Theal
New member
Presidential Details of Lancaster Pennsylvania Complete Automotive Detail.
This particular Dodge Viper came to us in one of the most popular sports car colors of all time, red, or Viper Red as Dodge calls it. Its vinyl silver racing stripes add to this cars sex appeal making it look sleeker and ready to be driven, or as some would say, exercised properly on the track. The engine is a 8.3 Liter pushing 500 horse power and 525lbs of torque out of its 506 cubic inches. Not to bad for a factory stock car. Did I mention its top speed was 202 miles per hour. Talk about a pure adrenaline rush. Personally, this vehicle is one of my all time favorites. As a kid growing up in the nineties, this was one of the few that I personally gained a lot of love for.
During the course of the write, Im going to be focusing on a walk threw of the entire process from start to finish. Please bare with me as this is a longer style format with lots of discussion.
First and foremost, here at Presidential Details, Its our goal to complete customer satisfaction. Over the last few years, I shifted my attention to realizing that we are a complete service business that lives by a few simple rules. First is education, we want to provide the best service possible and in order to accomplish this, we have to realize what the customers goals are. Educating them in the proper steps to achieve this is priority. In doing so I always turn to a vehicle evaluation form. It allows me to walk around the car and explain to them what can be accomplished. The method of approach and giving them a complete understanding of how plan to do so. The customer and I decided to do a full paint correction and interior detail with some engine bay work as well.
The owner maintained this car quite well. The interior was clean, but had some loose dirt, and de-brie. The Exterior had some swirling, random deep scratches, and water spotting issues. The goal was to present our customer with a vehicle that presented itself worthy of the Viper name.
In a traditional fashion after the vehicle inspection, we started out with a vehicle decontamination. As an essential part to automotive detailing, vehicle decontamination is crucial in building the foundation to a great detail.
The wheels and calipers were dirty from normal break dust build up. As presented below in this picture.

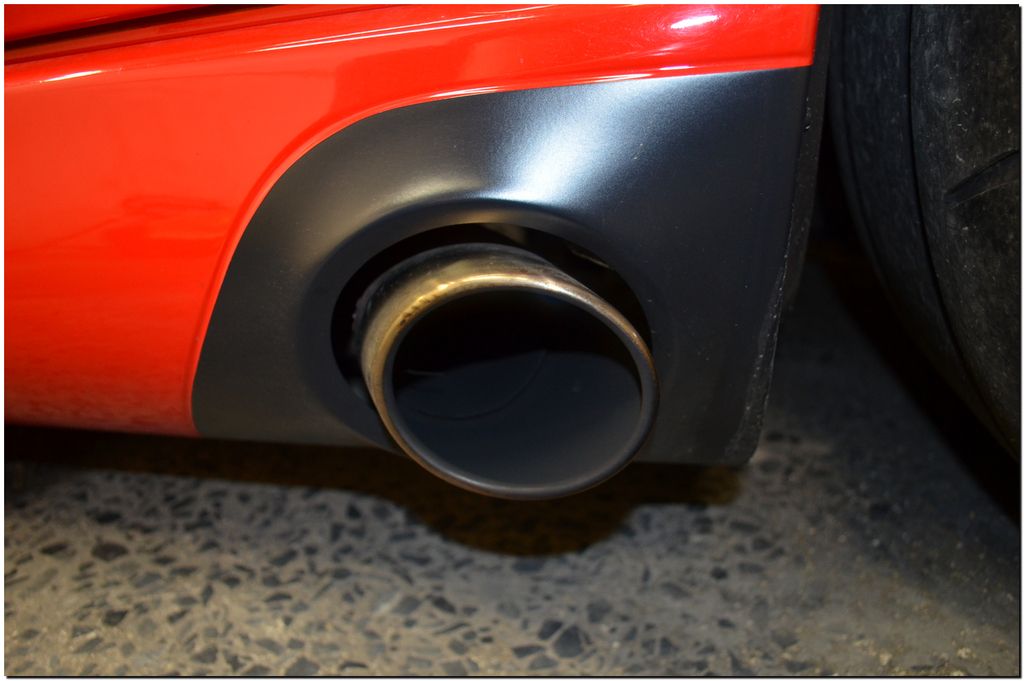
The exhaust tips had lots of build up as well
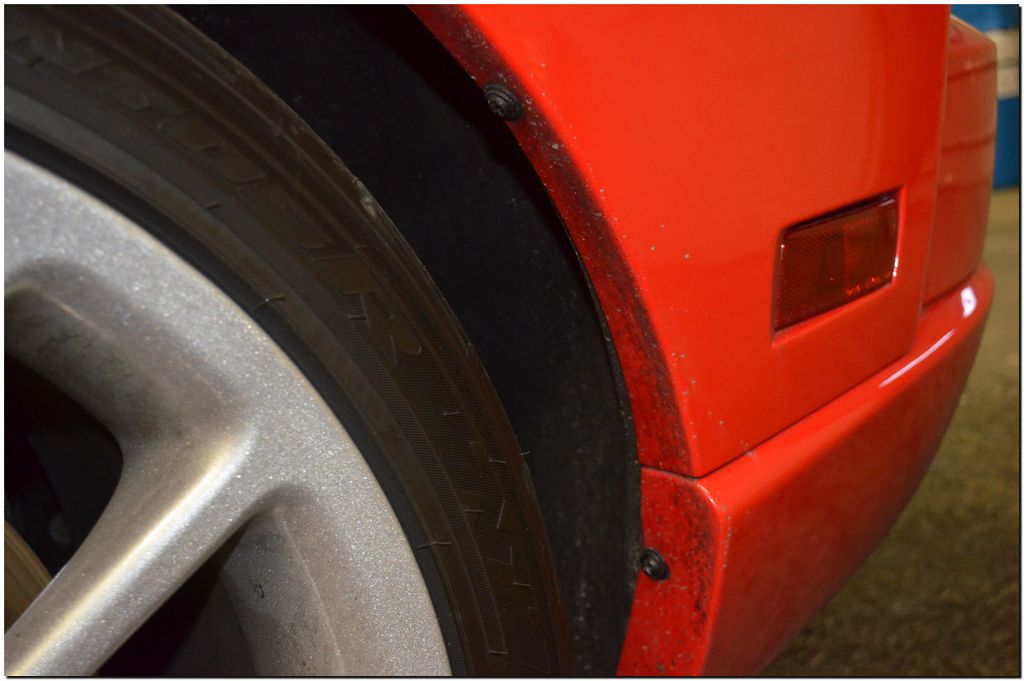
The below picture shows how a cheaper dressing will sling and show build up on the wheel well. Combine that with dirt and road tar and this is what happens.
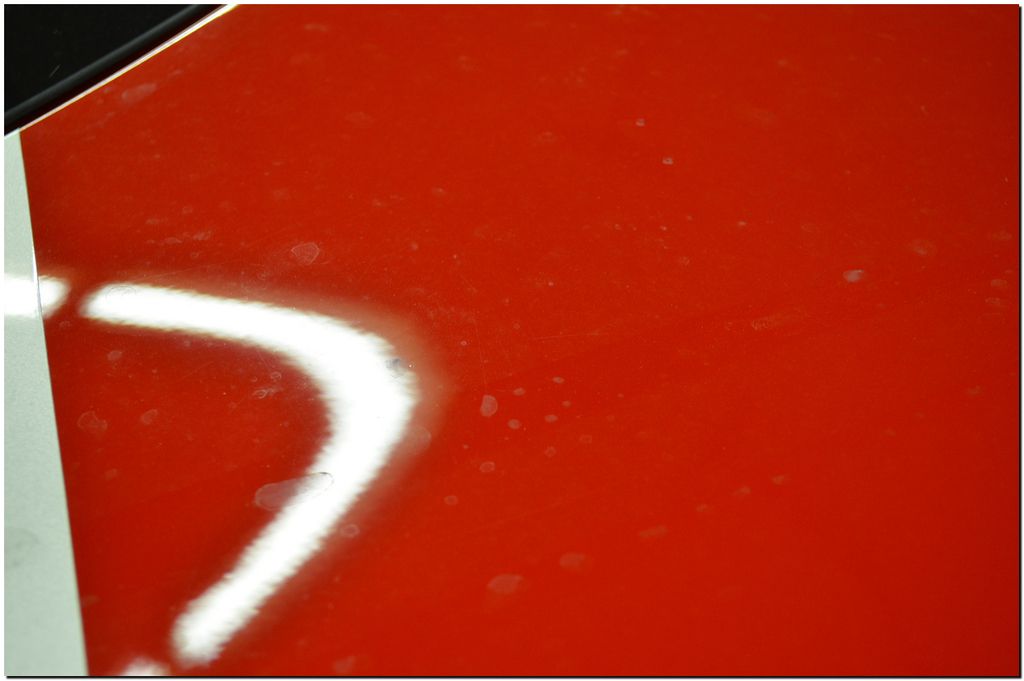
Over time as water sits on a vehicles surface, it can leave spots. Here in the North East, water etching can be detrimental to a vehicles finish. Generally speaking the are to types of water spots. Above and below the clear coated surface. It starts with the above surface water spotting. How it happens is pretty simple. Mineral deposits build up in a bead of water. When sitting in the sun, the water acts like a magnifying glass, and adventually as it dries, mineral deposits will etch into the clear creating a below the surface defect. This is know as etching. These below type surface defects will require a heavier level of compounding or wet-sanding to fully remove. Here is our they looked on this particular vehicle.
While the vehicles surface was dry and pretty clean to the touch. I choose to start right away with Ameririd. Ameririd is a Iron deposit remover, I find it a very important step in decontamination.
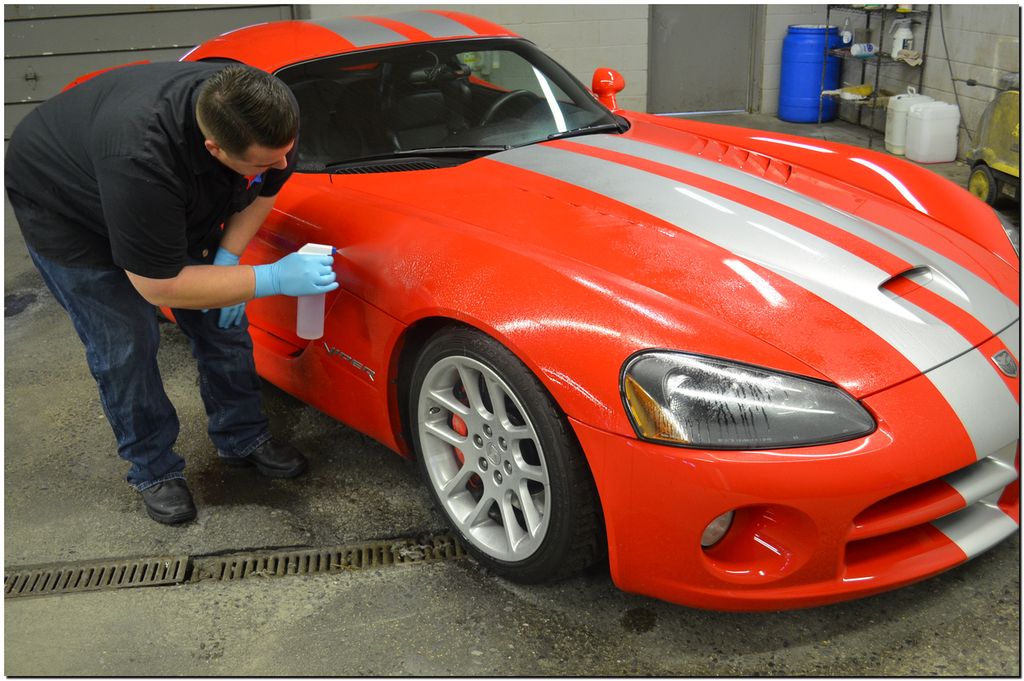
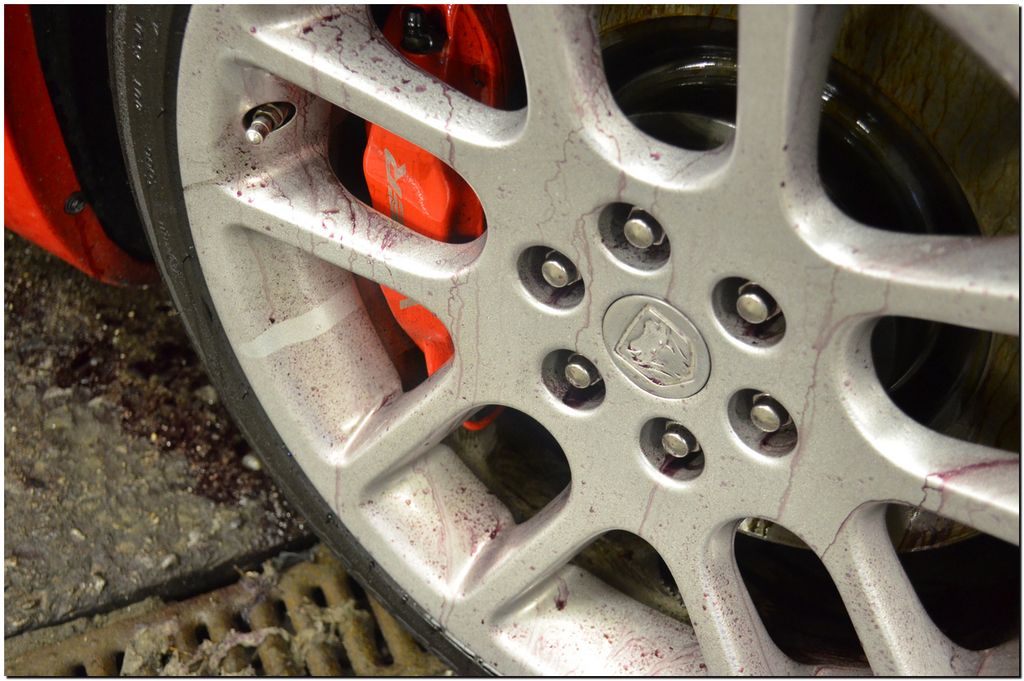
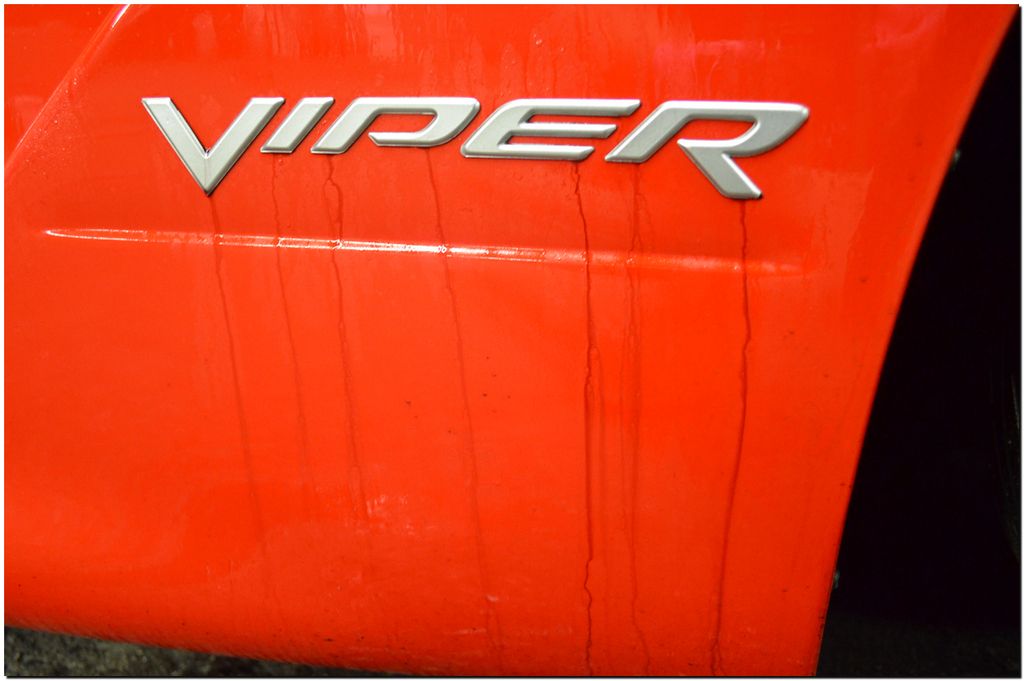
In the below two pictures you will notice a purplish type running liquid. This is a result of a chemical reaction. Take notice in the above picture, I was spraying a clear liquid. When spraying Ameririd, it will spray clear, As it comes into contact with iron deposits it turns purple. On this wheel featured below. You can take notice of how it works. As the vehicle stops creating friction between the pads and the rotors, break dust builds up leaving behind iron deposits. Ameririd is a safe and effective choice to remove the build up versus its alternatives like harsh wheel acids and higher PH cleaners that could harm a wheels surface over time. Its also safe and effective on paint and plastic as seen below in the second picture.
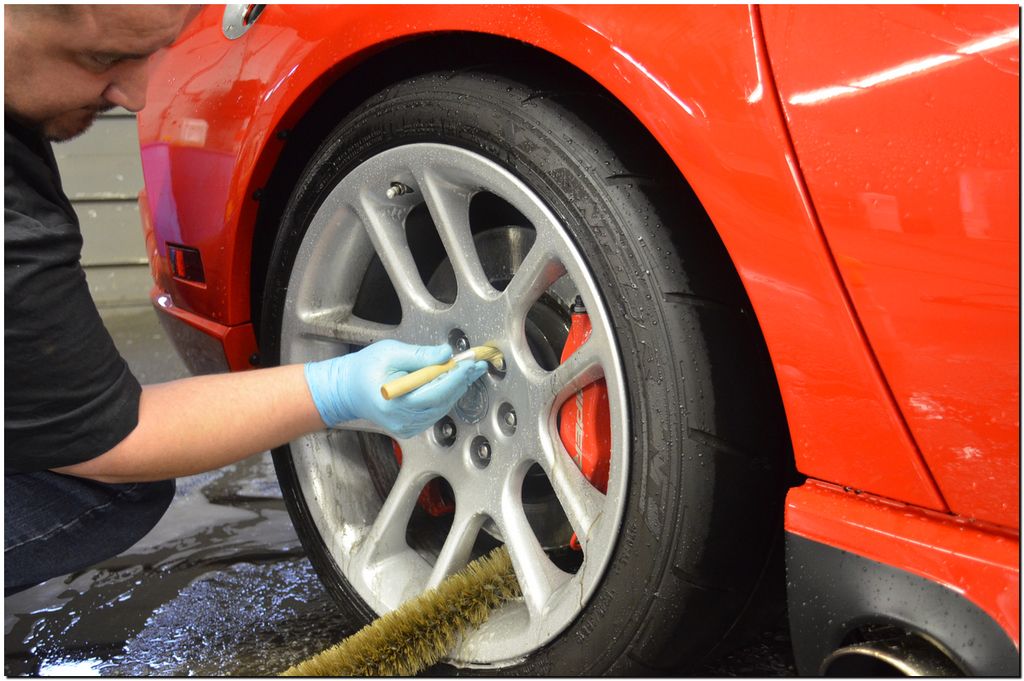
The wheels required some agitation using a spoke brush and and a smaller detail brush to get the tighter spots. While doing this step, I also choose to rotate the wheels 180 degrees to ensure all the wheels inter barrels were properly cleaned.
After a heated pressure wash rinse and to remove the Ameririd from the paint. I did a complete paint wipe down with mineral spirits to remove and tar on the paint. Then I followed this step up with a good ole fashioned hand was using a soft wash mitt, lots of suds with a water tempature of around 145 degrees.
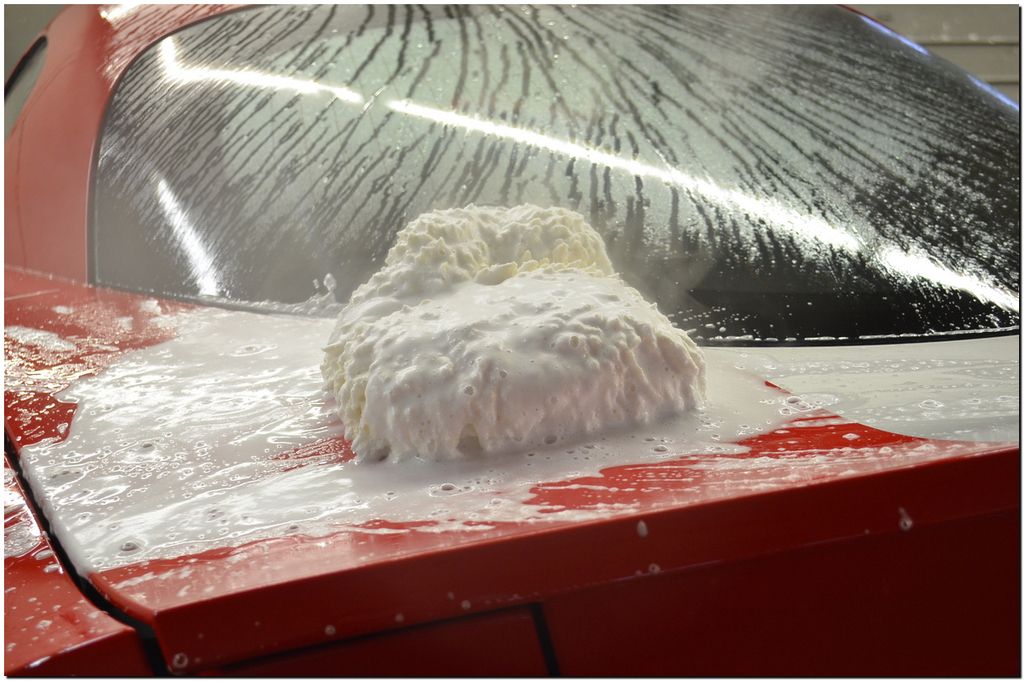
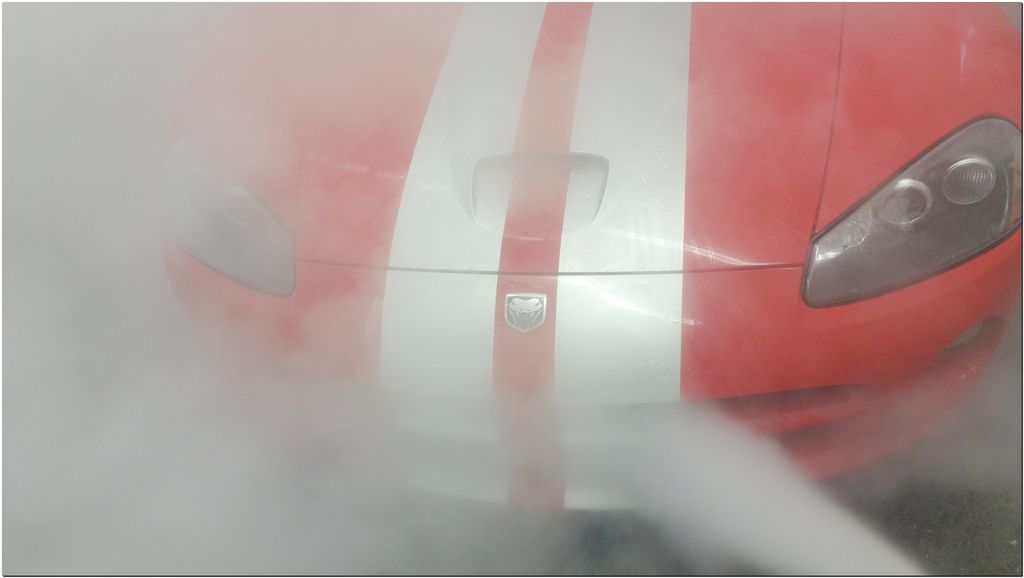
I have always found steam to be a great way to wash a car. Here you can see a fine example of how we removed the suds. It was a low pressure, high heat rinse.
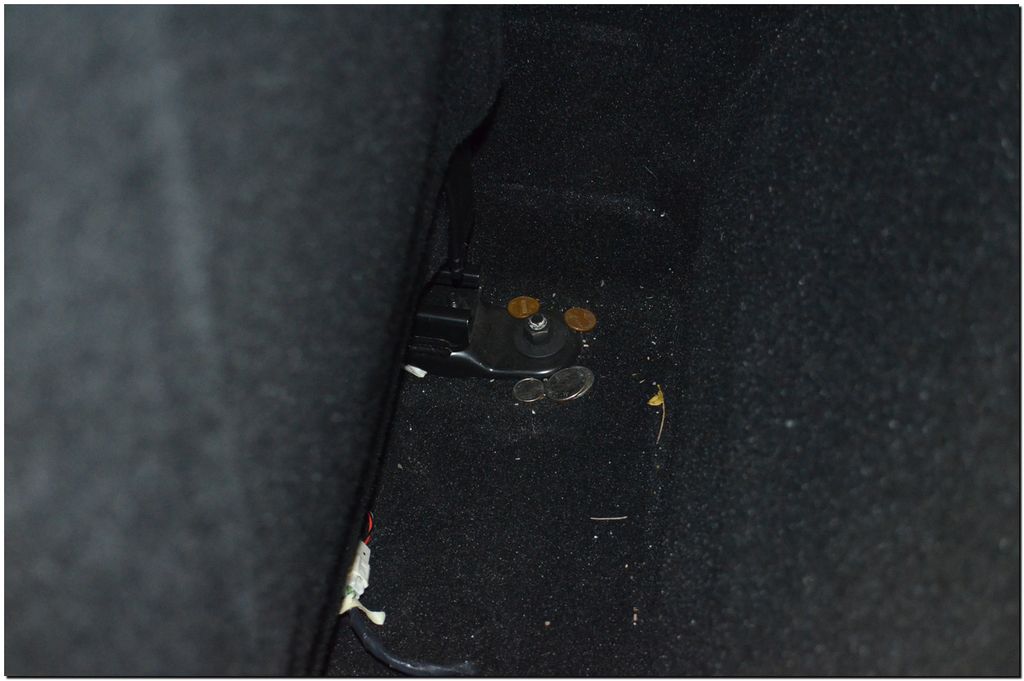
Using compressed air and microfiber towels I dried the vehicle and began to make our way to the interior of the car. When cleaning an interior, I have some pretty standard steps that I follow in a routine. It works for me. First I adjatate all the carpet with a dry brush to lift the embeded dirt from deep down in the carpets. Next, Ill use compressed air to blow into all the cracks and crevices to to loosen any dirt or debris from vents, shifters, seat rails and such. This is followed by a dry vac. I have found this step to be a critical step. It will leave the interior surfaces clean and not allow cleaners to create a mud affect when contacting dirt. This will allow the cleaner to attach to the fibers and do its job. In the below picture you can see some of the loose dirt I had to attend to.
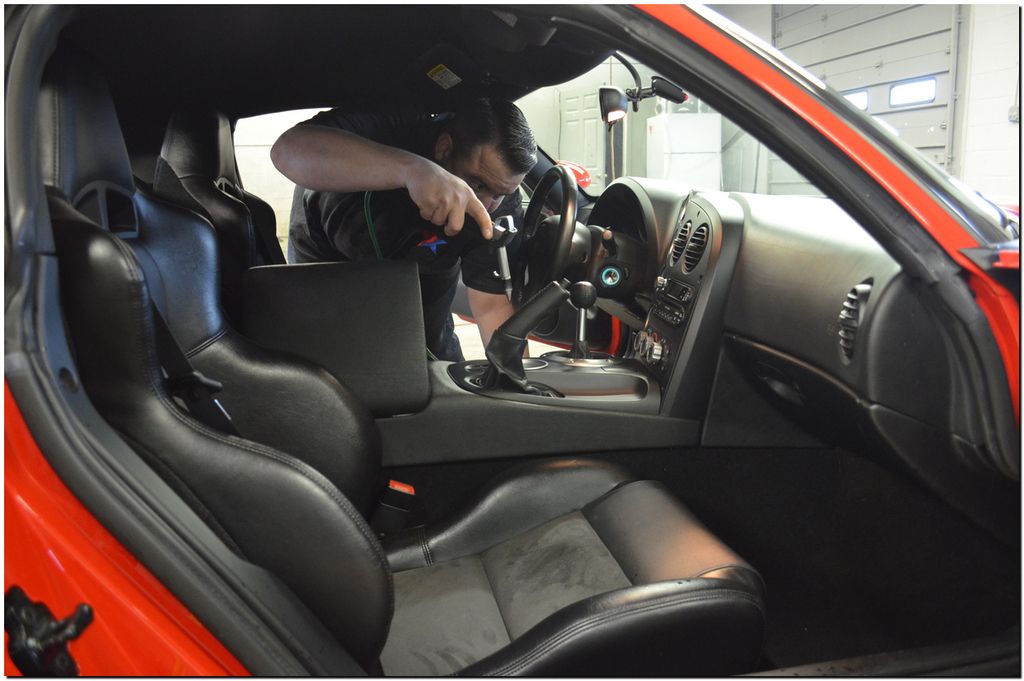
Here you can see me using compressed air to blow out the center console.
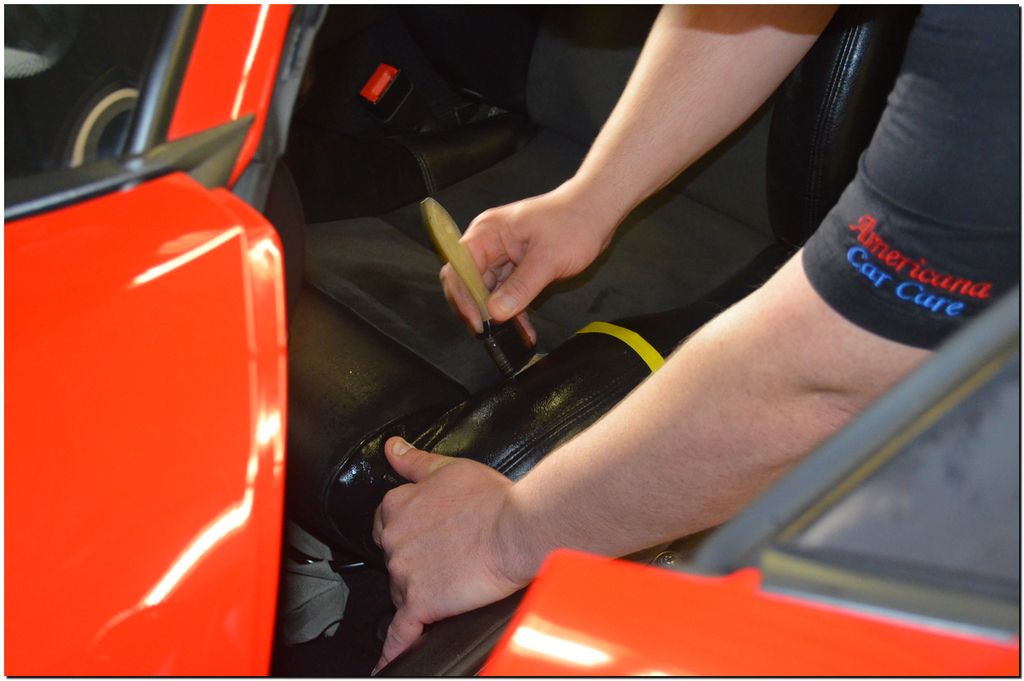
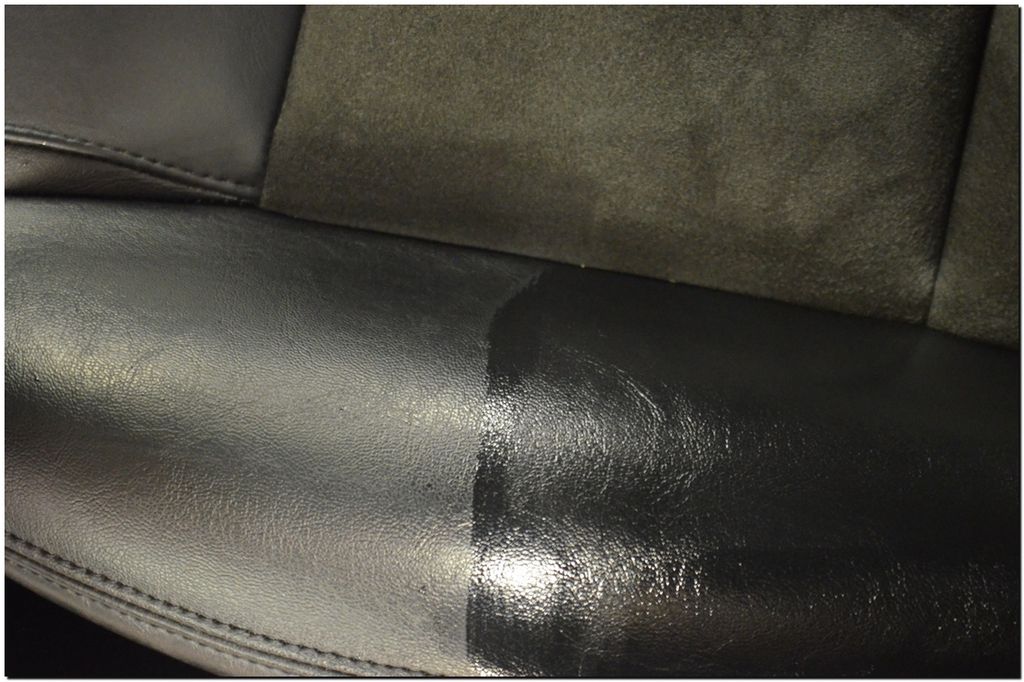
When doing general cleaning to the vinyl, carpets, and leather. I always start from top to bottom inside to out. To better explain this. I will clean the headliner first, then working my way down on all the vinyl surfaces. Then Ill move to the seats and finish with the carpets. I always save doors and the jams for last, and then finally windows. During this detail, one of the major concerns was the leather. It was loaded with a dressing that had a high shine and greasy feel to it. Using Americlean Citrus cleaner, and a brush I scrubbed the leather Pushing down on the seat, pushing down on the seat opens the creases in the leather, this allows for a good scrubbing with a soft boars hair brush.
Here you can see how leather should look. Clean, soft, and supple. Natural matte is the look versus the greasy and shiny side.
Quick note, some knobs and buttons are easily removed with a simple pull. Here you can see how we pulled the Ventilation controls off and cleaned behind them as well. It also made cleaning these knobs easier.

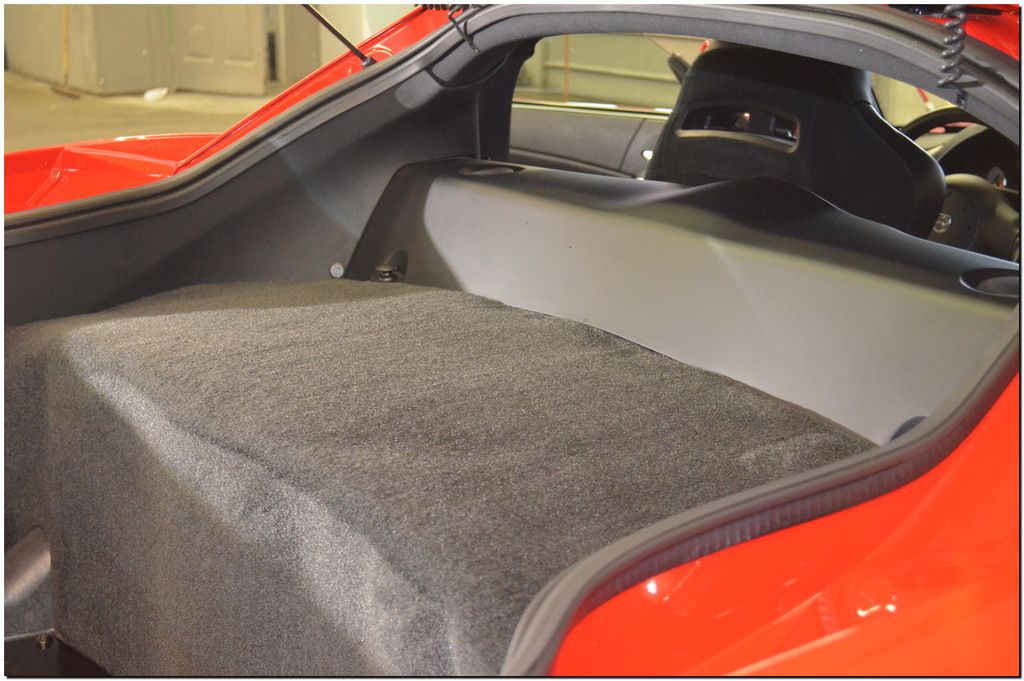
Once the carpets were shampooed and dried I noticed that the vacuum attachment left marks in the carpet. I know some like the look of cool lines, I prefer to leave my innteriors natural looking like they came out of the factory. In order to remove these lines, you have to raise the fibers back up, This is a simple task which is often over looked. Using compressed air and the slight movement of the hand, You can see the clear difference. In the below photo, The carpet has the just shampooed look.
In this photo you can see a more natural look where all the fibers are standing tall and looking good. Just like day one from the factory.
Once I wrapped up the interior to my satisfaction, I began to prep the exterior for polishing.
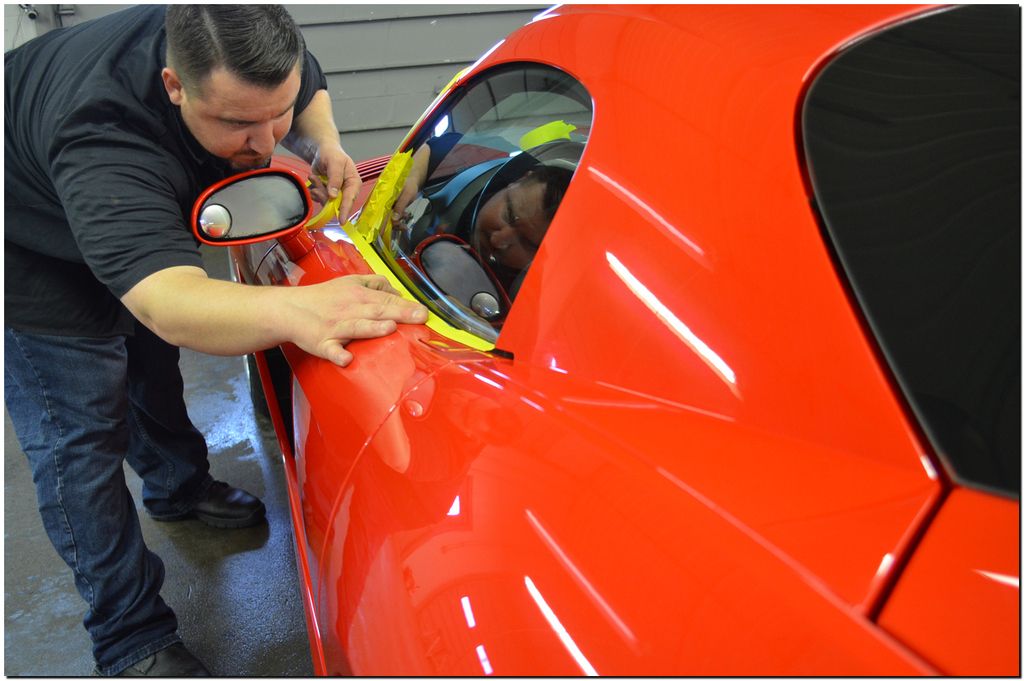
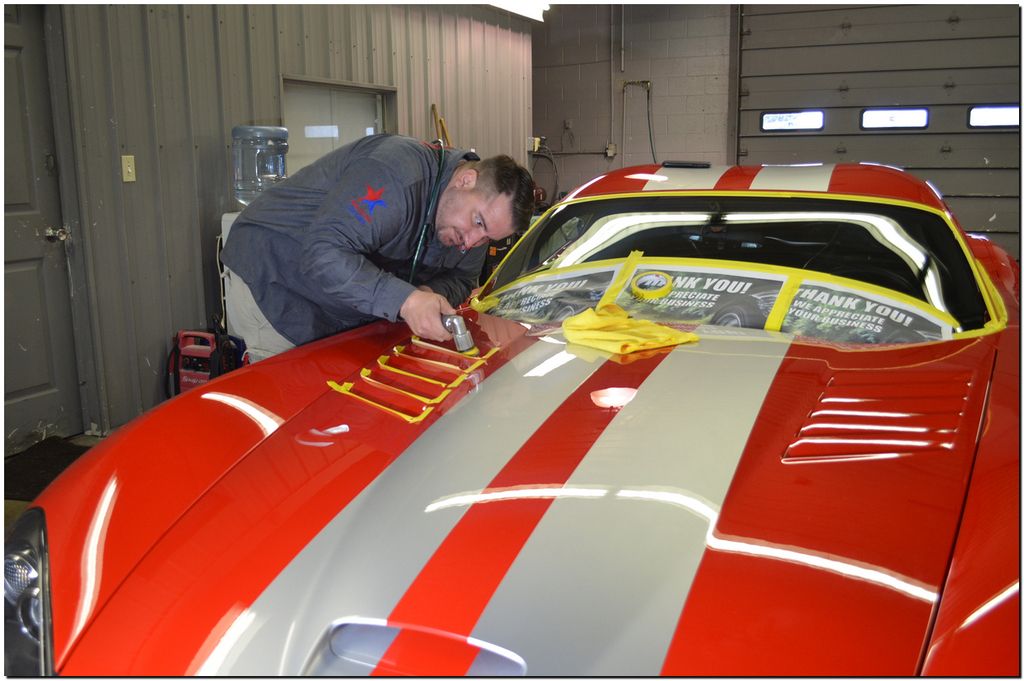
During paint prep, Im looking for certain things. First off is double checking anything I may have missed, such as tar, or anything else that may interfere with the polishing. Also I’m masking off items that could get messed up in the polishing process such as rubber moldings, or plastic. Here you can see me applying tape too the window molding on the left door.
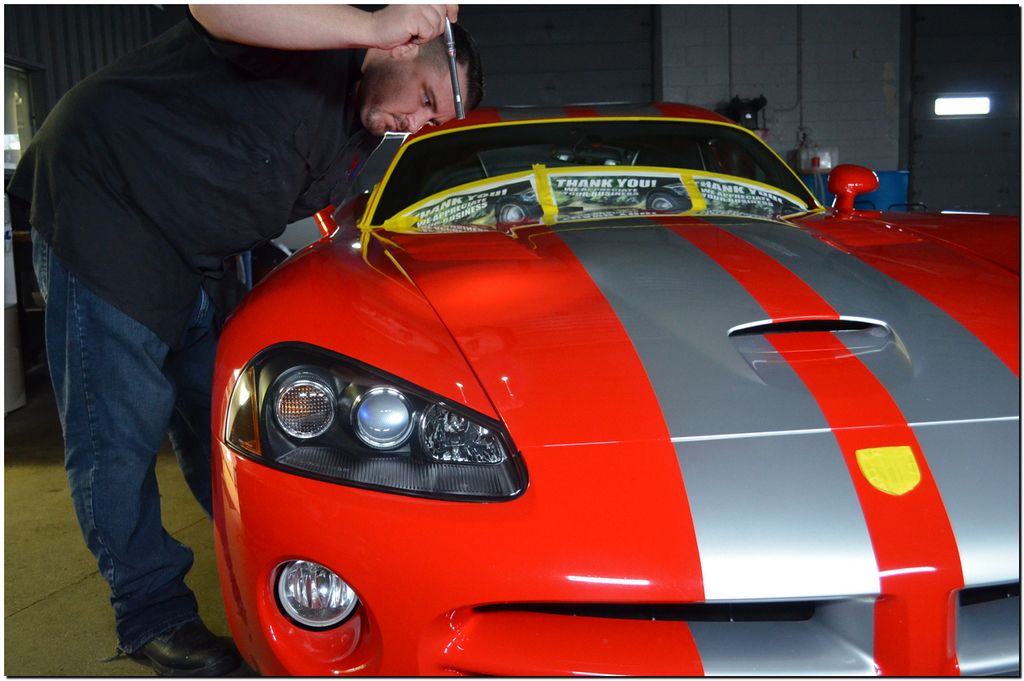
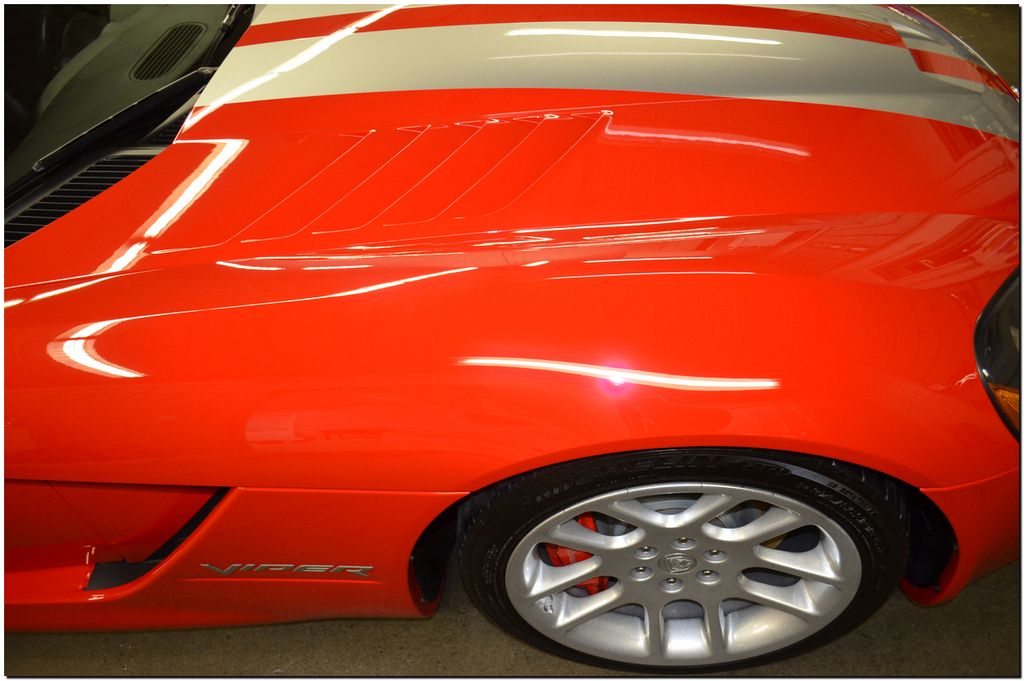
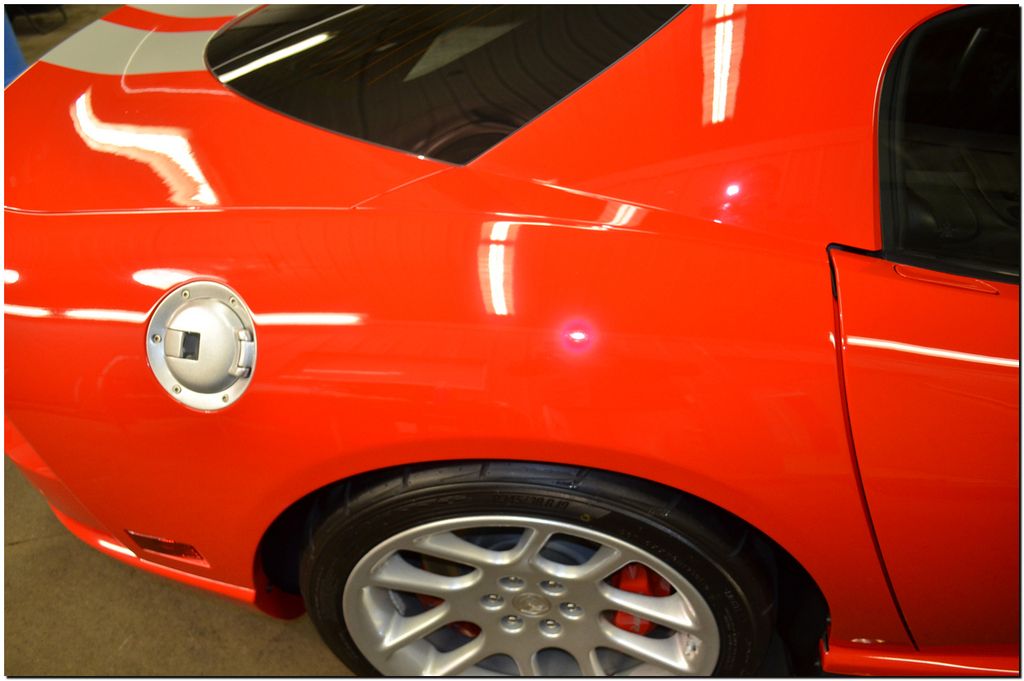
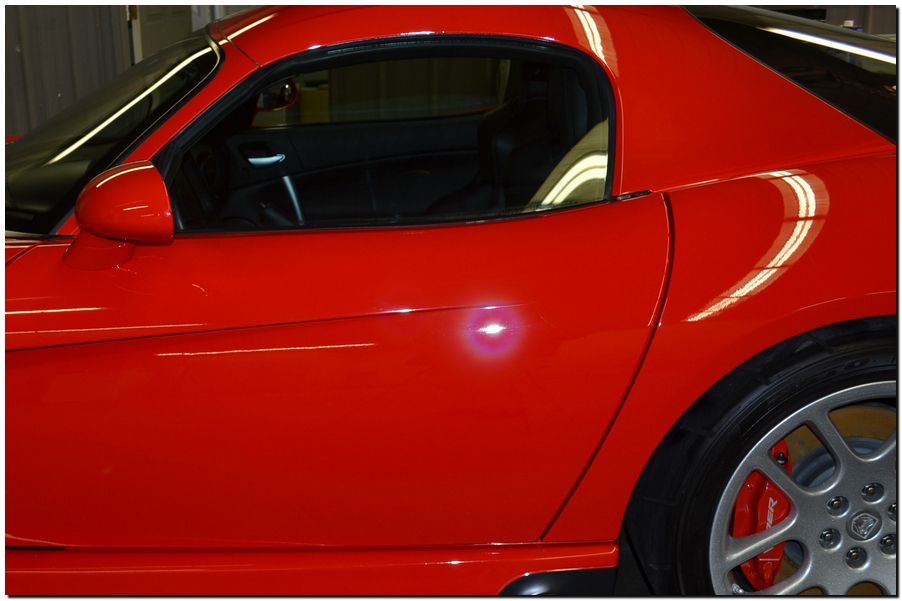
Using various lights sources to see the paint condition, here I was using my held held inspection light to identify problem areas. With the overhead lights off, I focused on direct focal points.
Starting with right fender, I performed a test spot starting with the least aggressive methods to minimize my polishing efforts, However after a conformation, to polishing steps were in order to get the paint to a satisfactory condition. Here is my test spot.

During the compounding stage, I choose to level the paint with a foam cutting pad and a Rupes 21mm polisher. Ideally this set up will allow me to compound at cooler tempatures. Using a new compound from Americana Car Care IAT1500, the defects were easily removed. Tighter areas were compounded with a smaller two inch Dual action polisher as seen.
In the below picture, you can see a clear example how well IAT1500 compound leveled the defects, but still finished amazing with the right pad and machine.

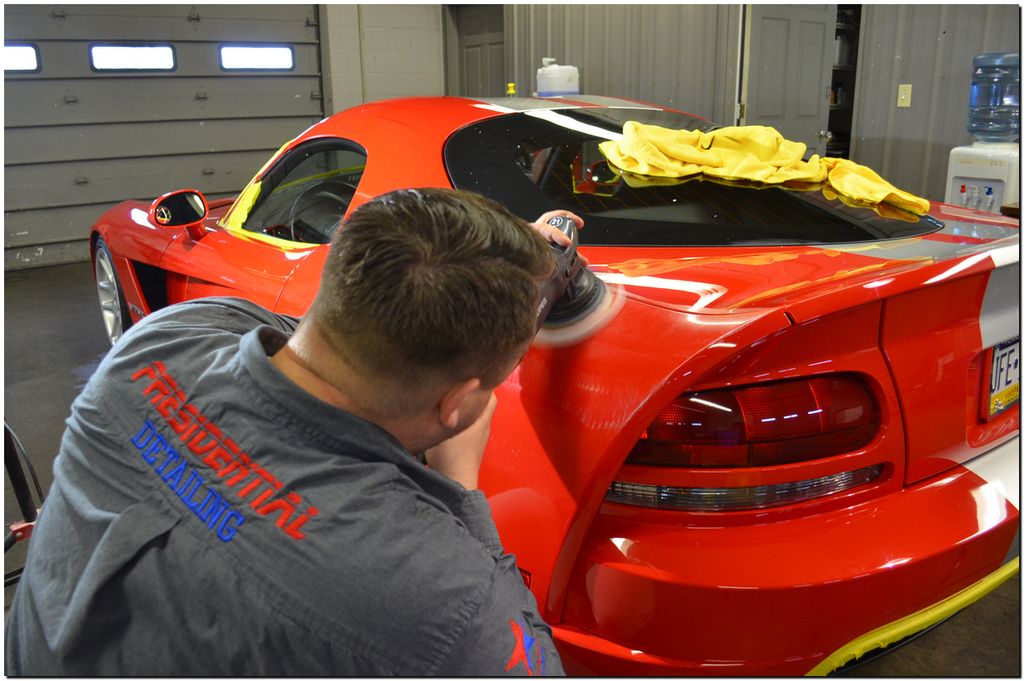
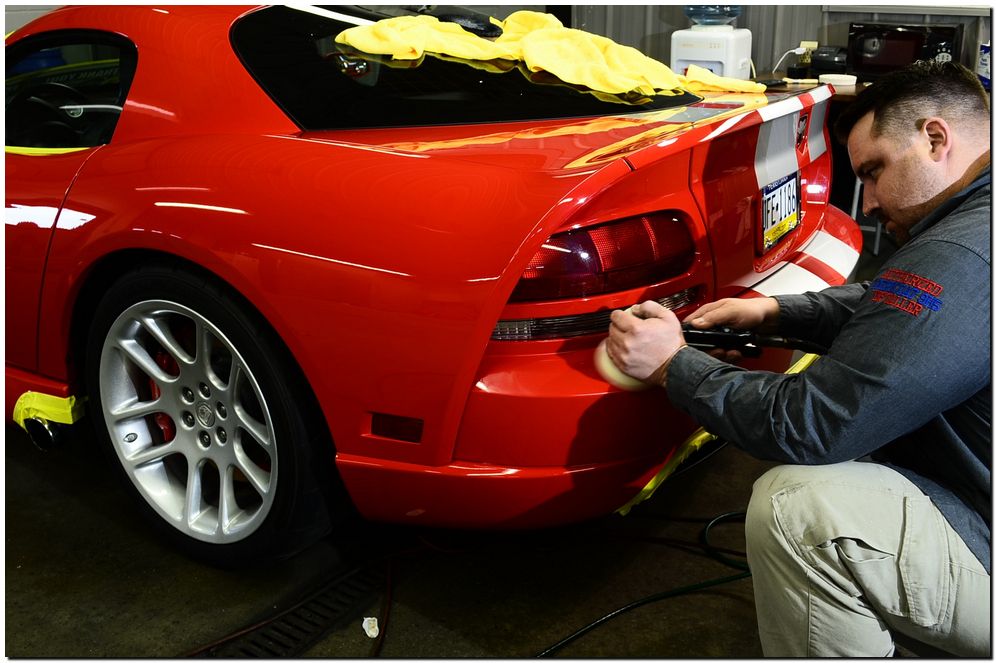
With such a great finish from the compound step, polishing was a lot easier. For this step I used a Rupes LHR75 and a white foam pad. IAT3000 polish from Americana Car Care was used in this step. Here you can see me working the tighter areas of the rear bumper.
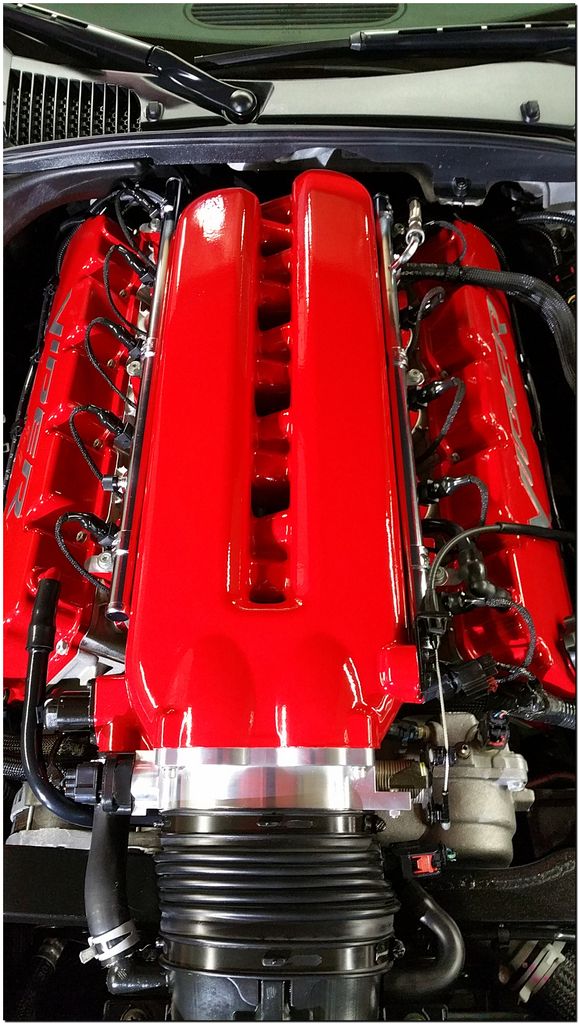
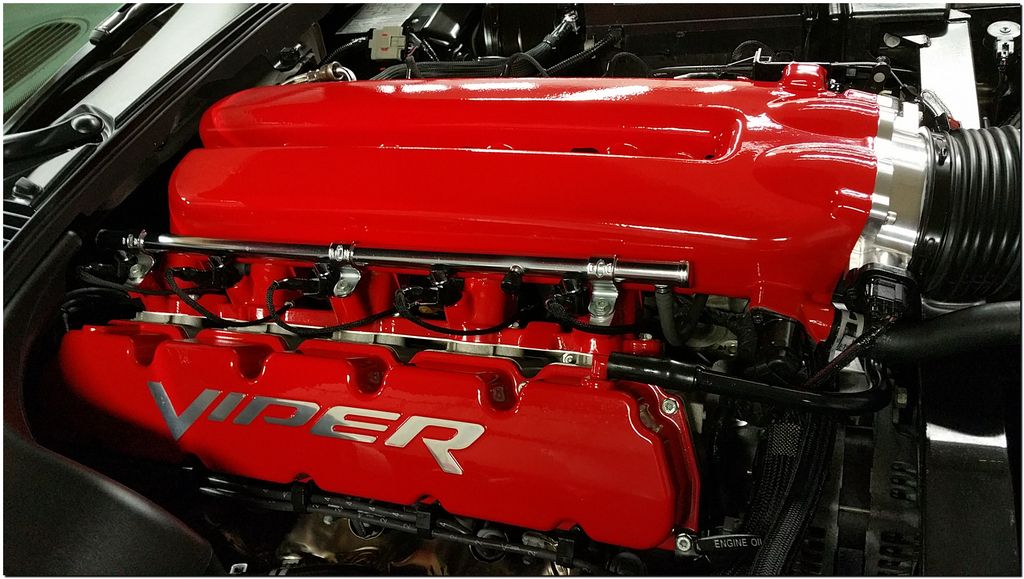
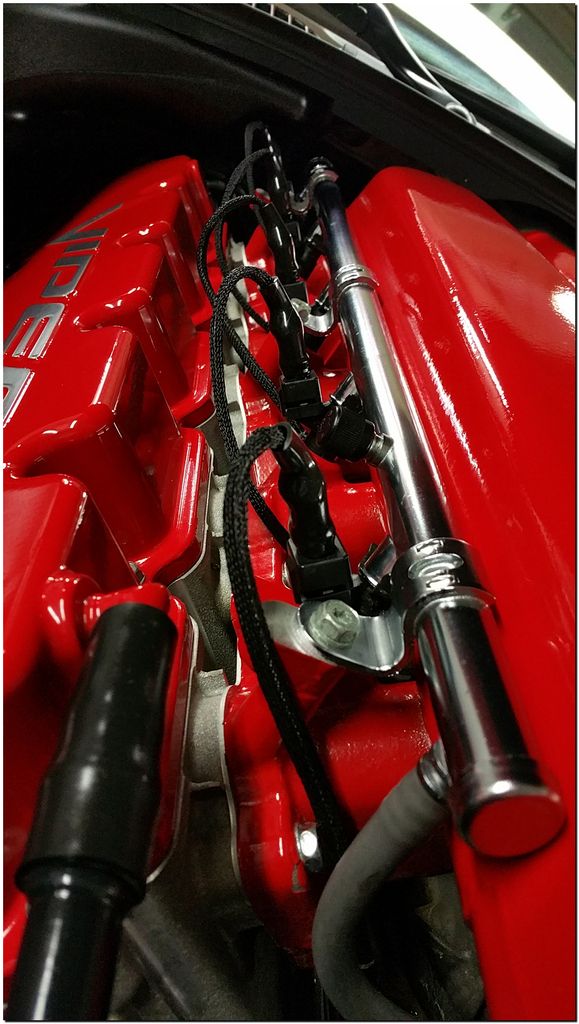
After polishing and wiping down the paint, I began to work the motor. I polished the stainless, alluminum and the paint sections with IAT3000 as well Here are a couple after pictures of the motor.
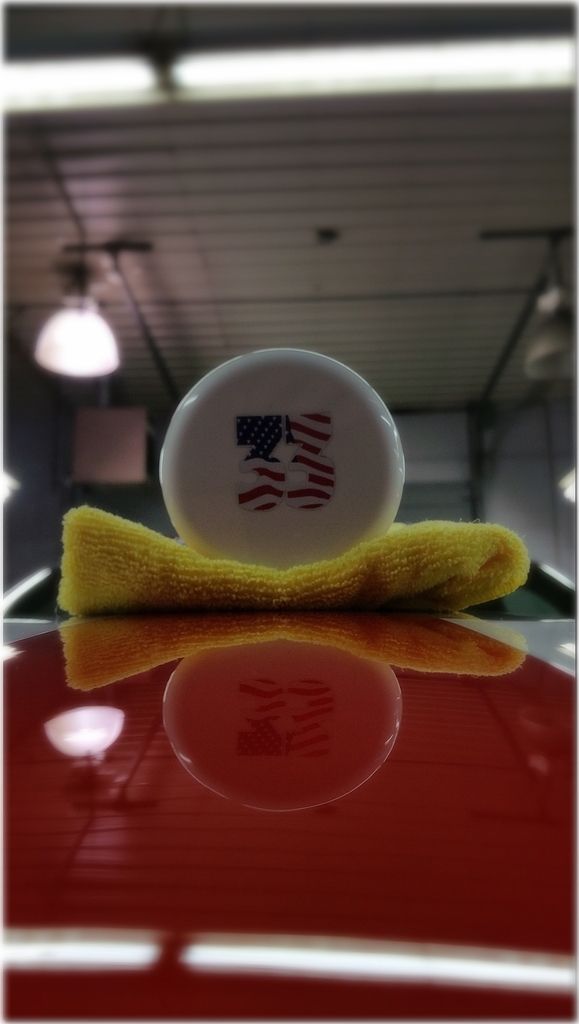
The paint was hand waxed with Ameriwax 33 from Americana Car Care.
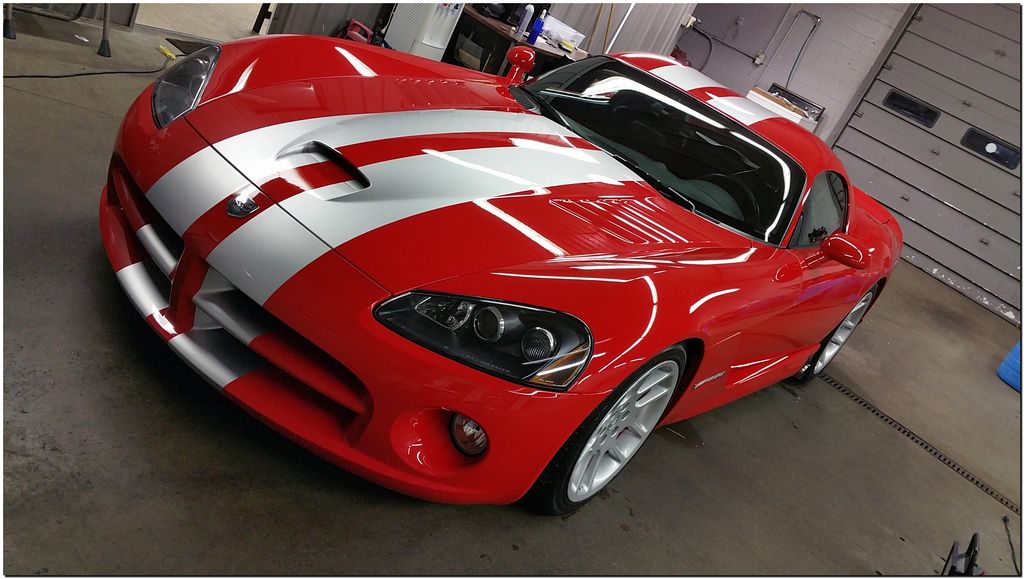
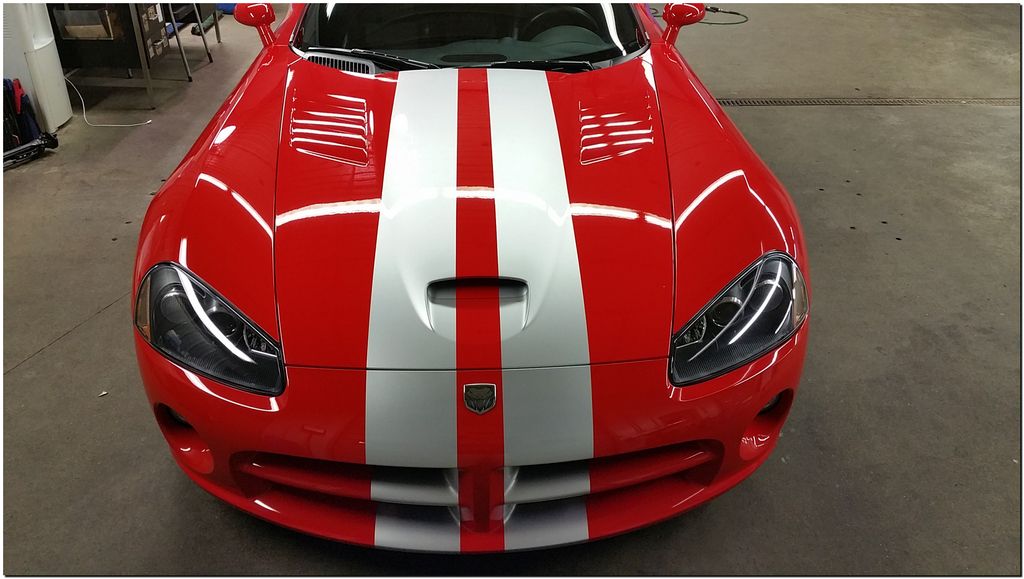
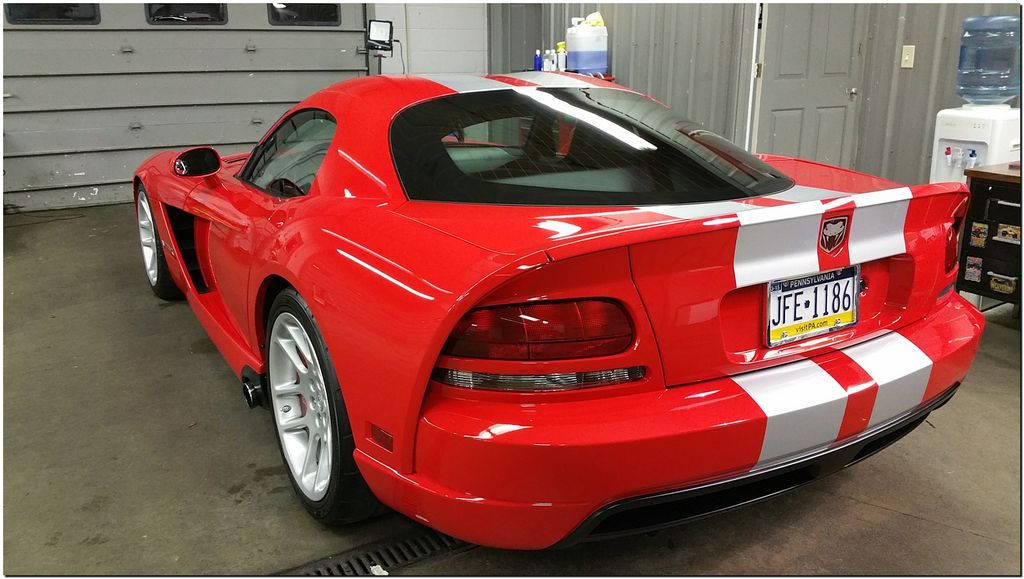
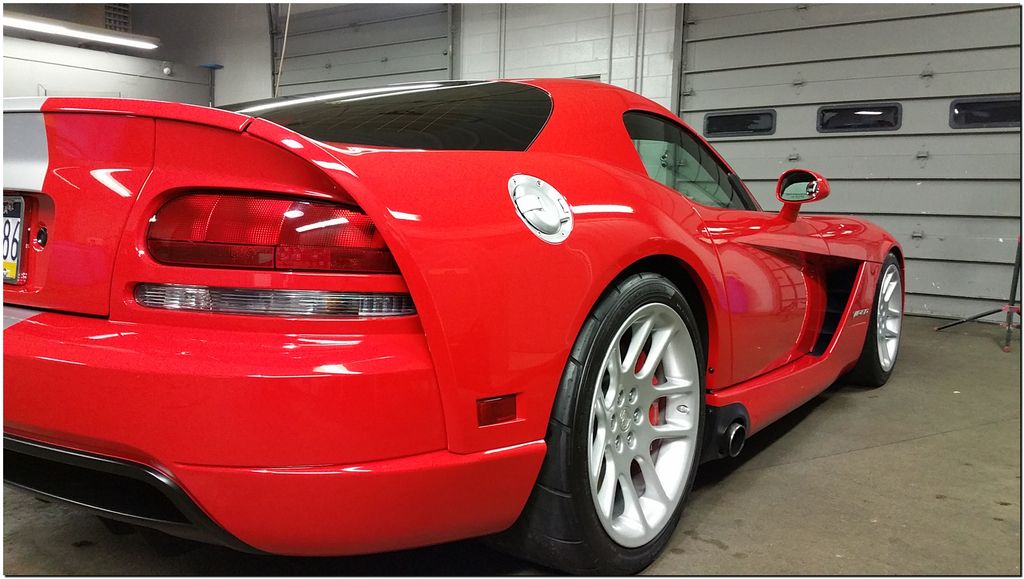
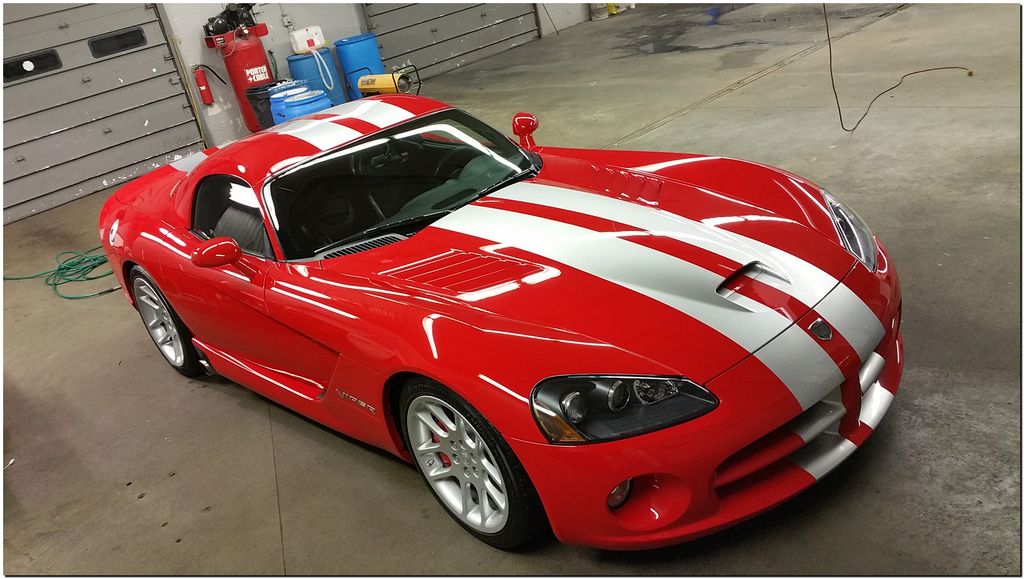
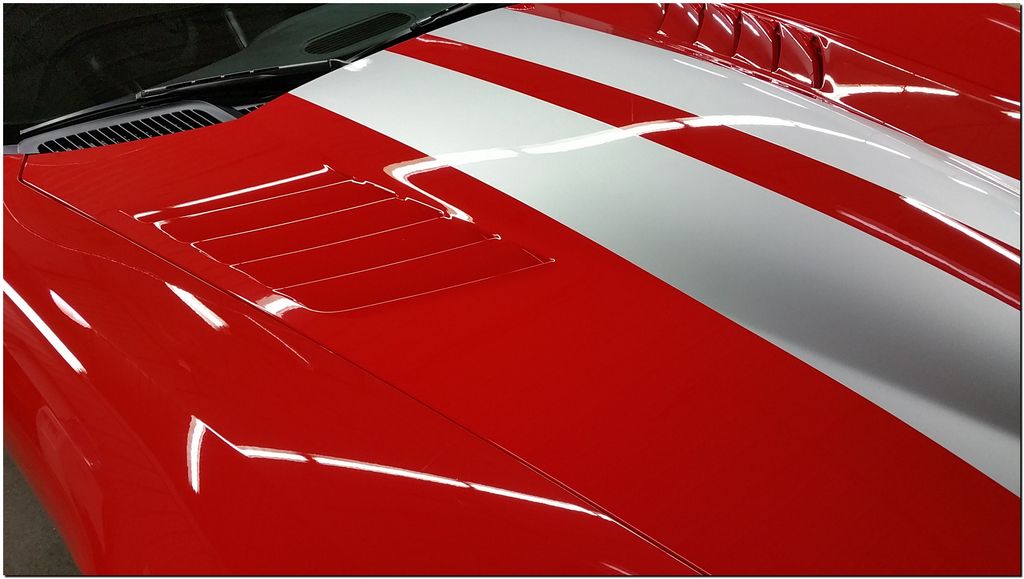
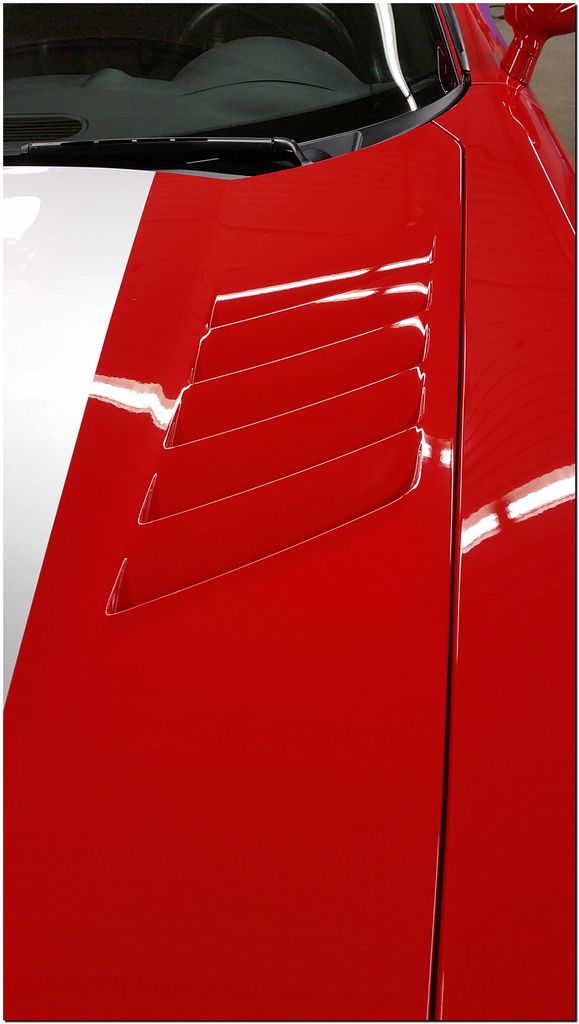
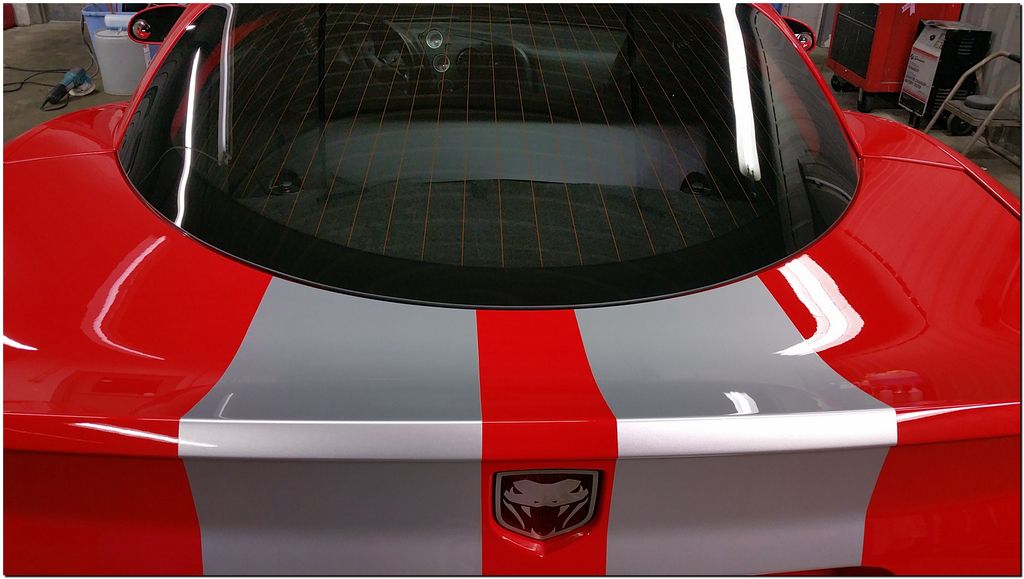
Upon completion of the detail, It was dark outside and didn’t have a chance to get sunshots, so I used my DSLR camera and it flash to show complete correction.
Here are a few unedited pictures of the finished product.
As Always thanks for looking. I hope you enjoyed my right up as much as I enjoyed this car and the detail. Until next time. Shine on my Friends.
Below is a video walk around of the sound and gloss")
During the course of the write, Im going to be focusing on a walk threw of the entire process from start to finish. Please bare with me as this is a longer style format with lots of discussion.
First and foremost, here at Presidential Details, Its our goal to complete customer satisfaction. Over the last few years, I shifted my attention to realizing that we are a complete service business that lives by a few simple rules. First is education, we want to provide the best service possible and in order to accomplish this, we have to realize what the customers goals are. Educating them in the proper steps to achieve this is priority. In doing so I always turn to a vehicle evaluation form. It allows me to walk around the car and explain to them what can be accomplished. The method of approach and giving them a complete understanding of how plan to do so. The customer and I decided to do a full paint correction and interior detail with some engine bay work as well.
The owner maintained this car quite well. The interior was clean, but had some loose dirt, and de-brie. The Exterior had some swirling, random deep scratches, and water spotting issues. The goal was to present our customer with a vehicle that presented itself worthy of the Viper name.
In a traditional fashion after the vehicle inspection, we started out with a vehicle decontamination. As an essential part to automotive detailing, vehicle decontamination is crucial in building the foundation to a great detail.
The wheels and calipers were dirty from normal break dust build up. As presented below in this picture.

The exhaust tips had lots of build up as well

The below picture shows how a cheaper dressing will sling and show build up on the wheel well. Combine that with dirt and road tar and this is what happens.

Over time as water sits on a vehicles surface, it can leave spots. Here in the North East, water etching can be detrimental to a vehicles finish. Generally speaking the are to types of water spots. Above and below the clear coated surface. It starts with the above surface water spotting. How it happens is pretty simple. Mineral deposits build up in a bead of water. When sitting in the sun, the water acts like a magnifying glass, and adventually as it dries, mineral deposits will etch into the clear creating a below the surface defect. This is know as etching. These below type surface defects will require a heavier level of compounding or wet-sanding to fully remove. Here is our they looked on this particular vehicle.

While the vehicles surface was dry and pretty clean to the touch. I choose to start right away with Ameririd. Ameririd is a Iron deposit remover, I find it a very important step in decontamination.

In the below two pictures you will notice a purplish type running liquid. This is a result of a chemical reaction. Take notice in the above picture, I was spraying a clear liquid. When spraying Ameririd, it will spray clear, As it comes into contact with iron deposits it turns purple. On this wheel featured below. You can take notice of how it works. As the vehicle stops creating friction between the pads and the rotors, break dust builds up leaving behind iron deposits. Ameririd is a safe and effective choice to remove the build up versus its alternatives like harsh wheel acids and higher PH cleaners that could harm a wheels surface over time. Its also safe and effective on paint and plastic as seen below in the second picture.


The wheels required some agitation using a spoke brush and and a smaller detail brush to get the tighter spots. While doing this step, I also choose to rotate the wheels 180 degrees to ensure all the wheels inter barrels were properly cleaned.

After a heated pressure wash rinse and to remove the Ameririd from the paint. I did a complete paint wipe down with mineral spirits to remove and tar on the paint. Then I followed this step up with a good ole fashioned hand was using a soft wash mitt, lots of suds with a water tempature of around 145 degrees.

I have always found steam to be a great way to wash a car. Here you can see a fine example of how we removed the suds. It was a low pressure, high heat rinse.

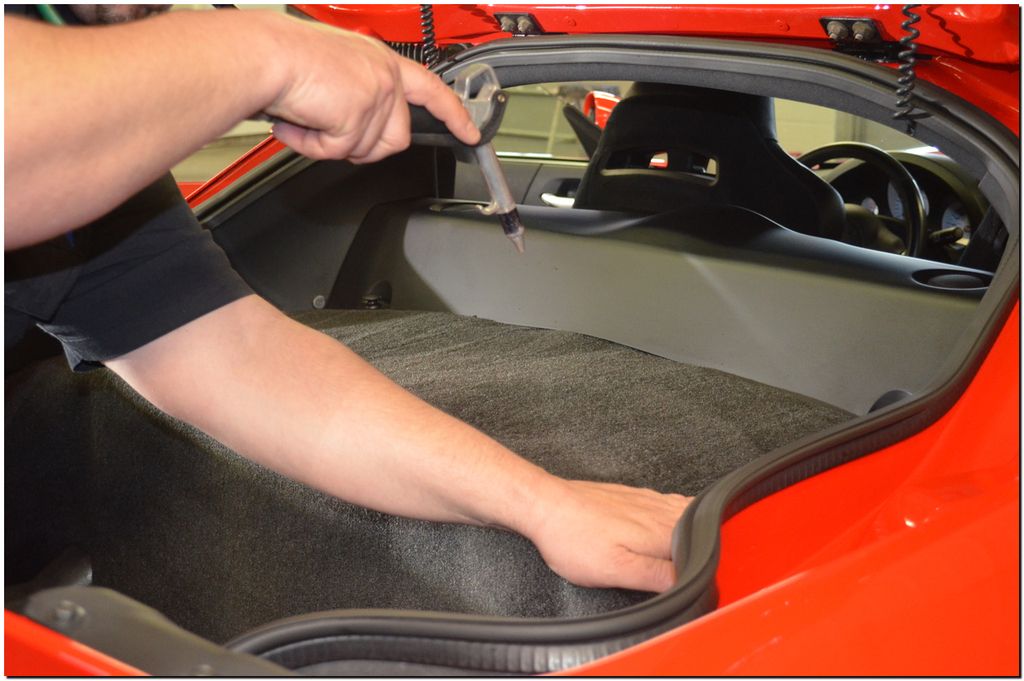
Using compressed air and microfiber towels I dried the vehicle and began to make our way to the interior of the car. When cleaning an interior, I have some pretty standard steps that I follow in a routine. It works for me. First I adjatate all the carpet with a dry brush to lift the embeded dirt from deep down in the carpets. Next, Ill use compressed air to blow into all the cracks and crevices to to loosen any dirt or debris from vents, shifters, seat rails and such. This is followed by a dry vac. I have found this step to be a critical step. It will leave the interior surfaces clean and not allow cleaners to create a mud affect when contacting dirt. This will allow the cleaner to attach to the fibers and do its job. In the below picture you can see some of the loose dirt I had to attend to.

Here you can see me using compressed air to blow out the center console.

When doing general cleaning to the vinyl, carpets, and leather. I always start from top to bottom inside to out. To better explain this. I will clean the headliner first, then working my way down on all the vinyl surfaces. Then Ill move to the seats and finish with the carpets. I always save doors and the jams for last, and then finally windows. During this detail, one of the major concerns was the leather. It was loaded with a dressing that had a high shine and greasy feel to it. Using Americlean Citrus cleaner, and a brush I scrubbed the leather Pushing down on the seat, pushing down on the seat opens the creases in the leather, this allows for a good scrubbing with a soft boars hair brush.

Here you can see how leather should look. Clean, soft, and supple. Natural matte is the look versus the greasy and shiny side.

Quick note, some knobs and buttons are easily removed with a simple pull. Here you can see how we pulled the Ventilation controls off and cleaned behind them as well. It also made cleaning these knobs easier.

Once the carpets were shampooed and dried I noticed that the vacuum attachment left marks in the carpet. I know some like the look of cool lines, I prefer to leave my innteriors natural looking like they came out of the factory. In order to remove these lines, you have to raise the fibers back up, This is a simple task which is often over looked. Using compressed air and the slight movement of the hand, You can see the clear difference. In the below photo, The carpet has the just shampooed look.

In this photo you can see a more natural look where all the fibers are standing tall and looking good. Just like day one from the factory.

Once I wrapped up the interior to my satisfaction, I began to prep the exterior for polishing.
During paint prep, Im looking for certain things. First off is double checking anything I may have missed, such as tar, or anything else that may interfere with the polishing. Also I’m masking off items that could get messed up in the polishing process such as rubber moldings, or plastic. Here you can see me applying tape too the window molding on the left door.

Using various lights sources to see the paint condition, here I was using my held held inspection light to identify problem areas. With the overhead lights off, I focused on direct focal points.

Starting with right fender, I performed a test spot starting with the least aggressive methods to minimize my polishing efforts, However after a conformation, to polishing steps were in order to get the paint to a satisfactory condition. Here is my test spot.

During the compounding stage, I choose to level the paint with a foam cutting pad and a Rupes 21mm polisher. Ideally this set up will allow me to compound at cooler tempatures. Using a new compound from Americana Car Care IAT1500, the defects were easily removed. Tighter areas were compounded with a smaller two inch Dual action polisher as seen.


In the below picture, you can see a clear example how well IAT1500 compound leveled the defects, but still finished amazing with the right pad and machine.

With such a great finish from the compound step, polishing was a lot easier. For this step I used a Rupes LHR75 and a white foam pad. IAT3000 polish from Americana Car Care was used in this step. Here you can see me working the tighter areas of the rear bumper.

After polishing and wiping down the paint, I began to work the motor. I polished the stainless, alluminum and the paint sections with IAT3000 as well Here are a couple after pictures of the motor.


The paint was hand waxed with Ameriwax 33 from Americana Car Care.

Upon completion of the detail, It was dark outside and didn’t have a chance to get sunshots, so I used my DSLR camera and it flash to show complete correction.


Here are a few unedited pictures of the finished product.


As Always thanks for looking. I hope you enjoyed my right up as much as I enjoyed this car and the detail. Until next time. Shine on my Friends.
Below is a video walk around of the sound and gloss