RaskyR1
Rasky's Auto Detailing
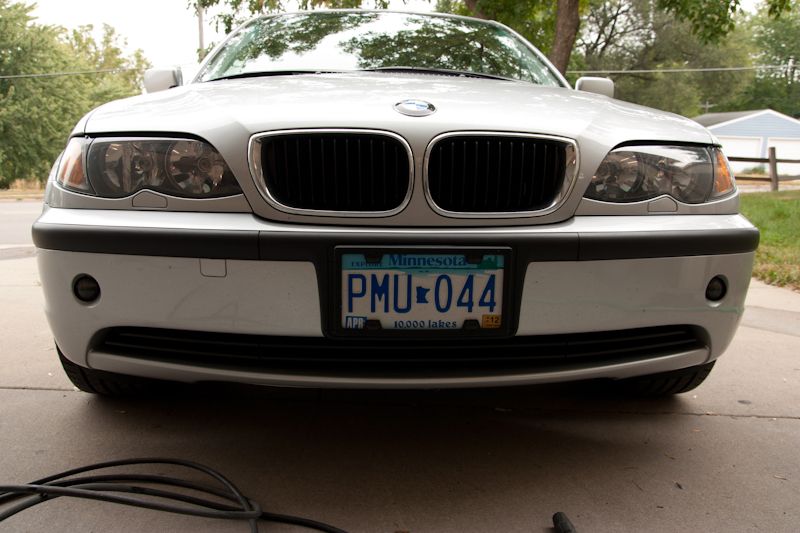
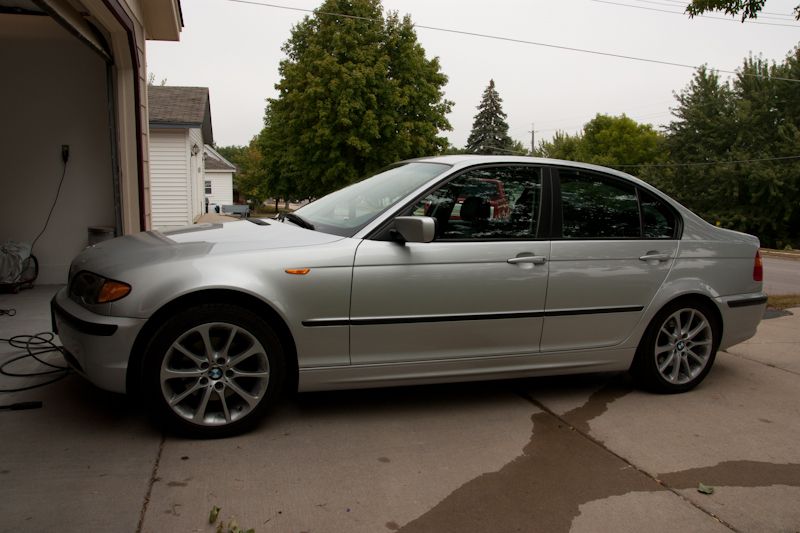
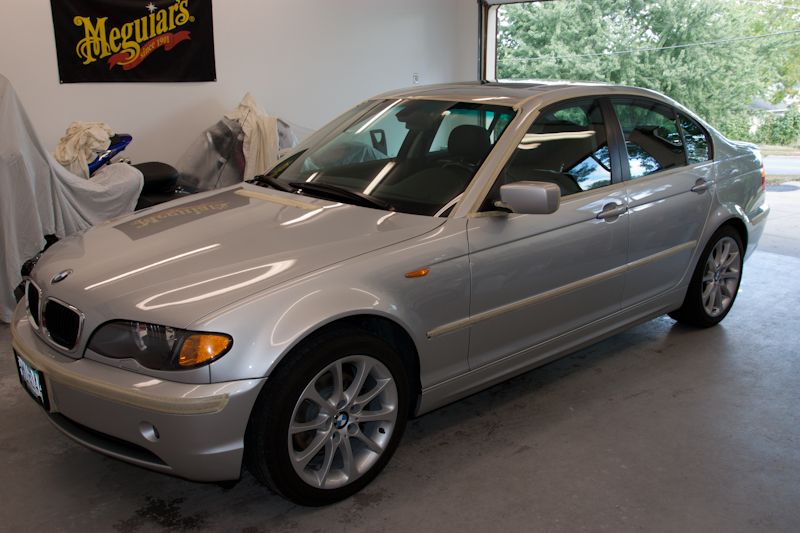
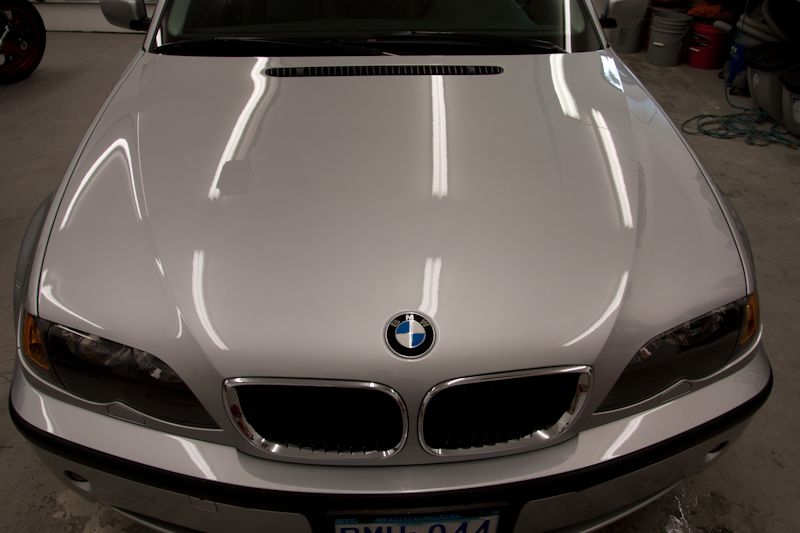
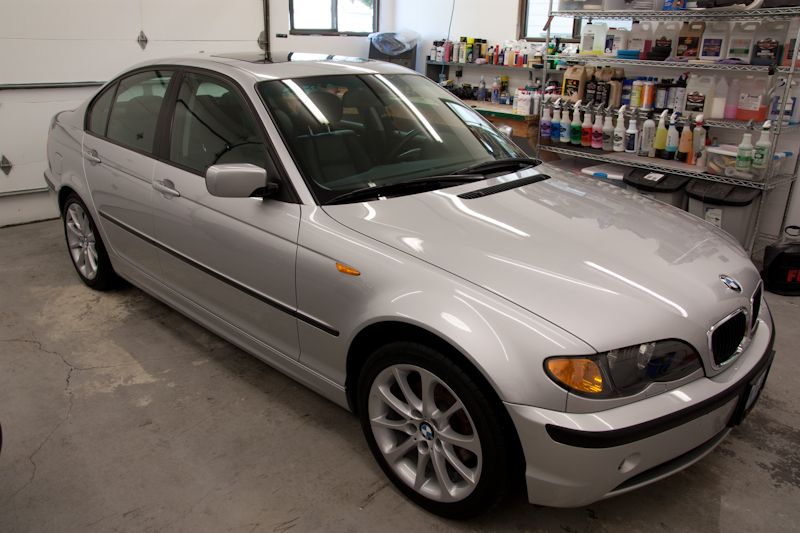
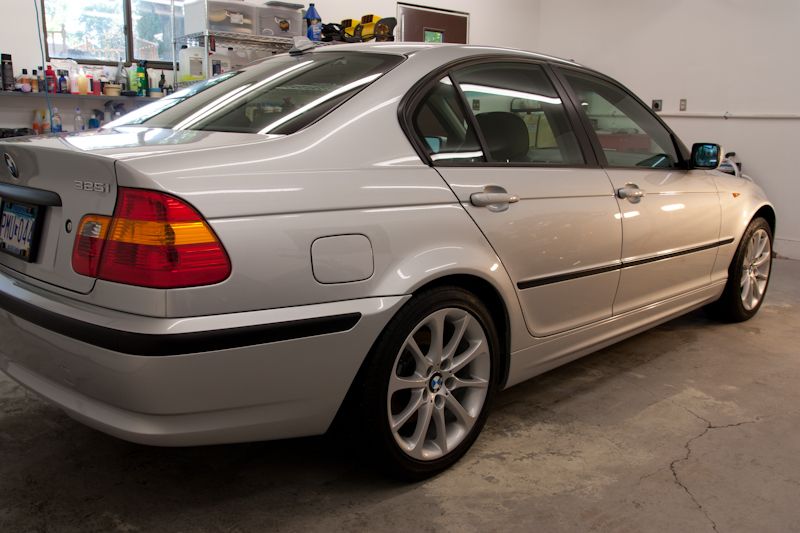
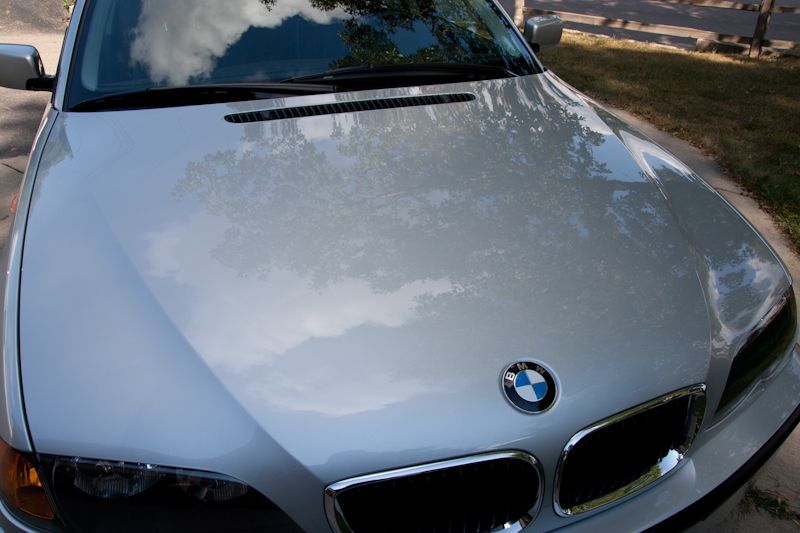
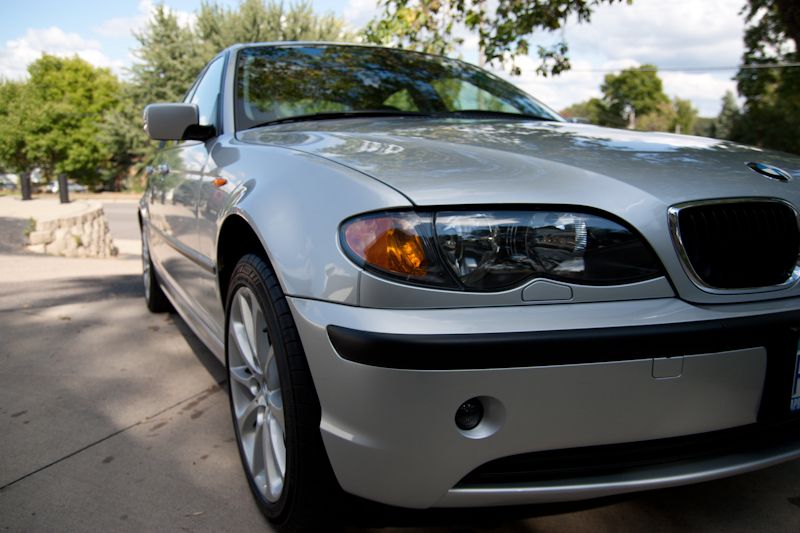
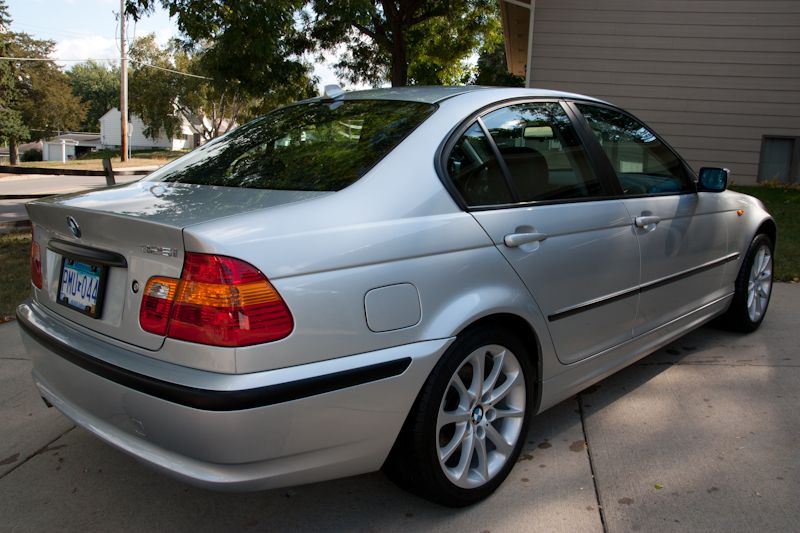
2004 BMW 325i paint correction
The owner of this fine E46 recently purchased the car used with a little over 30k on the clock. While it was in very good condition overall, the paint did have some moderate swirling that was taking away from it's true potential. I had evaluated this car in early June, and based on the condition and the owners expectations, we agreed upon my Premium exterior service (2-step correction). The service was booked for my next available opening, 9/24/11.
Process:
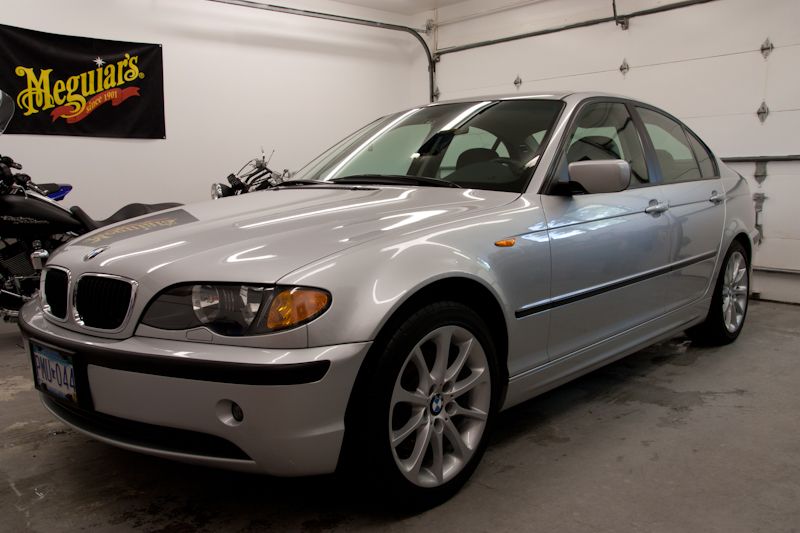
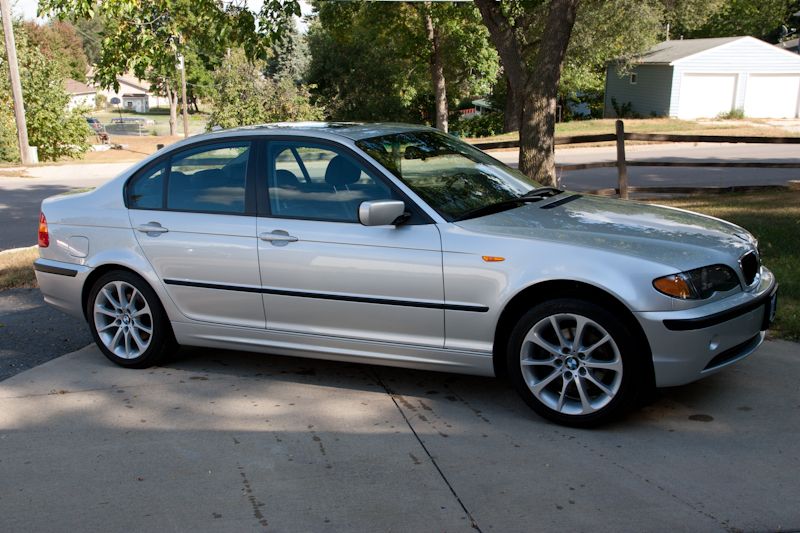
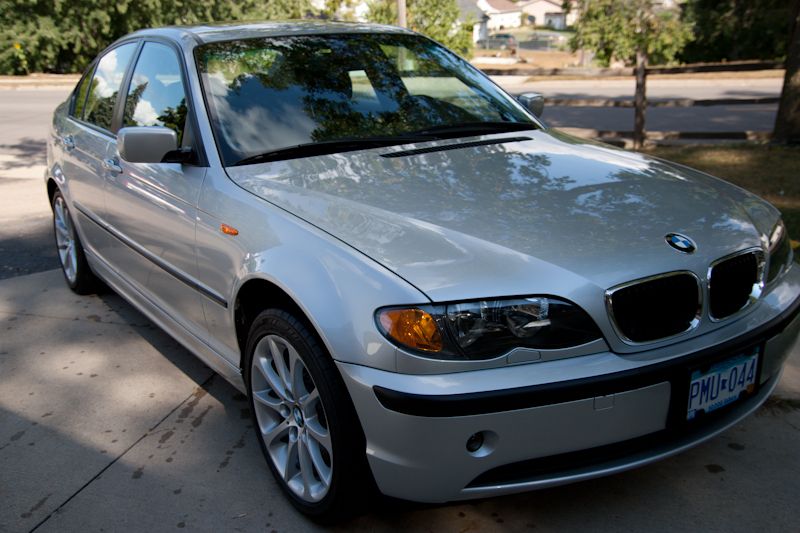
Before pics
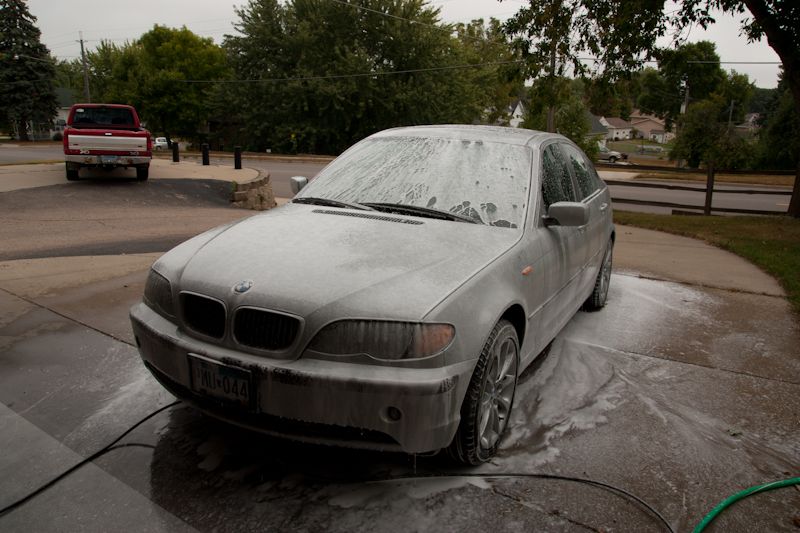
Foam bath
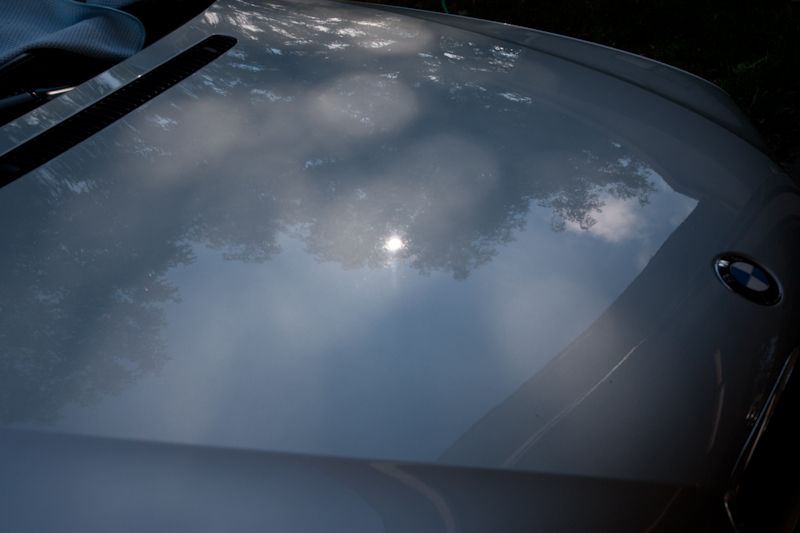
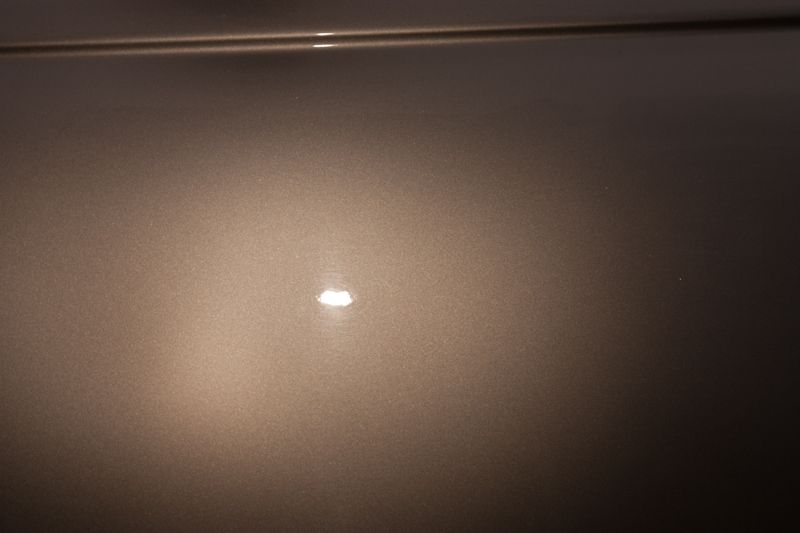
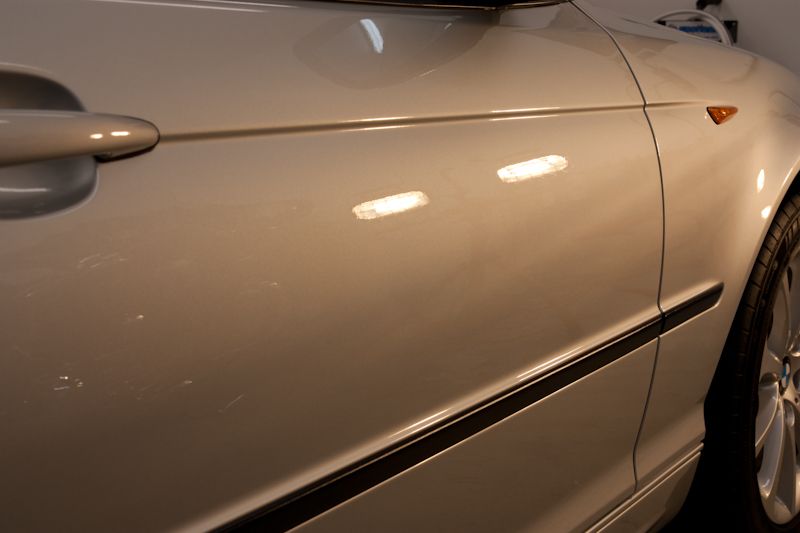
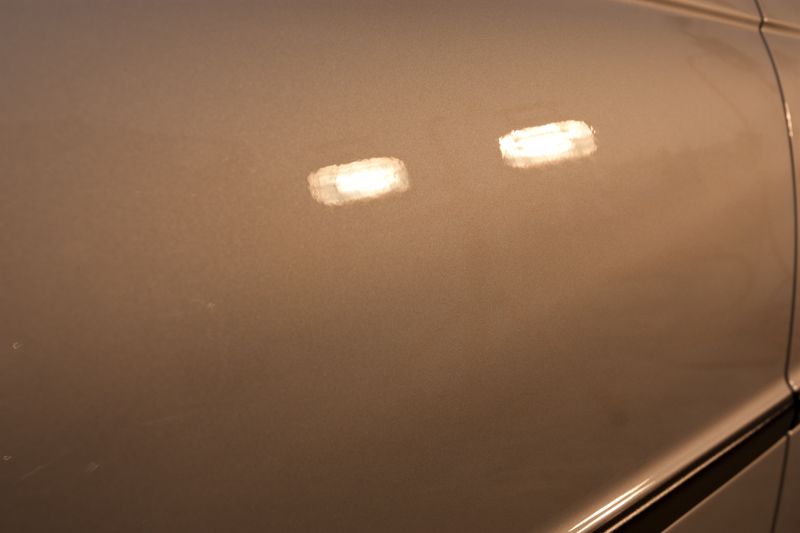
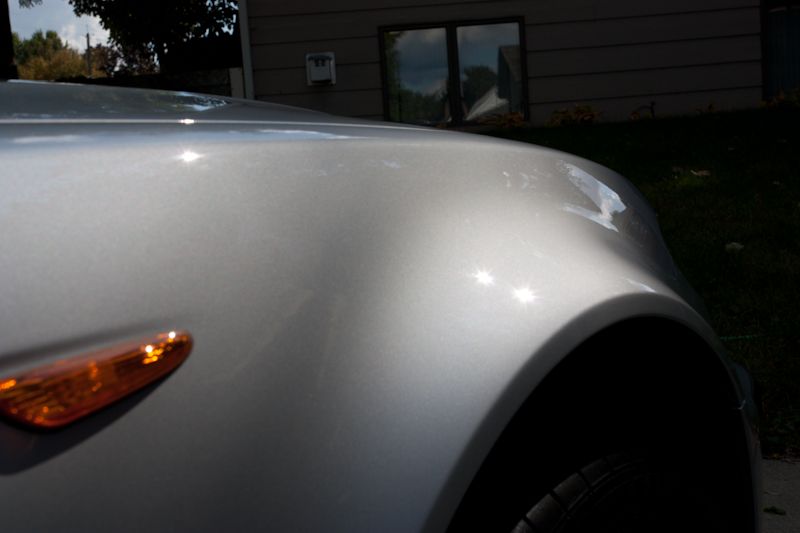
After claying the sun popped up a little so I tried to capture the defect in the paint with little success...
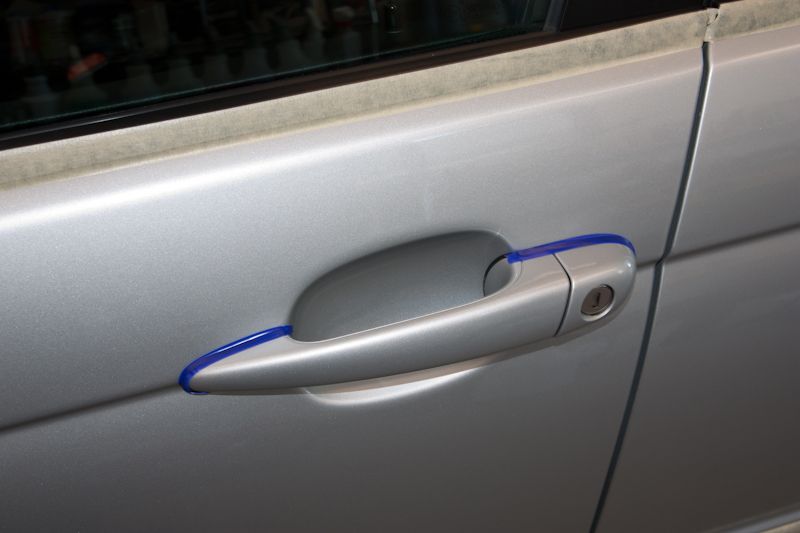
All taped up with Meguiar's masking tape and some 3M fine line tape to protect trim

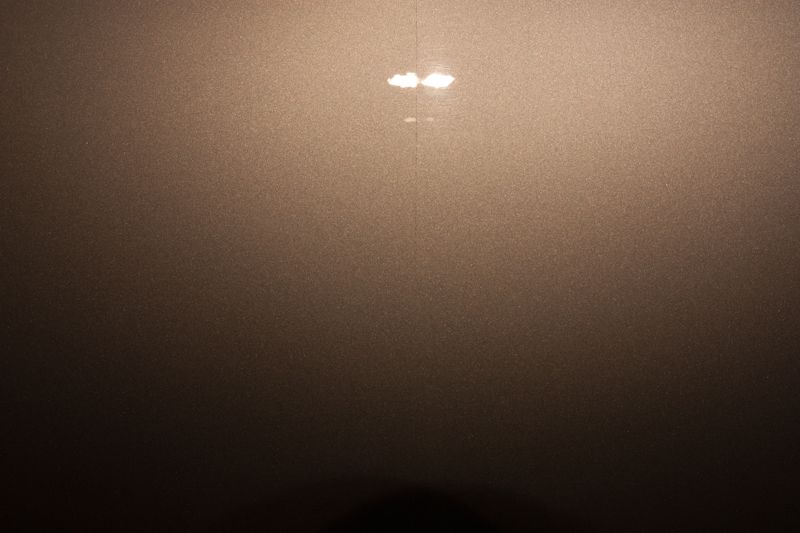
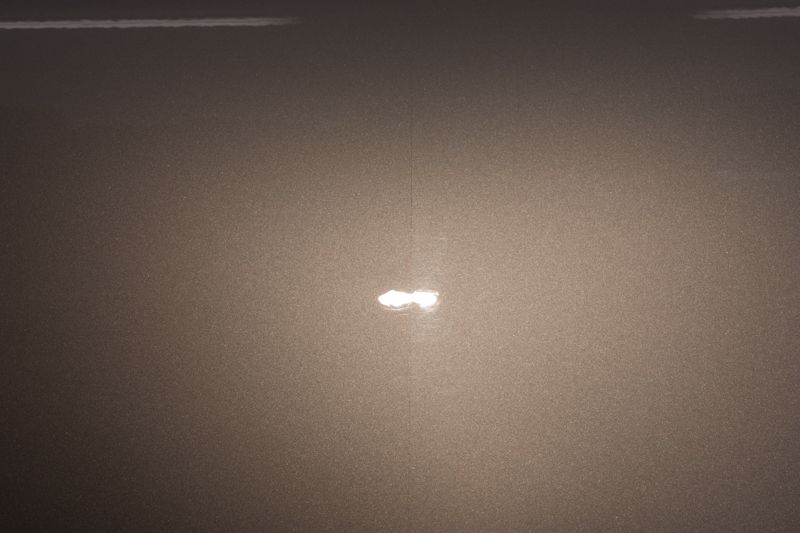
I tried all different kinds of lighting and camera settings to get the best 50/50 shots I could in an attempt to show the true condition of the paint, but silver is very hard to achieve this on (I'm all ears on tips for doing so!). Hopefully you can still see the difference a little.


50/50 shots after M105/Surbuf


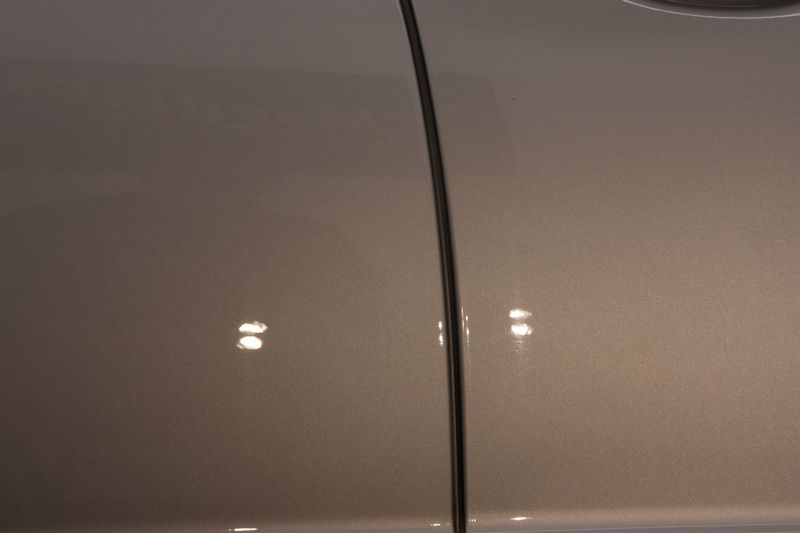
Left door corrected
Hologens

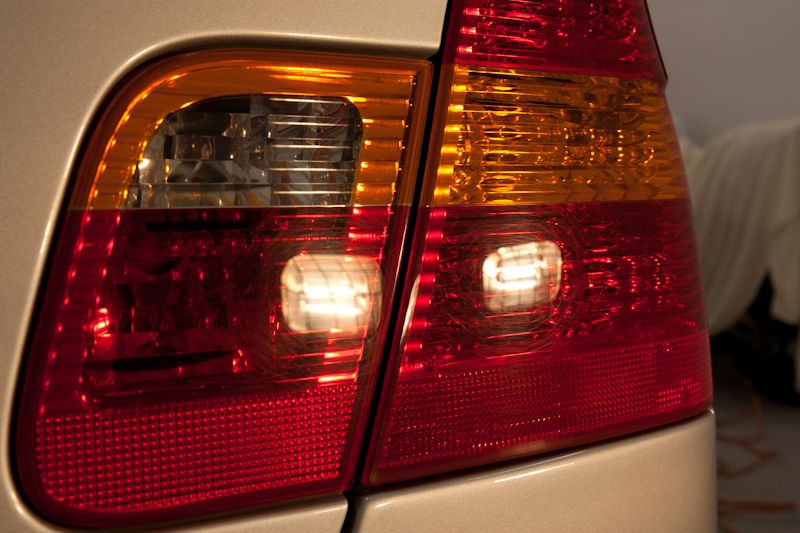
Tail lights before
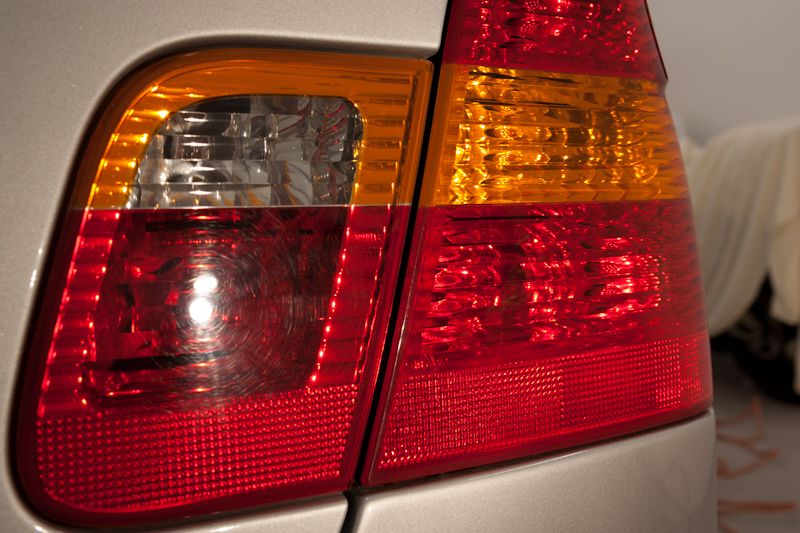
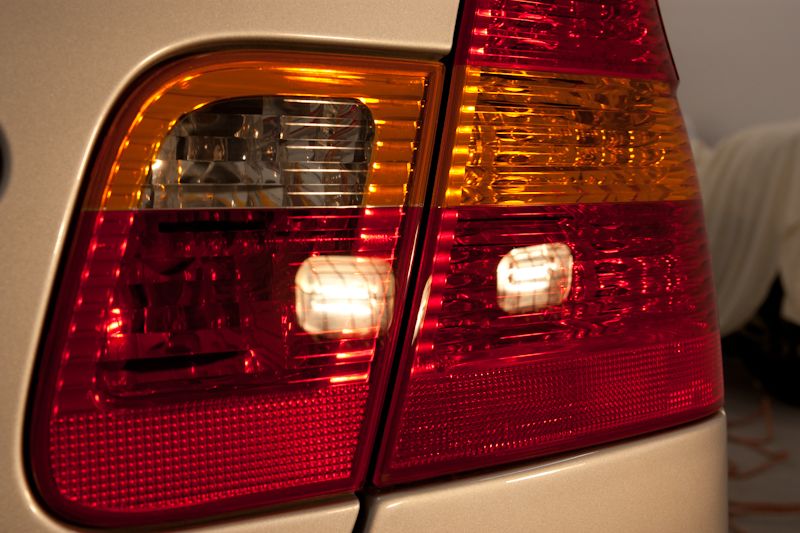
After
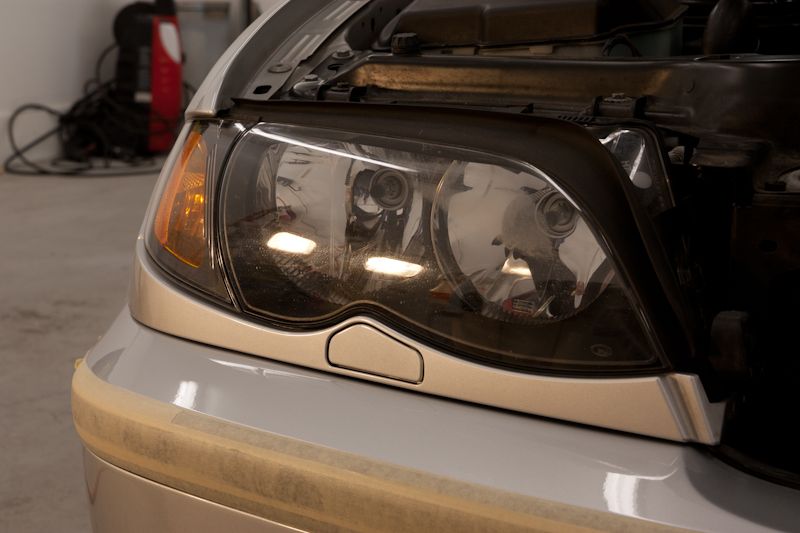
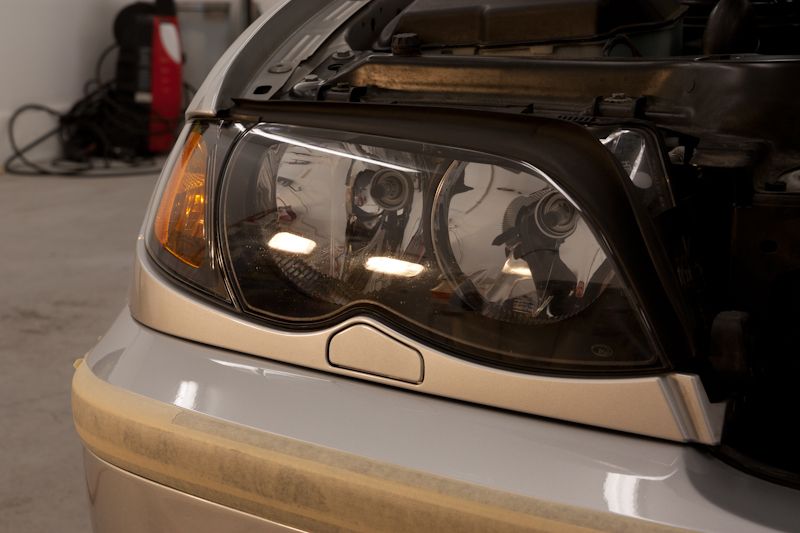
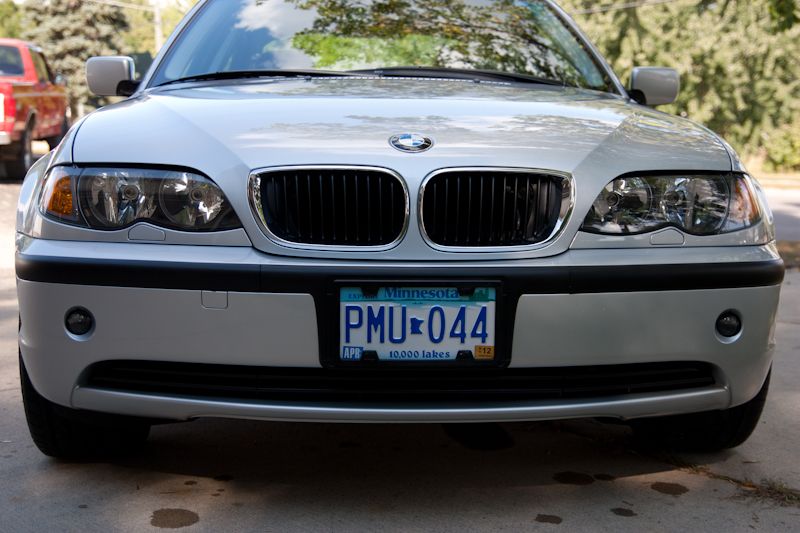
Headlight before
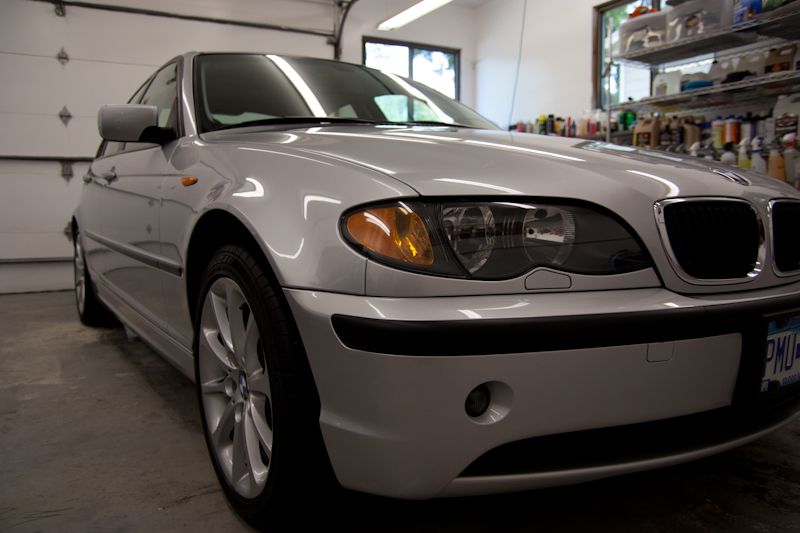
After
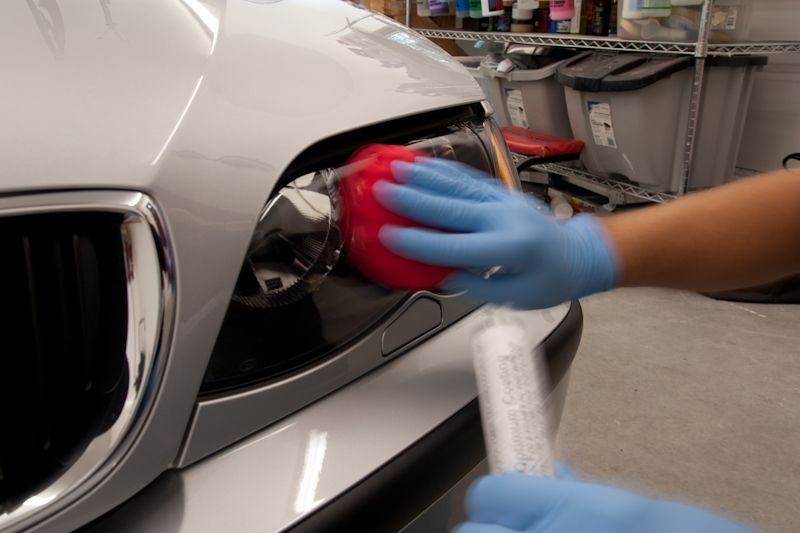
Applying Opti-Guard to lights
The owner of this fine E46 recently purchased the car used with a little over 30k on the clock. While it was in very good condition overall, the paint did have some moderate swirling that was taking away from it's true potential. I had evaluated this car in early June, and based on the condition and the owners expectations, we agreed upon my Premium exterior service (2-step correction). The service was booked for my next available opening, 9/24/11.
Process:
- Wash: Foam Cannon with OPC/CGCW mix and 2BM wash using a lambs wool mitt and CGCW. Boars hair and lambs wool detail brushes were also used to clean hard to reach areas.
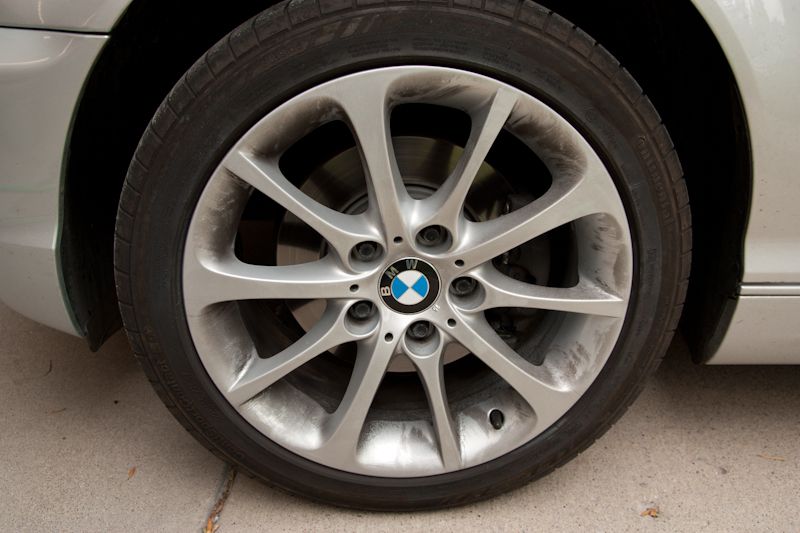
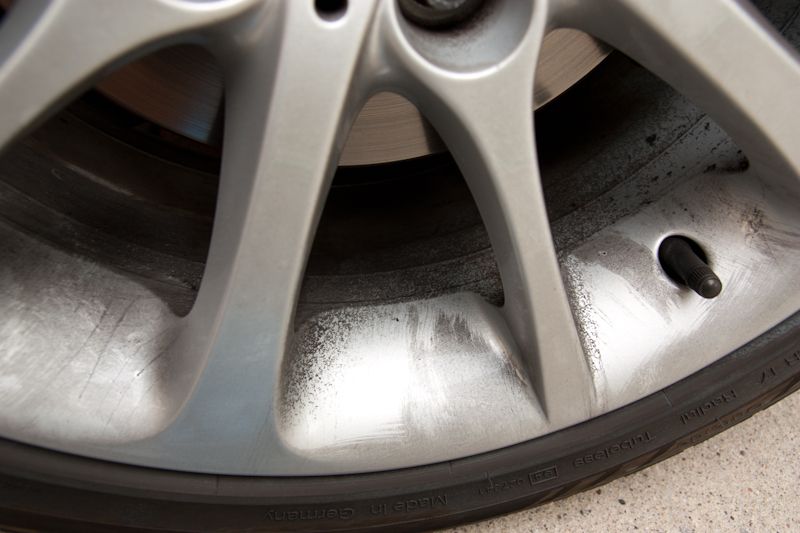
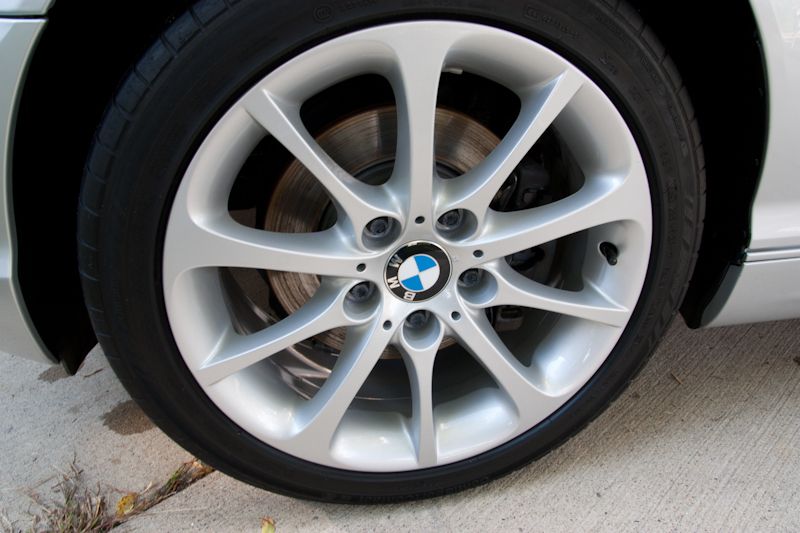
- Wheels: Cleaned using Sonax Full Effect with various brushes and wash mitt. Wheel faces later coated with Optimum Opti-Guard.
- Tires: Cleaned with OPC and Tuf Shine tire brush, dresses with Meguiar's Hyper Dressing.
- Wheel wells: Cleaned with OPC and dressed with Meguiar's Hyper Dressing.
- Tar: Removed with Stoners Tarminator
- Clay: Clay Magic and ONR as lube
- Glass: Cleaned with Meguiar's D120. Front wind shield also had a couple water spots that had ran down the glass and stained it...owner wanted them removed if possible. Chemical Guys Water Spot Remover was allowed to dwell for a few minutes which did the trick. I followed by polishing the front glass with M205 and then coated with Opti-Guard
- Paint correction: Meguiar's M105 applied via Griots GG6 D/A equipped with 6.5" and 4" Surbuf pads. Finishing step was M205 applied via Griots GG6 D/A and 5" and 4" LC Hydro tangerine pads. (Some tight areas were done with M105 and 3" MF pads)
- Head/Tail lights: Meguiar's D300 with 3" MF pads, followed by M205 and 4" black LC pads. Later coated with Opti-Guard
- Trim: Meguiar's Ultimate Protectant
- Paint Protection: Ultima Paint Guard Plus
Before pics
Foam bath
After claying the sun popped up a little so I tried to capture the defect in the paint with little success...
All taped up with Meguiar's masking tape and some 3M fine line tape to protect trim
I tried all different kinds of lighting and camera settings to get the best 50/50 shots I could in an attempt to show the true condition of the paint, but silver is very hard to achieve this on (I'm all ears on tips for doing so!). Hopefully you can still see the difference a little.
50/50 shots after M105/Surbuf
Left door corrected
Hologens
Tail lights before
After
Headlight before
After
Applying Opti-Guard to lights
")