RaskyR1
Rasky's Auto Detailing
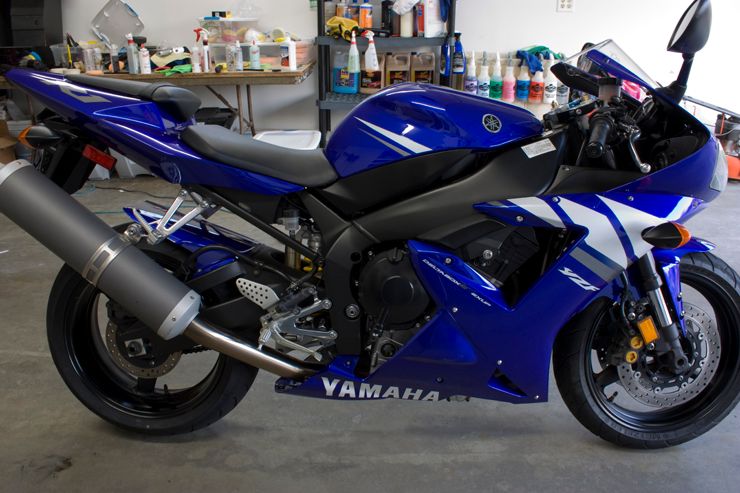
2002 Yamaha R1 Spring Detail
This bike actually belongs to a co-worker of mine and since he knows that I've sold all my bikes and how much I miss riding...I think he actually found humor in leaving it at my house for two weeks while he was on vacation for a detail. j/k Kevin!
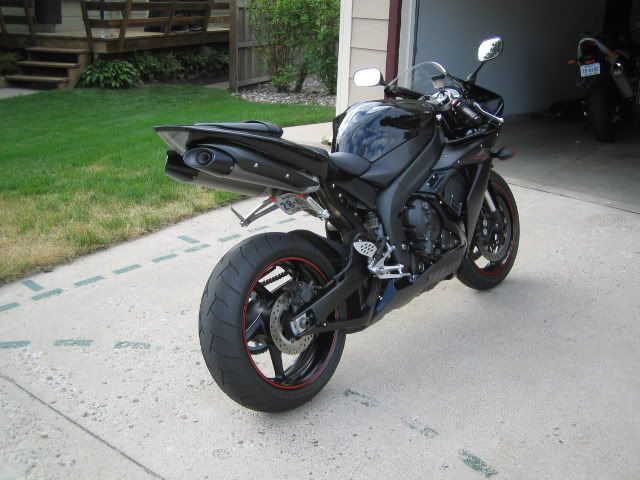
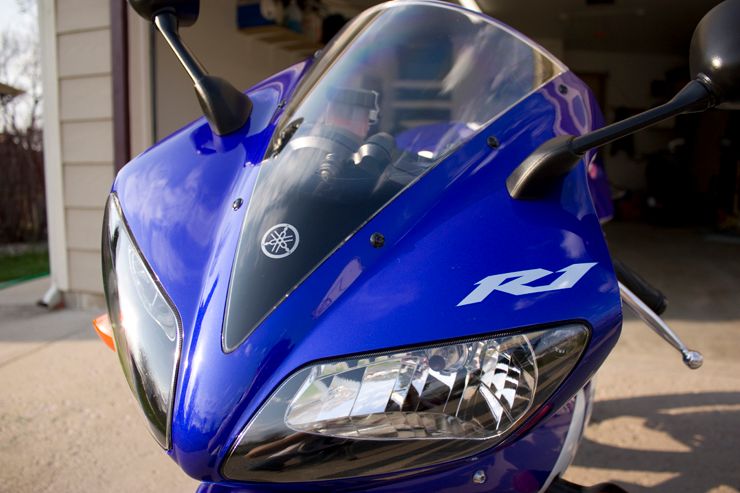
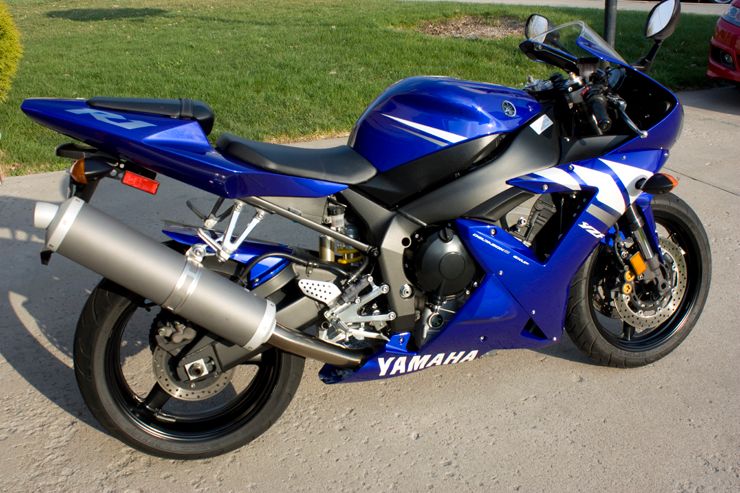
As you can see the bike was in great shape, especially for being 8 years old and having over 21,000 miles on it. It had a fair amount of swirls with a few RIDS on the tank but since the seating position on these bikes has you hugged up against the gas tank, it’s not uncommon at all to see such scratches in these areas. Other than that is basically just needed a good all around cleaning.
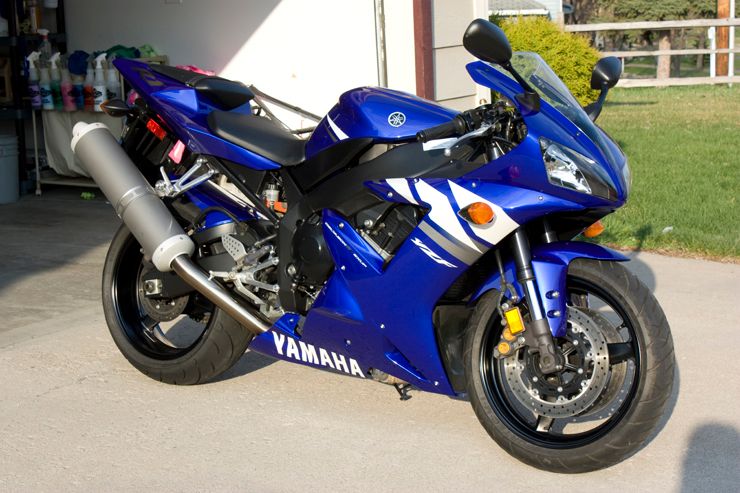
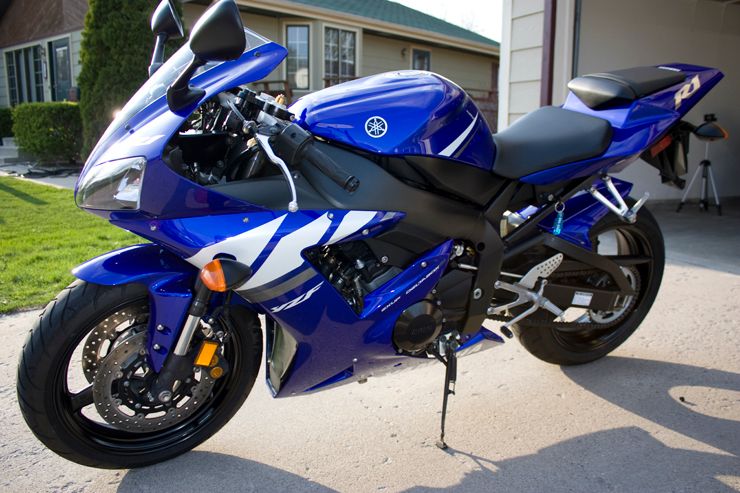
Here are some before pics to give you a better idea of the condition.

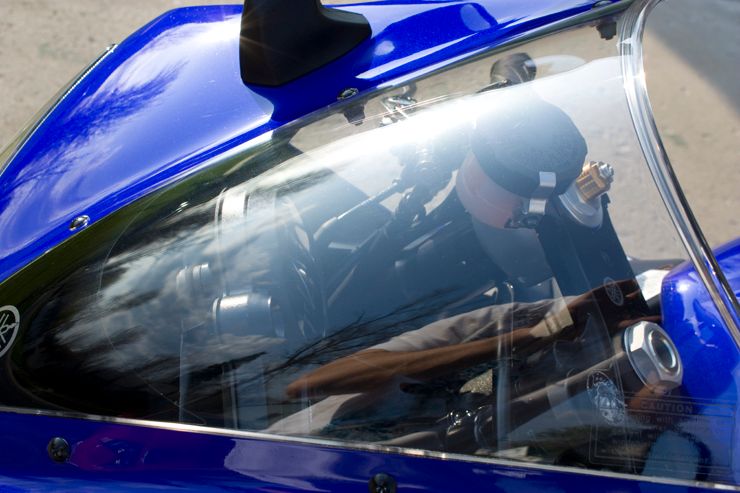
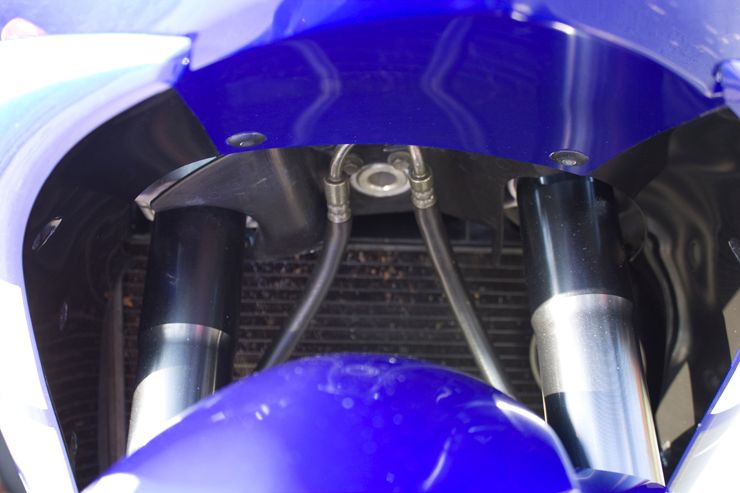
A few flying corpses were embedded into the front of the bike. You can also see in the below pics that the windscreen needed some TLC to bring back the clarity.


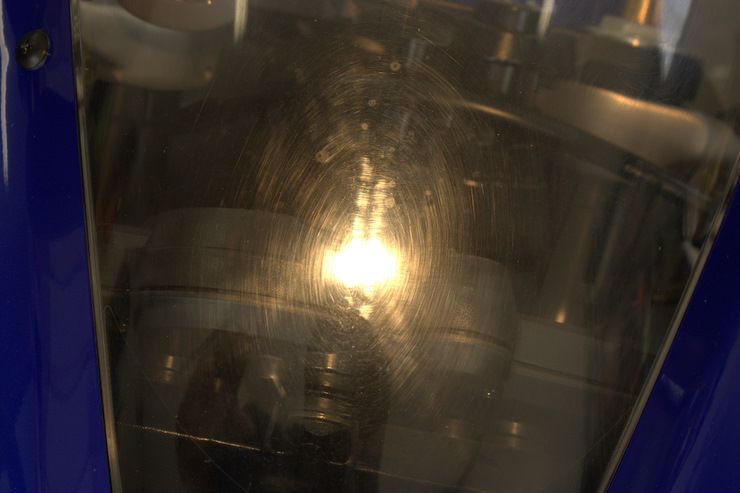
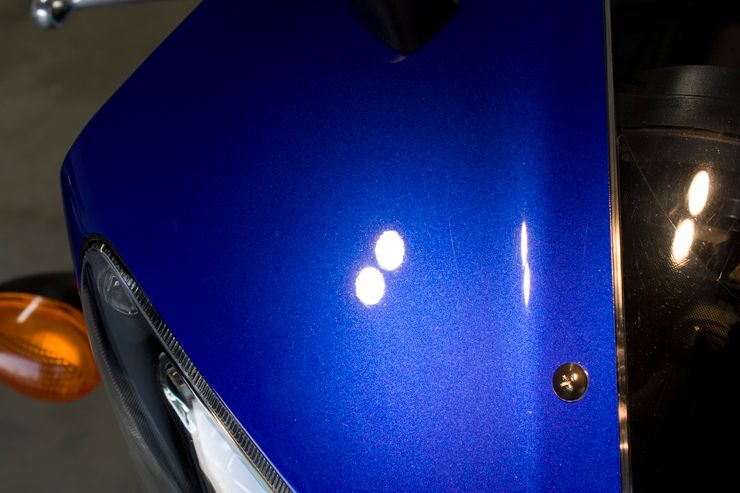
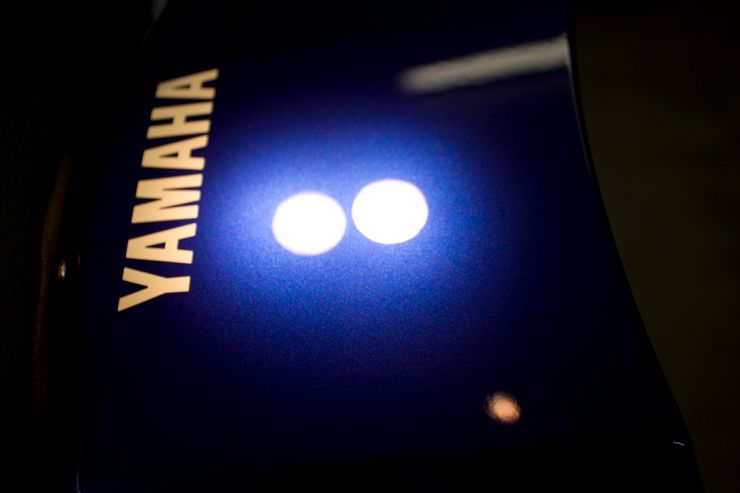
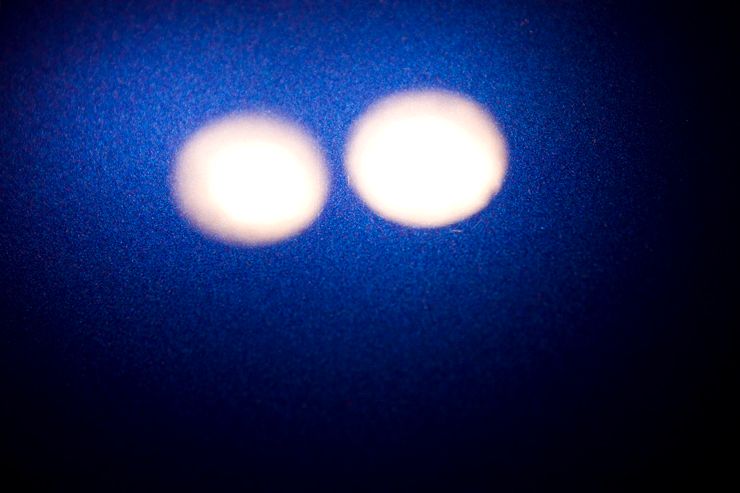
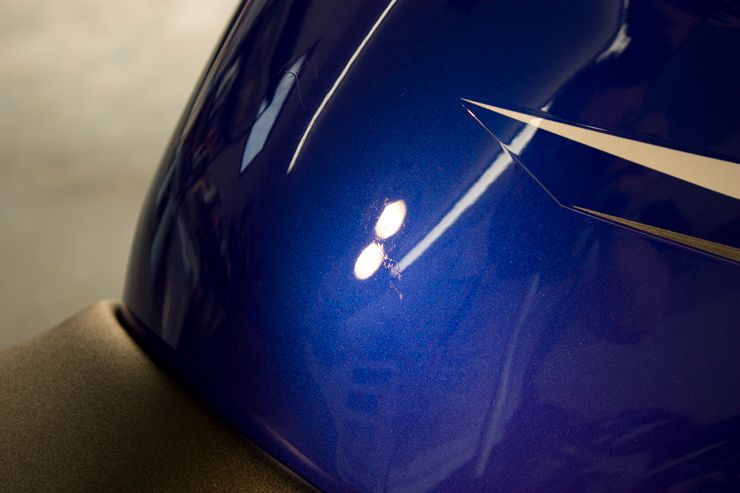
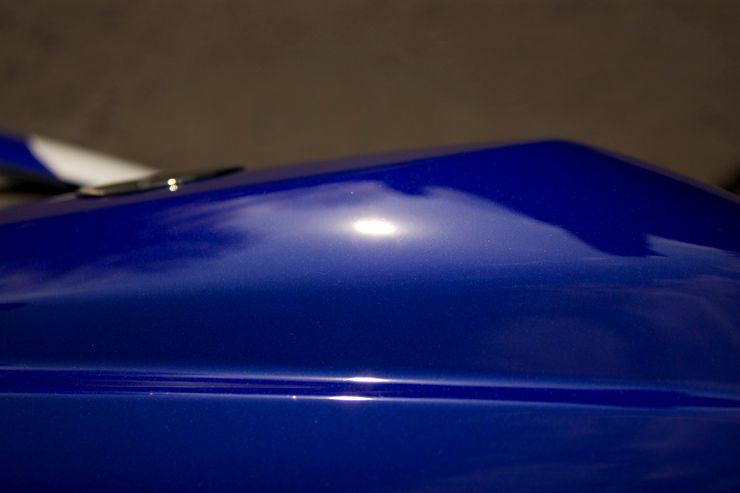
Showing the paint condition using my Brinkmann Dual Xenon light

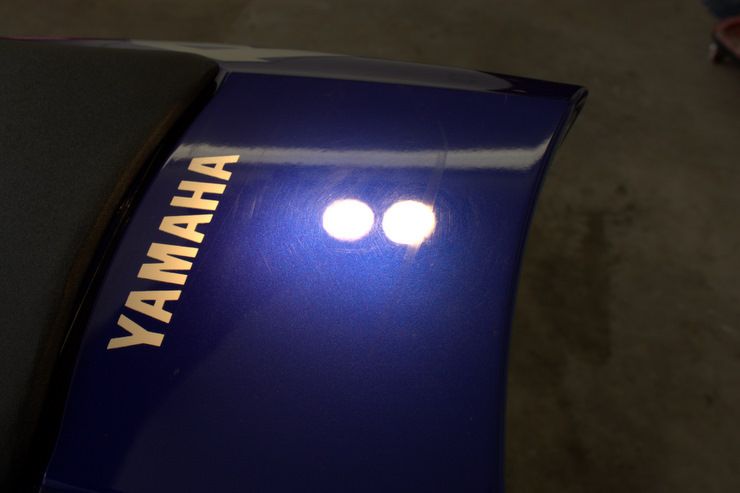
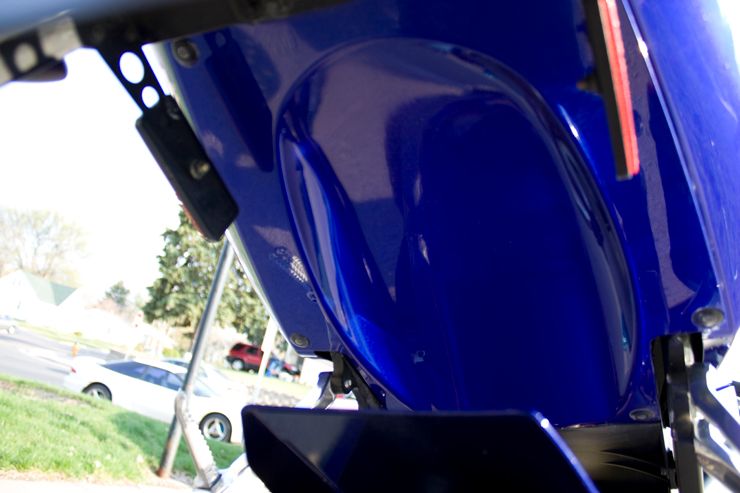
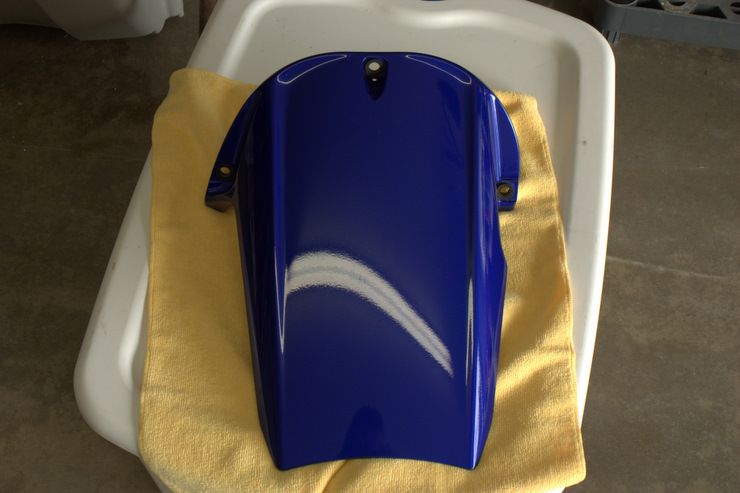
Swirls and scuff on the rear tail
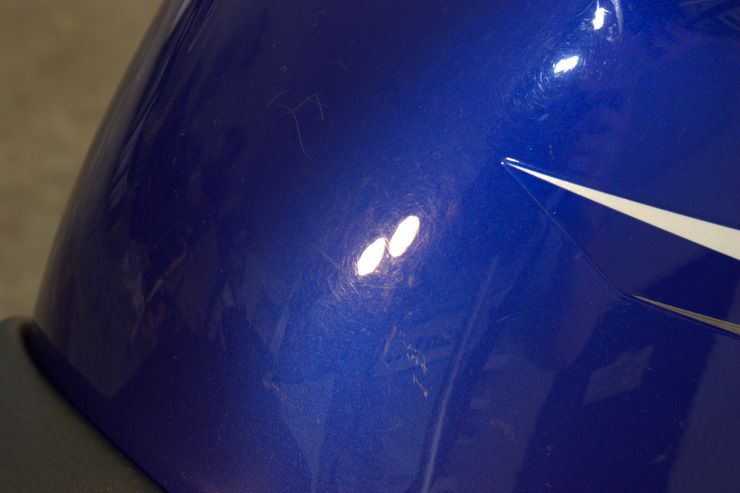
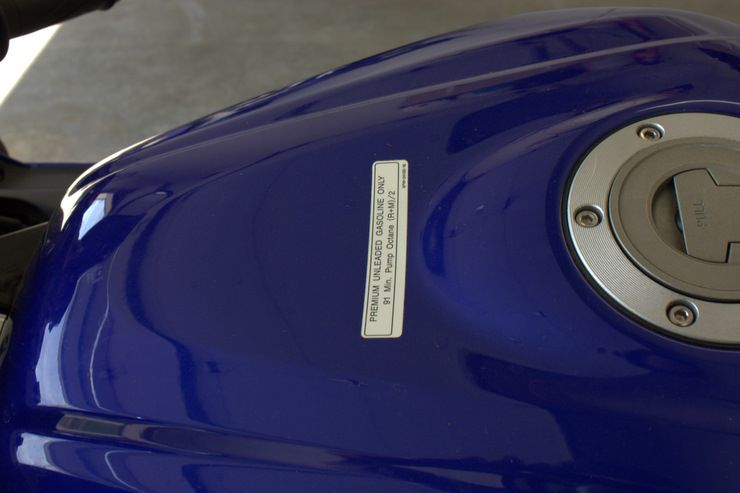
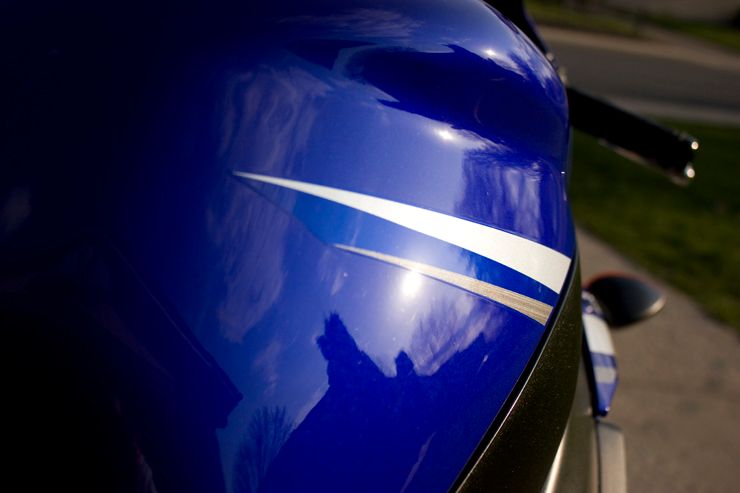
Swirls and deep scratch on the tank
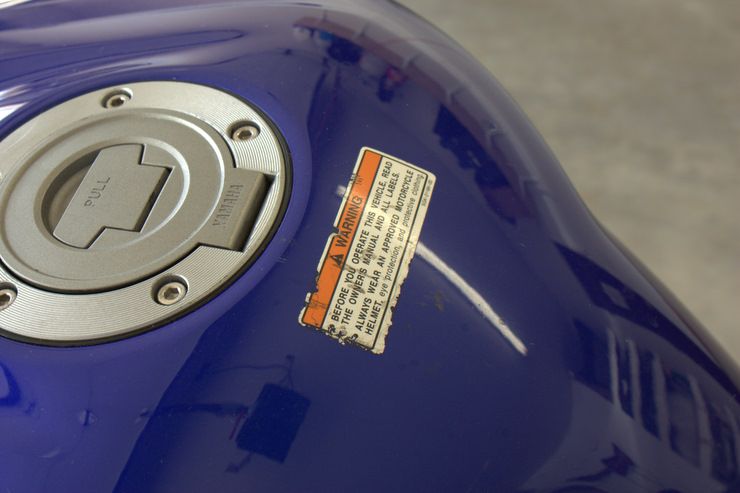
I offered to remove some decals left on the tank as it clutters the look and makes for easier polishing
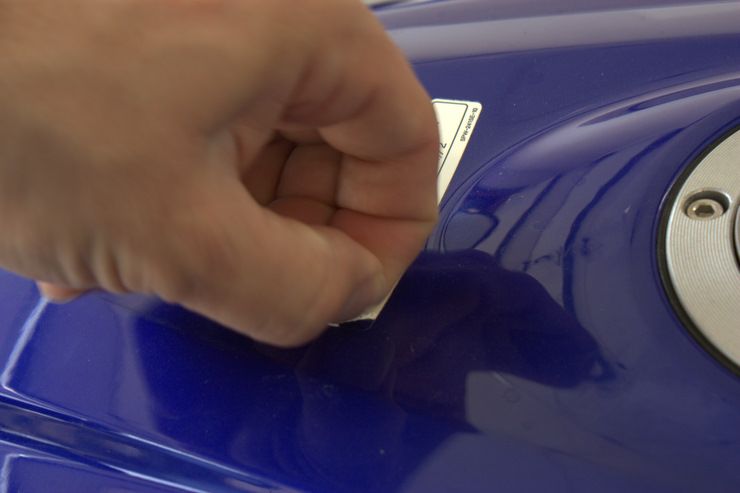
Removal was done using a heat gun and 3M adhesive remover

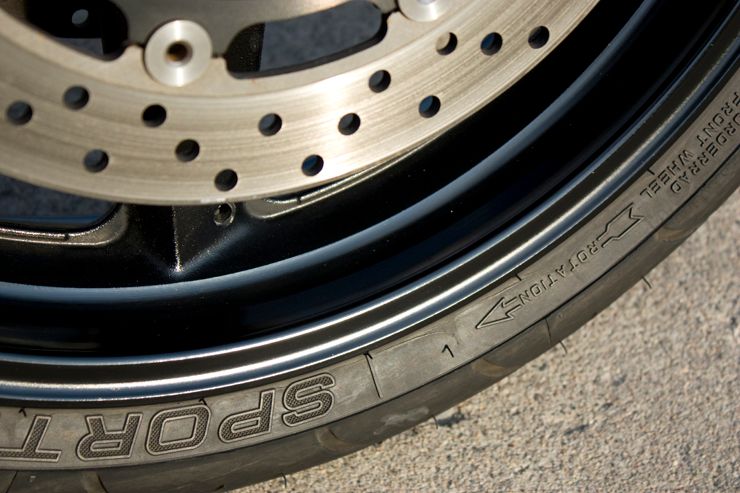
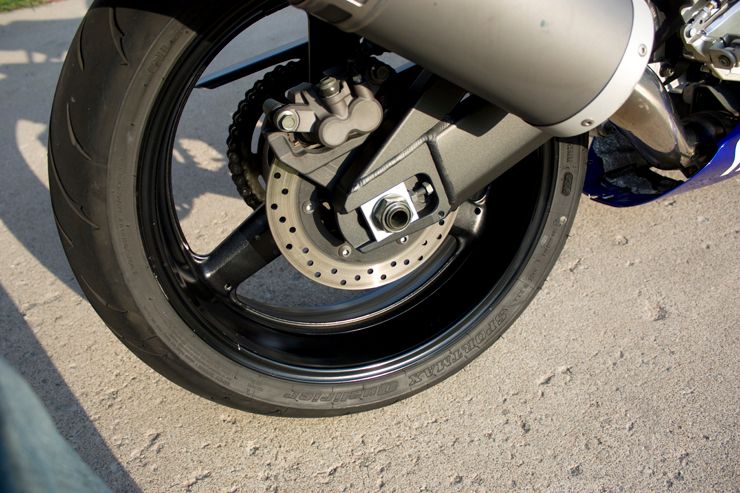
Here we can see the condition of the wheels. Having owned three Yamaha sport bikes now, I was very familiar with these wheels and how they should look….and this is not it.")

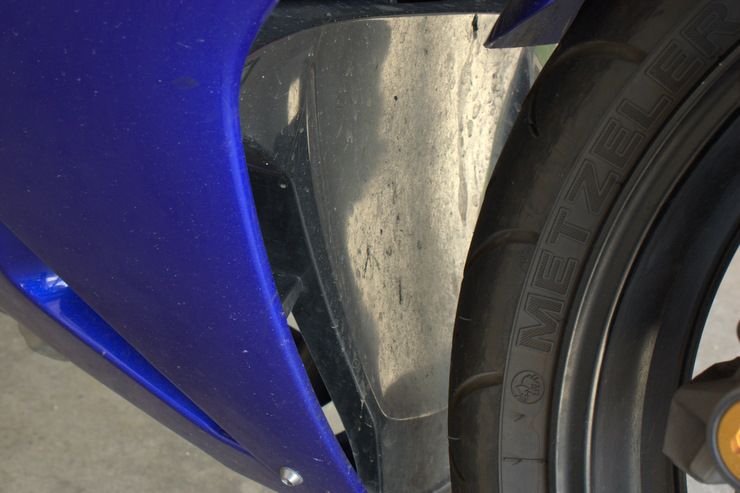
Behind the front tire
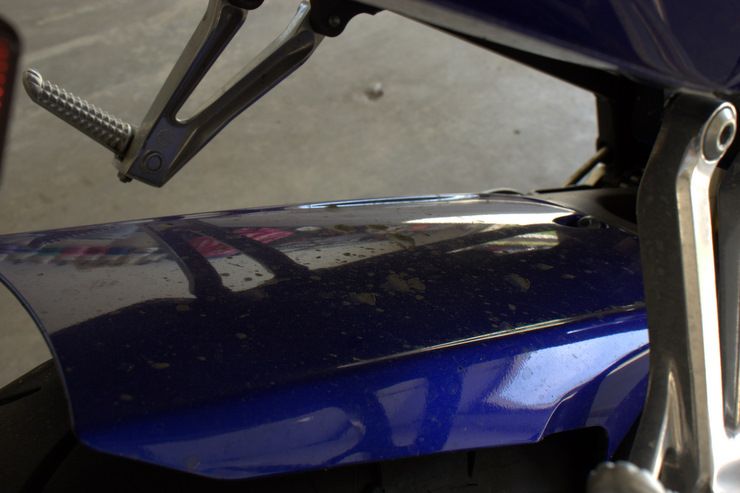
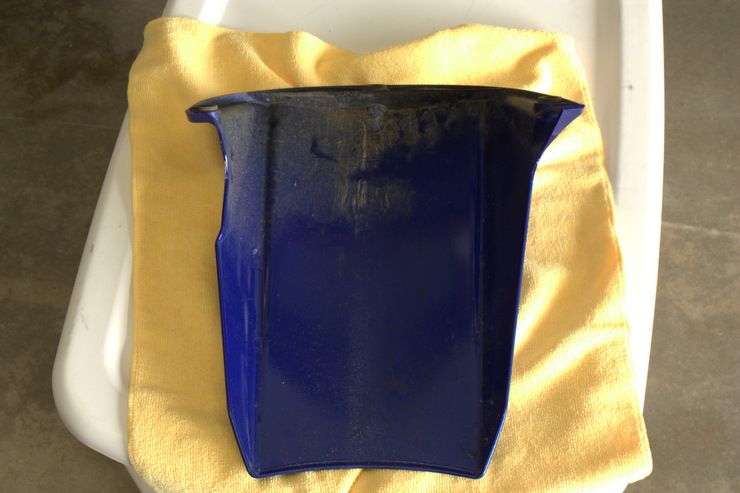
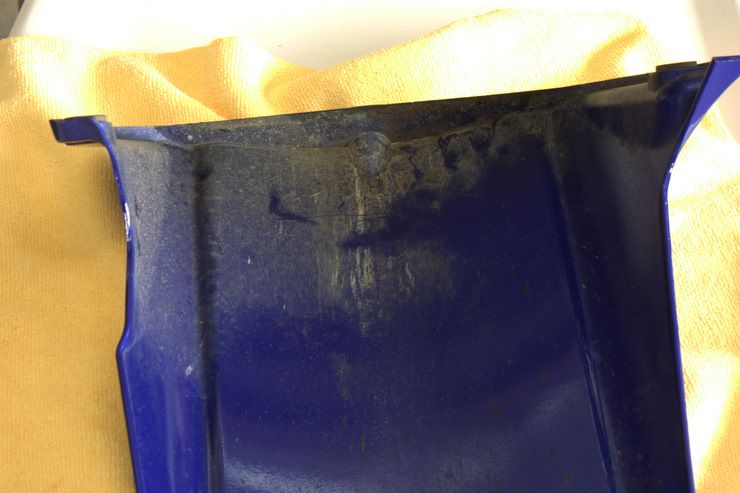
Under the tail section you can see some mud and dirt on the rear fender. Tar and chain wax were also cover through out the rear section of the bike.
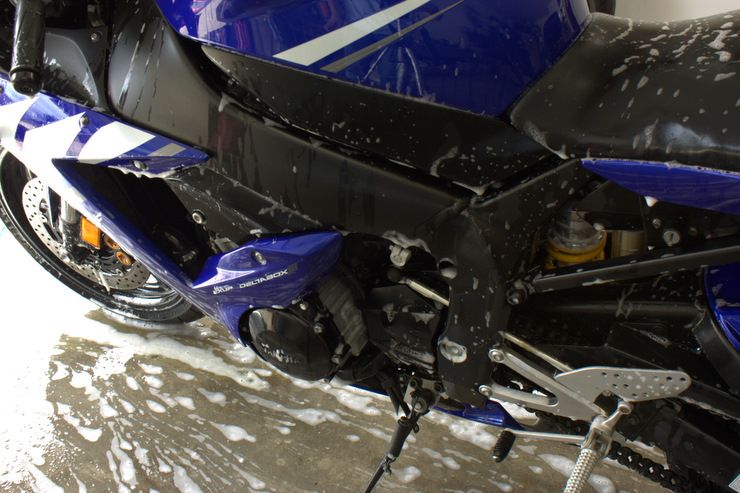
I first started out with a thorough wash using Chemical Guys Citrus wash and clear utilizing various brushes and wash mitts.
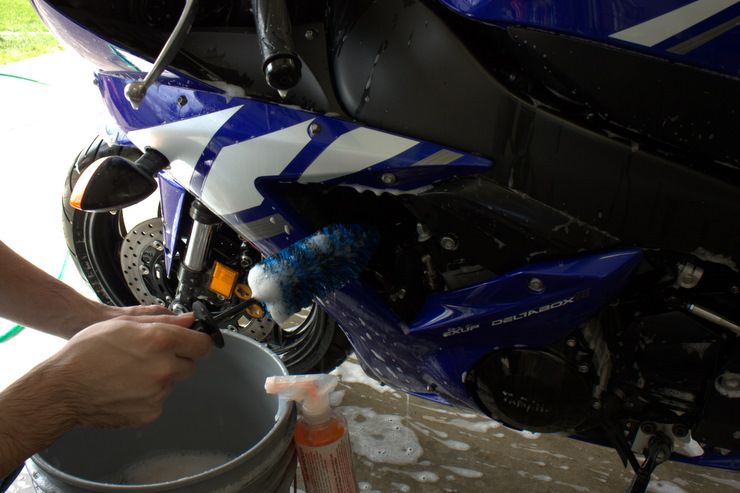
Here you can see me making use of the EZ mini detail brush to get in between the engine compartment.
Chemical Guys Bug Bugger & Tar remover was used on the front for the bugs and tar. Meguiars D103 APC+ was used on the wheels and to remove TOGW from some textured black plastics with the aid of a small detailing brush.
After washing and drying I followed with some mild clay and Meguiars Final Inspection as clay lube.
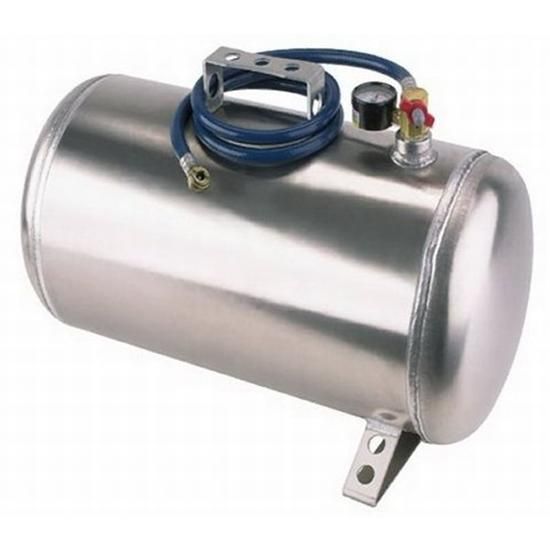
A good tip for detailing motorcycles is to have some form of compressed air to blow out all the nooks and crannies. IMO this is a must have! Since I’ve had to start detailing in my other garage I don’t have easy access to my air compressor and I don’t feel like running a few hundred feet of hose to my other garage. So what I did is I went out and bought a 10lb air tank for about $30, changed the fittings a bit and connected a coil style air hose to it with an air trigger attachment on the end. Now I can fill the tank in my other garage and have a nice portable source of air in my front garage!
I forgot to take a pic of my tank but it’s similar to this.
For the paint correction I chose to go with a 2-step correction using M105 on the PC with 4” LC pads and M205 on the PC using 4” white LC pads. This process achieved about 90% correction with only a few stray RIDS remaining.

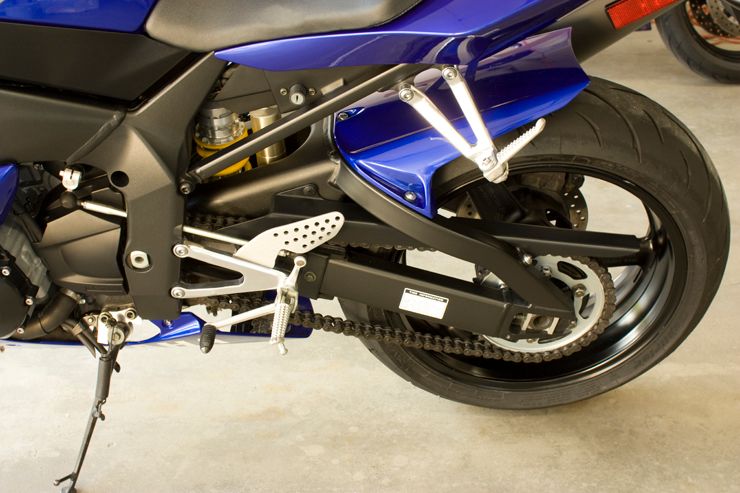
I removed the rear fender to better get at the lower swing arm and the underside of the tail section.
Chemical Guys Bug Bugger & Tar Remover was used here as well
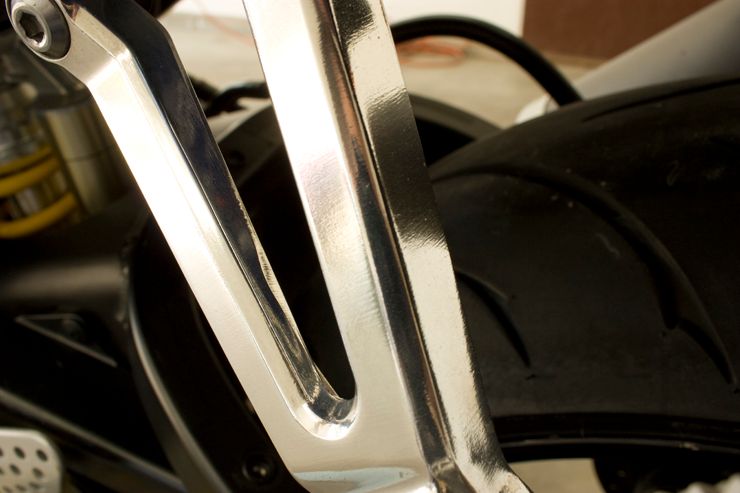
The front and rear sets along with any other aluminum components were polished using Optimum Metal Polish
Before

After
My choice for protection was Optimum Opti-Seal (2 coats) and topped off with Optimum Car Wax.
This bike actually belongs to a co-worker of mine and since he knows that I've sold all my bikes and how much I miss riding...I think he actually found humor in leaving it at my house for two weeks while he was on vacation for a detail. j/k Kevin!
As you can see the bike was in great shape, especially for being 8 years old and having over 21,000 miles on it. It had a fair amount of swirls with a few RIDS on the tank but since the seating position on these bikes has you hugged up against the gas tank, it’s not uncommon at all to see such scratches in these areas. Other than that is basically just needed a good all around cleaning.
Here are some before pics to give you a better idea of the condition.
A few flying corpses were embedded into the front of the bike. You can also see in the below pics that the windscreen needed some TLC to bring back the clarity.
Showing the paint condition using my Brinkmann Dual Xenon light
Swirls and scuff on the rear tail
Swirls and deep scratch on the tank
I offered to remove some decals left on the tank as it clutters the look and makes for easier polishing
Removal was done using a heat gun and 3M adhesive remover
Here we can see the condition of the wheels. Having owned three Yamaha sport bikes now, I was very familiar with these wheels and how they should look….and this is not it.
Behind the front tire
Under the tail section you can see some mud and dirt on the rear fender. Tar and chain wax were also cover through out the rear section of the bike.
I first started out with a thorough wash using Chemical Guys Citrus wash and clear utilizing various brushes and wash mitts.
Here you can see me making use of the EZ mini detail brush to get in between the engine compartment.
Chemical Guys Bug Bugger & Tar remover was used on the front for the bugs and tar. Meguiars D103 APC+ was used on the wheels and to remove TOGW from some textured black plastics with the aid of a small detailing brush.
After washing and drying I followed with some mild clay and Meguiars Final Inspection as clay lube.
A good tip for detailing motorcycles is to have some form of compressed air to blow out all the nooks and crannies. IMO this is a must have! Since I’ve had to start detailing in my other garage I don’t have easy access to my air compressor and I don’t feel like running a few hundred feet of hose to my other garage. So what I did is I went out and bought a 10lb air tank for about $30, changed the fittings a bit and connected a coil style air hose to it with an air trigger attachment on the end. Now I can fill the tank in my other garage and have a nice portable source of air in my front garage!
I forgot to take a pic of my tank but it’s similar to this.
For the paint correction I chose to go with a 2-step correction using M105 on the PC with 4” LC pads and M205 on the PC using 4” white LC pads. This process achieved about 90% correction with only a few stray RIDS remaining.
I removed the rear fender to better get at the lower swing arm and the underside of the tail section.
Chemical Guys Bug Bugger & Tar Remover was used here as well
The front and rear sets along with any other aluminum components were polished using Optimum Metal Polish
Before
After
My choice for protection was Optimum Opti-Seal (2 coats) and topped off with Optimum Car Wax.

")
 had a YZF 600r before that as well. Great bikes! Miss having them for sure.