twistedframe
New member
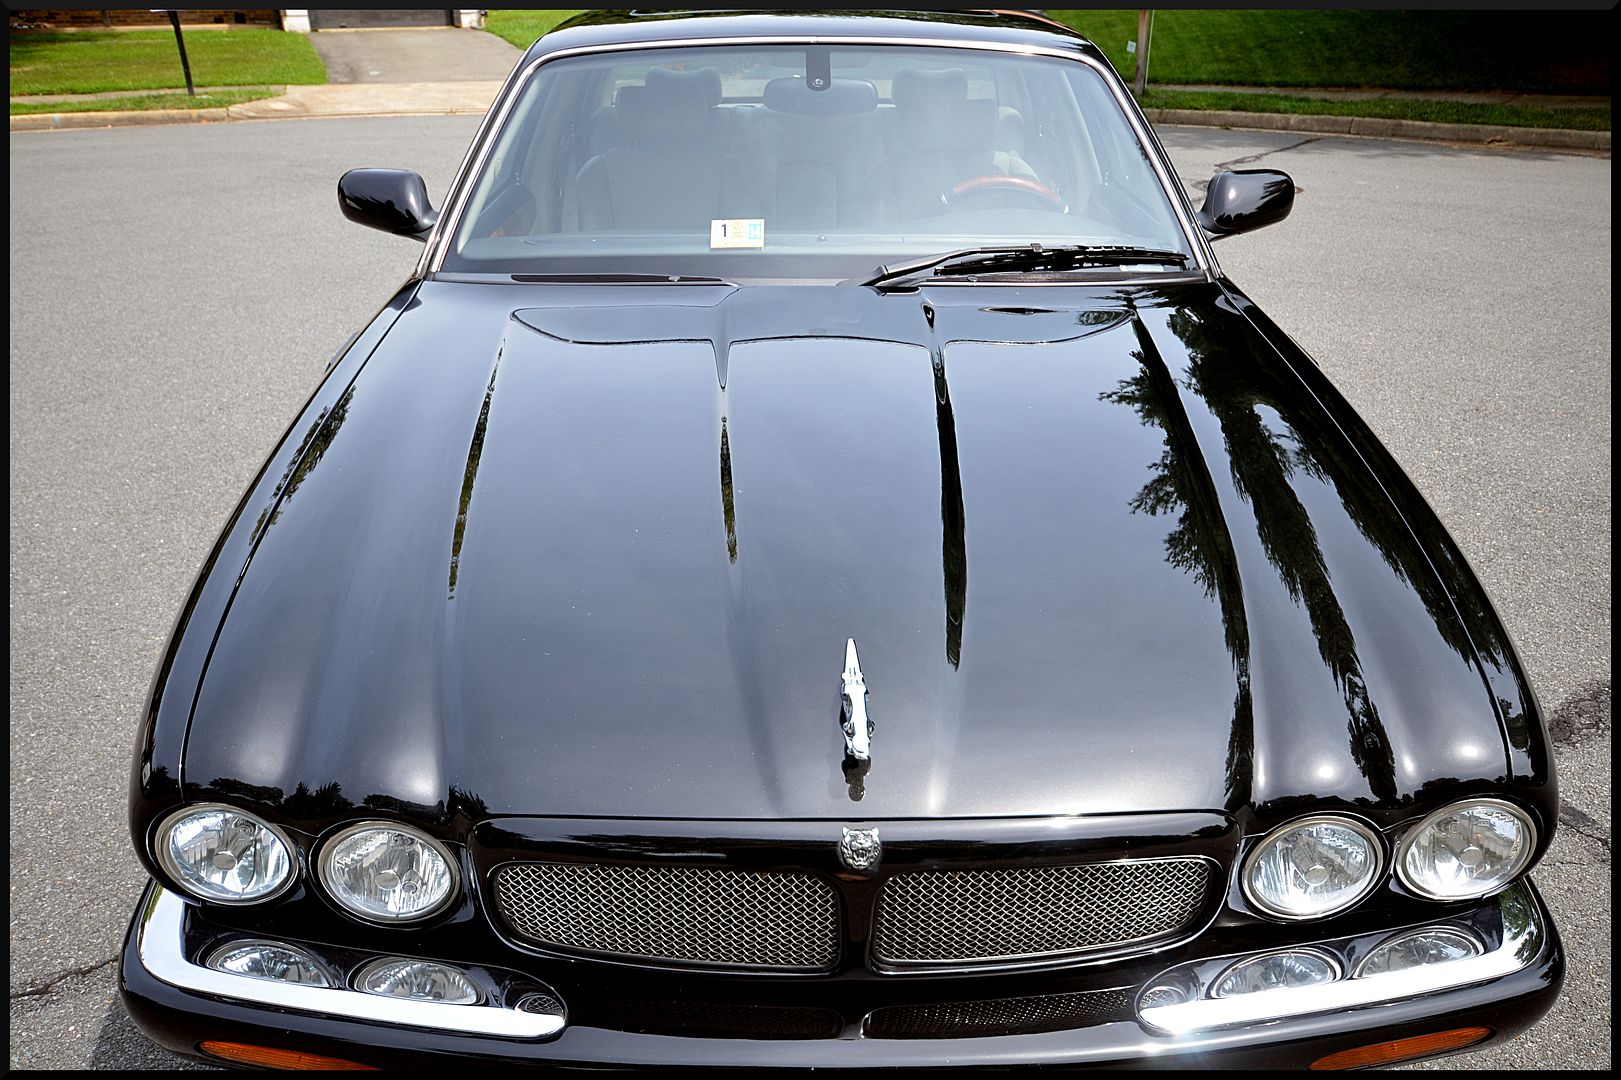
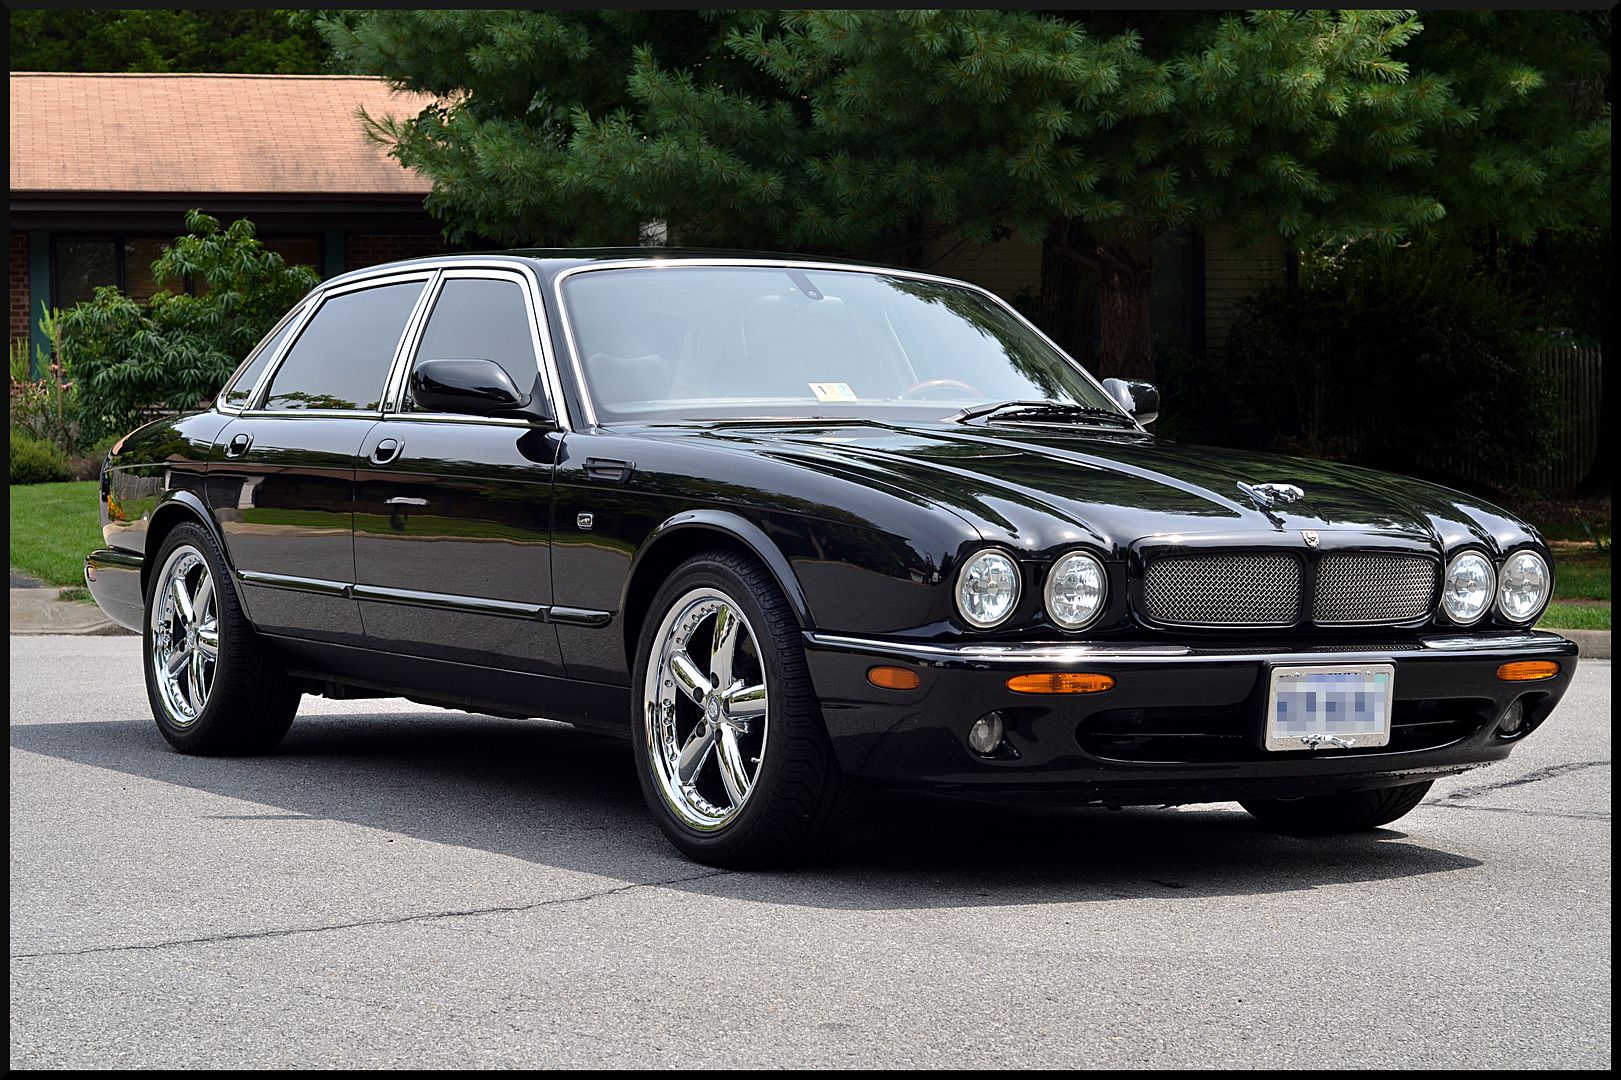
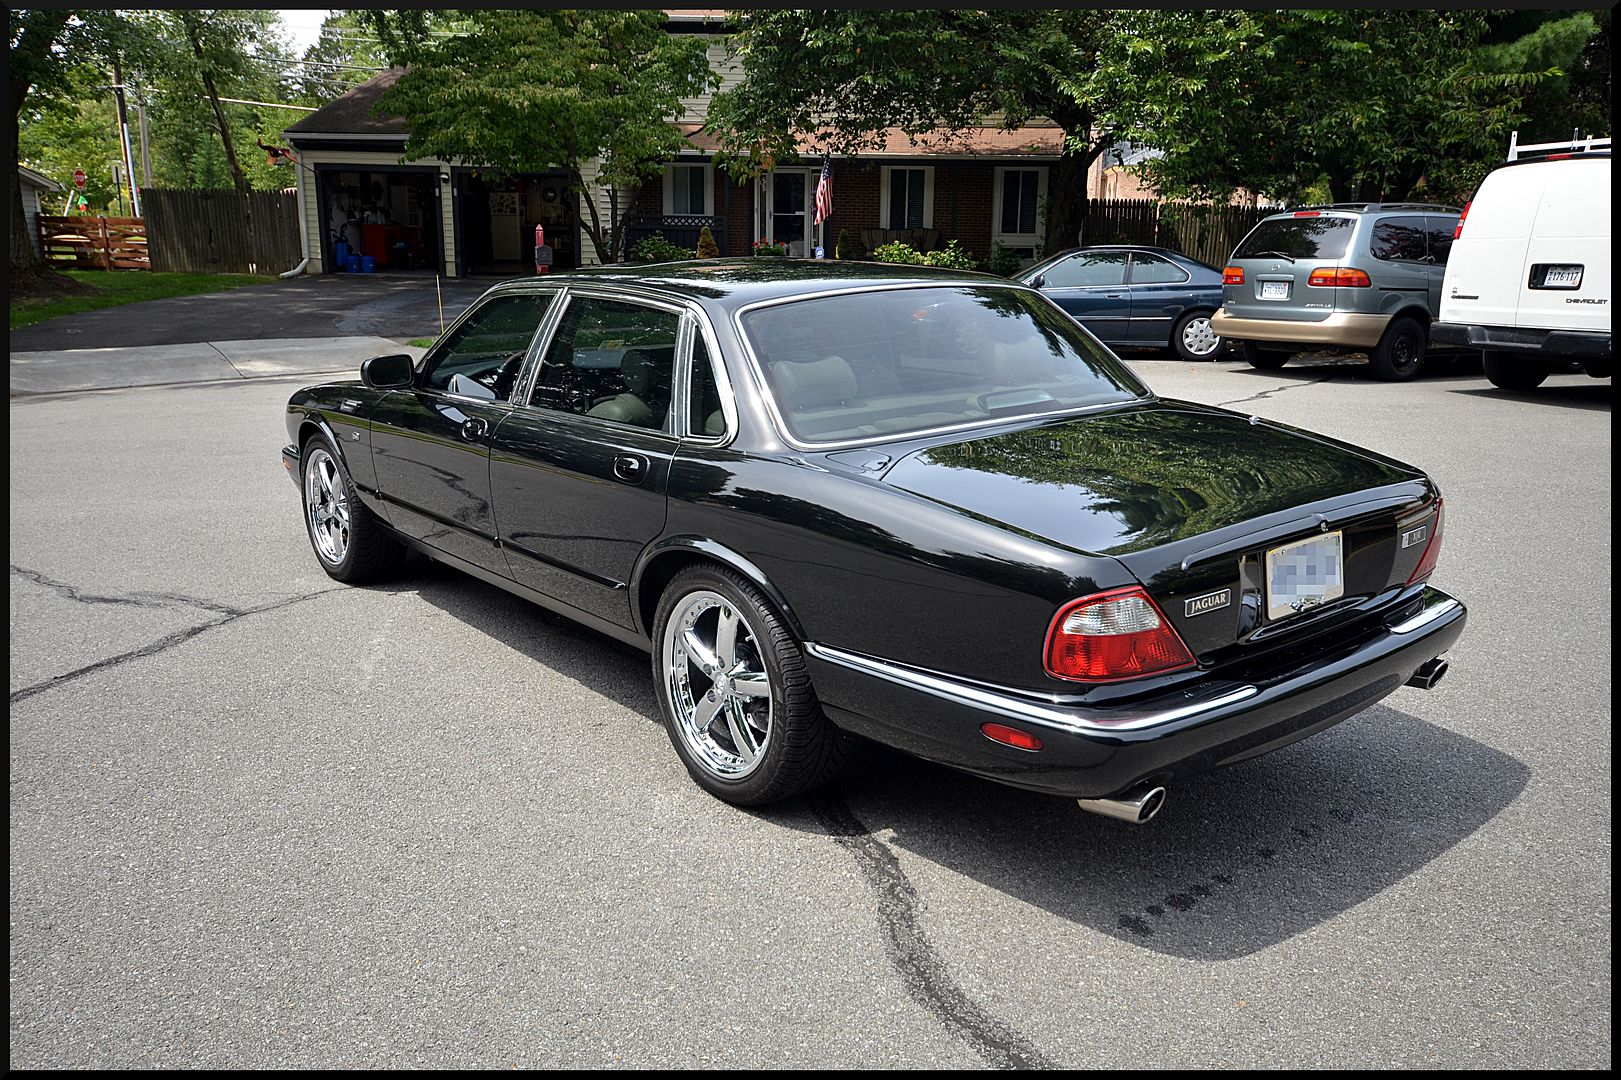
Hi everyone! I had one of my favorite cars in the garage today. Nope, not a GT-R, not a Ferrari, not even a Bugatti.....a Jaguar XJR! I know what you are thinking, I'm insane. Well, you are right to a point, but I have been in love with this body style of Jags before I was even legally allowed to drive. I don't know what it is about them, it's long, wide, low, and full of curves. It has just the right amount of chrome, rides amazingly well, and has the power to get to 60 in 5.5seconds. Even since I was a kid I knew this car just oozed class and luxury.
So, this vehicle was recently purchased by my client, and he wanted it to look better than new. It has 75k miles on it, so it wasn't in terrible shape, but it certainly needed a good bit of work.
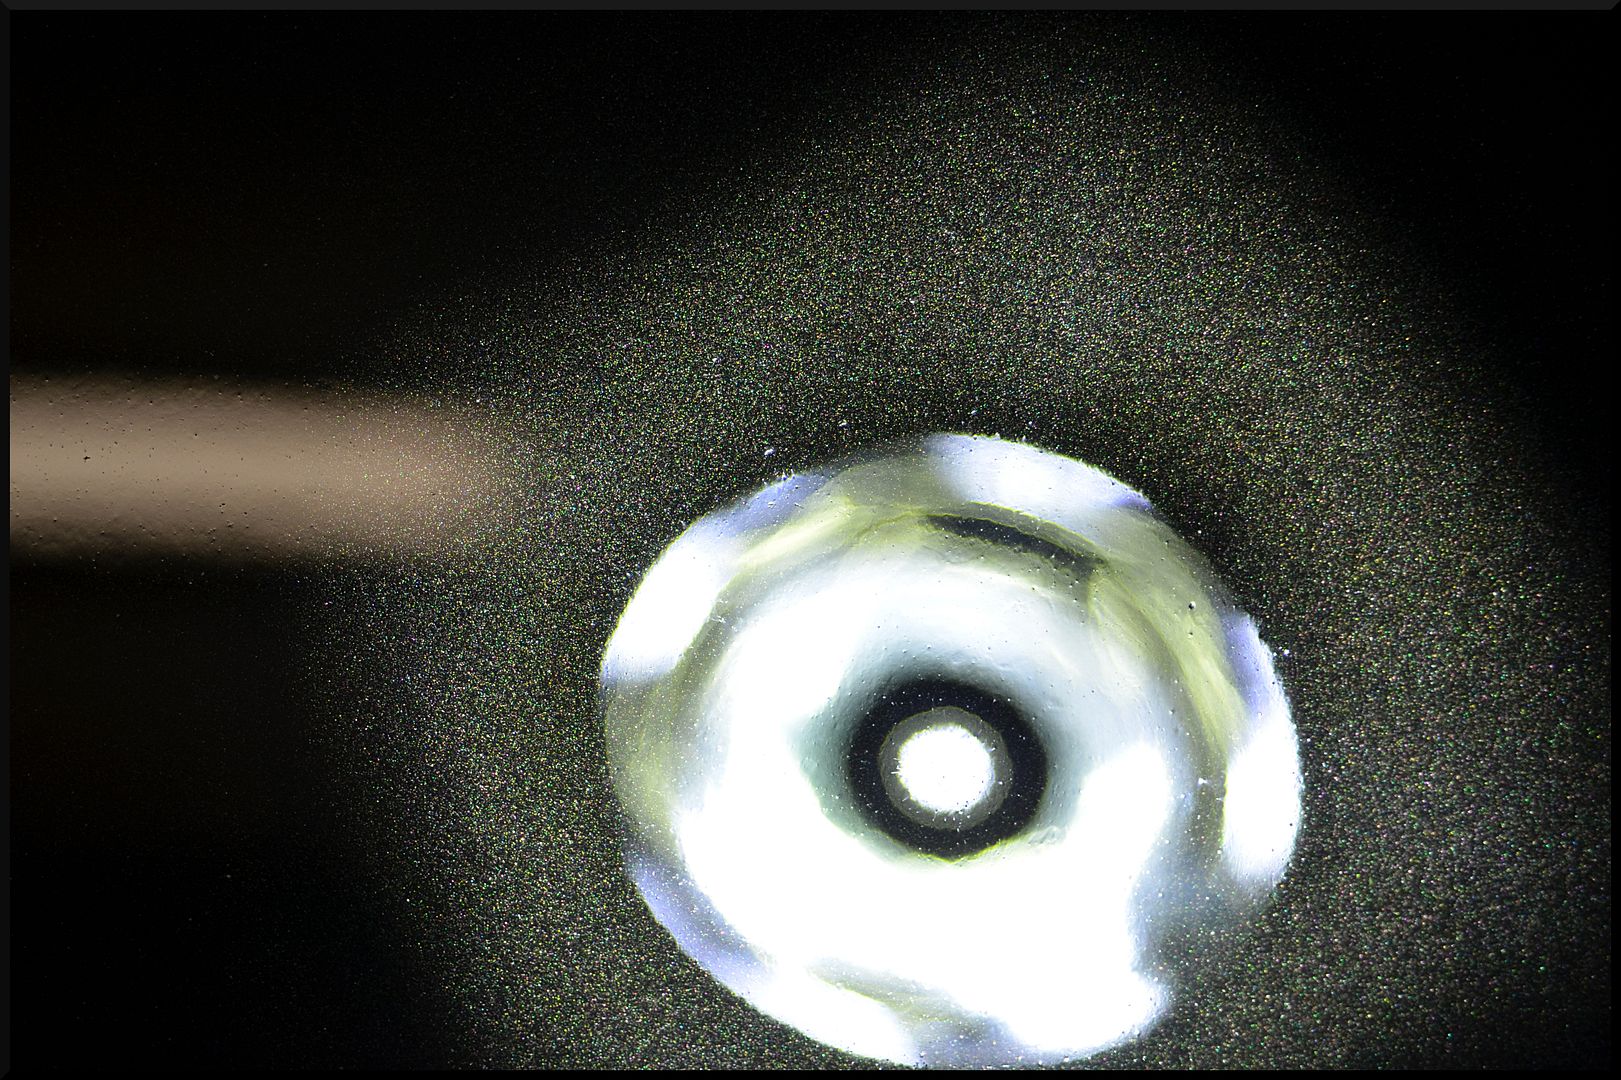
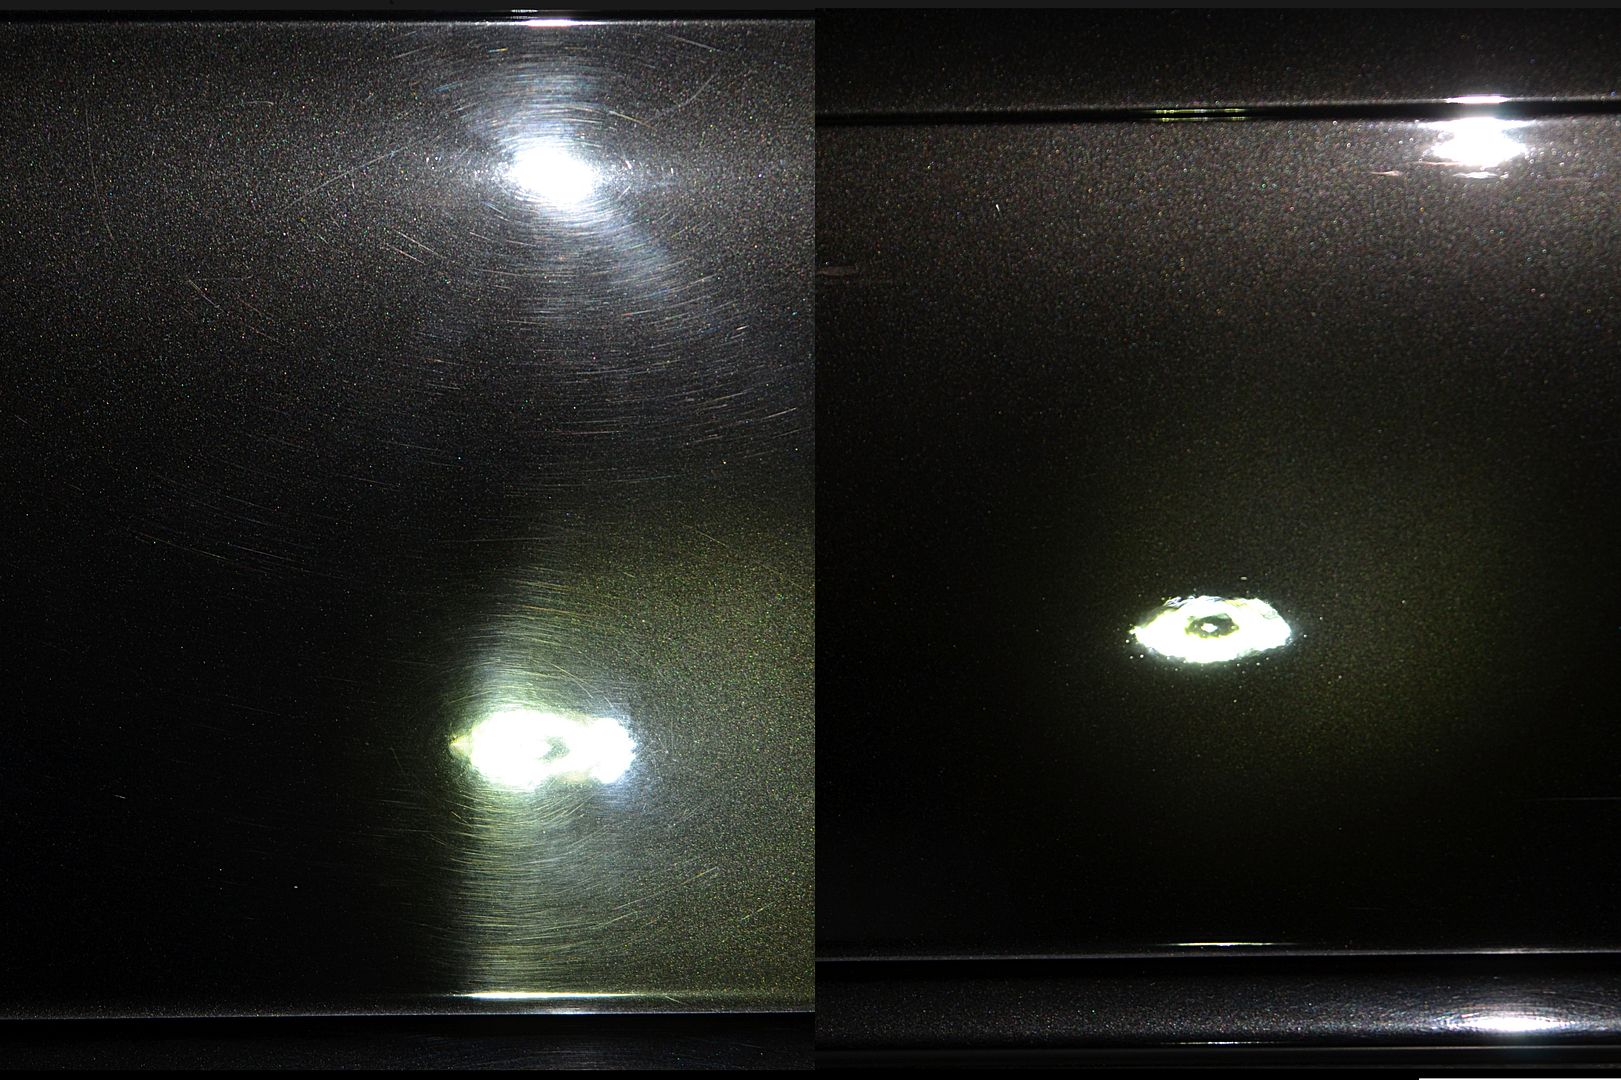
As per usual I washed the vehicle, cleaned the wheels, tires, and wheel wells, then clayed the paint with a Car Pro Clay Block. Here is how the paint looked (I started this job after dark, so the swirl light will have to due to show the swirls).
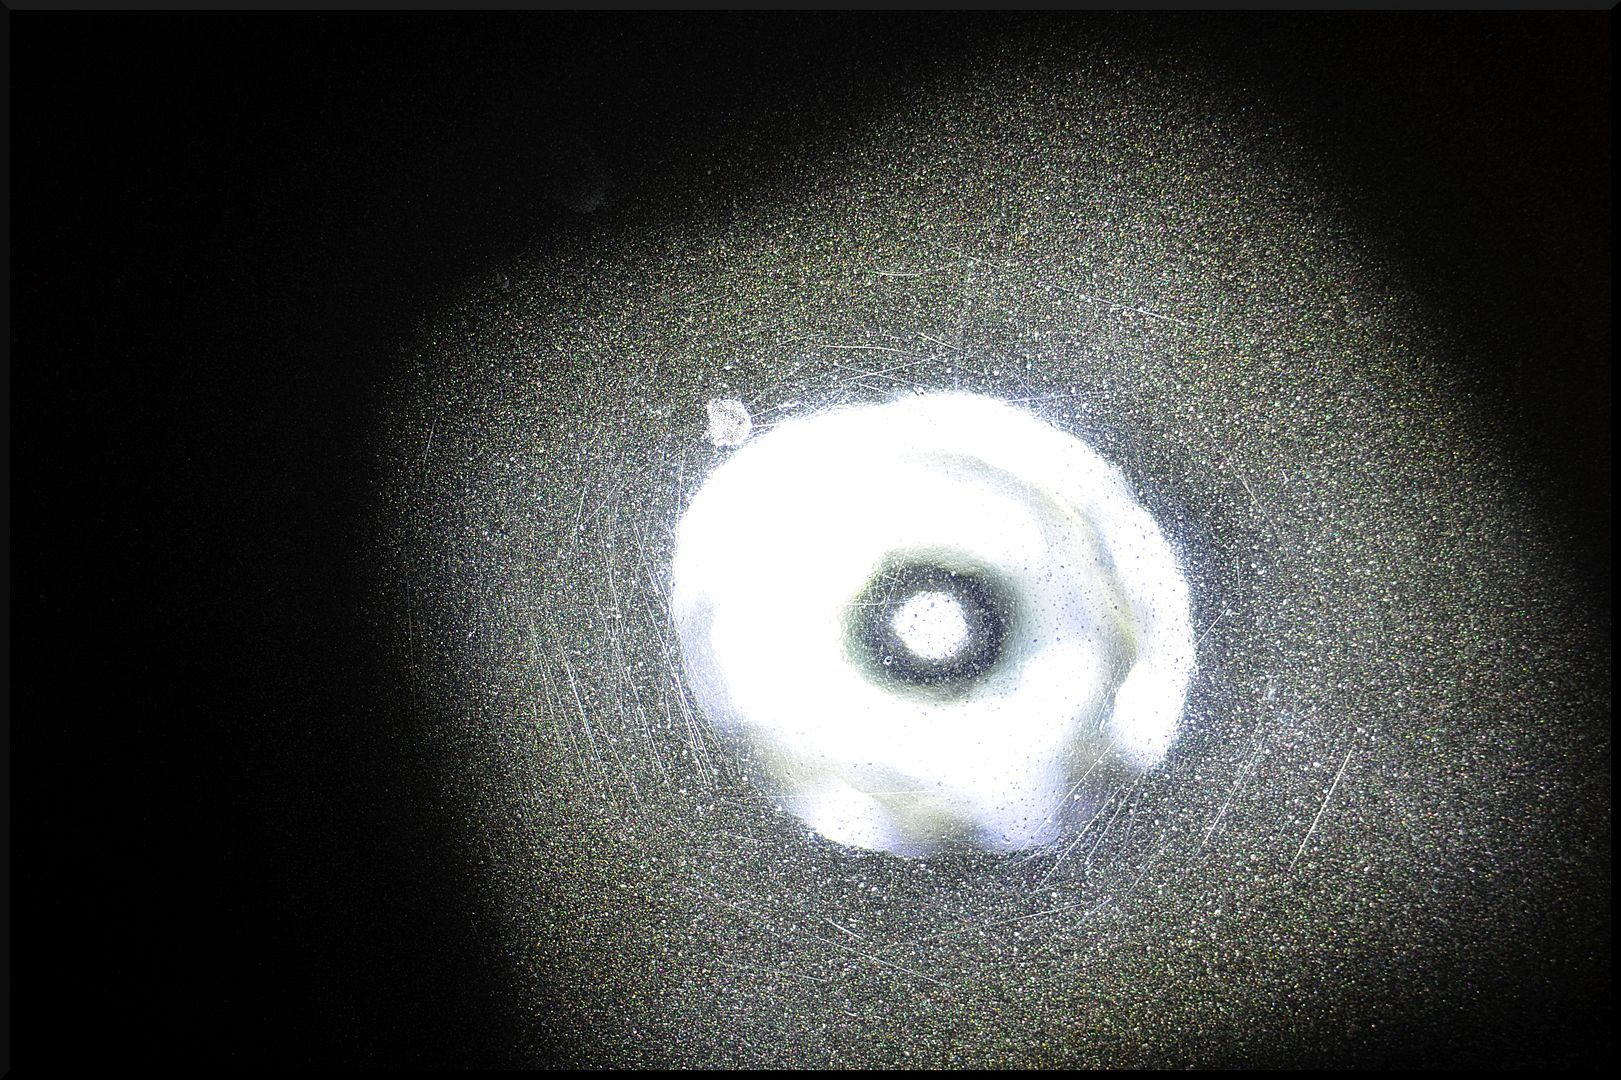
Nothing insanely bad, but what was there was deep. I decided with a three step approach to get maximum correction and maximum gloss. I started with FG400 on a CarPro Cool Wool pad with the Rupes21, followed that up with SIP on a Tangerine Hydrotech pad with the Rupes21, and finished with a super secret Car Pro finishing polish that I have been testing with Corey on a black Buff and Shine pad, again with the Rupes21.
I want to take a moment and say, everyone should be very impressed with this finishing polish once it is brought to market. It has a little bit of cut (think 106) adds tons of gloss like M205, and wipes away with no effort at all. It has a long working time, and I couldn't get it to dust even when I tried. Really great stuff!
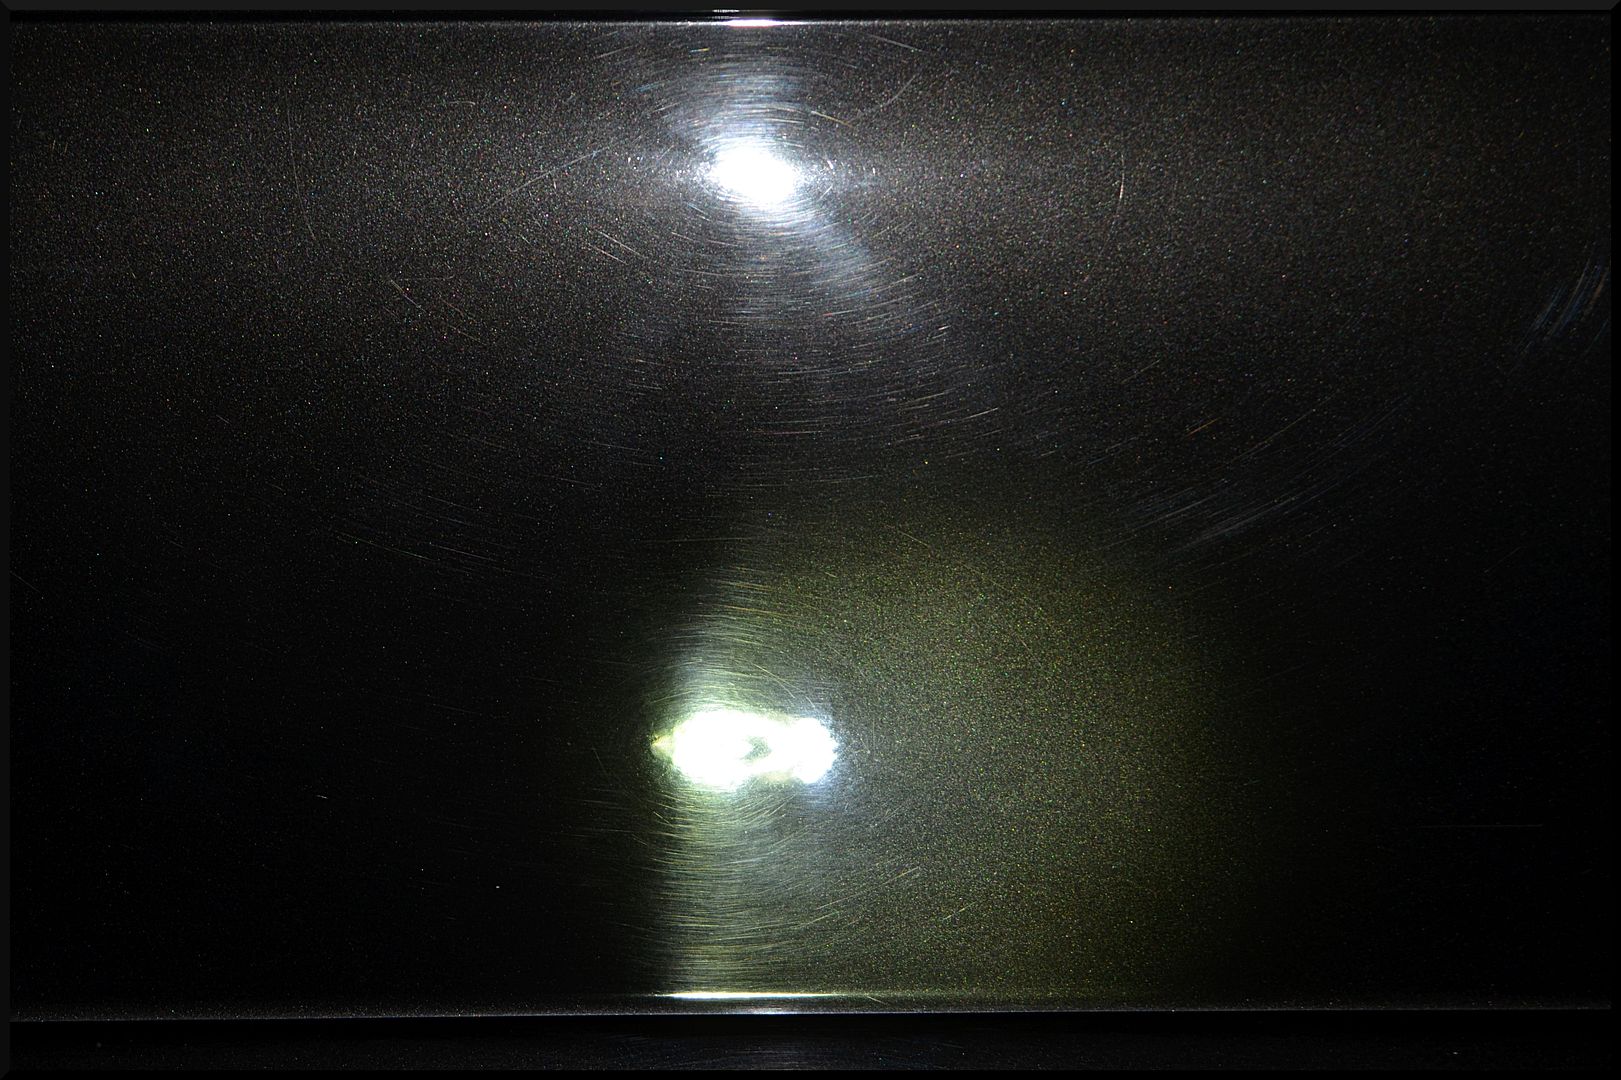
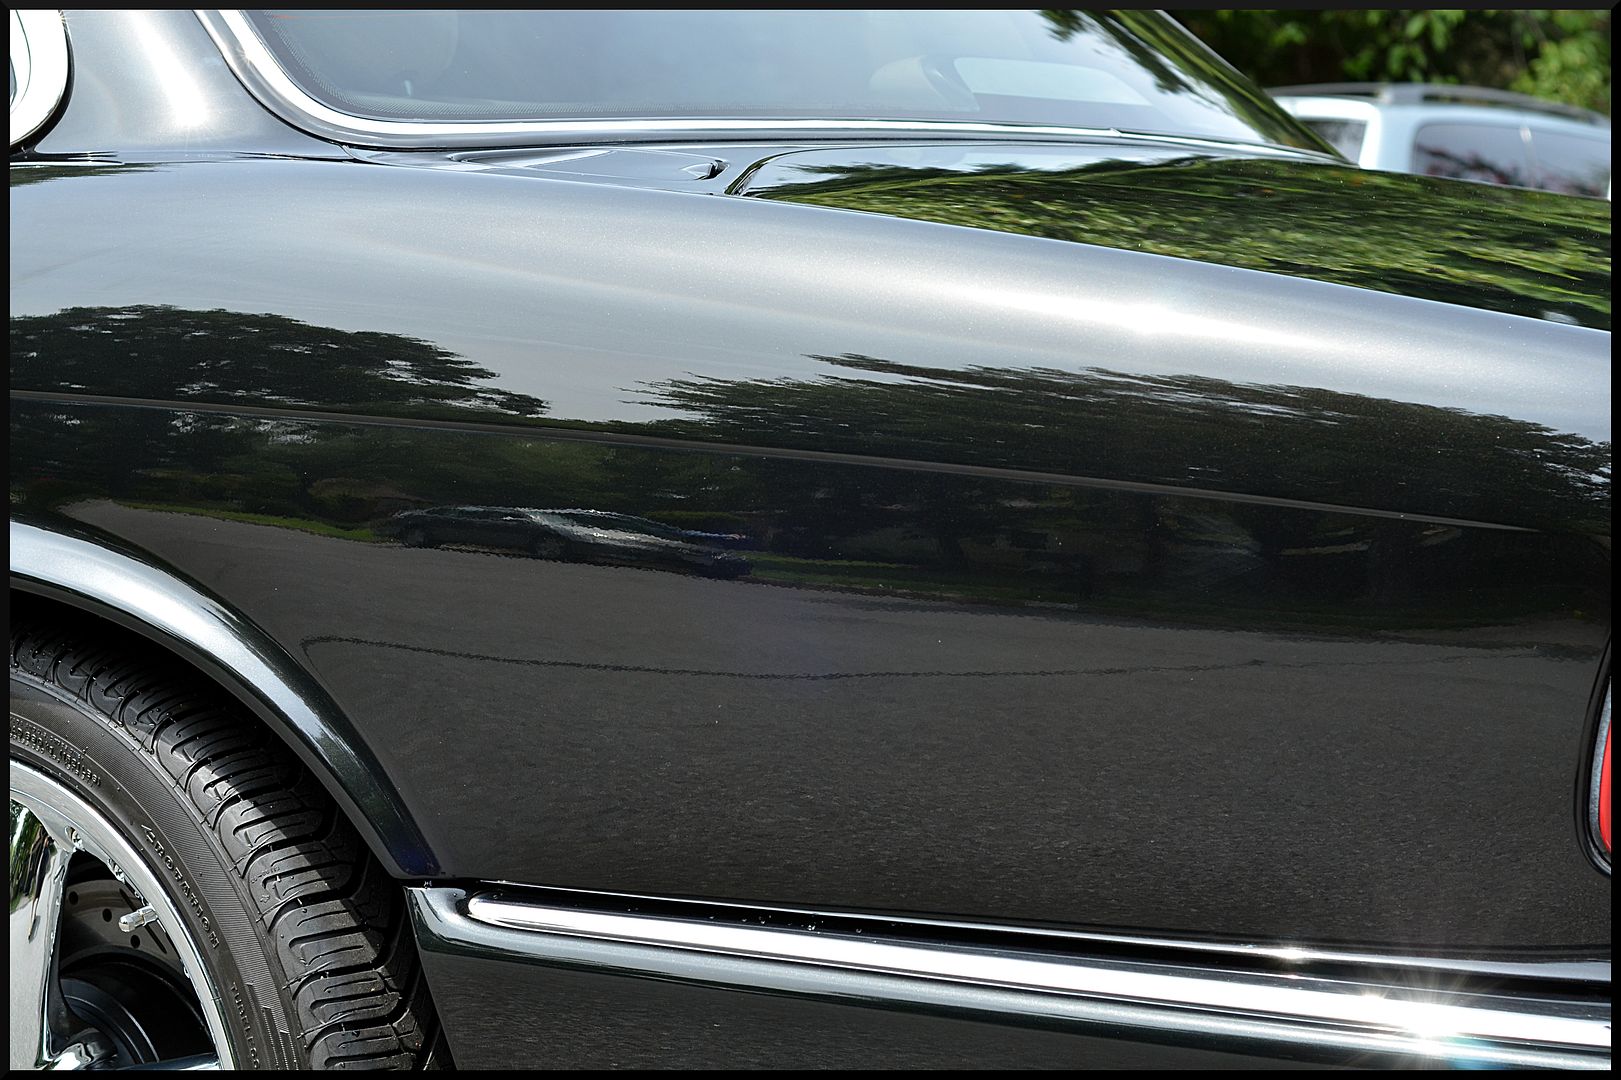
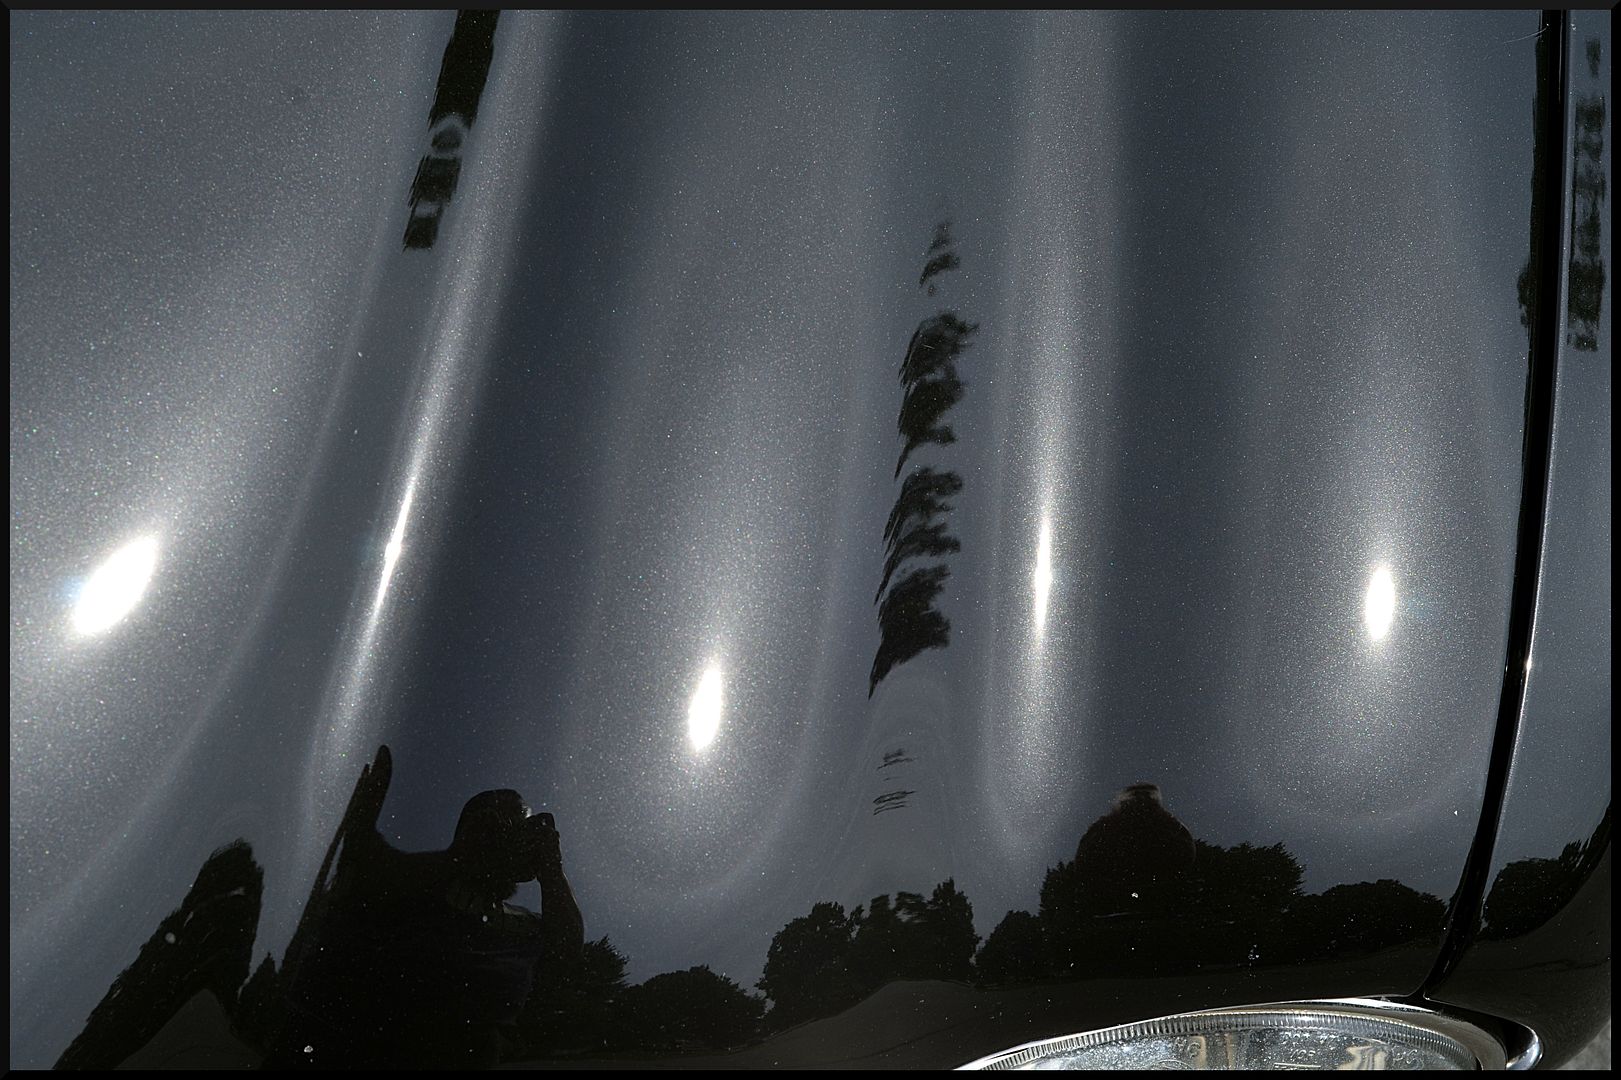
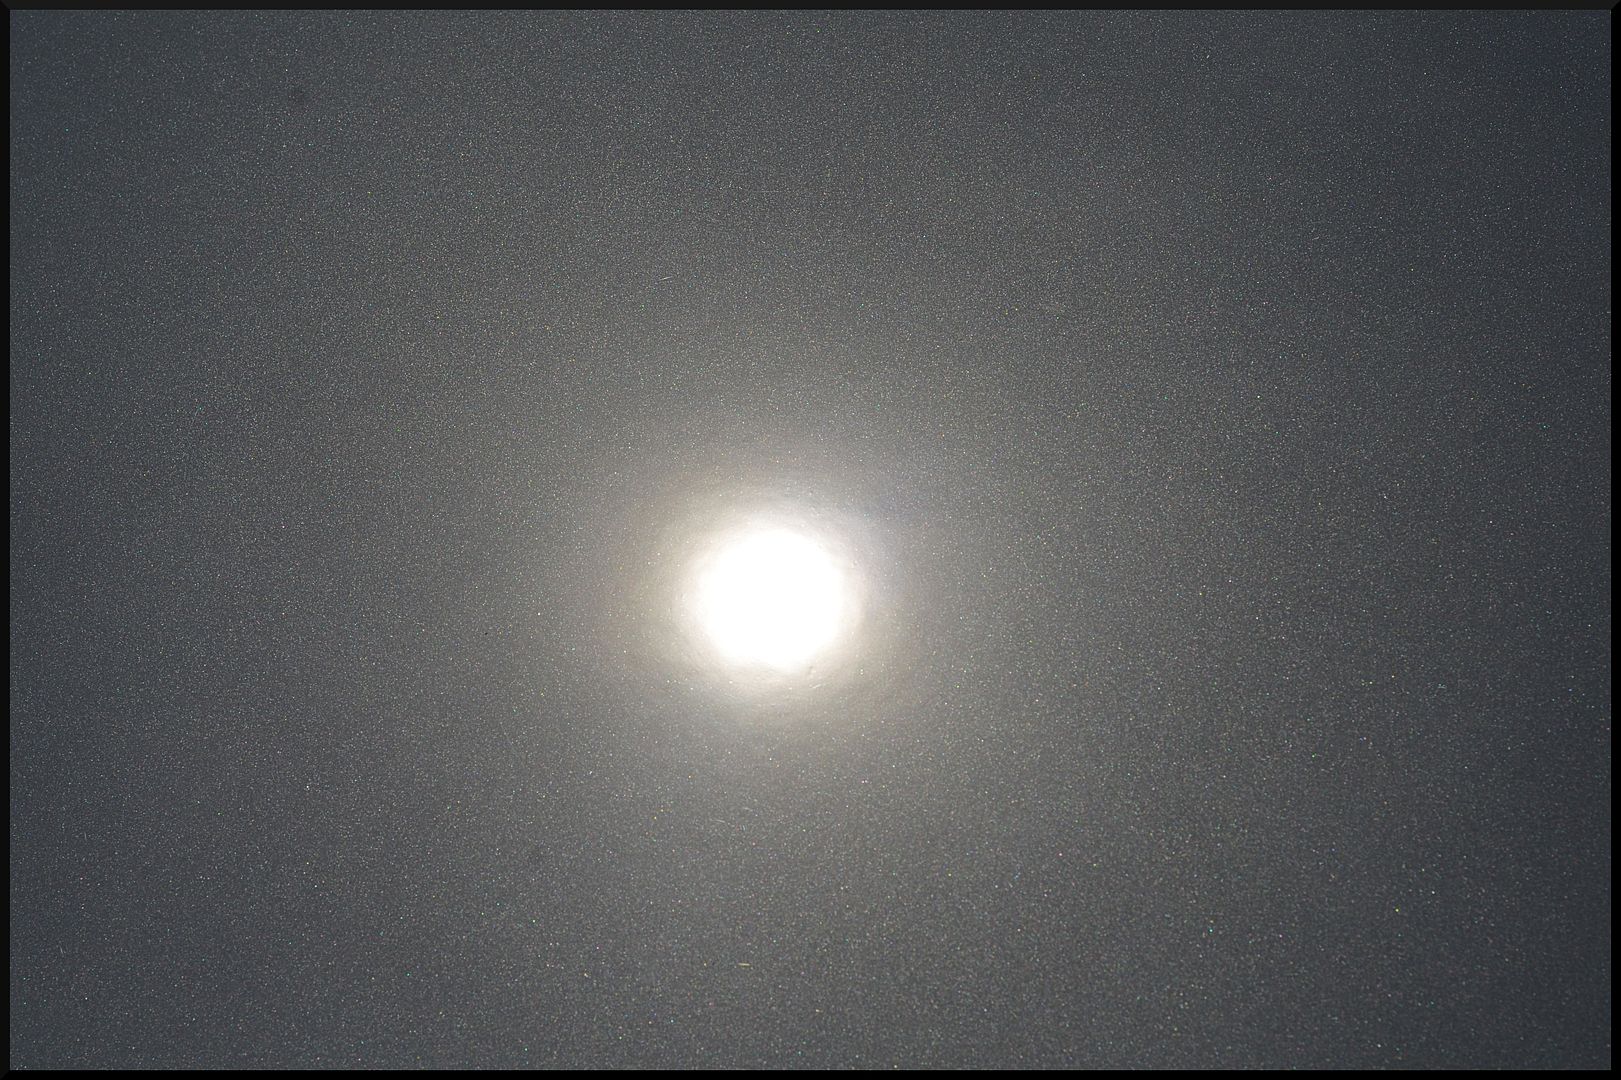
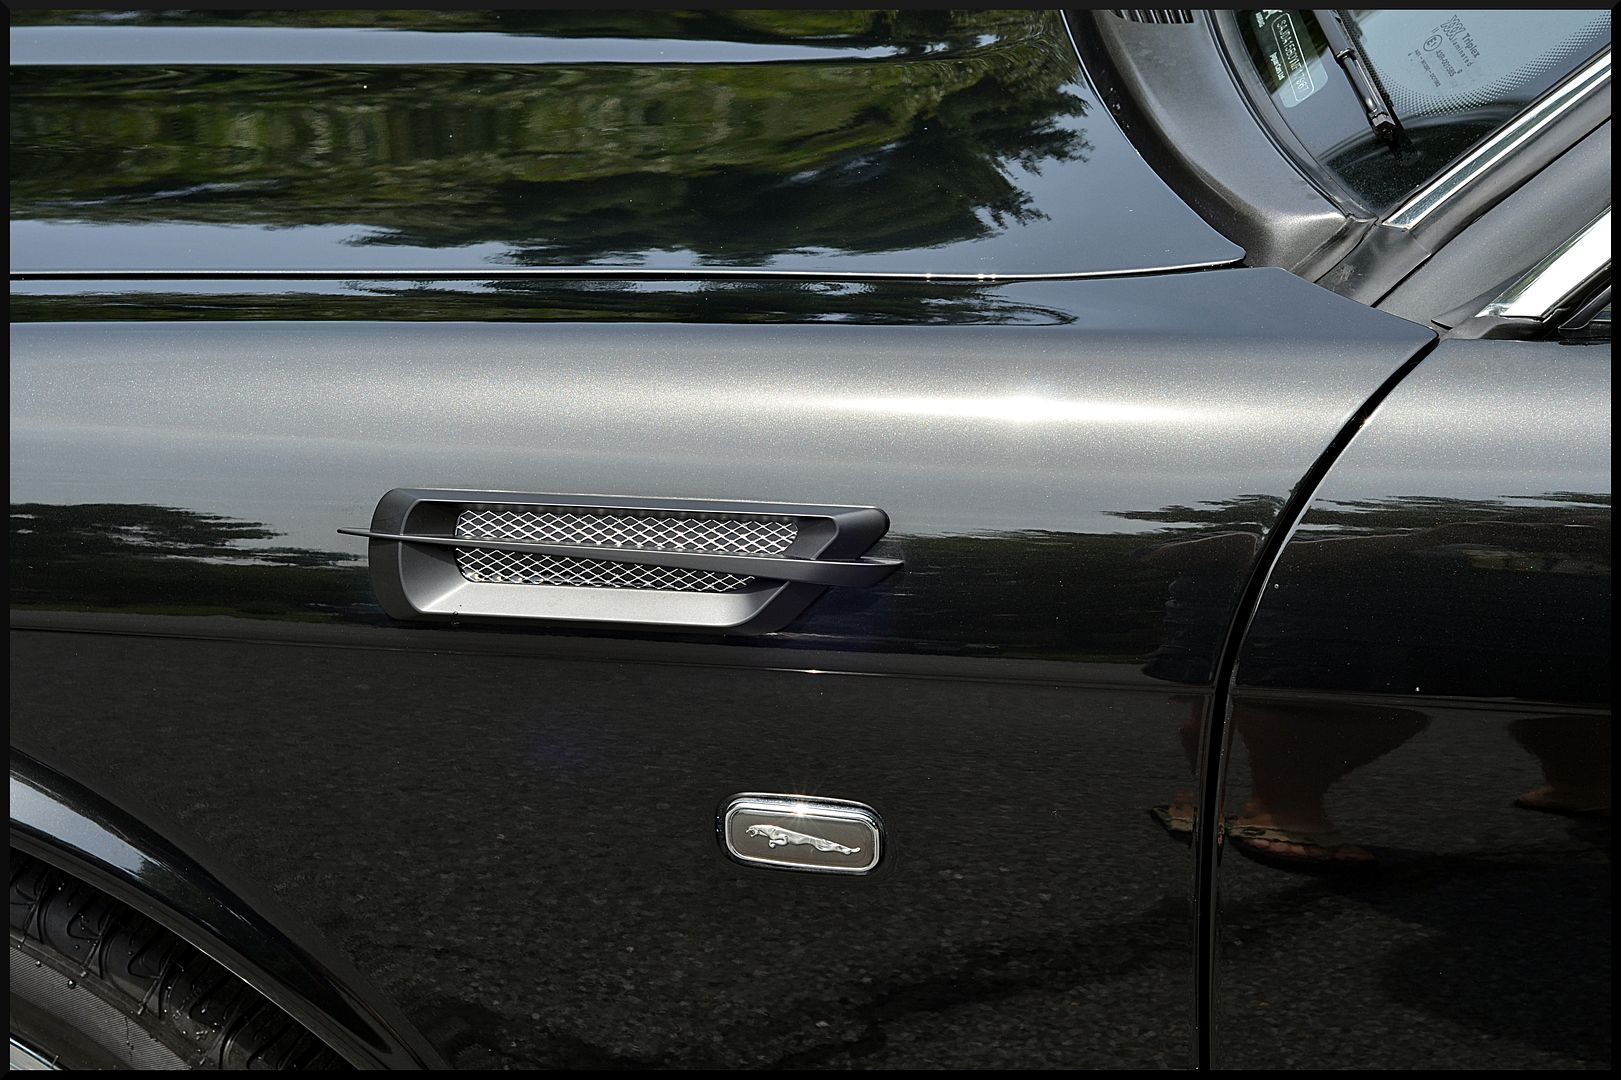
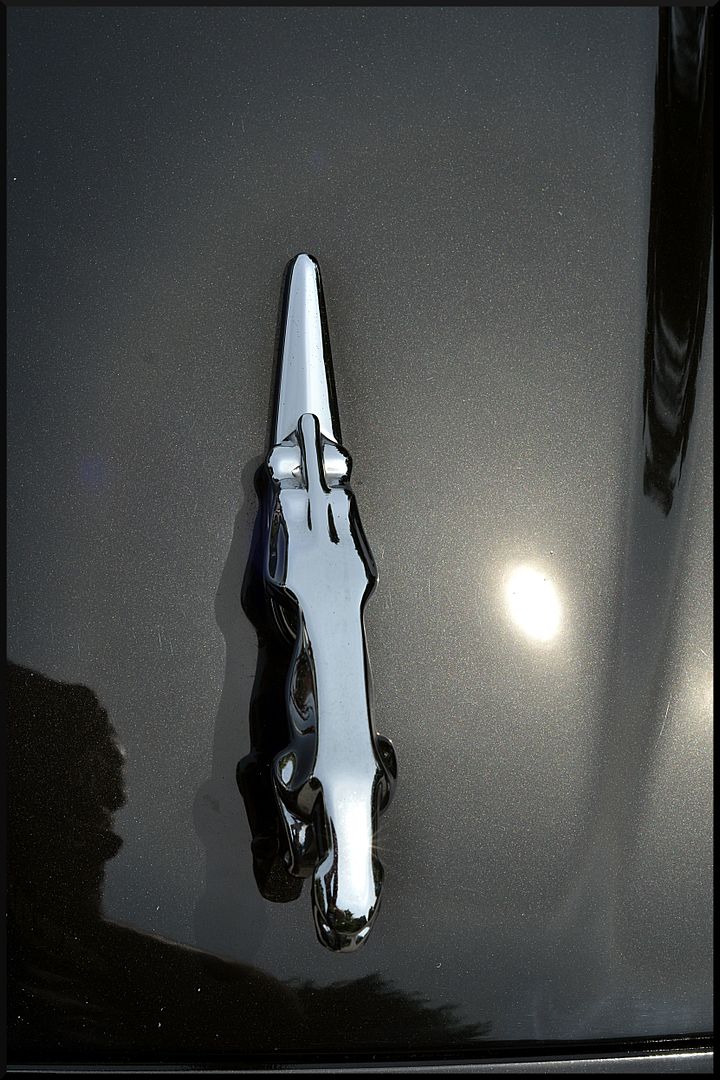
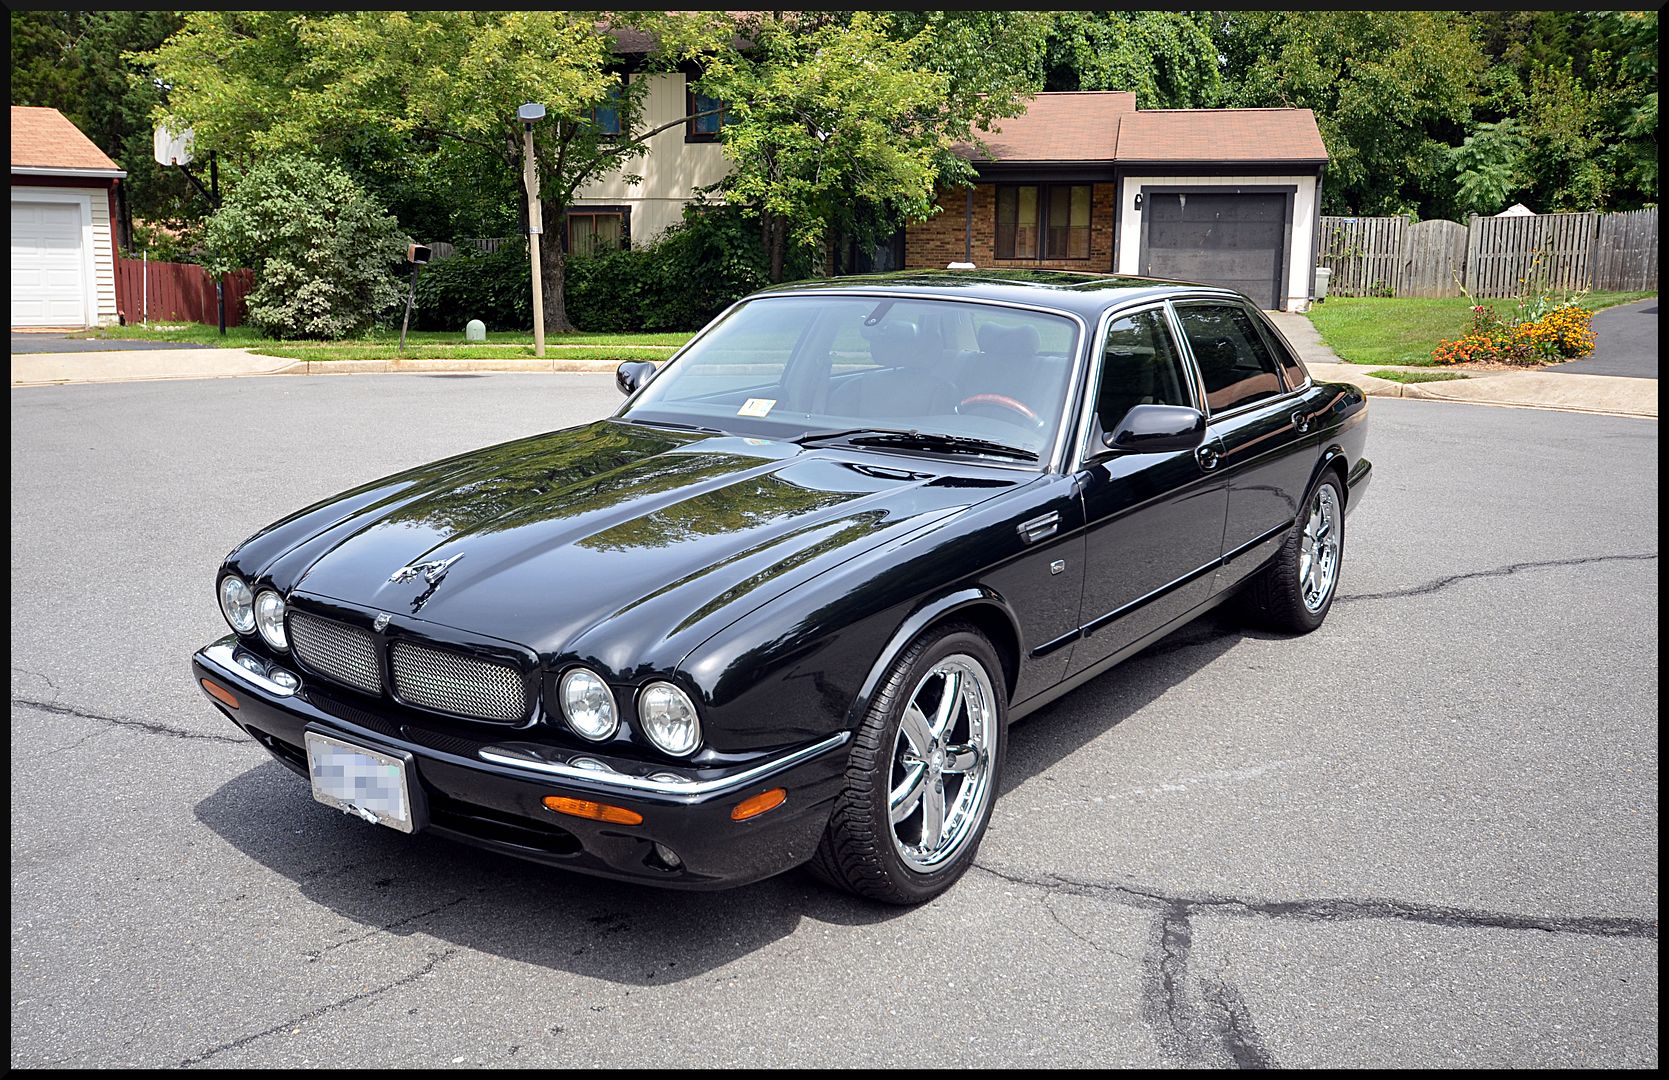
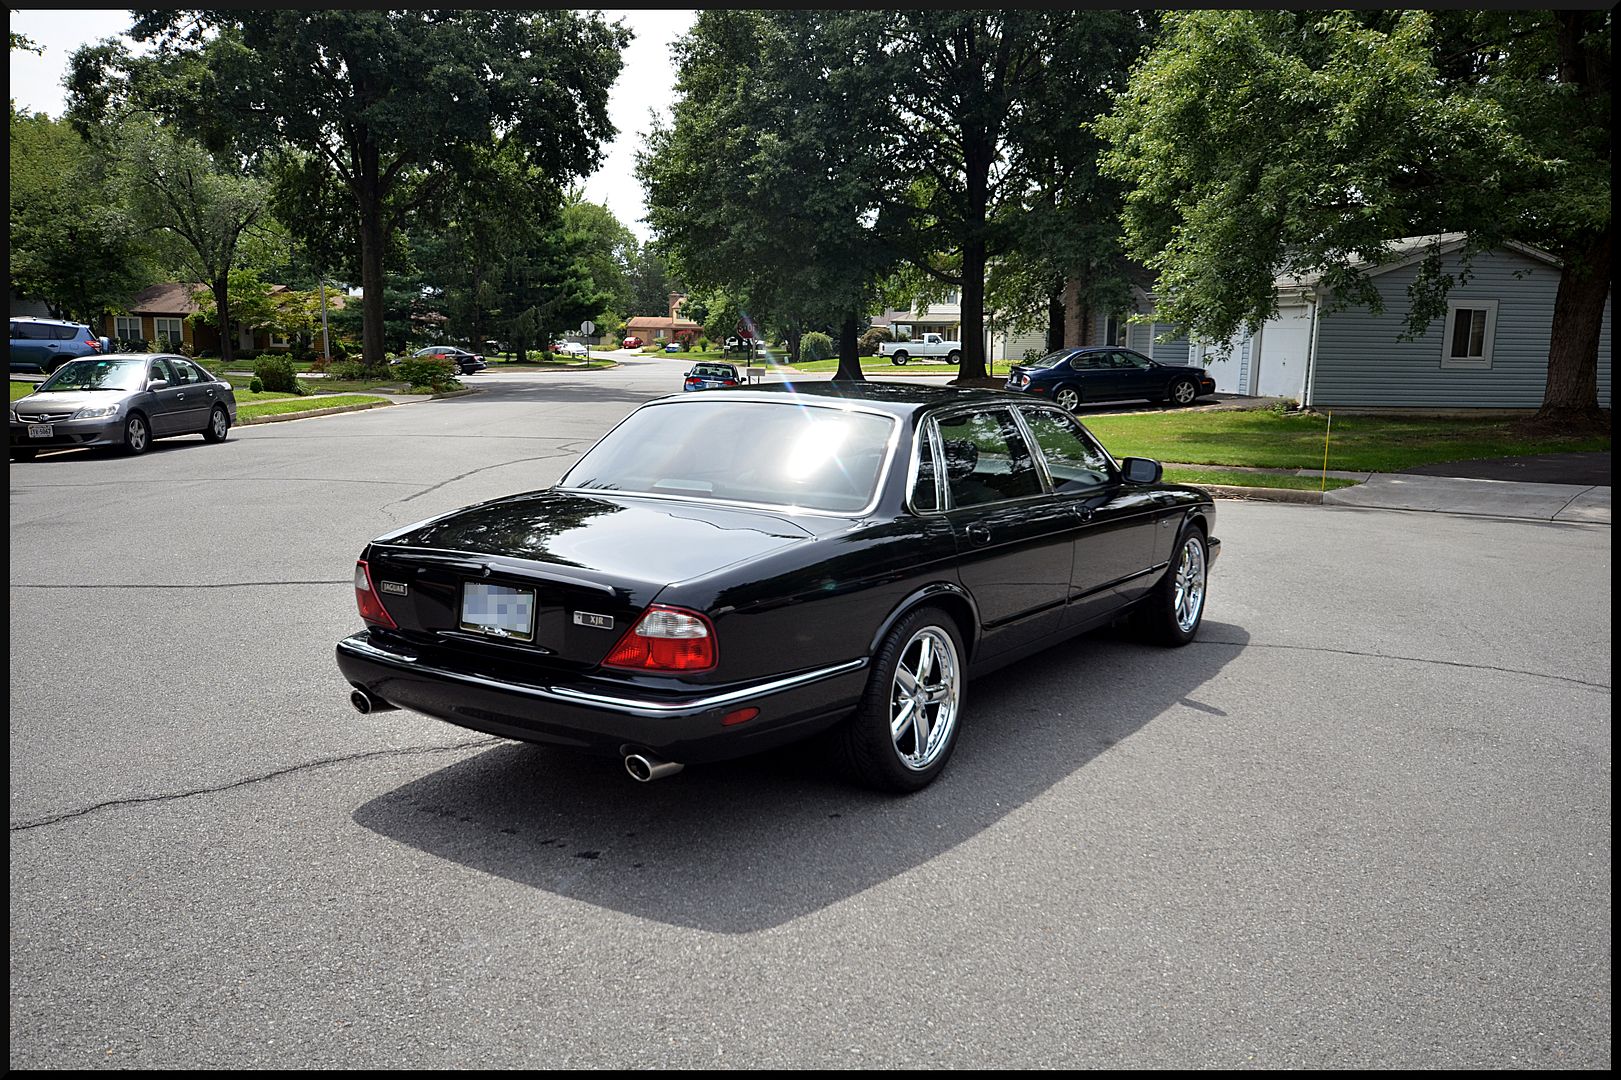
Here is how the paint turned out. (Sun shots from the second day)
A little "50/50"

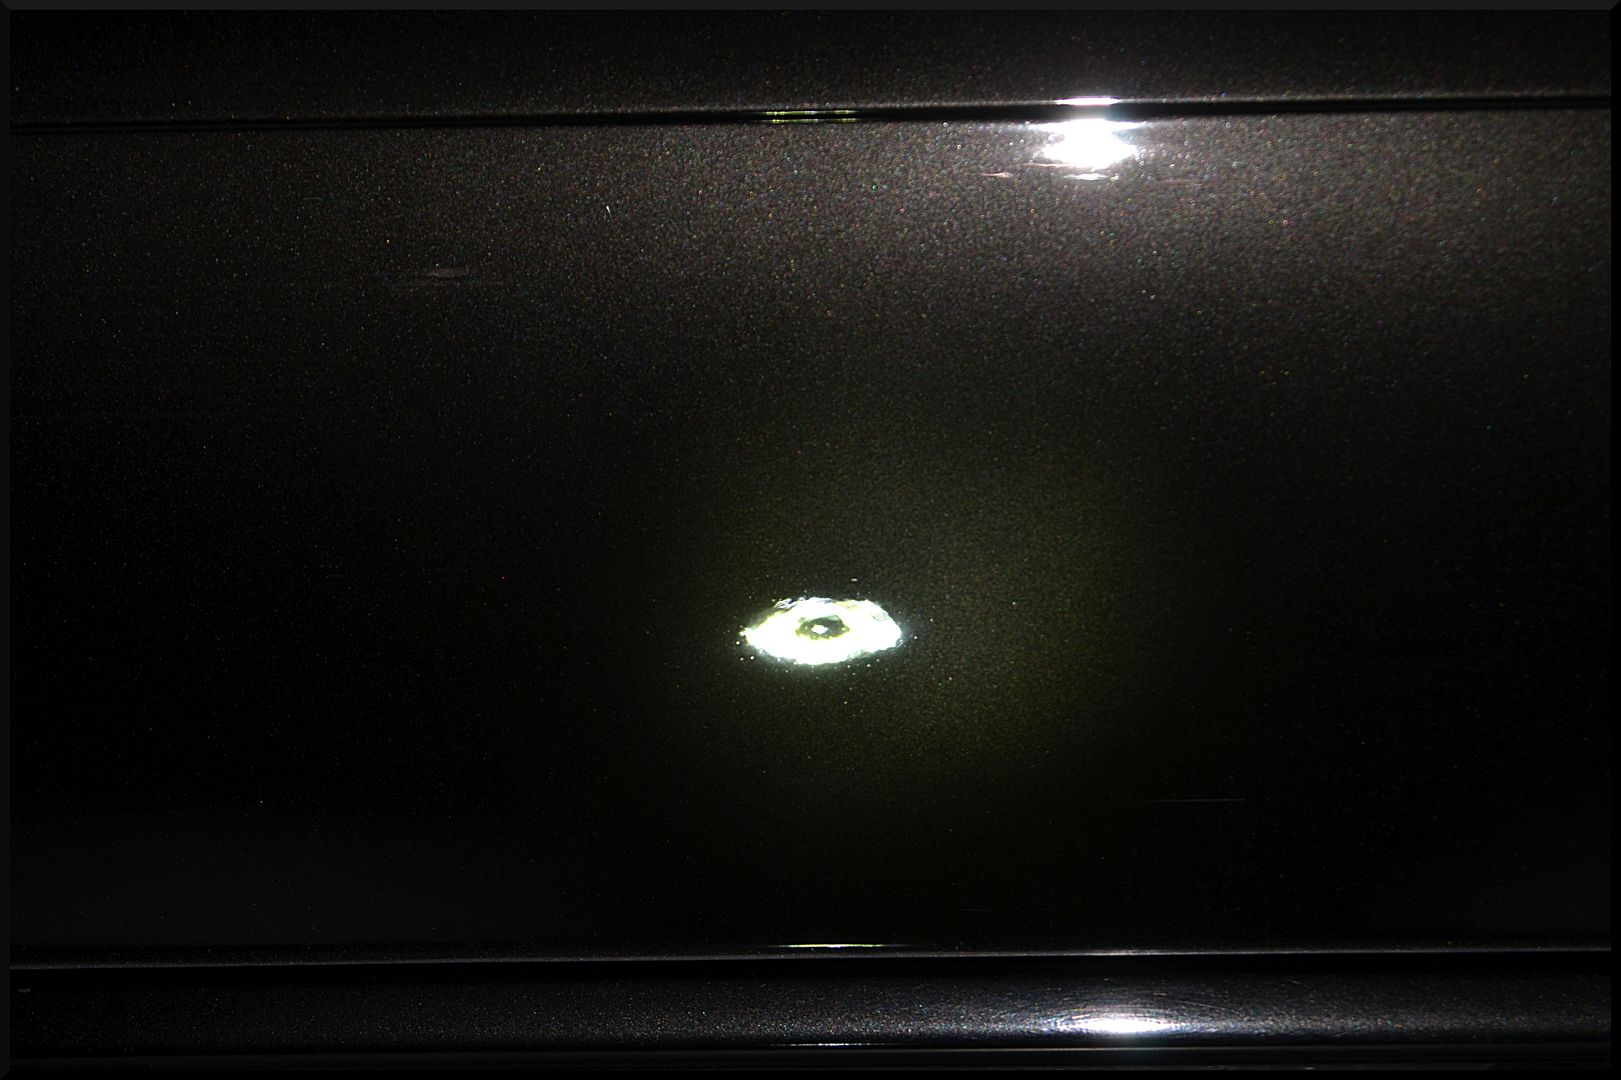
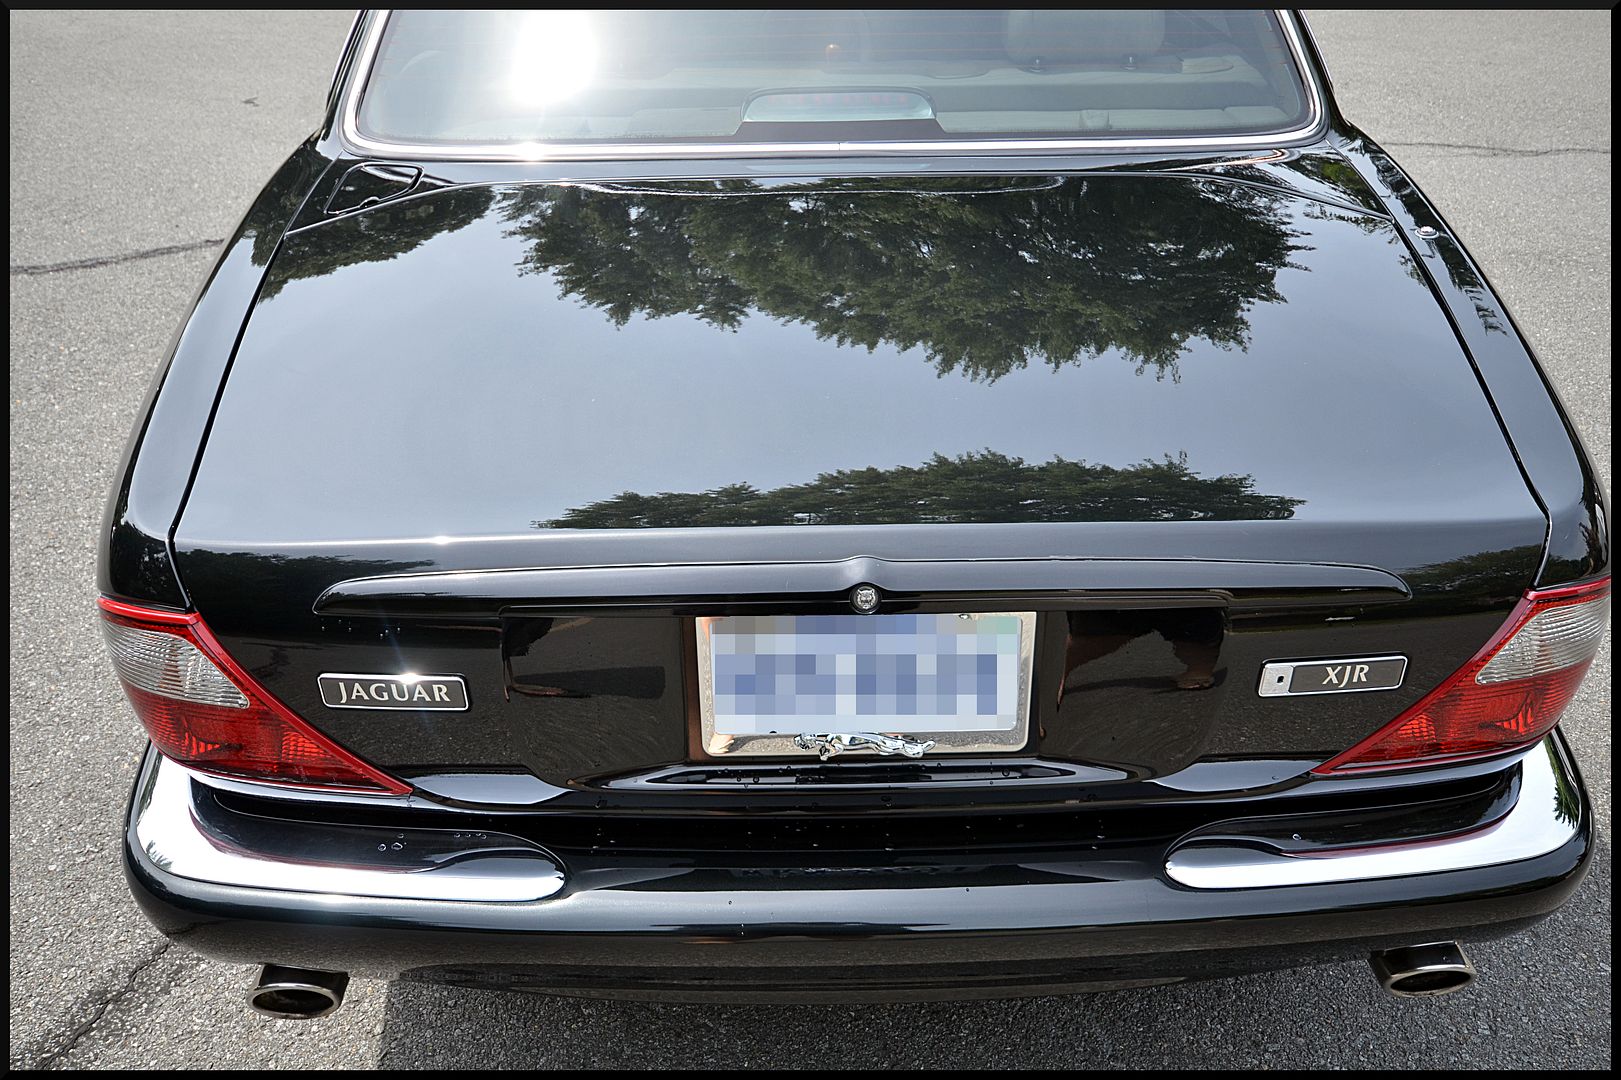
My client also wanted to see if I could address a cluster of scratches that were very noticeable on his trunk lid.
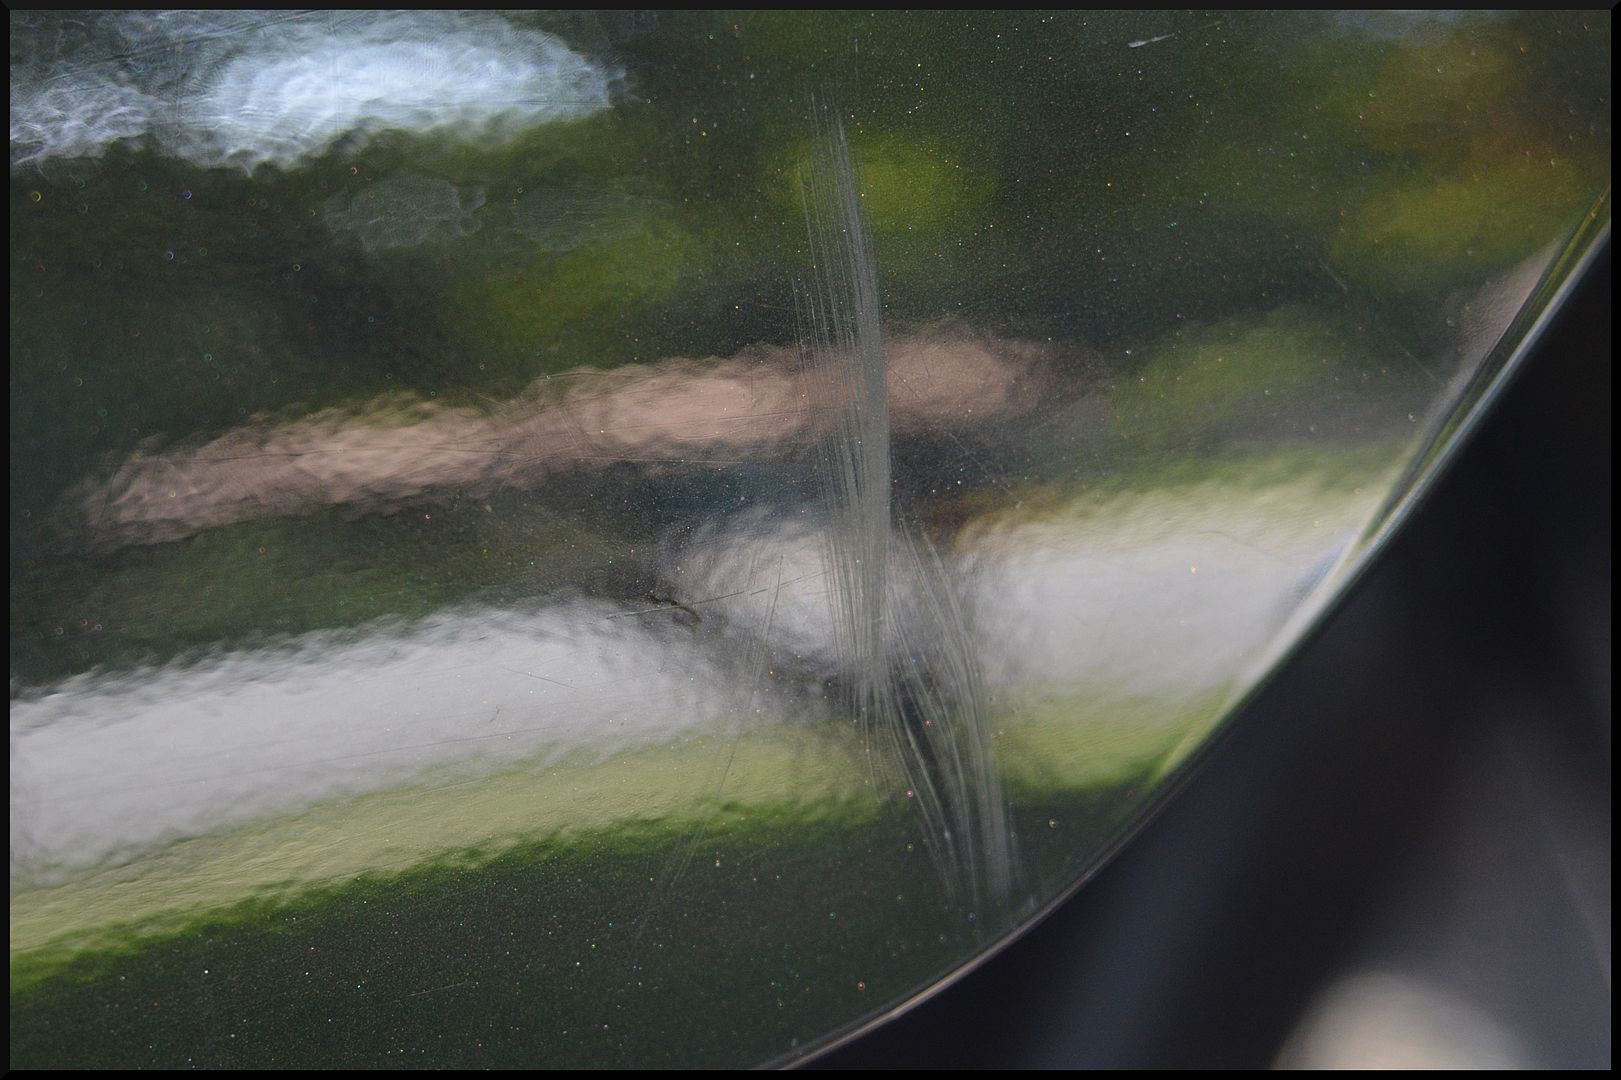
After confirming there was enough paint, I started wet sanding with 1500, went to 2500, and then finished with 3000. It then was corrected with the same steps as the rest of the paint.

After the first and second step, I washed the vehicle, and dried it with some Wave Rider towels that I just got in from Corey. They are amazing, and will be my new go to for drying towels! After the final polishing step, I wiped the vehicle down with CarPro Eraser, and then coated it with Cquartz UK for protection. The wheels were polished, wiped, and protected with UK as well. The plastic trim received a coat of CarPro DLux, and the glass was treat with CarPro FlyBy30.

Thanks for taking a look at my write up. I thoroughly enjoyed working on this vehicle, and even tried to buy it from the owner when I returned it...lol. He said he too has been a fan of them for a long time, so it looks like I will have to wait for mine.
So, this vehicle was recently purchased by my client, and he wanted it to look better than new. It has 75k miles on it, so it wasn't in terrible shape, but it certainly needed a good bit of work.
As per usual I washed the vehicle, cleaned the wheels, tires, and wheel wells, then clayed the paint with a Car Pro Clay Block. Here is how the paint looked (I started this job after dark, so the swirl light will have to due to show the swirls).


Nothing insanely bad, but what was there was deep. I decided with a three step approach to get maximum correction and maximum gloss. I started with FG400 on a CarPro Cool Wool pad with the Rupes21, followed that up with SIP on a Tangerine Hydrotech pad with the Rupes21, and finished with a super secret Car Pro finishing polish that I have been testing with Corey on a black Buff and Shine pad, again with the Rupes21.
I want to take a moment and say, everyone should be very impressed with this finishing polish once it is brought to market. It has a little bit of cut (think 106) adds tons of gloss like M205, and wipes away with no effort at all. It has a long working time, and I couldn't get it to dust even when I tried. Really great stuff!
Here is how the paint turned out. (Sun shots from the second day)


A little "50/50"


My client also wanted to see if I could address a cluster of scratches that were very noticeable on his trunk lid.

After confirming there was enough paint, I started wet sanding with 1500, went to 2500, and then finished with 3000. It then was corrected with the same steps as the rest of the paint.

After the first and second step, I washed the vehicle, and dried it with some Wave Rider towels that I just got in from Corey. They are amazing, and will be my new go to for drying towels! After the final polishing step, I wiped the vehicle down with CarPro Eraser, and then coated it with Cquartz UK for protection. The wheels were polished, wiped, and protected with UK as well. The plastic trim received a coat of CarPro DLux, and the glass was treat with CarPro FlyBy30.


Thanks for taking a look at my write up. I thoroughly enjoyed working on this vehicle, and even tried to buy it from the owner when I returned it...lol. He said he too has been a fan of them for a long time, so it looks like I will have to wait for mine.