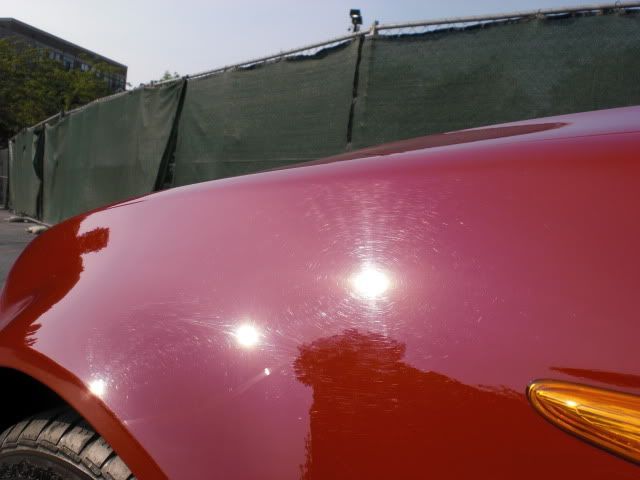
This was my first detail on a car other than my own and my buddy let me use his 2004 Imola Red 330CI ZHP as a guinea pig over the past few weekends. The ZHP was not in the best shape since she had only been washed and never sealed or waxed. The surface was pretty dull and there was a lot of spider webbing and a few RIDS. Corrected the spider webbing to about 95% and the RIDS to ~80-85% which was the goal.
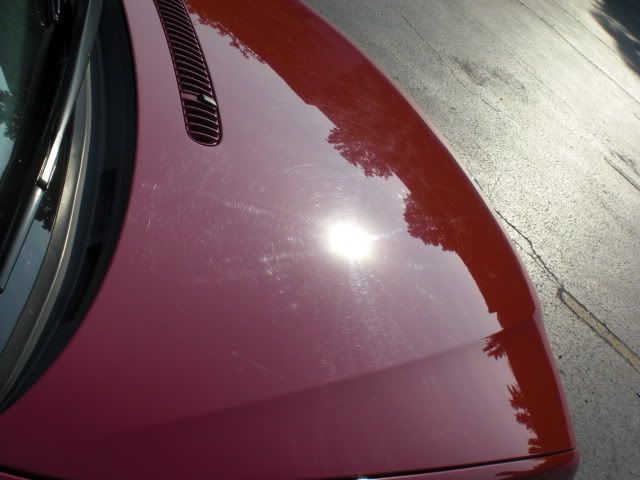
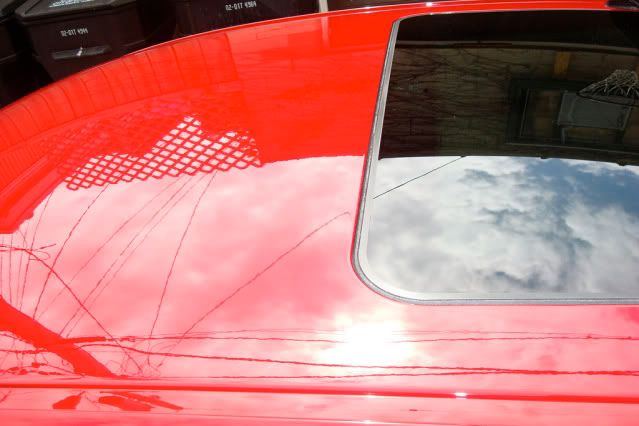
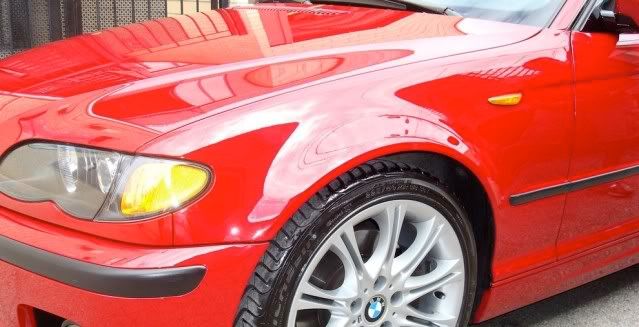
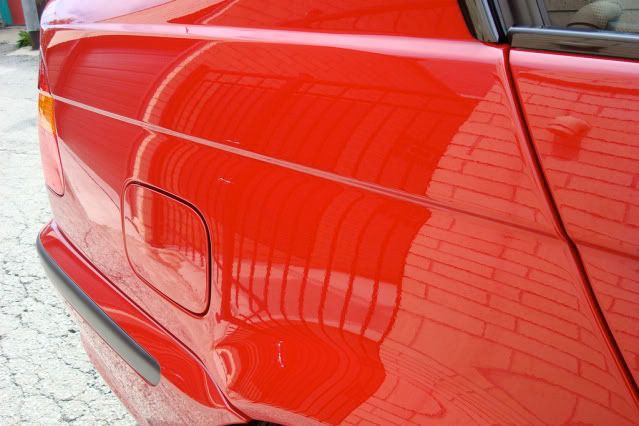
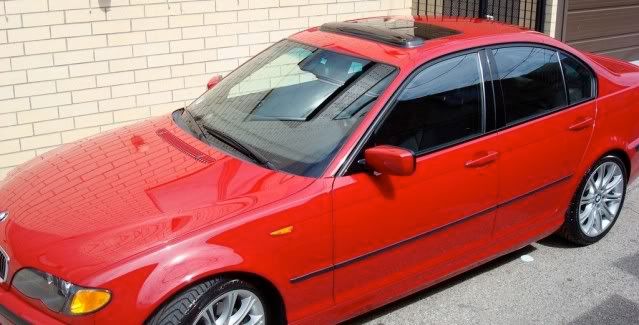
When all was said and done it turned out really well and my buddy is thrilled (he helped out a ton and I actually had him hit a few panels with the PC after some instruction). The best picture that really shows the "pop" back in the paint is the shot of the Left Front After (*LF After). We opted for a glaze, I wanted to go with FK 1000P sealant, but I wanted to top it with a wax asap since he is getting ready to sell and wanted to have it primed for a photo shoot. We just didn't have the time for the sealant to cure and apply a wax, hence the glaze option. (Note: After seeing how good it looks, my buddy is having 2nd thoughts on selling") )
)
Thanks to everyone of this board for their advice and insight (I'll update the "post" pix with some close-ups, just need a sunny day).
Week 1:
Engine:
ZEP degreaser (50/50 dilution)
CD2
Exhaust Tips (Not pictured):
Mother's Billet
#0000 Steel Wool
Mother's Mini Powerball
Wash:
2 bucket, 2 SS, 2 GG, ONR wash
Clay:
Meguiar's Smooth Surface Clay
ONR Clay Lube
Correction:
PC7424
A mix of 4" and 5.5" pads (x 1 or x 2) depending on the level of correction needed
M105 - LC Orange Pad
Menzerna P106FA - LC White Pad
Temp Paint “Protection”:
Danase Wet Glaze x 2
1Z Glanz Wax x 2
Week 2:
DWG looked good, but I decided I wanted to try something else, so I went with RMG, as I said this was my guinea pig.
Wash:
2 bucket, 2 SS, 2 GG, ONR wash
Clay:
Sonus Green
ONR Clay Lube
Correction:
I wasn't really happy with the final correction on the hood so I hit it again with the following:
PC7424
Menzerna PO83Q – 4” LC Orange Pad (1 pass)
Menzerna PO87MC – 5.5” LC White Pad (1 pass)
This did the trick
Glaze:
ClearKote Red Moose Machine Glaze (RMG) x 1 by hand
Wax:
Pete's 53 x 2 by hand
QD:
FK425
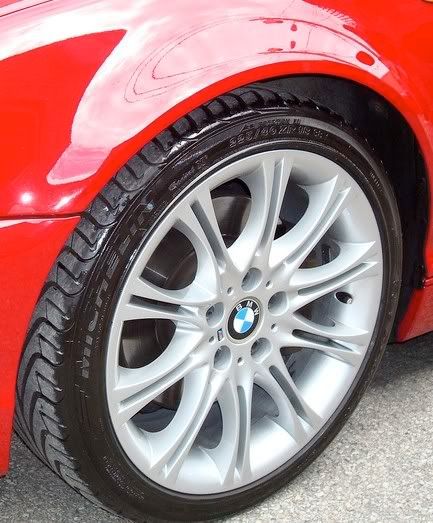
He had the wheels refinished by a 3rd party so I don't know what they used on them.
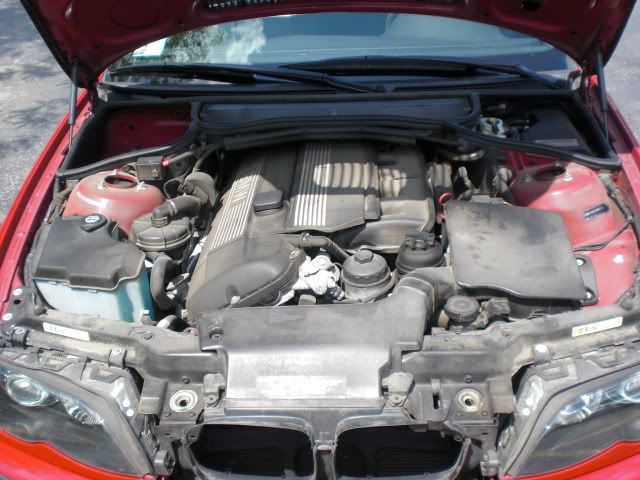
Engine Before
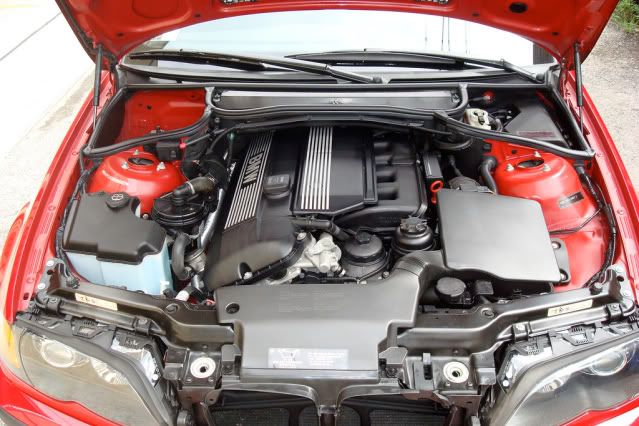
Engine After (this shot was taken 2 weeks after the CD2 application)
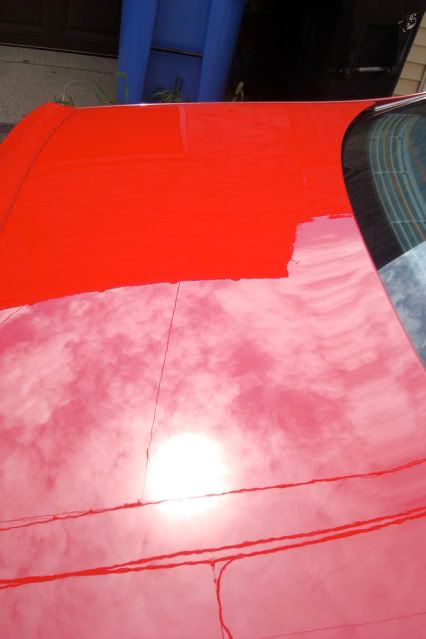
Hood Before
Hood After I
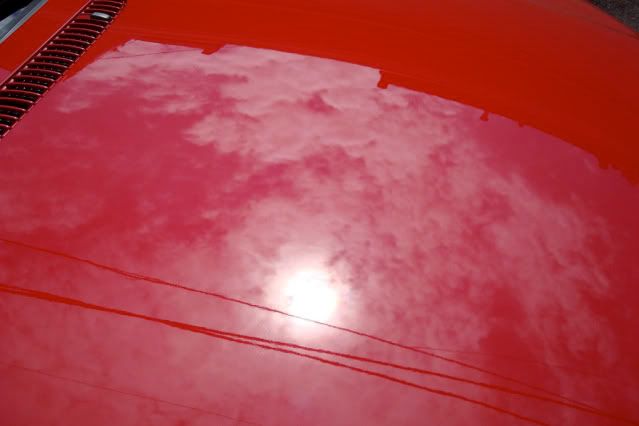
Hood After II
Hood After III
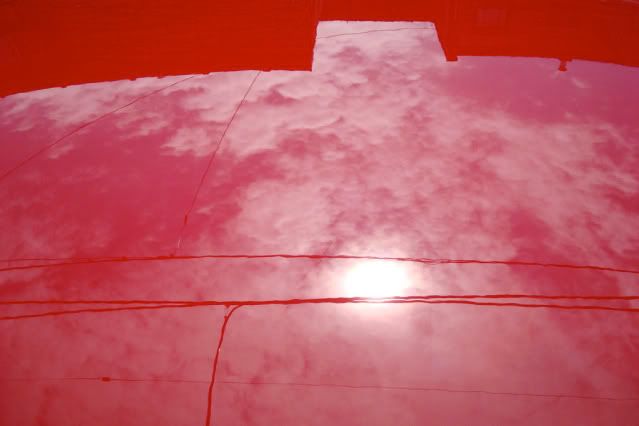
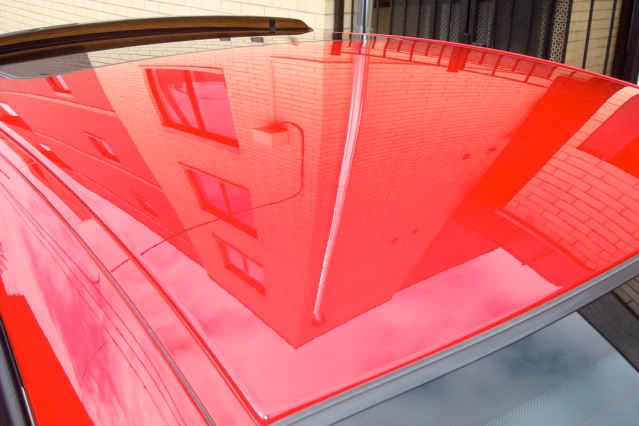
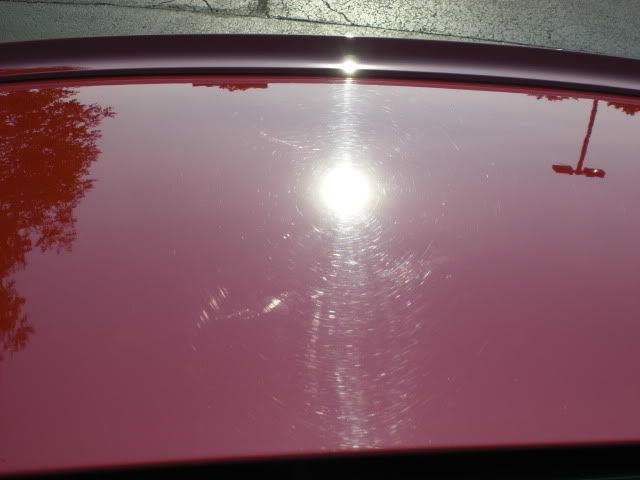
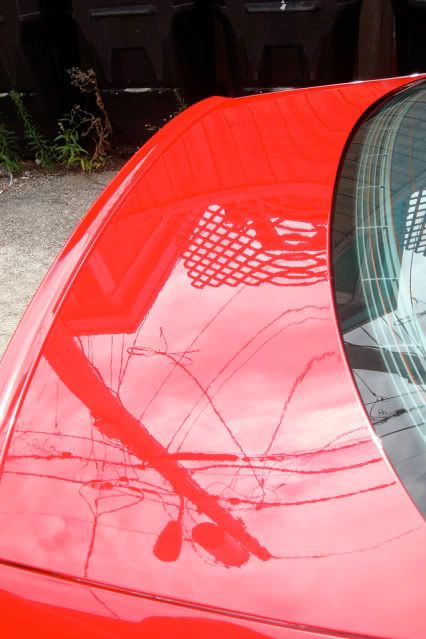
Roof Before

Roof After I
Roof After II
LF Front Before
*LF After
RR Before (worst RID)
RR After
RR After II
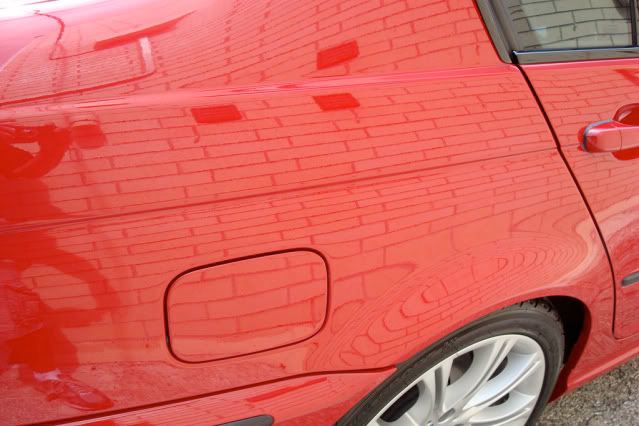
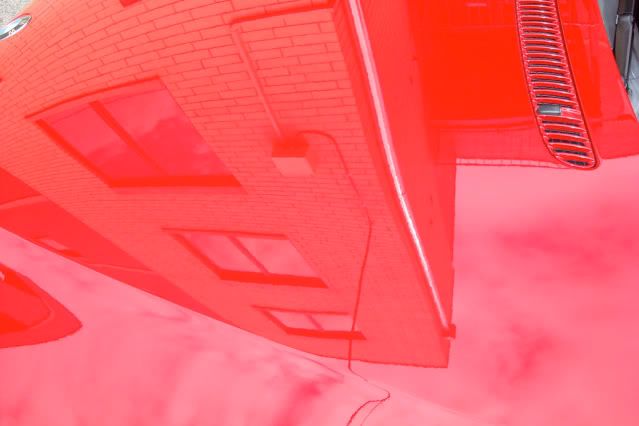
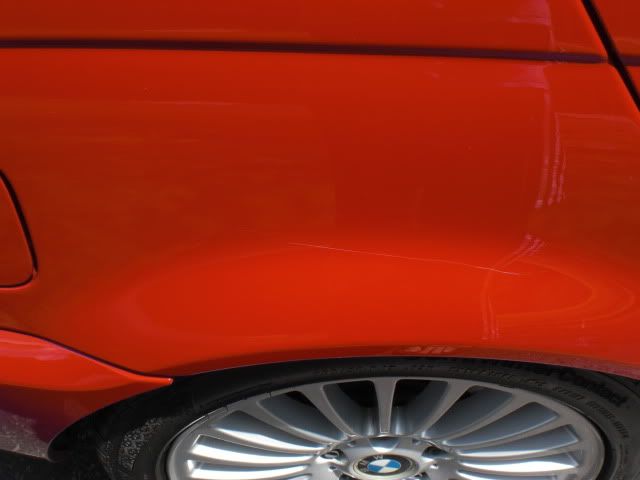
Bootlid Before
Bootlid After I
Bootlid After II
Full After (Sorry for the pix being cut off, but its the best full shot I have for now)
Key Lesson Learned:
Don't put your camera on the same bin cover as a leaking spray bottle of ZEP degreaser. Camera is shot and the ZEP degreaser solution is now in a Spray Master sprayer :wall.
When all was said and done it turned out really well and my buddy is thrilled (he helped out a ton and I actually had him hit a few panels with the PC after some instruction). The best picture that really shows the "pop" back in the paint is the shot of the Left Front After (*LF After). We opted for a glaze, I wanted to go with FK 1000P sealant, but I wanted to top it with a wax asap since he is getting ready to sell and wanted to have it primed for a photo shoot. We just didn't have the time for the sealant to cure and apply a wax, hence the glaze option. (Note: After seeing how good it looks, my buddy is having 2nd thoughts on selling
)Thanks to everyone of this board for their advice and insight (I'll update the "post" pix with some close-ups, just need a sunny day).
Week 1:
Engine:
ZEP degreaser (50/50 dilution)
CD2
Exhaust Tips (Not pictured):
Mother's Billet
#0000 Steel Wool
Mother's Mini Powerball
Wash:
2 bucket, 2 SS, 2 GG, ONR wash
Clay:
Meguiar's Smooth Surface Clay
ONR Clay Lube
Correction:
PC7424
A mix of 4" and 5.5" pads (x 1 or x 2) depending on the level of correction needed
M105 - LC Orange Pad
Menzerna P106FA - LC White Pad
Temp Paint “Protection”:
Danase Wet Glaze x 2
1Z Glanz Wax x 2
Week 2:
DWG looked good, but I decided I wanted to try something else, so I went with RMG, as I said this was my guinea pig
.Wash:
2 bucket, 2 SS, 2 GG, ONR wash
Clay:
Sonus Green
ONR Clay Lube
Correction:
I wasn't really happy with the final correction on the hood so I hit it again with the following:
PC7424
Menzerna PO83Q – 4” LC Orange Pad (1 pass)
Menzerna PO87MC – 5.5” LC White Pad (1 pass)
This did the trick
Glaze:
ClearKote Red Moose Machine Glaze (RMG) x 1 by hand
Wax:
Pete's 53 x 2 by hand
QD:
FK425
He had the wheels refinished by a 3rd party so I don't know what they used on them.
Engine Before
Engine After (this shot was taken 2 weeks after the CD2 application)
Hood Before
Hood After I
Hood After II
Hood After III
Roof Before
Roof After I
Roof After II
LF Front Before
*LF After
RR Before (worst RID)
RR After
RR After II
Bootlid Before
Bootlid After I
Bootlid After II
Full After (Sorry for the pix being cut off, but its the best full shot I have for now)
Key Lesson Learned:
Don't put your camera on the same bin cover as a leaking spray bottle of ZEP degreaser. Camera is shot and the ZEP degreaser solution is now in a Spray Master sprayer :wall.