1994 Opel Corsa
I bought this car with the intention of reselling it after bringing the paint back to life. It turned out that there was a lot of mechanical work needed to be done, so it wasn’t such a sweet deal as I had originally thought.
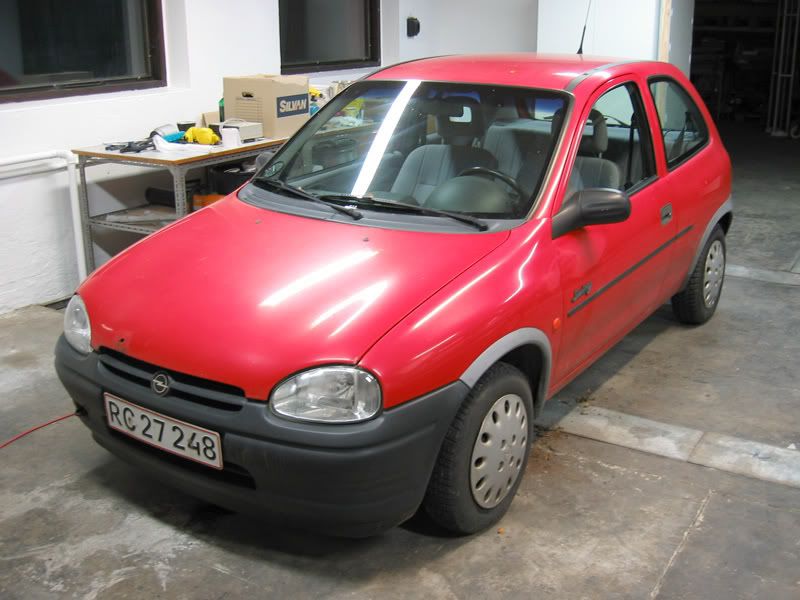
The car has red single stage paint, and since it was probably not that well taken care of, it was oxidized, faded, and looked pretty sad all in all. Just what I was looking for!
Process
I will describe the (rather long") ) process first and then post the pics below.
) process first and then post the pics below.
Trim
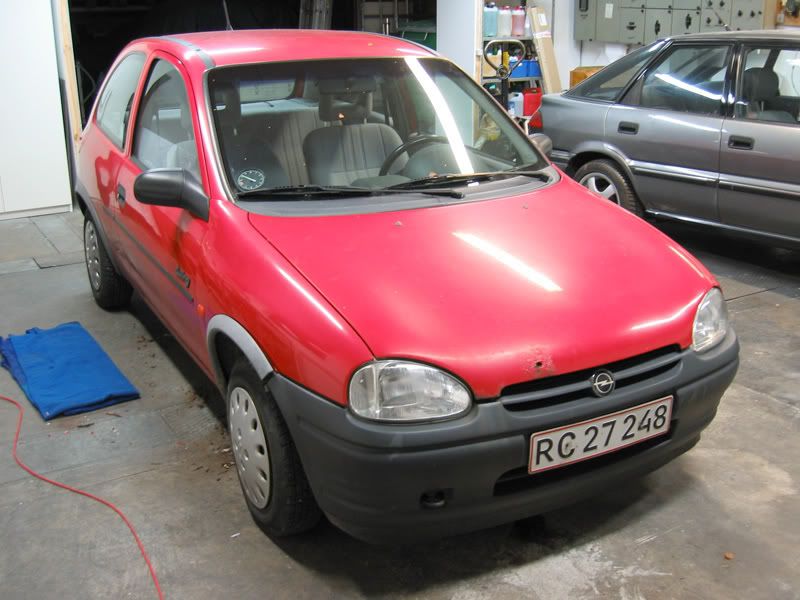
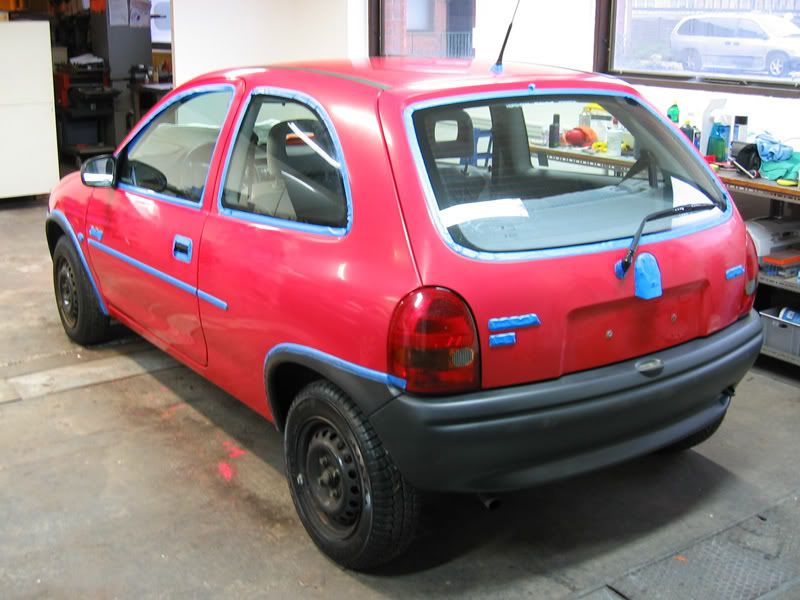
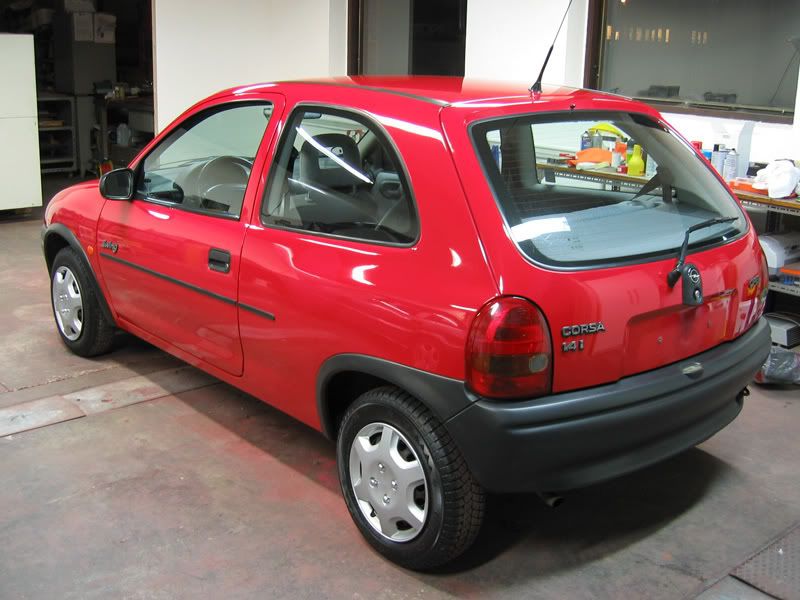
After all the mechanical work, quite a bit of body work and some spot painting, I needed to do something about the trim. This model has some problematic trim around the wheel arches. It has turned from a very dark to a light grey on almost all of these cars, as can also be seen in the pics. I tried all the trim dressings I had plus AIO, but this was only able to darken the trim somewhat and thus didn’t improve the look much. I then tried a Forever Black type product, which started to improve the look a lot. I should probably have gone with the real thing, since the one I was using couldn’t really be layered. But after putting on an even coat, and topping with a product called “Black Wax� the trim ended up looking really good. I actually like the now black trim better than the original dark grey.
Paint
I knew it was going to take some work to cut through the oxidation, so I loaded up the rotary with a Meg’s cutting pad and started out with Meg’s #80. This was working ok, but not fast enough. I then tried some #83, which didn’t make much of a difference. So I took out #84, and while it did cut faster, the real problem was that the pad loaded up with dead paint in no time. I was only able to polish a 1x1 ft section before needing to clean the pad, and since I needed to go over the paint two or three times with this combo, this was going to take a long time. At this point I really wished I had a wool pad on hand. The heavily oxidized paint also used up a lot of polish, I think I used almost 1/3 of a 32 oz bottle of #84 on this little car!
The funny thing about oxidation is that it makes the paint look really smooth. After I had cut through the oxidized layer all sorts of defects started showing up! I wasn’t able to remove all of those, since I was starting to worry about how much paint was being removed. So after compounding there were still remains after the deeper scratches, and some kind of pitting in the paint. This was really only noticeable up close, so not too much of a problem. After the compounding the rest was like a walk in the park. A good thing about #84 is that it finishes down very nice, so there was only very little hazing to deal with. I chose to finish down with #80 on a Meg’s polishing pad, this was leaving a very nice finish. I also wanted to load up the paint with the oils in #80, plus it leaves a little protection behind which I wanted for the recently painted areas that couldn’t be protected by the LSP.
The process in summary
Washed with DP 4-in-1 (DP’s ONR/QEW).
Clay with Pinnacle poly-clay.
Meg’s #84 on a Meg’s cutting pad via rotary, x 2-3 over most of the car, x 1-2 on lower panels.
Meg’s #80 on a Meg’s polishing pad via rotary, x 1-2 over the whole car.
Meg’s Gold Class wax
Trim was “dyed�, then further dyed and protected with Black Wax.
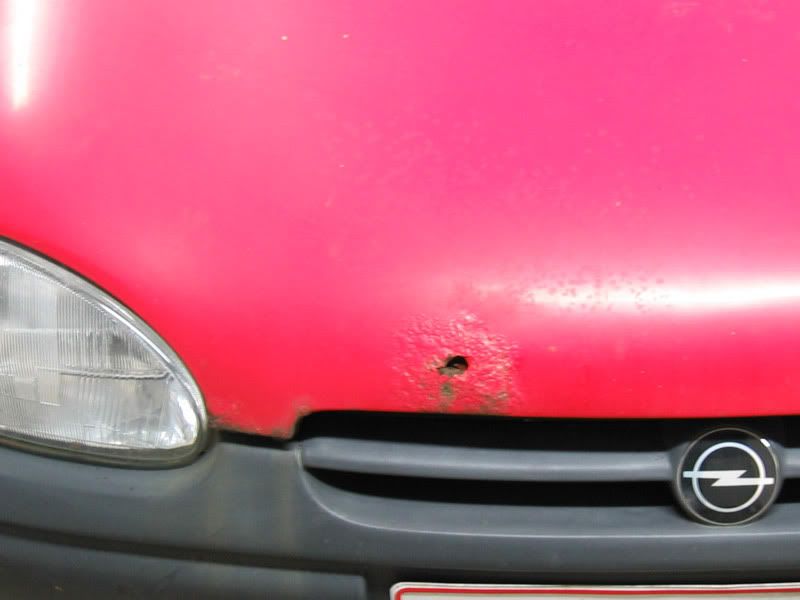
Before:
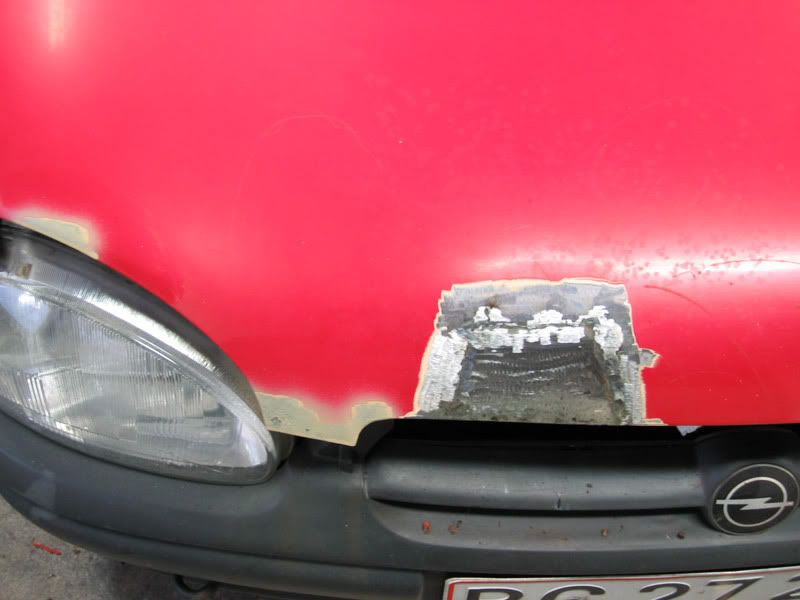
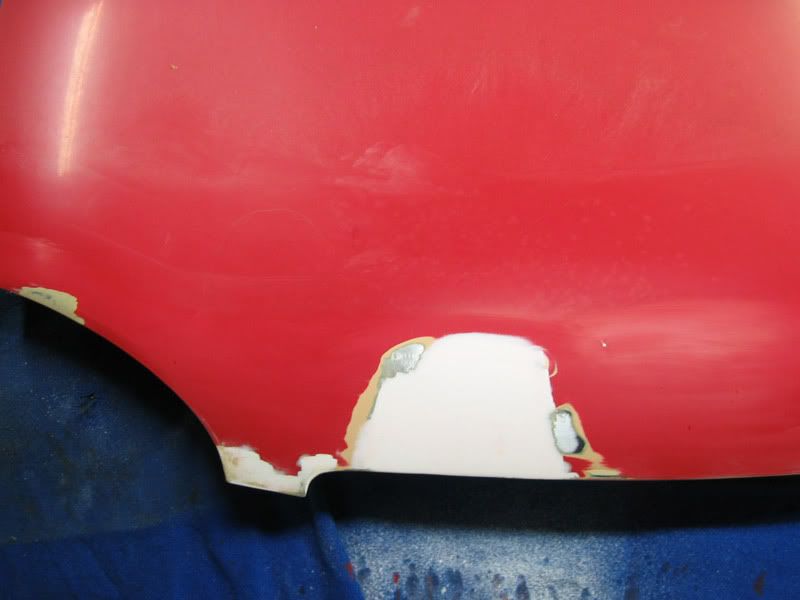
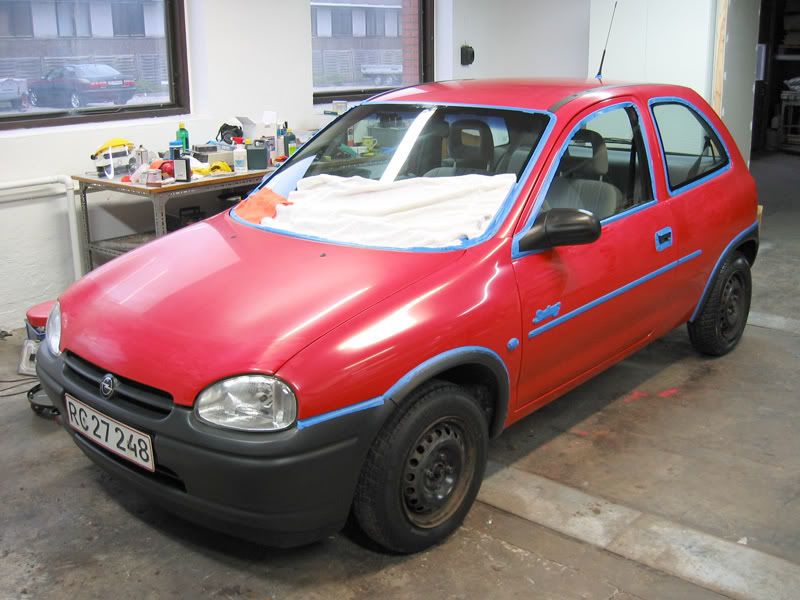
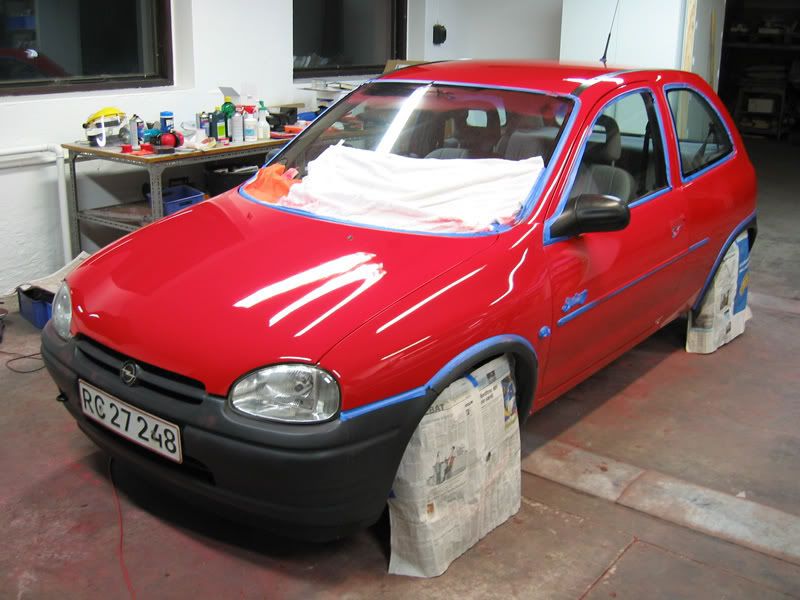
Taped off. Hood has been repaired, trim has been dyed black:
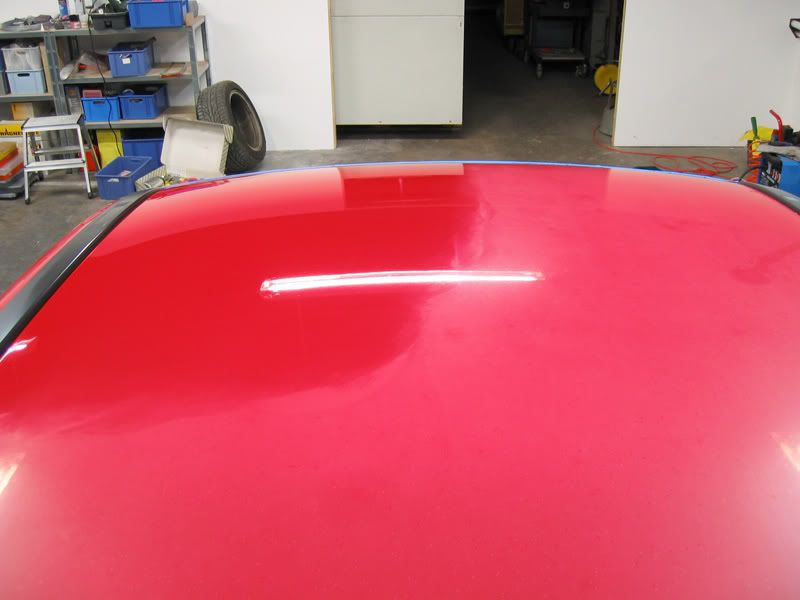
Roof, left side after #84:
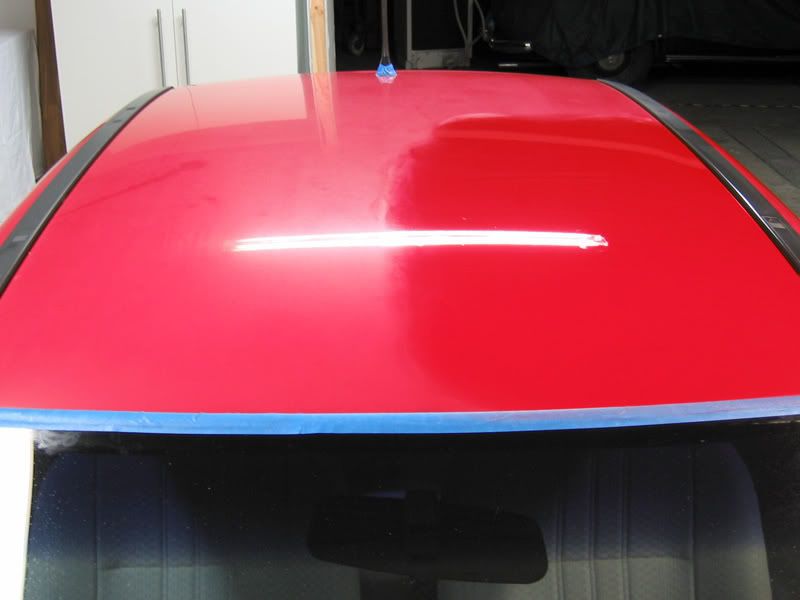
Taken from the front:
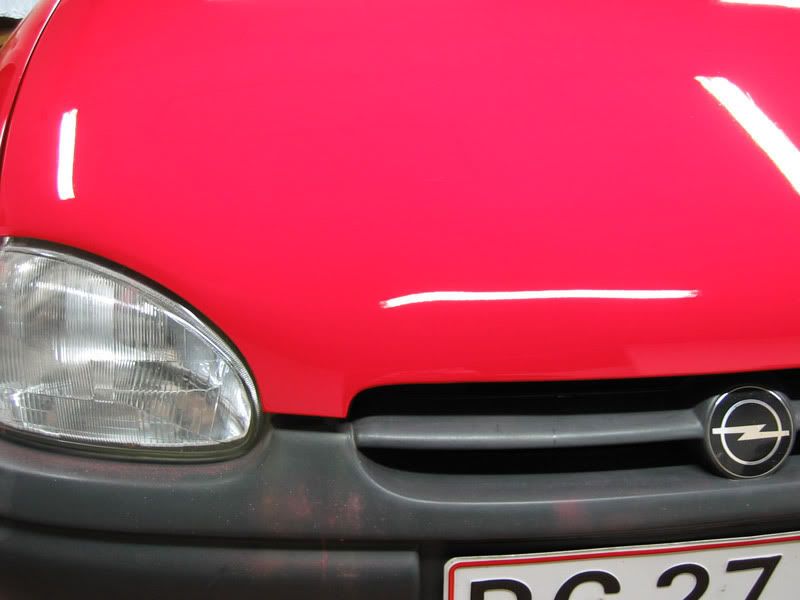
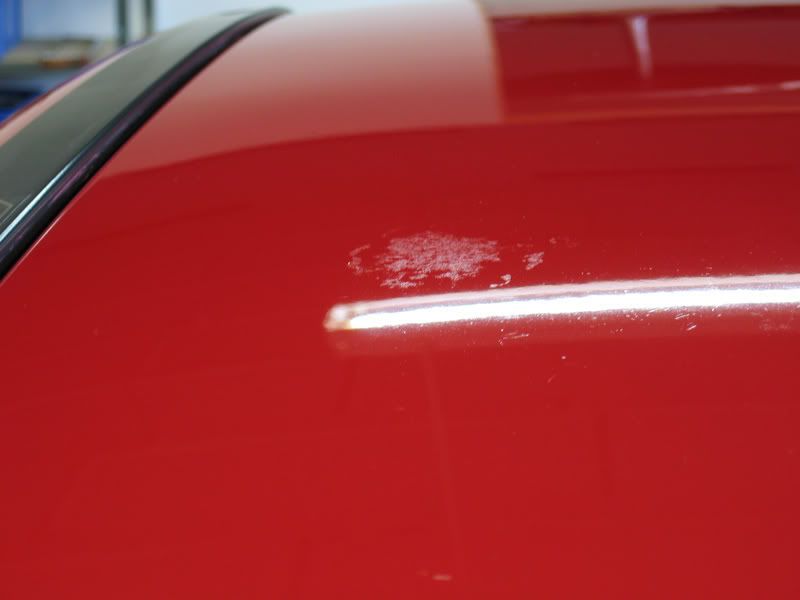
Some defects show up after removing the oxidation, like this nasty bird poo etching. Also some of the pitting visible close to the light. I did wetsand the etching after taking this picture, which improved it some, but it’s still visible if you look for it:
After polishing. Look at all the red on the floor, this is actually dead paint cleaned from the pads! Most has been swept in under the side of the car, I’m sure the car is a bit lighter now:
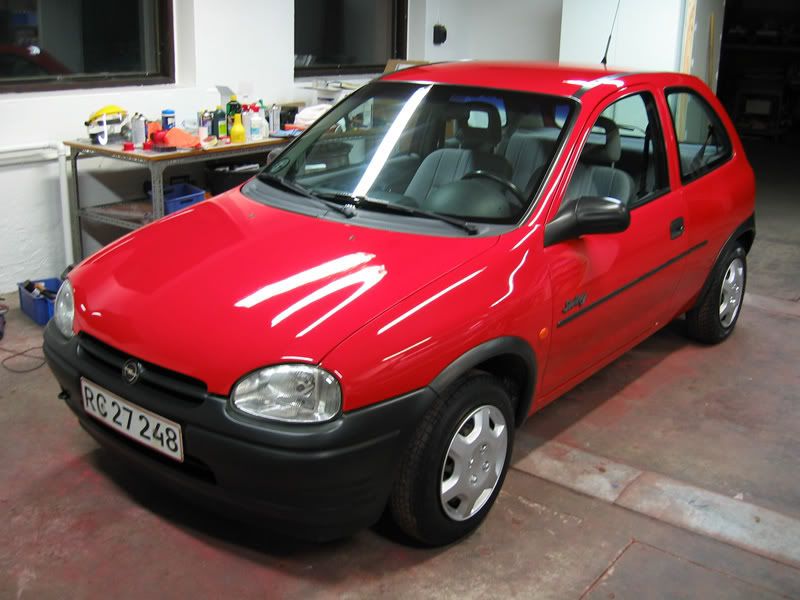
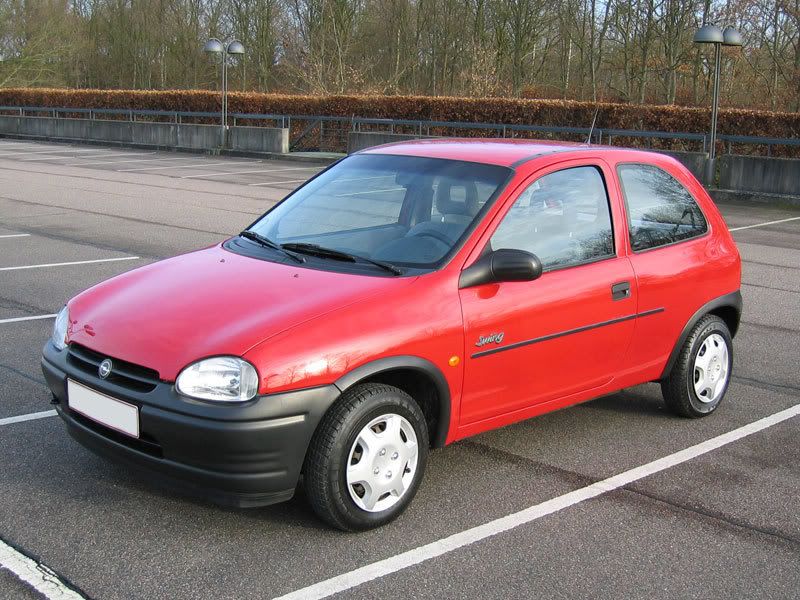
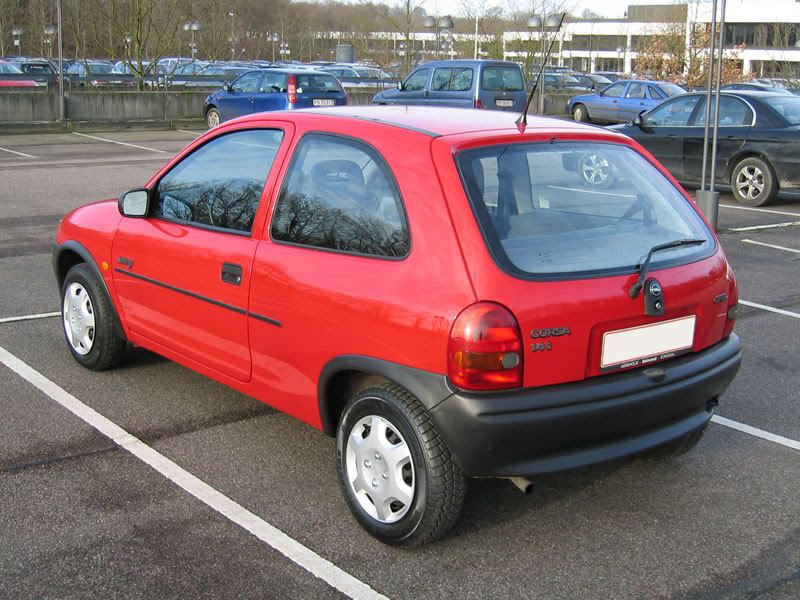
Done. Trim has gotten the final coat of Black Wax. I’ve also put on some new hubcaps. The pic is a bit blurry though:
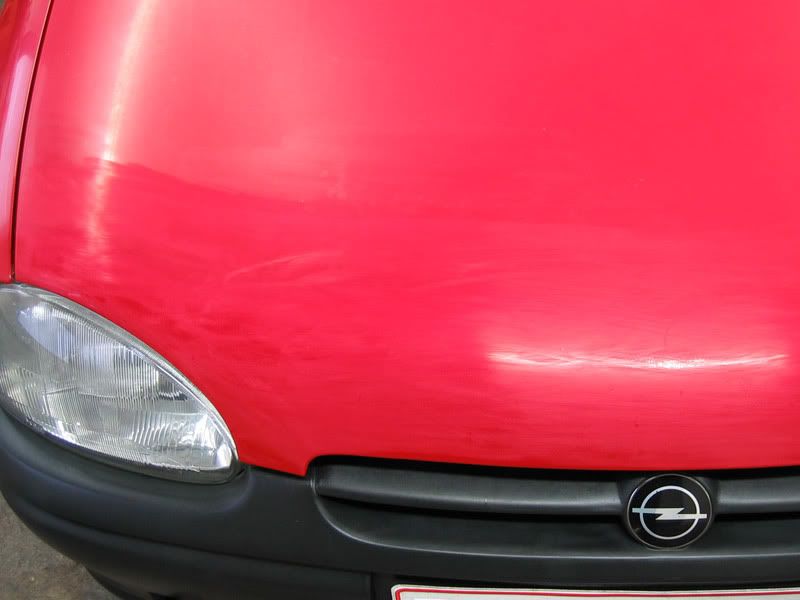
We actually had some sun today for the first time in a week") , so I rushed out to take these pics:
, so I rushed out to take these pics:
Thx for looking!
I bought this car with the intention of reselling it after bringing the paint back to life. It turned out that there was a lot of mechanical work needed to be done, so it wasn’t such a sweet deal as I had originally thought.
The car has red single stage paint, and since it was probably not that well taken care of, it was oxidized, faded, and looked pretty sad all in all. Just what I was looking for!
Process
I will describe the (rather long
) process first and then post the pics below.Trim
After all the mechanical work, quite a bit of body work and some spot painting, I needed to do something about the trim. This model has some problematic trim around the wheel arches. It has turned from a very dark to a light grey on almost all of these cars, as can also be seen in the pics. I tried all the trim dressings I had plus AIO, but this was only able to darken the trim somewhat and thus didn’t improve the look much. I then tried a Forever Black type product, which started to improve the look a lot. I should probably have gone with the real thing, since the one I was using couldn’t really be layered. But after putting on an even coat, and topping with a product called “Black Wax� the trim ended up looking really good. I actually like the now black trim better than the original dark grey.
Paint
I knew it was going to take some work to cut through the oxidation, so I loaded up the rotary with a Meg’s cutting pad and started out with Meg’s #80. This was working ok, but not fast enough. I then tried some #83, which didn’t make much of a difference. So I took out #84, and while it did cut faster, the real problem was that the pad loaded up with dead paint in no time. I was only able to polish a 1x1 ft section before needing to clean the pad, and since I needed to go over the paint two or three times with this combo, this was going to take a long time. At this point I really wished I had a wool pad on hand. The heavily oxidized paint also used up a lot of polish, I think I used almost 1/3 of a 32 oz bottle of #84 on this little car!
The funny thing about oxidation is that it makes the paint look really smooth. After I had cut through the oxidized layer all sorts of defects started showing up! I wasn’t able to remove all of those, since I was starting to worry about how much paint was being removed. So after compounding there were still remains after the deeper scratches, and some kind of pitting in the paint. This was really only noticeable up close, so not too much of a problem. After the compounding the rest was like a walk in the park. A good thing about #84 is that it finishes down very nice, so there was only very little hazing to deal with. I chose to finish down with #80 on a Meg’s polishing pad, this was leaving a very nice finish. I also wanted to load up the paint with the oils in #80, plus it leaves a little protection behind which I wanted for the recently painted areas that couldn’t be protected by the LSP.
The process in summary
Washed with DP 4-in-1 (DP’s ONR/QEW).
Clay with Pinnacle poly-clay.
Meg’s #84 on a Meg’s cutting pad via rotary, x 2-3 over most of the car, x 1-2 on lower panels.
Meg’s #80 on a Meg’s polishing pad via rotary, x 1-2 over the whole car.
Meg’s Gold Class wax
Trim was “dyed�, then further dyed and protected with Black Wax.
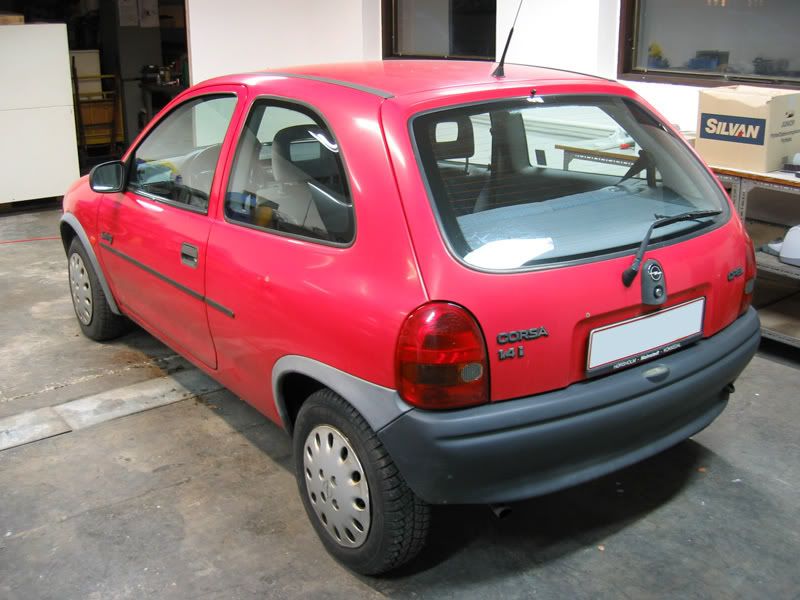
Before:
Taped off. Hood has been repaired, trim has been dyed black:
Roof, left side after #84:
Taken from the front:
Some defects show up after removing the oxidation, like this nasty bird poo etching. Also some of the pitting visible close to the light. I did wetsand the etching after taking this picture, which improved it some, but it’s still visible if you look for it:
After polishing. Look at all the red on the floor, this is actually dead paint cleaned from the pads! Most has been swept in under the side of the car, I’m sure the car is a bit lighter now
:
Done. Trim has gotten the final coat of Black Wax. I’ve also put on some new hubcaps. The pic is a bit blurry though:
We actually had some sun today for the first time in a week
, so I rushed out to take these pics:
Thx for looking!