imported_DJ Mayo
New member
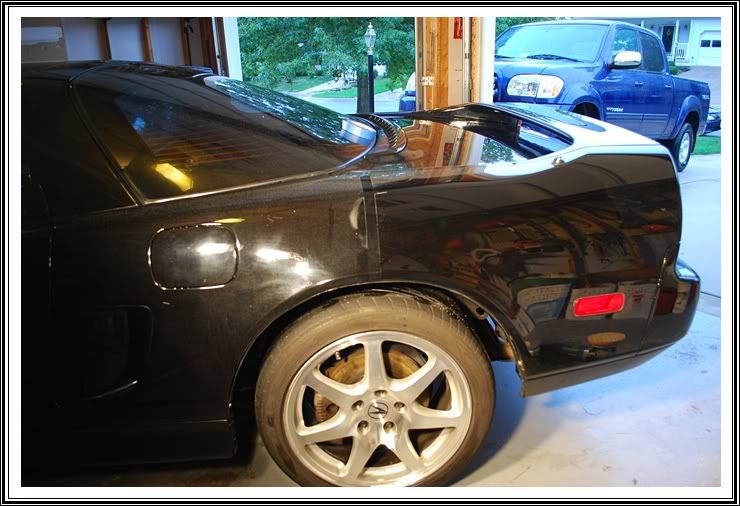
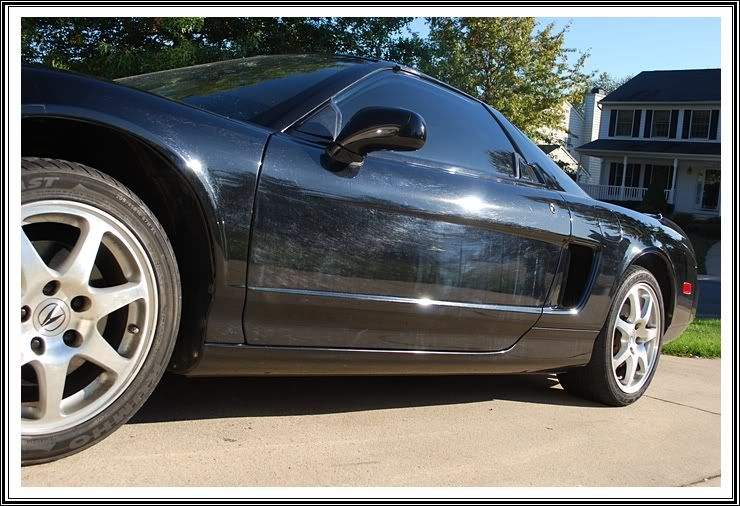
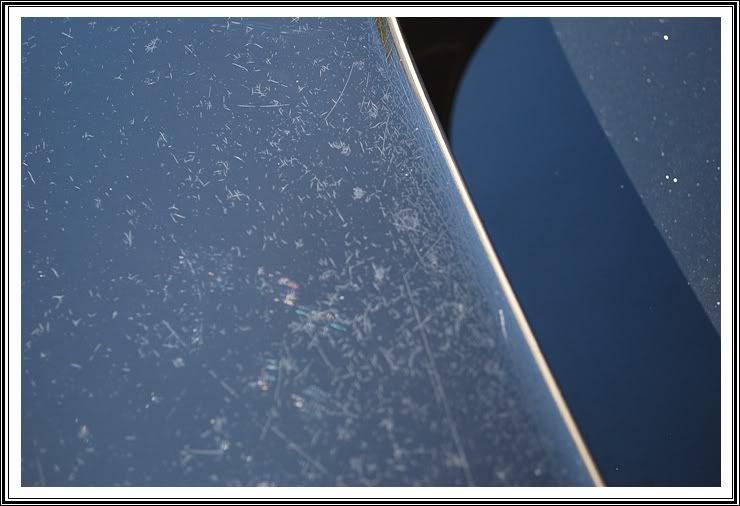
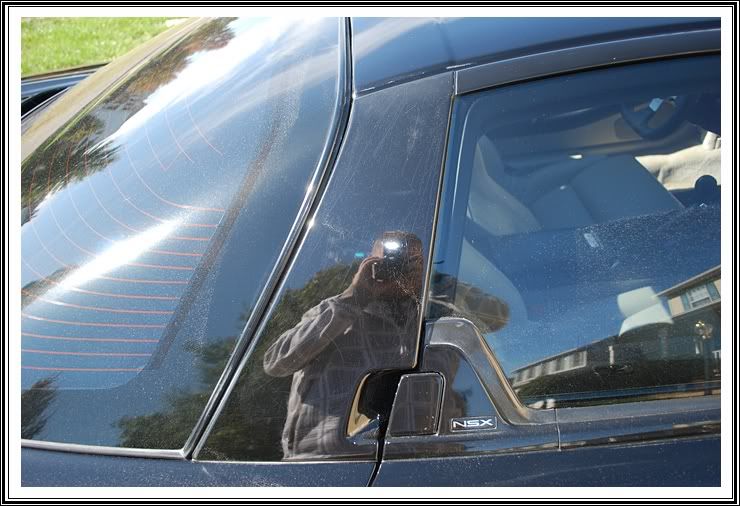
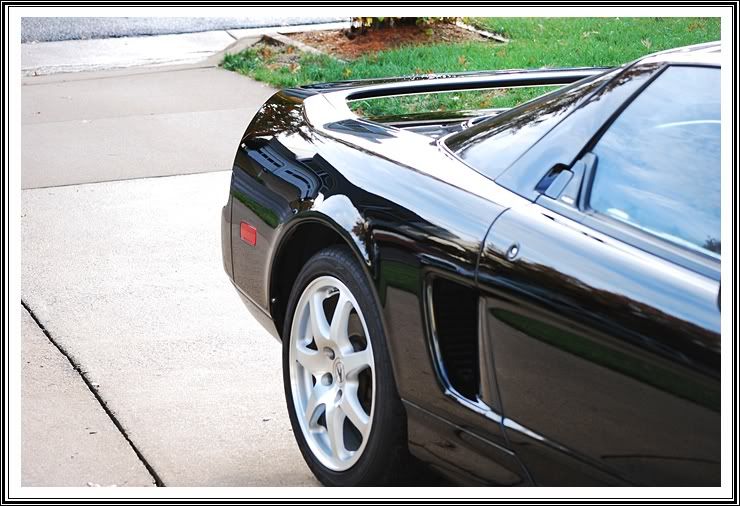
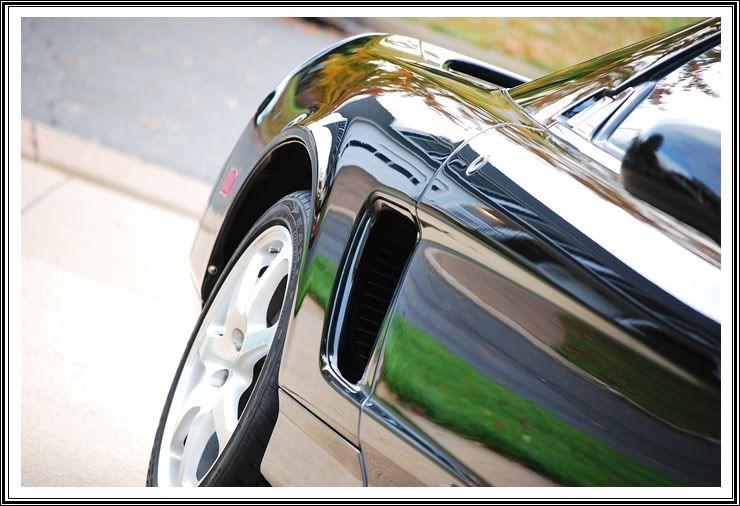
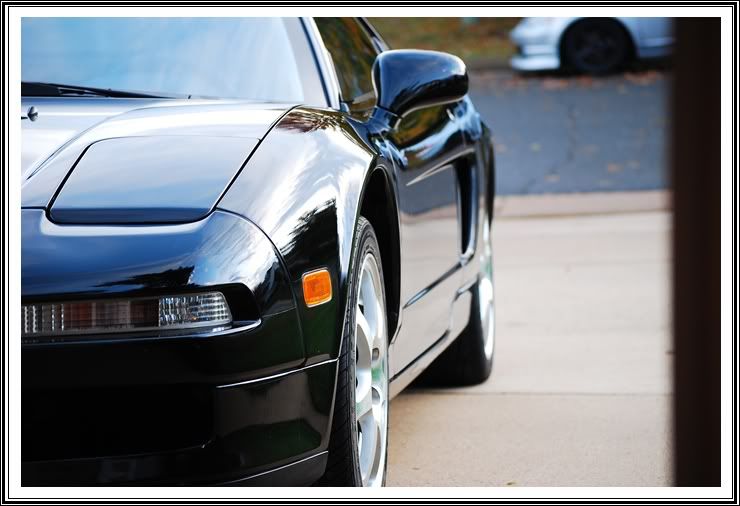
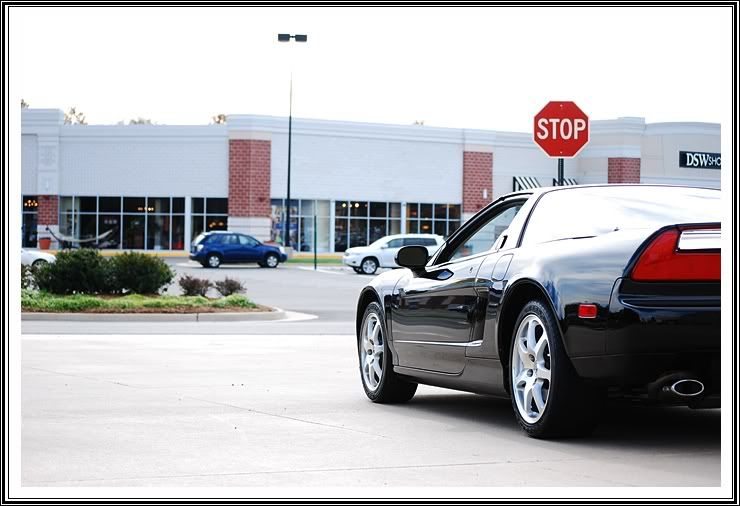
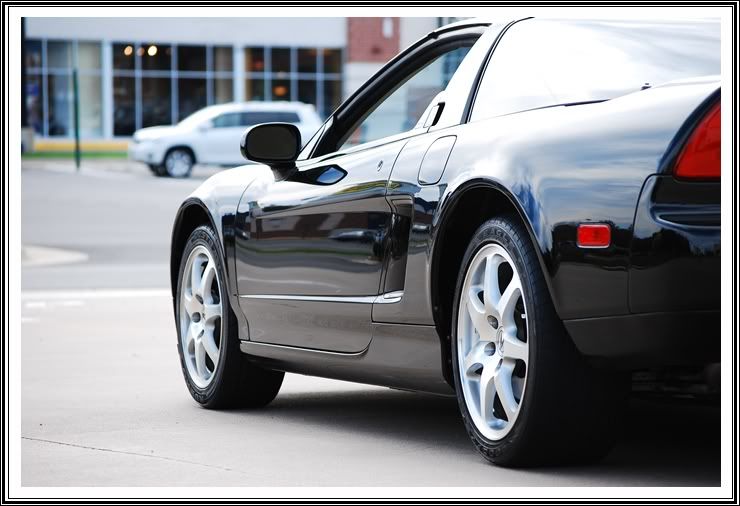
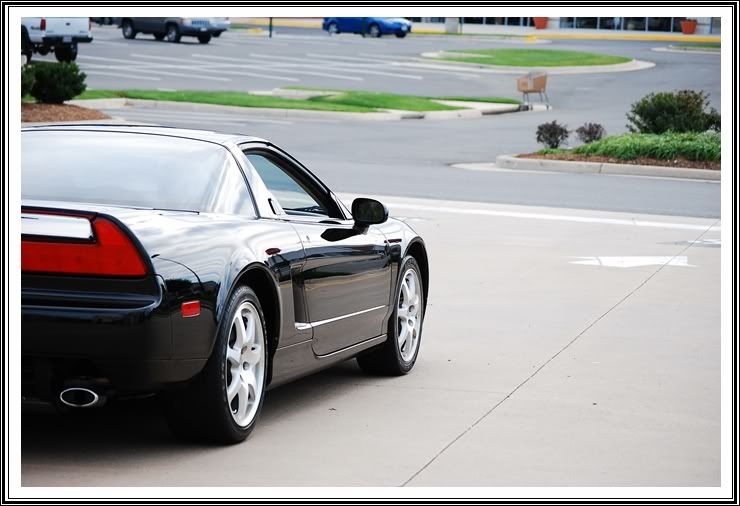
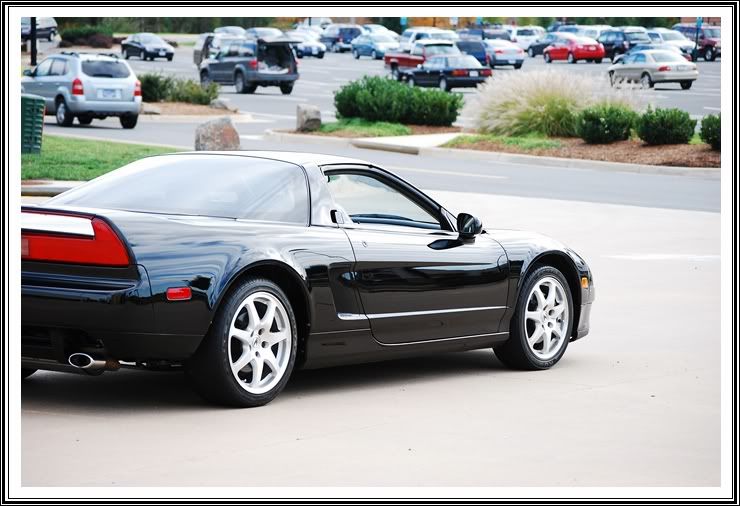
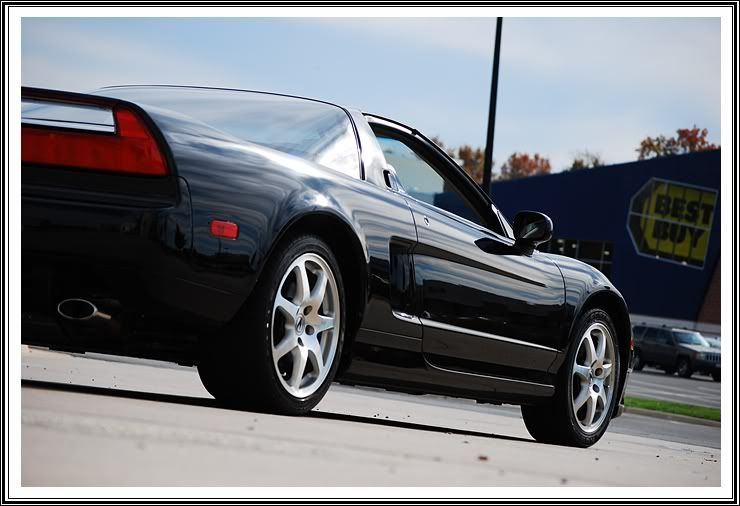
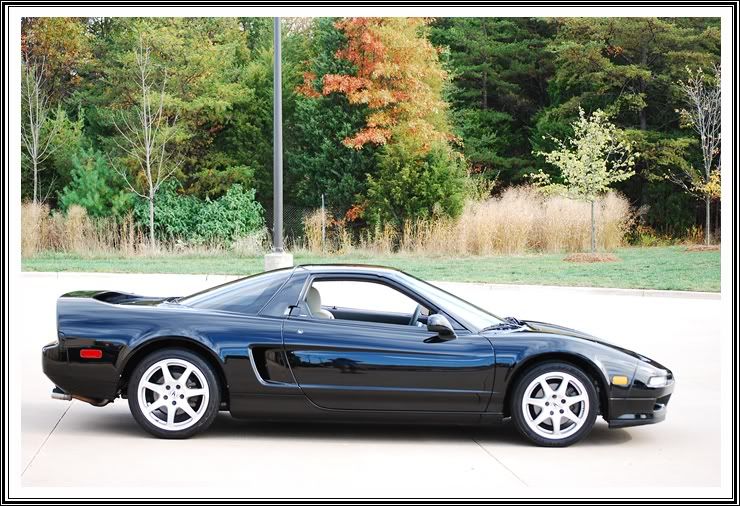
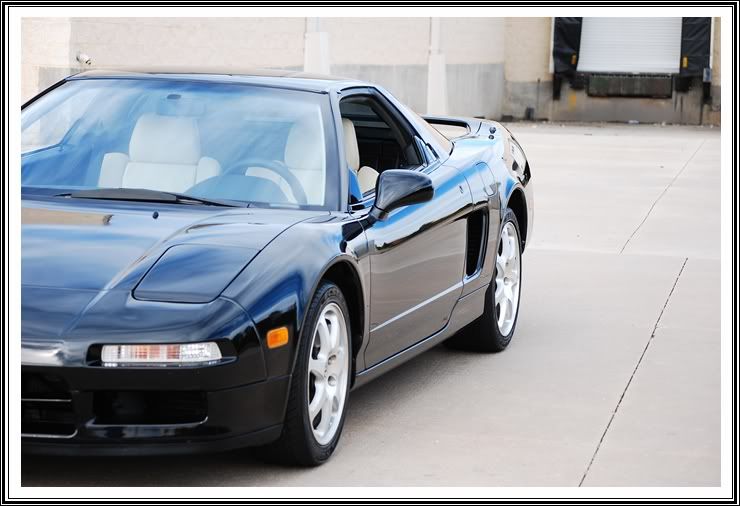
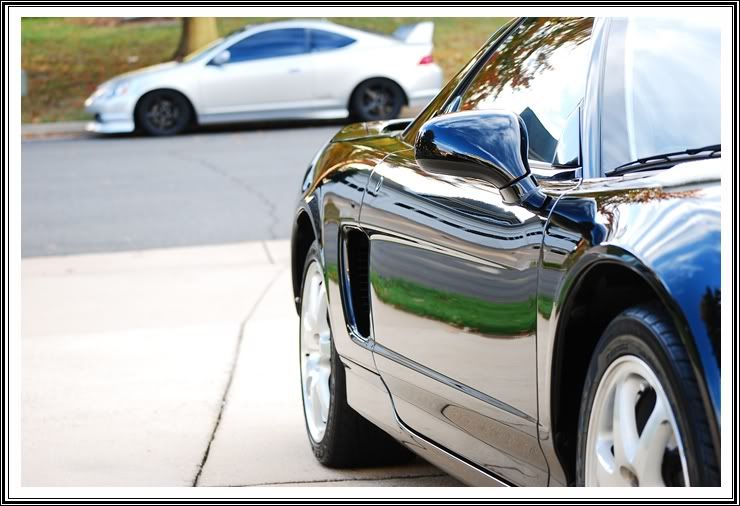
The owner of this car contacted me after viewing several of my threads here on Autopia. He came from about 75miles away and left the car with me for a week and allowed me plenty of time to work on it while I had a few smaller jobs throughout the week. The owner and I walked around the car under different lighting and I pointed out the different defects and how they were applied. He handed me the keys and said do your thing, call when it's done. After fully prepping the paint for leveling the car became even worse as usual. There were several holograms, trails, hard water spots, you name it. There were also 2 areas of clear coat failure that were out of my reach and I had to drop the car off at the body shop for 2 days to allow them to respray the pillars. You will see in the picture the panels I am talking about. Thank you to D&V Autobody for taking care of another customer of mine, you guys are great!
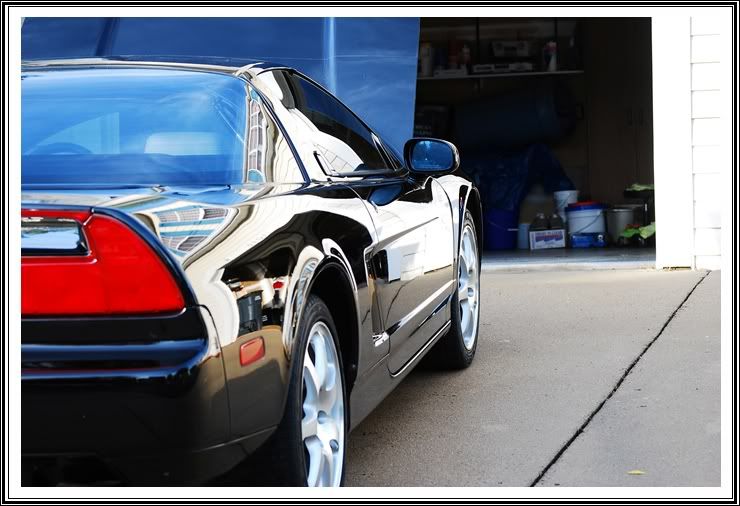
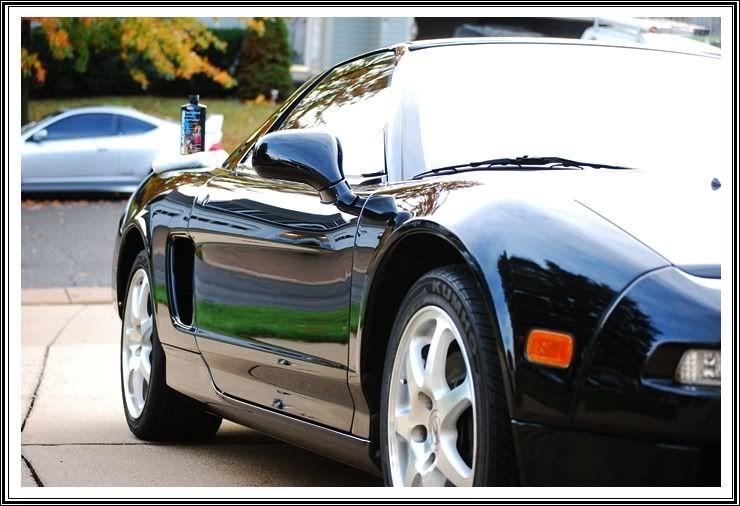
This awesome machine only has 31,xxx miles but spent most of it's time with an owner who clearly neglected the car prior to now. You could of told me the car had 130,000 miles and I would of believed it. The owner said mechanically the car was near flawless and he got it for a steal so he didn't mind spending the right money to get it fixed properly. Details like this are extremely long, require plenty of patience, but yet the most rewarding. After 4 full days on the car (2 at the body shop) I spent 28 hours making this car new again. Each step was documented for process, products, and time.
This thread will be 5-6 post to get all the information and pictures in so be patient and I promise, you will like what you see.
Member Cleaning Fool had the pleasure of seeing this car before and after since he's right up the street.
Let's get started with the story...
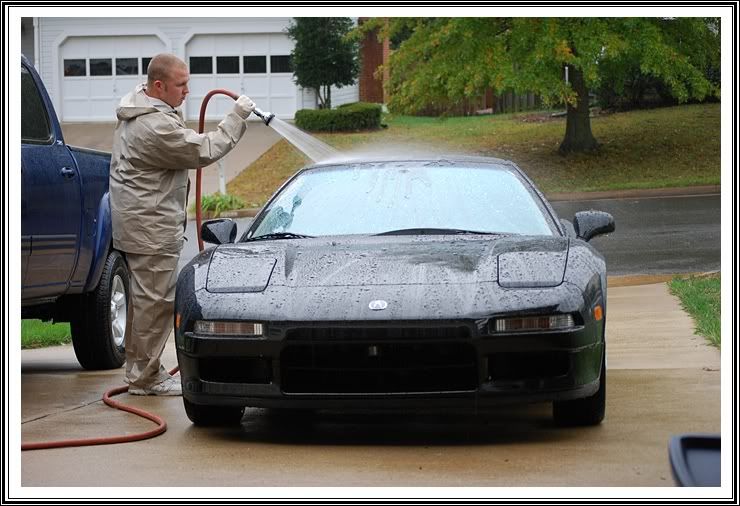
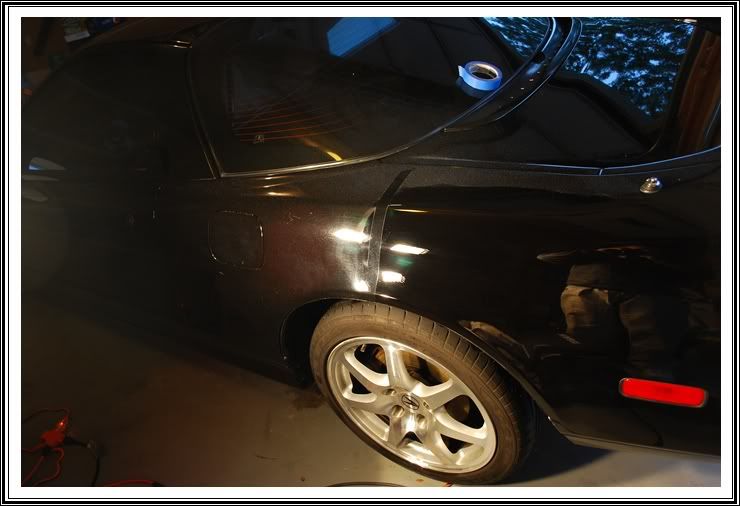
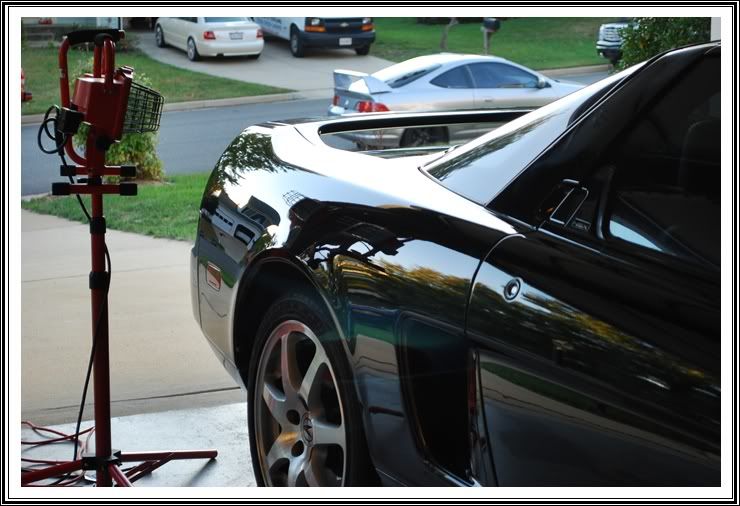
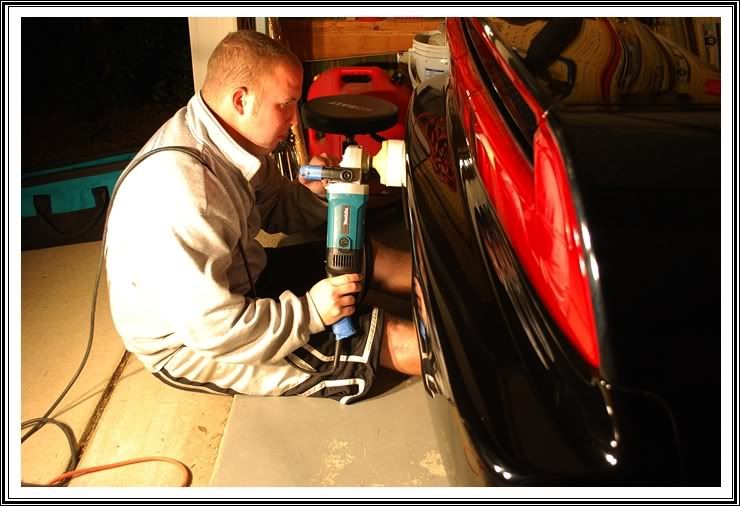
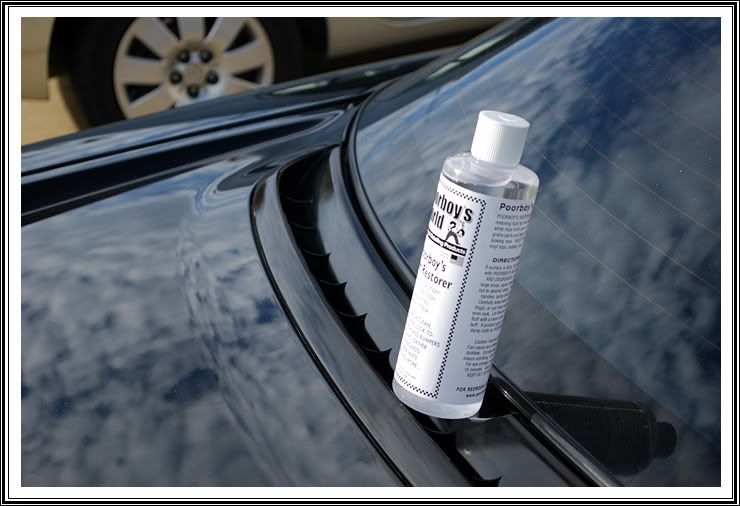
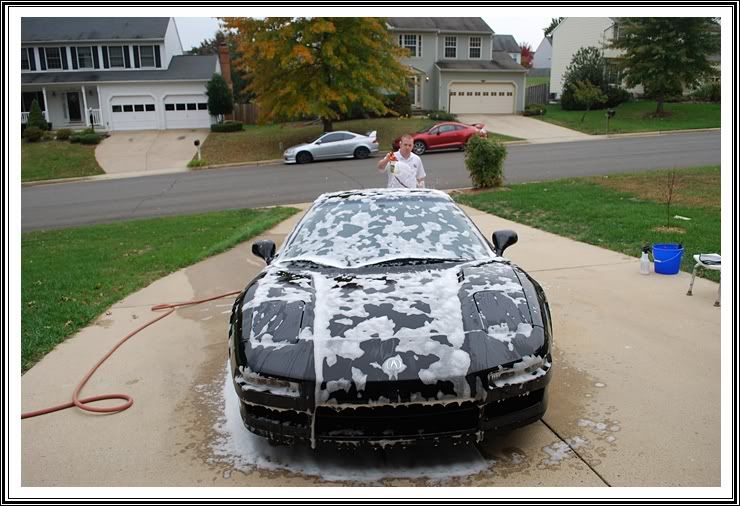
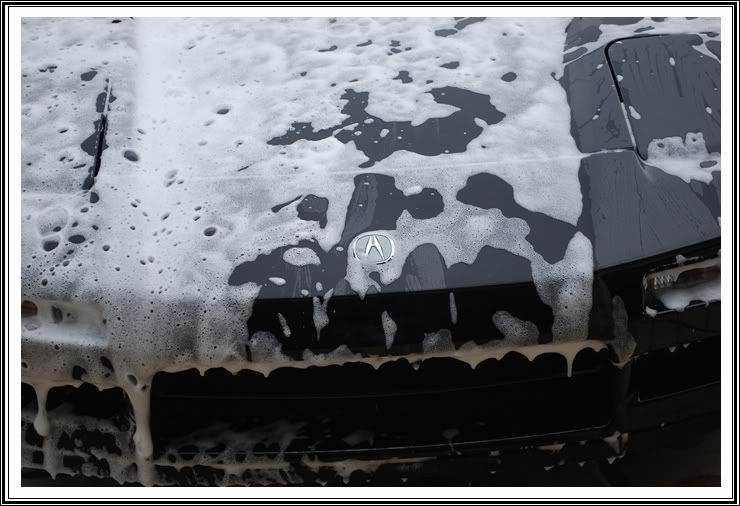
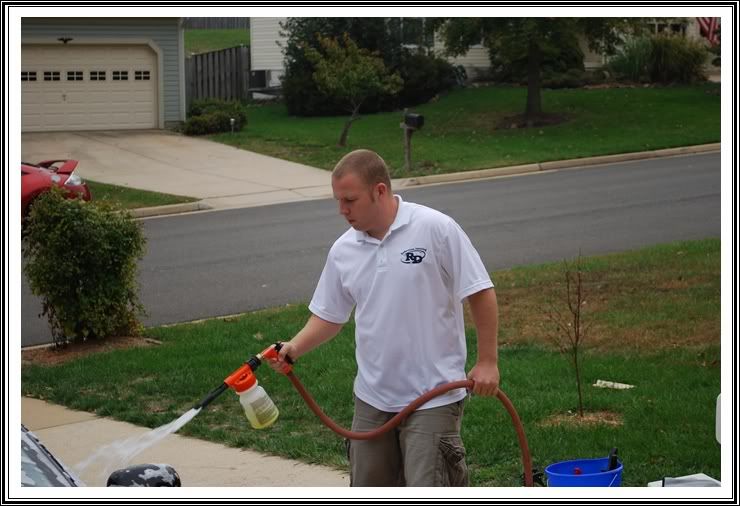
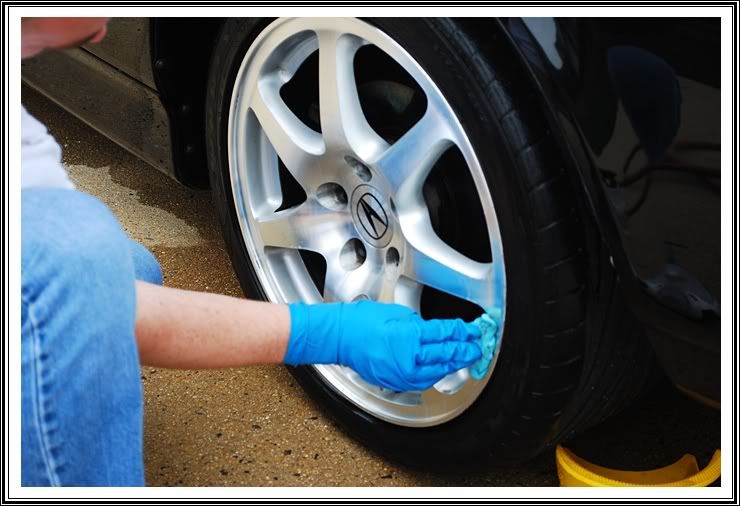
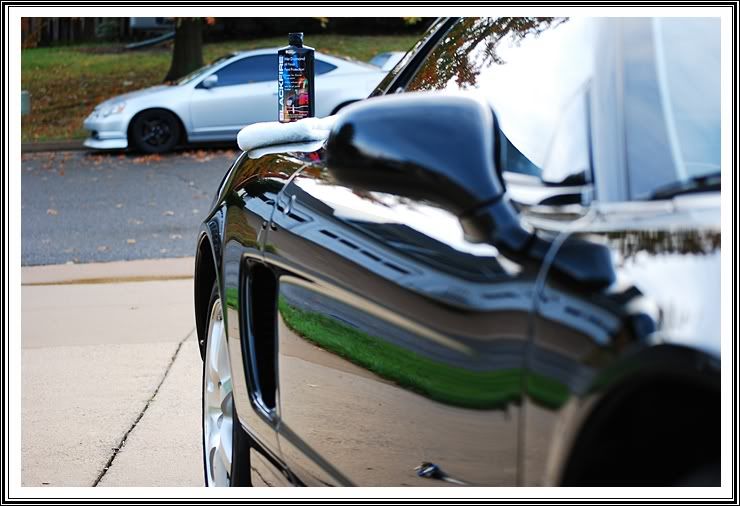
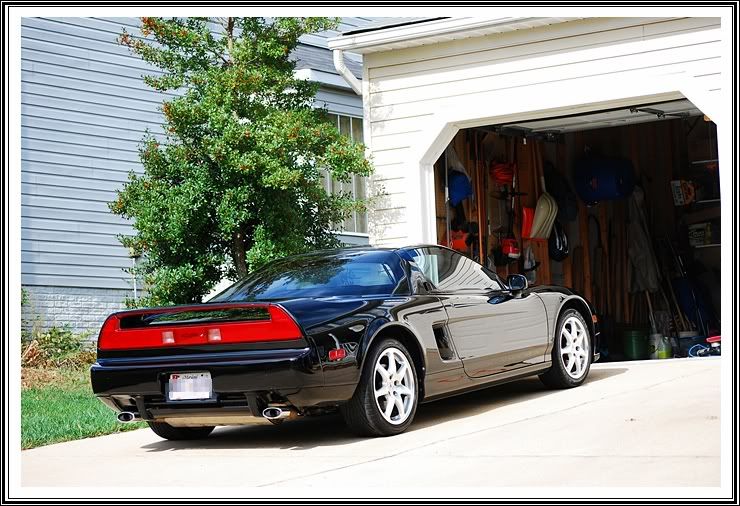
Owner dropped off on a late Friday night so Saturday morning I started with the usual. The Prep Stage. You can see here in this picture that the wax that the owner applied was still bonding to the paint so that needed to be removed prior to polishing. All day it was raining so I put on my rain suit and got started so I could get the car in the garage.
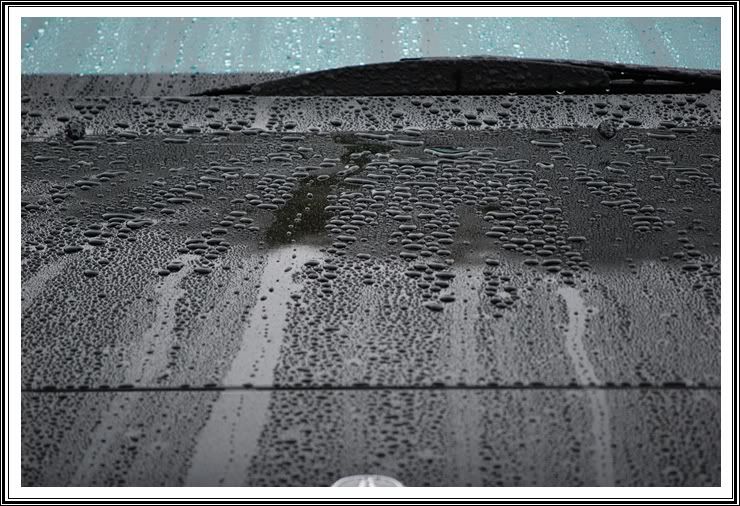
Check out my sweet rain suit in these next couple of pictures
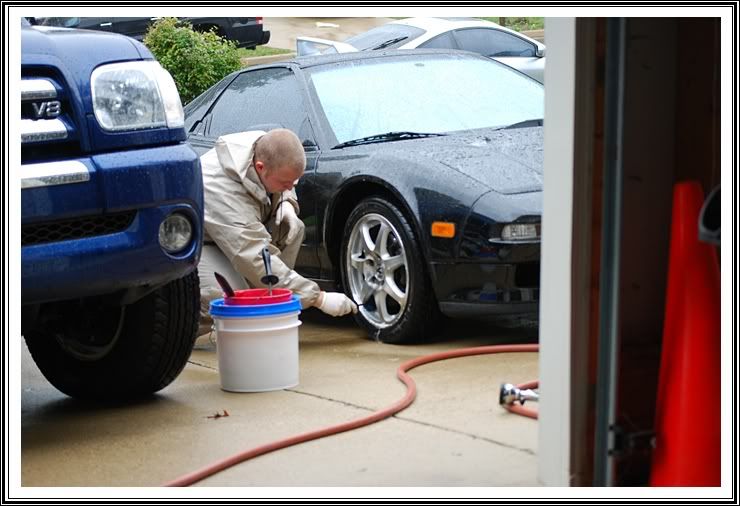
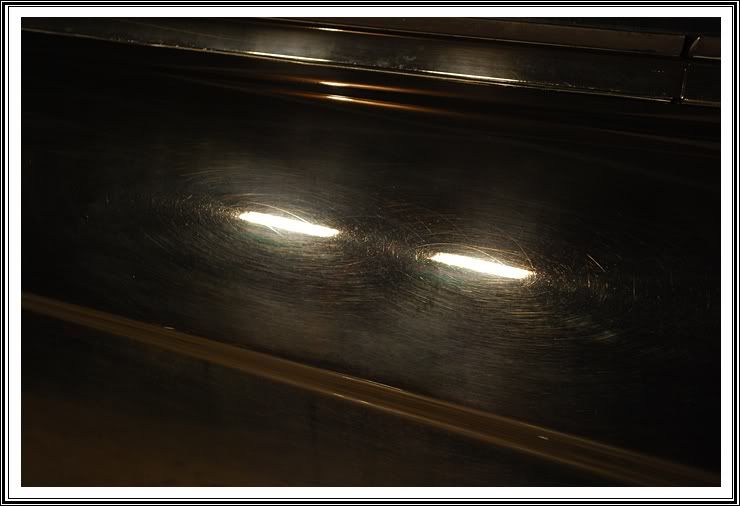
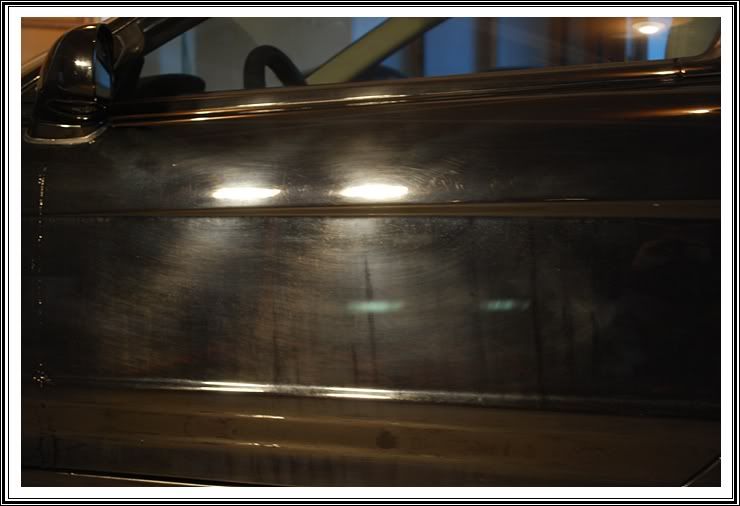
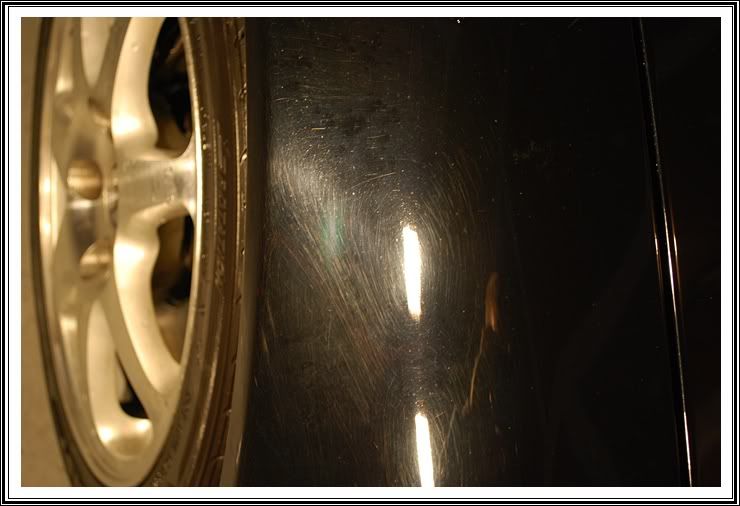
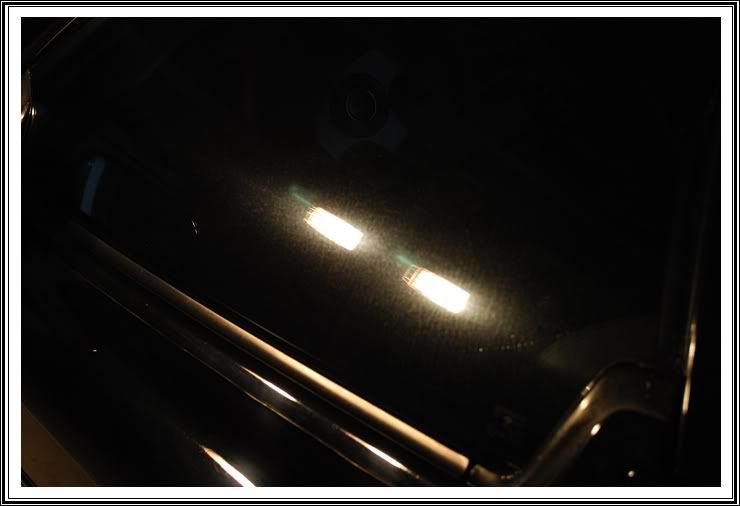
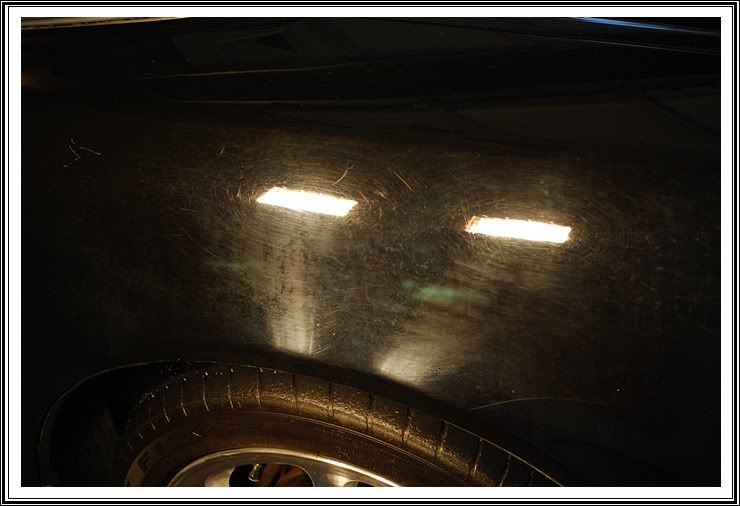
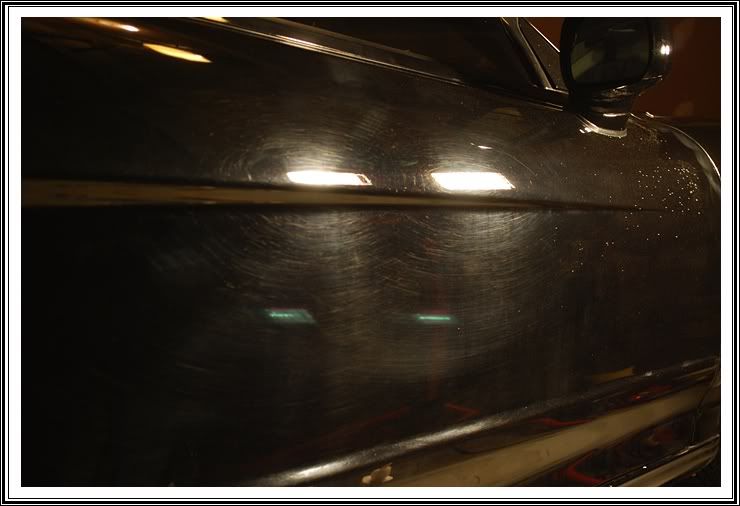
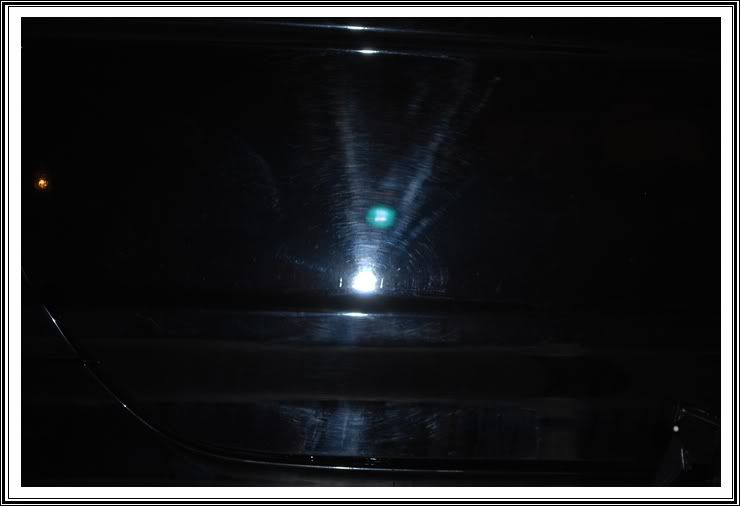
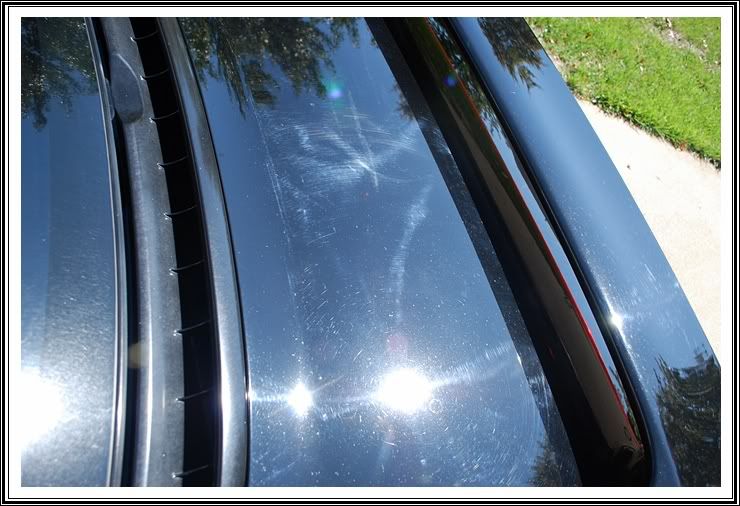
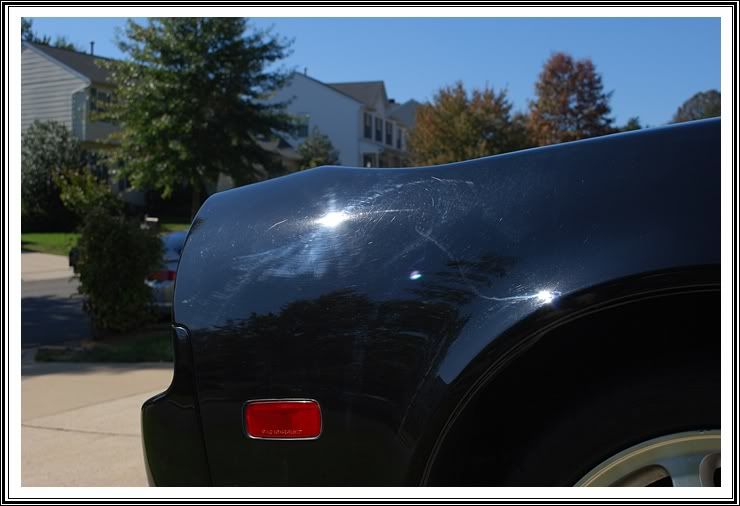
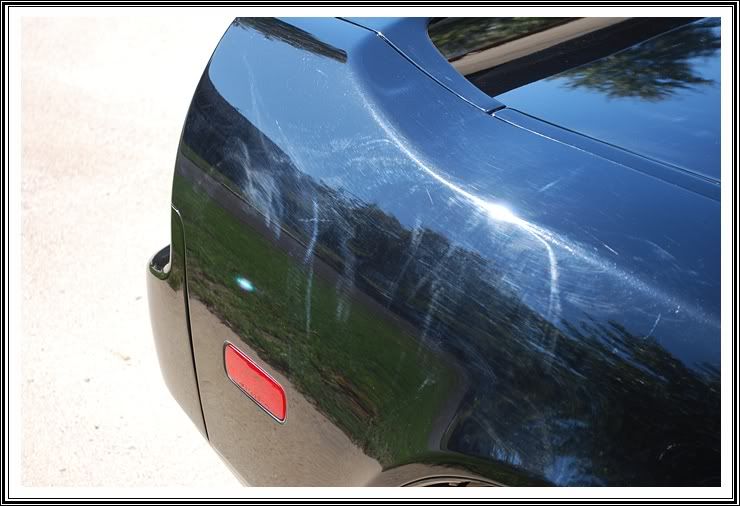
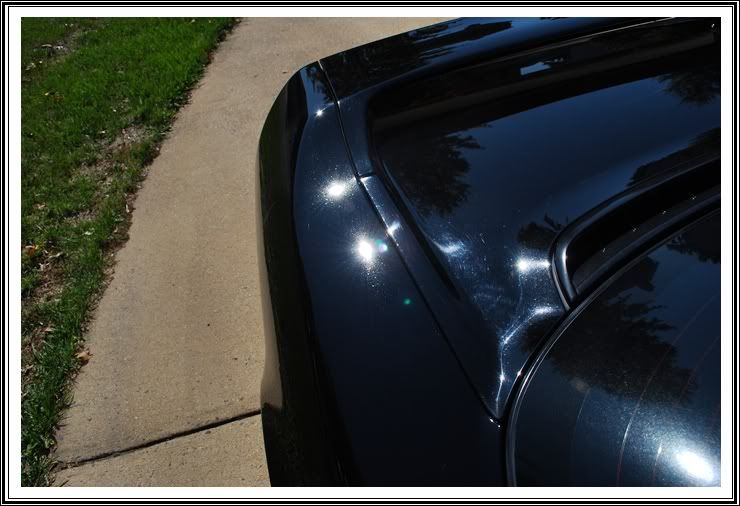
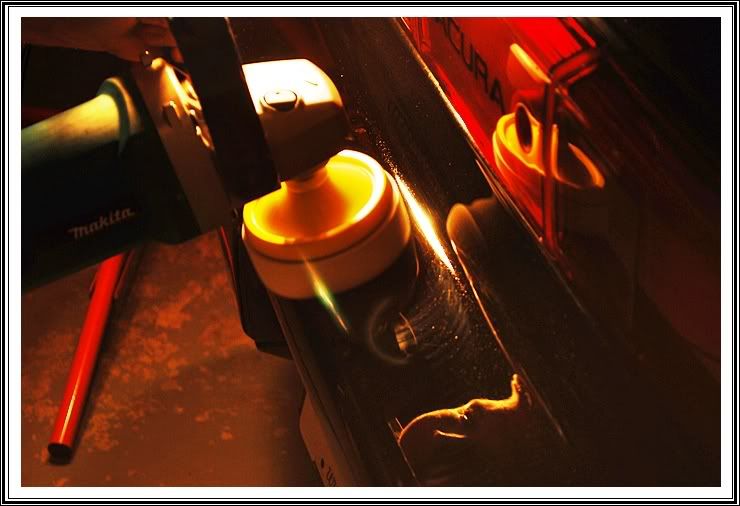
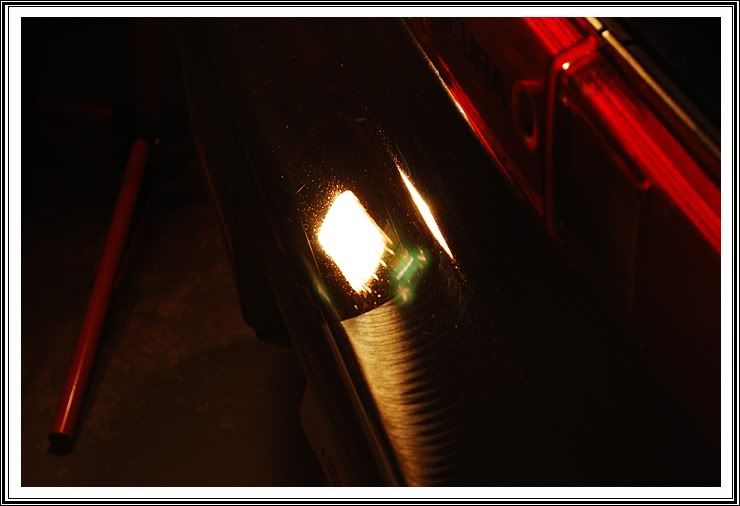
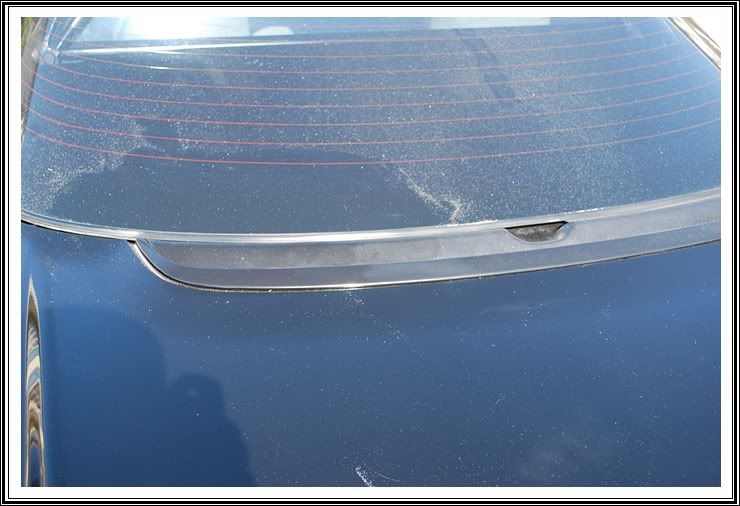
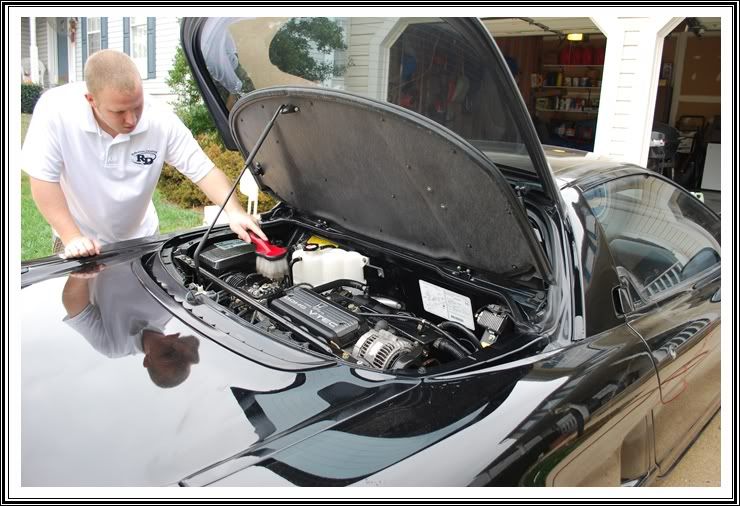
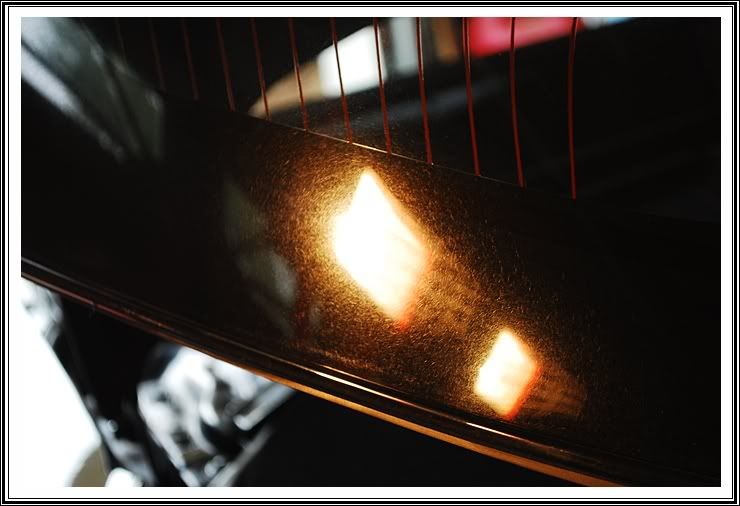
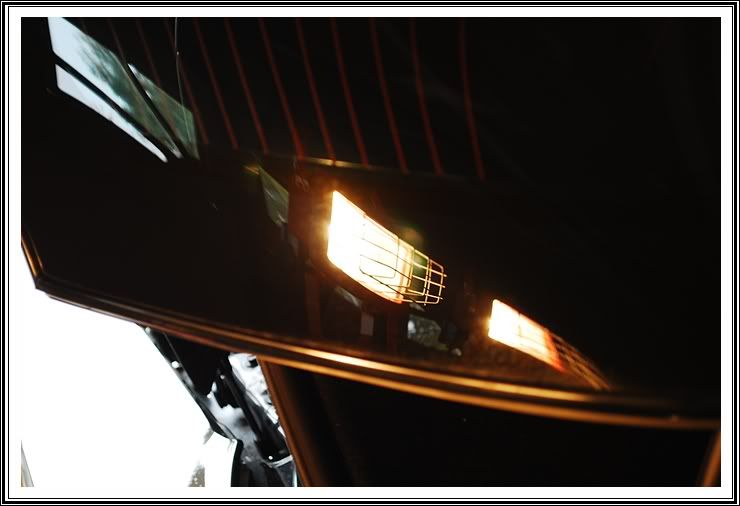
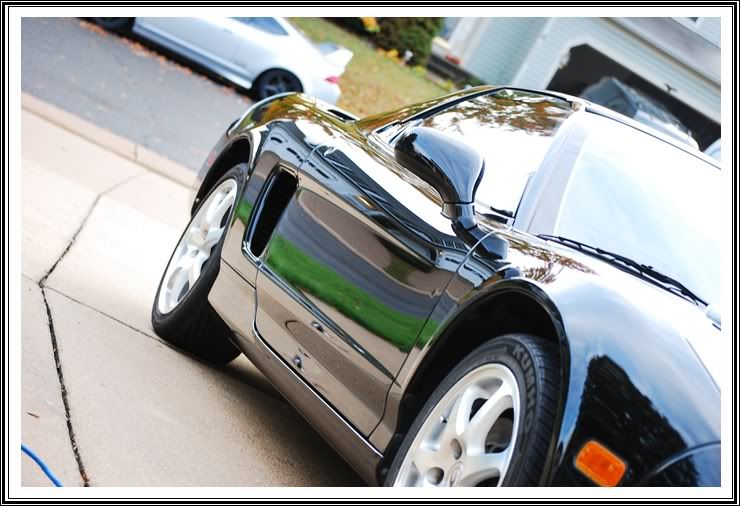
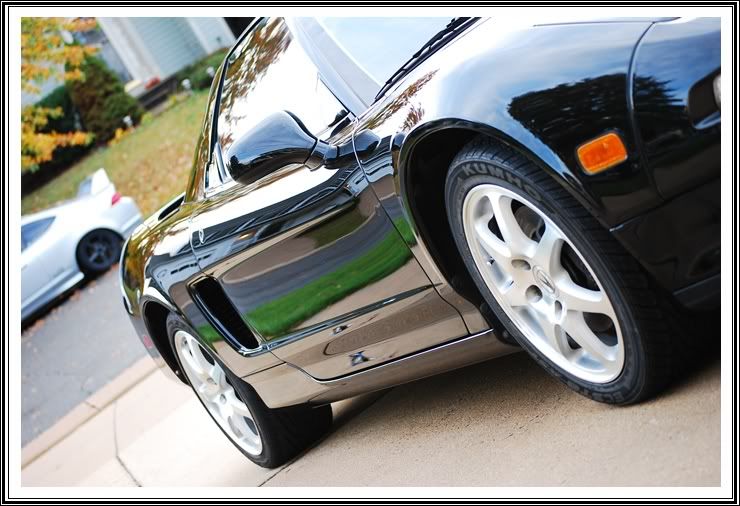
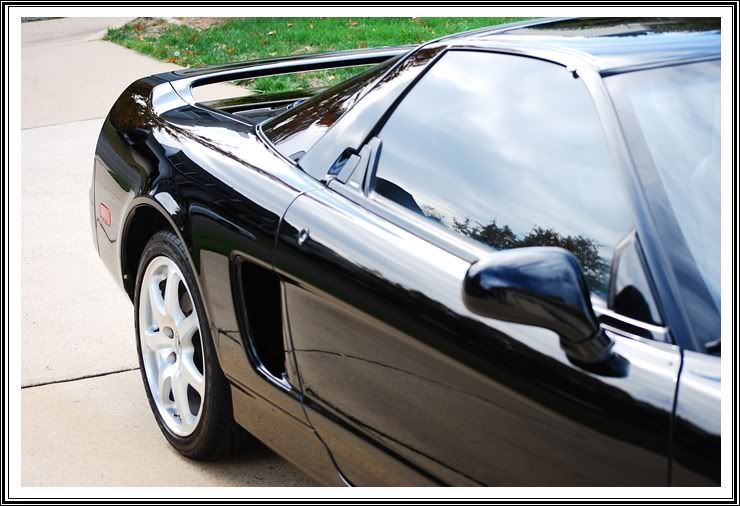
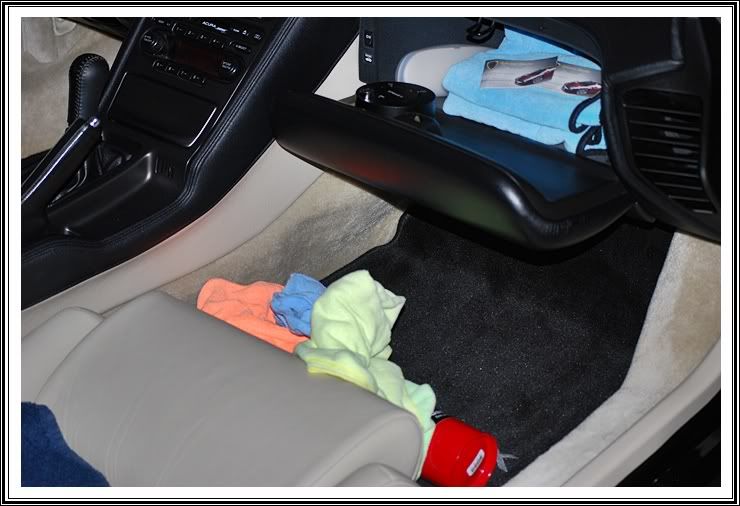
After pulling the car inside to dry with DI's Waffle Weave Towels, I gave the car two 91% Alcohol wipe downs to further prep the surface before any leveling would occur. Then, the truth of the paint came to life and I now welcome you to Defect City.

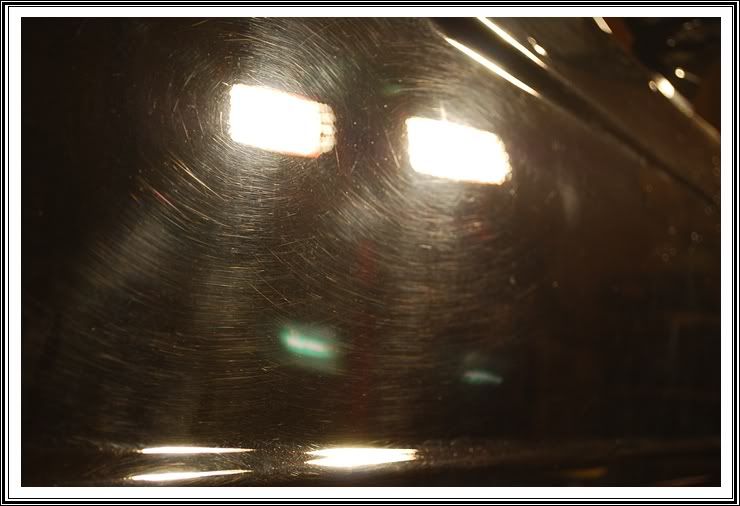
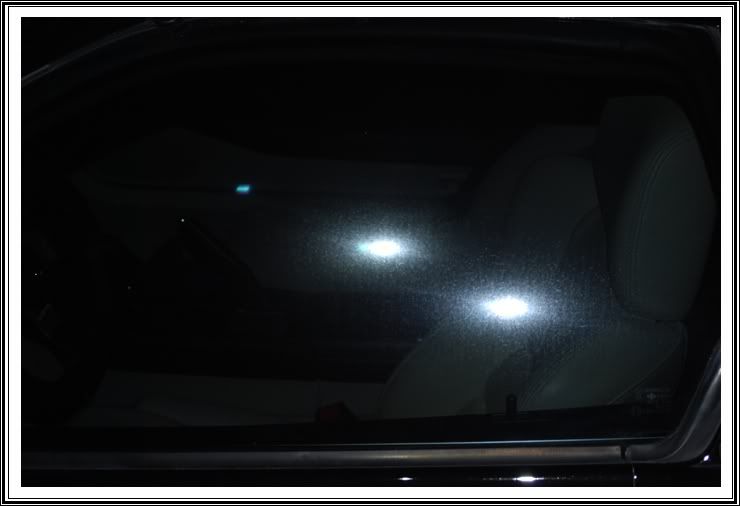
A quick 50/50 I wanted to get after just compounding for you guys :bigups
This awesome machine only has 31,xxx miles but spent most of it's time with an owner who clearly neglected the car prior to now. You could of told me the car had 130,000 miles and I would of believed it. The owner said mechanically the car was near flawless and he got it for a steal so he didn't mind spending the right money to get it fixed properly. Details like this are extremely long, require plenty of patience, but yet the most rewarding. After 4 full days on the car (2 at the body shop) I spent 28 hours making this car new again. Each step was documented for process, products, and time.
This thread will be 5-6 post to get all the information and pictures in so be patient and I promise, you will like what you see.
Member Cleaning Fool had the pleasure of seeing this car before and after since he's right up the street.
Let's get started with the story...
Owner dropped off on a late Friday night so Saturday morning I started with the usual. The Prep Stage. You can see here in this picture that the wax that the owner applied was still bonding to the paint so that needed to be removed prior to polishing. All day it was raining so I put on my rain suit and got started so I could get the car in the garage.
Check out my sweet rain suit in these next couple of pictures
After pulling the car inside to dry with DI's Waffle Weave Towels, I gave the car two 91% Alcohol wipe downs to further prep the surface before any leveling would occur. Then, the truth of the paint came to life and I now welcome you to Defect City.
A quick 50/50 I wanted to get after just compounding for you guys :bigups


")
