imported_Dave KG
New member
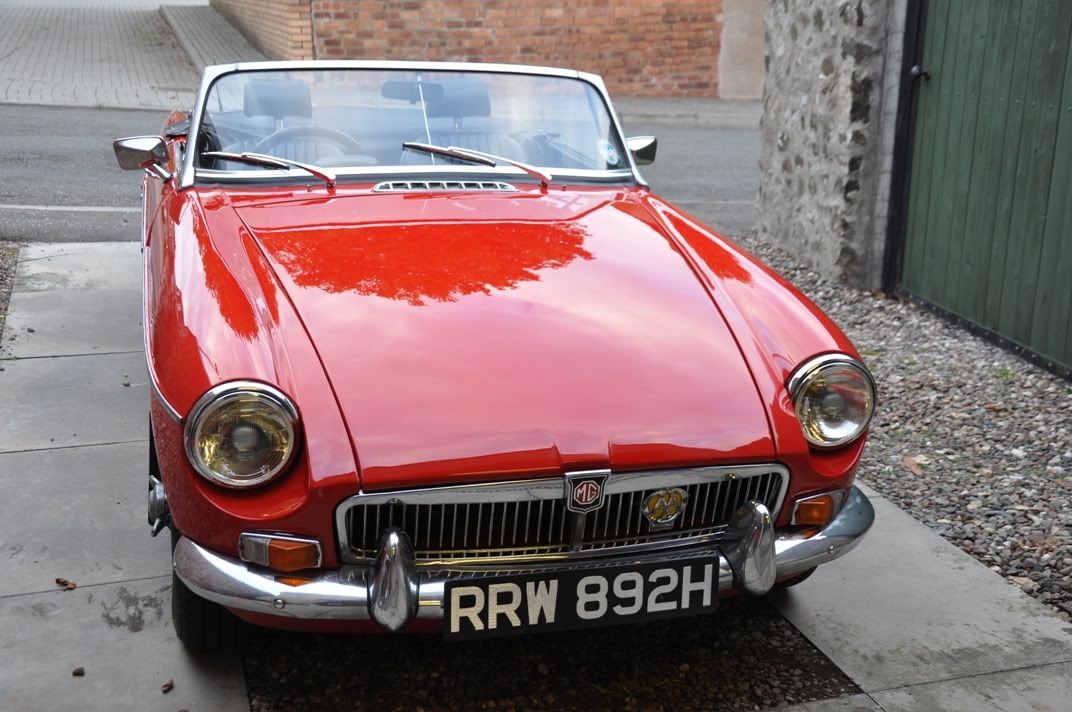
As part of revamping guides and making new videos to support them, a good friend agreed to lay on bacon rolls, coffee and then a good meal with wine and whisky in return for me polishing his 1970 MGB where I had a car to film videos of techniques etc on. Win win! 
So this writeup is just a fairly quick one of the actual detail that was carried out on the car, and you will see various videos starring this car over the course of the next few days and weeks :thumb: Only the paintwork was focussed on here as that was the topic for my videos and I was only working on this one for the day") The car is used on dry days only, and the owner keeps it fastidiously clean, so the day started off with a gentle wash down of the bodywork and then claying - Allie was also on hand, and started off by repairing my Sun Gun:
The car is used on dry days only, and the owner keeps it fastidiously clean, so the day started off with a gentle wash down of the bodywork and then claying - Allie was also on hand, and started off by repairing my Sun Gun:

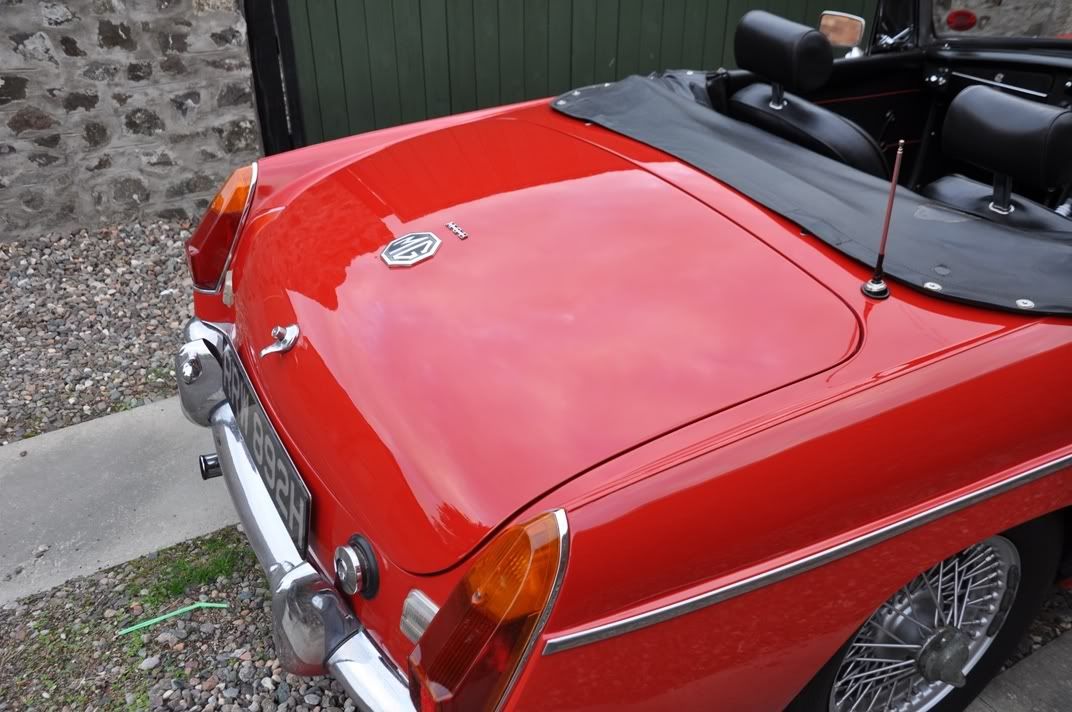
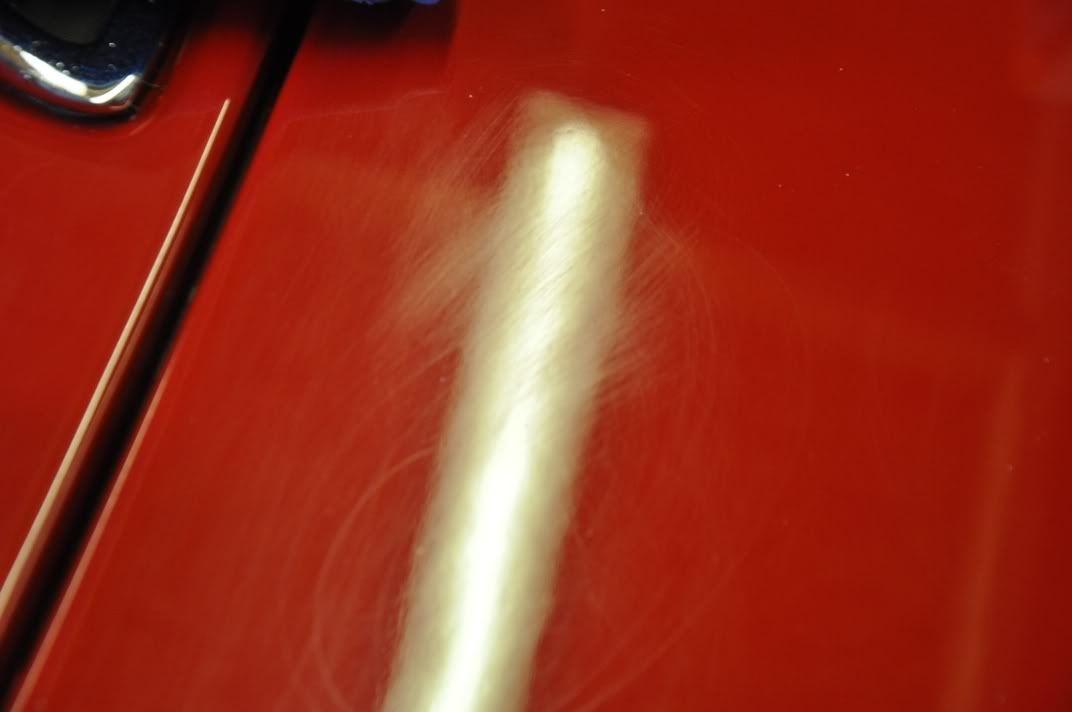
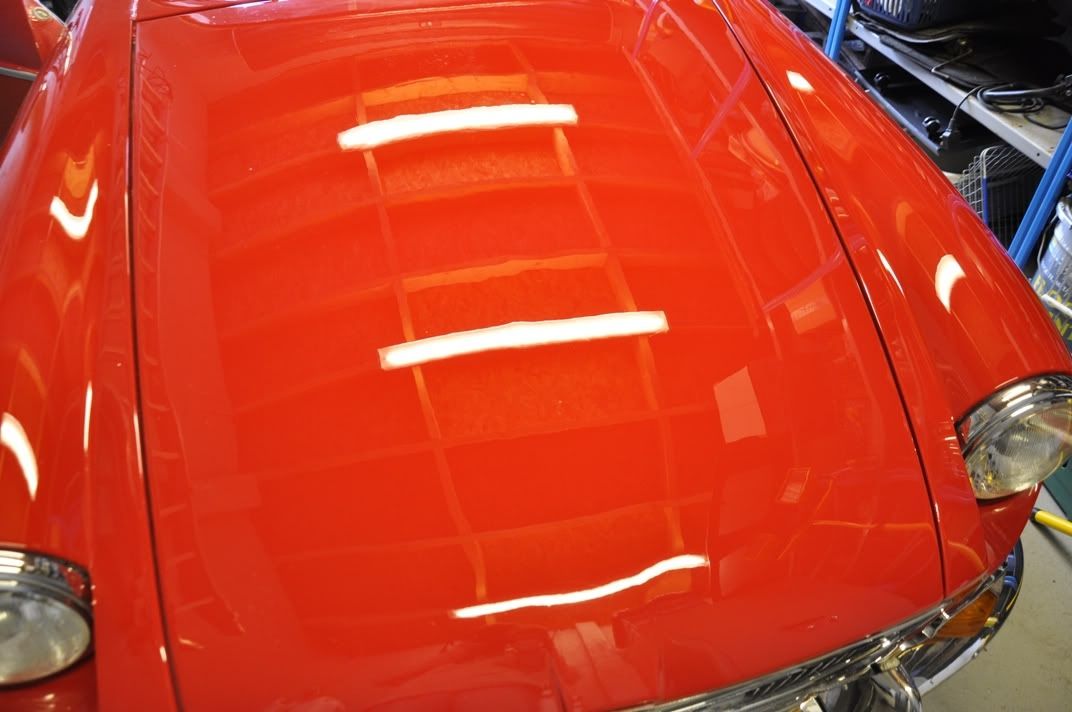
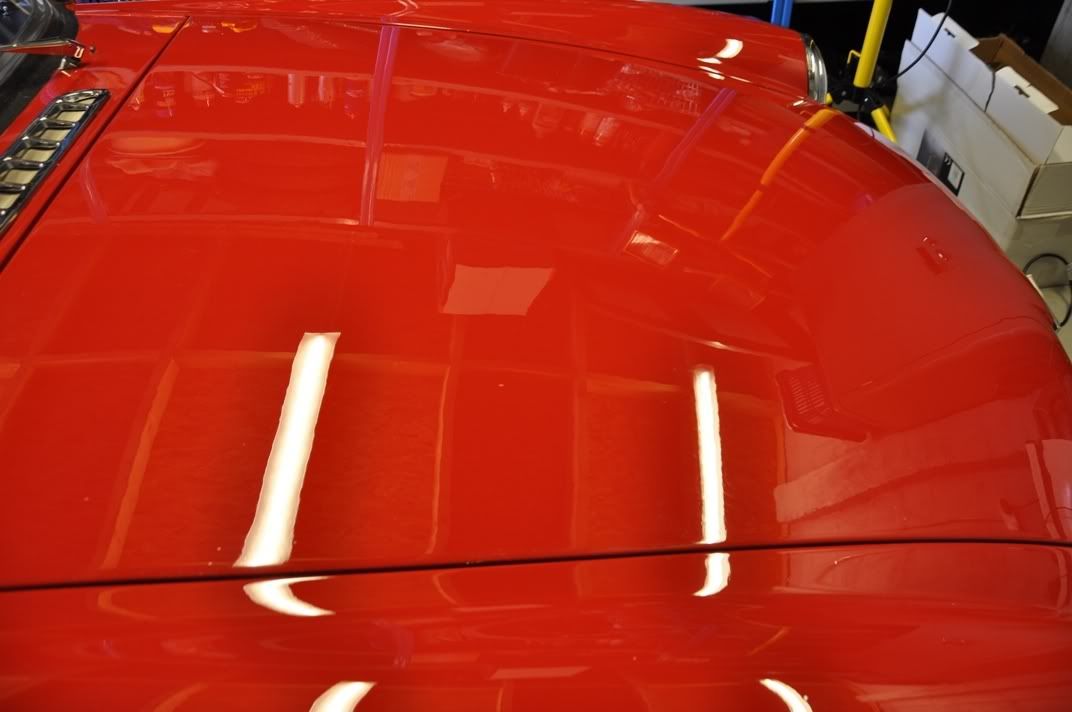
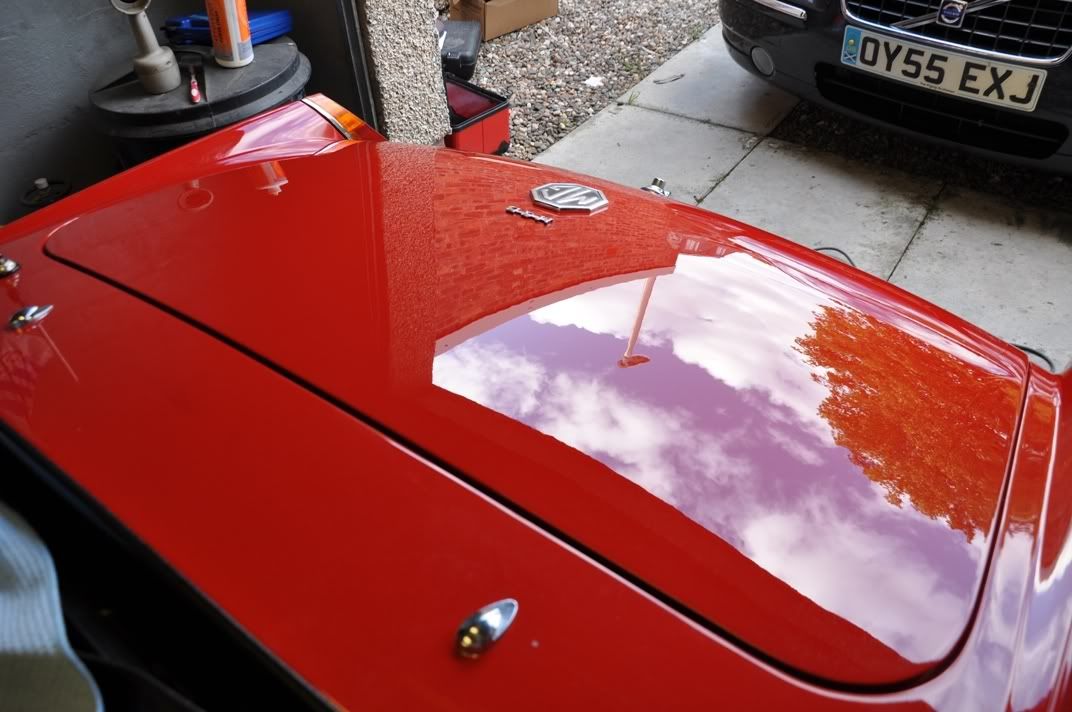
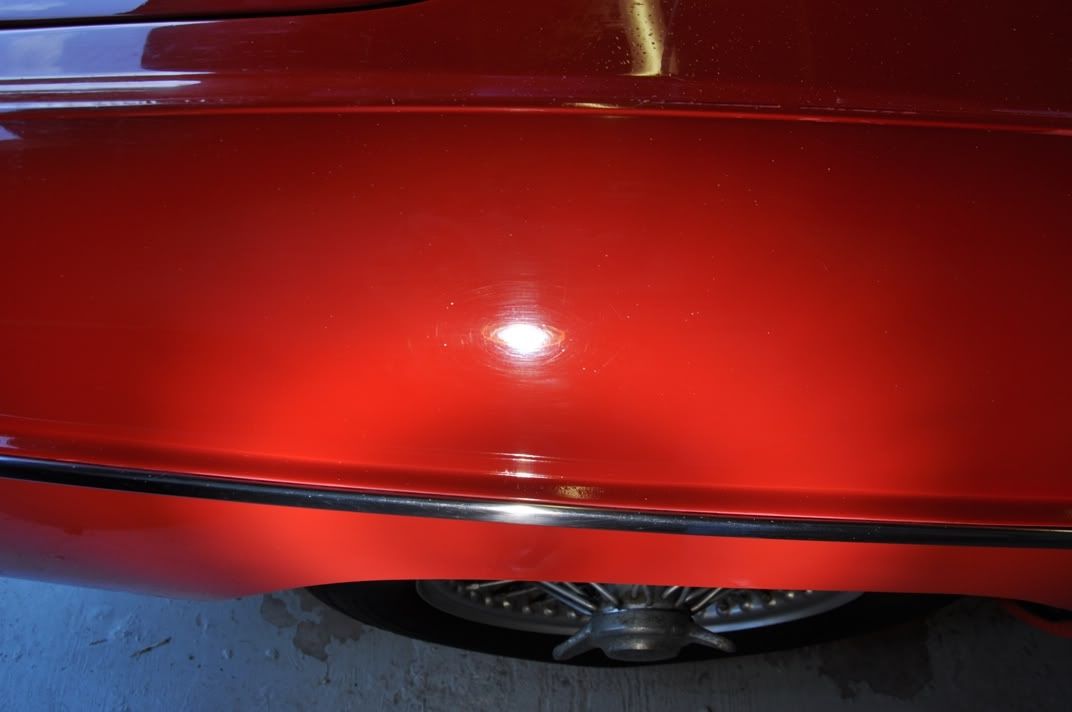
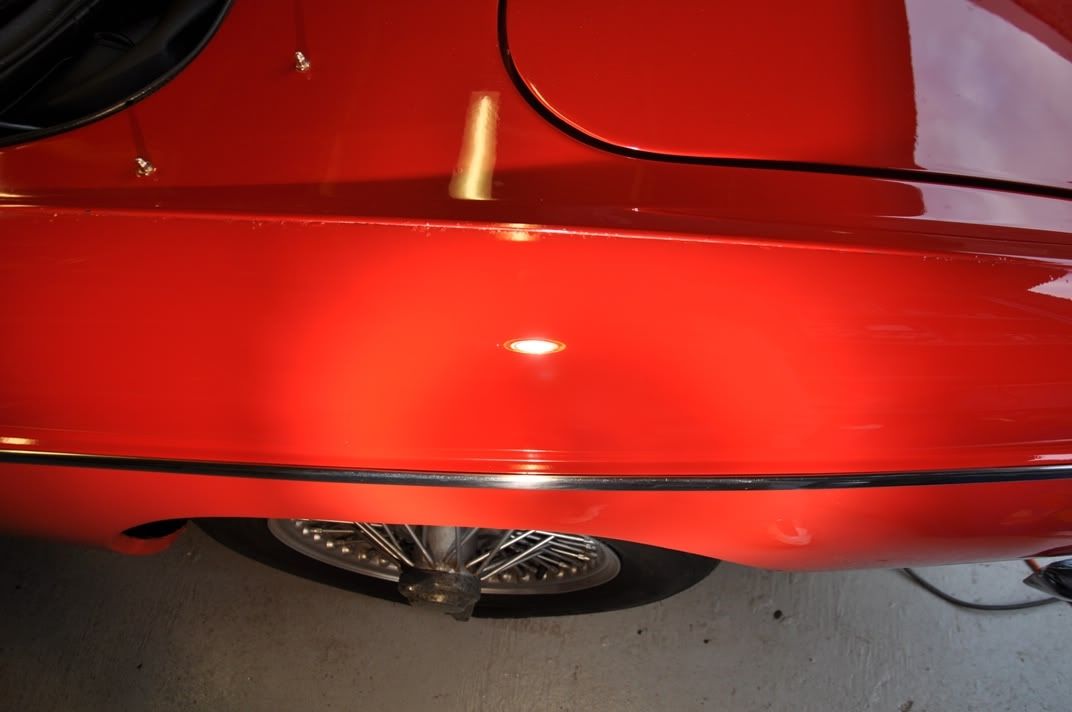
To give you an idea of the finish as it currently stands, a few shots of the bonnet with 500W halogens showing swirls and deeper RDS:


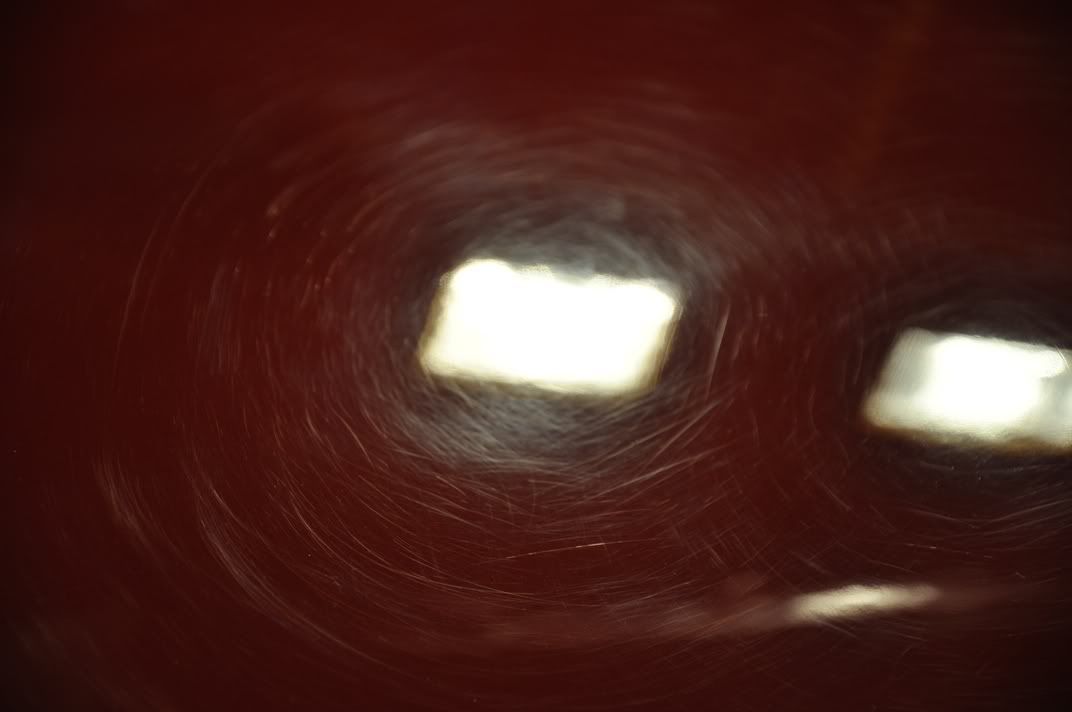
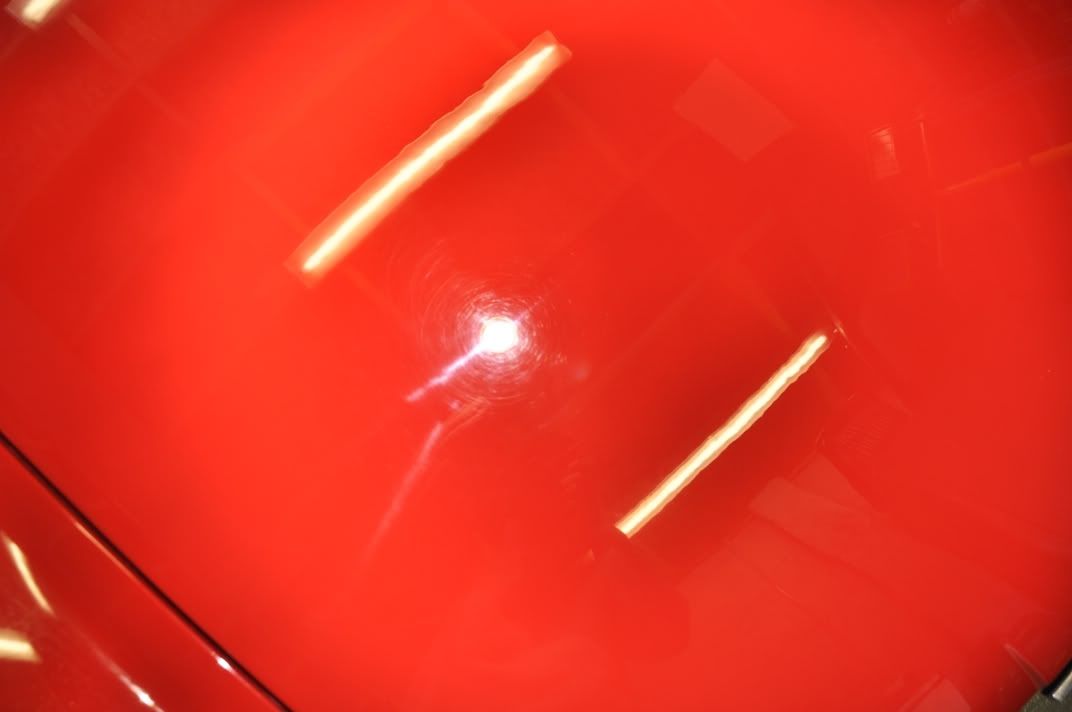
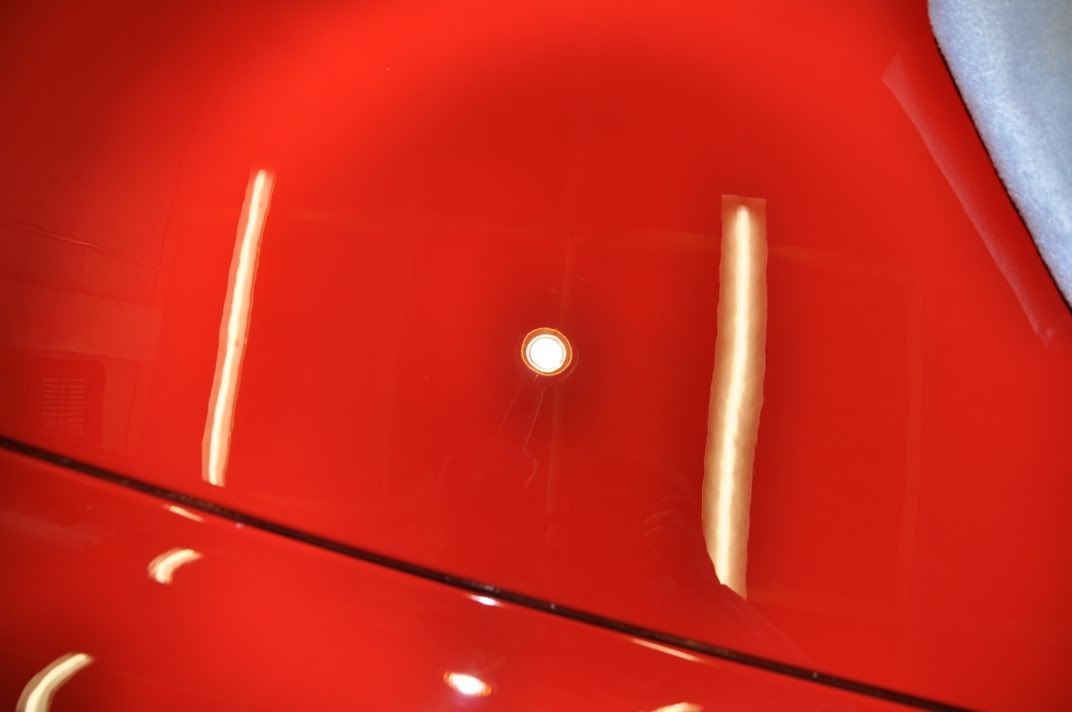
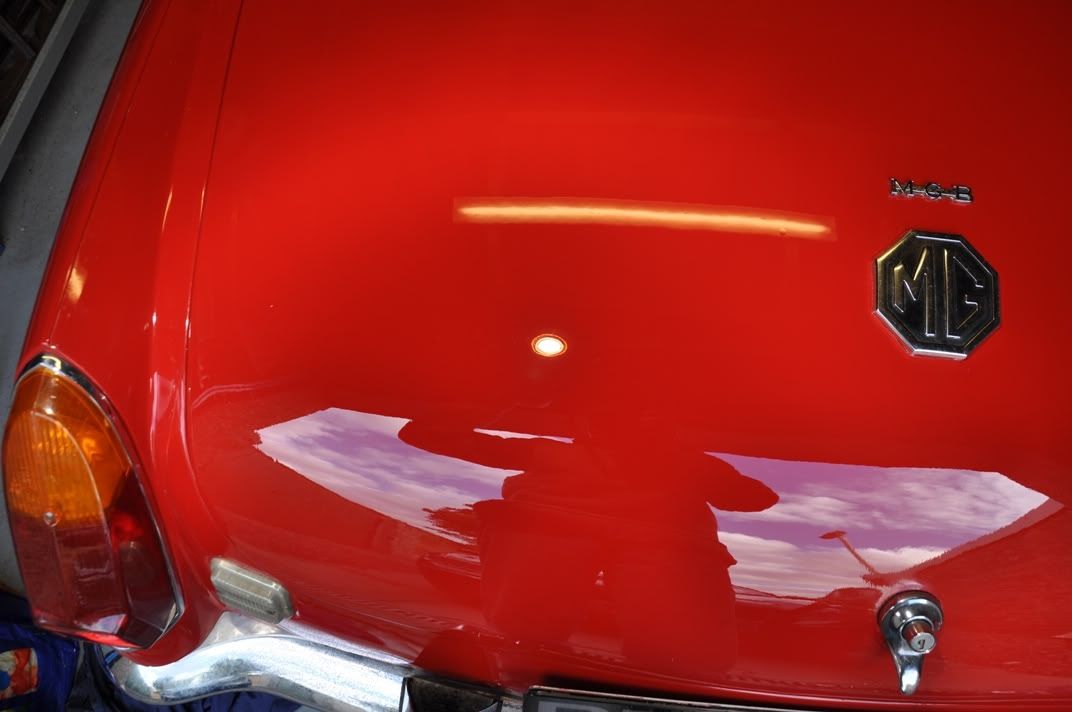
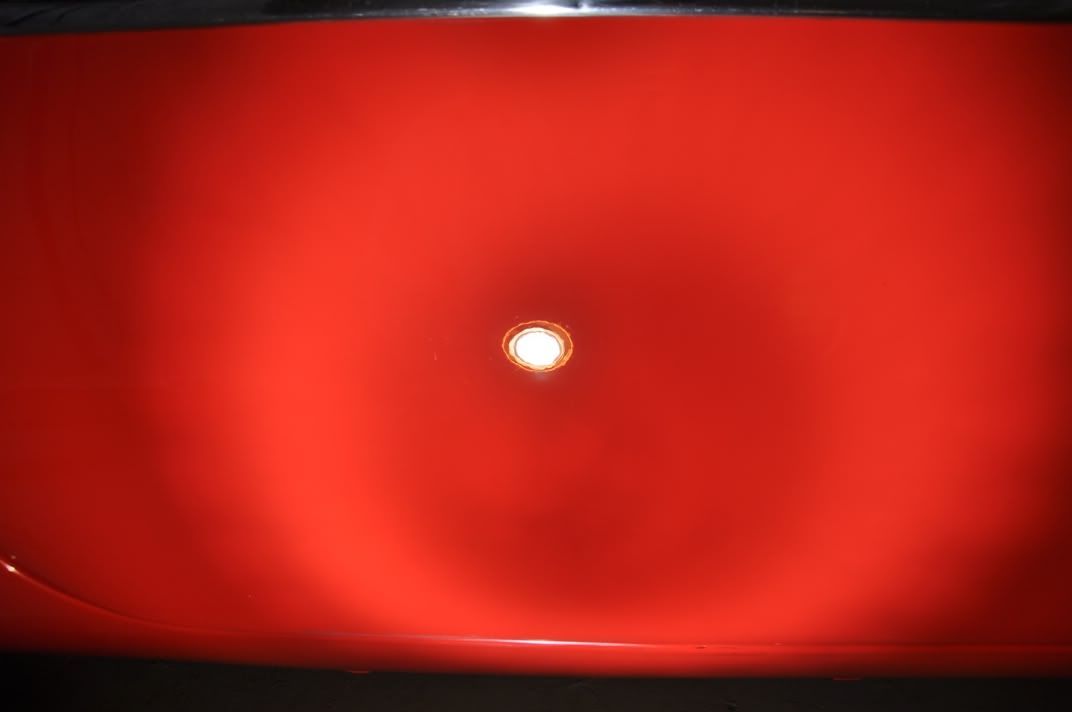
Strip lights are great for really showing the state of the paint in terms of deeper marks, used here to show patches of deeper scouring which made for an ideal spot-correction video: (note: use manual focus on the camera to focus on the paint surface where these marks reside):

Bearing in mind this car is 40 years old, with not fully known history, it is fair to assume that it has been sprayed at different points in its life. Using a single layer paint thickness gauge can still be a great help though, and this car proved excellent for videos demonstrating why, as there were thin patches that could catch you unawares... Measuring the paint thickness:

Using the 3M Sun Gun to assess the finish before:
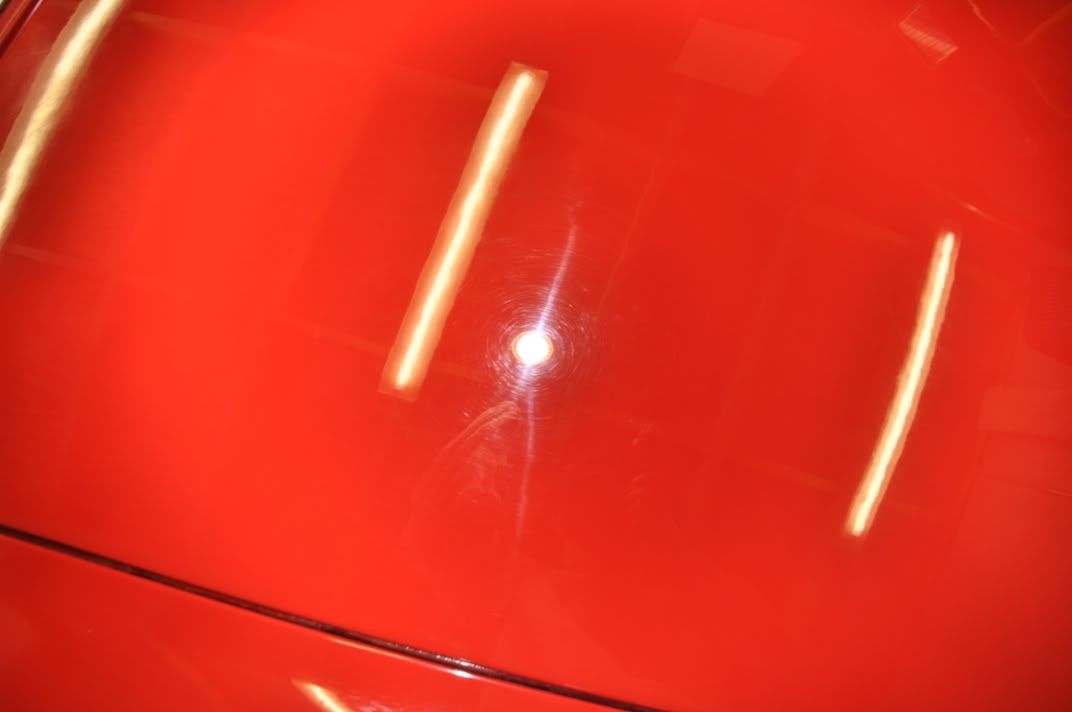

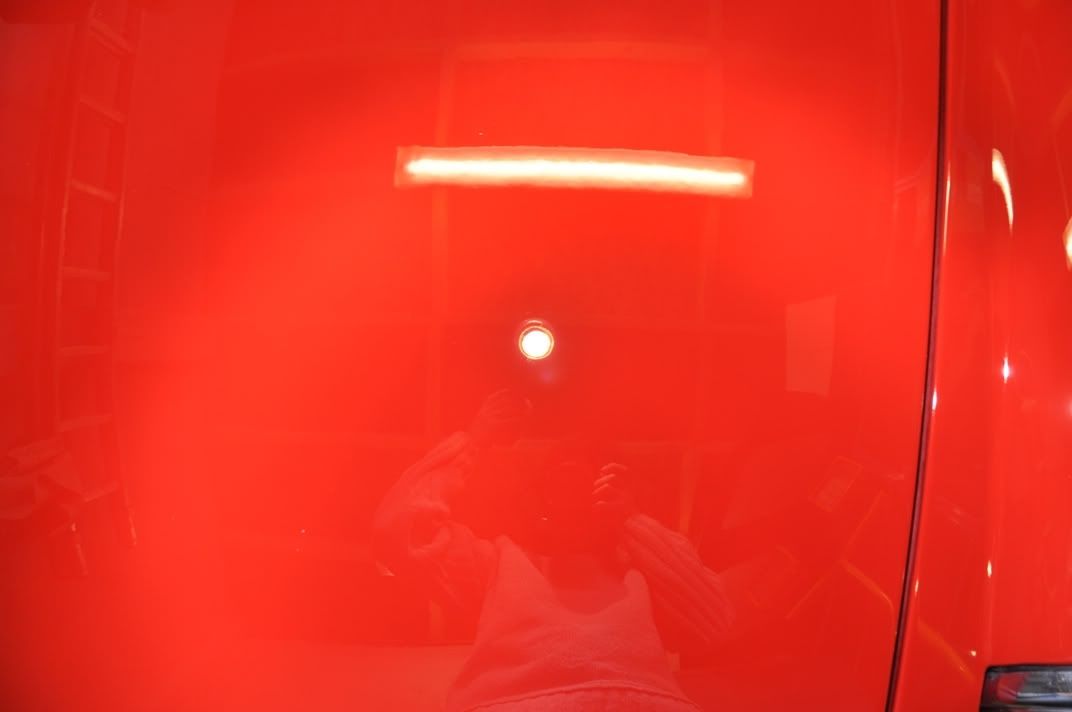
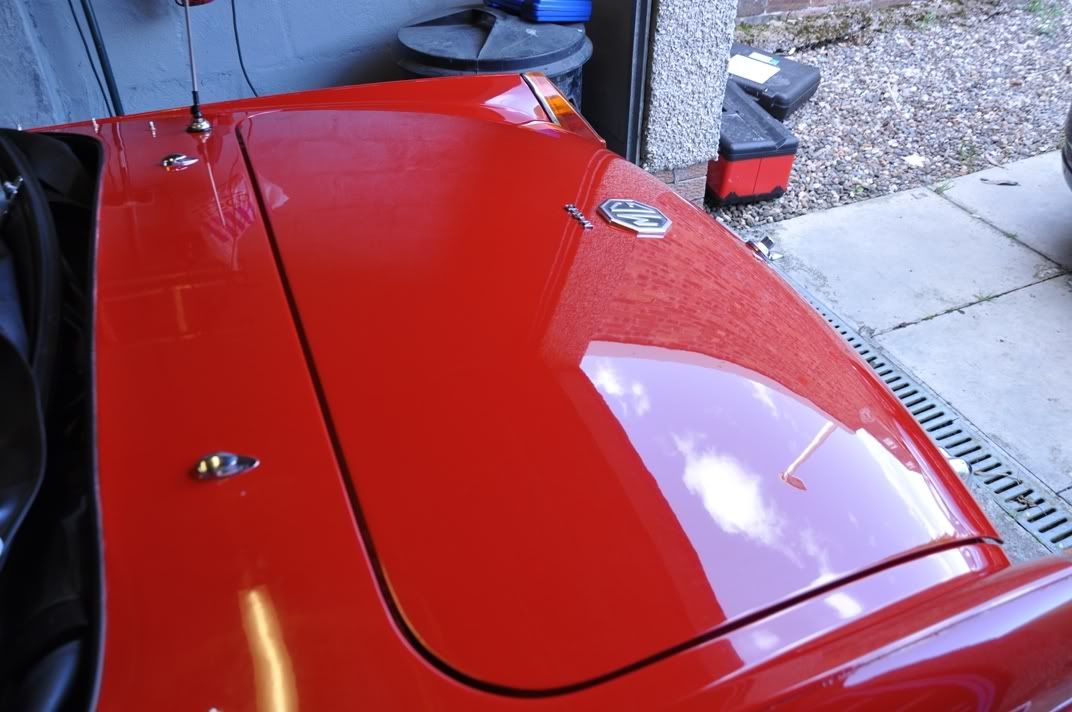
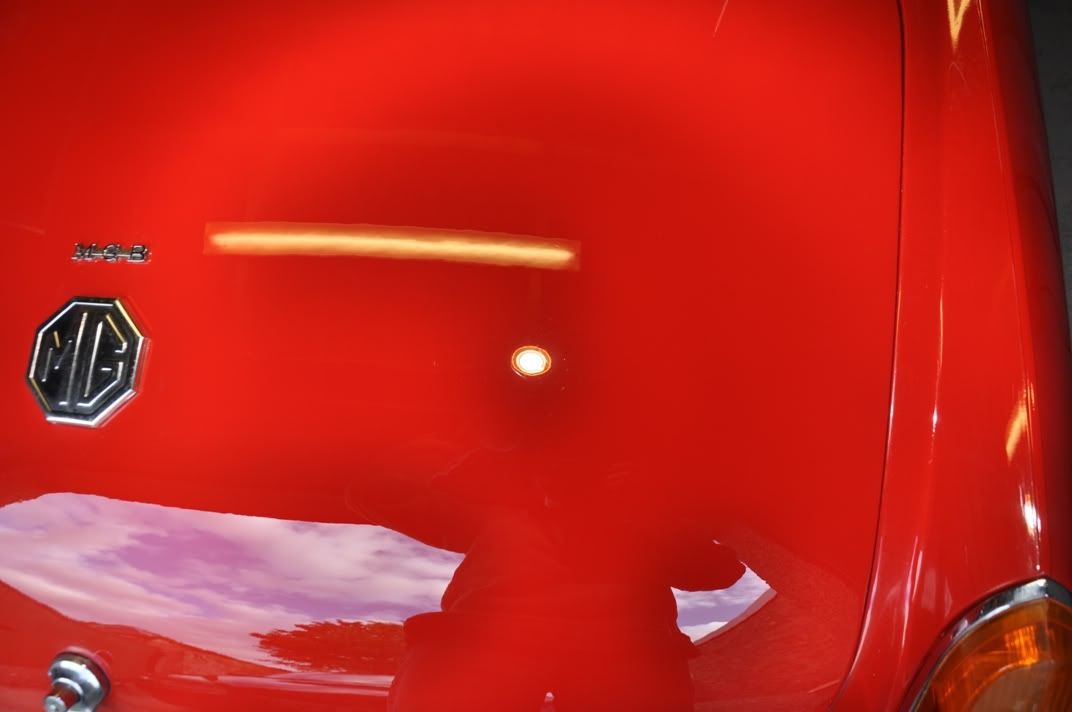
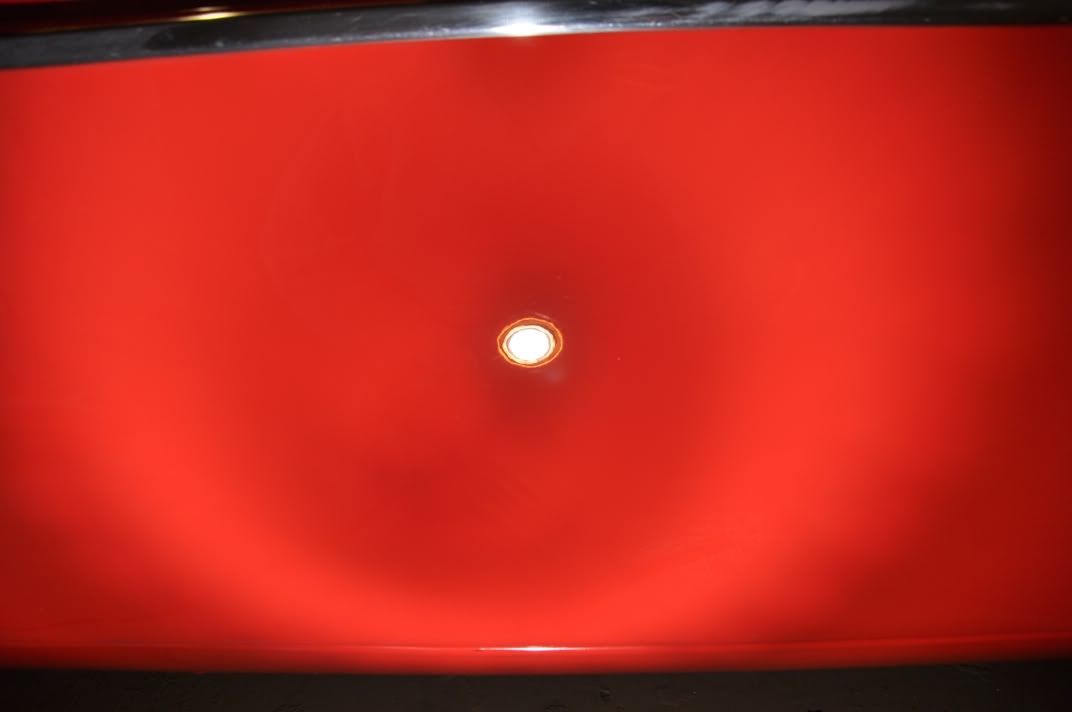
Only working on this car for the day, and using some time for filming, we decided that full correction was not a feasible option - I do not believe in rushing to finish cars and possibly making mistakes. So, we went for an enhancement using Menzerna PO85RD3.02 Intensive Polish on a white CleanyourCar polishing pad to correct, and Menzerna PO85RD Final Finish on a blue 3M finishing pad to refine, all applied by rotary polisher... With one small exception, which was this deeper region on the bonnet seen here after the IP stage:


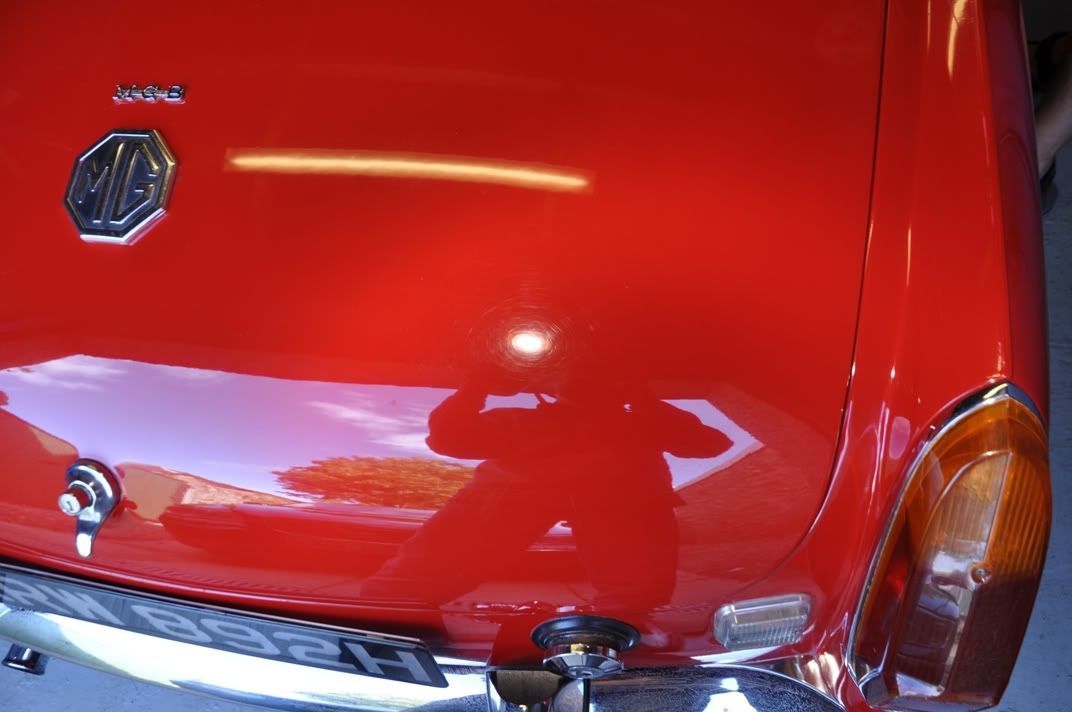
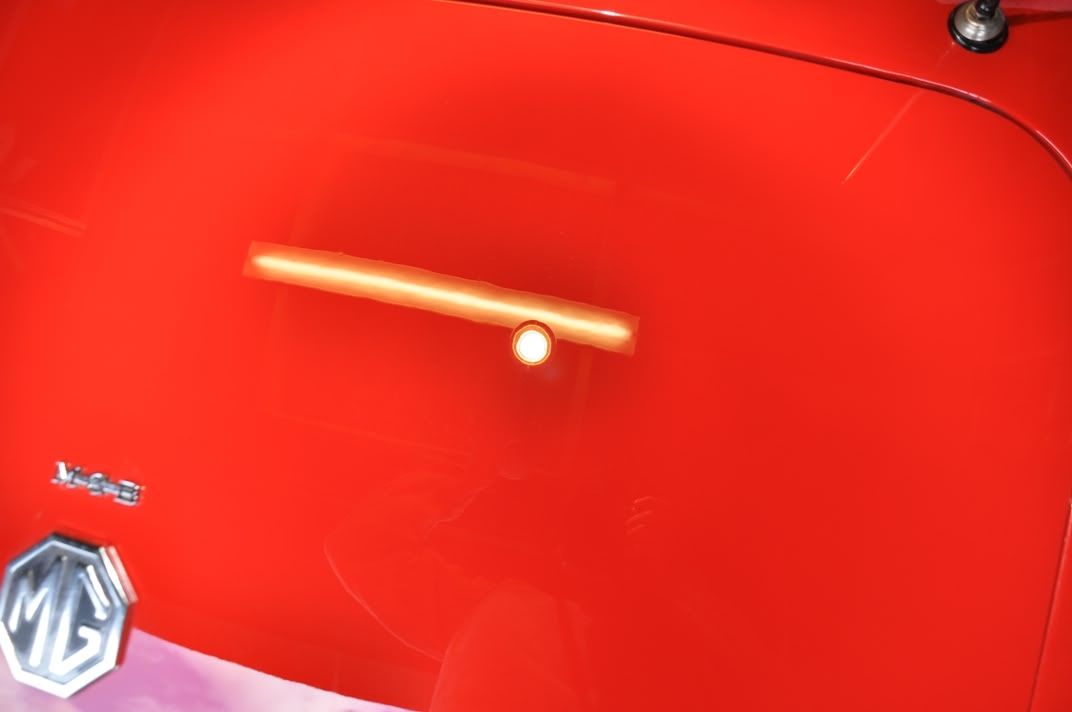
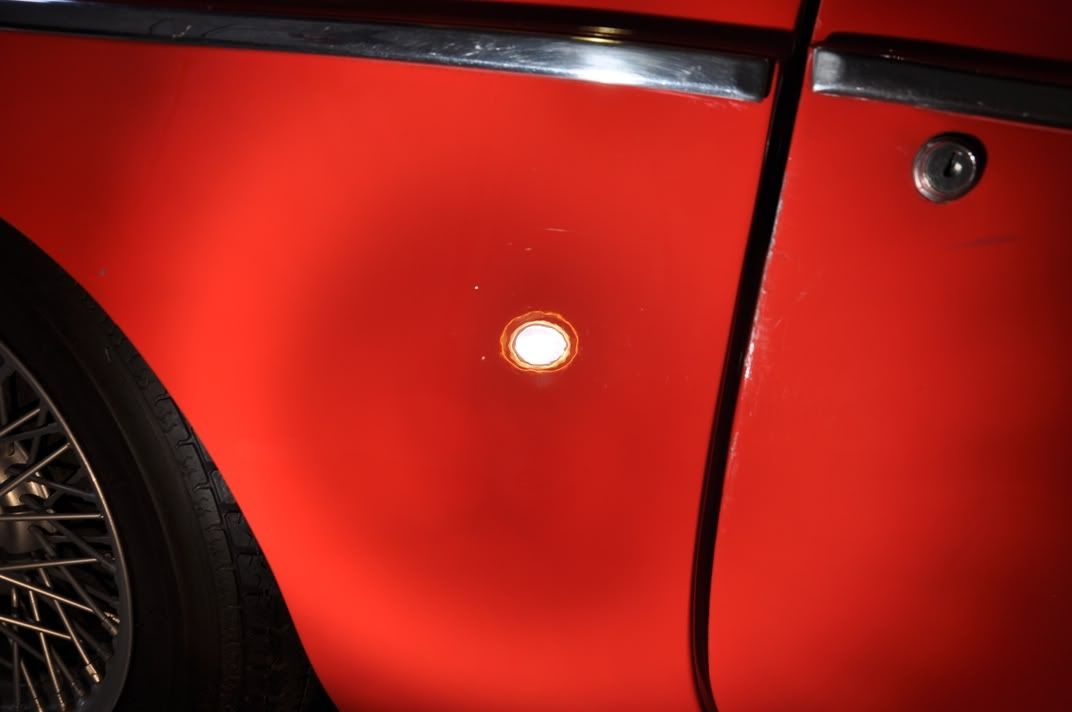
Spot corrected using Menzerna S100 Power Gloss on a 3" 3M orange cutting pad, to give this after the compounding:


Still to be refined as you can see
So this writeup is just a fairly quick one of the actual detail that was carried out on the car, and you will see various videos starring this car over the course of the next few days and weeks :thumb: Only the paintwork was focussed on here as that was the topic for my videos and I was only working on this one for the day
The car is used on dry days only, and the owner keeps it fastidiously clean, so the day started off with a gentle wash down of the bodywork and then claying - Allie was also on hand, and started off by repairing my Sun Gun:
To give you an idea of the finish as it currently stands, a few shots of the bonnet with 500W halogens showing swirls and deeper RDS:
Strip lights are great for really showing the state of the paint in terms of deeper marks, used here to show patches of deeper scouring which made for an ideal spot-correction video
: (note: use manual focus on the camera to focus on the paint surface where these marks reside):
Bearing in mind this car is 40 years old, with not fully known history, it is fair to assume that it has been sprayed at different points in its life. Using a single layer paint thickness gauge can still be a great help though, and this car proved excellent for videos demonstrating why, as there were thin patches that could catch you unawares... Measuring the paint thickness:
Using the 3M Sun Gun to assess the finish before:
Only working on this car for the day, and using some time for filming, we decided that full correction was not a feasible option - I do not believe in rushing to finish cars and possibly making mistakes. So, we went for an enhancement using Menzerna PO85RD3.02 Intensive Polish on a white CleanyourCar polishing pad to correct, and Menzerna PO85RD Final Finish on a blue 3M finishing pad to refine, all applied by rotary polisher... With one small exception, which was this deeper region on the bonnet seen here after the IP stage:
Spot corrected using Menzerna S100 Power Gloss on a 3" 3M orange cutting pad, to give this after the compounding:
Still to be refined as you can see


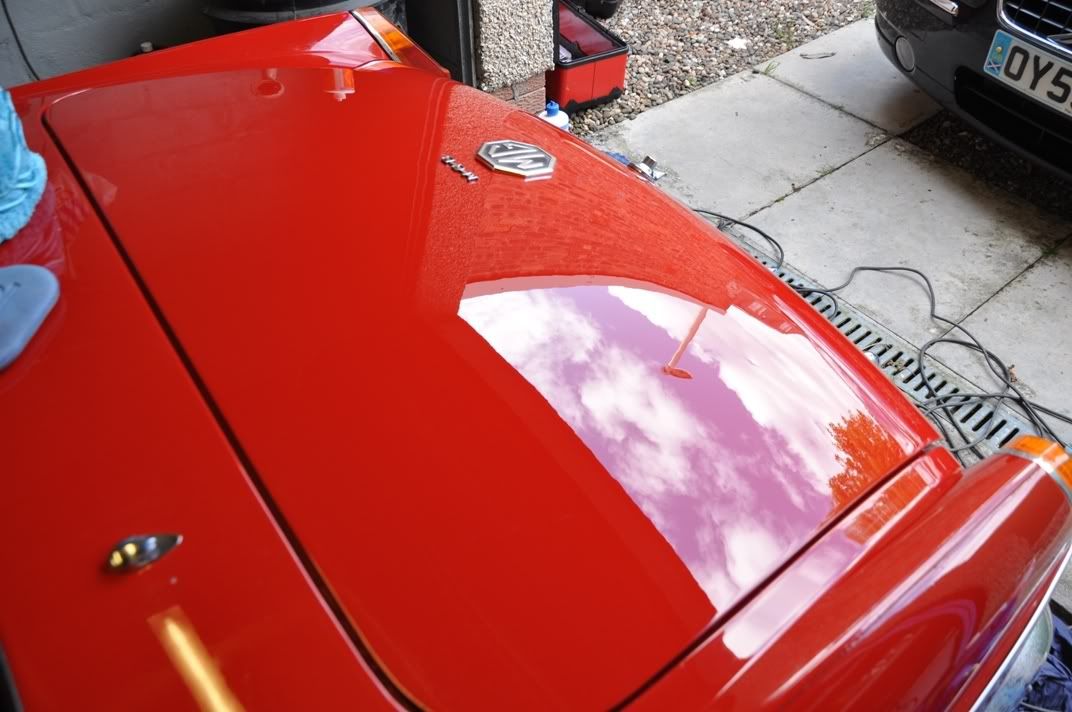


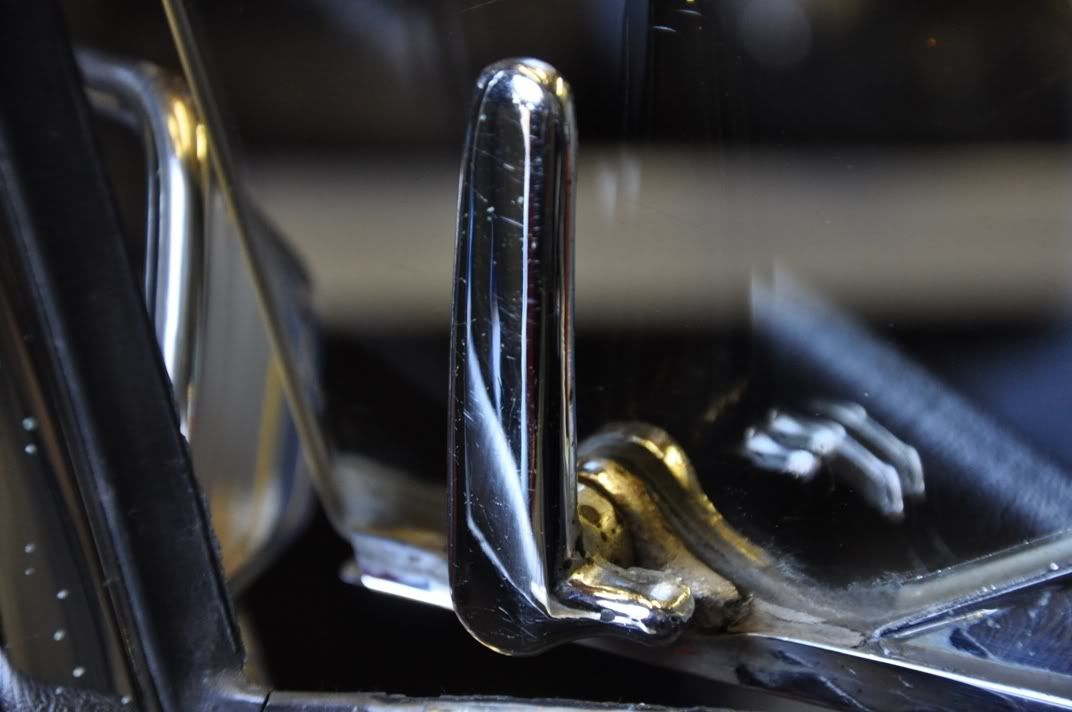
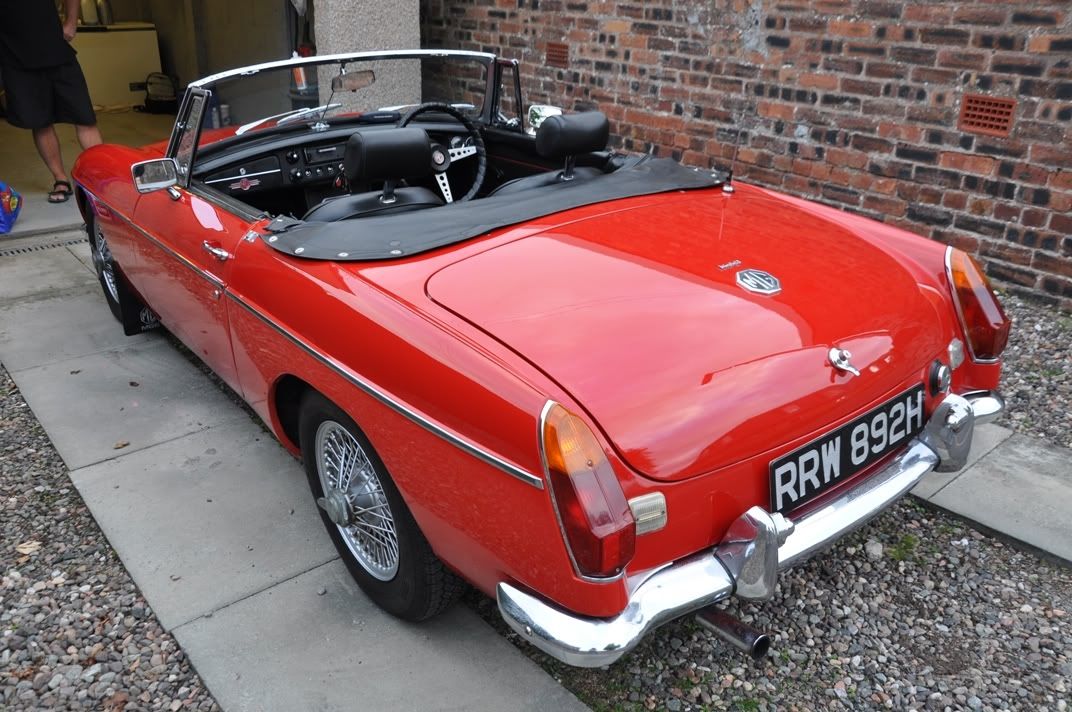
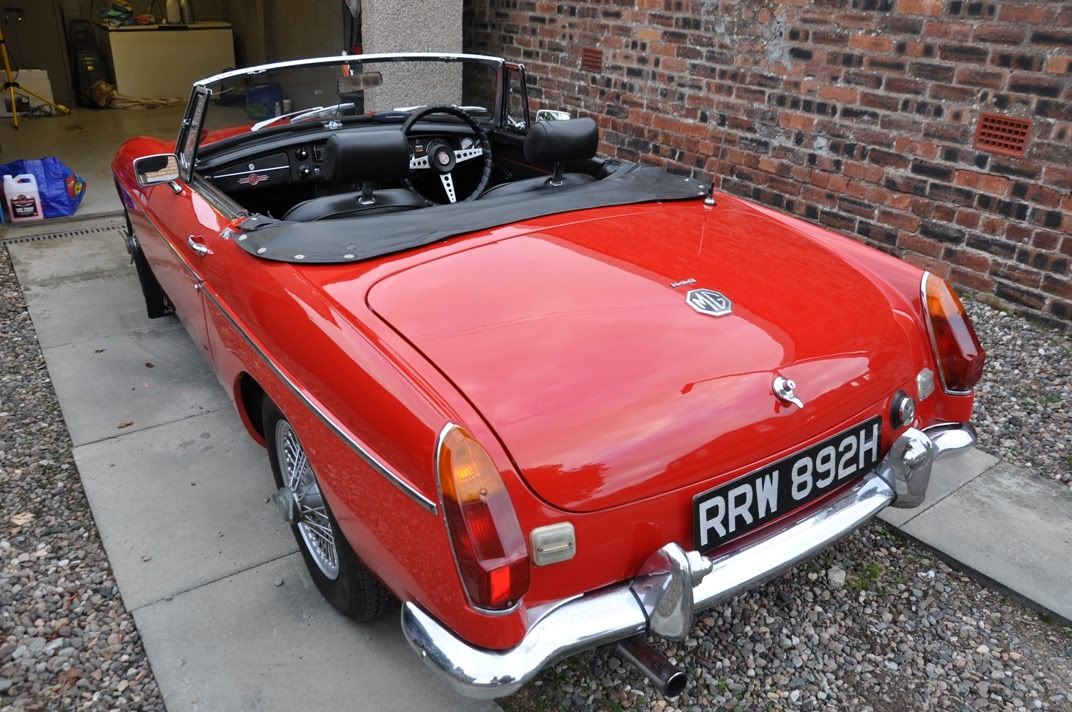
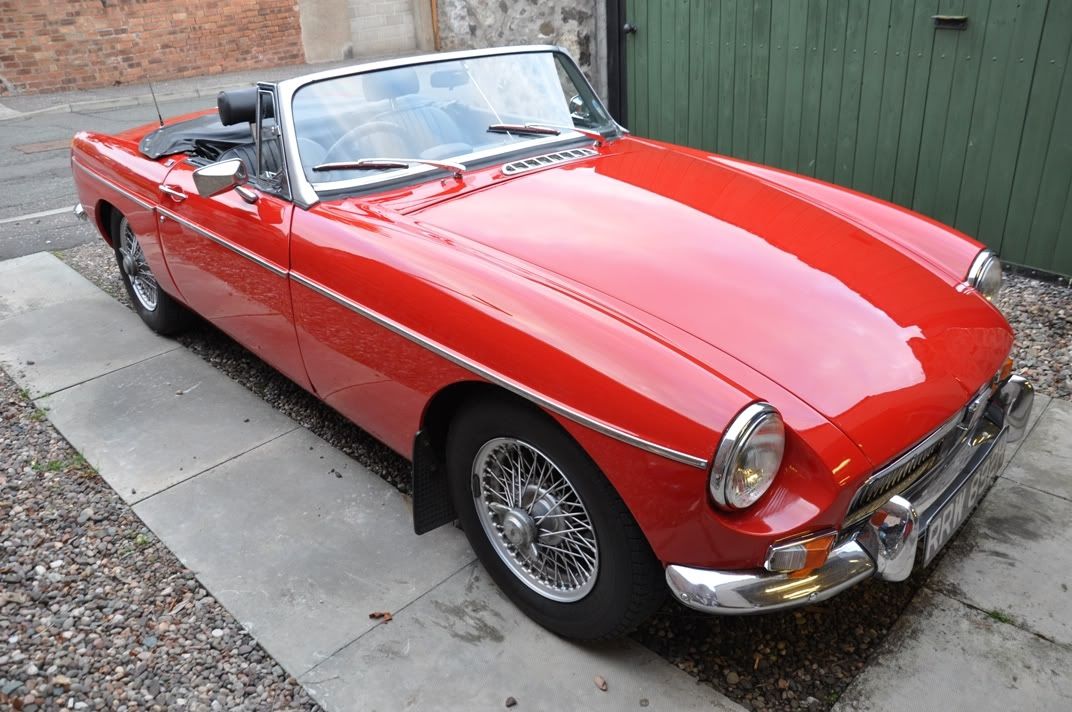
") Alas, she didn't have time to finish off all the chrome or the tailpipe but we'll finish off these little bits and bobs another time, today was really about paint and filming videos... End results were one very happy friend and a car that was looking nice in the evening light:
Alas, she didn't have time to finish off all the chrome or the tailpipe but we'll finish off these little bits and bobs another time, today was really about paint and filming videos... End results were one very happy friend and a car that was looking nice in the evening light: