MirrorDetailing
New member
Had a restoration shop call me last week about getting one of their cars done for it to go back to the customer. Shop manager was wanting to get the cars cleaned up after being finished, but wants them truly detailed. Did not have the time for any of his guys to learn...or who could truly do the work. Found me and had me come out last week and quote the car. Well everything was good and he dropped it off at the shop late Monday afternoon.
Car was to have the paint cleaned up to a good 90%+ correction, metals cleaned and sealed, interior carpets cleaned and interior cleaned. Car was a great piece to work on. It was restored by another shop some years ago and really had not been cleaned since. Normal scratches/swirls across the paint, plenty of holograms and interior was pretty grimy. Anyways....
No good before pictures as I did not have my camera. I went ahead and did a waterless wash and clayed the car the first night. Had it ready for buffing the next day, which is where the photos begin.
Process:
ONR Wash
Paint Clayed w/ DI Medium Clay via ONR Lube
Some areas clayed w/ Meguiars Aggressive Clay via ONR Lube
Paint taped up w/ Meguiars Car Masking Tape
Buffing
M105 via GG DA w/ Uber Orange Pad
Some Areas w/ SIP via Dewalt 849 Speed 1200-1800-1000 w/ Uber Orange Pad
PO87 via Dewalt 849 Speed 1000-1600-1000 w/ Uber Green Pad
Hard to reach or smaller areas done by...
M105/D300 via GG DA w/ Microfiber 3" Cutting Pad
M205 via GG DA w/ Tangerine Spot Pad
Metals w/ Optimum Metal Polish
Metals Sealed w/ Wheel Guard
LSP via WGDGPS
Windows w/ Meguiars Glass Cleaner
Tires w/ Optimum Tire Gel
Interior w/ Cleaned w/ Green Clean
Interior Seats/Panels wiped down w/ 303
Carpets via Steamcleaner by Meguiars APC+ Mixture
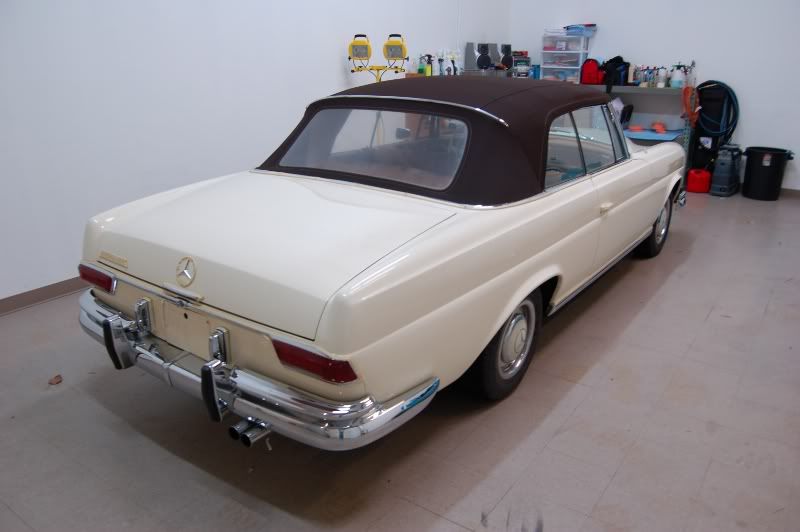
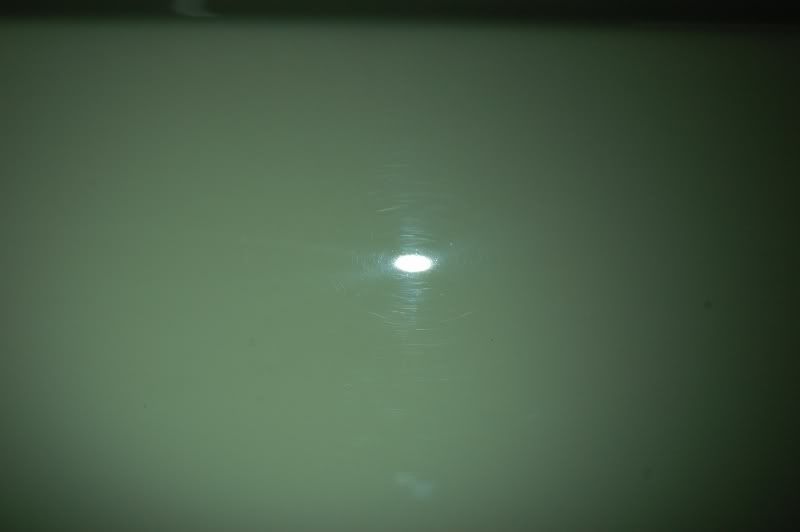
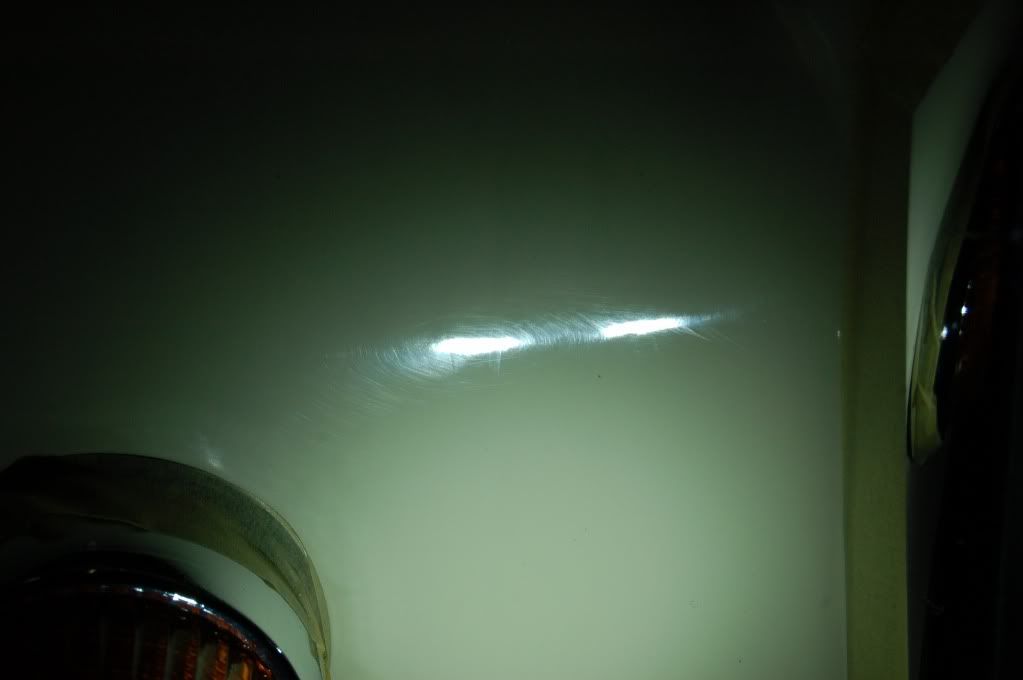
Starting on my test area to see what would yield the results I wanted.
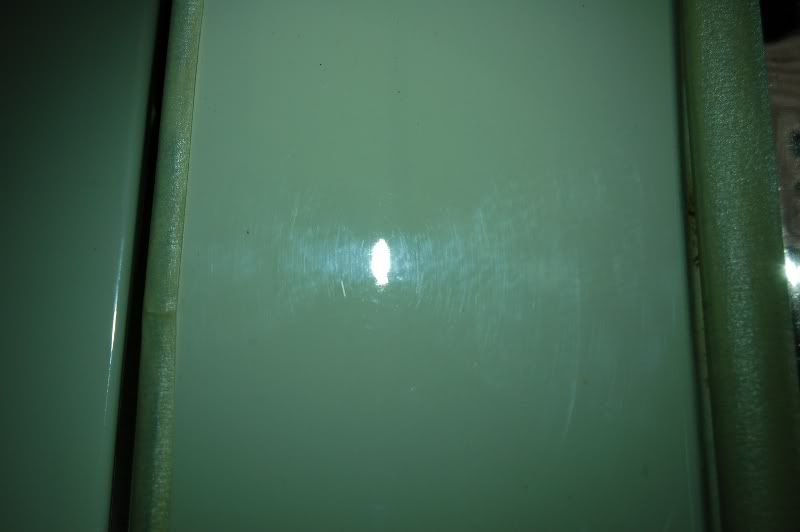
Test area before...
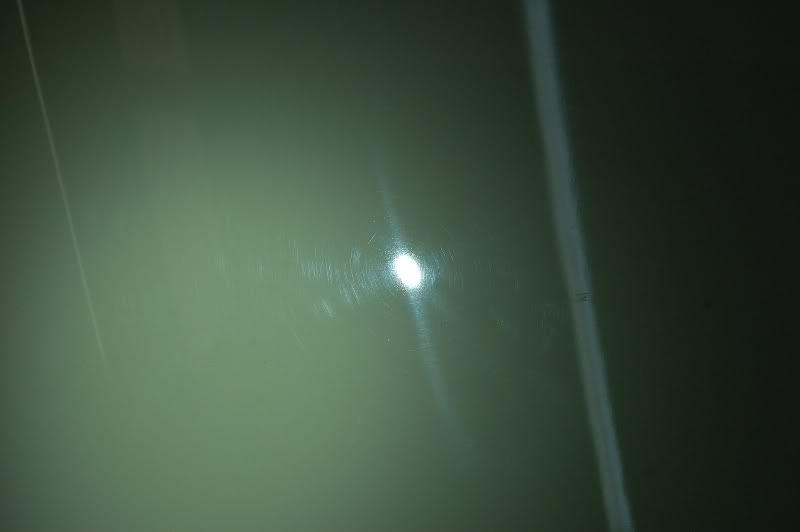
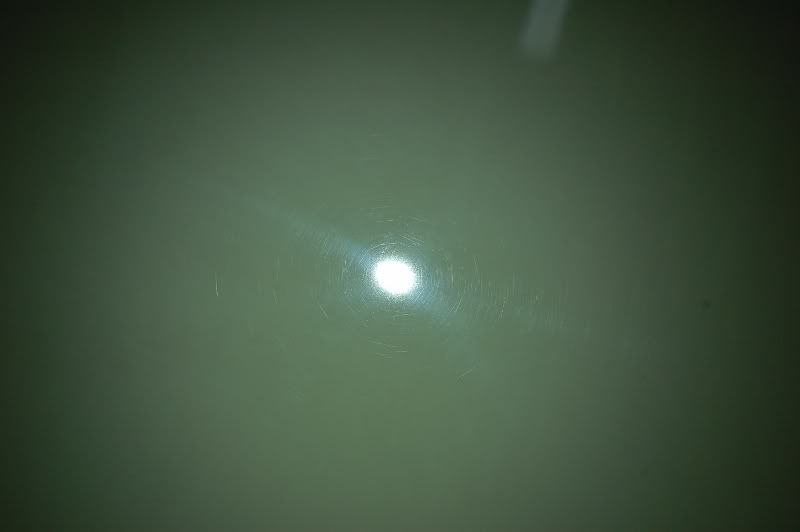
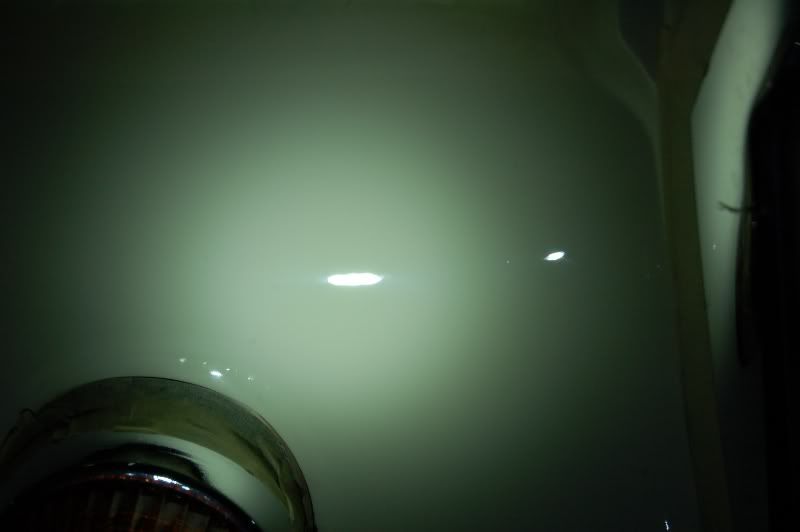
Half and half...
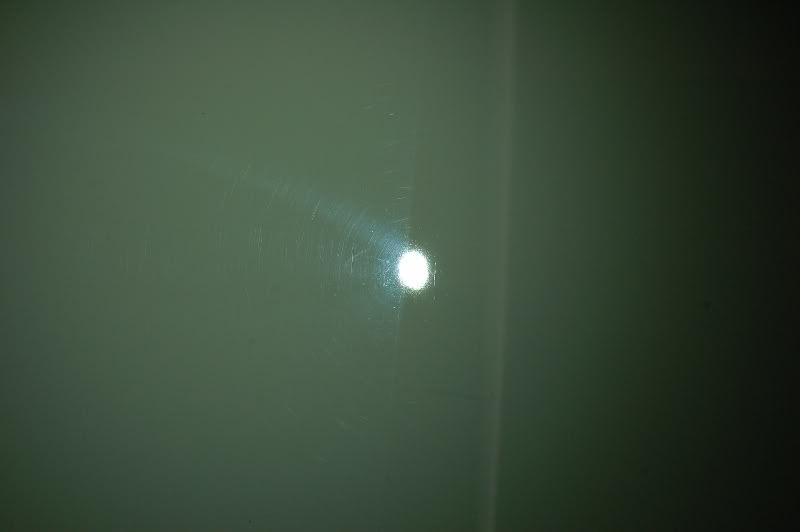
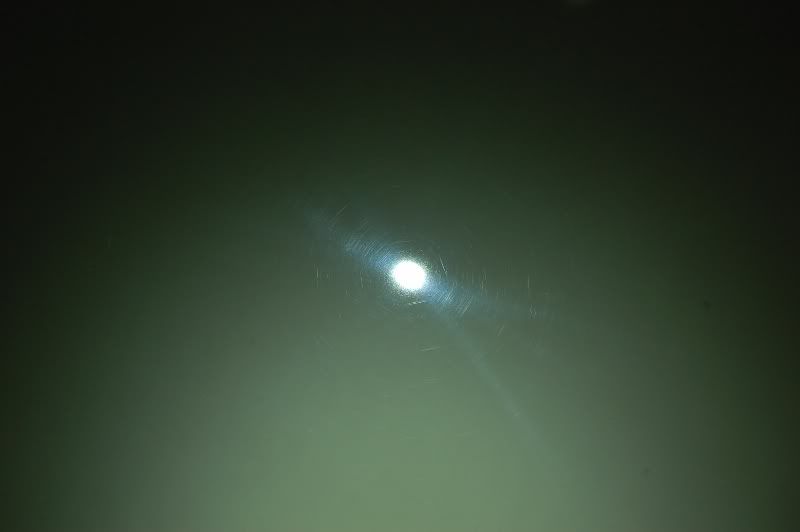
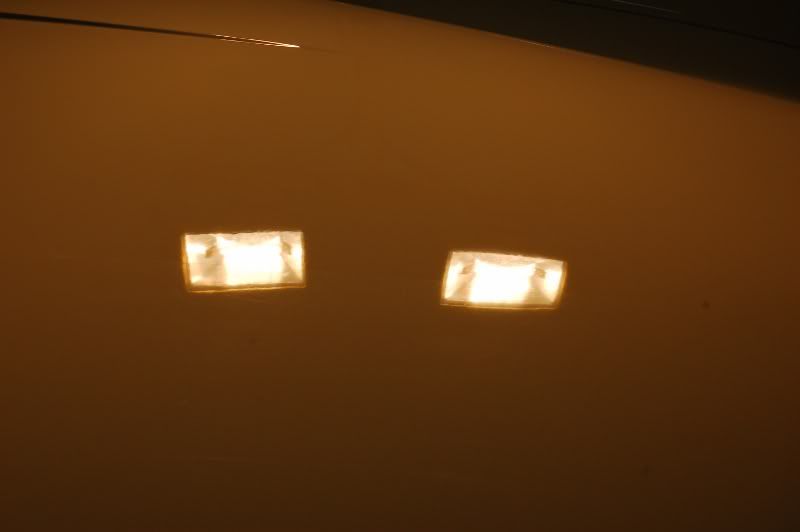
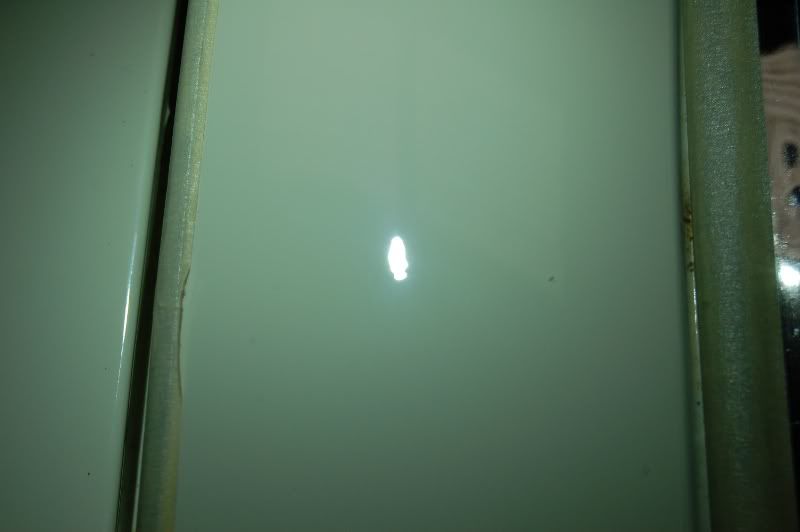
And test area after both buffs...
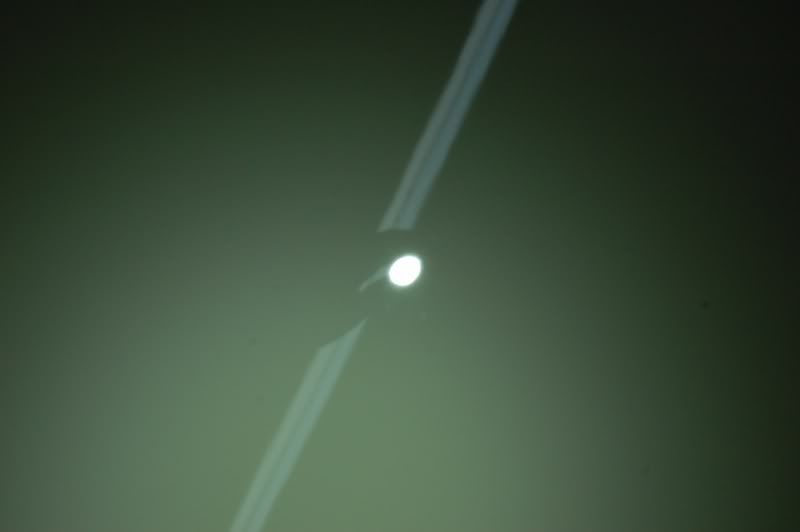
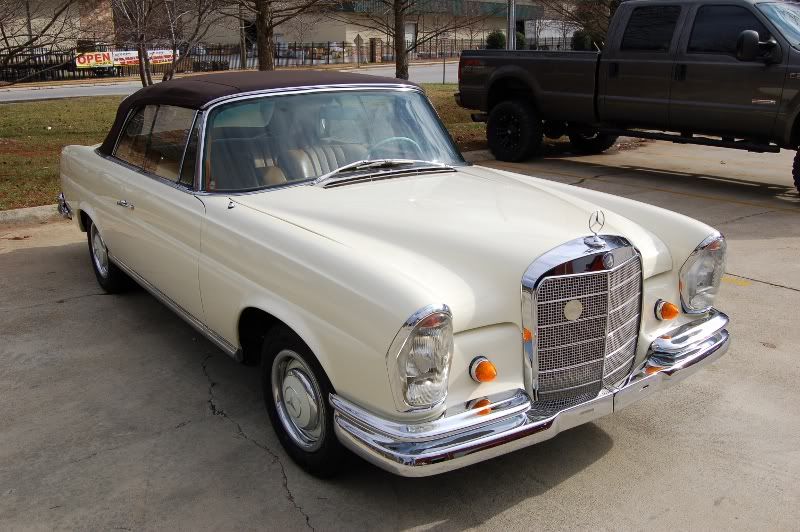
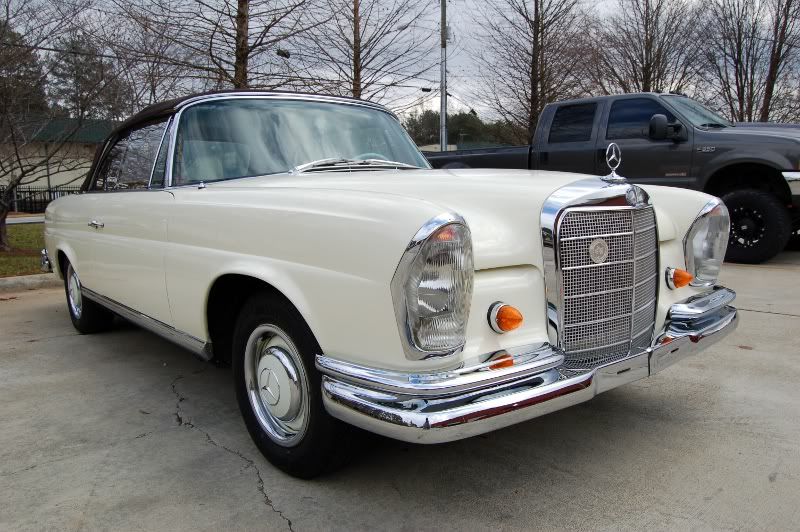
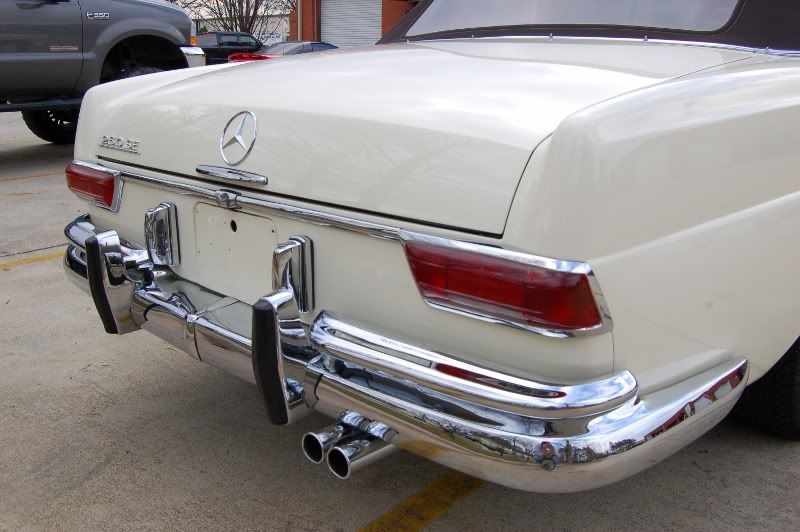
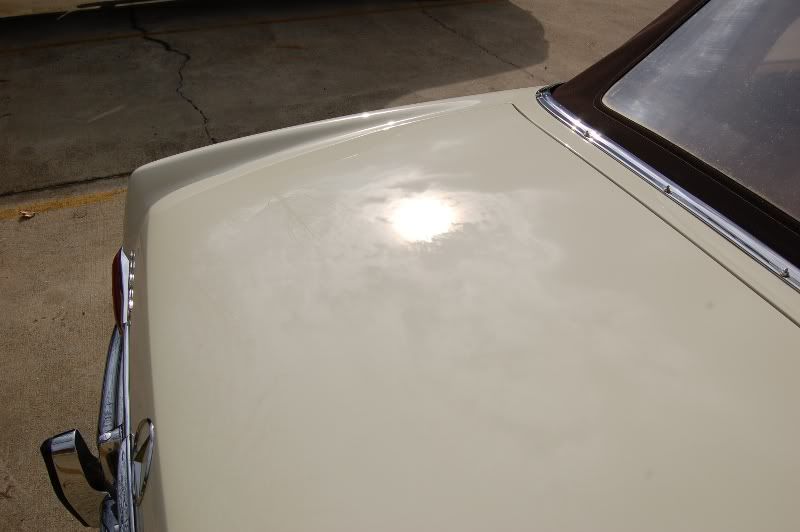
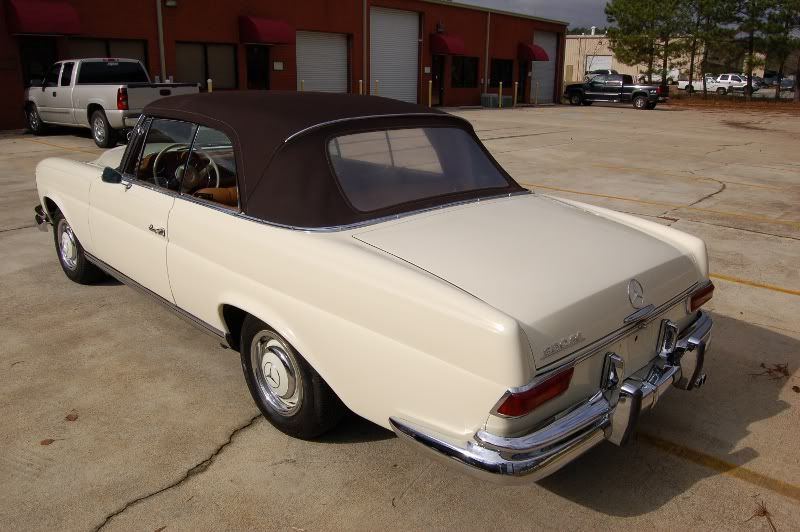
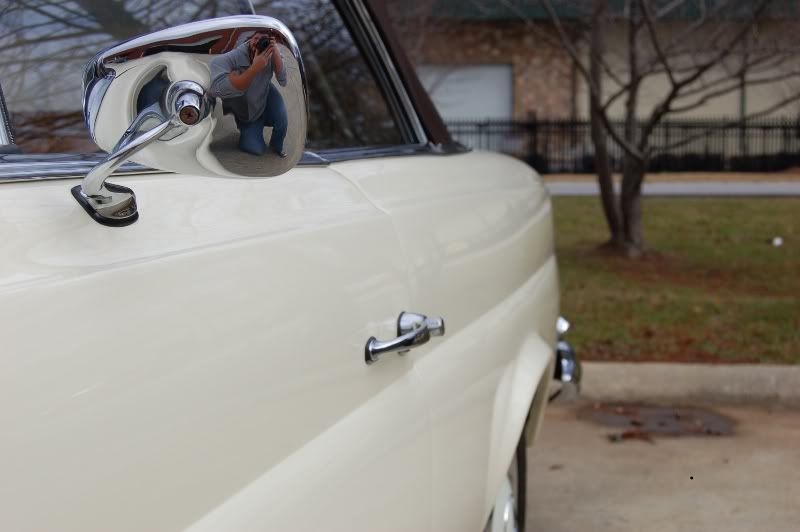
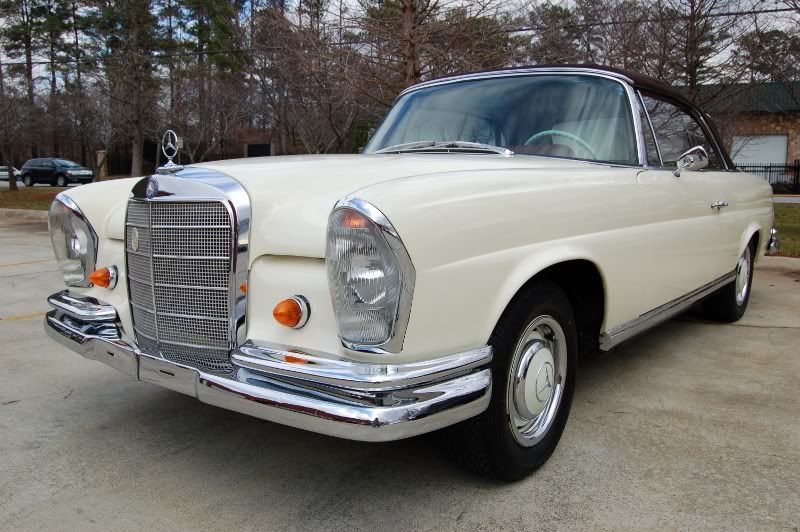
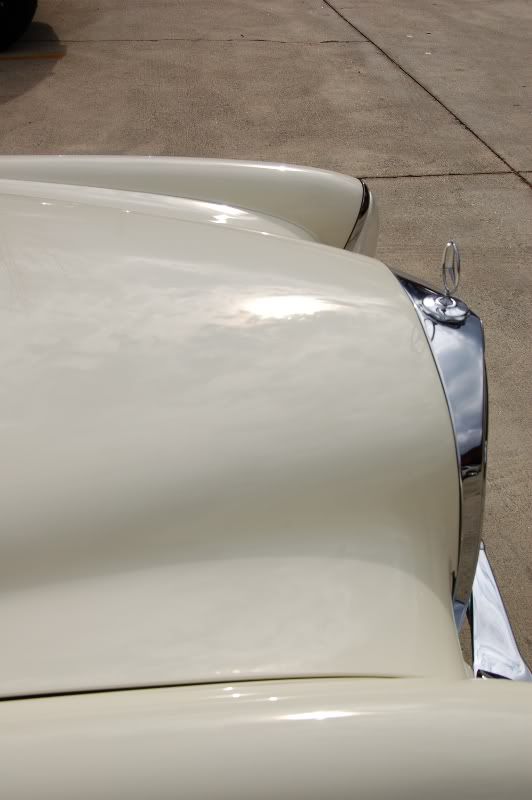
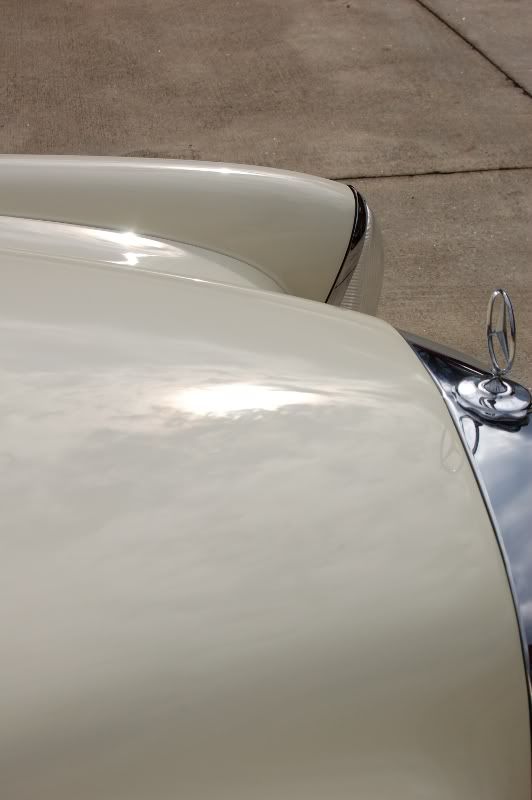
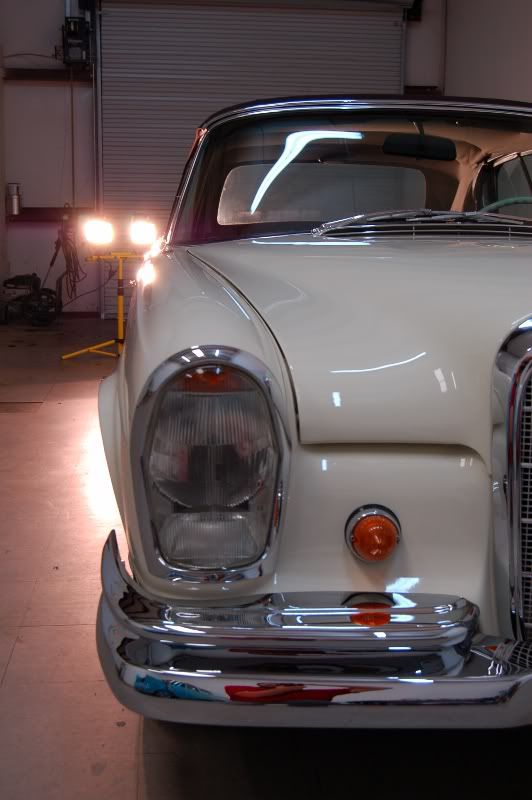
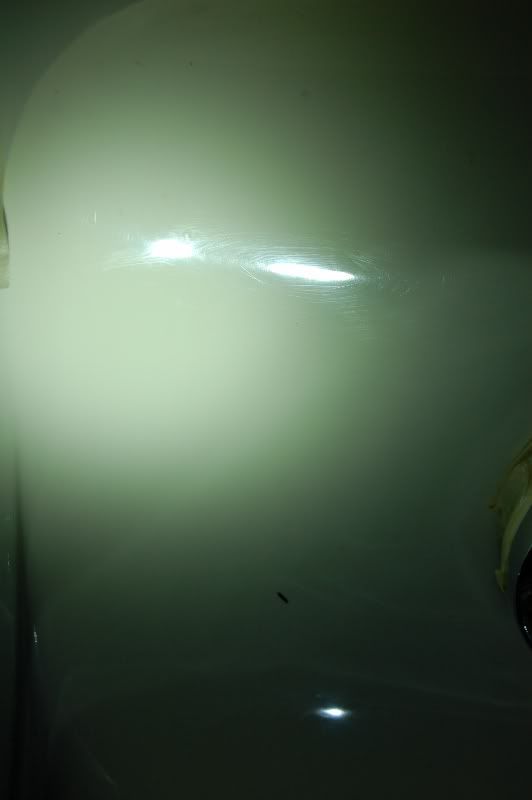
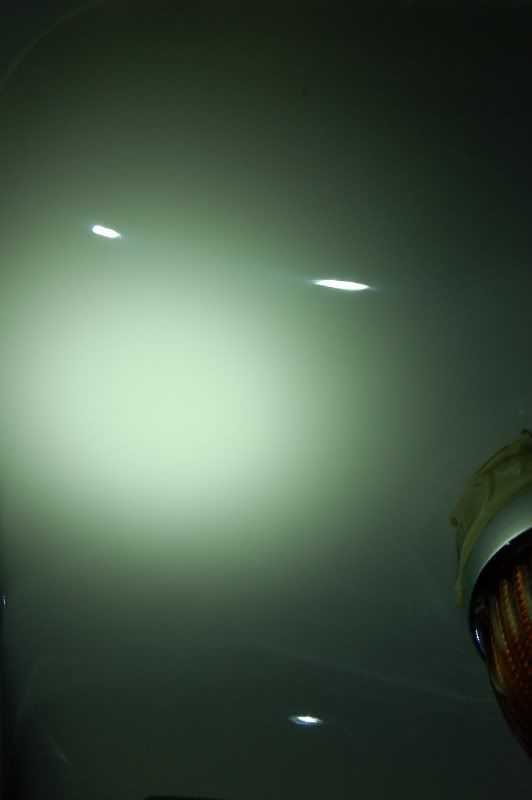
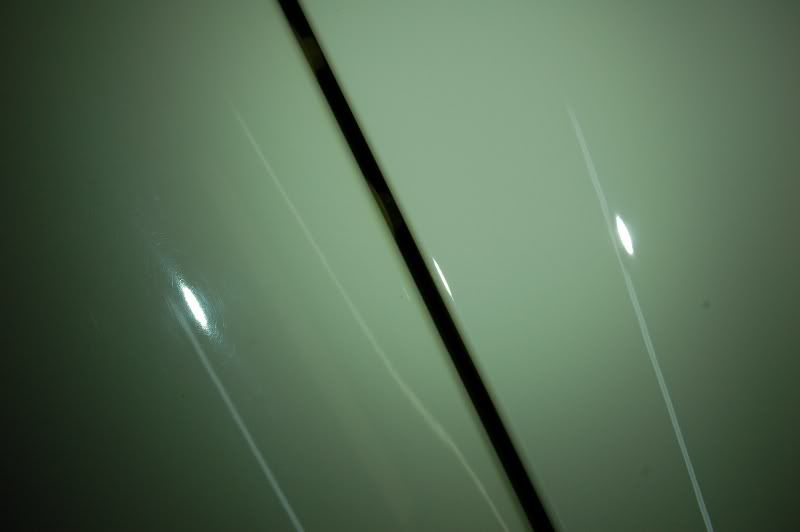
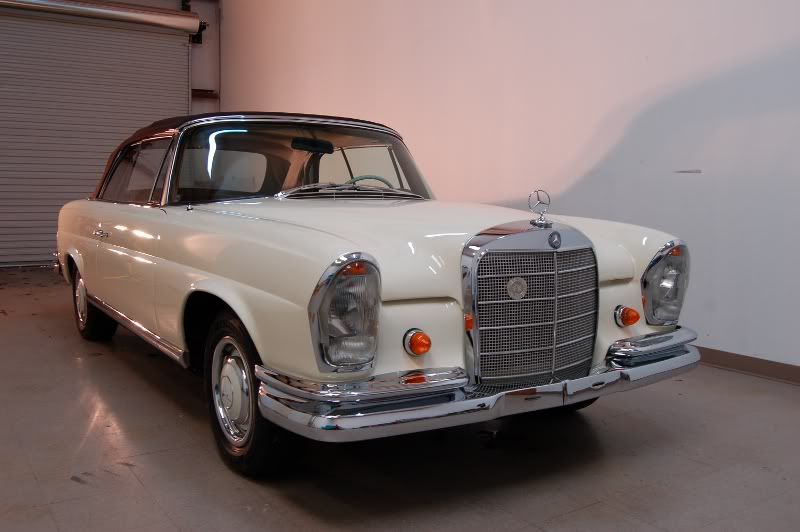
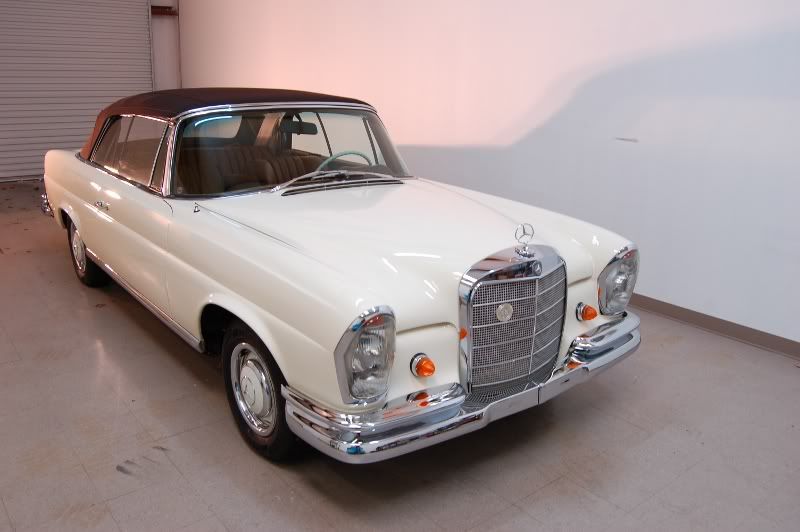
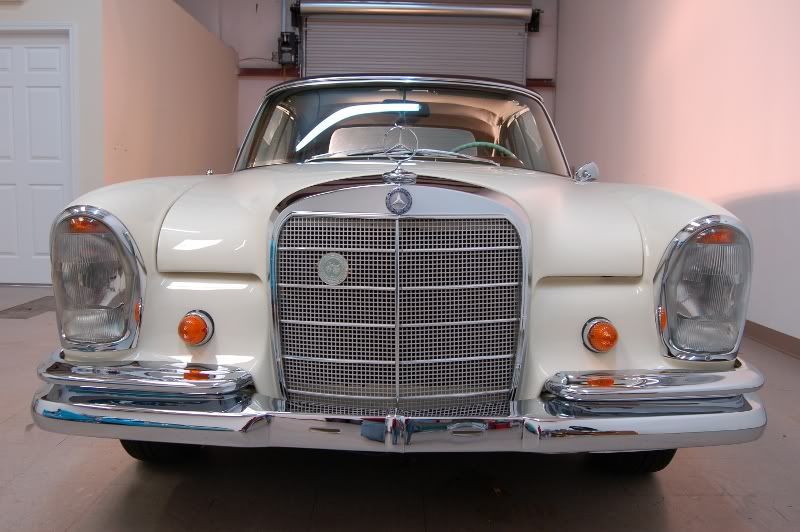
General condition of the paint around the car...
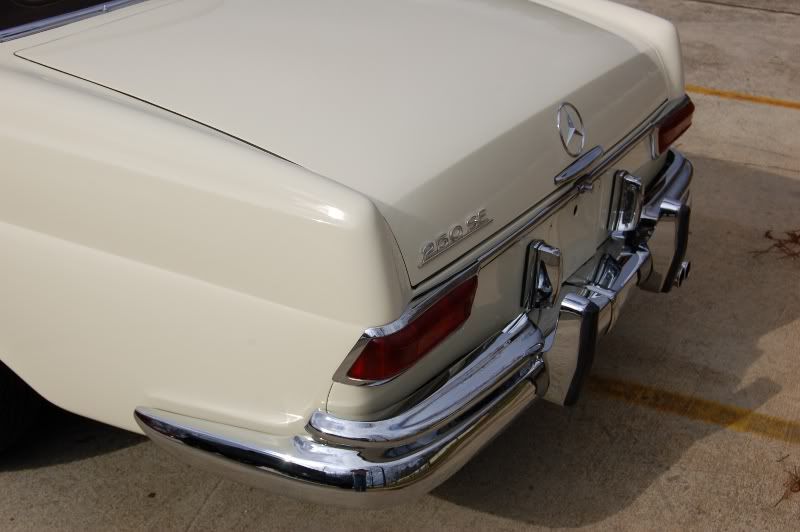
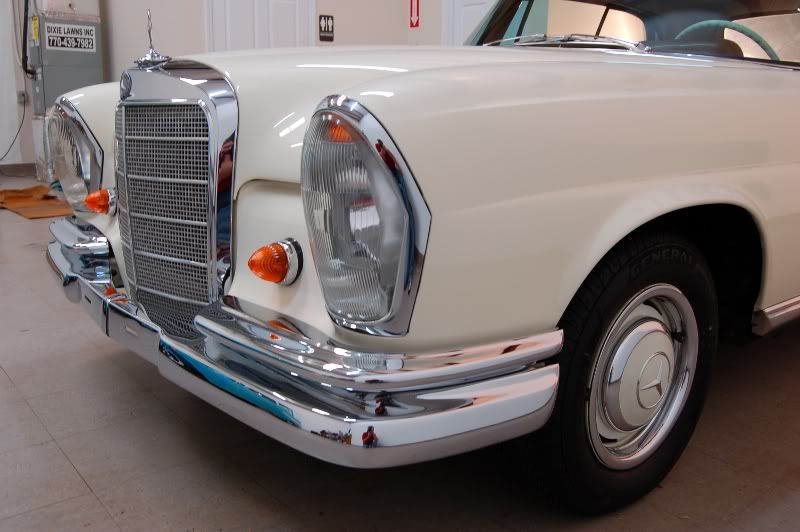
The areas of the front bumper as I was working on them...
Pass side before and after...
Driver side before and after...
Then some light on the hood after doing half of it. Hard to tell but you can see the line running half way through the lights...
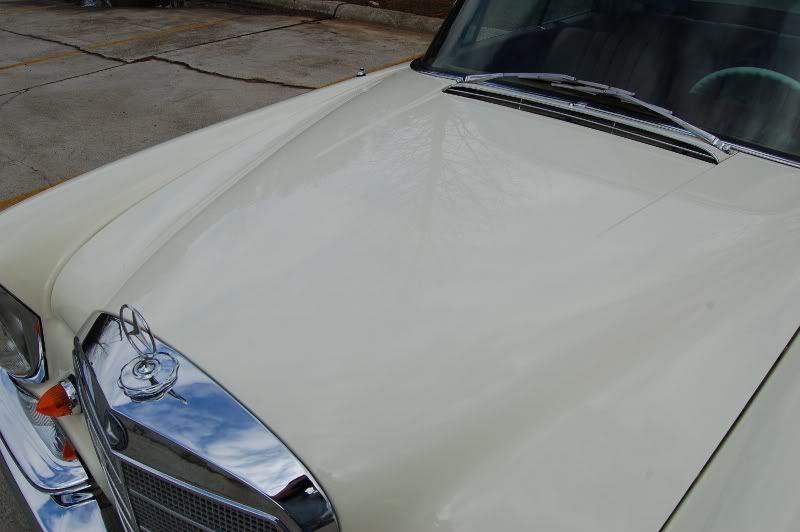
Then the front hood scope before and after...
Here a shot of the hood and the fender. Hood has already been done, fender untouched...
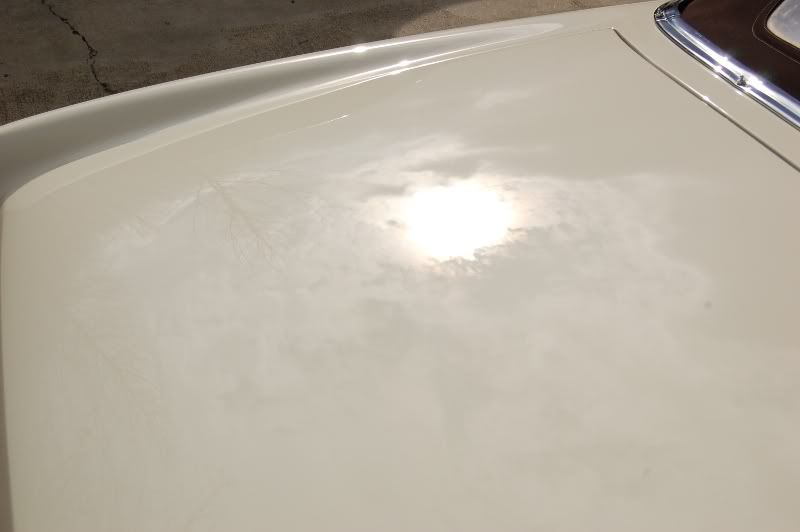
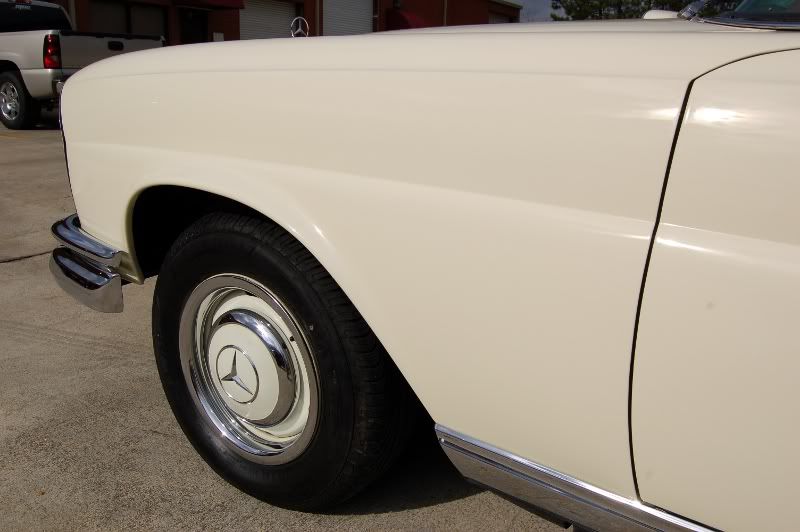
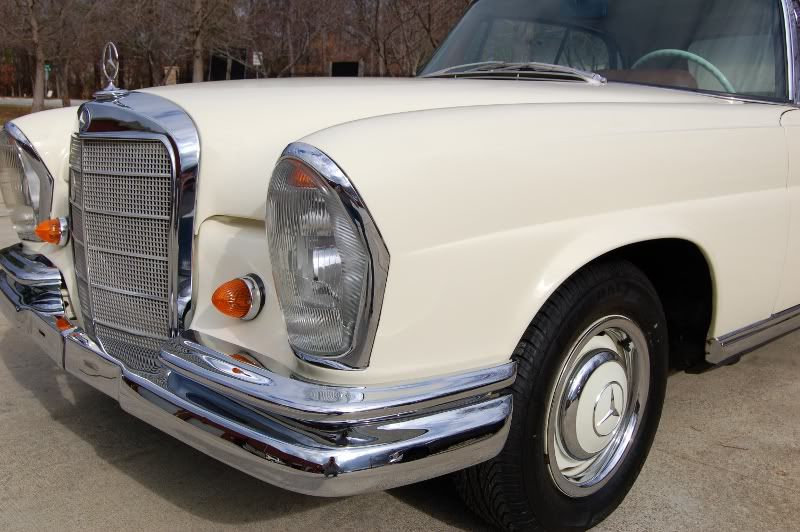
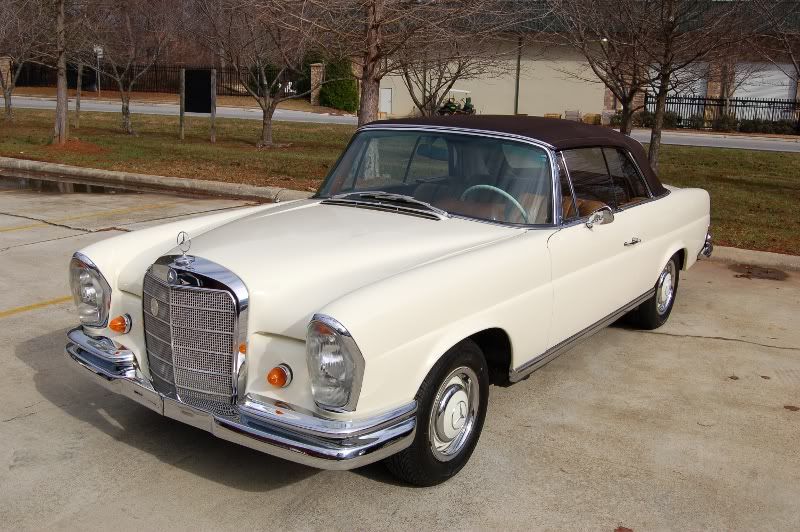
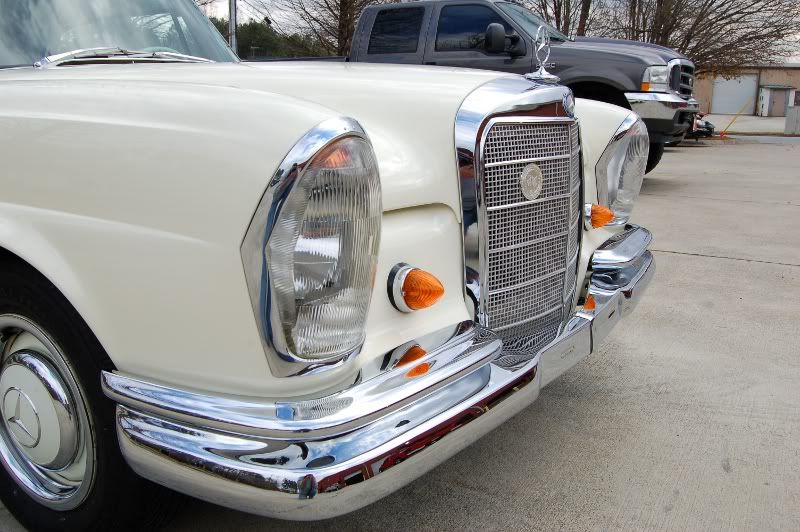
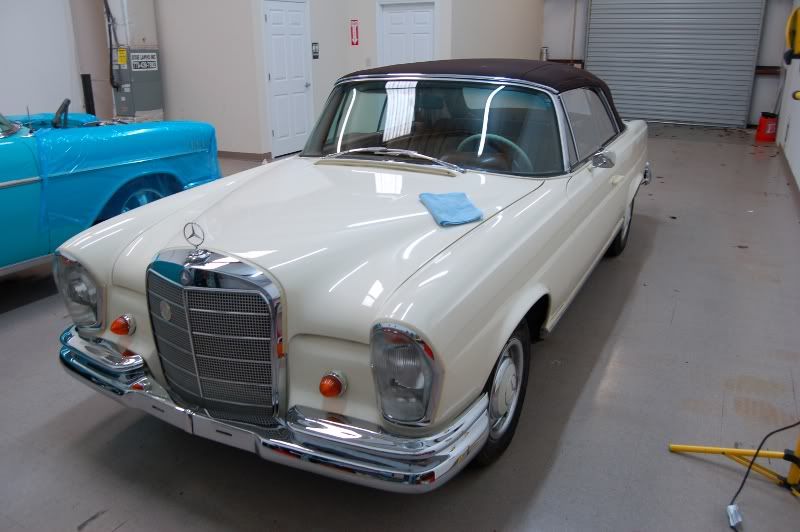
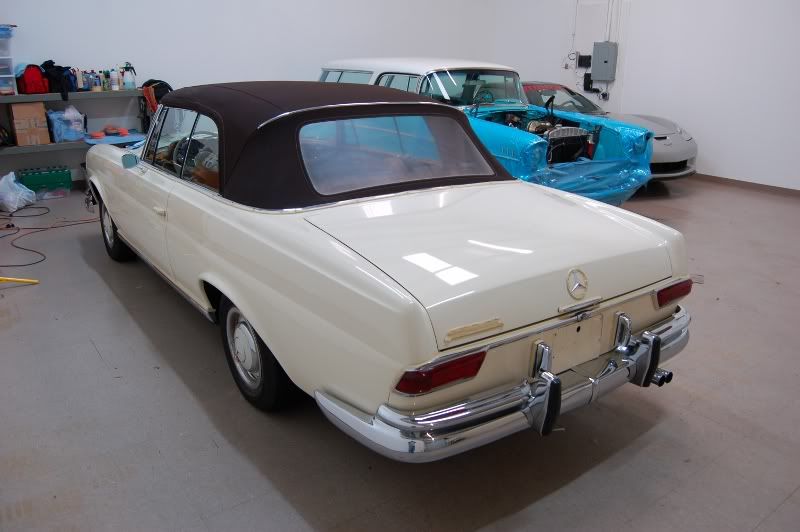
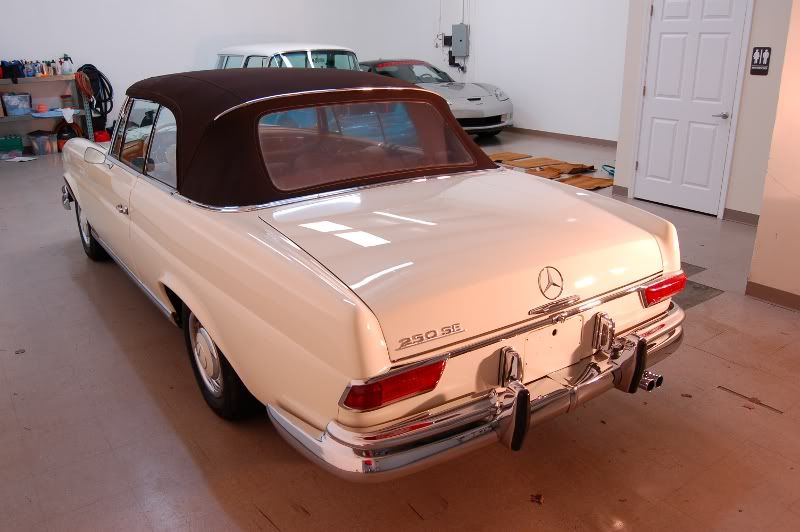
Now after working on the whole car...here are some shots of the paint after everything was completed...
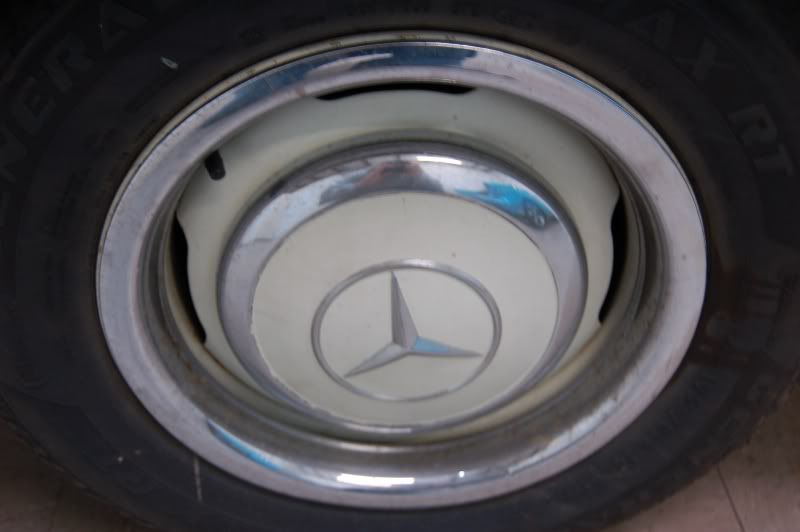
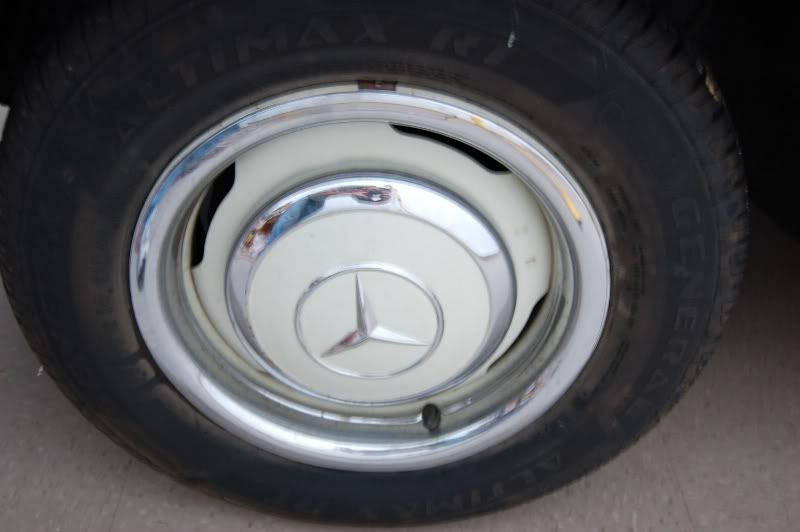
A shot of the wheels before and after...
After everything was done....got to the interior...
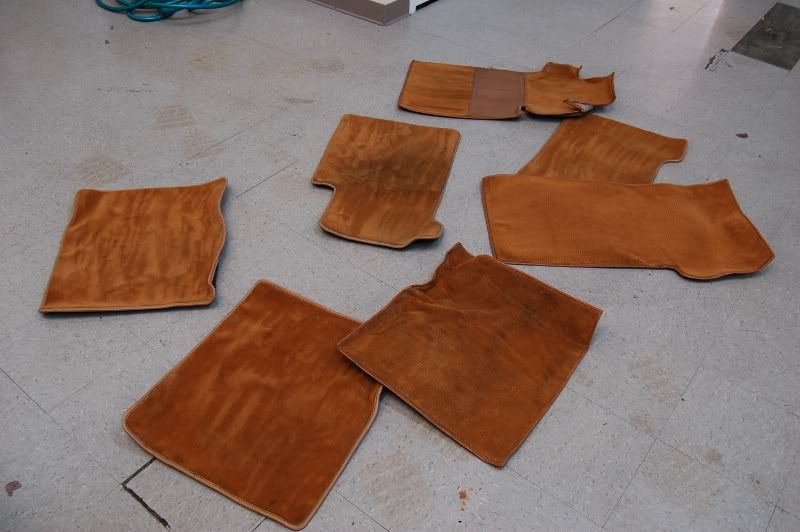
The amazing amount of floormatts that came out of this thing...
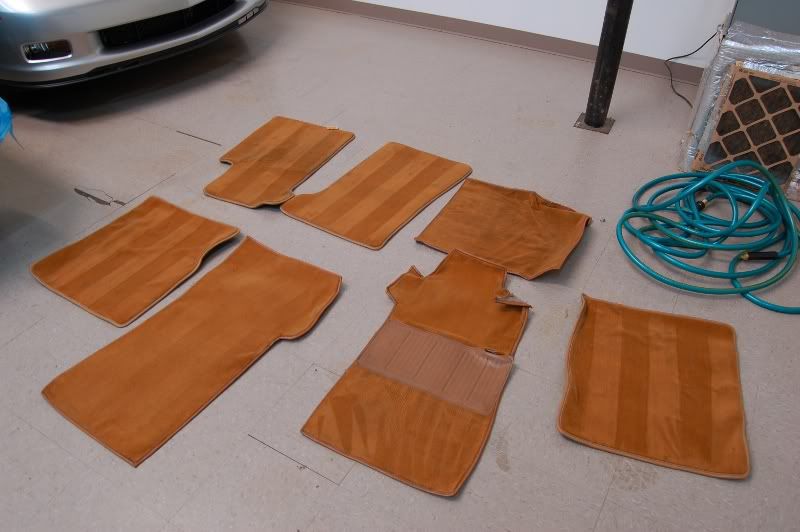
After cleaning them...
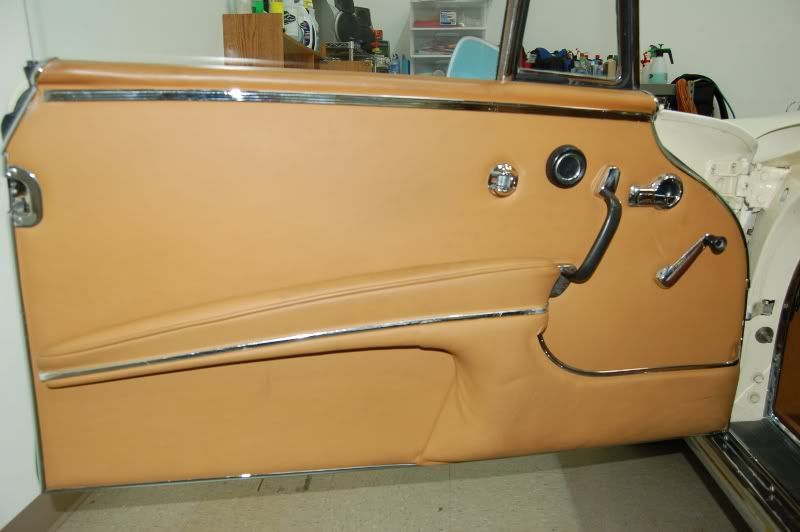
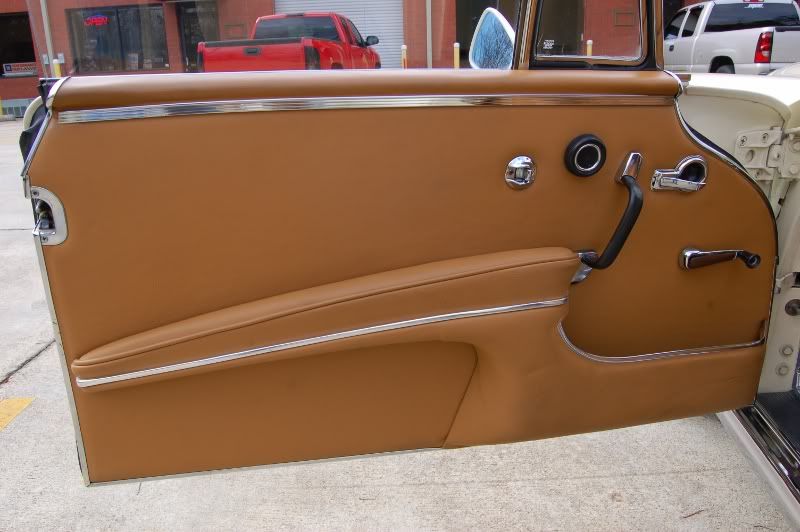
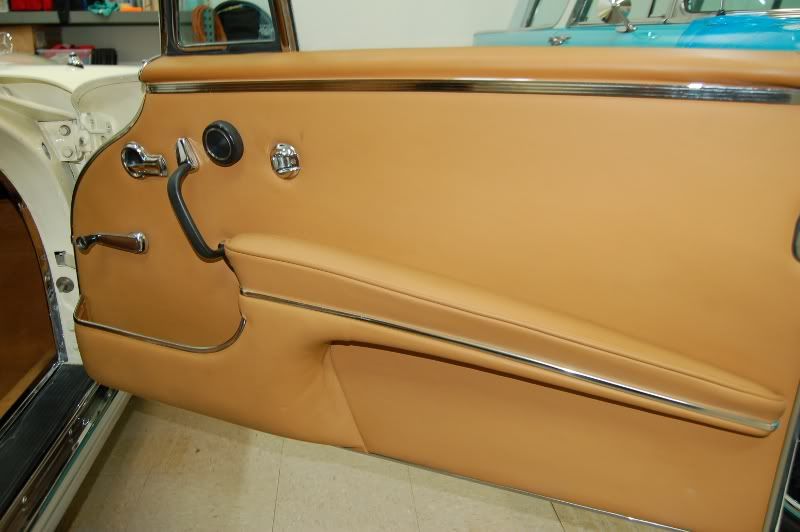
Driver door panel before and after...
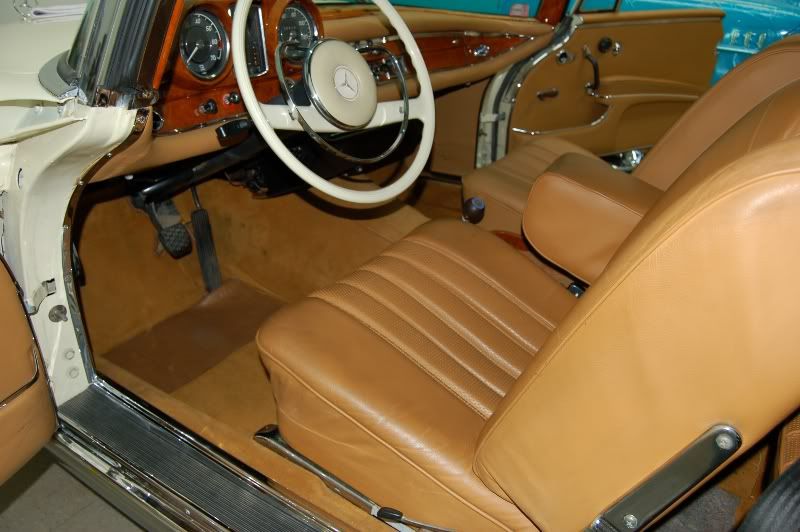
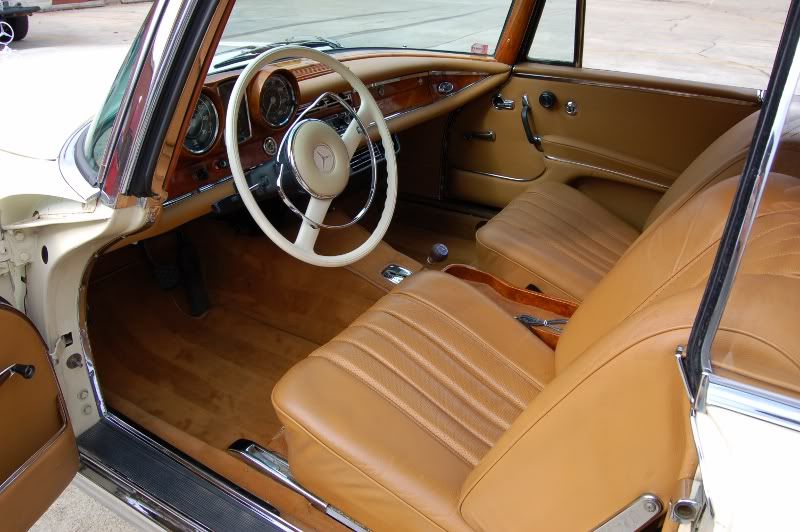
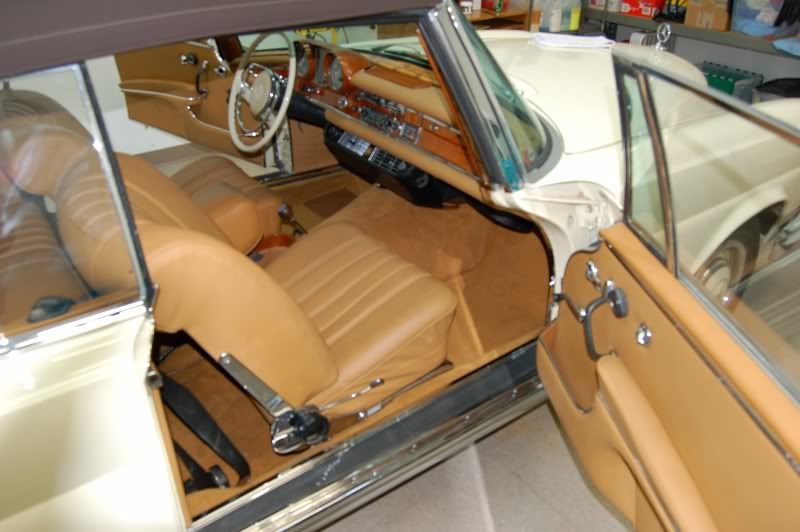
Driver interior before and after...
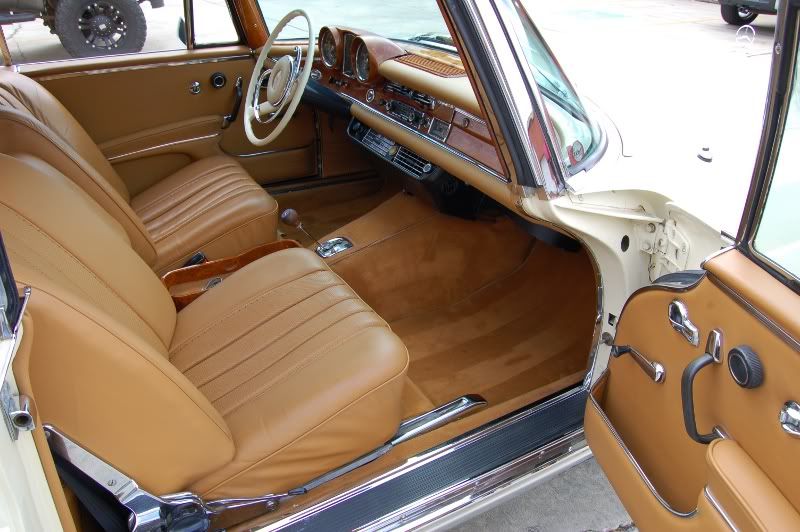
Pass interior before and after...
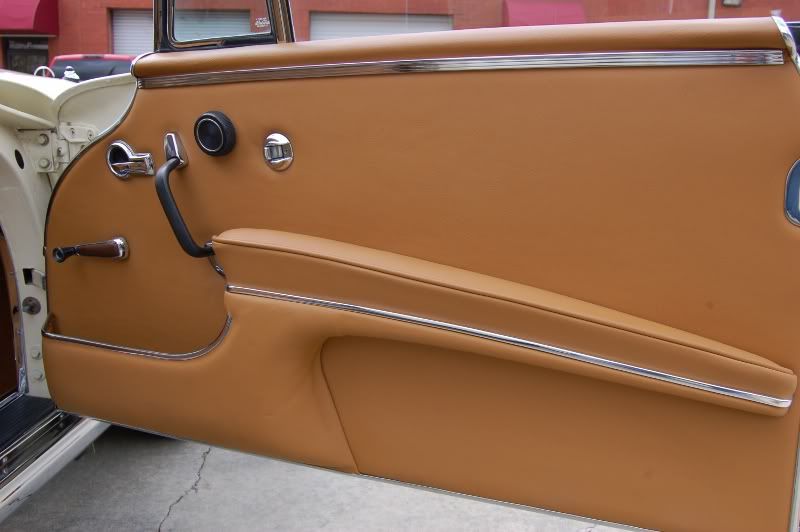
Pass door panel before and after...
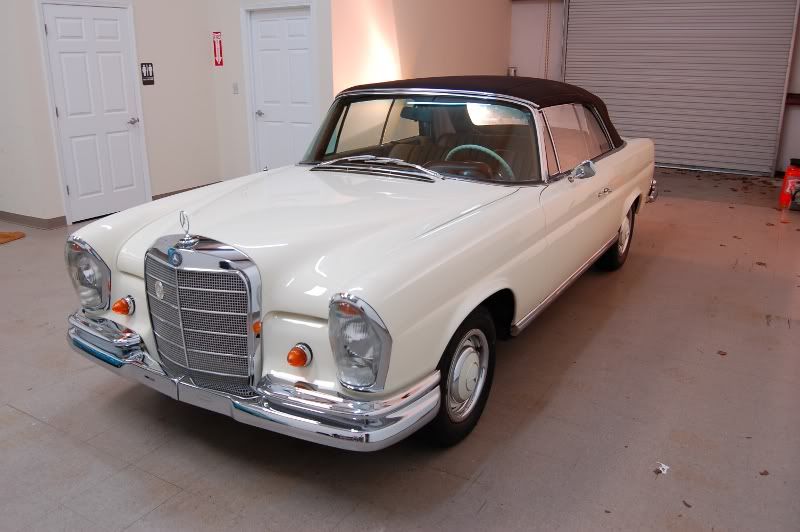
And then inside waiting on the sun to come out, I snapped a few pictures...

Car was to have the paint cleaned up to a good 90%+ correction, metals cleaned and sealed, interior carpets cleaned and interior cleaned. Car was a great piece to work on. It was restored by another shop some years ago and really had not been cleaned since. Normal scratches/swirls across the paint, plenty of holograms and interior was pretty grimy. Anyways....
No good before pictures as I did not have my camera. I went ahead and did a waterless wash and clayed the car the first night. Had it ready for buffing the next day, which is where the photos begin.
Process:
ONR Wash
Paint Clayed w/ DI Medium Clay via ONR Lube
Some areas clayed w/ Meguiars Aggressive Clay via ONR Lube
Paint taped up w/ Meguiars Car Masking Tape
Buffing
M105 via GG DA w/ Uber Orange Pad
Some Areas w/ SIP via Dewalt 849 Speed 1200-1800-1000 w/ Uber Orange Pad
PO87 via Dewalt 849 Speed 1000-1600-1000 w/ Uber Green Pad
Hard to reach or smaller areas done by...
M105/D300 via GG DA w/ Microfiber 3" Cutting Pad
M205 via GG DA w/ Tangerine Spot Pad
Metals w/ Optimum Metal Polish
Metals Sealed w/ Wheel Guard
LSP via WGDGPS
Windows w/ Meguiars Glass Cleaner
Tires w/ Optimum Tire Gel
Interior w/ Cleaned w/ Green Clean
Interior Seats/Panels wiped down w/ 303
Carpets via Steamcleaner by Meguiars APC+ Mixture
Starting on my test area to see what would yield the results I wanted.
Test area before...
Half and half...
And test area after both buffs...
General condition of the paint around the car...
The areas of the front bumper as I was working on them...
Pass side before and after...
Driver side before and after...
Then some light on the hood after doing half of it. Hard to tell but you can see the line running half way through the lights...
Then the front hood scope before and after...
Here a shot of the hood and the fender. Hood has already been done, fender untouched...
Now after working on the whole car...here are some shots of the paint after everything was completed...
A shot of the wheels before and after...
After everything was done....got to the interior...
The amazing amount of floormatts that came out of this thing...
After cleaning them...
Driver door panel before and after...
Driver interior before and after...
Pass interior before and after...
Pass door panel before and after...
And then inside waiting on the sun to come out, I snapped a few pictures...