MirrorDetailing
New member
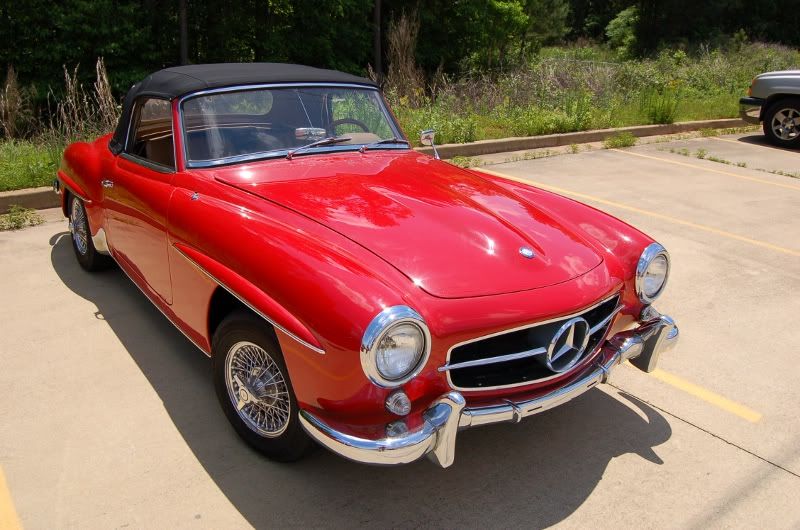
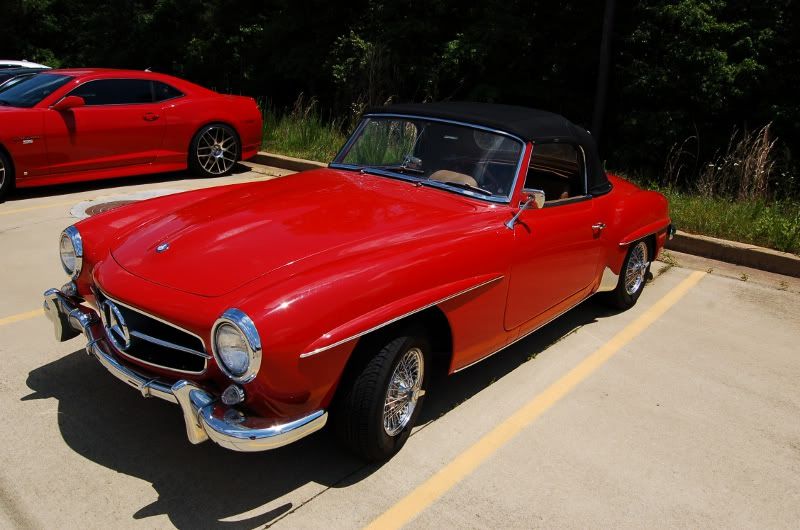
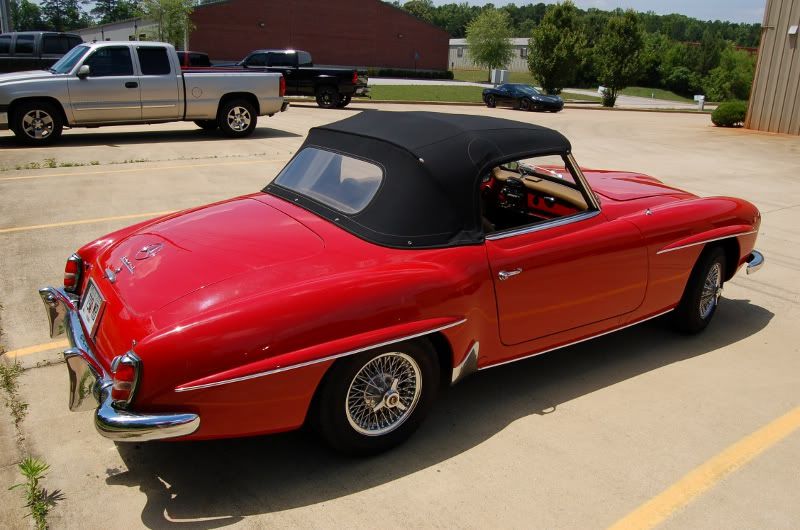
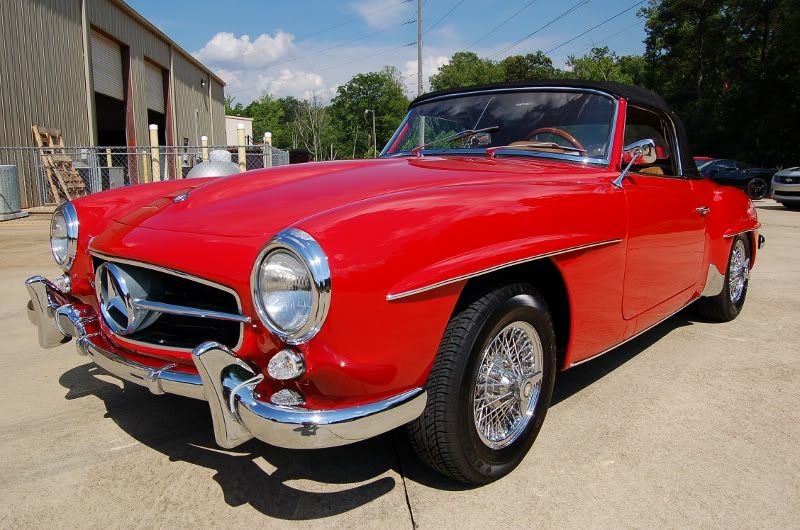
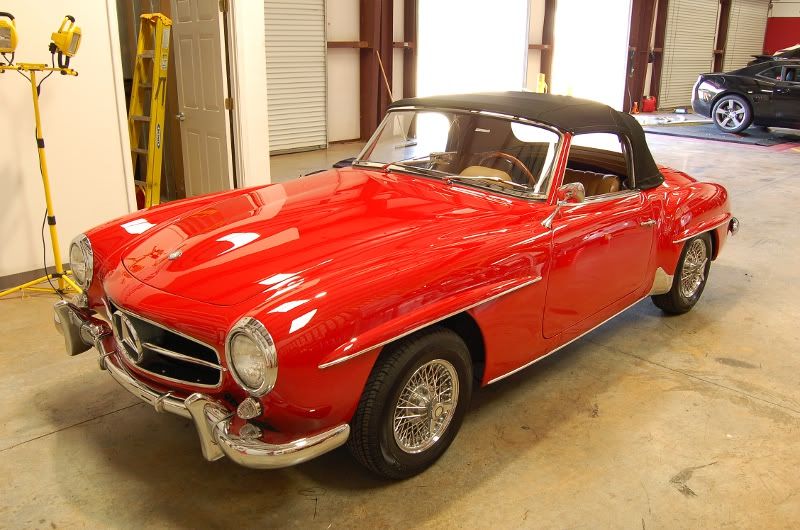
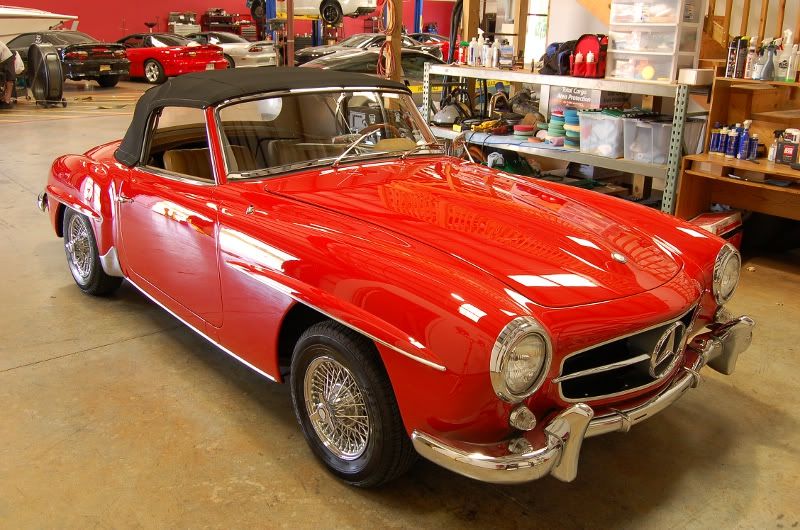
Another customer of Buds...owner saw the 280 I recently did and wanted his done to the same degree. Car was in great shape and a great turn around. Came out real well and paint really glowed after being completed.
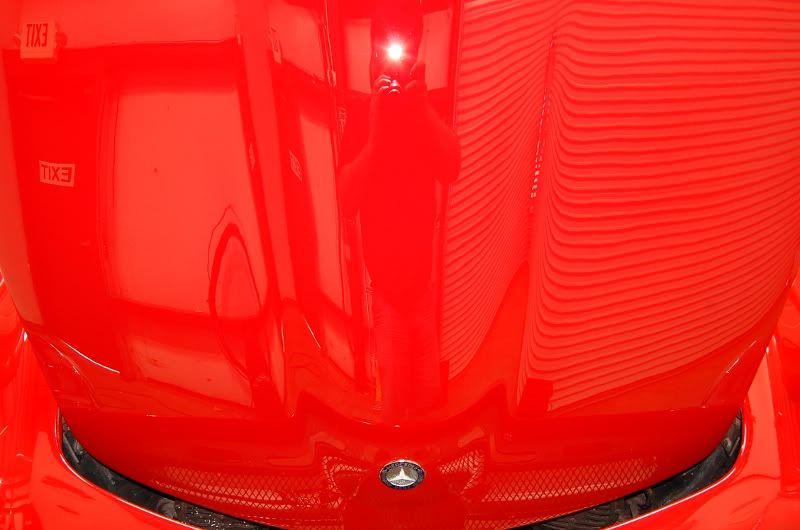
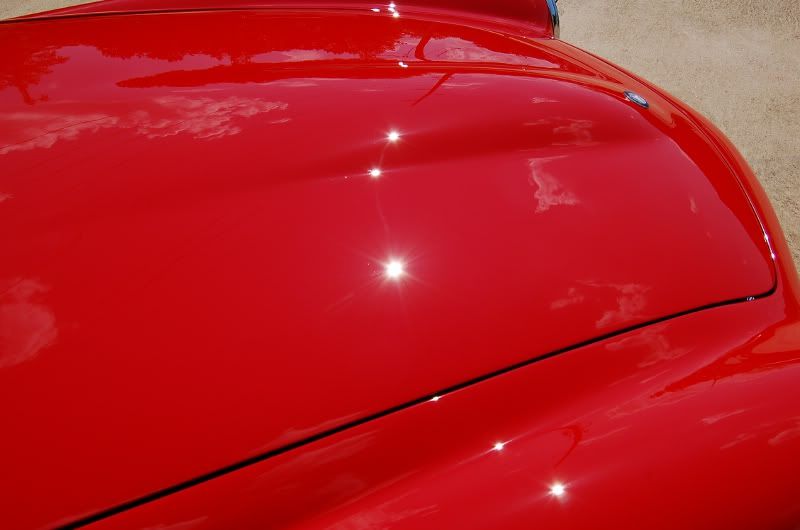
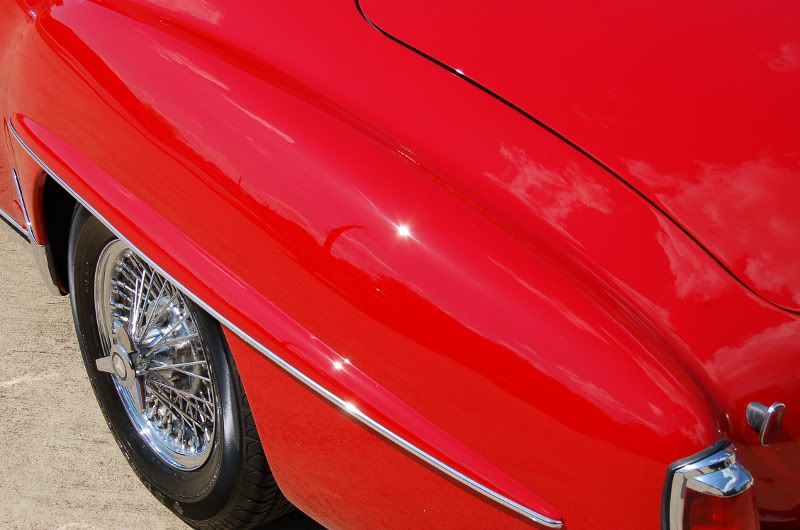
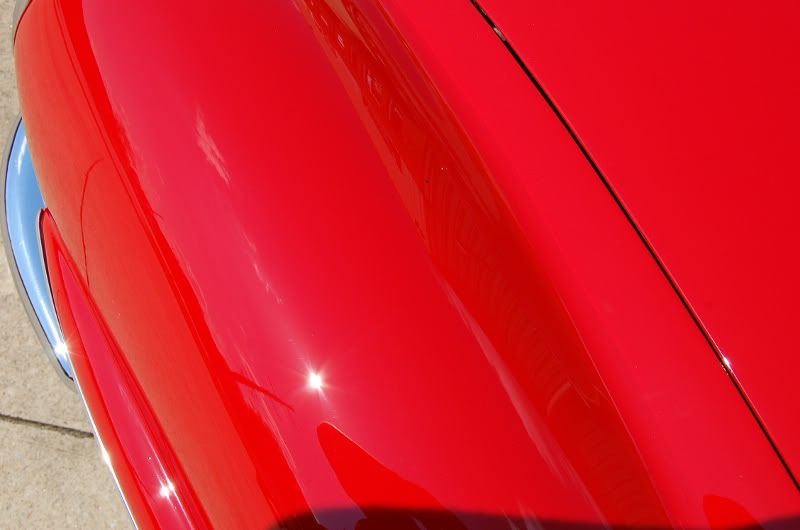
This paint was awesome to work with. 1-2 Rounds of 105/300 with the MF Cutting Pads knocked out upwards of 95-100% correction in most areas. Followed up with PO85RD and the trusty Dewalt and really brought the gloss out.
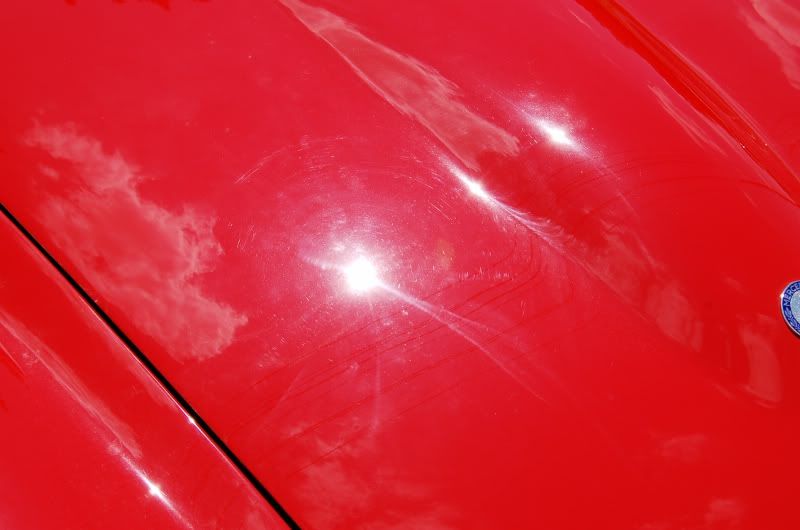
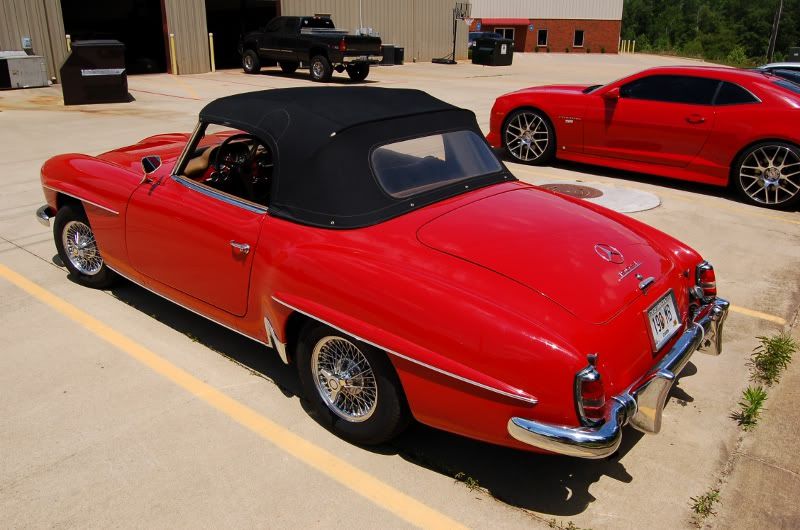
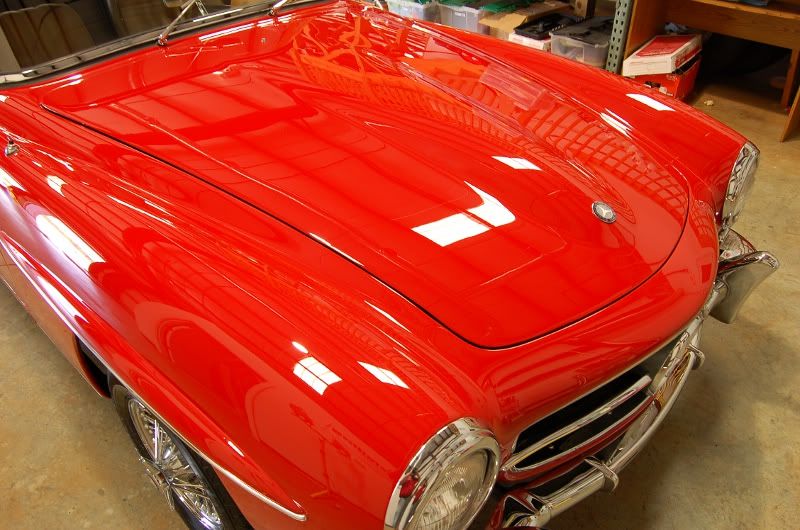
Before pictures when it was dropped off. Was a perfect day outside to really get the befores of the paint too see its condition.
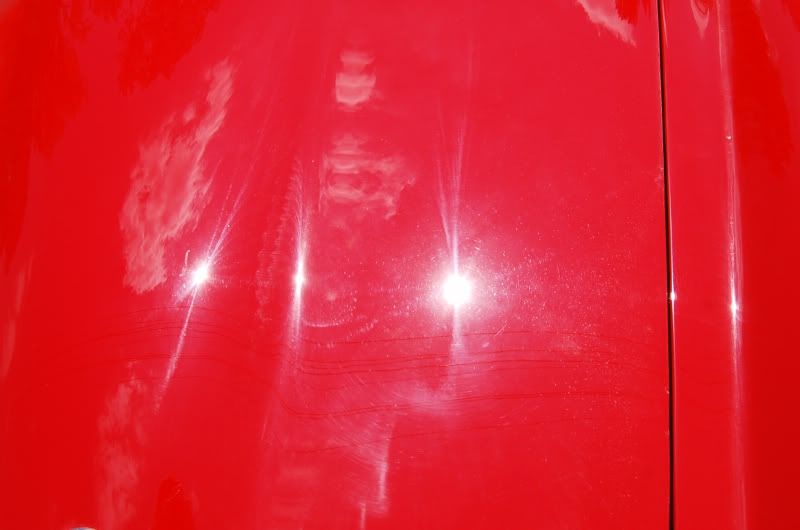
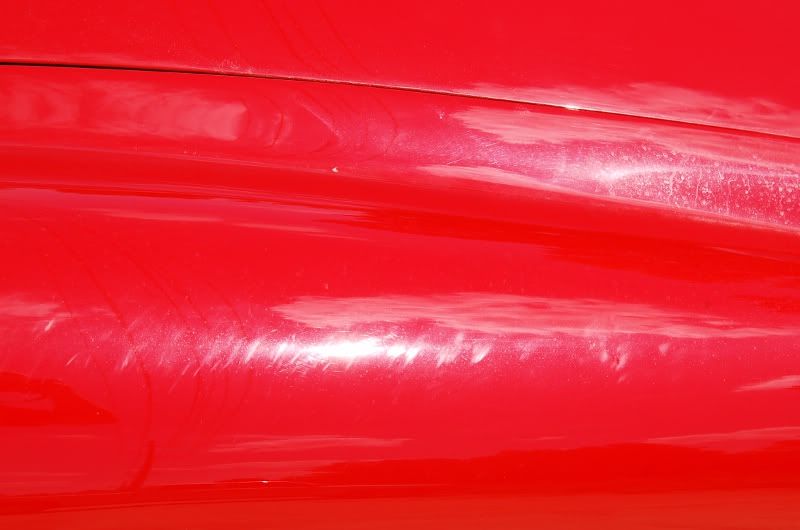
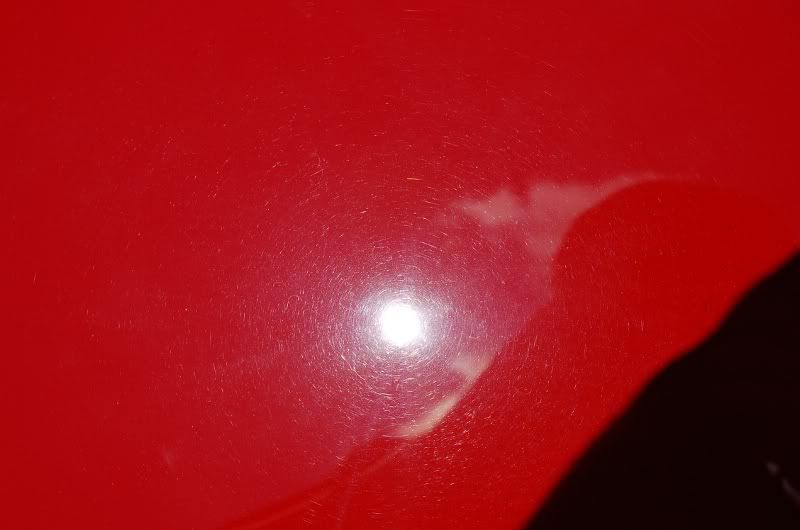
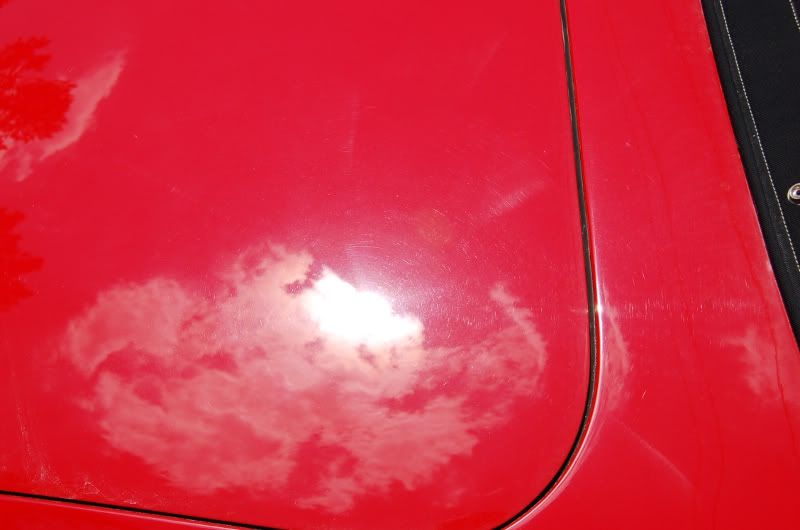
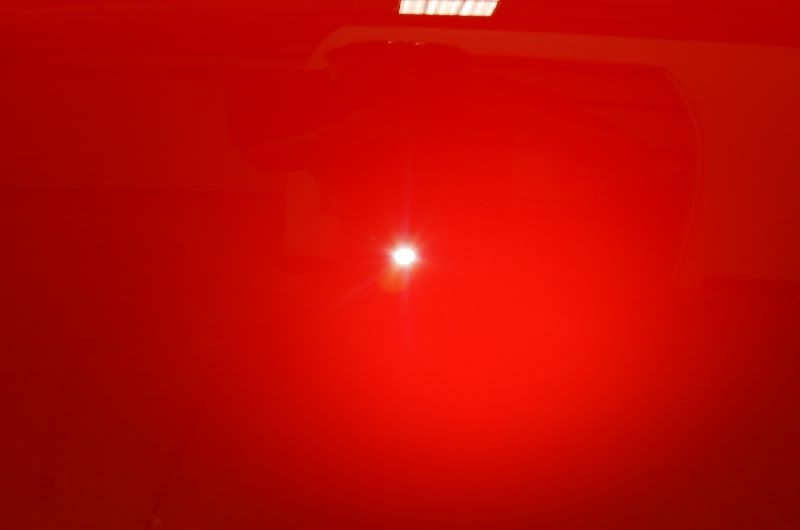
Befores. Car had been repainted years back and still had some of the sanding/DA marks in the paint and a lot of micro marring from either the sanding or buffing after being repainted.

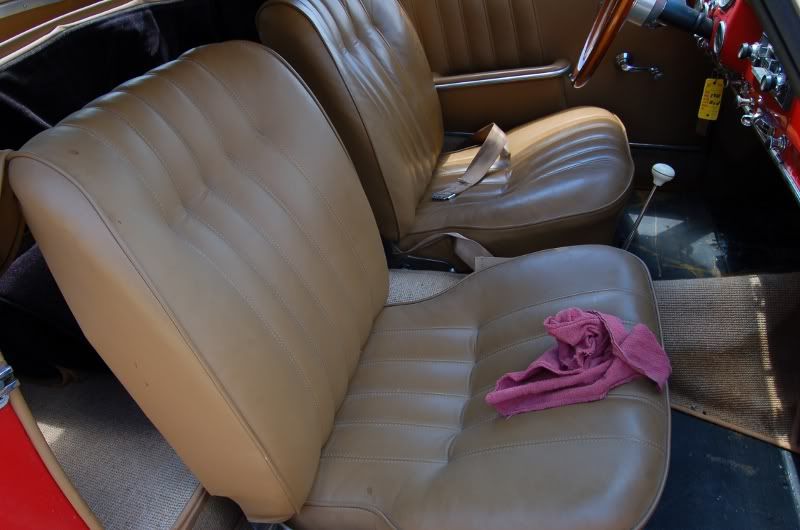
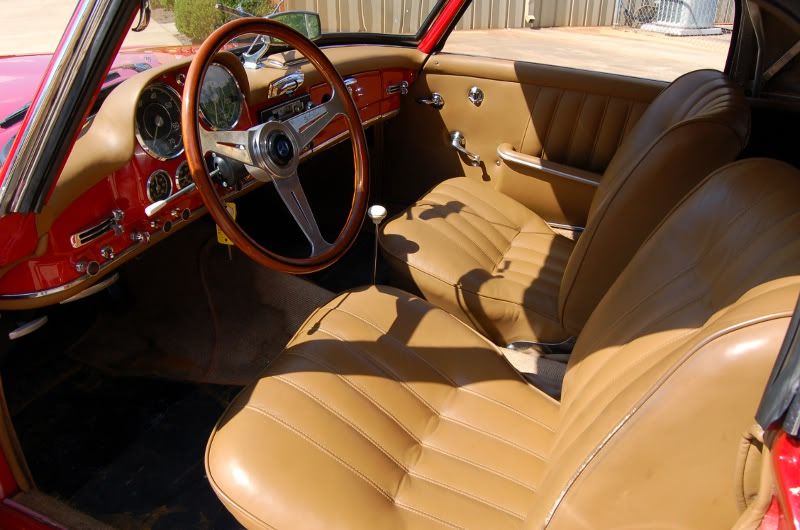
Interior was going to need some cleaning up...
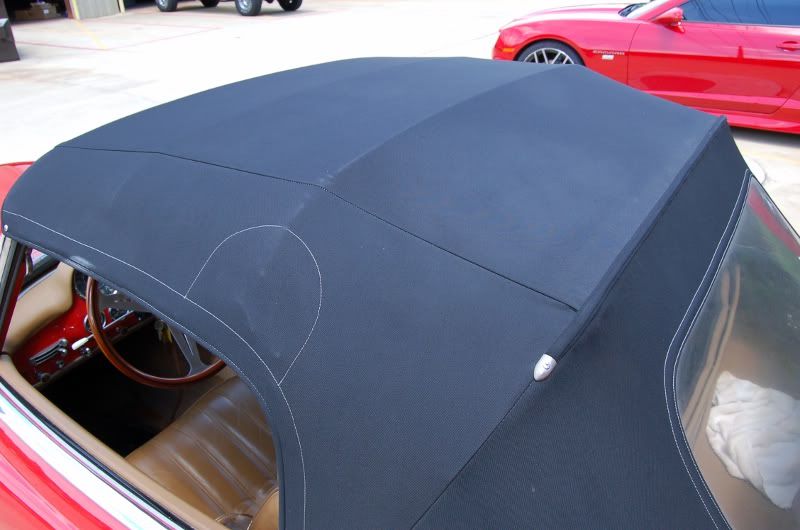
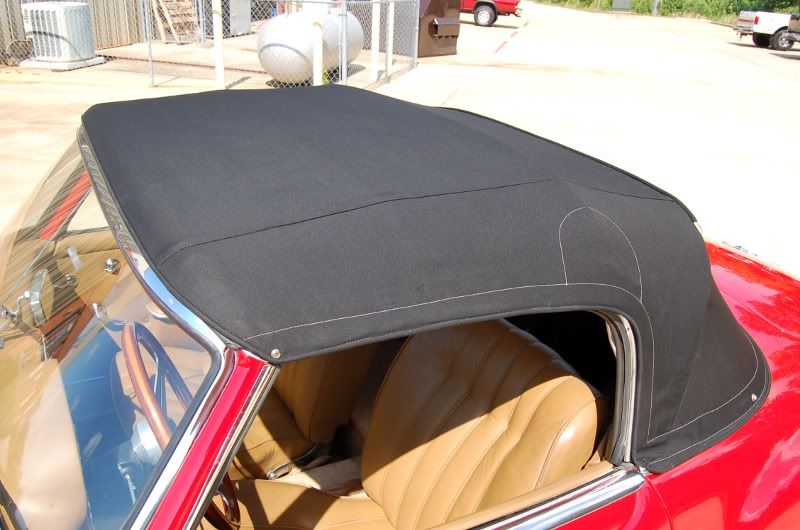
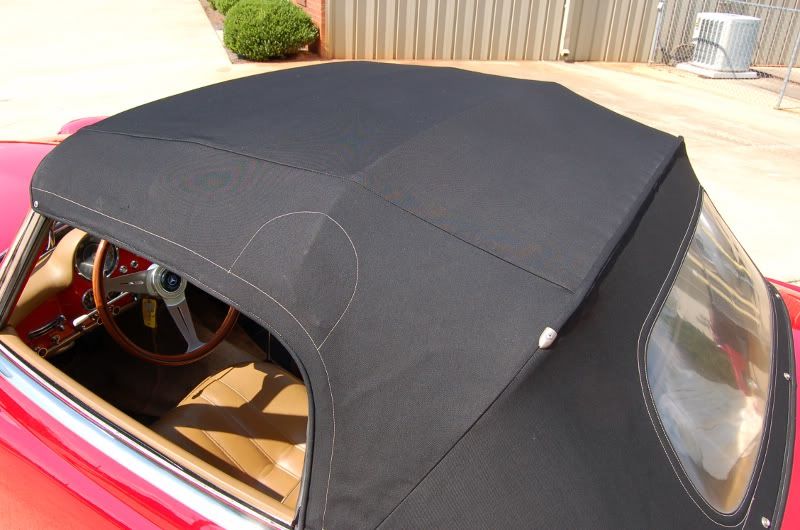
Top was looking a bit discolored and grimy..
After getting it inside...washed and clayed. Was able to see a better idea of the paint and get some pictures of it cleaned up prior to any correction work...
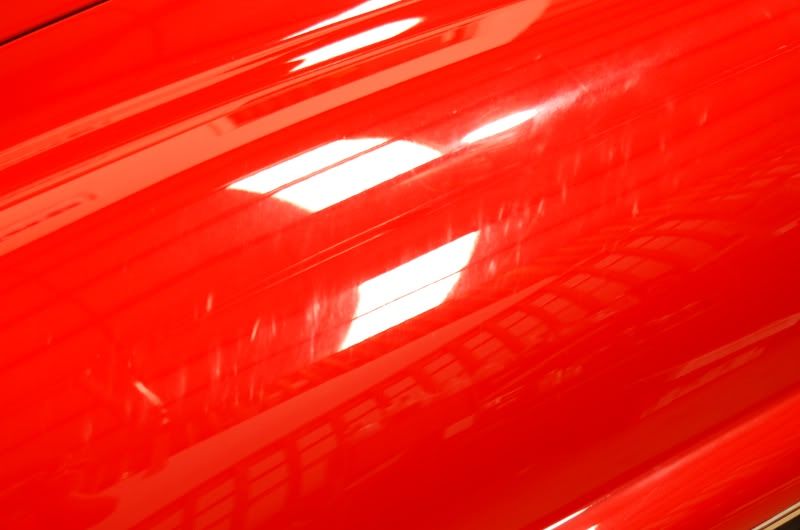
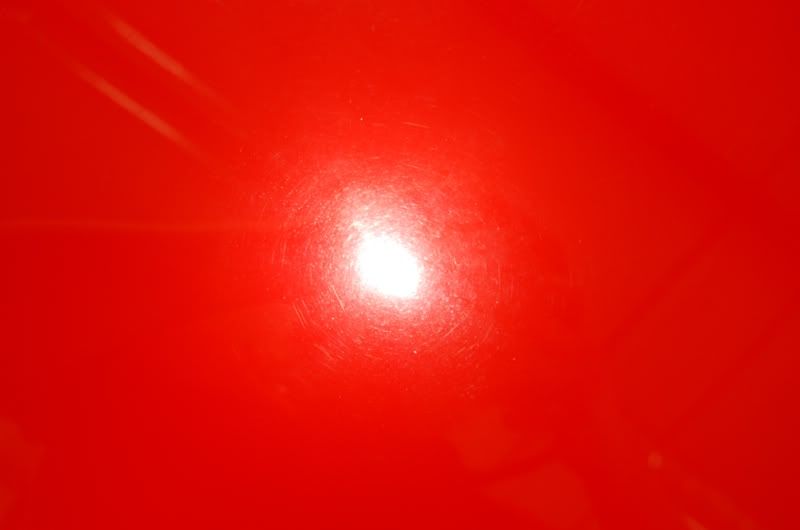
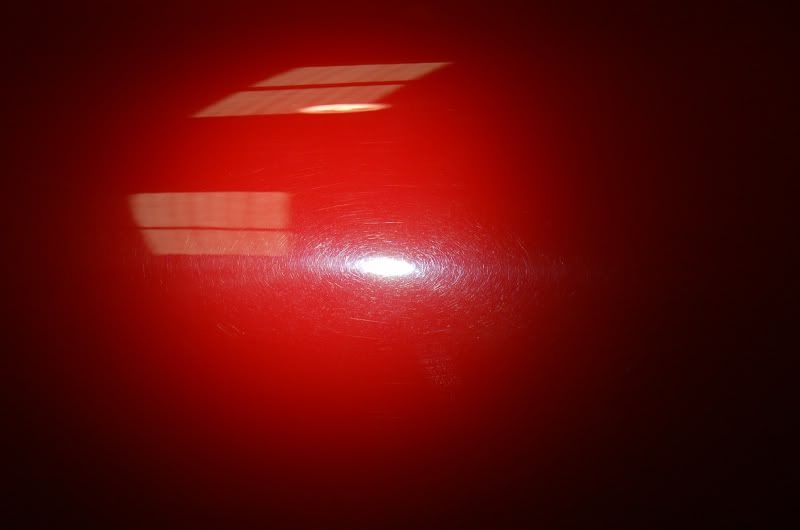
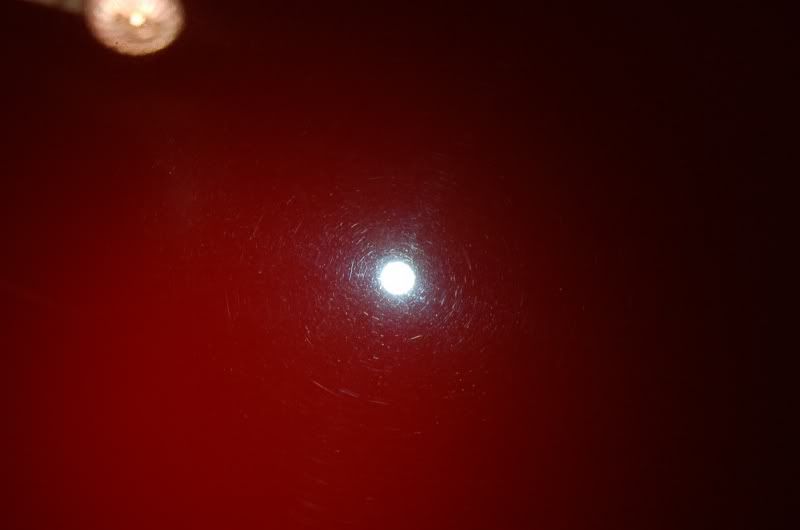
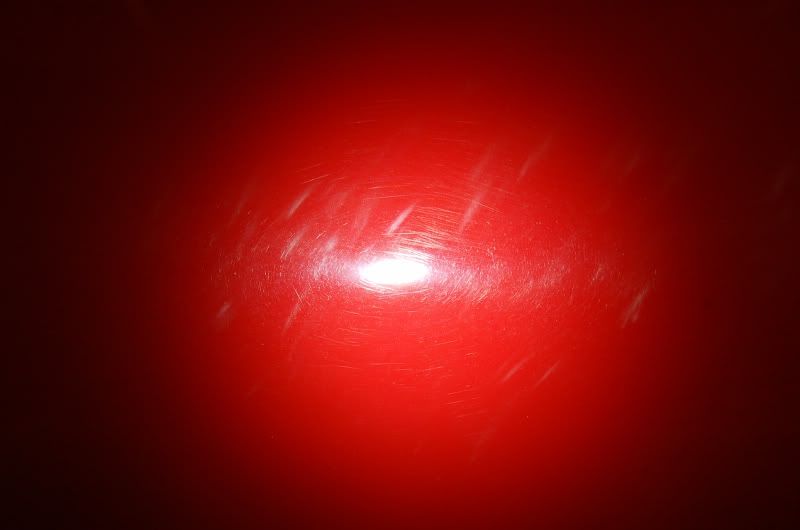
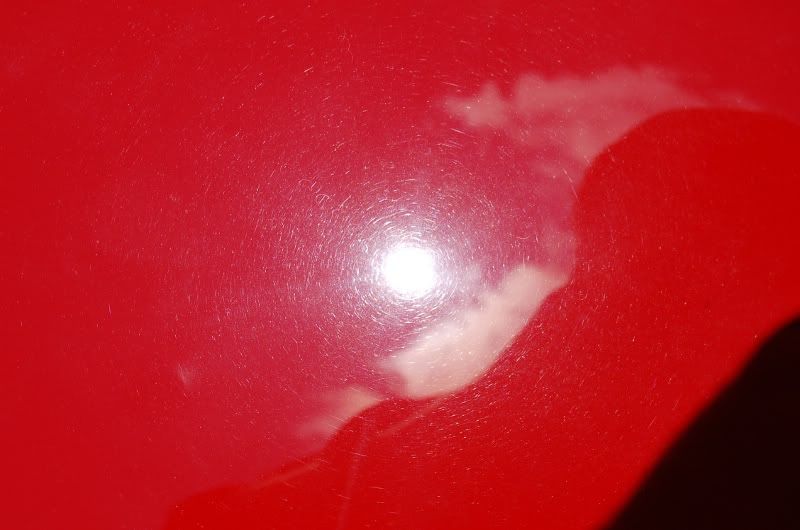
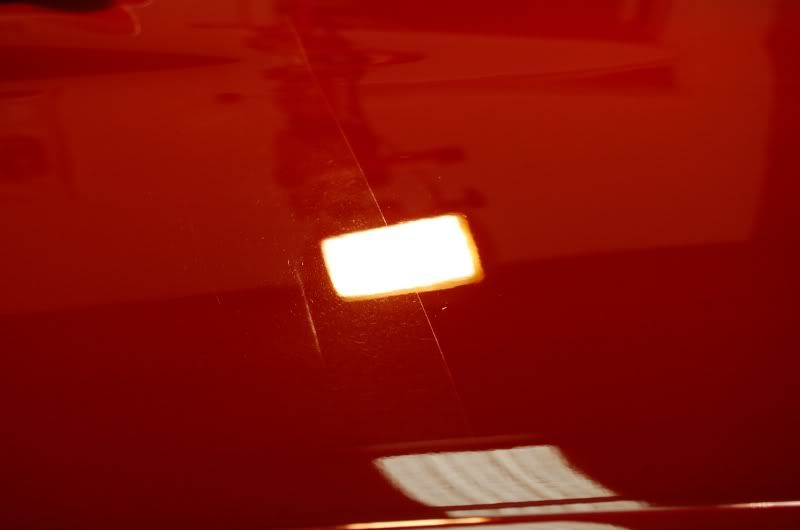
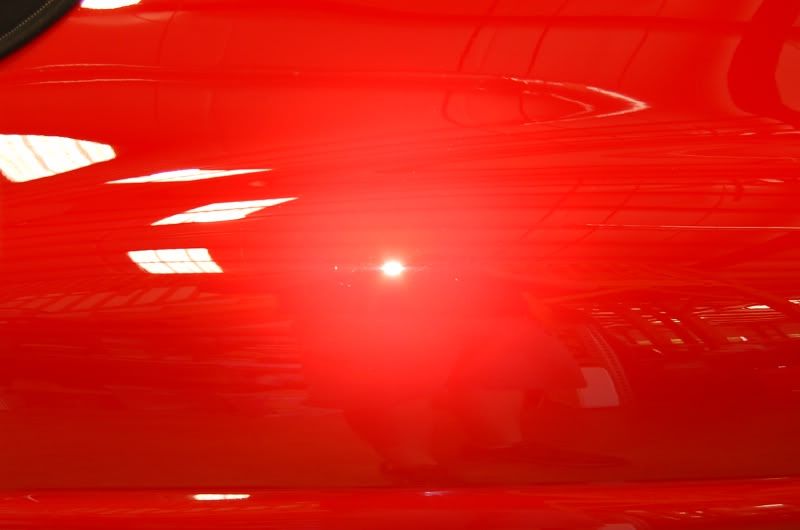
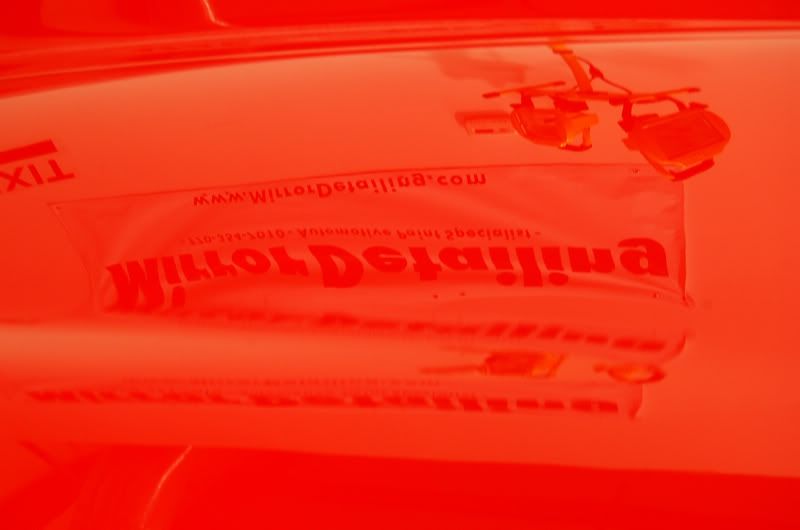
My test area before...overhead light and LED light...
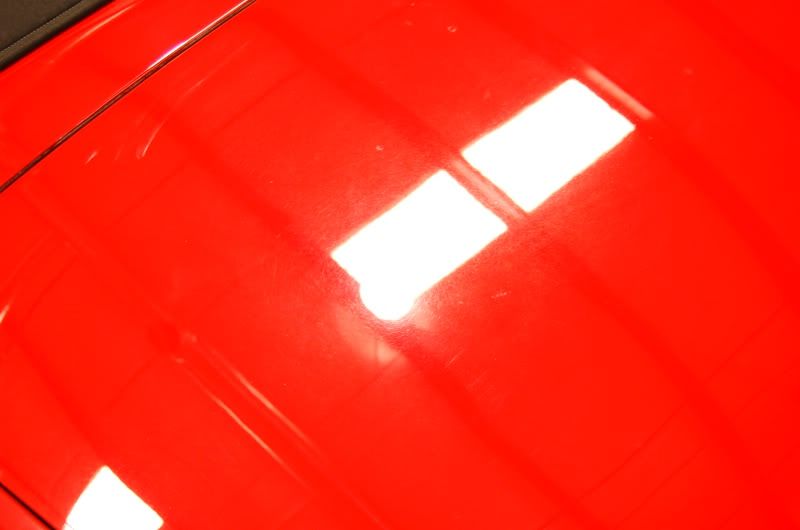
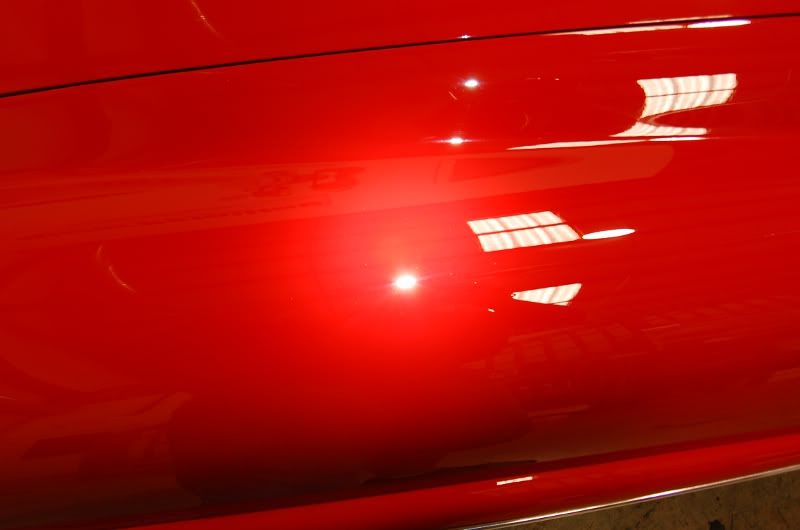
Half and Half...
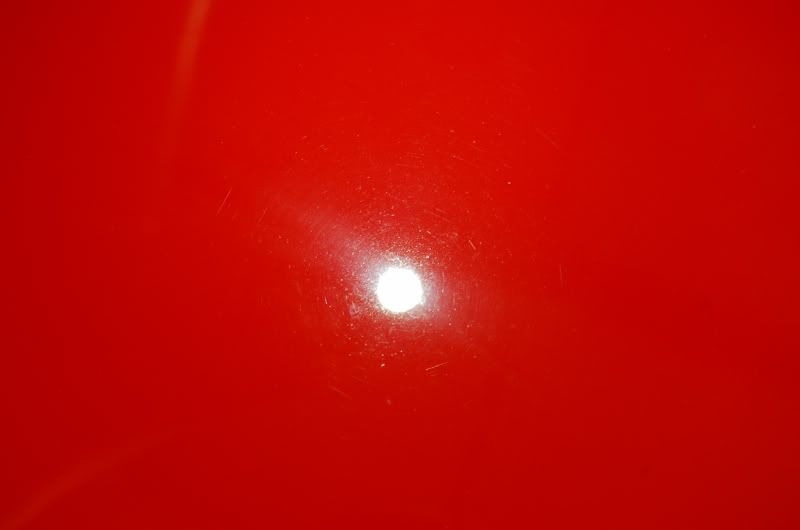
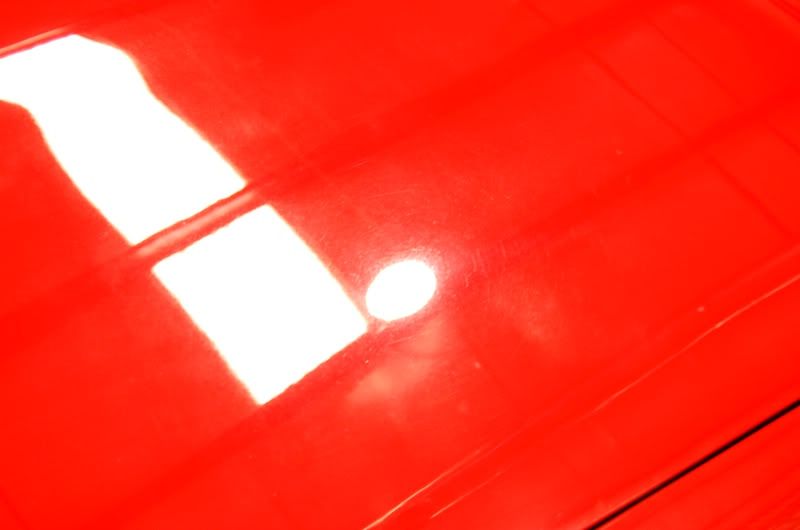
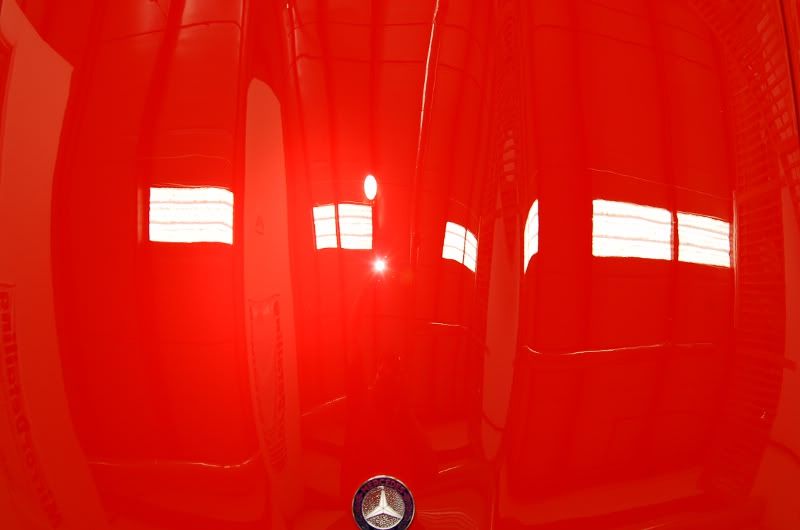
After...

Now onto the top...after washing the grime off the top and before treating it, you can see the amount of stuff that came out of it. Raggtopp Convt Top Cleaner does an awesome job as always.

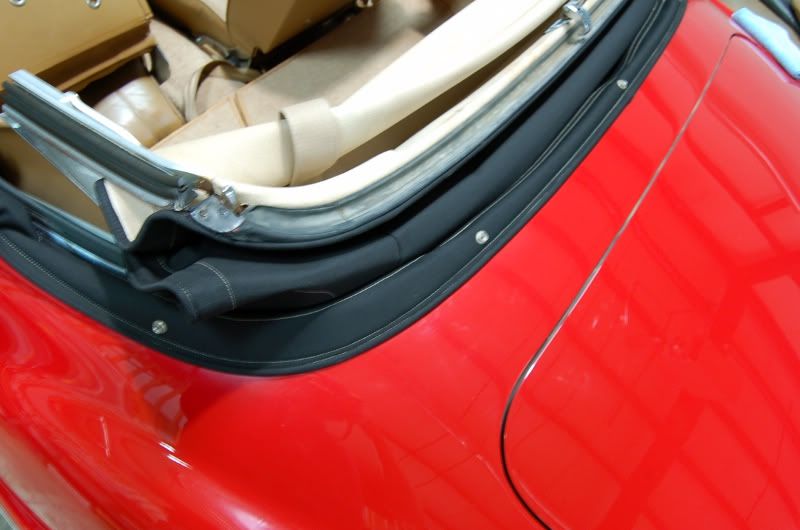
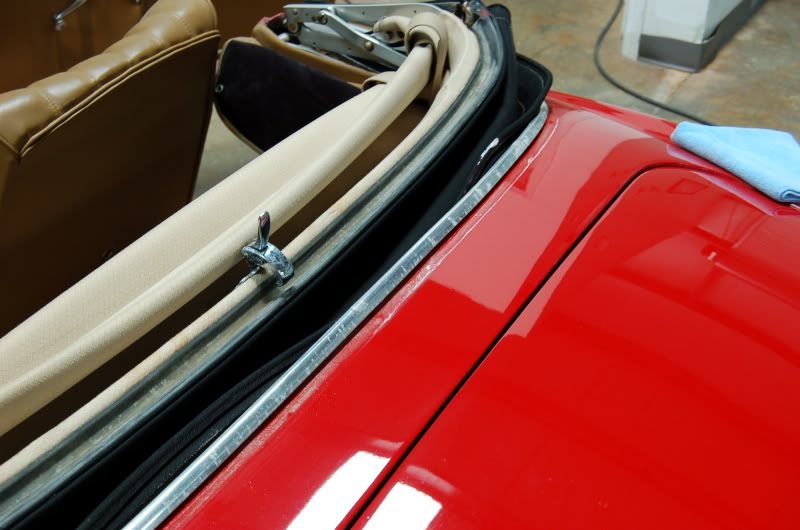
Also with the top, with a car like this you have to release the convt top fully into its storage area so you can work all the way up the edge. Good thing its rather simple with these old cars...lol
Before...
Removed...
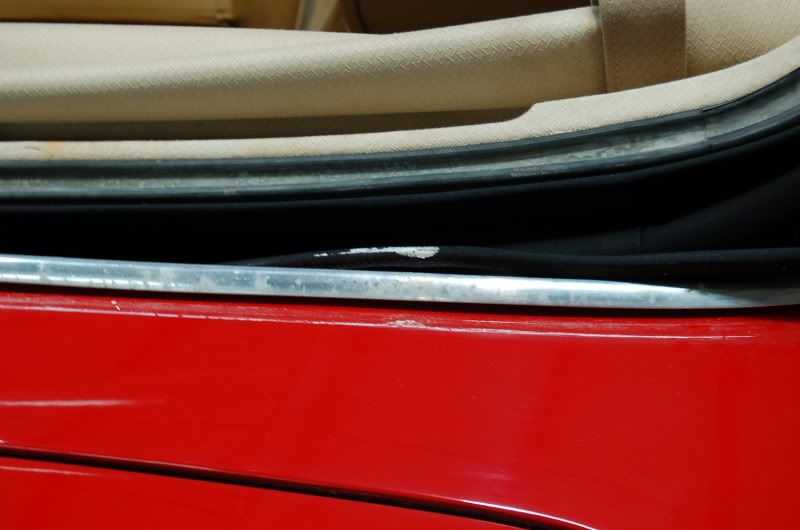
And find things like this. A present from the previous detailer.
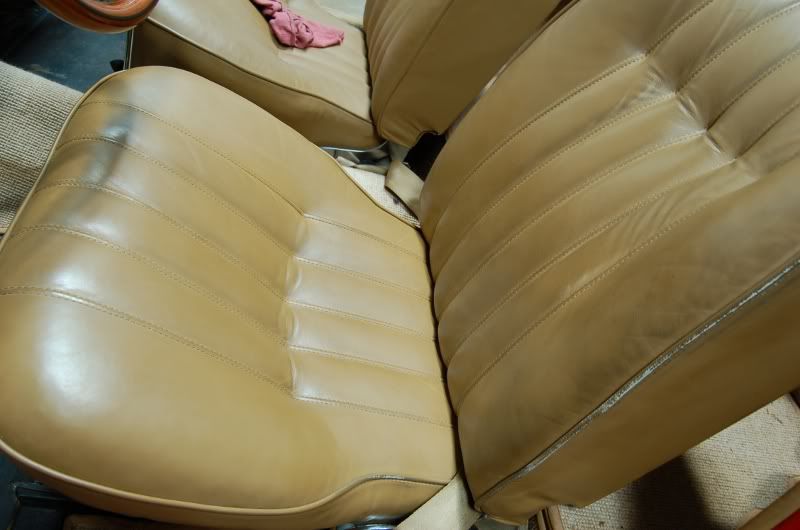
After finishing buffing...moved too the interior. Seats were pretty bad and took a lot of scrubbing to get years of grime out of them. Back of the seat untouched, bottom cleaned...

Both sides done...
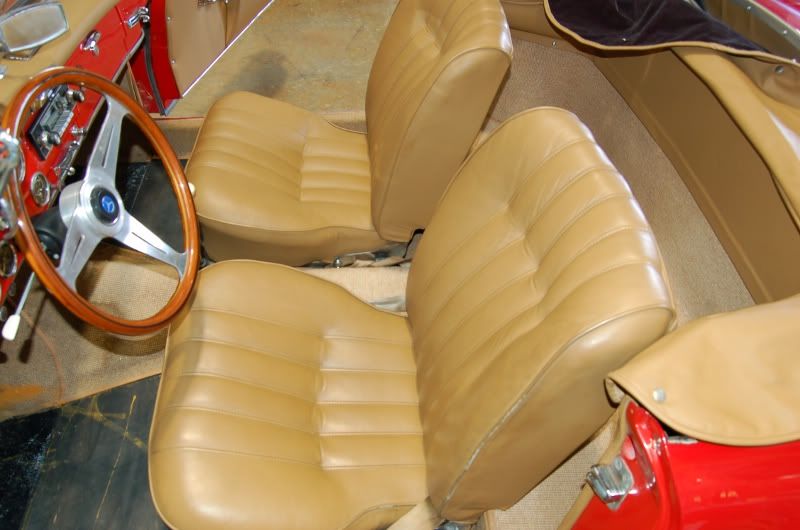
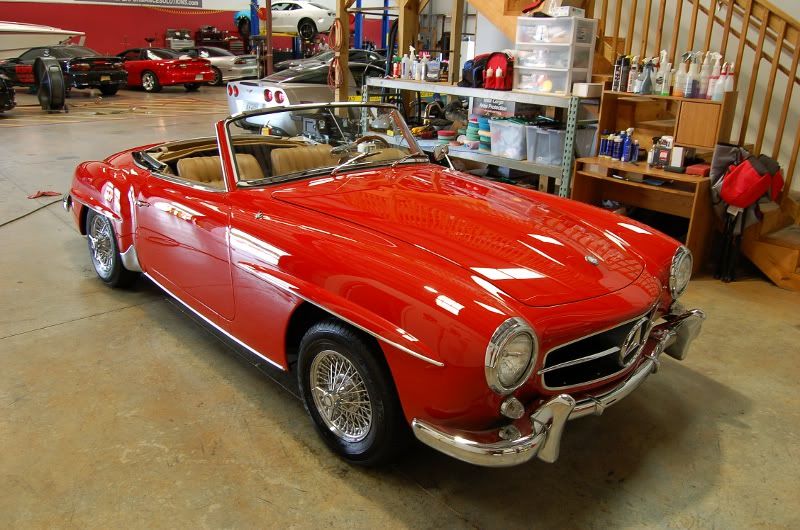
After getting everything done, got some pictures with the top down before I put it up and took it outside for afters...
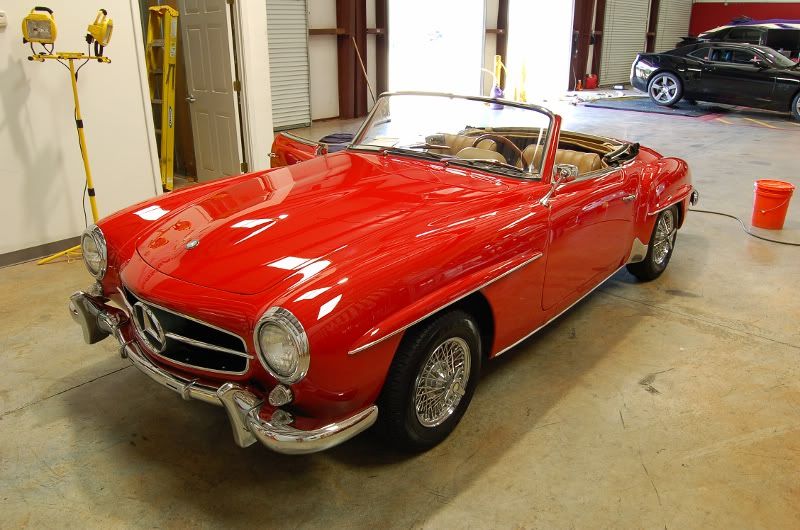
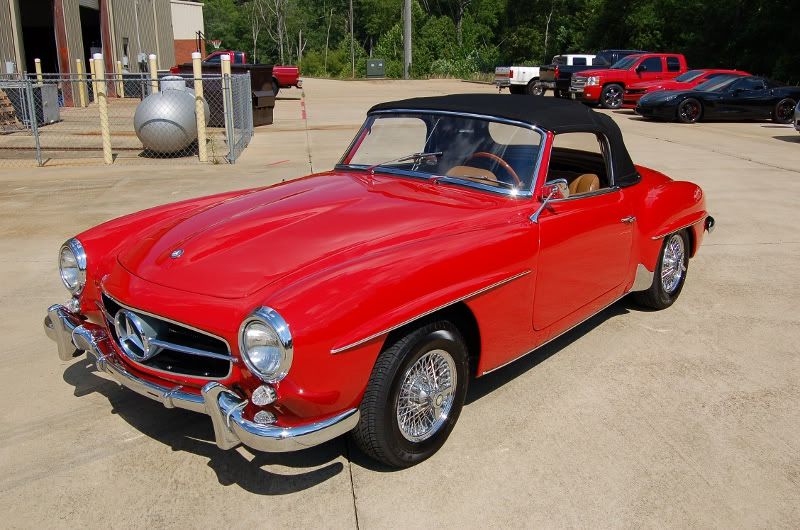
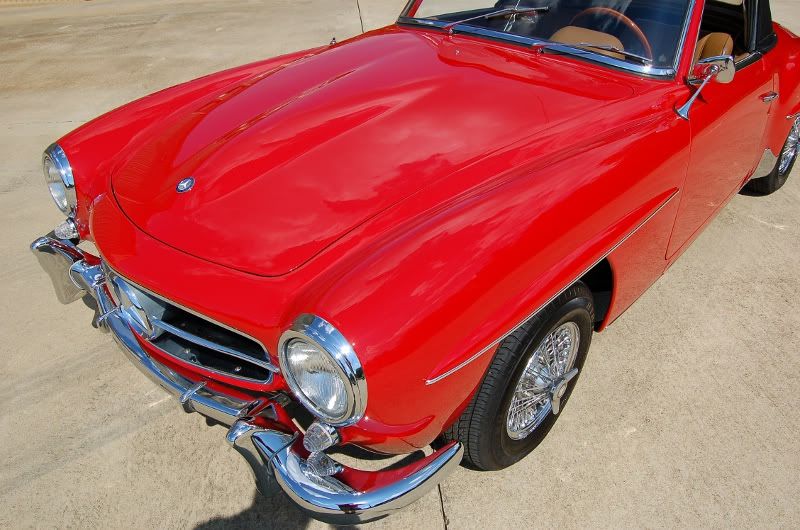
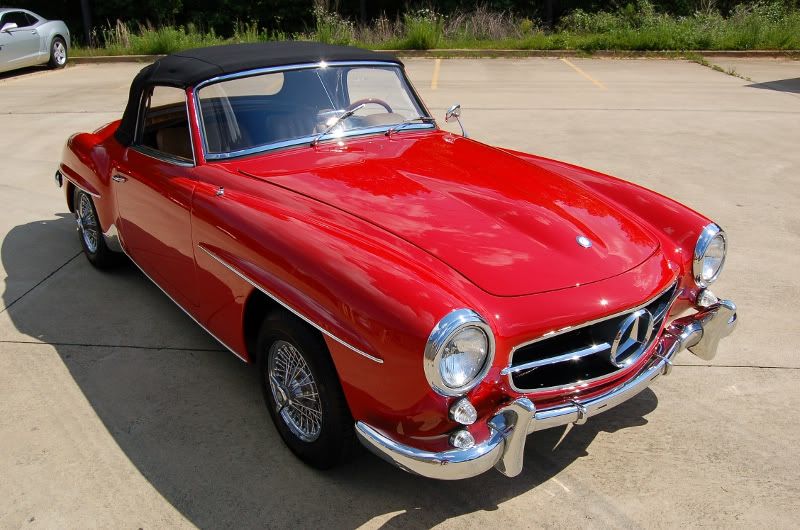
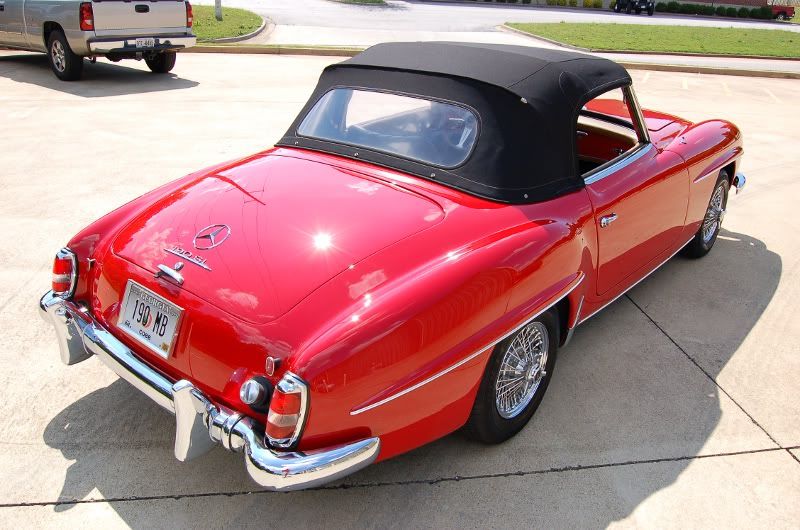
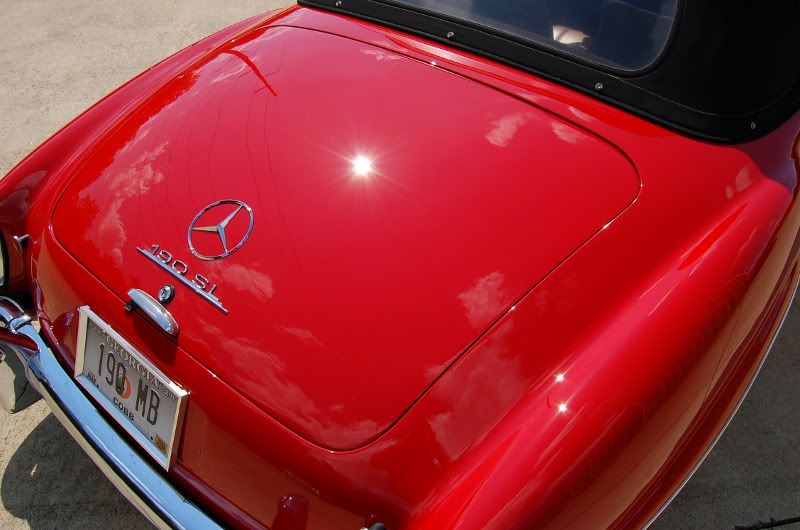
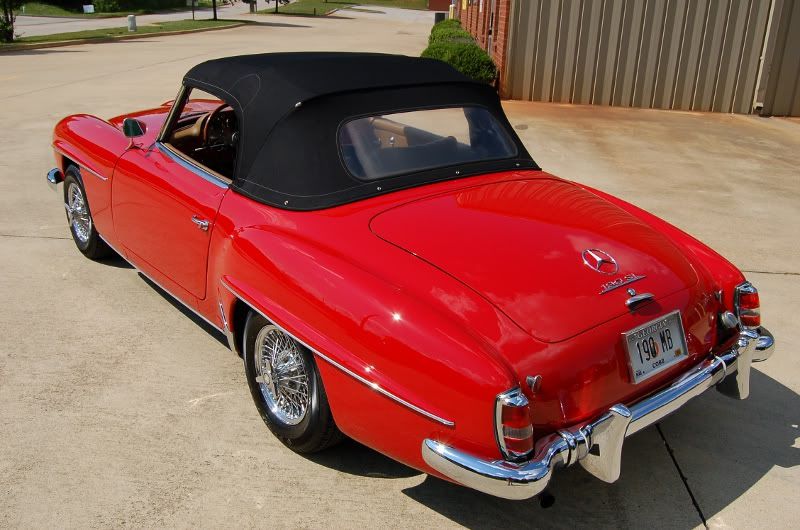
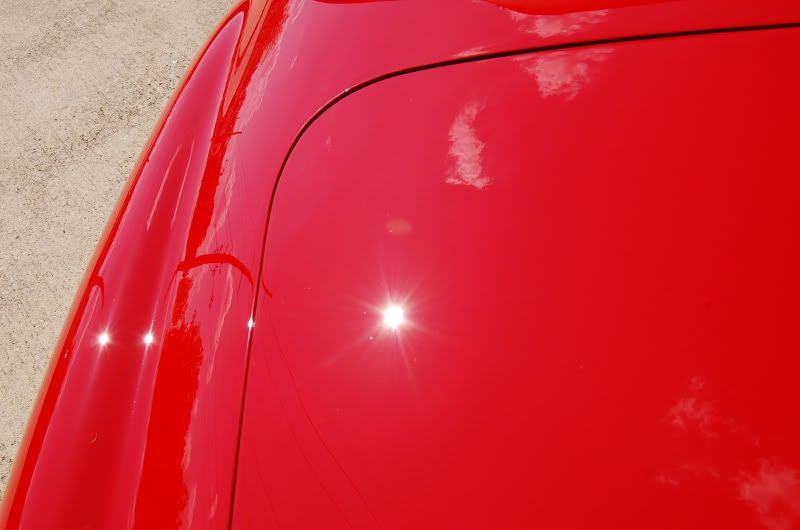
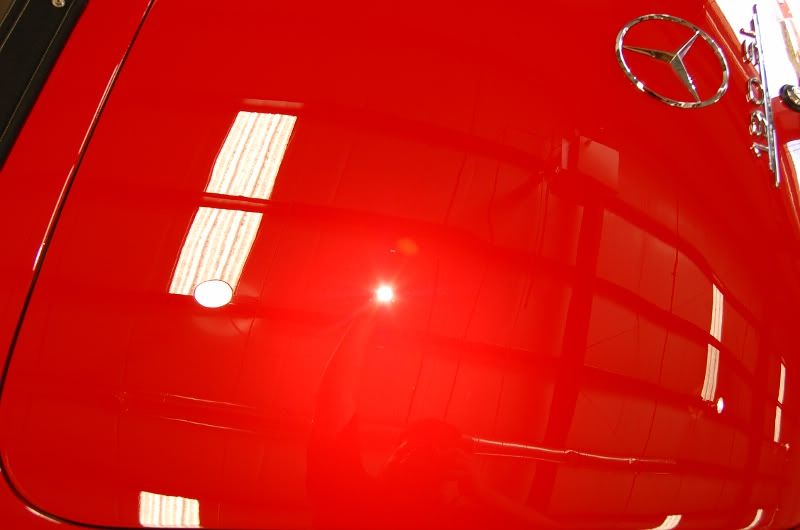
Now outside into the sun for the afters...
Now back inside and waiting on the customer. Figured I would get some more afters...

This paint was awesome to work with. 1-2 Rounds of 105/300 with the MF Cutting Pads knocked out upwards of 95-100% correction in most areas. Followed up with PO85RD and the trusty Dewalt and really brought the gloss out.
Before pictures when it was dropped off. Was a perfect day outside to really get the befores of the paint too see its condition.
Befores. Car had been repainted years back and still had some of the sanding/DA marks in the paint and a lot of micro marring from either the sanding or buffing after being repainted.
Interior was going to need some cleaning up...
Top was looking a bit discolored and grimy..
After getting it inside...washed and clayed. Was able to see a better idea of the paint and get some pictures of it cleaned up prior to any correction work...
My test area before...overhead light and LED light...
Half and Half...
After...
Now onto the top...after washing the grime off the top and before treating it, you can see the amount of stuff that came out of it. Raggtopp Convt Top Cleaner does an awesome job as always.
Also with the top, with a car like this you have to release the convt top fully into its storage area so you can work all the way up the edge. Good thing its rather simple with these old cars...lol
Before...
Removed...
And find things like this. A present from the previous detailer.
After finishing buffing...moved too the interior. Seats were pretty bad and took a lot of scrubbing to get years of grime out of them. Back of the seat untouched, bottom cleaned...
Both sides done...
After getting everything done, got some pictures with the top down before I put it up and took it outside for afters...
Now outside into the sun for the afters...
Now back inside and waiting on the customer. Figured I would get some more afters...