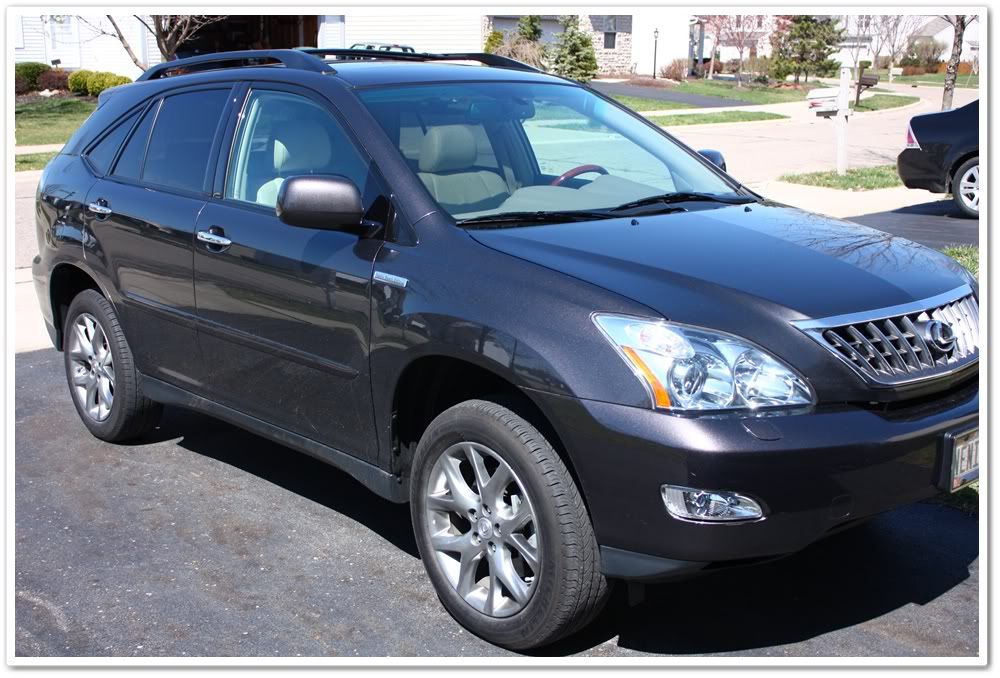
2008 Lexus RX350 Pebble Beach Edition in Truffle-Mica.
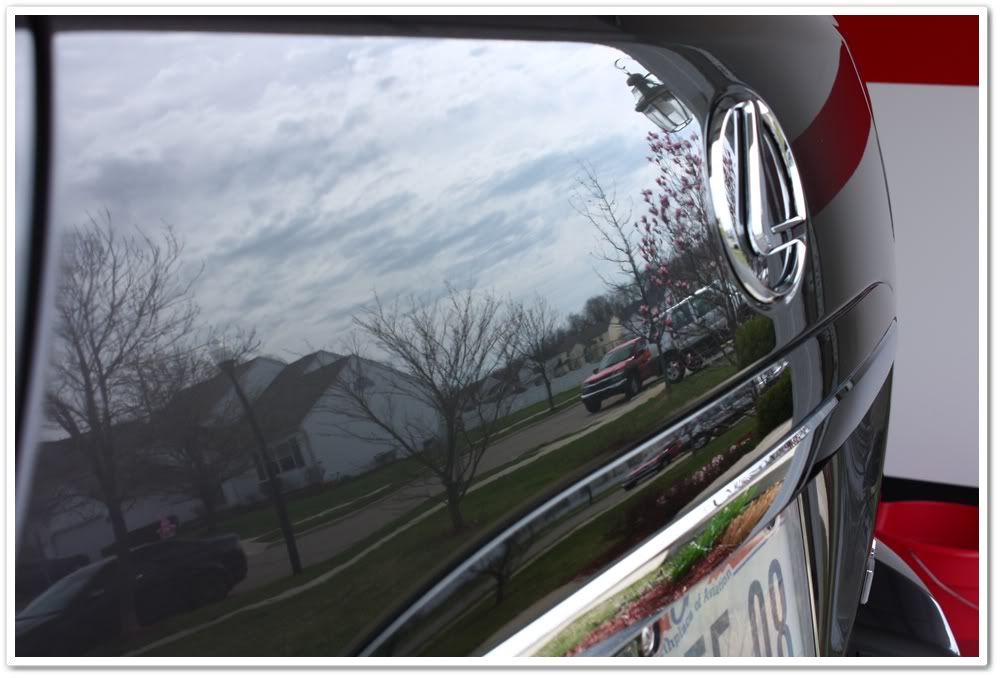
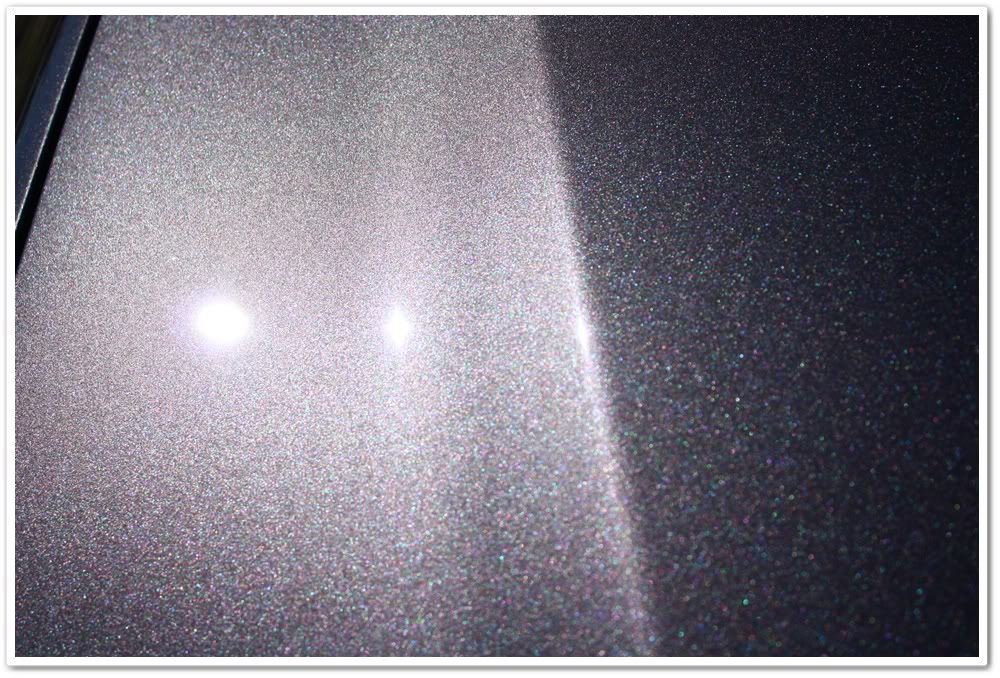
I’m not sure where the Lexus design/marketing team came up with the color name “Truffle-Mica�, but I’m glad they came up with the color! The Pebble Beach Edition is the only RX model that this color is available on. It has hues of grey, copper, blue, purple, and even a little bit of green too. The color varies slightly depending on the type and angle of the light, sometimes giving it a grey look, sometimes copper, and sometimes a slight look of purple.
The owner of this vehicle also has the 08 LS460L that I worked on a few weeks ago, and both of them are scheduled for every 4 months with me.
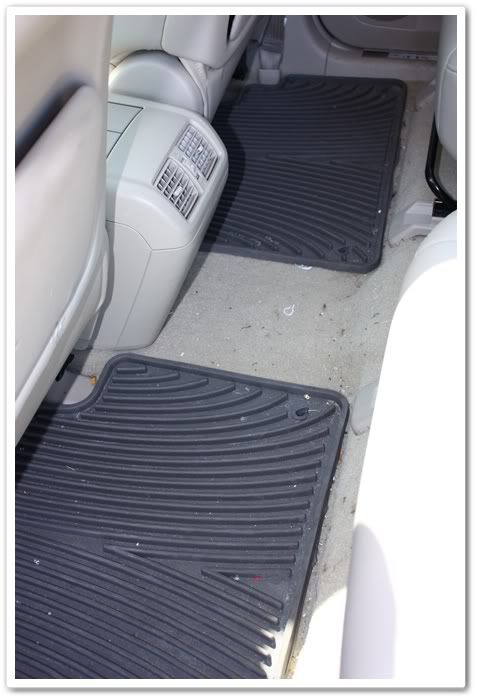
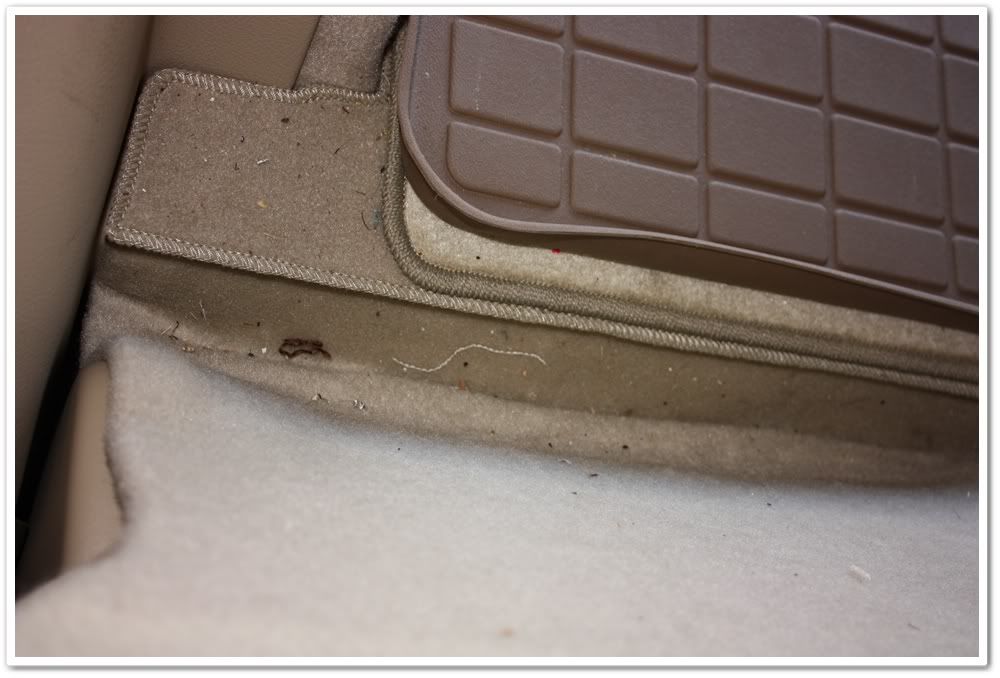
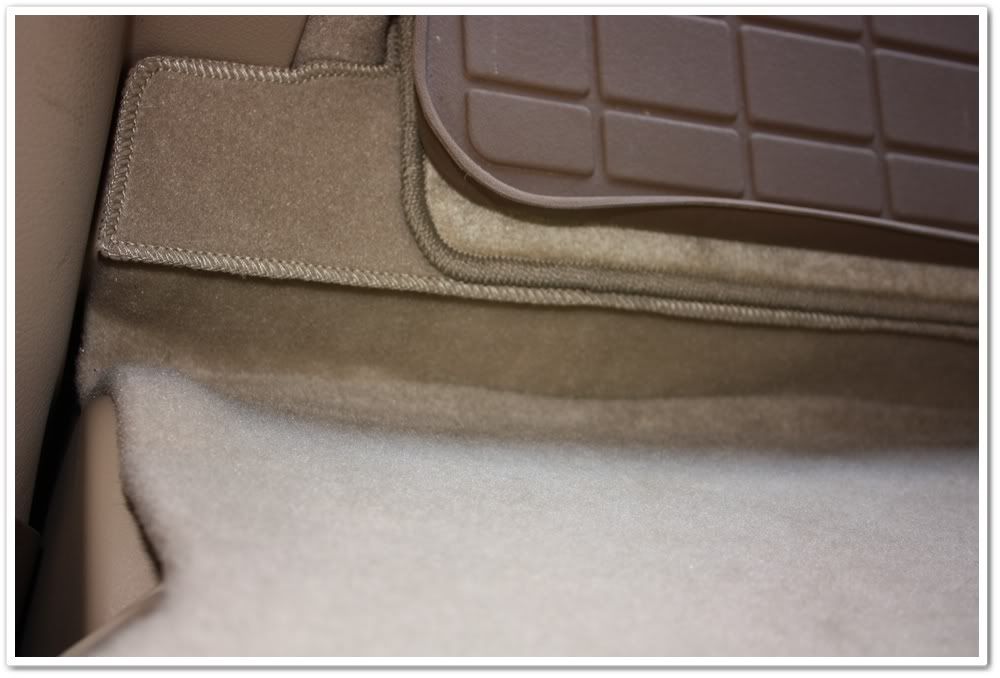
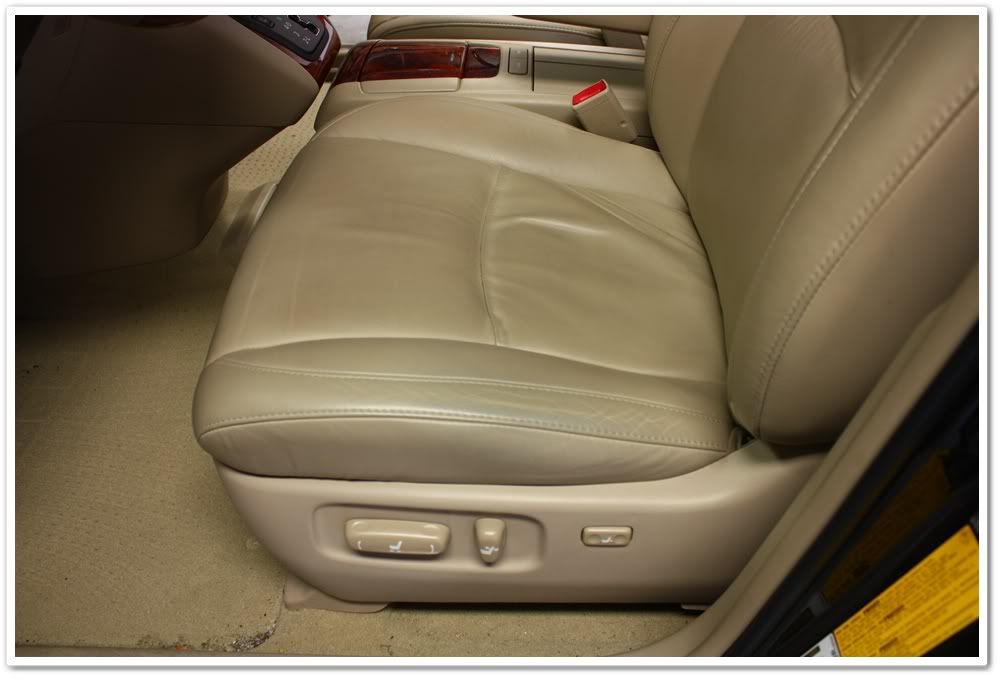
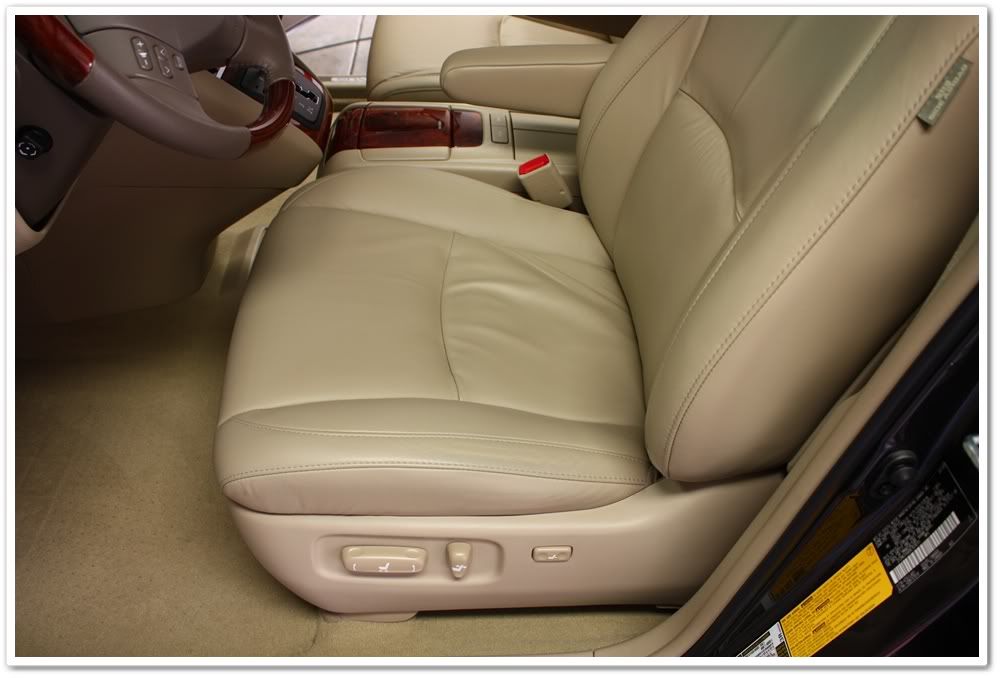
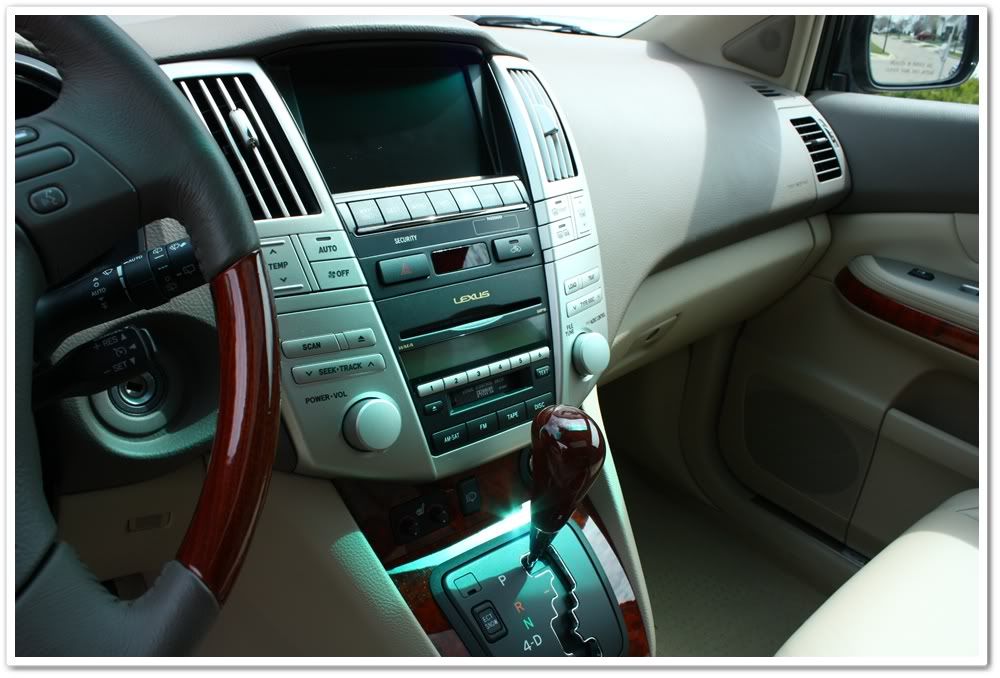
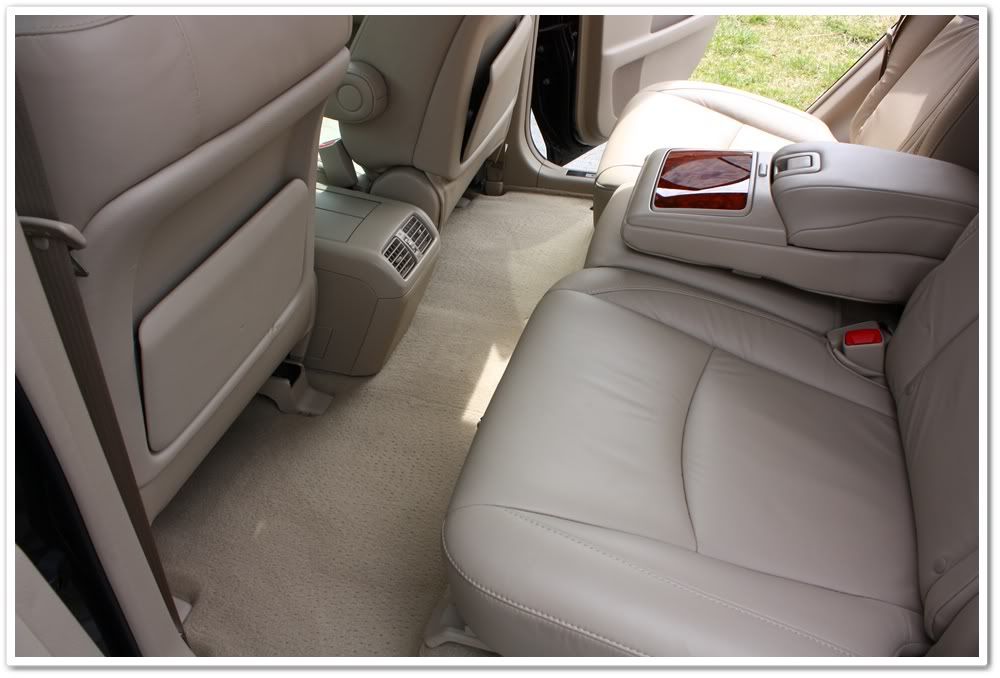
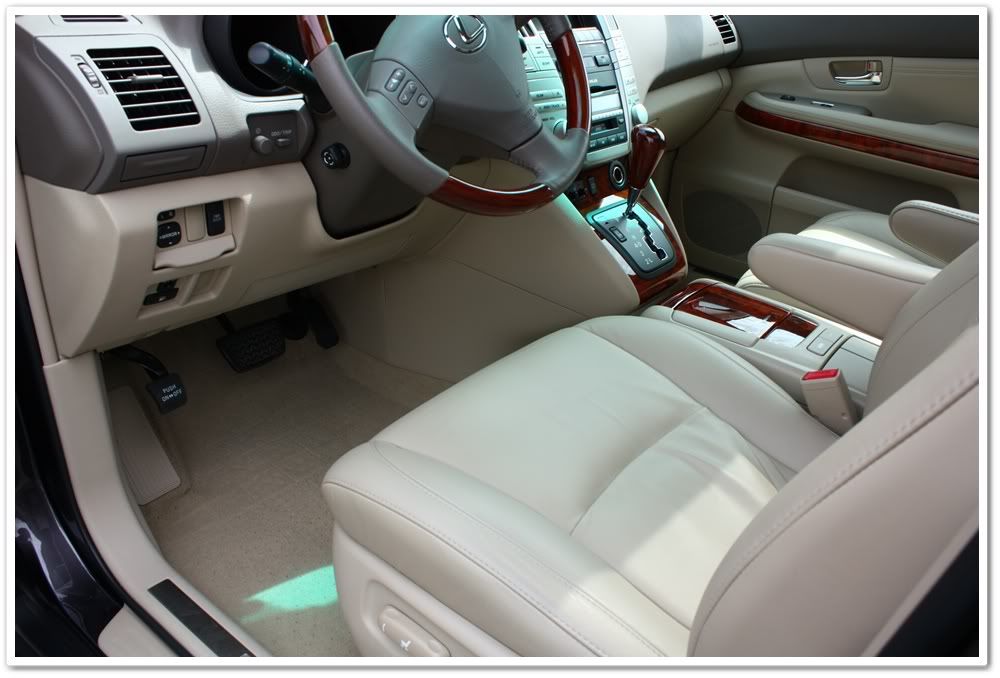
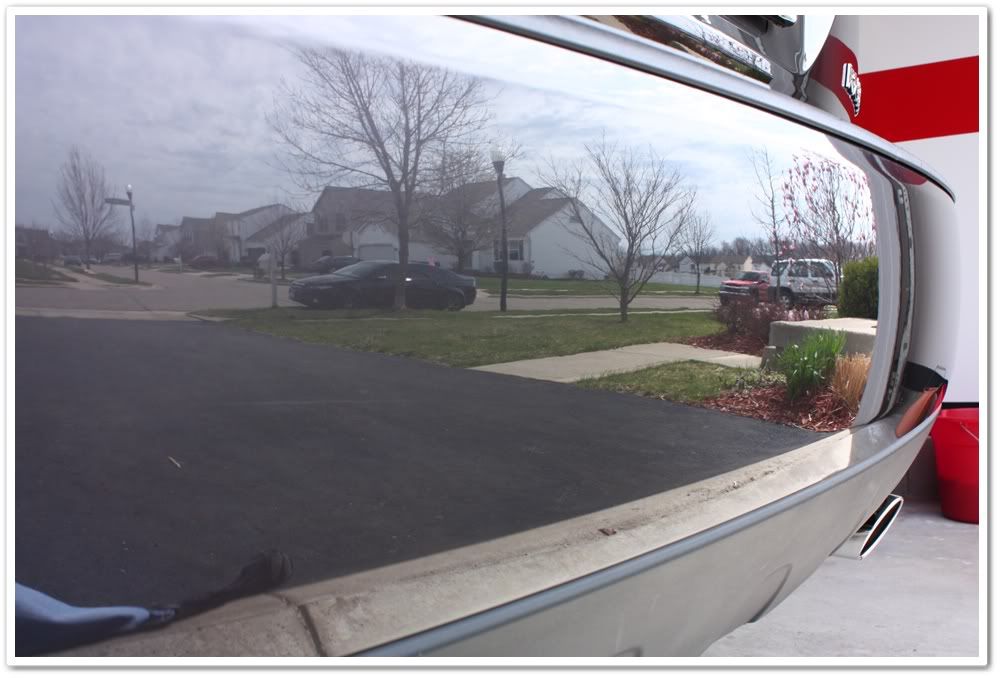
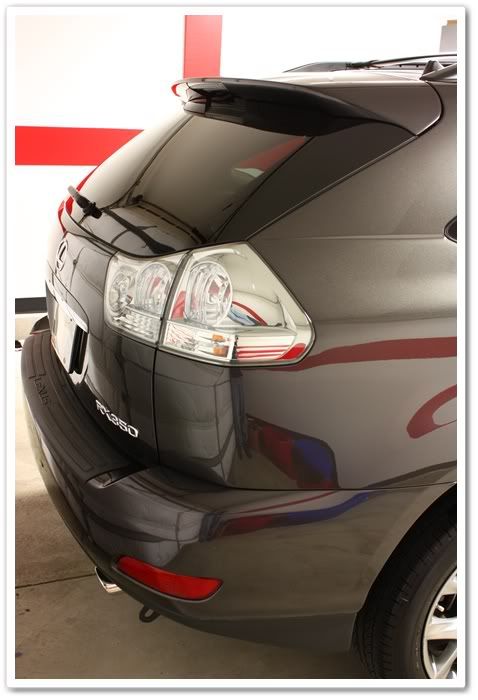
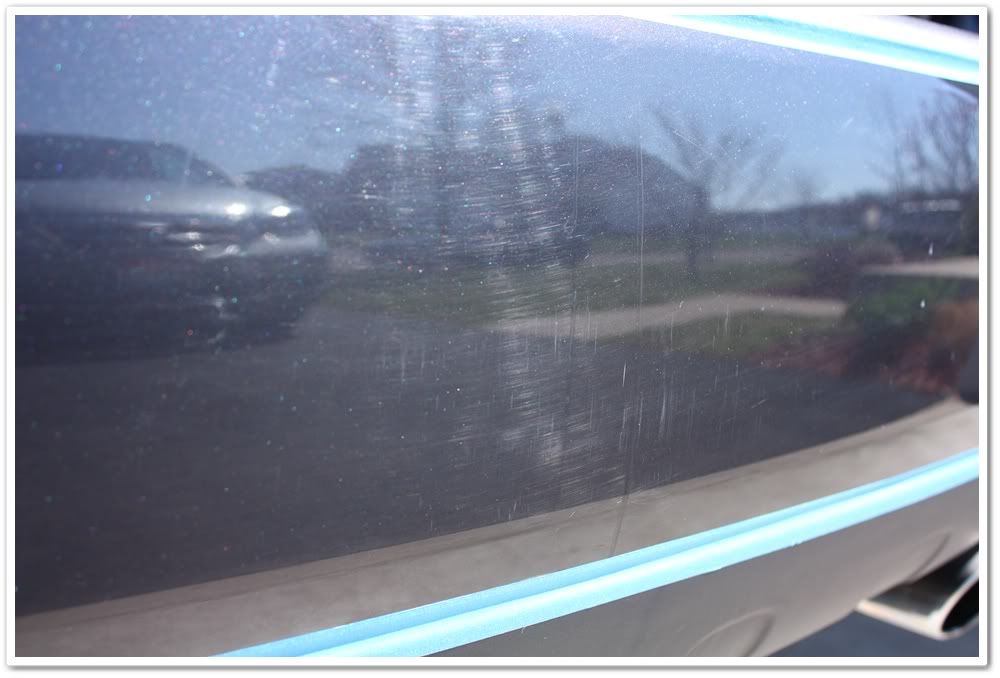
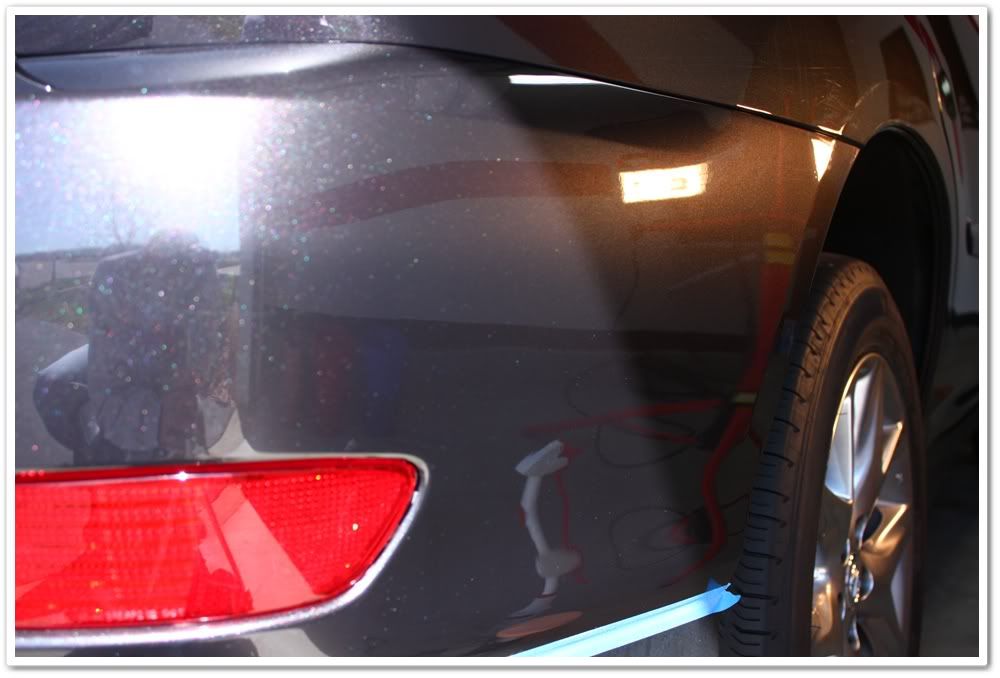
Other than being in need of a thorough cleaning, this one was in pretty good condition with the exception of some heavy scratches on the rear bumper, and some that went down the entire right side of the SUV. We agreed that the best approach would be a (modified) one-step polish, with a focus on reducing the severity of the scratches as good as I could. The interior would also need some work to clean up for the Ohio winter, but he said that a light cleaning would suffice. We were not going for a full-correction job.
Here’s the RX350 when it arrived:
First up was a wash of the exterior. My go-to wash when preparing for polishing is Chemical Guys Wash & Clear. I also used P21S Total Auto Wash to pre-treat the front end, and to clean the wheels, tires, and wheel wells.
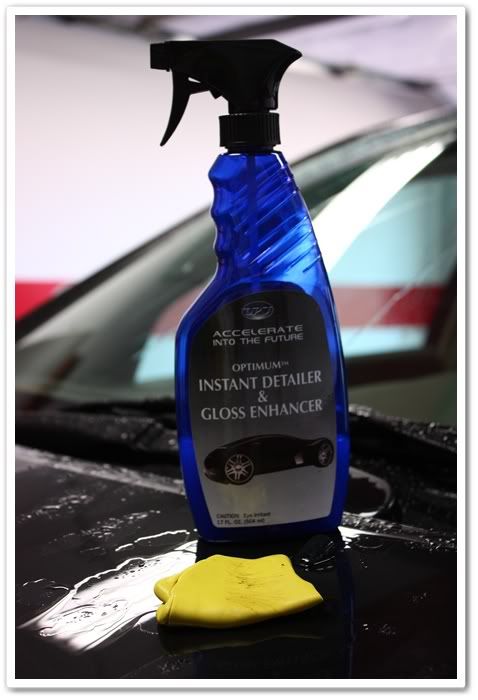
After washing, I clayed all of the exterior surfaces with Riccardo clay using Optimum Instant Detailer and Gloss Enhancer as a lube. I find that the Optimum ID provides a super-slick surface for the clay, which reduces the risk of marring the finish (especially on soft Lexus paint). As is normal, I found the rear of the car as well as the areas right behind the wheels to have the most contaminants to be removed by clay. The horizontal surfaces were surprisingly in good shape.
After claying, I foamed the car once again with Chemical Guys to rinse off the Optimum ID, and then pulled it in the garage for polishing.
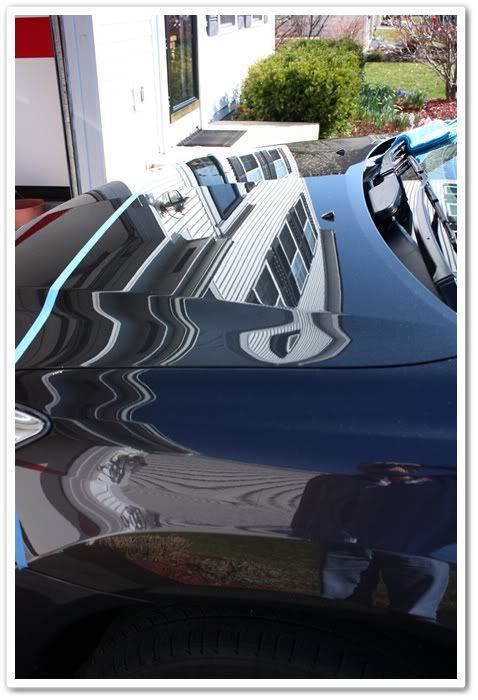
The water is sheeting nicely, which means no remaining waxes or sealants!
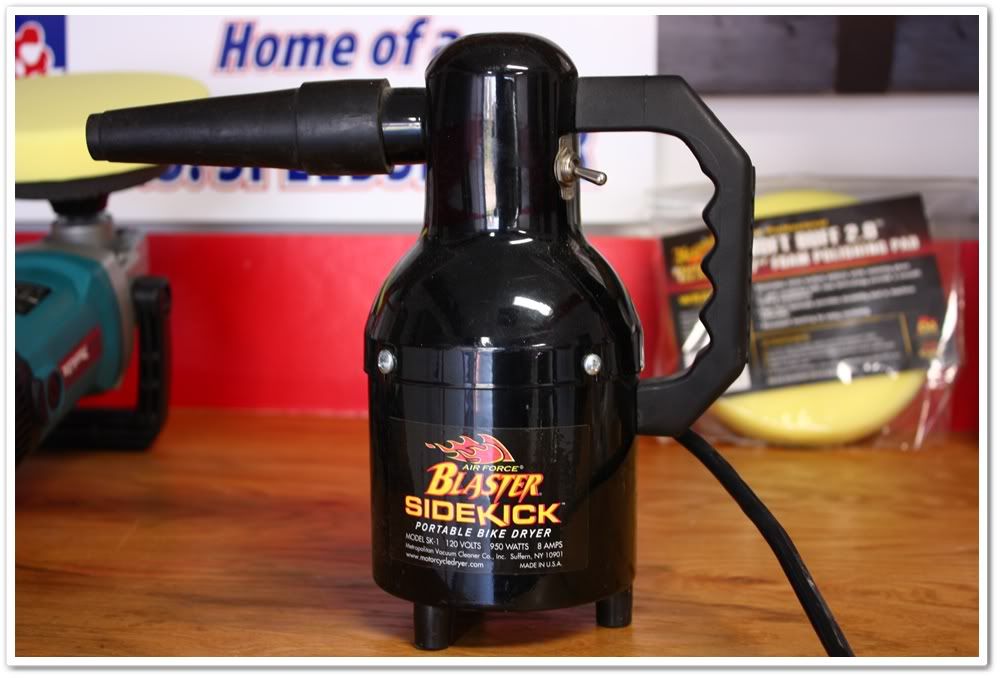
After washing, I always use my Blaster Sidekick blow dryer to dry the vehicles. This product is marketed to the motorcycle industry, but I find it’s perfect for cars. If you don’t blow dry, you’ll find a lot of water hiding in emblems and seals…water that either comes out when polishing to make a mess of things, or worse yet comes out when the customer drives away and then streaks all down the sides of their car! Whatever method you have access to (compressed air, leaf blower, whatever), I highly recommend using them!
Before my client arrived, I went ahead and got my tools ready in anticipation of a rotary/PO203S session since it worked so well on his LS460L.
After inspection and a brief discussion however, I opted for the PC with an orange LC pad and Optimum Poli-Seal (OPS). I like using OPS because it provides light correction, and contains polymer sealants that provide months of protection (3 or 4 in my experience). It also leaves the slickest finish of any AIO products that I have used. And did I mention that it is incredibly easy to work with? It only requires a small amount of polish, and it doesn’t take a lot of time to work in and break down like traditional polishes do…allowing for a much quicker application. Once finished, there’s very little residue to remove which is a huge plus in my book. I also love the look of Poli-Seal on darker colors too!
Now onto polishing:
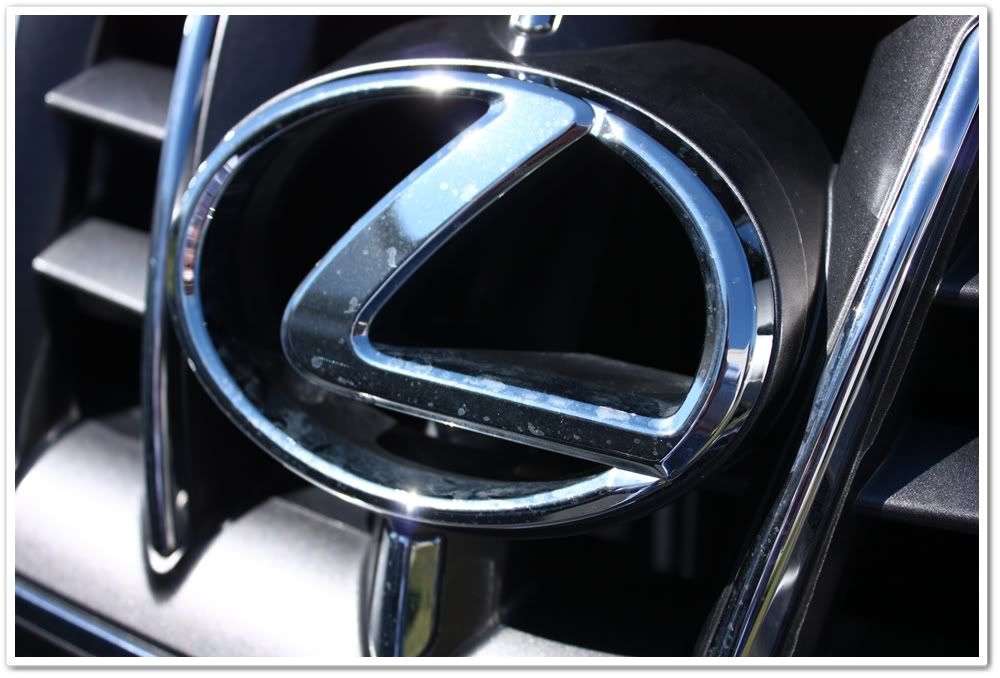
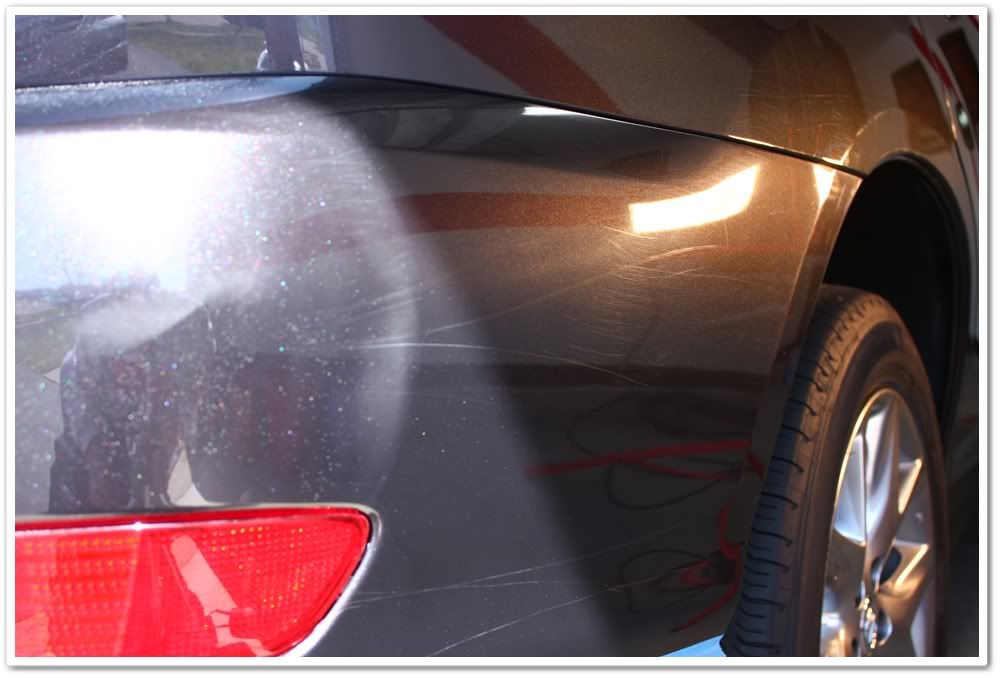
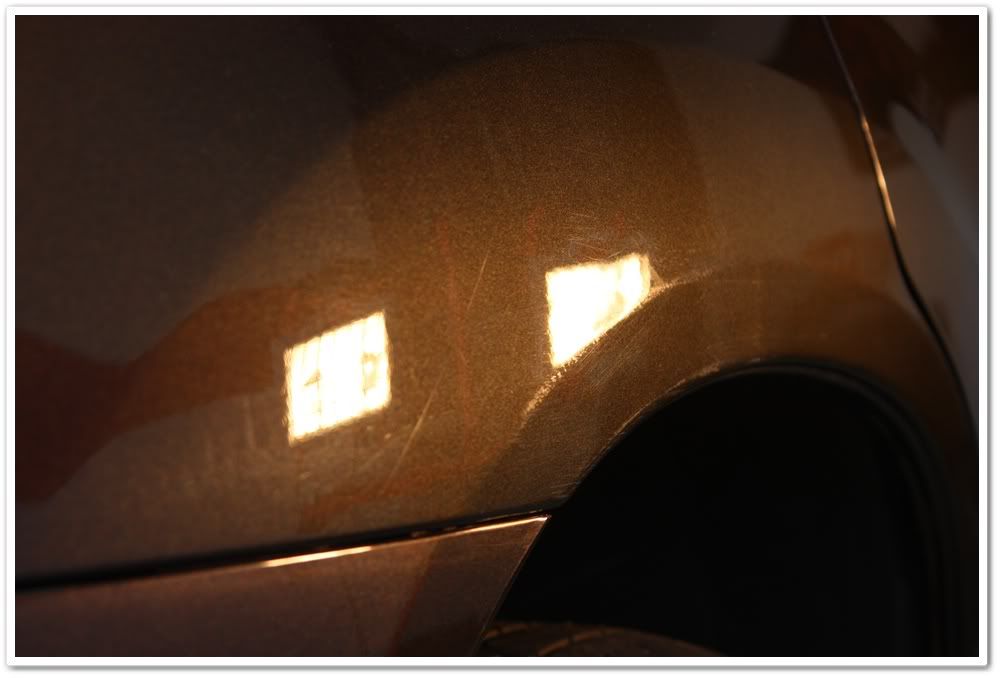
Hmmm, what have we here? Obviously our 10 month old Lexus has had some paint work done in the past because here’s overspray on the hood! I found out that the paint work had been done on the LR of the car, yet I find overspray on the hood…go figure. I also found a bit of overspray and poor sanding and blending work done on the rear quarter.
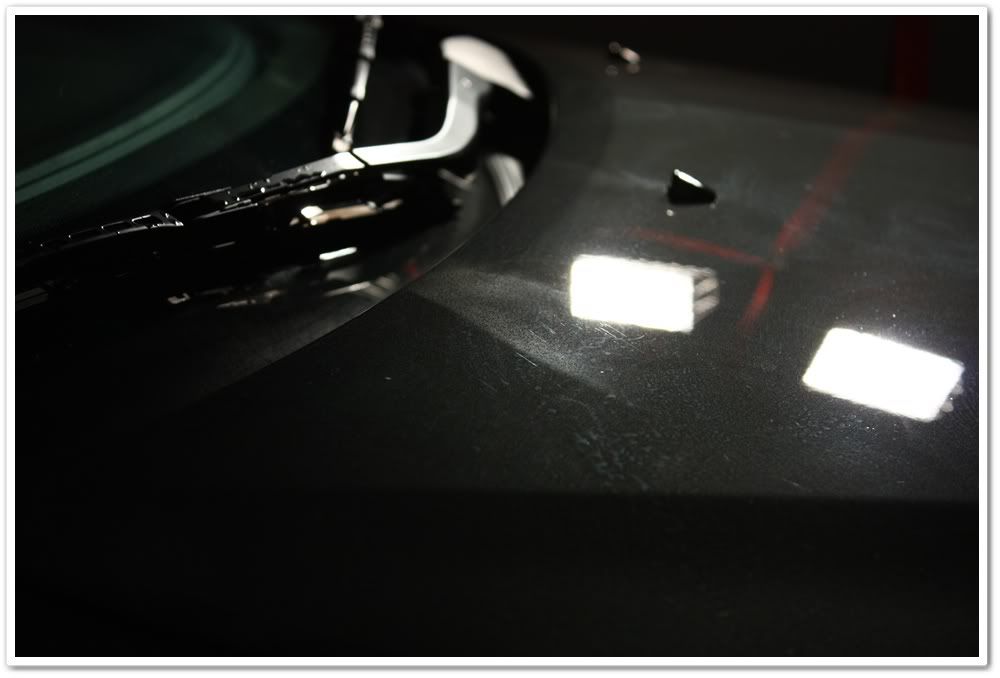
This is the one area that I did use the rotary…Meg’s yellow 2.0 polishing pad with Menzerna PO203S cleaned it up. There were a few deep defects on the hood that remained.
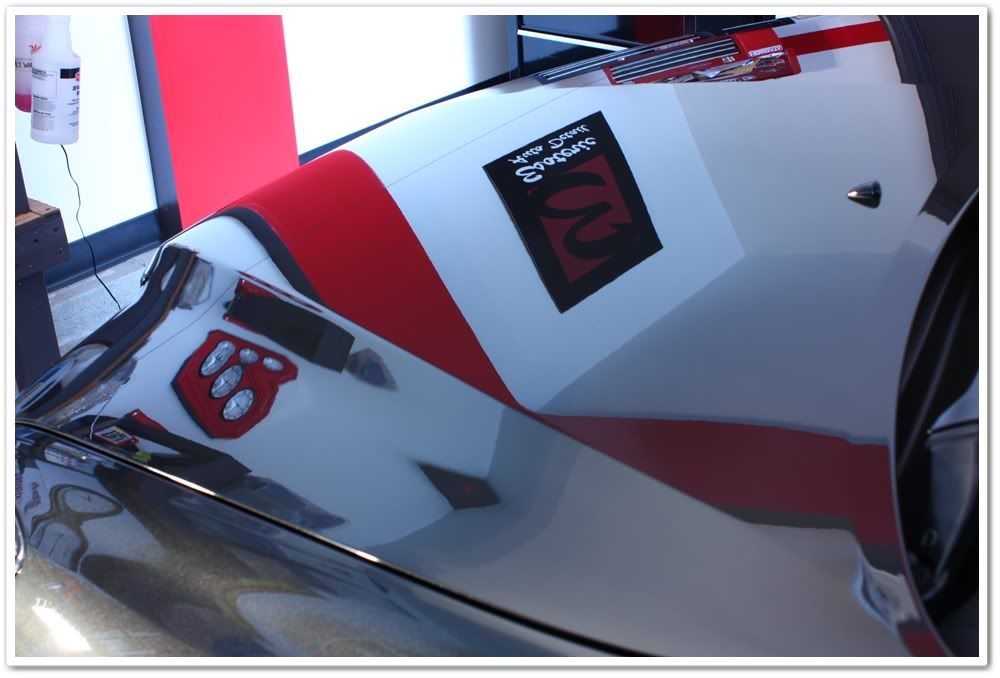
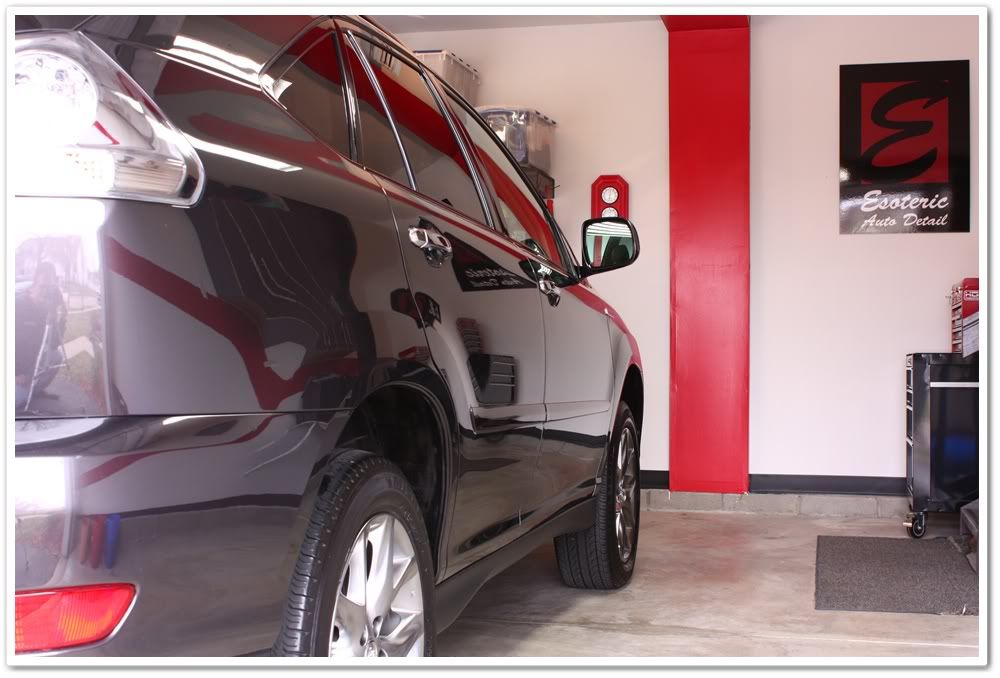
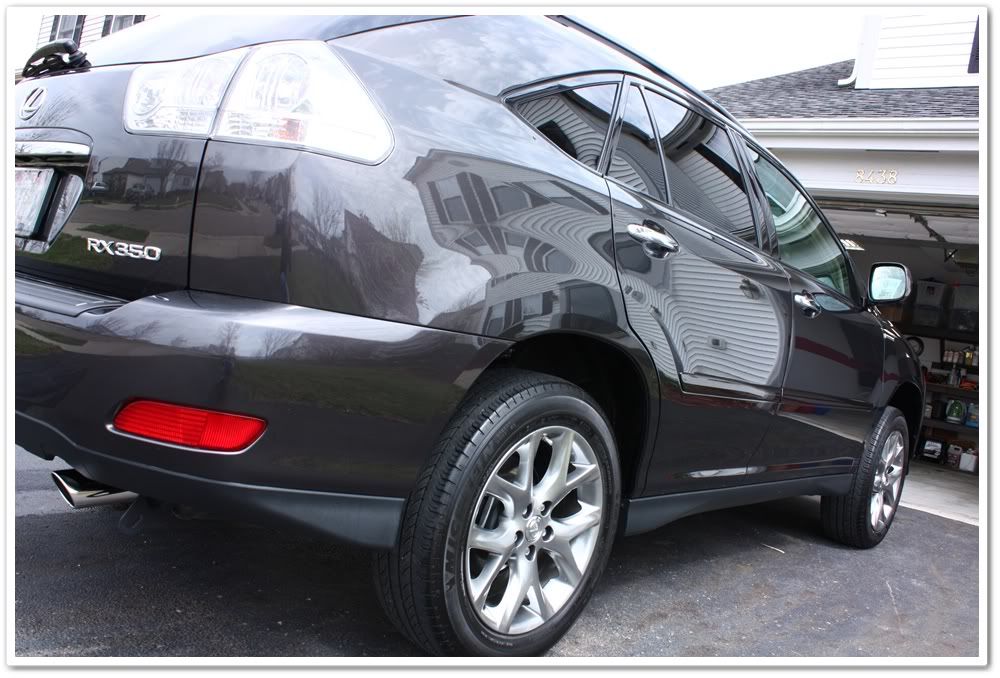
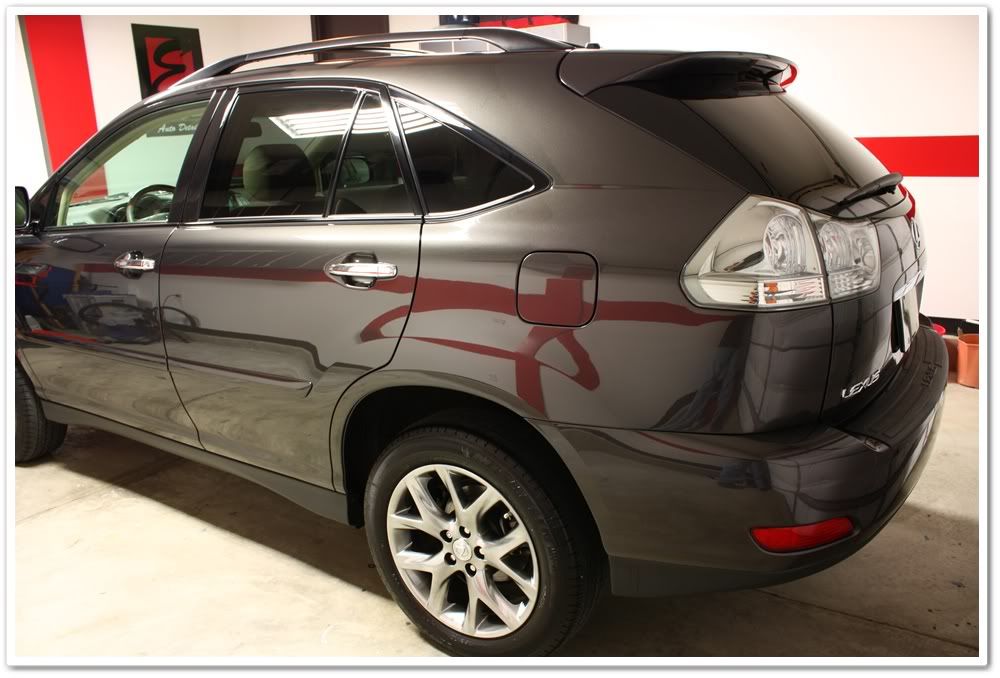
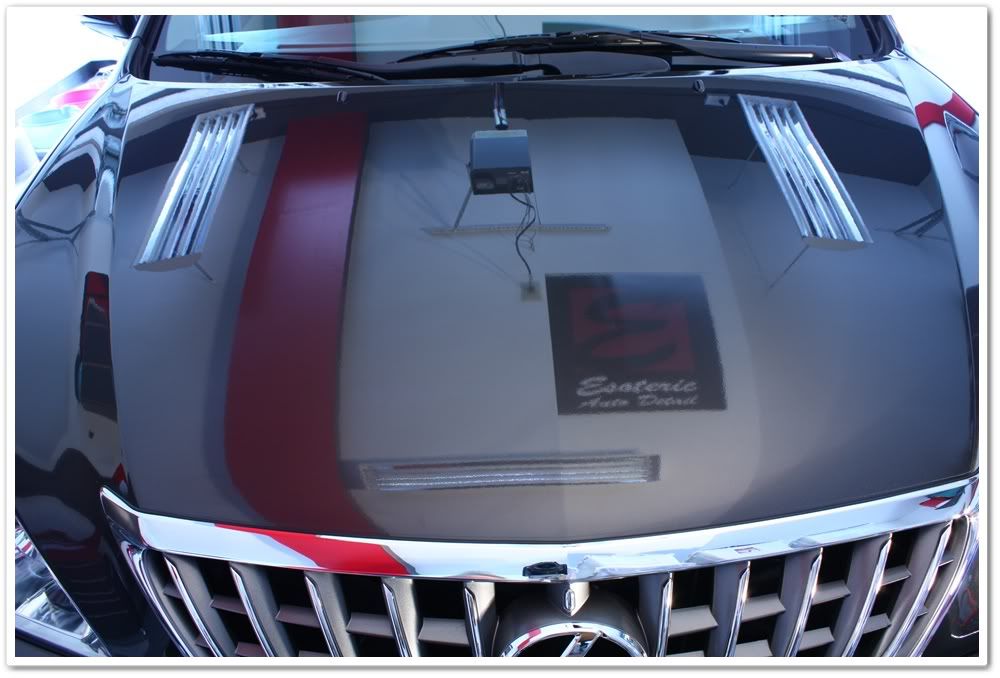
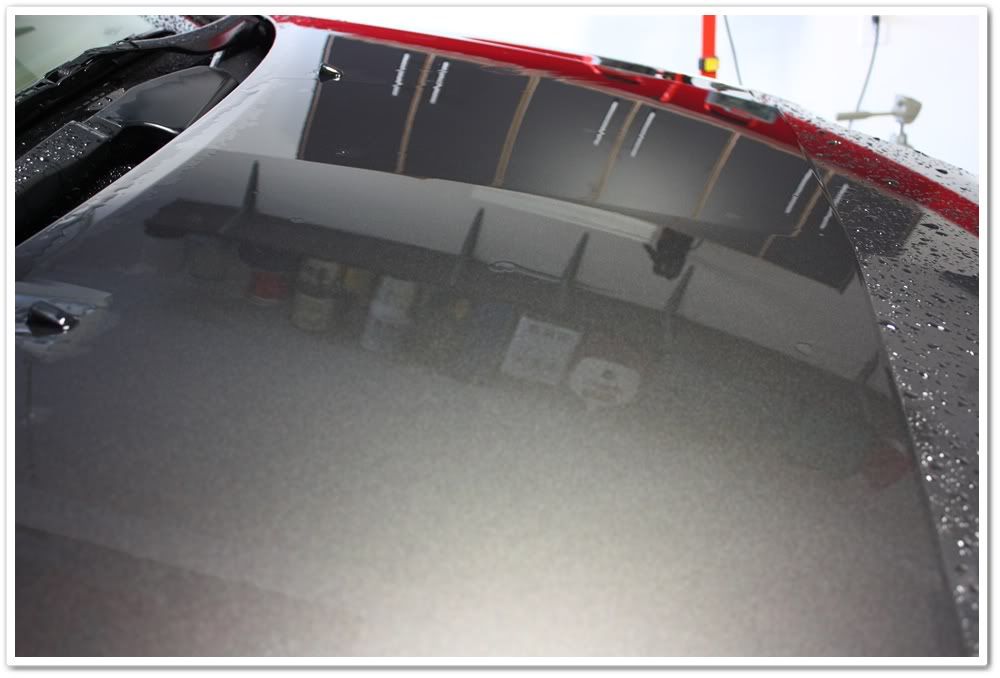
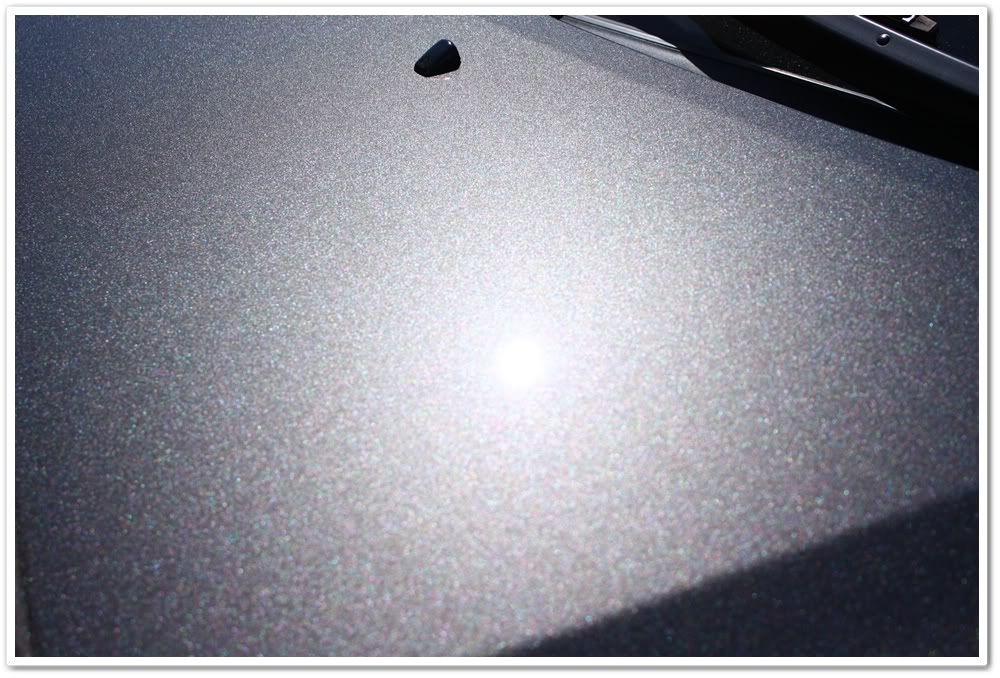
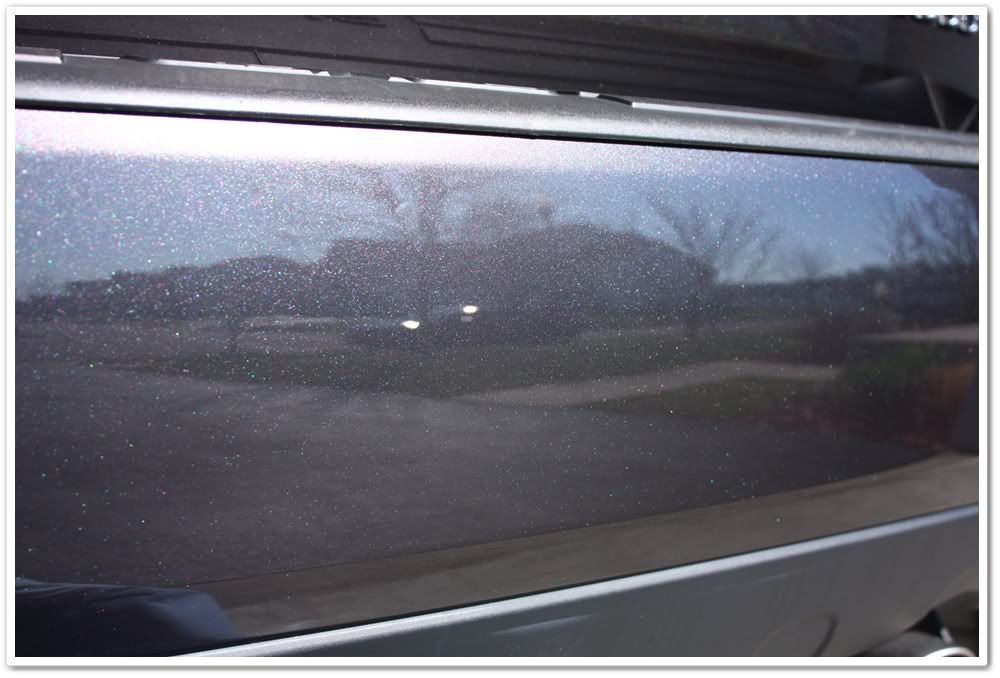
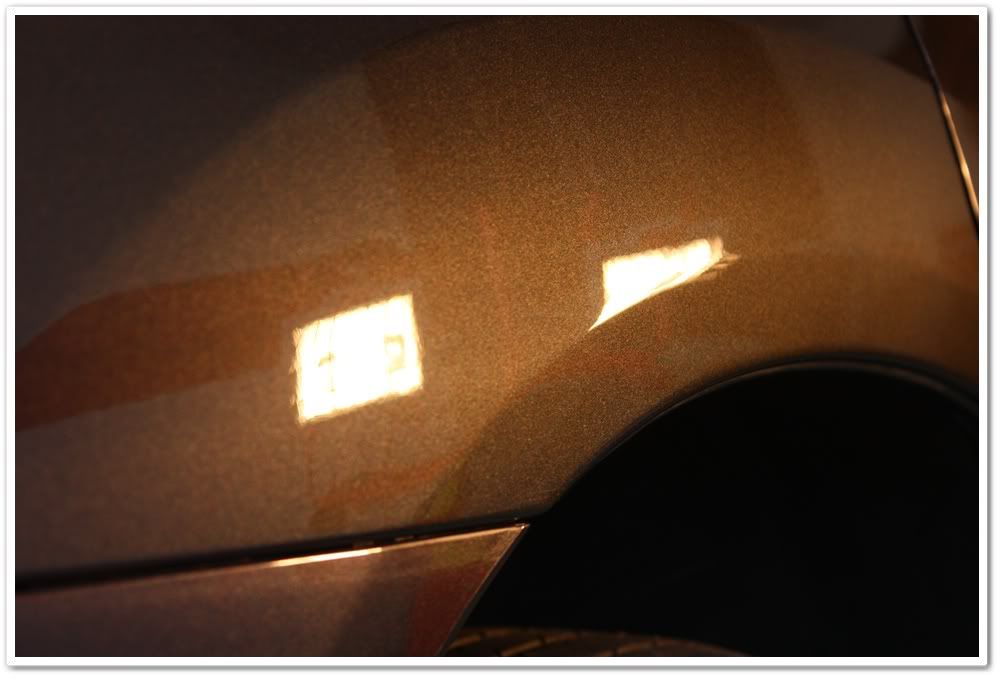
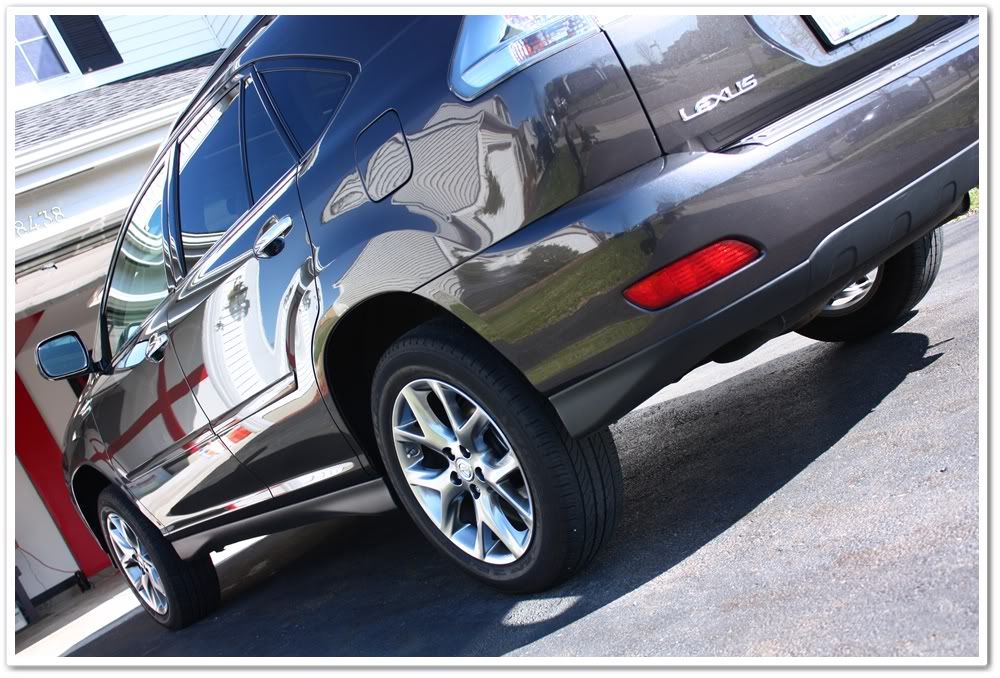
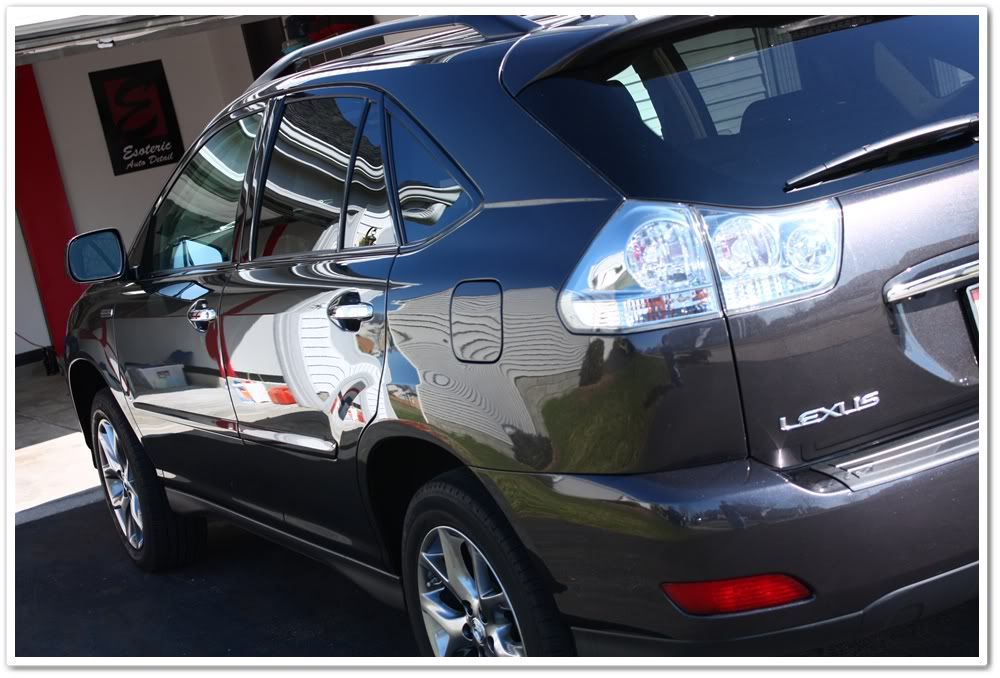
I pulled it outside for a quick inspection in the sunshine to see how it came out. Notice all of the colors in this paint.
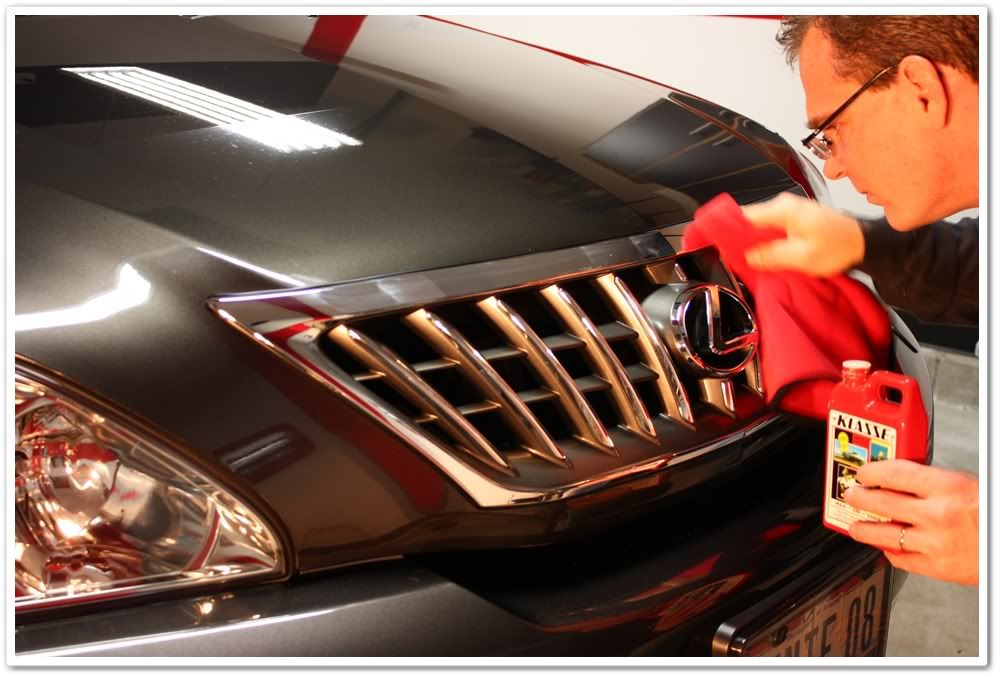
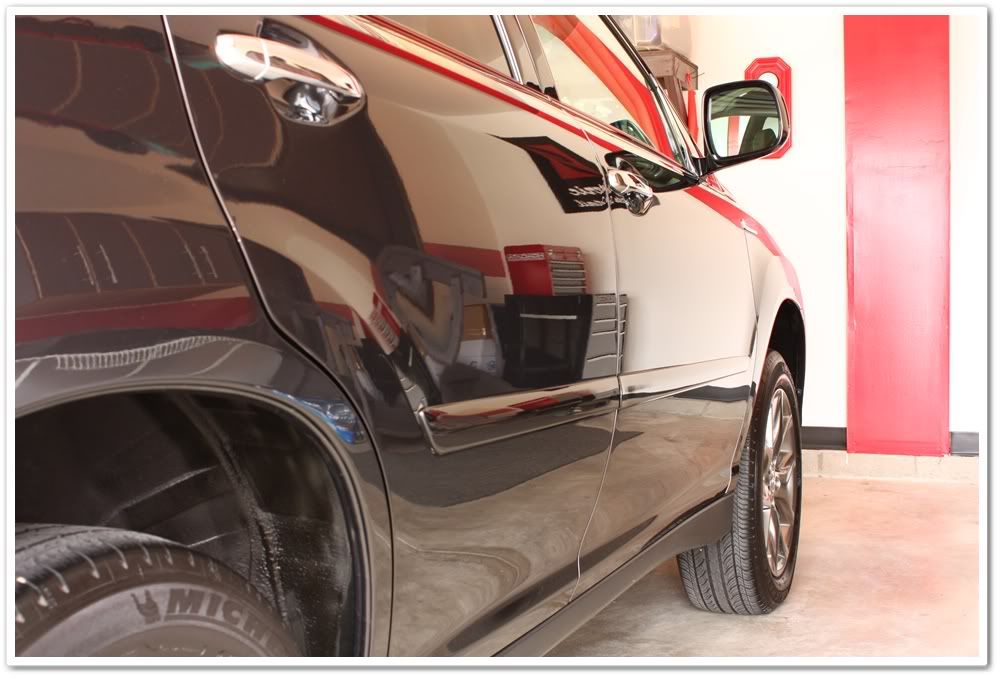
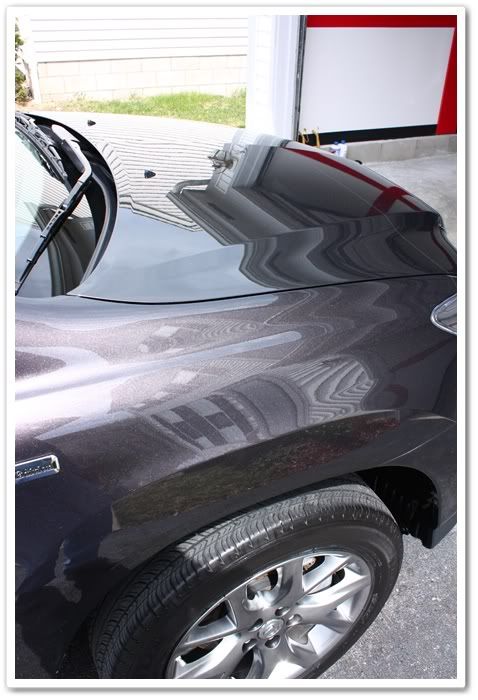
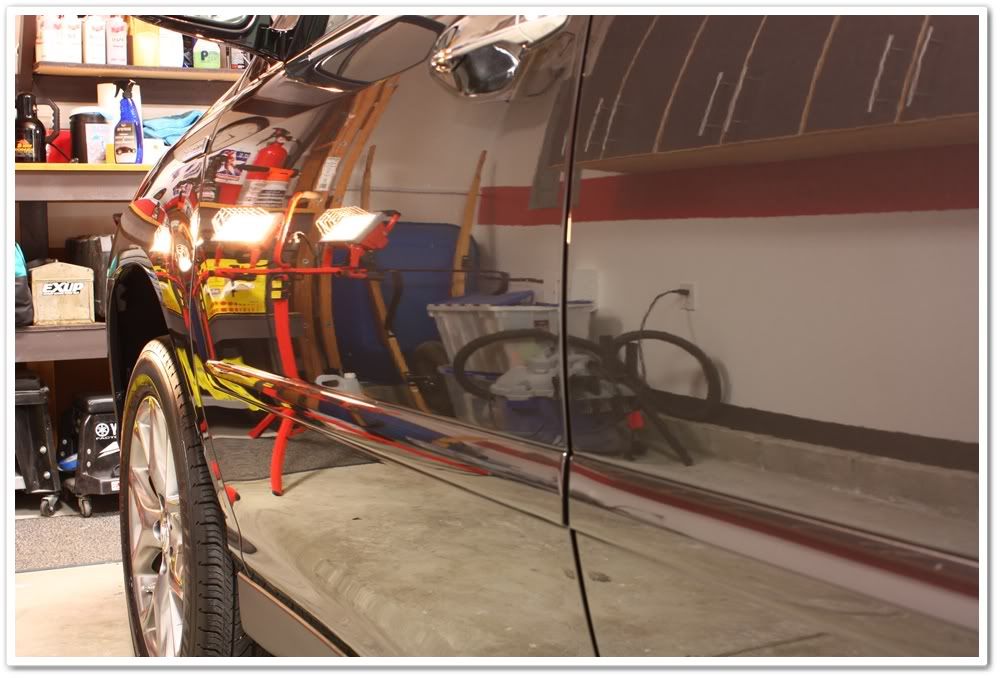
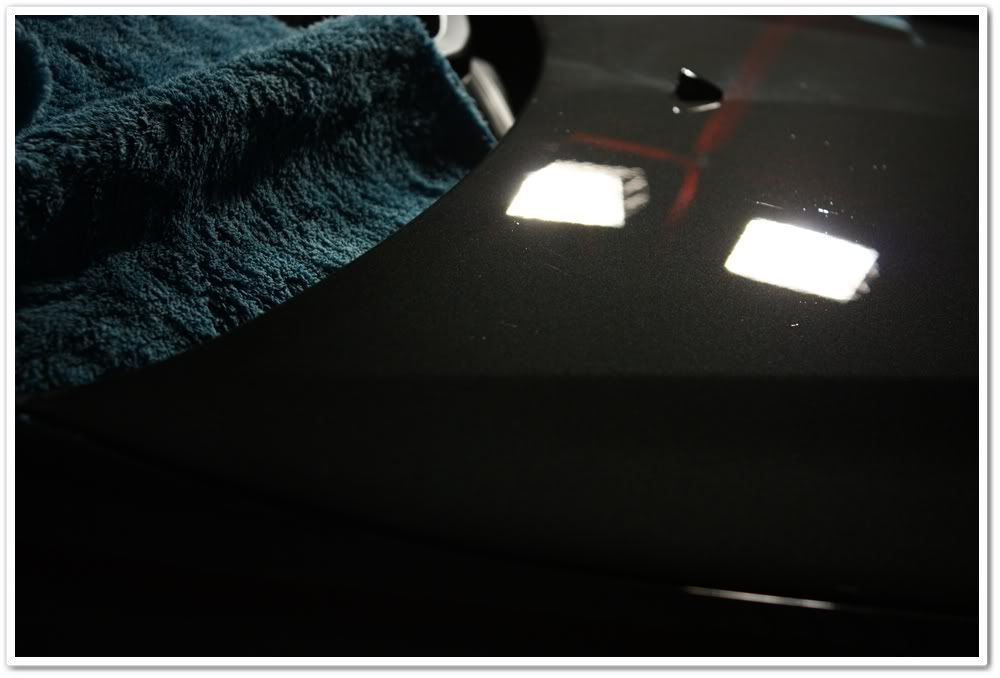
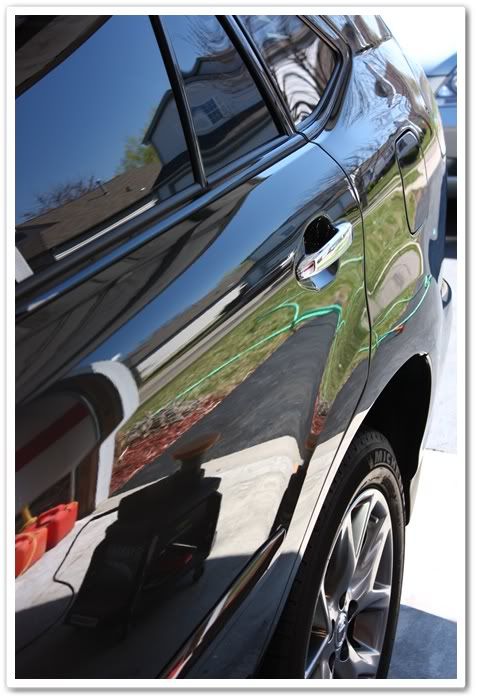
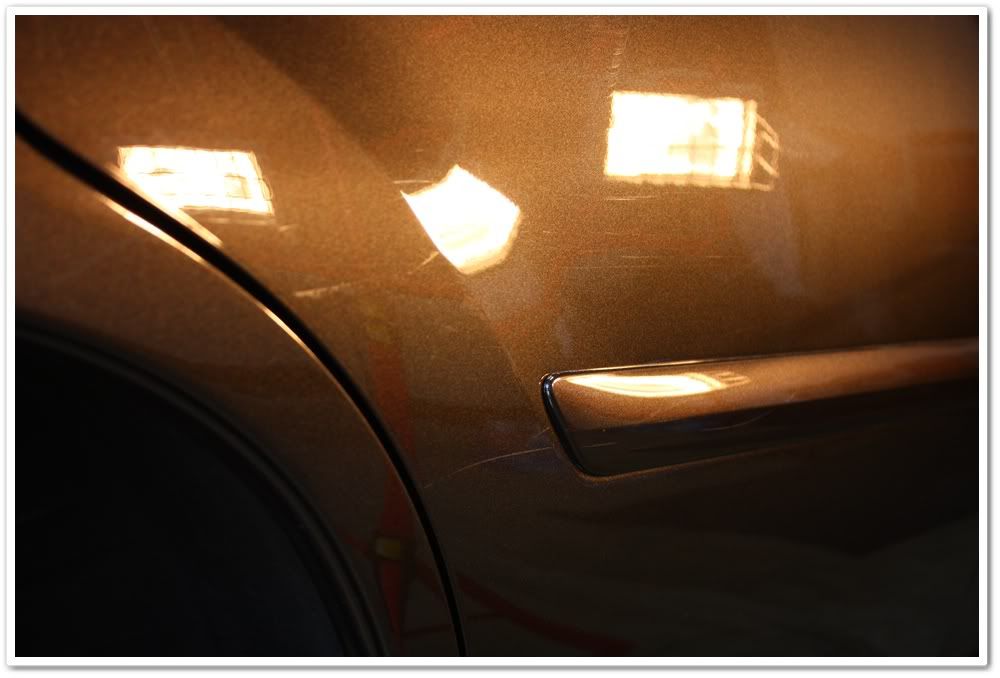
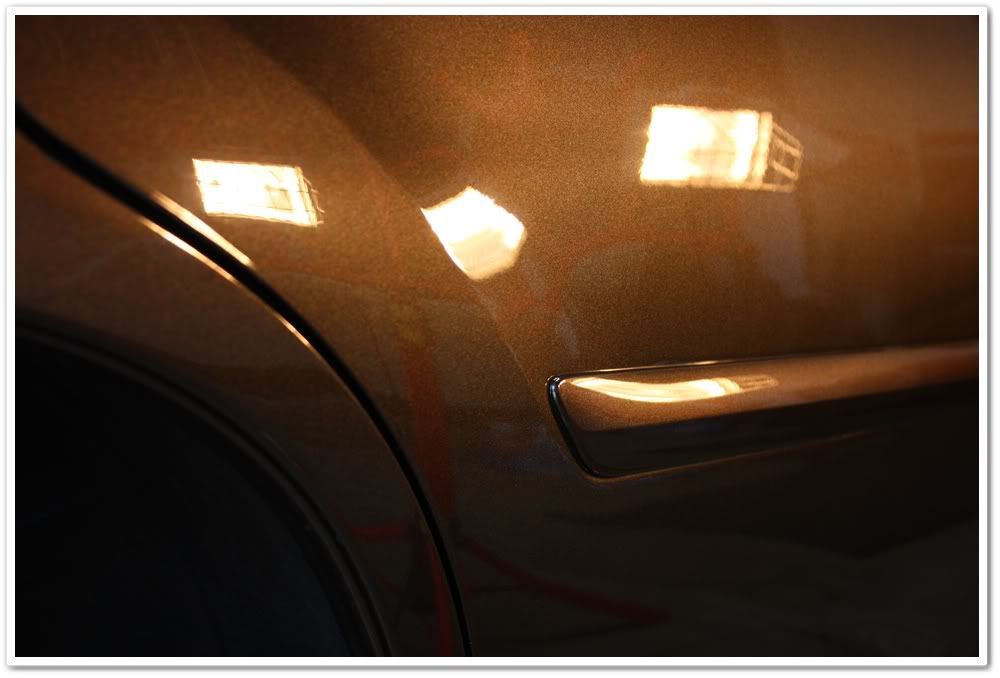
I’ve quickly moved down this side of the vehicle with Poli-Seal, PC, and an orange pad, and thought this made a good photo:
I’m not sure where the Lexus design/marketing team came up with the color name “Truffle-Mica�, but I’m glad they came up with the color! The Pebble Beach Edition is the only RX model that this color is available on. It has hues of grey, copper, blue, purple, and even a little bit of green too. The color varies slightly depending on the type and angle of the light, sometimes giving it a grey look, sometimes copper, and sometimes a slight look of purple.
The owner of this vehicle also has the 08 LS460L that I worked on a few weeks ago, and both of them are scheduled for every 4 months with me.
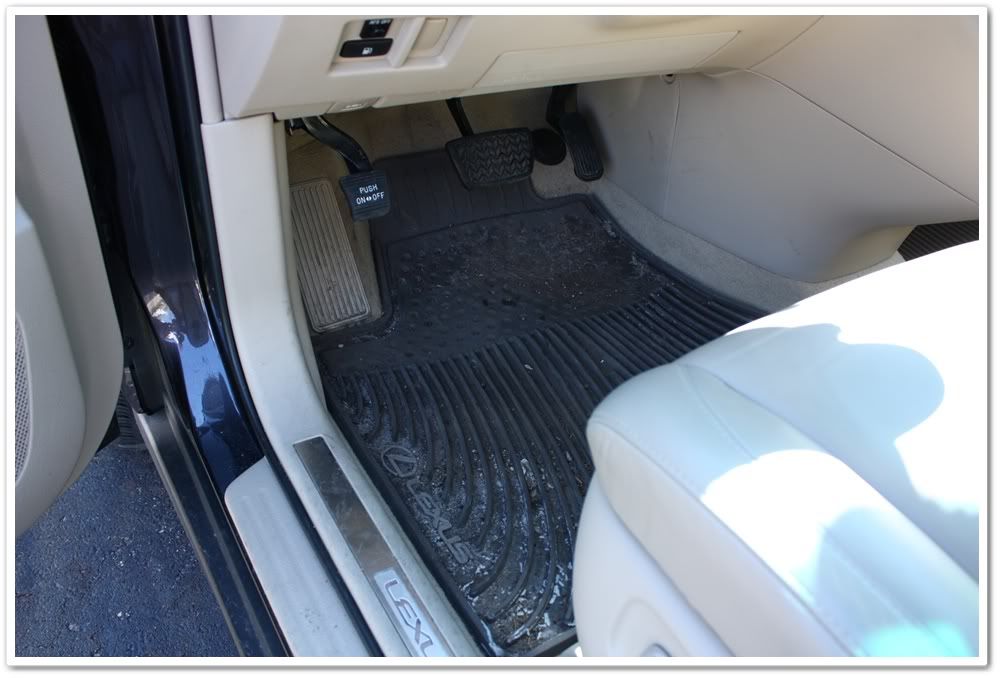
Other than being in need of a thorough cleaning, this one was in pretty good condition with the exception of some heavy scratches on the rear bumper, and some that went down the entire right side of the SUV. We agreed that the best approach would be a (modified) one-step polish, with a focus on reducing the severity of the scratches as good as I could. The interior would also need some work to clean up for the Ohio winter, but he said that a light cleaning would suffice. We were not going for a full-correction job.
Here’s the RX350 when it arrived:
First up was a wash of the exterior. My go-to wash when preparing for polishing is Chemical Guys Wash & Clear. I also used P21S Total Auto Wash to pre-treat the front end, and to clean the wheels, tires, and wheel wells.
After washing, I clayed all of the exterior surfaces with Riccardo clay using Optimum Instant Detailer and Gloss Enhancer as a lube. I find that the Optimum ID provides a super-slick surface for the clay, which reduces the risk of marring the finish (especially on soft Lexus paint). As is normal, I found the rear of the car as well as the areas right behind the wheels to have the most contaminants to be removed by clay. The horizontal surfaces were surprisingly in good shape.
After claying, I foamed the car once again with Chemical Guys to rinse off the Optimum ID, and then pulled it in the garage for polishing.
The water is sheeting nicely, which means no remaining waxes or sealants!
After washing, I always use my Blaster Sidekick blow dryer to dry the vehicles. This product is marketed to the motorcycle industry, but I find it’s perfect for cars. If you don’t blow dry, you’ll find a lot of water hiding in emblems and seals…water that either comes out when polishing to make a mess of things, or worse yet comes out when the customer drives away and then streaks all down the sides of their car! Whatever method you have access to (compressed air, leaf blower, whatever), I highly recommend using them!
Before my client arrived, I went ahead and got my tools ready in anticipation of a rotary/PO203S session since it worked so well on his LS460L.
After inspection and a brief discussion however, I opted for the PC with an orange LC pad and Optimum Poli-Seal (OPS). I like using OPS because it provides light correction, and contains polymer sealants that provide months of protection (3 or 4 in my experience). It also leaves the slickest finish of any AIO products that I have used. And did I mention that it is incredibly easy to work with? It only requires a small amount of polish, and it doesn’t take a lot of time to work in and break down like traditional polishes do…allowing for a much quicker application. Once finished, there’s very little residue to remove which is a huge plus in my book. I also love the look of Poli-Seal on darker colors too!
Now onto polishing:
Hmmm, what have we here? Obviously our 10 month old Lexus has had some paint work done in the past because here’s overspray on the hood! I found out that the paint work had been done on the LR of the car, yet I find overspray on the hood…go figure. I also found a bit of overspray and poor sanding and blending work done on the rear quarter.
This is the one area that I did use the rotary…Meg’s yellow 2.0 polishing pad with Menzerna PO203S cleaned it up. There were a few deep defects on the hood that remained.
I pulled it outside for a quick inspection in the sunshine to see how it came out. Notice all of the colors in this paint.
I’ve quickly moved down this side of the vehicle with Poli-Seal, PC, and an orange pad, and thought this made a good photo:


")