2008 BMW M6
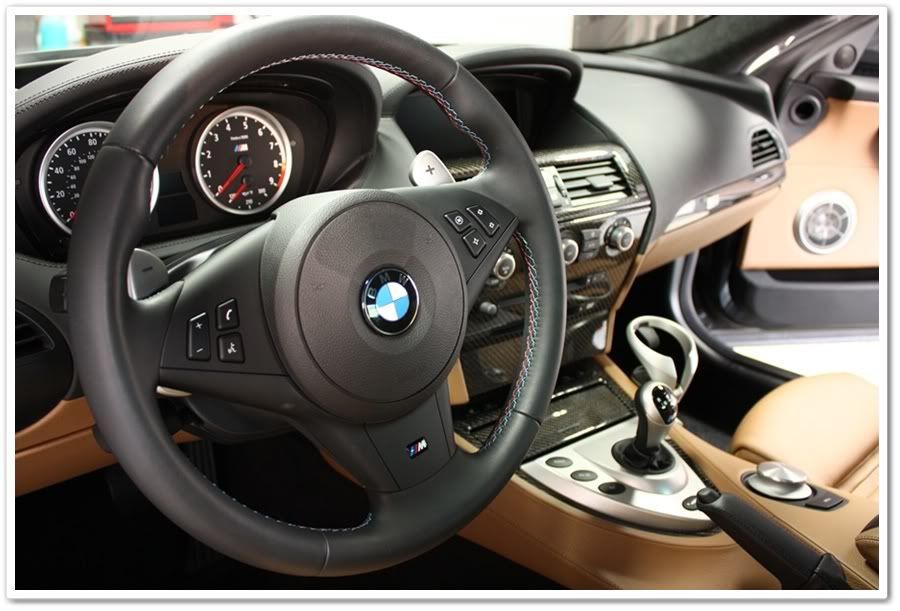
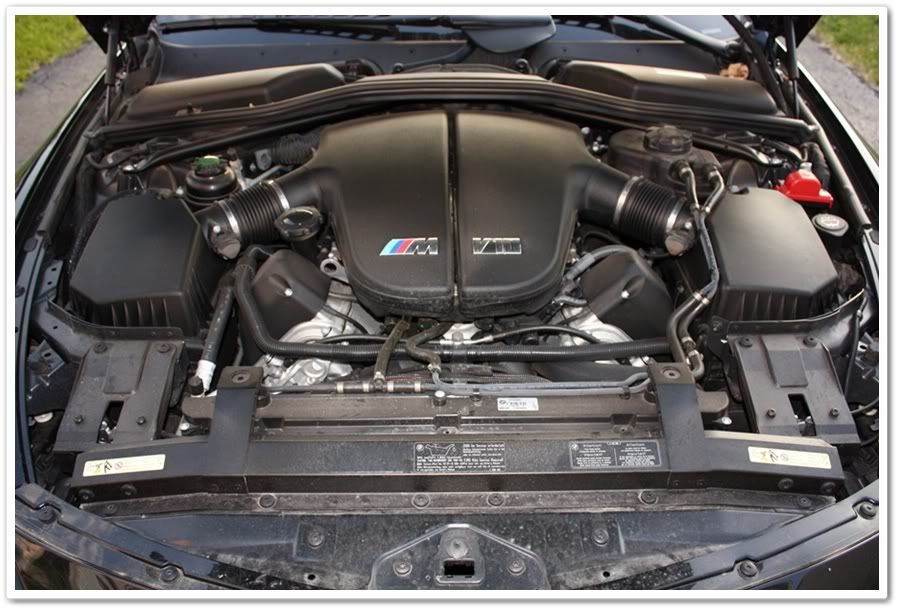
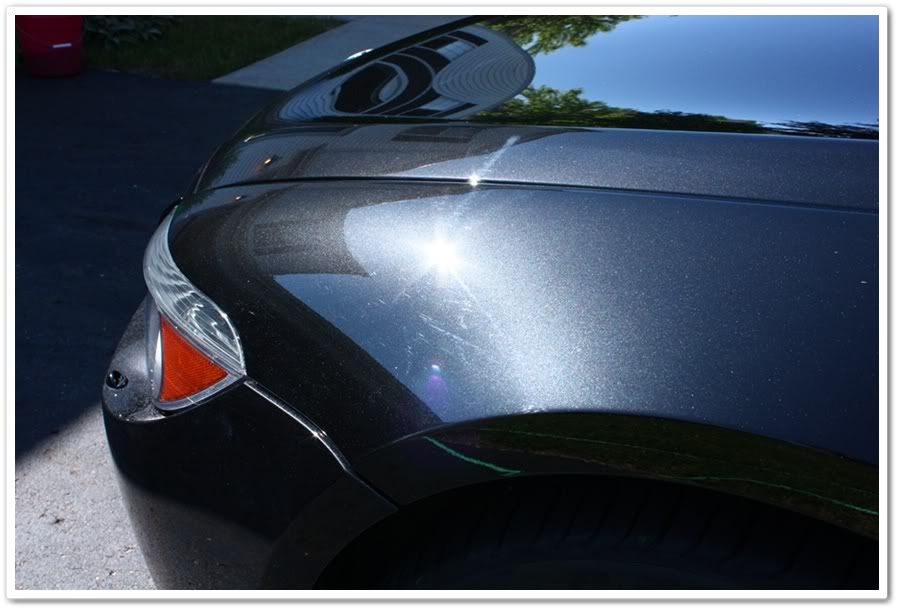
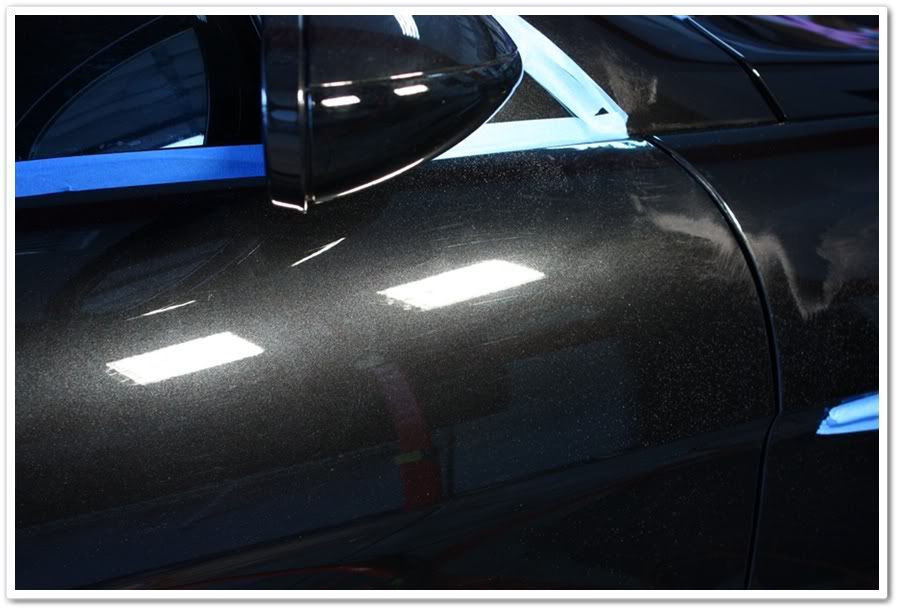
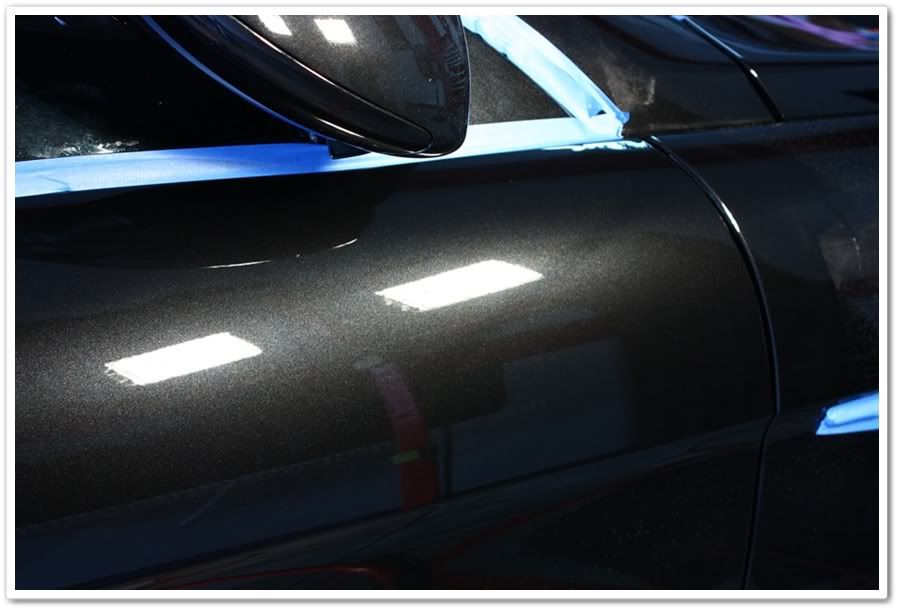
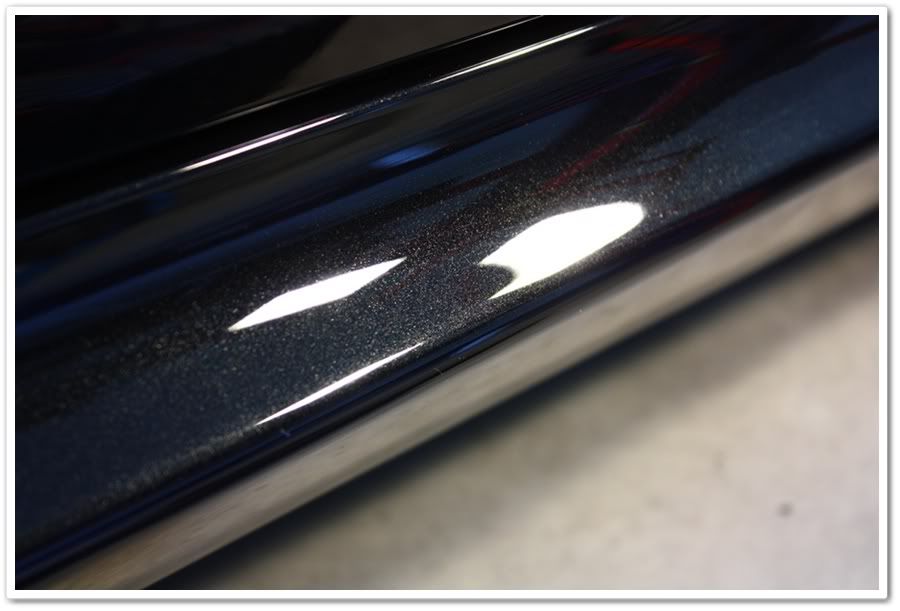
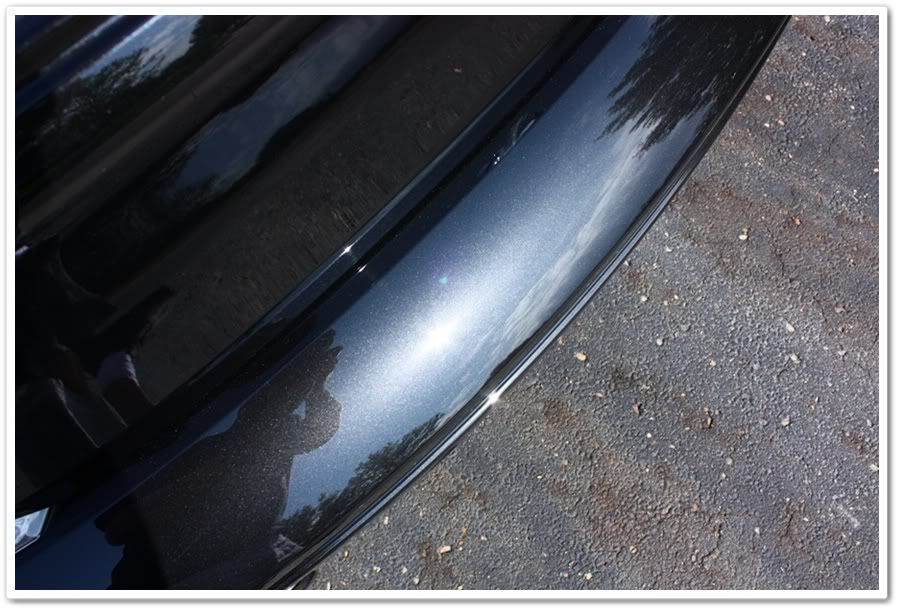
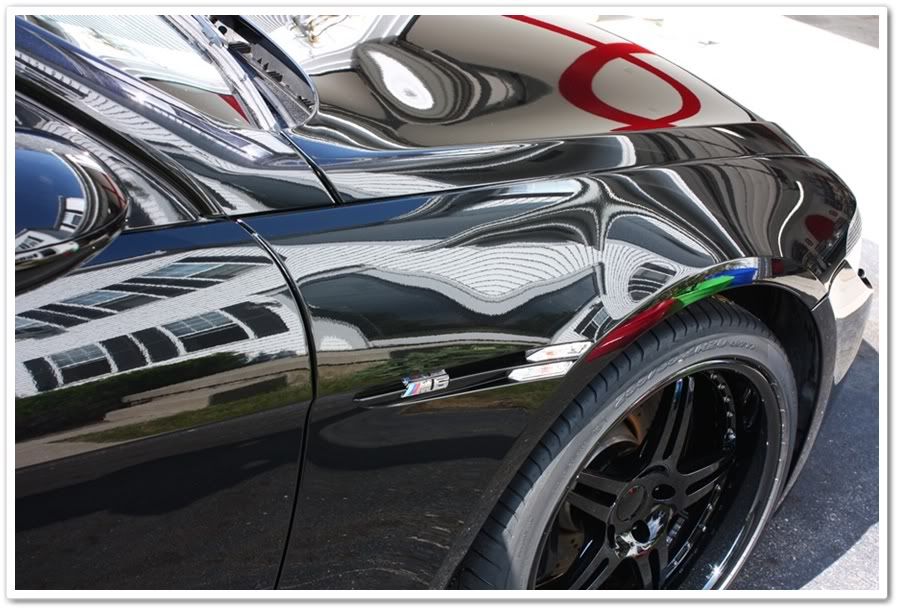
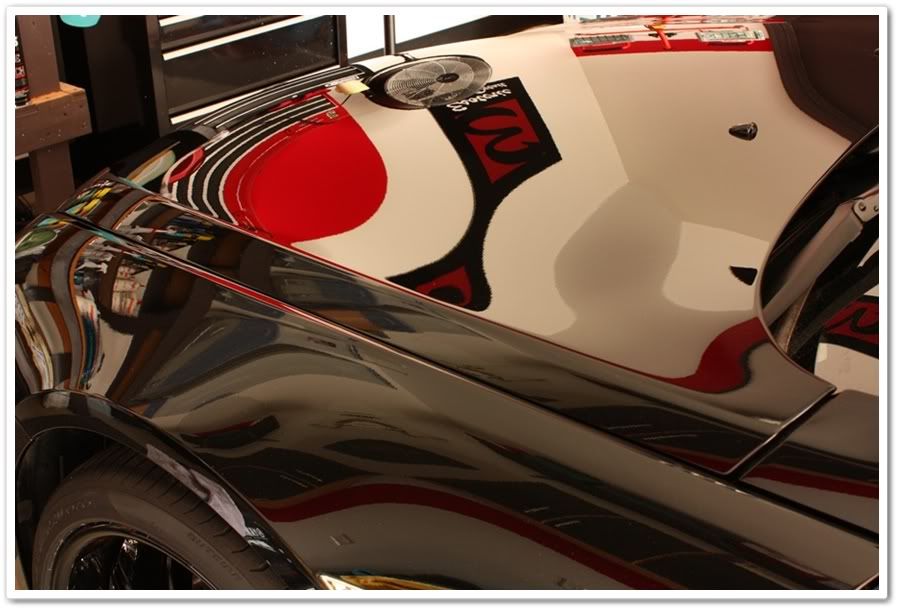
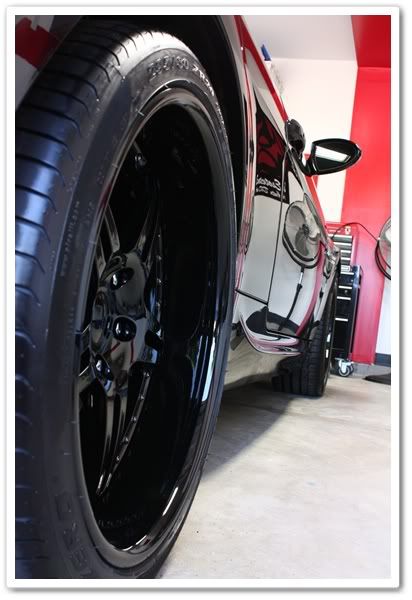
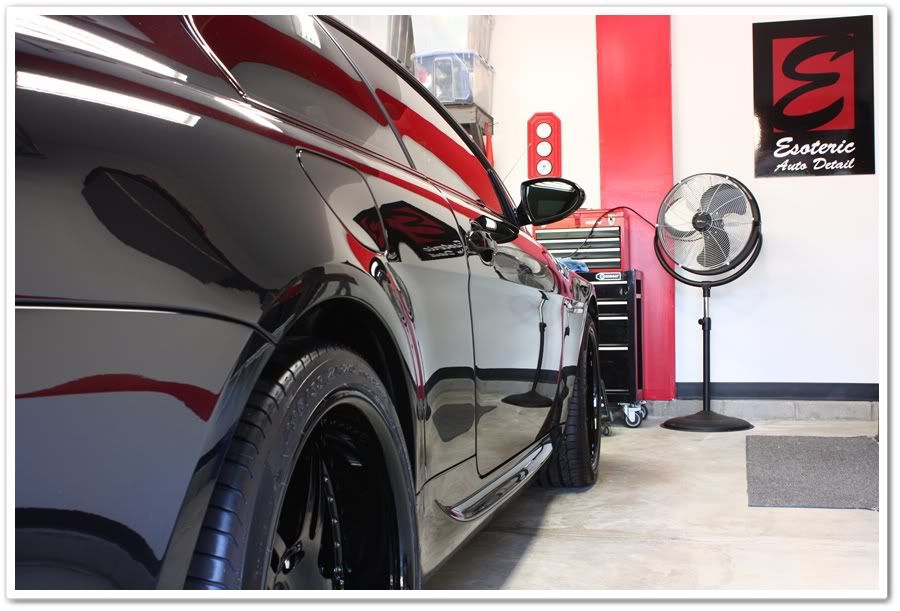
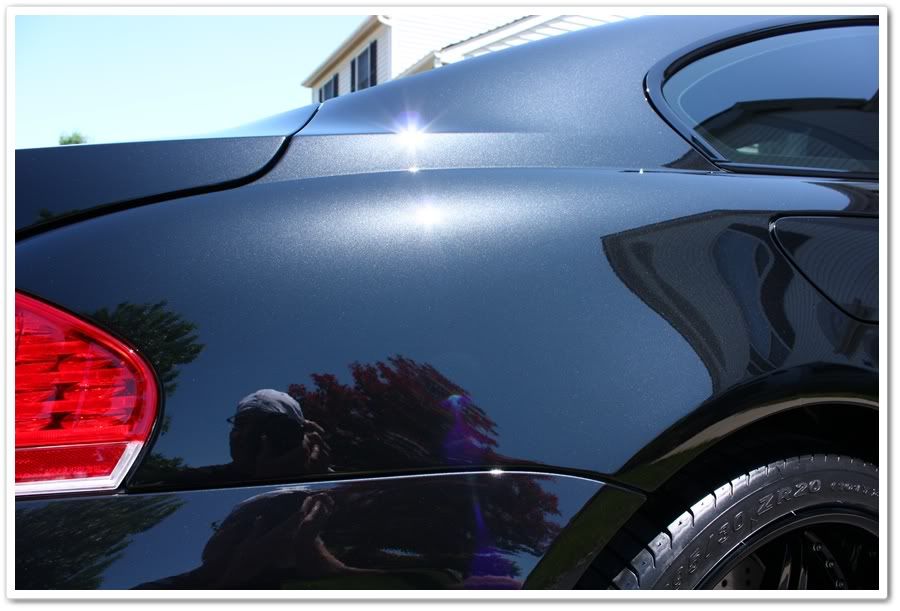
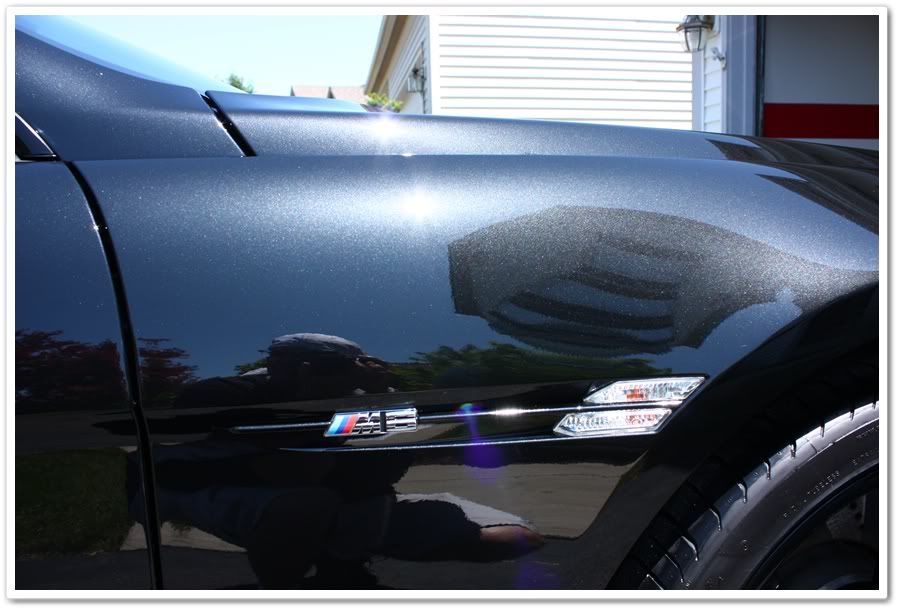
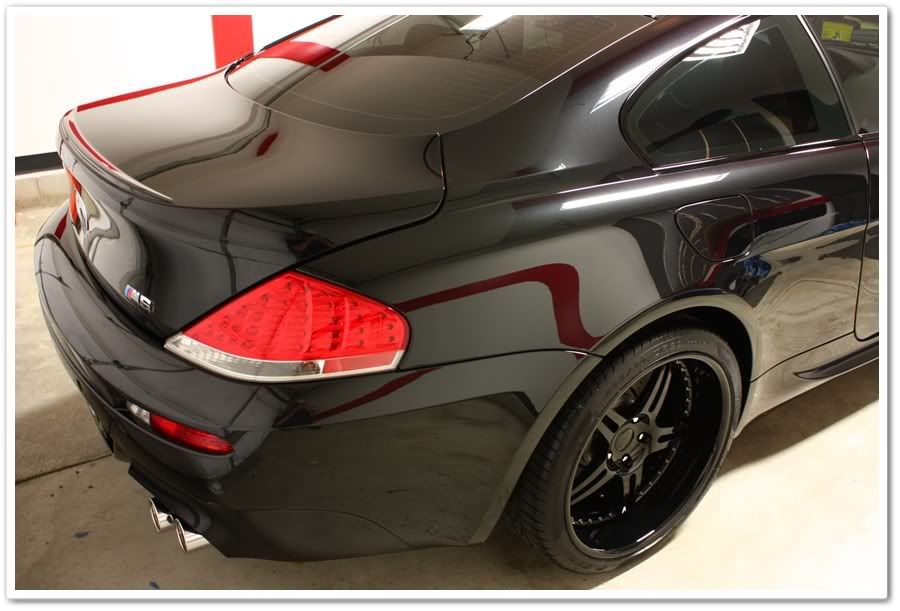
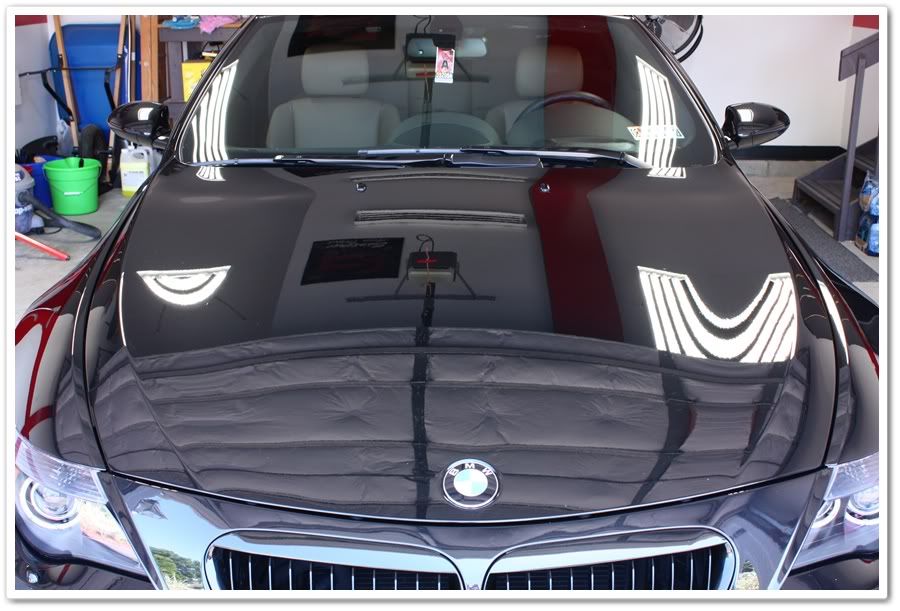
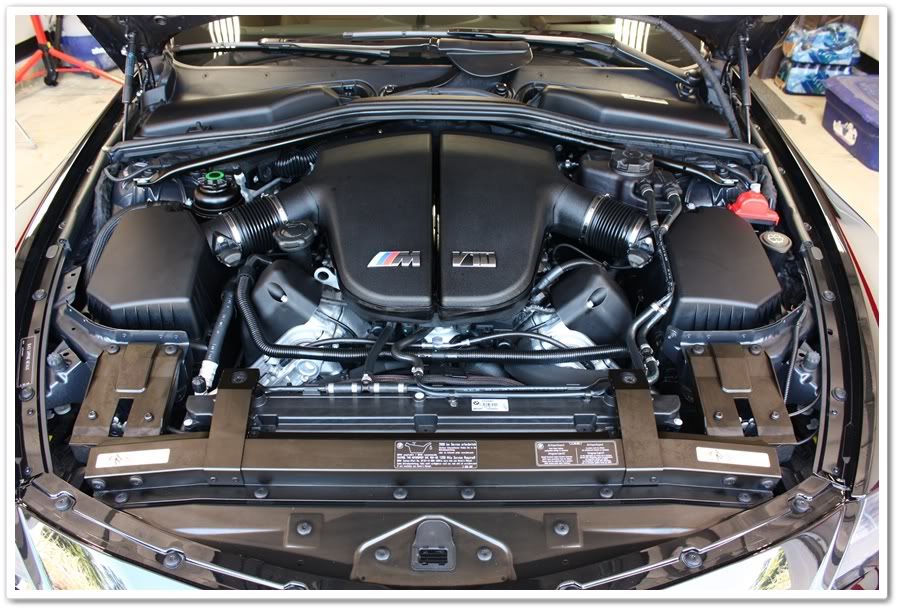
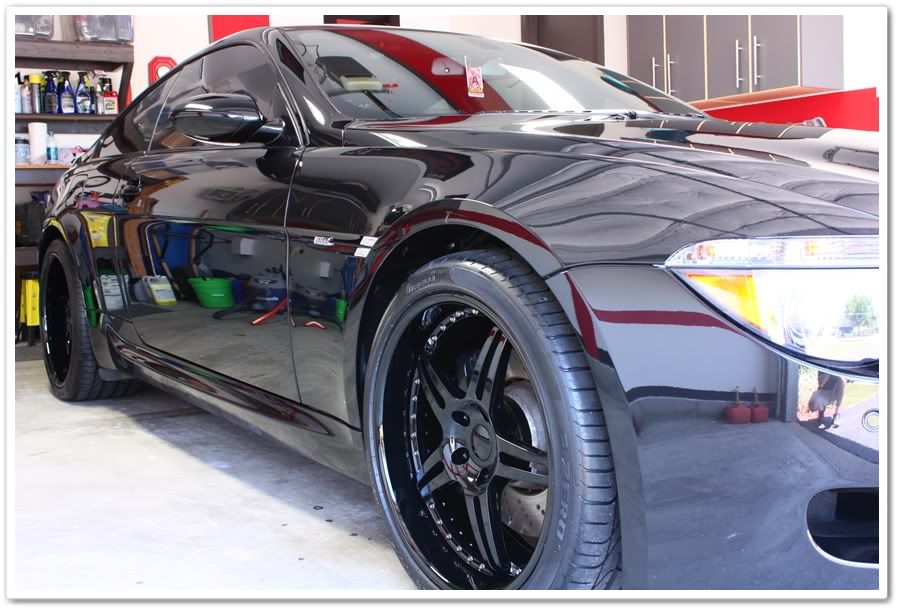
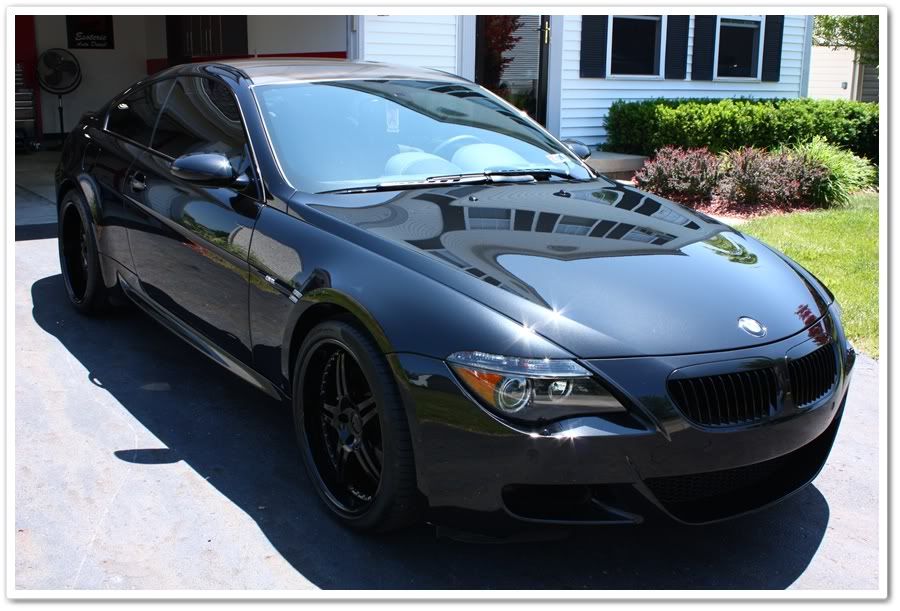
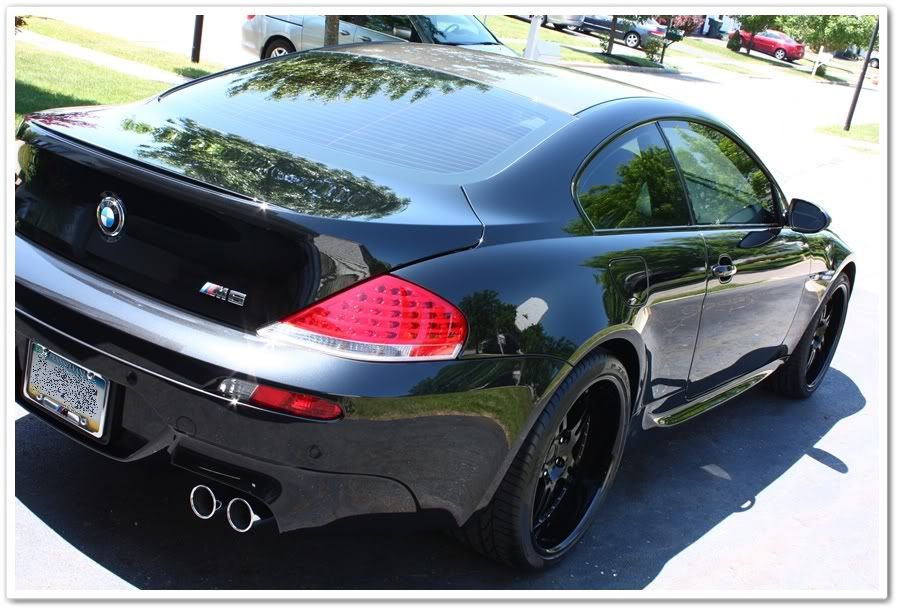
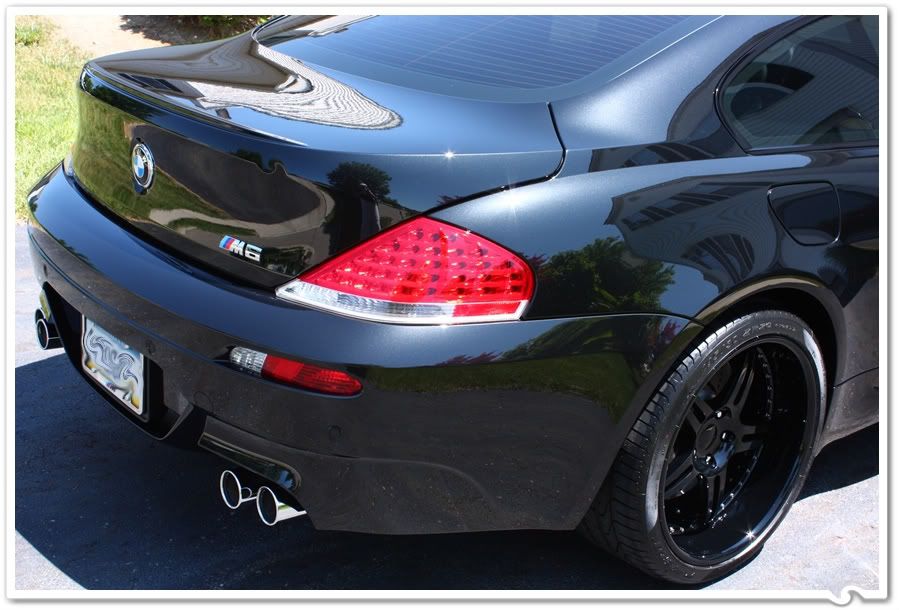
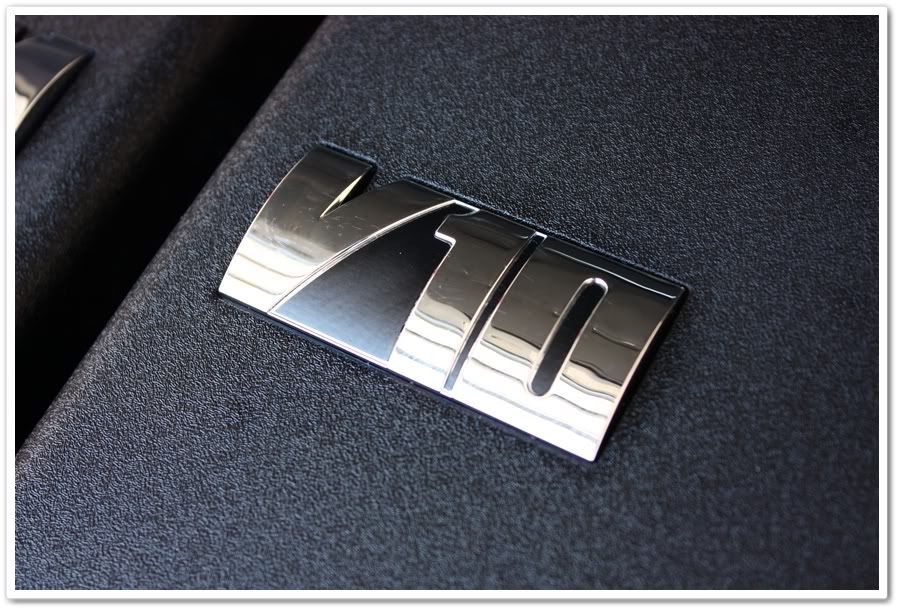
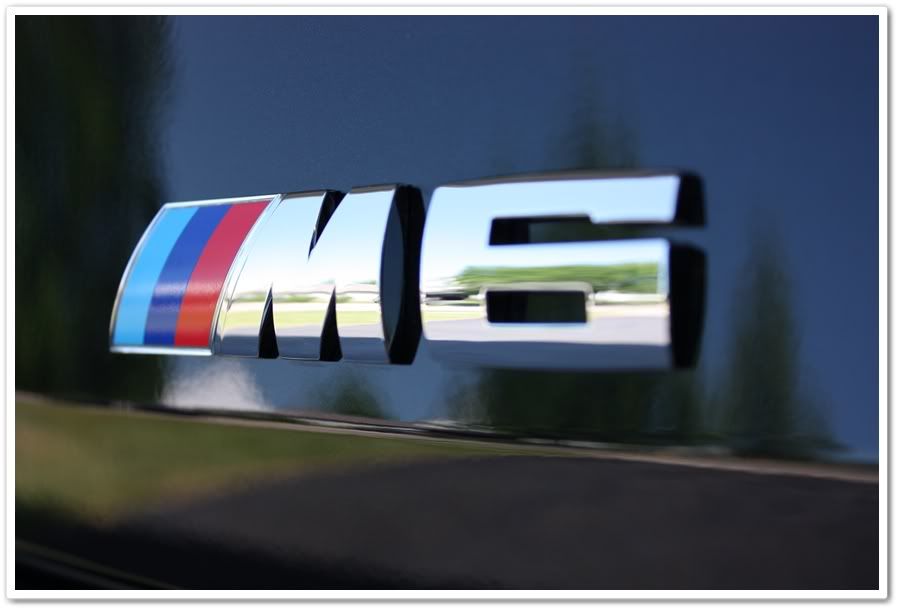
I’ve always loved the BMW M cars, and it was a pleasure to work on this beautiful M6 in Black Sapphire Metallic. This is an amazing machine at all levels…what’s not to like about a 500HP V10 motor coupled to an automated clutch and 7 speed sequentially shifted manual gearbox. It is capable of 0-60 runs in just 4.6 seconds with a 12.8 second quarter mile. Pretty impressive for a 4-passenger grand touring coupe! The finishing touches of the car are also at another level…
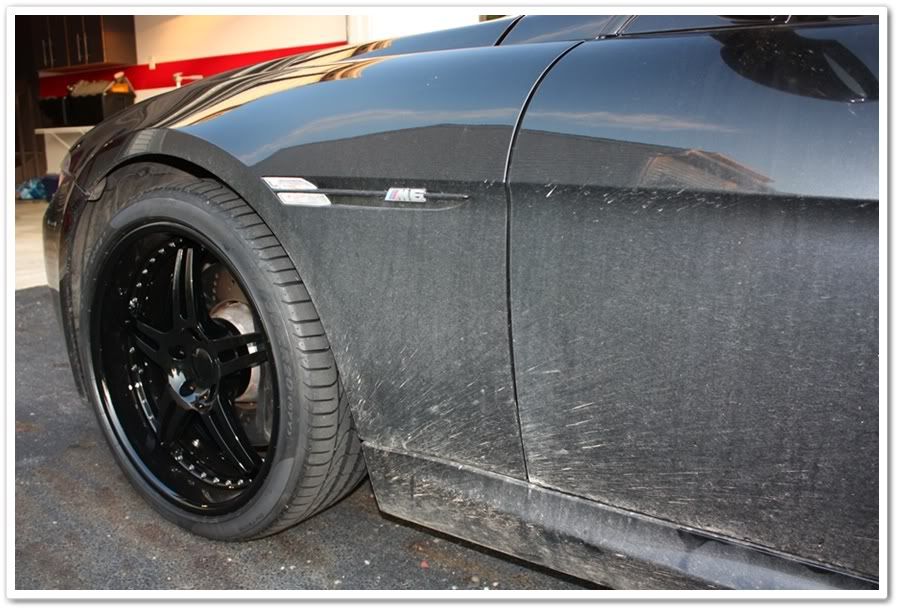
The owner of this car contacted me about several of his vehicles (more on that later), but the M6 was to come first. When I went to his house for the initial inspection, I found it to be in pretty good condition, albeit very dirty coming out of a bad winter. This is his wife’s daily driver, and she likes detailing her own cars, but their schedules have just been too hectic this spring. I ended up hanging out at his place for a while talking about cars, business, and a little bit of everything. I really enjoy getting to know my customers!
On the last detail thread I made, I ended up shortening up the write up with less photos compared to what I normally do. A lot of people told me they prefer the more informative, educational, and (occasionally) entertaining threads when I write a novel, so I stepped it back up on this one. It’s an extremely cool car that is deserving of such efforts.
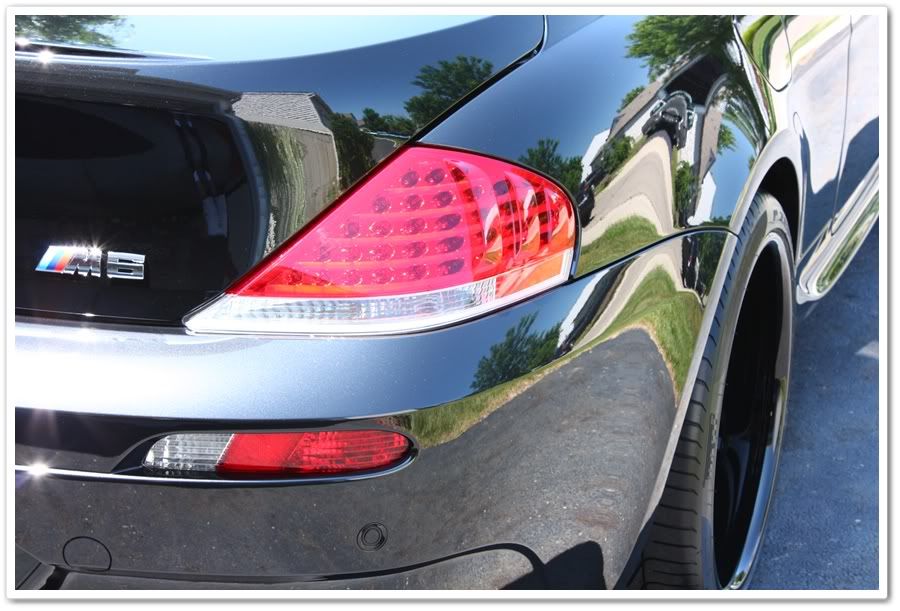
And as always, the photos are straight out of my camera with no post processing other than to resize and add a border.
The car was dropped off on Friday evening and picked up Sunday afternoon, so I’ll break it up over the 3 days so you can get a better understanding of the workflow.
Day 1:
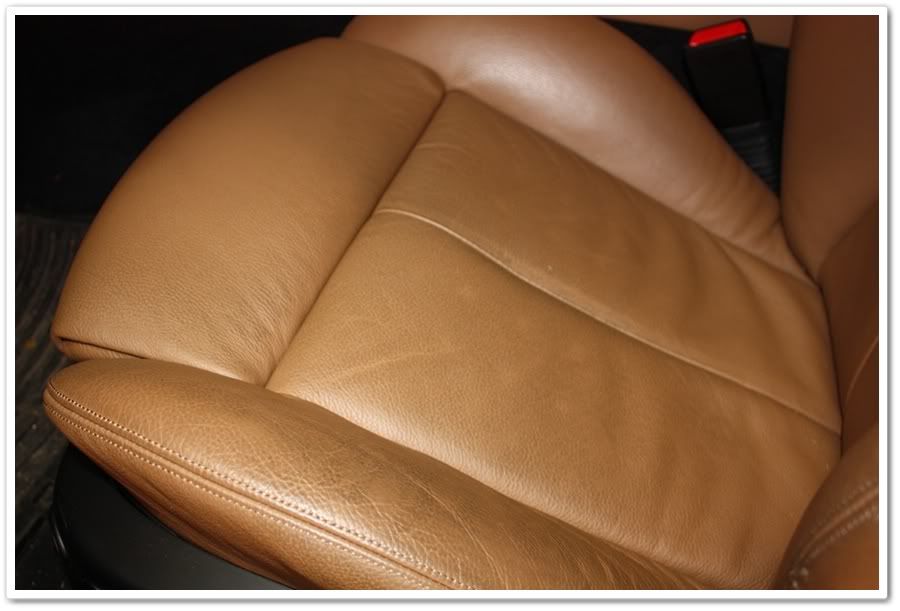
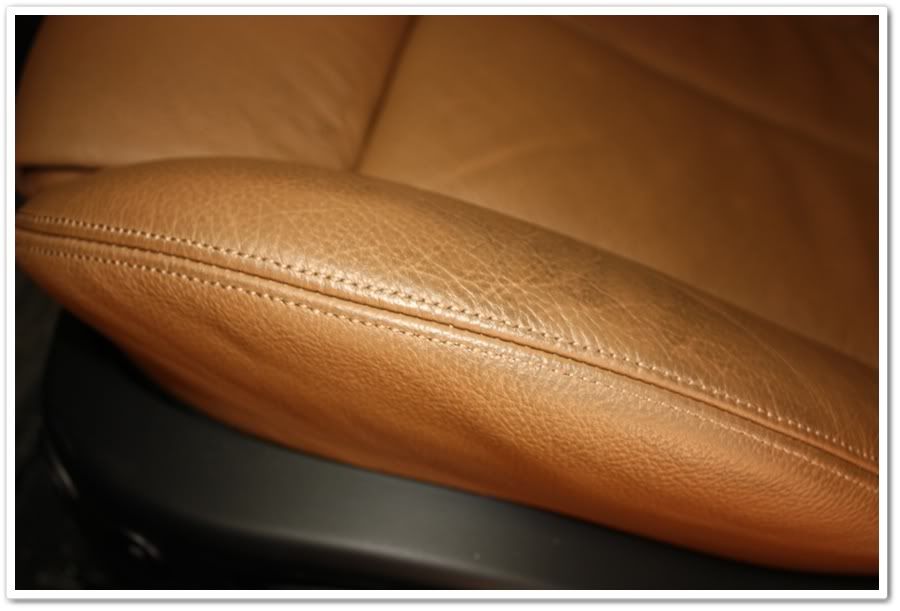
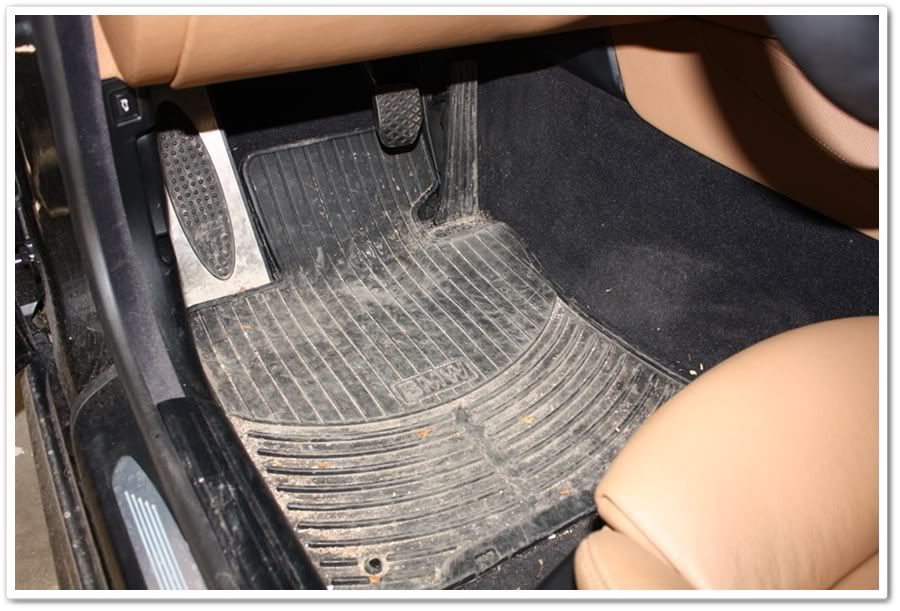
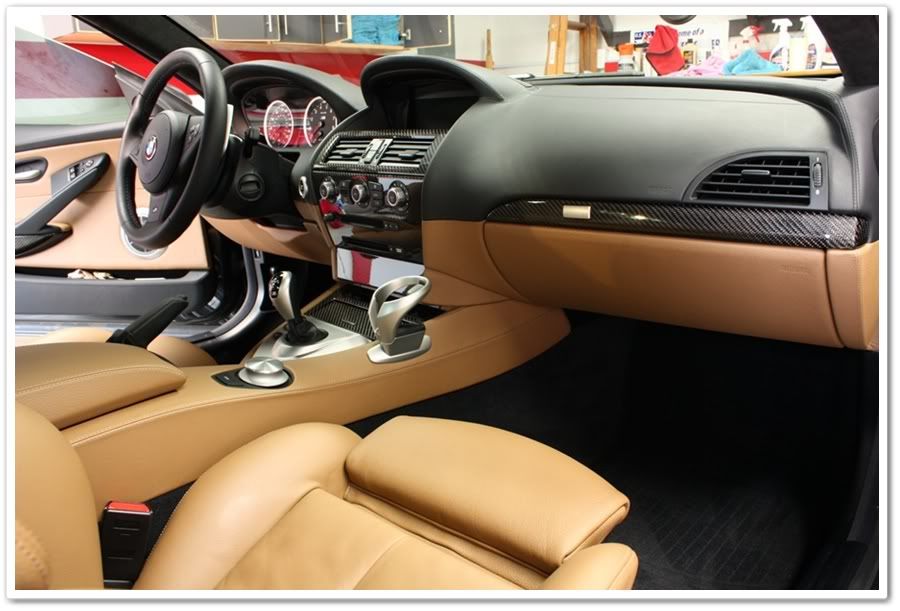
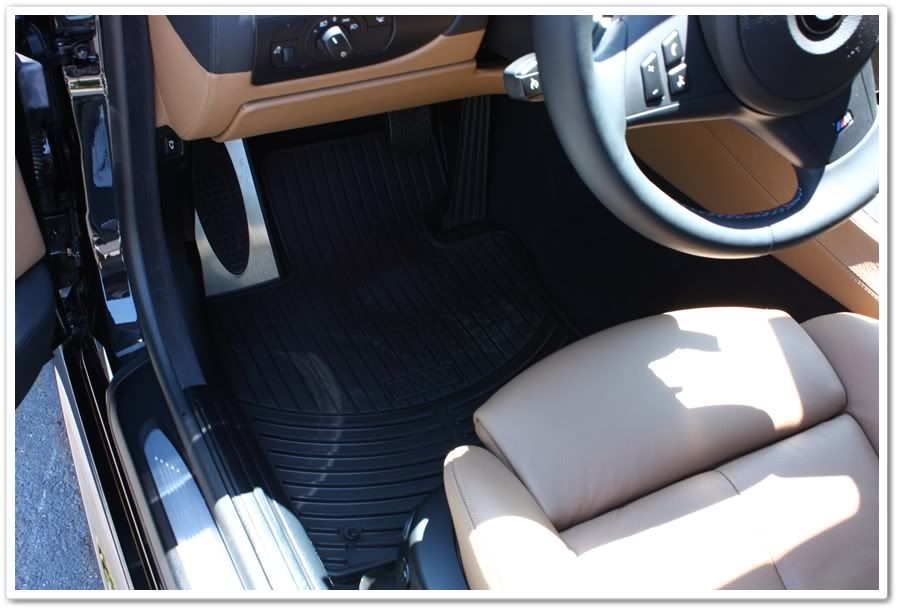
The first day was dedicated to the interior. The floor area on the driver’s side was in need of help, and the leather had already shown some serious signs of wear and dye transfer. Before I get started I always ask the customer what their biggest areas of concern are, and by simply asking, I found out that the leather was perhaps the most important area for her.
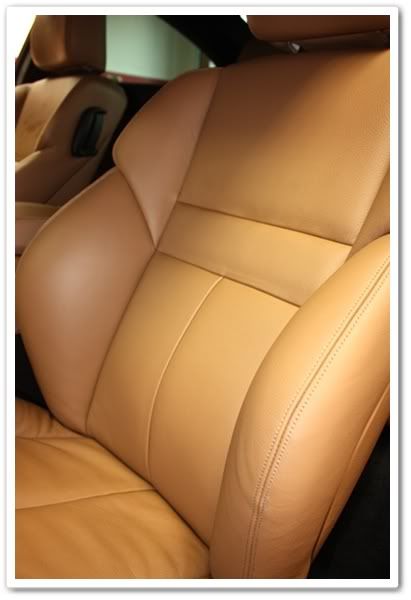
Here you can see that even after less than 7,000 miles, the leather needed quite a bit of work!
Winters can be harsh! This is why we use all-season floor mats up north.
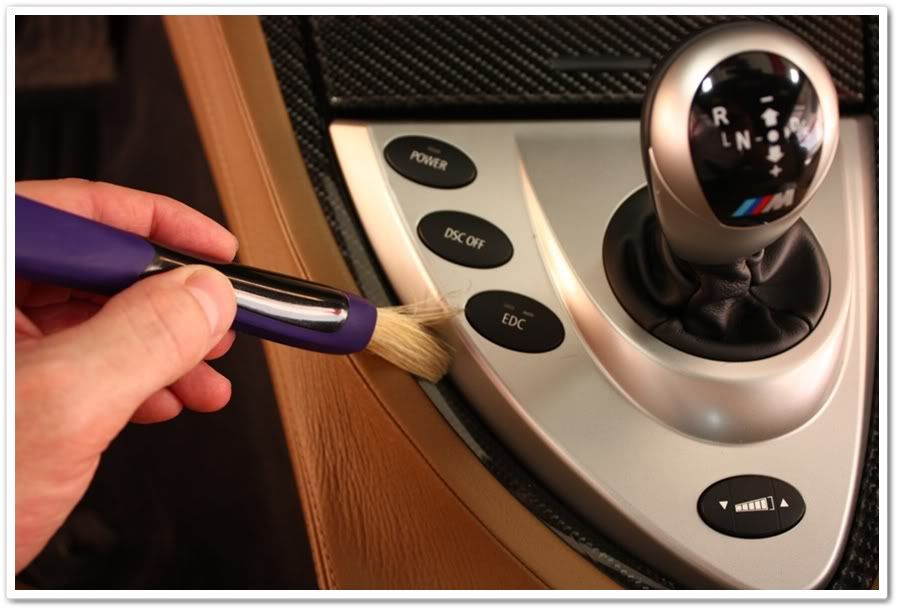
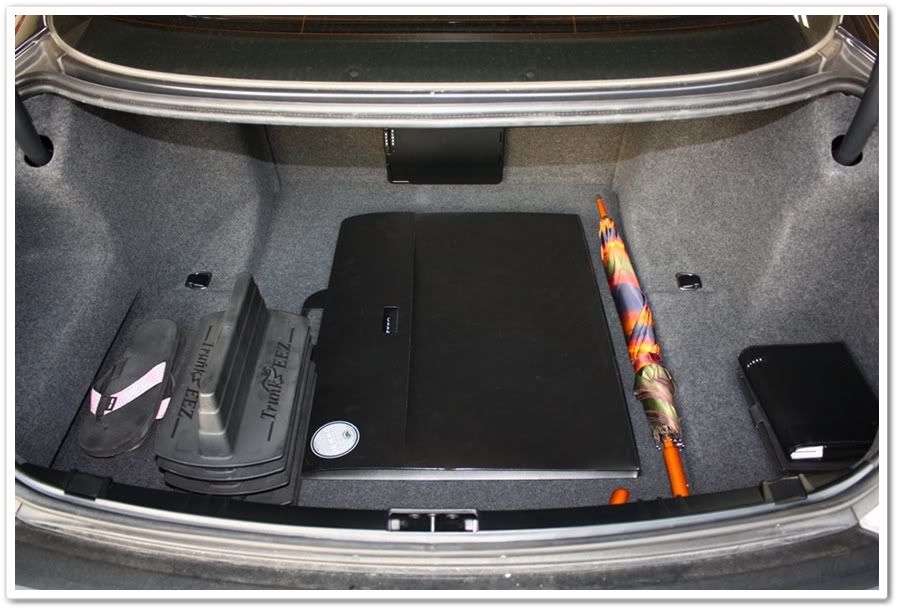
The first step was to thoroughly vacuum the interior and trunk areas. Once the carpets were clean, I could concentrate on all of the hard interior surfaces. I mixed up a bucket of Woolite and water, and set it aside while I worked on debris removal from all of the cracks and other hiding places.
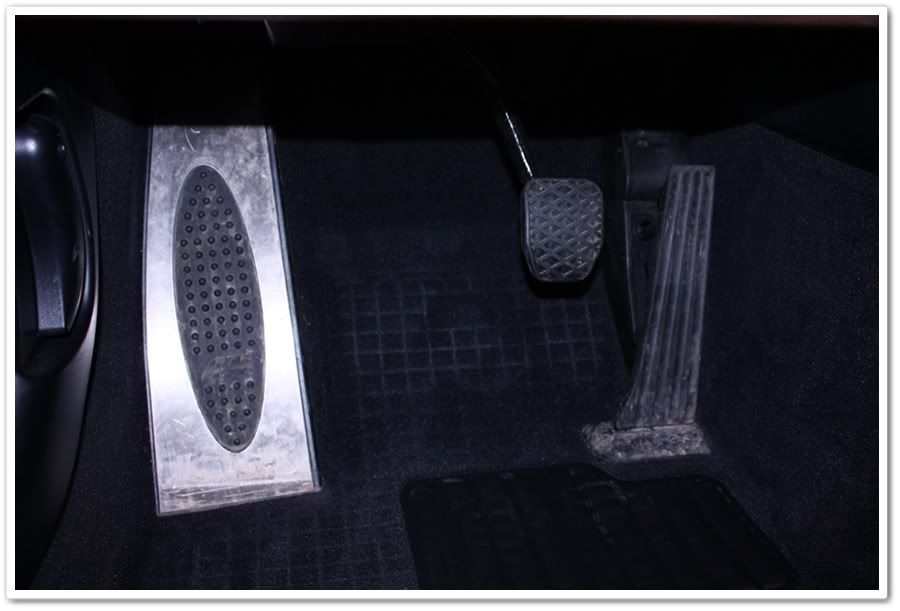
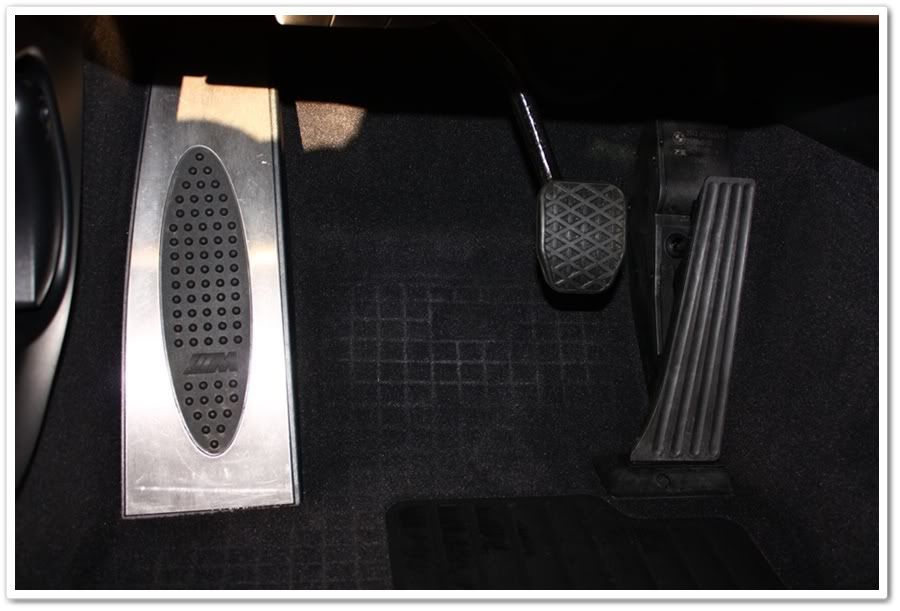
After that was done, I thoroughly wiped everything down with the Woolite and water mixture and then moved on to the pedals and foot rest. I agitated the heavy areas with a stiff brush first, and then cleaned them with Chemical Guys Grime Reaper (5:1 ratio).
Before:
After:
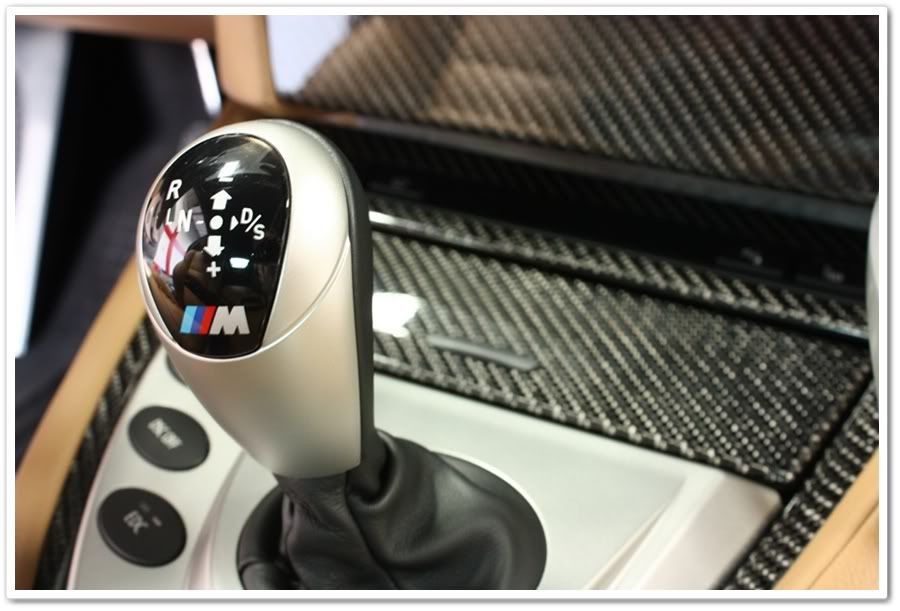
For the console, gauges, and other hard surfaces I used Megs Quick Interior Detailer.
Now it’s time for the leather! My go-to product for leather cleaning, conditioning, and restoration is Leatherique, and this job was no exception. Usually it’s a two-step process (Rejuvenator Oil and Prestine Clean), but the Prestine Clean by itself is a tremendous one-step product for cleaning and conditioning. I wanted to first test the leather with Prestine Clean to see how well it would clean up and decide weather or not I needed to use both products. It did a fantastic job of cleaning the leather on my test section, so I could save some time by doing just the single step. I’ve been chatting with George from Leatherique quite a bit the past month or so, and after every conversation I walk away with a much better understanding of leather, proper leather care, and places to use it. The guy is a walking encyclopedia for leather…very sharp individual!
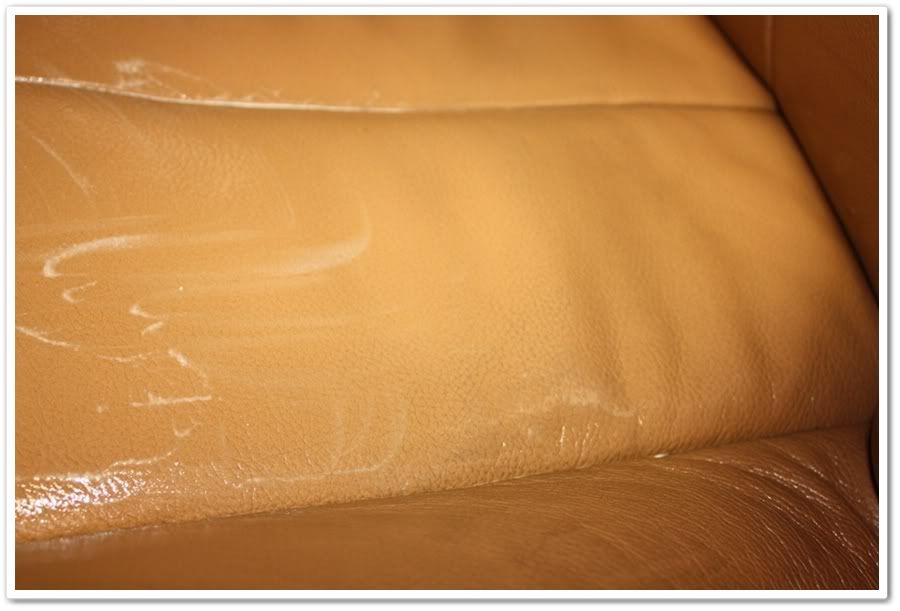
First I’ll thoroughly spray down the leather with Prestine Clean, and then firmly massage it into the surface with my hands making sure that it gets into the seems and stitching areas as well. I’ll apply it to all of the surfaces, and then work my way back around for removal so it has a few minutes to sit on the surface (usually 10-15).
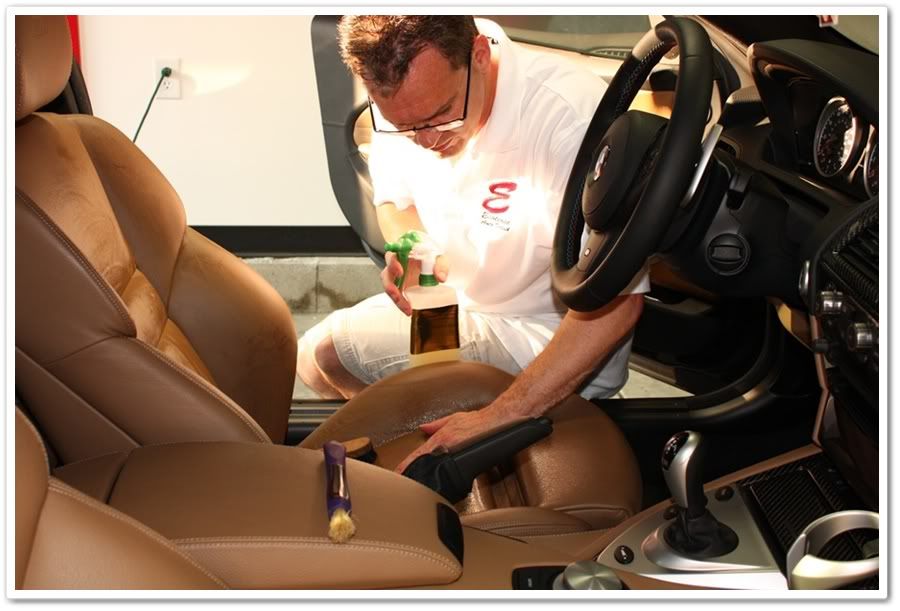
Here you can get an idea of how much product is used, and you can actually see the dirt and grime being lifted from the leather surface.
If the dirt buildup is a little more severe, I’ll also use a leather brush to agitate the grime and help break it up.
I’ve always loved the BMW M cars, and it was a pleasure to work on this beautiful M6 in Black Sapphire Metallic. This is an amazing machine at all levels…what’s not to like about a 500HP V10 motor coupled to an automated clutch and 7 speed sequentially shifted manual gearbox. It is capable of 0-60 runs in just 4.6 seconds with a 12.8 second quarter mile. Pretty impressive for a 4-passenger grand touring coupe! The finishing touches of the car are also at another level…
The owner of this car contacted me about several of his vehicles (more on that later), but the M6 was to come first. When I went to his house for the initial inspection, I found it to be in pretty good condition, albeit very dirty coming out of a bad winter. This is his wife’s daily driver, and she likes detailing her own cars, but their schedules have just been too hectic this spring. I ended up hanging out at his place for a while talking about cars, business, and a little bit of everything. I really enjoy getting to know my customers!
On the last detail thread I made, I ended up shortening up the write up with less photos compared to what I normally do. A lot of people told me they prefer the more informative, educational, and (occasionally) entertaining threads when I write a novel, so I stepped it back up on this one. It’s an extremely cool car that is deserving of such efforts.
And as always, the photos are straight out of my camera with no post processing other than to resize and add a border.
The car was dropped off on Friday evening and picked up Sunday afternoon, so I’ll break it up over the 3 days so you can get a better understanding of the workflow.
Day 1:
The first day was dedicated to the interior. The floor area on the driver’s side was in need of help, and the leather had already shown some serious signs of wear and dye transfer. Before I get started I always ask the customer what their biggest areas of concern are, and by simply asking, I found out that the leather was perhaps the most important area for her.
Here you can see that even after less than 7,000 miles, the leather needed quite a bit of work!
Winters can be harsh! This is why we use all-season floor mats up north.
The first step was to thoroughly vacuum the interior and trunk areas. Once the carpets were clean, I could concentrate on all of the hard interior surfaces. I mixed up a bucket of Woolite and water, and set it aside while I worked on debris removal from all of the cracks and other hiding places.
After that was done, I thoroughly wiped everything down with the Woolite and water mixture and then moved on to the pedals and foot rest. I agitated the heavy areas with a stiff brush first, and then cleaned them with Chemical Guys Grime Reaper (5:1 ratio).
Before:
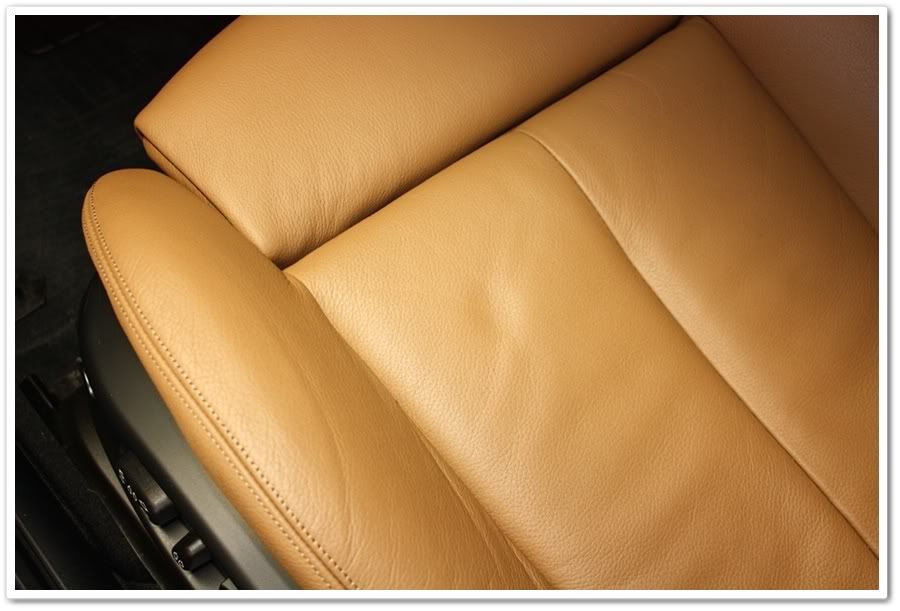
After:
For the console, gauges, and other hard surfaces I used Megs Quick Interior Detailer.
Now it’s time for the leather! My go-to product for leather cleaning, conditioning, and restoration is Leatherique, and this job was no exception. Usually it’s a two-step process (Rejuvenator Oil and Prestine Clean), but the Prestine Clean by itself is a tremendous one-step product for cleaning and conditioning. I wanted to first test the leather with Prestine Clean to see how well it would clean up and decide weather or not I needed to use both products. It did a fantastic job of cleaning the leather on my test section, so I could save some time by doing just the single step. I’ve been chatting with George from Leatherique quite a bit the past month or so, and after every conversation I walk away with a much better understanding of leather, proper leather care, and places to use it. The guy is a walking encyclopedia for leather…very sharp individual!
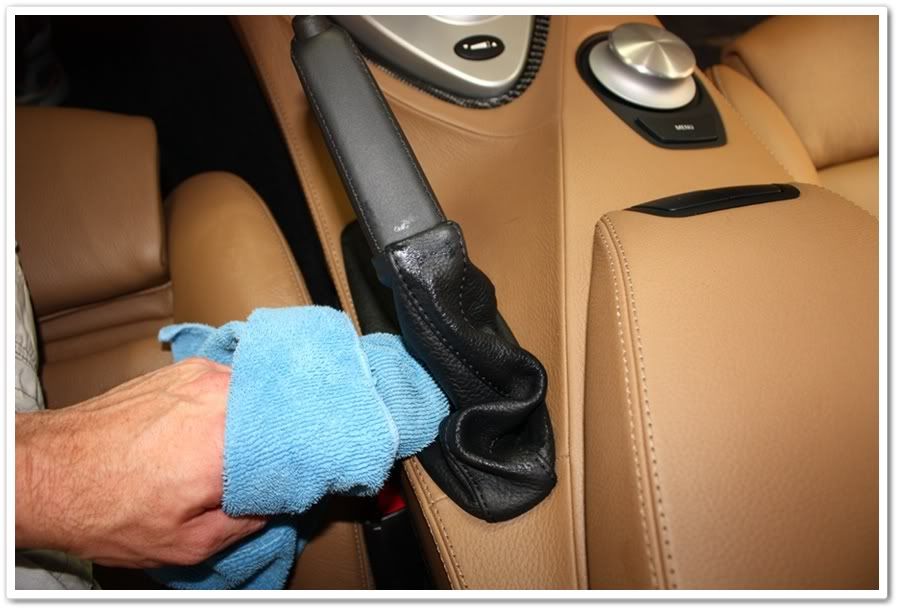
First I’ll thoroughly spray down the leather with Prestine Clean, and then firmly massage it into the surface with my hands making sure that it gets into the seems and stitching areas as well. I’ll apply it to all of the surfaces, and then work my way back around for removal so it has a few minutes to sit on the surface (usually 10-15).
Here you can get an idea of how much product is used, and you can actually see the dirt and grime being lifted from the leather surface.
If the dirt buildup is a little more severe, I’ll also use a leather brush to agitate the grime and help break it up.


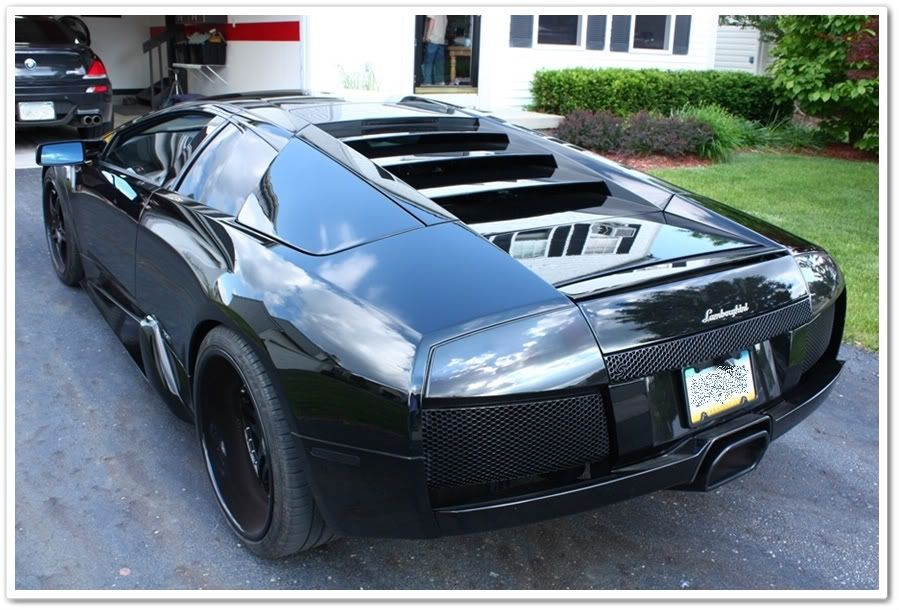
") Seriously though Bob, I appreciate the compliments coming from a guy that specializes in the high-end vehicles and level of work. There are a few areas of the Murci that will be a major PITA for sure!
Seriously though Bob, I appreciate the compliments coming from a guy that specializes in the high-end vehicles and level of work. There are a few areas of the Murci that will be a major PITA for sure!