06 Mercedes SL500 by Esoteric Auto Detail

TSC17

New member
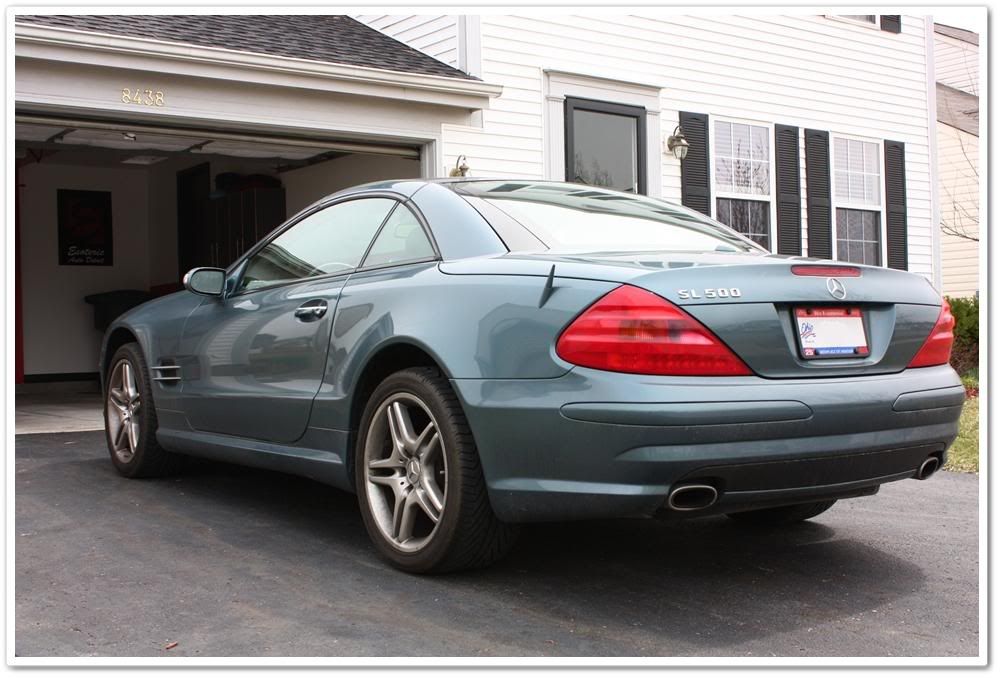
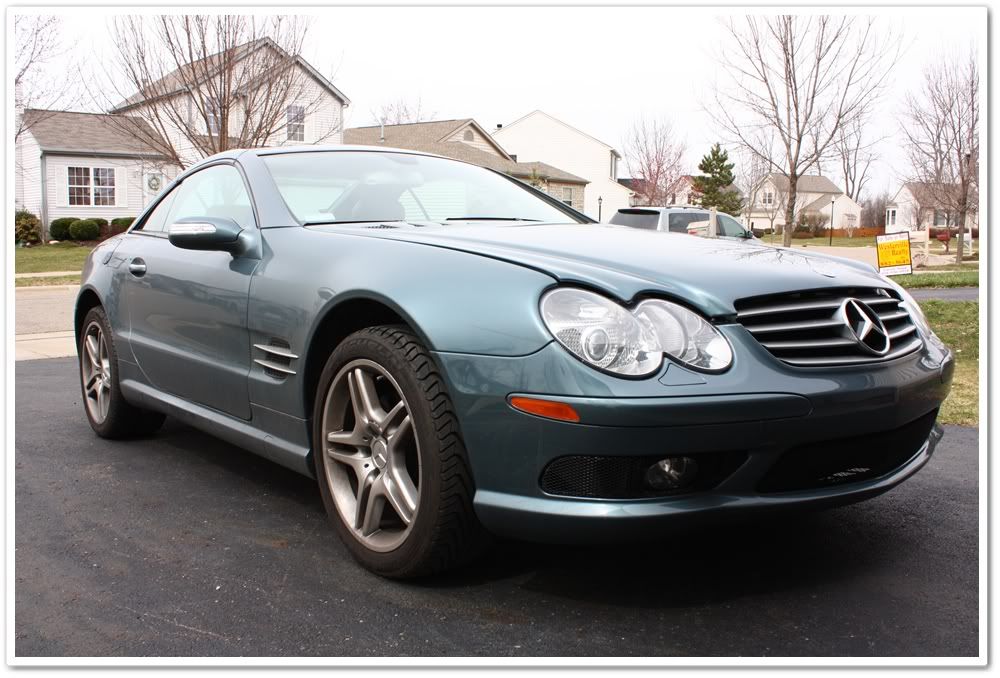
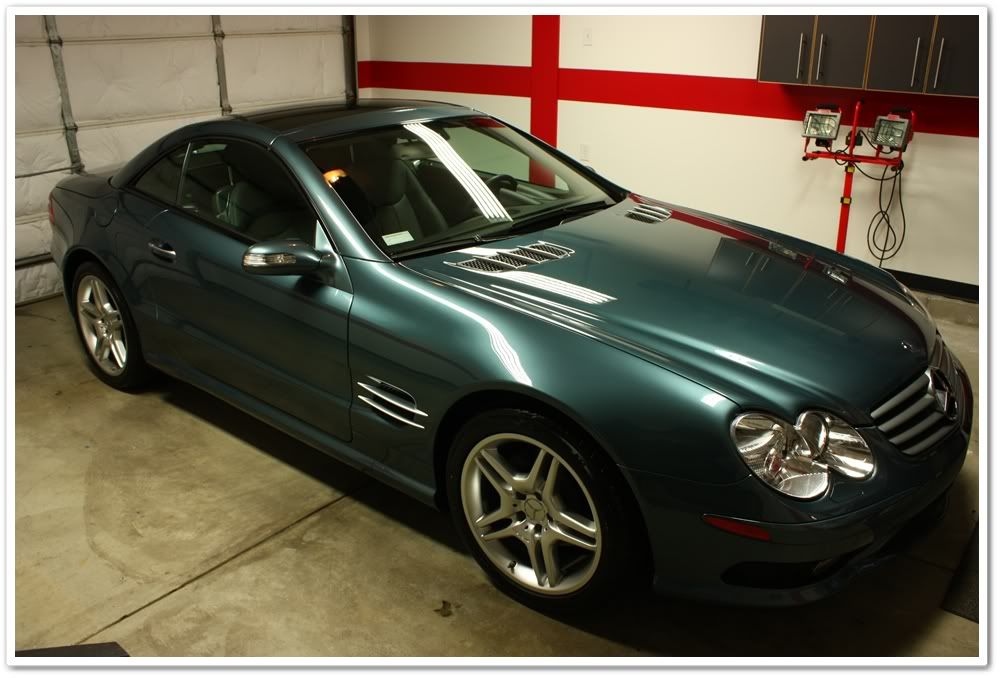
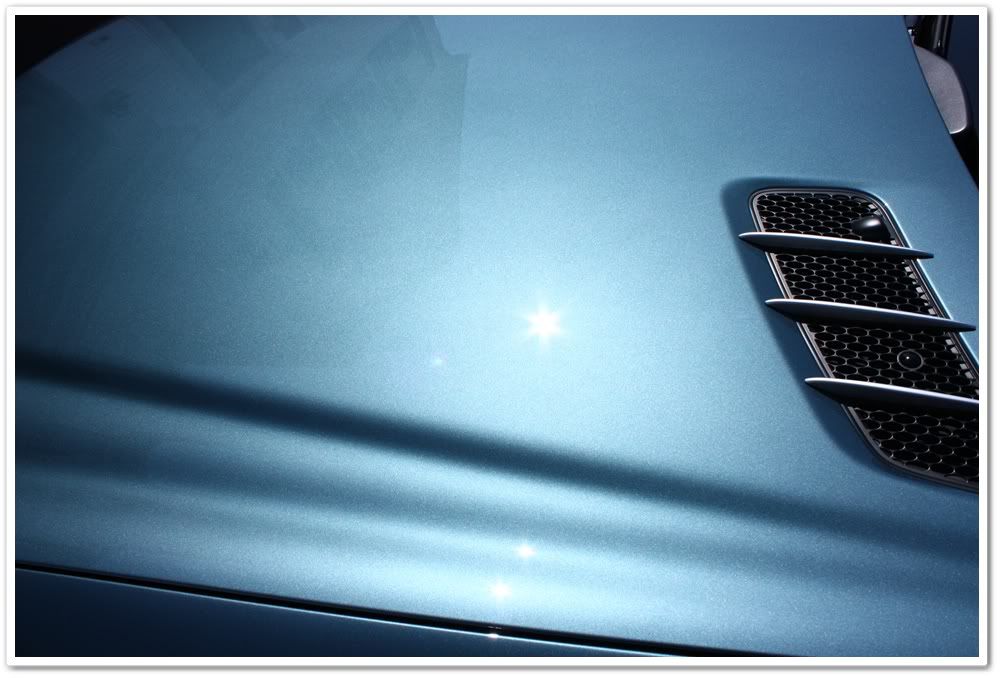
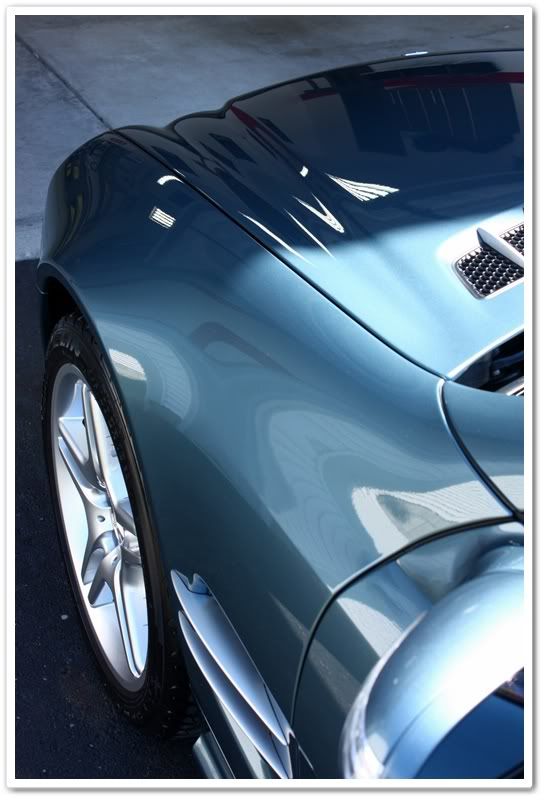
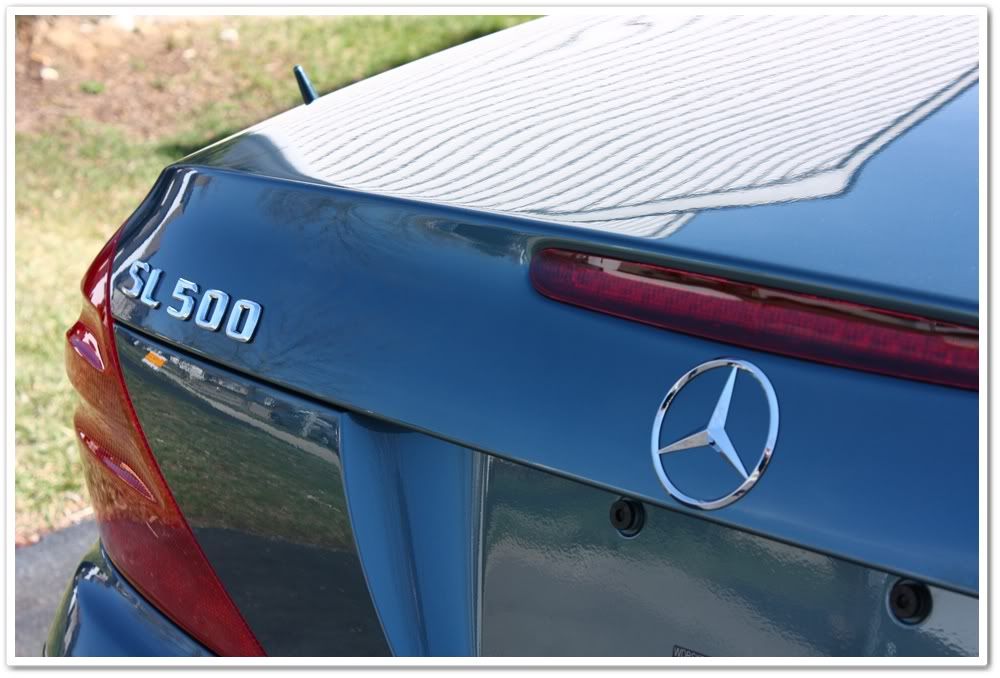
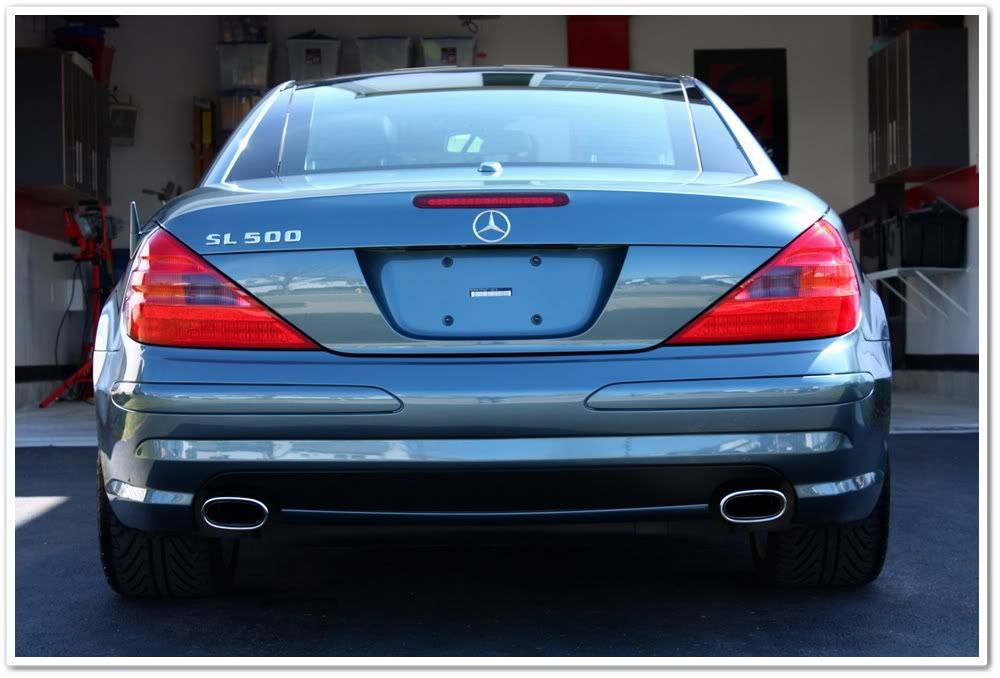
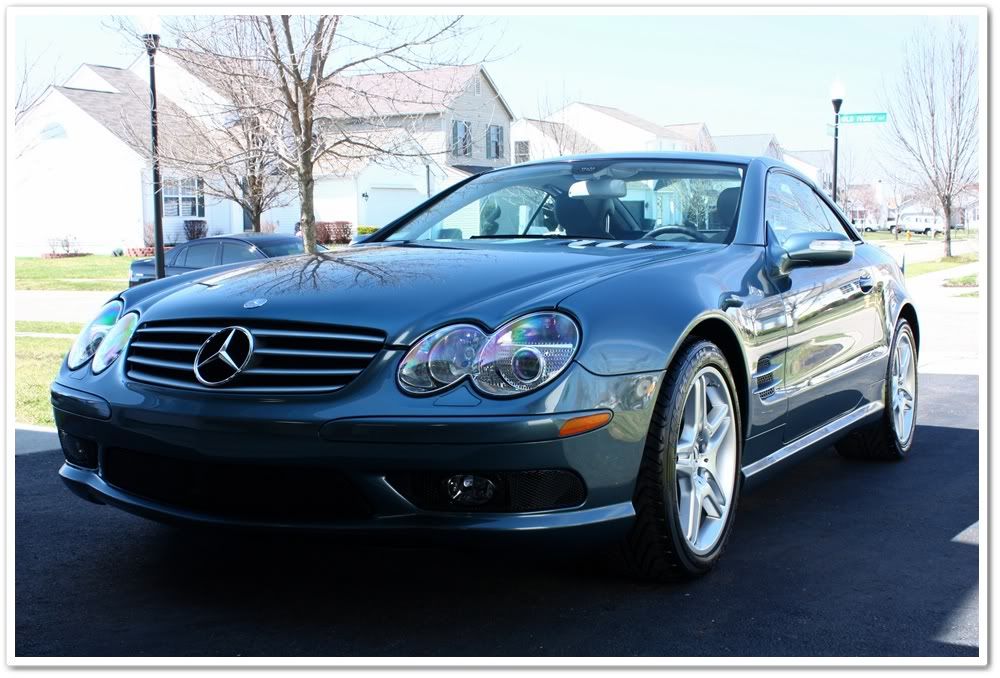
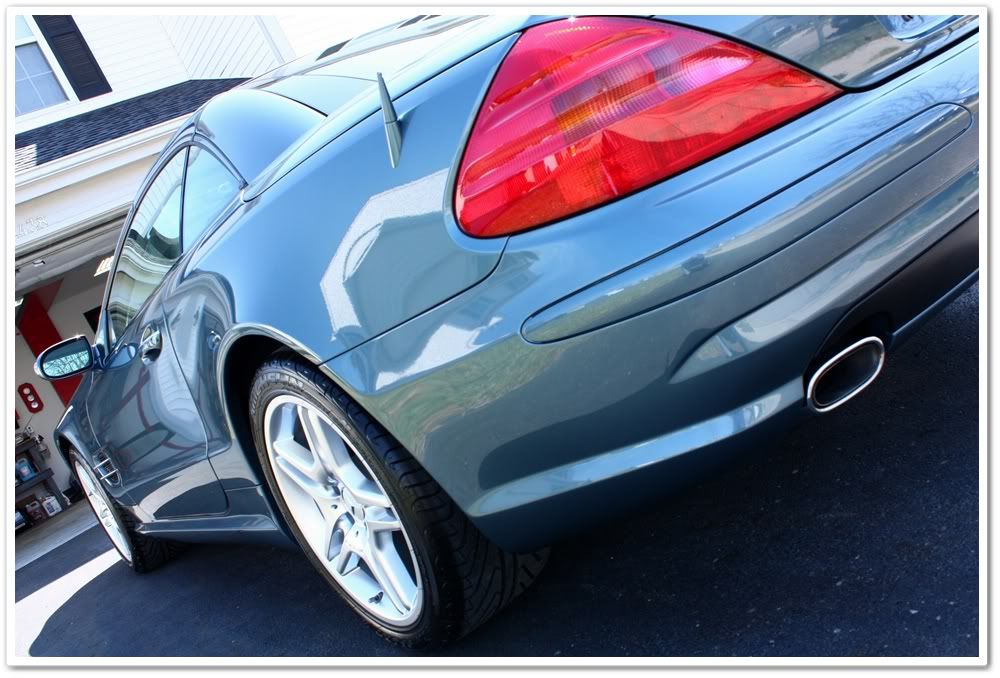
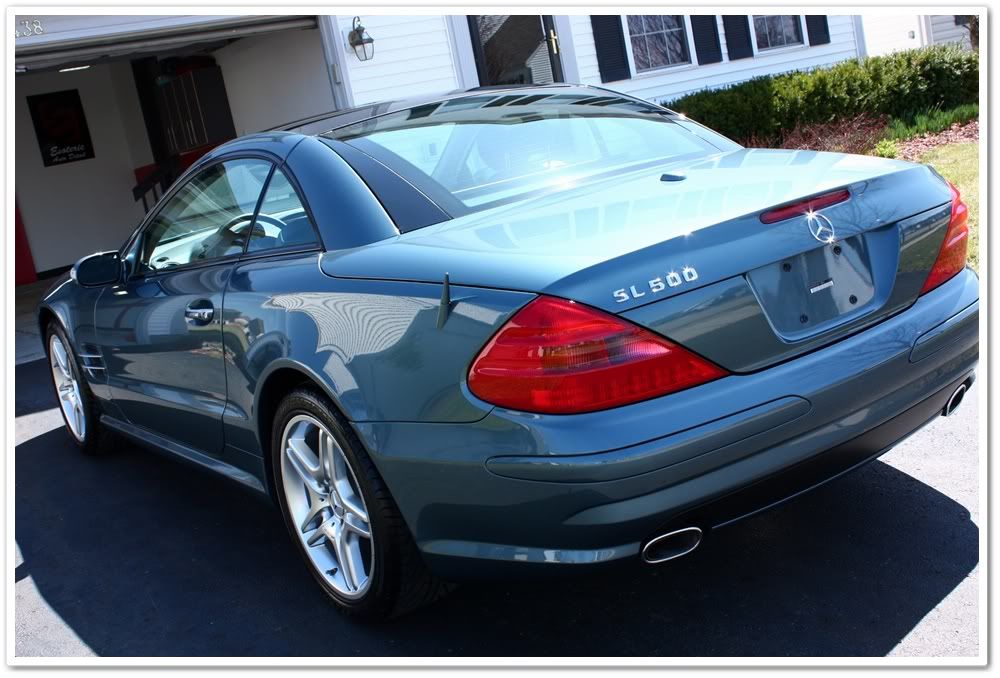
2006 Mercedes Benz SL500


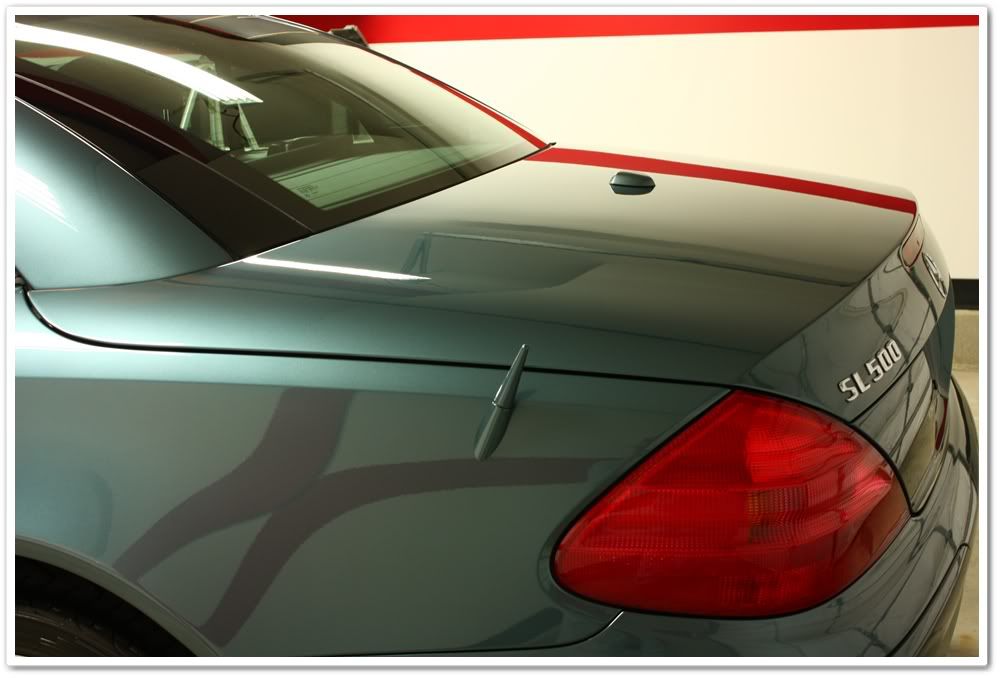
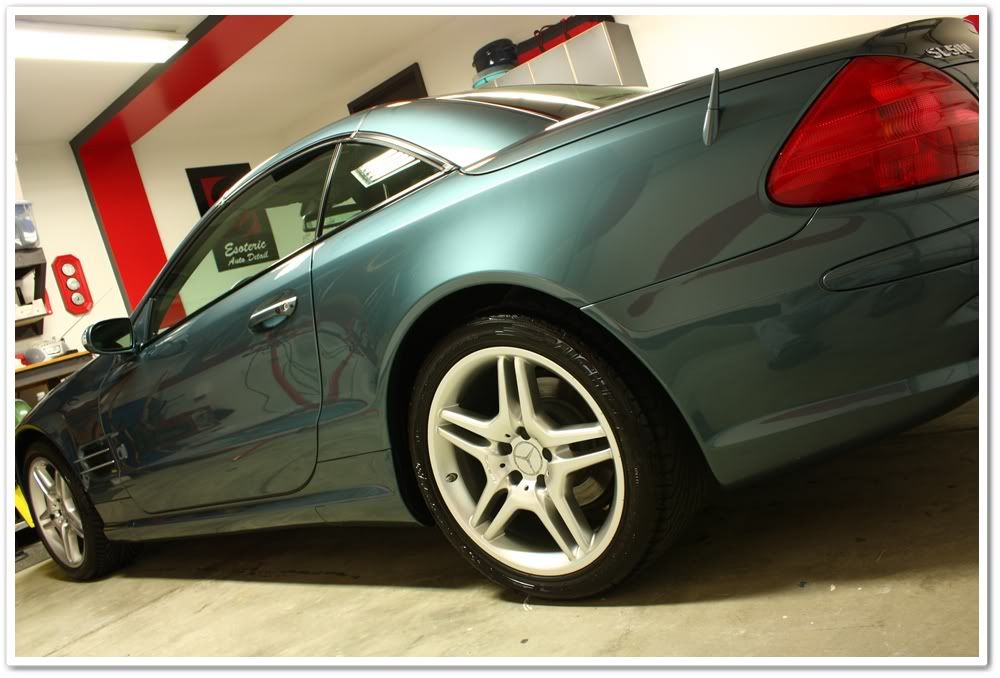
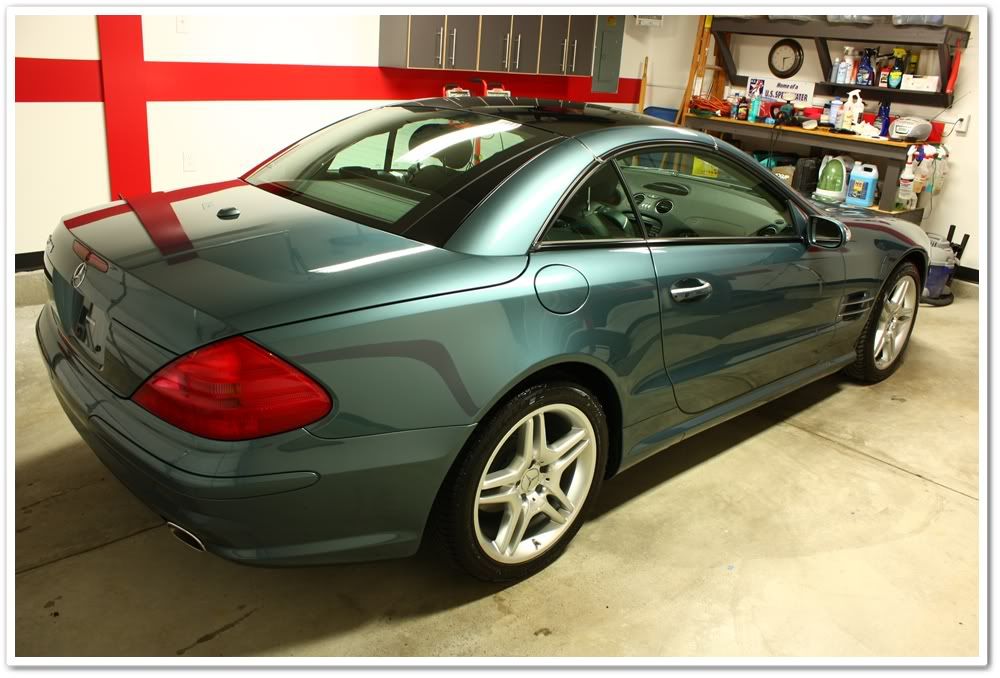
This week’s featured detail is a highly refined SL500 roadster in Aegean Blue Metallic with 302HP and 339ft/lb of torque. It is also kitted with the AMG Sport Package…not to be confused however with the full-blown AMG SL55. These are stunning vehicles to say the least, and when you slip into the driver’s seat everything just feels “rightâ€�.


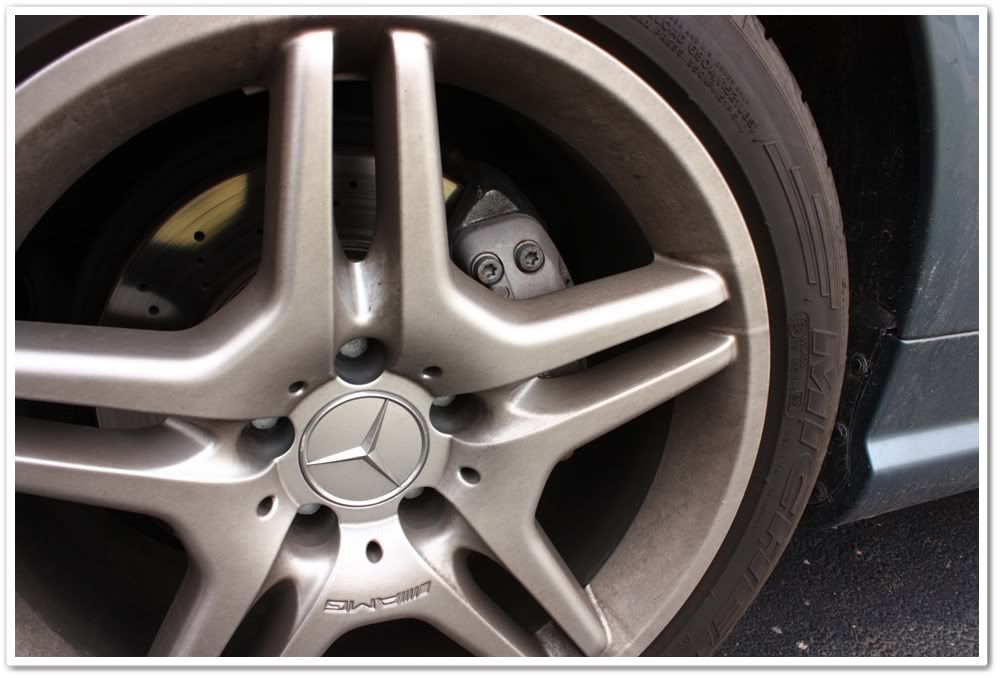
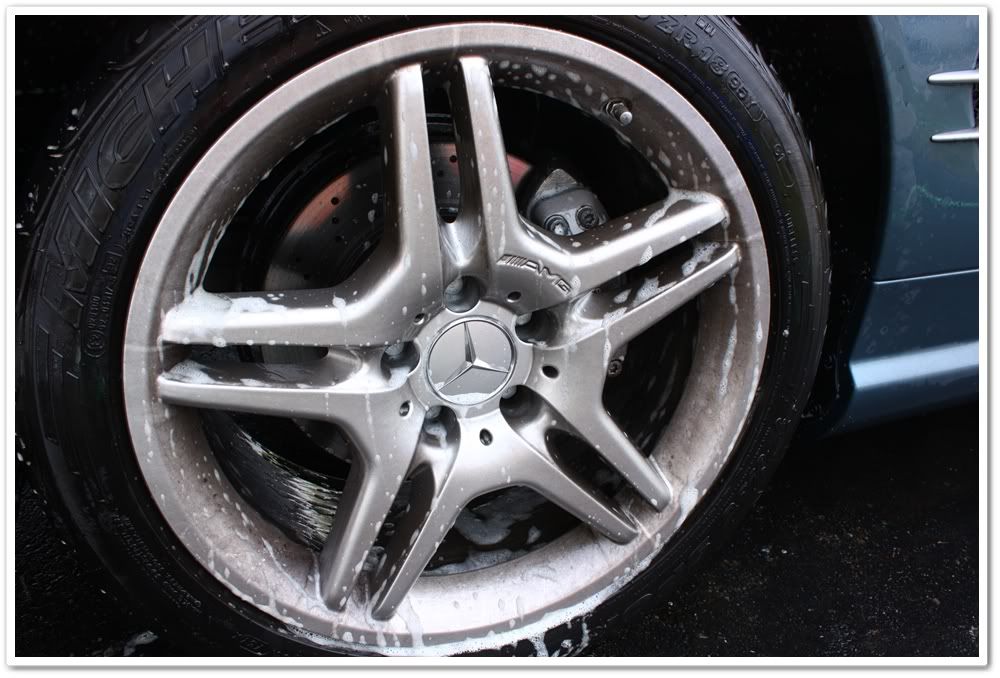
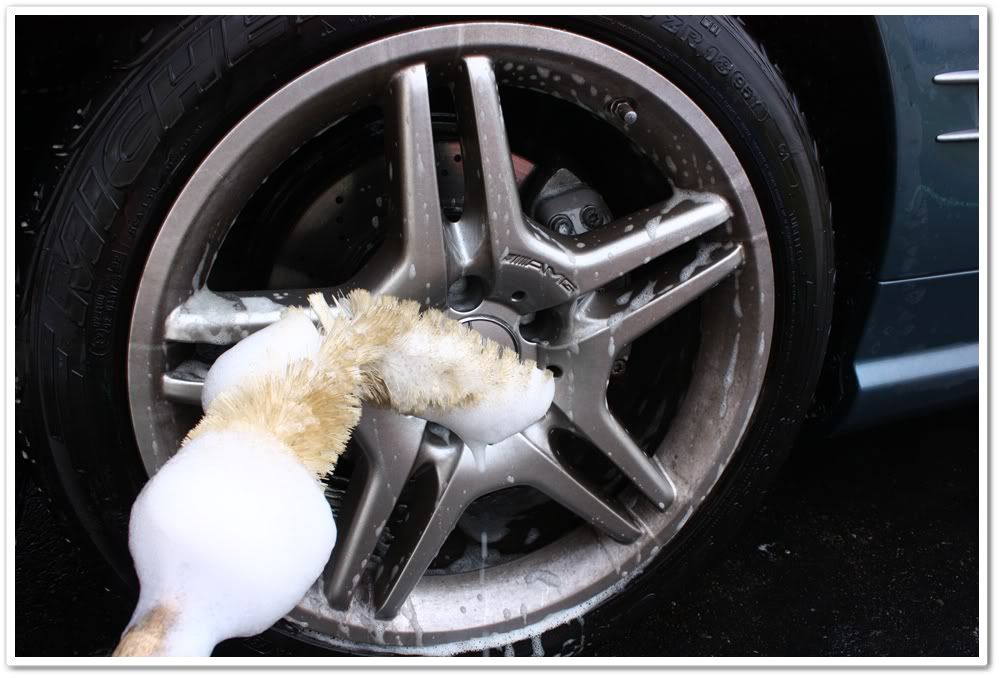
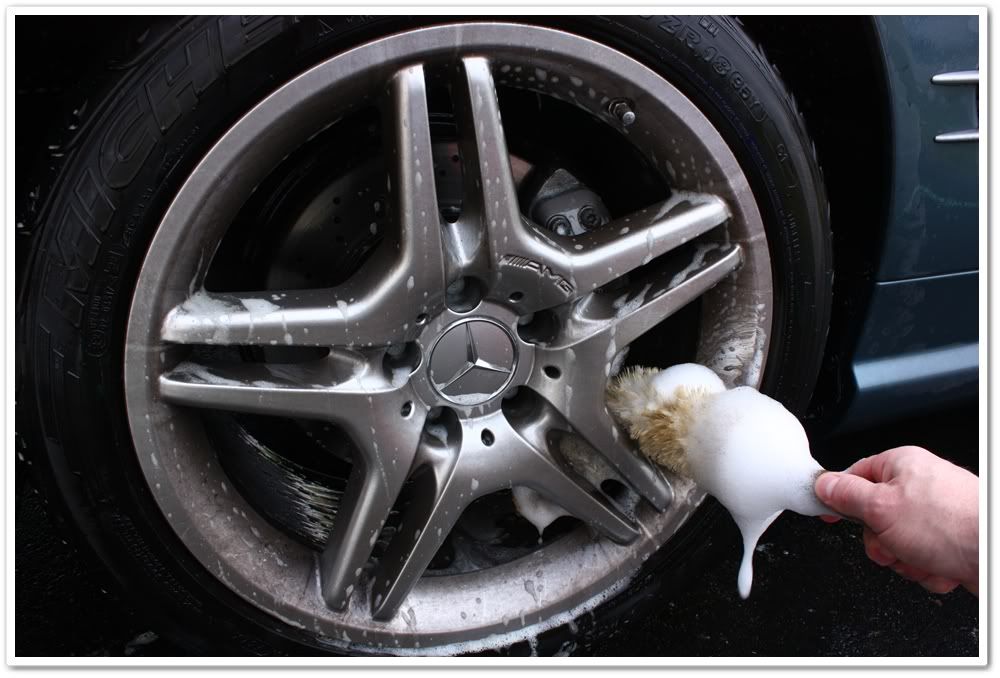
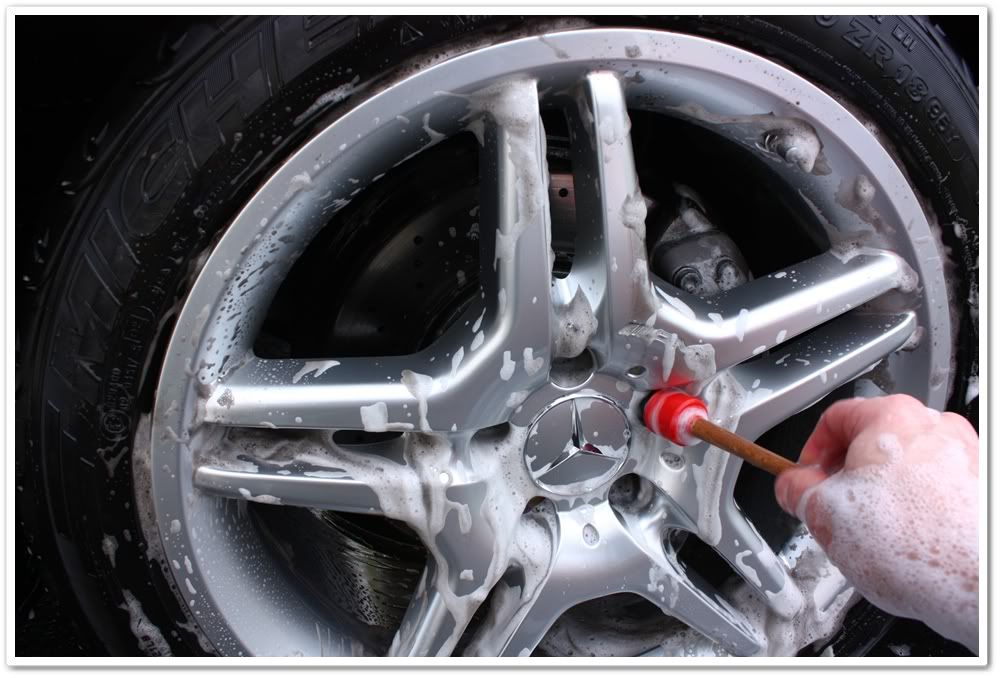
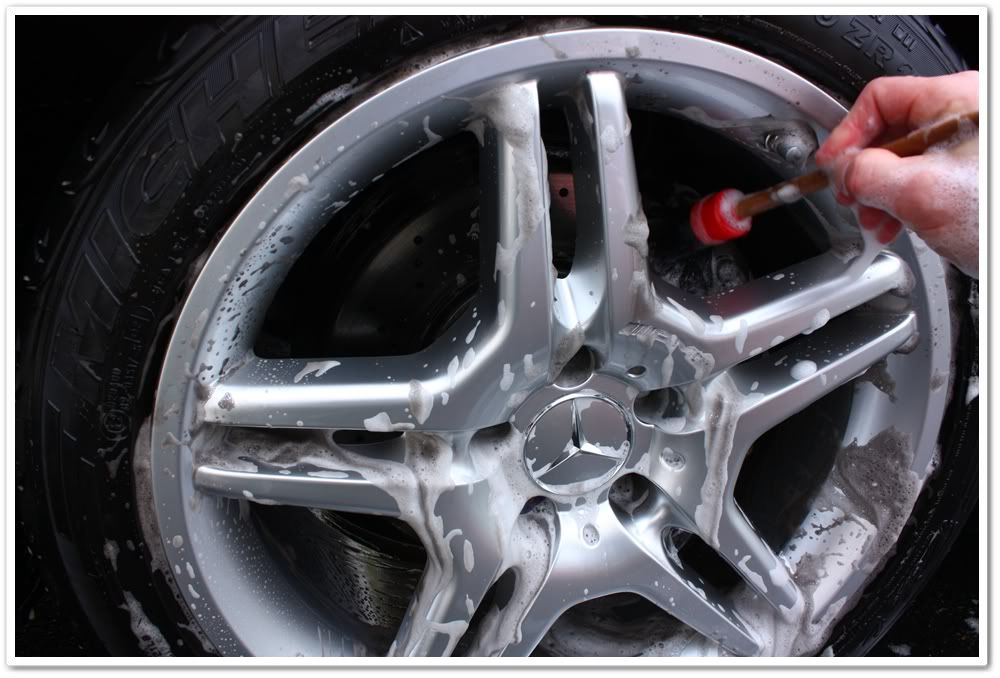
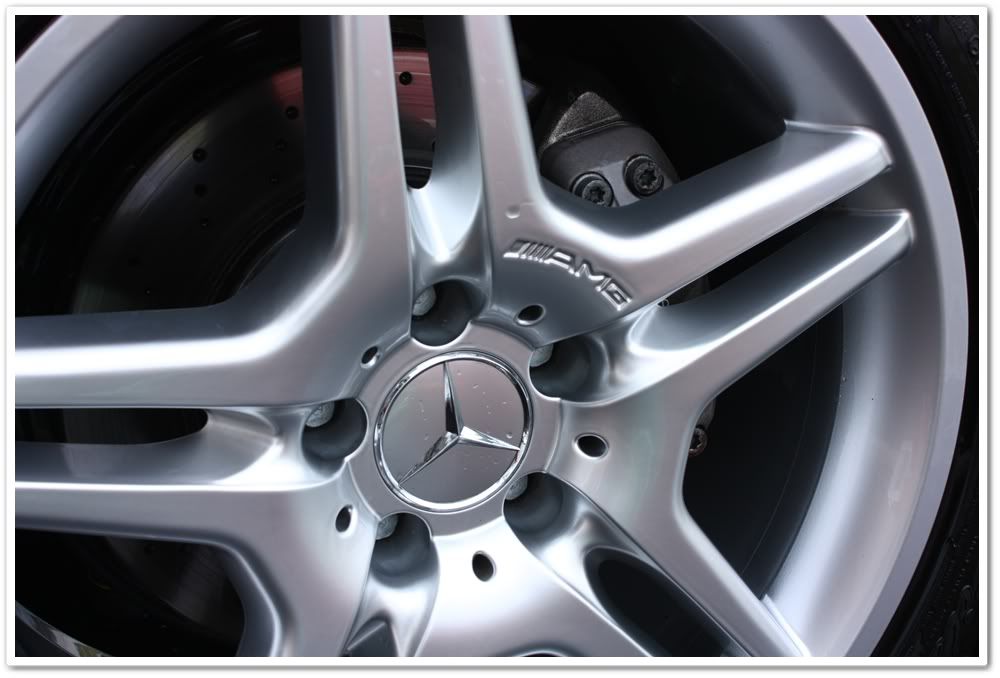
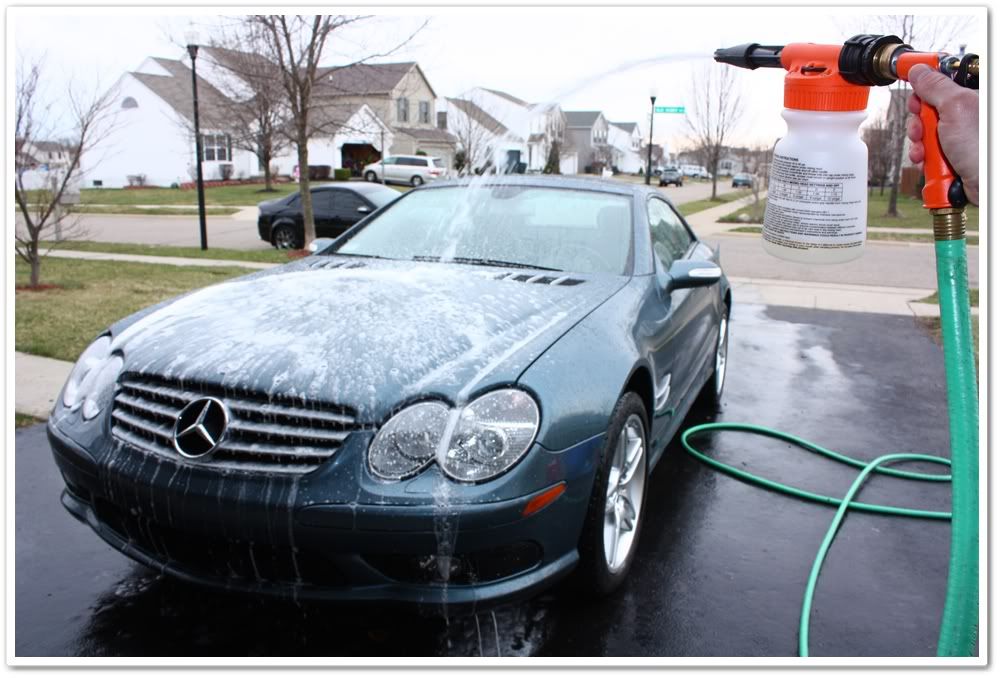
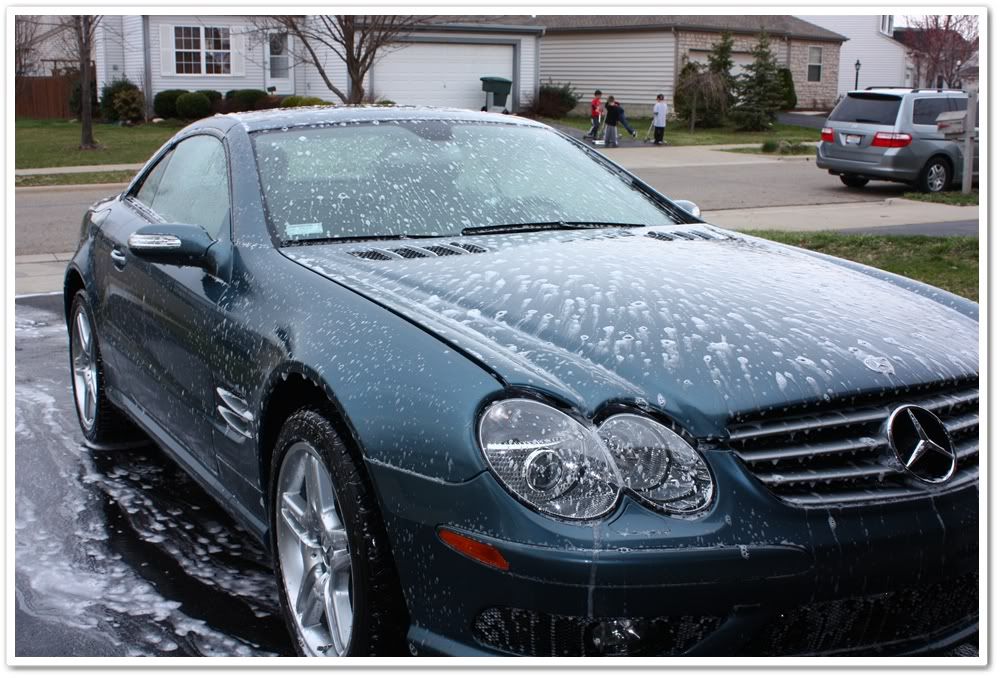
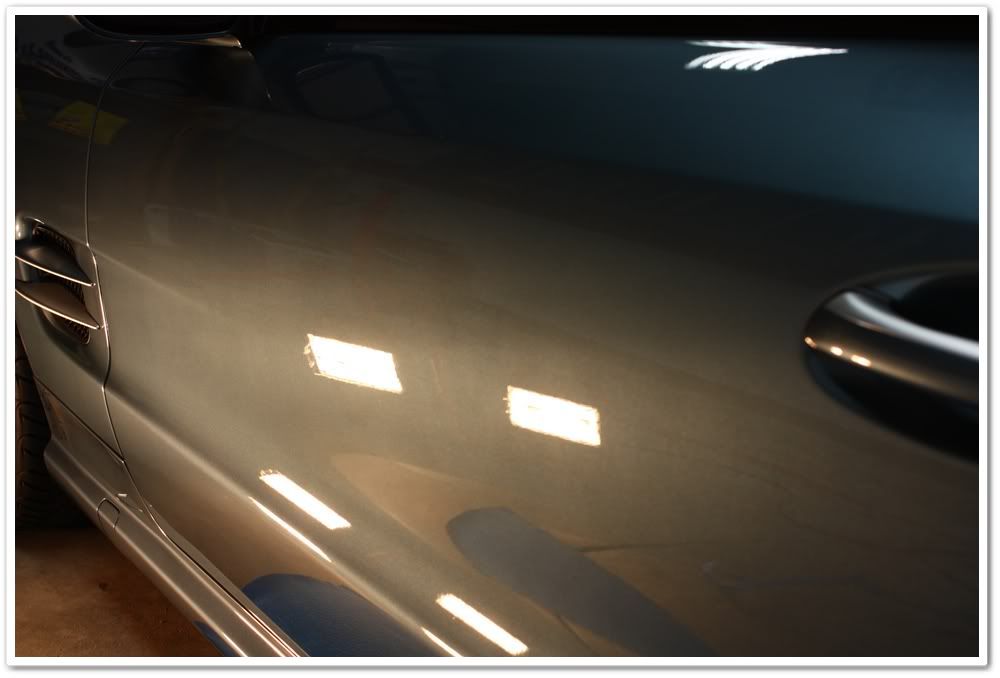
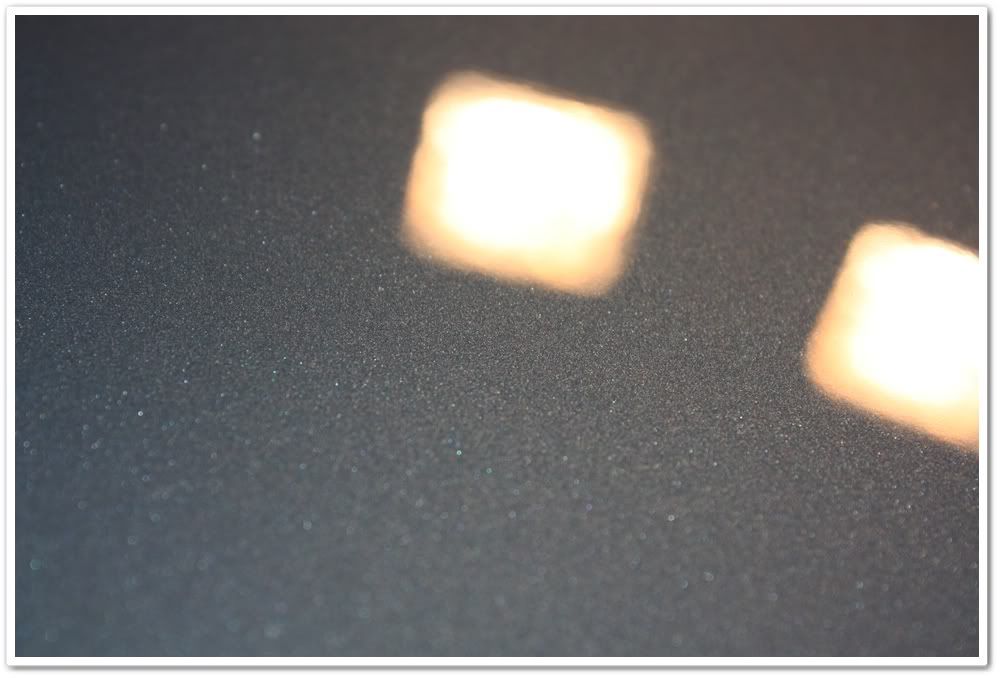
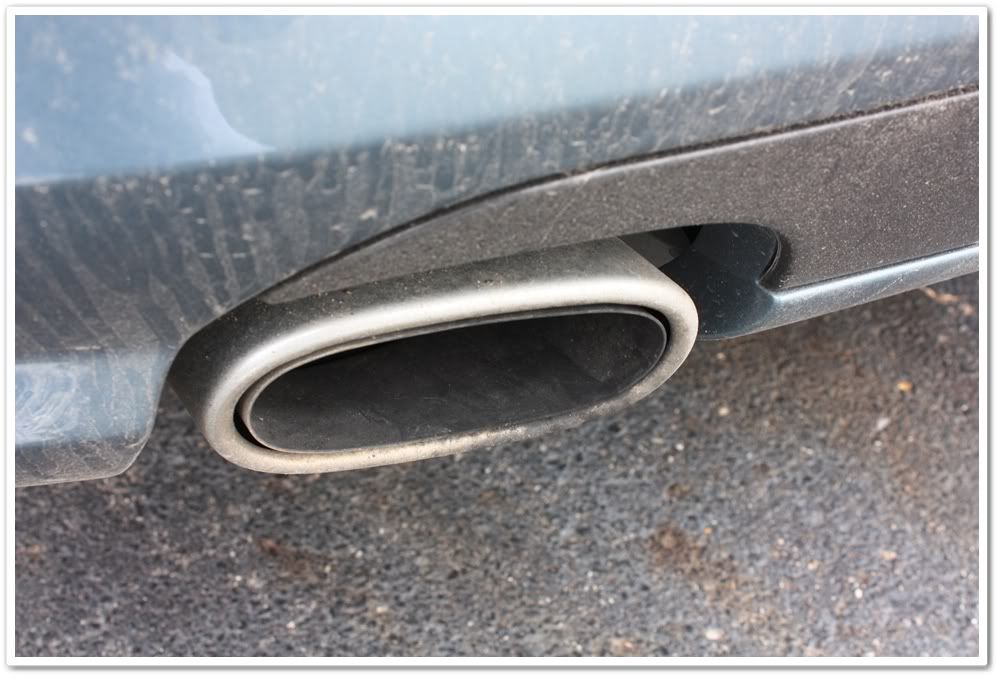
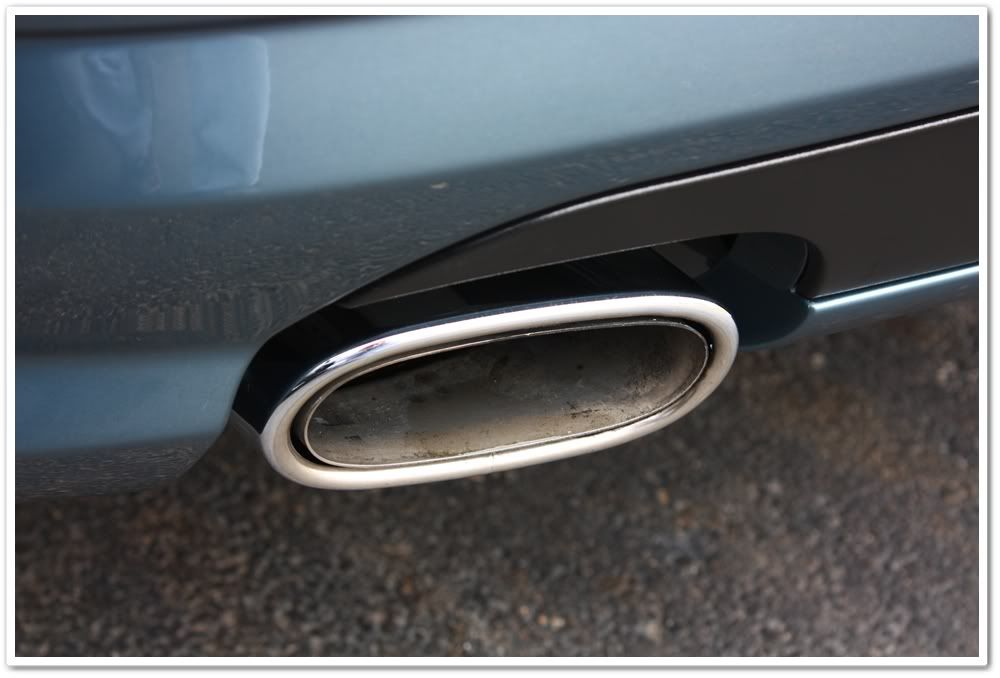
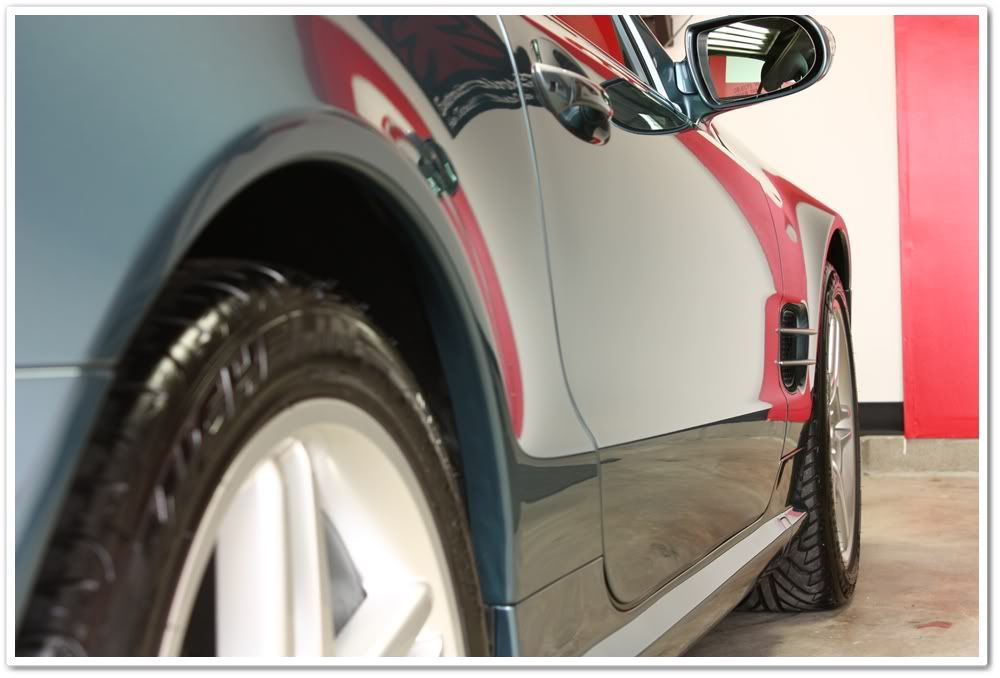
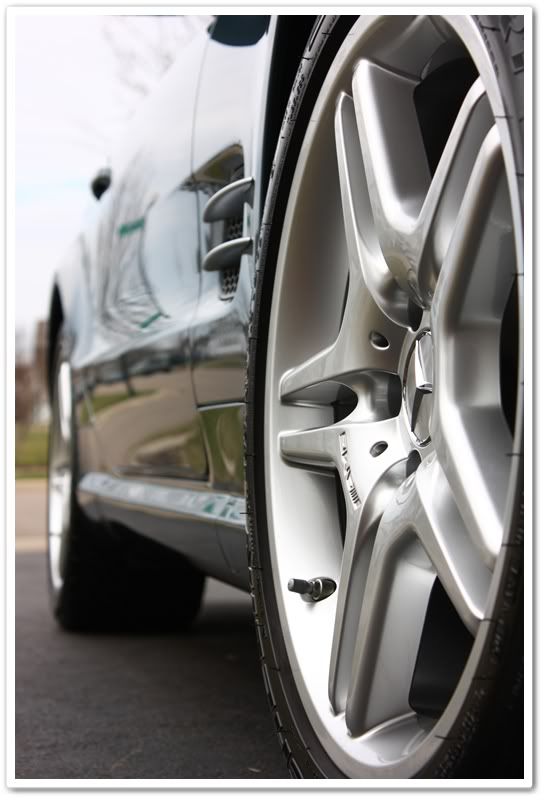
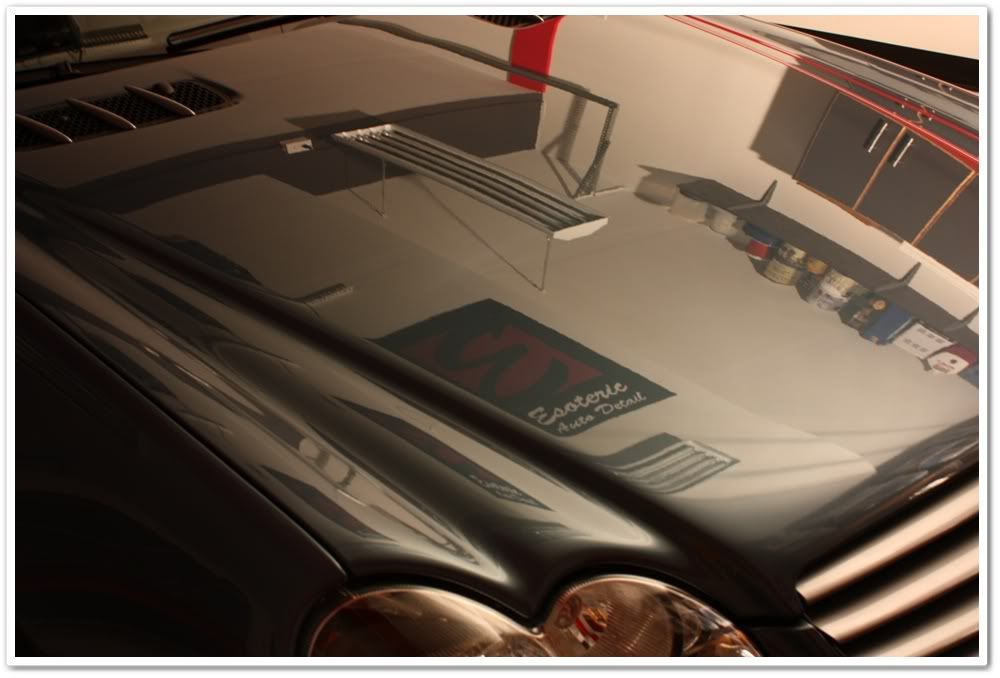
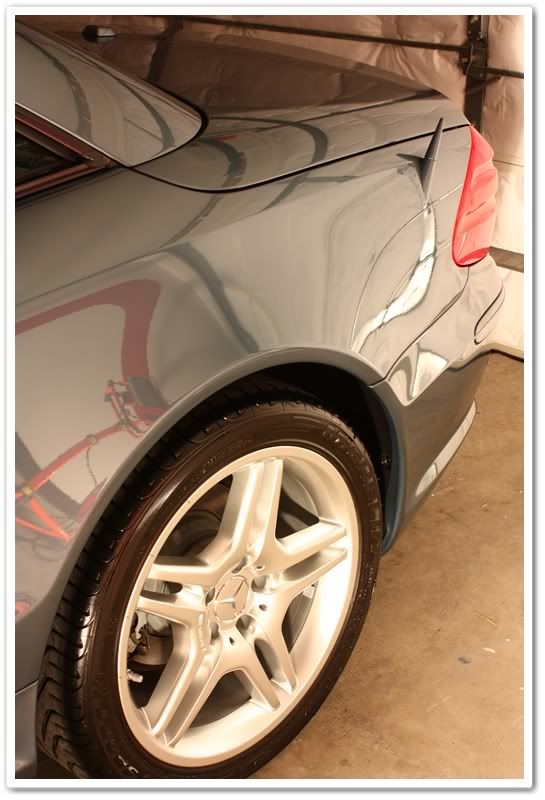
The owner of the car contacted me and said that it spends plenty of time in the garage (only 7K miles), and needed a thorough clean up. Once I inspected the car I noticed that there were no swirls, but it had its fair share of scratches and a serious amount of water spots on the horizontal surfaces. The exterior was quite dirty with a heavy buildup of brake dust on the wheels.


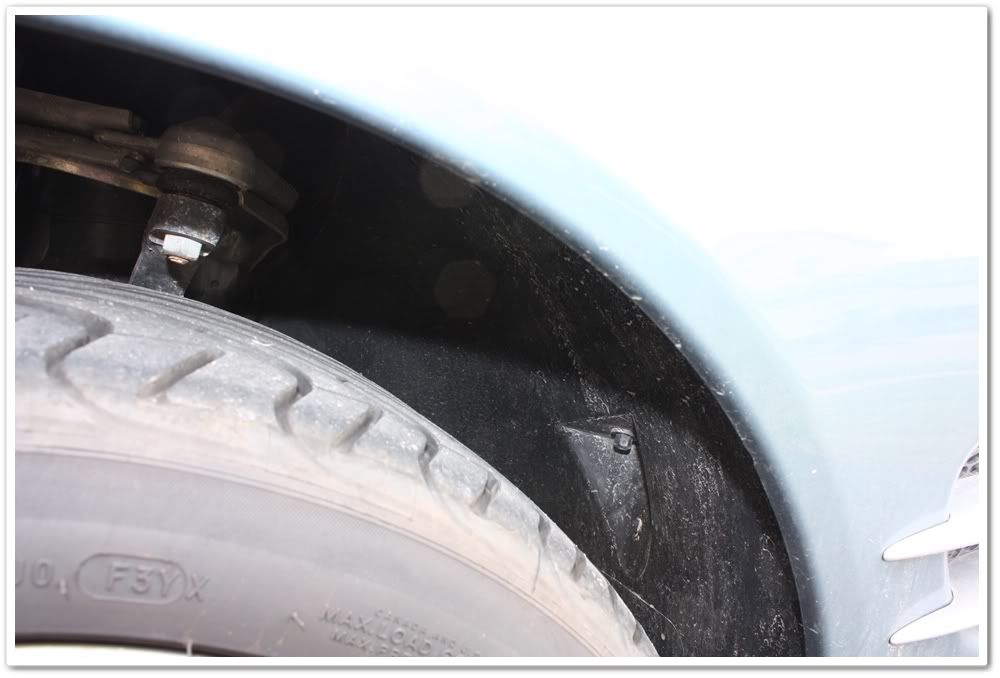
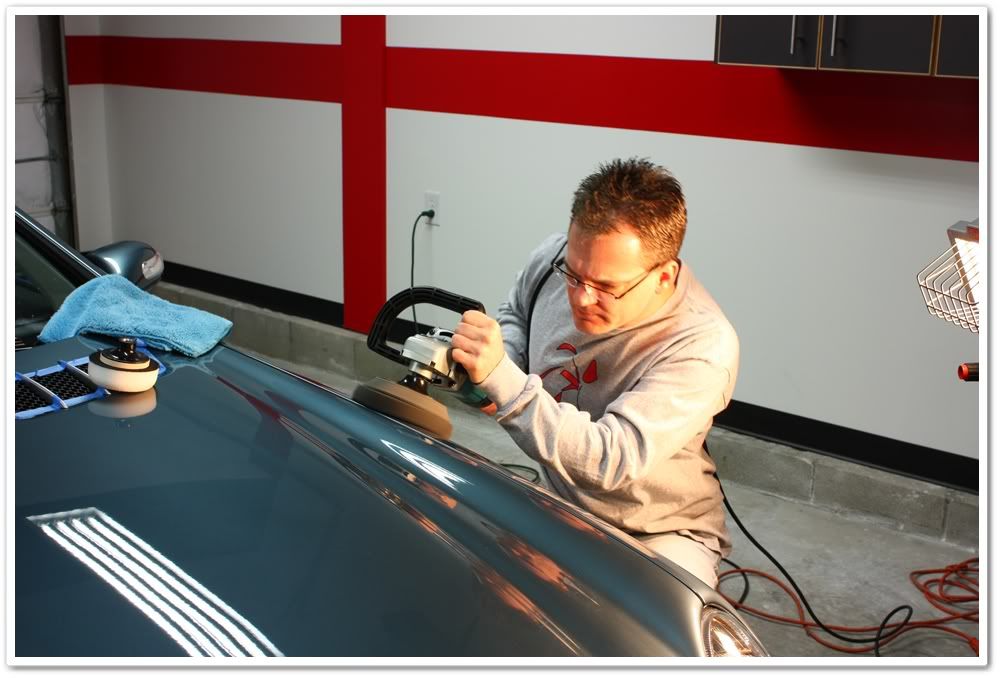
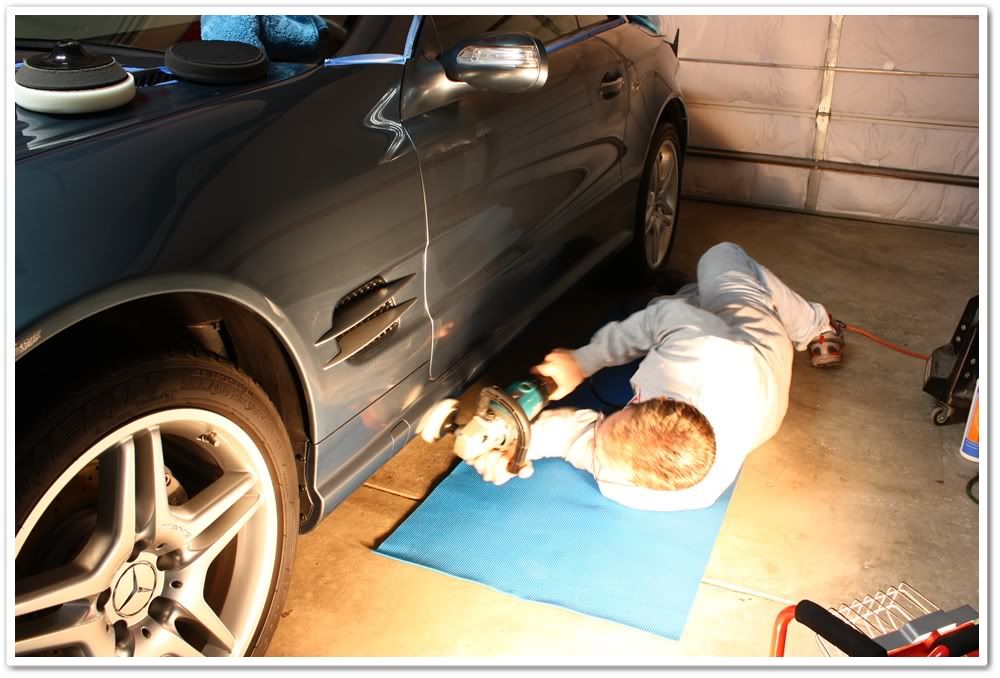
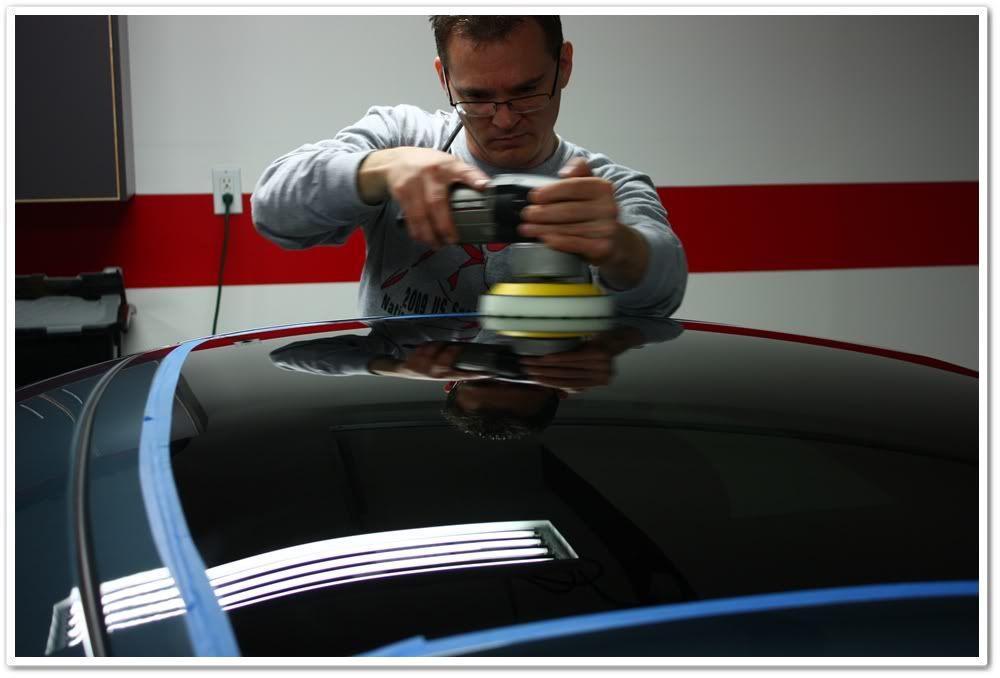
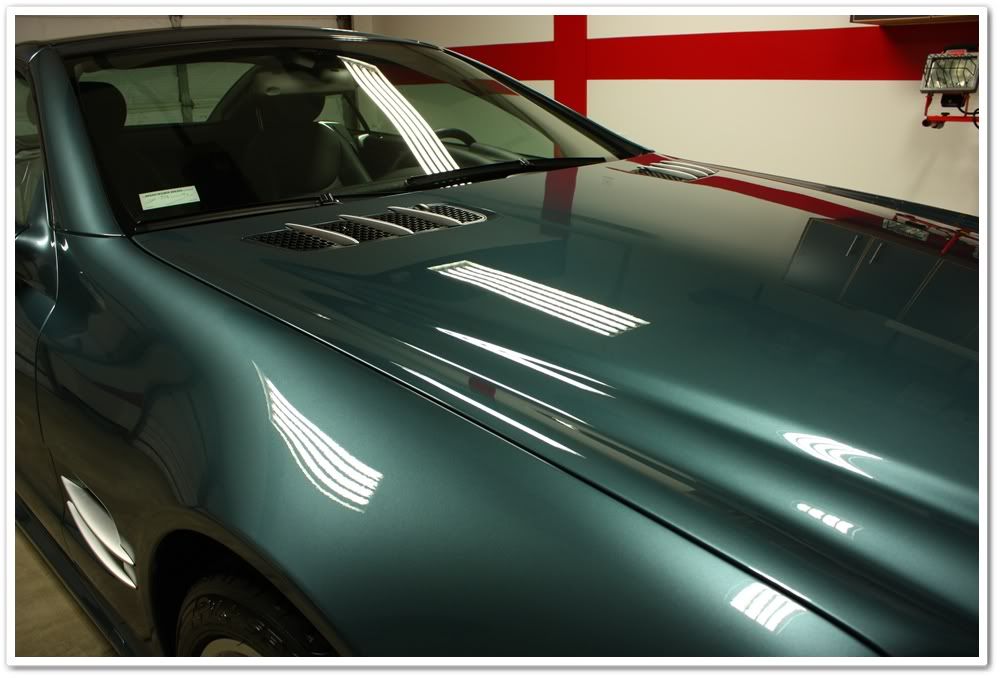
Since this car wasn’t going to provide the dramatic before and after paint correction shots that everybody loves to see, I figured that I would concentrate on documenting many of the small areas that are quite often overlooked, and try to make it a little educational for those wanting to learn more about caring for their own cars.


And as per usual I got a little carried away with the photos…sorry!


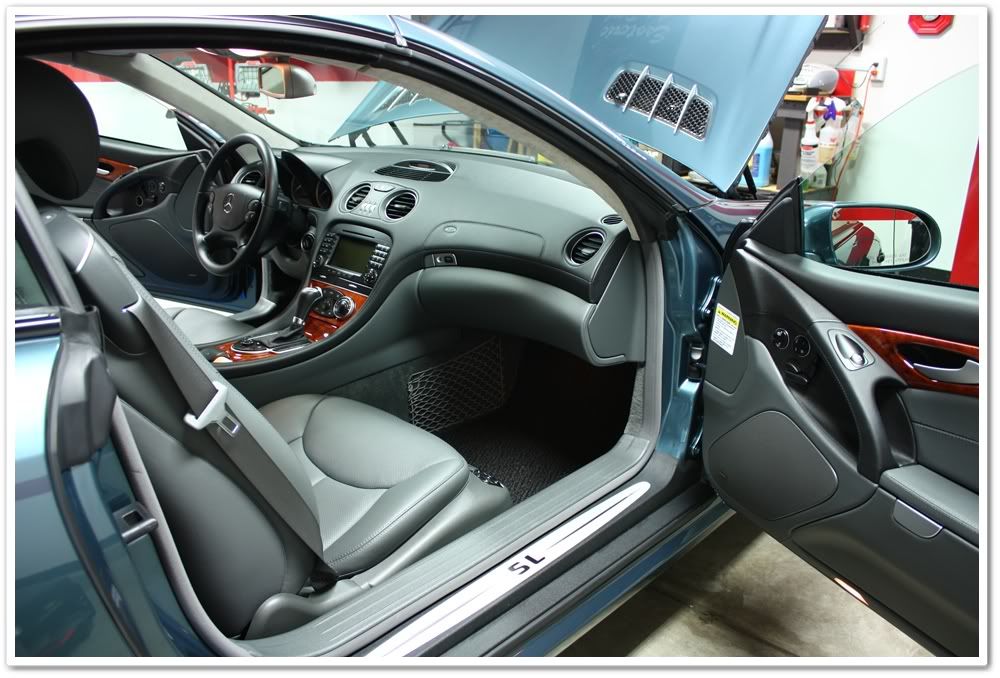
First up was the interior.


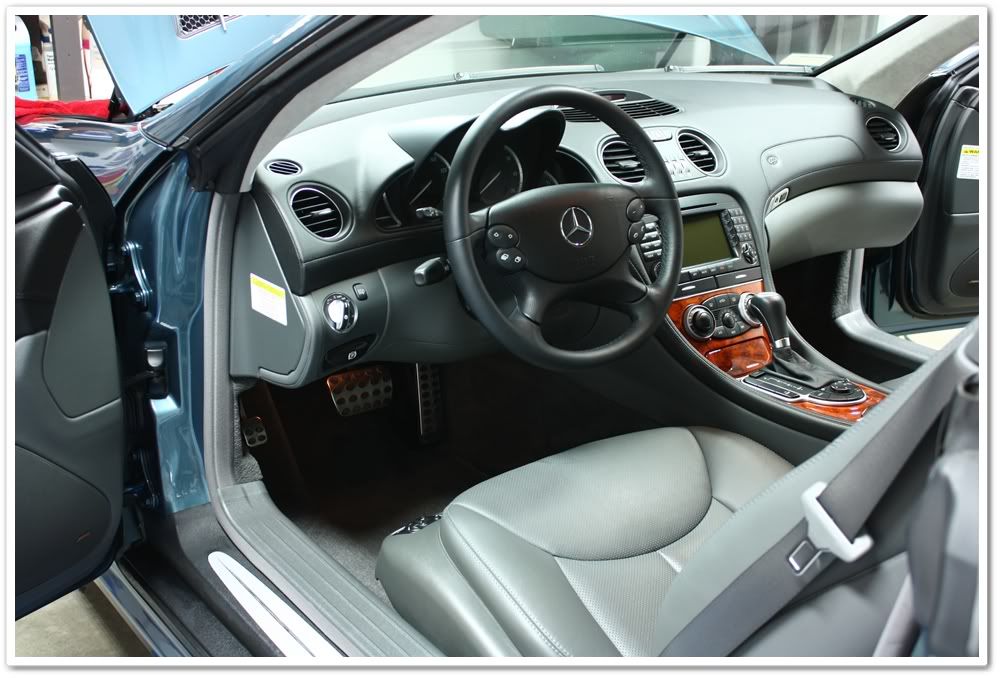
The cockpit was in fairly good condition and relatively clean. My game plan here was to give the dark interior a thorough cleaning and then add a layer of protection to the surfaces. Once the carpets and floor mats were vacuumed I mixed a bucket of Woolite and water, and proceeded to clean all surfaces with a MF towel. Since it is a convertible with dark interior, experience tells me that you will remove a lot of dirt and contaminants even though it looks clean. I was correct…


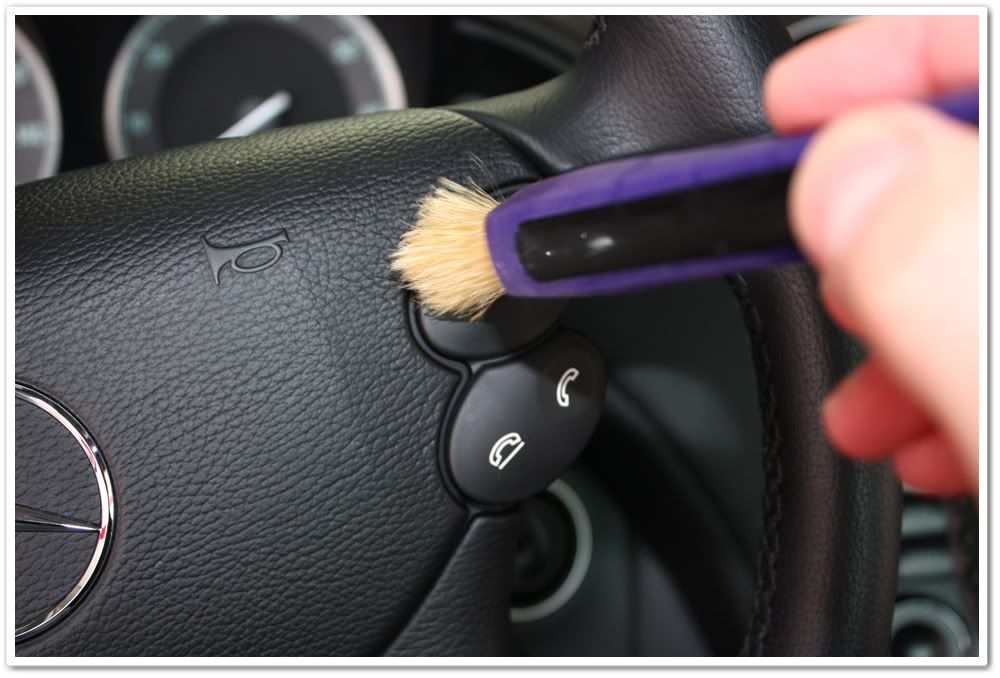
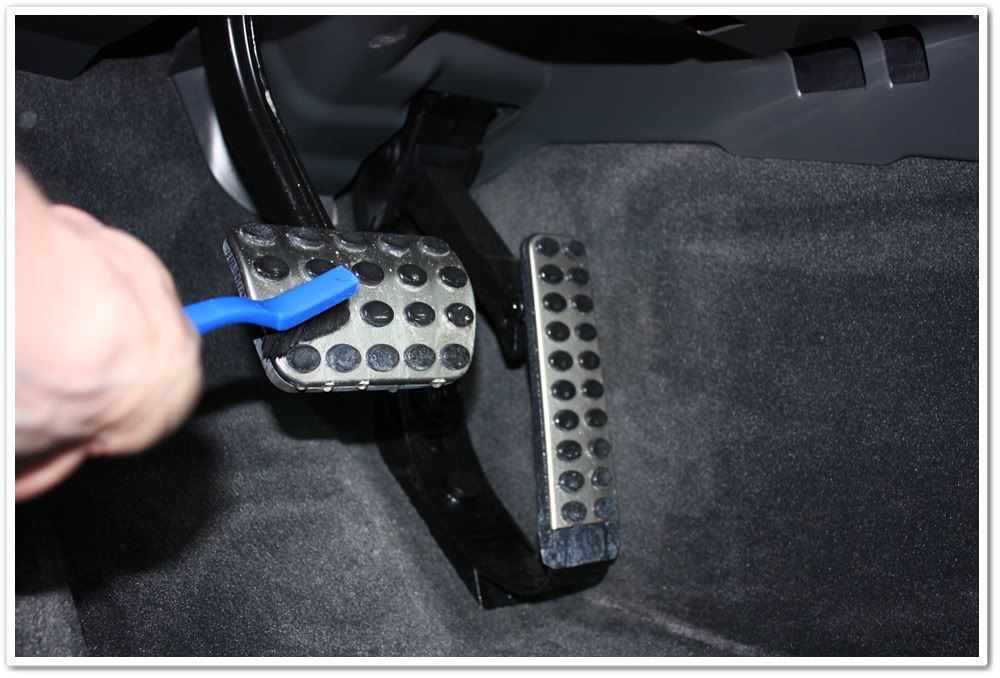
After cleaning all surfaces, I moved onto all the cracks and crevices to remove any debris.

IMG_2510.jpg


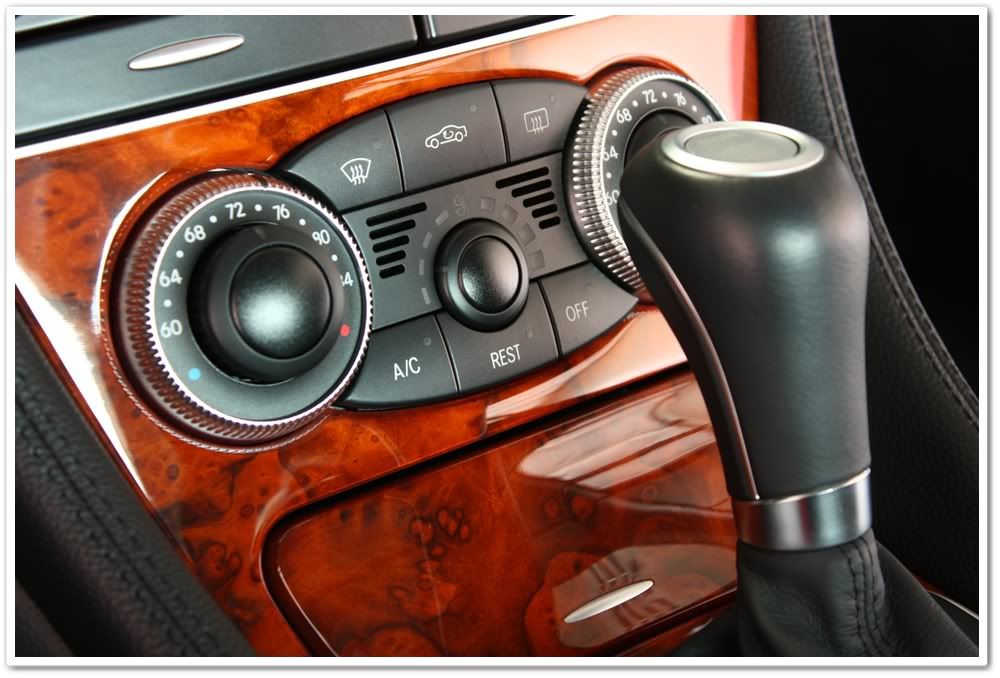
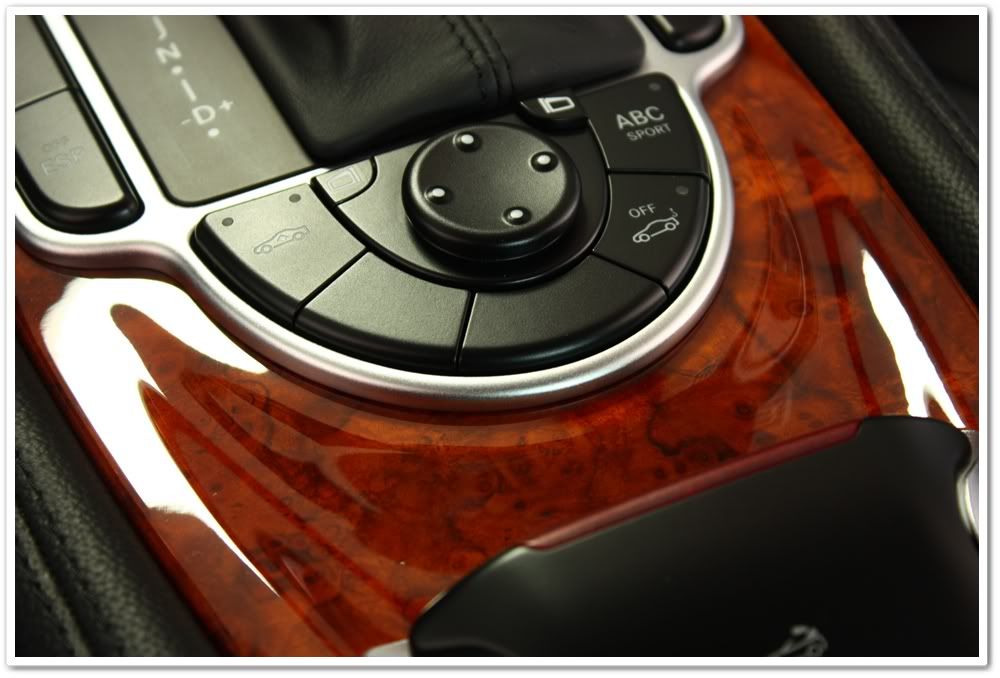
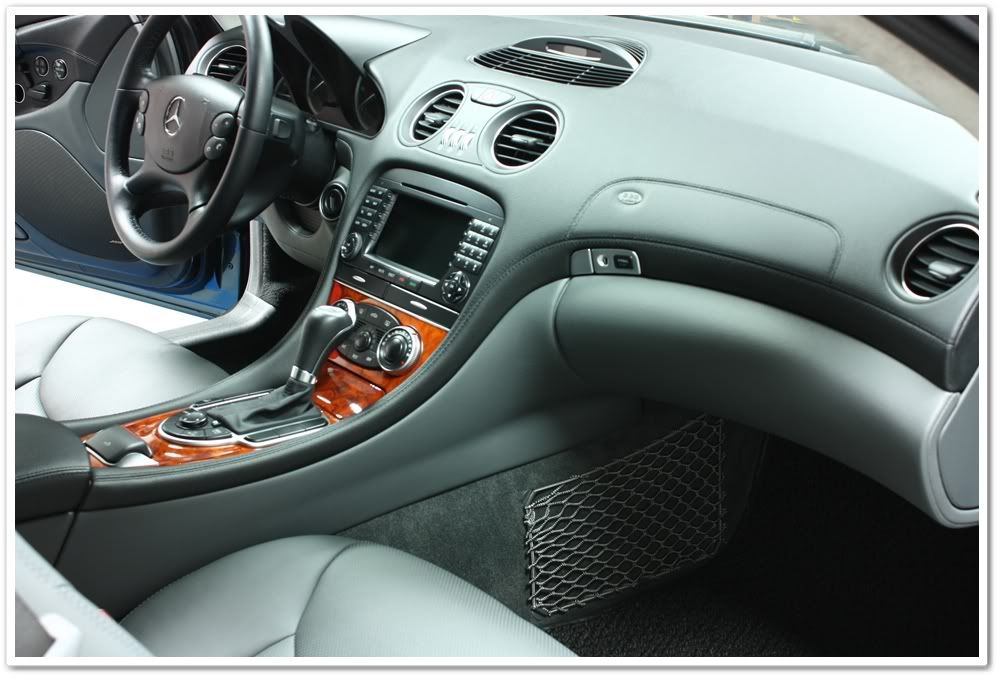
For the console, controls, navigation display, and gauges I prefer to use Megs Quick Interior Detailer and a plush MF towel. It does a great job and leaves a nice finish. Note the button on top of the shift knob is the engine start/stop button (cool feature).

IMG_2511.jpg


IMG_2512.jpg


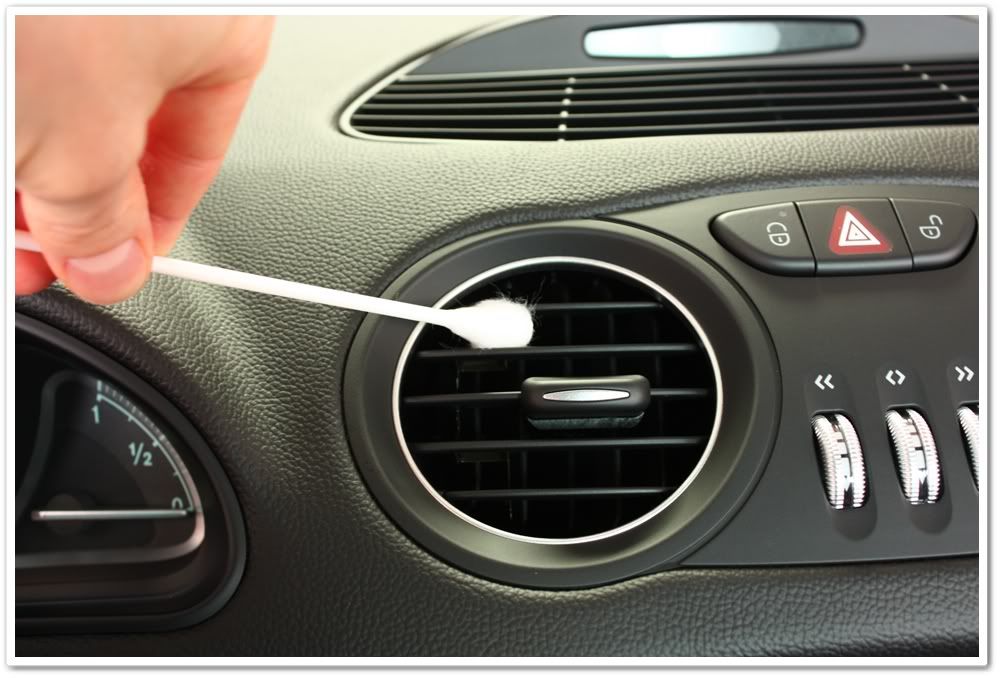
For the vents, I use S100 detailing swabs and first spray them with Megs Quick Interior Detailer.

IMG_2513.jpg


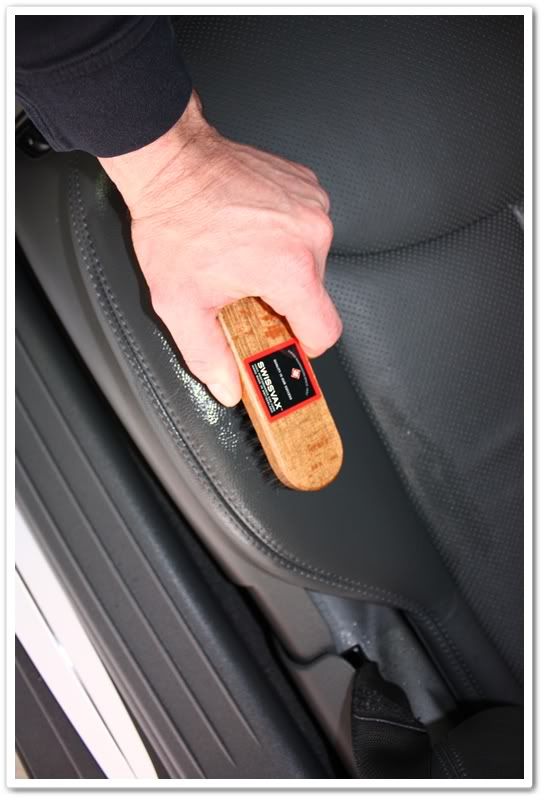
The left side of the driver’s seat is almost always the dirtiest, and even with only 7K miles on it this one was no exception. It had a bit of dirt and dye transfer from denim on it that needed to be cleaned up.

IMG_2507.jpg


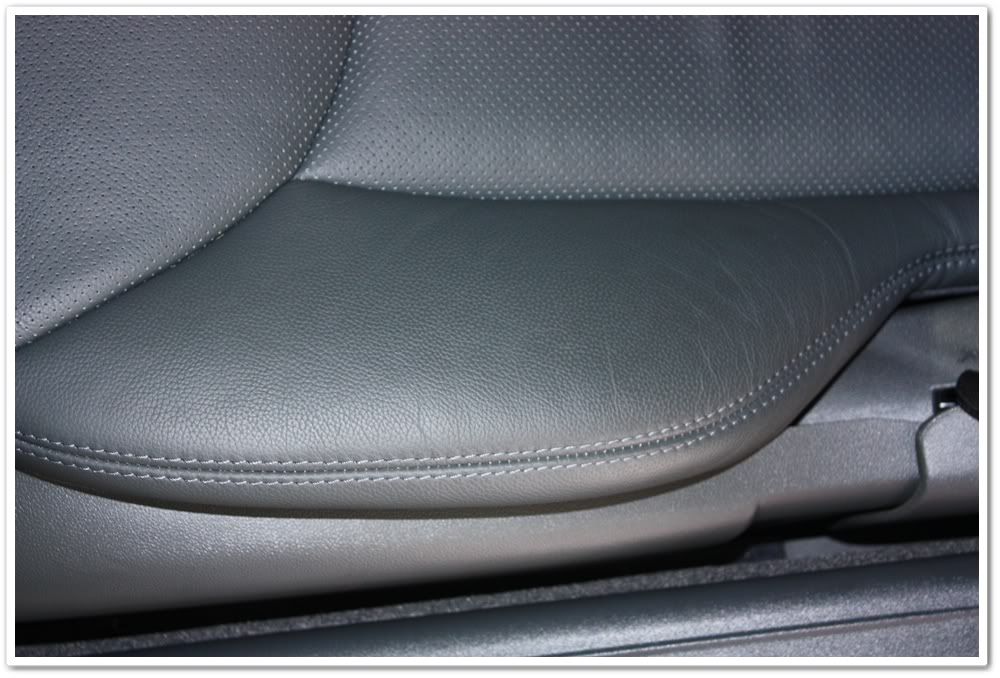
For this I used Megs APC+ at 10:1, and gently agitated it with a Swissvax leather brush.

IMG_2509.jpg


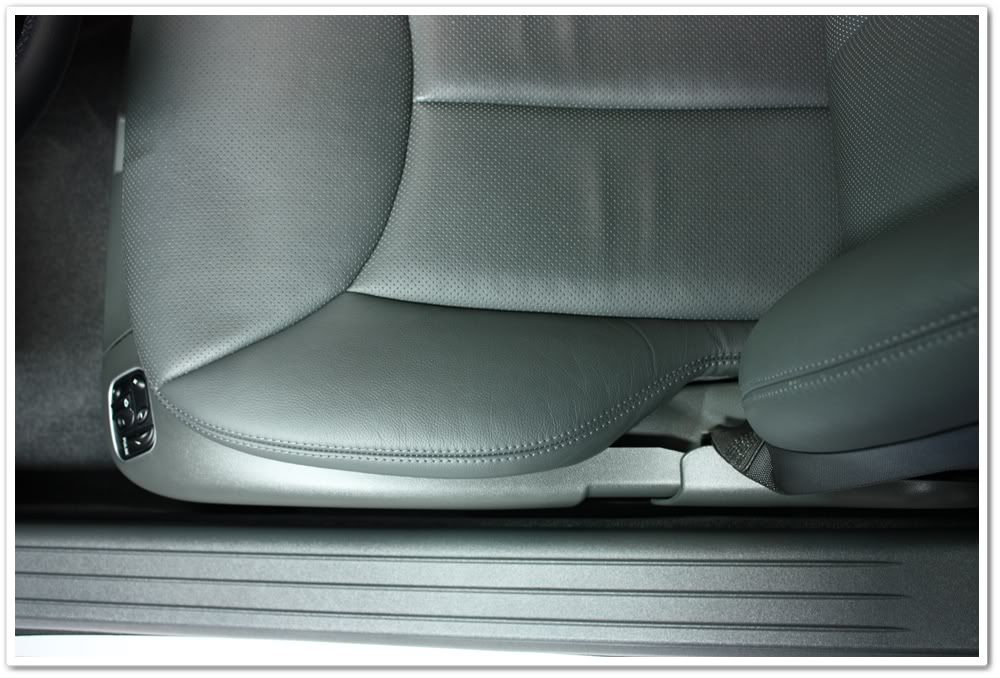
After cleaning, I topped it (and the rest of the leather in the interior) with Optimum Protectant Plus. This UV protectant is not shiny or greasy…it leaves the finish looking new, not “dressedâ€�.

IMG_2544.jpg


IMG_2541.jpg


IMG_2545.jpg


IMG_2548.jpg
 
The door shuts had their share of dirt, dust, and grime build up as well:

IMG_2491.jpg


I cleaned them up with Optimum No Rinse (spray bottle at QD ratio).

IMG_2543.jpg


Last but not least are the pedals. They get all of the abuse from dirty shoes, and therefore require attention as well. For this I use Megs APC+ and a brush, and then wipe it down with a damp cloth afterwards to remove any residue. You have to be careful what you use to clean the pedals because the last thing you want to do is leave a greasy or slippery finish. Note…I did catch the smudge on the trim just above the pedals!

IMG_2506.jpg


Now that the interior is tidied up, it was time to move onto the exterior. On a few areas of the car I had some good before and after photos, so I may bounce around a bit as I go through the process.


From the photos below, you can tell that this Benz was in desperate need of a good, thorough cleaning!

IMG_2500-1.jpg


The wheel wells were very dirty, and difficult to access

IMG_2498.jpg


Here you can see one nice feature of the SL500. It has a height adjustable suspension (3 settings) that can be raised when entering/exiting steep inclines to keep it from scraping. Here I have it fully raised to make it easier to get to the wheel wells, as well as giving me easier access to the side skirts while polishing.

IMG_2501.jpg


As always, I start off by cleaning the wheels. As you can see, I had my work cut out for me.

IMG_2497.jpg


First I sprayed P21S wheel gel onto the rims and calipers (one side of the car at a time) and let that dwell for a few minutes. While it was working, I sprayed the tires and wheel wells with P21S TAW.

IMG_2514.jpg


Here’s a good tip. Take your wheel brush and bend it at a 90 degree angle. This will give you access to the areas behind the spokes for a more thorough cleaning. Also make sure that you use a completely separate bucket and wash media that is dedicated strictly for wheels.

IMG_2515.jpg


Now I can clean the back sides of the spokes as well as the hub area.

IMG_2516.jpg
 
Now that the insides of the wheels are cleaned, I use my Swissvax wheel brush to clean the lug nut area.

IMG_2517.jpg


…and the calipers.

IMG_2518.jpg


Wheels are finished, and I used a brush to clean inside the wheel well areas. Each wheel/well took about 10~12 minutes since there was so much dirt and brake dust built up on them.

IMG_2519.jpg


Now that the wheels were done, I moved my focus on to the engine compartment. First I soaked everything in P21S TAW, and then agitated it with my Swissvax brush. Once everything was clean I lightly rinsed it all off.

IMG_2520.jpg


After a rinse off, I noticed that the water was beading indicating the presence of wax and/or sealants. These need to come off prior to polishing otherwise it can interfere with the polishing process. To help with this, I use Chemical Guys Wash & Clear at paint prep ratio (2oz/gal). I used my foam gun to soak the car first, and then prepped my two buckets…one of them also with CGWC. The car was very contaminated, so I made sure to thoroughly clean out my wash mitt in the rinse bucket with Grit Guard after each small section to avoid re-introducing dirt and debris onto the surface.

IMG_2522.jpg


After thoroughly washing the surface, I broke out the Riccardo clay (incredible clay, but unfortunately not available in the U.S.) using Optimum Instant Detailer as a clay lube. You want to make sure that you’re using a high quality lube with claying to avoid marring of the surface. I found that the paint was heavily contaminated on both the horizontal and vertical surfaces, and was in desperate need of claying. This took some time to get the surface smooth in preparation for polishing, but it made a big difference once it was done.


Since there were so many contaminants to remove, I decided to foam wash the surface once again after claying to make sure that it was squeaky clean and ready for polishing.

IMG_2523.jpg


Once I finished with this stage, I pulled it back into the garage and used my Blaster Sidekick blow dryer to dry it off and get all of the water out of the cracks and crevices.


Like I said in the beginning, the surface was pretty much swirl free, but it had plenty of random scratches and a lot of water spot etching on the horizontal surfaces. My plan of attack was to use Menzerna PO203 for a one-step polishing process. I have been using this more and more lately, and find it to be very versatile. It can provide a decent cut when paired with the proper pad, and it gives a LSP-ready finish. I do however recommend doing several IPA wipedowns afterwards to make sure there is no filling or masking happening. After doing my normal test section, I determined that PO203 was the way to go.


For the areas with heavy defects, I used the 203 with a Micro-Surface black wool pad. This combo made pretty light work of them, and left what appeared to be a final finish. Since it’s hard to see holograms (and defects!) on this color, and since it was cloudy outside and I couldn’t use that for inspection, I didn’t make the assumption that it was a final finish. In any of the areas that I used this combo, I went back over it with a grey finishing pad and Menzerna 106FF. For the majority of the car, I used the PO203 with a white polishing pad on the Makita rotary.


Here I am following up with a grey pad and 106FF.

IMG_2532.jpg


Don’t forget the under sides of the side skirts. This is why we call it “detailâ€�ing. For these tight areas I switched to a 4â€� white spot buff pad. I like to use an exercise mat to soften the hard floor! Speaking of, I will be getting my floors acid-stained as soon as the weather is cooperative for a couple of days…should look great when it’s completed!

IMG_2534.jpg


After PO203/white…no LSP yet.

IMG_2535.jpg


The glass roof had heavy water spotting going on, so I opted to polish it with the PC. I used a white polishing pad and Optimum Poliseal. This has just enough cut to clean up the glass, and will leave a very slick finish and provide months of protection at the same time.

IMG_2539.jpg
 
This is a very interesting color. Sometimes it looks grey, sometimes it looks light blue. Here’s a macro shot where you can see the details in the flake.

IMG_2525.jpg


Now that all of the polishing is done, I did an IPA wipedown and followed it with an Optimum Instant Detailer wipedown. Now the finish is ready to be sealed with Optimum Opti-seal. This is my go-to product for protection since it goes on very easily, and doesn’t provide the plastic-like look that some others do. It held up very well on both of my cars through the rough Midwest winter we just had, so I like the durability as well.


I apply it using a red applicator pad, and then after it cures I go back and buff it out using a very soft (Eurow Shag) MF towel with a very light sprits of Optimum instant detailer.

IMG_2549.jpg


After sealing the finish, I applied P21S 100% wax by hand using a separate red applicator pad. Although not the most durable wax out there, the P21S 100% provides a very nice finish, and is my go-to product when a “boutiqueâ€� wax is required. It goes on very easily, and removal is just as quick. It doesn’t require a lot of cure time either…as soon as I’m done applying to the whole car I immediately start the removal process.


Here’s an area that often gets overlooked. If you can’t tell, it’s the underside of the trunk lid just above the license plate. As you can see, there’s about 3 years of grime up in here.

IMG_2502.jpg


After:

IMG_2556.jpg


Even the emblems had some serious issues. This wasn’t simple surface dirt that could be washed away.

IMG_2504.jpg


I polished the emblems using a PC with a white pad and 106FF polish.

IMG_2558.jpg


Before:

IMG_2505.jpg


After:

IMG_2557.jpg


The exhaust tips were in bad shape as well. I first cleaned them with P21S TAW and 0000 steel wool, and then polished them with Liquid Luster metal polish (motorcycle product).

IMG_2496.jpg


After:

IMG_2555.jpg
 
Are you ready for some after-shots? First up are some pics from inside the garage. It’s been cloudy and rainy all weekend, and the owner is leaving the car with me for a few extra days until the sun is out.


IMG_2561.jpg


IMG_2563.jpg


IMG_2569.jpg


IMG_2564.jpg


IMG_2566.jpg


IMG_2567.jpg


This one doesn’t show off much of anything other than a clean wheel, but I thought it was a cool shot nonetheless.

IMG_2552.jpg


And now for a few moody indoor shots:

IMG_2573.jpg


IMG_2586.jpg


IMG_2590.jpg
 
OK, the sun finally came out, and I have taken a few more shots as promised. This color is hard to capture those crazy reflection shots with, but I did my best...


No defects on the trunk lid

IMG_2593.jpg


Or on the side

IMG_2594.jpg


Or on the hood

IMG_2614.jpg


IMG_2607.jpg


IMG_2597.jpg


IMG_2601.jpg


I like this shot...reflection and wetness!

IMG_2596.jpg


A little overexposed, but still looks nice

IMG_2604.jpg


IMG_2613.jpg


IMG_2611.jpg


And finally…

IMG_2570.jpg


Total time involved = 11 hours.


Thank you all once again for checking out my work! :D
 
Looking great Todd! I'm headed down to Cinci in about a month and would love to meet up with a fellow autopian. Maybe we can work something out for a coop on a detail, I always have a blast working along side a fellow detailer as I always learn something new.
 
Very informative post indeed! I like the tidbit about the underside of the trunk lid...very overlooked place. The MB looks incredible..you do work to aspire to
 
Labster said:
Looking great Todd! I'm headed down to Cinci in about a month and would love to meet up with a fellow autopian. Maybe we can work something out for a coop on a detail, I always have a blast working along side a fellow detailer as I always learn something new.


Give me a shout when you're heading south and we can see what's going on. And thanks!!


shine said:
Great job, attention to detail, and photography Todd!


Thank you!


Hemin8r said:
That car looks stunning. Great job!


I appreciate it, thanks!


jordanrossbell said:
Very informative post indeed! I like the tidbit about the underside of the trunk lid...very overlooked place. The MB looks incredible..you do work to aspire to


Those are very kind statements thanks! I thought that trunk lid shot would get a few people's attention...
 
WOW!! What a great right and great detail. That colour looks so good and at the start i thought another medicore Merc colour but what a performance u put in an made it shine.


Cant wait for the next write up!
 
Todd, your work and write-ups keep getting better and better...


I really enjoyed the write-up and love all the great pictures!


The car looks fantastic!


Keep up the great work...:bigups
 
steelwind101 said:
WOW!! What a great right and great detail. That colour looks so good and at the start i thought another medicore Merc colour but what a performance u put in an made it shine.


Cant wait for the next write up!


Thank you. These write ups are a lot of work!


Jakerooni said:
Outside looks great. Any pics of the interior out in the sun?


No Jake I didn't. Unfortunately I forgot to take an "after" engine shot as well. Thanks.


RickRack said:
Todd, your work and write-ups keep getting better and better...


I really enjoyed the write-up and love all the great pictures!


The car looks fantastic!


Keep up the great work...:bigups


I appreciate it Rick. When I'm working on these cars, I keep asking myself: "What would rickrack do..." :)


gervin said:
Wow, you made that color actually look good!


Great attention to detail in only 11 hours!


Thank you!


XRtrix90 said:
Another great detail. After looking at that SL, makes me wana bring the Mercedes in now.


Thanks Simon!
 
Back
Top