nightscare
New member
this was my first time using the pc on my car... i had done the hood of my beater pathfinder and my friend's pos civic to get a feel for it, and i wanted to finally try it out for real. my car isn't in terrible shape in the sunlight, but under the halogens you can really see how much work it needed... swirls, fine scratches, deeper scratches, even some water marks. after seeing the before and afters on other m3's done by some of the pros on here, i couldn't wait to tackle mine, even though i knew shouldn't expect such perfection that you guys have done.
this was my process:
- wash and clay
- sip w/ lc orange @ pc 6
- 106ff w/ lc white @ pc 6
- QD all over to clear dust
- 303 on all trim
- 3M glass cleaner on windows
- megs high endurance gel on tires (just a little)
- eagle one never dull chrome polish on tailpipes
- p21s wax
now, the hood and trunk lid got a little extra treatment since they seemed to be in a little worse shape, and they were easier to do more passes on. i wasn't satisfied after finishing the entire car with the sip, so i went back to the trunk lid with another pass on the lc orange pad... didn't really help any. so i tried the orange pad that is included with the sip, and that seemed to do a little more correction... but i wanted more, so i went to my sfx-1 yellow cutting pad, and that got just about everything out, it was about as perfect as i could hope (for someone of my experience, heh). i had originally done 2 passes on the hood with the orange pad, and i went back and did 2 passes with the sfx-1 pad on the and that helped. no more swirls, but there are still some scratches i couldn't remove.
anyway, too much talking, so here are the pics... i'm not the best photographer so bear with me, heh.
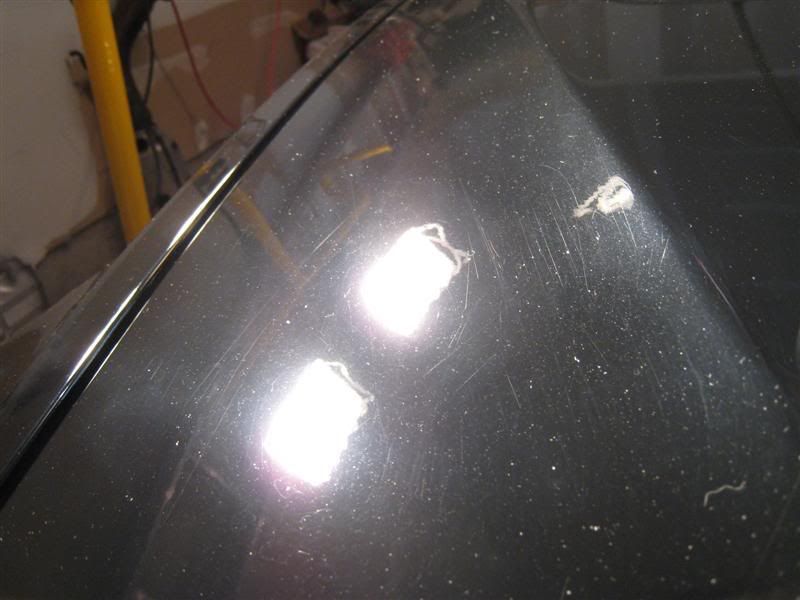
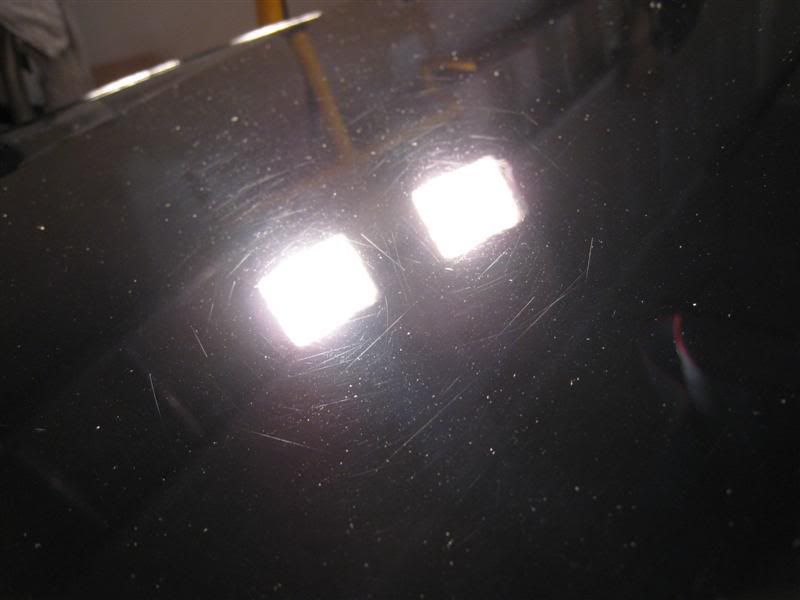
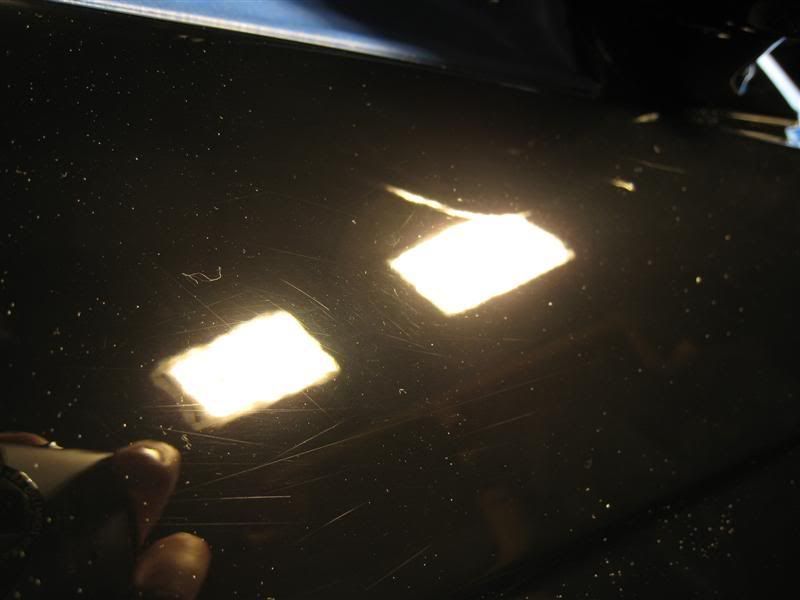
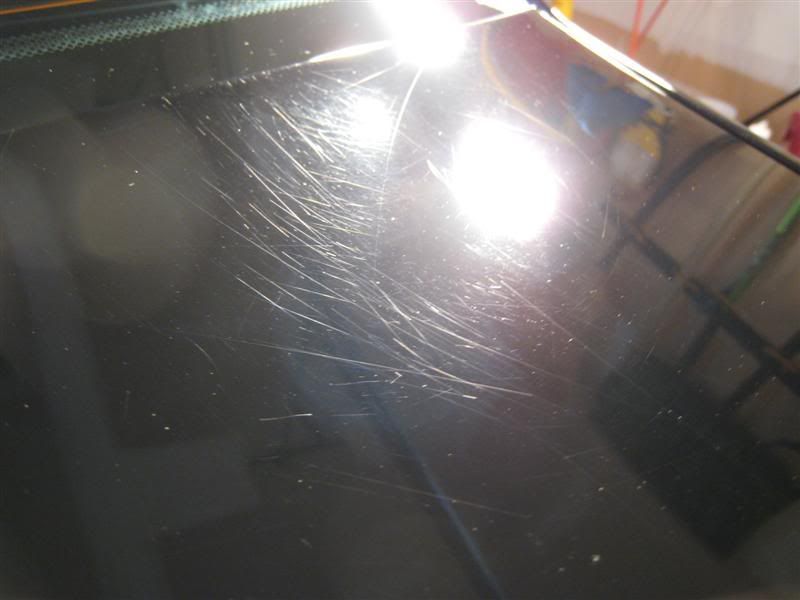
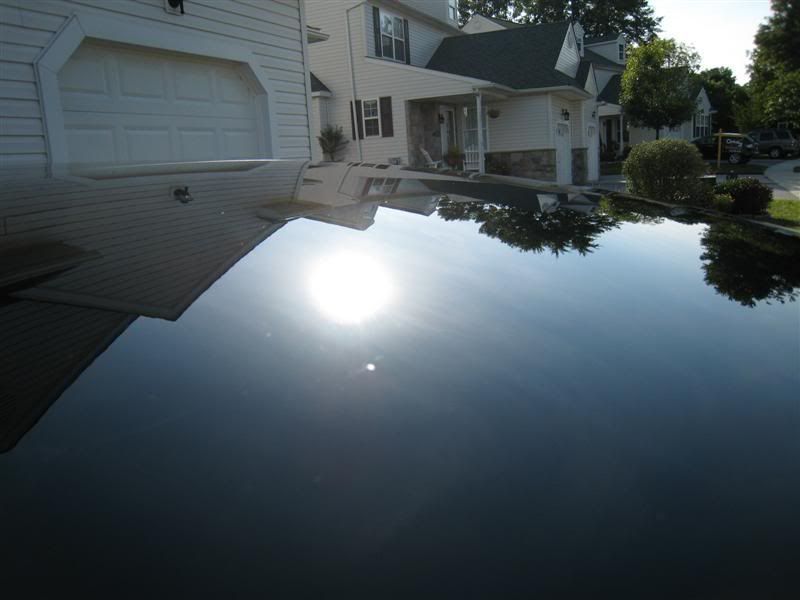
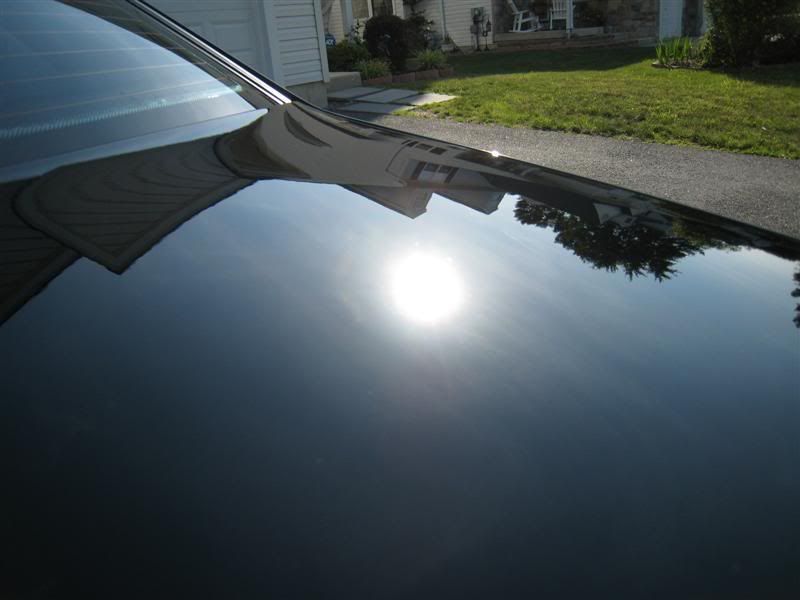
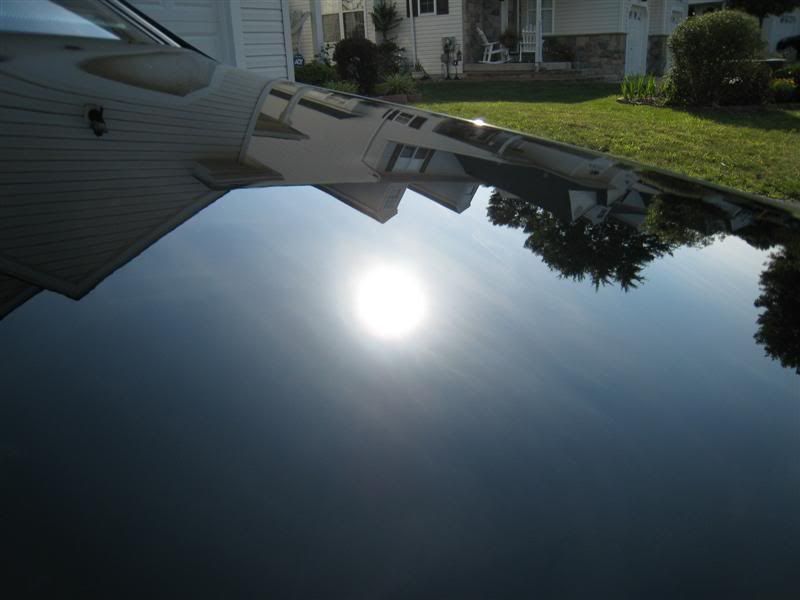
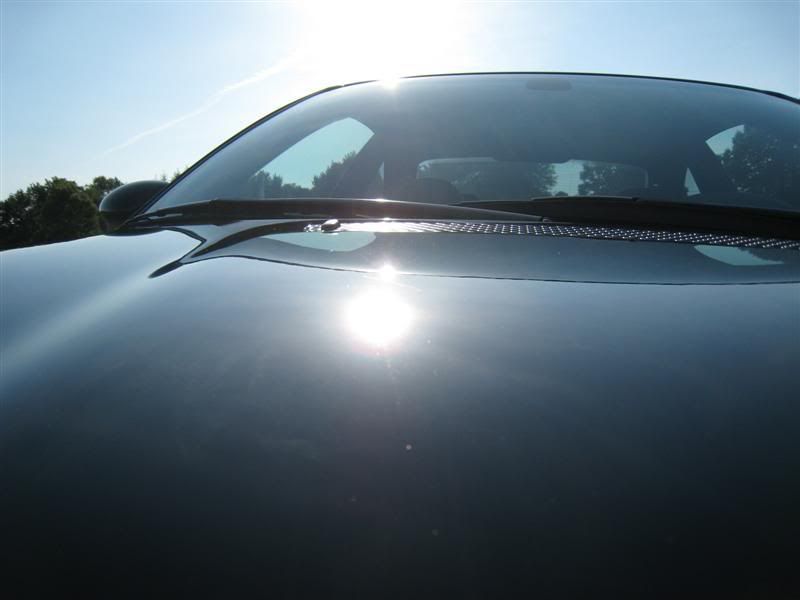
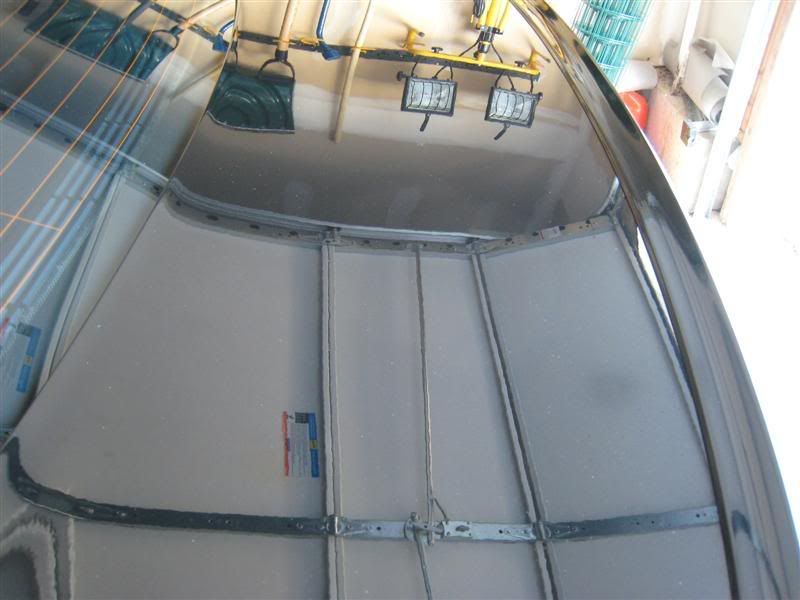
hood befores:
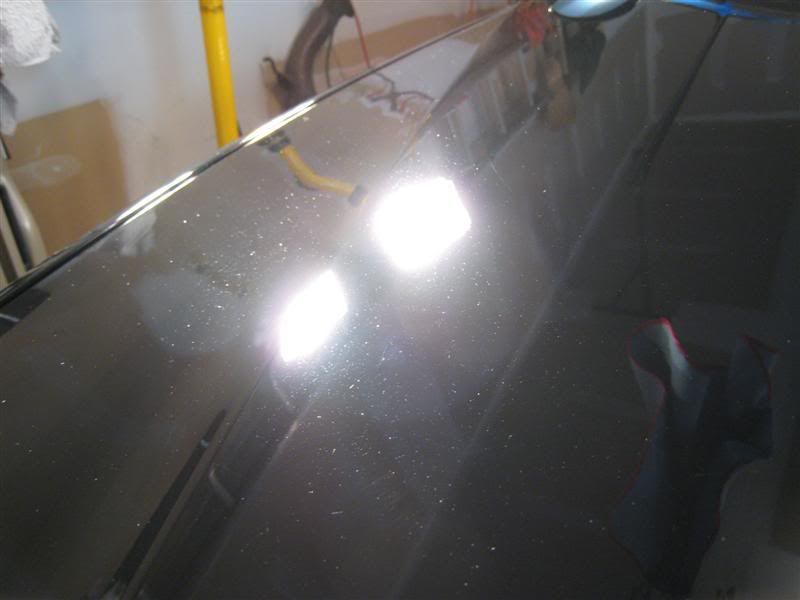
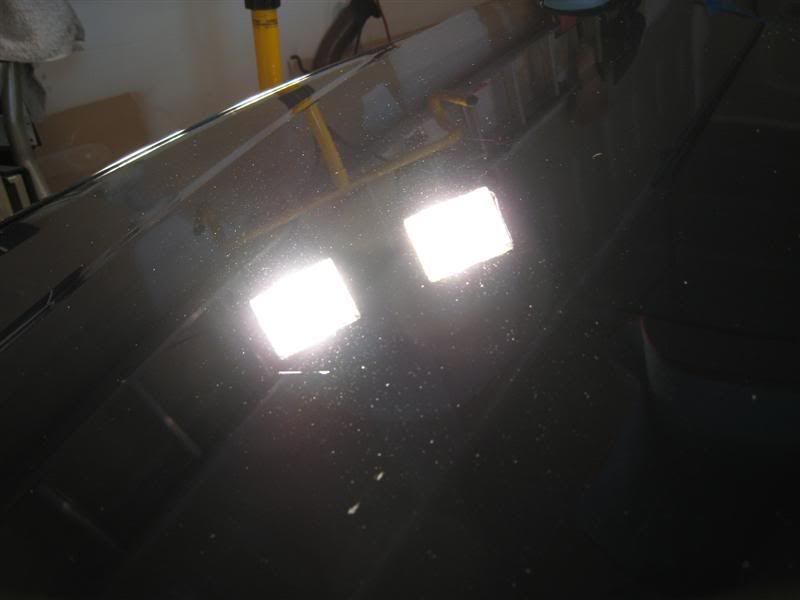
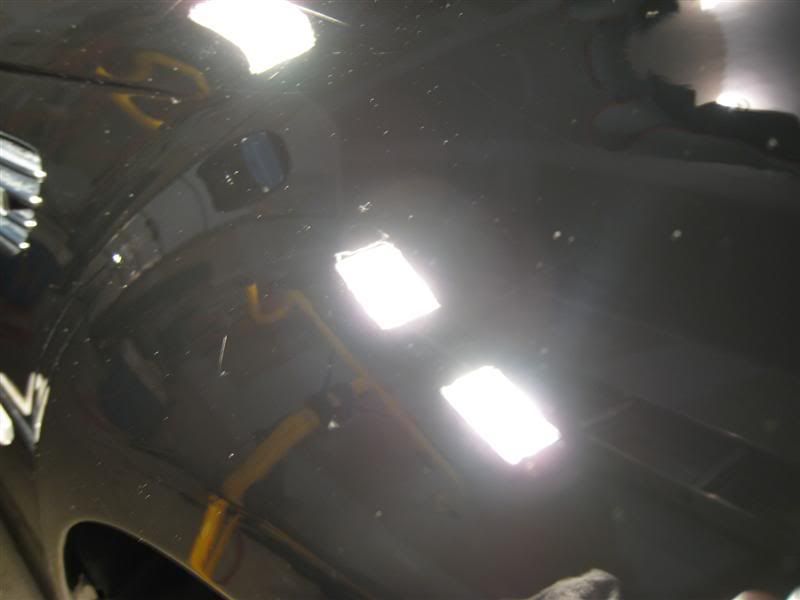
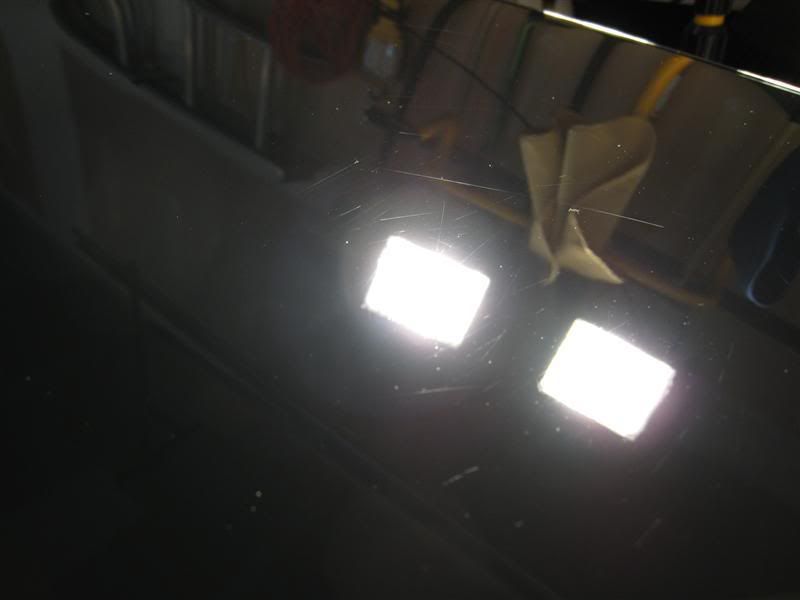
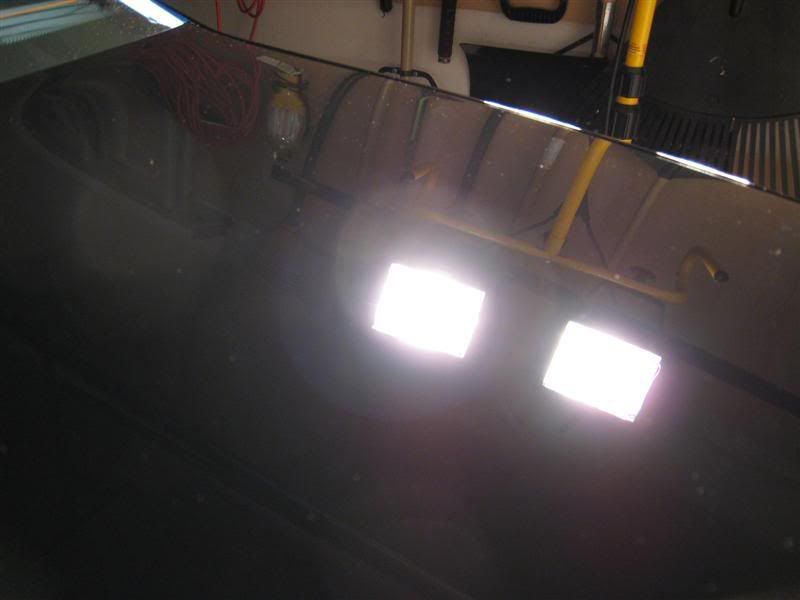
hood after original 2 passes with orange pad:
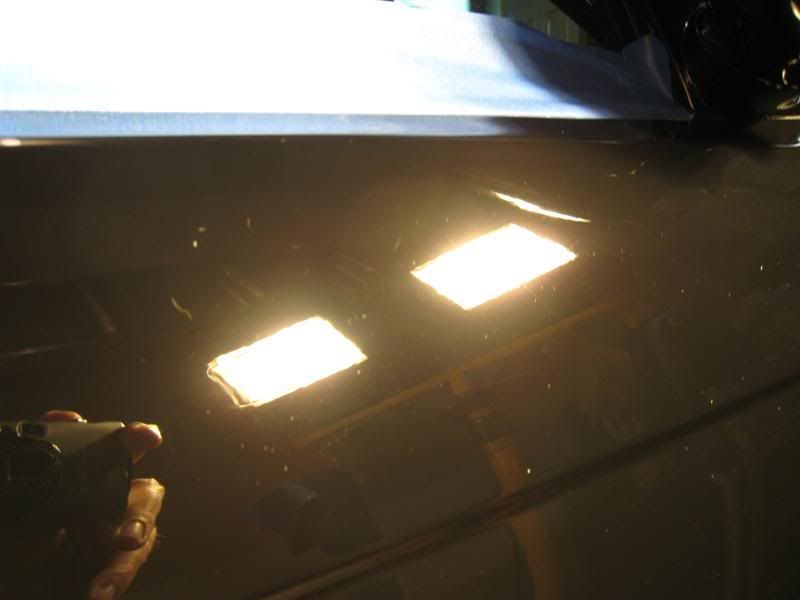
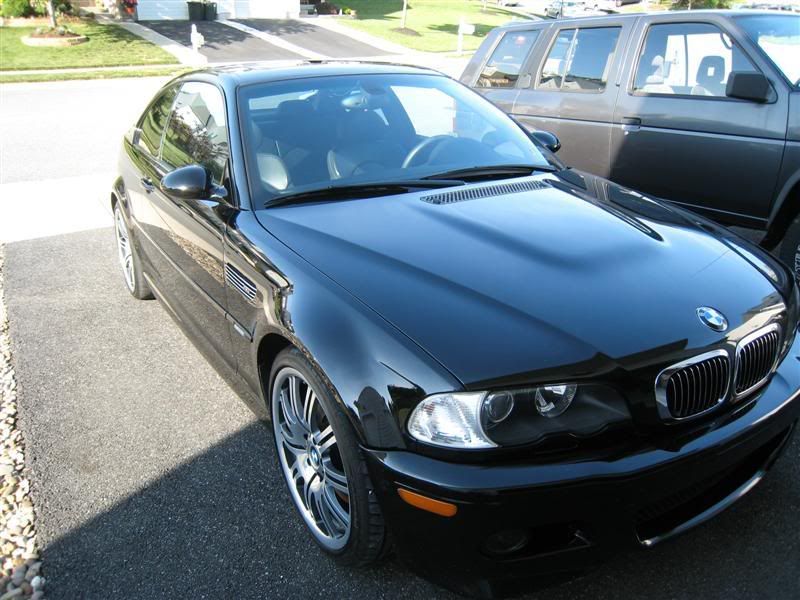
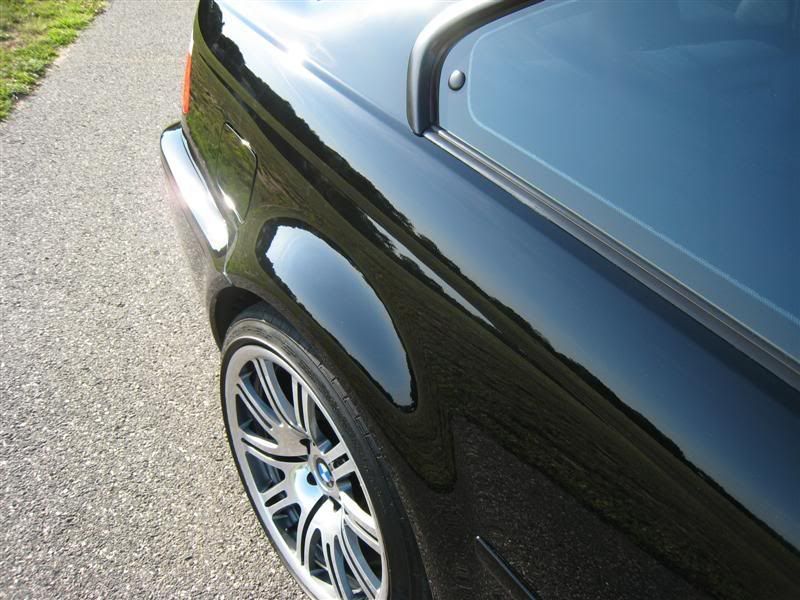
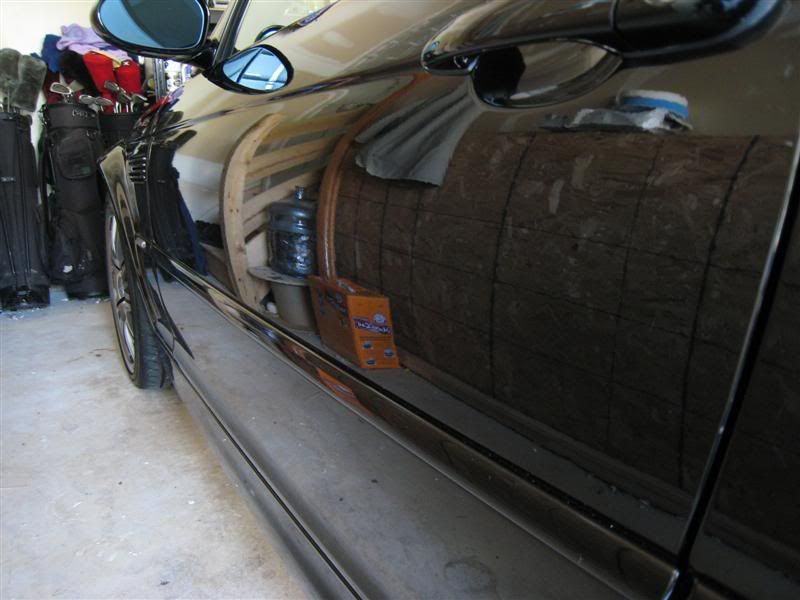
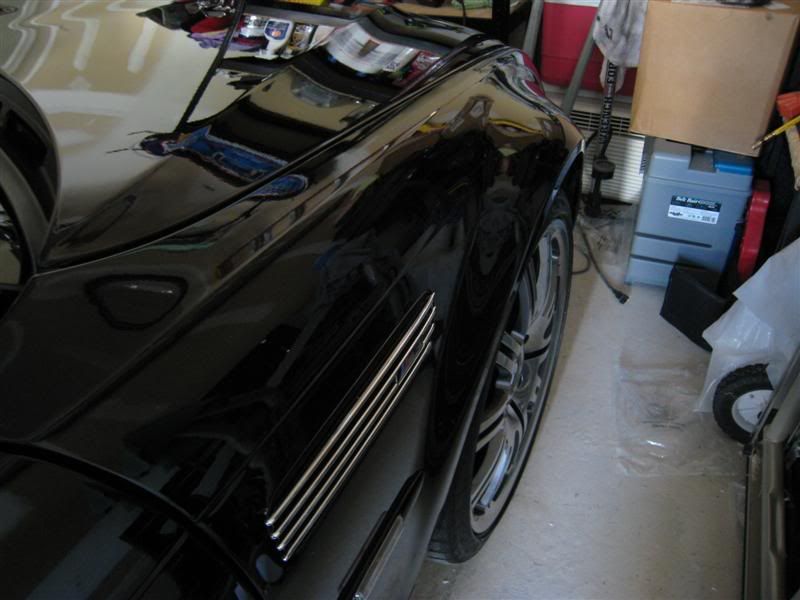
passenger front quarter before:

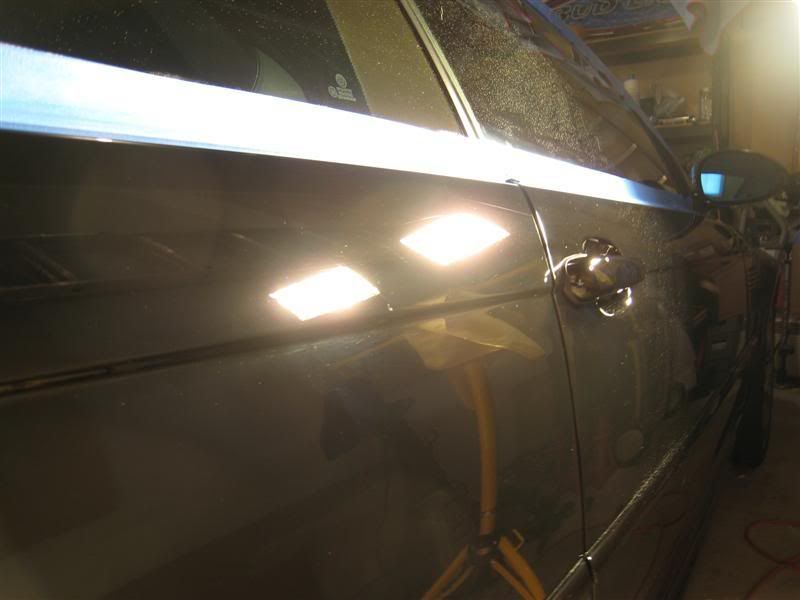
passenger front quarter after:
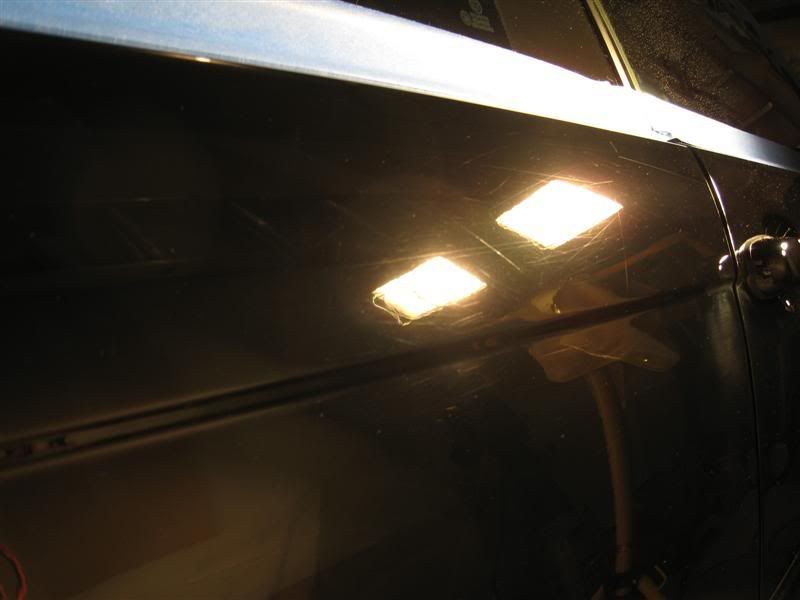
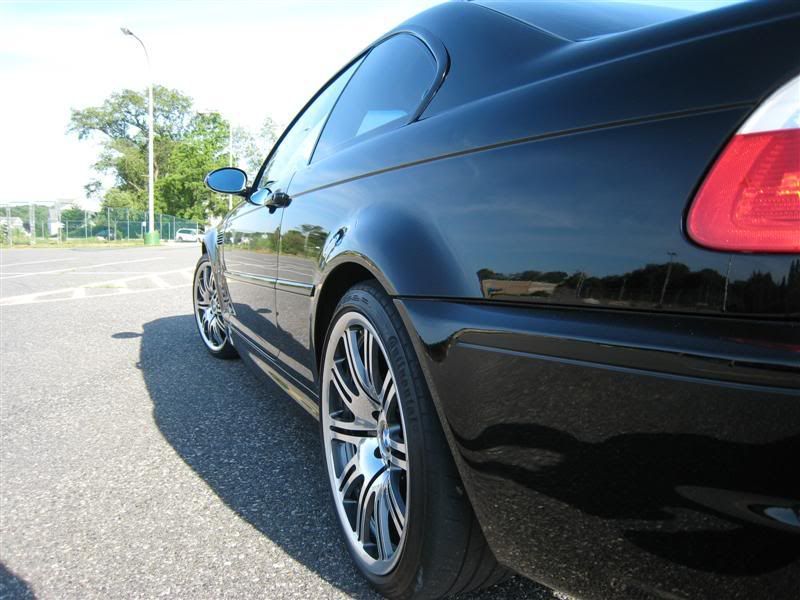
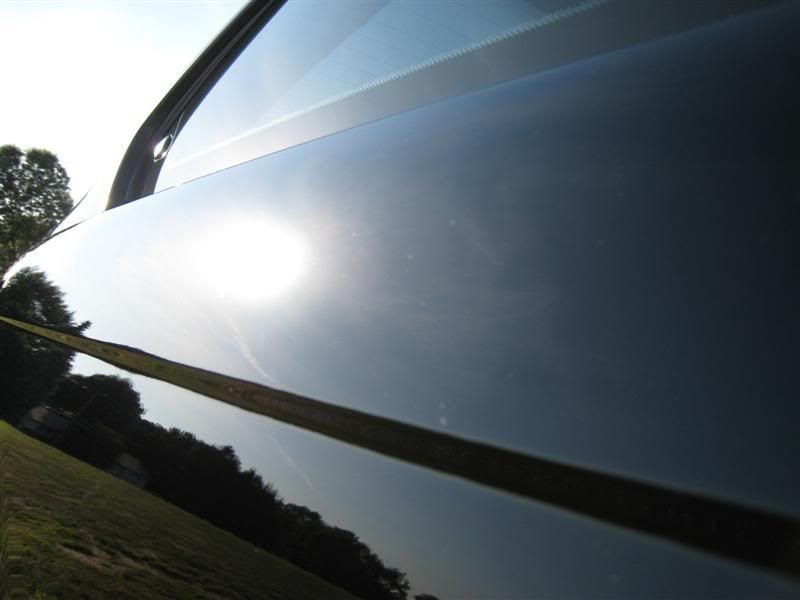
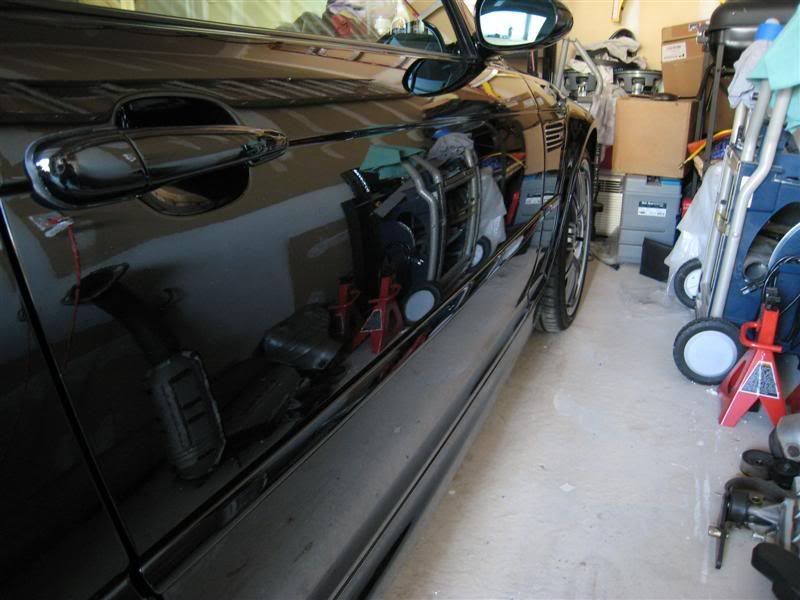
passenger door before:
passenger door after:
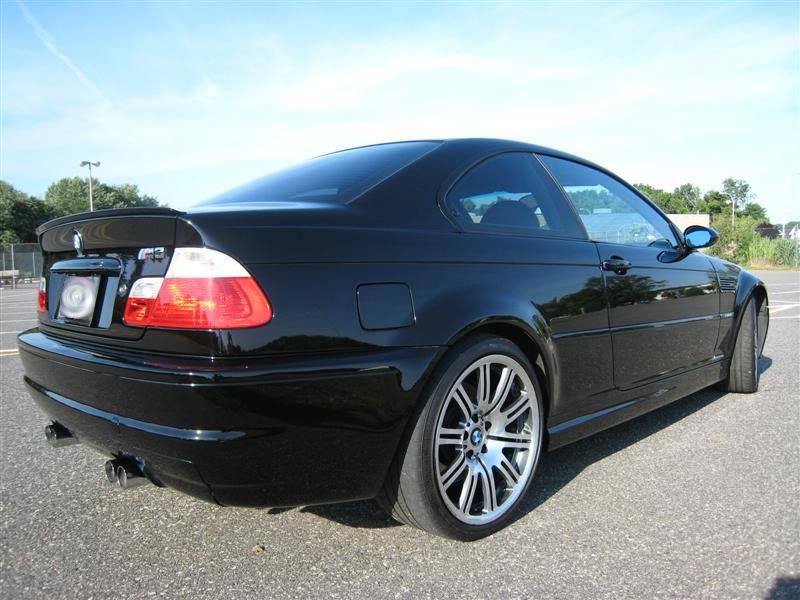
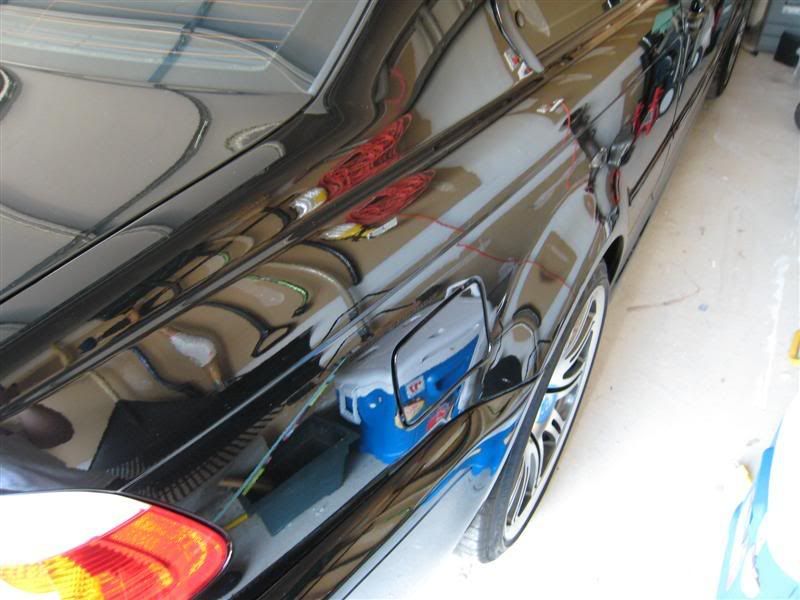
passenger rear quarter before:
passenger rear quarter after:
this was my process:
- wash and clay
- sip w/ lc orange @ pc 6
- 106ff w/ lc white @ pc 6
- QD all over to clear dust
- 303 on all trim
- 3M glass cleaner on windows
- megs high endurance gel on tires (just a little)
- eagle one never dull chrome polish on tailpipes
- p21s wax
now, the hood and trunk lid got a little extra treatment since they seemed to be in a little worse shape, and they were easier to do more passes on. i wasn't satisfied after finishing the entire car with the sip, so i went back to the trunk lid with another pass on the lc orange pad... didn't really help any. so i tried the orange pad that is included with the sip, and that seemed to do a little more correction... but i wanted more, so i went to my sfx-1 yellow cutting pad, and that got just about everything out, it was about as perfect as i could hope (for someone of my experience, heh). i had originally done 2 passes on the hood with the orange pad, and i went back and did 2 passes with the sfx-1 pad on the and that helped. no more swirls, but there are still some scratches i couldn't remove.
anyway, too much talking, so here are the pics... i'm not the best photographer so bear with me, heh.
hood befores:
hood after original 2 passes with orange pad:
passenger front quarter before:
passenger front quarter after:
passenger door before:
passenger door after:
passenger rear quarter before:
passenger rear quarter after:
") .
.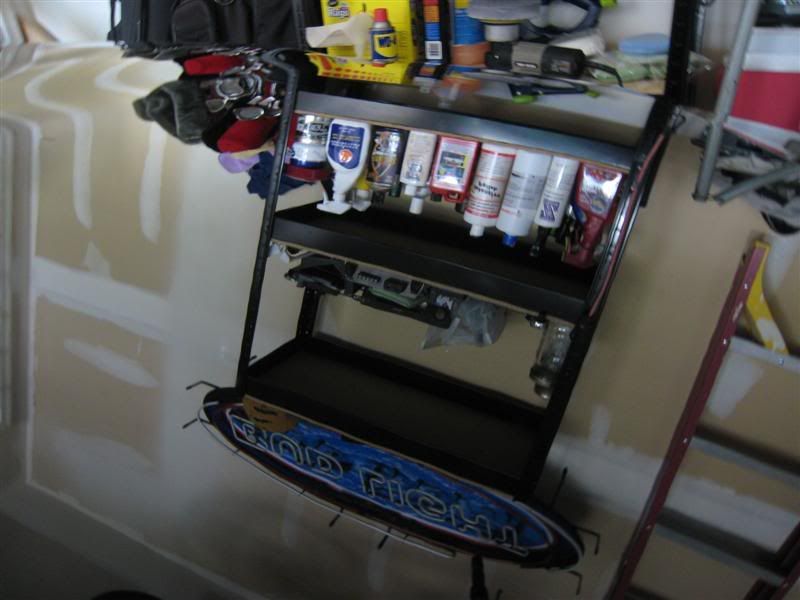
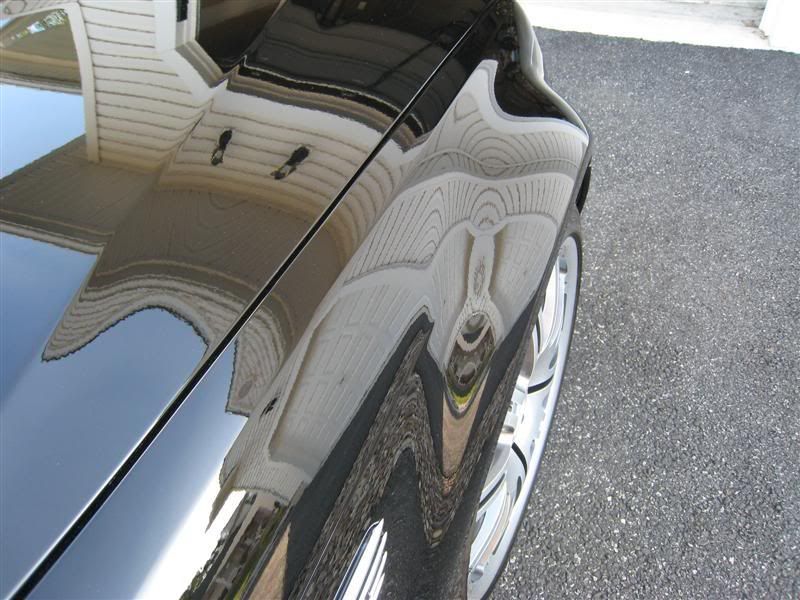
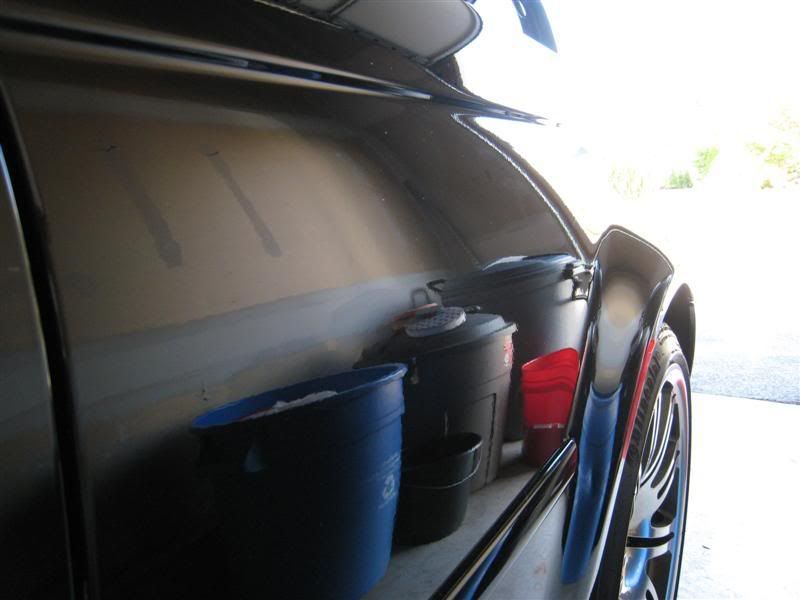
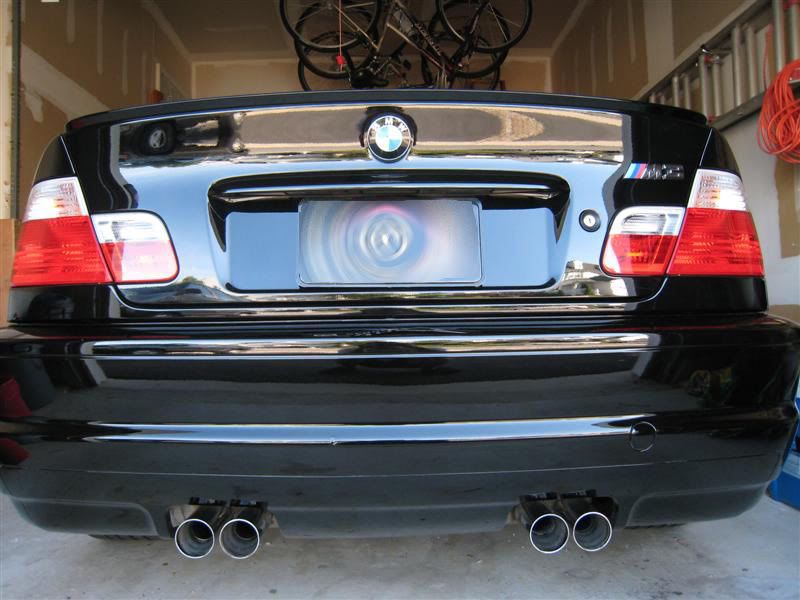
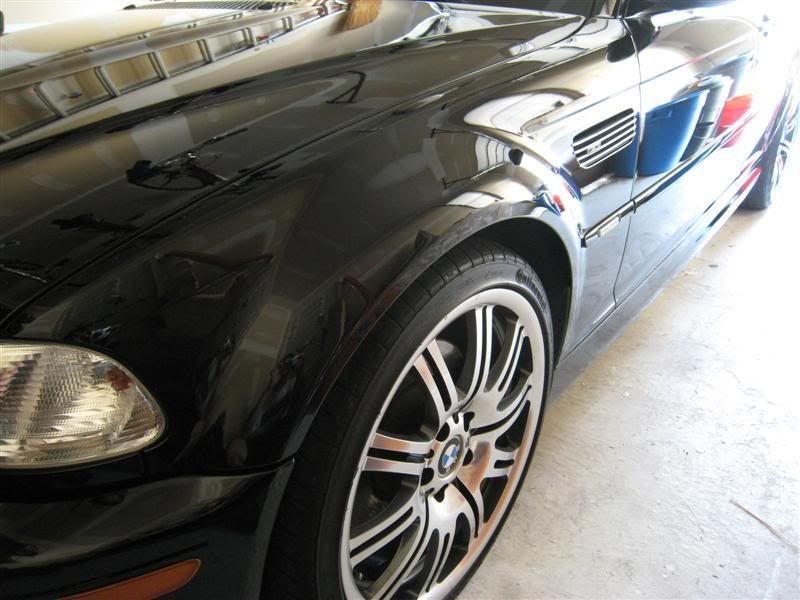
 The first reflection shot in the garage is best I think.