Greetings all. It's been a while since I've put together a write up so I figured what the heck. The featured vehicle belongs to a co-worker and he is a heck of a guy, one of those that you can tell just has a good heart after just a few minutes of meeting him. After many conversations about detailing and showing him some of my previous work he decided that it was time for his ride to get cleaned up. In all honesty he just asked for an interior clean up, wash and real good wax job because it hasn't been waxed since new. Let the story begin...
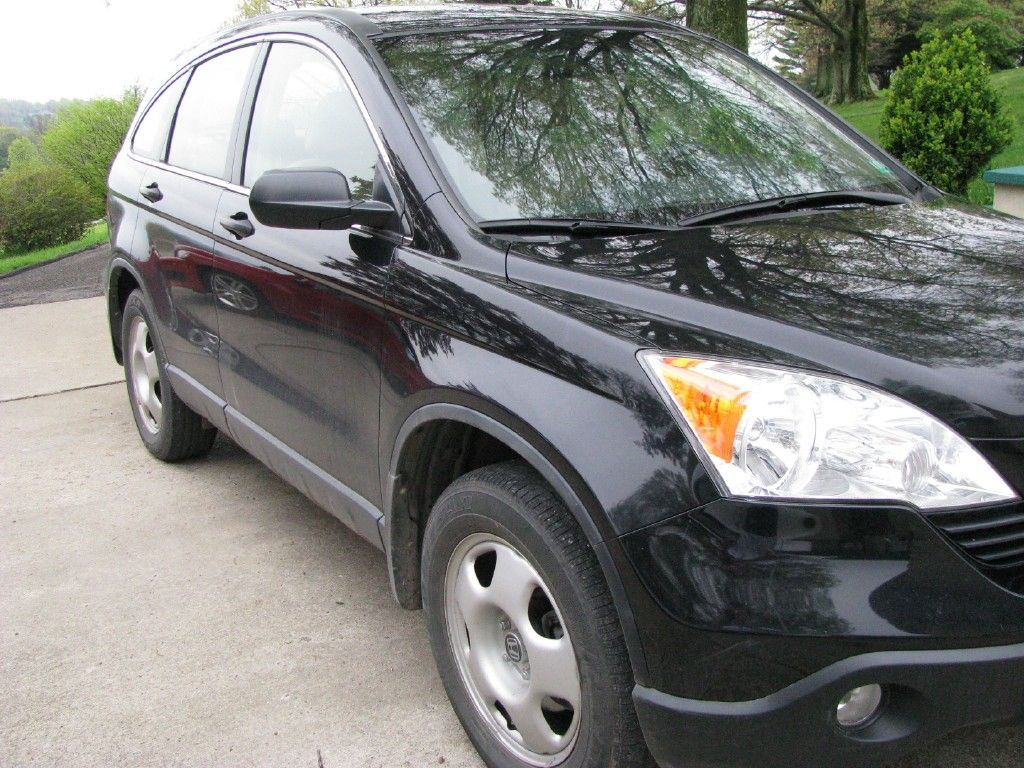
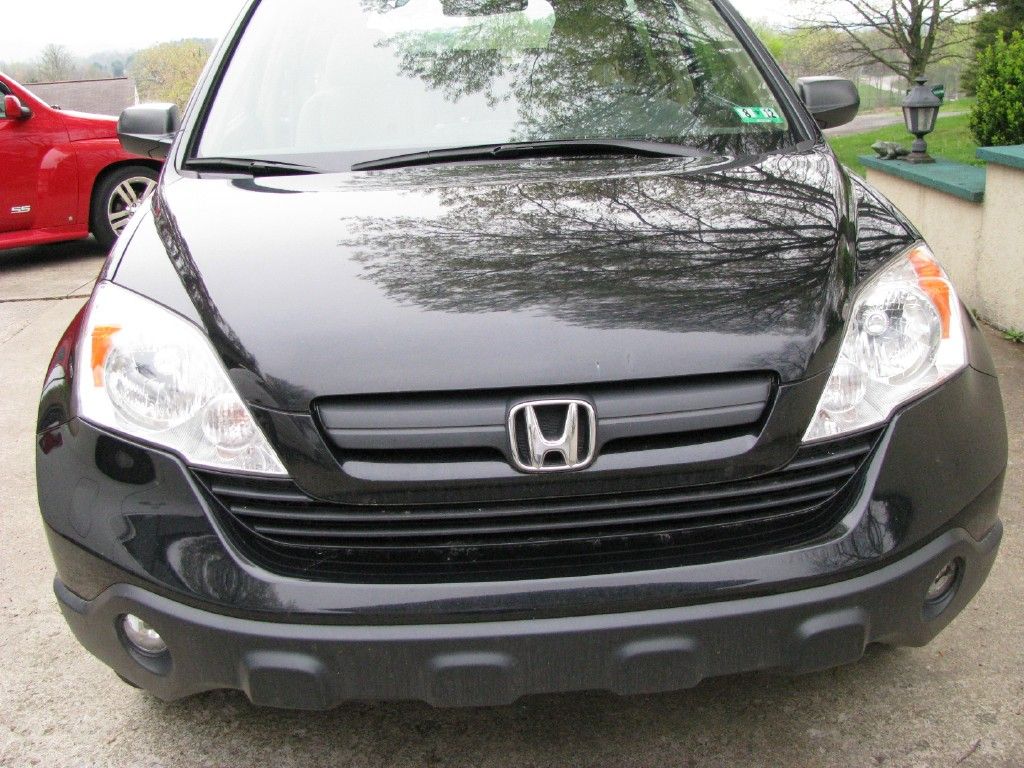
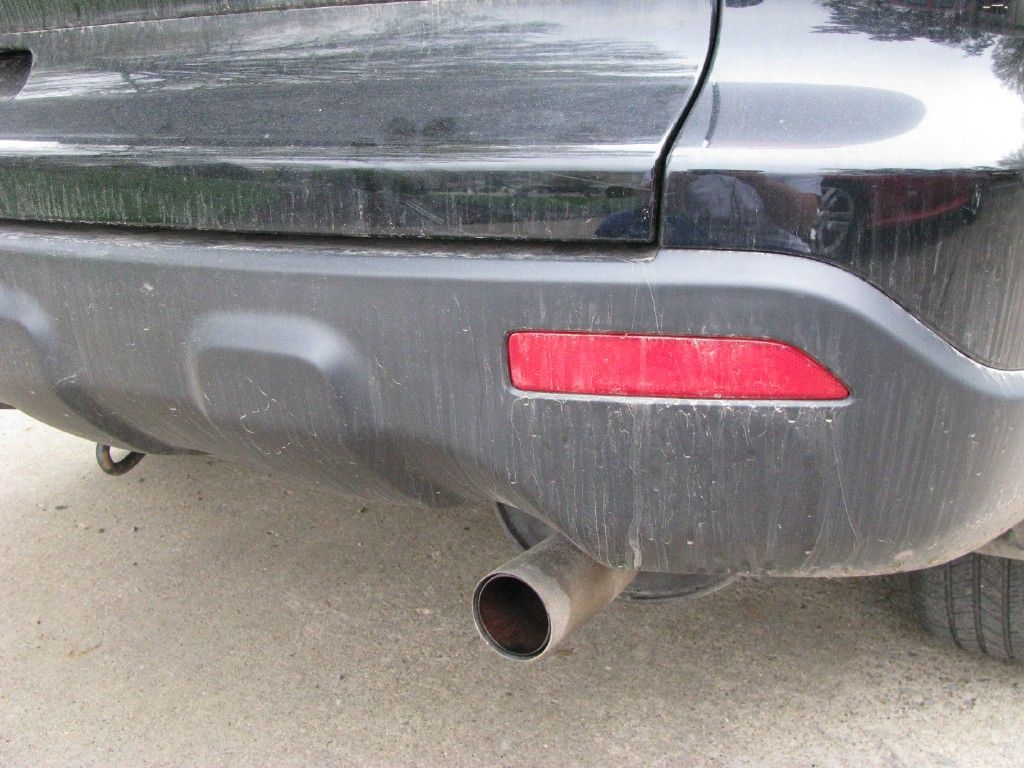
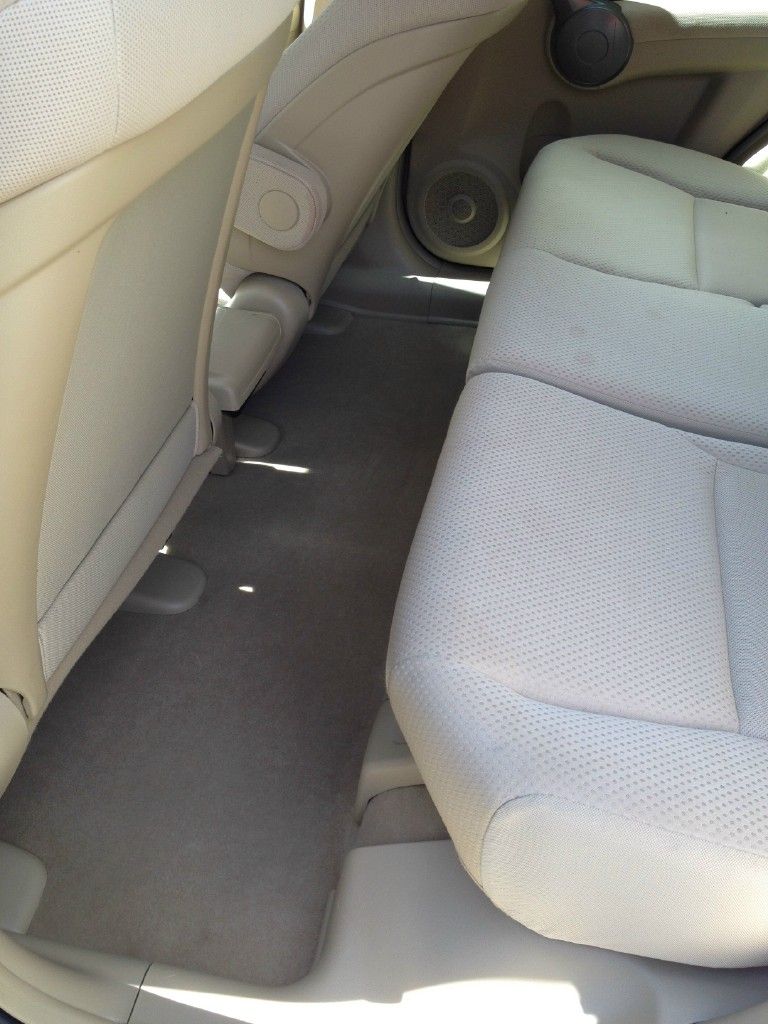
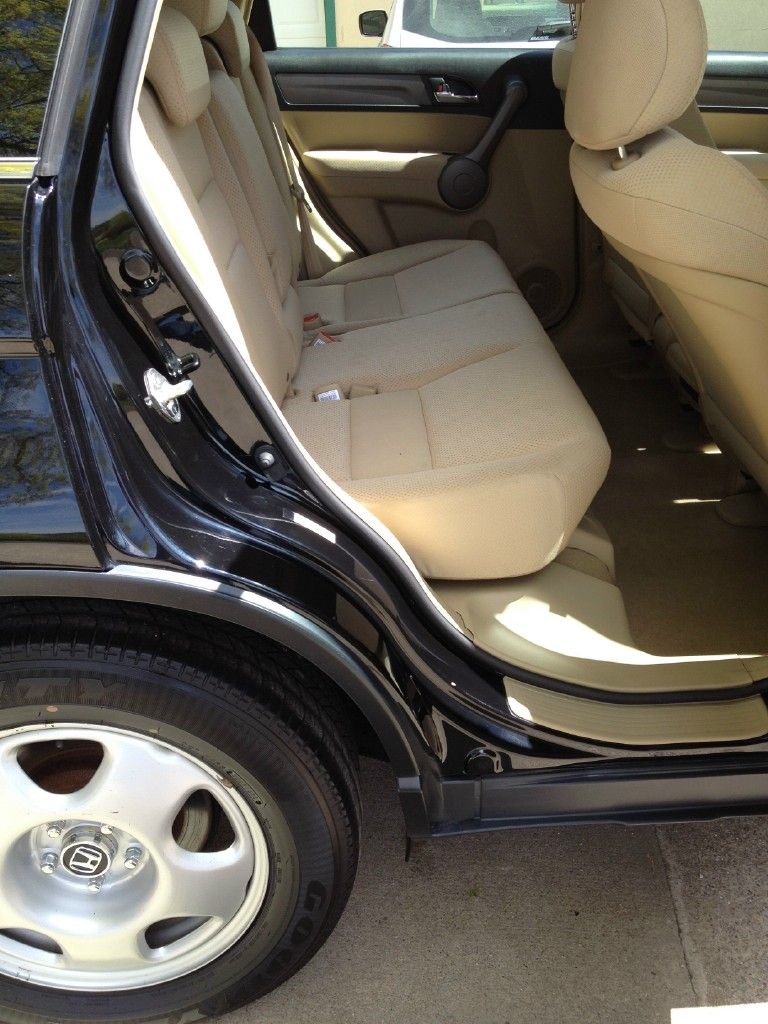
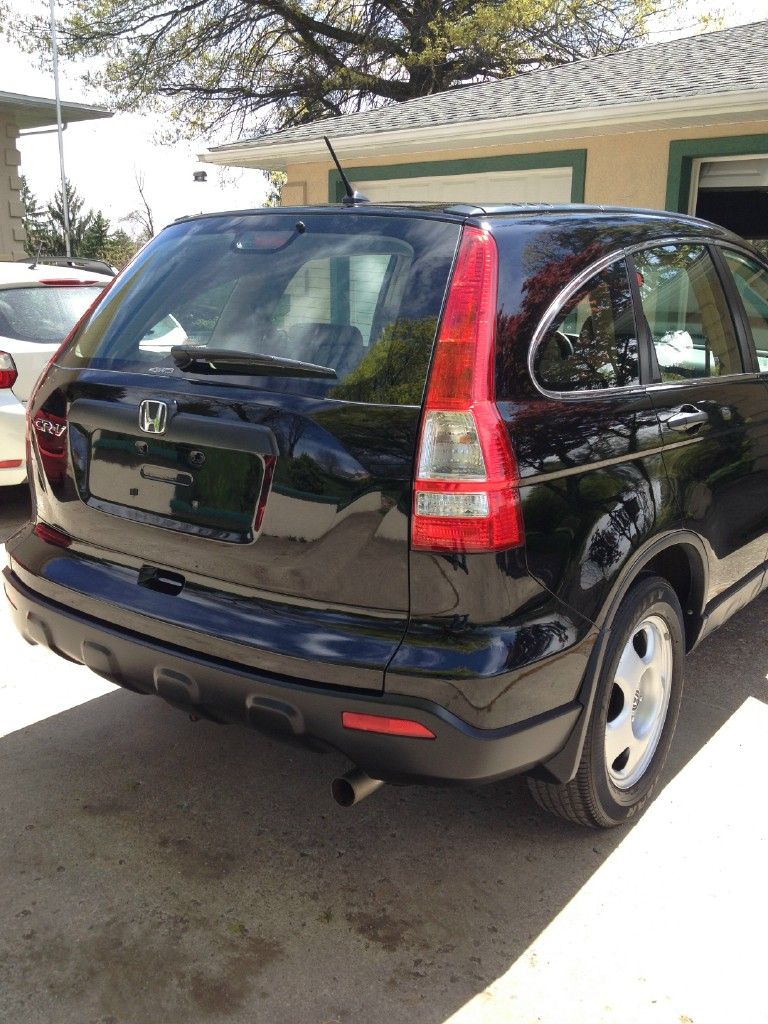
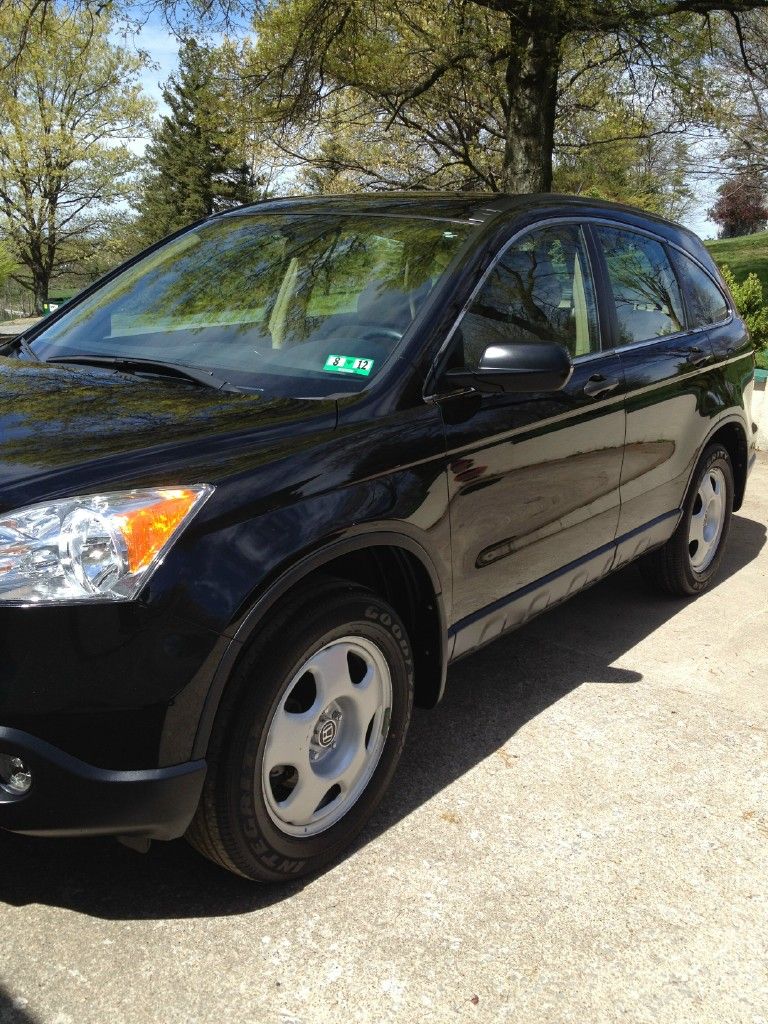
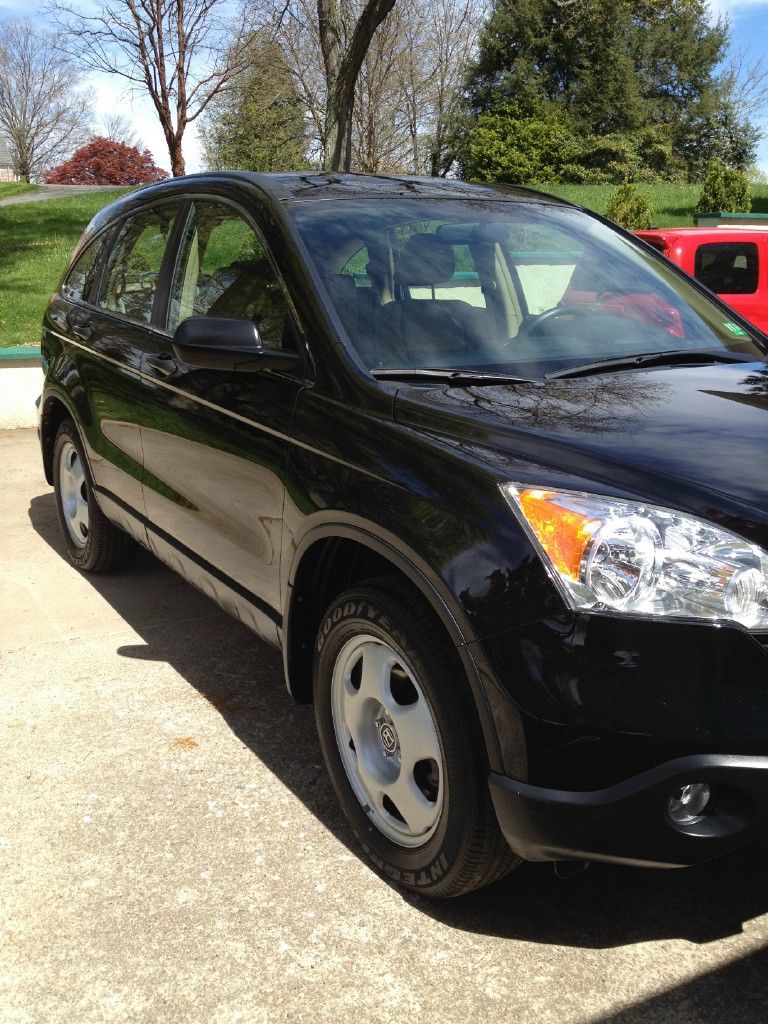
Vehicle upon arrival
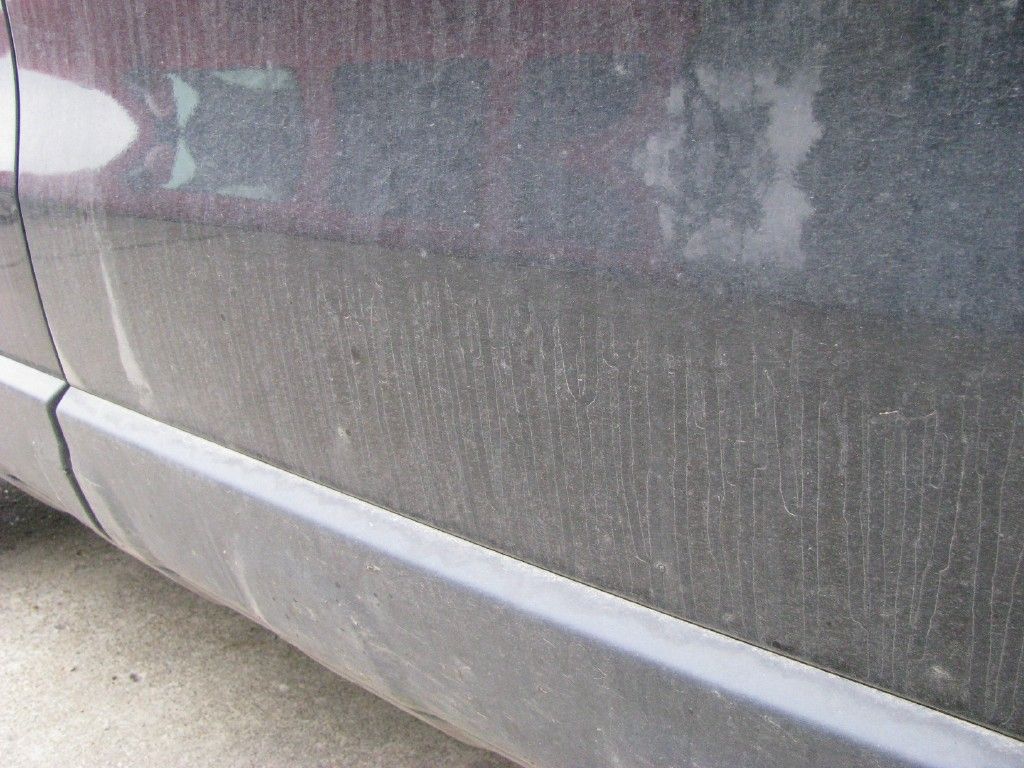
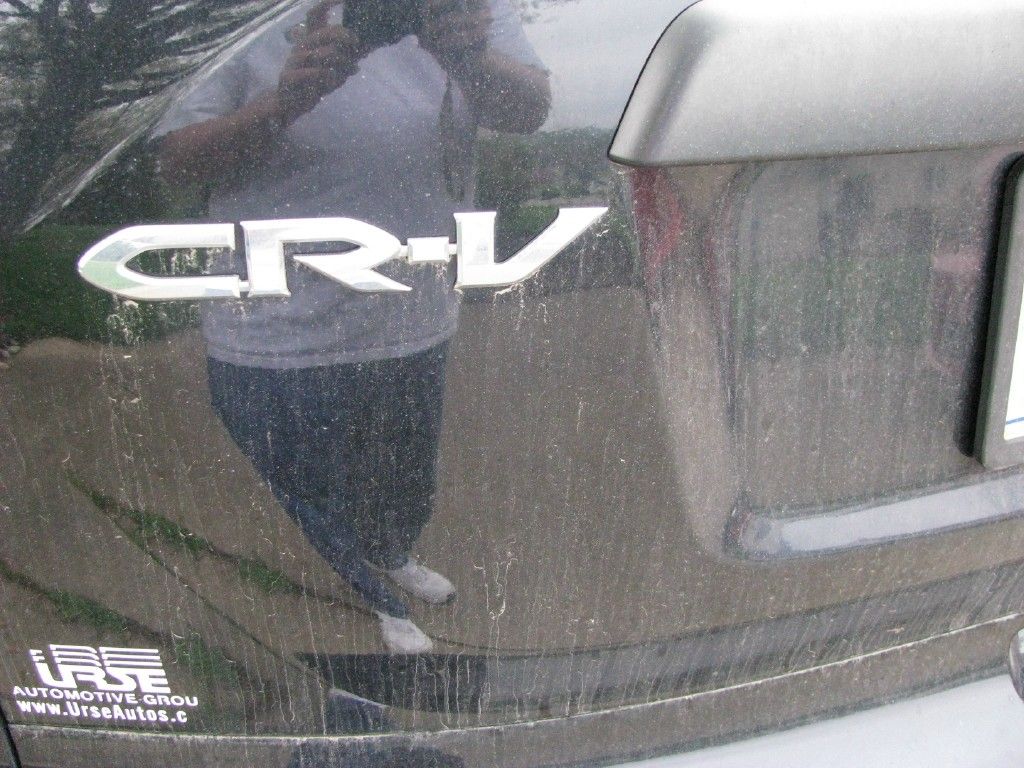
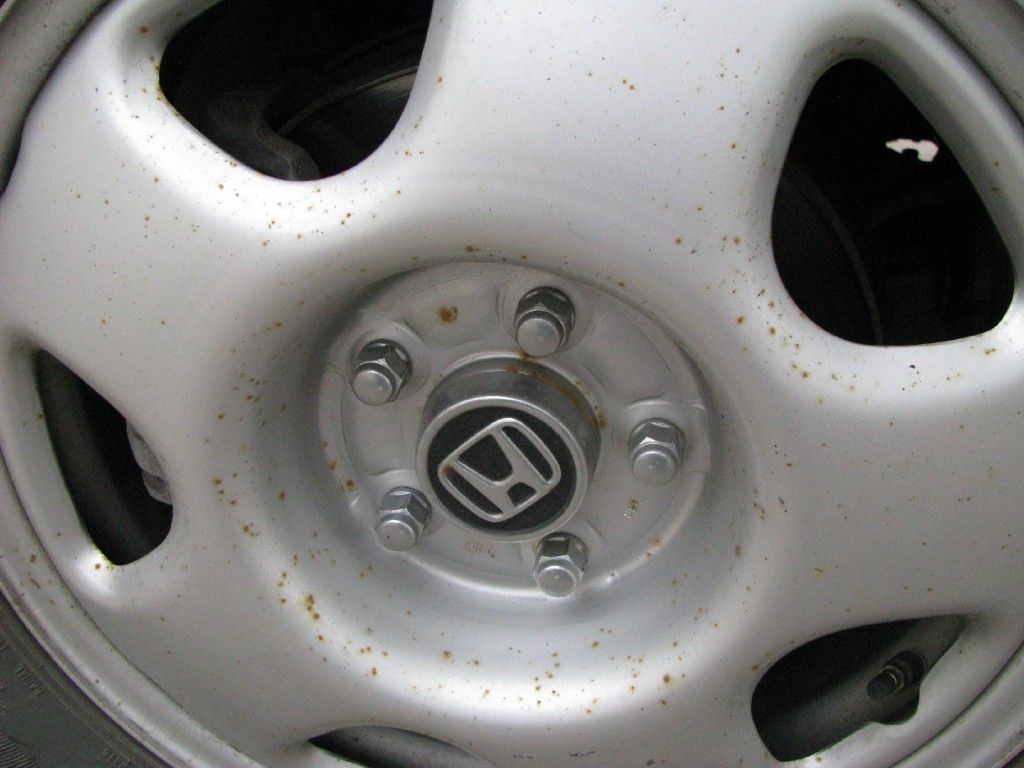
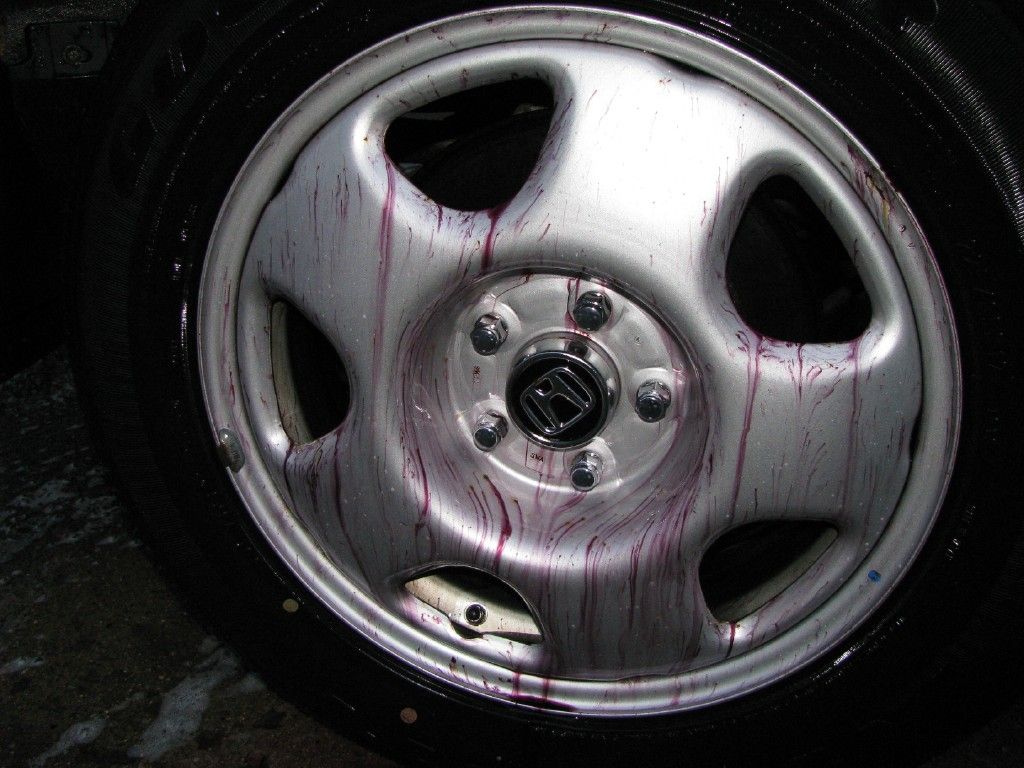
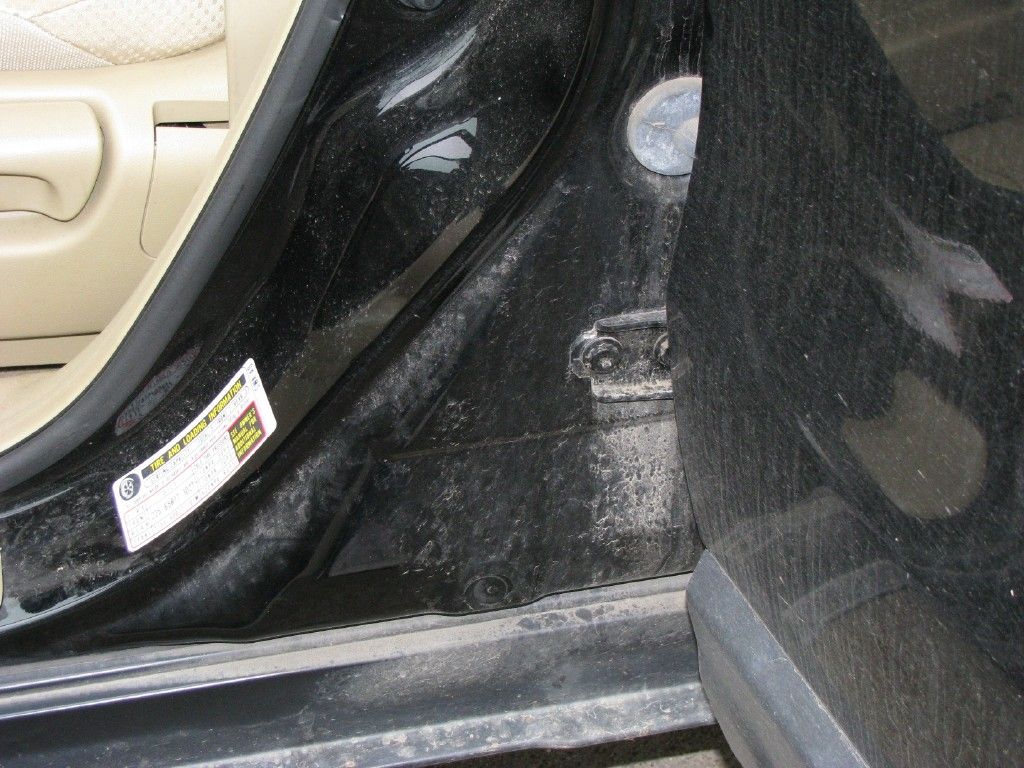
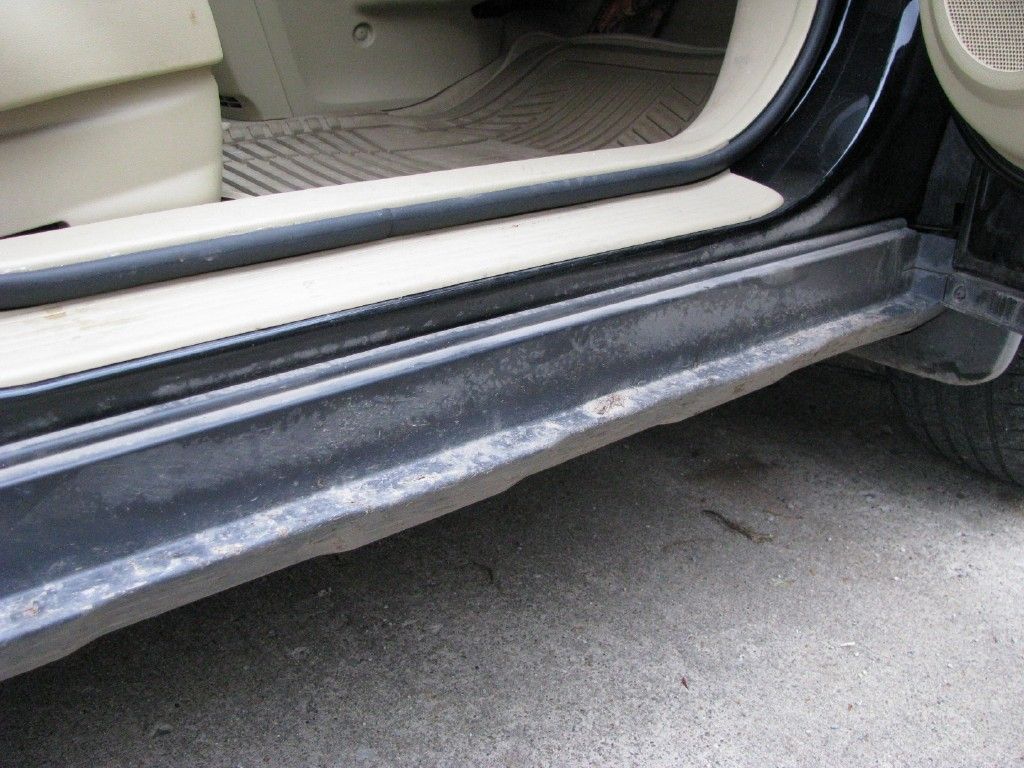
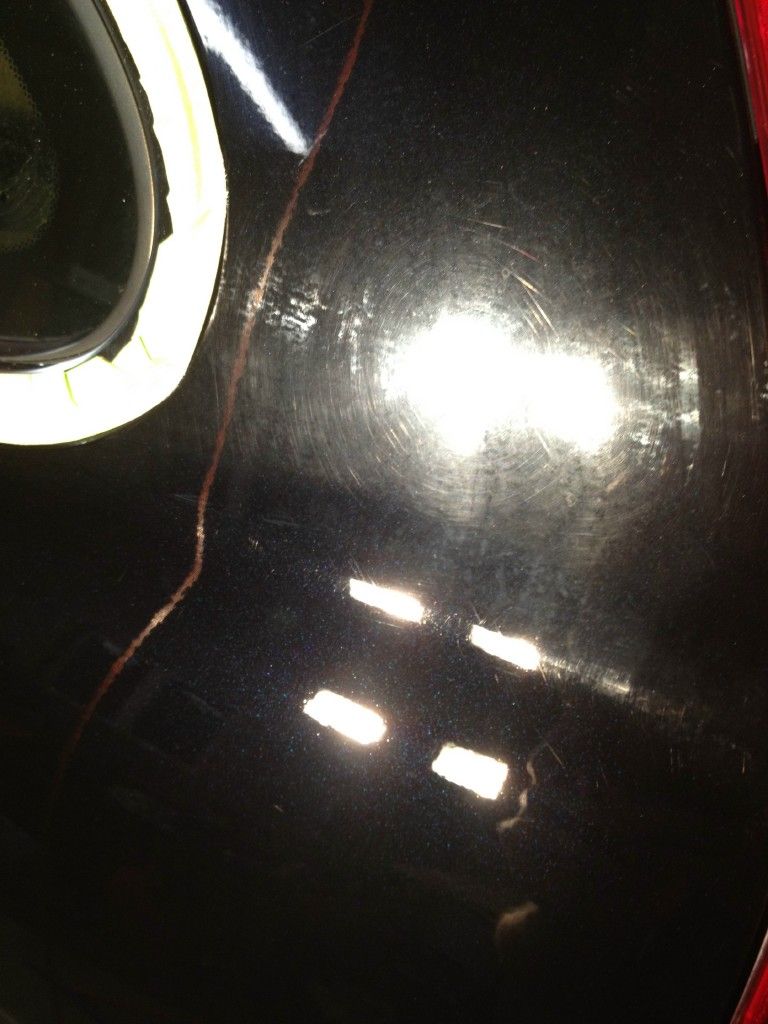
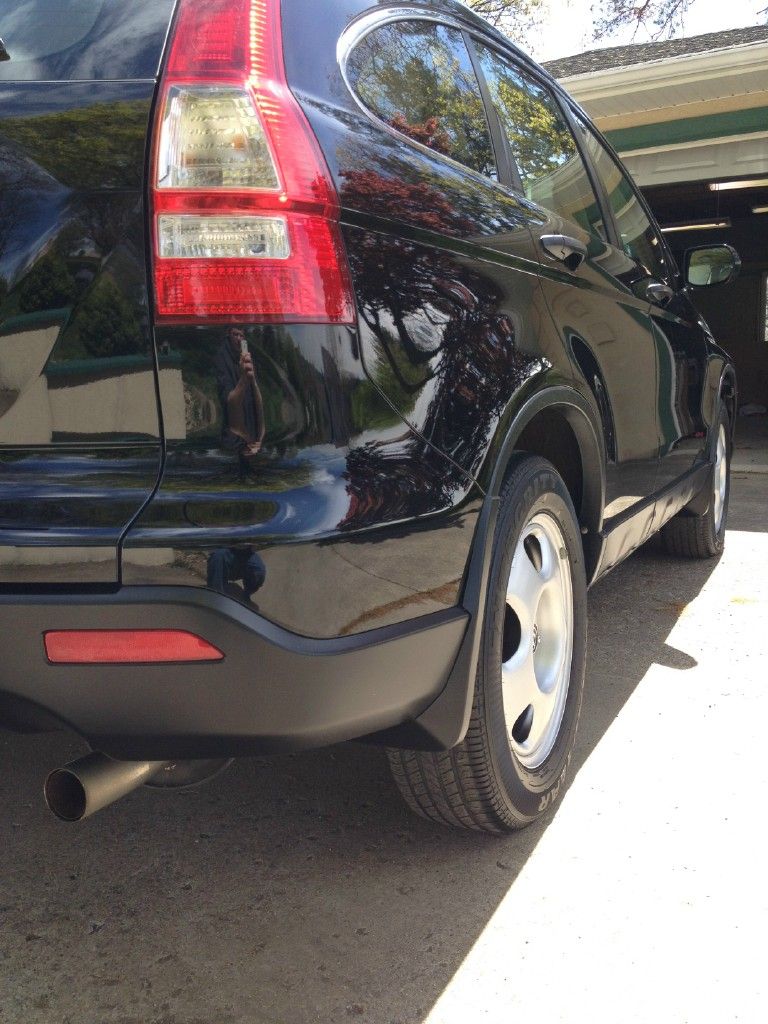
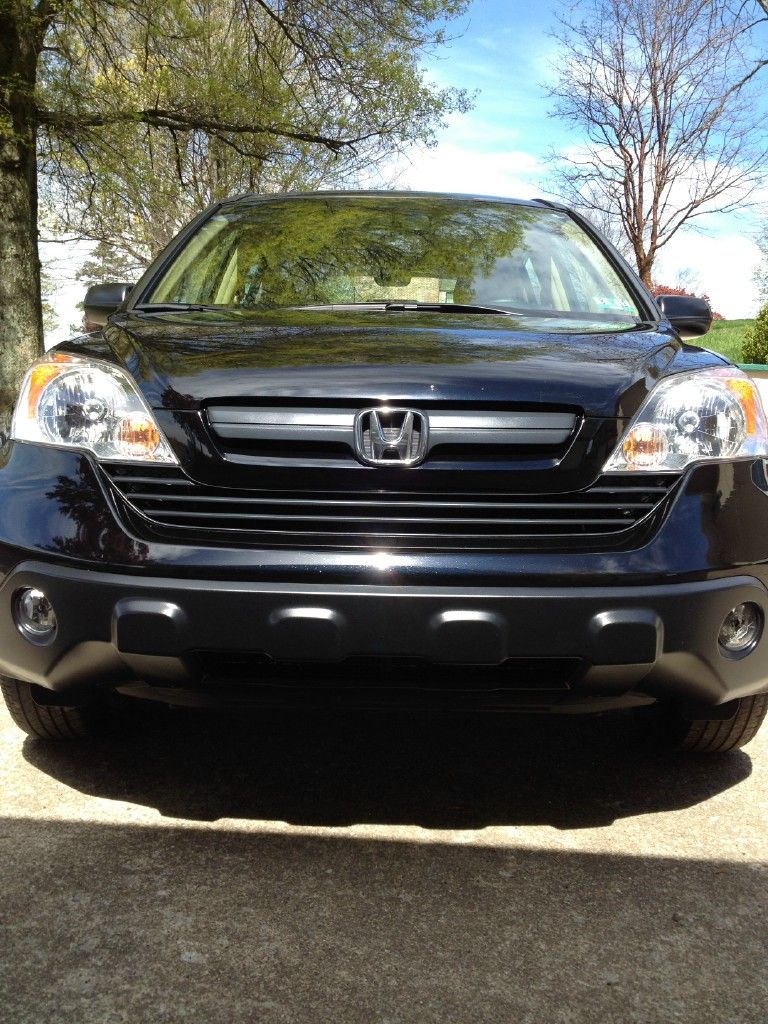
Notice the rust specs?

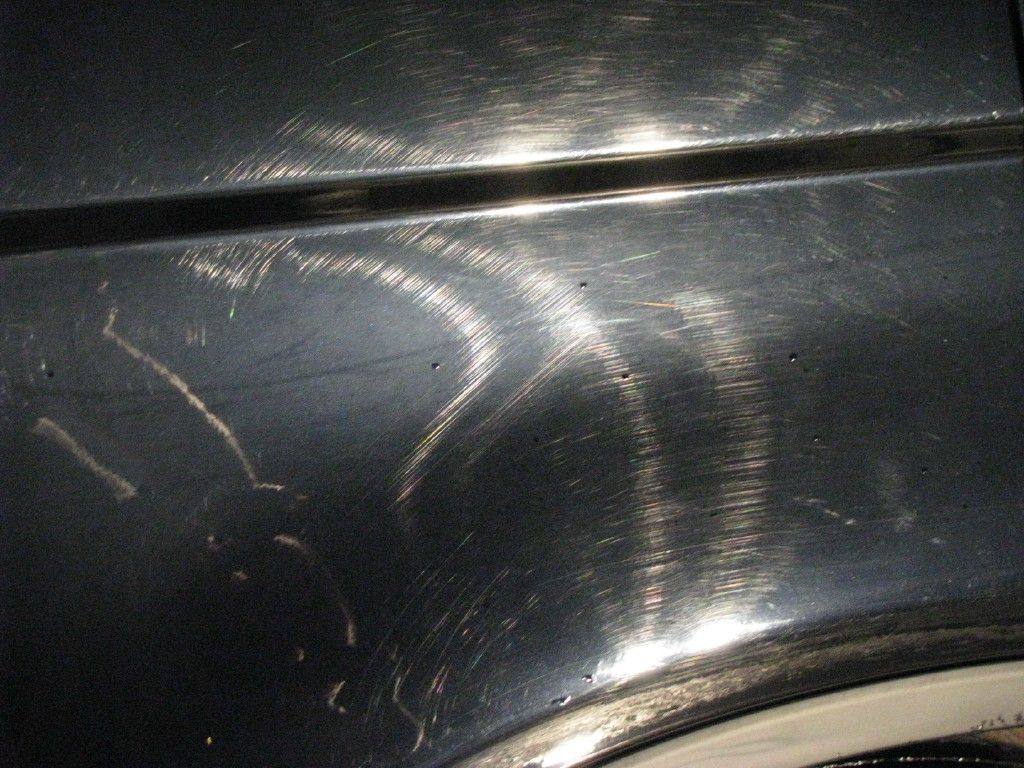
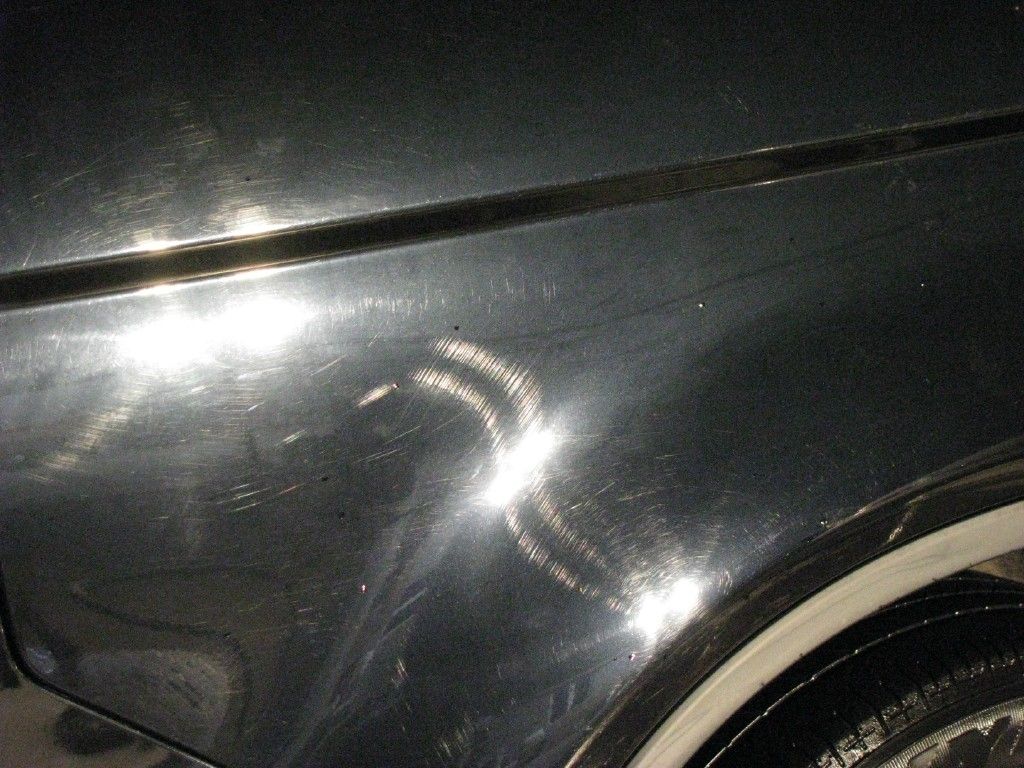
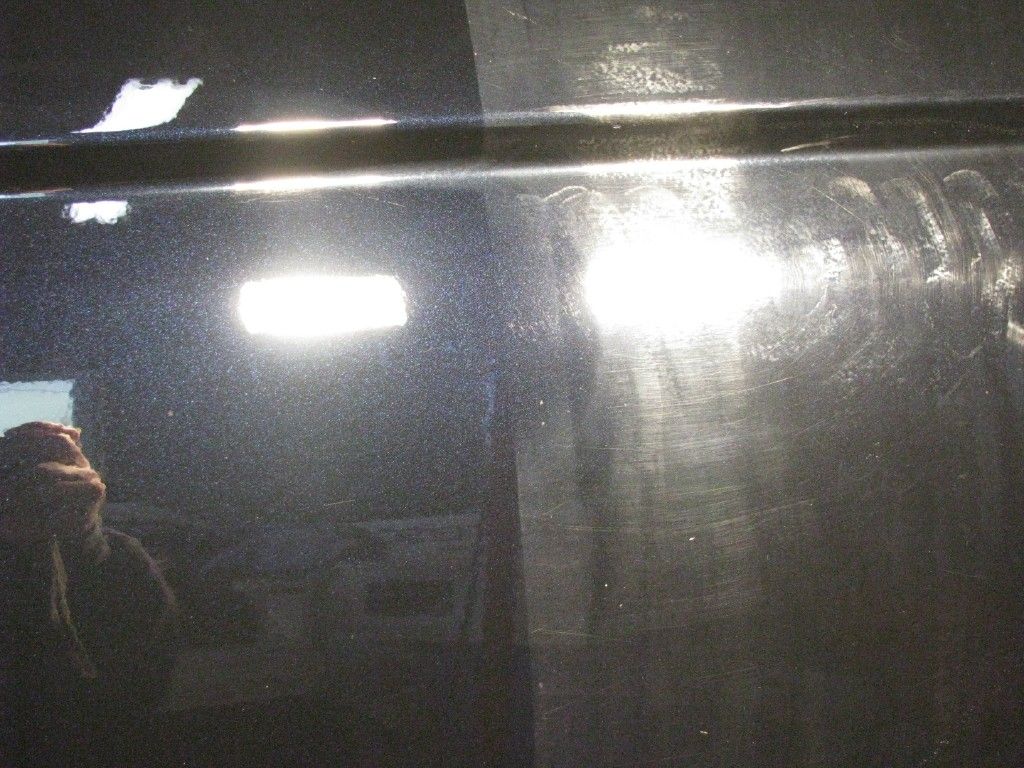
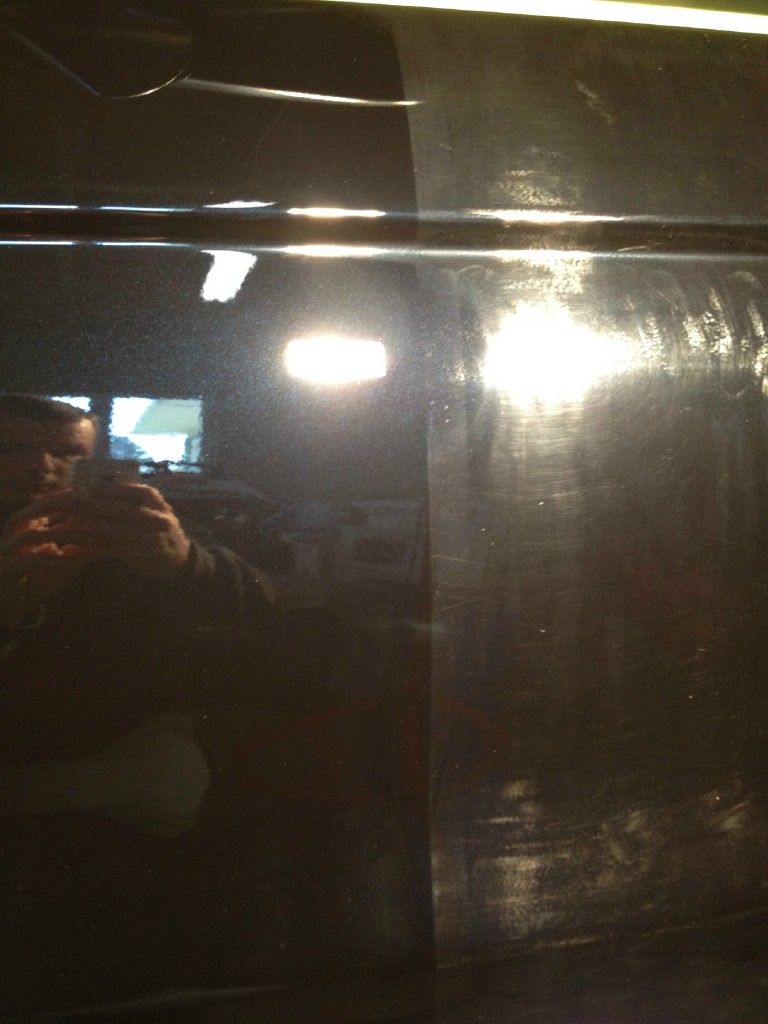
After a quick trip to a touchless wash since I was mobile, this is what the paint looked like
*Photo enhanced to better represent condition of paint
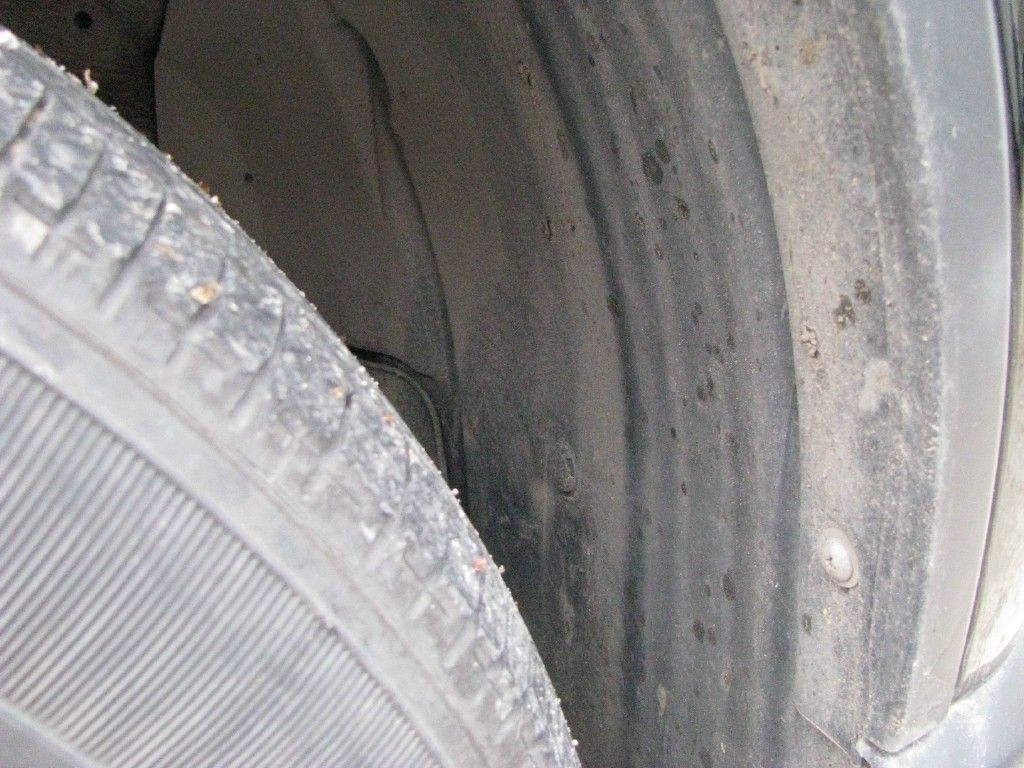
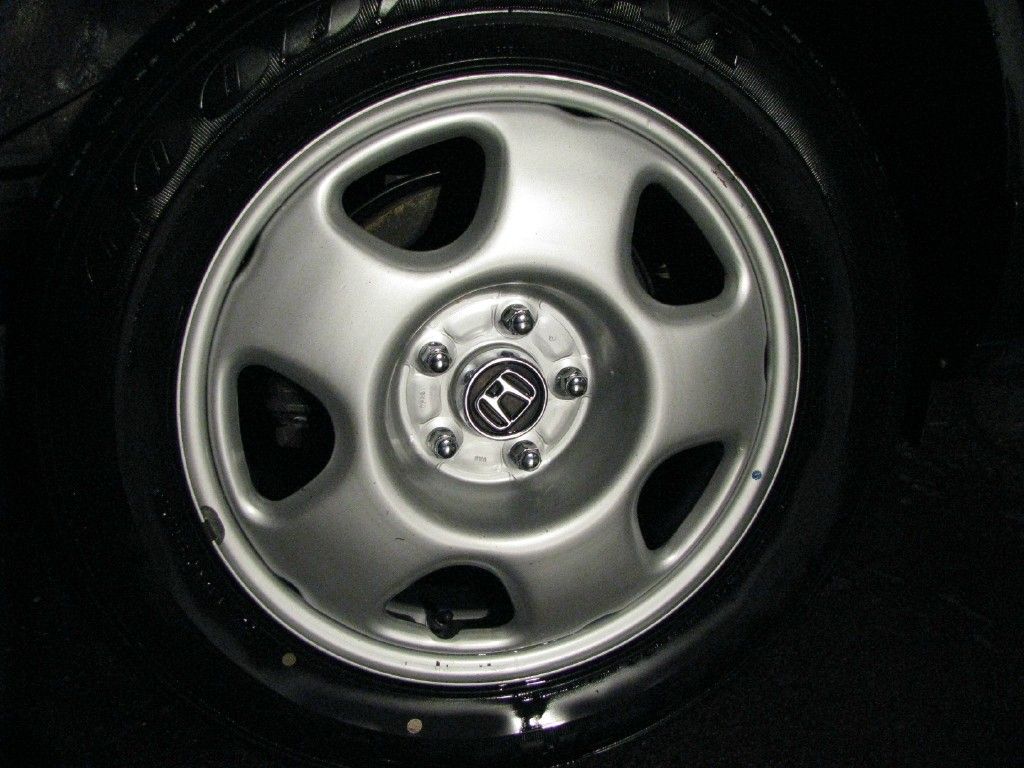
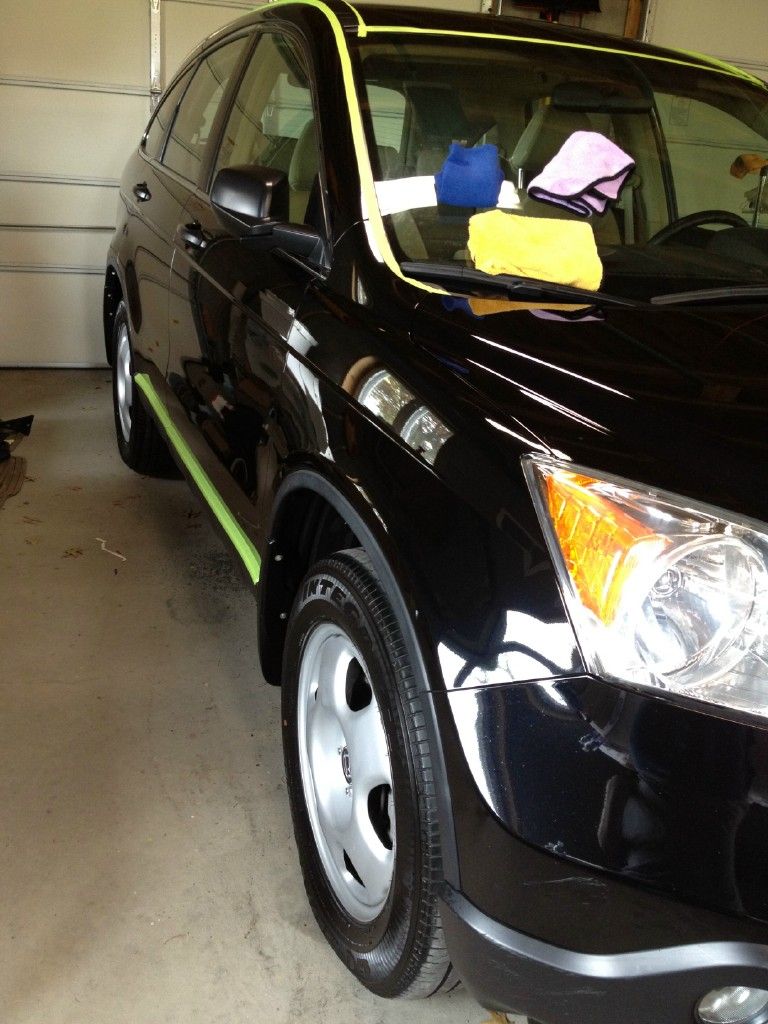
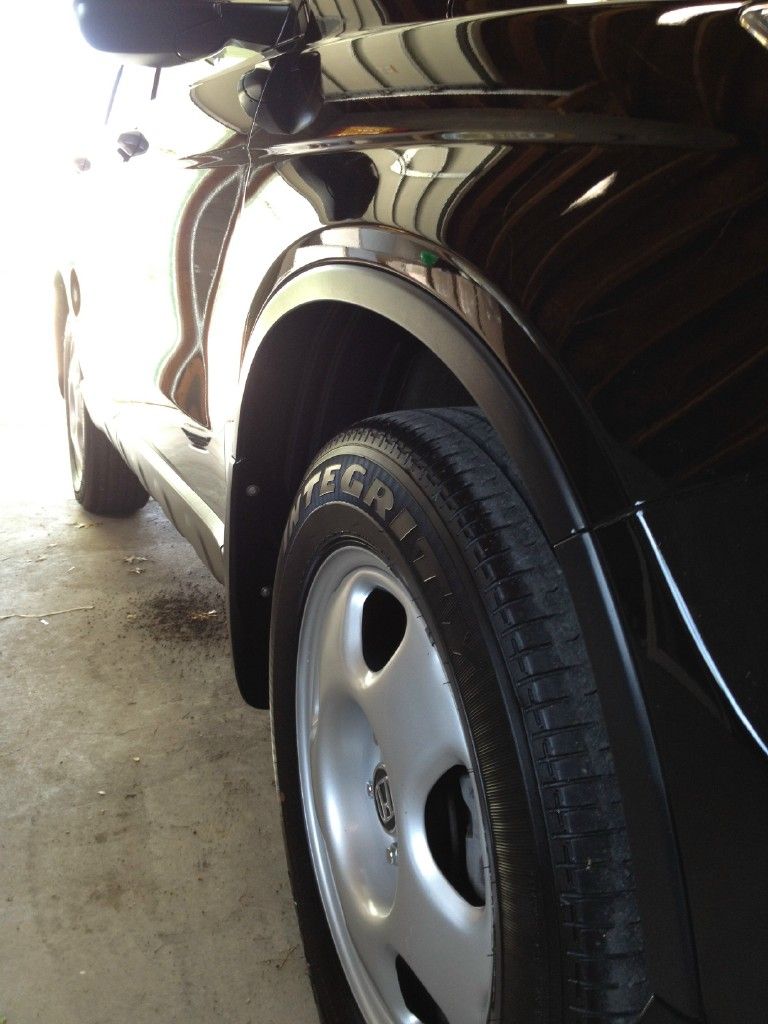
As you can see there was still a nice build up of grime that needed to be addressed. From this point I proceeded to clean the wheel wells, tires, and plastic cladding with Optimum Power Clean full strength. The wheels were cleaned with Iron X then washed with Chemical Guys Citrus Wash N' Gloss. I washed the whole vehicle with CG CWG at paint prep ratio. Please note the plastic cladding was washed last.

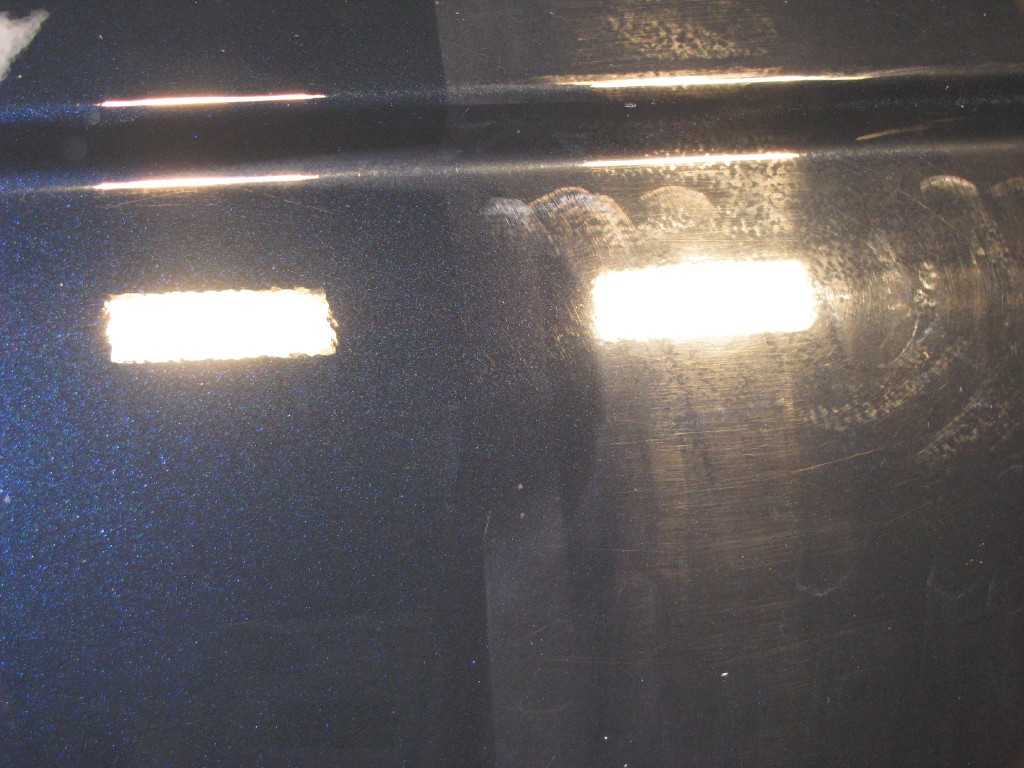
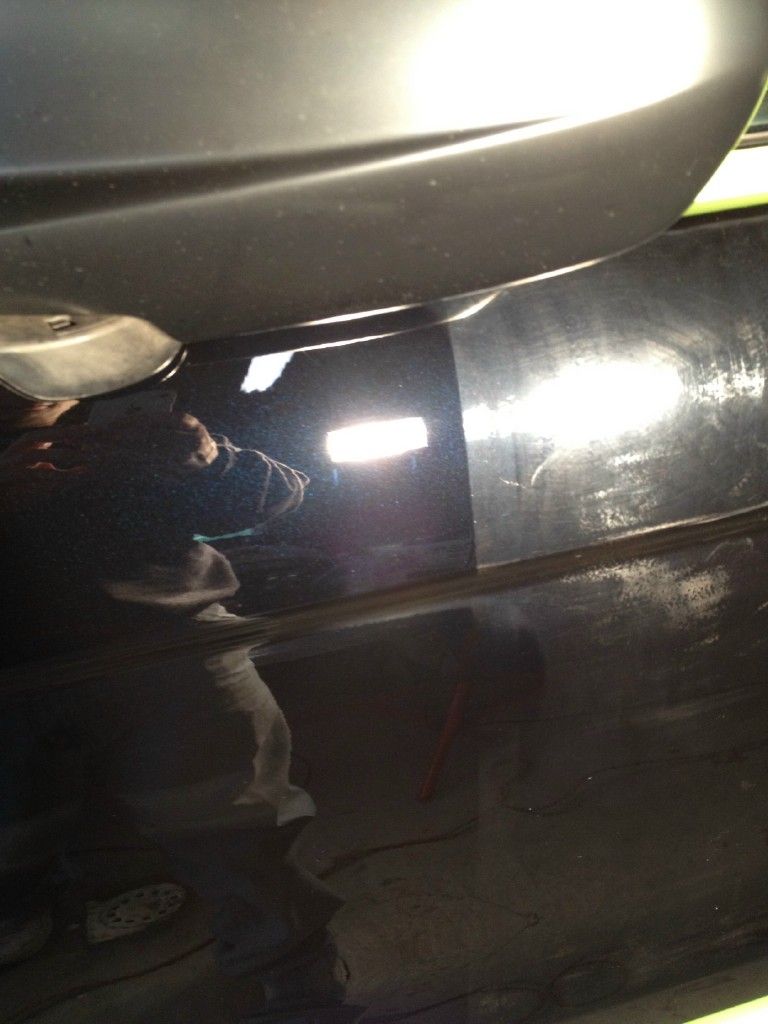
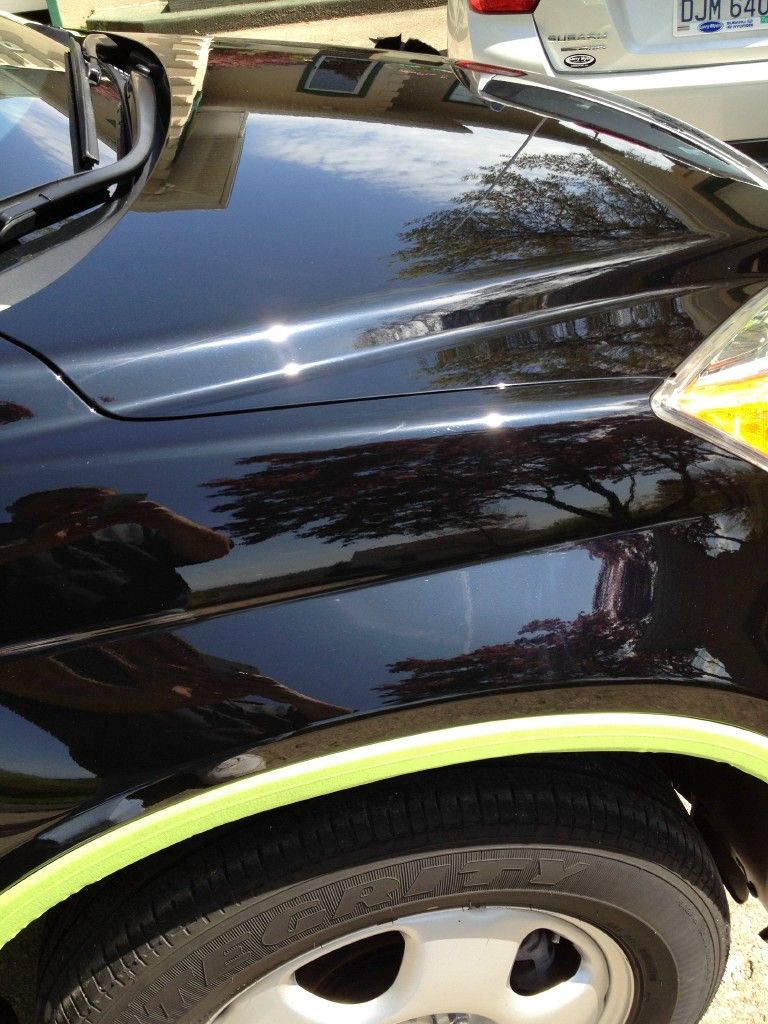
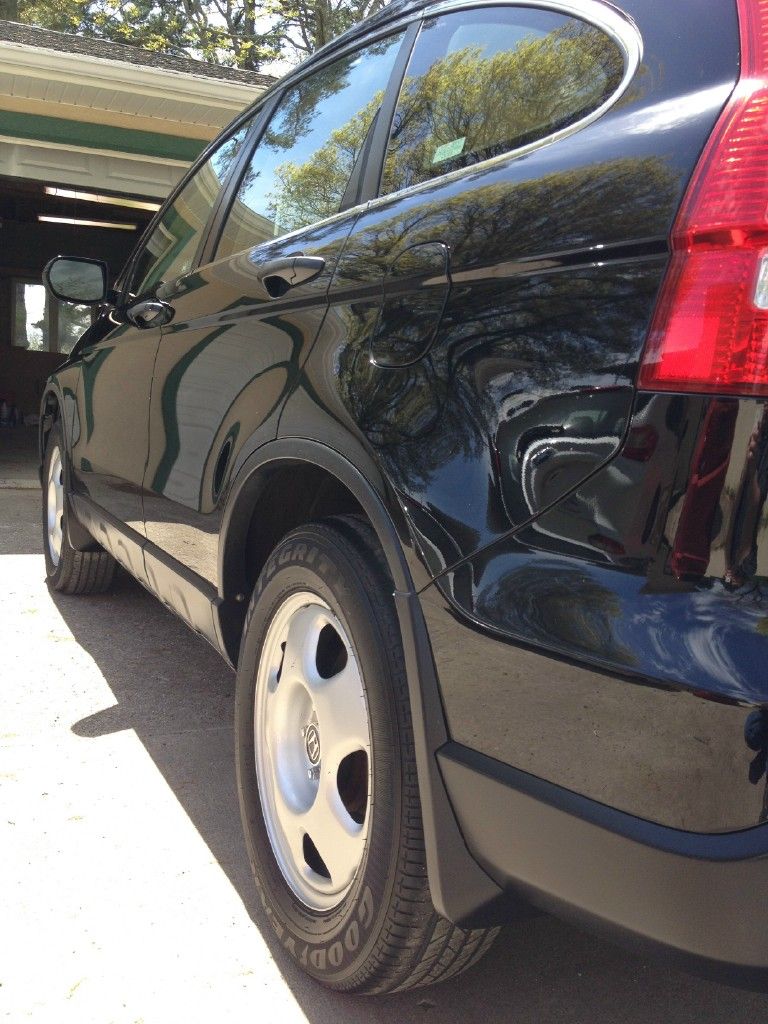
Look closely and you can see how bad the paint was stained even after being washed.
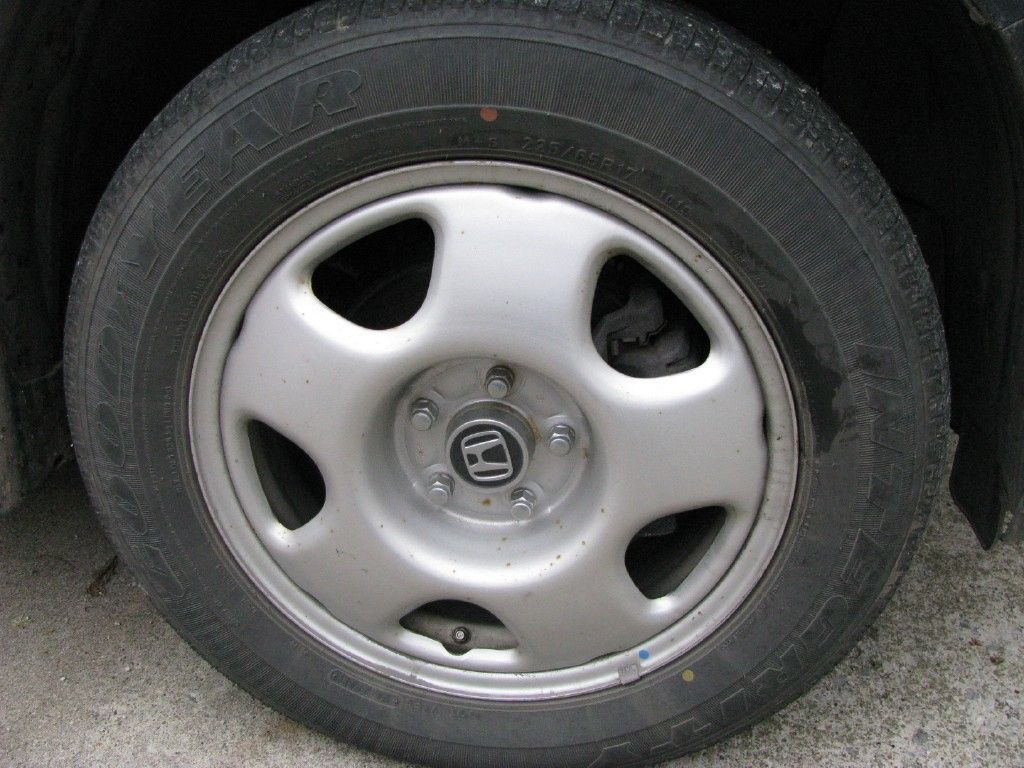
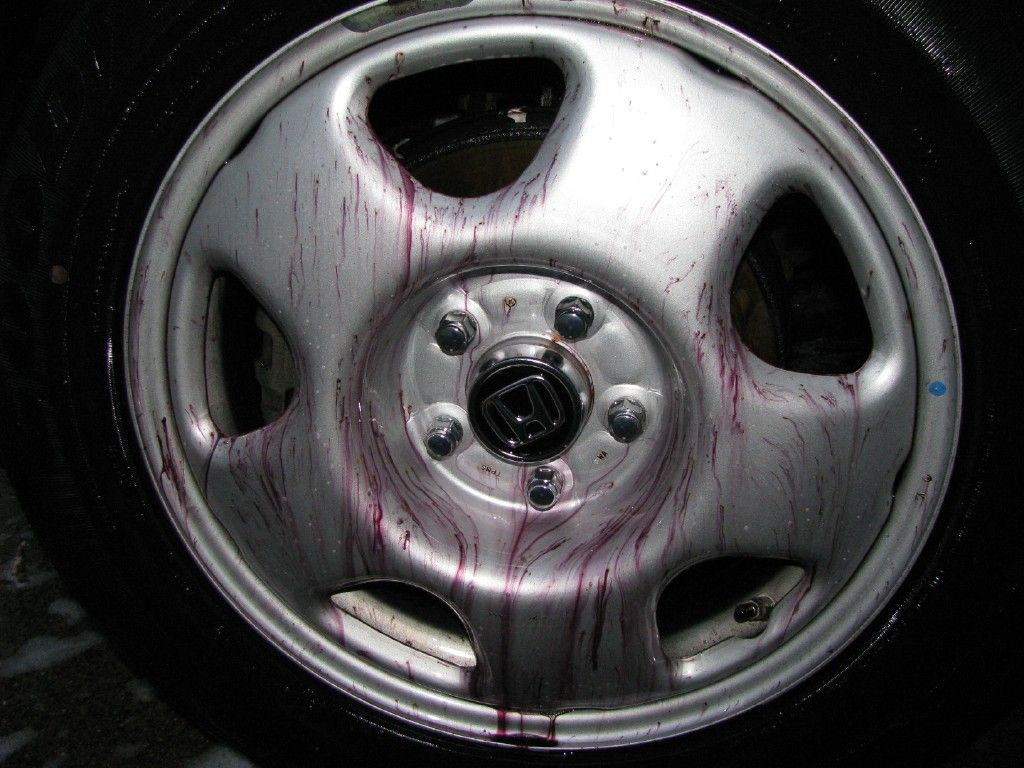
Remember the condition of the wheels?
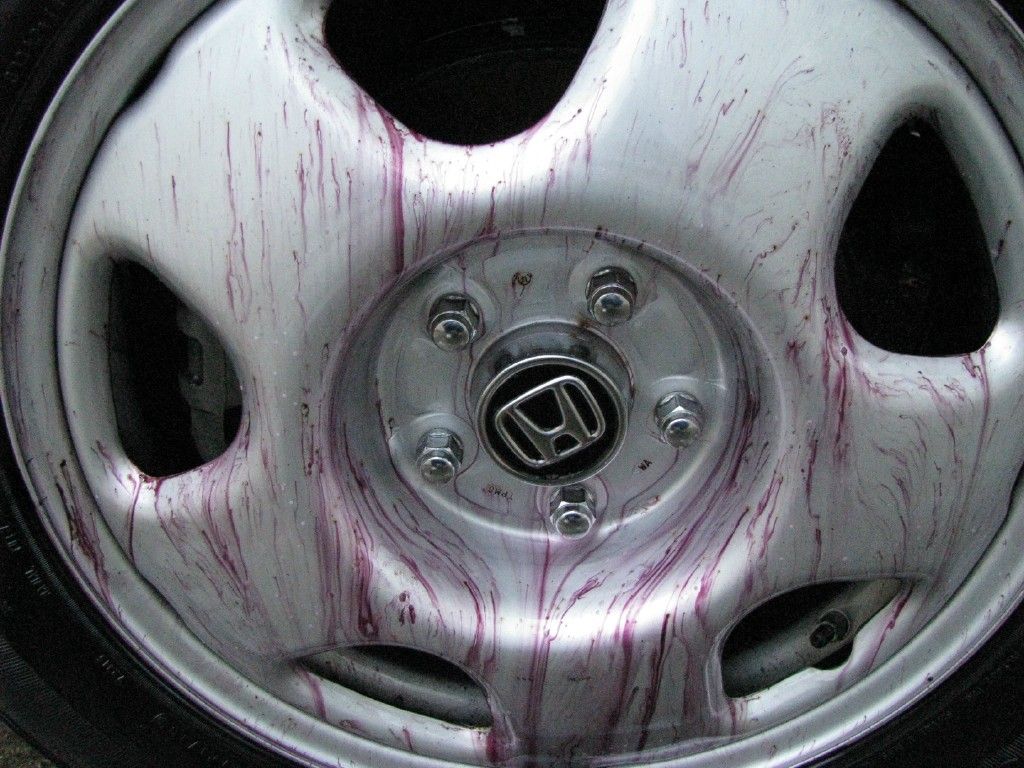
During the Iron X bath
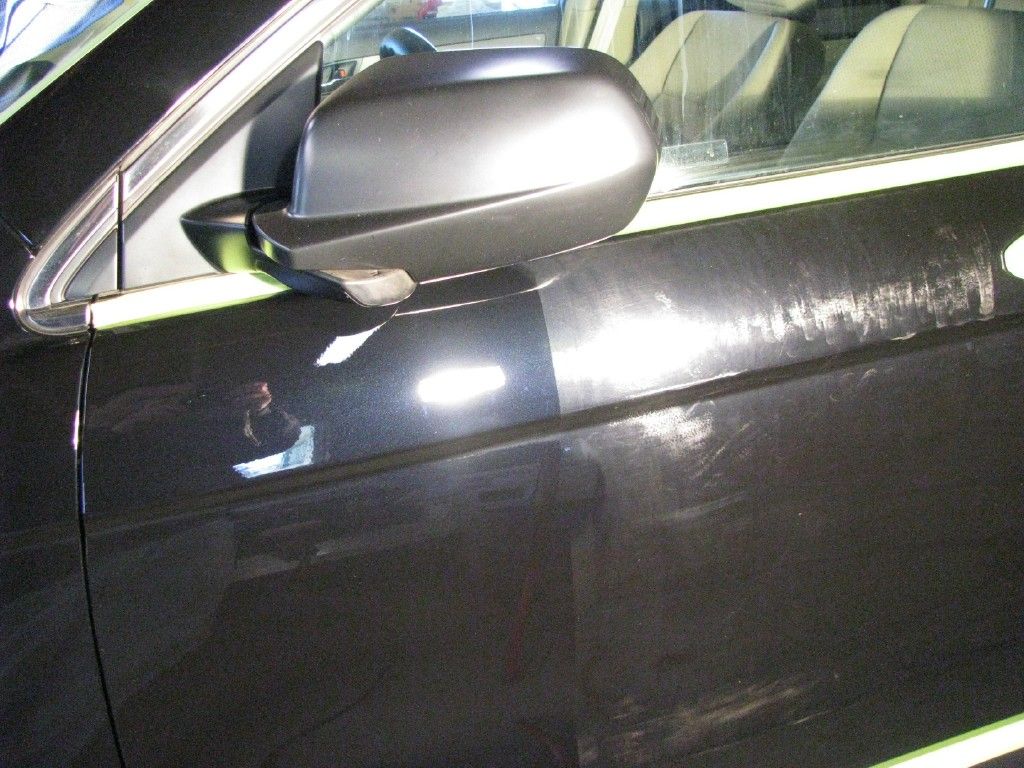
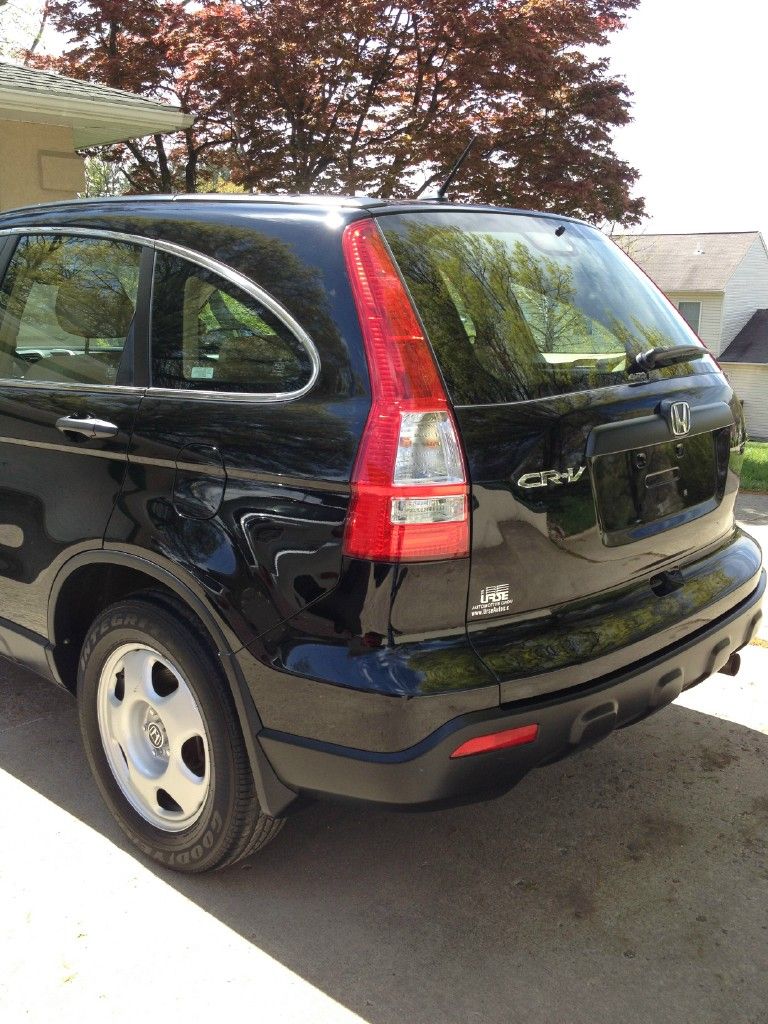
And after the final wash and rinse
To be continued...
Vehicle upon arrival
Notice the rust specs?
After a quick trip to a touchless wash since I was mobile, this is what the paint looked like
*Photo enhanced to better represent condition of paint
As you can see there was still a nice build up of grime that needed to be addressed. From this point I proceeded to clean the wheel wells, tires, and plastic cladding with Optimum Power Clean full strength. The wheels were cleaned with Iron X then washed with Chemical Guys Citrus Wash N' Gloss. I washed the whole vehicle with CG CWG at paint prep ratio. Please note the plastic cladding was washed last.
Look closely and you can see how bad the paint was stained even after being washed.
Remember the condition of the wheels?
During the Iron X bath
And after the final wash and rinse
To be continued...
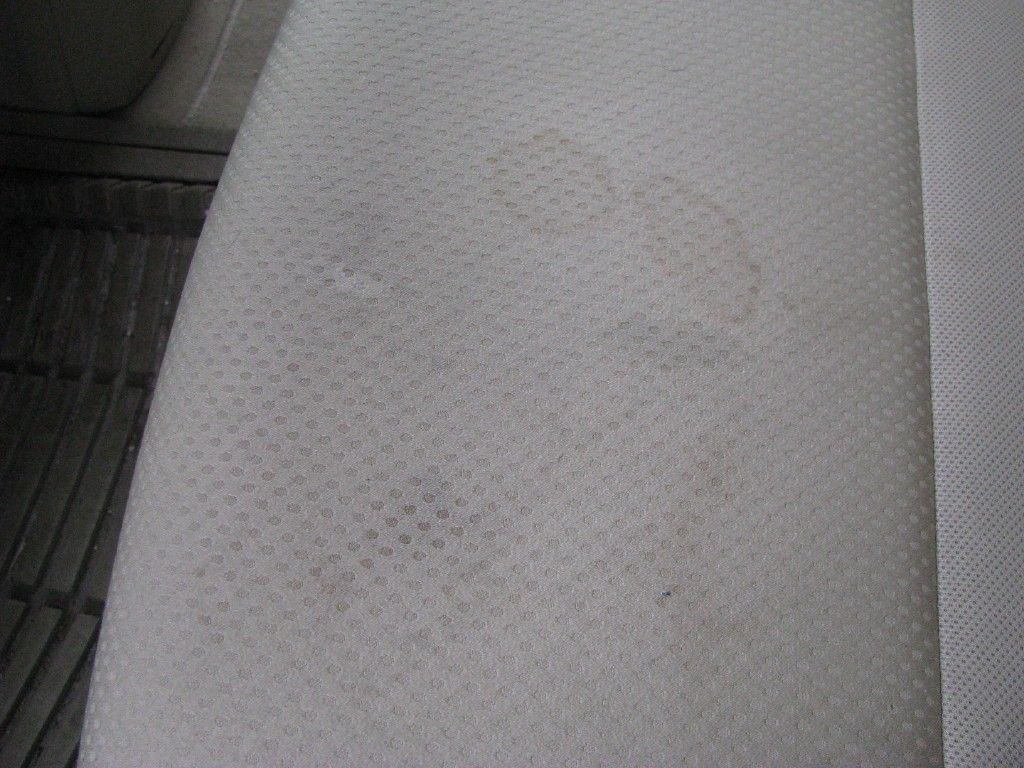
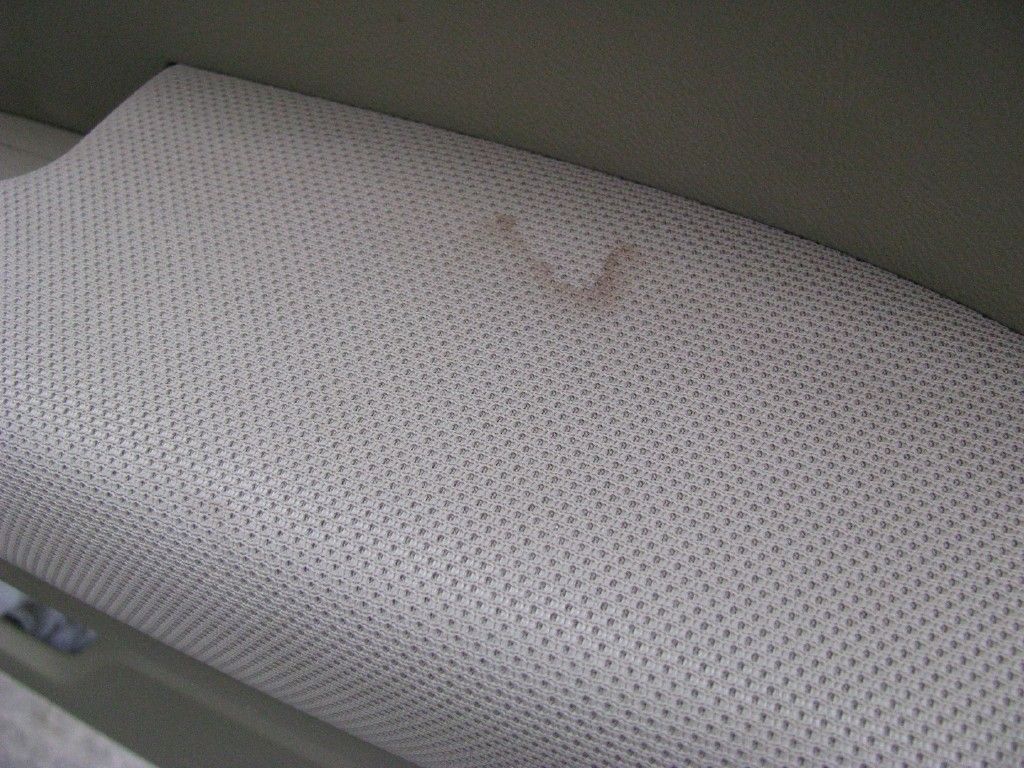
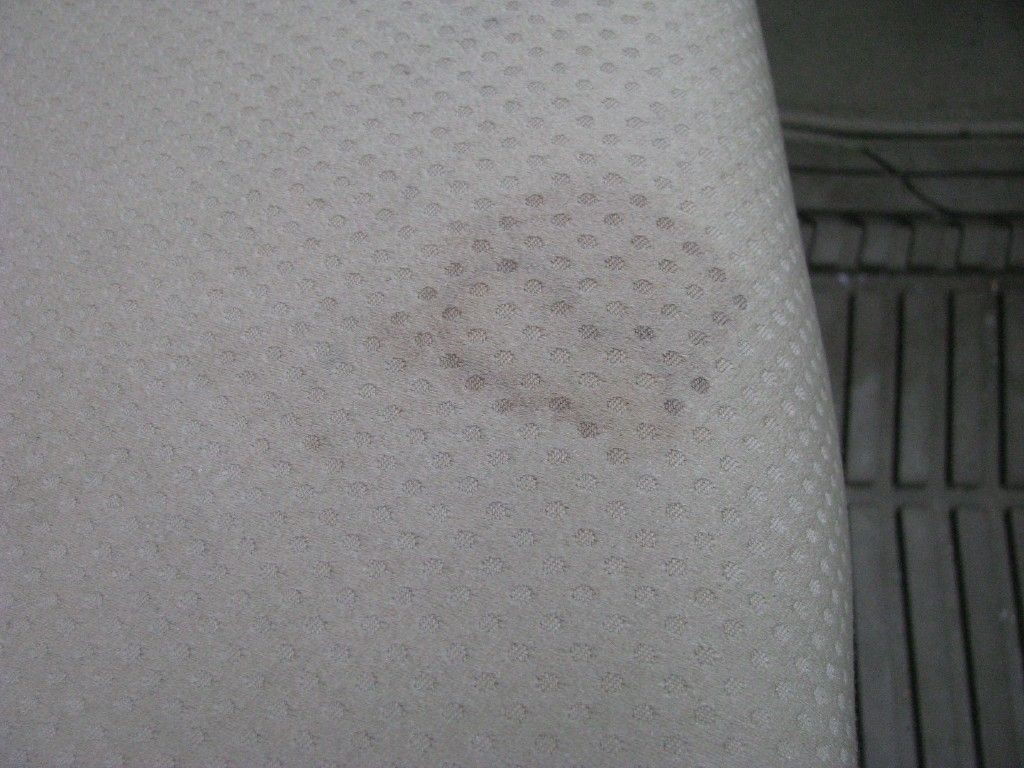


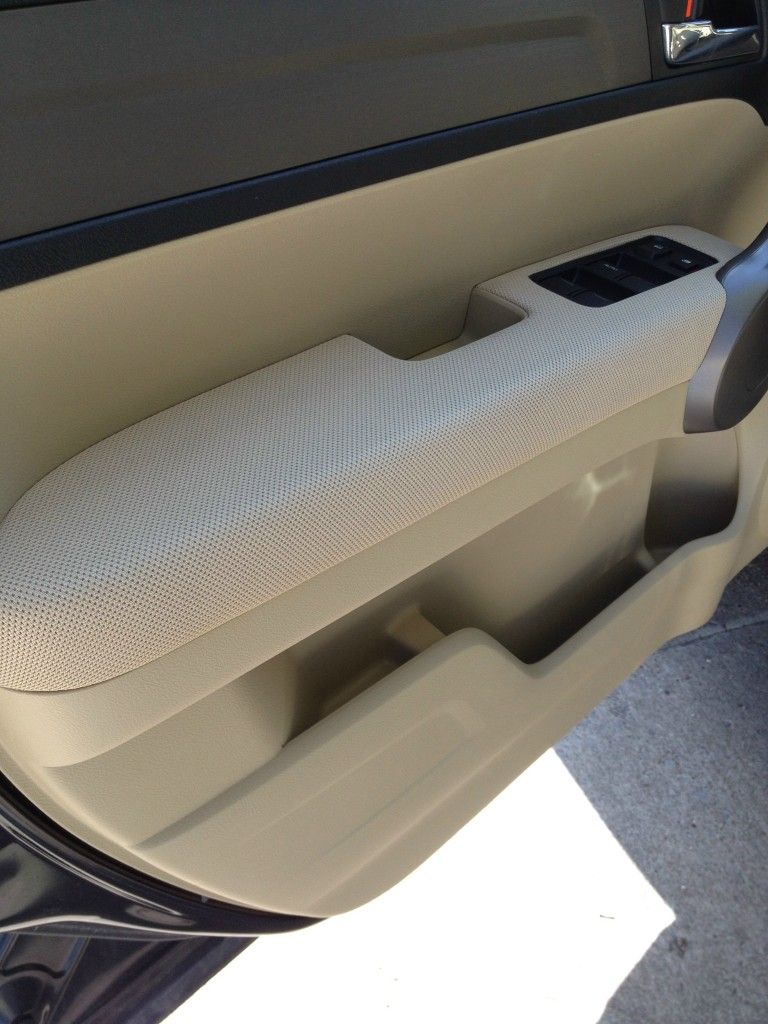
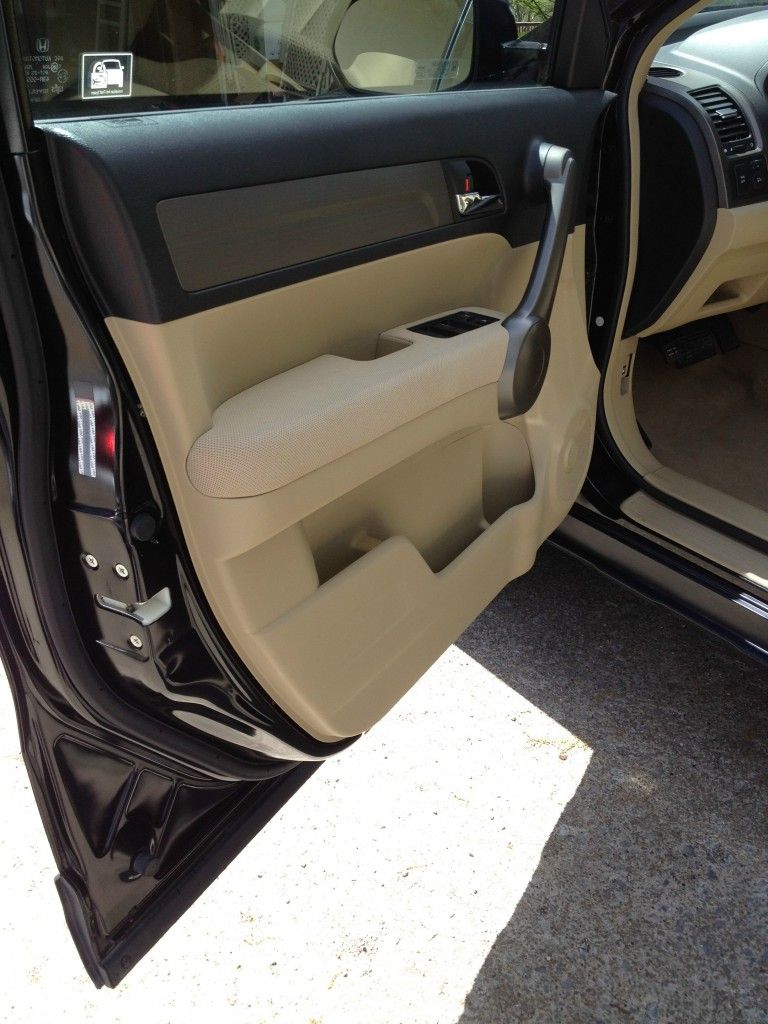
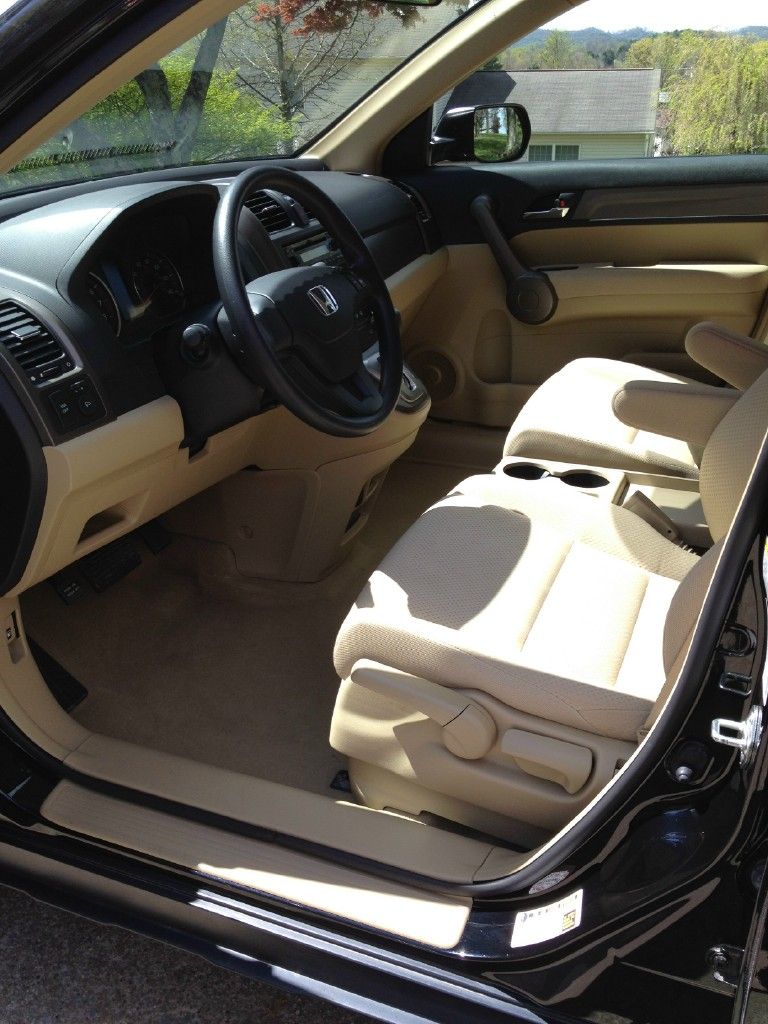
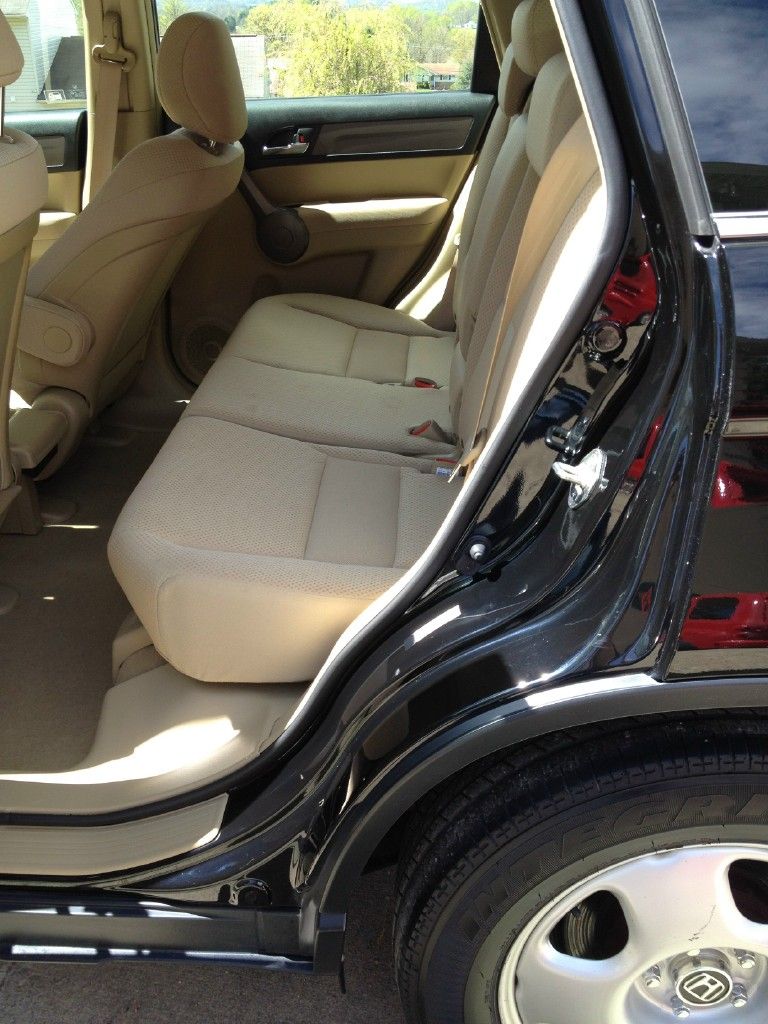
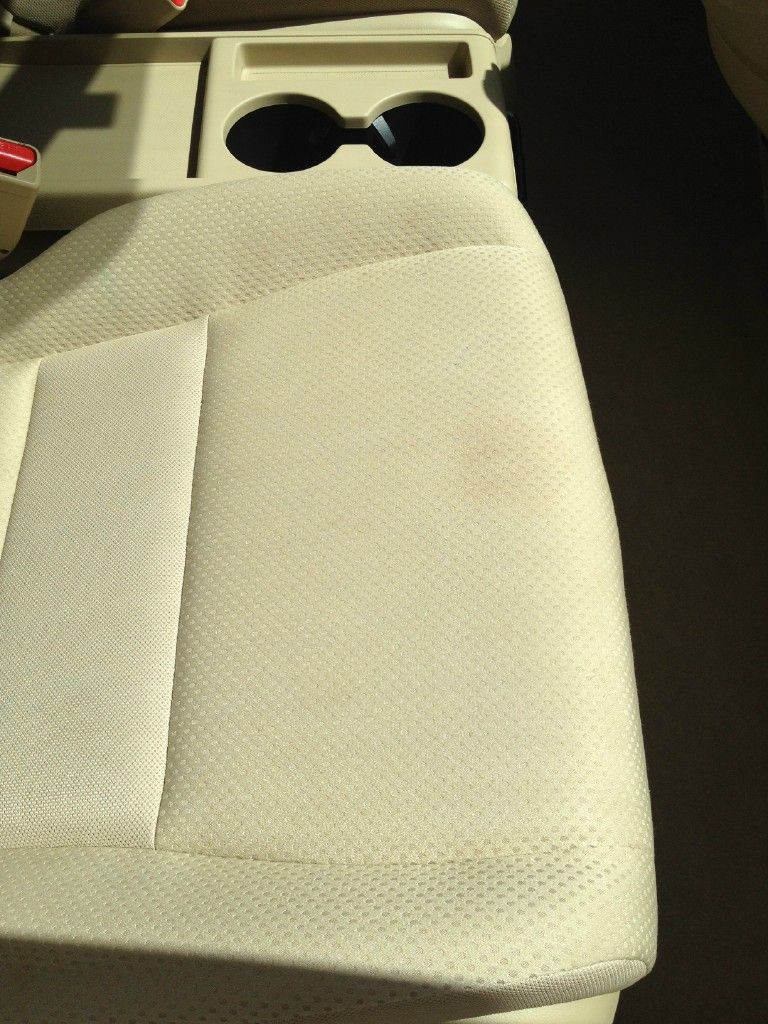
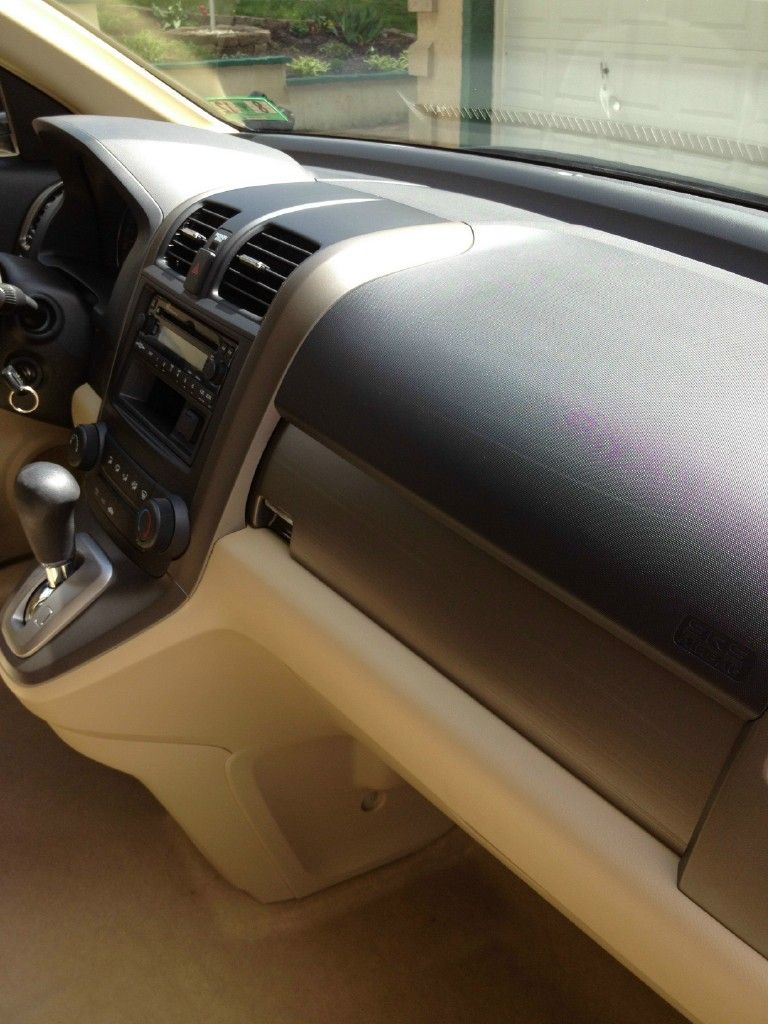
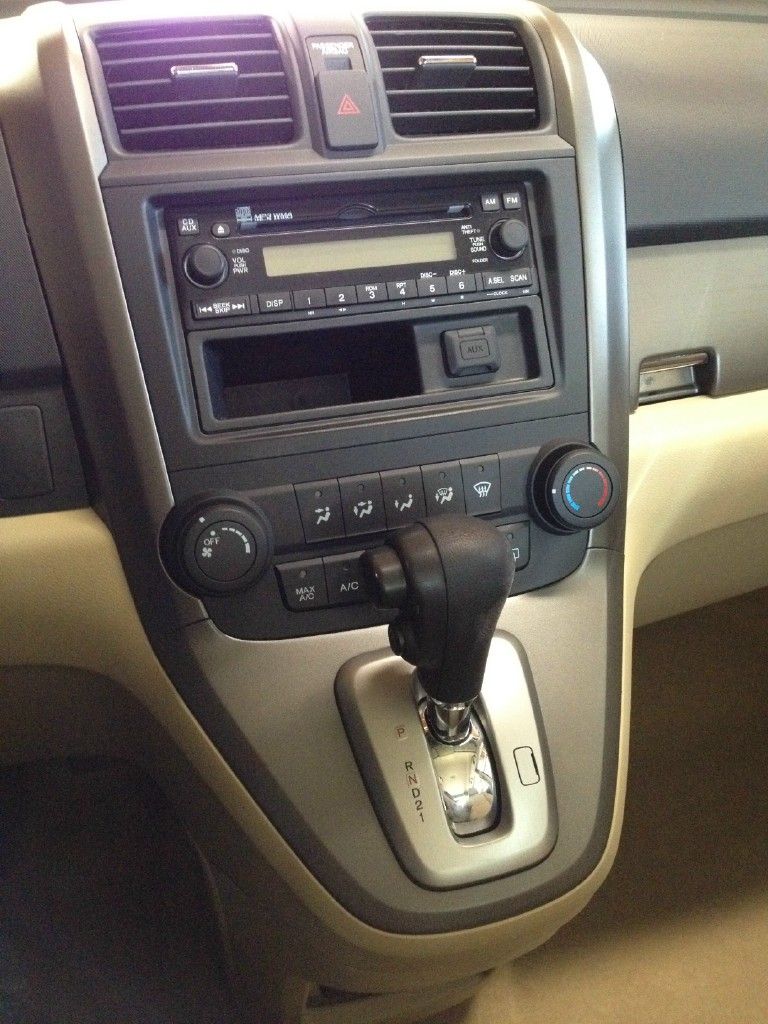
") Some stains did remain in the seats after several attempts with different chemicals. After discussing a few options, I will get the car back later in the summer for a full correction and Opti-Guard. Thanks for looking.
Some stains did remain in the seats after several attempts with different chemicals. After discussing a few options, I will get the car back later in the summer for a full correction and Opti-Guard. Thanks for looking.