CEE DOG
New member
Review: CarPro Fixer
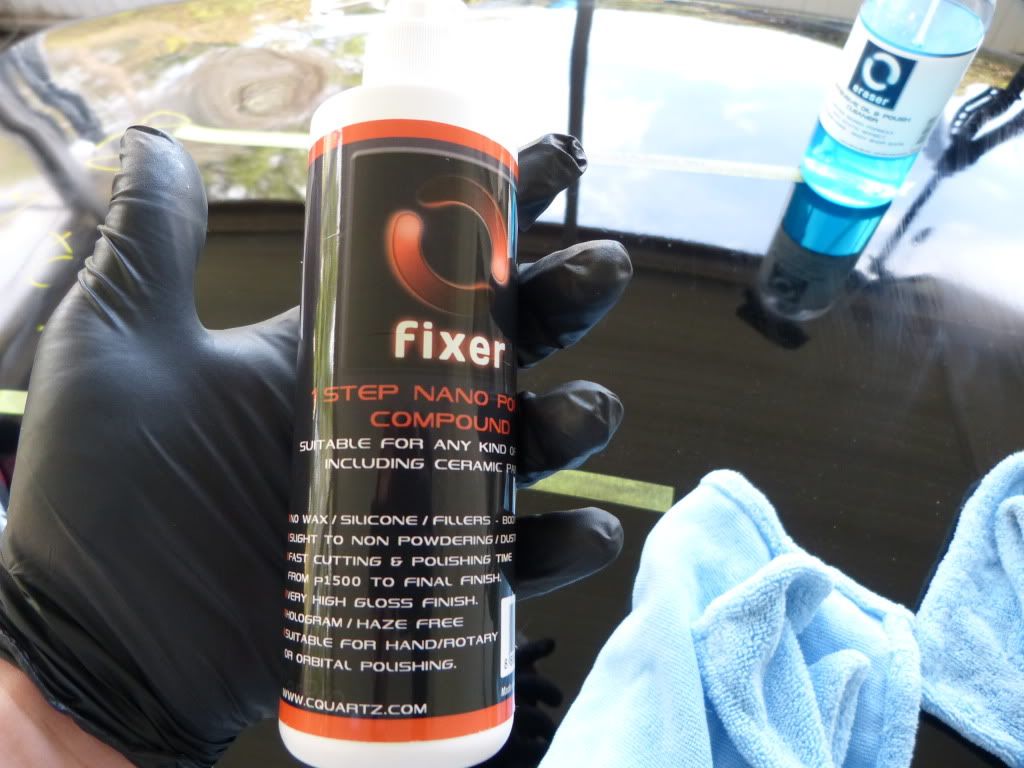
Product Description From AG:
CarPro Fixer is a one step polishing compound made for any kind of paint surface: freshly painted, soft, hard and new ceramic scratch resistant paint. All can be polished quickly and easily without leaving holograms or swirl marks. CarPro Fixer is the finest yet fastest one step polish that leaves the surface glowing with a perfect shine.
Fixer - A skilled worker who mends or repairs
Fix – To repair, mend, or restore - To put right or in order
What a fitting name for a polish designed and marketed to correct paint from start to finish. When I first heard the name I thought it a little odd/interesting but after thinking about it what name could be better? P073ZD? M1525? No, "Fixer" actually makes perfect sense but does it live up to its lofty claims? As with most things actions speak louder than words or a name. So what actions is Fixer capable of? Well, it certainly has a few tricks up its sleeve but let's start with a brief intro and then the details.
Introduction:
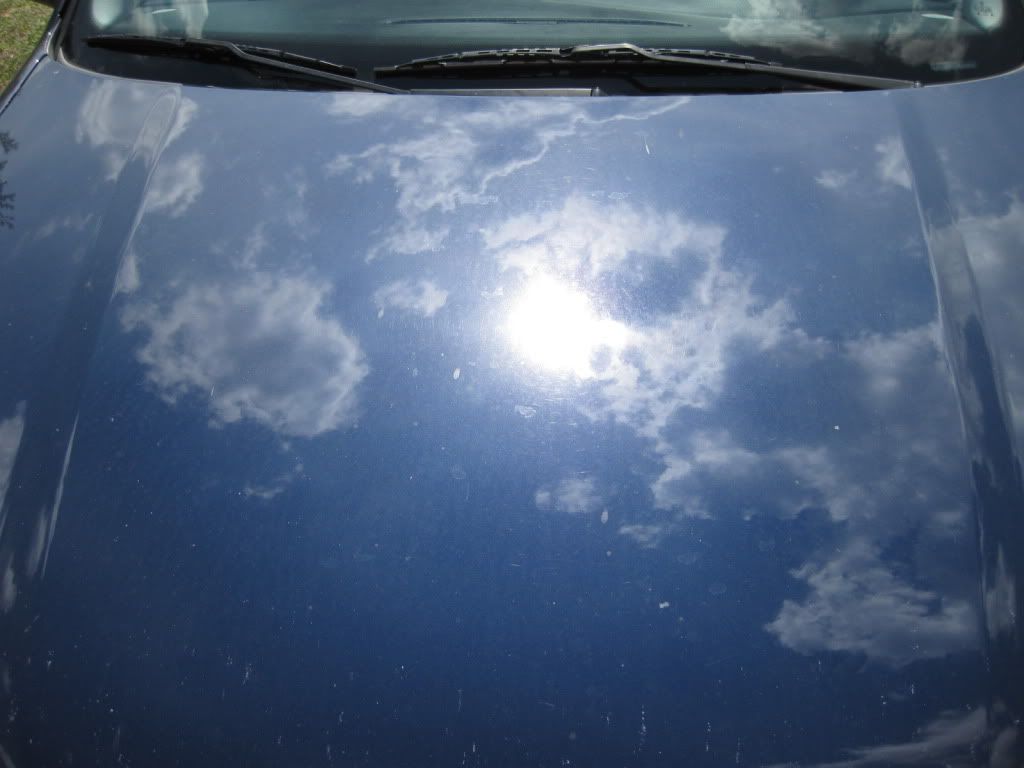
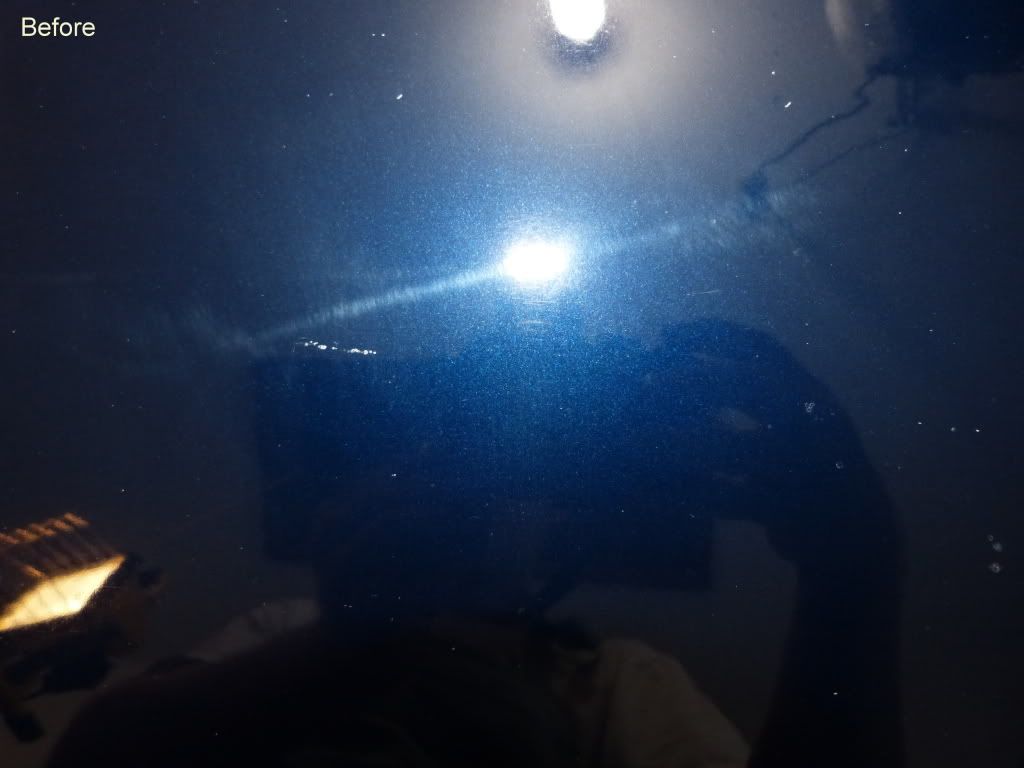
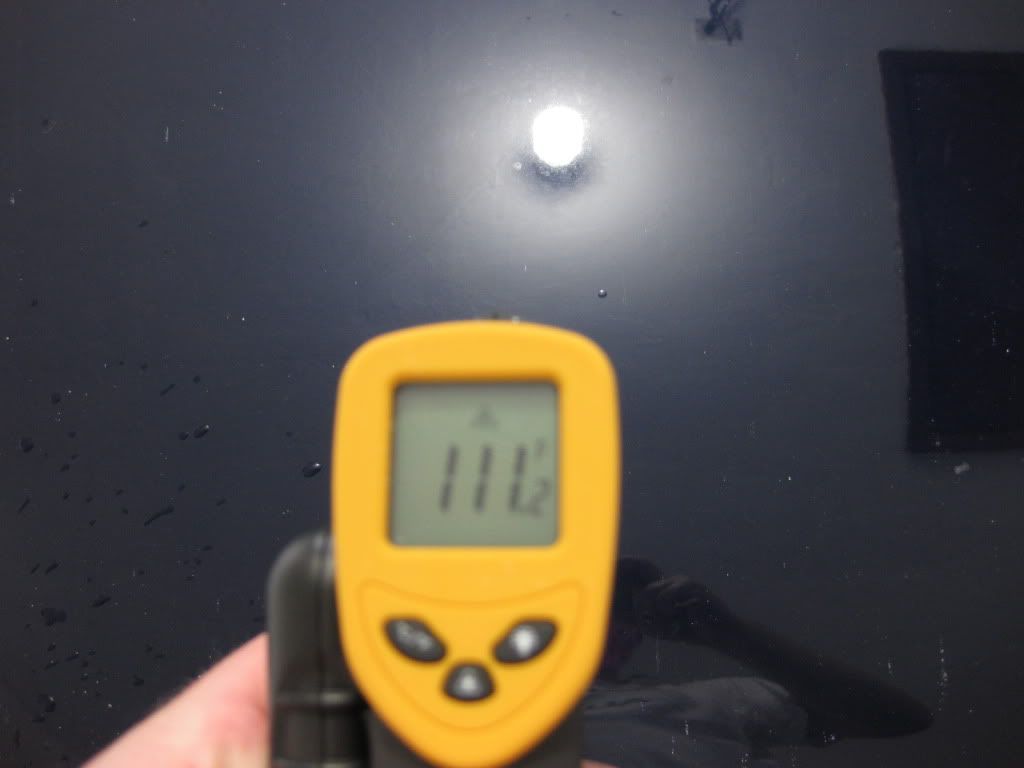
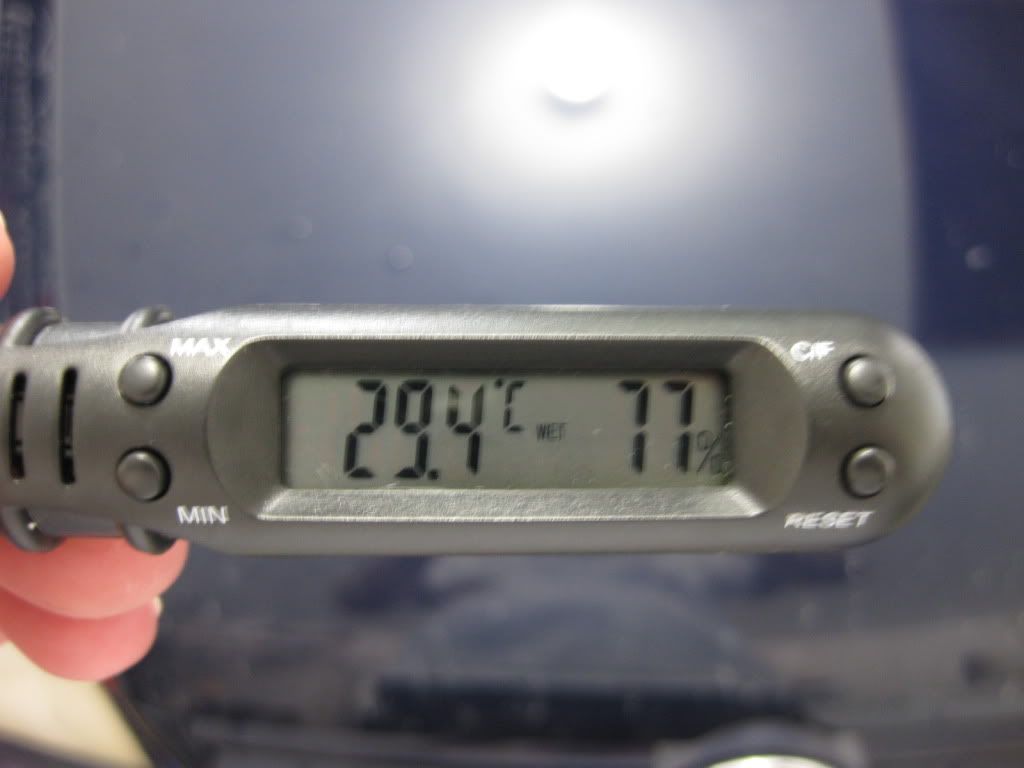
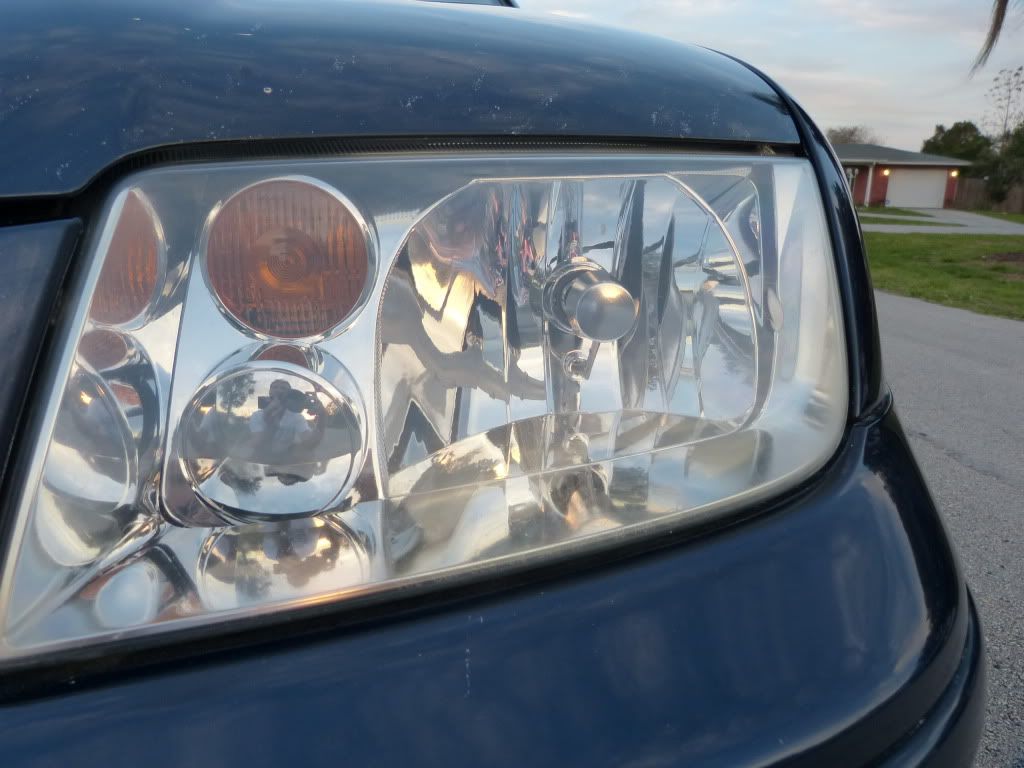
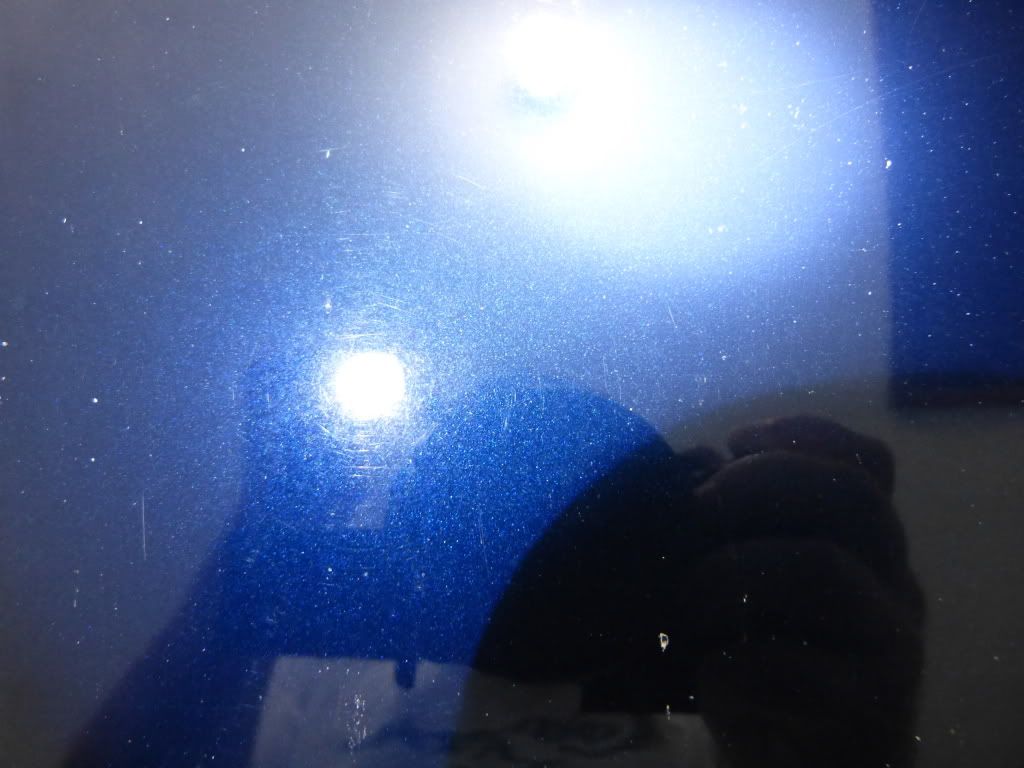
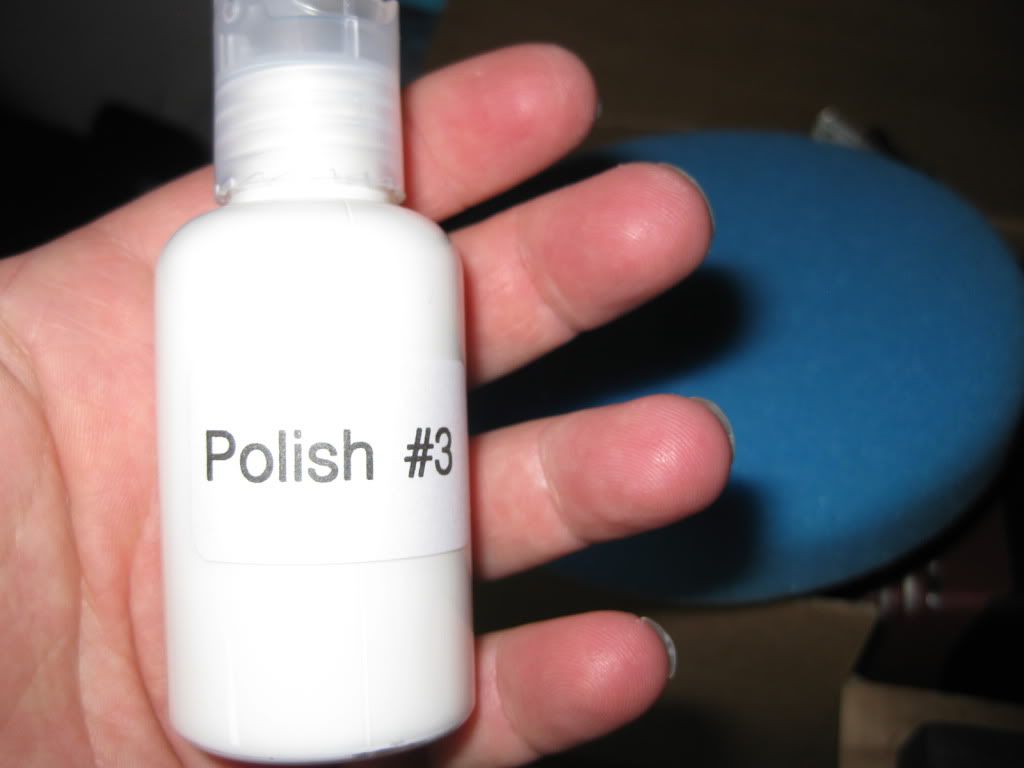
When I write a review I don't often have the luxury of months of experience with the product. With Fixer however I've been using it since it was just a baby. Along with other detailers and enthusiasts I was using a product called Polish #3 sometime last year. Polish #3 was a beta version during the development cycle. I know your time is valuable so I'll skip that whole story but I do want to show you what the product was capable of even during development.


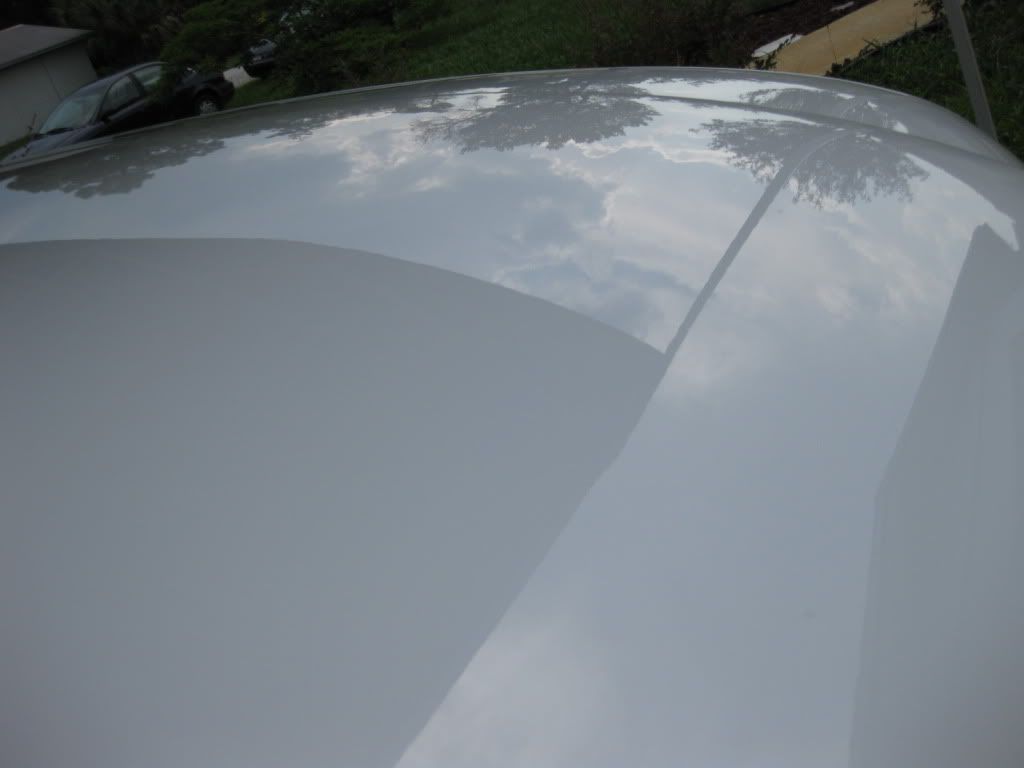
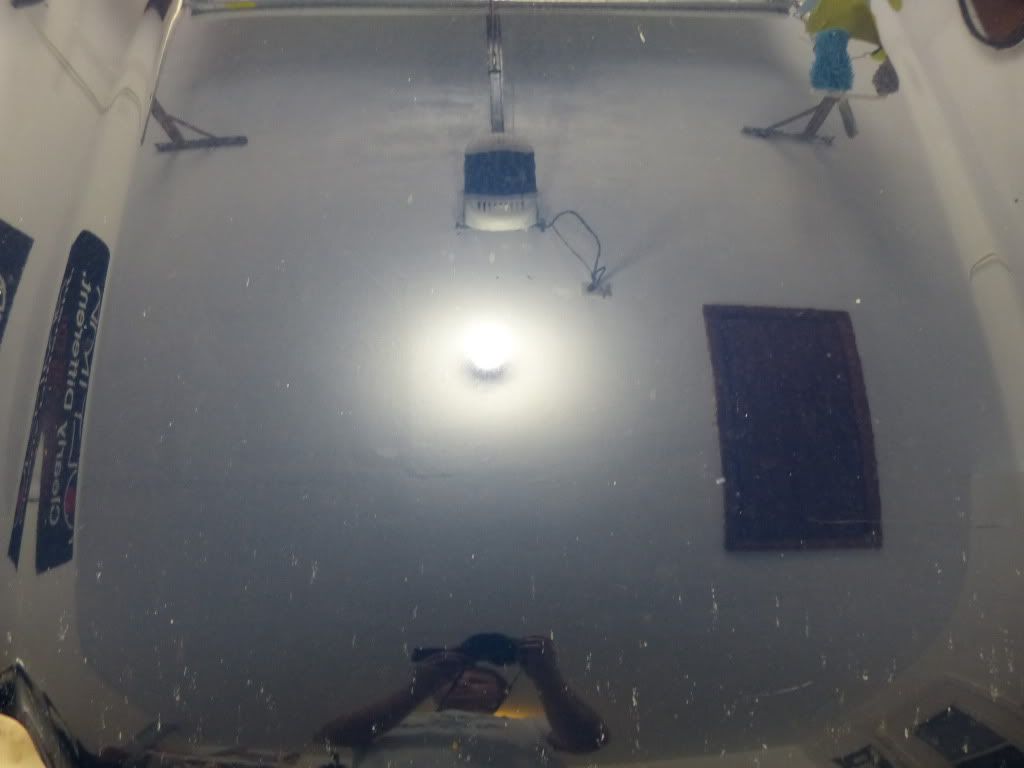
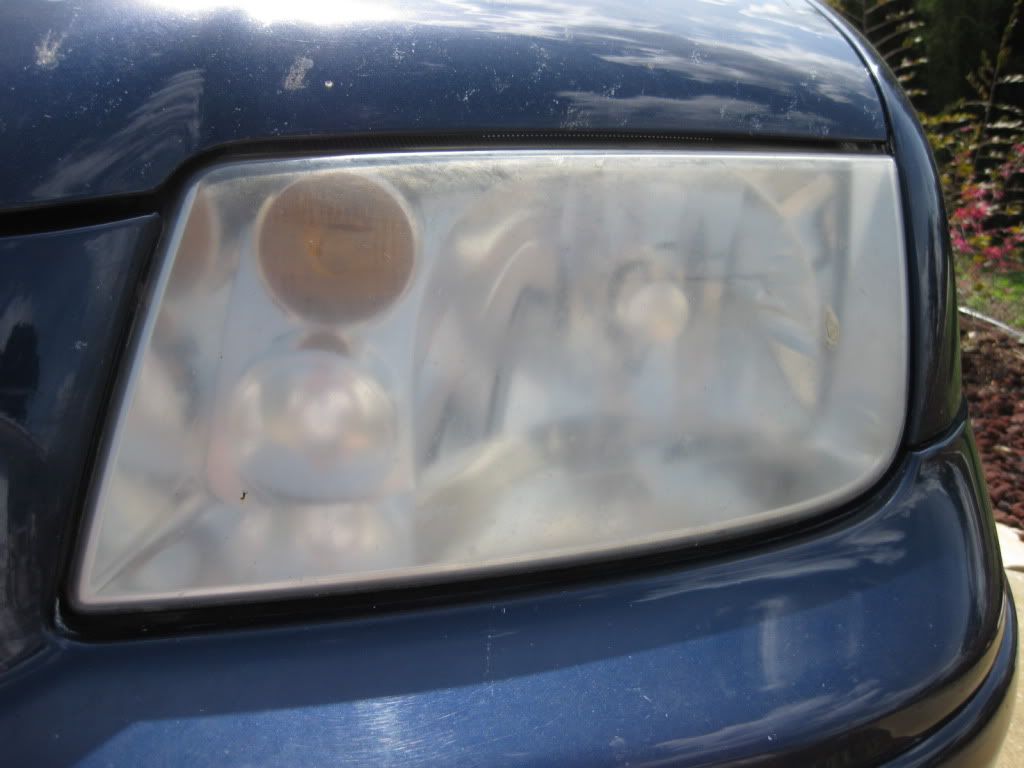
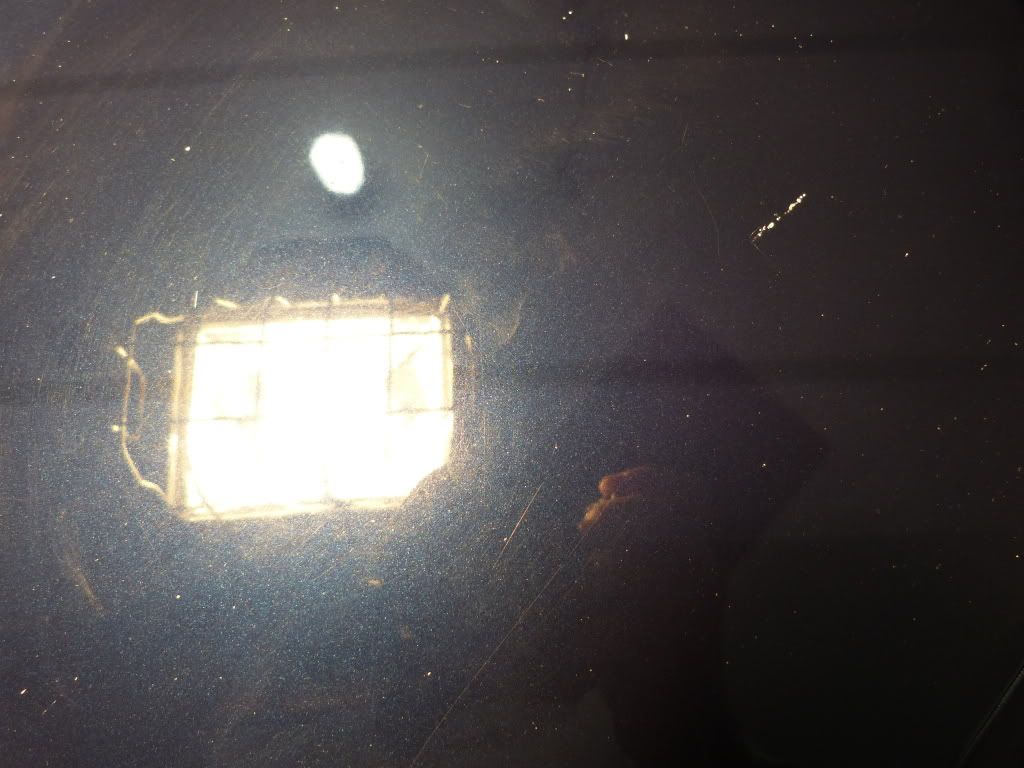
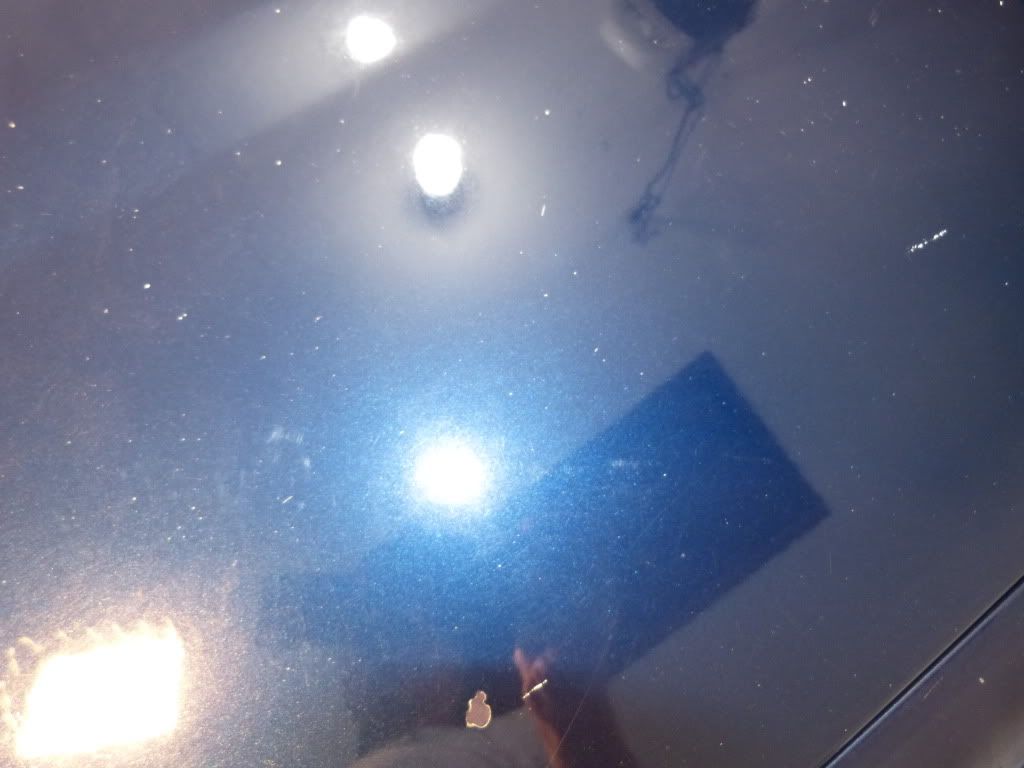
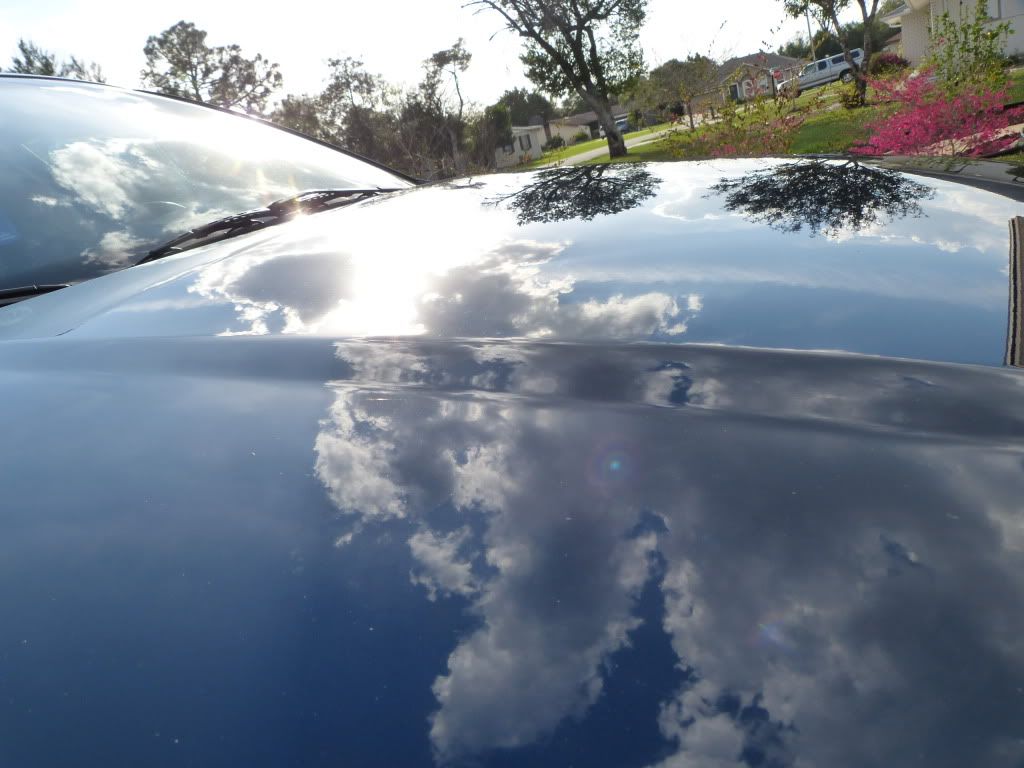
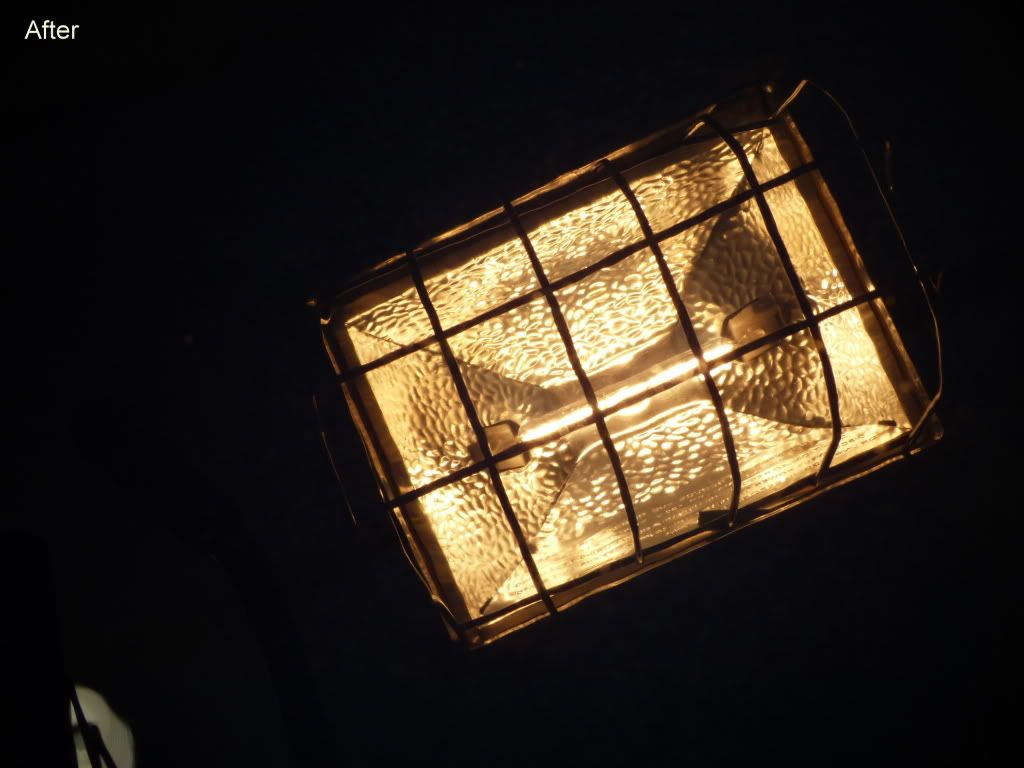
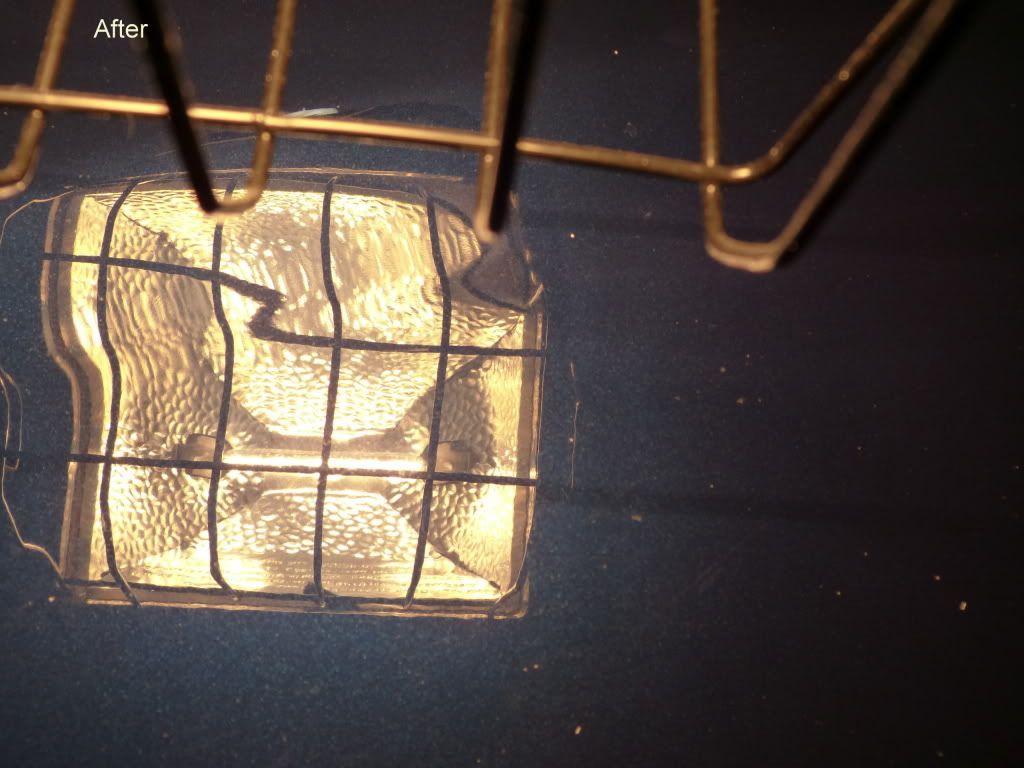
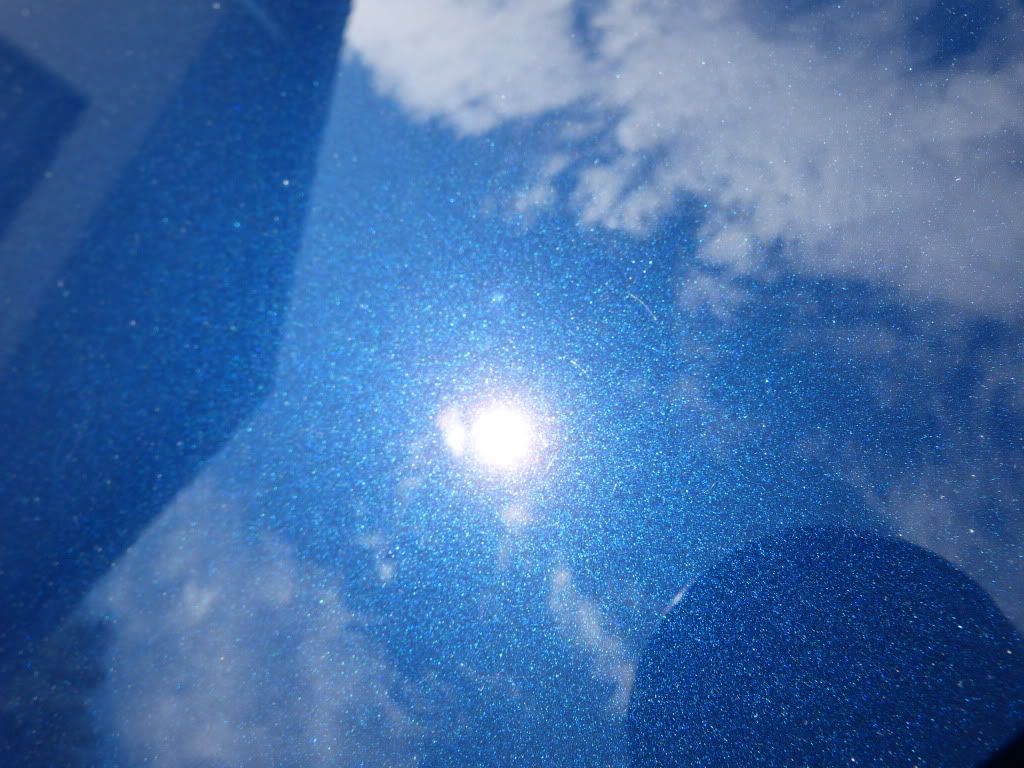
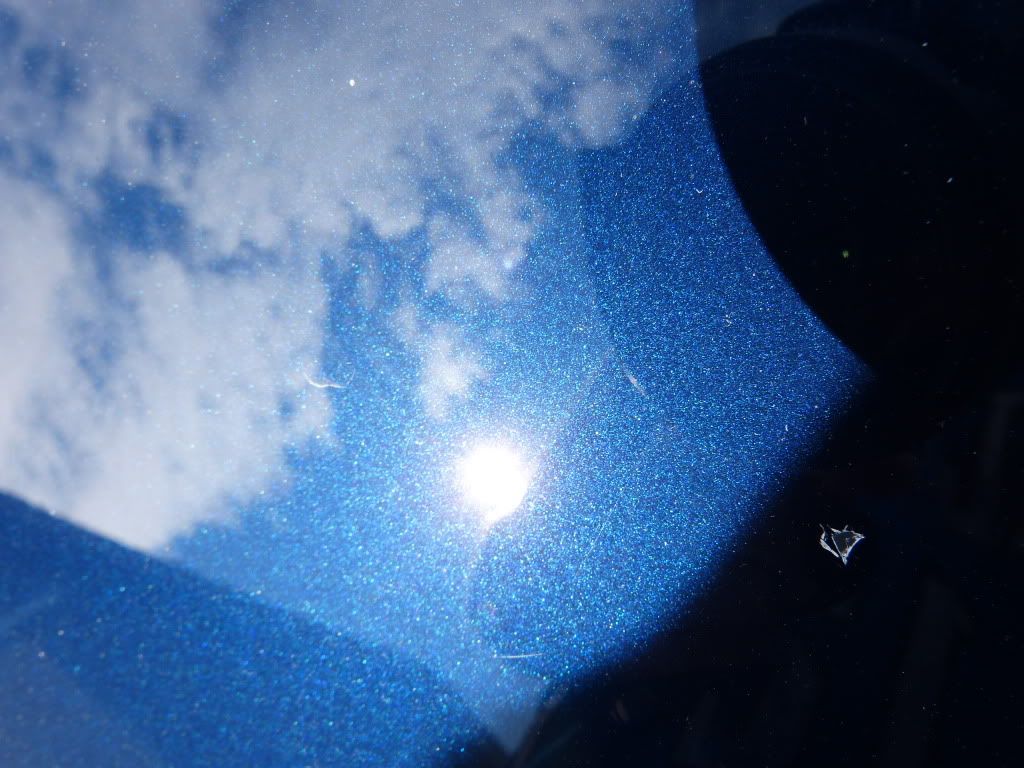
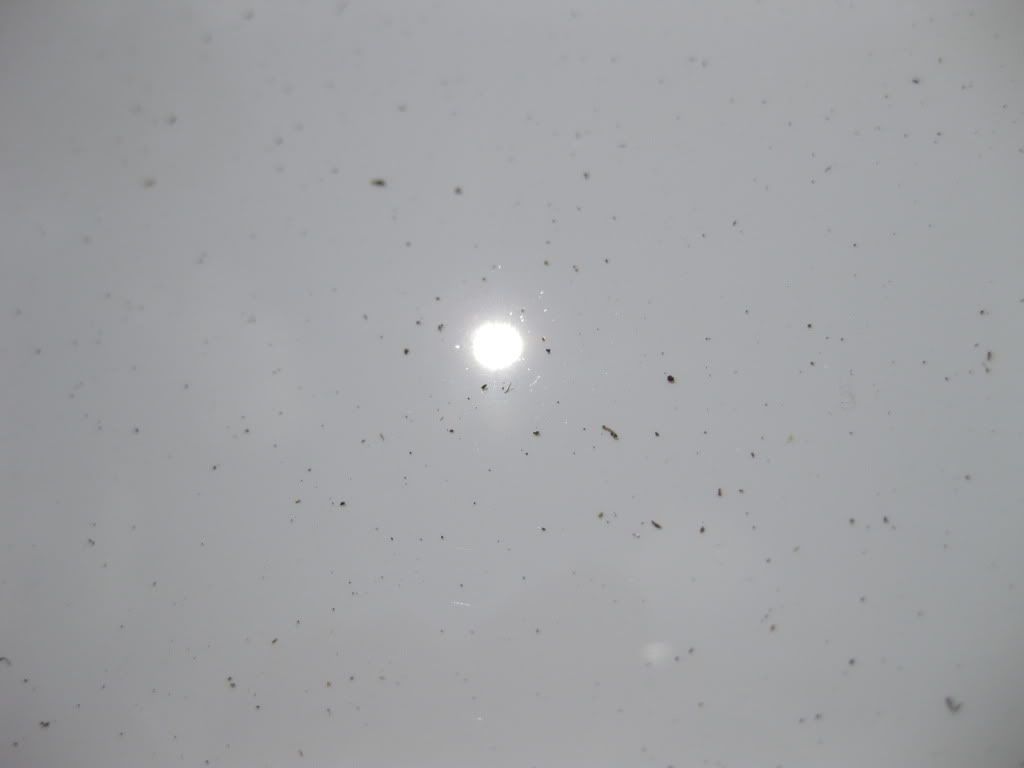
Don’t mind the dirt from the lawn guy (Picture taken the following)
Details:
1.- Packaging: Plastic Bottle
2.- Nozzle: Self-Cleaning nozzle/lid
3.- Color: White
4.- Consistency: Lotion
5.- Price at time of review: 8.45oz. (250ml) = $12.99
6.- Price at time of review: 16.00z. (500ml) = $18.99
7.- Price at time of review: 33.81oz. (1000ml) = $31.99 (Regular $37.99)
8.-Manufacturer: CarPro
9.-Made in: Korea
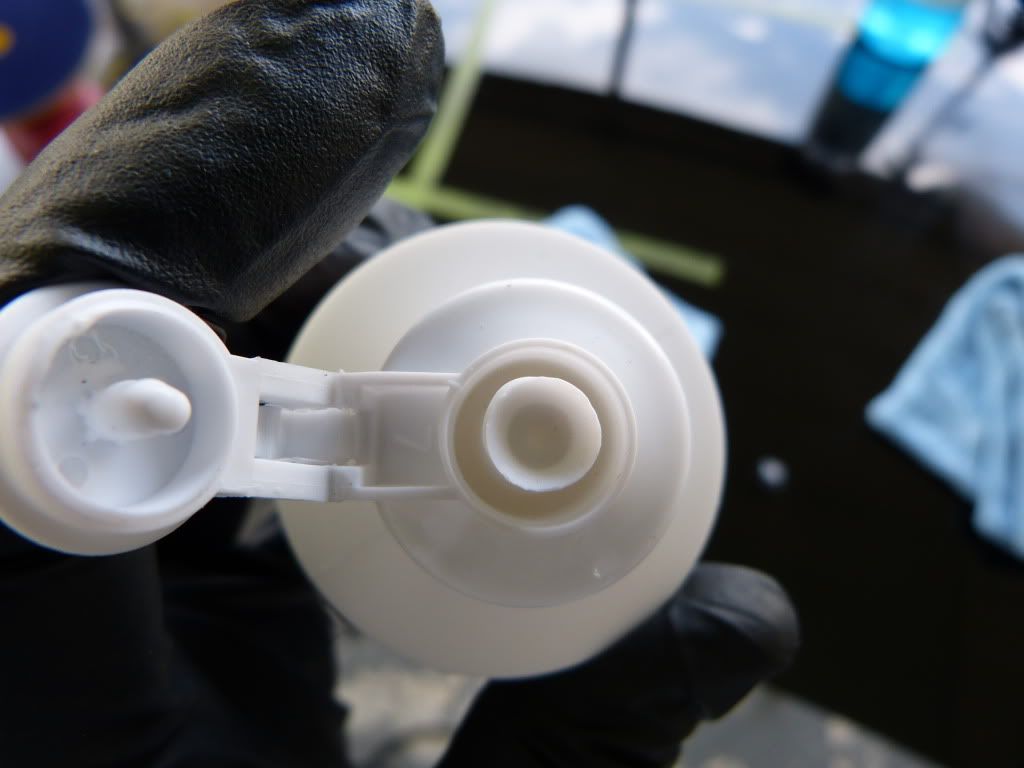
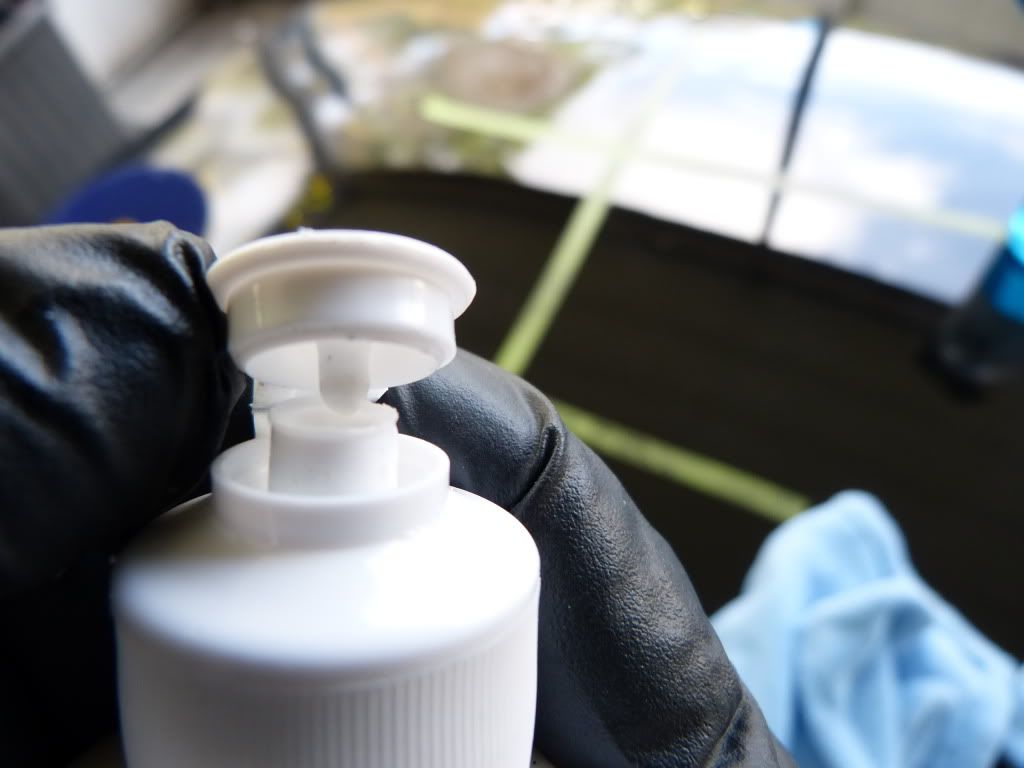
Product
Self-Cleaning nozzle/lid
Tips:
The following is kind of my generalization of how I use Fixer. Depending on the many combinations of controlling factors never be afraid to tweak things and see what actually works at a given time. I’m no master of the rotary but this is what works for me with Fixer.
Note: Just after the following “Rotary” paragraph my friend Maesal gives a great video demonstration of Fixer in action.
Rotary:
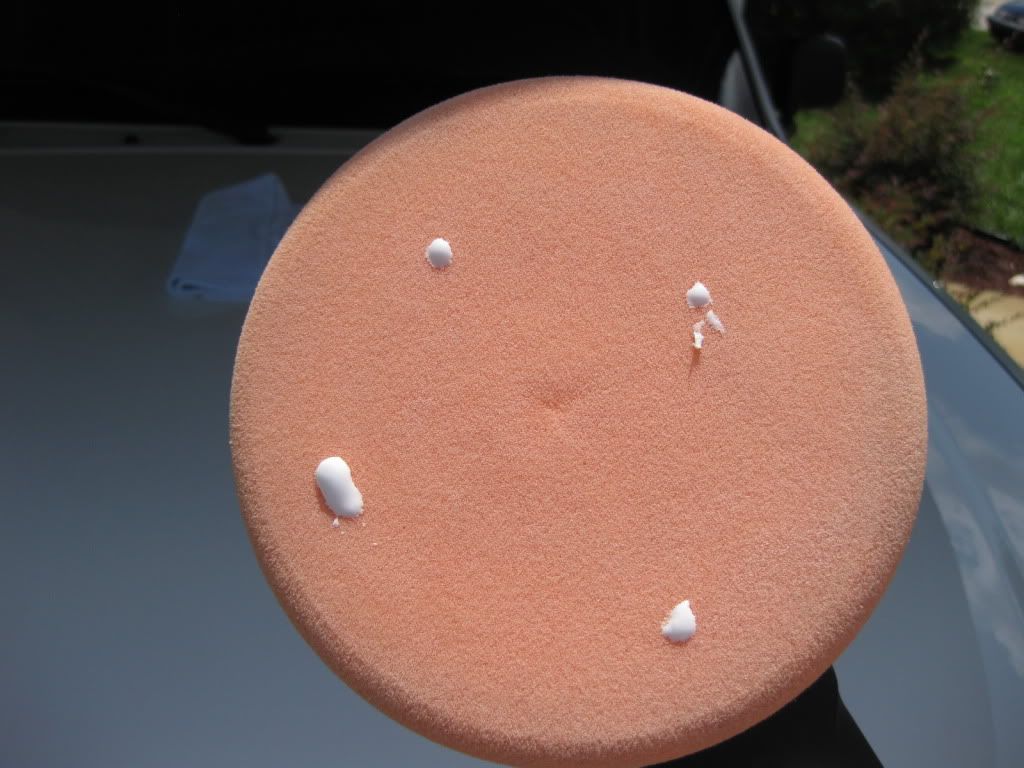
1.-Apply a small amount of product to the pad (even less than with many polishes)
2.-Start on the slowest setting and spread the product.
3.-Turn the speed up a little and go across your section a couple times allowing the lubricants to become fully effective.
4.-Turn the dial up further as you settle in for correction of the paint. 1200 rpm is the max speed I would use with Fixer but as usually find exactly what works for your conditions and style. For what its worth Fixer definitely seems to like slower speeds.
5.-For a diminishing abrasive polish working time happens a little faster than you might expect. As you see correction taking place, and the swirls and/or oxidation leaving the section you are ready to begin finishing down.
6.-Dial down the speed a little and continue. At this point the opacity should be turning. As you make your last few passes continue to lower the rpm down to 600-700 rpm and finish using the minimal amount of pressure needed to keep the pad flush with the paint surface.
Tips:
1.-Extending the working time
If you need to extend the working time or finishing time simply spray a fine mist of water onto the pad and then continue working the polish, finishing down as described above.
2.-Soft paint
When dealing with softer paint I've found I need to let up on the pressure a little sooner in the cycle extending the finishing phase as described but earlier on in the process or by using a mist of distilled water in the way I mentioned.
3.-Finishing
When finishing don’t allow yourself to go all the way to the edge of your section where some polish may not be broken down to the same level as the rest.
The abrasives in play are diminishing therefore finishing down is a very important step. The reason for this is that as you are polishing the abrasives become smaller and smaller as they are rubbed against themselves and the paint. To finish properly with any diminishing abrasive polish requires that you do not stop polishing until the abrasives are fully broken down. Of course you do NOT want to dry buff the paint so you must stop when the polish tells you to or add a fine mist of water to the pad to reactivate the lubricants and continue to finish.
I made that sound entirely more complex than it has to be so lets see if we can show how simple it can be. I’d like to say thanks to my friend Maesal who posted the following video awhile back. I saw this a couple months ago and enjoyed it so much I thought I would ask Maesal if I could post it here. Maesal, thanks again for the excellent videos and for generously allowing me to use this one in my review! Looks great mate!
Video-Rotary Application: 2000 Grit removed with Fixer and Orange Pad on 700 RPM
[ame=http://www.youtube.com/watch?v=Z2A9YYX7p5Y]Review Fixer DW 2 - YouTube[/ame]
Dual Action:
1.-Apply a small amount of product to a new pad or even less (2-3 pea sized drops) to the pad if it’s already primed or used on a previous section.
2.-Start on low and spread the product across the section.
3.-After allowing the lubricants to begin working, turn it up to correction speed and apply downward force on the pad. The exact number that you consider correction speed will hinge on your machine, the paint, your arm movement, and the pad you have selected.
4.-As the defects are removed and polish turns opacity dial the speed back a bit for the final passes.
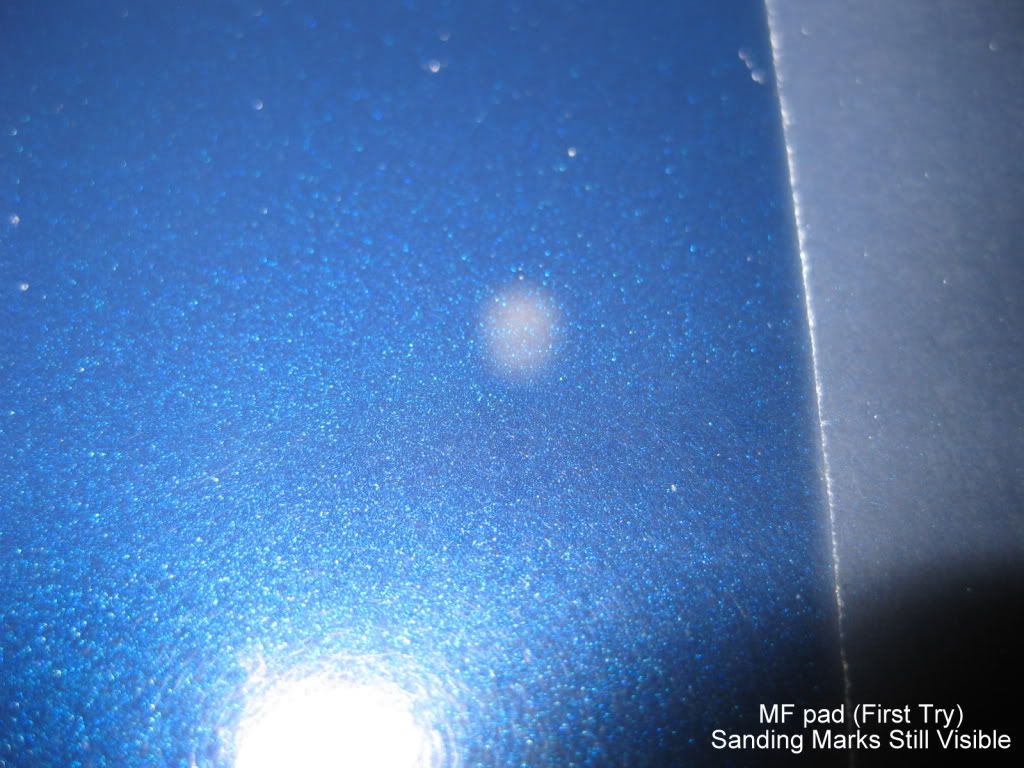
With foam pads on the Flex 3401 I’ve been using around 5-6 for correction and 4-5 for the last few passes. With MF pads I used speed 5 1/2 for the majority of correction and finished on 4. I’m new to the mf pads but you’ll see my results a little later.
One of the great things about Fixer is how dust free it is. I mean really dust is almost non-existent and often entirely non-existent. This does not however come at a small cost in my opinion. I am only theorizing but I believe there's a correlation. While it doesn’t dust the pad will lose a lot of cut if not cleaned on the fly after each section. Depending on the paint the amazing cut you found on one section you will not find on the next if you don't clean it on the fly in between. Of course most of us clean the pad often anyway so this should not be an issue.
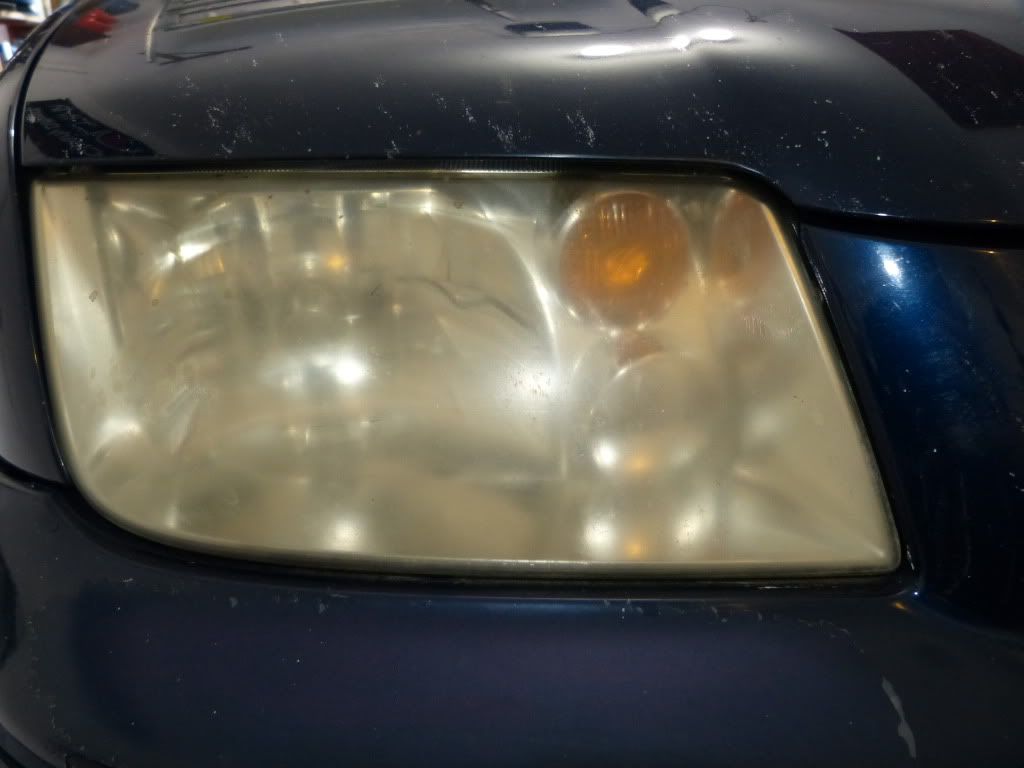
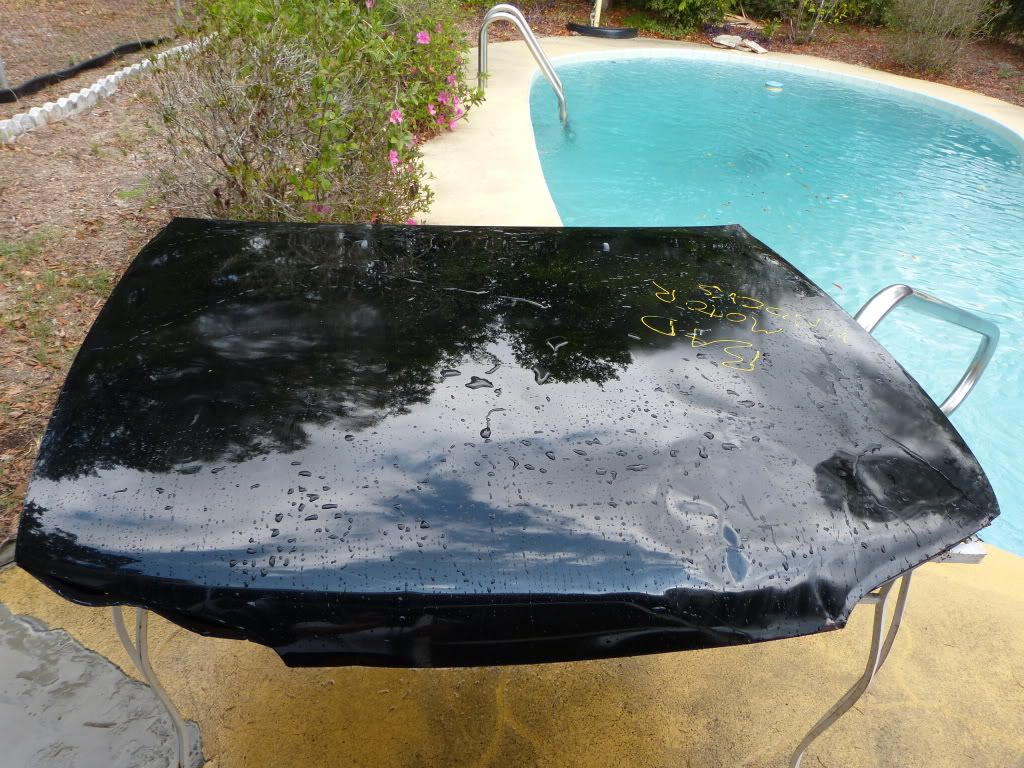
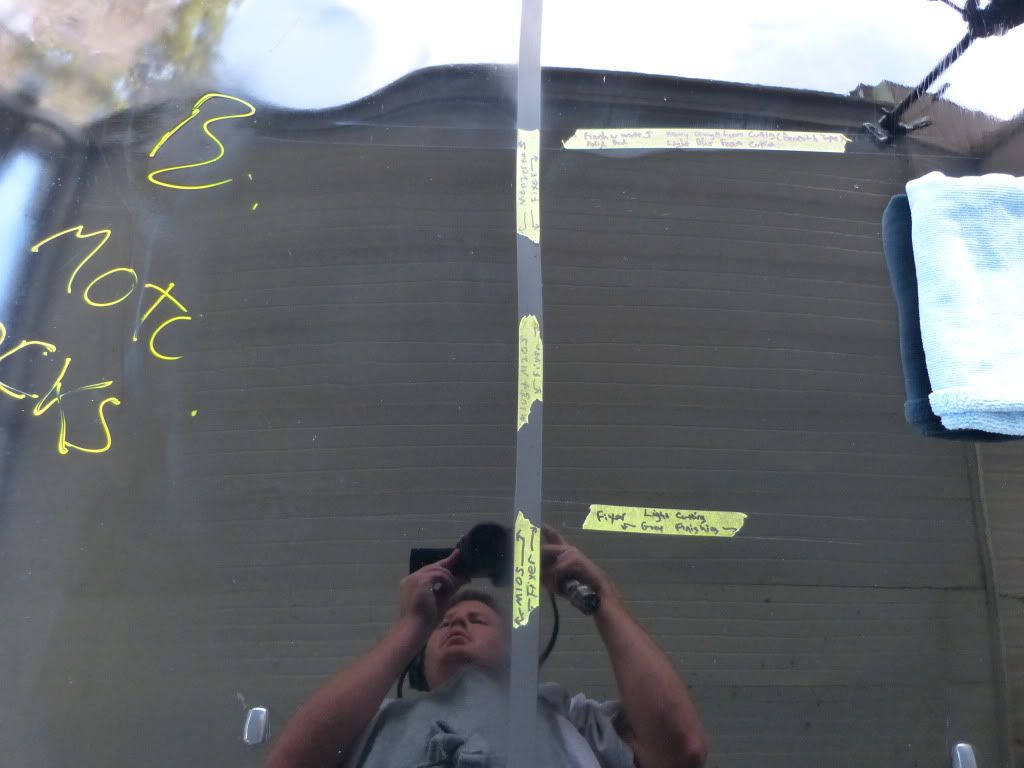
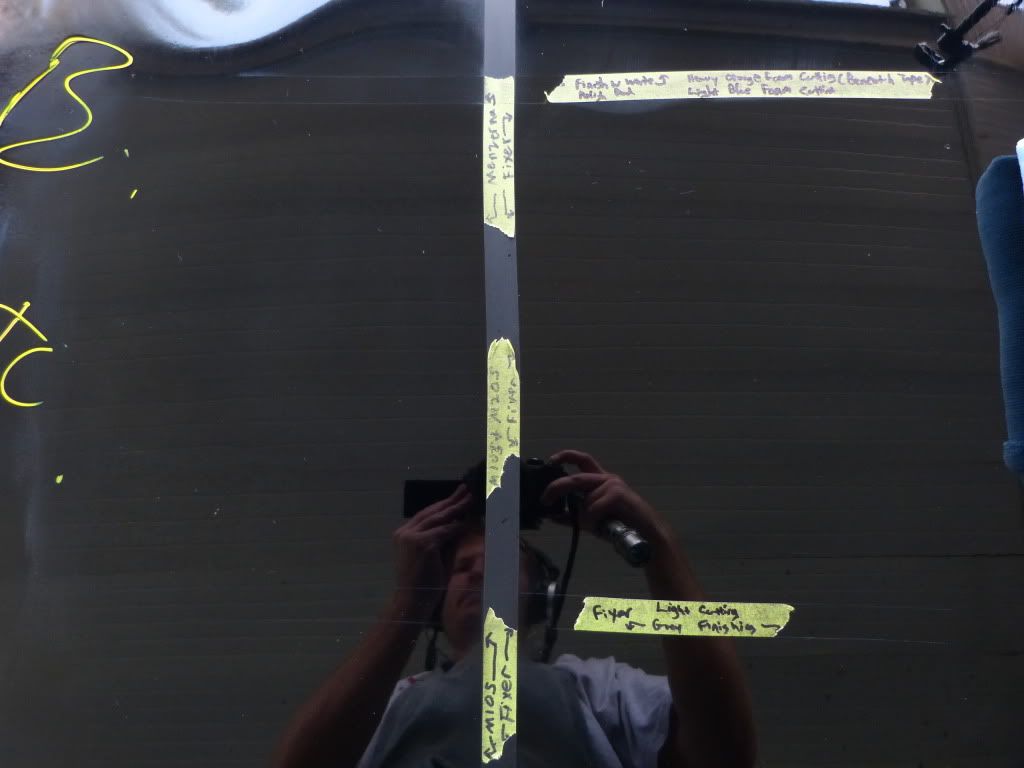
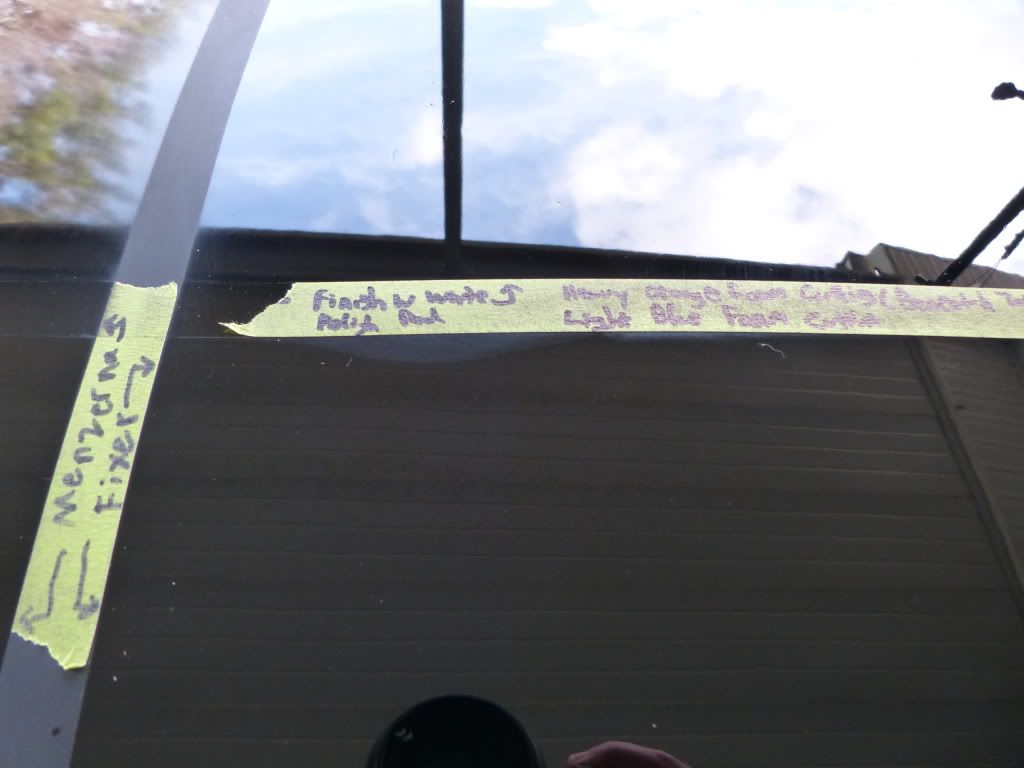
Softer Paint: Fixer vs. Meguiars vs. Menzerna
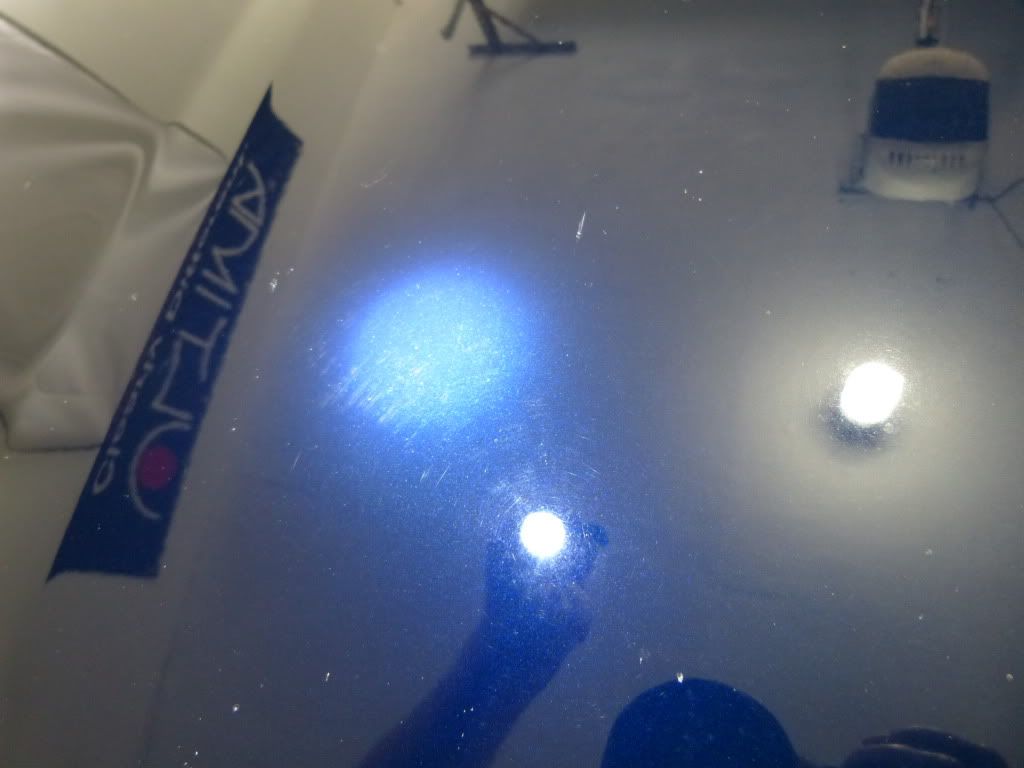
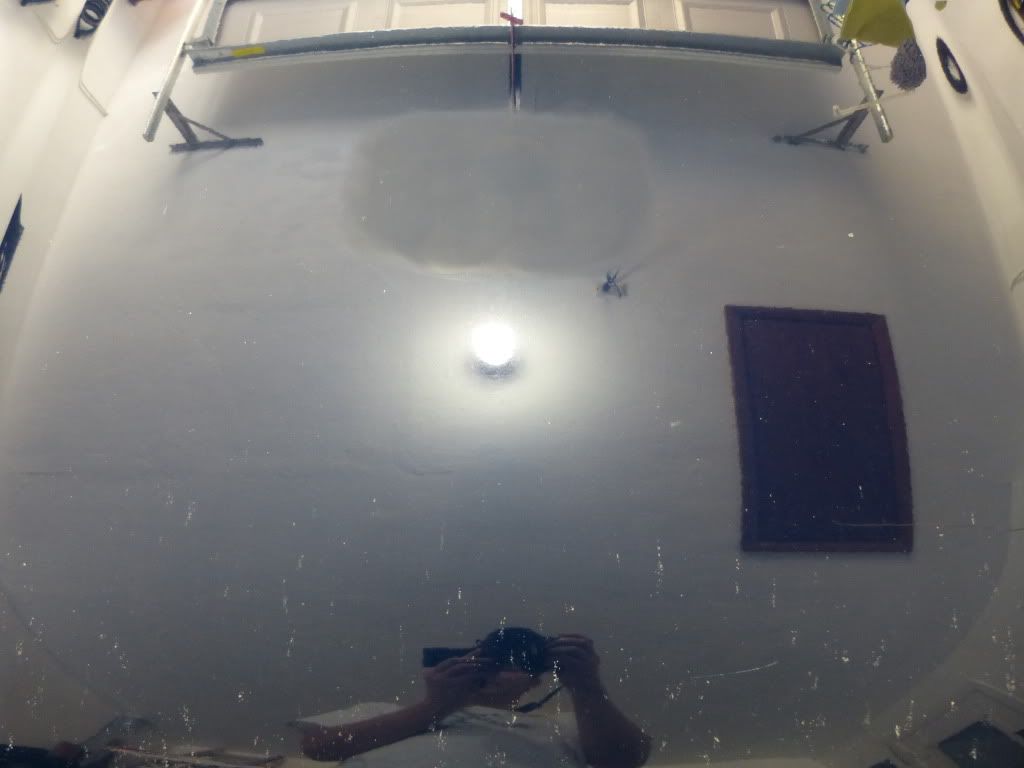
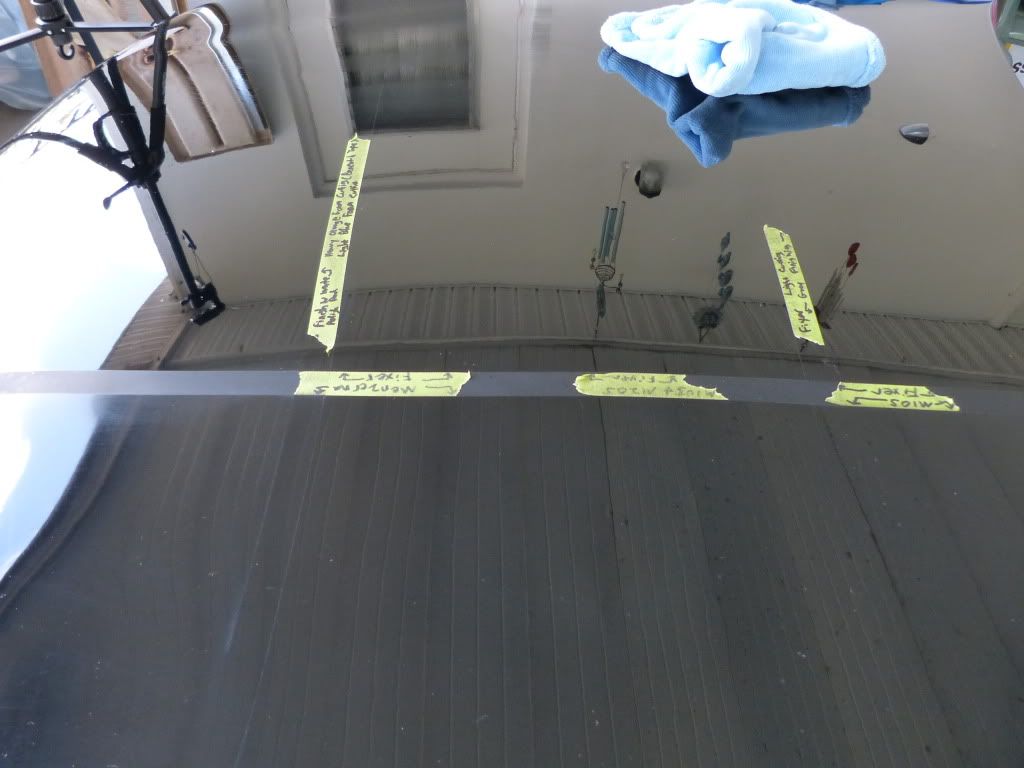
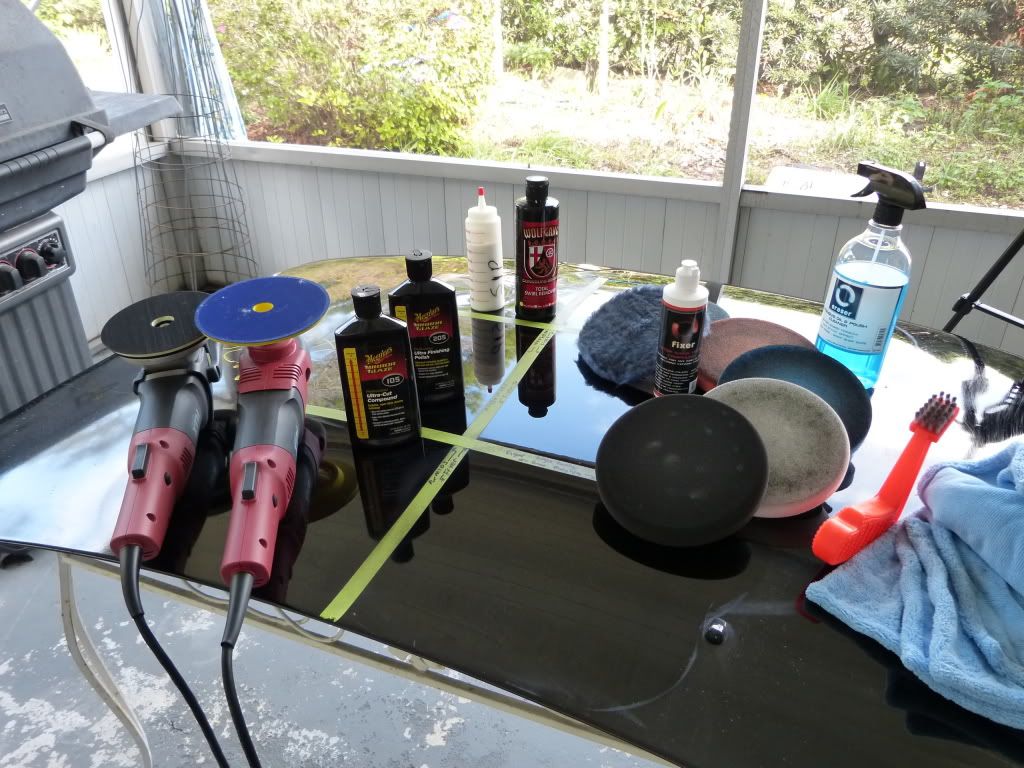
While I have been using Fixer for a while now, I had not used it side by side with its competition on a large scale. So last weekend using both the new LC hybrid pads as well as wool and my very familiar Hydrotech pads I completed some Meguiars / Menzerna / Fixer testing side by side on a test panel.
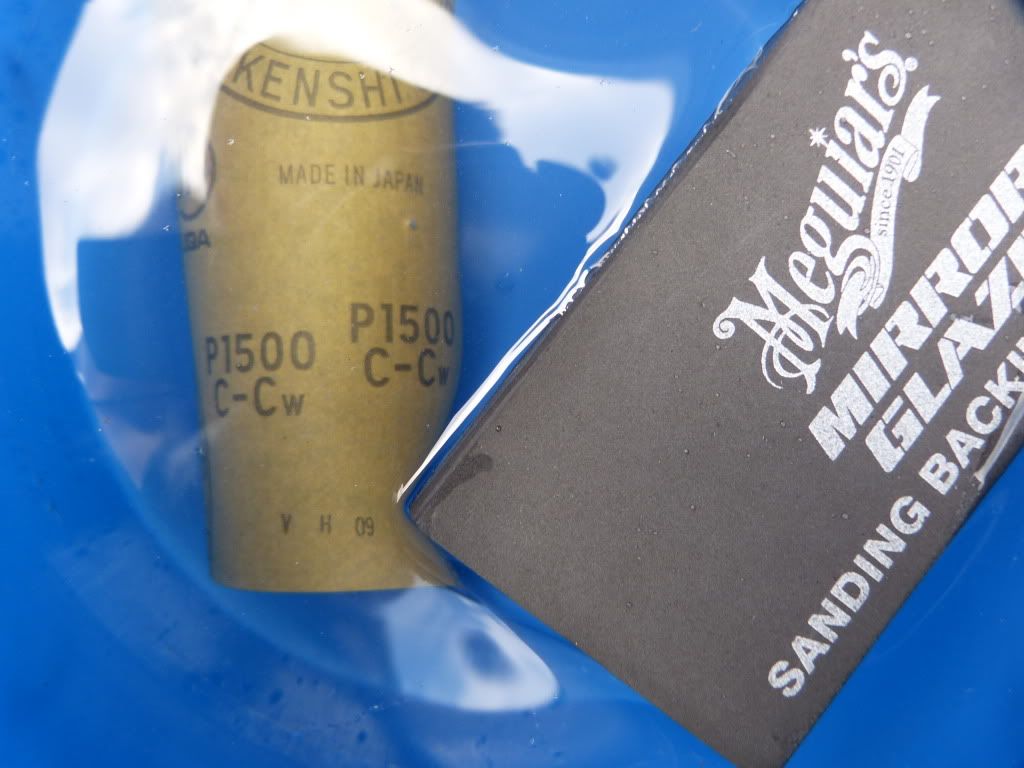
Preparation:
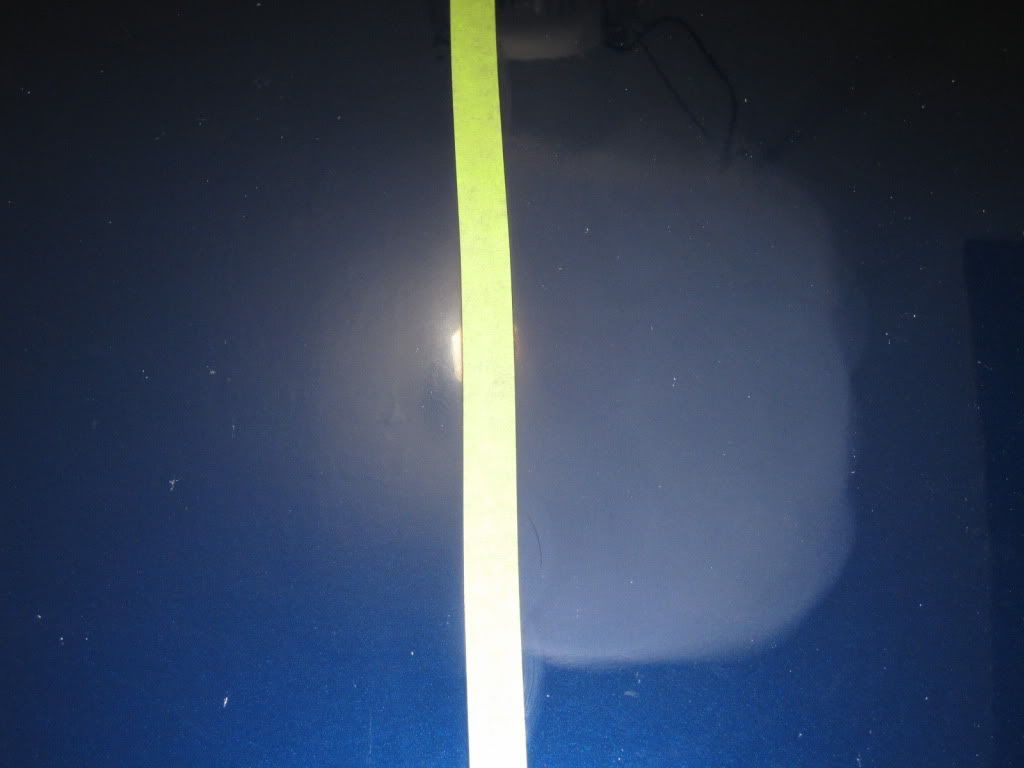
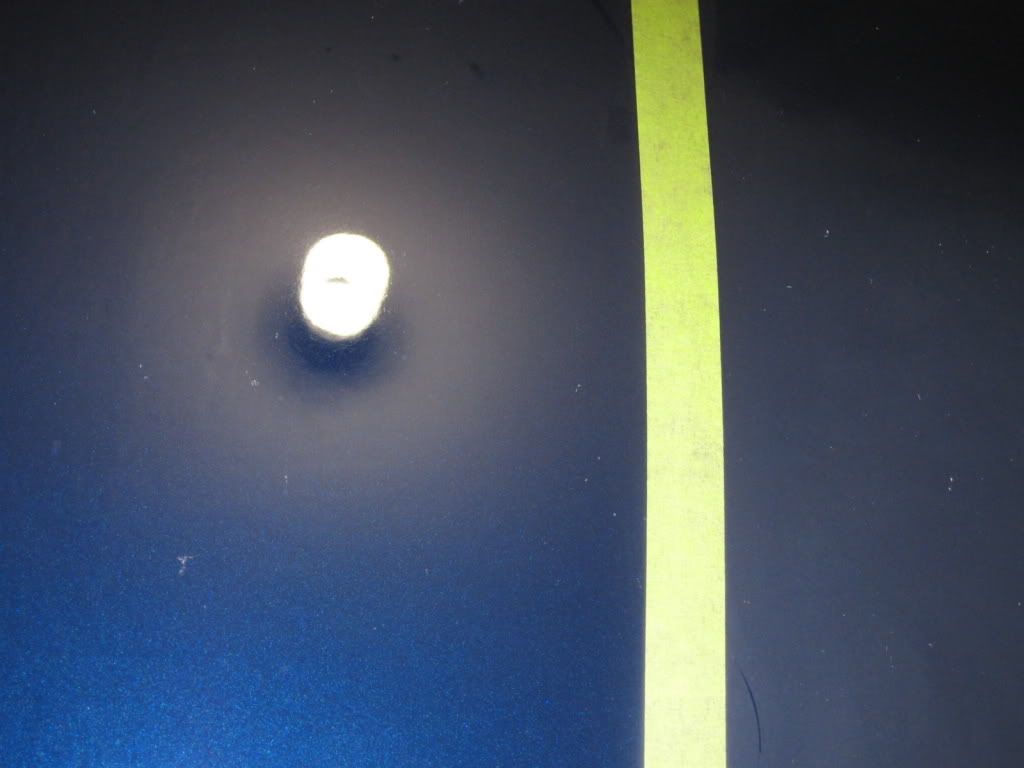
A few sections were quickly sanded down by hand with 1500 grit paper. After hosing down the panel I washed with ONR and a rolled edge mf towel.
Application:
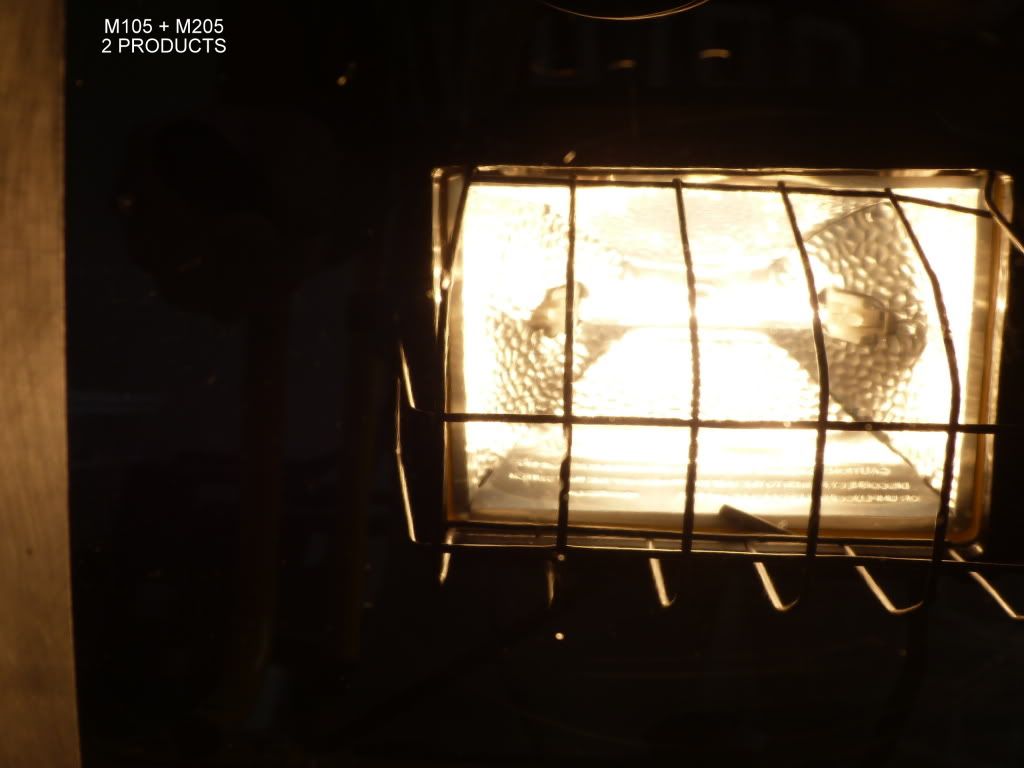
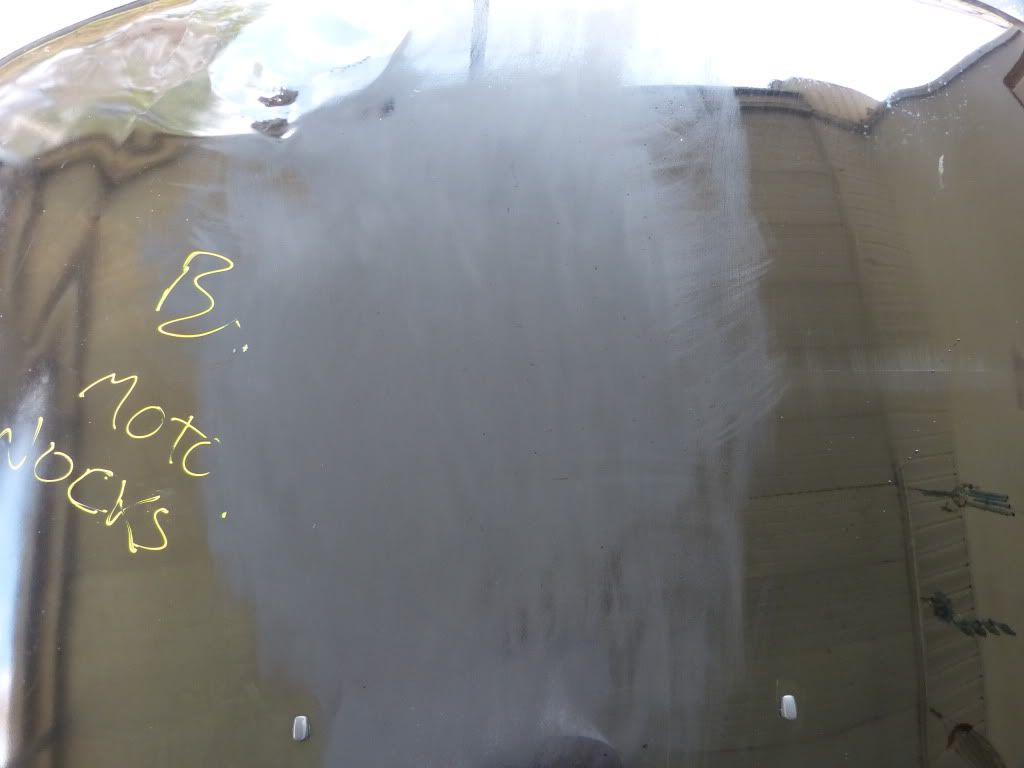
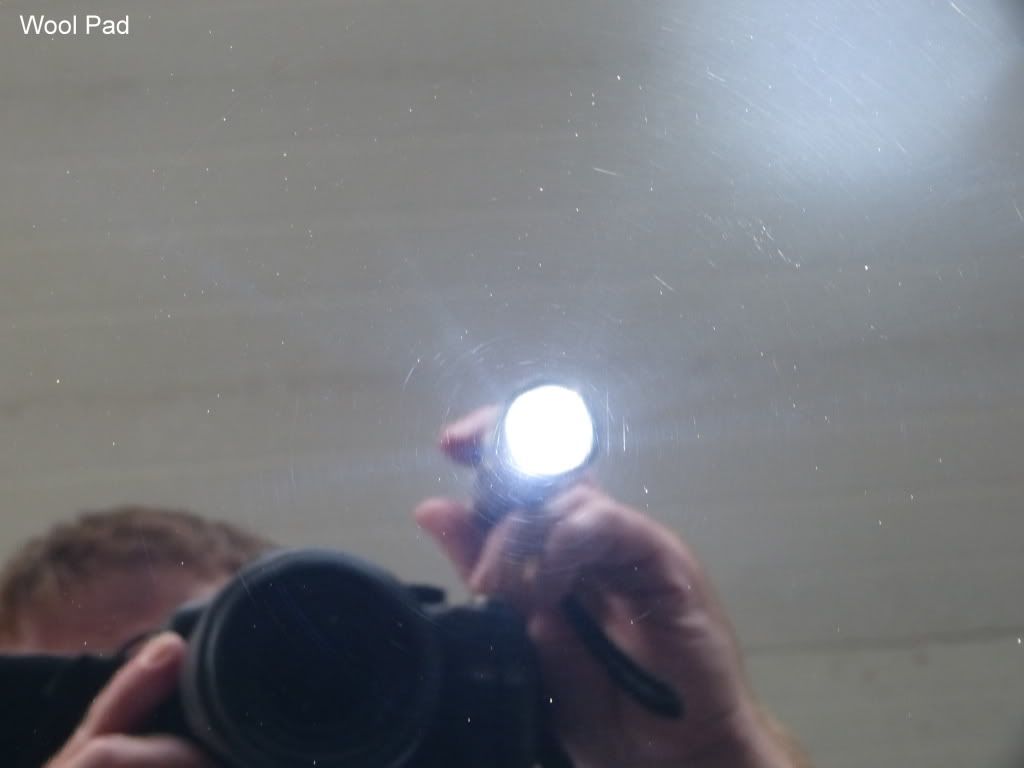
I started with wool on the Rotary using Fixer on one section and M105 on the other.
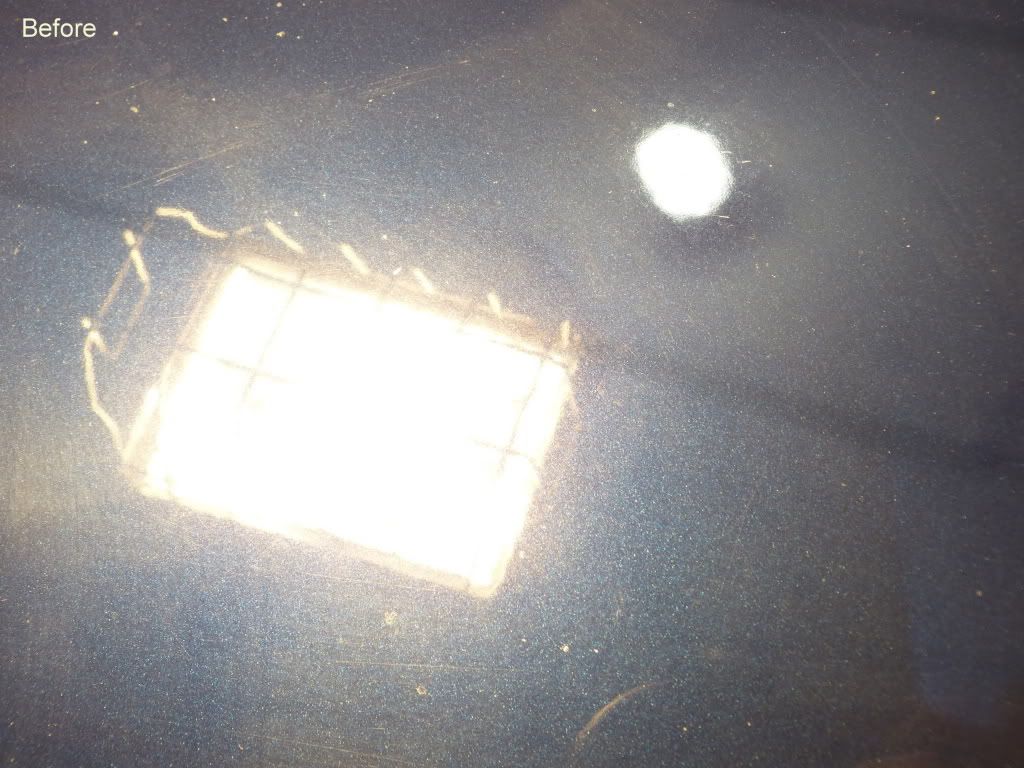
As advertised Fixer easily removed the 1500 grit marks using a wool pad and rotary. Of course M105 also removed them with ease.
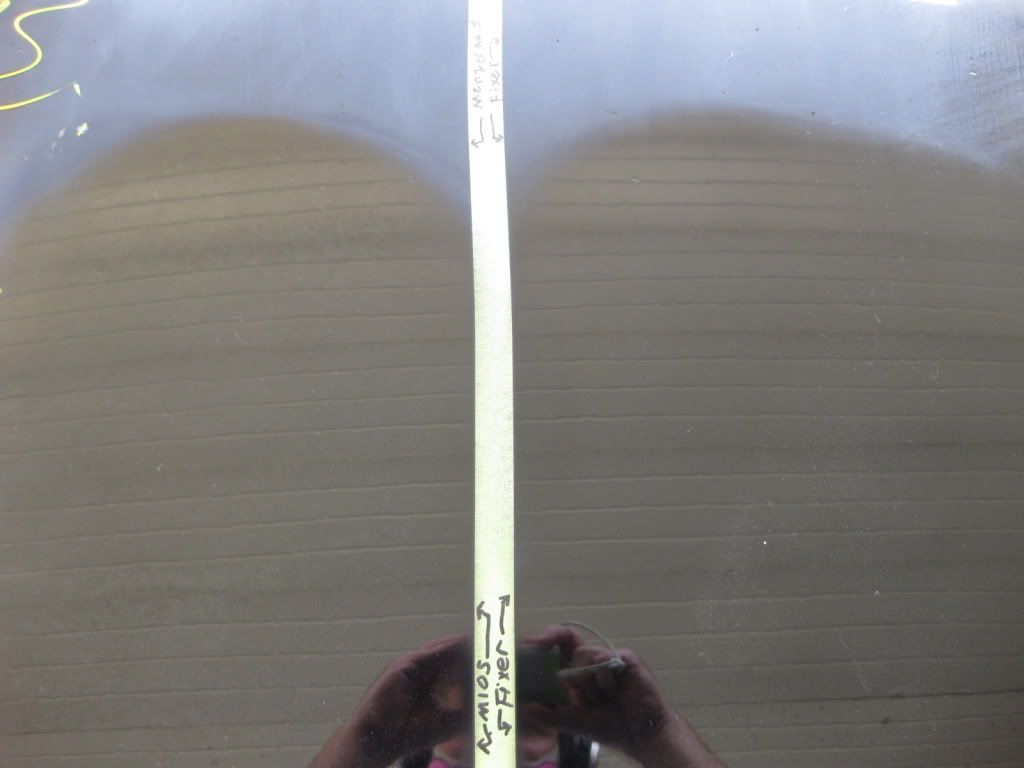
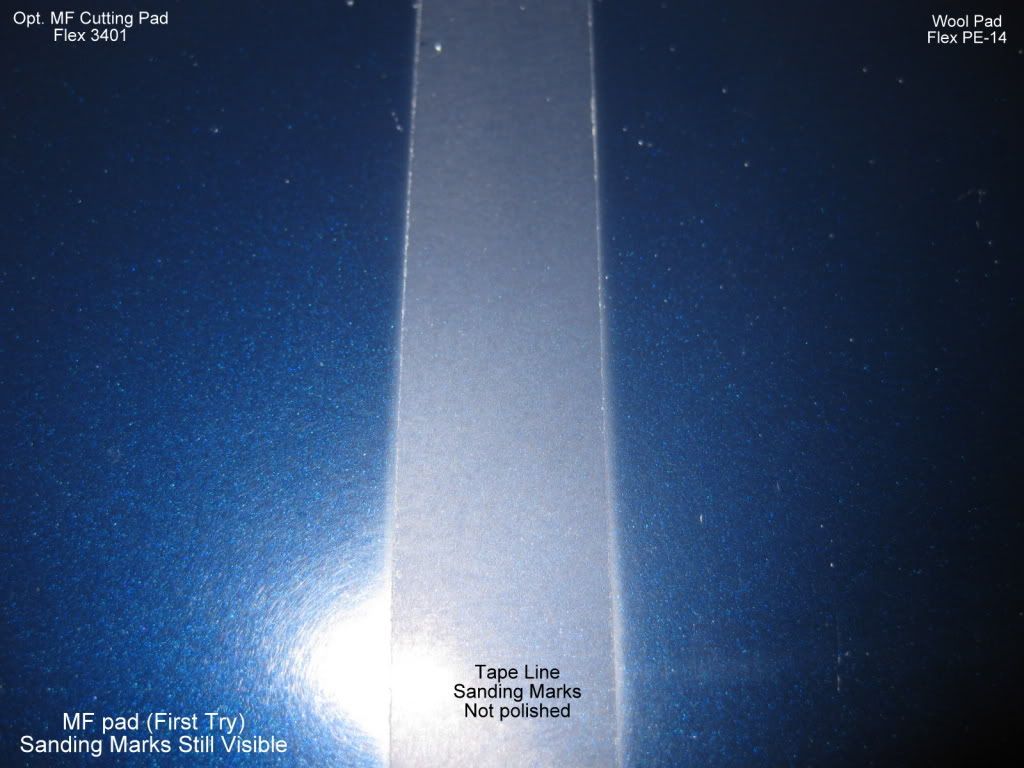
I am probably partially to blame however a combination of the wool pad and soft paint left a gift for me. The wool pad left these gifts with the M105 as well.
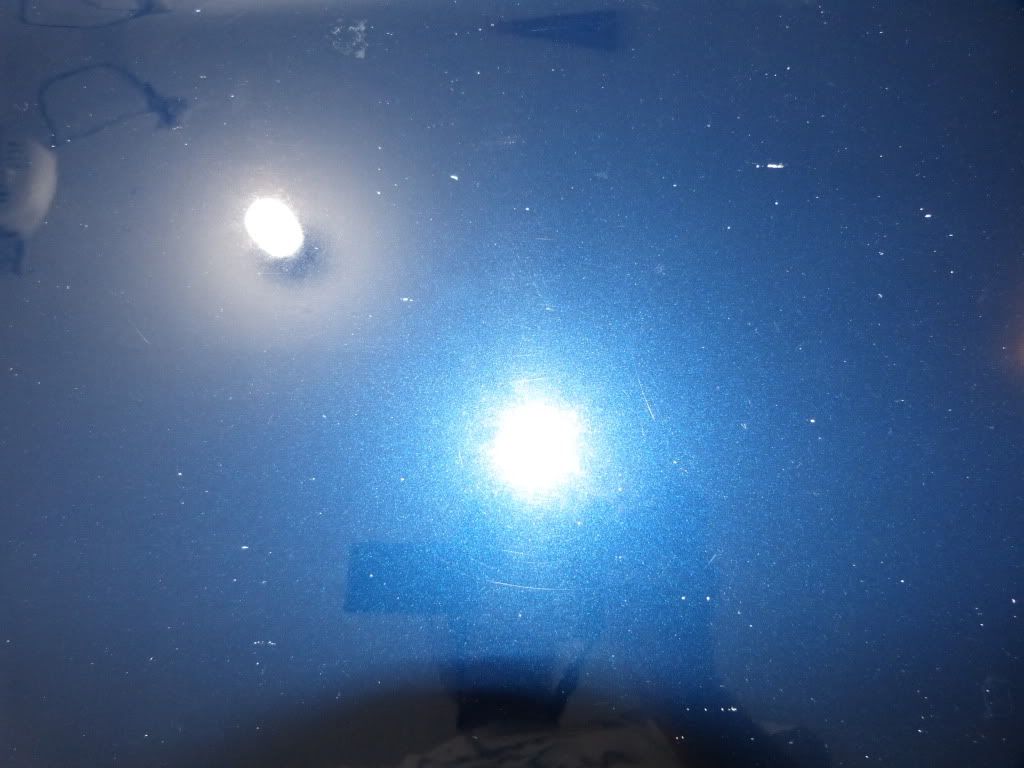
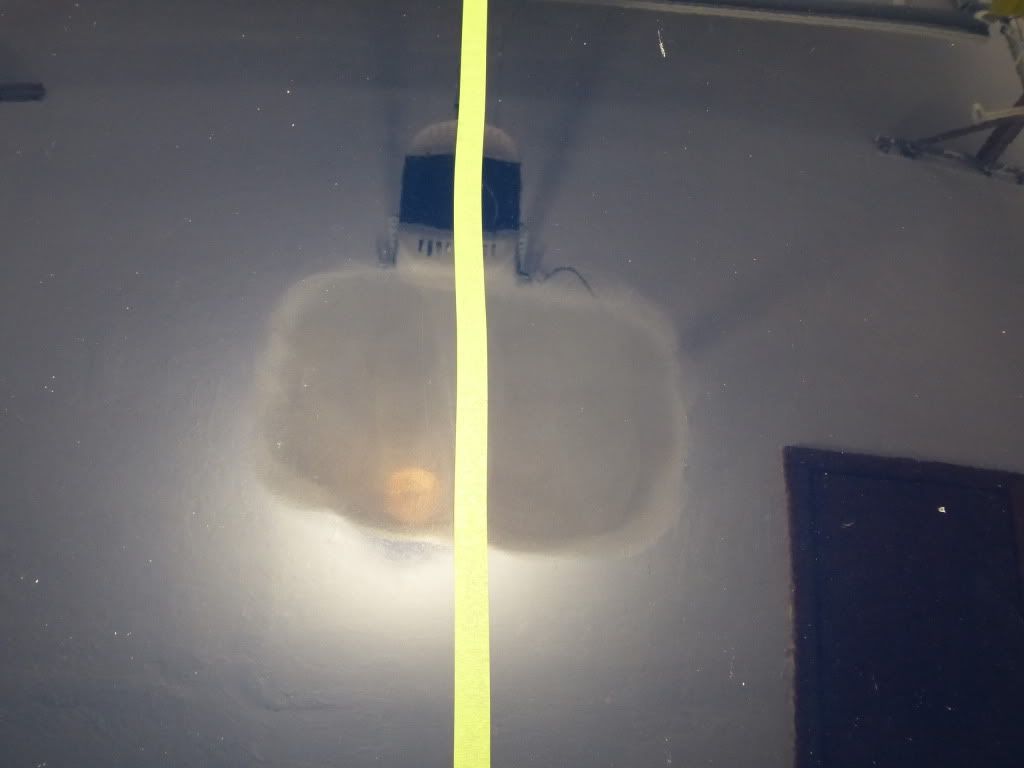
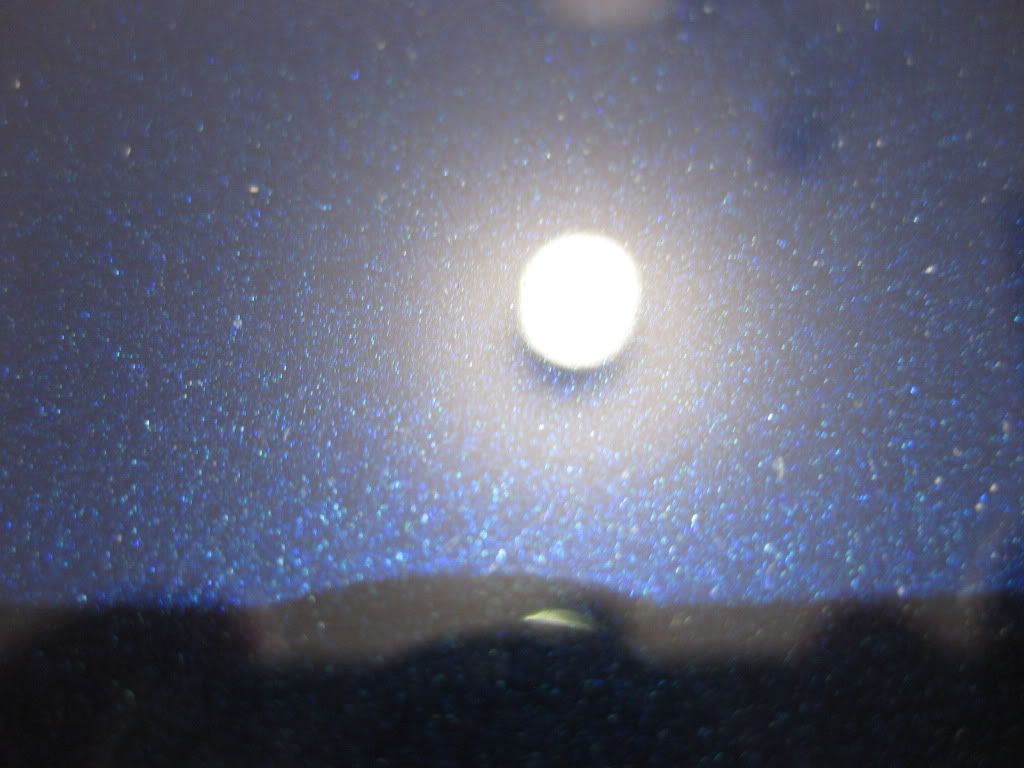
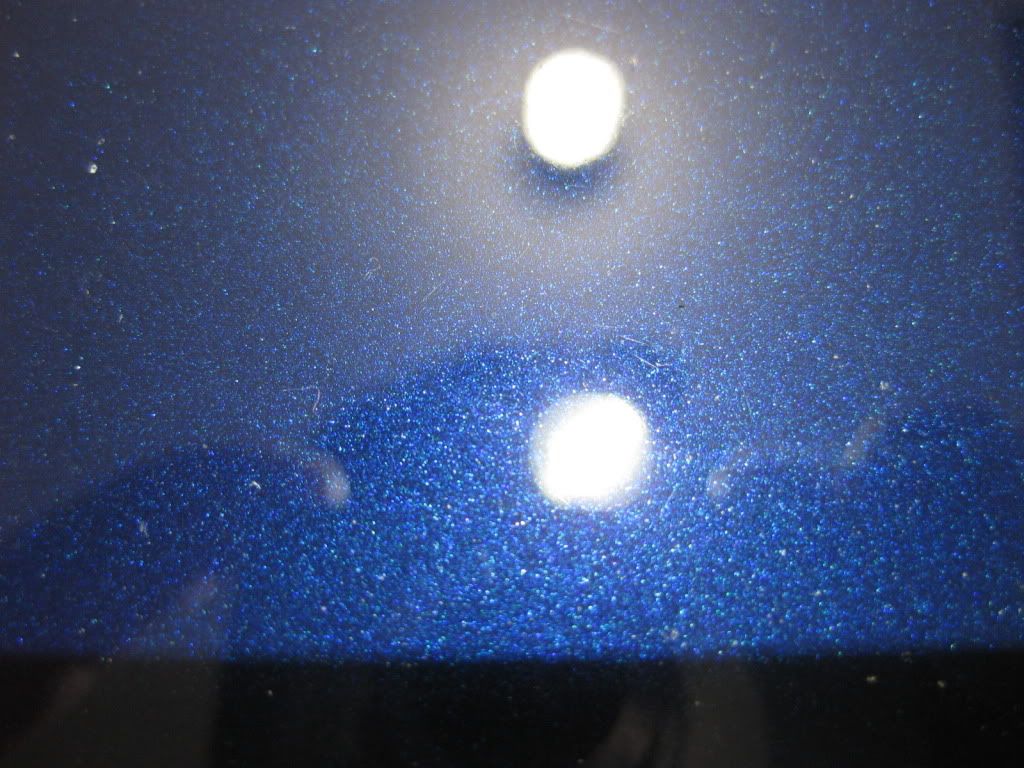
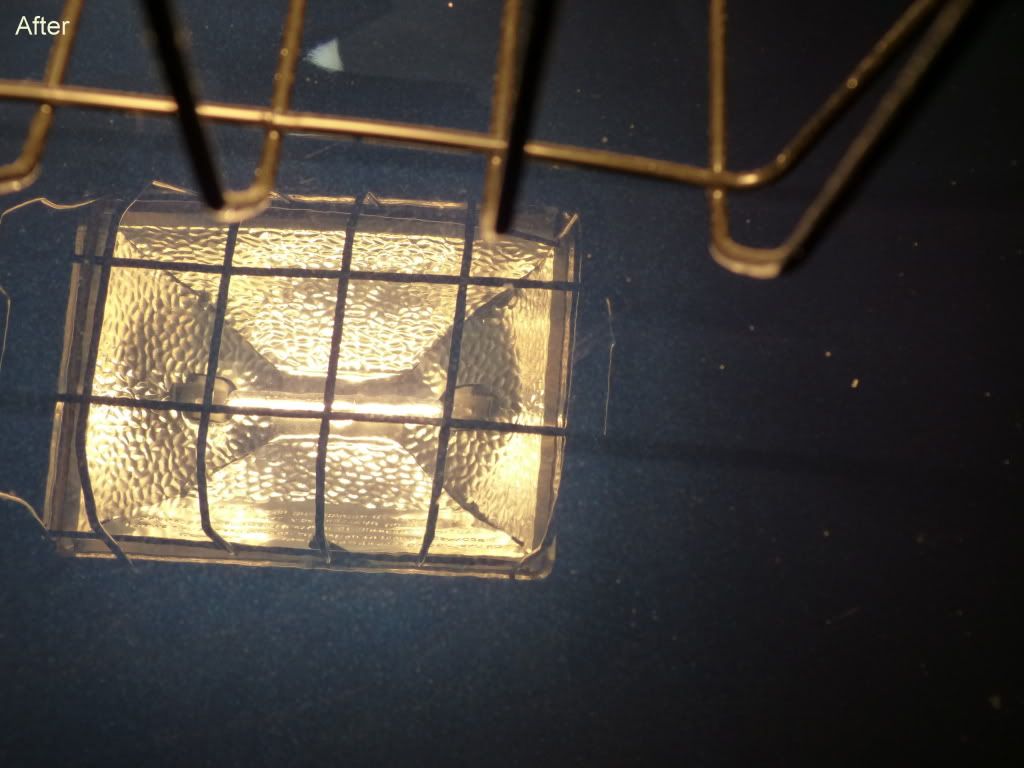
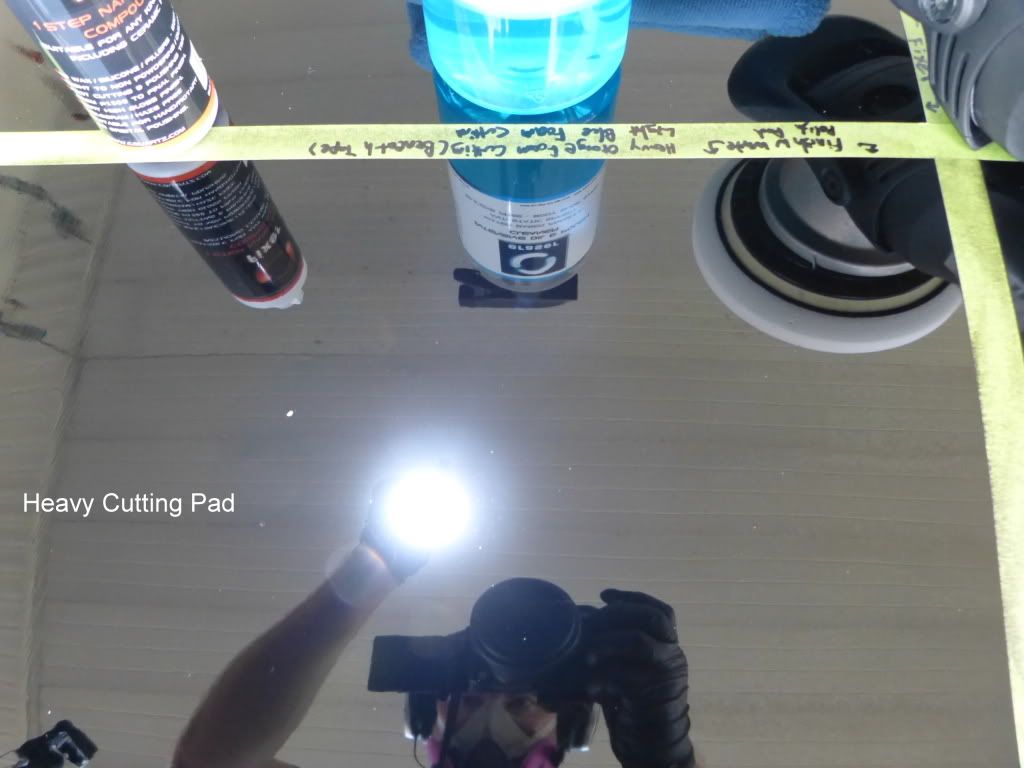
But what could it do with a D/A and foam pad on these same 1500 grit marks? On the next section I used the Orange Hybrid foam pad from Lake Country. Once again Fixer removed the 1500 grit marks leaving a pretty good finish for a heavy cutting pad. There was a slight haze under LED light but there was certainly no tick marks or swirls.
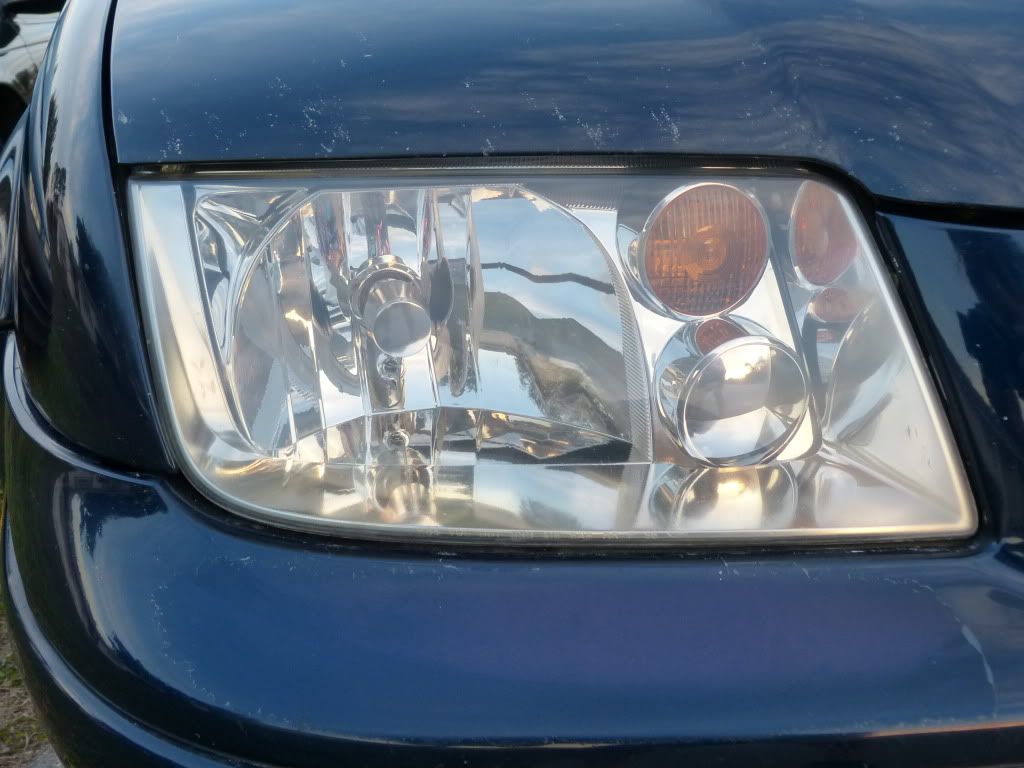
Next I used Fixer with a polishing pad.
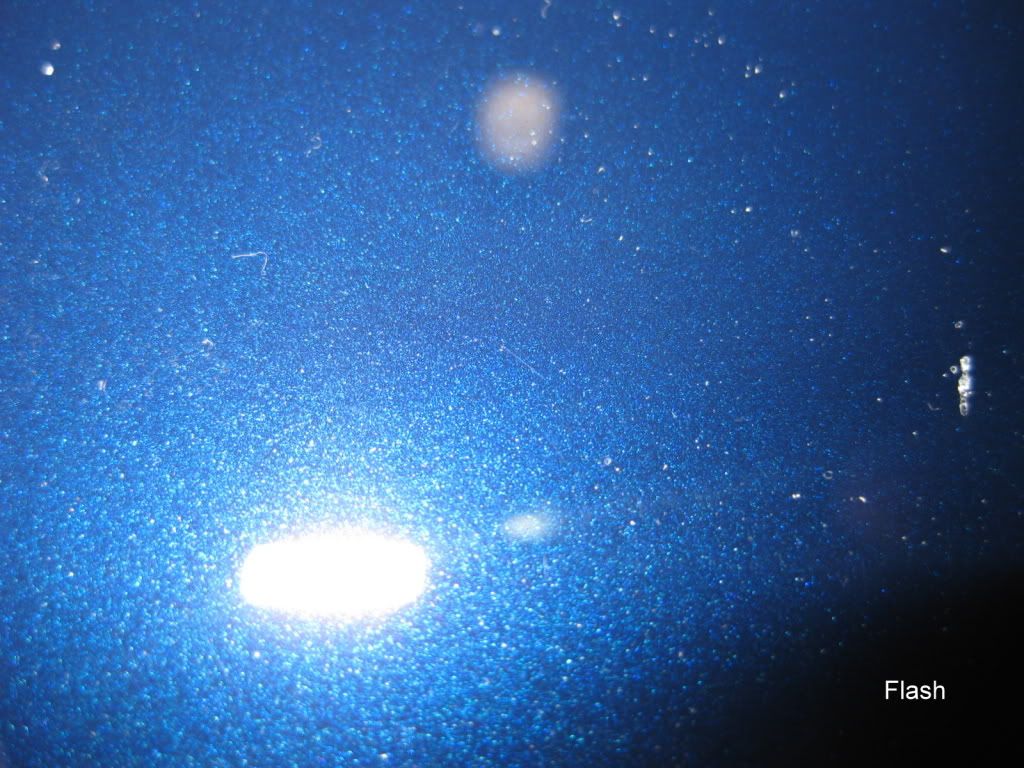
The polishing pad easily amped up the gloss on the section I had previously used the orange pad on.


On the section I had used wool earlier I followed with the light cutting pad on one section and the finishing pad on another. Fixer and either pad were able to remove the wool marks and leave an lsp ready glossy finish.
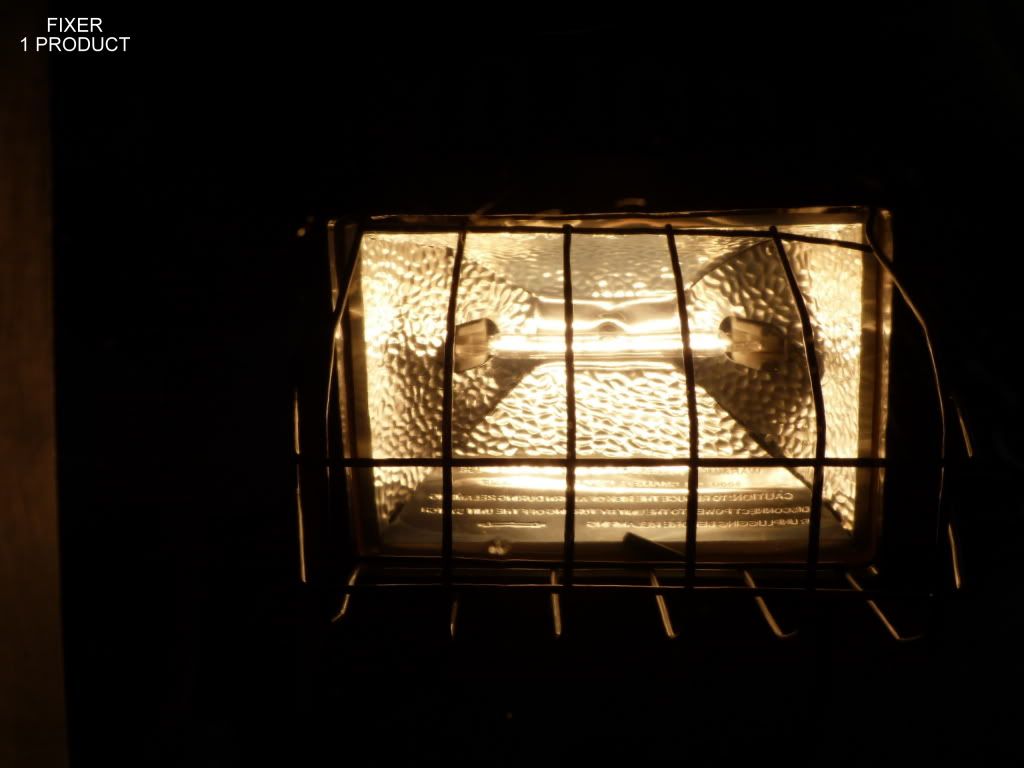
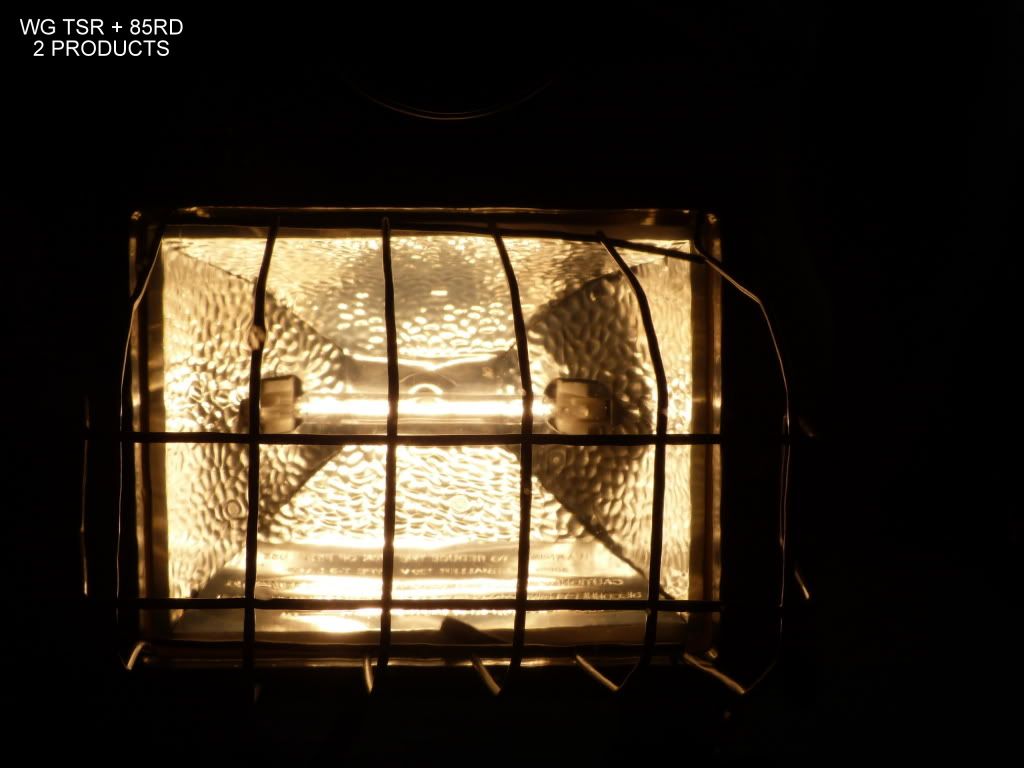
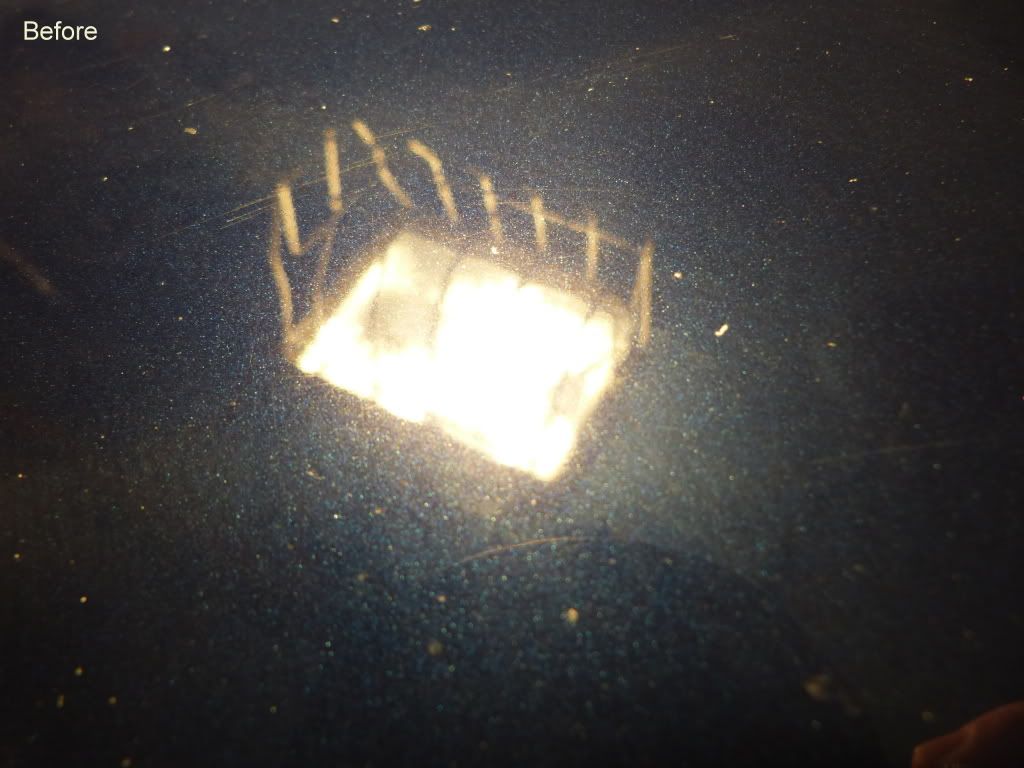
I also attempted to remove a section of sanding marks with Menzerna SIP and yet another with WG TSR. Admittedly the Menzerna portion was not a fair comparison as they aren't marketed to do better than 2000 grit as far as I know. However SIP and TSR are the most aggressive of the Menzerna polishes I own. Both had a tough time getting the scratches all the way out. I thought I had them at first but under close inspection I could see faint lines beneath the gloss.
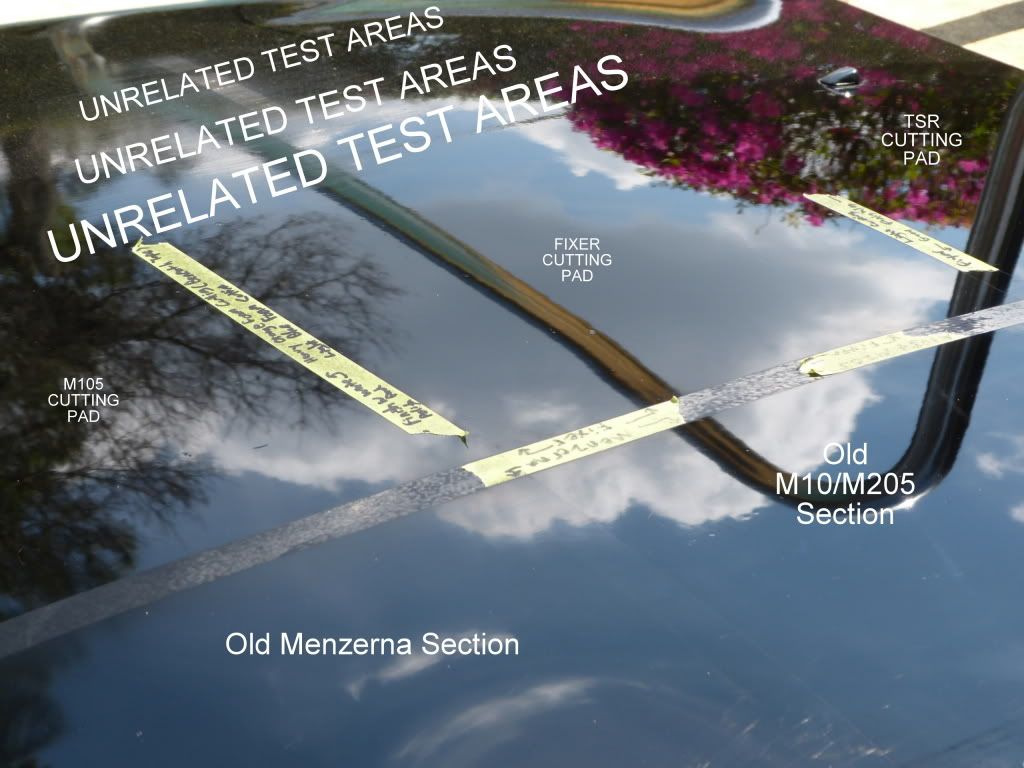
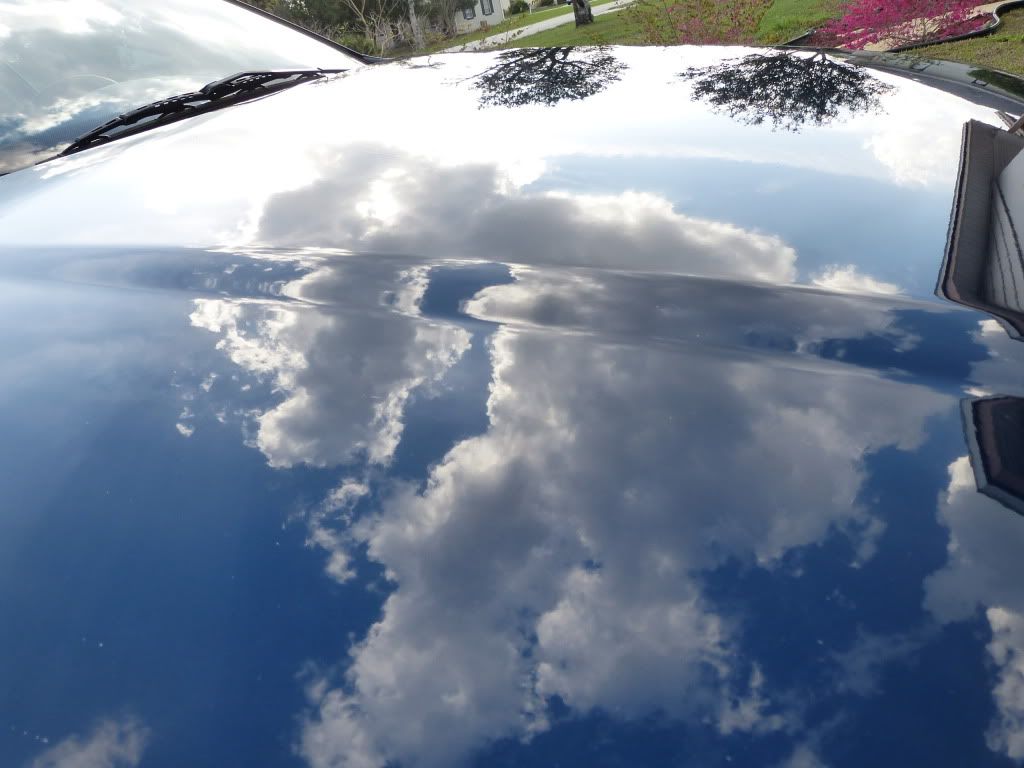
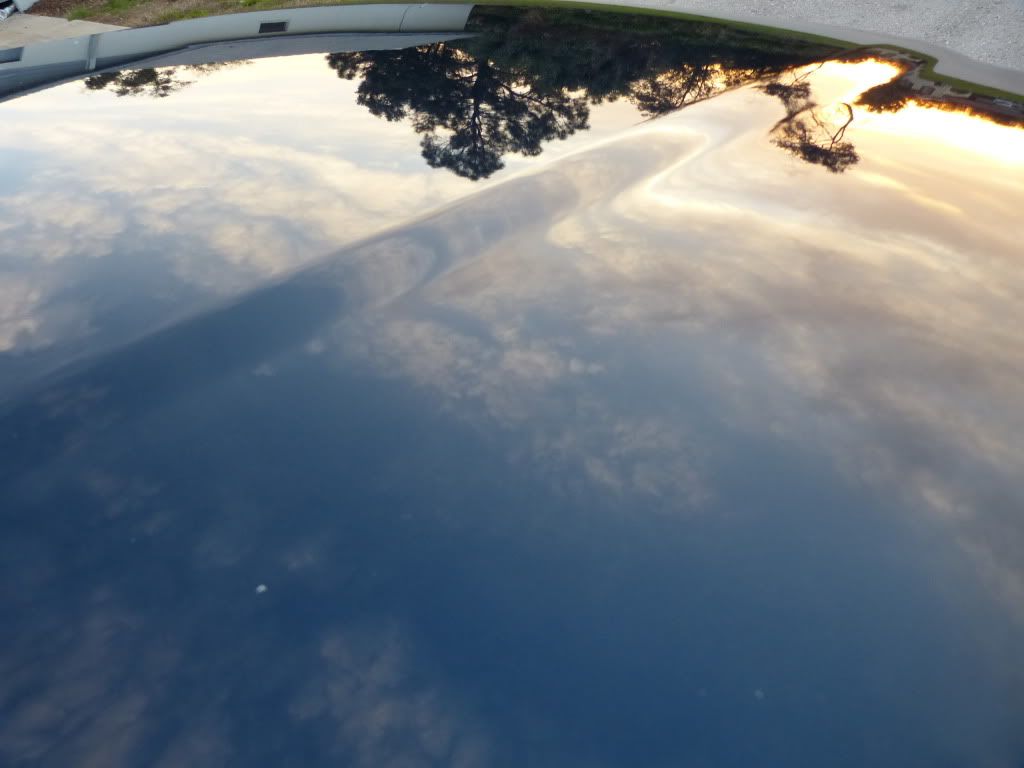
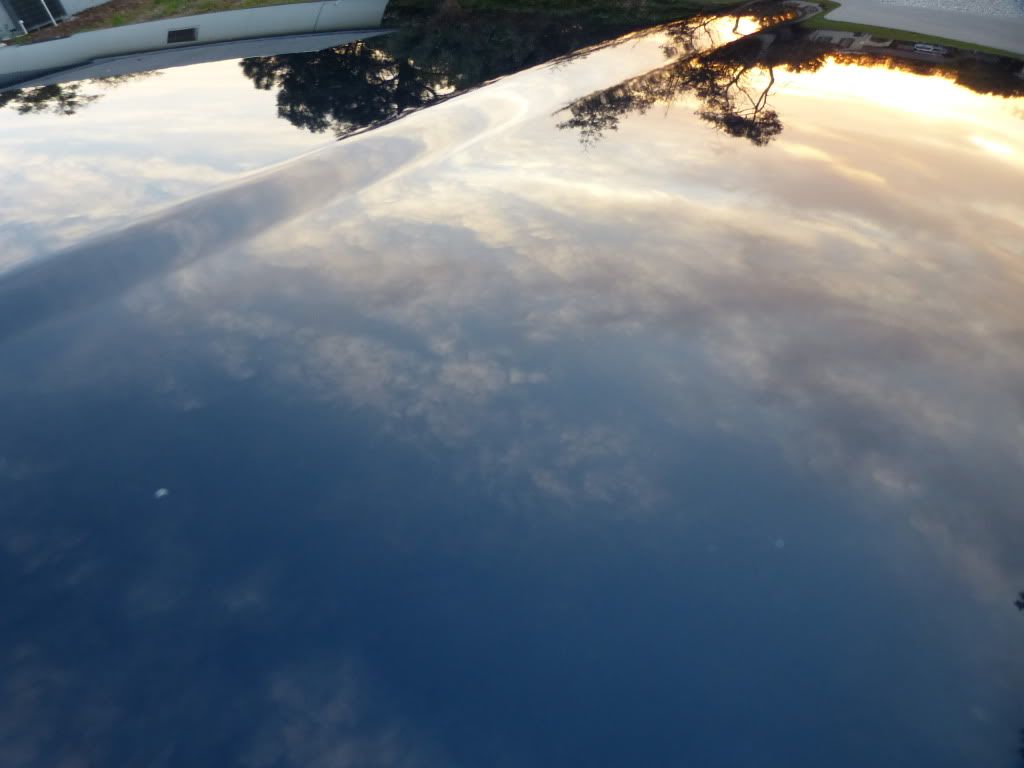
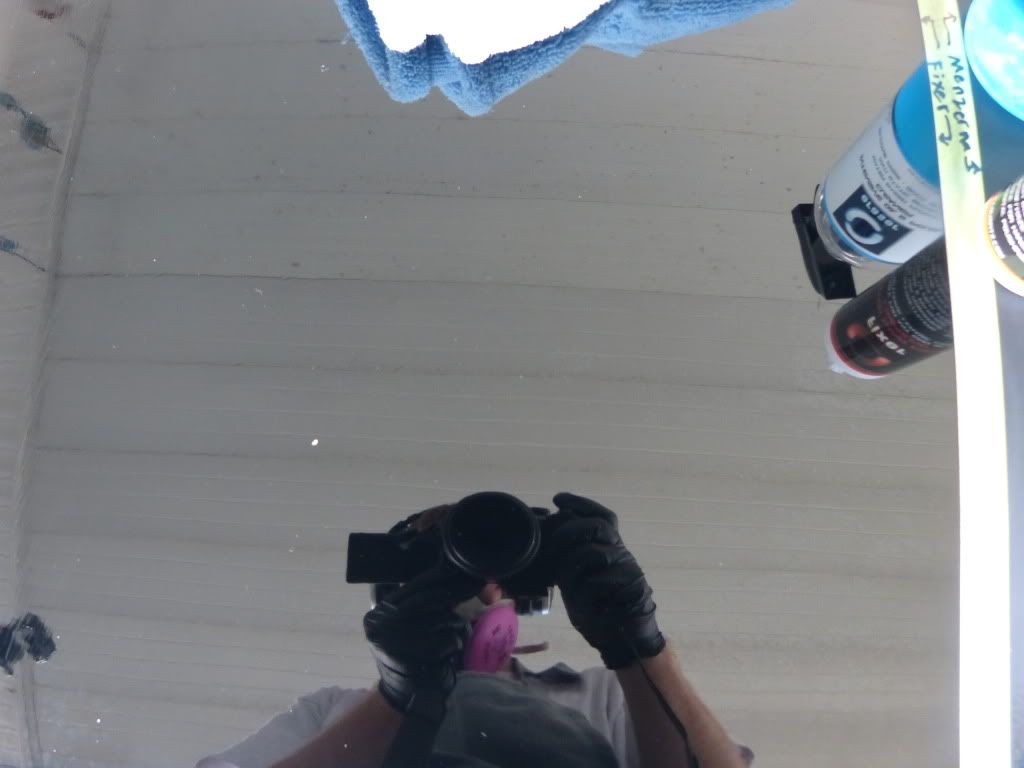
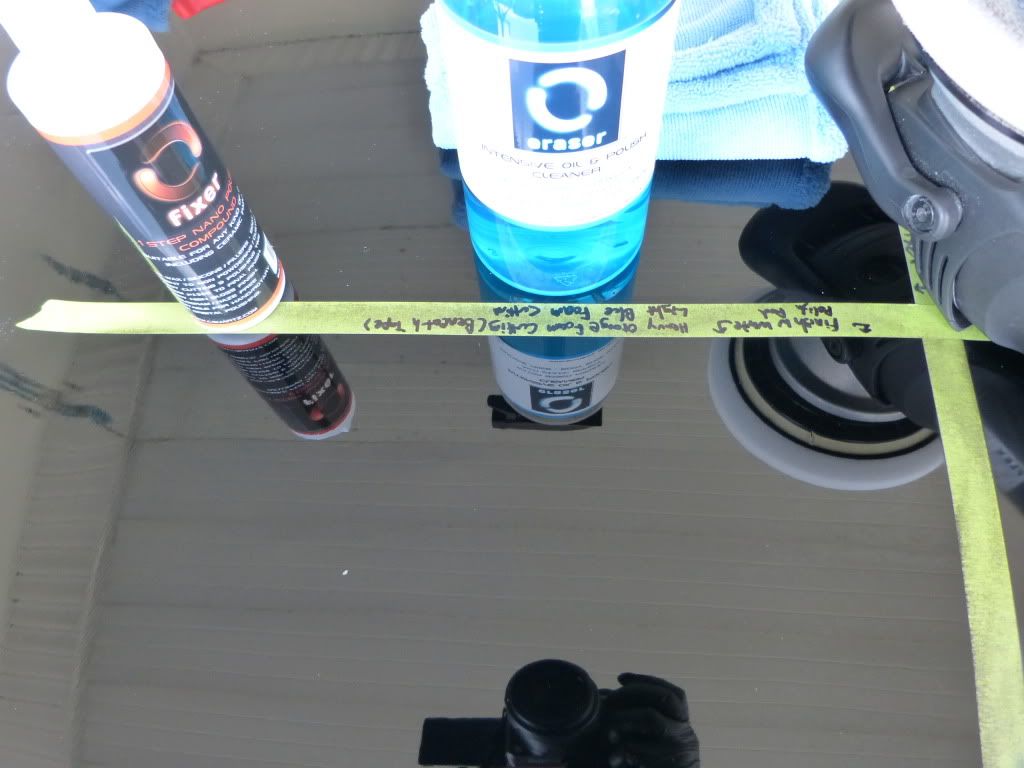
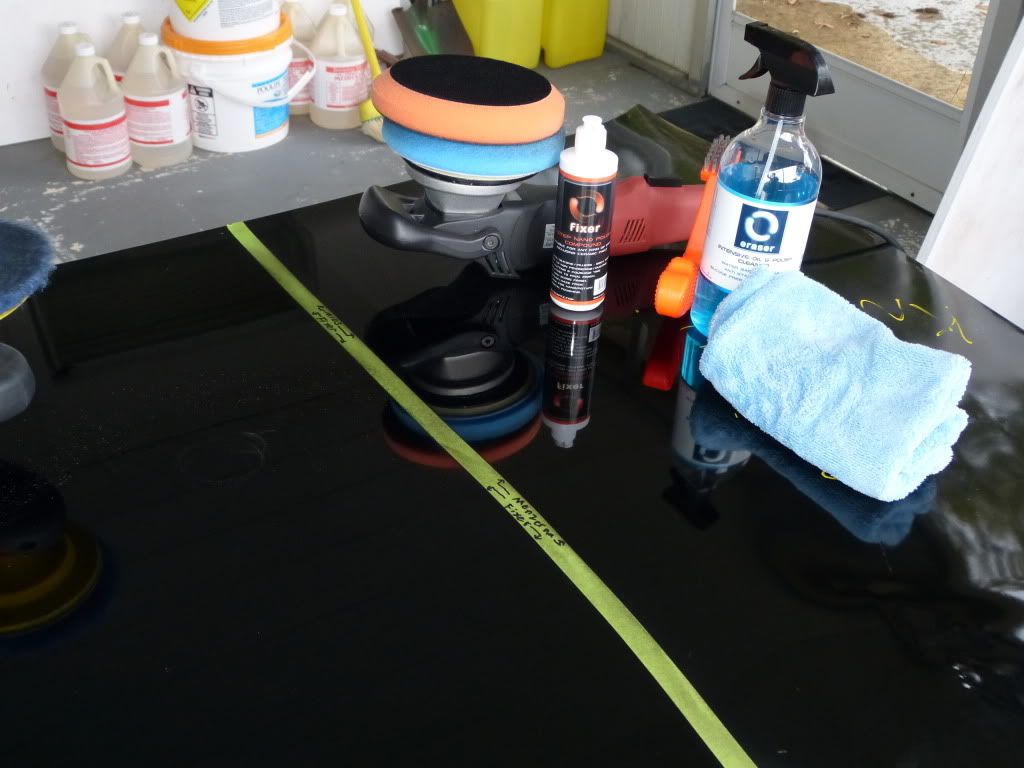
Photos of the sections and products used:
Product Description From AG:
CarPro Fixer is a one step polishing compound made for any kind of paint surface: freshly painted, soft, hard and new ceramic scratch resistant paint. All can be polished quickly and easily without leaving holograms or swirl marks. CarPro Fixer is the finest yet fastest one step polish that leaves the surface glowing with a perfect shine.
Fixer - A skilled worker who mends or repairs
Fix – To repair, mend, or restore - To put right or in order
What a fitting name for a polish designed and marketed to correct paint from start to finish. When I first heard the name I thought it a little odd/interesting but after thinking about it what name could be better? P073ZD? M1525? No, "Fixer" actually makes perfect sense but does it live up to its lofty claims? As with most things actions speak louder than words or a name. So what actions is Fixer capable of? Well, it certainly has a few tricks up its sleeve but let's start with a brief intro and then the details.
Introduction:
When I write a review I don't often have the luxury of months of experience with the product. With Fixer however I've been using it since it was just a baby. Along with other detailers and enthusiasts I was using a product called Polish #3 sometime last year. Polish #3 was a beta version during the development cycle. I know your time is valuable so I'll skip that whole story but I do want to show you what the product was capable of even during development.
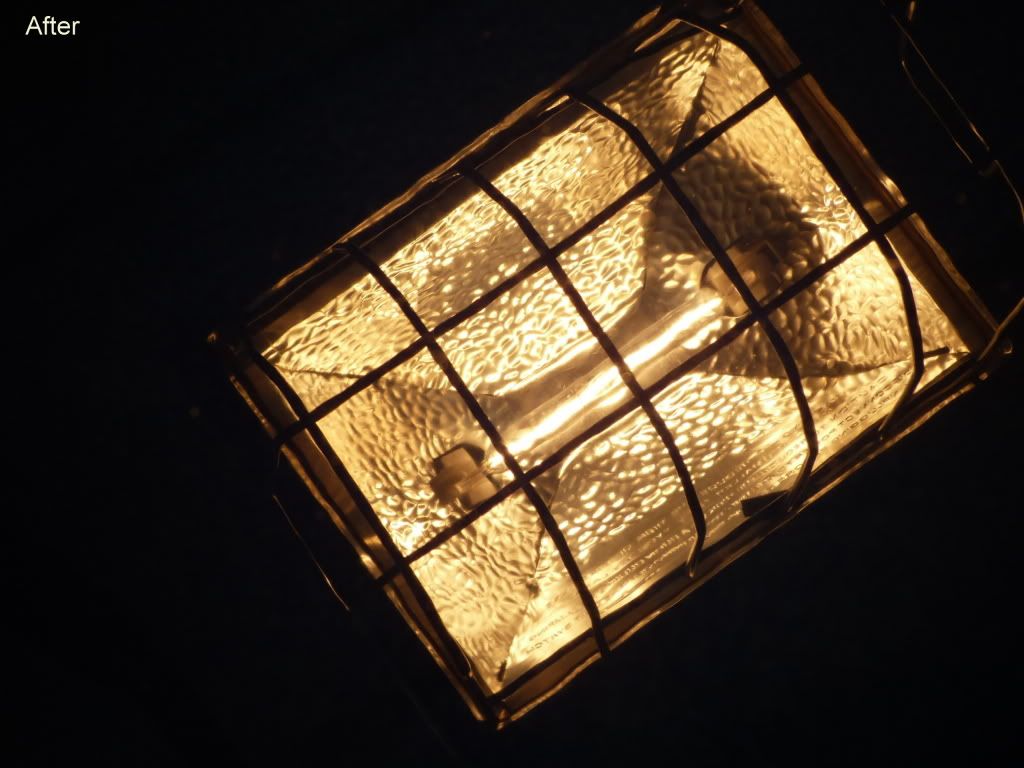
Don’t mind the dirt from the lawn guy (Picture taken the following)
Details:
1.- Packaging: Plastic Bottle
2.- Nozzle: Self-Cleaning nozzle/lid
3.- Color: White
4.- Consistency: Lotion
5.- Price at time of review: 8.45oz. (250ml) = $12.99
6.- Price at time of review: 16.00z. (500ml) = $18.99
7.- Price at time of review: 33.81oz. (1000ml) = $31.99 (Regular $37.99)
8.-Manufacturer: CarPro
9.-Made in: Korea
Product
Self-Cleaning nozzle/lid
Tips:
The following is kind of my generalization of how I use Fixer. Depending on the many combinations of controlling factors never be afraid to tweak things and see what actually works at a given time. I’m no master of the rotary but this is what works for me with Fixer.
Note: Just after the following “Rotary” paragraph my friend Maesal gives a great video demonstration of Fixer in action.
Rotary:
1.-Apply a small amount of product to the pad (even less than with many polishes)
2.-Start on the slowest setting and spread the product.
3.-Turn the speed up a little and go across your section a couple times allowing the lubricants to become fully effective.
4.-Turn the dial up further as you settle in for correction of the paint. 1200 rpm is the max speed I would use with Fixer but as usually find exactly what works for your conditions and style. For what its worth Fixer definitely seems to like slower speeds.
5.-For a diminishing abrasive polish working time happens a little faster than you might expect. As you see correction taking place, and the swirls and/or oxidation leaving the section you are ready to begin finishing down.
6.-Dial down the speed a little and continue. At this point the opacity should be turning. As you make your last few passes continue to lower the rpm down to 600-700 rpm and finish using the minimal amount of pressure needed to keep the pad flush with the paint surface.
Tips:
1.-Extending the working time
If you need to extend the working time or finishing time simply spray a fine mist of water onto the pad and then continue working the polish, finishing down as described above.
2.-Soft paint
When dealing with softer paint I've found I need to let up on the pressure a little sooner in the cycle extending the finishing phase as described but earlier on in the process or by using a mist of distilled water in the way I mentioned.
3.-Finishing
When finishing don’t allow yourself to go all the way to the edge of your section where some polish may not be broken down to the same level as the rest.
The abrasives in play are diminishing therefore finishing down is a very important step. The reason for this is that as you are polishing the abrasives become smaller and smaller as they are rubbed against themselves and the paint. To finish properly with any diminishing abrasive polish requires that you do not stop polishing until the abrasives are fully broken down. Of course you do NOT want to dry buff the paint so you must stop when the polish tells you to or add a fine mist of water to the pad to reactivate the lubricants and continue to finish.
I made that sound entirely more complex than it has to be so lets see if we can show how simple it can be. I’d like to say thanks to my friend Maesal who posted the following video awhile back. I saw this a couple months ago and enjoyed it so much I thought I would ask Maesal if I could post it here. Maesal, thanks again for the excellent videos and for generously allowing me to use this one in my review! Looks great mate!
Video-Rotary Application: 2000 Grit removed with Fixer and Orange Pad on 700 RPM
[ame=http://www.youtube.com/watch?v=Z2A9YYX7p5Y]Review Fixer DW 2 - YouTube[/ame]
Dual Action:
1.-Apply a small amount of product to a new pad or even less (2-3 pea sized drops) to the pad if it’s already primed or used on a previous section.
2.-Start on low and spread the product across the section.
3.-After allowing the lubricants to begin working, turn it up to correction speed and apply downward force on the pad. The exact number that you consider correction speed will hinge on your machine, the paint, your arm movement, and the pad you have selected.
4.-As the defects are removed and polish turns opacity dial the speed back a bit for the final passes.
With foam pads on the Flex 3401 I’ve been using around 5-6 for correction and 4-5 for the last few passes. With MF pads I used speed 5 1/2 for the majority of correction and finished on 4. I’m new to the mf pads but you’ll see my results a little later.
One of the great things about Fixer is how dust free it is. I mean really dust is almost non-existent and often entirely non-existent. This does not however come at a small cost in my opinion. I am only theorizing but I believe there's a correlation. While it doesn’t dust the pad will lose a lot of cut if not cleaned on the fly after each section. Depending on the paint the amazing cut you found on one section you will not find on the next if you don't clean it on the fly in between. Of course most of us clean the pad often anyway so this should not be an issue.
Softer Paint: Fixer vs. Meguiars vs. Menzerna
While I have been using Fixer for a while now, I had not used it side by side with its competition on a large scale. So last weekend using both the new LC hybrid pads as well as wool and my very familiar Hydrotech pads I completed some Meguiars / Menzerna / Fixer testing side by side on a test panel.
Preparation:
A few sections were quickly sanded down by hand with 1500 grit paper. After hosing down the panel I washed with ONR and a rolled edge mf towel.
Application:
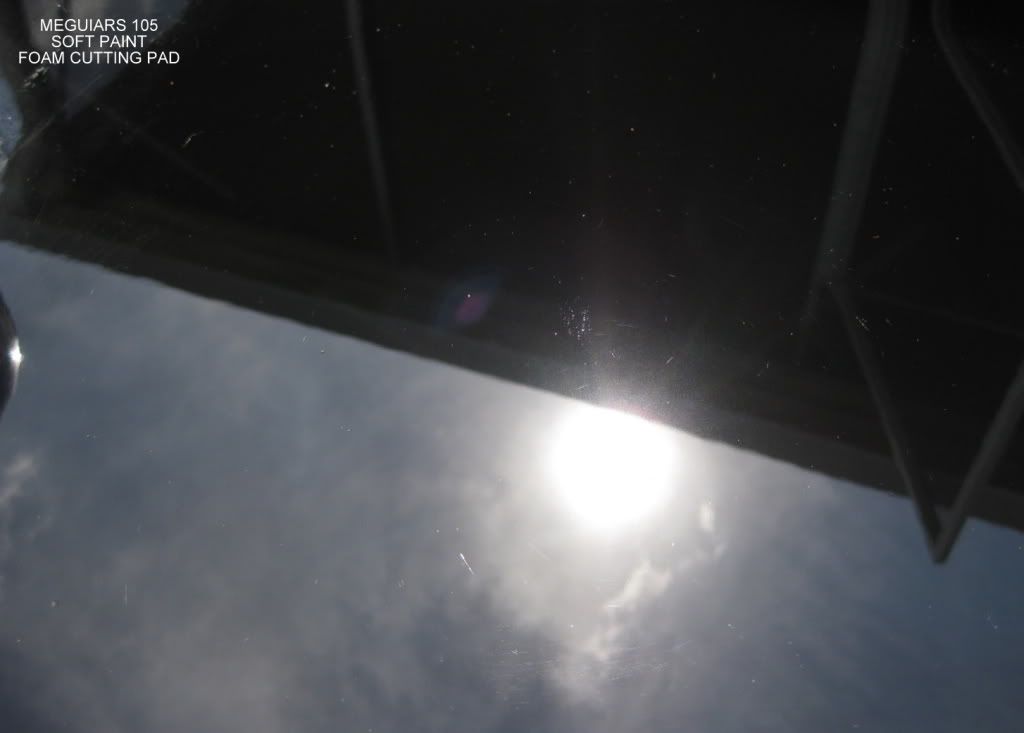
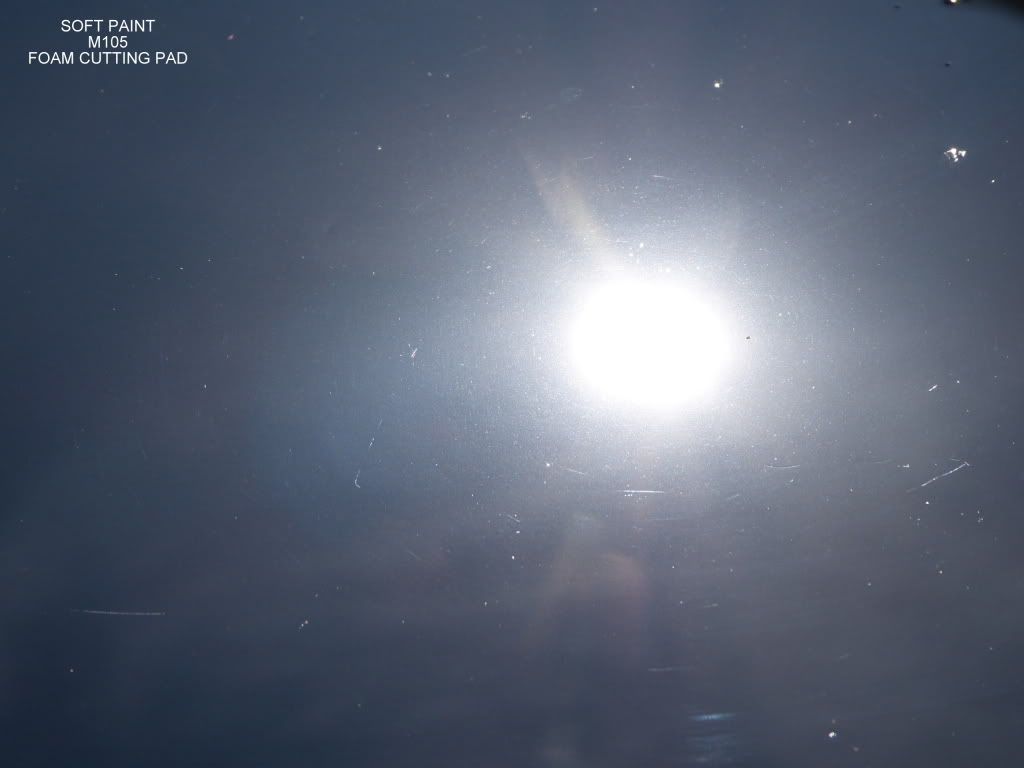
I started with wool on the Rotary using Fixer on one section and M105 on the other.
As advertised Fixer easily removed the 1500 grit marks using a wool pad and rotary. Of course M105 also removed them with ease.
I am probably partially to blame however a combination of the wool pad and soft paint left a gift for me. The wool pad left these gifts with the M105 as well.
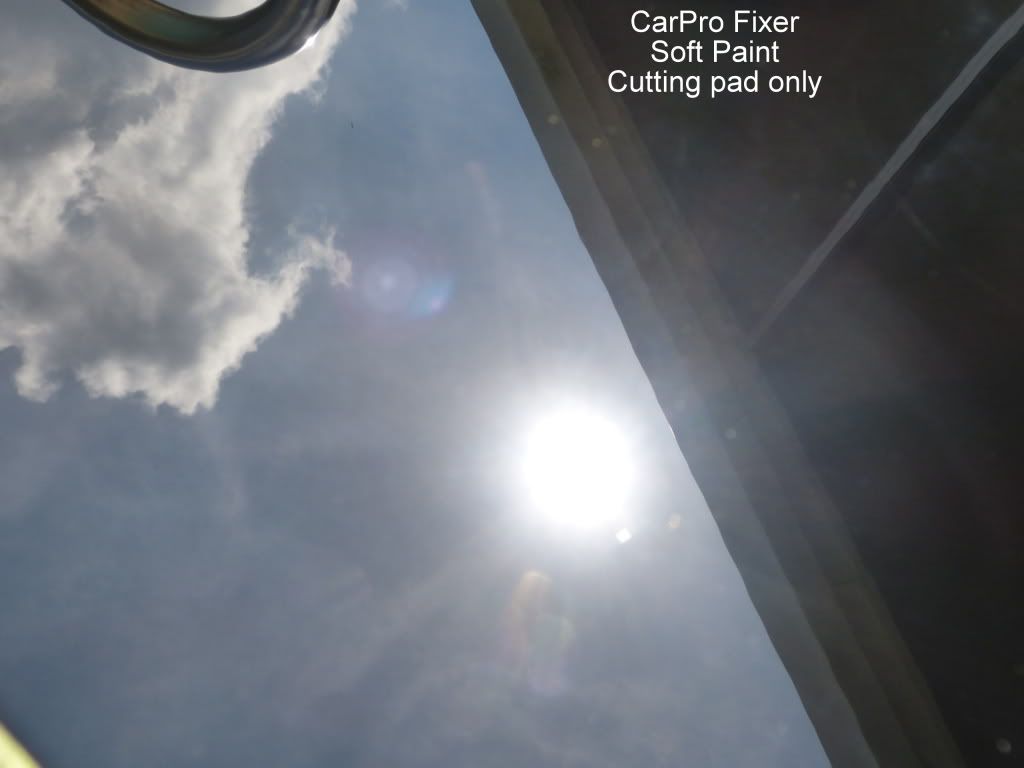
But what could it do with a D/A and foam pad on these same 1500 grit marks? On the next section I used the Orange Hybrid foam pad from Lake Country. Once again Fixer removed the 1500 grit marks leaving a pretty good finish for a heavy cutting pad. There was a slight haze under LED light but there was certainly no tick marks or swirls.
Next I used Fixer with a polishing pad.
The polishing pad easily amped up the gloss on the section I had previously used the orange pad on.
On the section I had used wool earlier I followed with the light cutting pad on one section and the finishing pad on another. Fixer and either pad were able to remove the wool marks and leave an lsp ready glossy finish.
I also attempted to remove a section of sanding marks with Menzerna SIP and yet another with WG TSR. Admittedly the Menzerna portion was not a fair comparison as they aren't marketed to do better than 2000 grit as far as I know. However SIP and TSR are the most aggressive of the Menzerna polishes I own. Both had a tough time getting the scratches all the way out. I thought I had them at first but under close inspection I could see faint lines beneath the gloss.
Photos of the sections and products used: