Concours.John
Auto Detail & Restoration
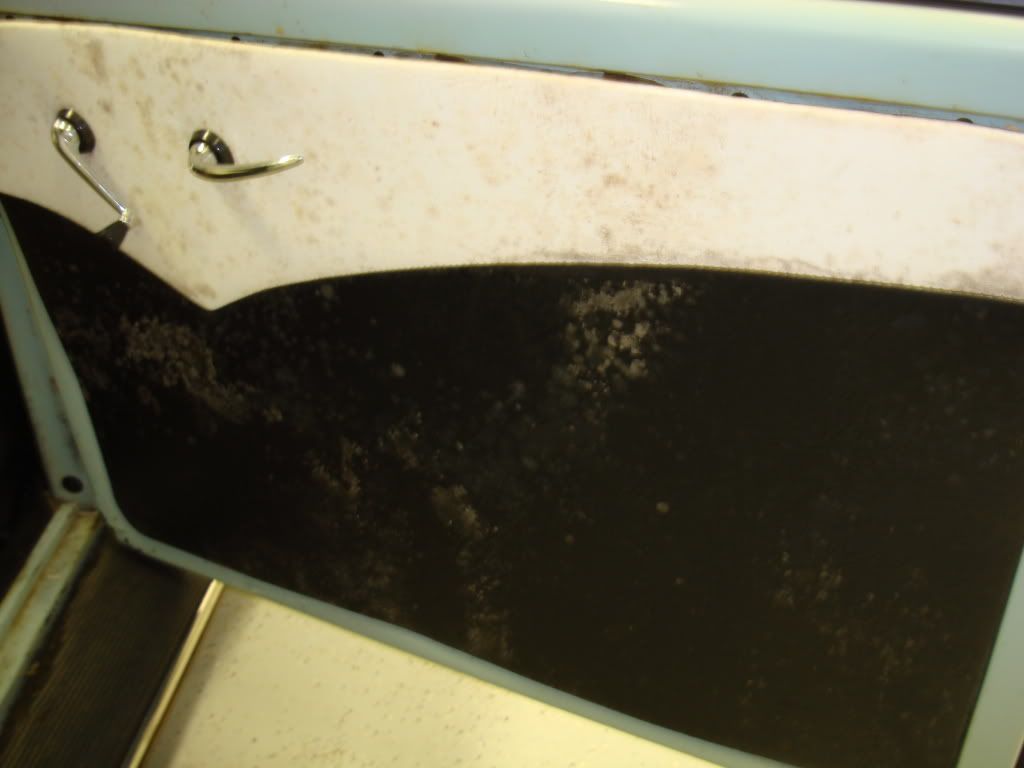
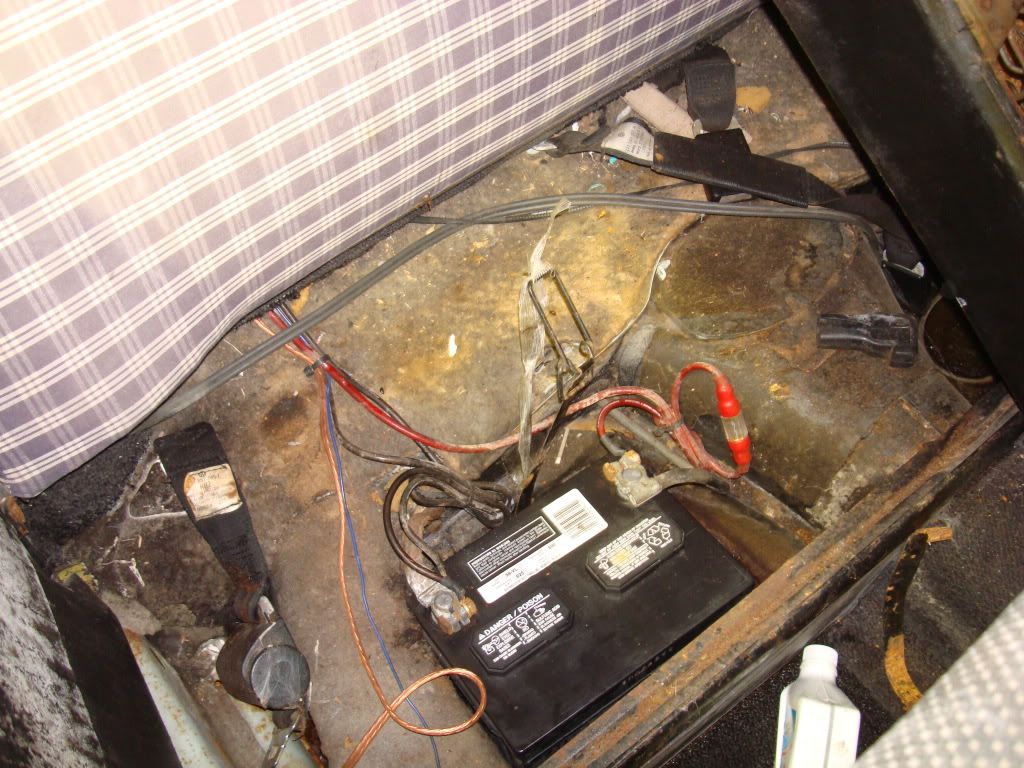
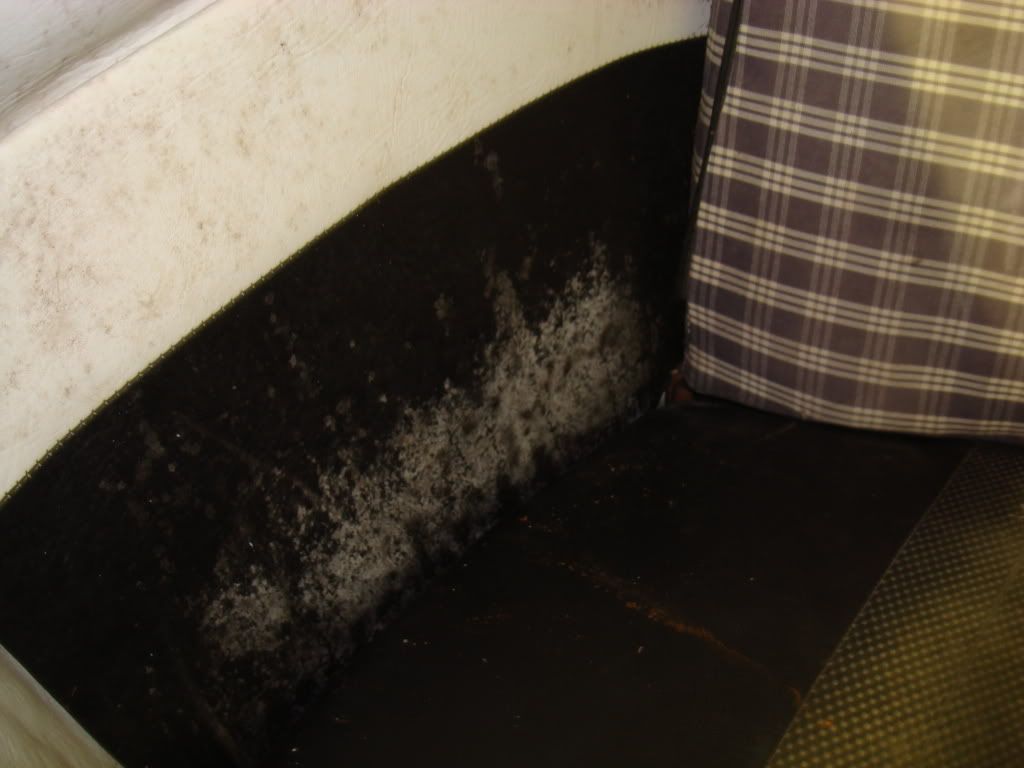
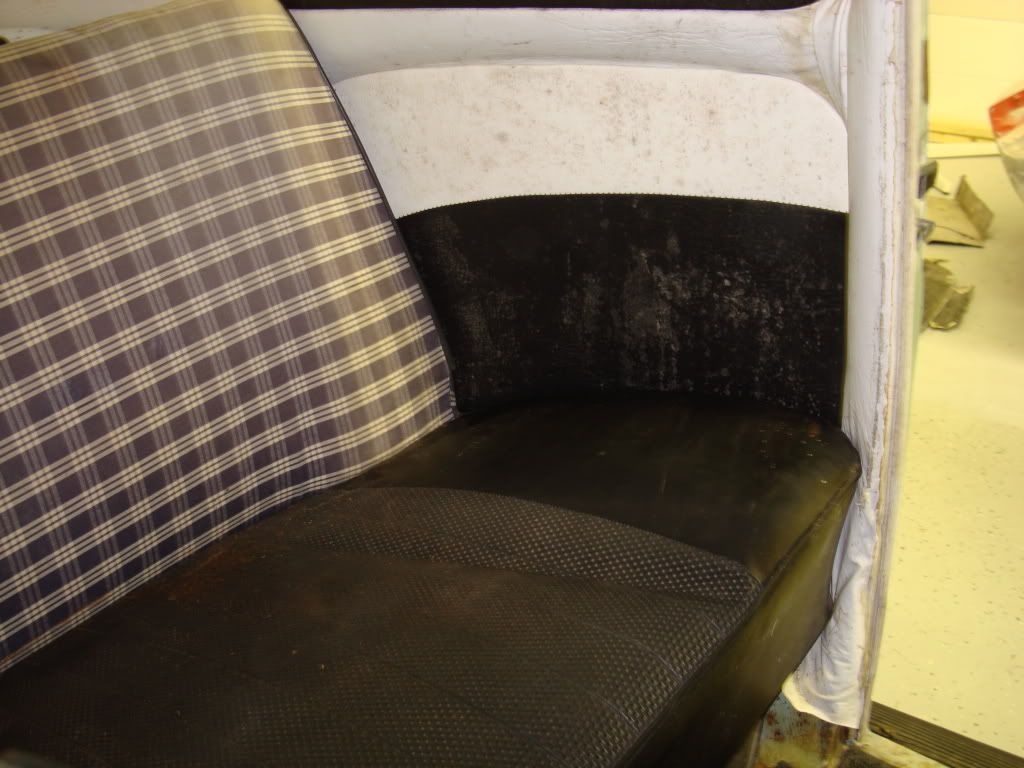
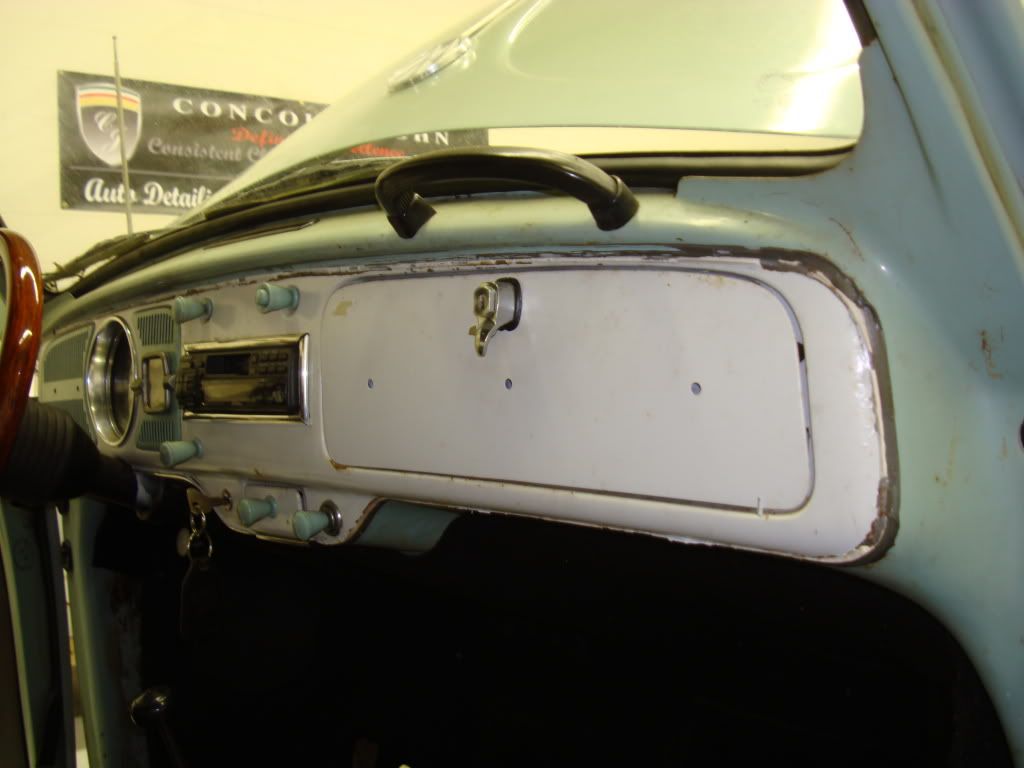
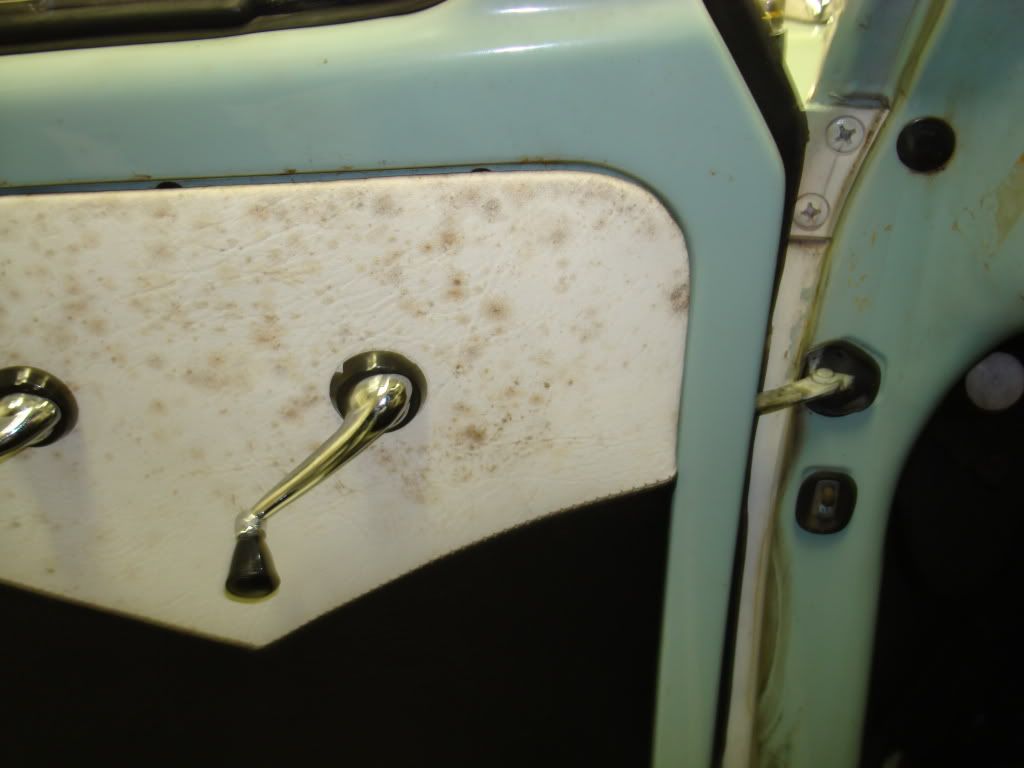
I haven't post some work lately so here goes. This is a major detail or mini restoration. This 66 Beetle was stored for a couple yers outside under a cover. Unfortunately it did not offer the best protection.
This will be broken down into parts as not to make the thread to picture heavy. I just started on it in between another project. I will update as I move along in stages.
The plan.
Gut and remove interior and all glass
Treat any rust scale
Respray dash and door jambs
Re-upholster seats w/padding and headliner
Install complete new interior
Install all new seals
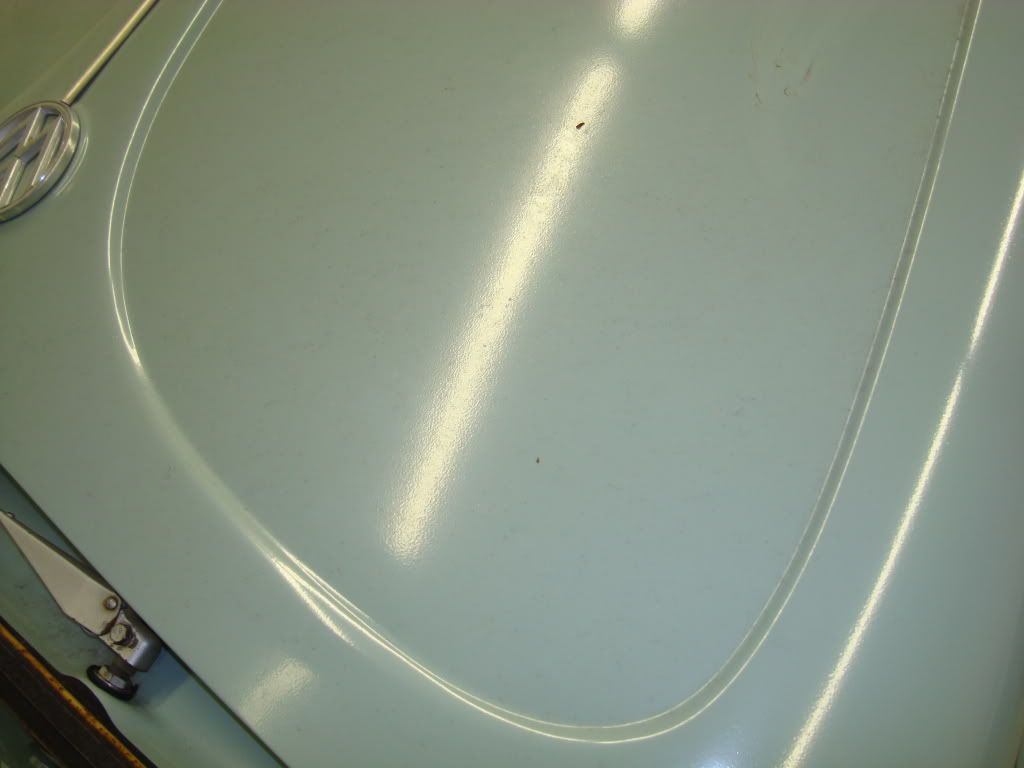
Complete Correction exterior
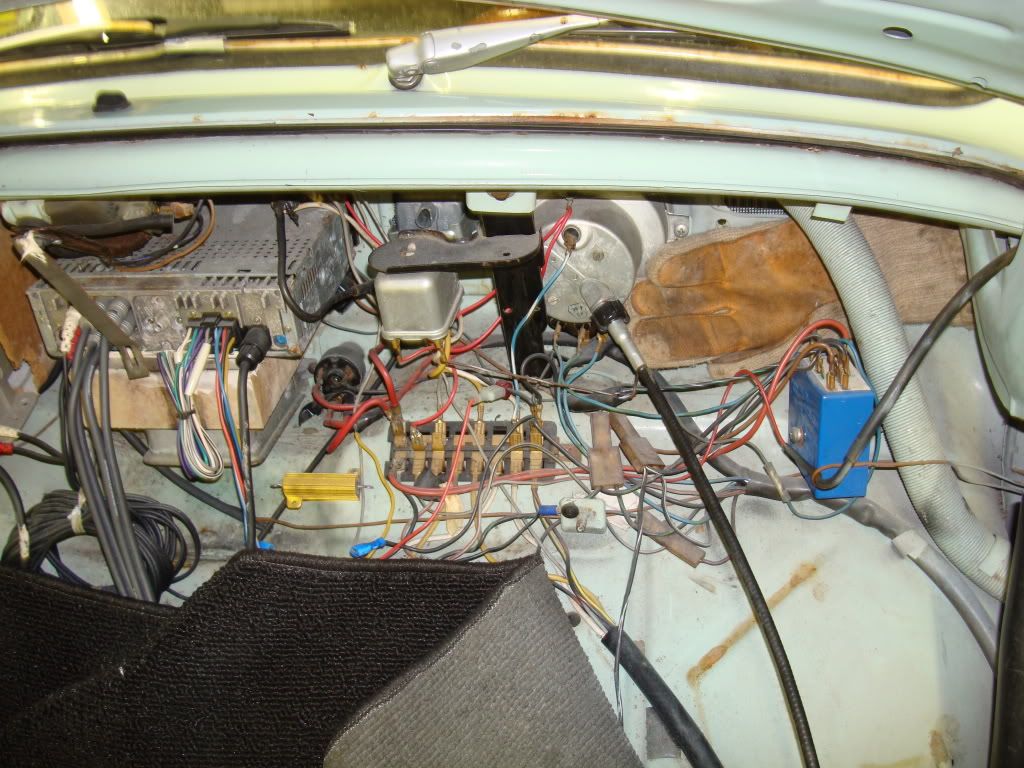
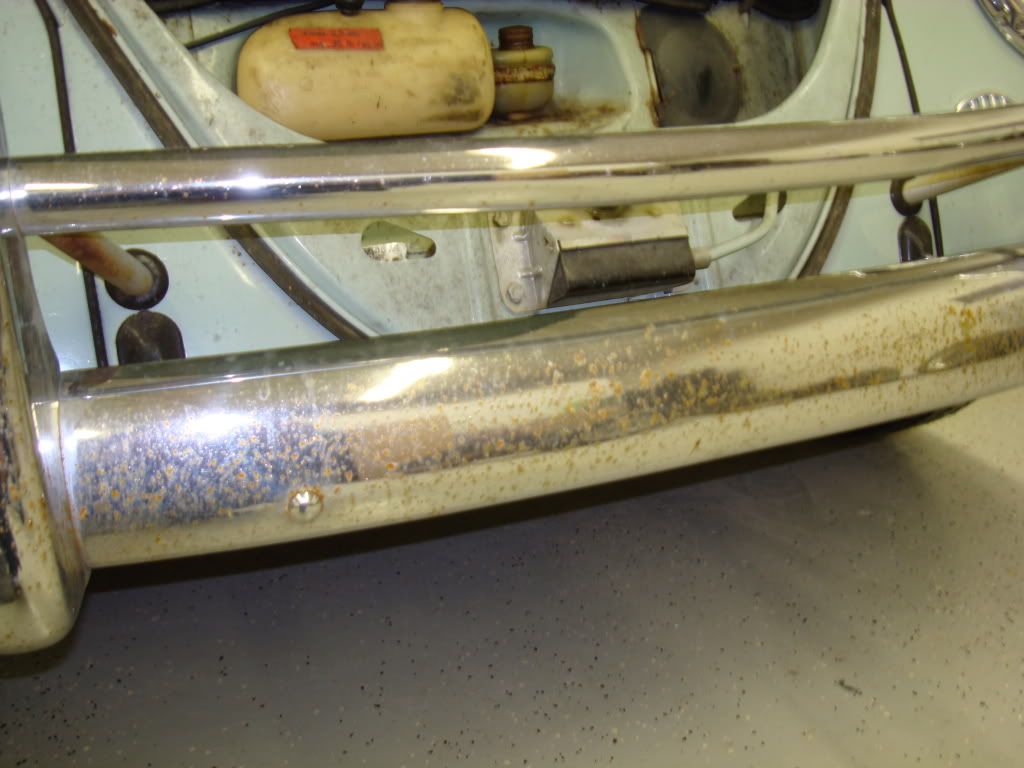
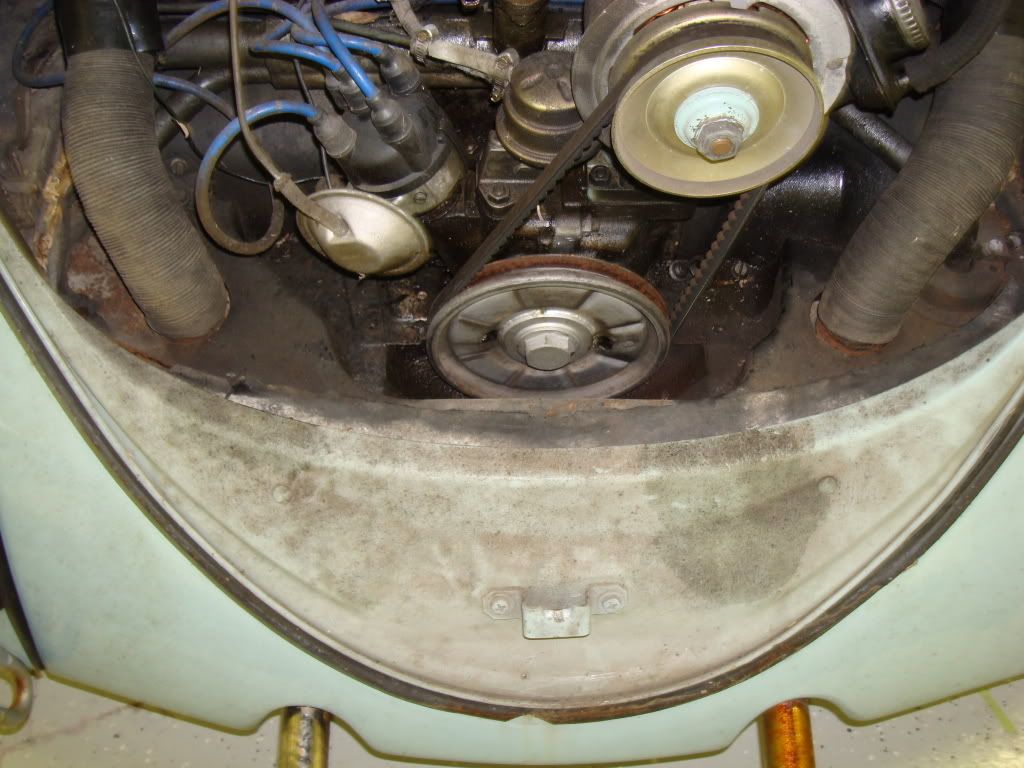
Engine bay and trunk
New chrome bumpers/ redo brackets
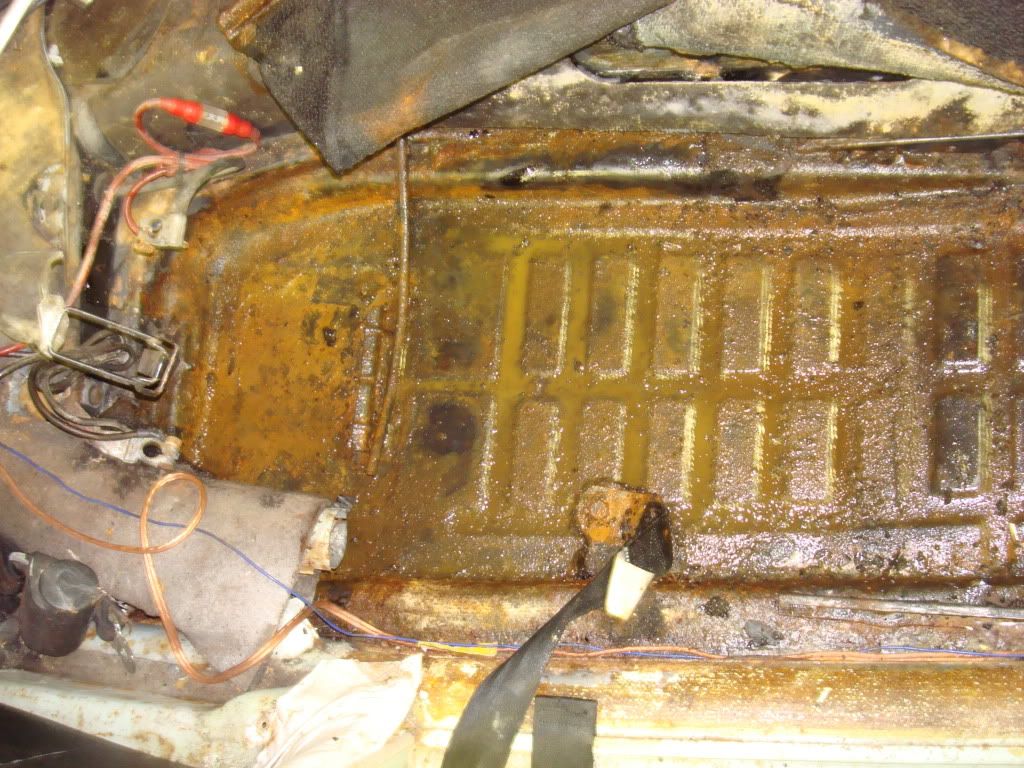
Here we go with the inspection:

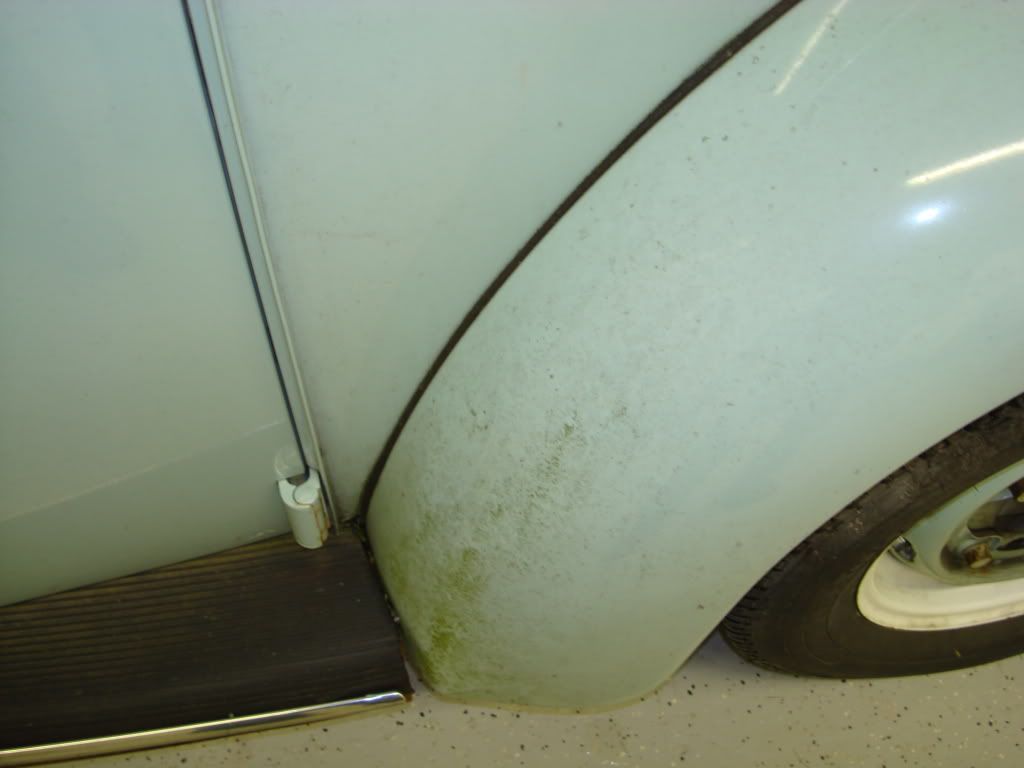

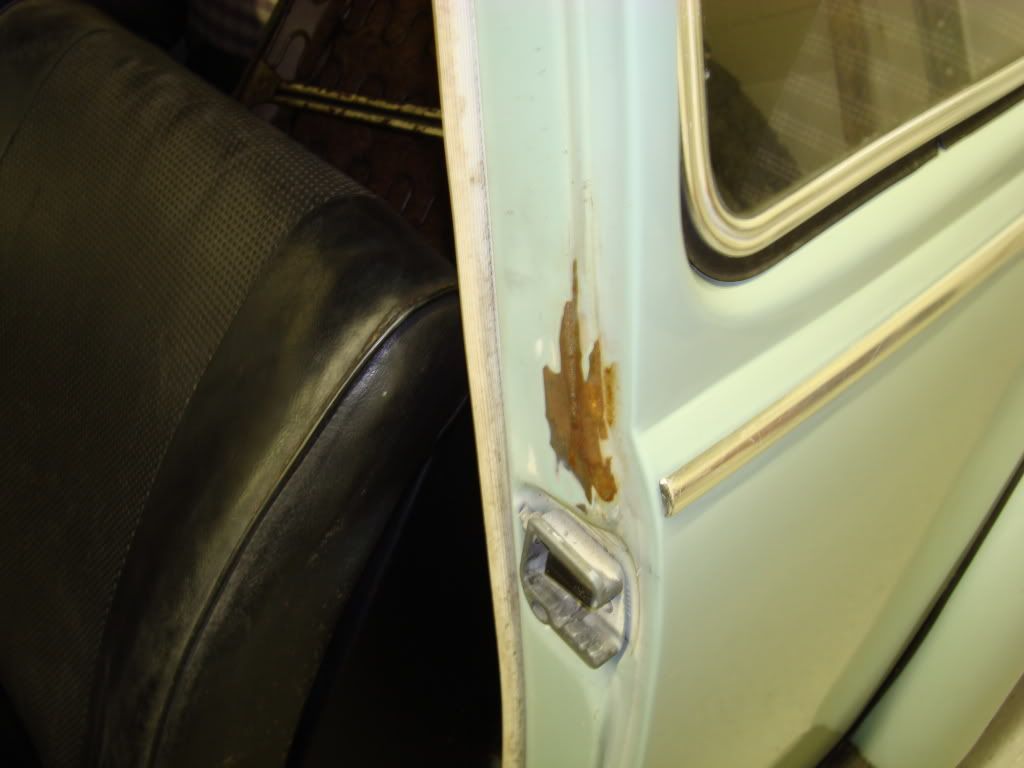


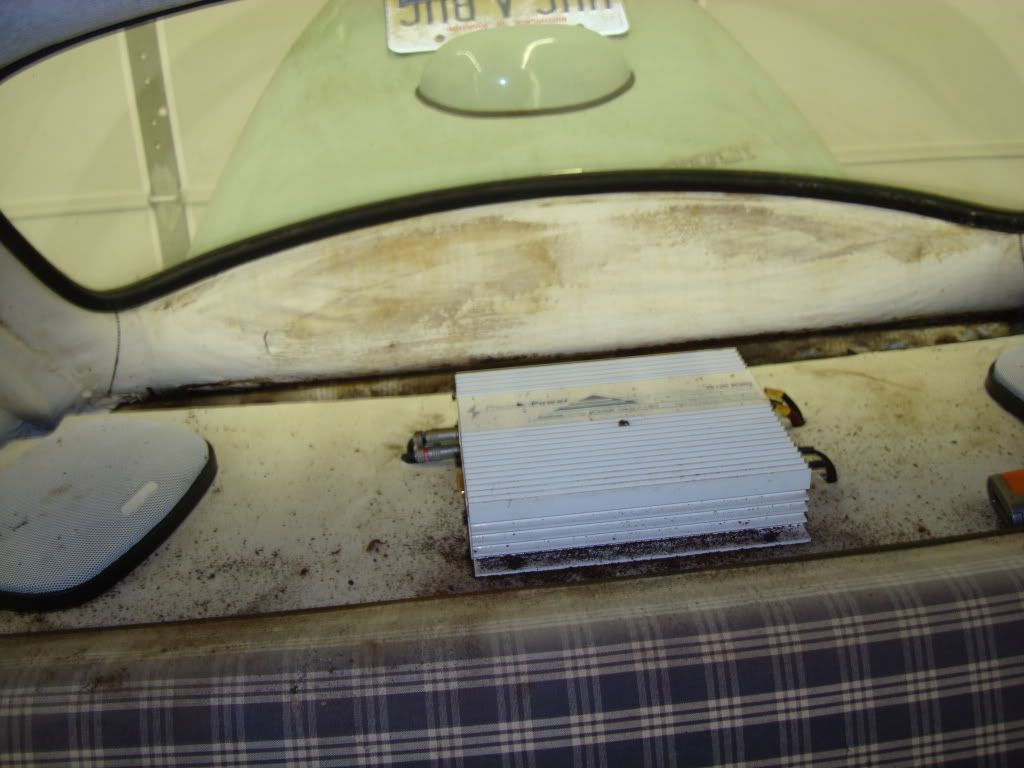

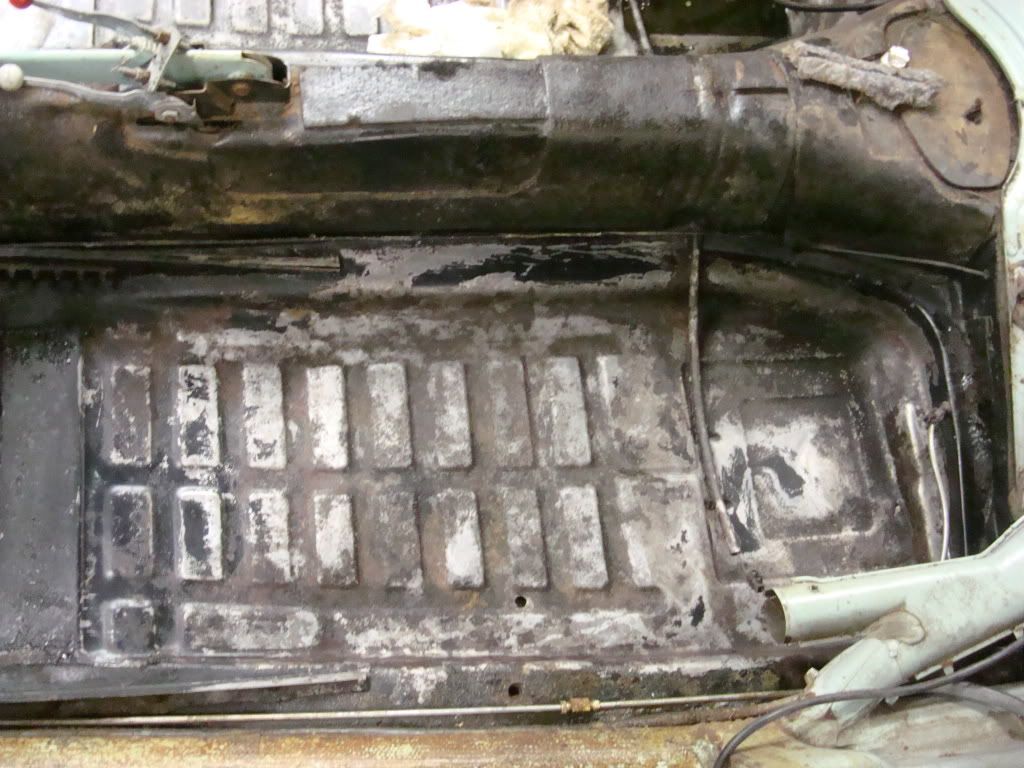
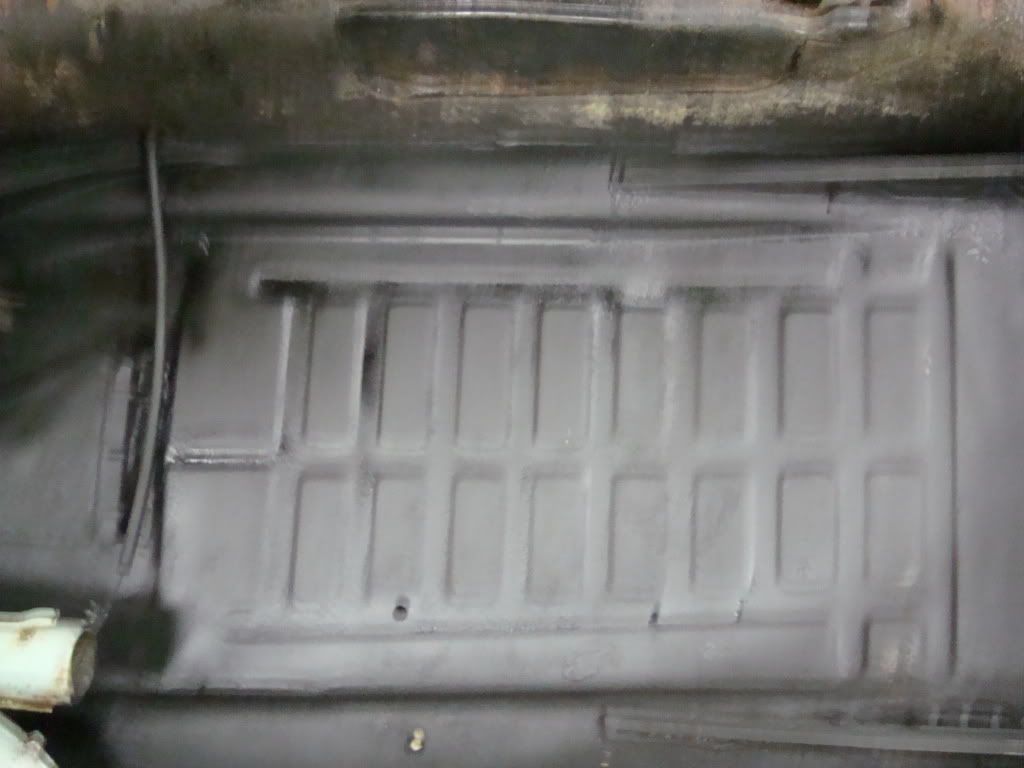
Someof the corrosion issues this will all be treated with a three step process.
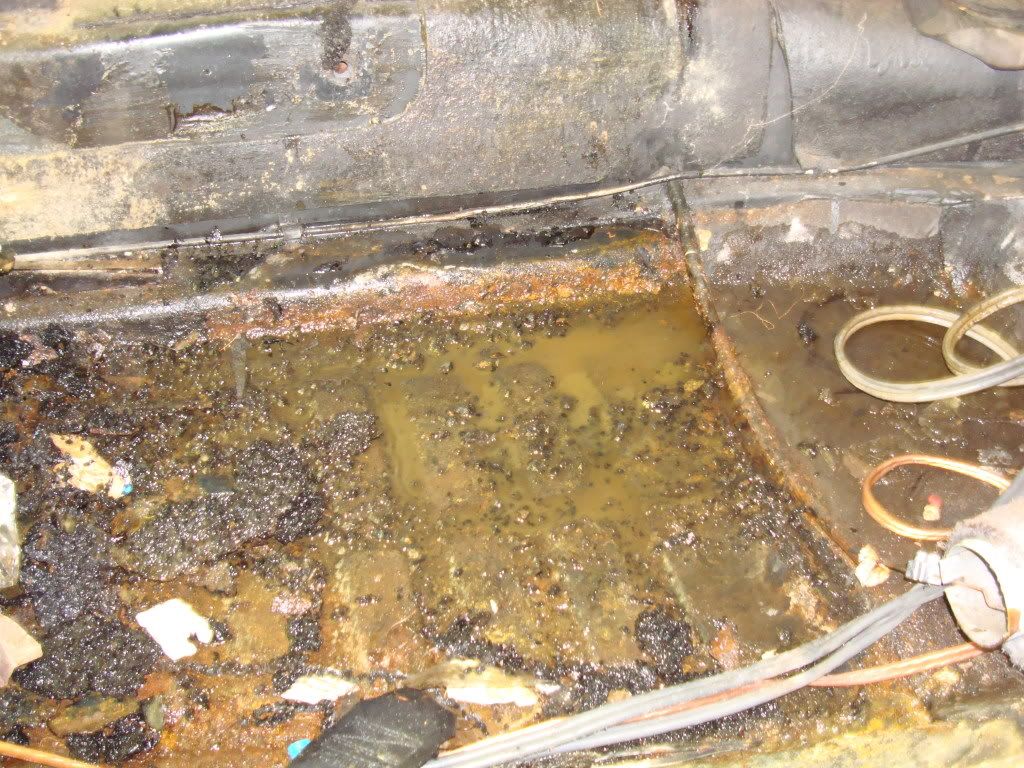
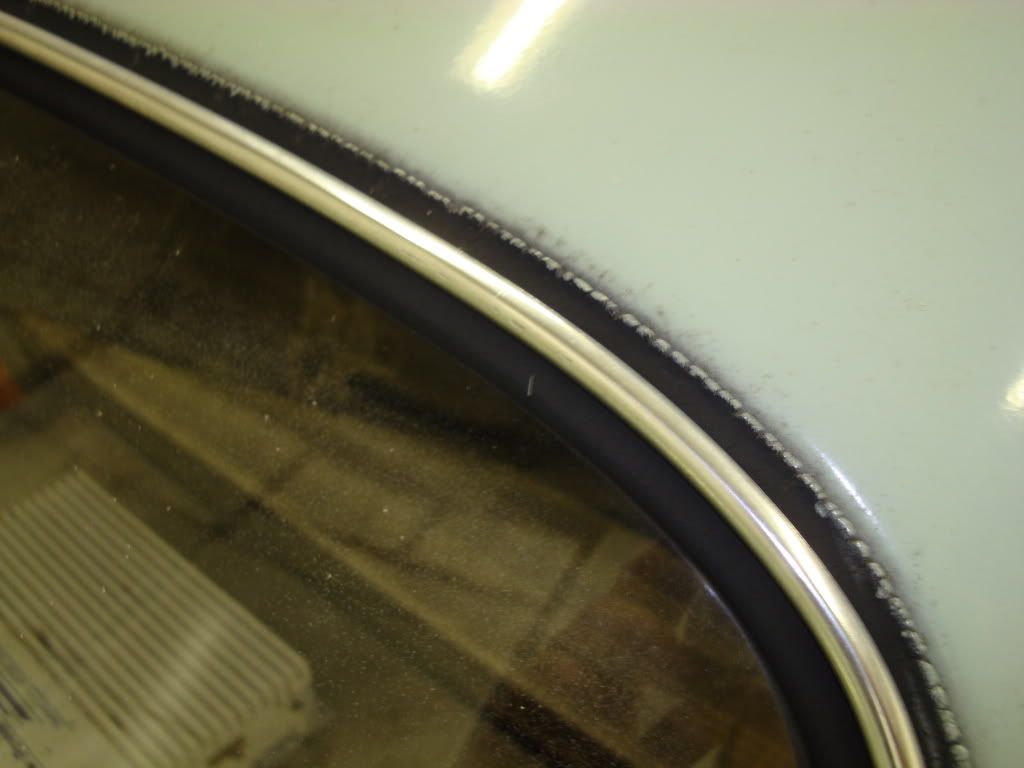
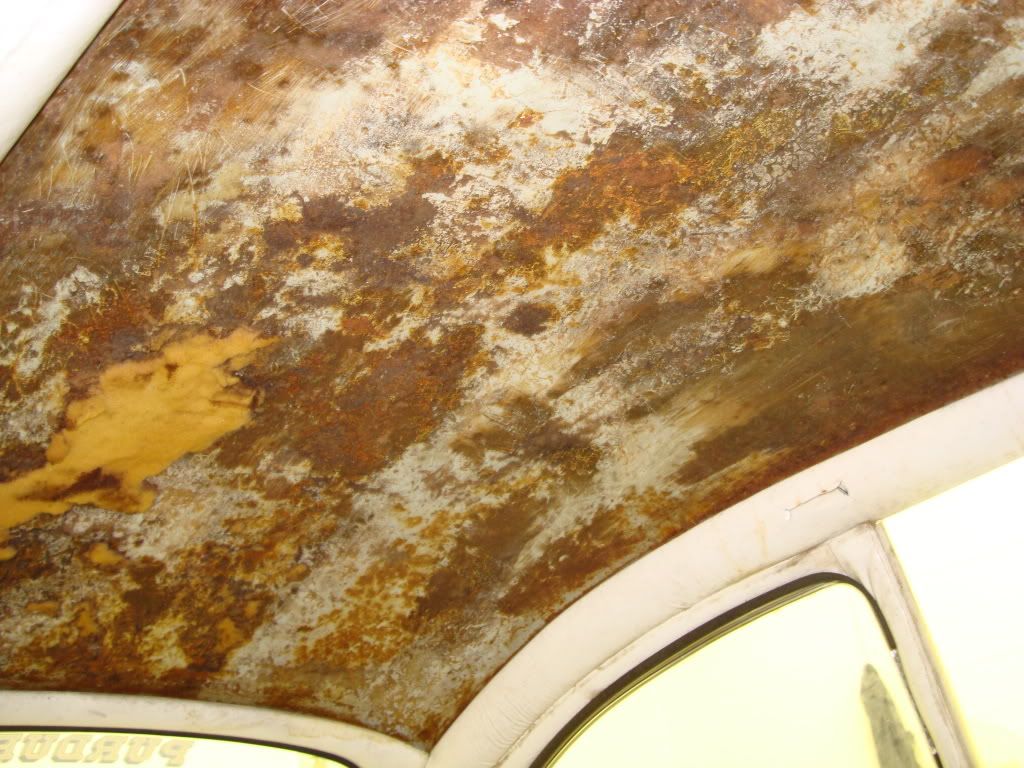
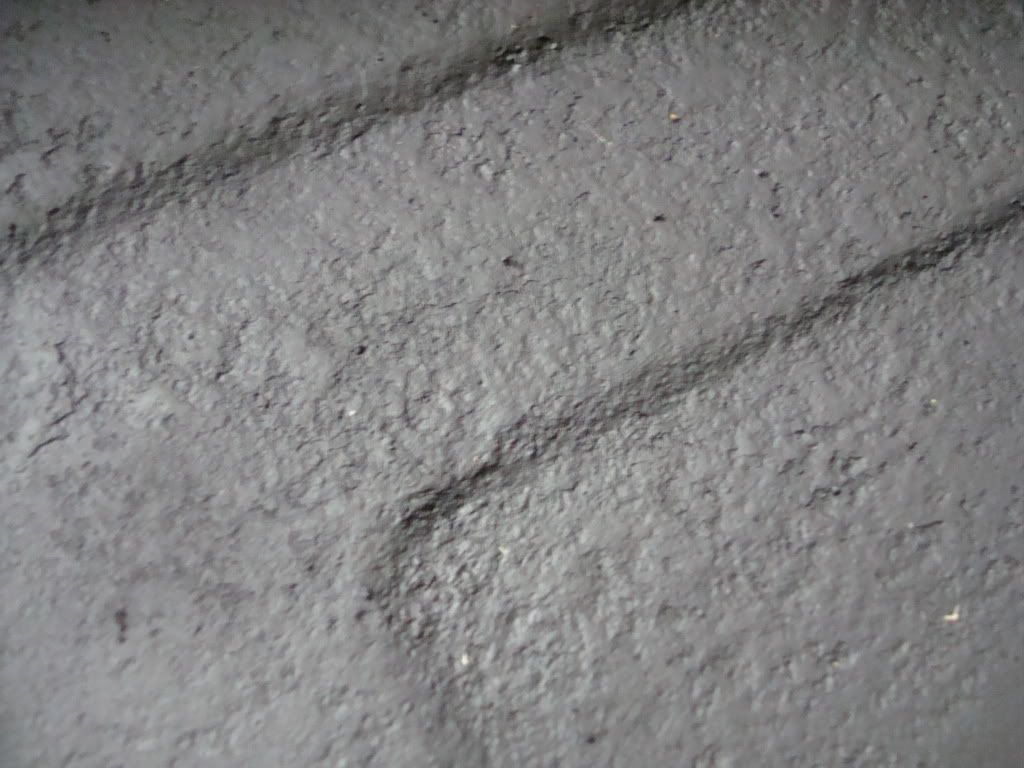
A close up yes the shiny is water under the paint.
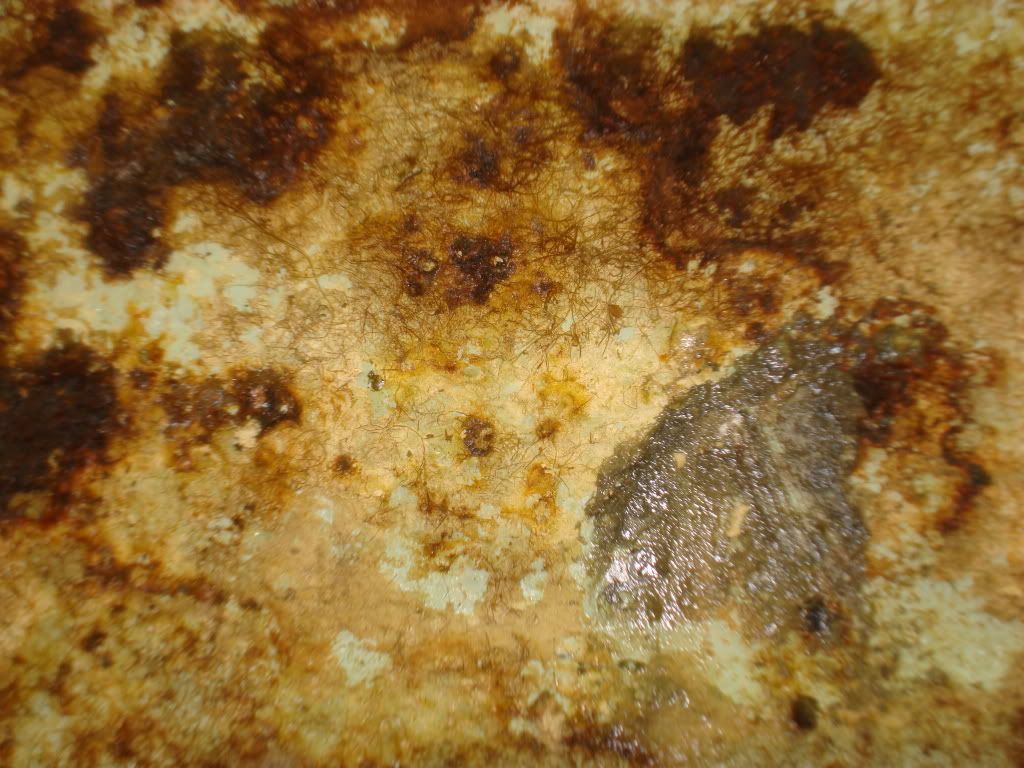
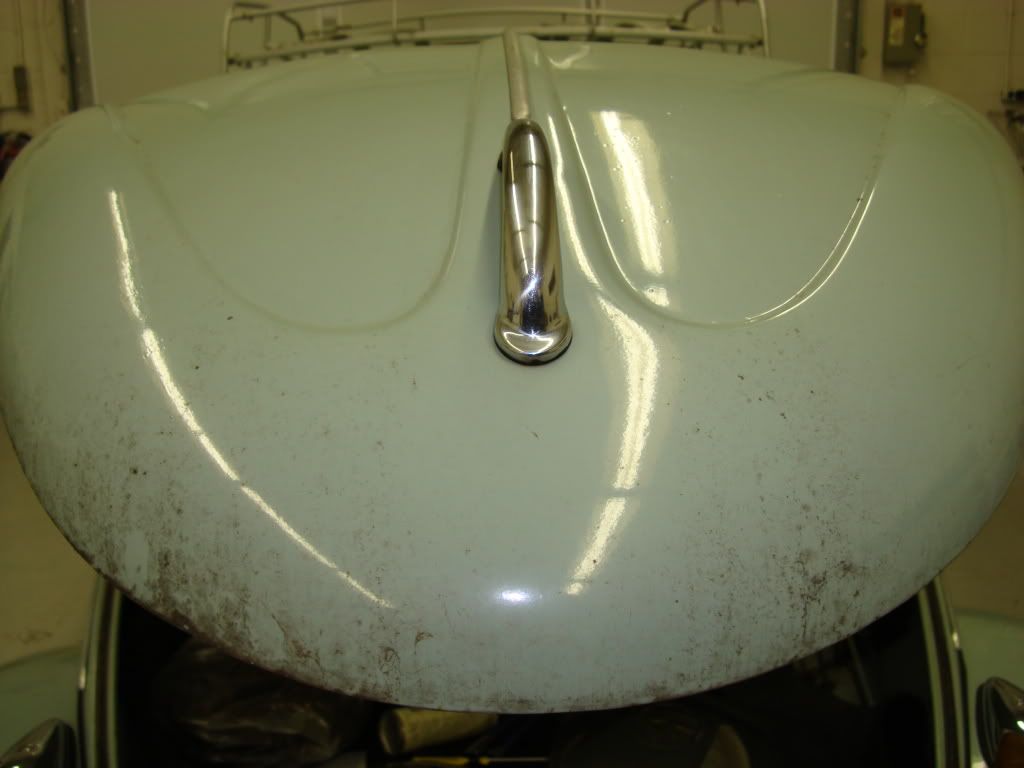
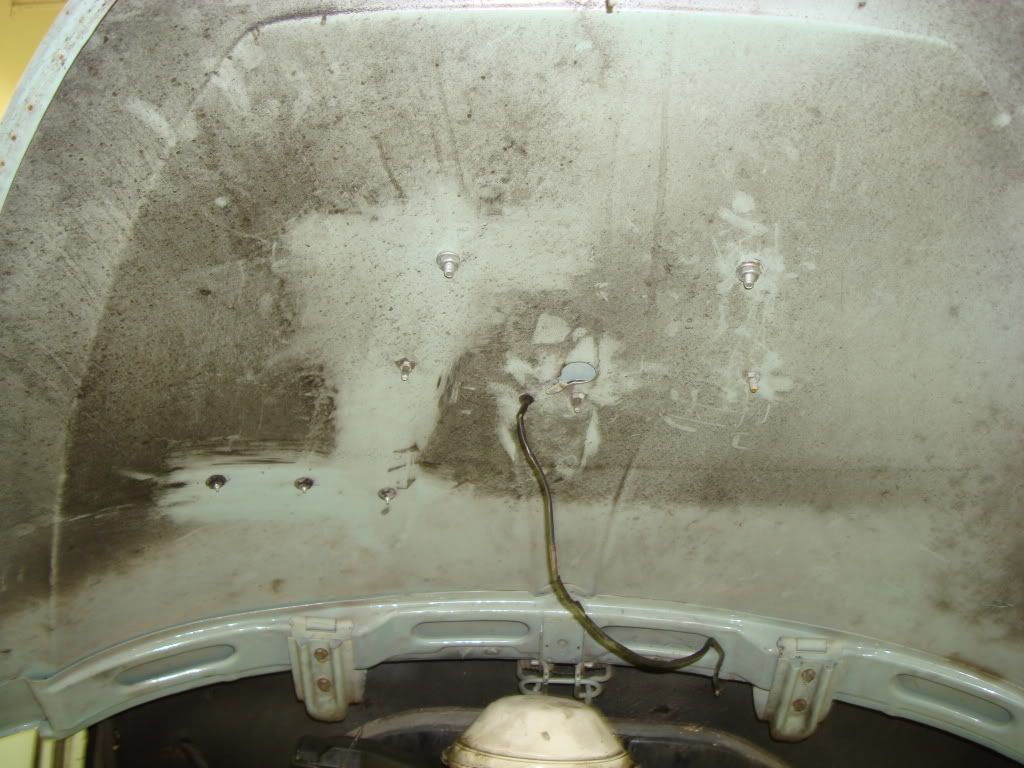
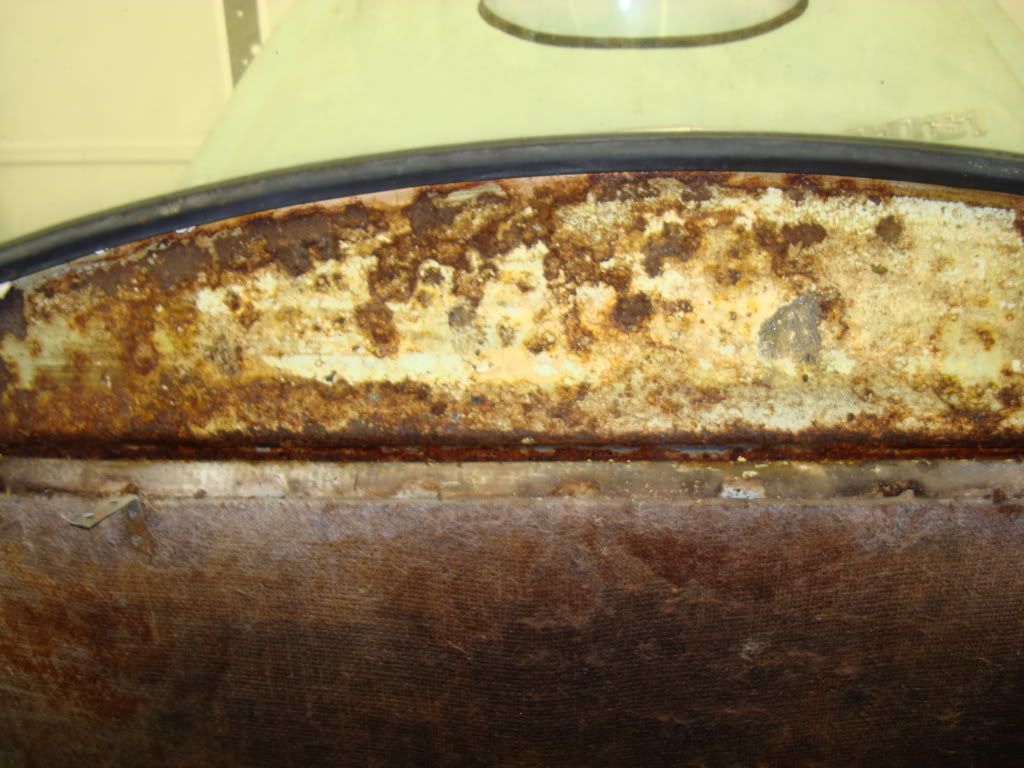
The roof It just had dried glue and some surface rust which was easily d/a sanded and treated with a conversion primer it will be sealed with another primer.
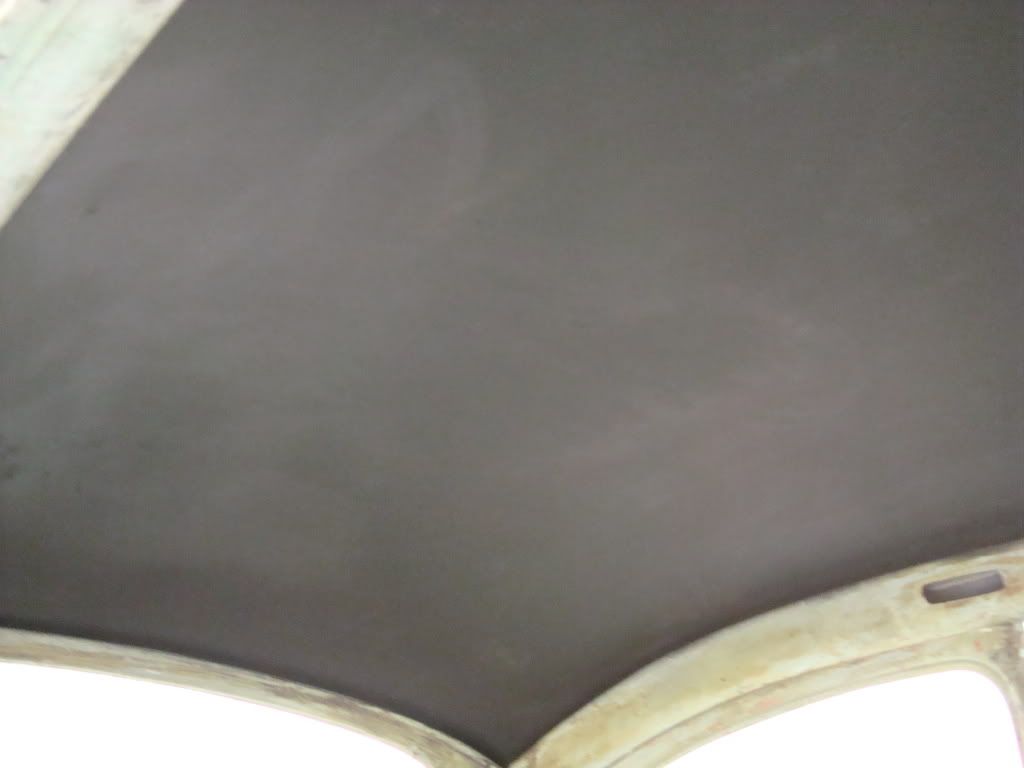
After of the roof but before final seal
This will be broken down into parts as not to make the thread to picture heavy. I just started on it in between another project. I will update as I move along in stages.
The plan.
Gut and remove interior and all glass
Treat any rust scale
Respray dash and door jambs
Re-upholster seats w/padding and headliner
Install complete new interior
Install all new seals
Complete Correction exterior
Engine bay and trunk
New chrome bumpers/ redo brackets
Here we go with the inspection:
Someof the corrosion issues this will all be treated with a three step process.
A close up yes the shiny is water under the paint.
The roof It just had dried glue and some surface rust which was easily d/a sanded and treated with a conversion primer it will be sealed with another primer.
After of the roof but before final seal

")
") ) Rust is a well known enemy of the old Bugs even in the best environments. Floorboards and under the spare tire can be areas that are most often devasted by rusting. Often times the only solution is cutting out the old and installing new materials. It does appear in this instance you may have gotten lucky. Approximately how much of the Evapo Rust have you used to this point, and how much do you foresee using through the end of this project?
) Rust is a well known enemy of the old Bugs even in the best environments. Floorboards and under the spare tire can be areas that are most often devasted by rusting. Often times the only solution is cutting out the old and installing new materials. It does appear in this instance you may have gotten lucky. Approximately how much of the Evapo Rust have you used to this point, and how much do you foresee using through the end of this project?