Marc08EX
New member
Wheels/Tires:
Sonax Full Effect Wheel Cleaner and Meguiar's Deep Crystal on wheels
Meguiar's APC on tires and wheel wells
Meguiar's Hyper Dressing on tires
EZ Detail brush for the barrels
Swissvax Wheel brush for calipers and small crevices
Wash:
CG Citrus Wash and Gloss via 2BM
Meguiar's Microfiber Wash Mitt
Clay:
Meguiar's OTC Clay
Meguiar's Last Touch
Paint Correction:
Flex 3401 VRG
Meguiar's G110v2 / 5" and 3” Backing Plates
Meguiar's D300 / MF Correction Pads
Meguiar's M205 / LC Black Pads
Craftsman 500W Halogen Lights
Brinkmann Dual Xenon Lights
LSP:
Meguiar’s Ultimate Paste Wax / 4” Meguiar’s Finising Pad
Interior:
Meguiar's Quik Interior Detailer
Exhaust:
Meguiar's NXT Metal Polish
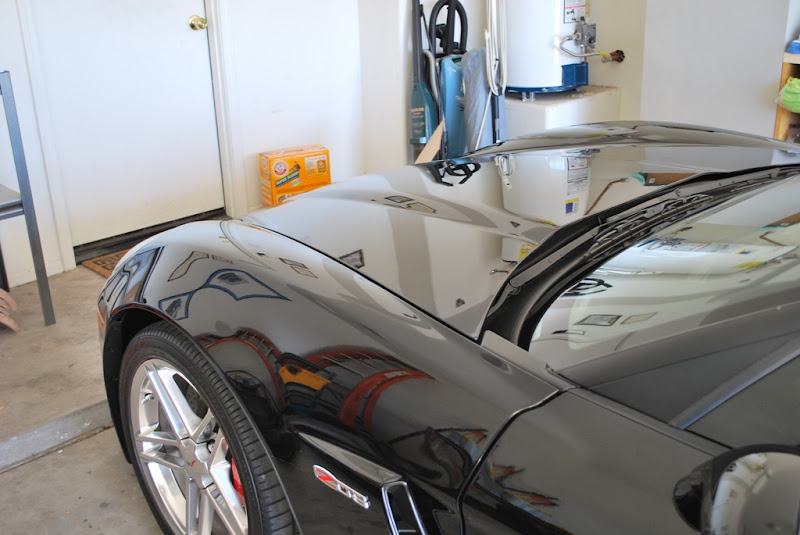
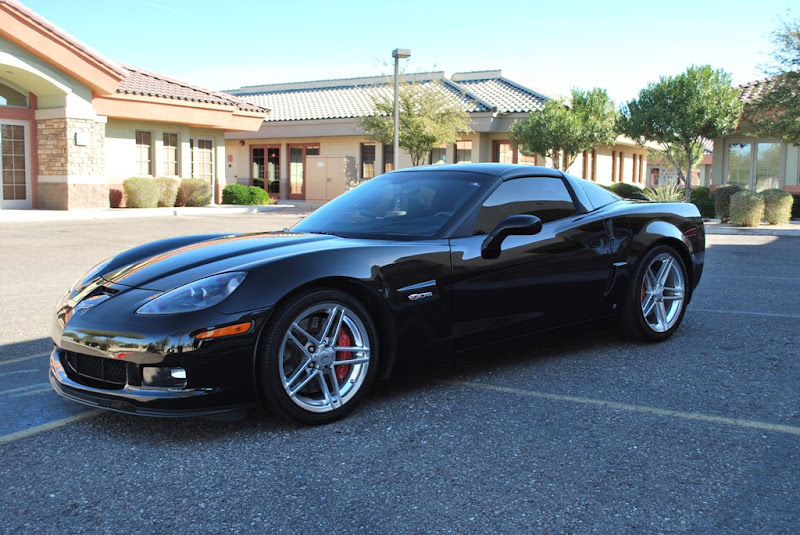
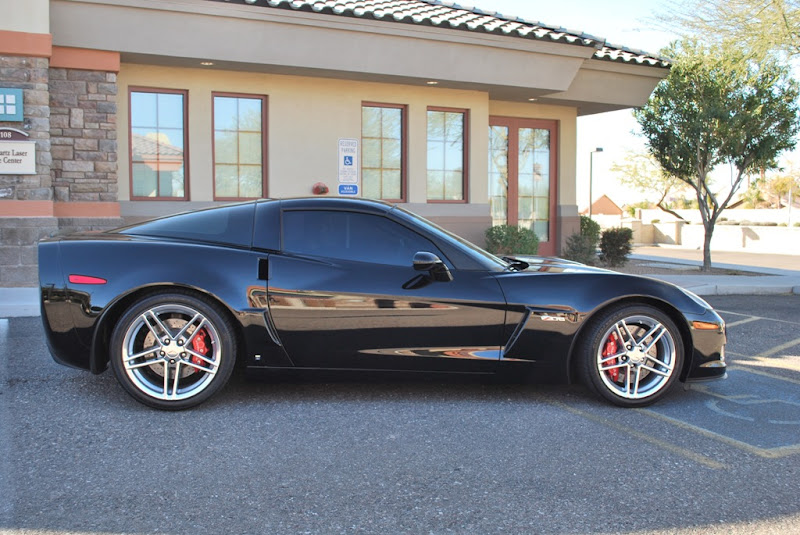
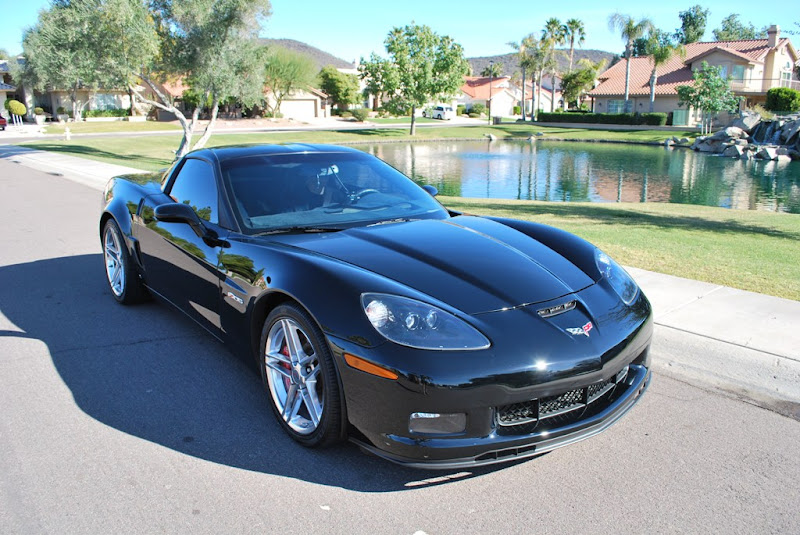
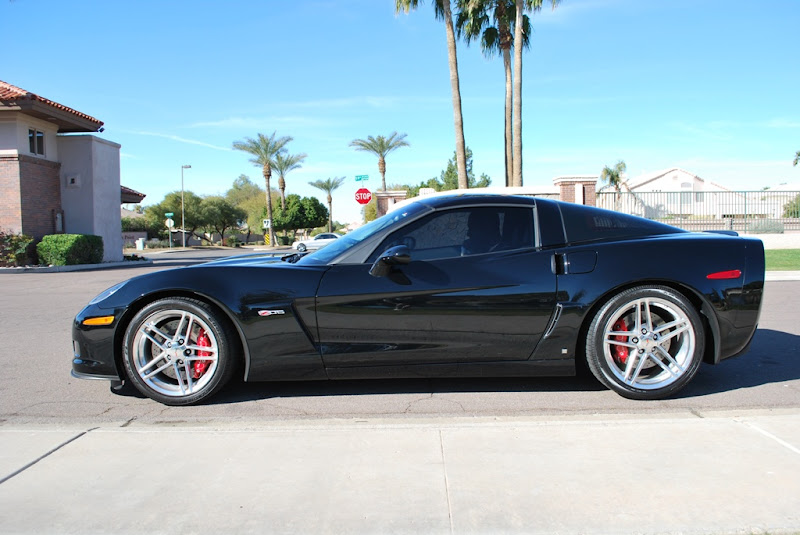
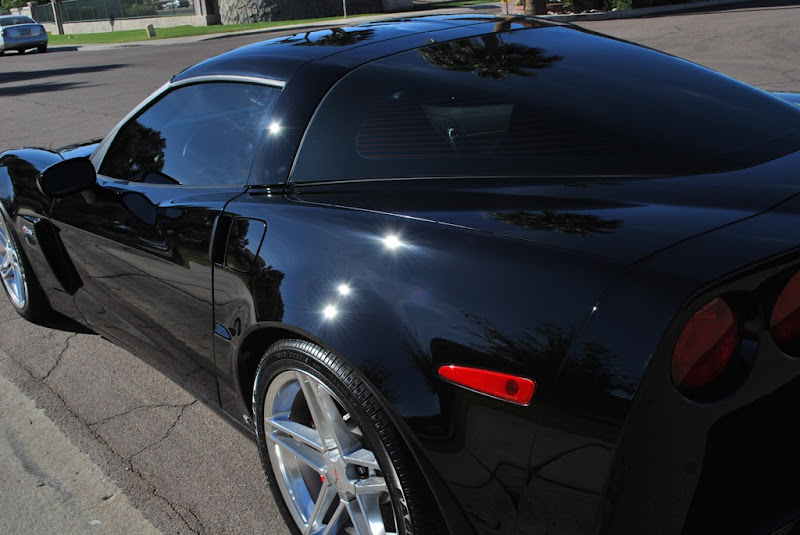
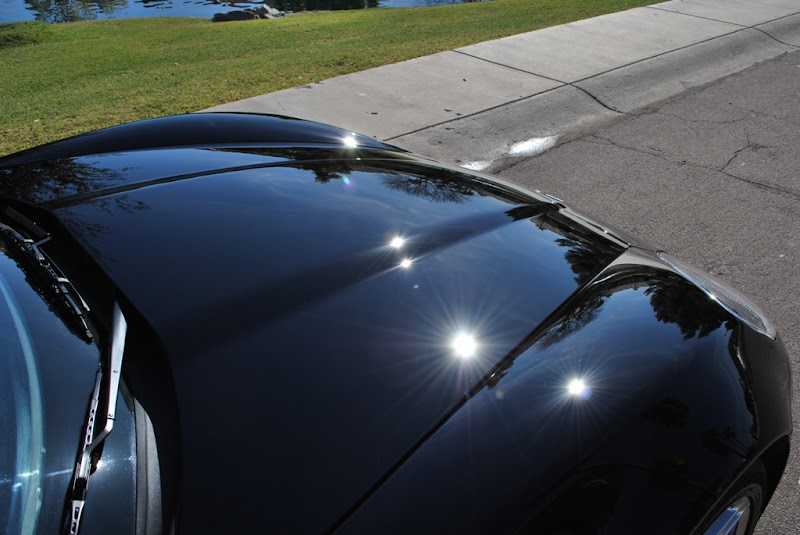
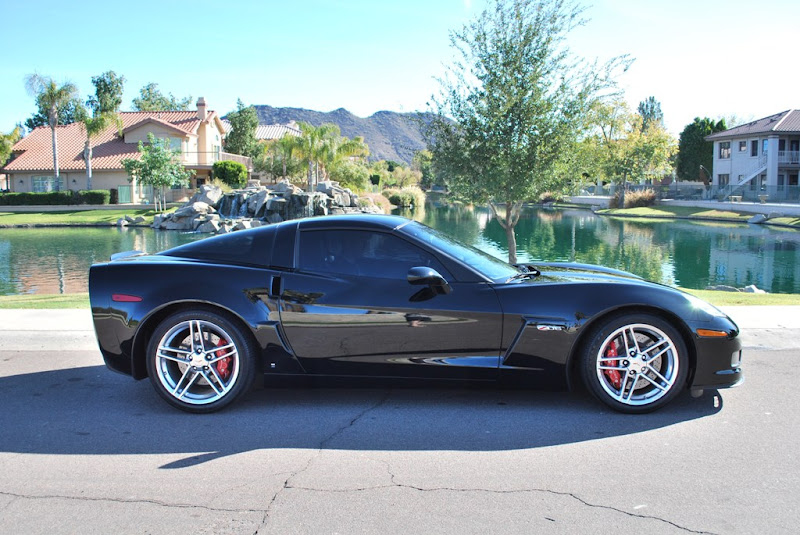
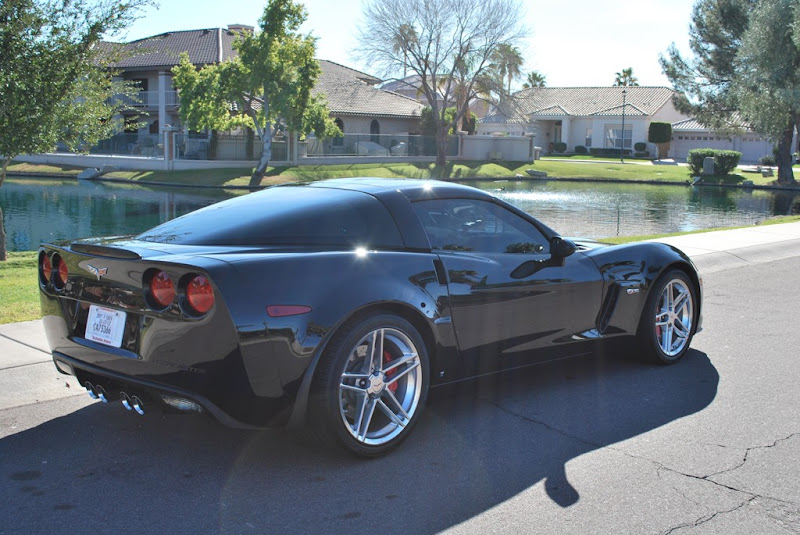
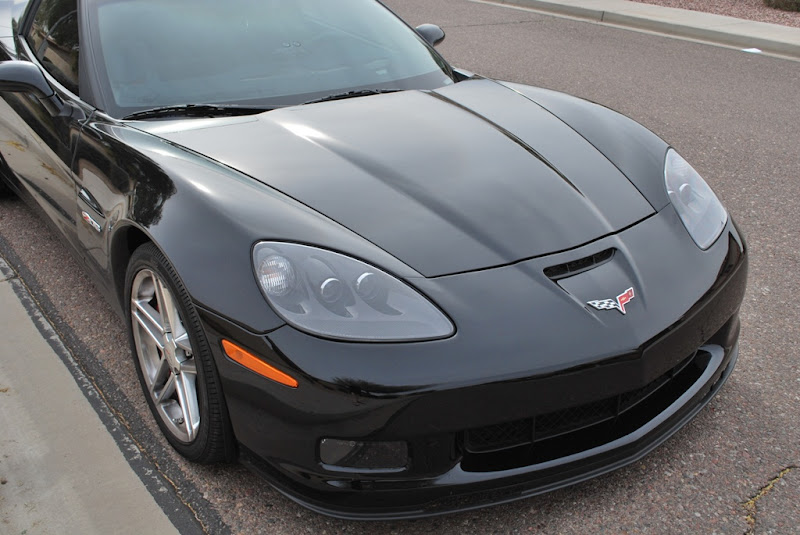
I recently got a call to detail one of my dream cars. I didn’t hesitate to take on the job and I was extremely stoked to work on this amazing machine. When the car was delivered to me, it already looked very shiny and only minimal swirls were visible and the car was already in great shape to begin with. The car only had 6,400 miles. I thought to myself that this will be an easy one but boy I was wrong.
Before:
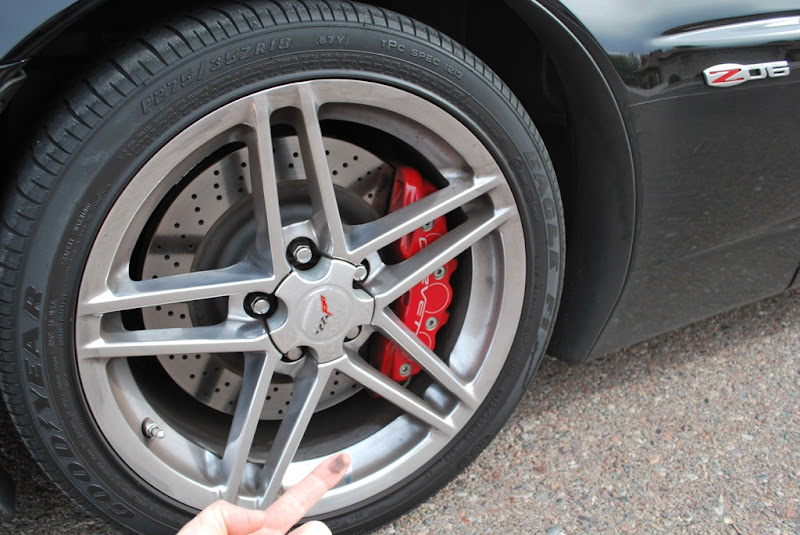
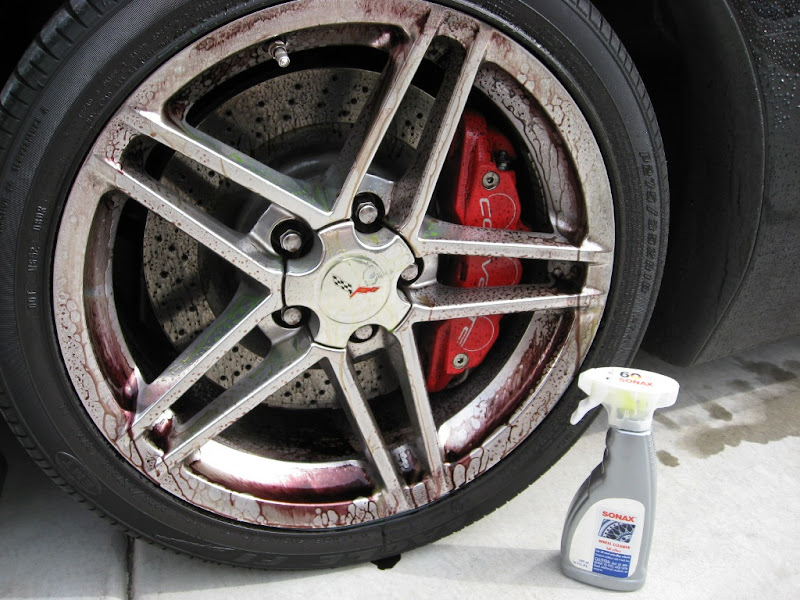
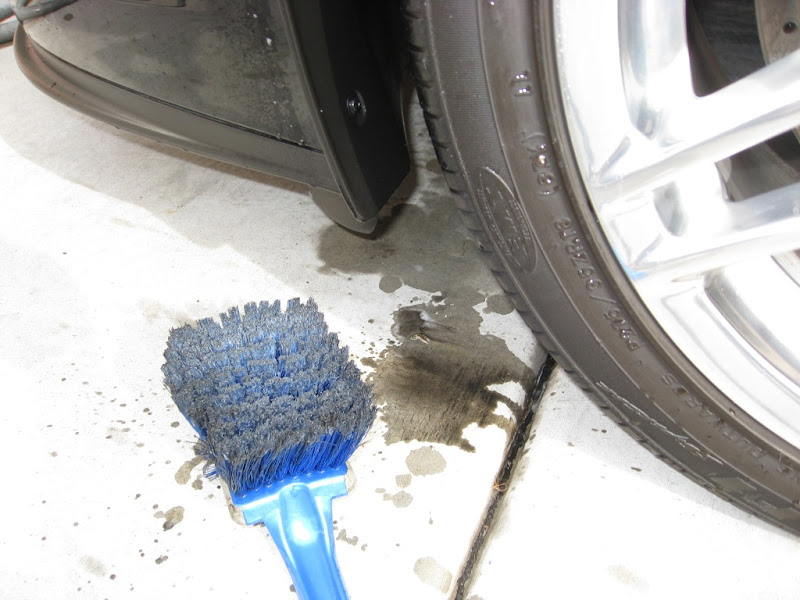
Dirty Wheels

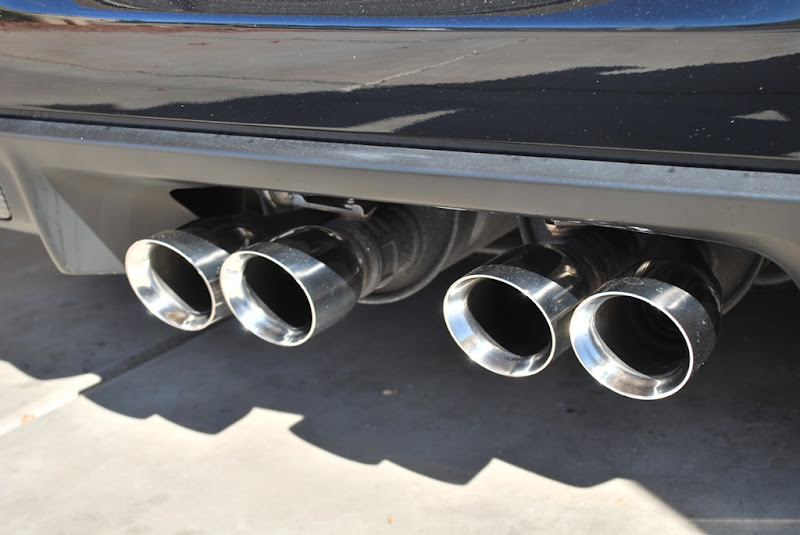
Dirty Exhaust Tips
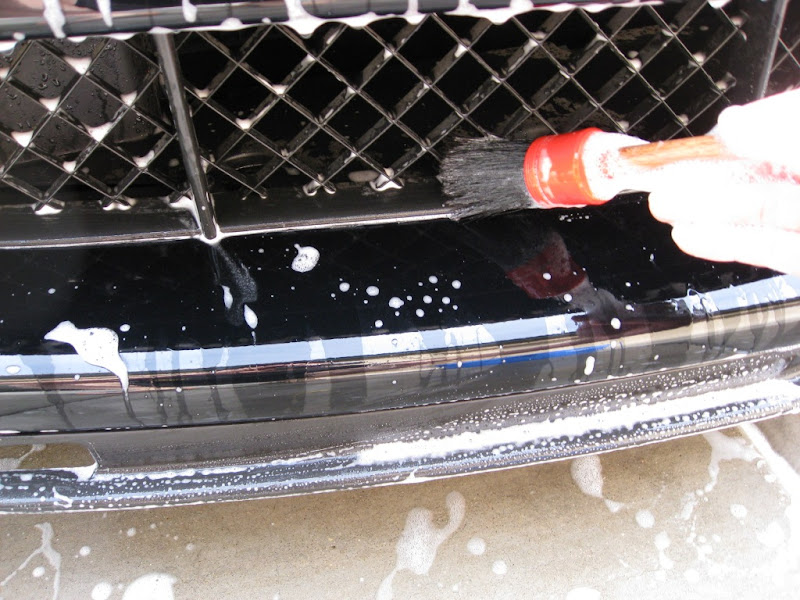
Wash:
Sonax doing its thing
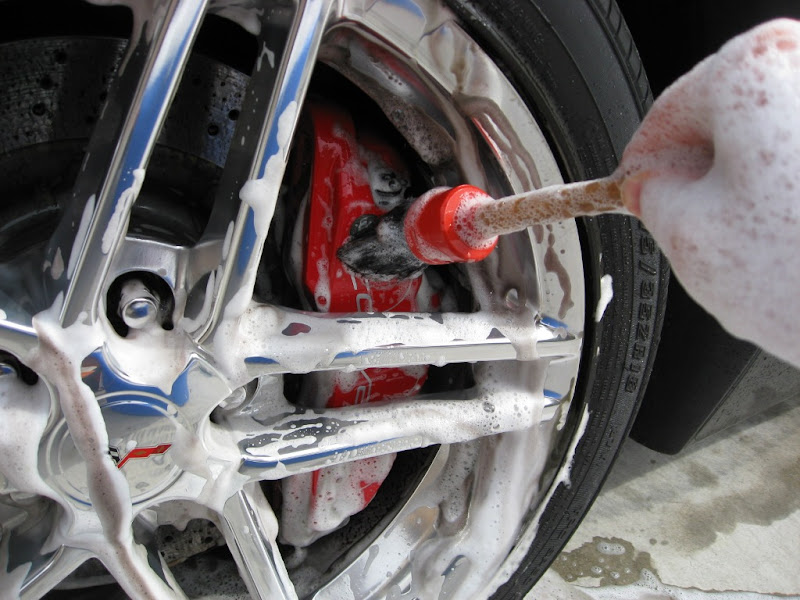
Cleaning the calipers

Cleaning the wheel barrels
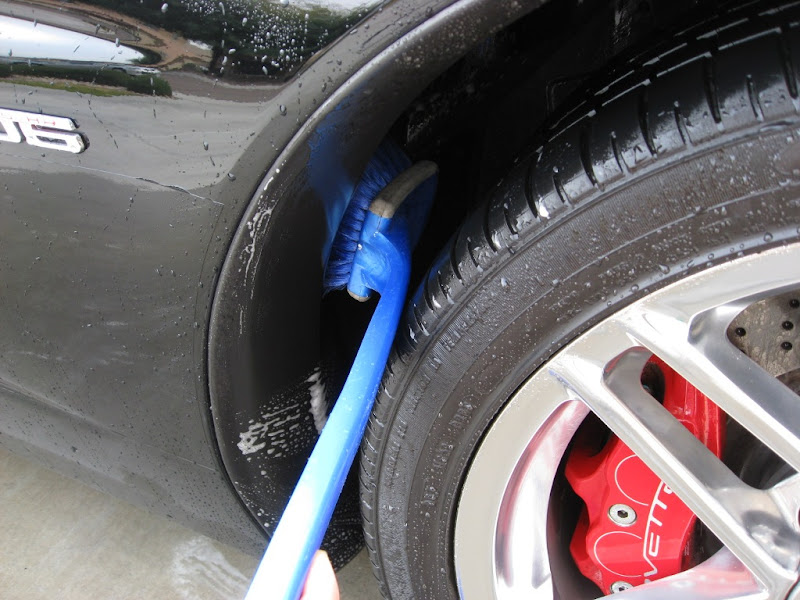
Cleaning the wheel wells
Gunk coming off the wheel wells
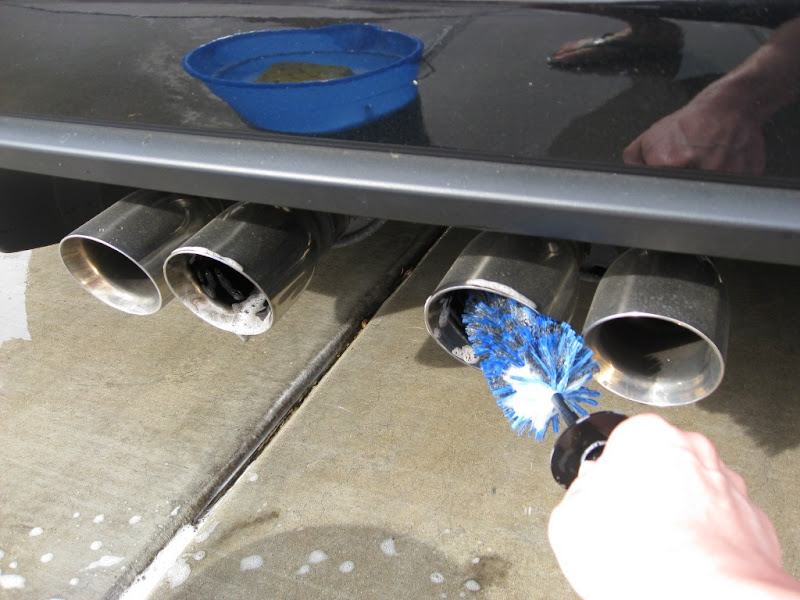
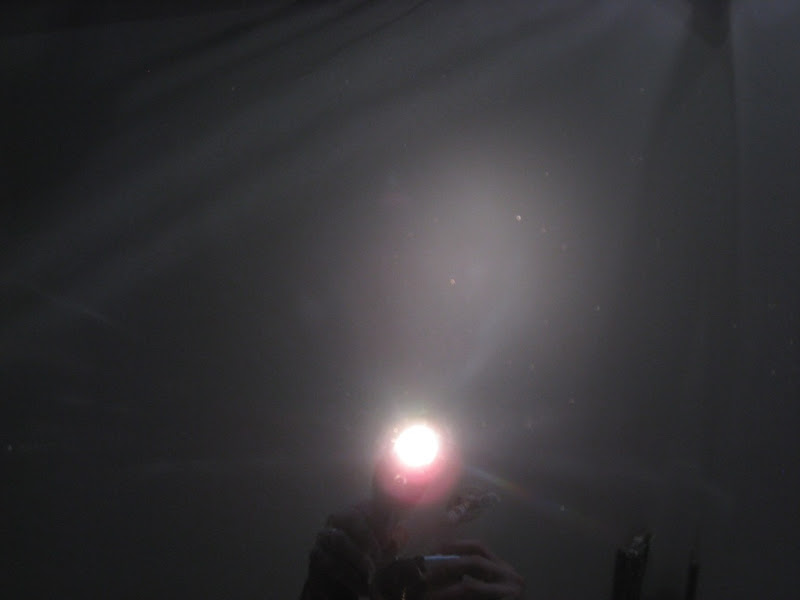
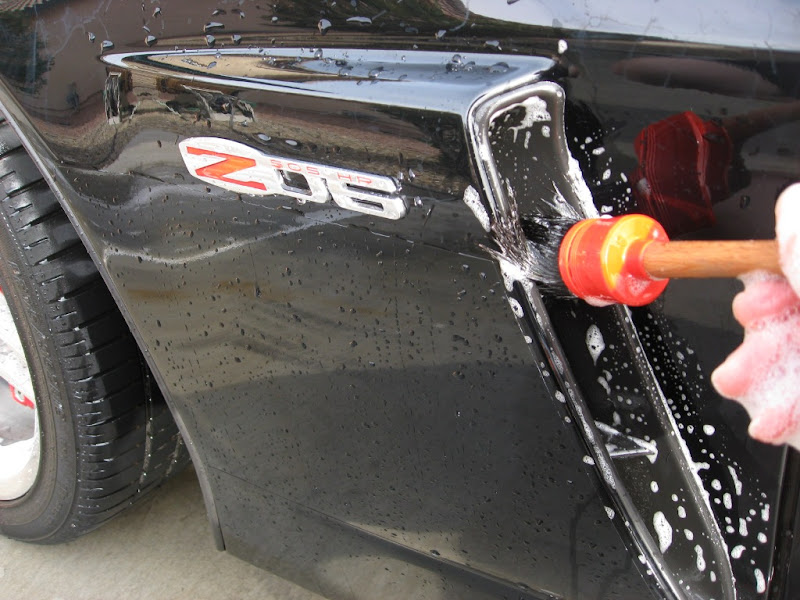
Cleaning the exhaust tips

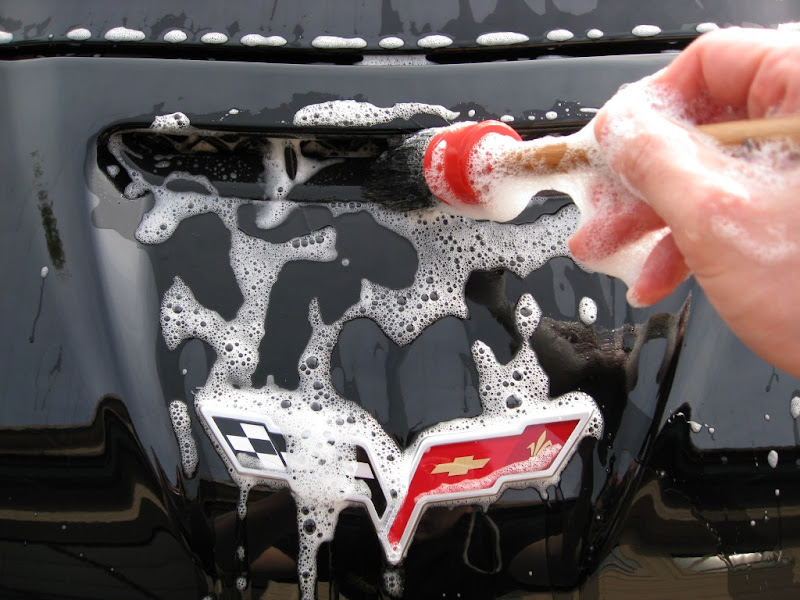
Glaze or oils being removed by the citrus wash
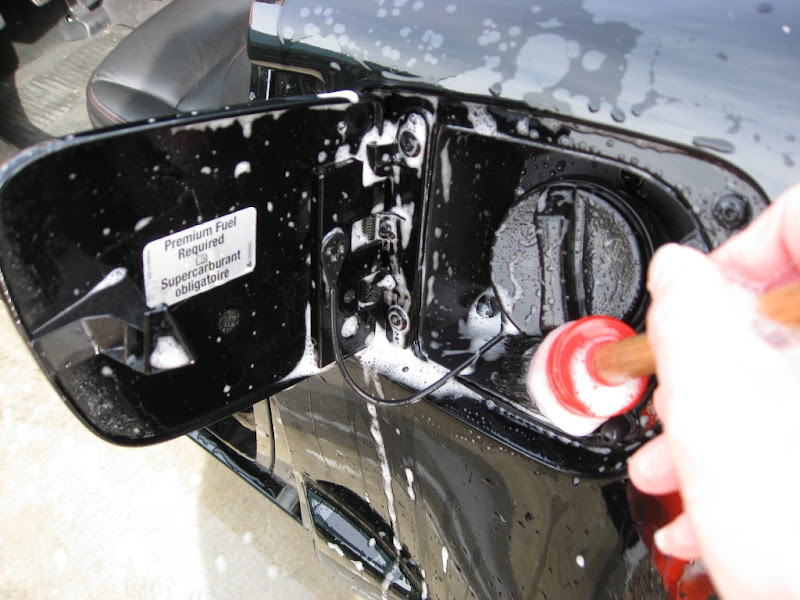
Cleaning the gas tank
It looked like the dealer used some type of glaze because of the oils I was removing while washing the car. In addition, the mediocre beading I was getting before the wash was completely killed after washing the car. After drying the car, I was greeted with the true condition of the paint. It was definitely worse than I originally saw but it still wasn’t bad. Here’s a picture of the clay after doing half of the hood:
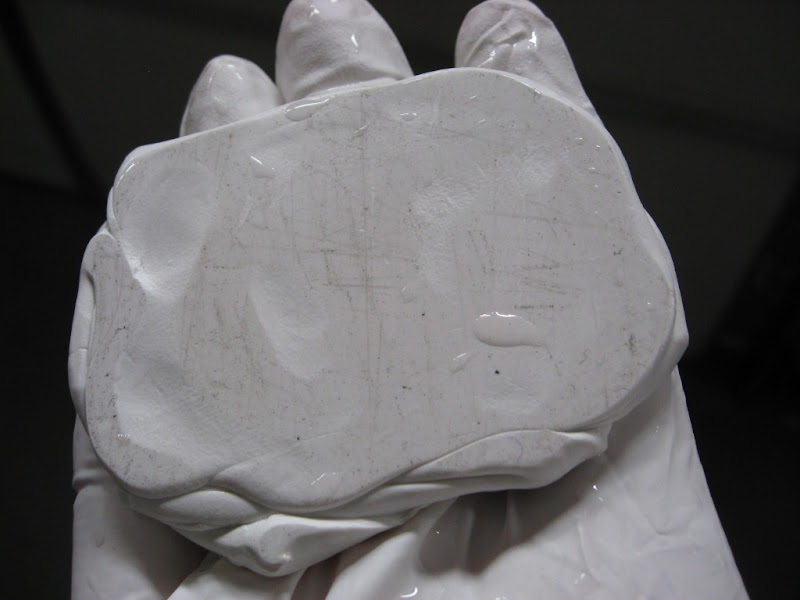
As you can see, there wasn’t much bonded contaminants on the car. I was thrilled about this because claying didn’t really take long.
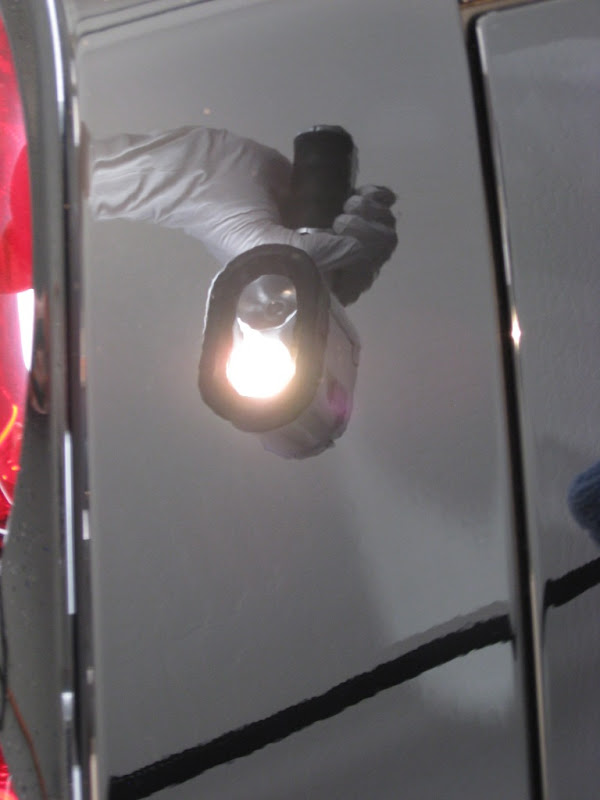
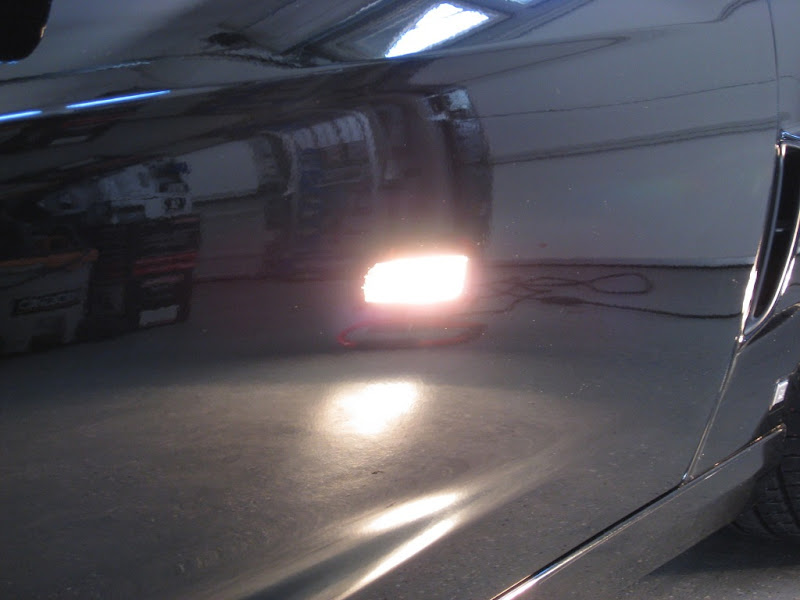
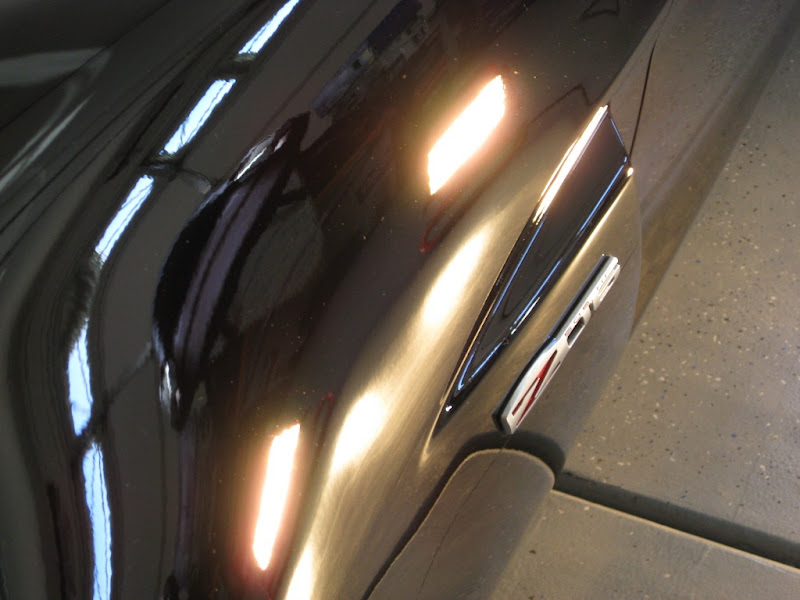
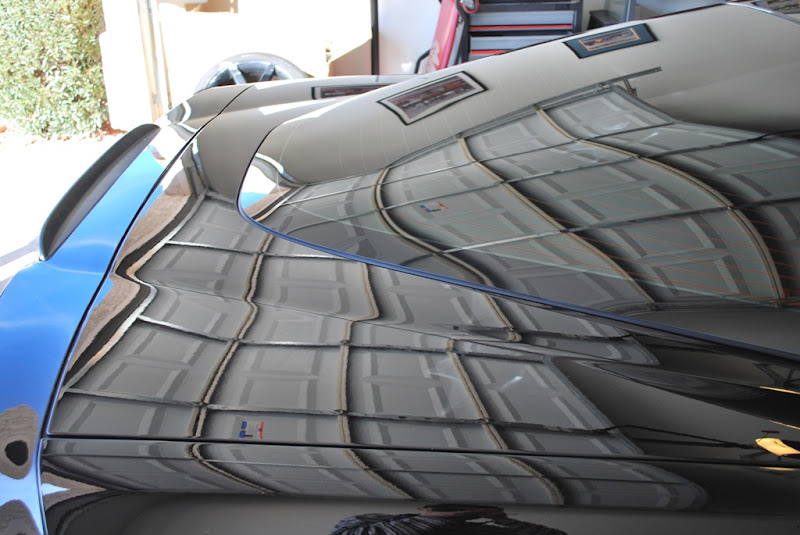
After claying the car, I immediately got into polishing. I started out with Meguiar’s D300 using 5” and 3” MF correcting pads. Here are some pictures through the entire process:
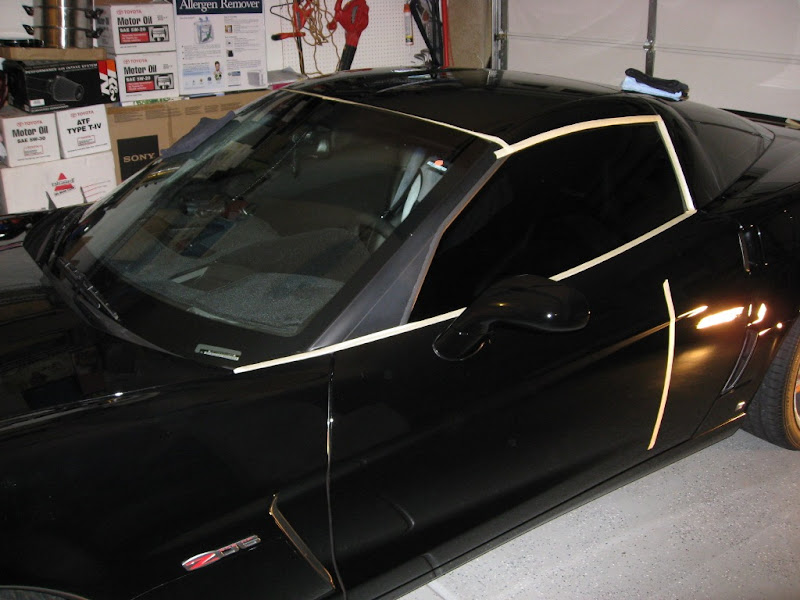
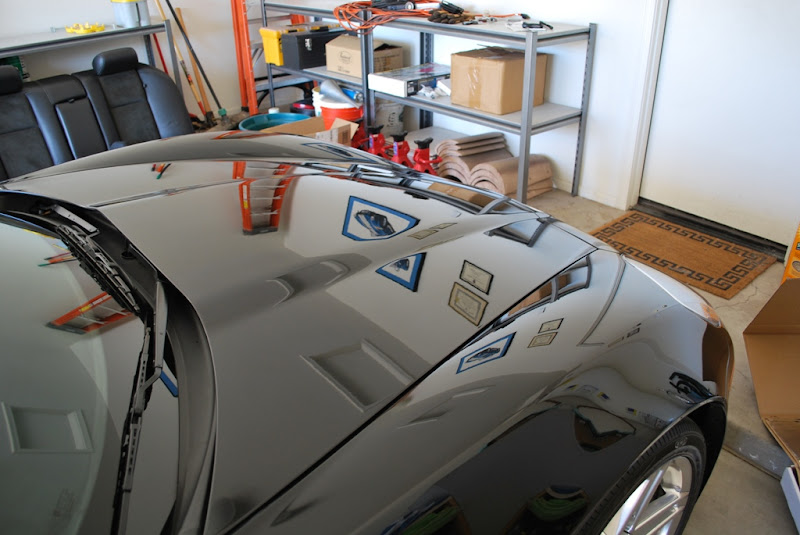
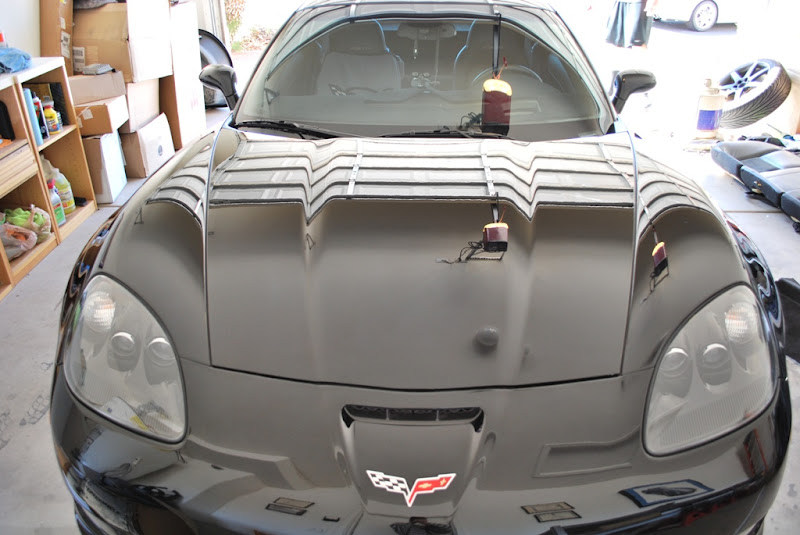
All taped up and ready to go
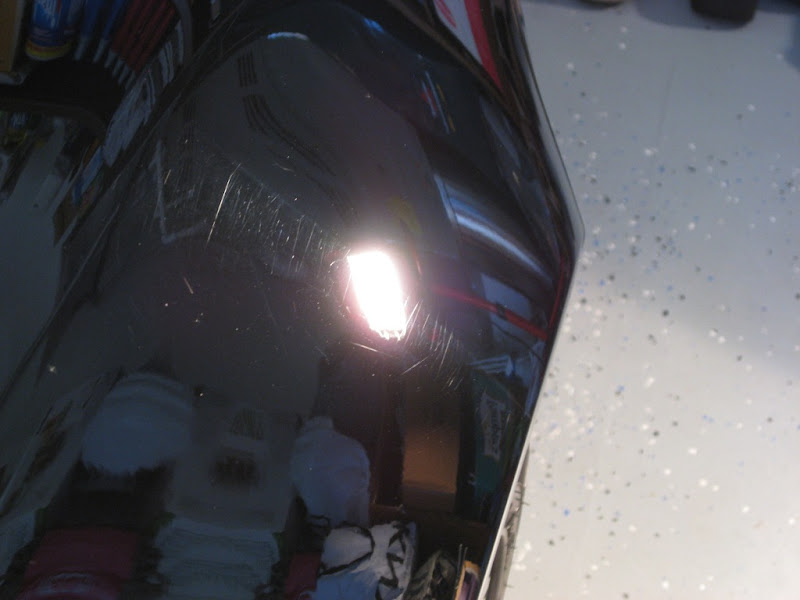
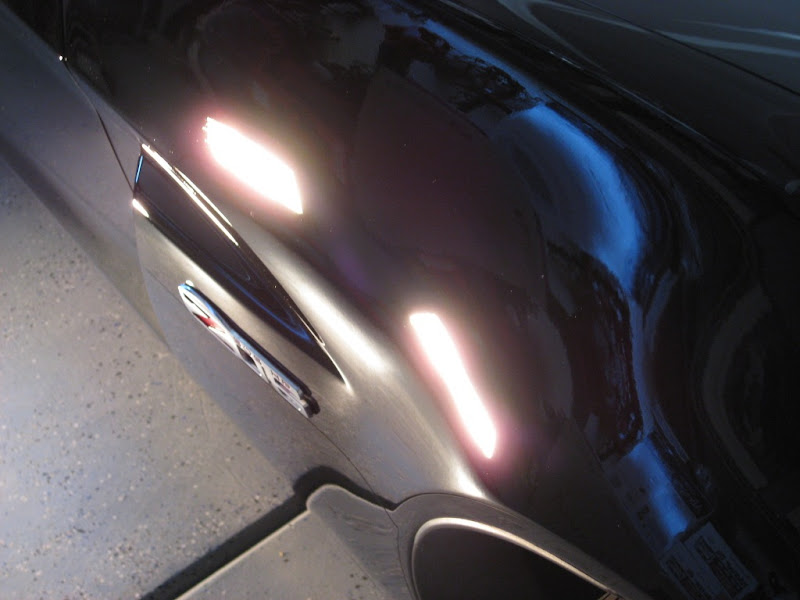
Before: Driver’s side door
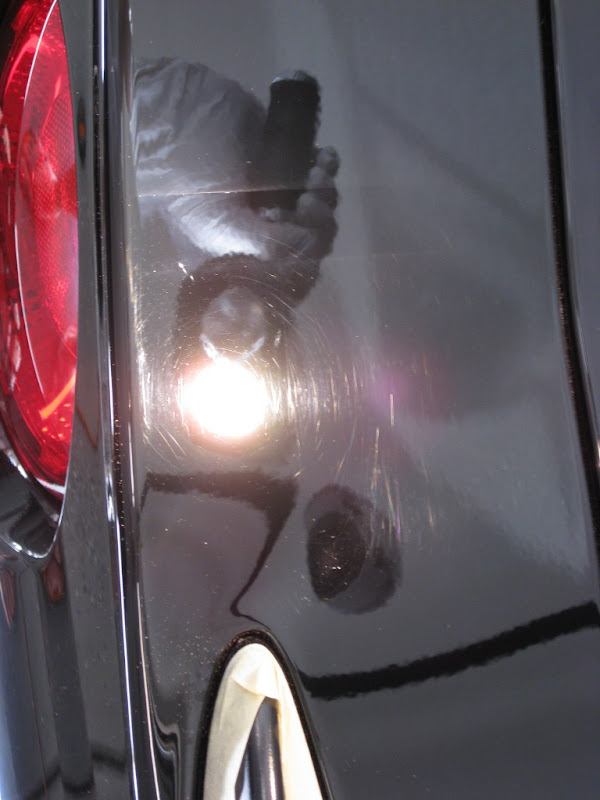
50/50: Driver’s side door
50/50: Driver’s side door
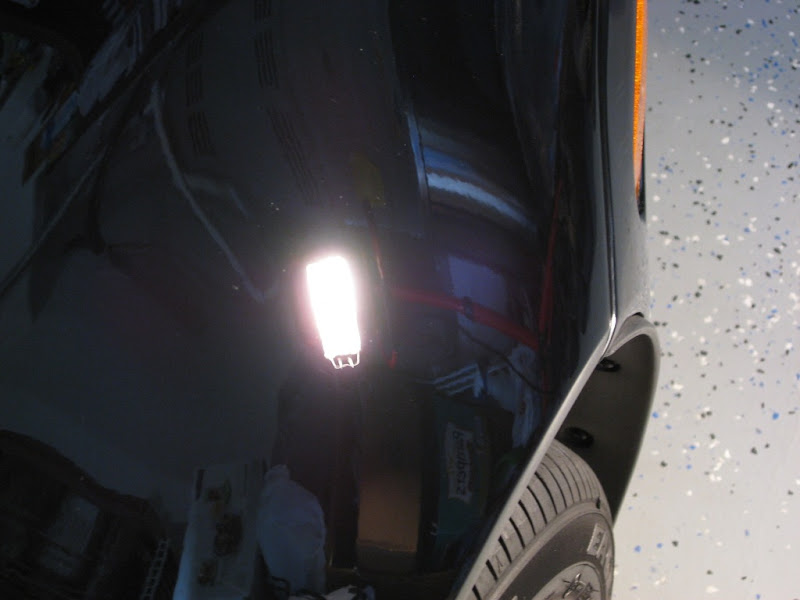
After: Driver’s side door
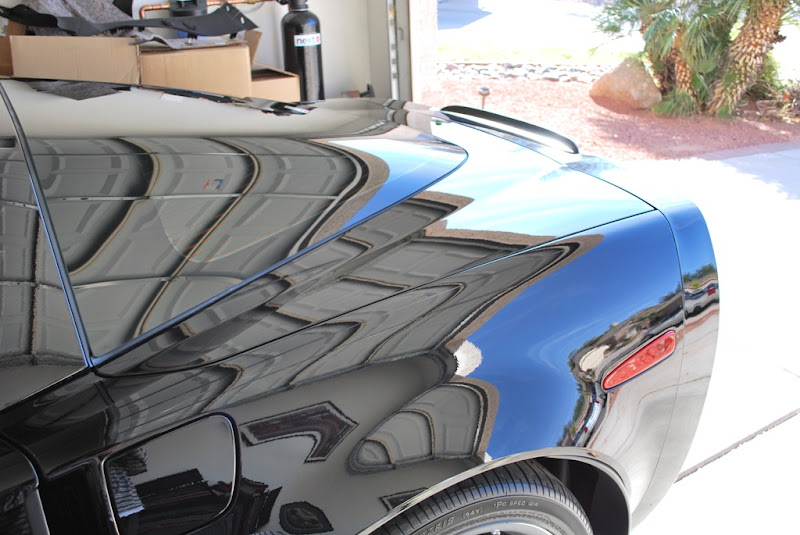
50/50: Driver’s side rear fender

After: Driver’s side rear fender
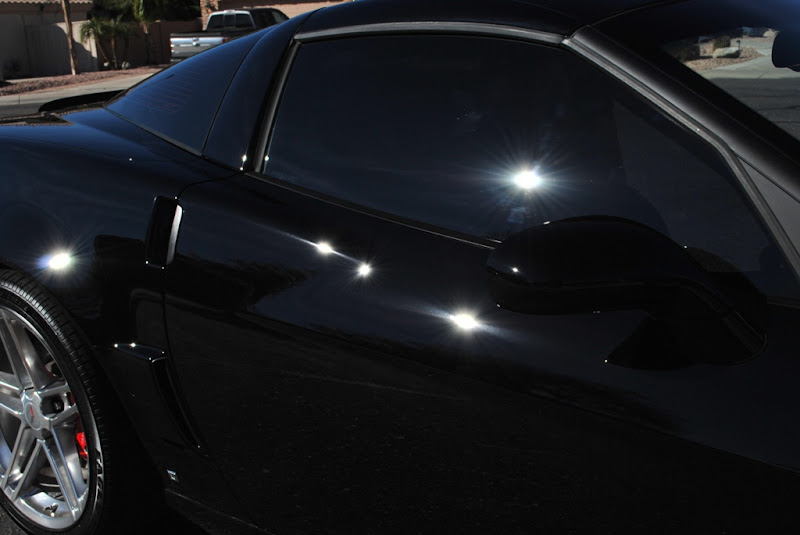
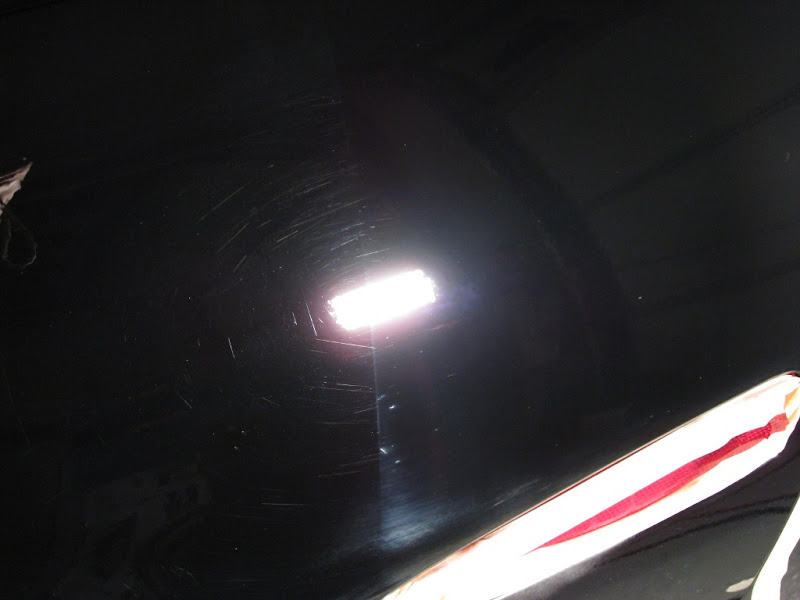
Before: Driver’s side pillar
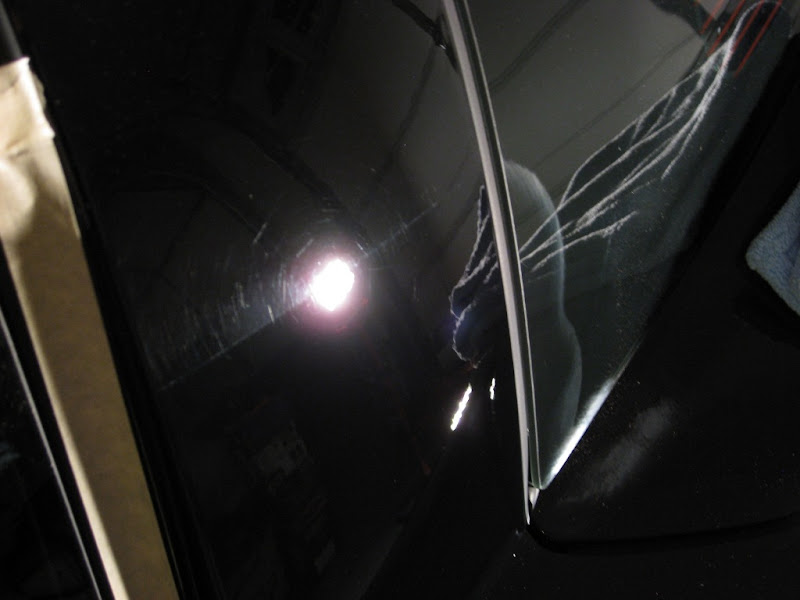
50/50: Driver’s side pillar
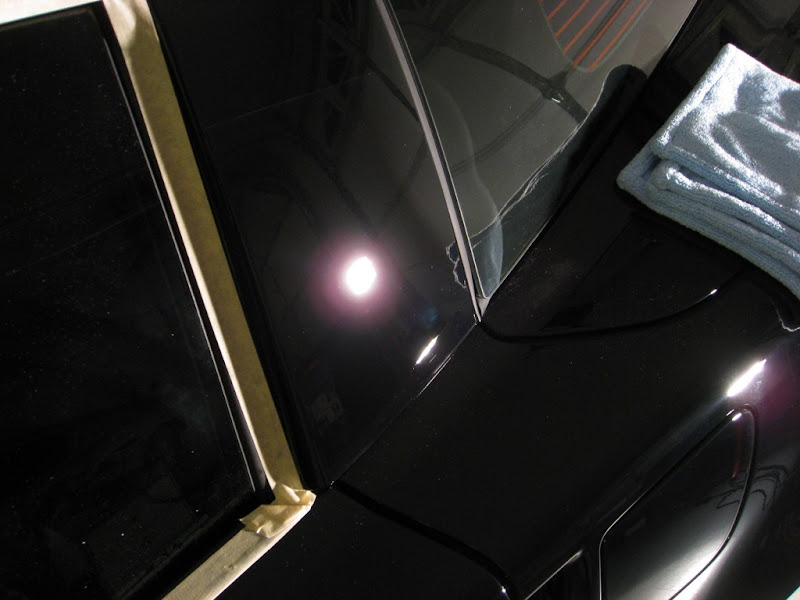
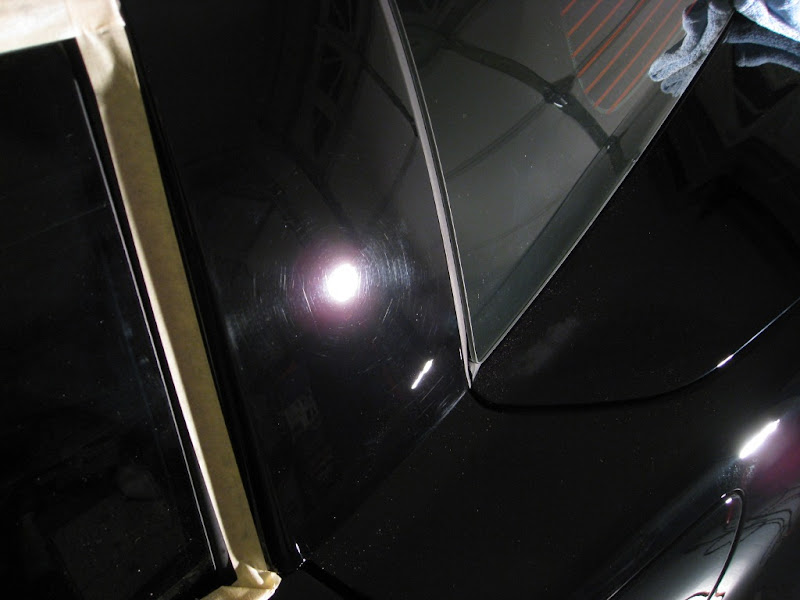
After: Driver’s side pillar

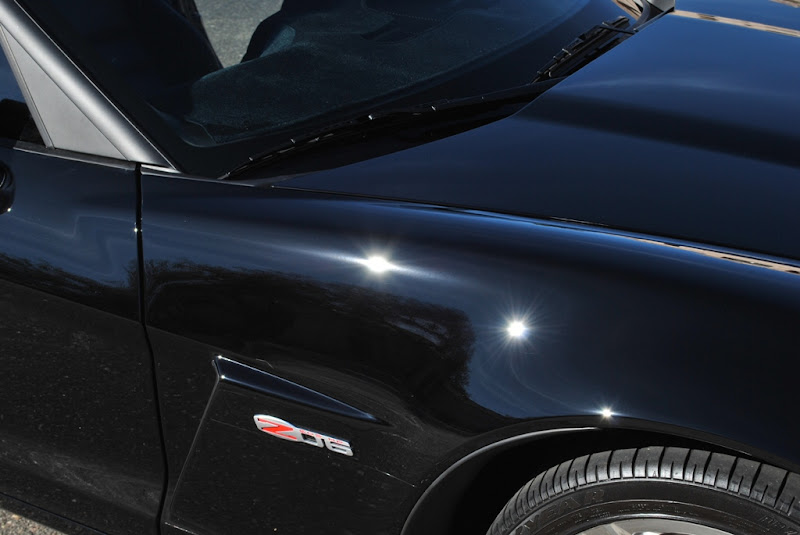
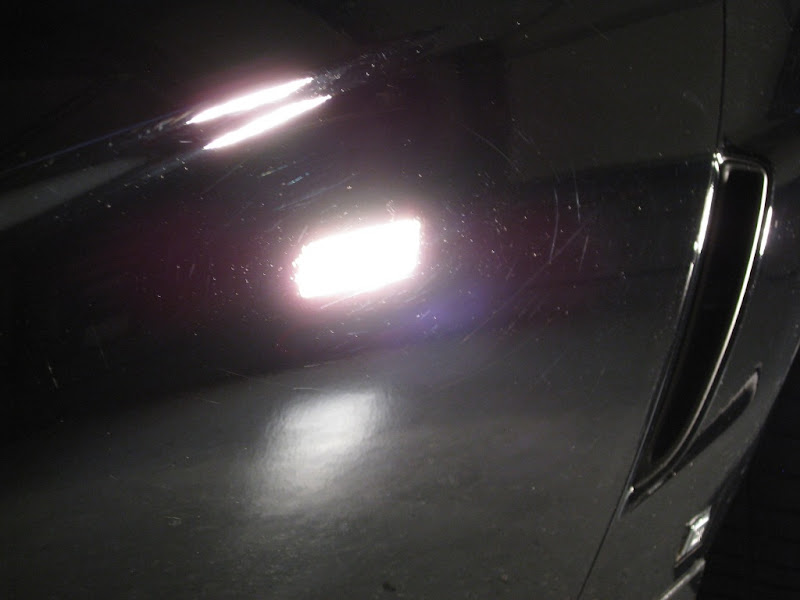
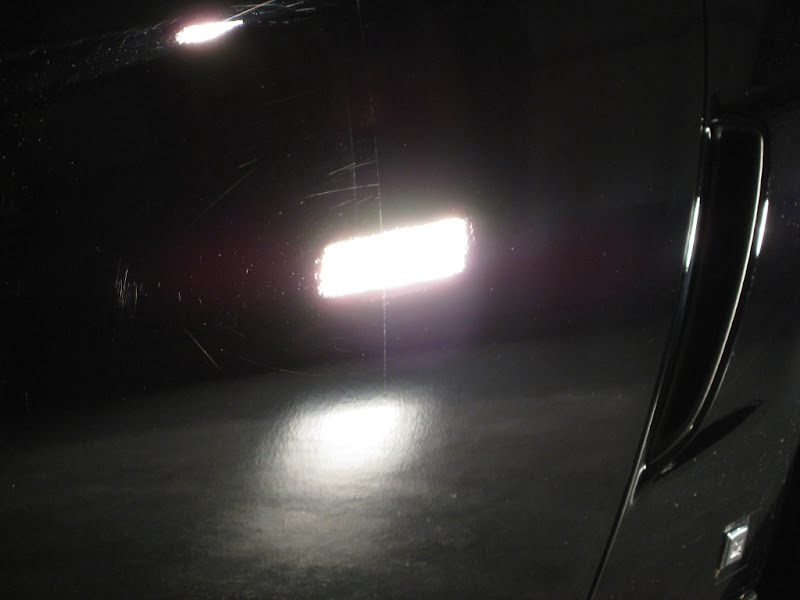
Before: Driver’s side front fender

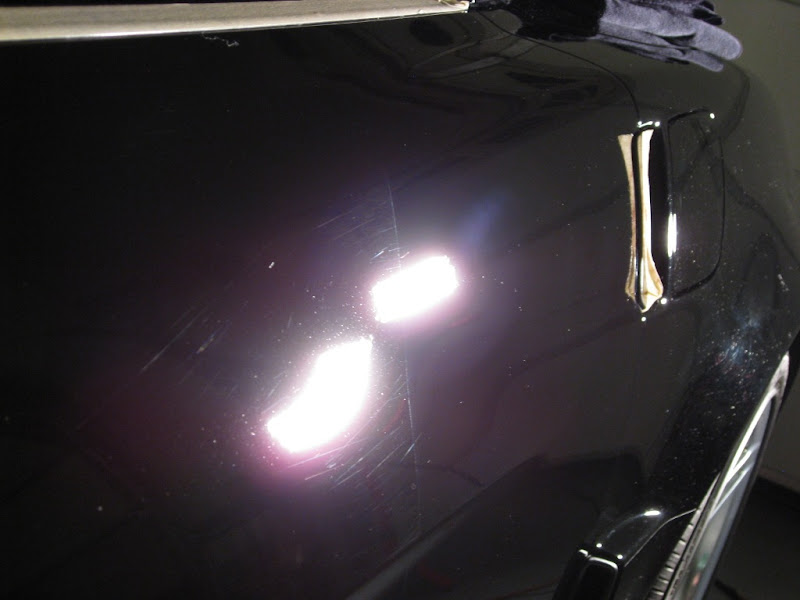
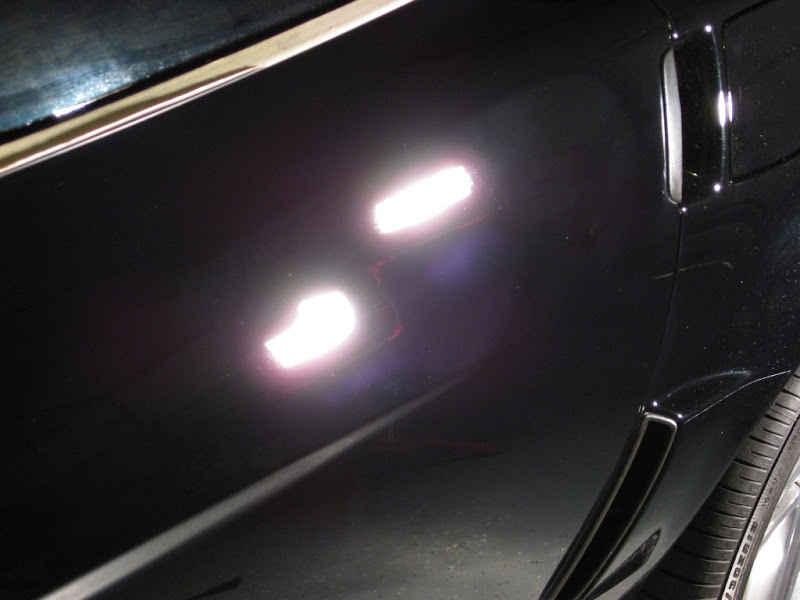
After: Driver’s side front fender
Sonax Full Effect Wheel Cleaner and Meguiar's Deep Crystal on wheels
Meguiar's APC on tires and wheel wells
Meguiar's Hyper Dressing on tires
EZ Detail brush for the barrels
Swissvax Wheel brush for calipers and small crevices
Wash:
CG Citrus Wash and Gloss via 2BM
Meguiar's Microfiber Wash Mitt
Clay:
Meguiar's OTC Clay
Meguiar's Last Touch
Paint Correction:
Flex 3401 VRG
Meguiar's G110v2 / 5" and 3” Backing Plates
Meguiar's D300 / MF Correction Pads
Meguiar's M205 / LC Black Pads
Craftsman 500W Halogen Lights
Brinkmann Dual Xenon Lights
LSP:
Meguiar’s Ultimate Paste Wax / 4” Meguiar’s Finising Pad
Interior:
Meguiar's Quik Interior Detailer
Exhaust:
Meguiar's NXT Metal Polish
I recently got a call to detail one of my dream cars. I didn’t hesitate to take on the job and I was extremely stoked to work on this amazing machine. When the car was delivered to me, it already looked very shiny and only minimal swirls were visible and the car was already in great shape to begin with. The car only had 6,400 miles. I thought to myself that this will be an easy one but boy I was wrong.
Before:
Dirty Wheels
Dirty Exhaust Tips
Wash:
Sonax doing its thing
Cleaning the calipers
Cleaning the wheel barrels
Cleaning the wheel wells
Gunk coming off the wheel wells
Cleaning the exhaust tips
Glaze or oils being removed by the citrus wash
Cleaning the gas tank
It looked like the dealer used some type of glaze because of the oils I was removing while washing the car. In addition, the mediocre beading I was getting before the wash was completely killed after washing the car. After drying the car, I was greeted with the true condition of the paint. It was definitely worse than I originally saw but it still wasn’t bad. Here’s a picture of the clay after doing half of the hood:
As you can see, there wasn’t much bonded contaminants on the car. I was thrilled about this because claying didn’t really take long.
After claying the car, I immediately got into polishing. I started out with Meguiar’s D300 using 5” and 3” MF correcting pads. Here are some pictures through the entire process:
All taped up and ready to go
Before: Driver’s side door
50/50: Driver’s side door
50/50: Driver’s side door
After: Driver’s side door
50/50: Driver’s side rear fender
After: Driver’s side rear fender
Before: Driver’s side pillar
50/50: Driver’s side pillar
After: Driver’s side pillar
Before: Driver’s side front fender
After: Driver’s side front fender