prsdntial_dtail
New member
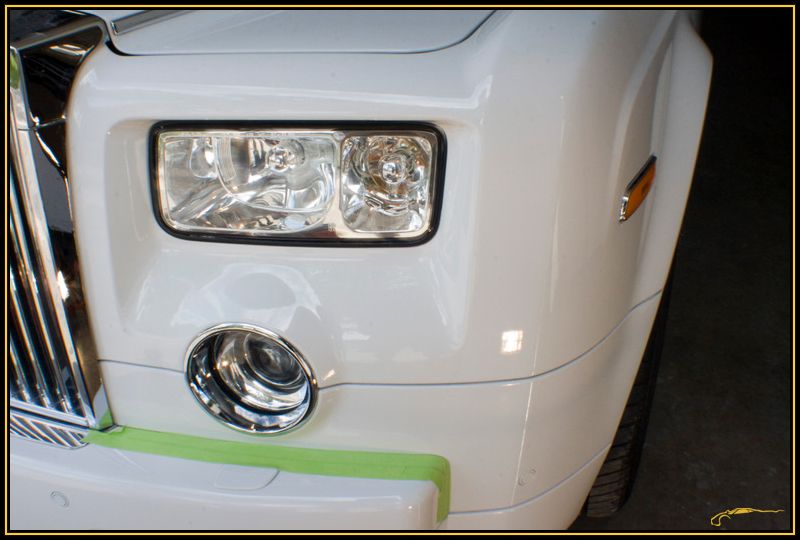
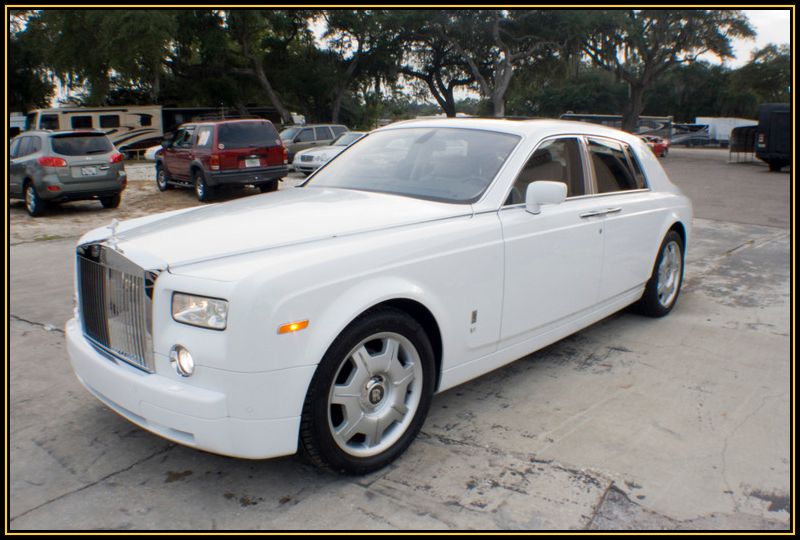
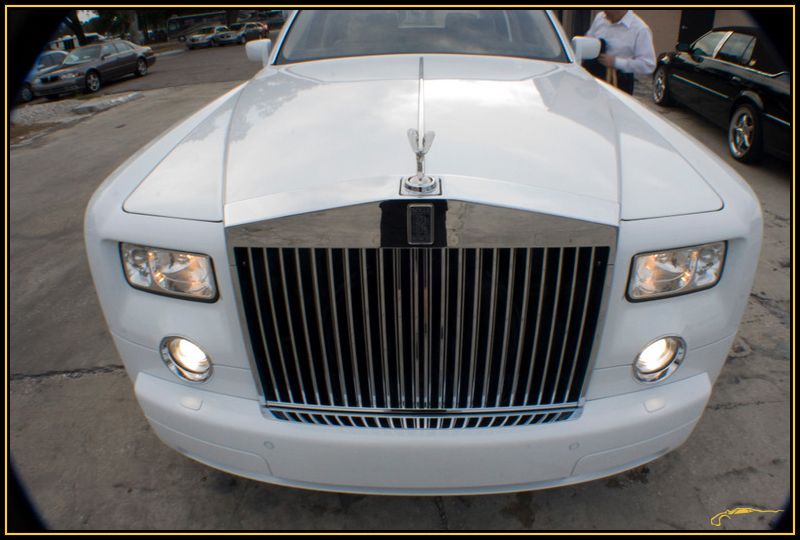
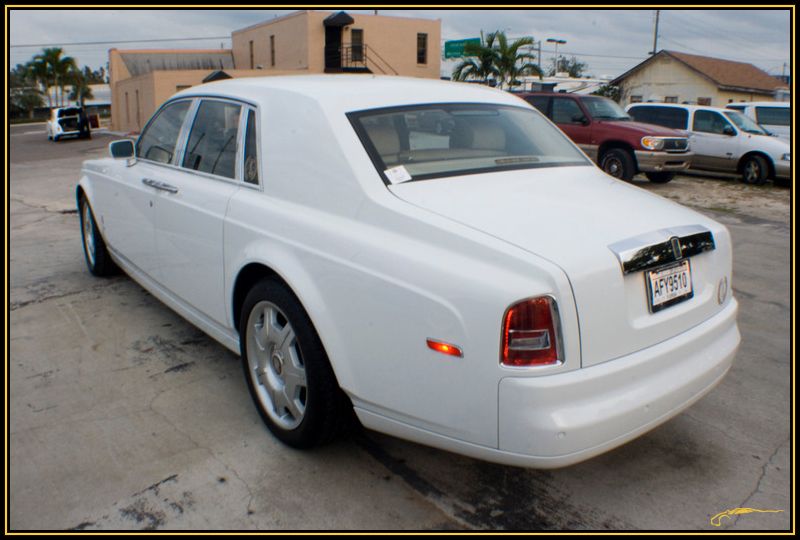
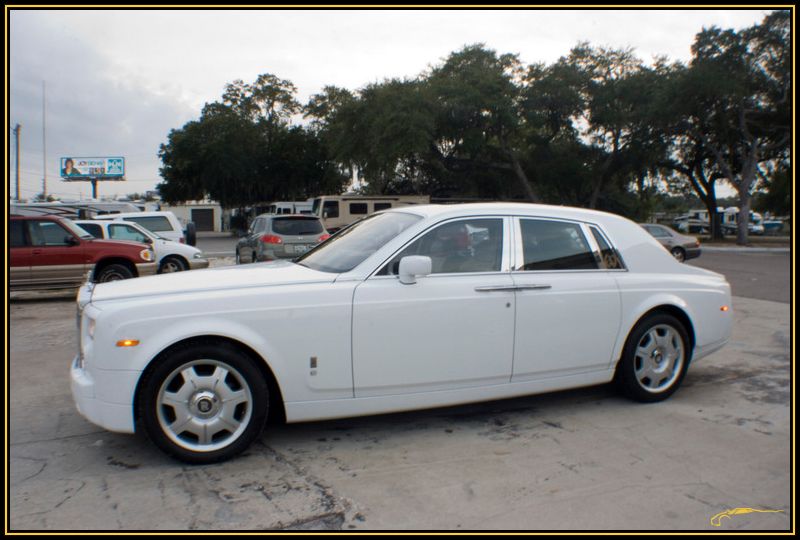
I was contacted by a local Limousine company to fix some obvious issues on the paint of their Rolls Royce they had just purchased used from Miami. I was informed there were buffing trails, etc so knowing that Rolls Royce paint is generaly on the softer side I thought I would have it somewhat easy on a nice car. Boy was I wrong! We wont even mention the what seemed like 4 foot tall door panels and the length a little over 19 feet! Once I started the decontamination process I began finding little clues(orange peel, unfinished sanding, etc) that the car had been repainted at some time, only to find out the entire driver side of the car had been painted after finding the blend spots over the rear A-Pillar and front fender. I had my work cut out for me.
Wash and Decontamination Process:
BLACKFIRE Gloss Shampoo Two-Bucket Wash With Grit Guards
BLACKFIRE PolyClay II Detailing Clay with BLACKFIRE Detailing Clay Bar Lubricant
Two-Bucket Wash with Microfiber Chenille Wash Mitts
Blow Dried/Big Blue III Drying Towel
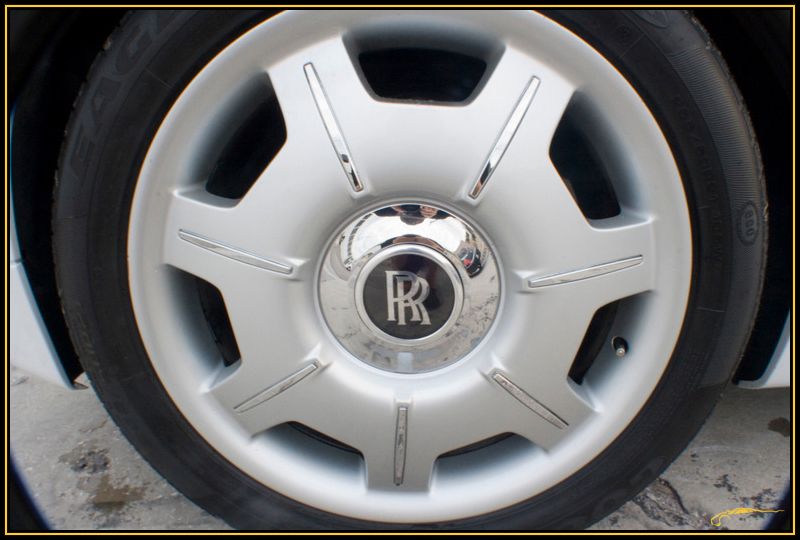
Wheels:
P21S Gel Wheel Cleaner
Microfiber Chenille Wash Mitts(dedicated to wheels only)
E-Z Detail Brush
Paint Correction:
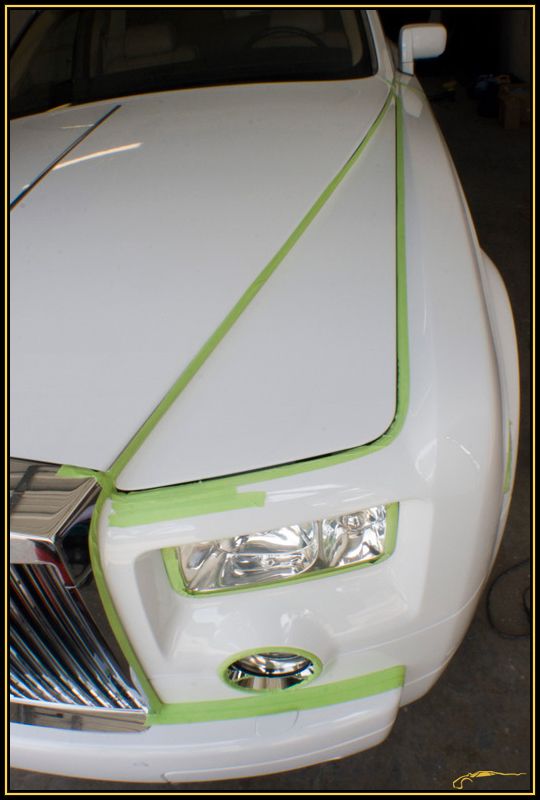
3M Automotive Performance "Green" Tape
Meguiar's M105 Ultra Cut Compound / Lake Country Purple Foamed Wool Pad
via Makita 9227 Rotary Polisher
Meguiar's M205 Ultra Finishing Polish / Lake Country Orange FLAT 6.5" Foam Pad
via Meguiar's G110 Dual-Action Machine Polisher
Zaino AIO On All Door Shuts
50/50 of 91% IPA/Distilled Water
Dragon Fibre Microfiber Towels
LSP:
TWO coats of BLACKFIRE Wet Diamond All Finish Paint Protection via G110 using a Lake Country Flat 6.5 inch Gold Concours Finishing Pad
TWO coats of BLACKFIRE Midnight Sun Ivory Carnauba Paste Wax
BEFORE:
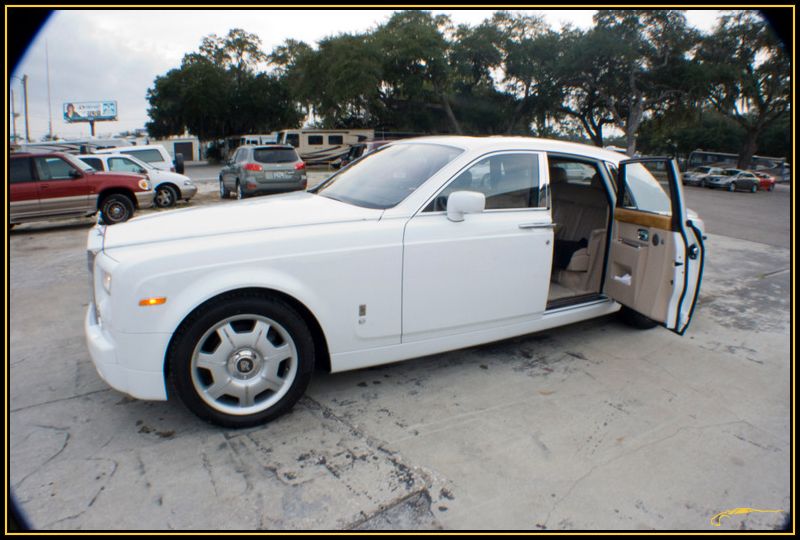
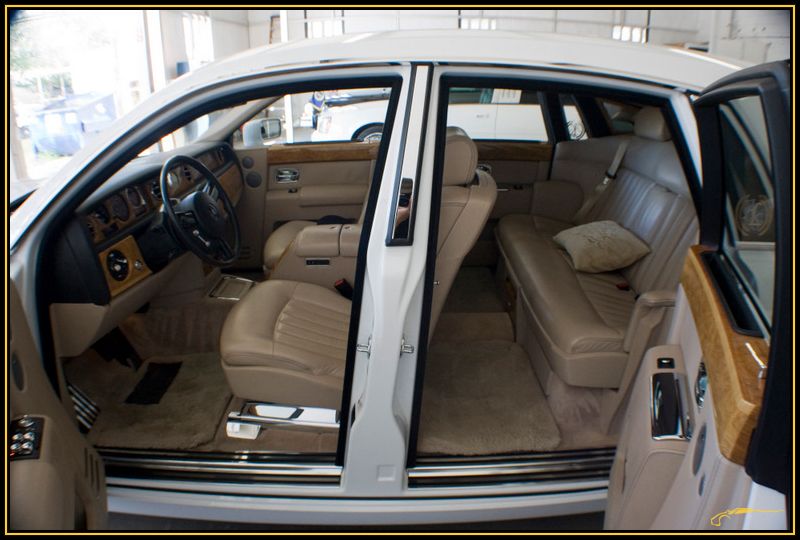
The interior had already been cleaned so I did no work to the interior.
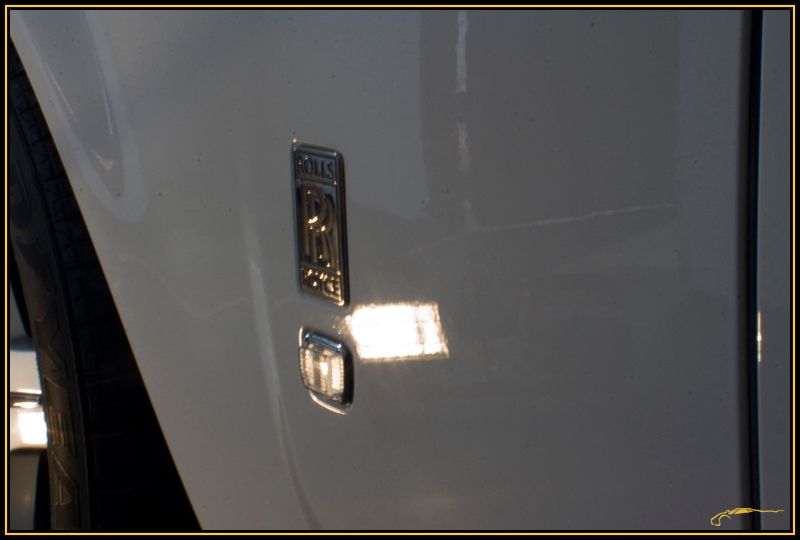
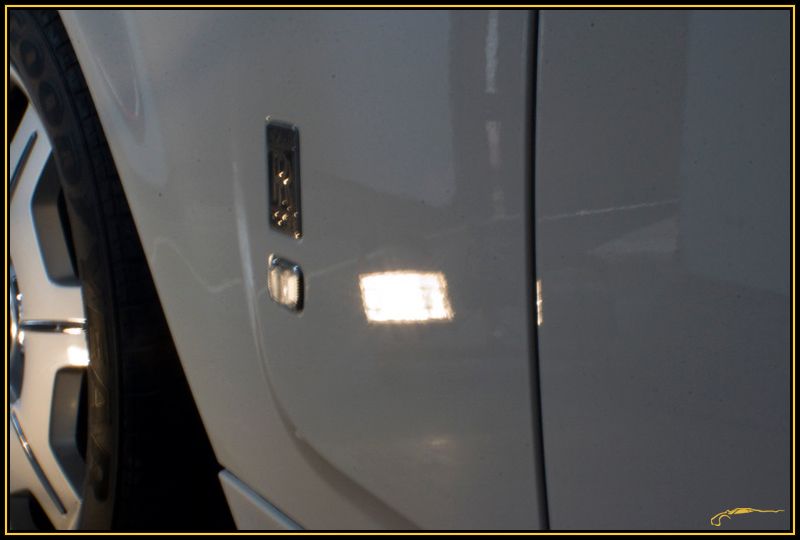
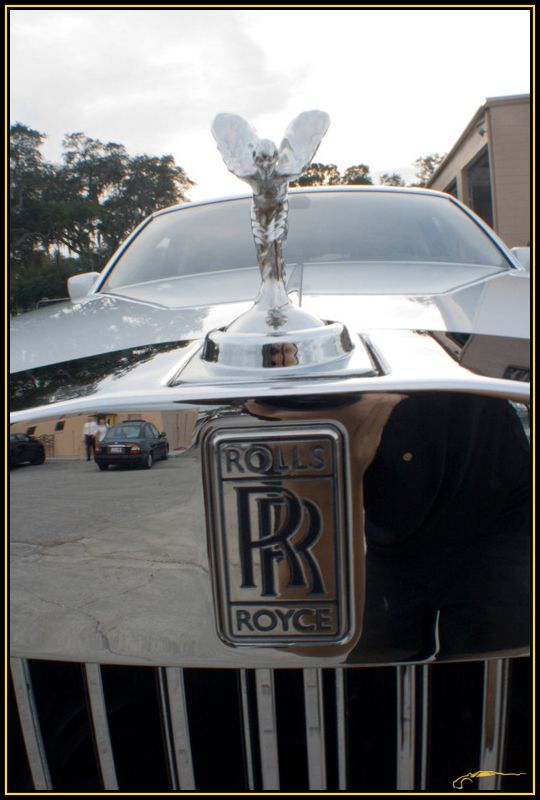
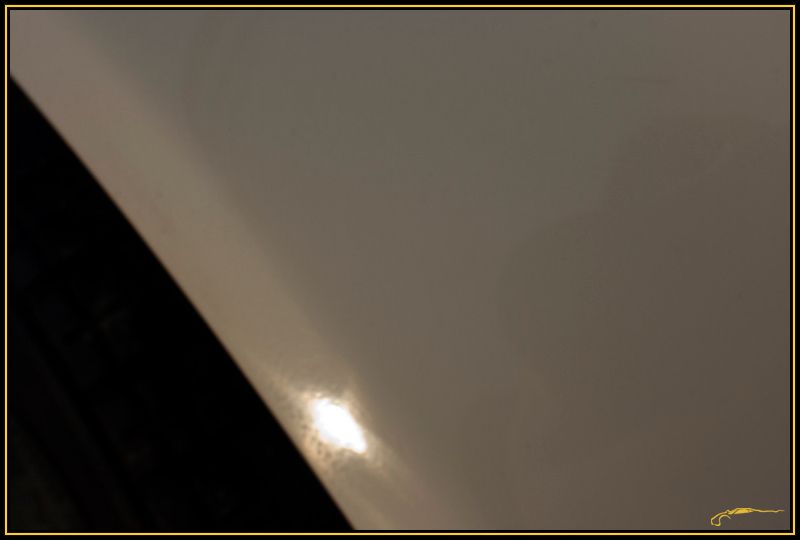
Hard to reach area.

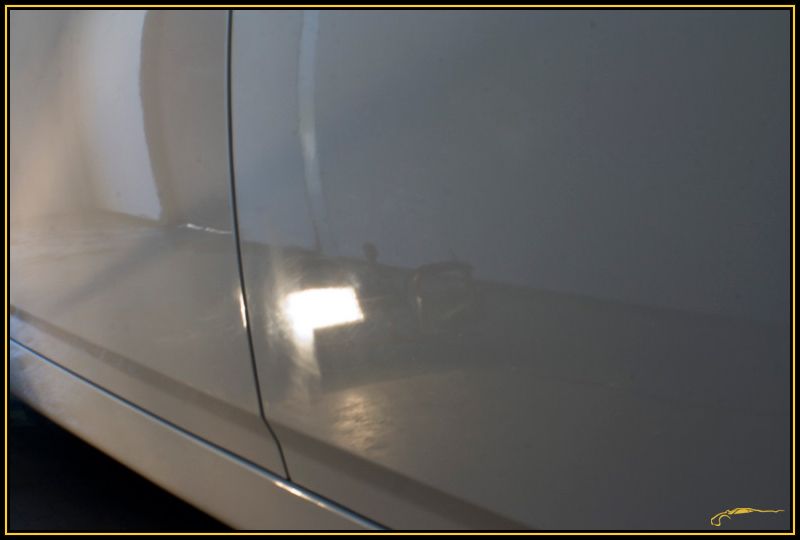
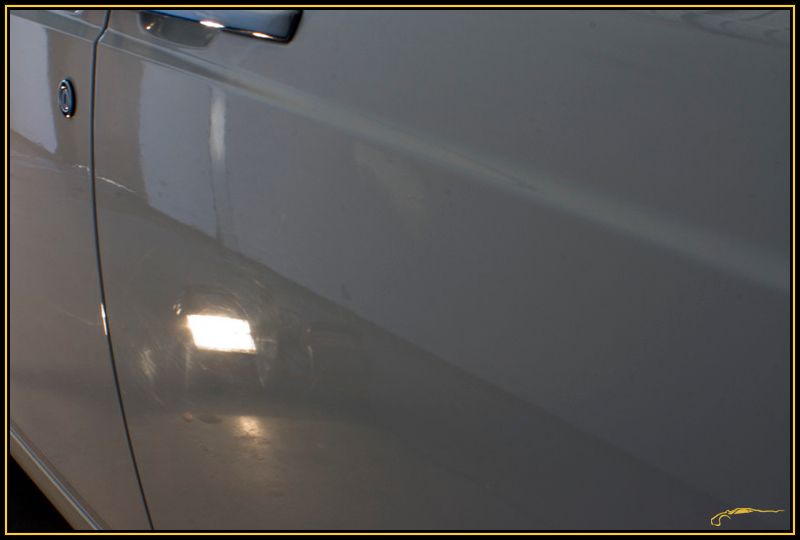
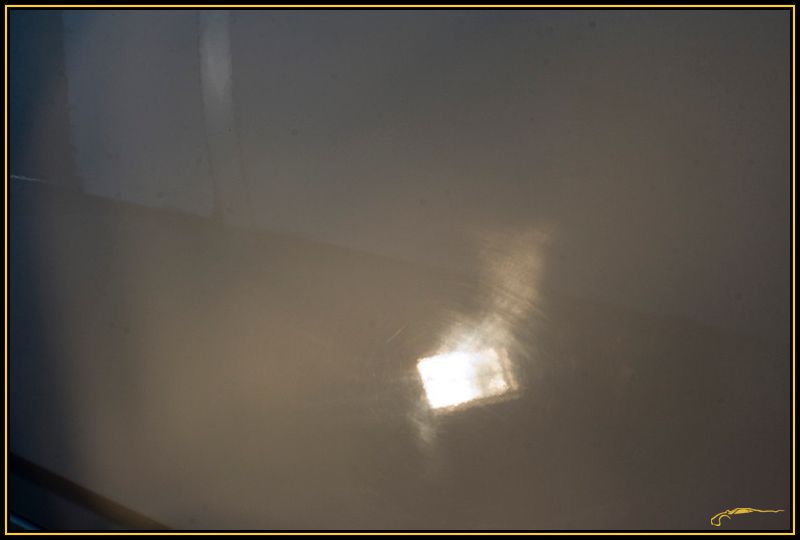
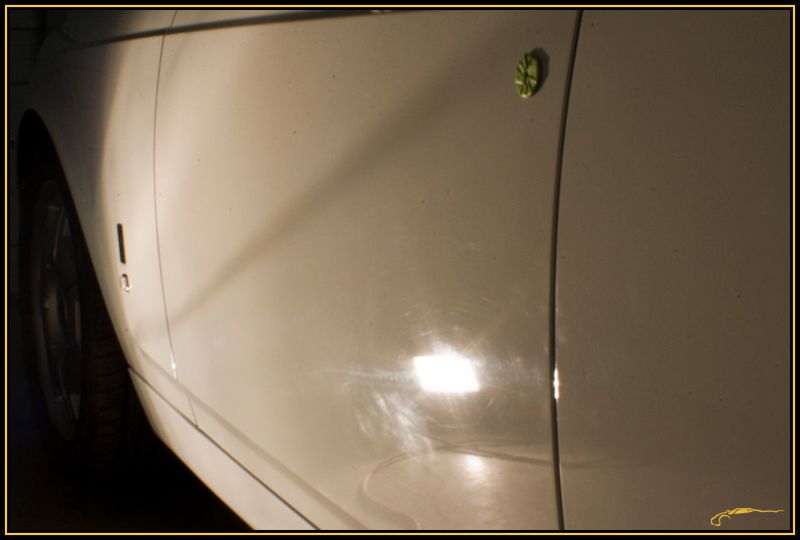
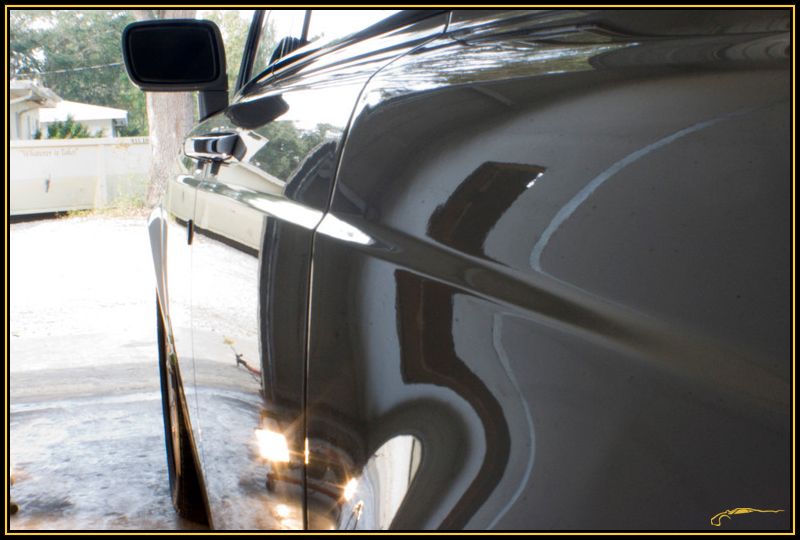
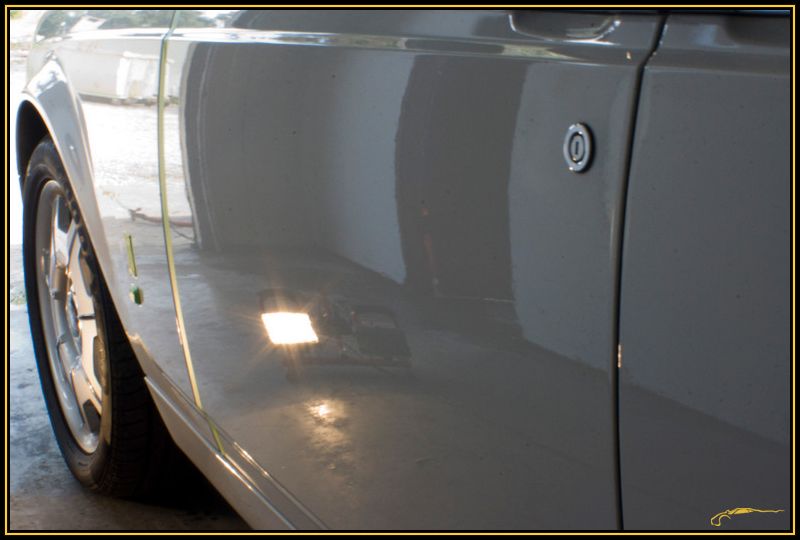
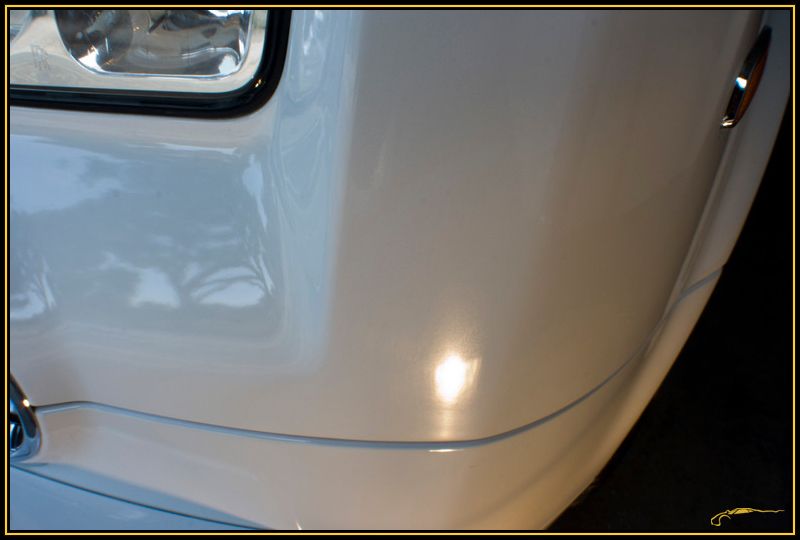
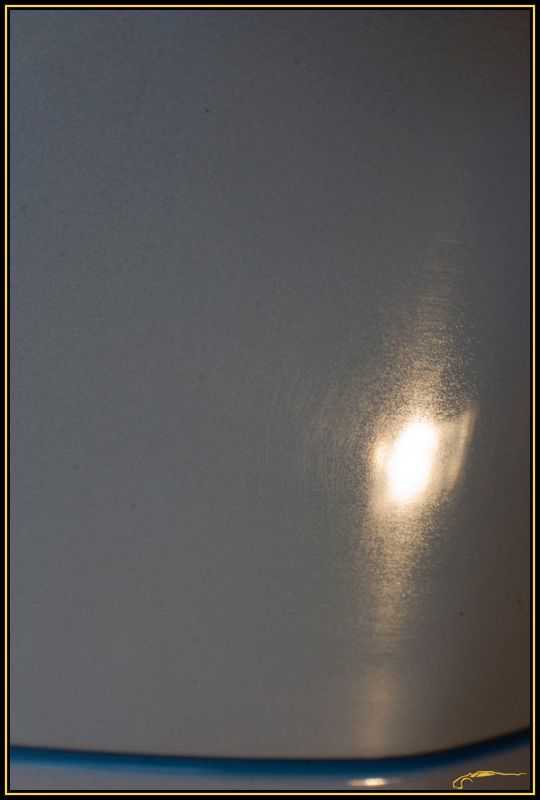
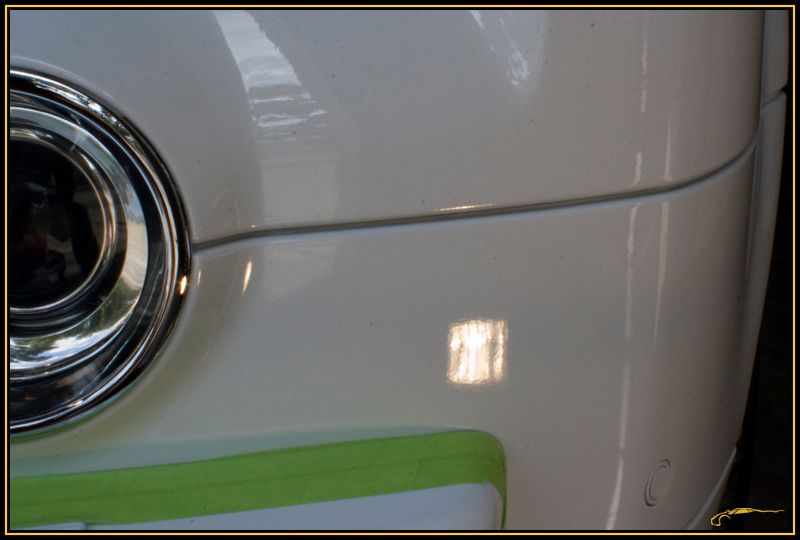
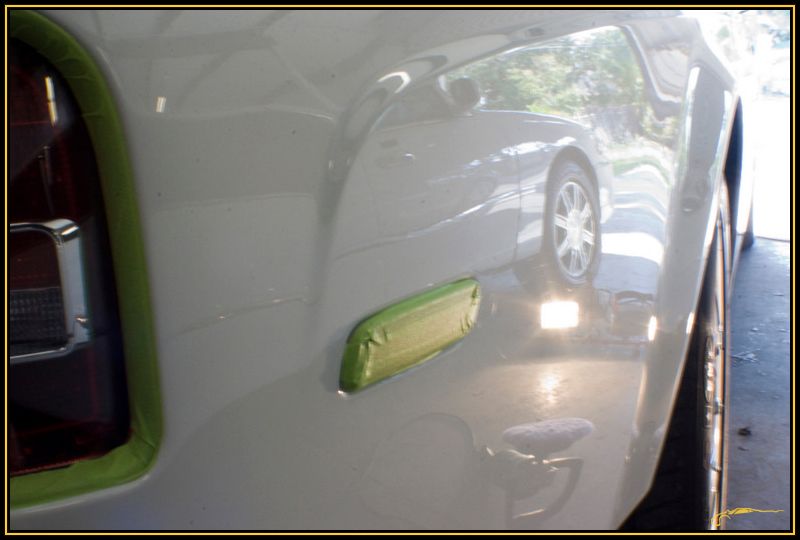
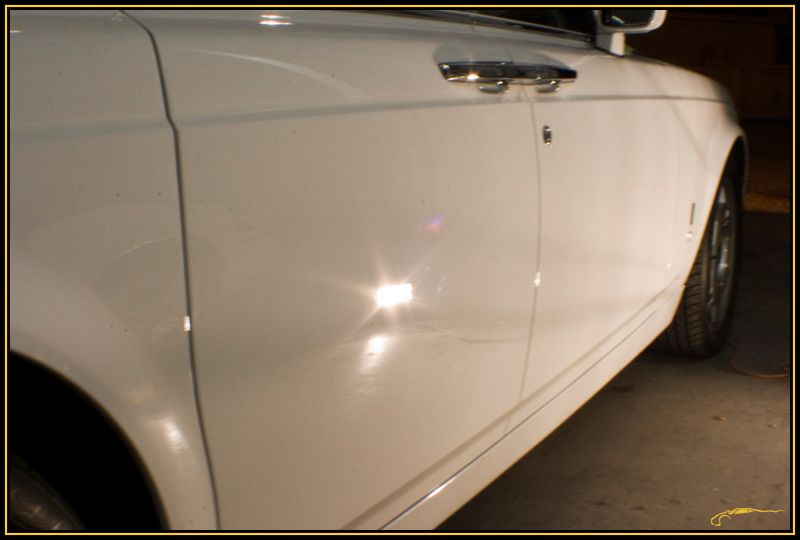
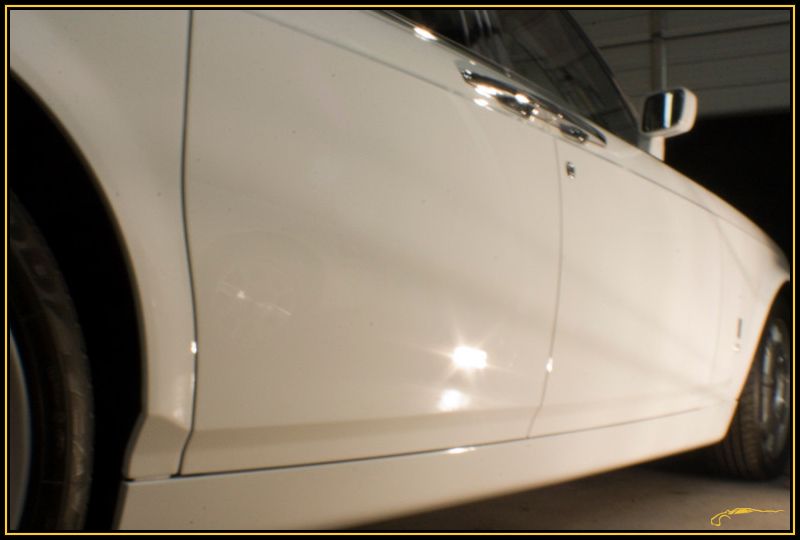
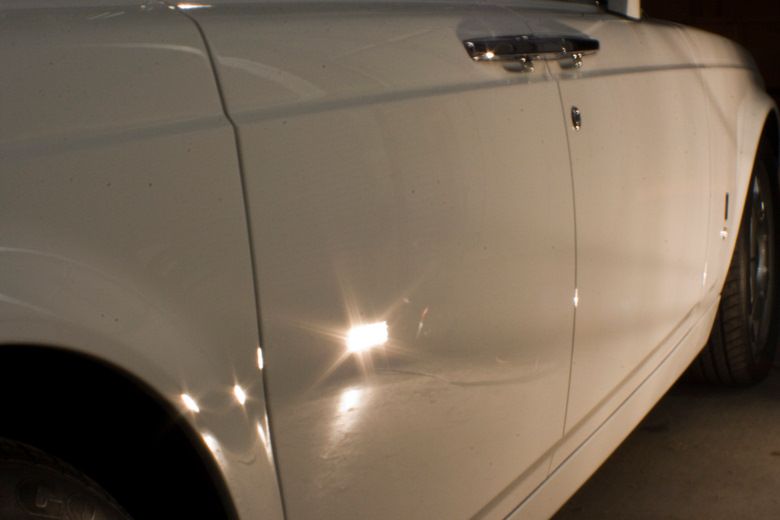
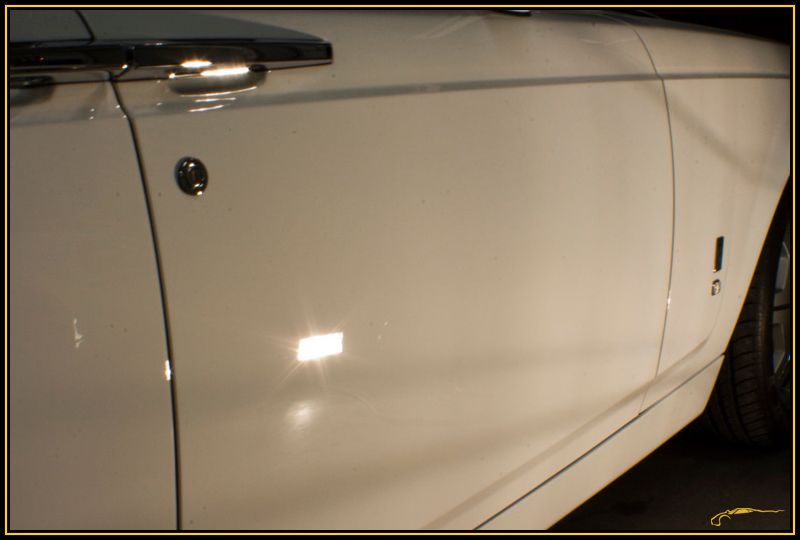
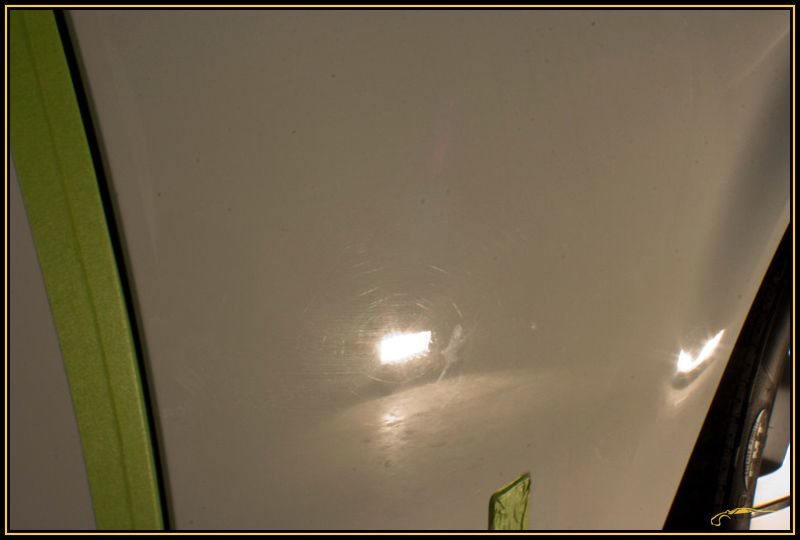
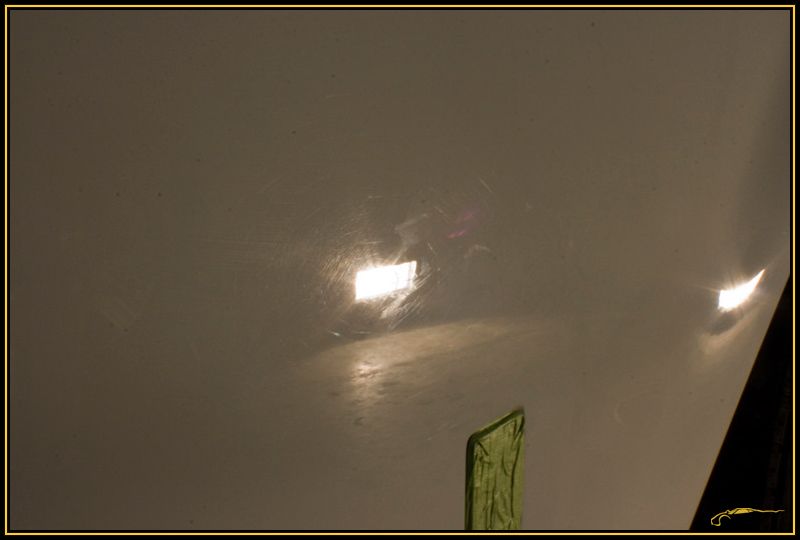
On to the real damage..Series of Before/After shots, none of which have had LSP applied yet.
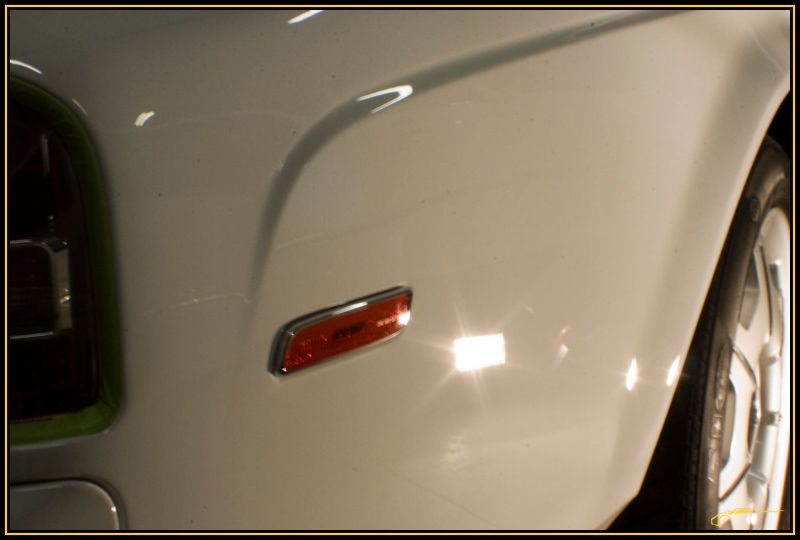
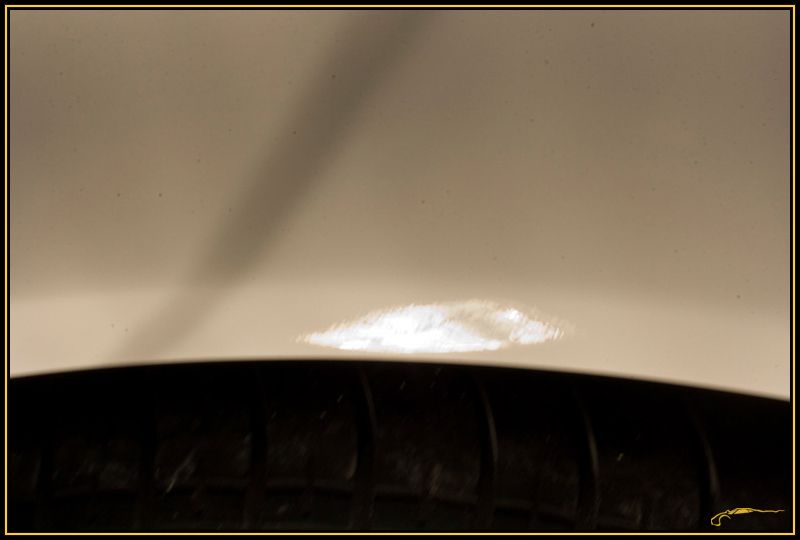
Wheel Arch Before.
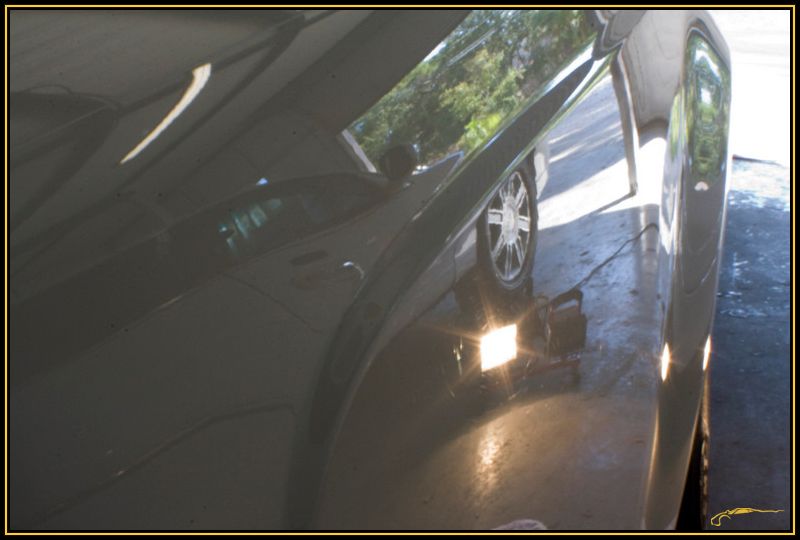
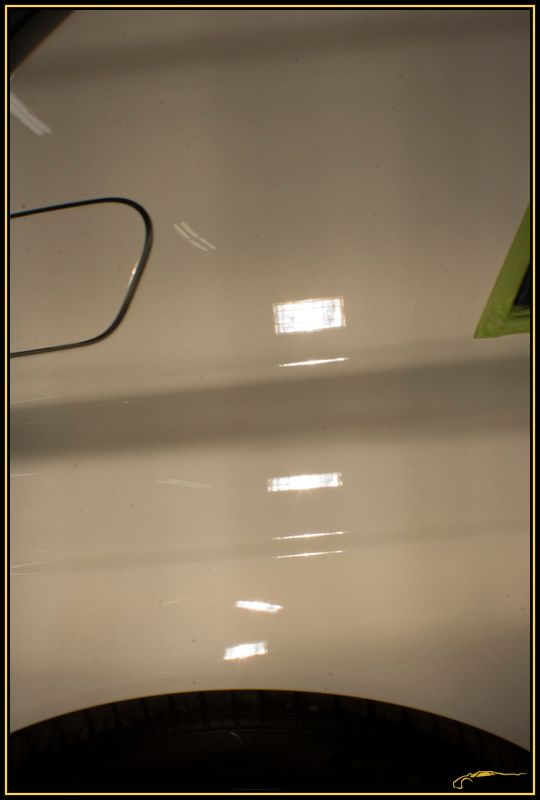
Wheel Arch After.
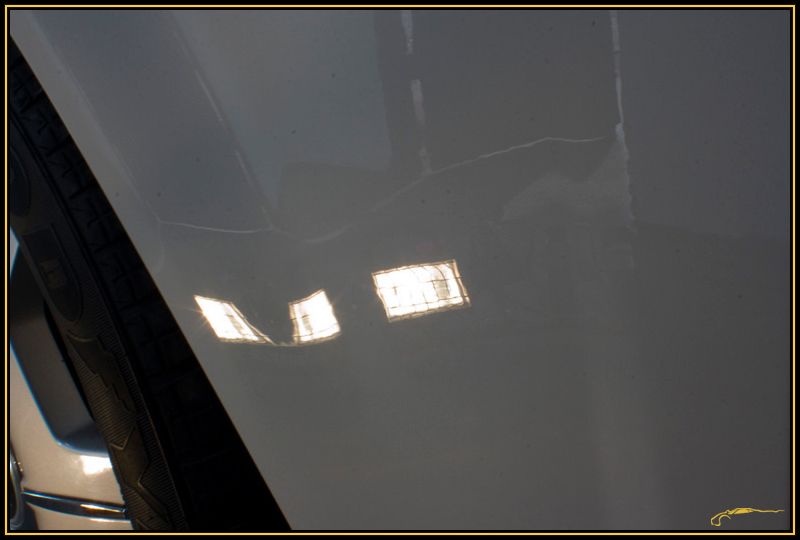
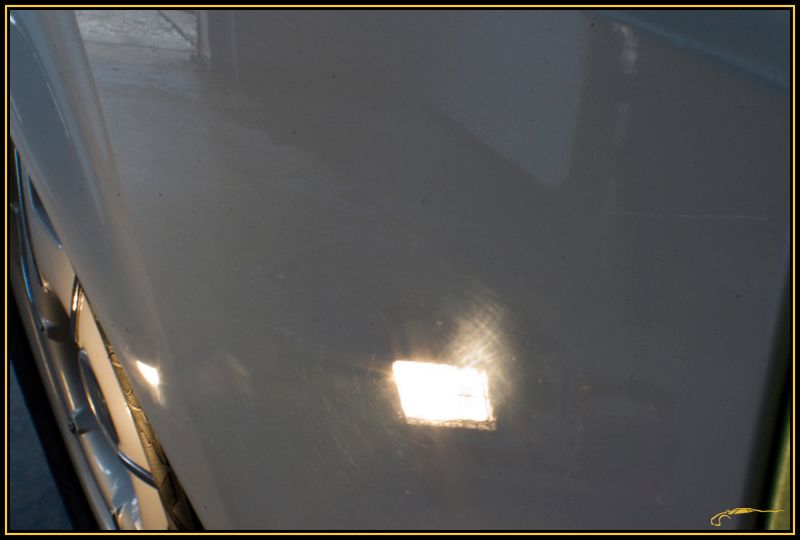
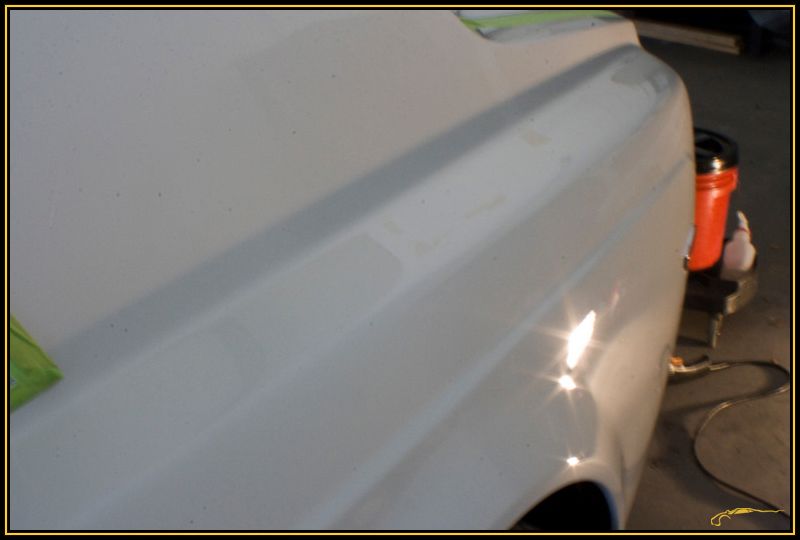
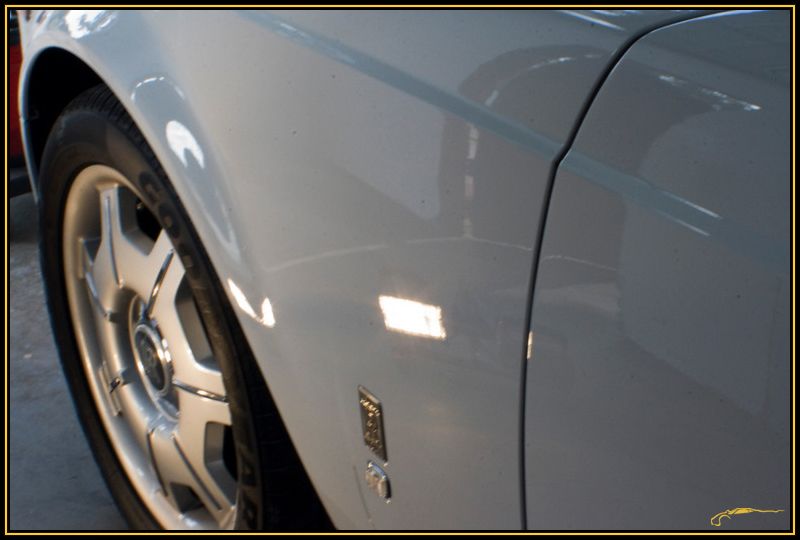
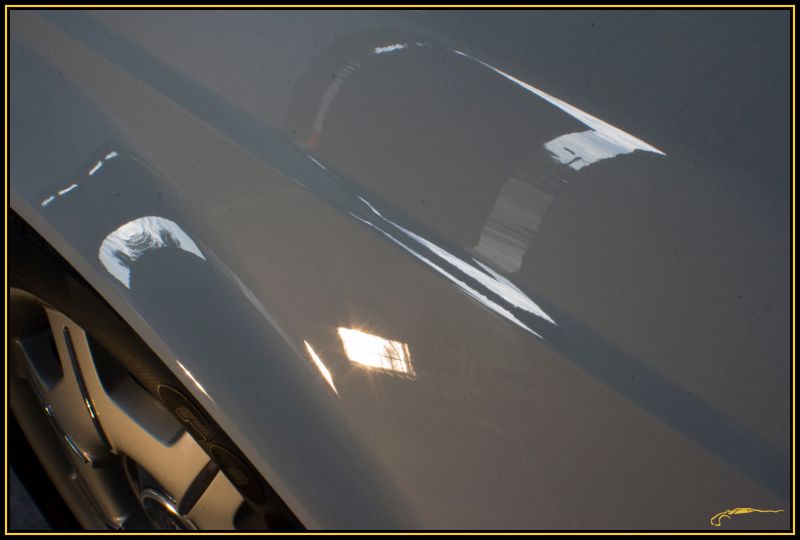
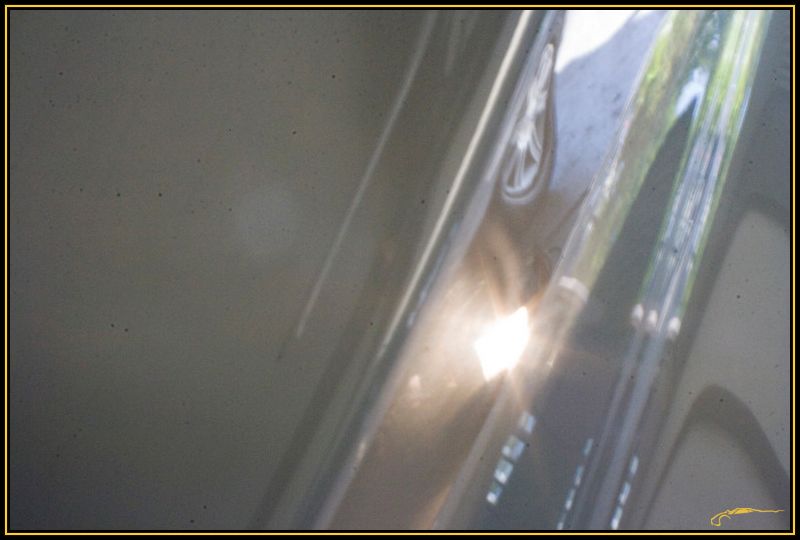
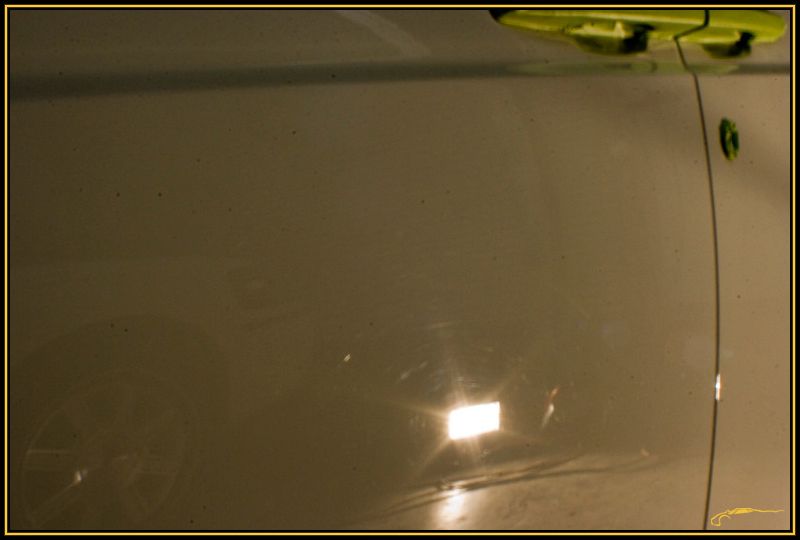
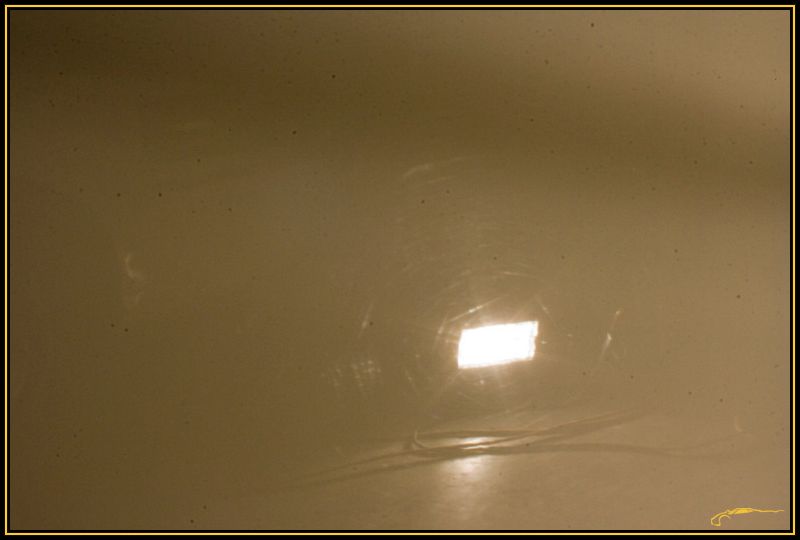
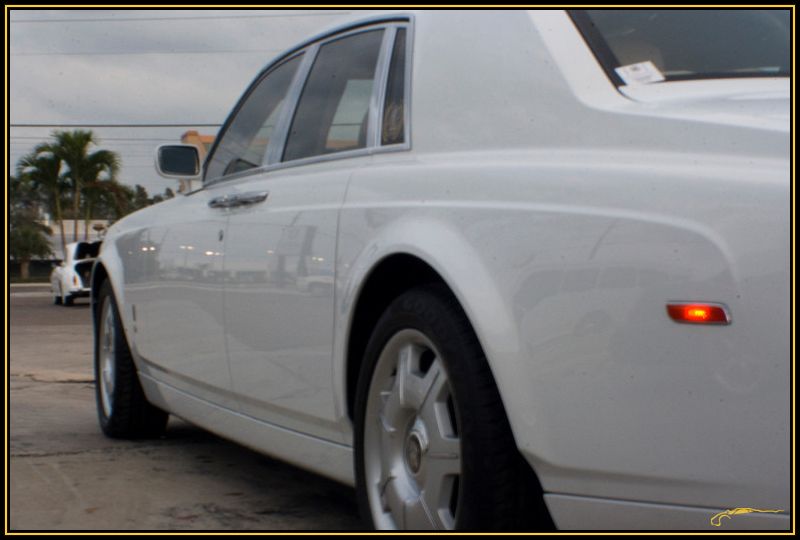
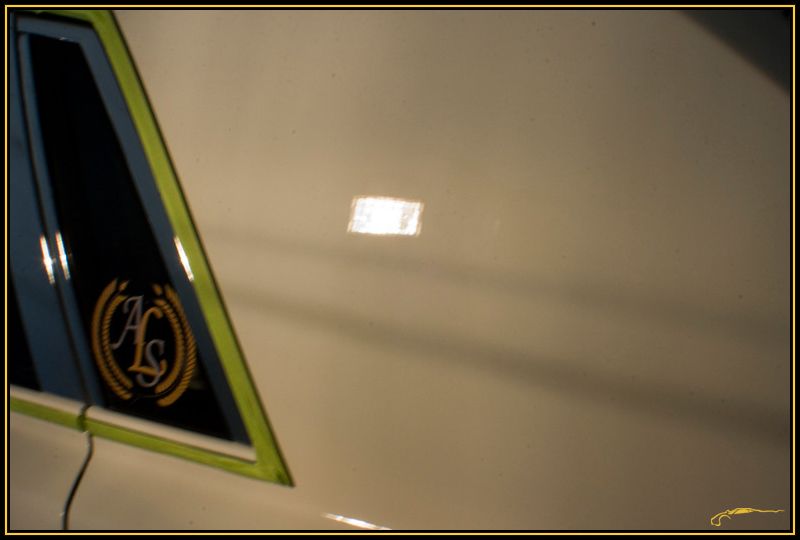
Rear Pillar Before.
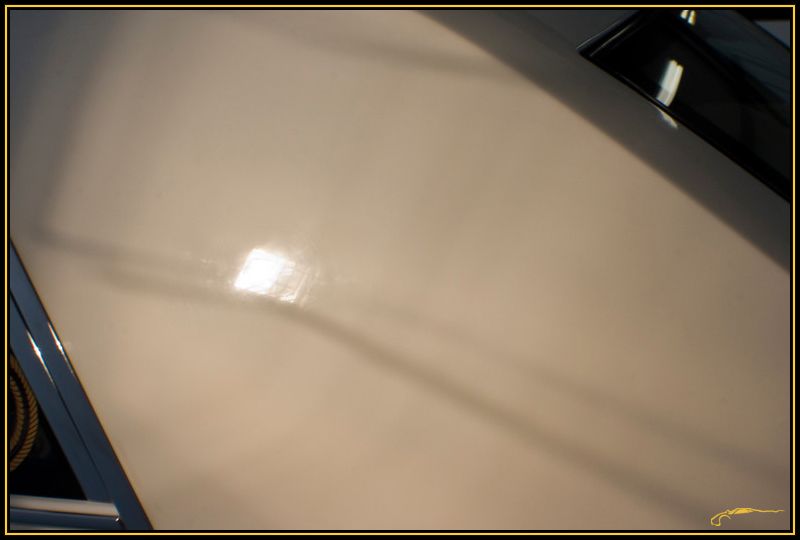
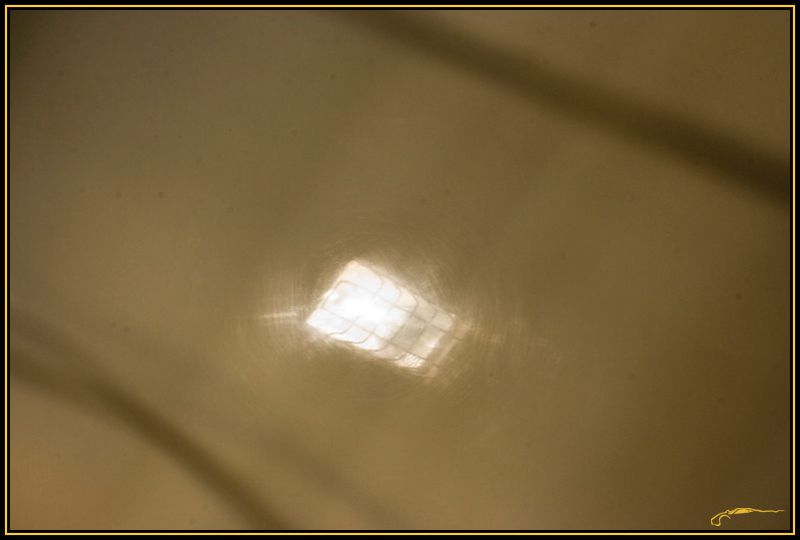
Here you can see the haziness from the buffing trails left even without proper light.
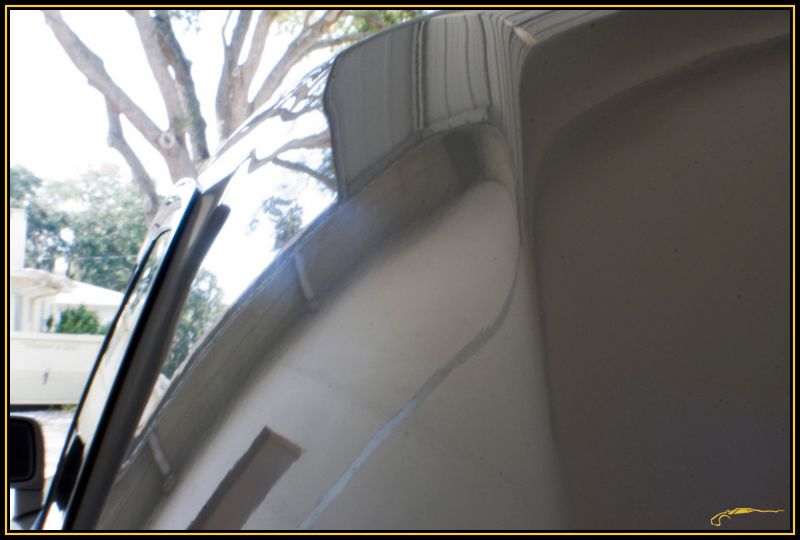
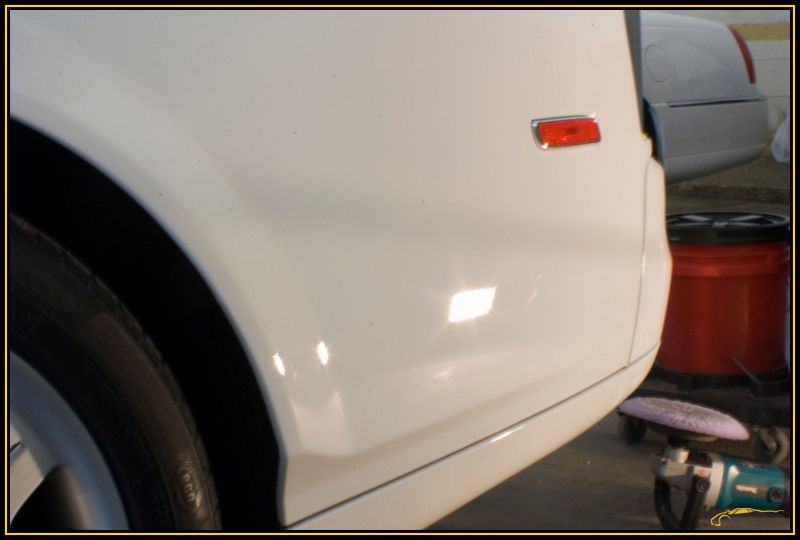
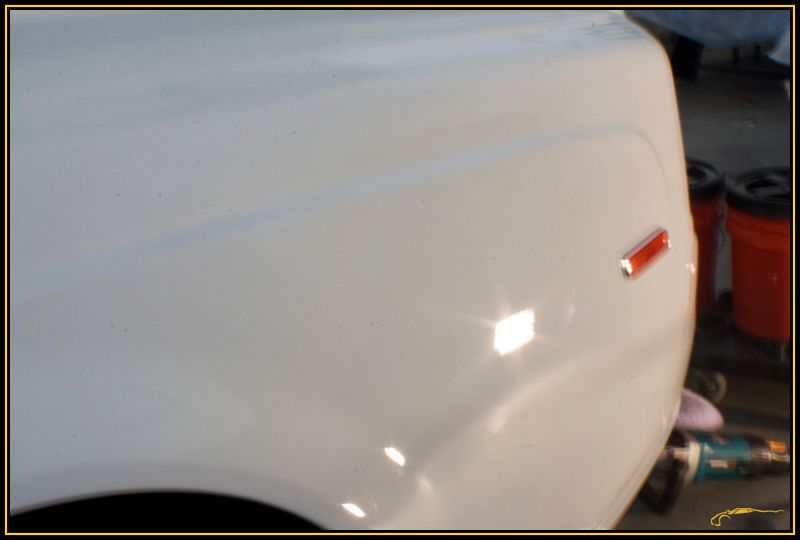
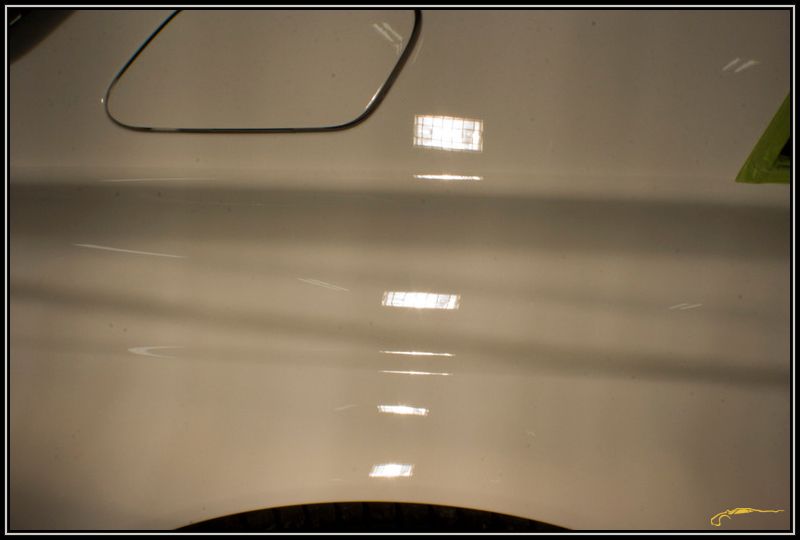
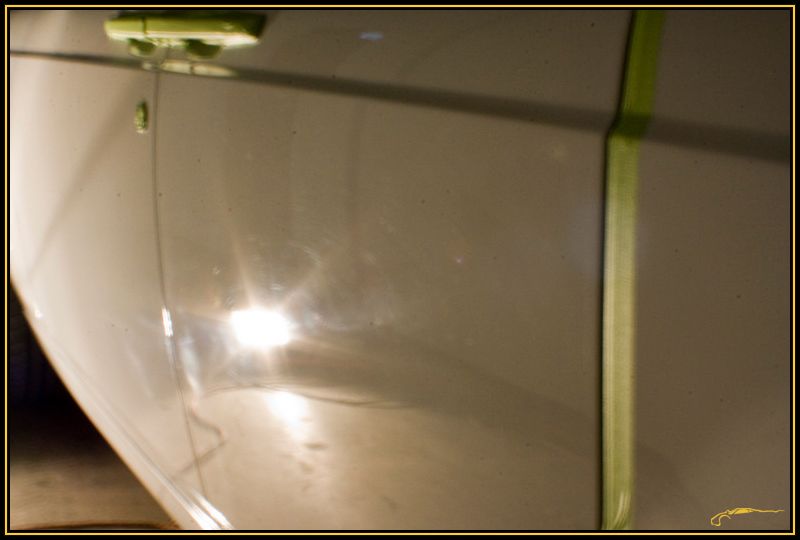
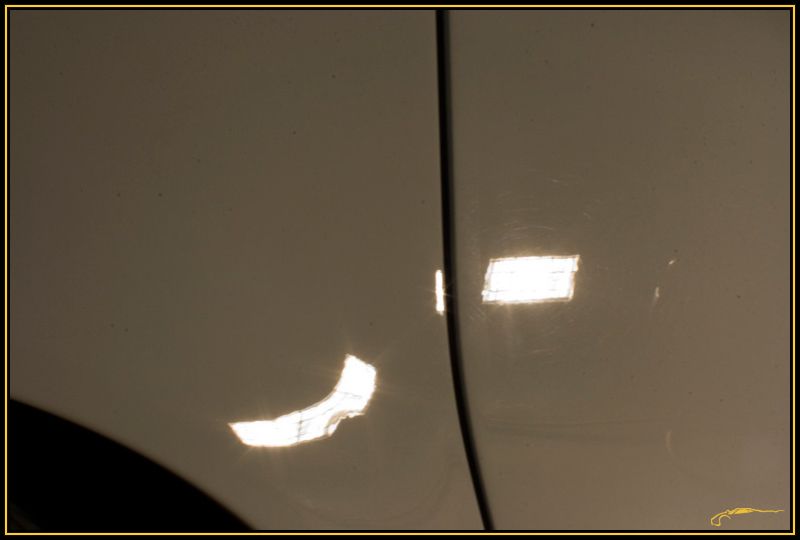
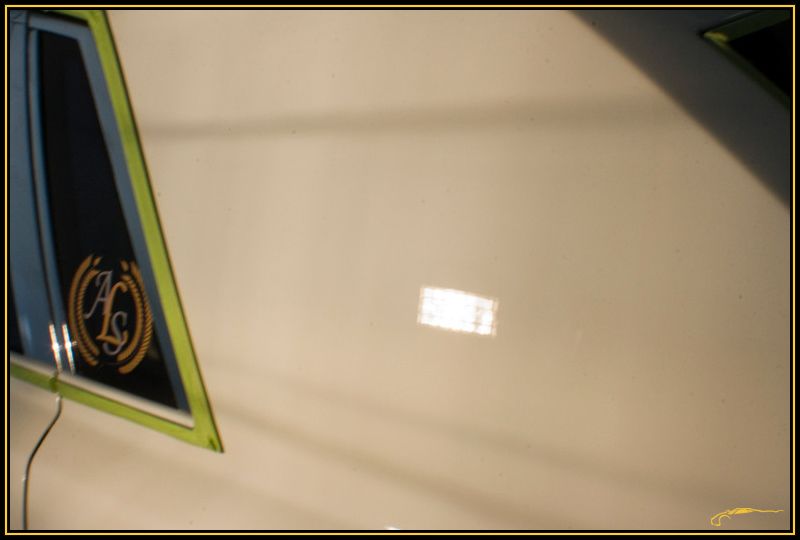
Rear Pillar After.
Wash and Decontamination Process:
BLACKFIRE Gloss Shampoo Two-Bucket Wash With Grit Guards
BLACKFIRE PolyClay II Detailing Clay with BLACKFIRE Detailing Clay Bar Lubricant
Two-Bucket Wash with Microfiber Chenille Wash Mitts
Blow Dried/Big Blue III Drying Towel
Wheels:
P21S Gel Wheel Cleaner
Microfiber Chenille Wash Mitts(dedicated to wheels only)
E-Z Detail Brush
Paint Correction:
3M Automotive Performance "Green" Tape
Meguiar's M105 Ultra Cut Compound / Lake Country Purple Foamed Wool Pad
via Makita 9227 Rotary Polisher
Meguiar's M205 Ultra Finishing Polish / Lake Country Orange FLAT 6.5" Foam Pad
via Meguiar's G110 Dual-Action Machine Polisher
Zaino AIO On All Door Shuts
50/50 of 91% IPA/Distilled Water
Dragon Fibre Microfiber Towels
LSP:
TWO coats of BLACKFIRE Wet Diamond All Finish Paint Protection via G110 using a Lake Country Flat 6.5 inch Gold Concours Finishing Pad
TWO coats of BLACKFIRE Midnight Sun Ivory Carnauba Paste Wax
BEFORE:
The interior had already been cleaned so I did no work to the interior.
Hard to reach area.
On to the real damage..Series of Before/After shots, none of which have had LSP applied yet.
Wheel Arch Before.
Wheel Arch After.
Rear Pillar Before.
Here you can see the haziness from the buffing trails left even without proper light.
Rear Pillar After.