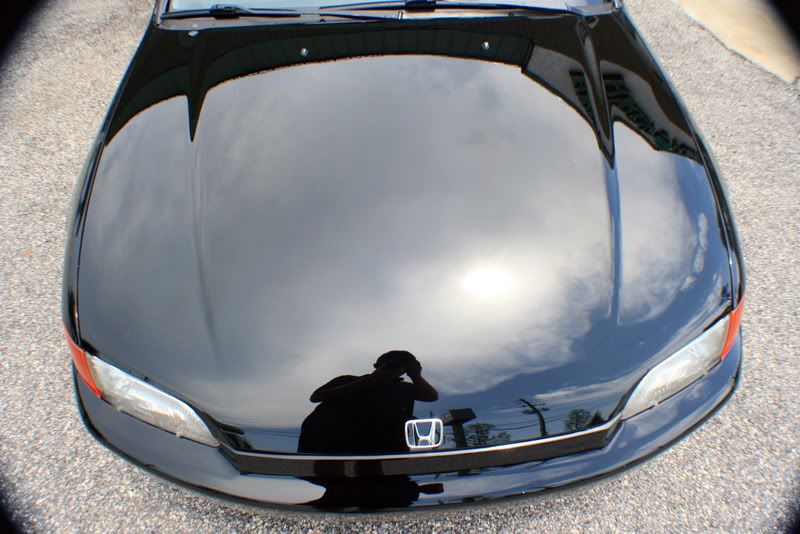
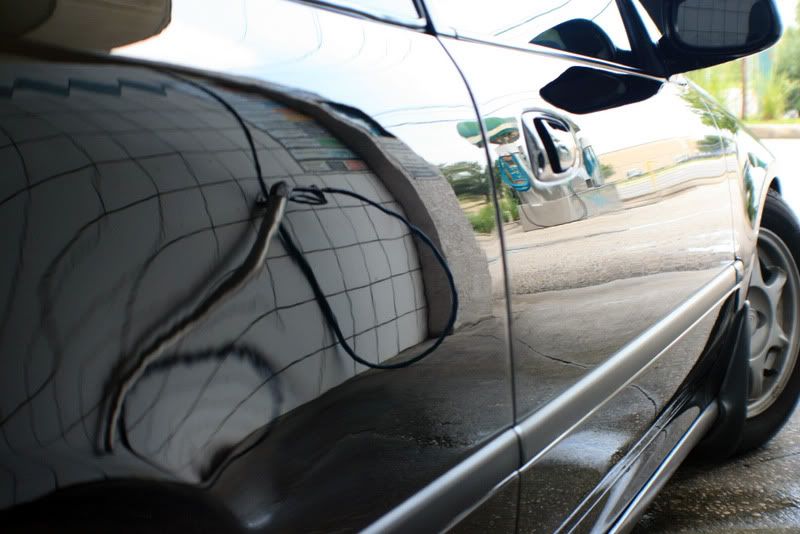
Presidential Detailed: Freshly painted EG, almost ruined by a hackjob.

prsdntial_dtail

New member
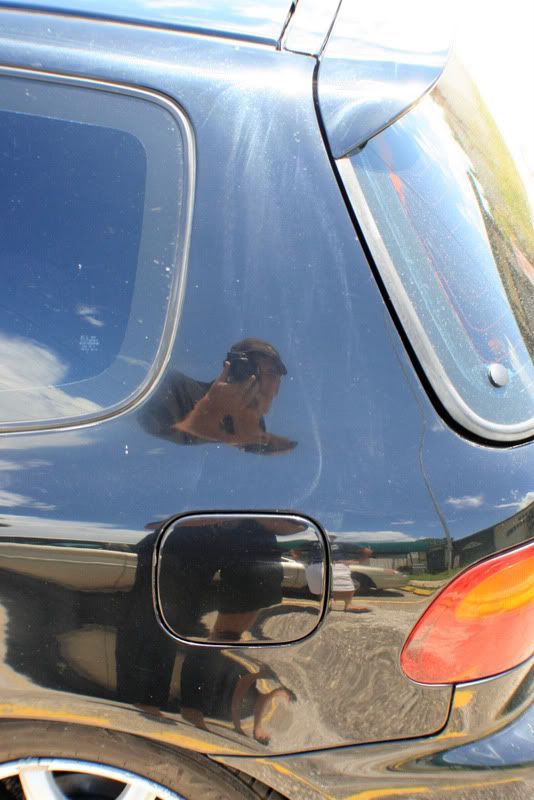
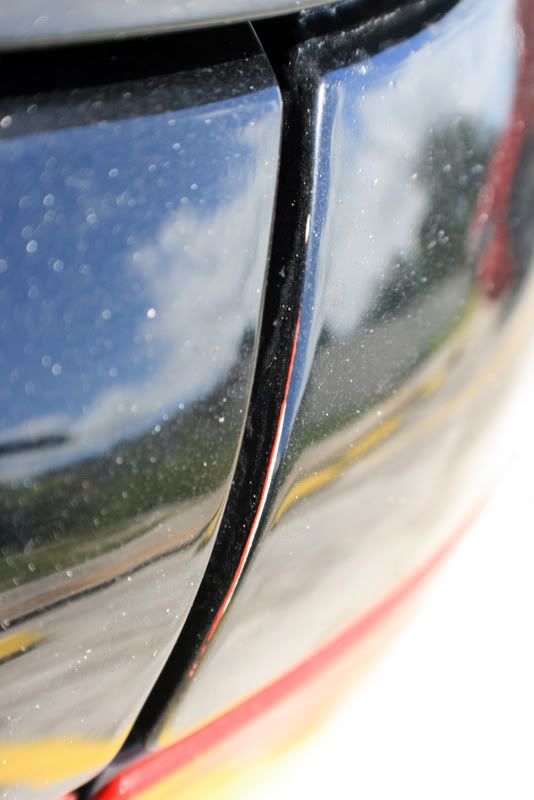
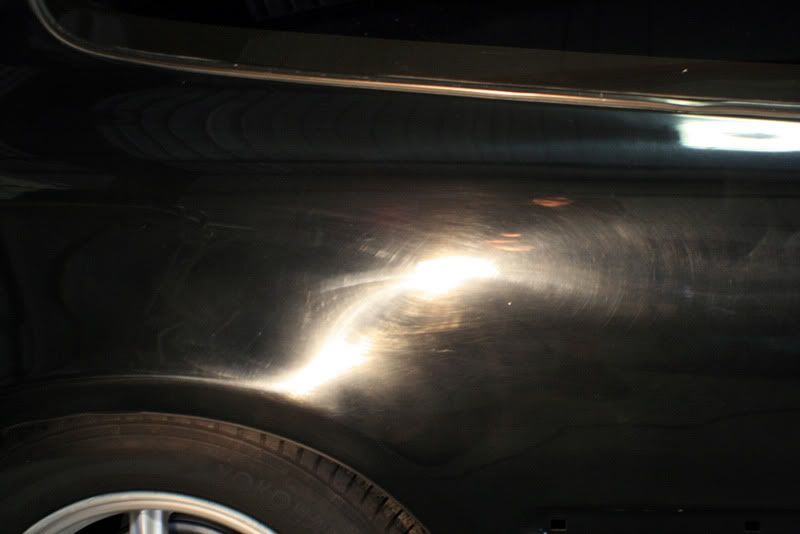
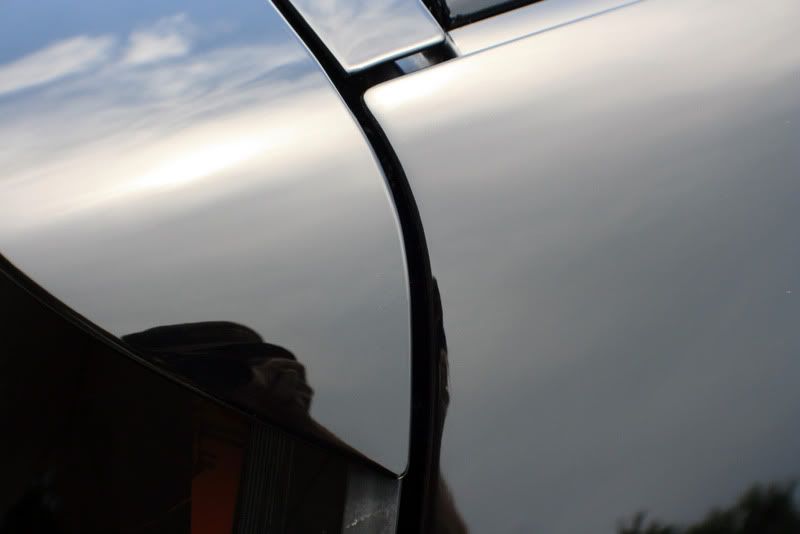
This customer came to me after having his civic freshly painted black, everything was done the right way, the car was completely stripped of everything including glass and seals so that no area was missed. He was then referred by his painter to a "detailer" in the same complex to perform a wetsand/buff on the car. Well, unfortunately he got a hold of the biggest hack I have ever come across. There were severe holograms, swirls, sanding marks that hadnt been completely removed and worse of all he burnt through most of the edges on a fresh paint job!!!

He was well aware that he was getting a service that wasnt up to par once he got the car back and pulled the car into the sun only to find the car looking like a 20 year old car again. He pointed out everything to the guy and he declined any wrong doing, telling him that the swirls are normal for a fresh painted car and they will go away after a month. So he waited a month only to find they are worse and called me up to perform a 50/50 on the hood to show this guy what he was doing was completely wrong. I was able to get the hood looking like it should again and the guy claimed there was no different and trust me it was VERY different! haha! Long story short, the guy didnt even have a legitimate business and I ended up taking on the entire job. I had my work cut out for me!

Are you ready for a nightmare? Keep in mind this cars paint is barely even a month old.

The Hood.
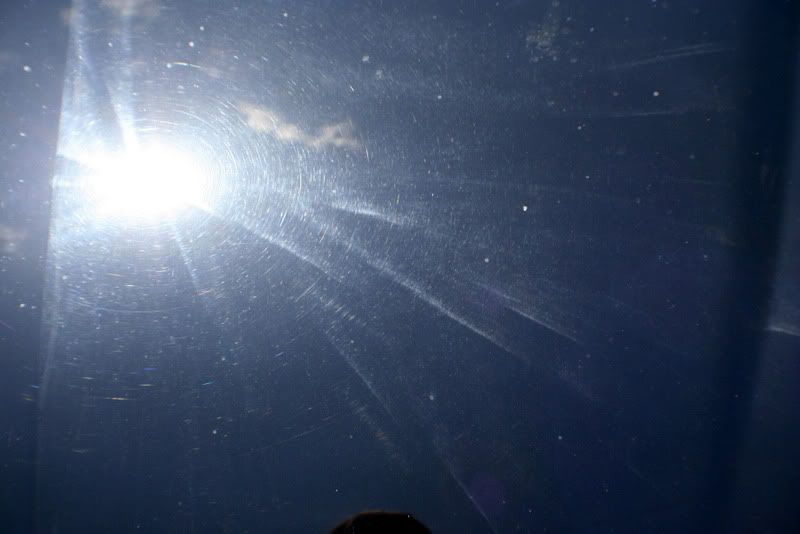
IMG_1104-1.jpg


IMG_1105.jpg


IMG_1107.jpg


IMG_1108.jpg


IMG_1109.jpg


Roof.
IMG_1124.jpg


IMG_1112.jpg


Rear Bumper
IMG_1113.jpg


The painter for some reason shot extra clear but taped off the inner portions, it looked horrible and your eye is drawn straight to the tape line. I later sanded these portions level to reduce the eye sore.
IMG_1114.jpg


IMG_1115.jpg


IMG_1116.jpg


IMG_1118.jpg


This is a close up of the roof, if you look deeper into the paint past the circular swirls, you will see straight line scratches. These are sanding scratches that the previous guy failed to remove creating a horrible haze on the entire car.
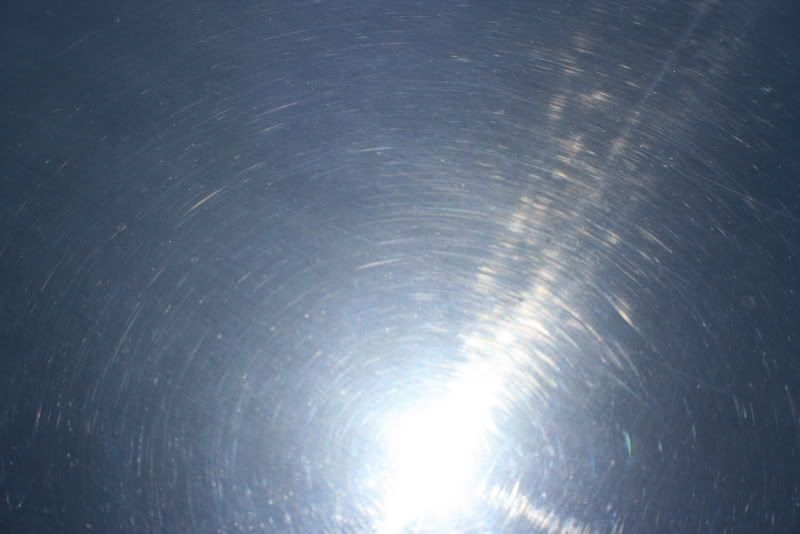
IMG_1125.jpg


Here is where the real nightmare begins,
IMG_1117.jpg


IMG_1119.jpg


IMG_1123.jpg
 
Before starting the long buffing process I knew was going to be required on this car, we took out the lights, moldings and anything that was easily removable to make my job a little easier and to get a full correction all the way up to the edges.
IMG_1131.jpg


IMG_1132.jpg


Side Moldings and Skirts Removed.
IMG_1133.jpg


IMG_1140.jpg


The flourescents really brought out the worse of the sanding scratches, bringing them to focus.
IMG_1134.jpg


IMG_1135.jpg


The 50/50 from a few weeks prior that the hackjob declined seeing a difference between what he did and what I did. He must be nuts.
IMG_1138.jpg


IMG_1139.jpg
 
A quick walk around the car with halogens really lets you see how bad this thing looked in person. Once again, remember this is a BRAND NEW paint job!!
IMG_1141.jpg


IMG_1143.jpg


IMG_1150.jpg


IMG_1149.jpg


IMG_1148.jpg


IMG_1151.jpg


IMG_1153.jpg


A close up of the sanding scratches that werent fully removed.
IMG_1152.jpg
 
Knowing that I am going to have to cut into this thing pretty hard to get the sanding marks out I pulled out my Meguiars Red Wool Pad and began to prime it using the KBRM for fast hard cutting results. This combination is VERY aggressive and wouldnt recommend it to anyone without proper experience with a rotary.
IMG_1154.jpg


Part of this method is applying M105 to the pad.
IMG_1156.jpg


To my surprise, this method even being as aggressive as it was, totally blew away the finish left by the previous guy. I could only imagine he used rocks and a broom to polish this thing! haha! This is only the first step for me, still gets better!
IMG_1170.jpg


IMG_1172.jpg


Here is the passenger door panel untouched..
IMG_1173.jpg


Here is the passenger fender after cutting with M105 and polishing with M205.
IMG_1174.jpg


Passenger Door before.
IMG_1177.jpg


After M105.
IMG_1184.jpg


After M205 with camera flash.
IMG_1186.jpg


rear 1/4.
IMG_1180.jpg


After M105
IMG_1182.jpg


After M205.
IMG_1188.jpg
 
Driver Rear 1/4.
IMG_1194.jpg


After M105.
IMG_1198.jpg


here you find the difference between my very aggressive cutting stage on the rear 1/4 next to whatever the heck this guy did.
IMG_1197.jpg


Driver Door After M105.
IMG_1199.jpg


Driver Fender Before.
IMG_1196.jpg


After M105.
IMG_1200.jpg


No more swirls, just LOTS of dust!
IMG_1202.jpg


Finally starting to see some depth in the paint again!
IMG_1203.jpg


Here is the full hood completed.
IMG_1205.jpg


Then moved onto the rear hatch/bumper area with a 50/50.
IMG_1211.jpg


IMG_1208.jpg
 
Great job, I'm still at a lose as to why you removed what you did, but I can't argue with the results
 
Great job, I'm still at a lose as to why you removed what you did, but I can't argue with the results

I knew how much compounding was going to need to be done, the owner purchased all BRAND NEW moldings for the car and I didnt want to be the one to ruin them by chance. So we took the safe and easy route by removing them. Not to mention the previous guy sanded all the way to the edges and I wanted to make sure I was able to remove everthing and get it done right the first time.
 
Very nice Billy! So how much did you pay the guy to hack it all up so you could fix it?:D

That is definitely one of the worst hack jobs I have seen. My only defense is I couldn't see what I was doing very well.:lmfao

Seriously. Great job. I wish their was a detailer's police you could report this guy to. He needs to have his buffer taken away from him at least!
 
Why didmt the painter do the buffing of the finish? The guys around here do the entire vehichle before it leaves their hands. I couldnt get many photos looked at do to dialup connection, but what I saw was horrendous. Id have taken the car back to the painter and had him do the correction do to him recommending the hack. How could someone not see the buffer trails!!!! Its got to to look worse in person than it did in pictures.
The big question from me is how many hours did it take to fix the hacks job? And how much did the hack charge the first time? The car cant help but look better after you are finished with it.
 
Very nice Billy! So how much did you pay the guy to hack it all up so you could fix it?:D

That is definitely one of the worst hack jobs I have seen. My only defense is I couldn't see what I was doing very well.:lmfao

Seriously. Great job. I wish their was a detailer's police you could report this guy to. He needs to have his buffer taken away from him at least!

I think I paid you pretty well, I even still made a buck! ;)
 
That thing was ready for Cash for Clunkers, Billy! Nice save.

Troy... this was most certainly a crime... Assault with a Deadly Buffer.
 
I would have at least called the attorney general about these two to try to get paid for a whole new paint job from someone else. The car looks superb now but what was done about the edges?
 
Back
Top