OakesDetail
New member
Everyone loves a dedicated track vehicle that is road legal, especially one that has been enjoyed and was now ready to lean towards the investment track to be brought out on the most perfect of days. Which we can all appreciate as some day these cars will be more and more scarce, so preservation is key to remember the golden era of sports cars.
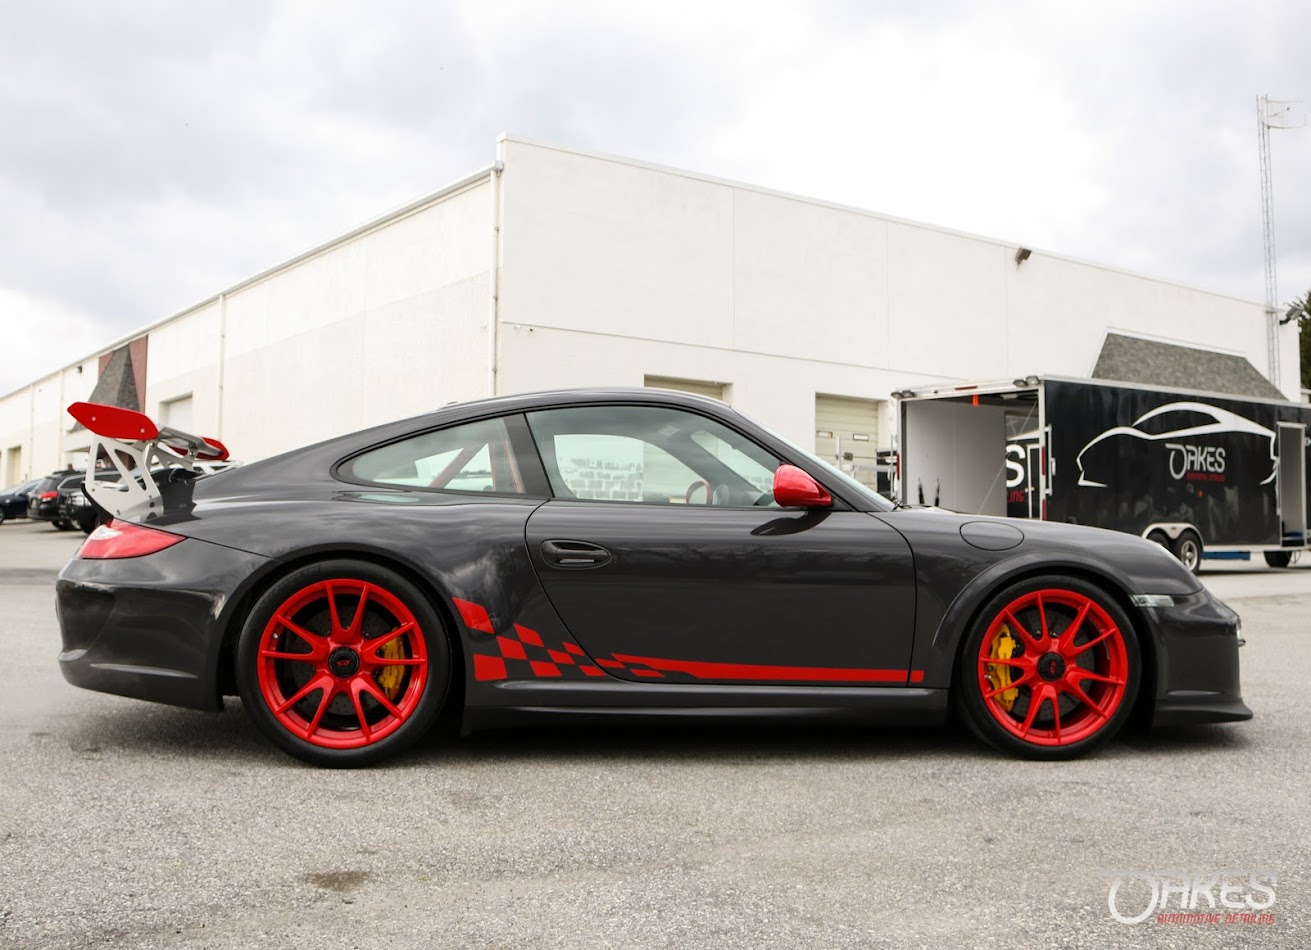
Quite easily the most comphrehensive write-up I have made in a long time, although I have another one brewing that is just as extensive. This visual journey will take you through the start to finish of reversing time on a previously enjoyed GT3RS that was kept outside for a good portion of it`s life and tracked semi-regularly. The goal of this project was to essentially make this 997.2 appear like it has never seen a road surface and protect it properly should it see the road again.
This meant complete wheels off tear down to everything short of pulling the motor and undercarriage - which we have done before - but was unnecessary here. As thorough as physically possible cleaning through degreasing, steaming, clay, correction/polishing of all surfaces to be properly conditioned and protected via sealant, ceramic coating or clear film.
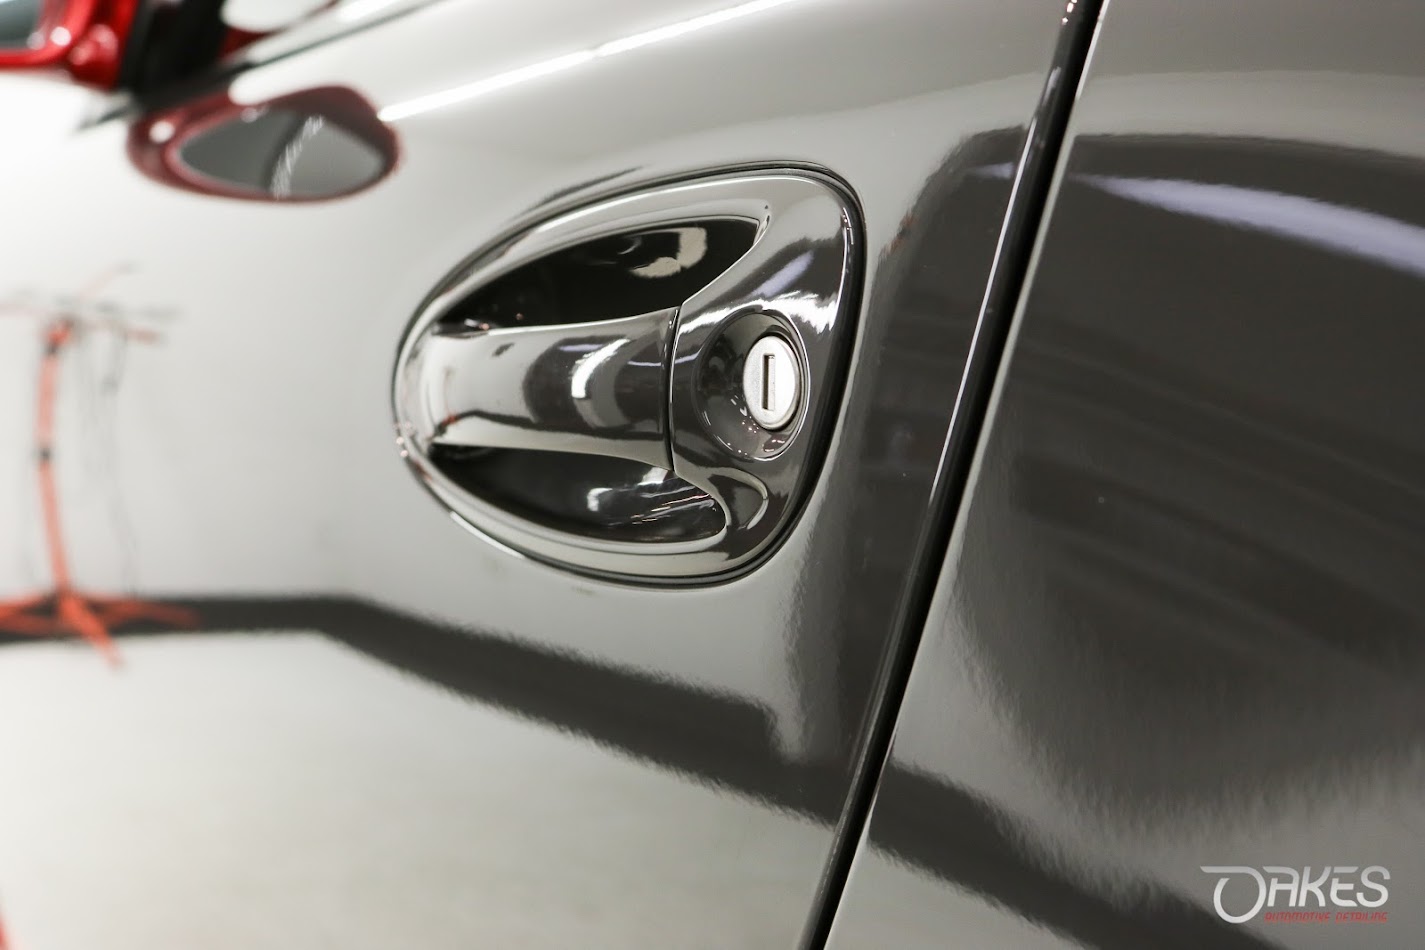
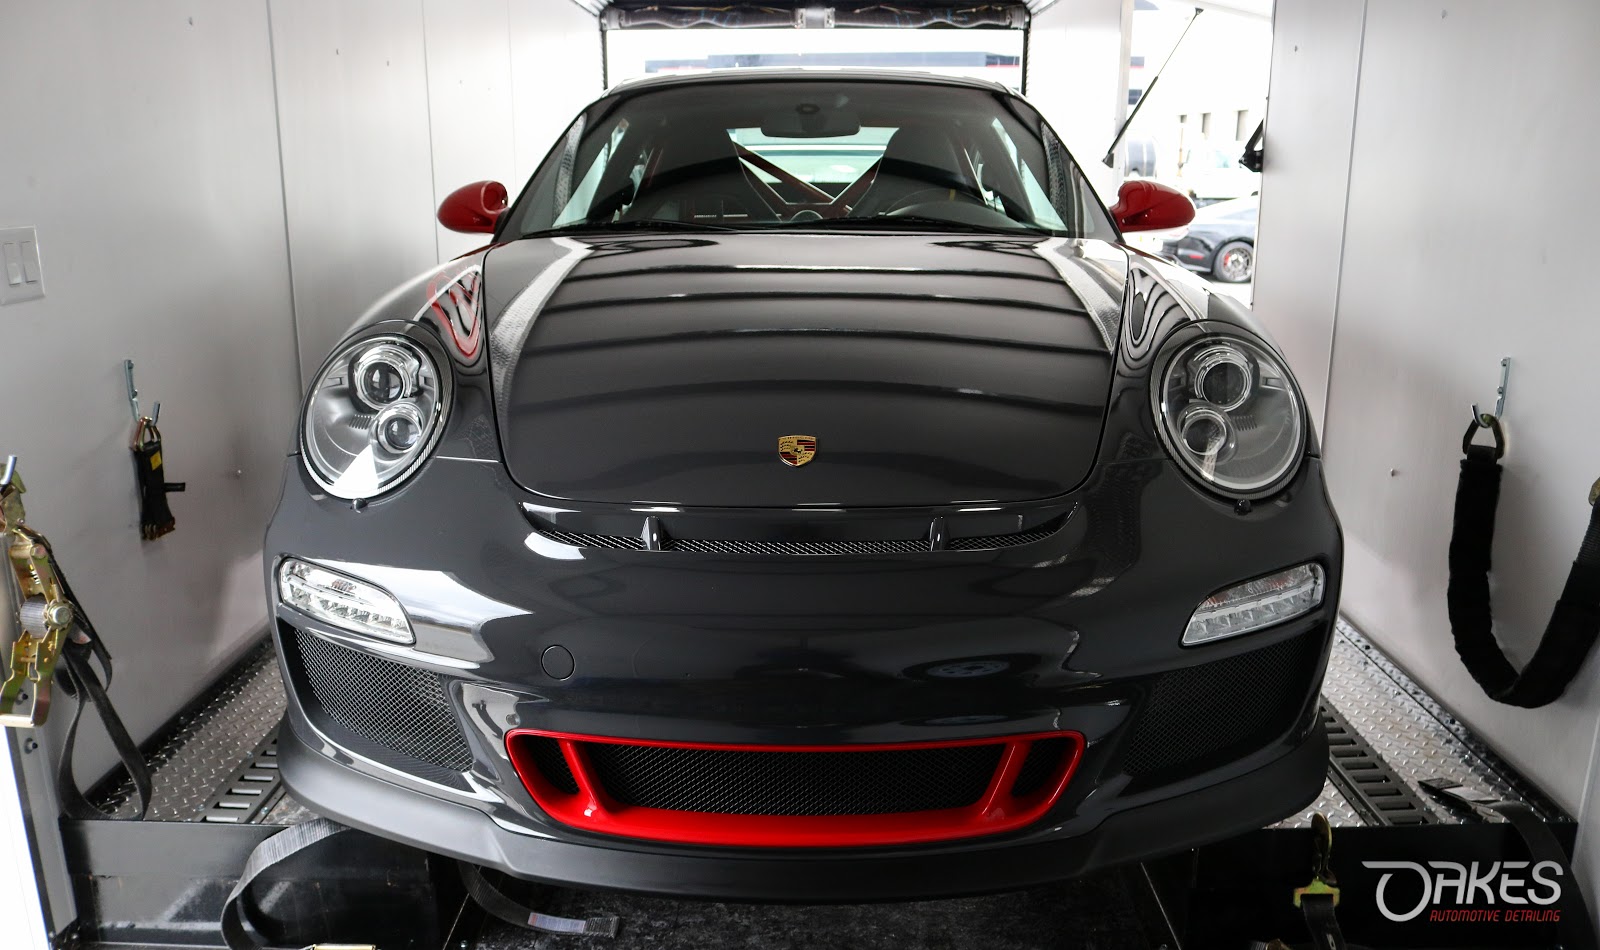
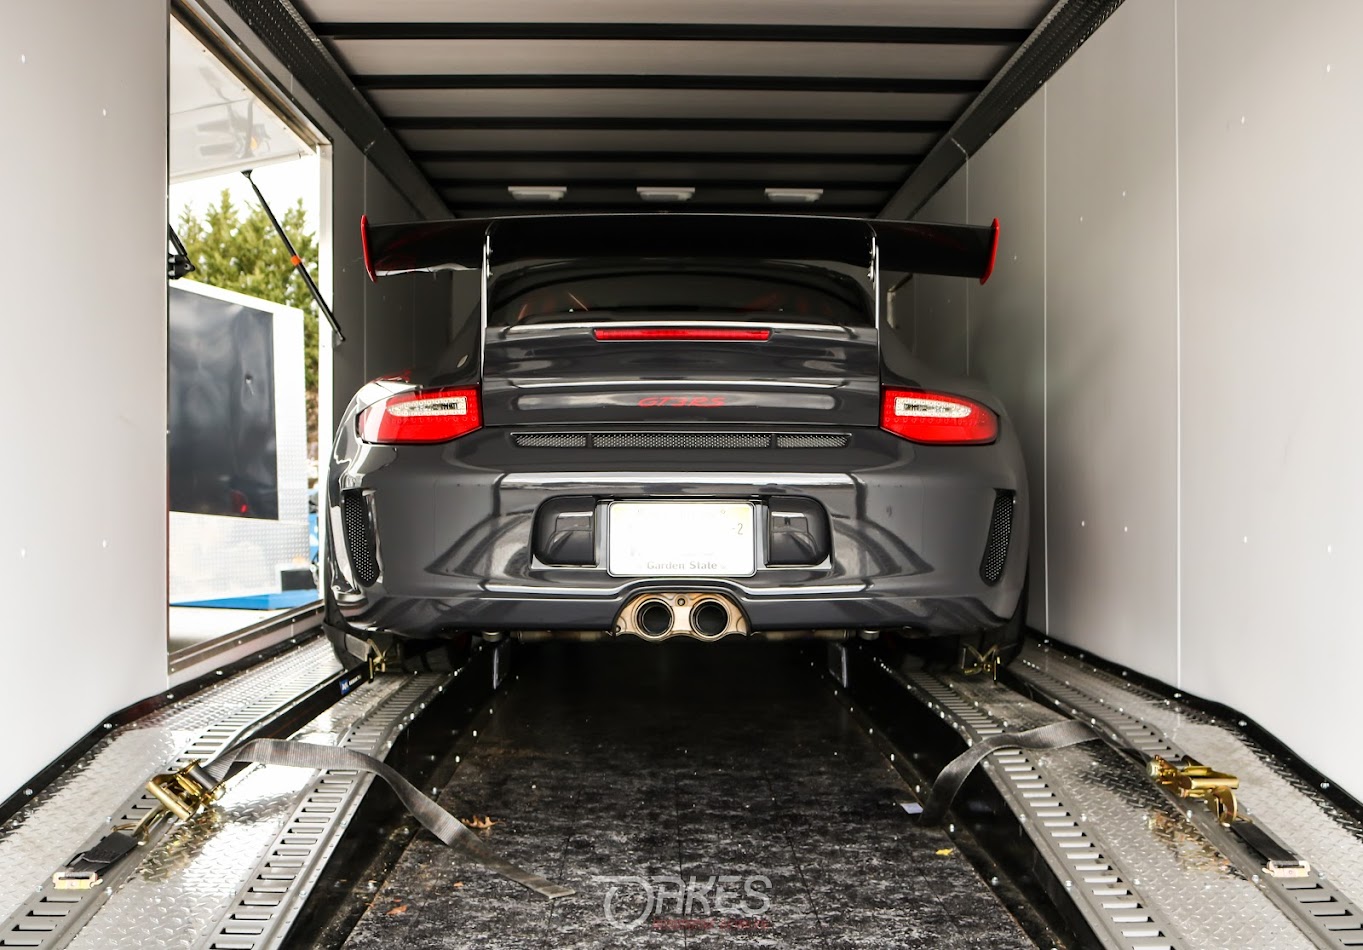
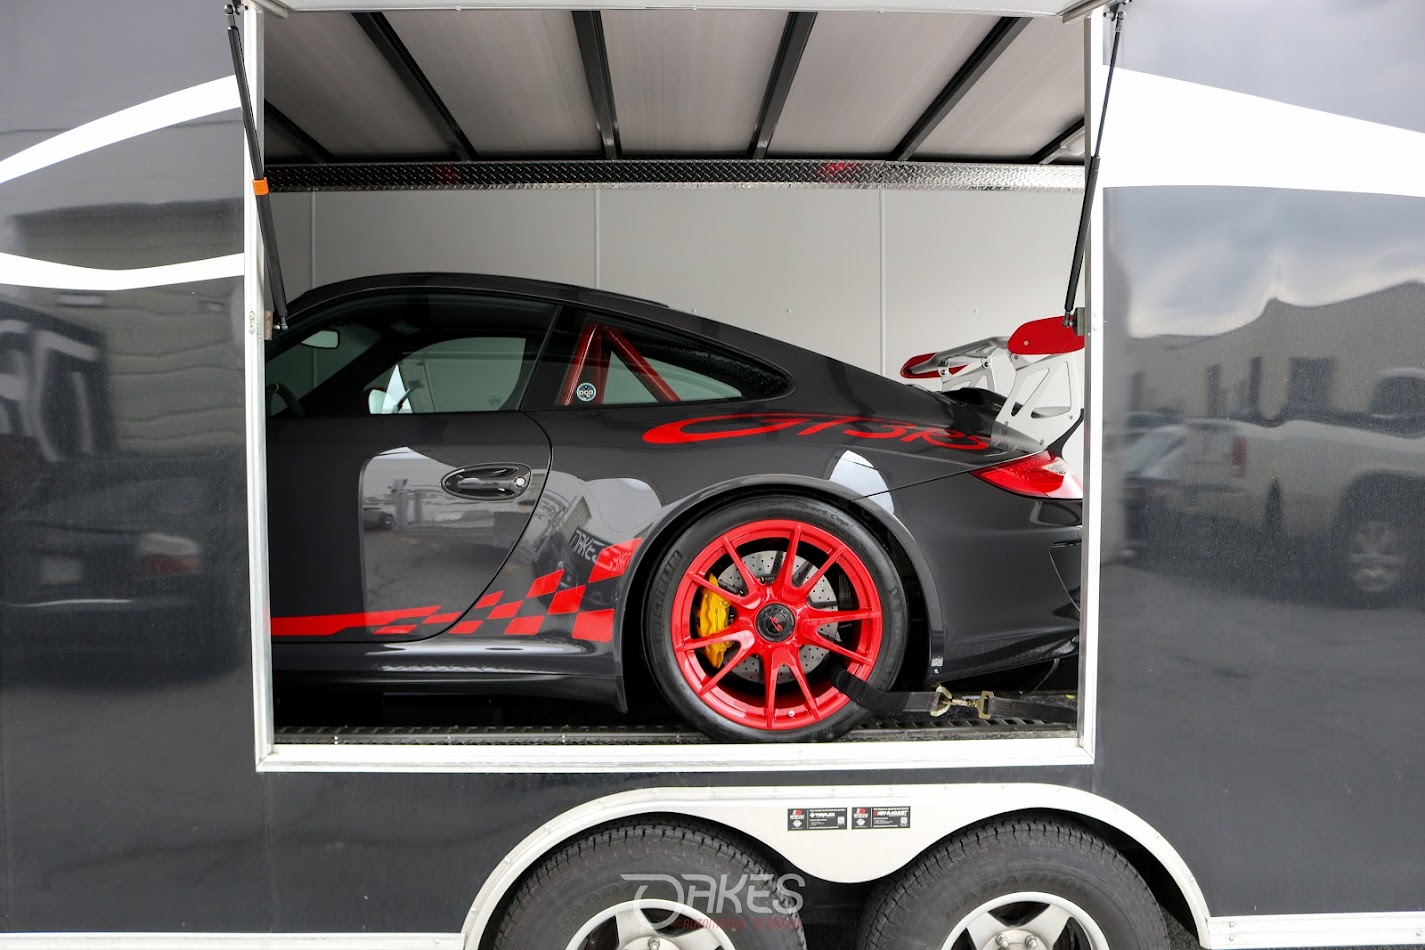
With that said, the visuals will explain the process for me from here...starting with how it arrived - driven in by the owner - and on first sight, as stunning a car as it is, was clearly in need of a refresh.

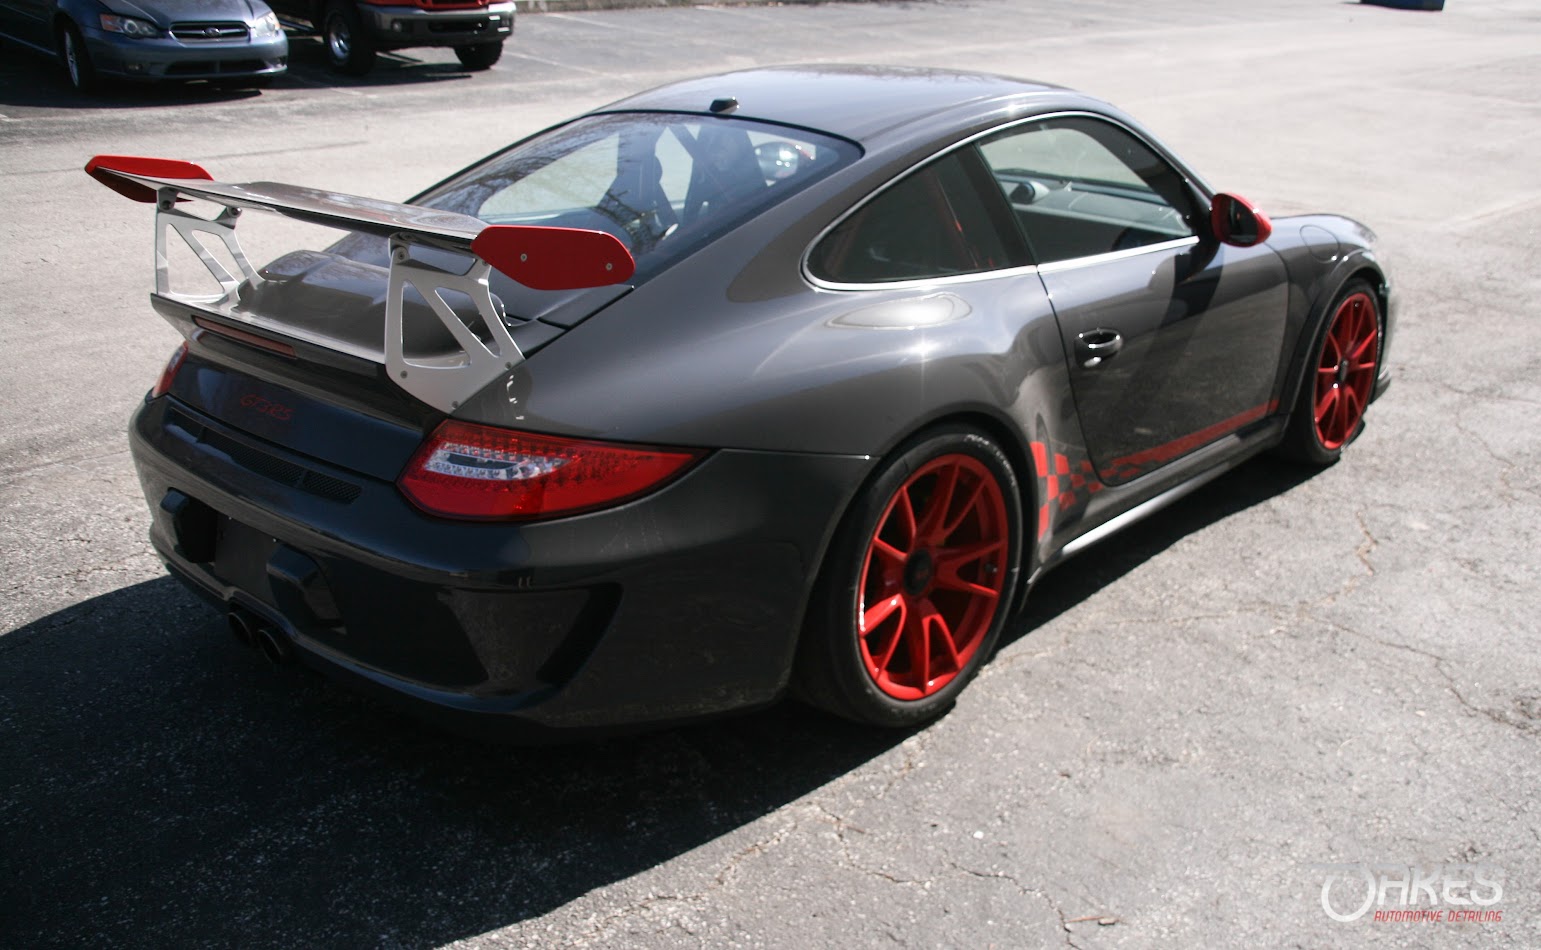
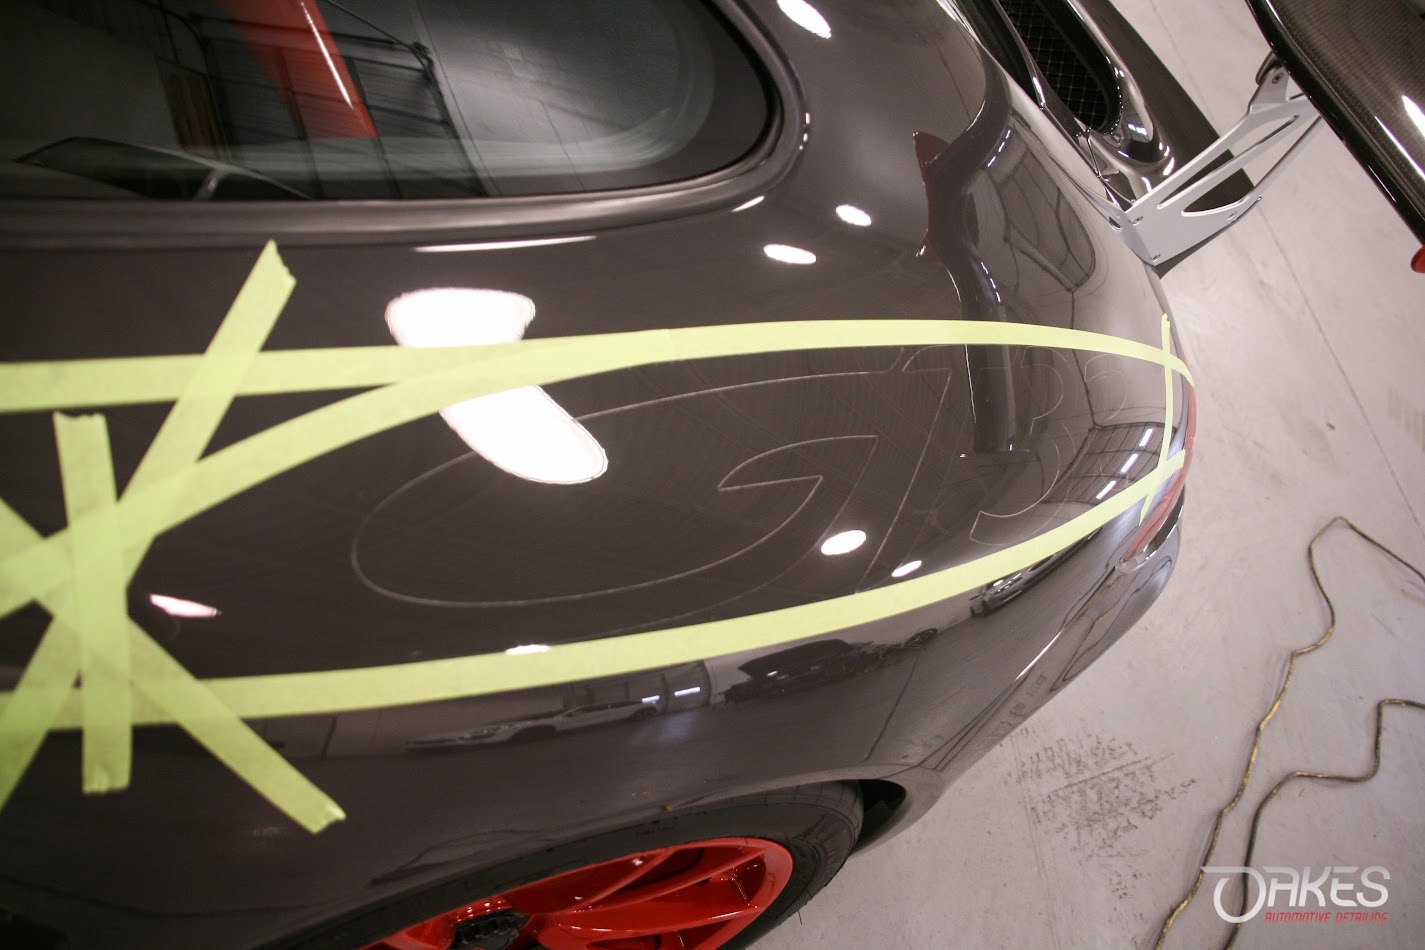
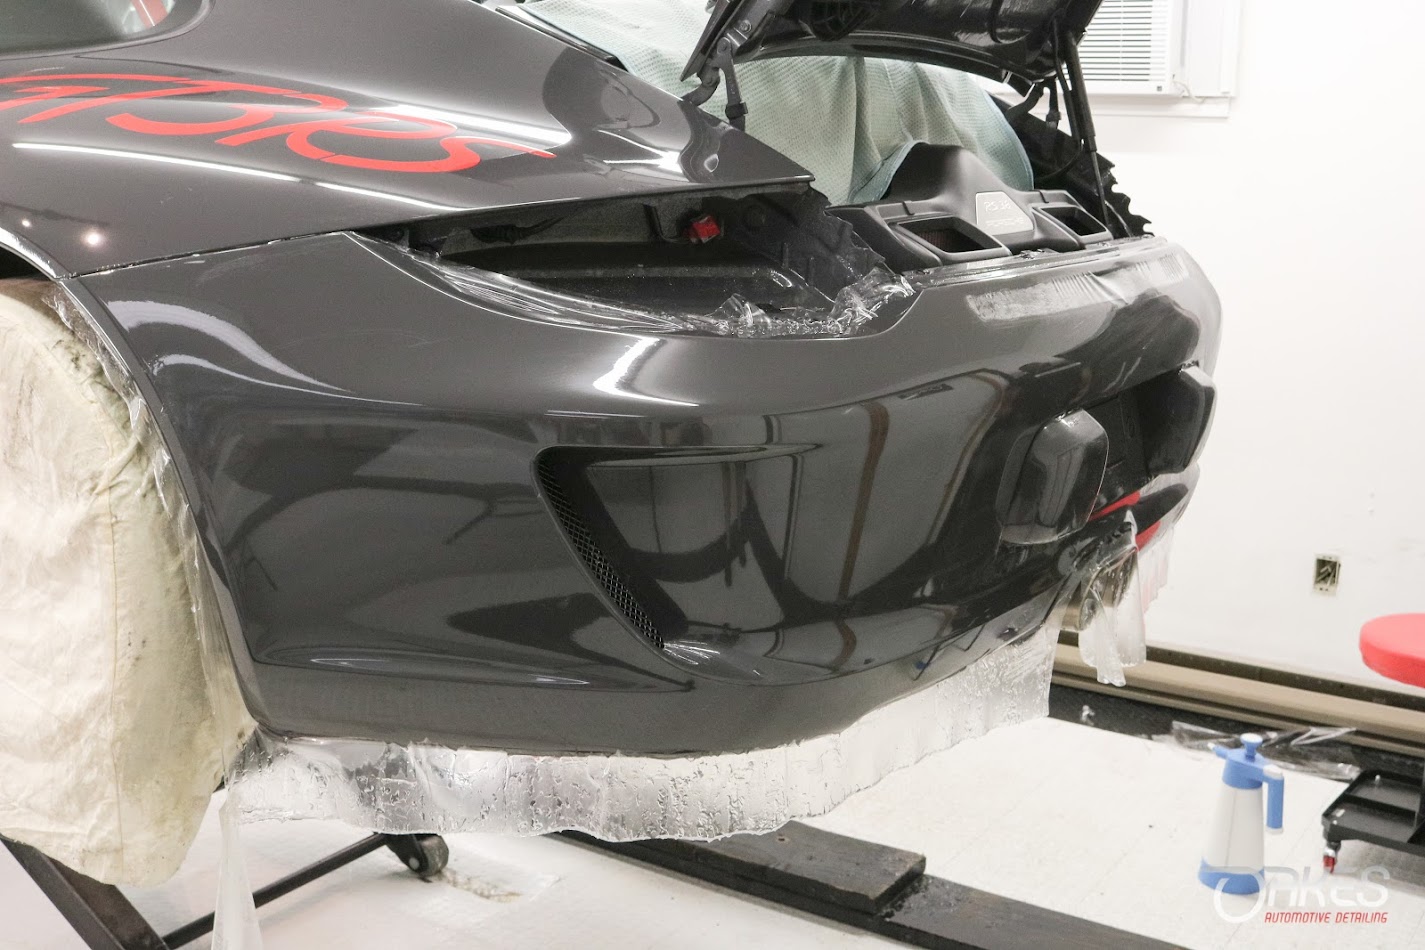
Fortunately the main impact areas of the vehicle were protected with clear film, though not installed well and leaving key areas exposed to damage. Which effectively defeats the point of wrapping the panel in my opinion and points to one of the limitations of a template install without manual adjustments or proper install.


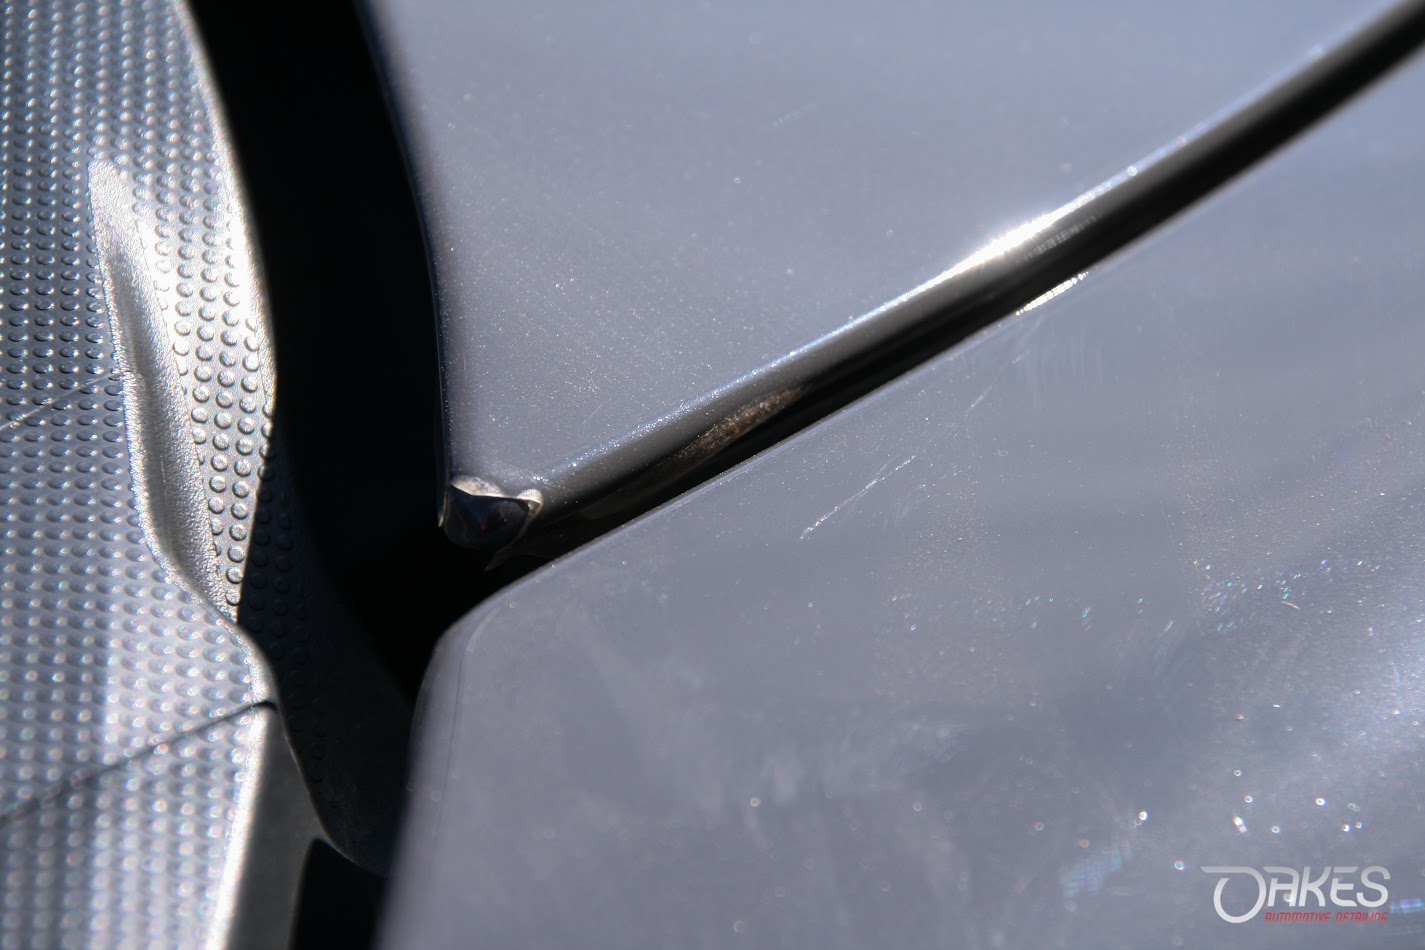
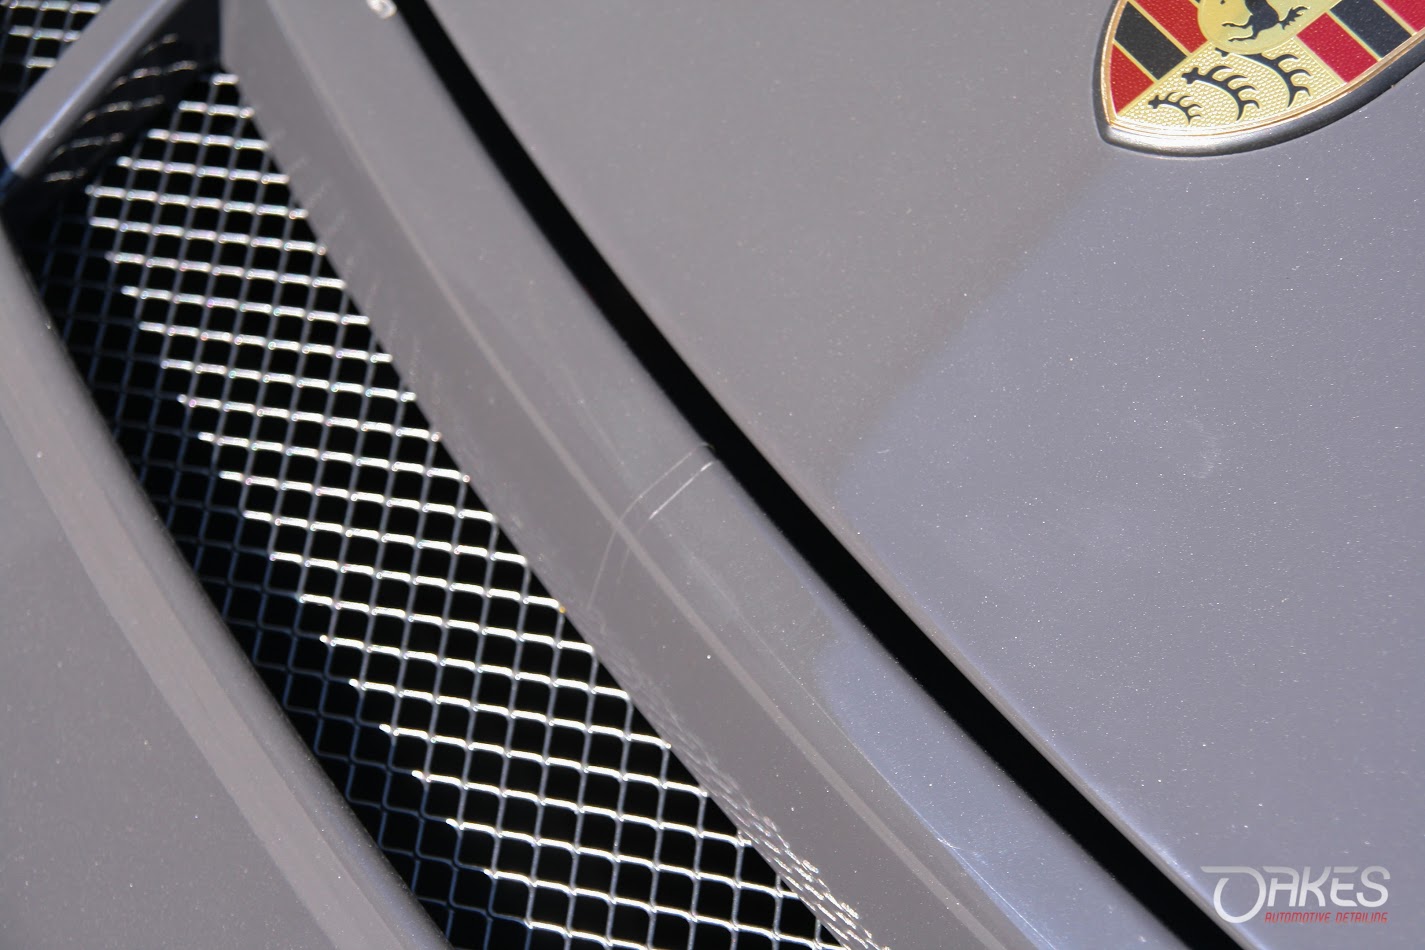

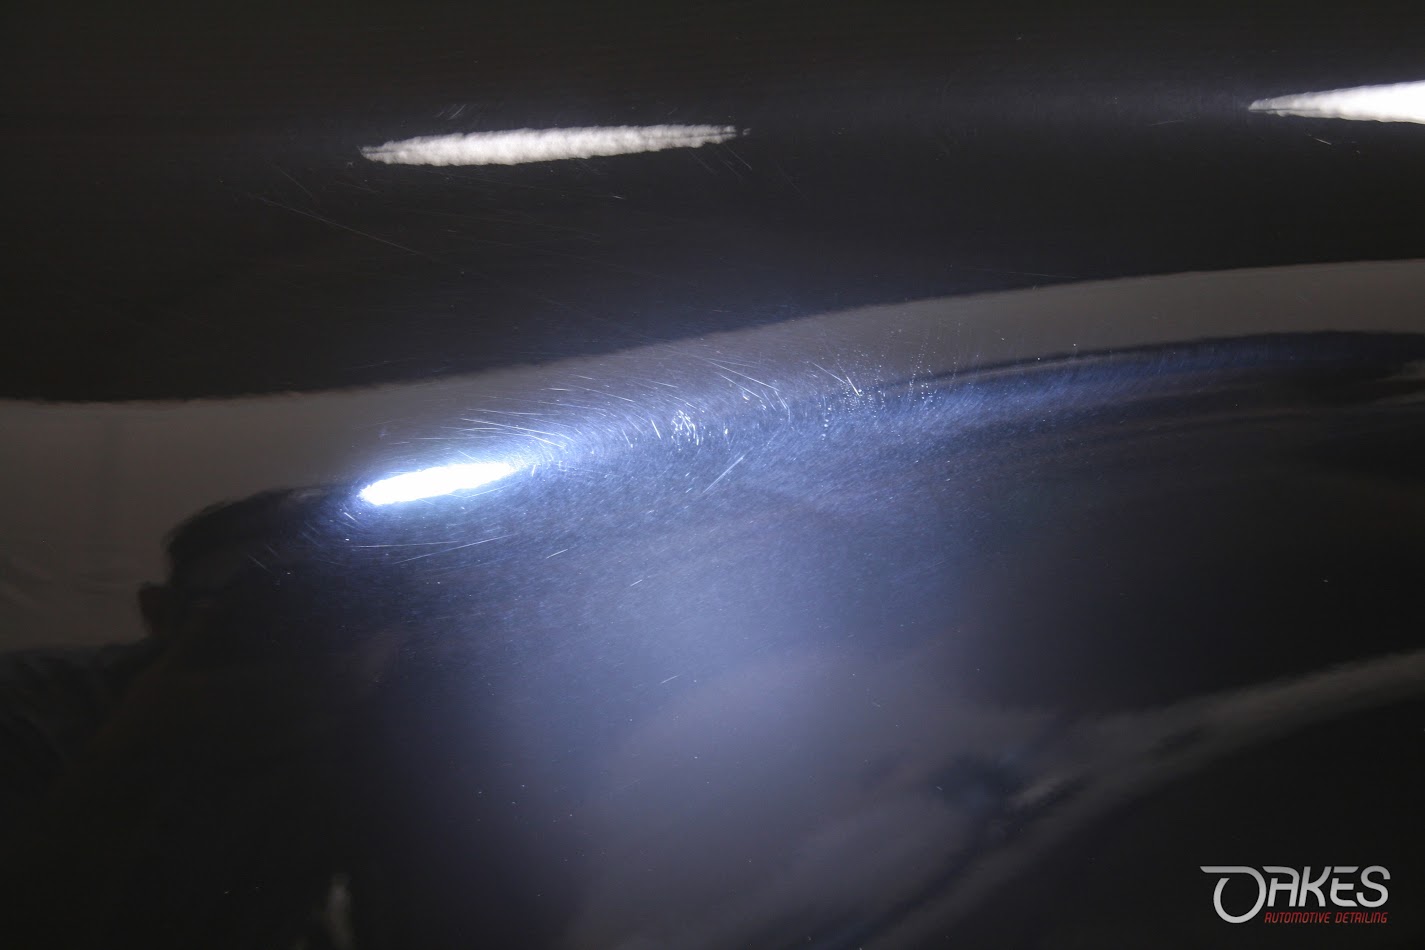
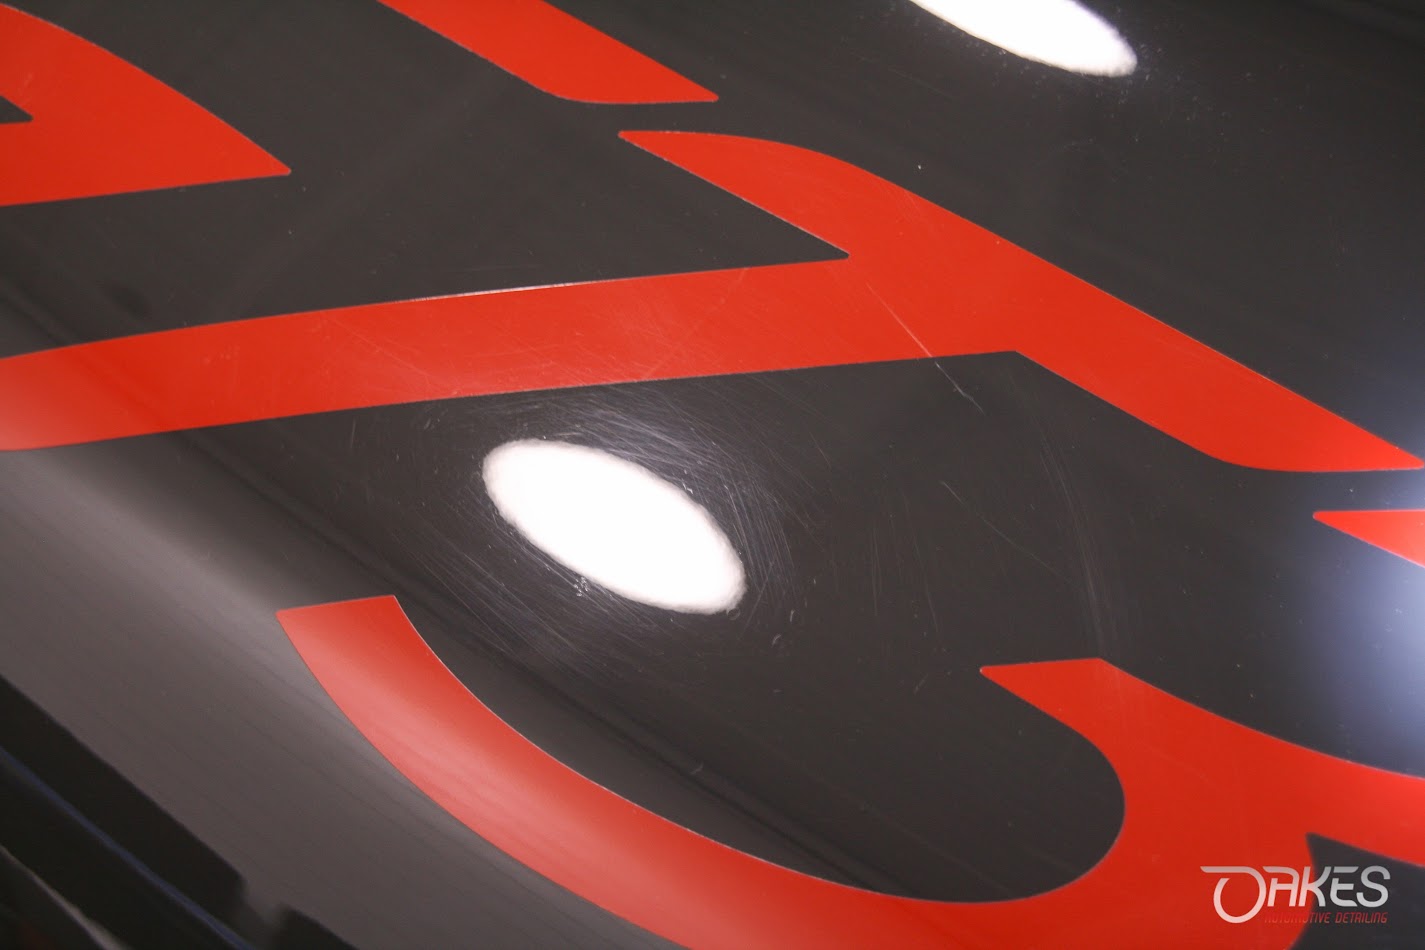
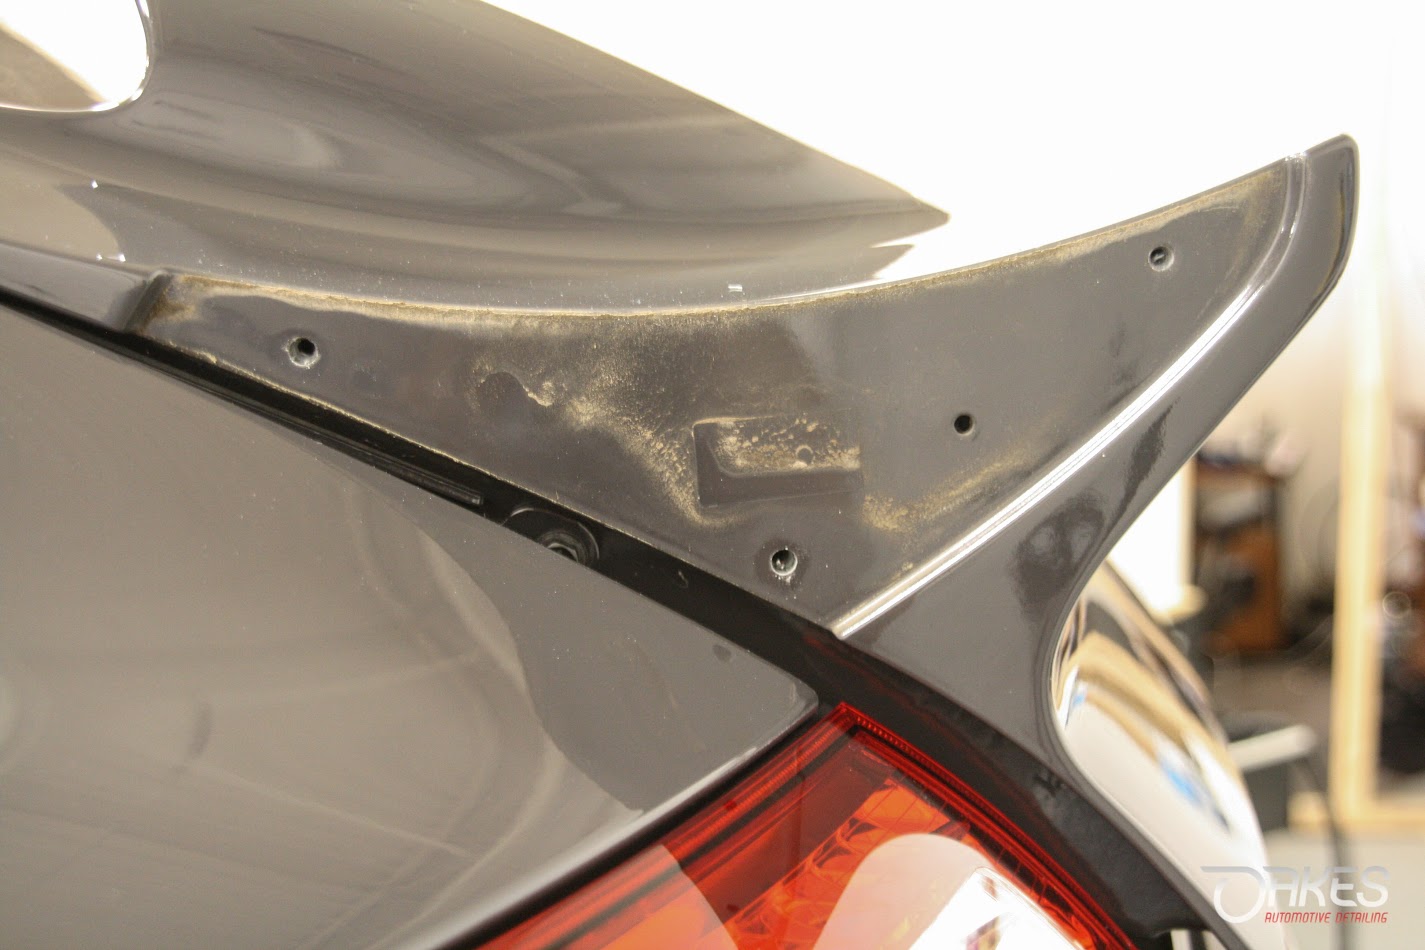
First order was removal of the clear film to properly prepare the paint as we will be installing a full body clear wrap after everything is brought back to it`s fullest potential. The rest of the visual inspection yielded that our work was cut out in correctiong the GrayBlack paint surface and showing proof that the vehicle has likely never been properly cleaned, let alone detailed.


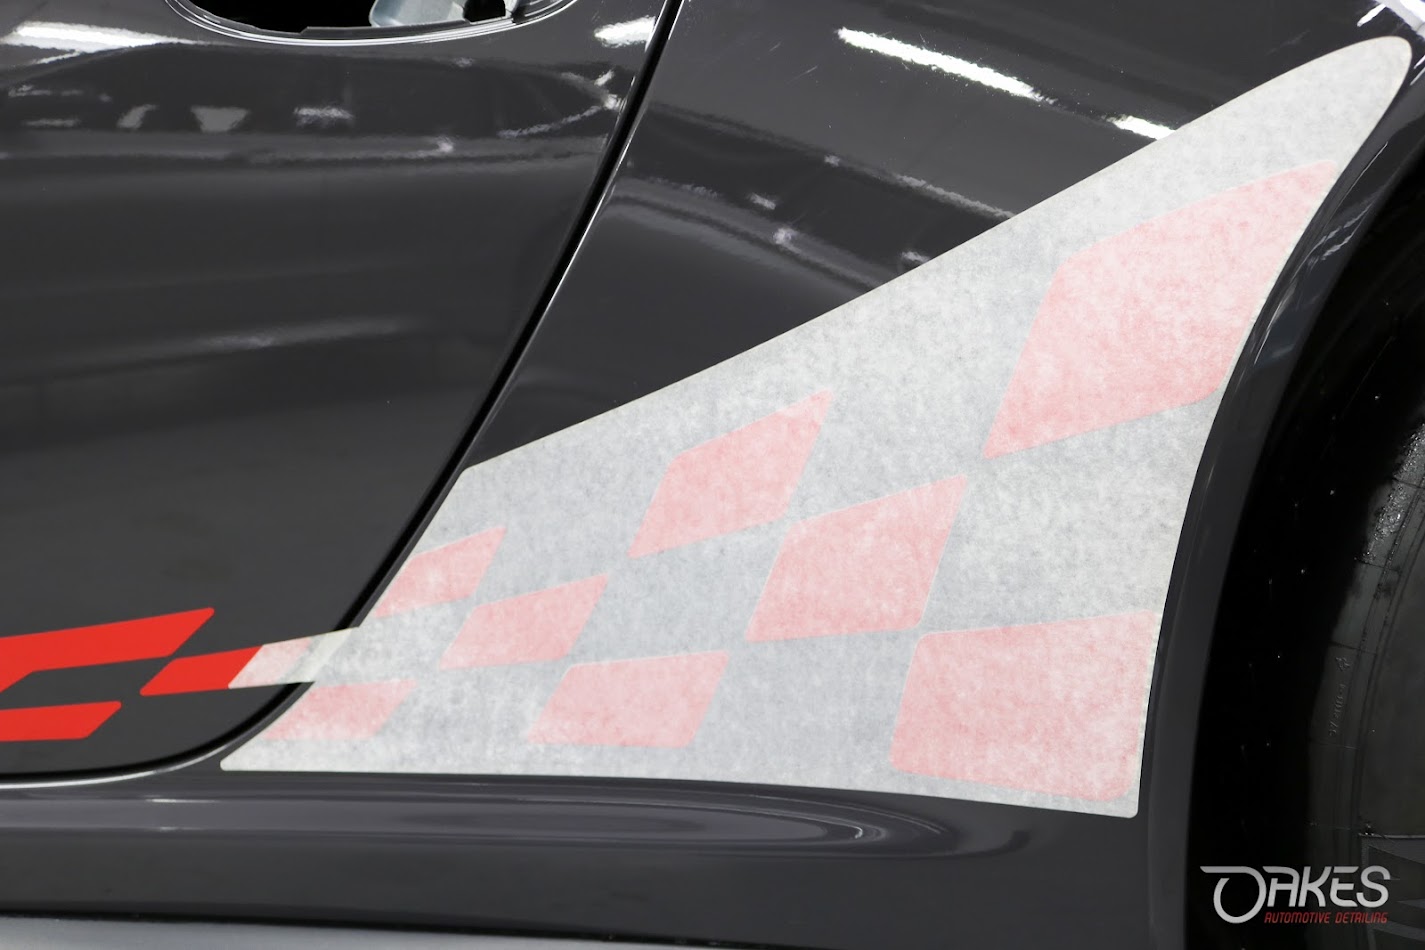
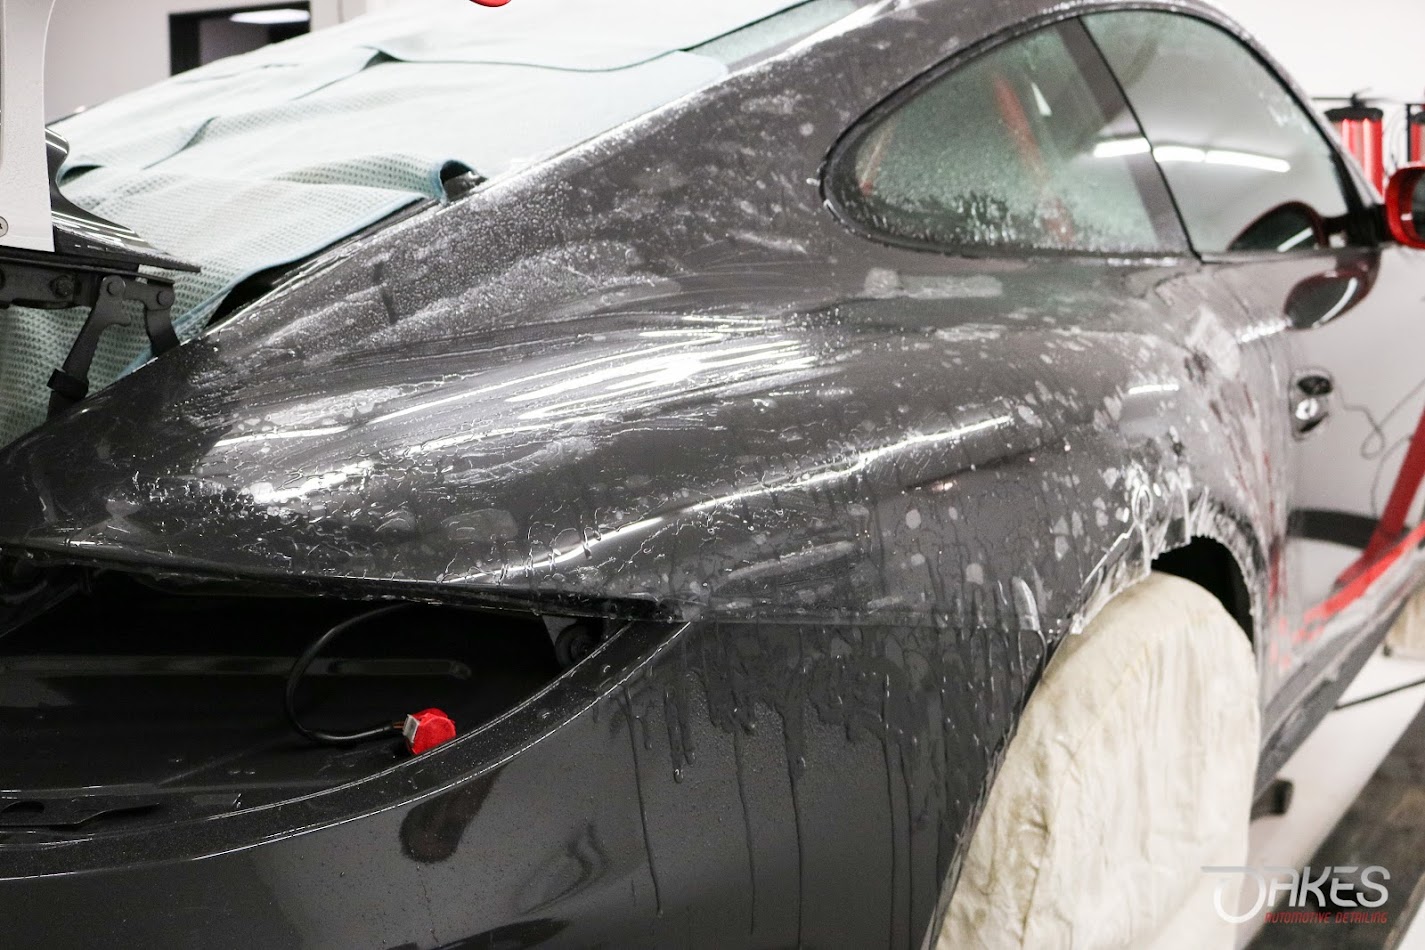
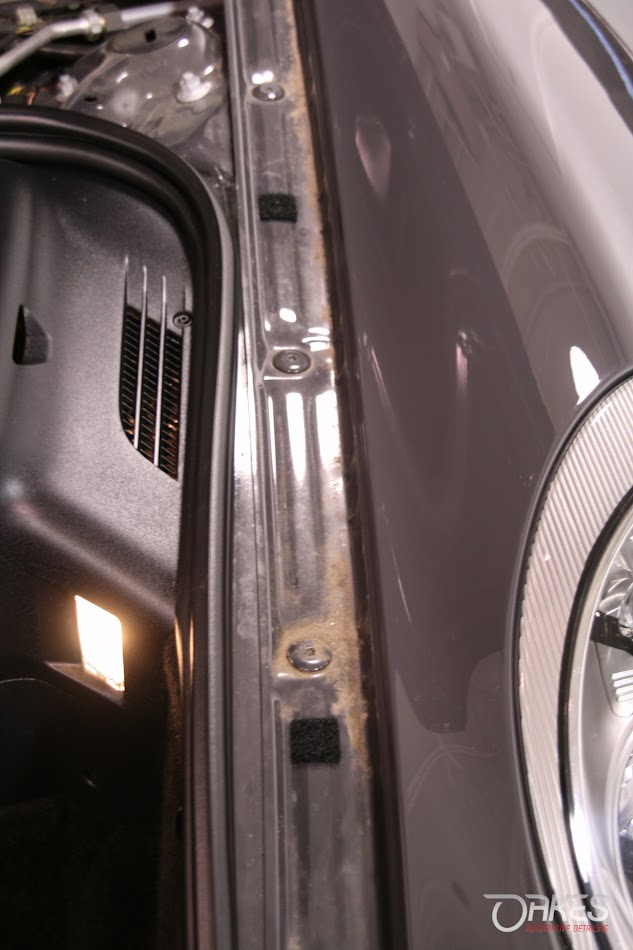
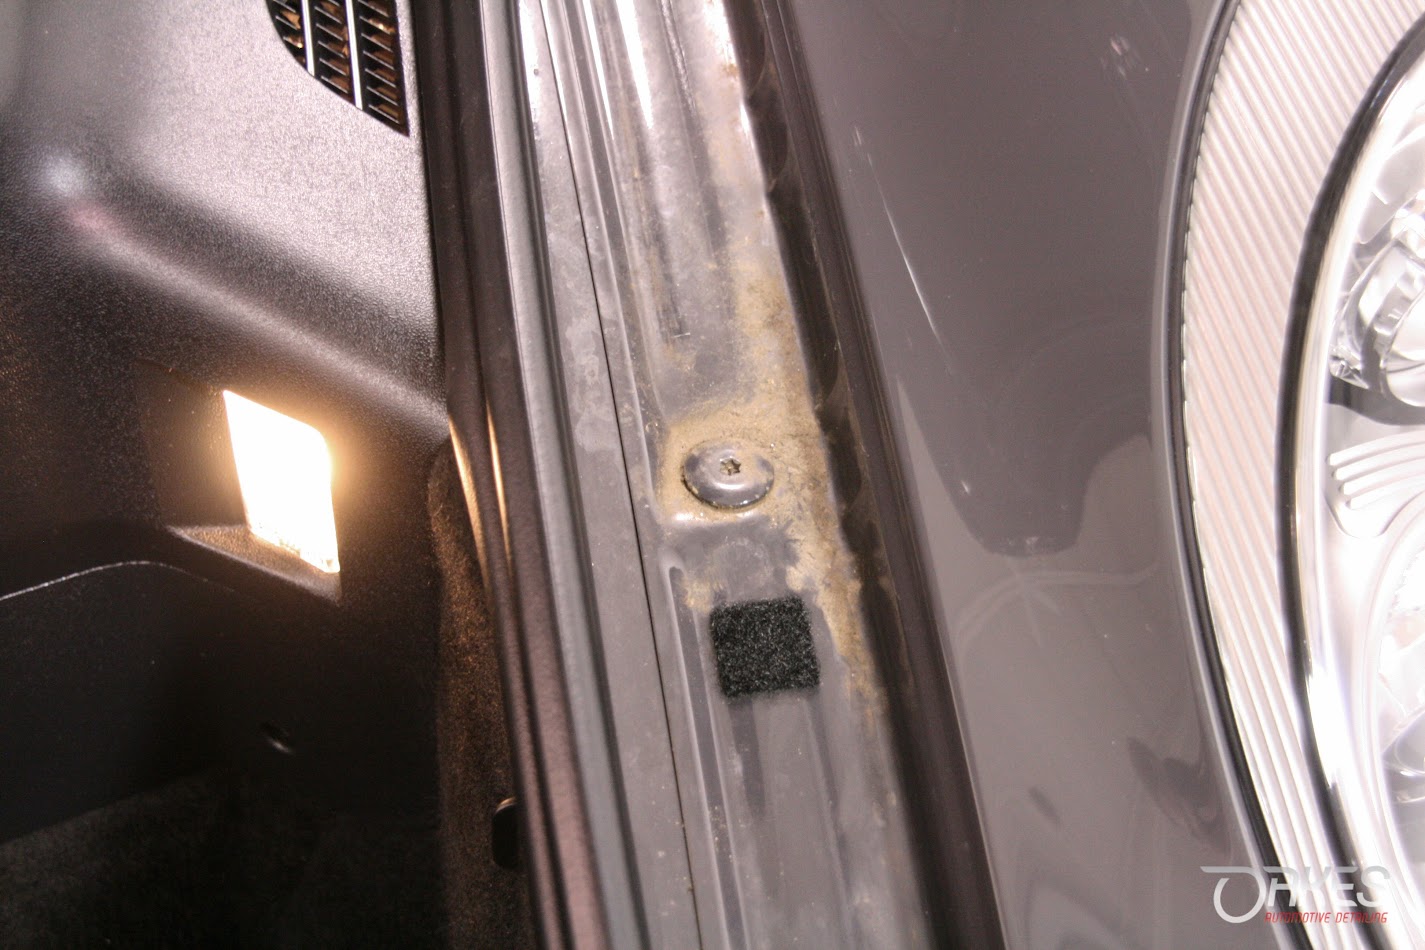
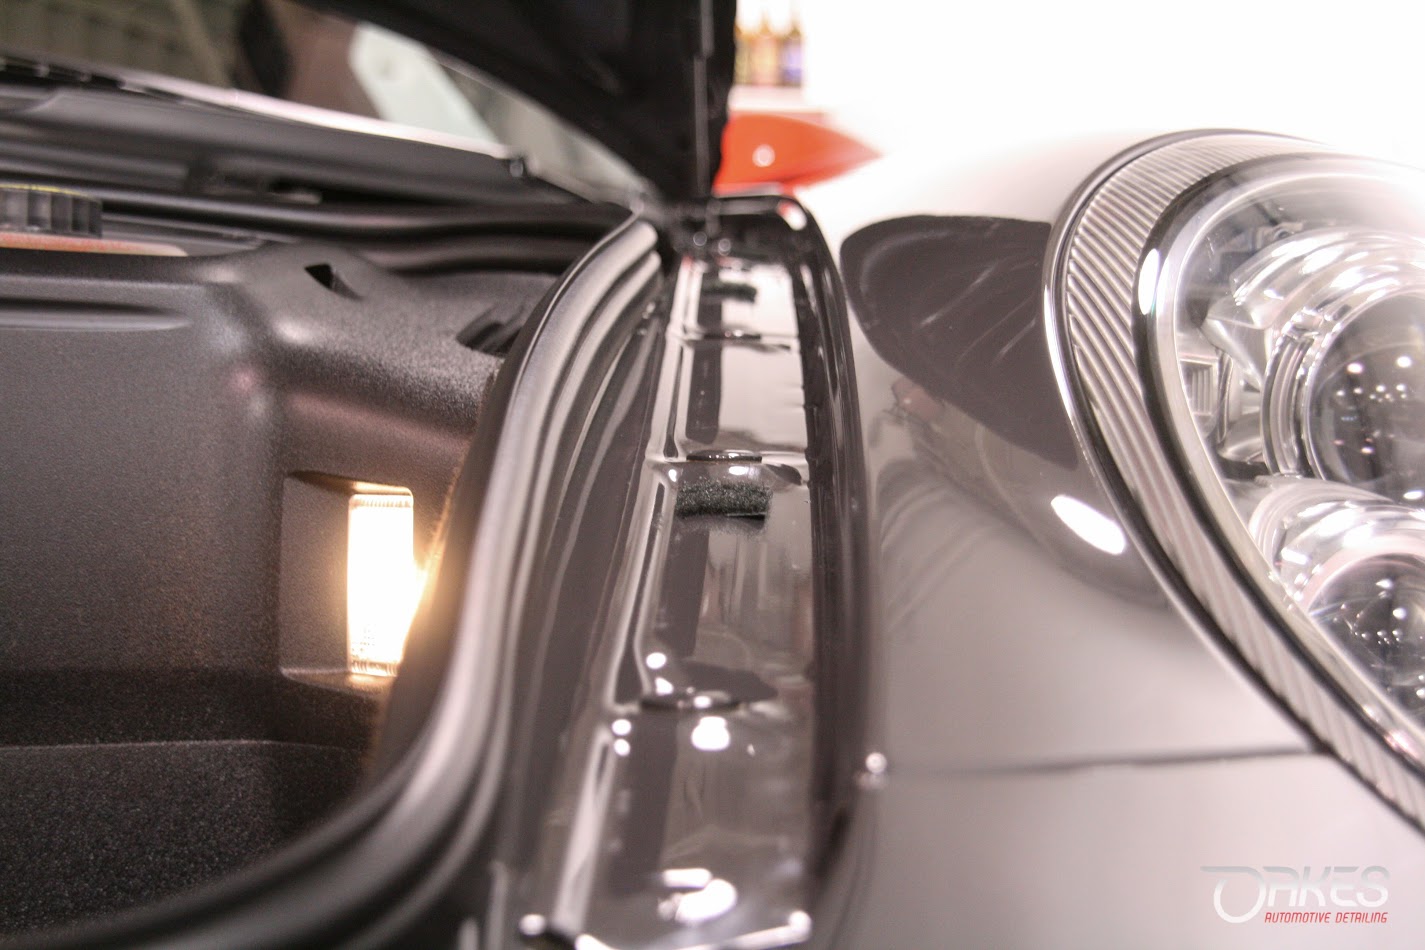
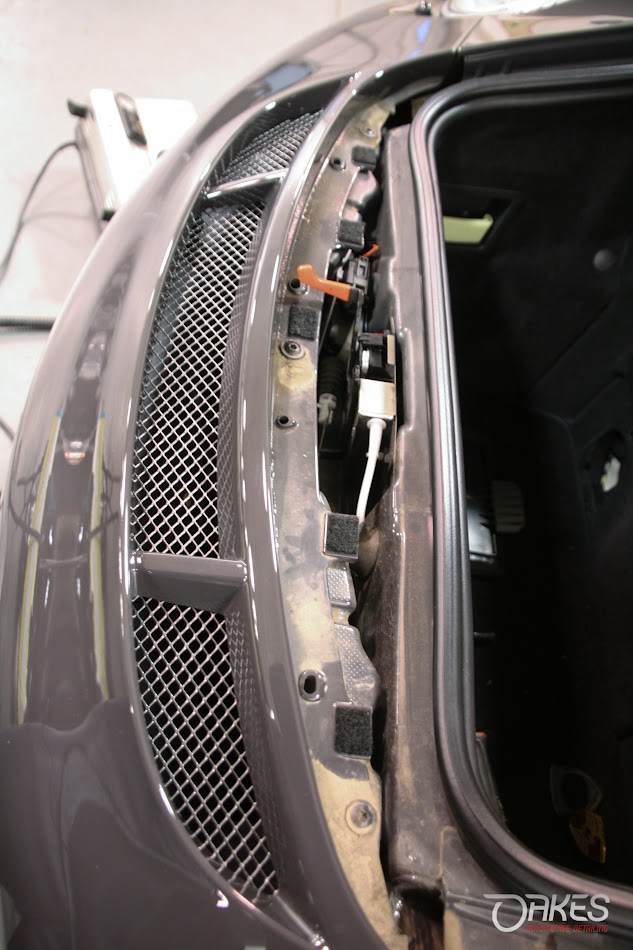
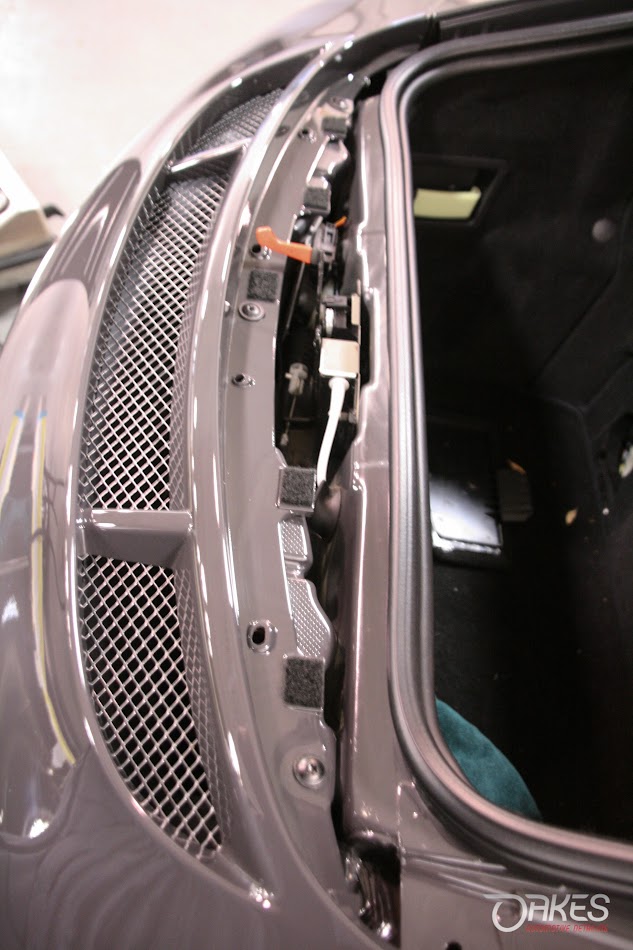
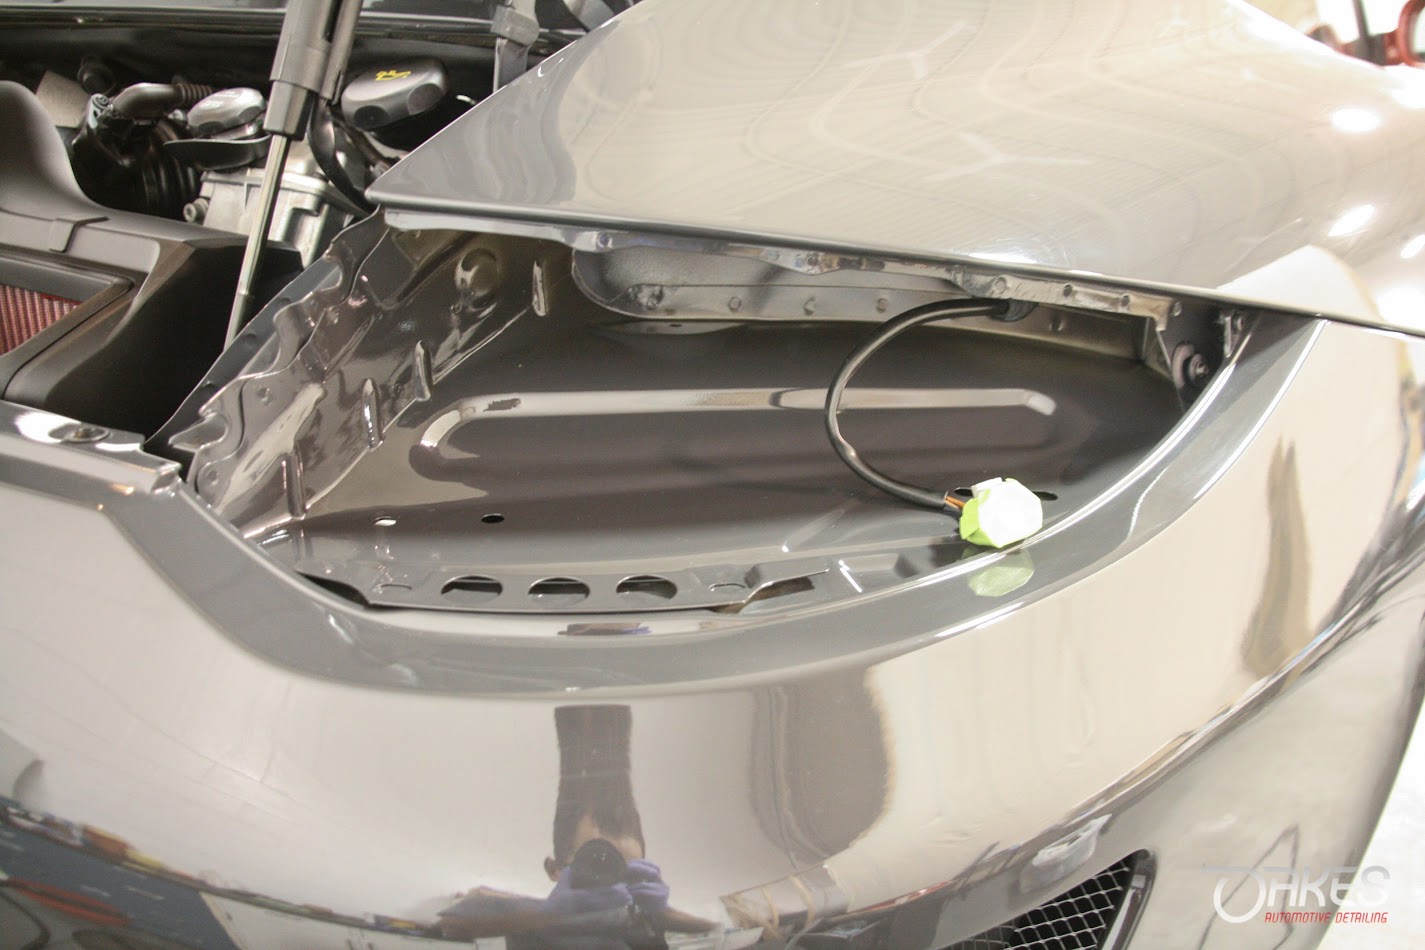
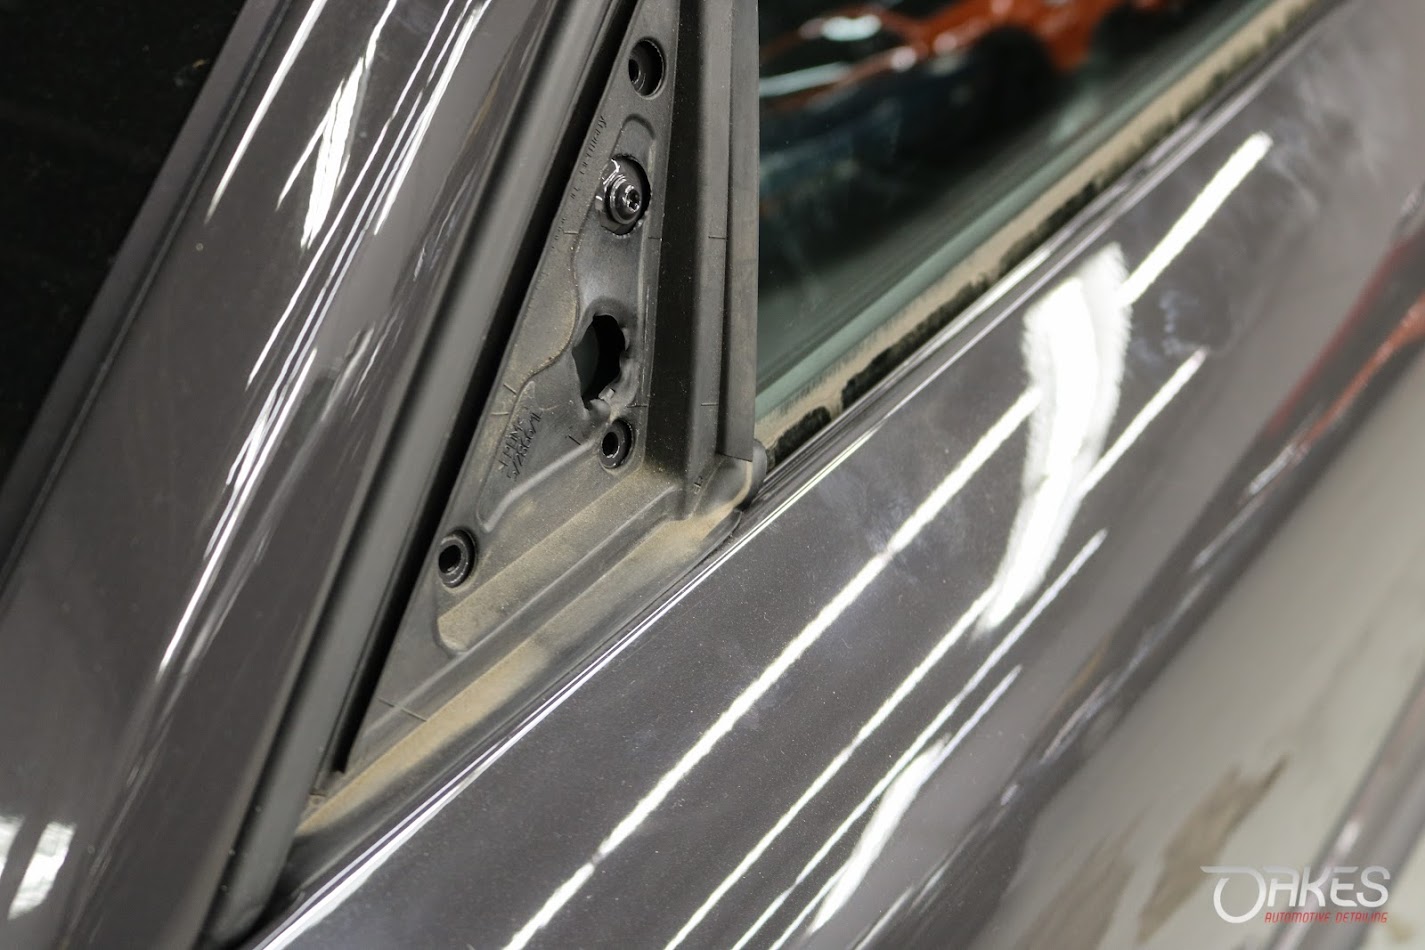
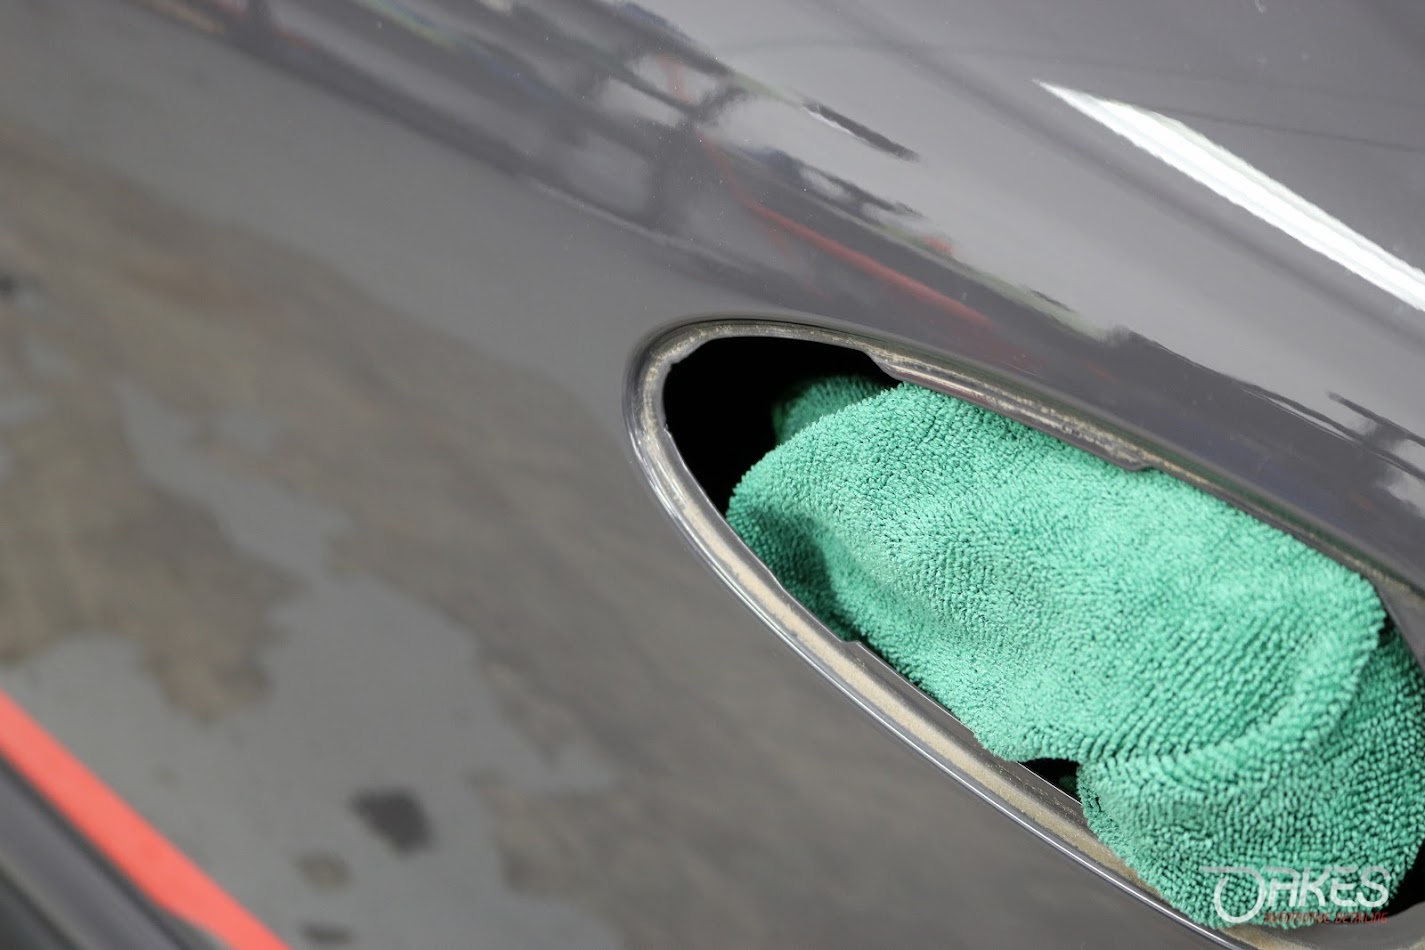
After the initial preparation, we began to disassemble the car to complete the preparation before the paint correction could commence. The most involved part of this whole project, as we were finding more and more fun stuff as panels were removed. Below you will see some of the befores with a few immediate afters to show the difference and extent.

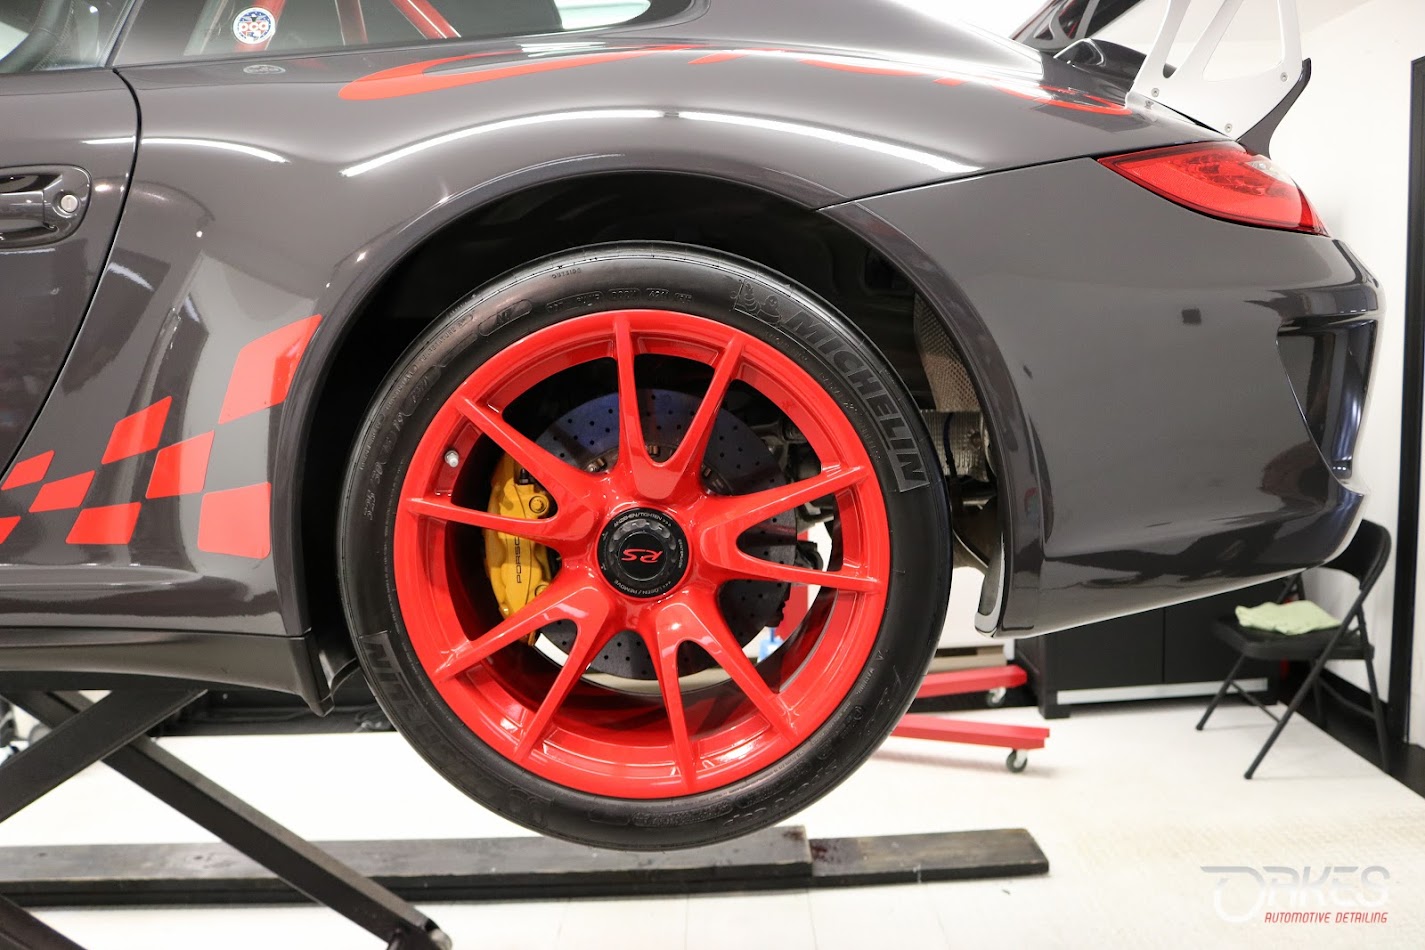
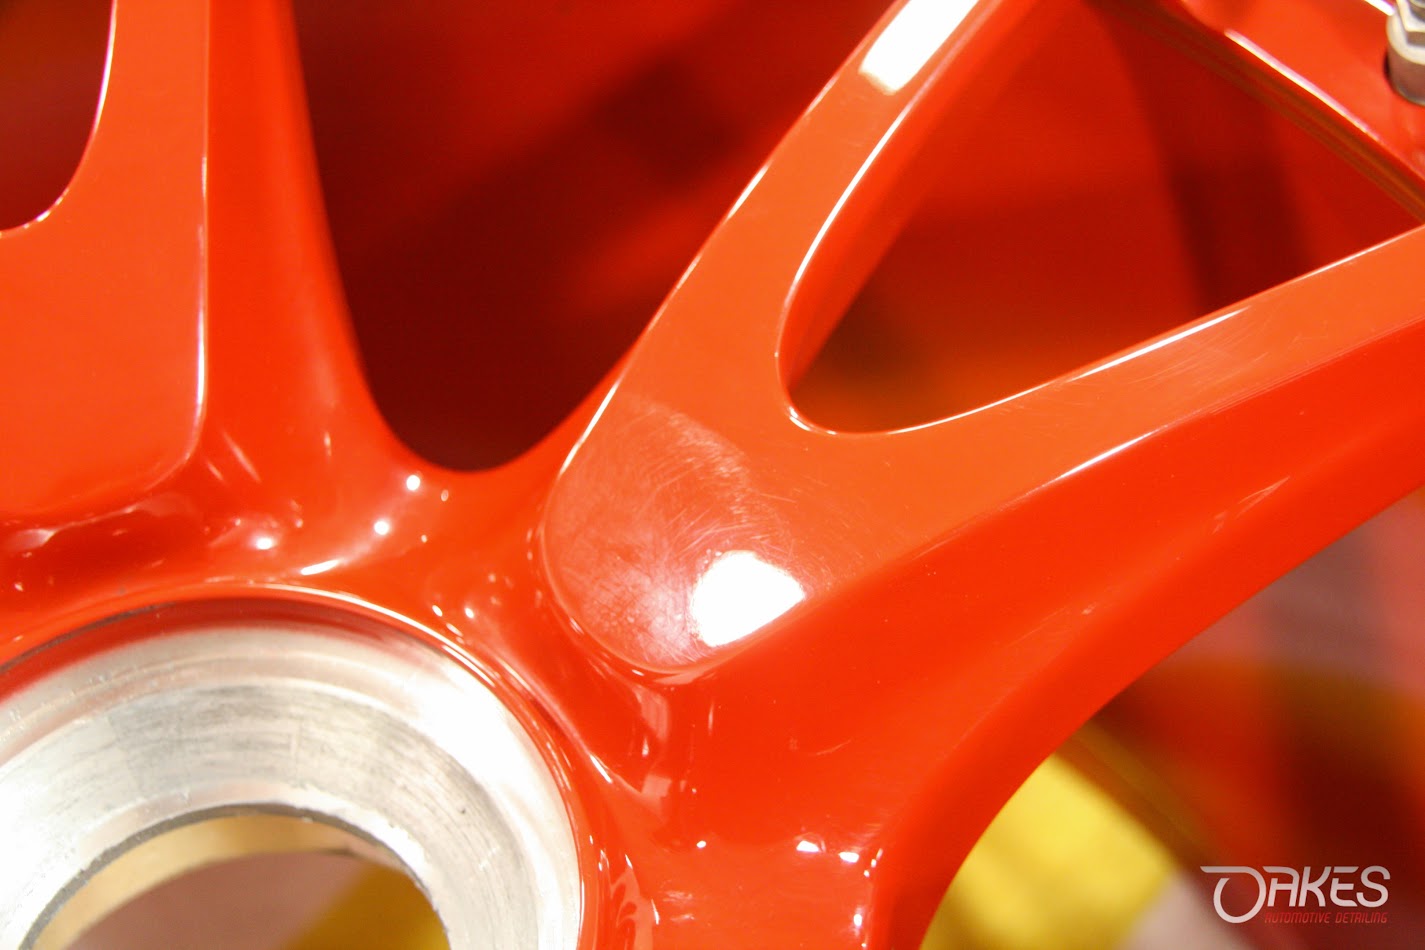
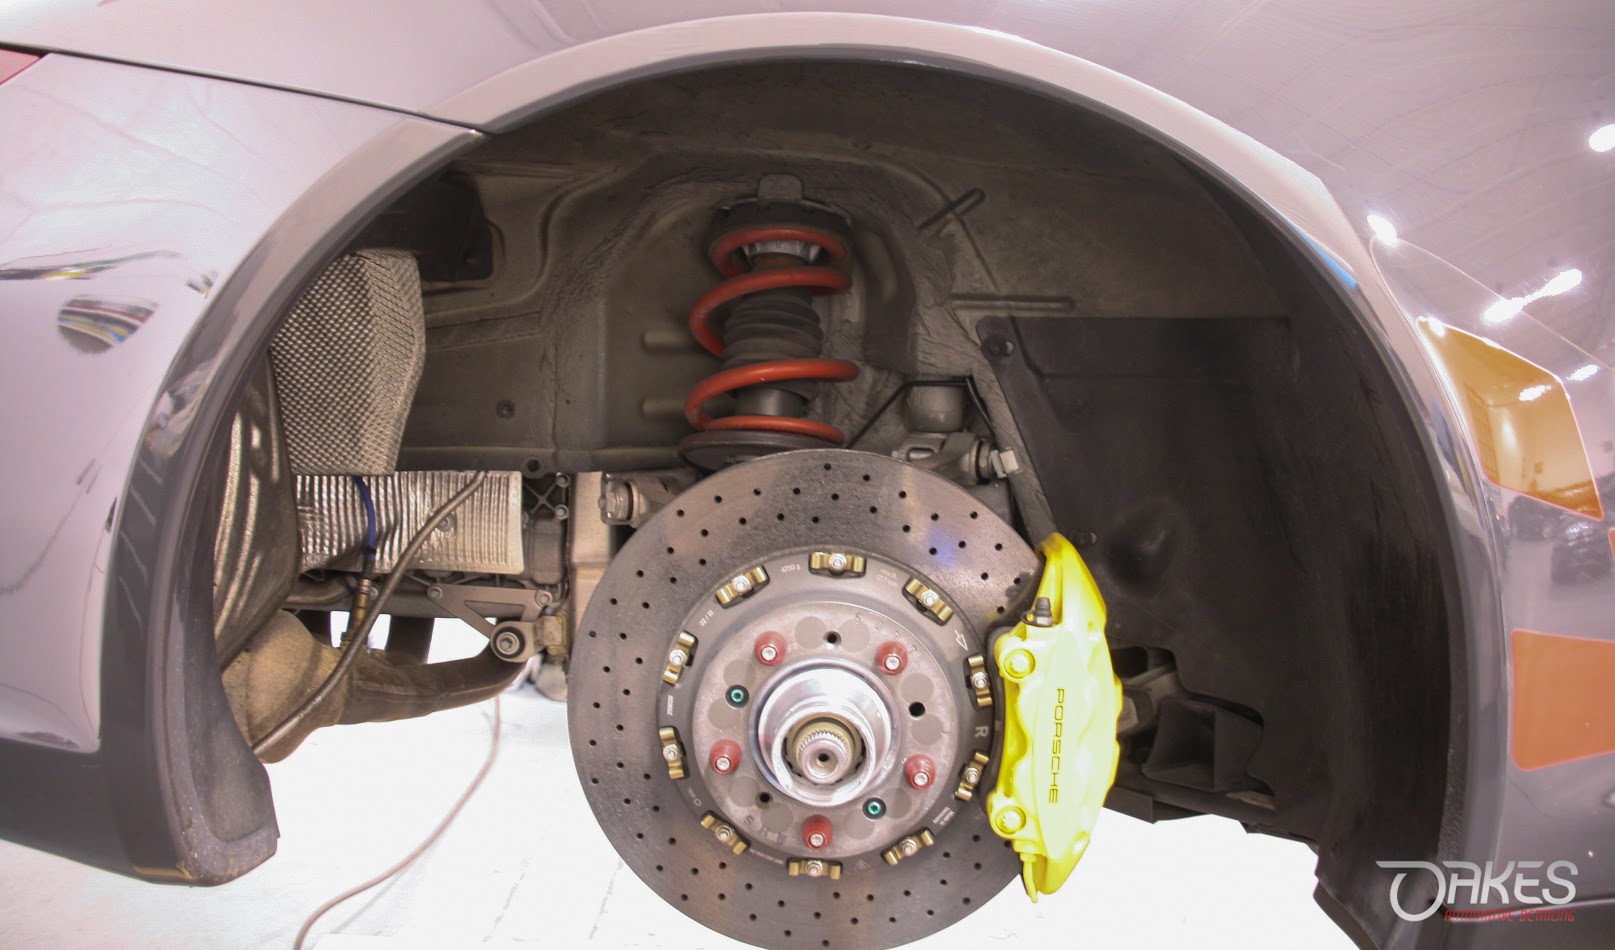
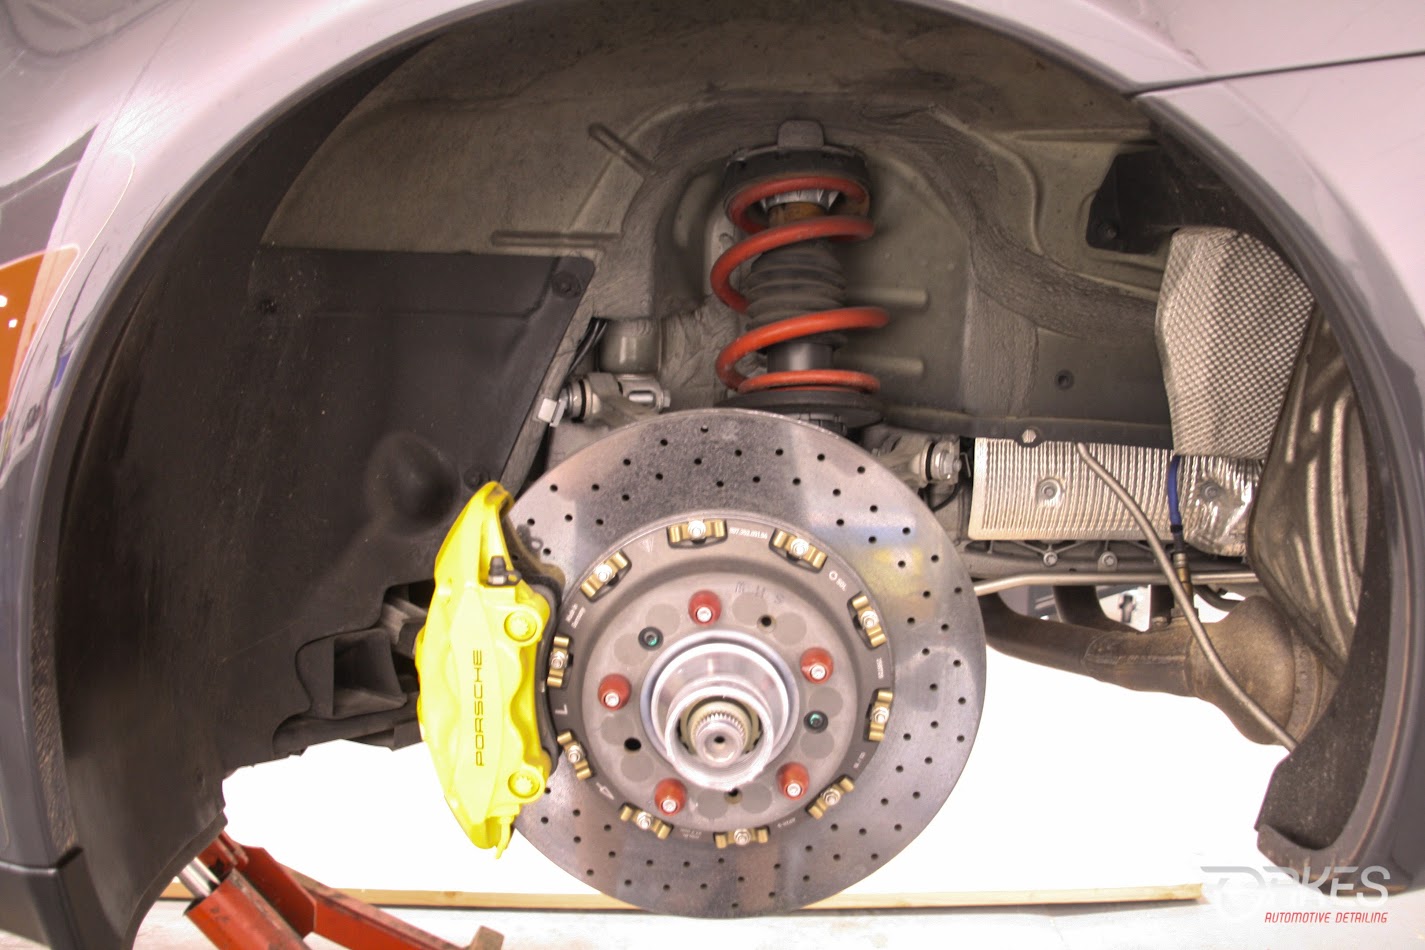
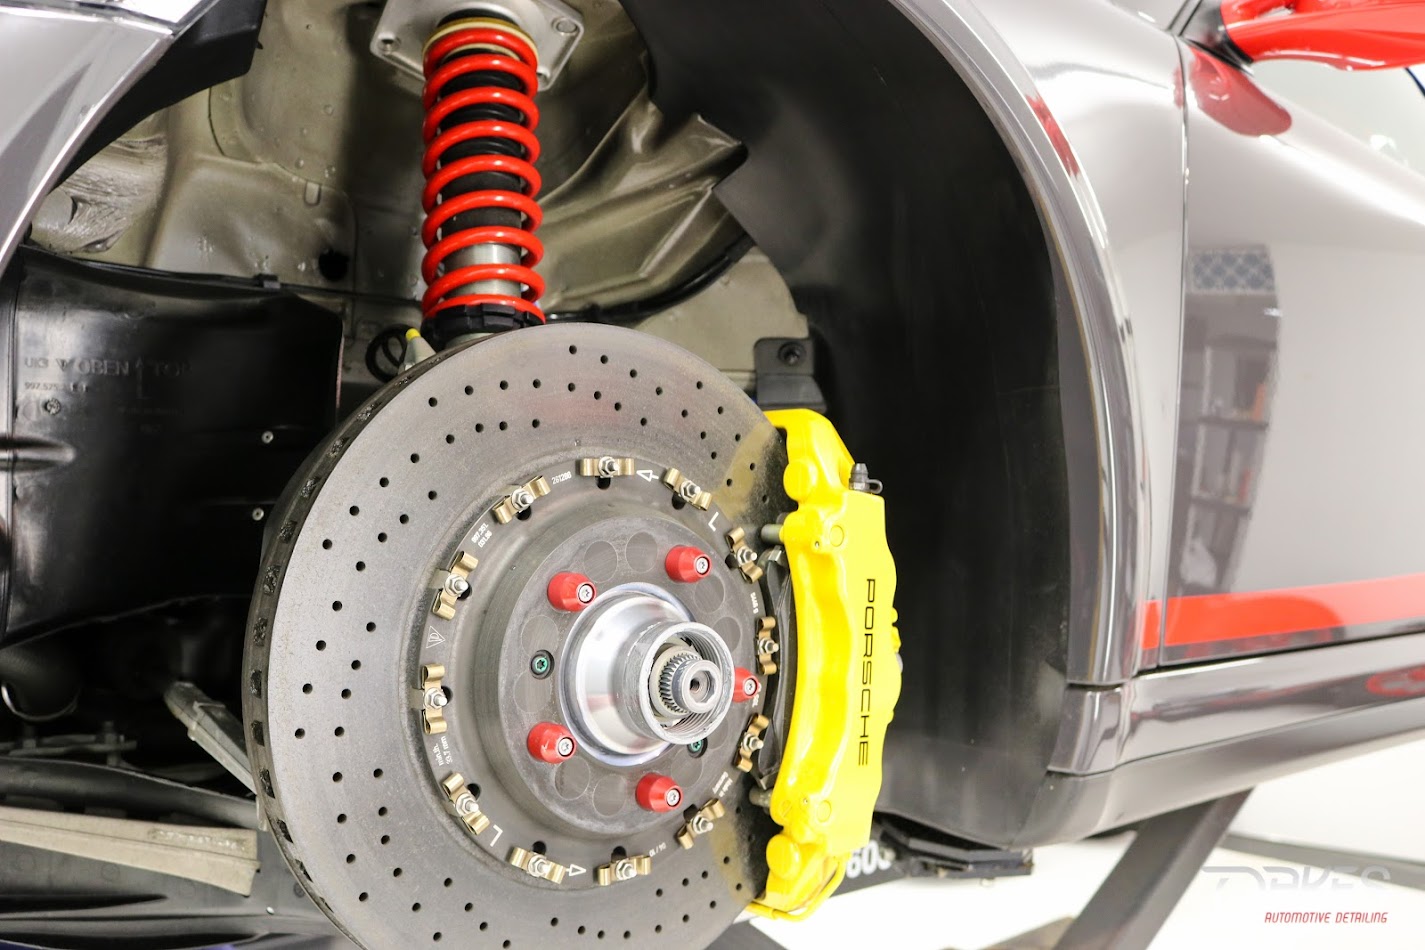
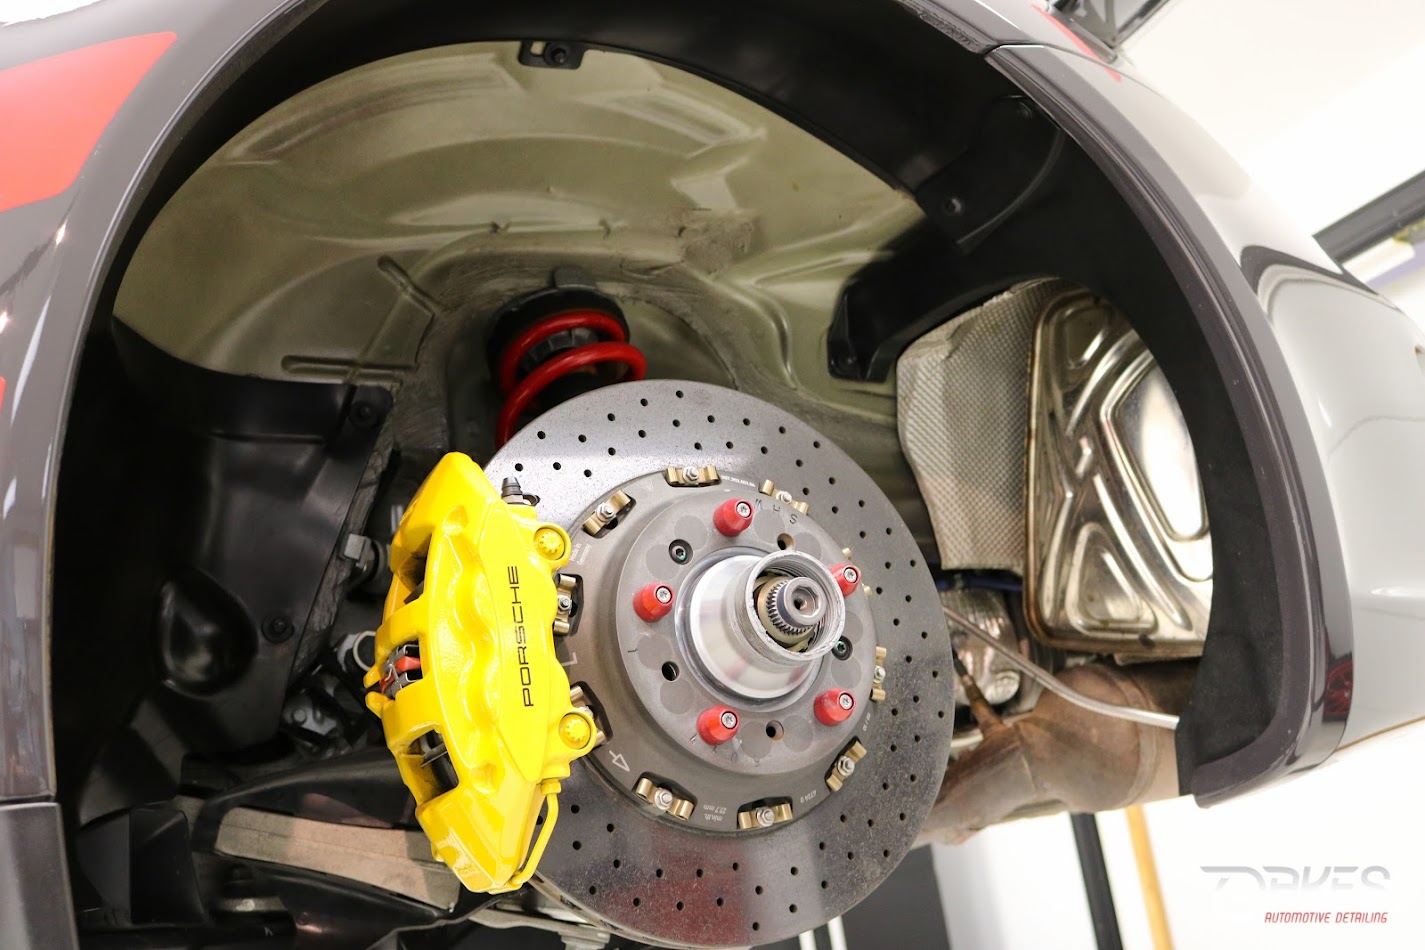
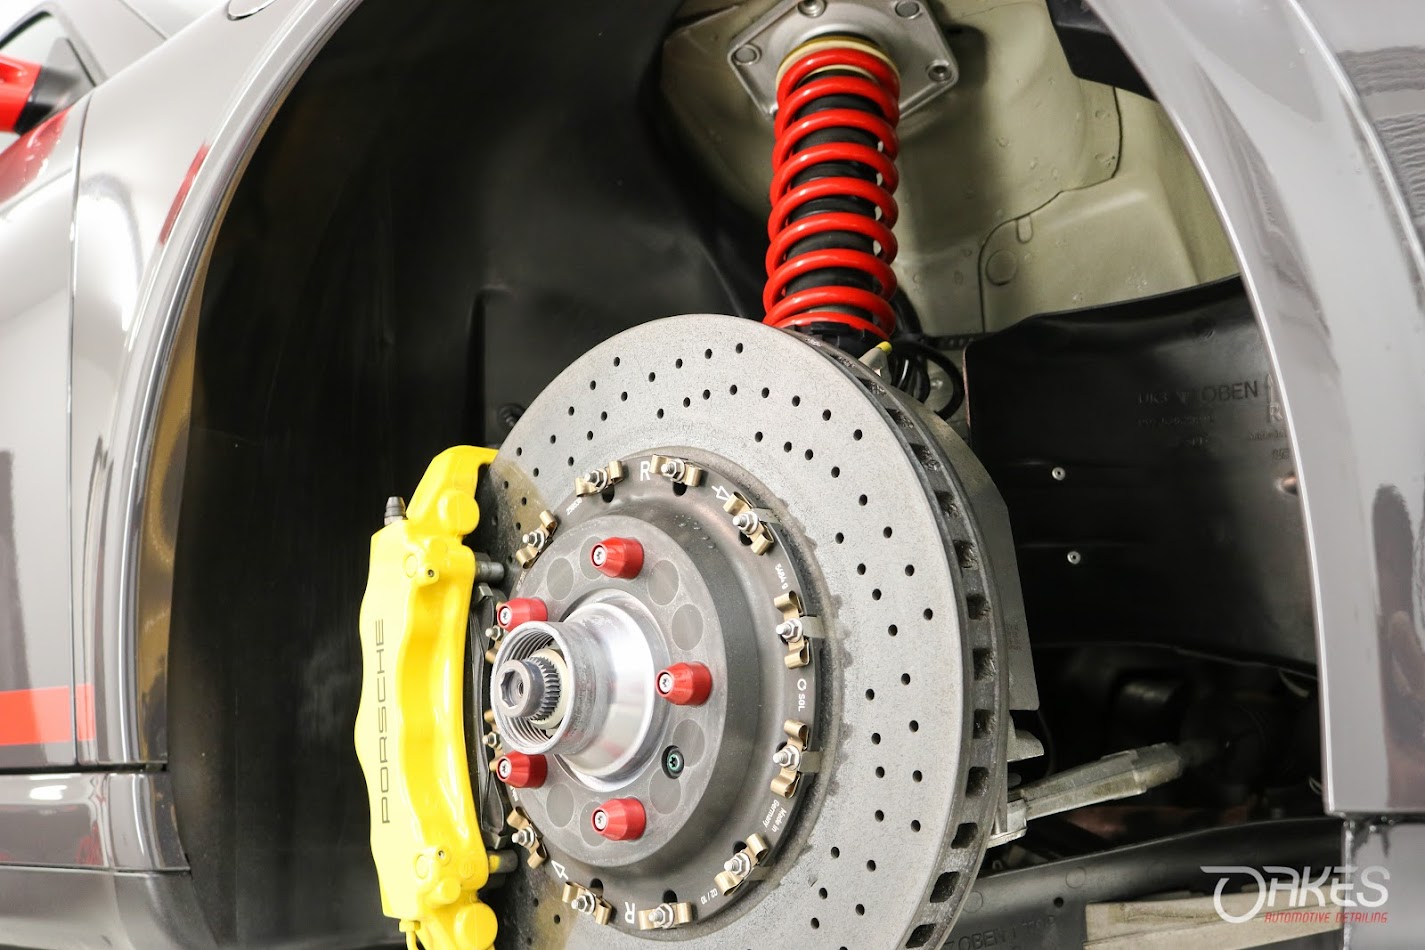
This process also included the undercarriage areas and wheels themselves. First pair of photos show the light scuffing on the wheel surfaces that were polished out and then ceramic coated for protection

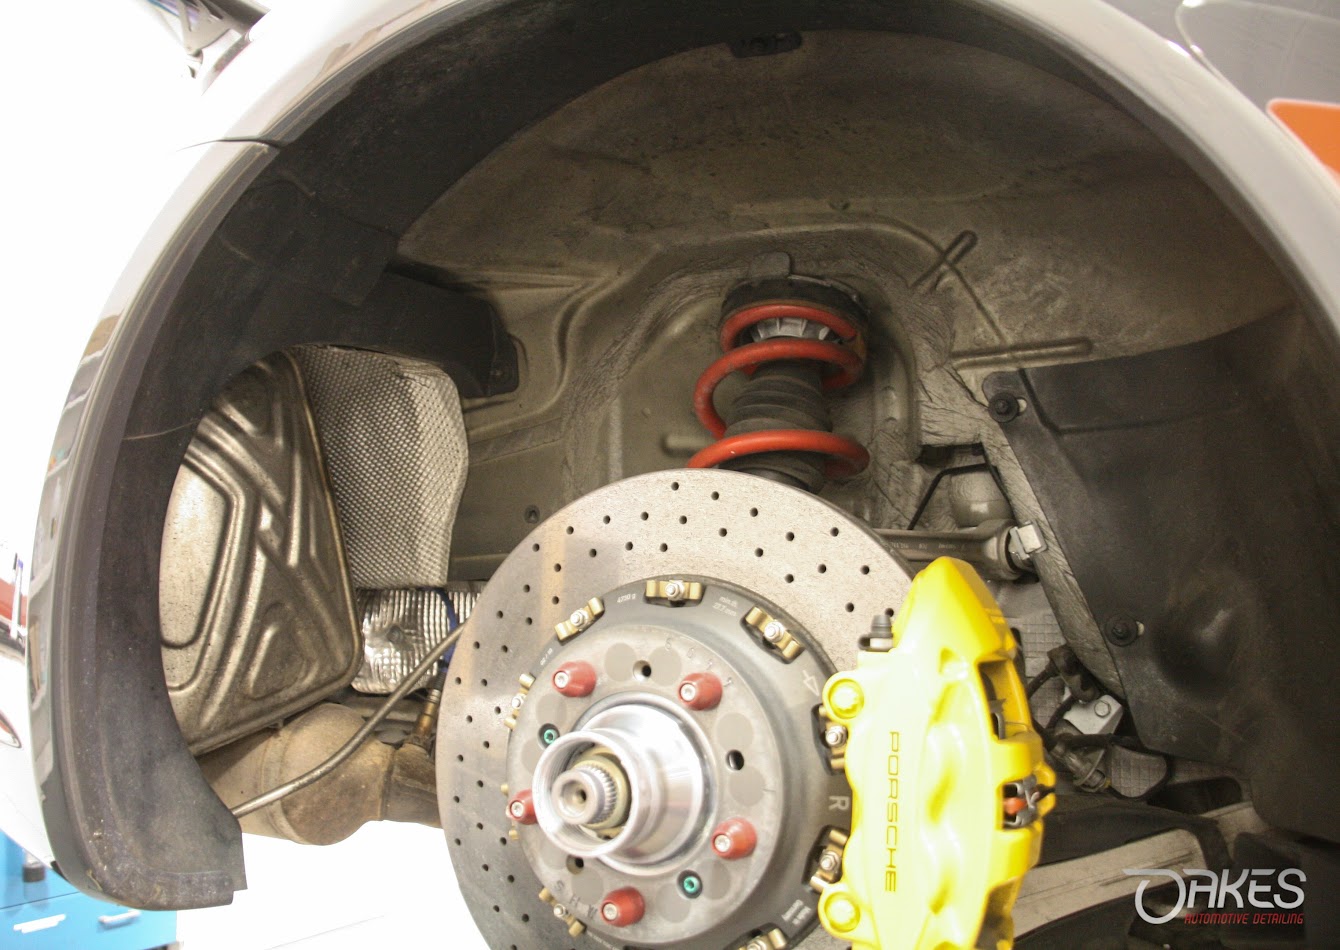
The wheel wells themselves...


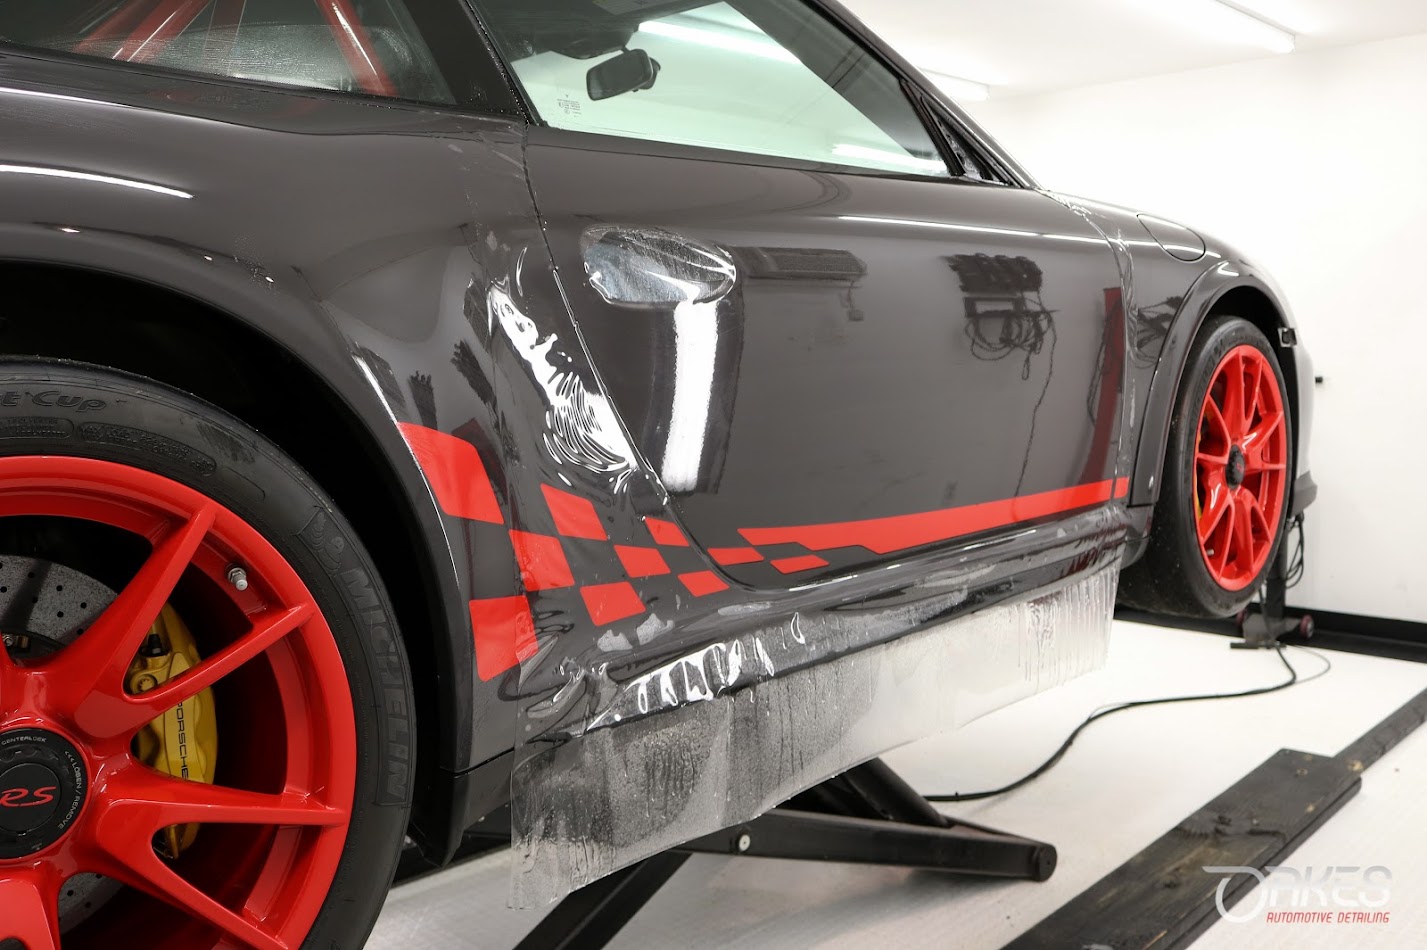
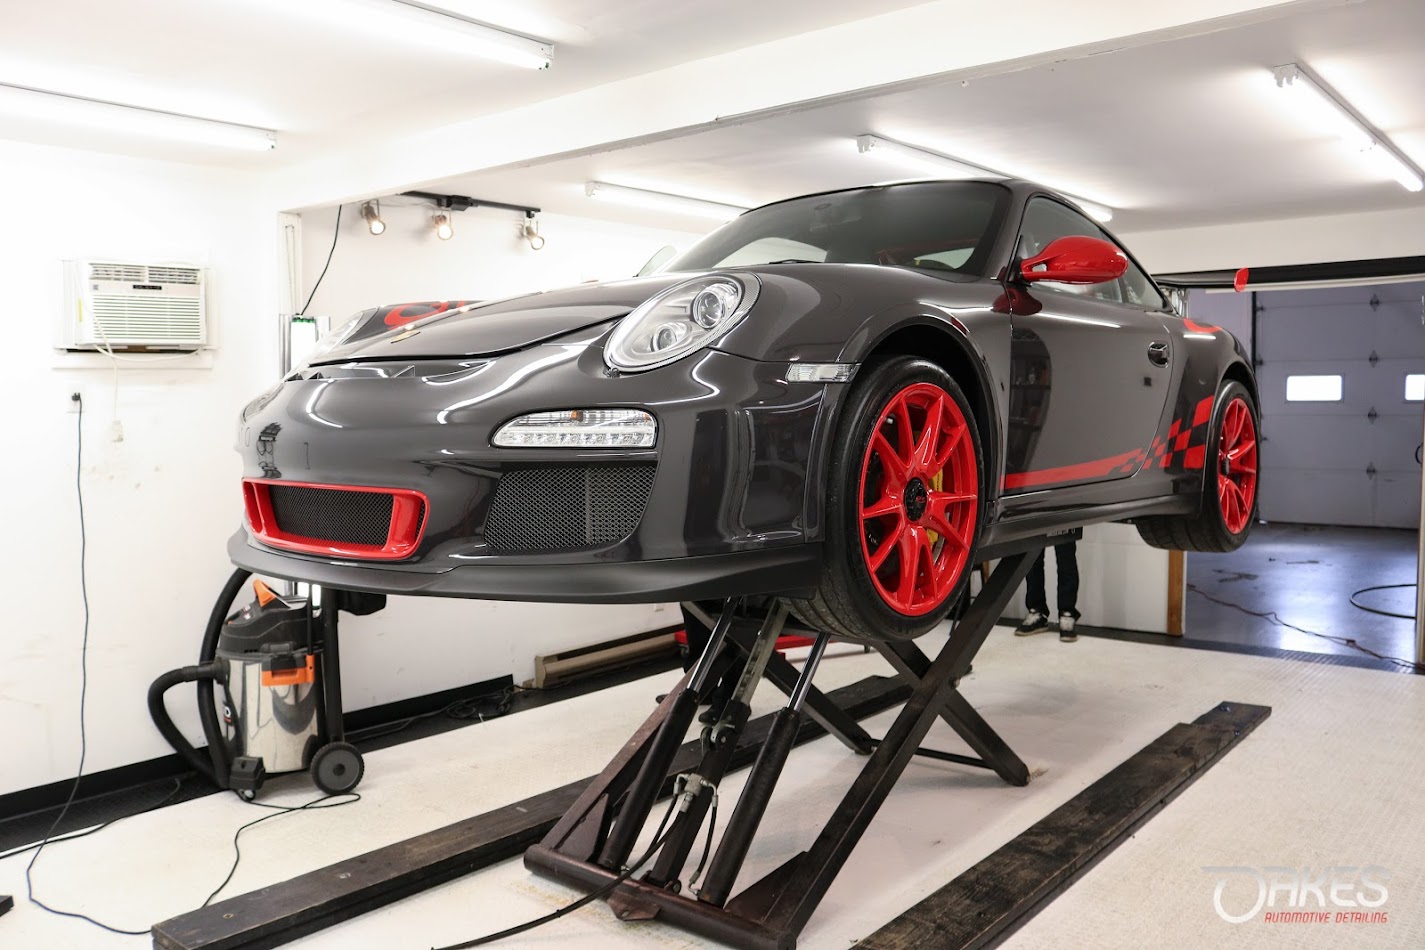
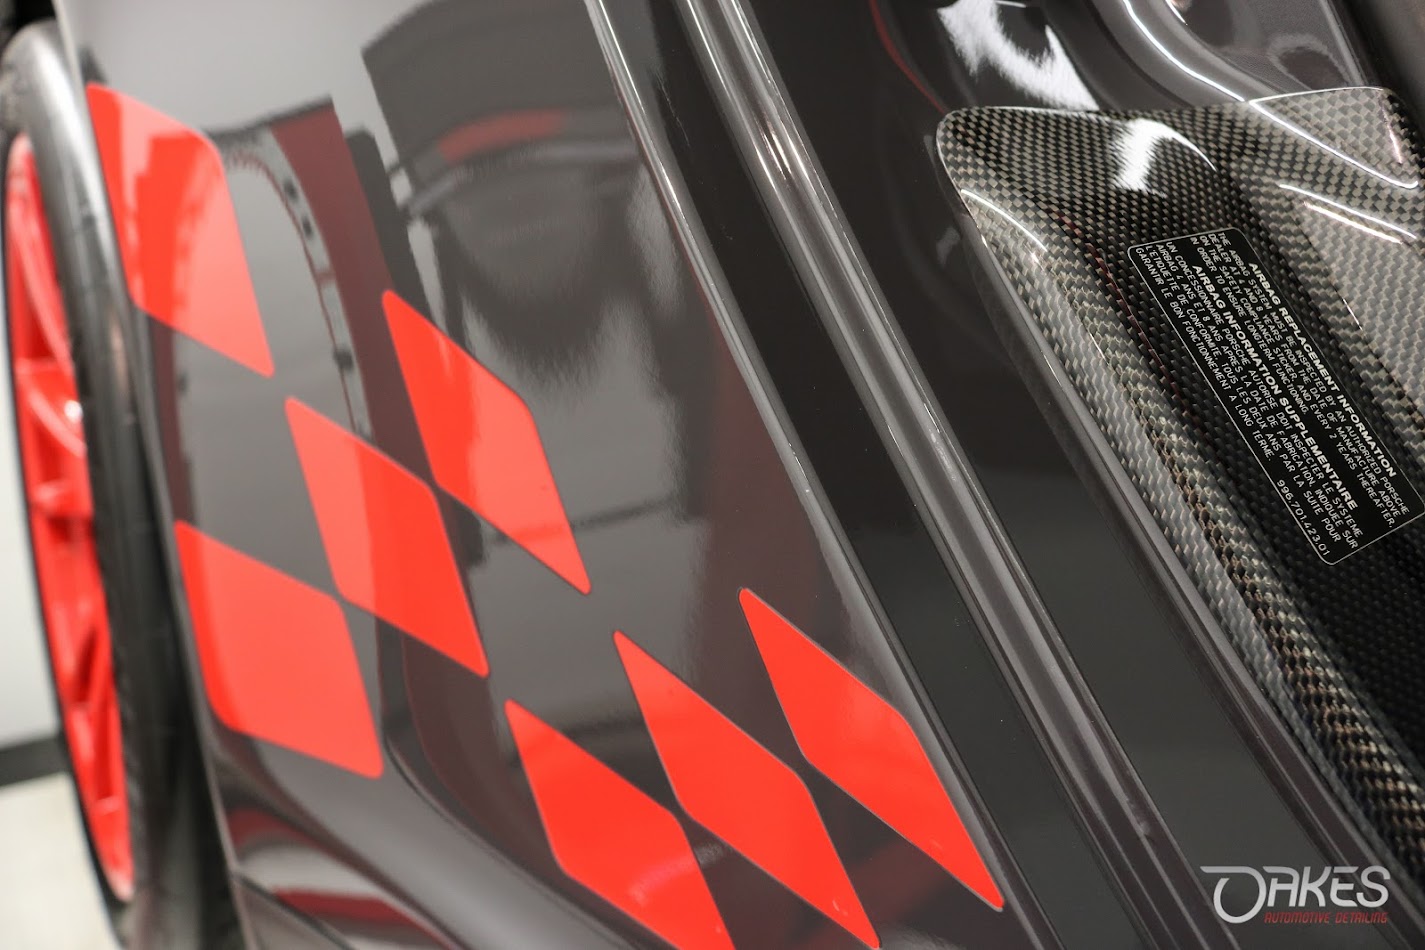
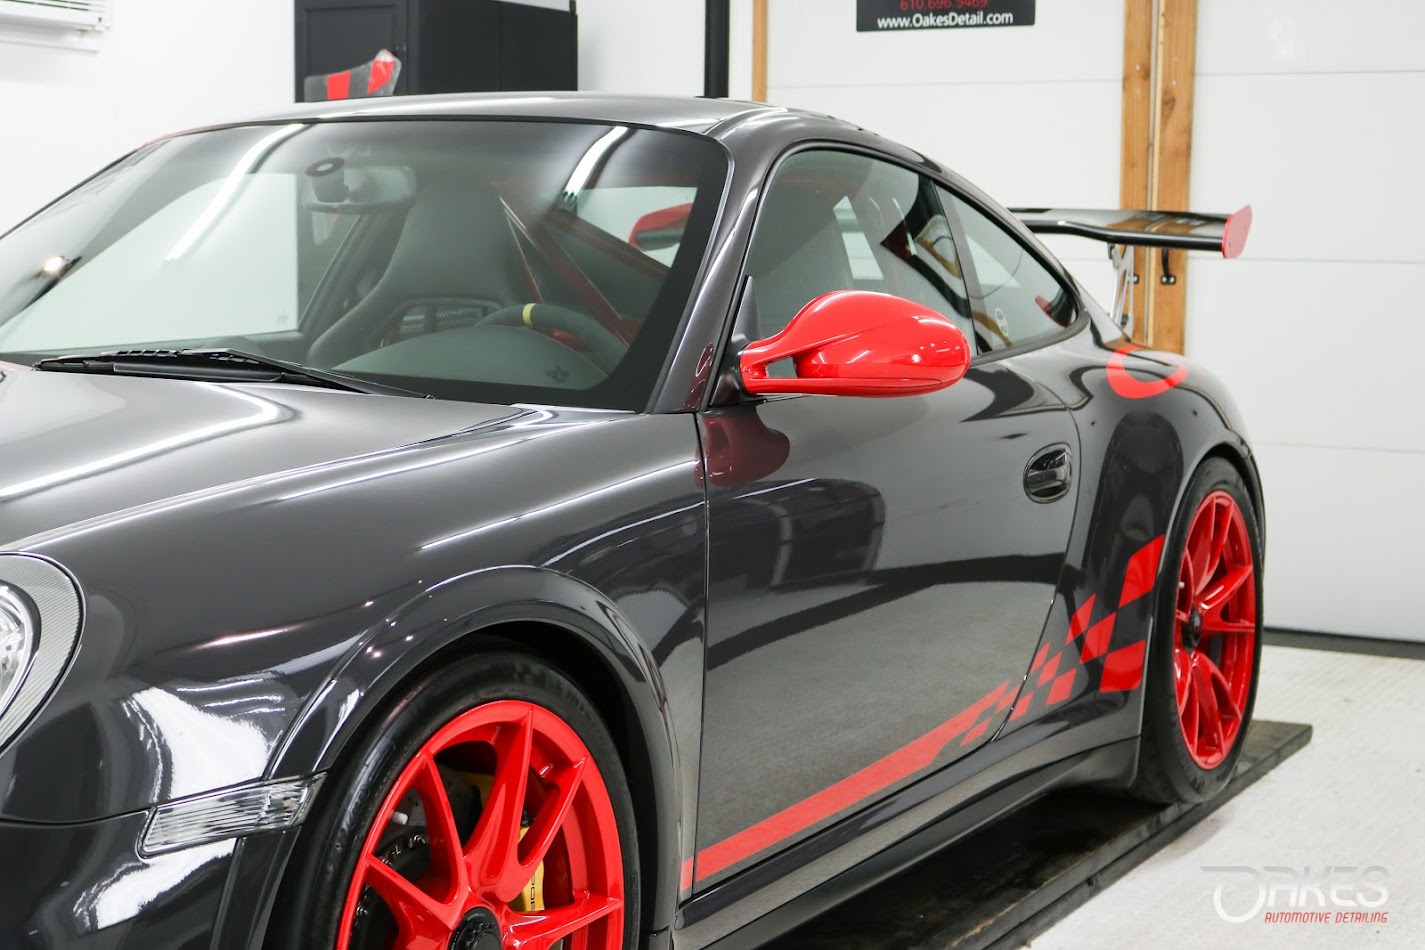
With the full body preparation complete, the paint correction completed, as seen in this 50/50 photo, it was time to bring it all together with the best combination of protection possible - Paint Protection Film and Ceramic Coating - in this case CQuartz Finest Reserve.

Quite easily the most comphrehensive write-up I have made in a long time, although I have another one brewing that is just as extensive. This visual journey will take you through the start to finish of reversing time on a previously enjoyed GT3RS that was kept outside for a good portion of it`s life and tracked semi-regularly. The goal of this project was to essentially make this 997.2 appear like it has never seen a road surface and protect it properly should it see the road again.
This meant complete wheels off tear down to everything short of pulling the motor and undercarriage - which we have done before - but was unnecessary here. As thorough as physically possible cleaning through degreasing, steaming, clay, correction/polishing of all surfaces to be properly conditioned and protected via sealant, ceramic coating or clear film.
With that said, the visuals will explain the process for me from here...starting with how it arrived - driven in by the owner - and on first sight, as stunning a car as it is, was clearly in need of a refresh.
Fortunately the main impact areas of the vehicle were protected with clear film, though not installed well and leaving key areas exposed to damage. Which effectively defeats the point of wrapping the panel in my opinion and points to one of the limitations of a template install without manual adjustments or proper install.
First order was removal of the clear film to properly prepare the paint as we will be installing a full body clear wrap after everything is brought back to it`s fullest potential. The rest of the visual inspection yielded that our work was cut out in correctiong the GrayBlack paint surface and showing proof that the vehicle has likely never been properly cleaned, let alone detailed.
After the initial preparation, we began to disassemble the car to complete the preparation before the paint correction could commence. The most involved part of this whole project, as we were finding more and more fun stuff as panels were removed. Below you will see some of the befores with a few immediate afters to show the difference and extent.
This process also included the undercarriage areas and wheels themselves. First pair of photos show the light scuffing on the wheel surfaces that were polished out and then ceramic coated for protection
The wheel wells themselves...
With the full body preparation complete, the paint correction completed, as seen in this 50/50 photo, it was time to bring it all together with the best combination of protection possible - Paint Protection Film and Ceramic Coating - in this case CQuartz Finest Reserve.