LawrenceSA
New member
This detail was actually carried out in early December last year. The objective for this car was not outright perfection but instead just a decent improvement in all areas.
As always the engine bay was tackled first
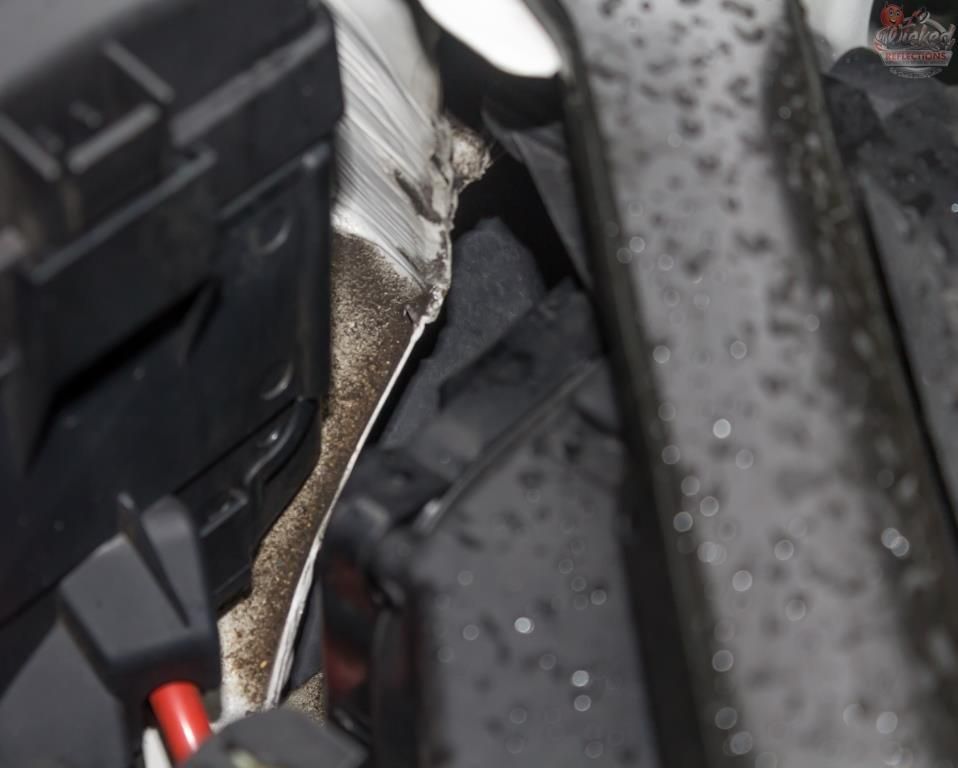
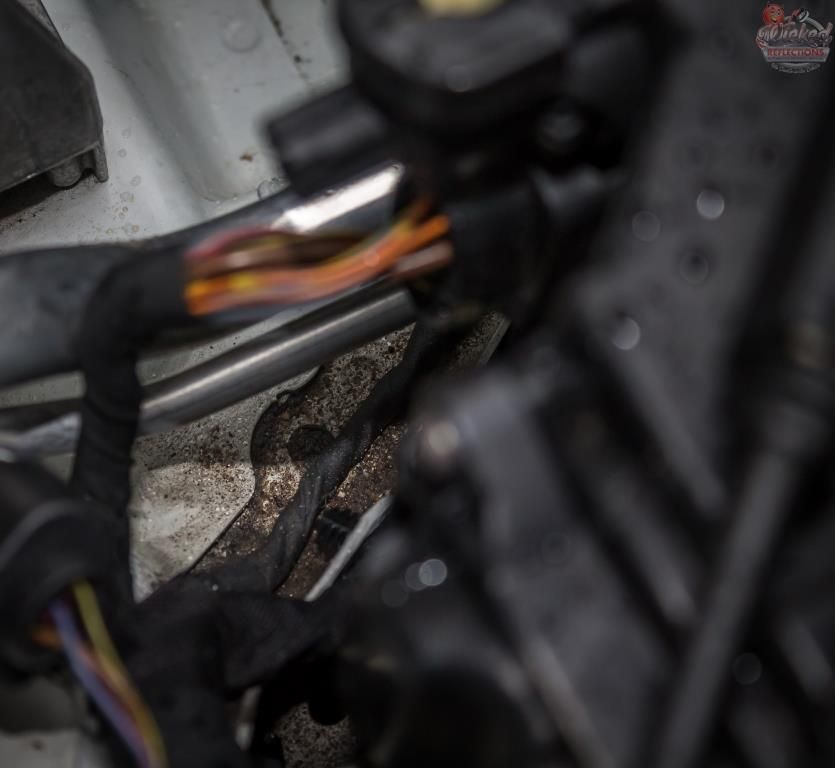
After carefully covering any exposed electrical bits, Carchem APC @1:5 was liberally sprayed over the entire bay via a Gloria Foam Master foam sprayer, left to dwell and then agitated using various Wheel Woolies, Speedmaster and Autofinesse brushes before being pressure rinsed. Carchem Vinyl and Rubber dressing was then used to dress the plastics and the painted surfaces were treated to Dodo Juice Lime Prime on a MF applicator.
And I then forgot to take any pictures of the completed bay - I really need to stop making this mistake :fear: Sorry.
The wheels were not very dirty at all and I never snapped and before/during pics, but they were still treated to a full clean and decon using my `normal` approach of:
Pressure rinse fender wells, tyres, wheels and brake calipers
Spray Carchem APC @1:5 and let dwell
Agitate with various brushes
Pressure rinse
Spray Carchem Revolt, allow to dwell, agitate and pressure rinse
Spray Carpro Tar-x, let dwell, wipe with MF
Re-apply iron remover (to get any iron deposits that may have been hiding under the tar spots)
Pressure rinse
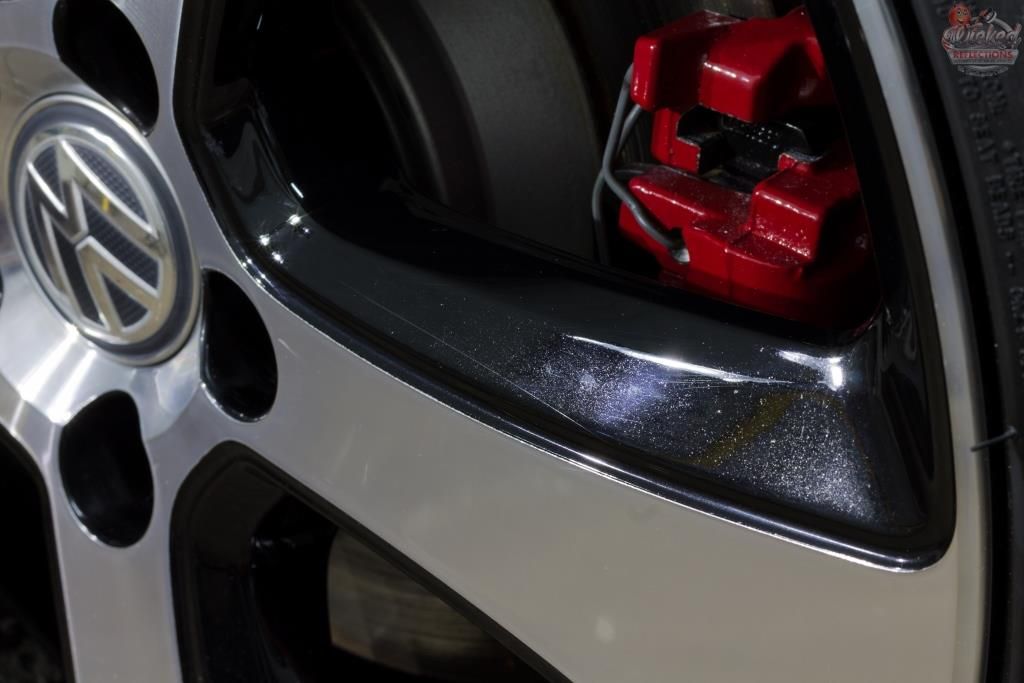
As you can see the wheels have taken a bit of a beating and had quite a lot of deep scratches and swirls
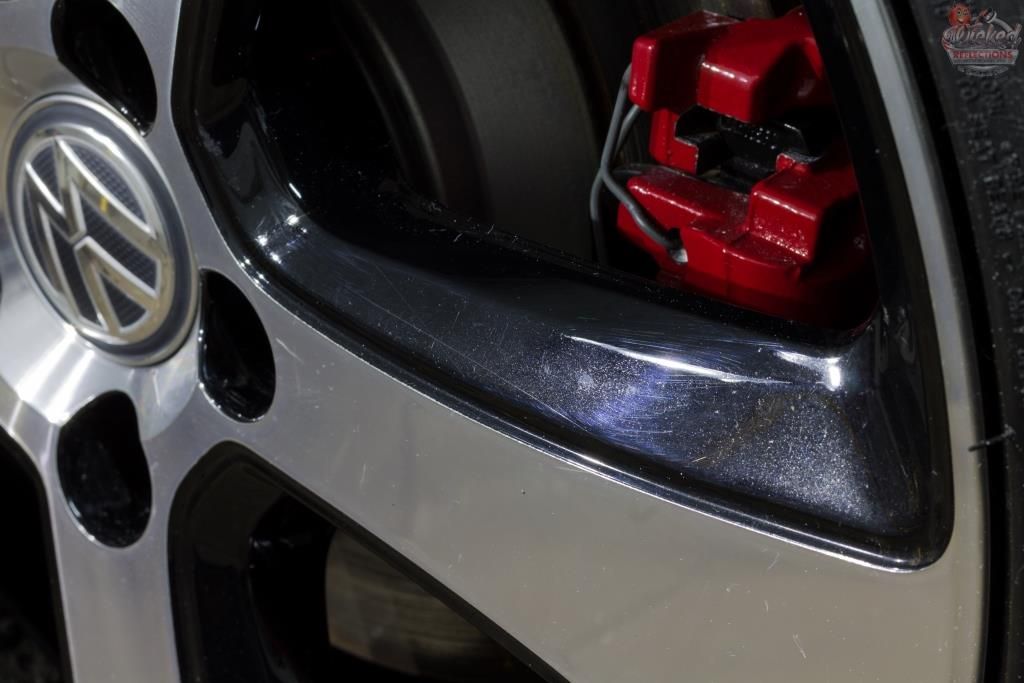
I used Meguiars D300 and a Mothers Power Cone on a variable speed drill to give them a very quick polish to try and improve the look a bit - a full proper correction on the wheels was not within the scope of the detail, but as you can see, 2 quick passes with D300 did go some way in getting them looking better - definitely far from `right` - but good enough IMO for the free `add-on`.
The wheels were then sealed using Menzerna Powerlock and the tyres dressed with 2 coats of Carchem Tire Gel, 12 hours apart
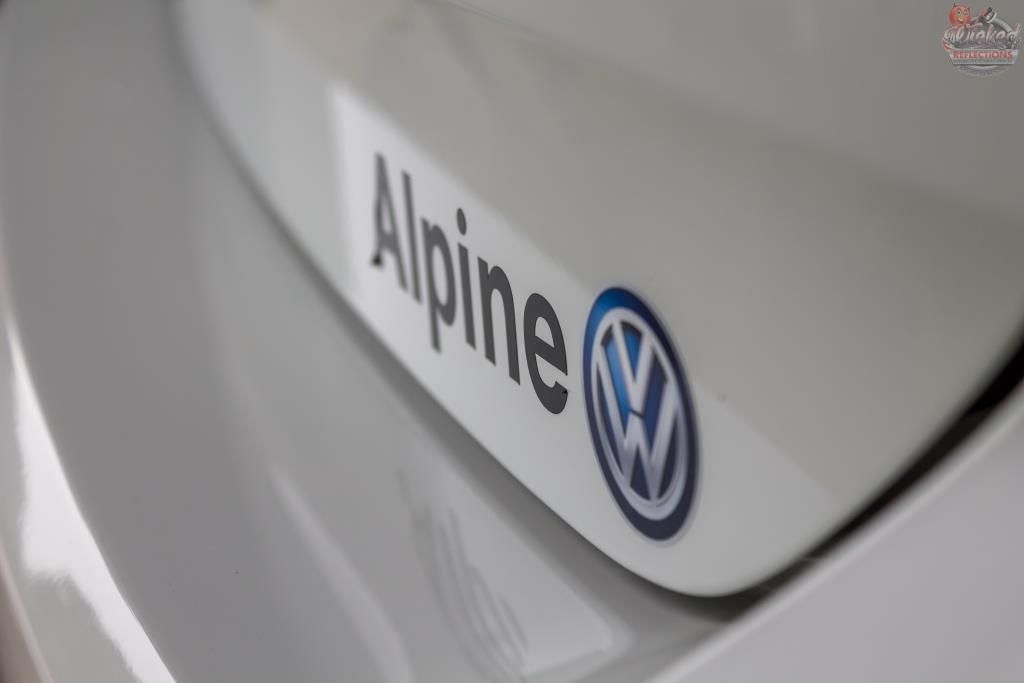
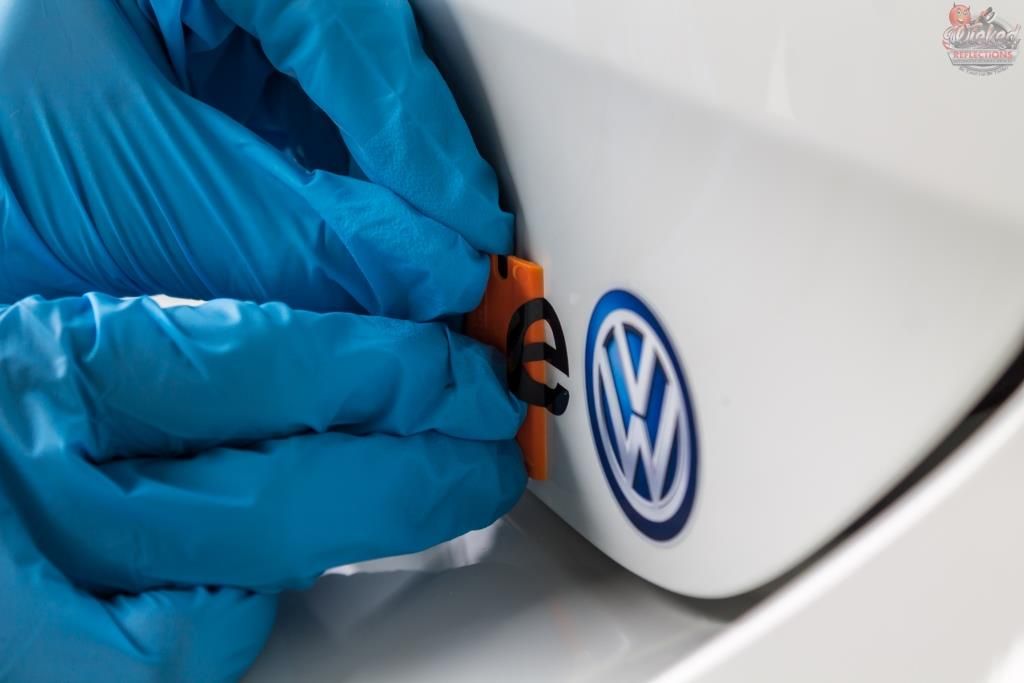
With all the dirty work out of the way, it was time to get the car cleaned up but first this dealer applied sticker was removed using plastic razor blades and Carpro Tar-x to remove the glue residue.
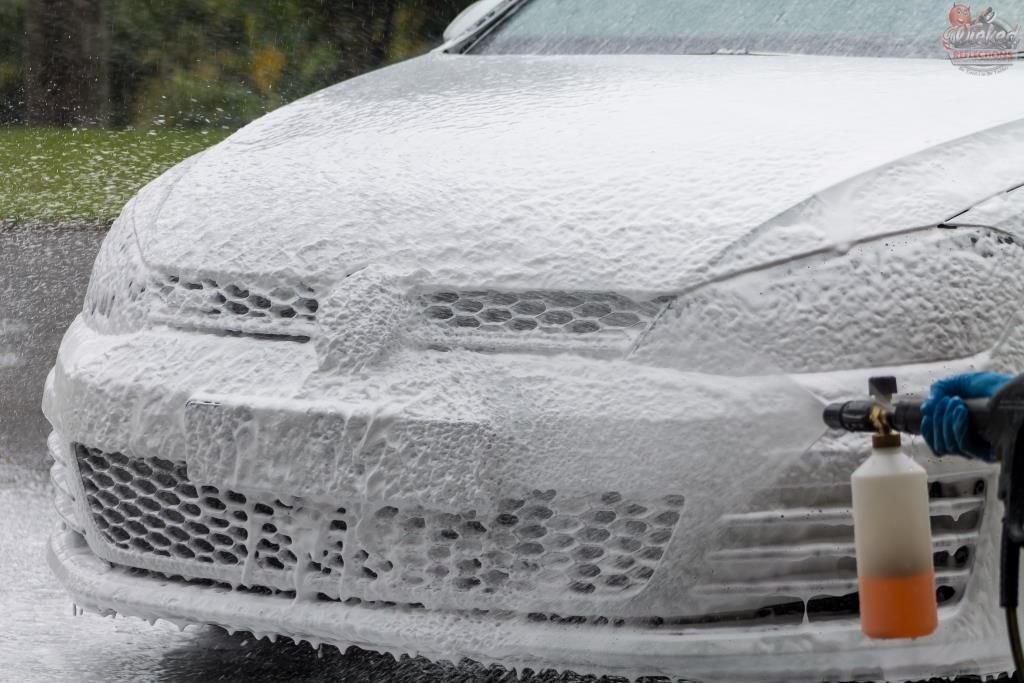
All the loose dirt was first pressure rinsed off the car. This step will go a long way in reducing the possibility of swirls during the rest of the wash and so IMO it is worth investing in a pressure washer. The 2nd advantage of the pressure washer is that it can be paired to a foam cannon which will allow you to `pre-soak` the car in a foam designed to help loosen the remaining dirt.
In this case, Valet Pro ANSF was used.
This was allowed to dwell during which time the badges/emblems, honeycomb, window rubbers, door handles and panel gaps were agitated using a Autofinesse Hogs Hair brush. The foam was then pressure rinsed off and Valet Pro Citrus Prewash applied to the lower half of the vehicle via a pump sprayer. This was allowed to dwell, then pressure rinsed off. The car (including the door/boot shuts) was then washed using Lambswool wash mitts, Carchem Luxury Shampoo and 2 buckets with grit guards.
Once clean the vehicle was given a quick dry to remove most of the standing water and the car then liberally sprayed with Carchem Revolt. Not much iron contamination was present and there were minimal tar spots to deal with too, which was a nice change. The remaining contamination was then clayed off using Shield Heavy Duty clay and ONR as lube.
The sunroof was then given a decent clean before paint correction commenced.
Paint readings were taken and readings were mostly in the 120µ range. Multiple test spots were conducted resulting in a the following combinations for correction.
Paint: Menzerna SHC 300 / Blue hybrid wool pad, followed by Menzerna SF4000 on a White Hybrid pad
B-pillars: Menzerna PF2300 on an Orange hybrid followed by Menzerna SF4000 on a Black Hybrid pad
Front/Rear bumpers: Menzerna FG400 on an Orange Hybrid pad
Taillights: Menzerna PF2300 on an Orange hybrid followed by Menzerna SF4000 on a Black Hybrid pad
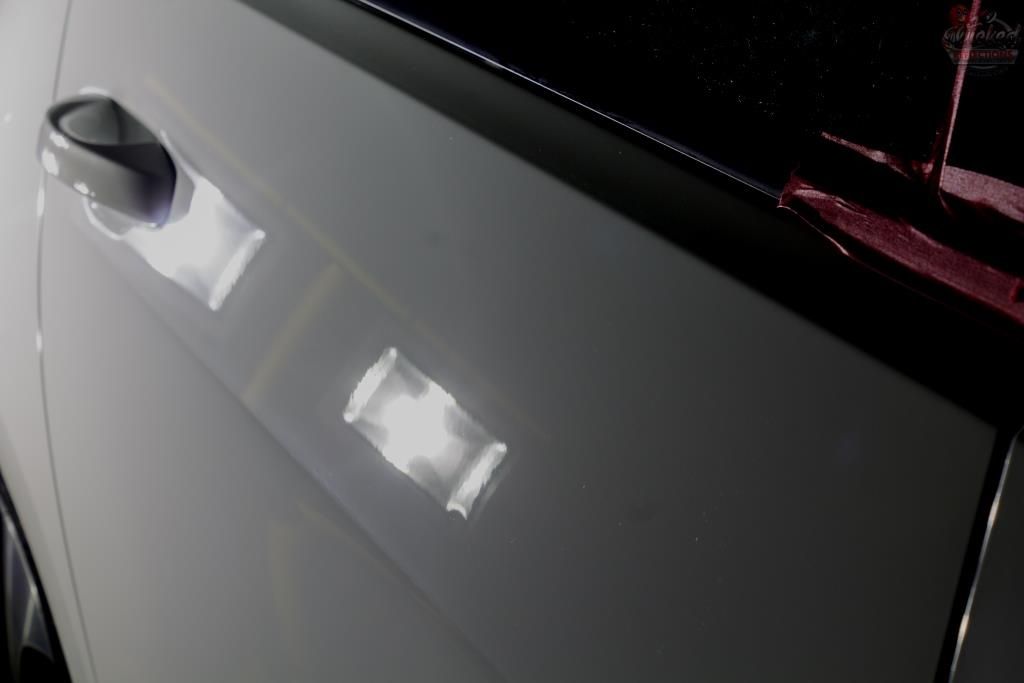
Here are some pics of the correction process
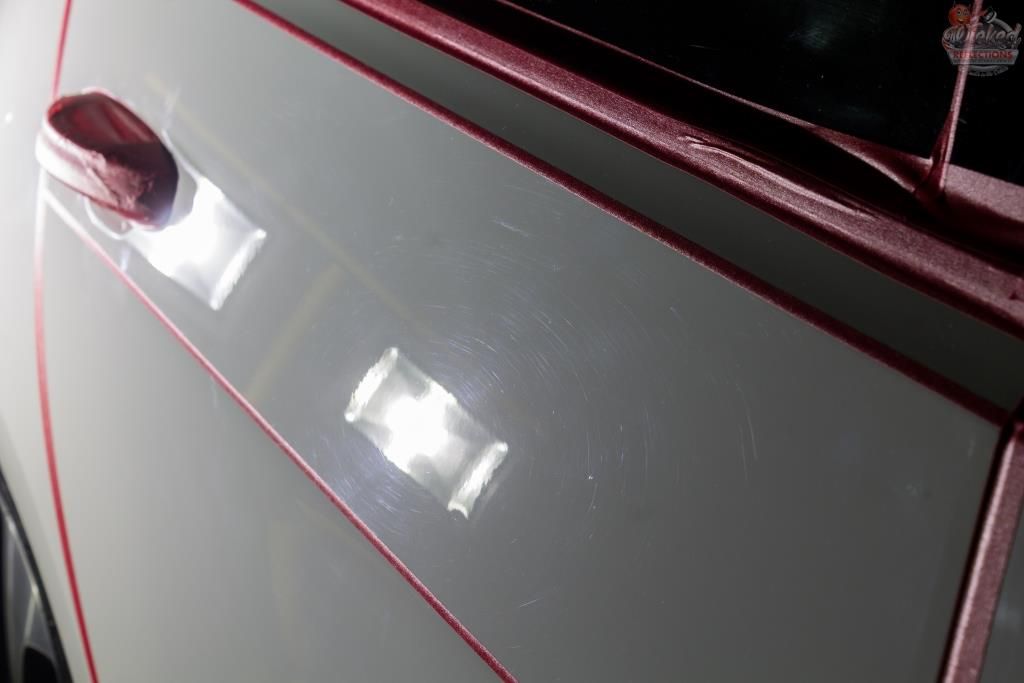
Paint before
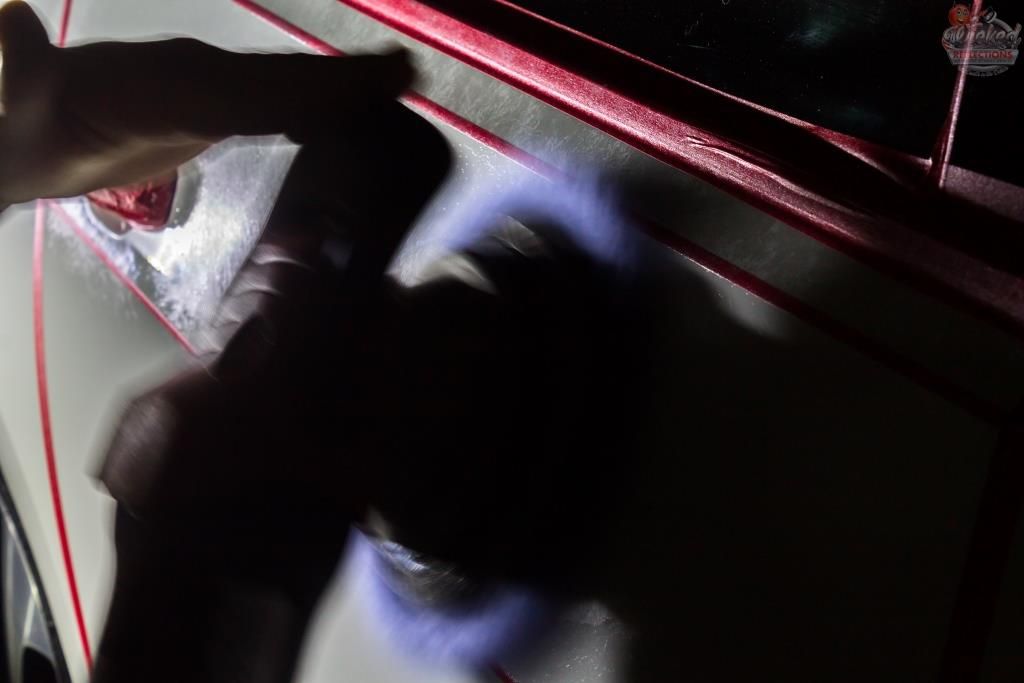
Working SHC 300
The hazing left behind from the initial cut
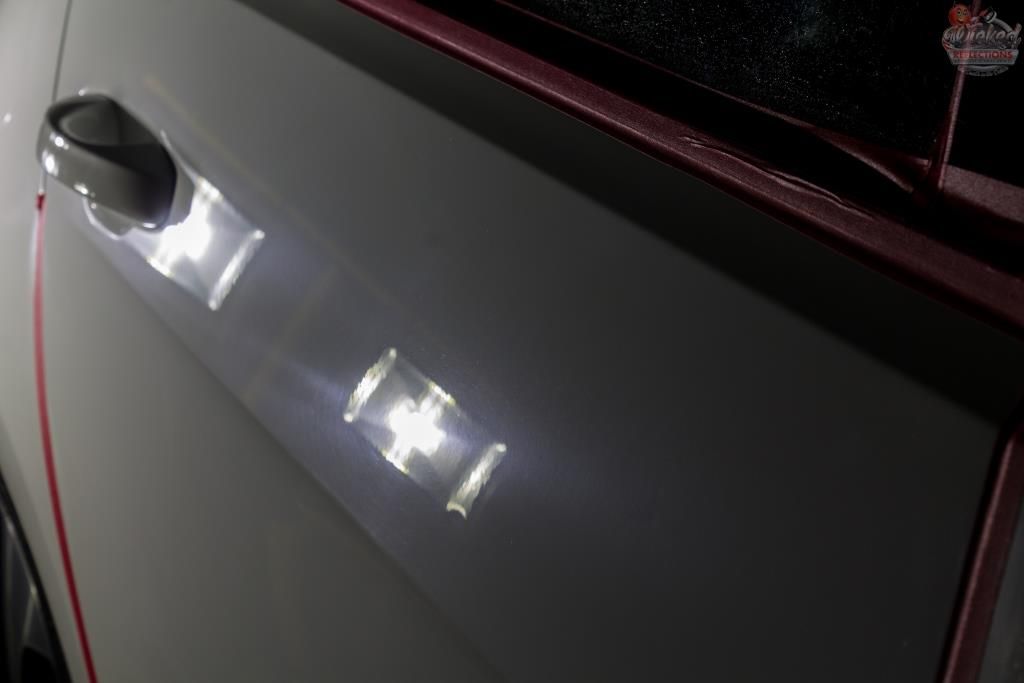
The refined finish
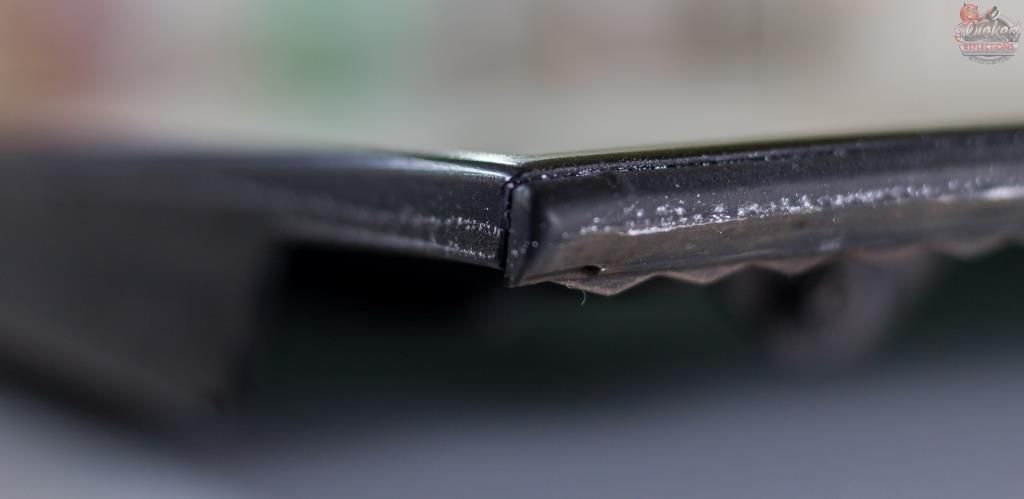
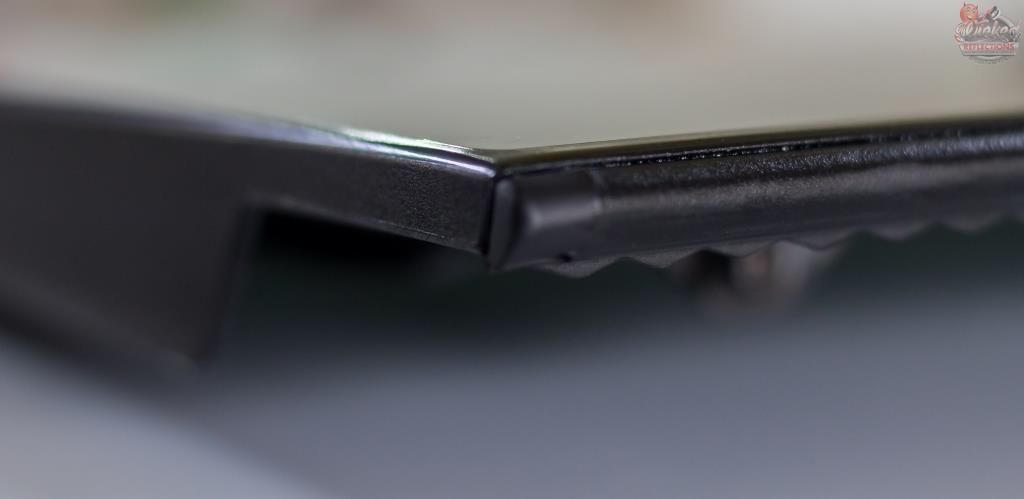
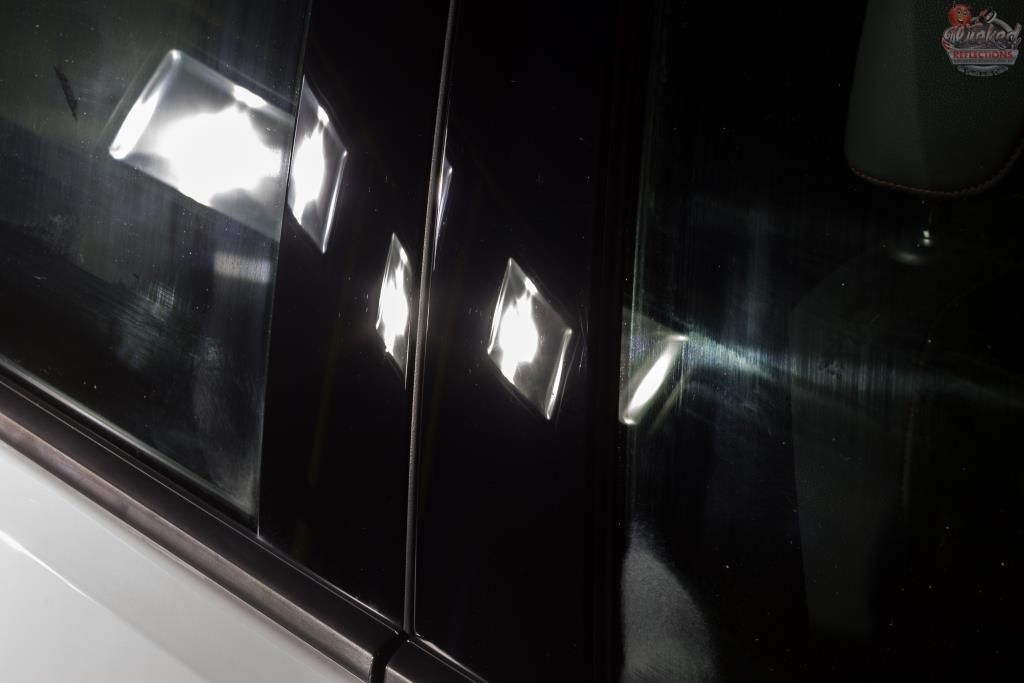
The b-pillars before correction

As you can see it is important to tape off the surrounding rubbers so as to prevent a) the polisher actually abrading away some of the rubber and b) leaving polish residue in the rubber which can be difficult (and often next to impossible) to remove.
Furthermore, if you look carefully you will see that the tape itself runs ever so slightly over the actual edge of the pillar itself - this is often not done resulting in the edges being `over-polished` and the clear ultimately being polished away completely .... This will result in black paint transferring onto your pad - a sure sign that the clear has been compromised.
After
Before
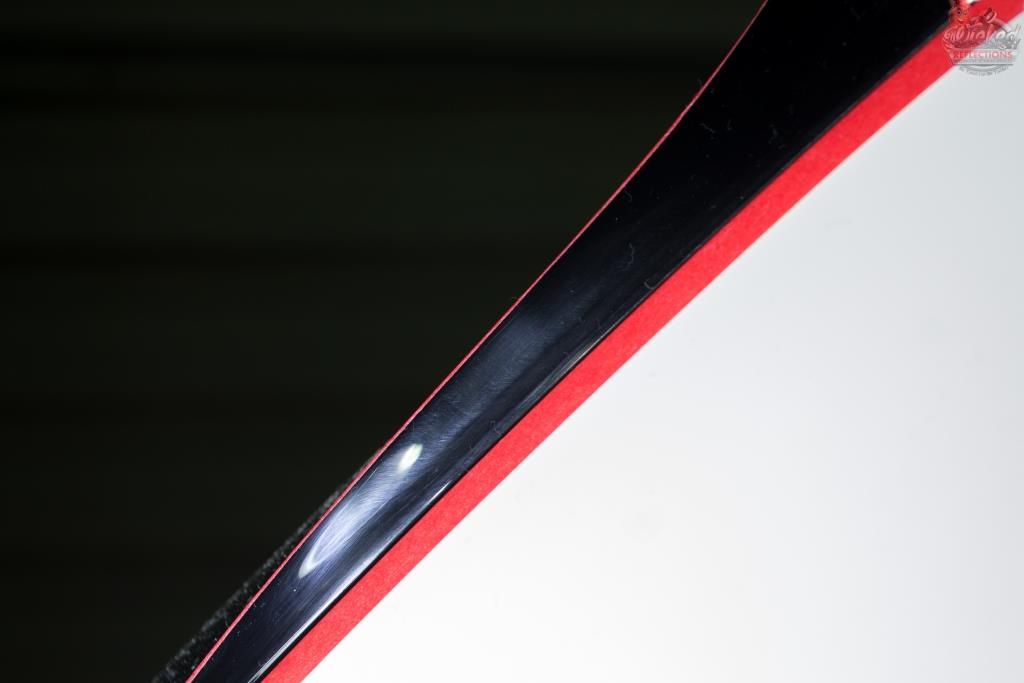
After
The paint was then protected using Collinte 915
The exhaust tips were cleaned using Carchem APC @ 1:5 then polished using Mothers Mag and Aluminum Polish. The rest of the details were than taken care of
Exterior plastics
Equipment - Foam applicators, MF towels, Q-tips
Clean - Shield Heavy Duty Vinyl and Rubber Cleaner
Protect - Carchem Vinyl and Rubber Dressing
Glass
Clean - Autoglym Fast Glass, MF towels, Wynns C-Thru
Badges & Emblems
Equipment - Q-tips, MF towels
Clean/polish/protect - Autofinesse Tripple
Interior Plastics
Equipment- Foam applicators, MF towels, Q-tips, Various brushes
Clean - Carchem APC @ 1:20
Protect - Optimum Optiseal
Interior Carpets
Equipment- Brushes, Flex VL35C Vacuum
Leather Surfaces
Equipment- Foam applicators, Flex VL35C Vacuum, MF towels, Brushes
Clean - Carchem APC @ 1:20, various brushes, MF towels
Protect - Collinite 855
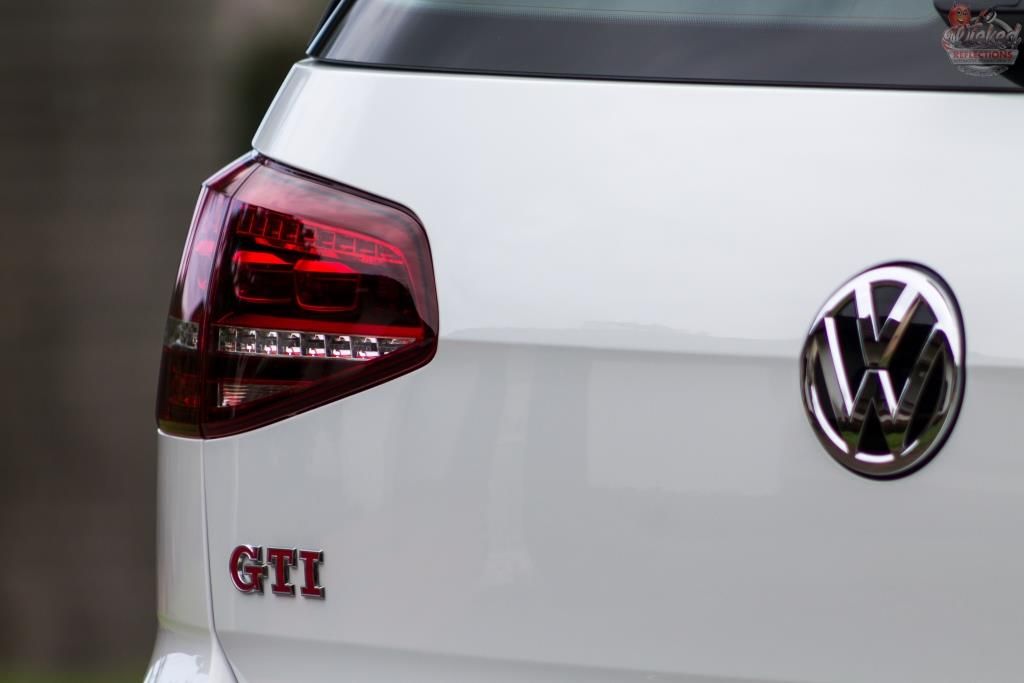
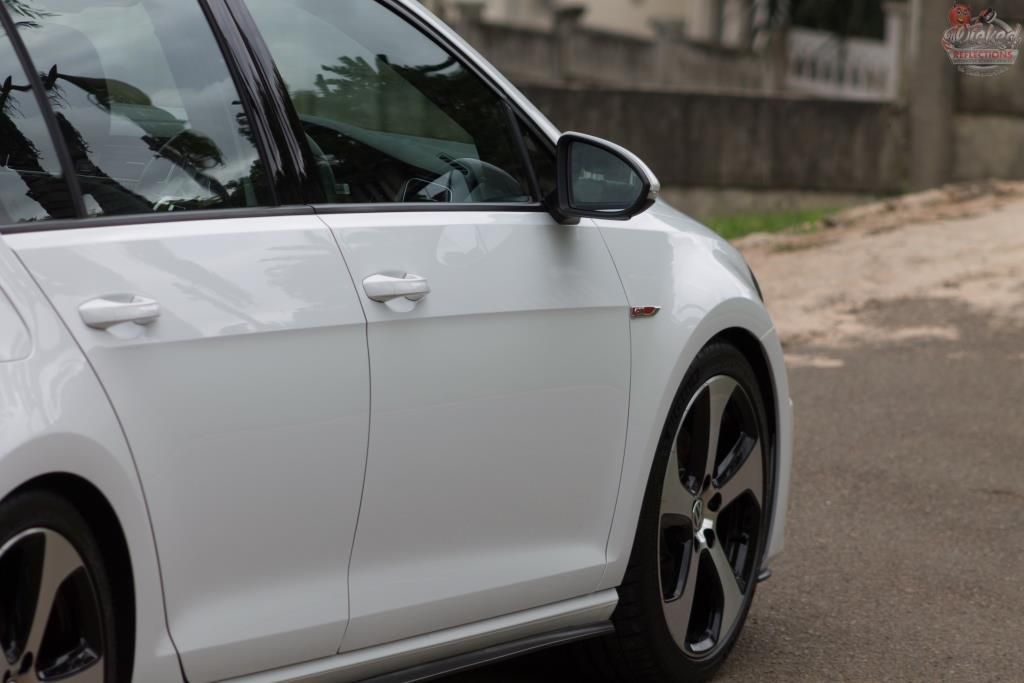
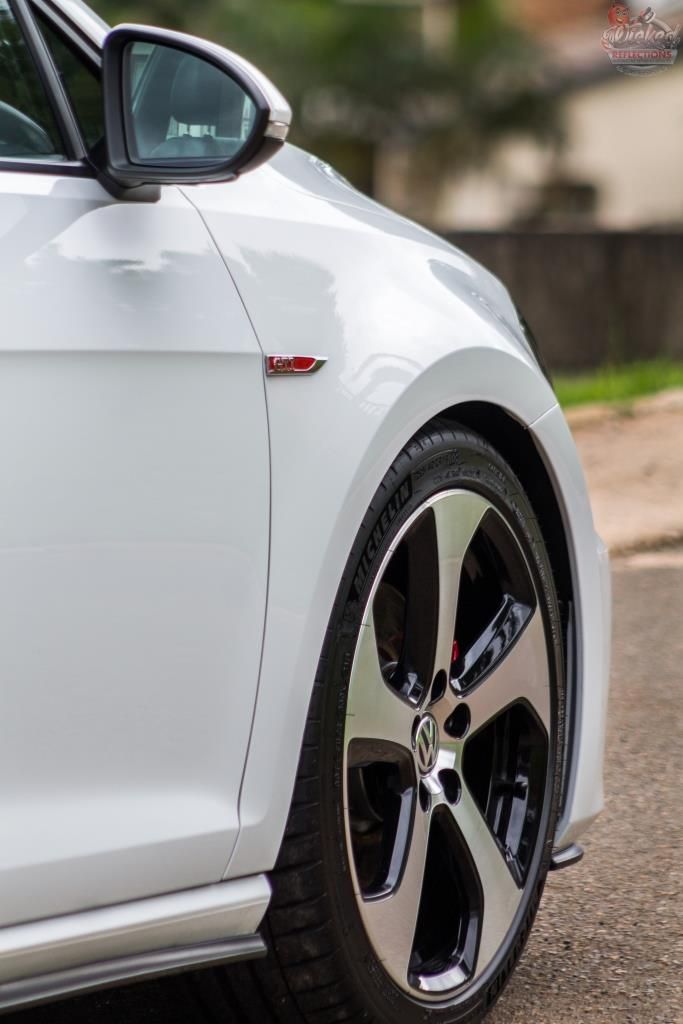
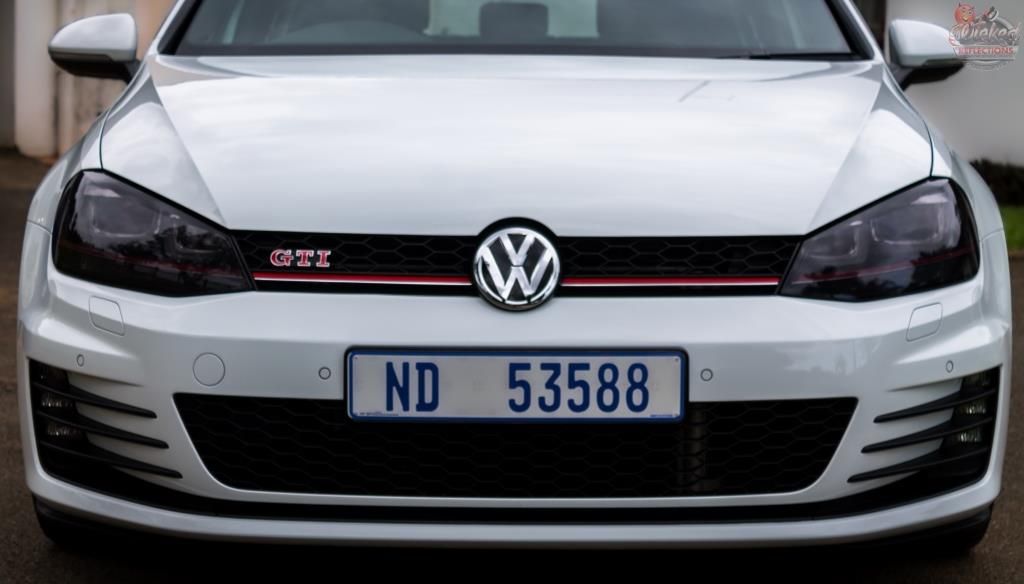
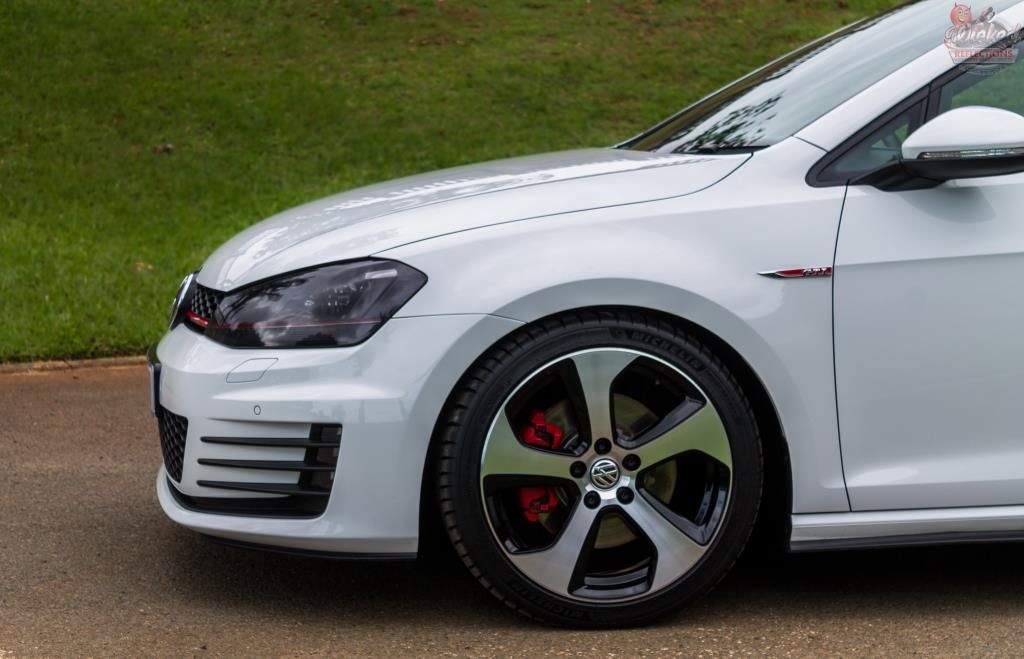
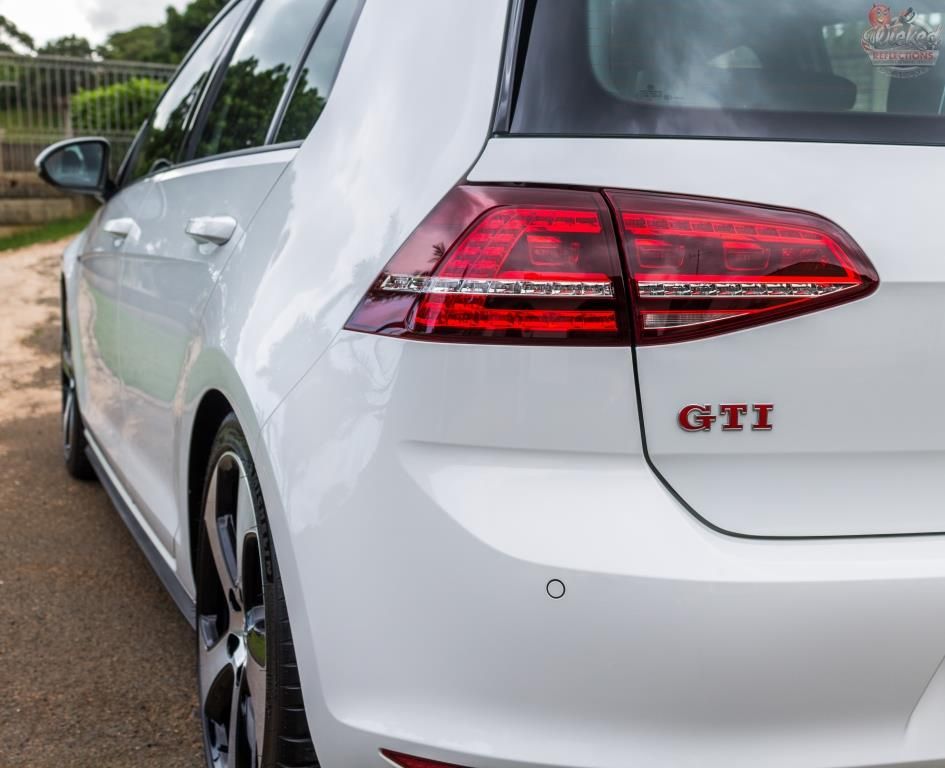
Here are a few pics of the finished car.

Total time spent= 31 hours
As always thanks for looking, and any questions or comments are welcome
:hi:
As always the engine bay was tackled first
After carefully covering any exposed electrical bits, Carchem APC @1:5 was liberally sprayed over the entire bay via a Gloria Foam Master foam sprayer, left to dwell and then agitated using various Wheel Woolies, Speedmaster and Autofinesse brushes before being pressure rinsed. Carchem Vinyl and Rubber dressing was then used to dress the plastics and the painted surfaces were treated to Dodo Juice Lime Prime on a MF applicator.
And I then forgot to take any pictures of the completed bay - I really need to stop making this mistake :fear: Sorry.
The wheels were not very dirty at all and I never snapped and before/during pics, but they were still treated to a full clean and decon using my `normal` approach of:
Pressure rinse fender wells, tyres, wheels and brake calipers
Spray Carchem APC @1:5 and let dwell
Agitate with various brushes
Pressure rinse
Spray Carchem Revolt, allow to dwell, agitate and pressure rinse
Spray Carpro Tar-x, let dwell, wipe with MF
Re-apply iron remover (to get any iron deposits that may have been hiding under the tar spots)
Pressure rinse
As you can see the wheels have taken a bit of a beating and had quite a lot of deep scratches and swirls
I used Meguiars D300 and a Mothers Power Cone on a variable speed drill to give them a very quick polish to try and improve the look a bit - a full proper correction on the wheels was not within the scope of the detail, but as you can see, 2 quick passes with D300 did go some way in getting them looking better - definitely far from `right` - but good enough IMO for the free `add-on`.
The wheels were then sealed using Menzerna Powerlock and the tyres dressed with 2 coats of Carchem Tire Gel, 12 hours apart
With all the dirty work out of the way, it was time to get the car cleaned up but first this dealer applied sticker was removed using plastic razor blades and Carpro Tar-x to remove the glue residue.
All the loose dirt was first pressure rinsed off the car. This step will go a long way in reducing the possibility of swirls during the rest of the wash and so IMO it is worth investing in a pressure washer. The 2nd advantage of the pressure washer is that it can be paired to a foam cannon which will allow you to `pre-soak` the car in a foam designed to help loosen the remaining dirt.
In this case, Valet Pro ANSF was used.
This was allowed to dwell during which time the badges/emblems, honeycomb, window rubbers, door handles and panel gaps were agitated using a Autofinesse Hogs Hair brush. The foam was then pressure rinsed off and Valet Pro Citrus Prewash applied to the lower half of the vehicle via a pump sprayer. This was allowed to dwell, then pressure rinsed off. The car (including the door/boot shuts) was then washed using Lambswool wash mitts, Carchem Luxury Shampoo and 2 buckets with grit guards.
Once clean the vehicle was given a quick dry to remove most of the standing water and the car then liberally sprayed with Carchem Revolt. Not much iron contamination was present and there were minimal tar spots to deal with too, which was a nice change. The remaining contamination was then clayed off using Shield Heavy Duty clay and ONR as lube.
The sunroof was then given a decent clean before paint correction commenced.
Paint readings were taken and readings were mostly in the 120µ range. Multiple test spots were conducted resulting in a the following combinations for correction.
Paint: Menzerna SHC 300 / Blue hybrid wool pad, followed by Menzerna SF4000 on a White Hybrid pad
B-pillars: Menzerna PF2300 on an Orange hybrid followed by Menzerna SF4000 on a Black Hybrid pad
Front/Rear bumpers: Menzerna FG400 on an Orange Hybrid pad
Taillights: Menzerna PF2300 on an Orange hybrid followed by Menzerna SF4000 on a Black Hybrid pad
Here are some pics of the correction process
Paint before
Working SHC 300
The hazing left behind from the initial cut
The refined finish
The b-pillars before correction
As you can see it is important to tape off the surrounding rubbers so as to prevent a) the polisher actually abrading away some of the rubber and b) leaving polish residue in the rubber which can be difficult (and often next to impossible) to remove.
Furthermore, if you look carefully you will see that the tape itself runs ever so slightly over the actual edge of the pillar itself - this is often not done resulting in the edges being `over-polished` and the clear ultimately being polished away completely .... This will result in black paint transferring onto your pad - a sure sign that the clear has been compromised.
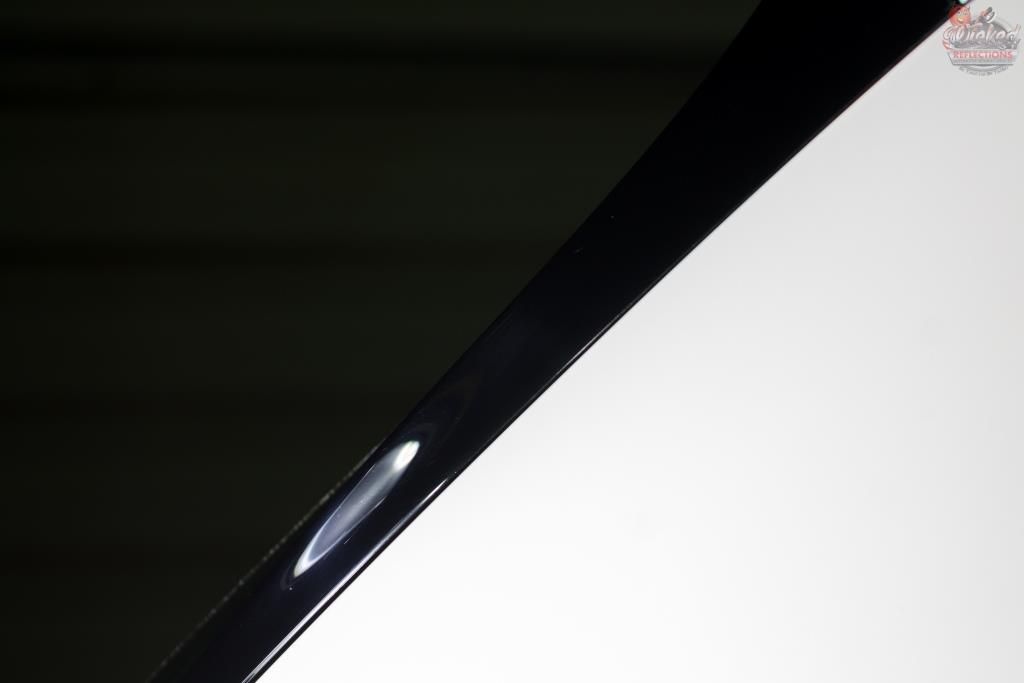
After
Before
After
The paint was then protected using Collinte 915
The exhaust tips were cleaned using Carchem APC @ 1:5 then polished using Mothers Mag and Aluminum Polish. The rest of the details were than taken care of
Exterior plastics
Equipment - Foam applicators, MF towels, Q-tips
Clean - Shield Heavy Duty Vinyl and Rubber Cleaner
Protect - Carchem Vinyl and Rubber Dressing
Glass
Clean - Autoglym Fast Glass, MF towels, Wynns C-Thru
Badges & Emblems
Equipment - Q-tips, MF towels
Clean/polish/protect - Autofinesse Tripple
Interior Plastics
Equipment- Foam applicators, MF towels, Q-tips, Various brushes
Clean - Carchem APC @ 1:20
Protect - Optimum Optiseal
Interior Carpets
Equipment- Brushes, Flex VL35C Vacuum
Leather Surfaces
Equipment- Foam applicators, Flex VL35C Vacuum, MF towels, Brushes
Clean - Carchem APC @ 1:20, various brushes, MF towels
Protect - Collinite 855
Here are a few pics of the finished car.
Total time spent= 31 hours
As always thanks for looking, and any questions or comments are welcome
:hi: