LawrenceSA
New member
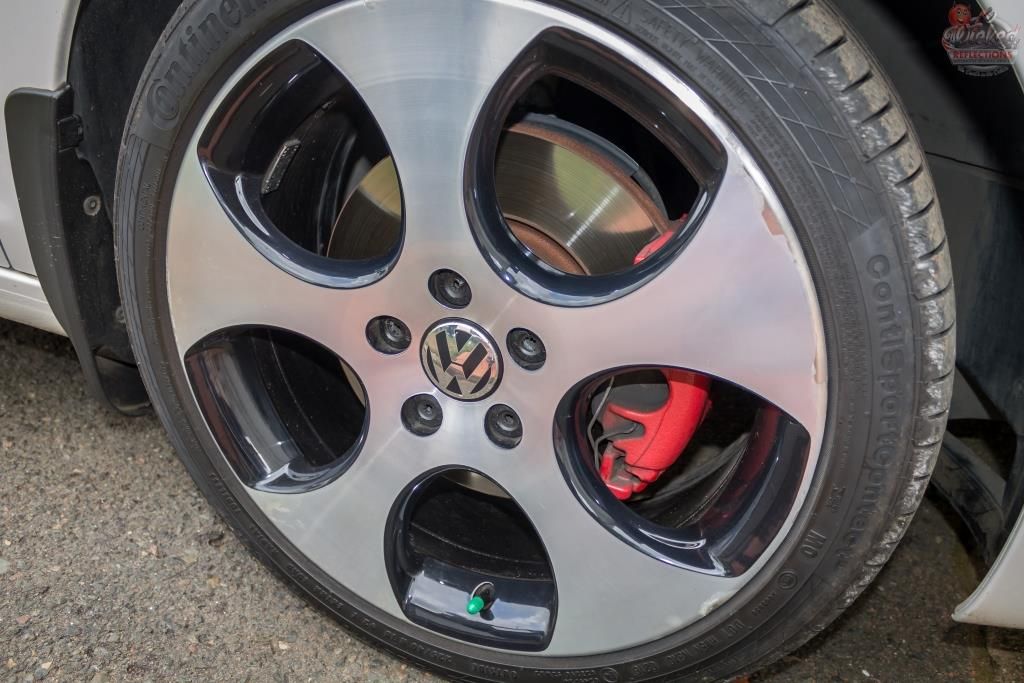
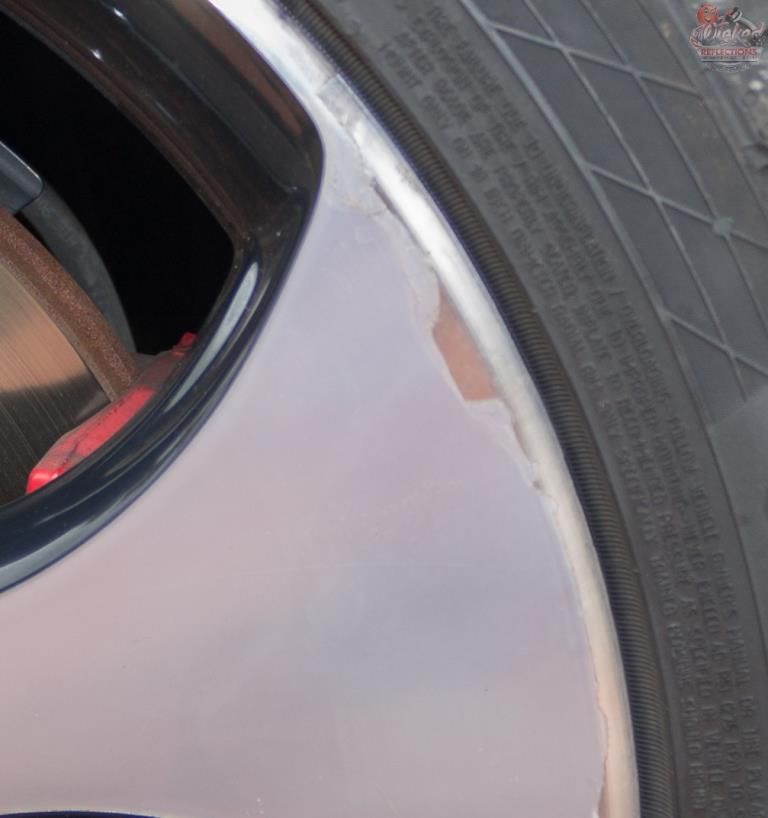
I`ve done a few of these ....and for the most part, the paint defects looked just like your typical VW swirls... unfortunately, that`s not how they behaved... but more on that later. The wheels had at some point been refurbed, and there was some sort of thick plastic-y looking film type stuff over the wheels where there`d typically be the diamond cut finish, and as you will see in the the pics below, a section was flaking off. These therefore only received a basic wash using car shampoo and the owner was advised to get the finish seen to.
There would also be no engine bay work done on this detail and so the brief was to get everything clean, decon/correct/protect the paint, clean and protect the interior, and then all the other usually...well... details :lol:
So to start I pressure rinsed the arches, sprayed some Carchem APC on and left it to dwell, agitated and pressure rinsed that off. The same process was repeated on the tyres and brake calipers. The arches were dressed with Carpro Perl, the tyres with Carchem Tyre and Trim Gel and the calipers with Gyeon Cure.
Before
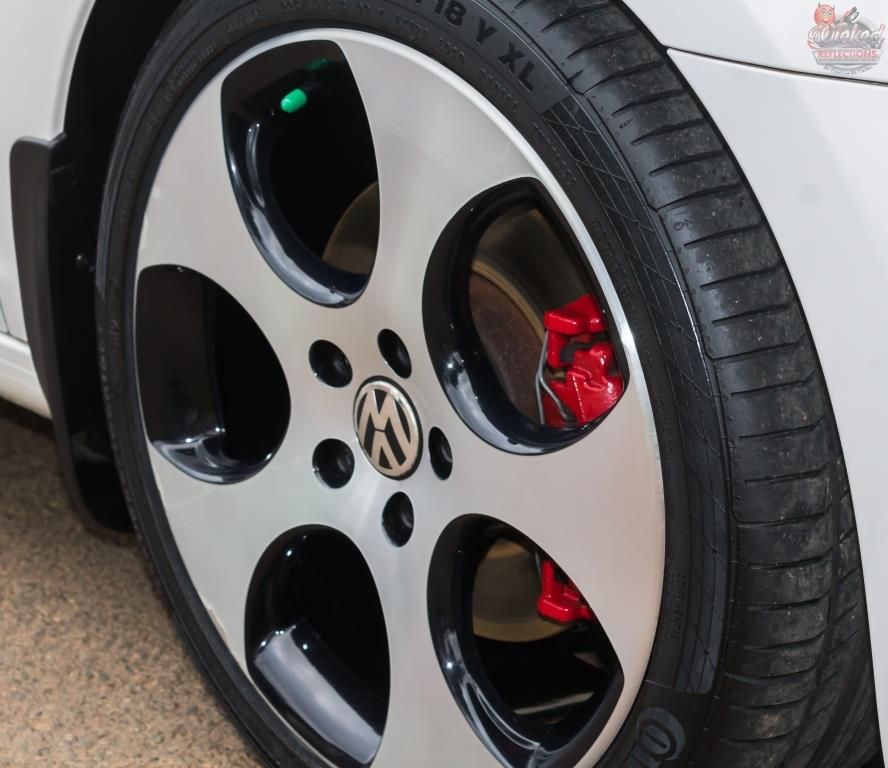
After
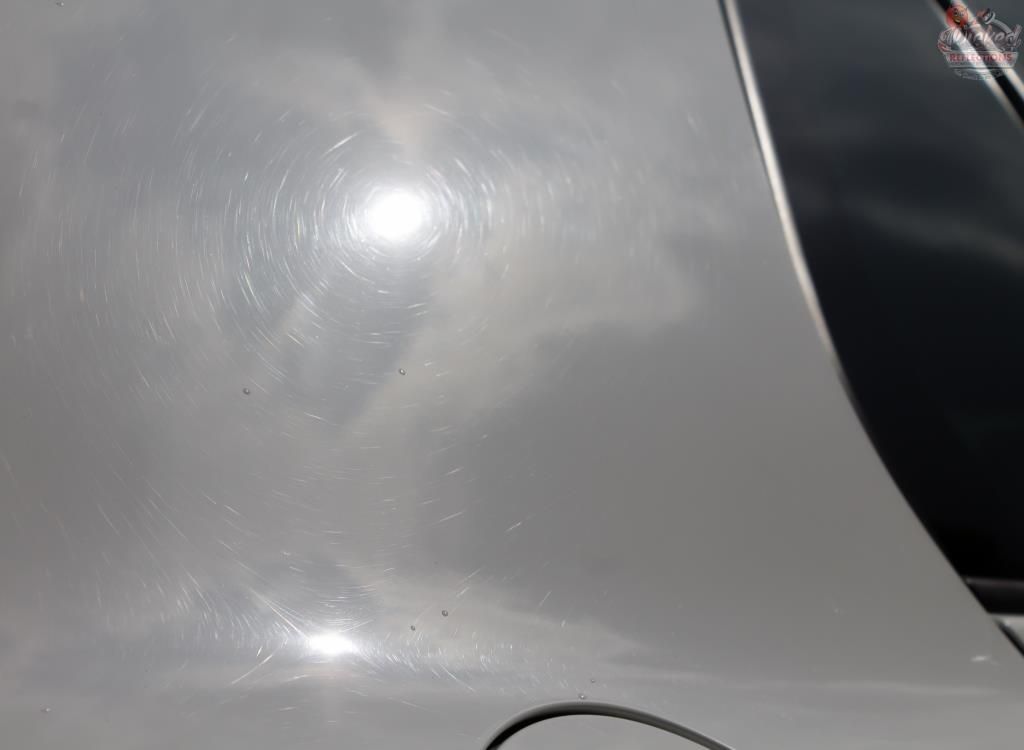
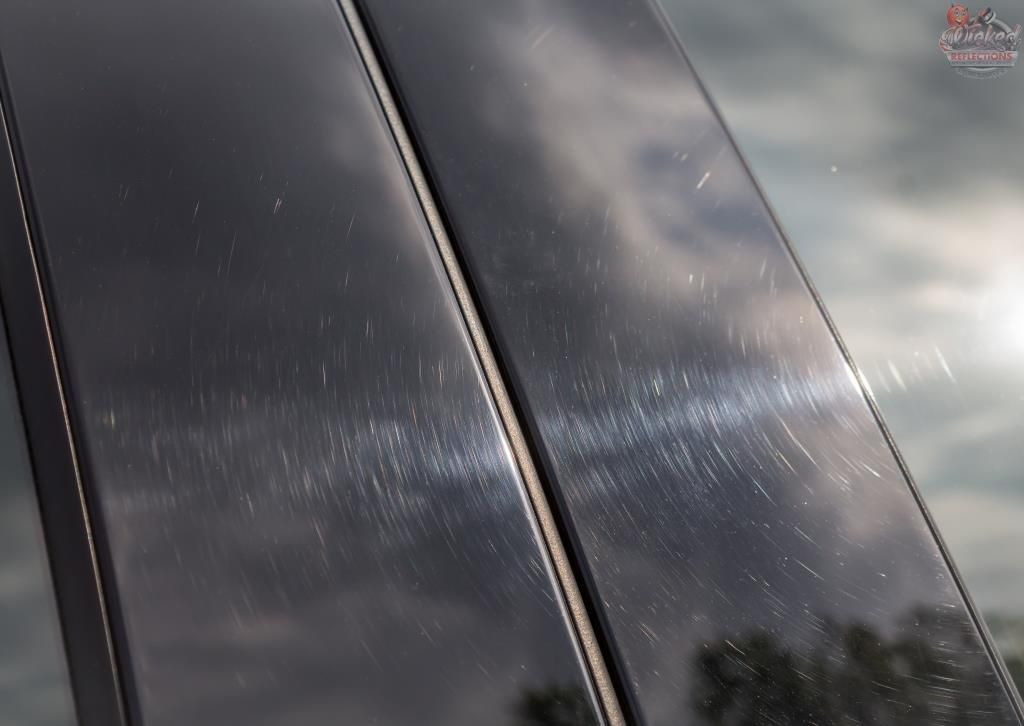
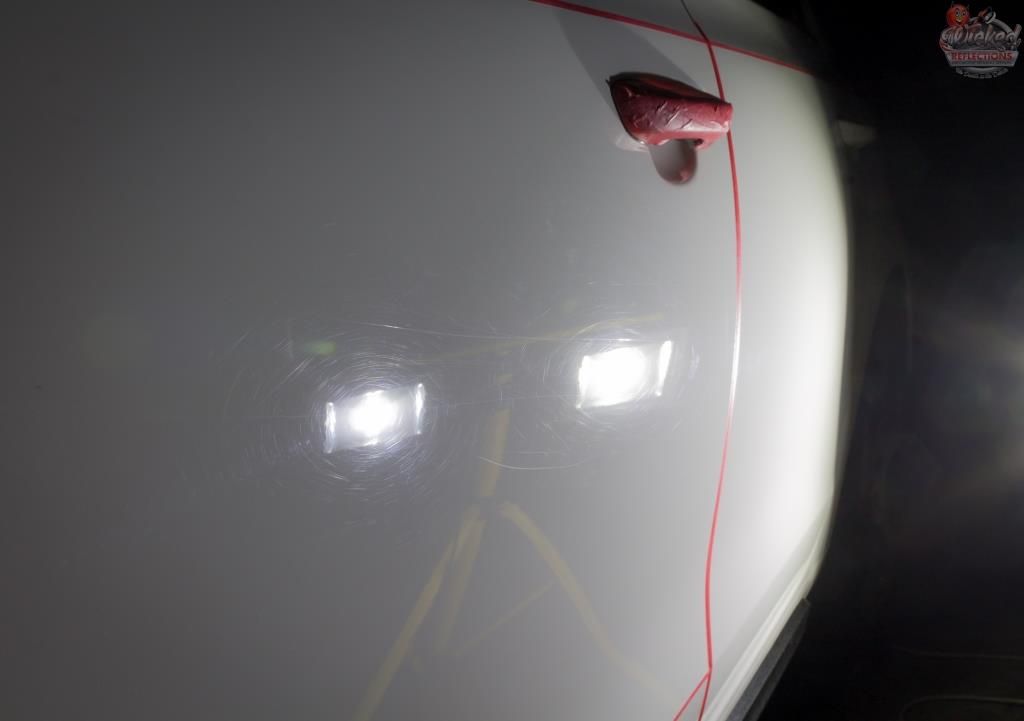
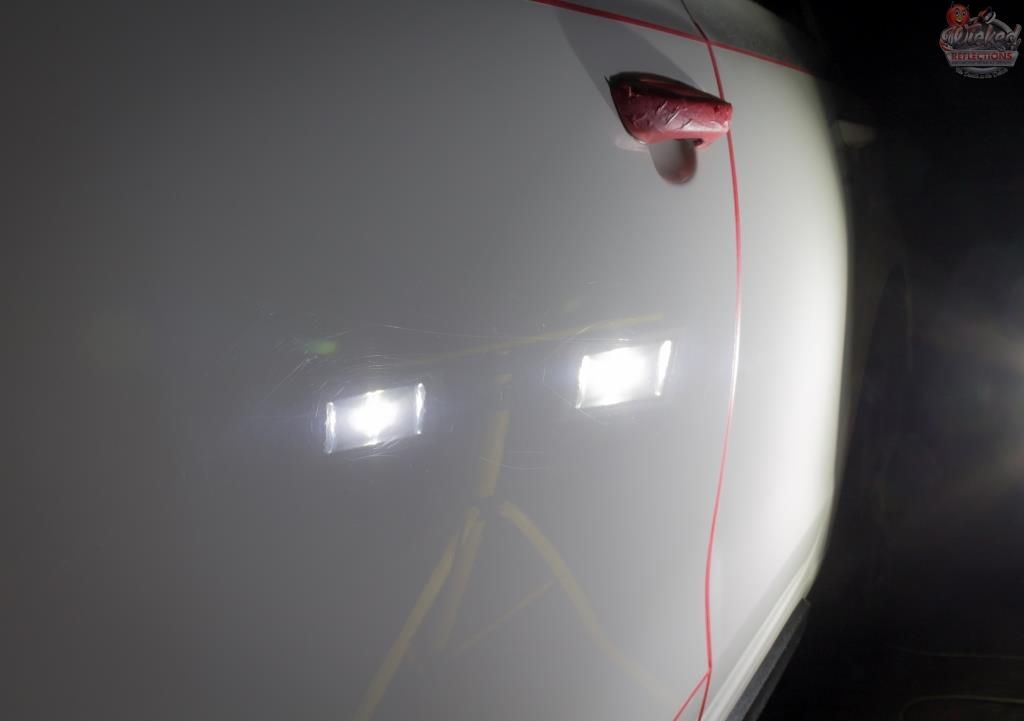
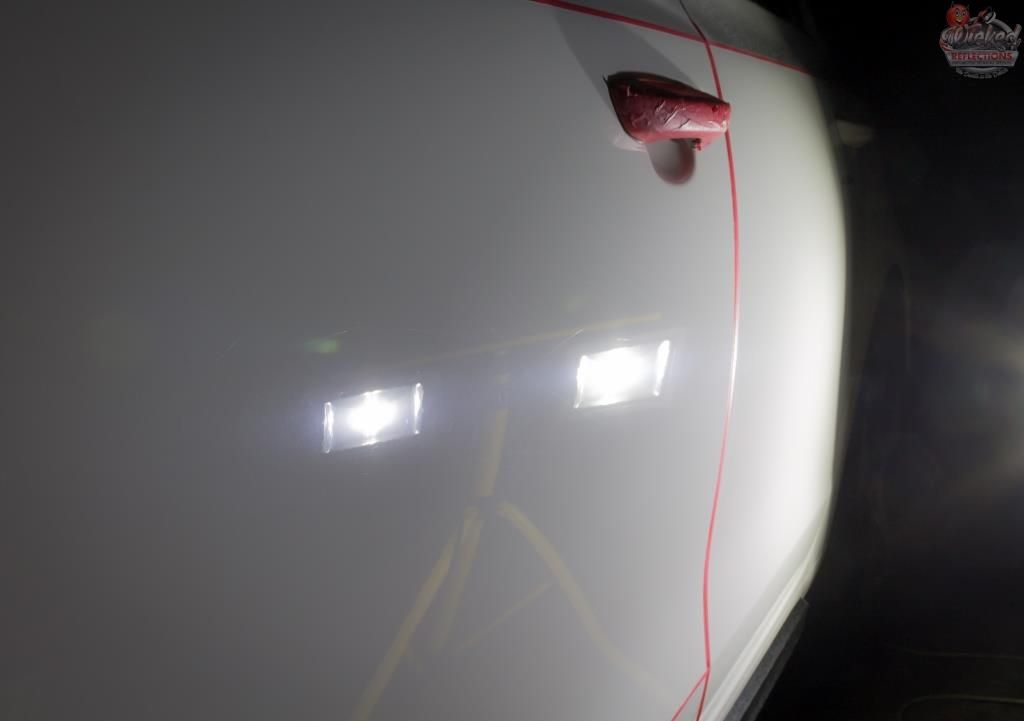
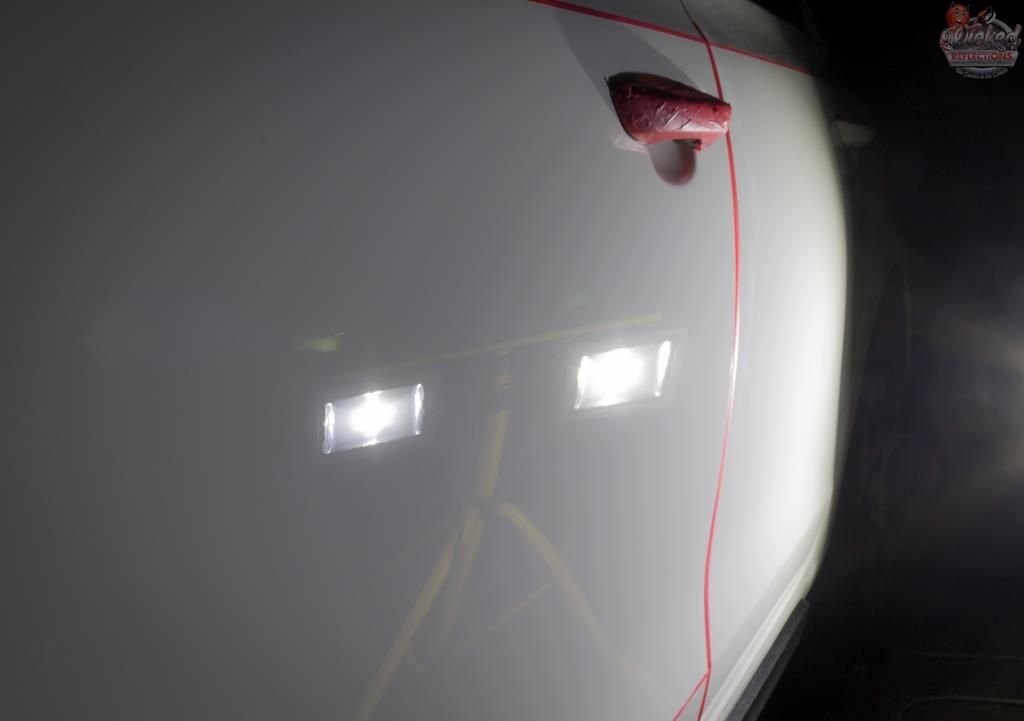
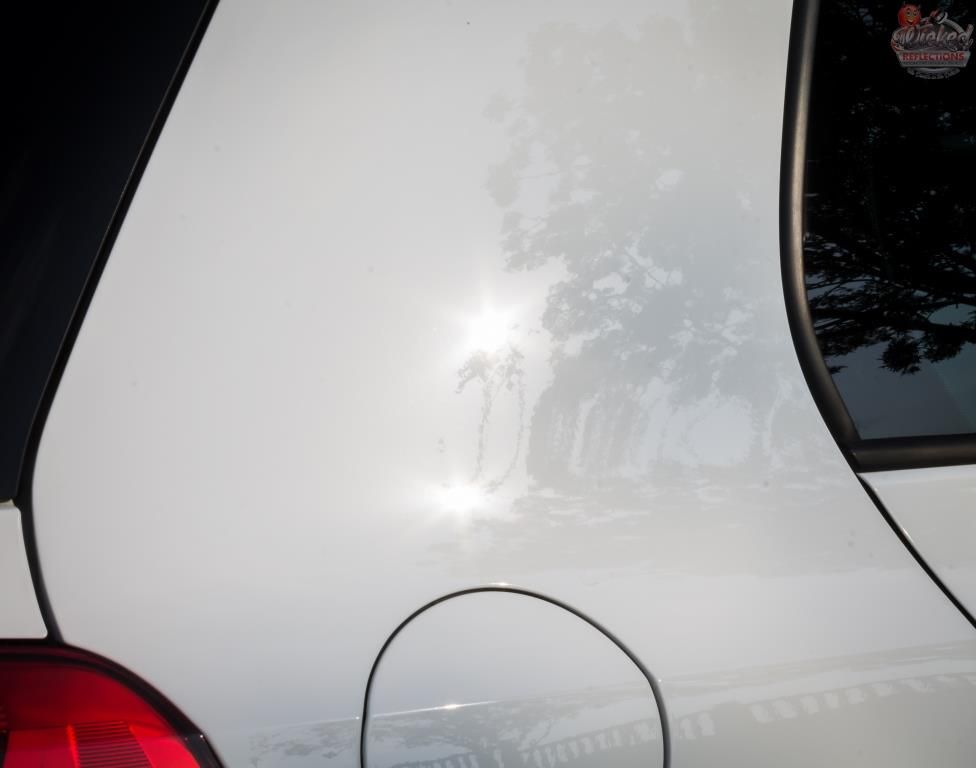
Some pics of the paint condition
I then turned my attention to the getting everything clean and decontaminated.
Equipment - Lambswool Wash Mitts, Karcher K7, Foam cannon, 2 Buckets each with grit guards, WW Drying Towels, Electric Blower
Foam - pressure rinse, Valet Pro ANSF via foam cannon, left to dwell, pressure rinsed
TFR - Valet Pro Citrus Prewash @ 1:8 via a pump sprayer, left to dwell pressure rinsed
Wash - Carchem Luxury Shampoo, pressure rinse
Dry - Flood rinse, ONR
Tar Removal - Valet Pro Citrus Tar and Glue Remover
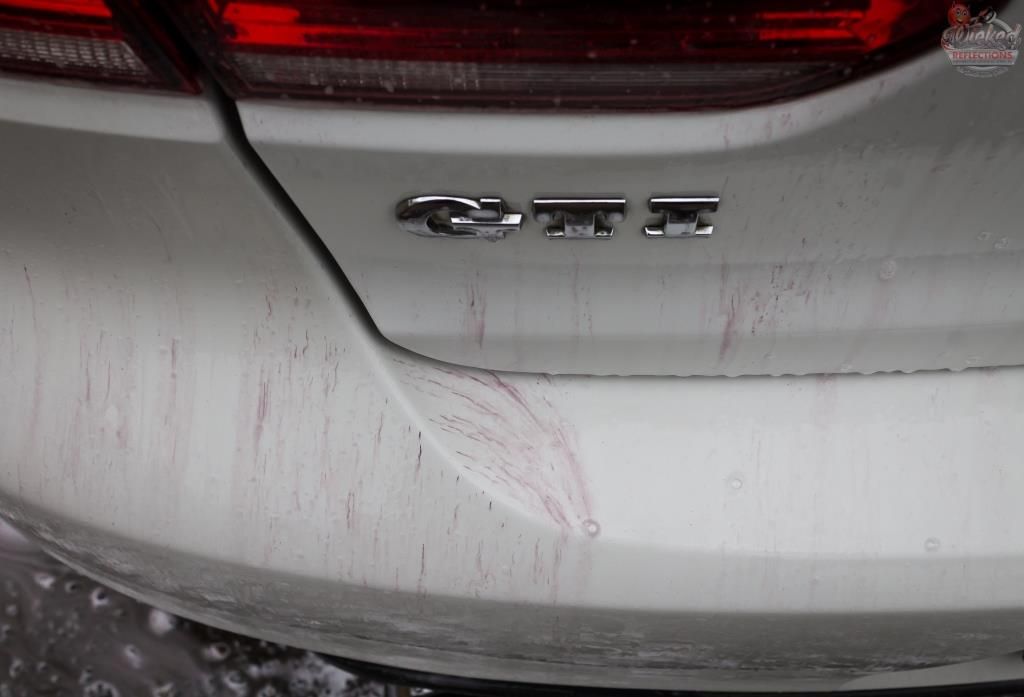
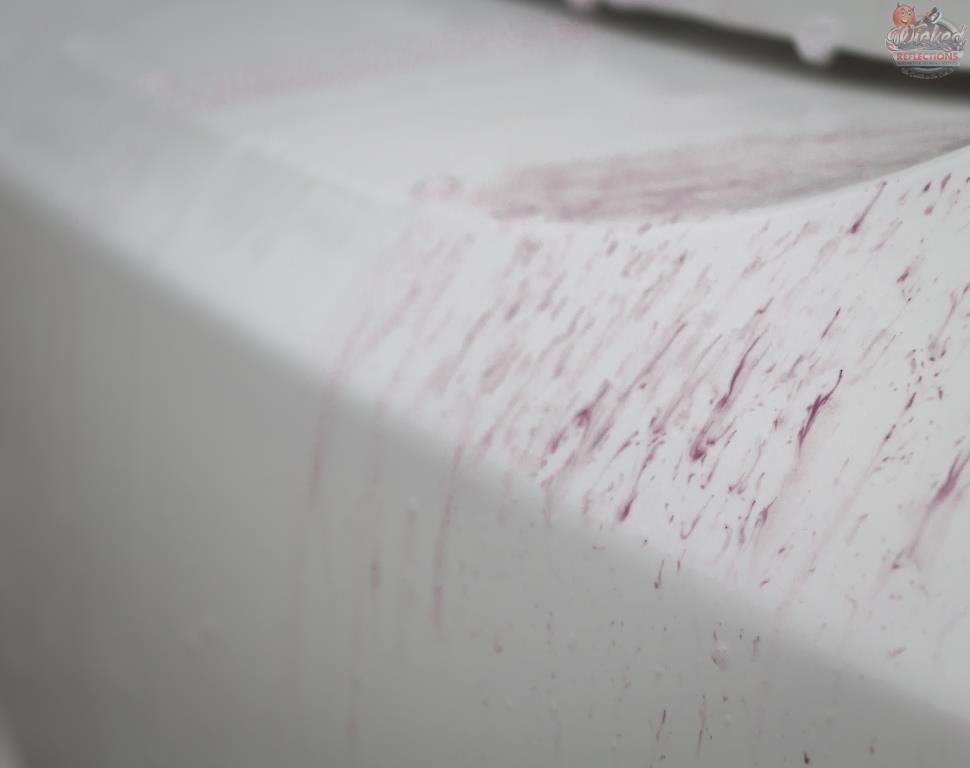
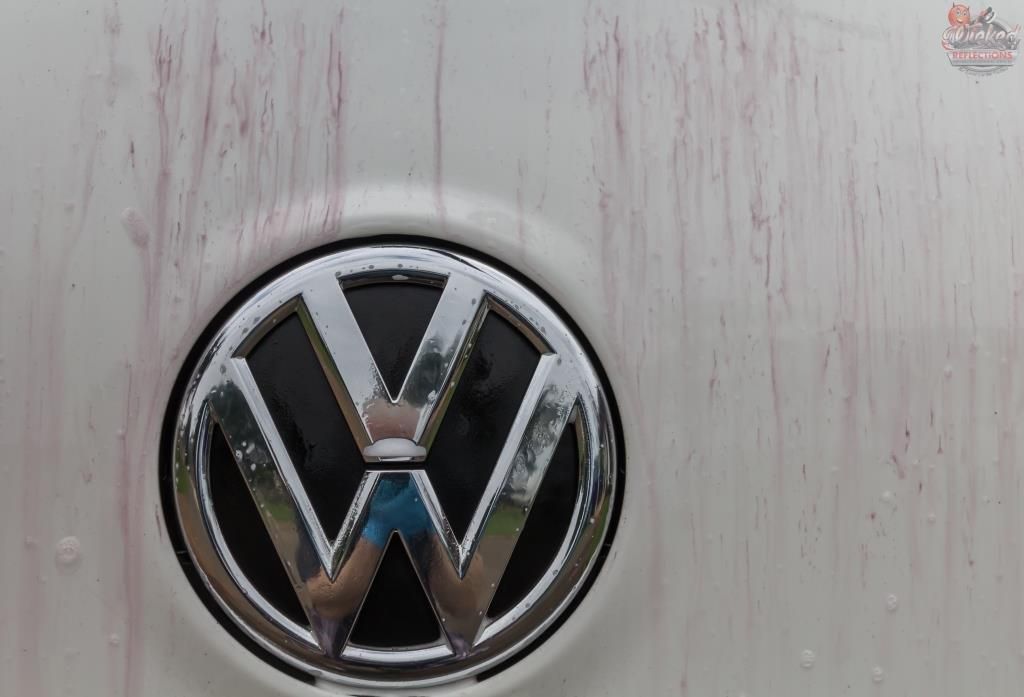
Iron Removal - Carchem Revolt applied liberally, allowed to dwell, agitated, pressure rinsed
Remaining contaminants - Shield Heavy Duty Clay
The only pics I snapped in the process
With everything now free of above surface contaminants, it was time to start fixing the paint. So... I had quoted on a 2 step and was expecting a FG400/Orange (maybe foamed
wool) followed by SF4000/Black....
I did a few test spots and quickly realised that the 2-step had just turned into a 3-step correction - it almost like every `swirl` was actually what we would normally call a RID (Random Isolated Deep Scratch). Perhaps it was the car wash the previous owner took it to, that washed the wheels first, and then used that same mit/sponge/old t-shirt to drag the iron particles in the brake dust all over the paint.
Here is the paint prepped for correction
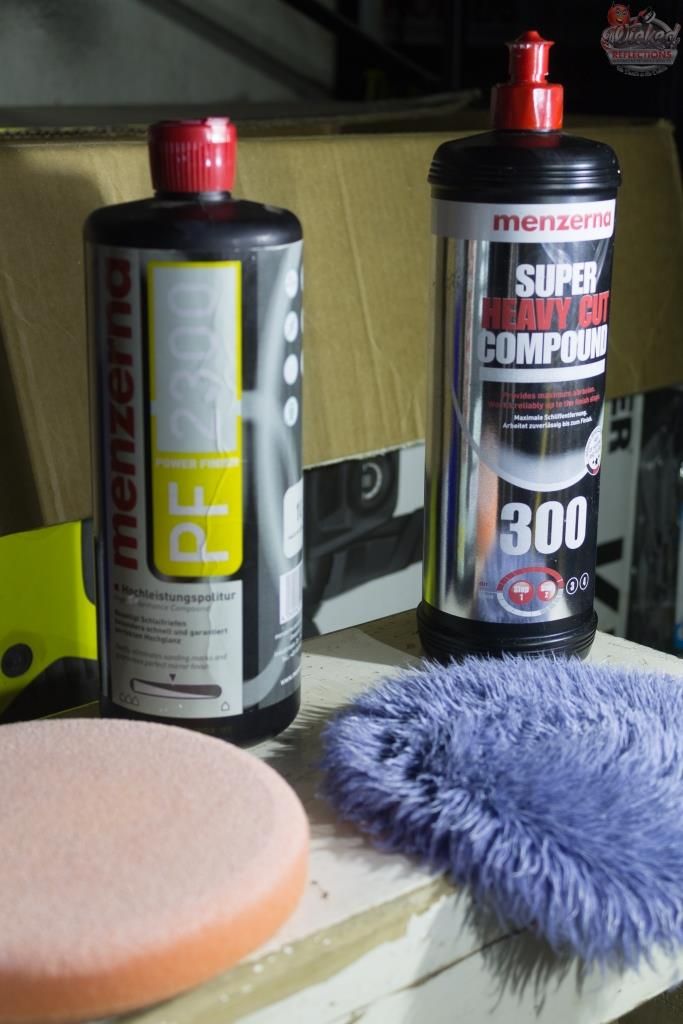
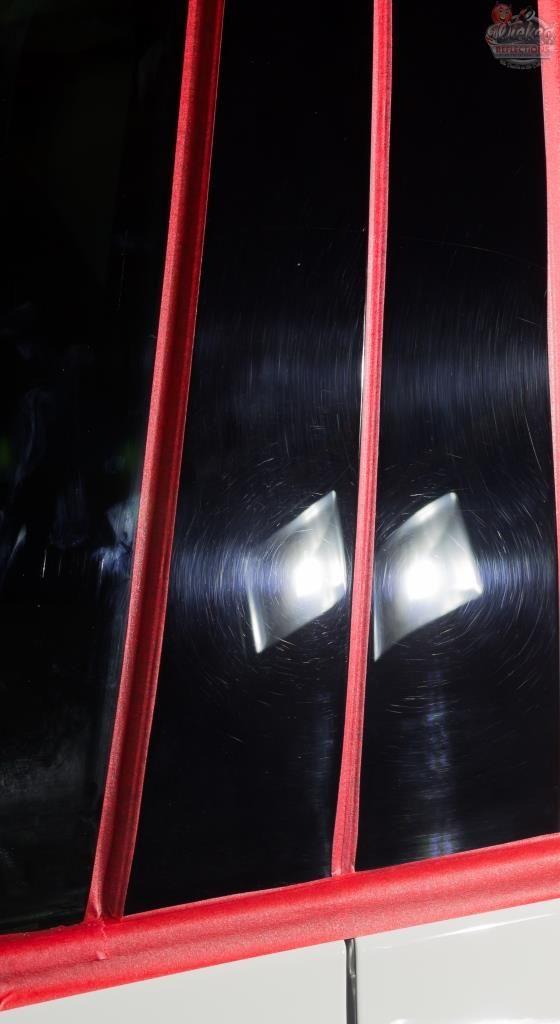
The initial cut was done with Menzerna SHC300 on blue foamed wool Lake Country hybrid pad on a Flex 3401, speed 5.5, 8 passes, leaving the paint looking like this...
 Hmmm...
OK let`s try that again....
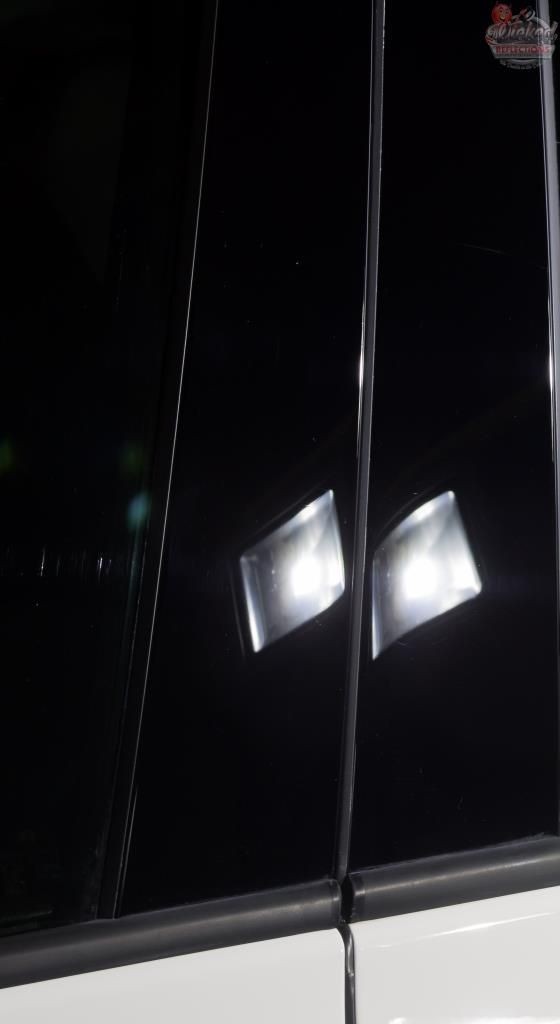
Now we are getting somewhere and most (but definitely not all) of the damage is now gone, and has been replaced with a more uniform haze to the paint (the `sanding marks` left
behind) and so for a little extra bite, I chose to use Menzerna PF2300 on a orange foam Lake Country pad to finish with, leaving the paint looking like this.
Correction on the softer B-Pillars was obviously a lot less aggressive. (the same process as below was used on the tail lights)
Prepped for polishing - if you look carefully I always try to run the tape ever so slightly over all the edges to protect them, especially on areas with soft paint like this. I see so many
where these edges get over polished exposing the black base coat
After Menzerna PF2300 / Orange Lake Country Hybrid pad followed by SF4000 on a Black Lake Country Hybrid pad
I then protected the paint with 2 coats of Pinnacle White Christmas - it felt befitting as I imagined the car feeling like Christmas had come early :grin:
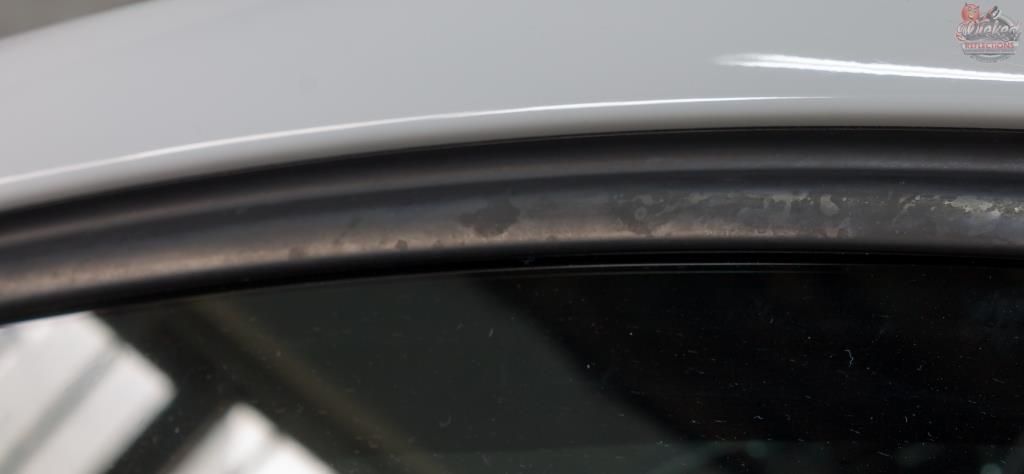
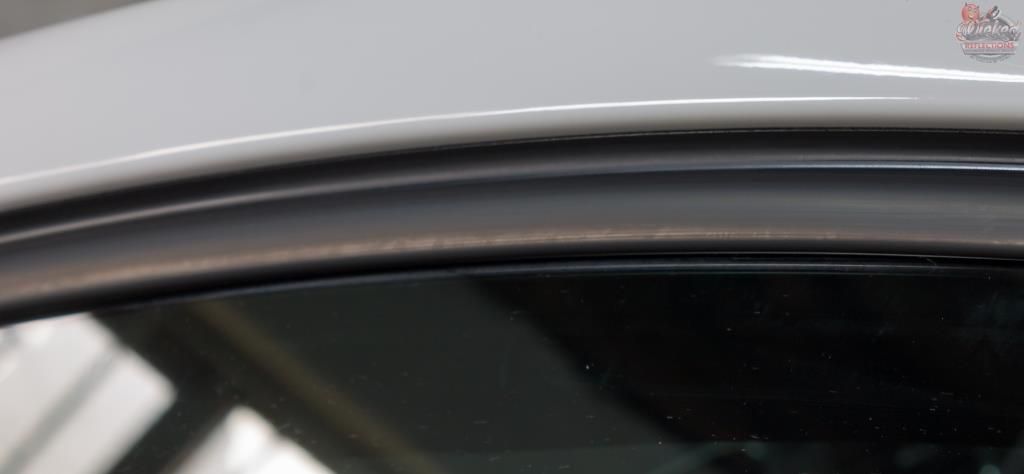
By this point I was pretty pressed for time so didn`t get any other before / after pics except for this, of the exterior window rubbers being cleaned with Shield Heavy Duty Vinyl and Rubber Cleaner (they would later be protected with 303 Aerospace Protectant)
Before
After
The rest of the detail was then completed.
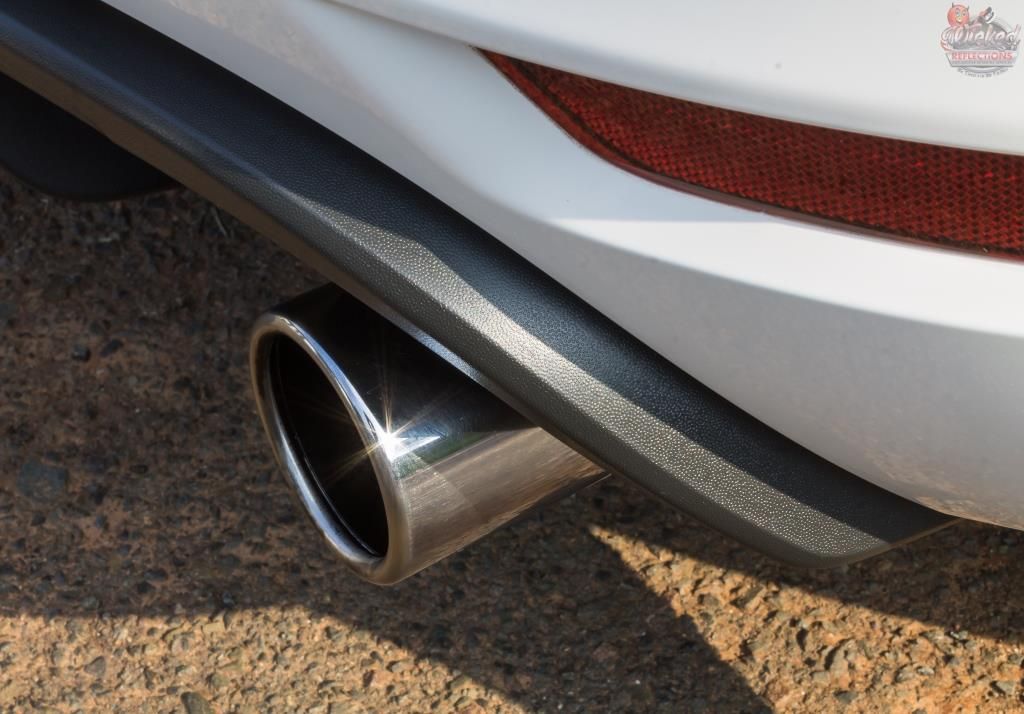
Exhaust Tips
Equipment - MF Towels, dedicated Daytona Jnr wheel brush, Mothers Powerball mini, Drill
Clean - Carchem Citrus APC @1:5, left to dwell, agitated, rinsed
Polish - Meguiars NXT All Metal Polish
Exterior plastics
Equipment - Foam applicators, MF towels, Q-tips
Clean - Shield Heavy Duty Vinyl and Rubber Cleaner
Protect - 303 Aerospace Protectant
Glass
Clean - Autoglym Fast Glass, MF towels
Badges & Emblems
Equipment - Q-tips, MF towels
Clean/polish/protect - Autofinesse Tripple
Interior Plastics
Equipment- Foam applicators, MF towels, Q-tips, Various brushes
Clean - Carchem APC @ 1:20
Protect - Optimum Optiseal
Interior Carpets
Equipment- Brushes, Flex VL35C Vacuum
Leather Surfaces
Equipment- Foam applicators, Flex VL35C Vacuum, MF towels, Brushes
Clean - Carchem APC @ 1:20, various brushes, MF towels
Protect - Collinite 855
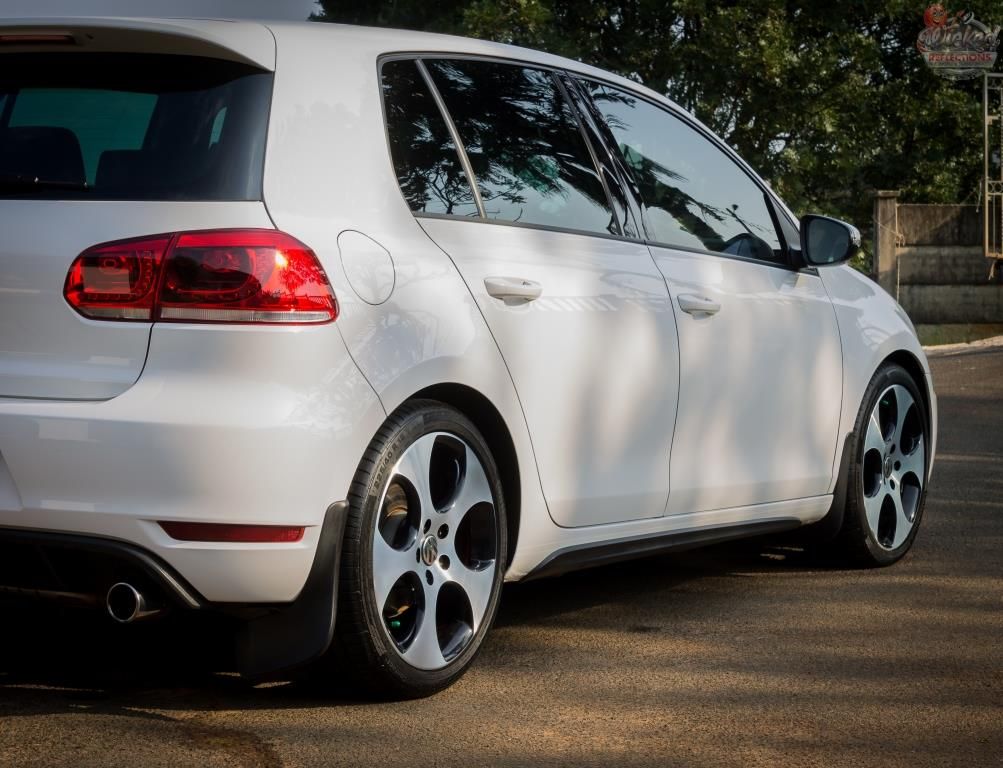
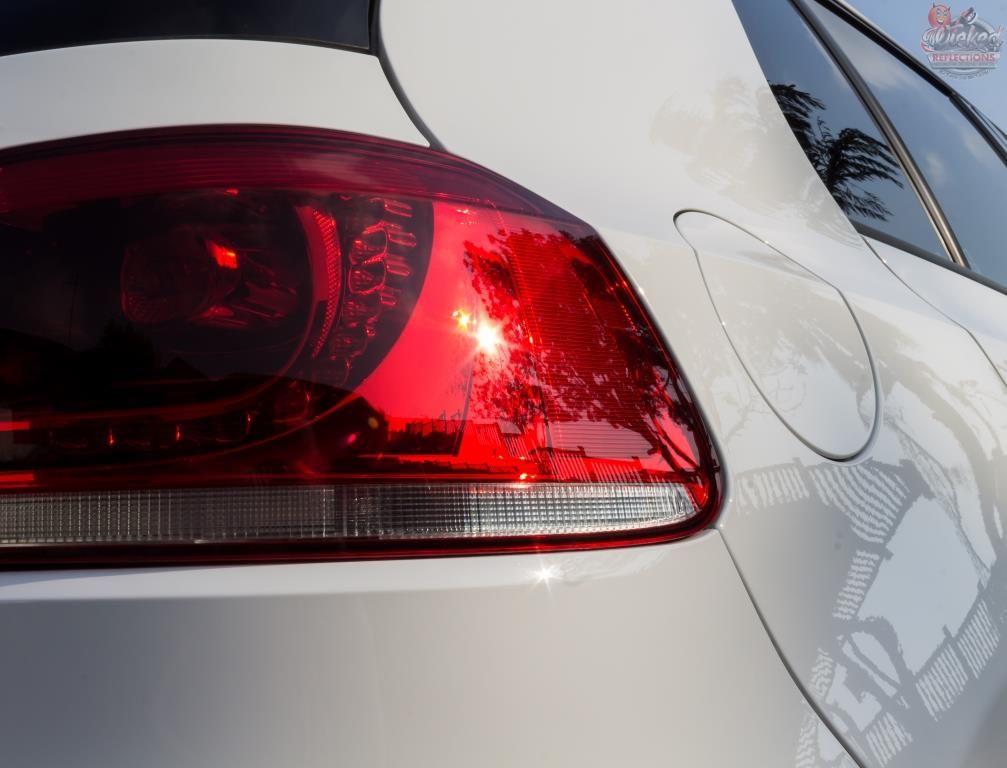
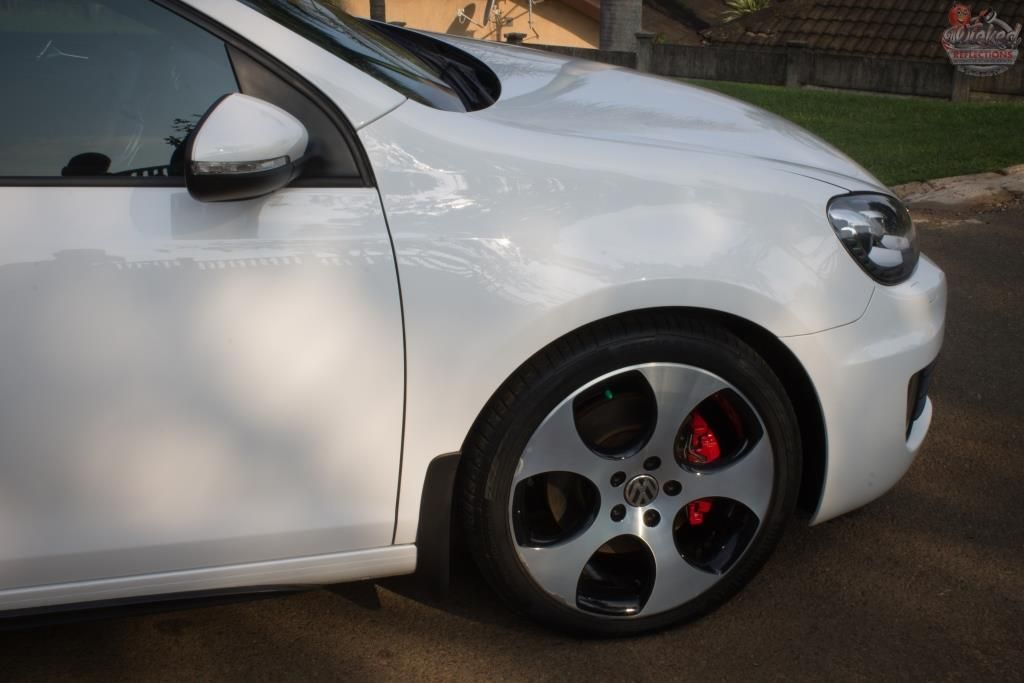
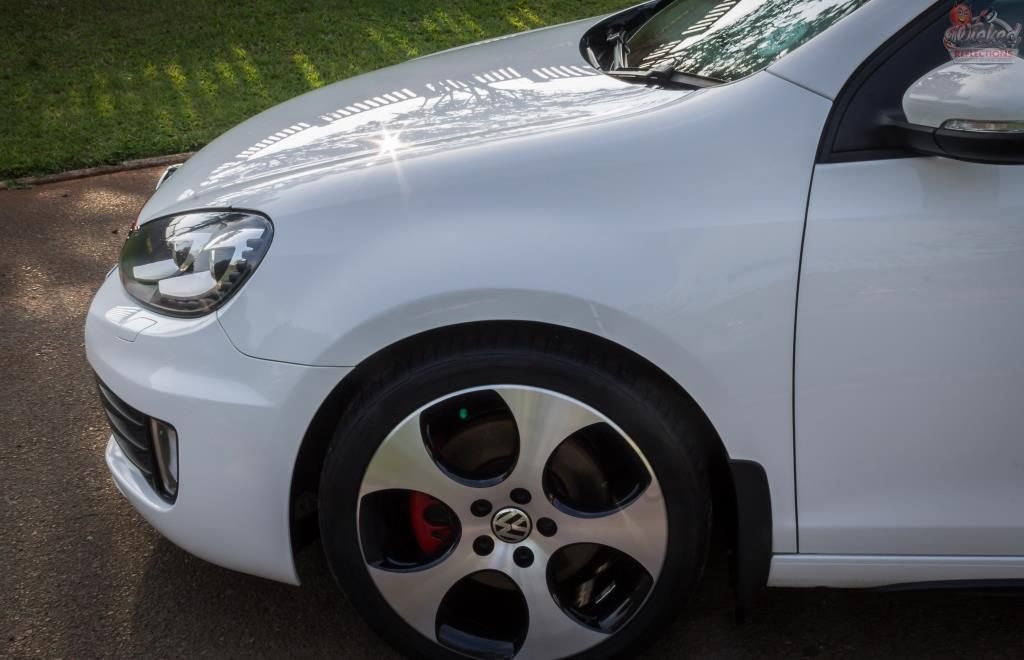
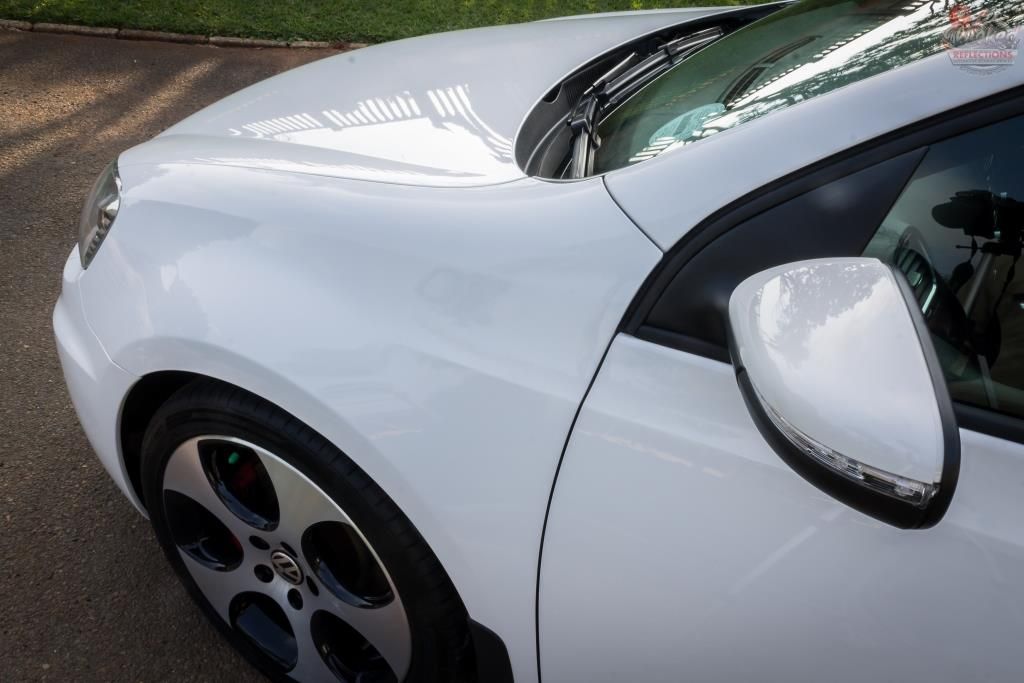
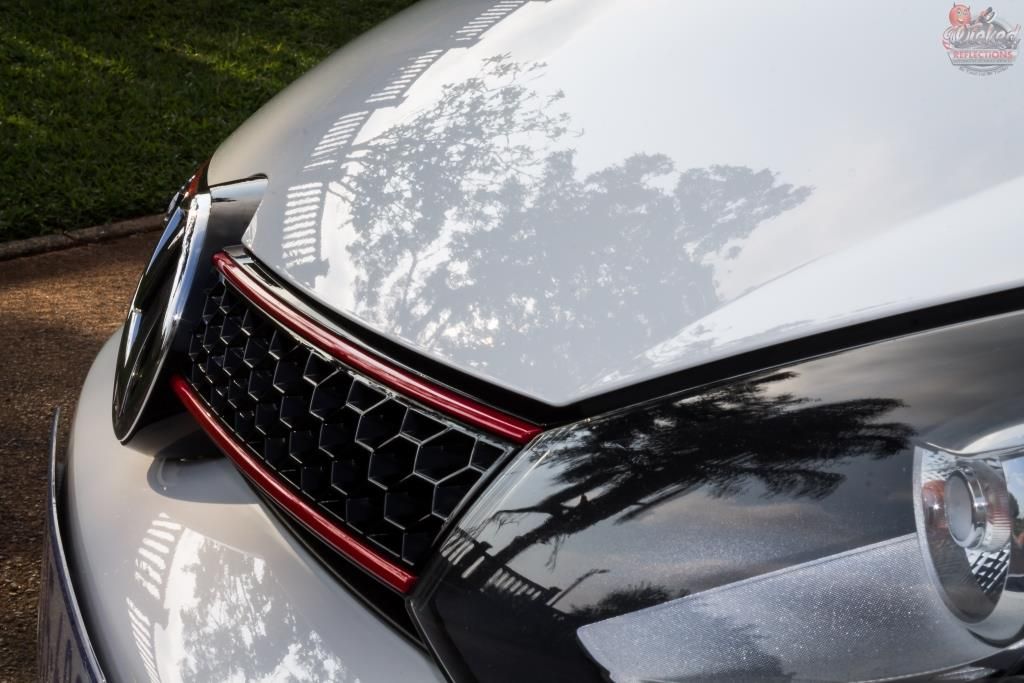
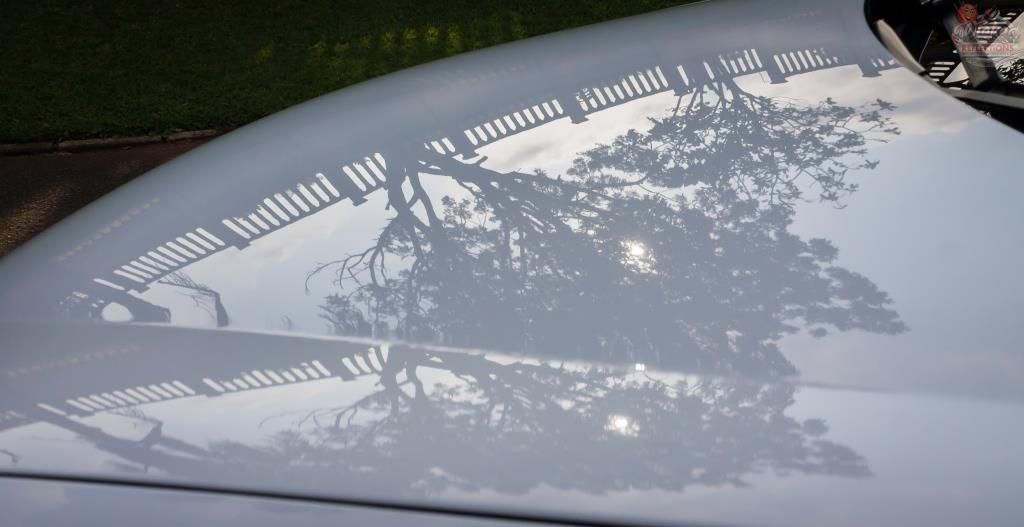
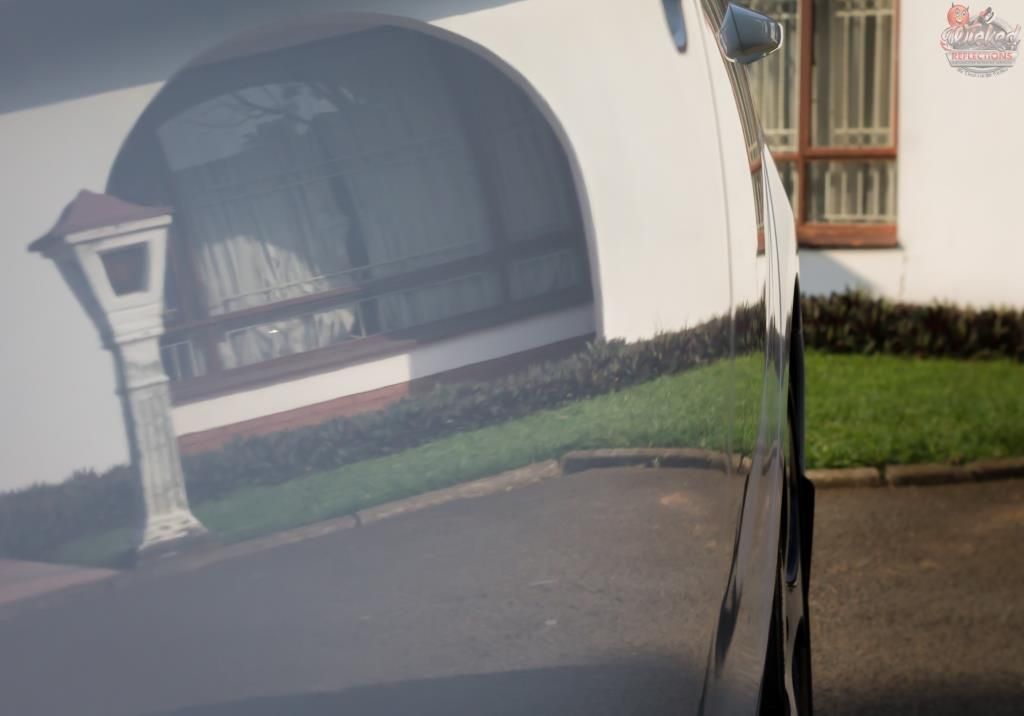
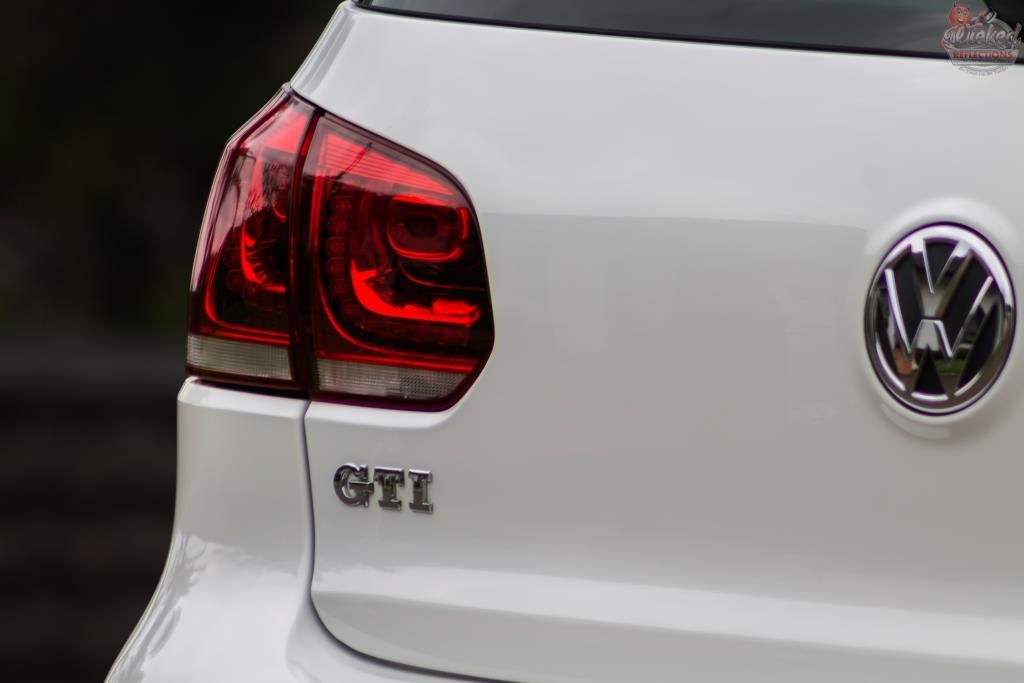
Some pictures of the completed car
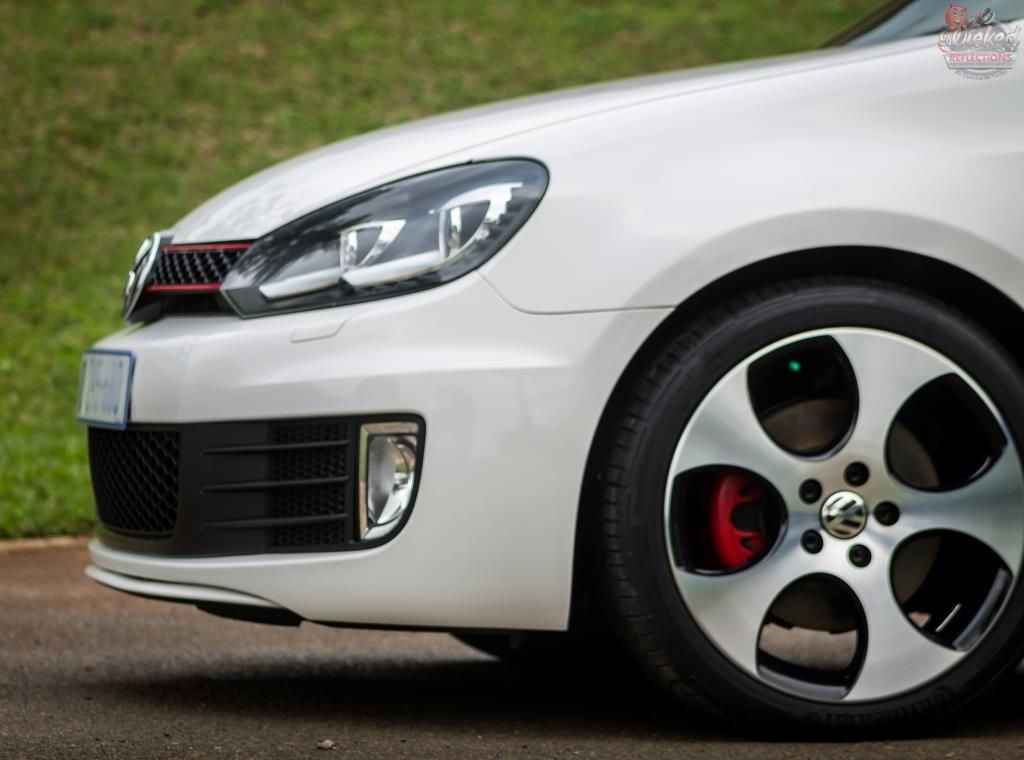
Total time spent 36 hours
Thanks for looking and as always, any questions or comments are welcome.
:hi:
There would also be no engine bay work done on this detail and so the brief was to get everything clean, decon/correct/protect the paint, clean and protect the interior, and then all the other usually...well... details :lol:
So to start I pressure rinsed the arches, sprayed some Carchem APC on and left it to dwell, agitated and pressure rinsed that off. The same process was repeated on the tyres and brake calipers. The arches were dressed with Carpro Perl, the tyres with Carchem Tyre and Trim Gel and the calipers with Gyeon Cure.
Before
After
Some pics of the paint condition
I then turned my attention to the getting everything clean and decontaminated.
Equipment - Lambswool Wash Mitts, Karcher K7, Foam cannon, 2 Buckets each with grit guards, WW Drying Towels, Electric Blower
Foam - pressure rinse, Valet Pro ANSF via foam cannon, left to dwell, pressure rinsed
TFR - Valet Pro Citrus Prewash @ 1:8 via a pump sprayer, left to dwell pressure rinsed
Wash - Carchem Luxury Shampoo, pressure rinse
Dry - Flood rinse, ONR
Tar Removal - Valet Pro Citrus Tar and Glue Remover
Iron Removal - Carchem Revolt applied liberally, allowed to dwell, agitated, pressure rinsed
Remaining contaminants - Shield Heavy Duty Clay
The only pics I snapped in the process
With everything now free of above surface contaminants, it was time to start fixing the paint. So... I had quoted on a 2 step and was expecting a FG400/Orange (maybe foamed
wool) followed by SF4000/Black....
I did a few test spots and quickly realised that the 2-step had just turned into a 3-step correction - it almost like every `swirl` was actually what we would normally call a RID (Random Isolated Deep Scratch). Perhaps it was the car wash the previous owner took it to, that washed the wheels first, and then used that same mit/sponge/old t-shirt to drag the iron particles in the brake dust all over the paint.
Here is the paint prepped for correction
The initial cut was done with Menzerna SHC300 on blue foamed wool Lake Country hybrid pad on a Flex 3401, speed 5.5, 8 passes, leaving the paint looking like this...
Hmmm... OK let`s try that again....
Now we are getting somewhere and most (but definitely not all) of the damage is now gone, and has been replaced with a more uniform haze to the paint (the `sanding marks` left
behind) and so for a little extra bite, I chose to use Menzerna PF2300 on a orange foam Lake Country pad to finish with, leaving the paint looking like this.
Correction on the softer B-Pillars was obviously a lot less aggressive. (the same process as below was used on the tail lights)
Prepped for polishing - if you look carefully I always try to run the tape ever so slightly over all the edges to protect them, especially on areas with soft paint like this. I see so many
where these edges get over polished exposing the black base coat
After Menzerna PF2300 / Orange Lake Country Hybrid pad followed by SF4000 on a Black Lake Country Hybrid pad
I then protected the paint with 2 coats of Pinnacle White Christmas - it felt befitting as I imagined the car feeling like Christmas had come early :grin:
By this point I was pretty pressed for time so didn`t get any other before / after pics except for this, of the exterior window rubbers being cleaned with Shield Heavy Duty Vinyl and Rubber Cleaner (they would later be protected with 303 Aerospace Protectant)
Before
After
The rest of the detail was then completed.
Exhaust Tips
Equipment - MF Towels, dedicated Daytona Jnr wheel brush, Mothers Powerball mini, Drill
Clean - Carchem Citrus APC @1:5, left to dwell, agitated, rinsed
Polish - Meguiars NXT All Metal Polish
Exterior plastics
Equipment - Foam applicators, MF towels, Q-tips
Clean - Shield Heavy Duty Vinyl and Rubber Cleaner
Protect - 303 Aerospace Protectant
Glass
Clean - Autoglym Fast Glass, MF towels
Badges & Emblems
Equipment - Q-tips, MF towels
Clean/polish/protect - Autofinesse Tripple
Interior Plastics
Equipment- Foam applicators, MF towels, Q-tips, Various brushes
Clean - Carchem APC @ 1:20
Protect - Optimum Optiseal
Interior Carpets
Equipment- Brushes, Flex VL35C Vacuum
Leather Surfaces
Equipment- Foam applicators, Flex VL35C Vacuum, MF towels, Brushes
Clean - Carchem APC @ 1:20, various brushes, MF towels
Protect - Collinite 855
Some pictures of the completed car
Total time spent 36 hours
Thanks for looking and as always, any questions or comments are welcome.
:hi: