OakesDetail
New member
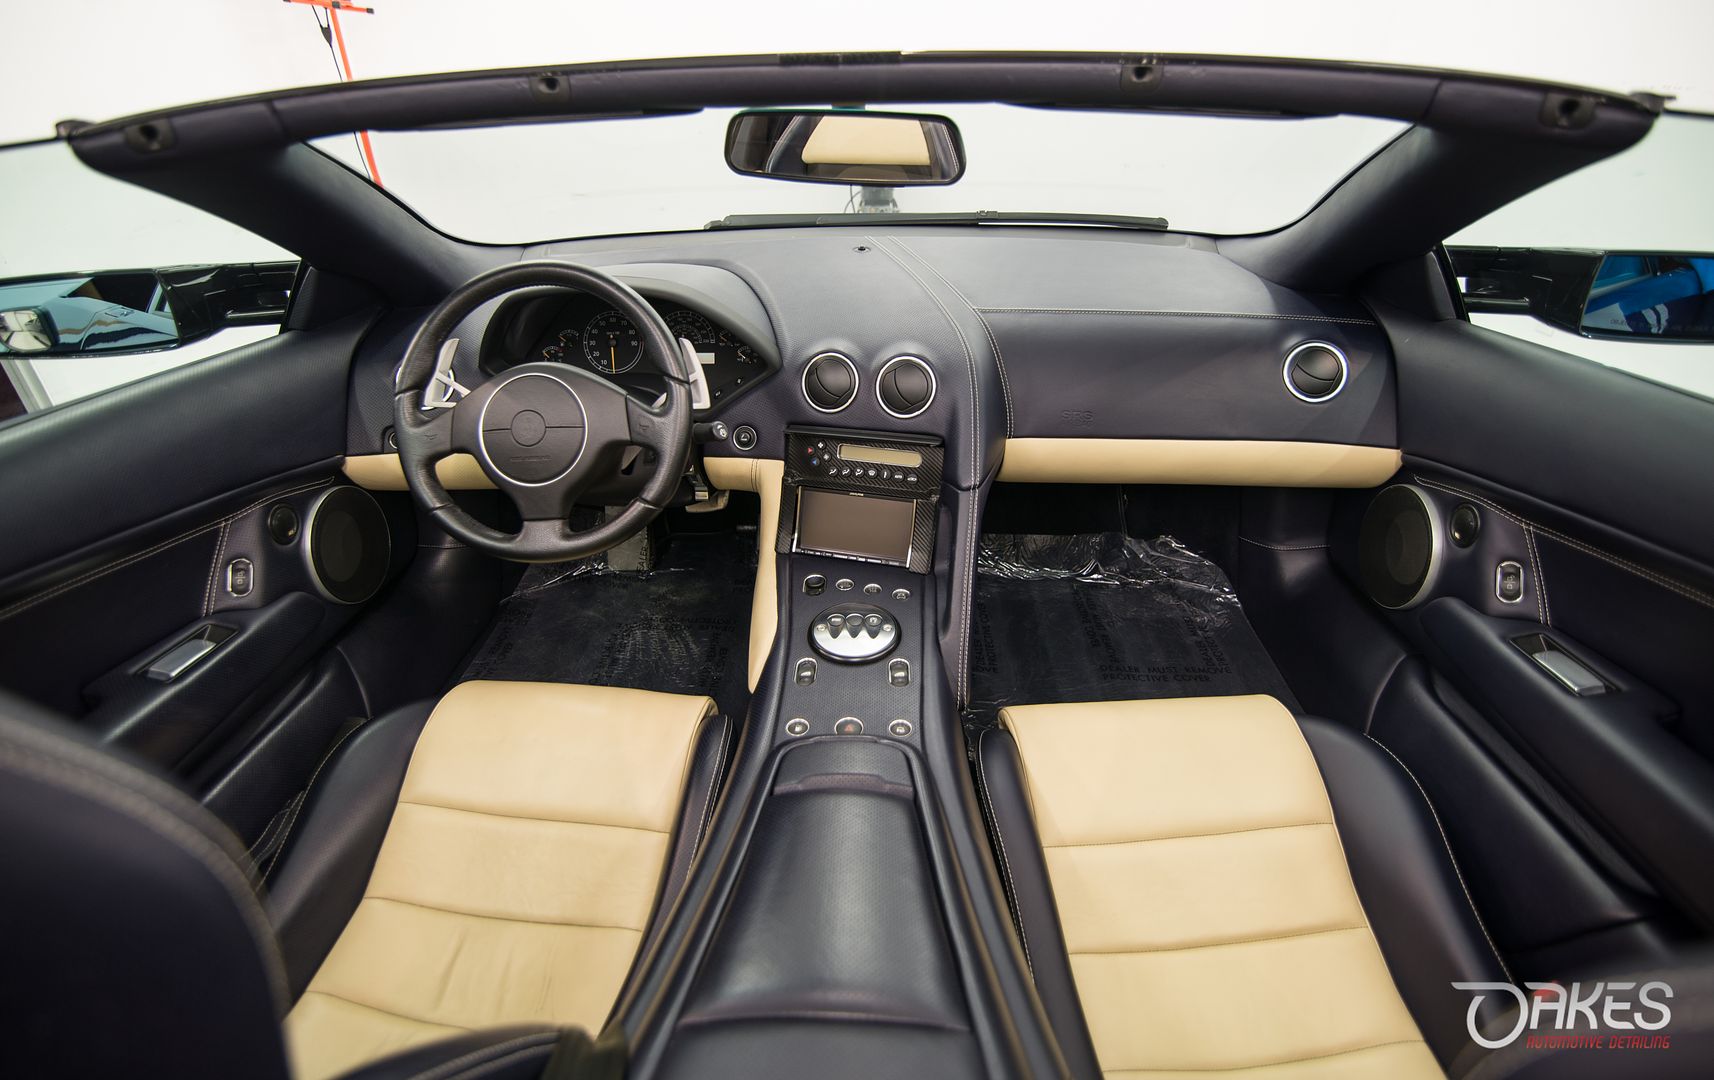
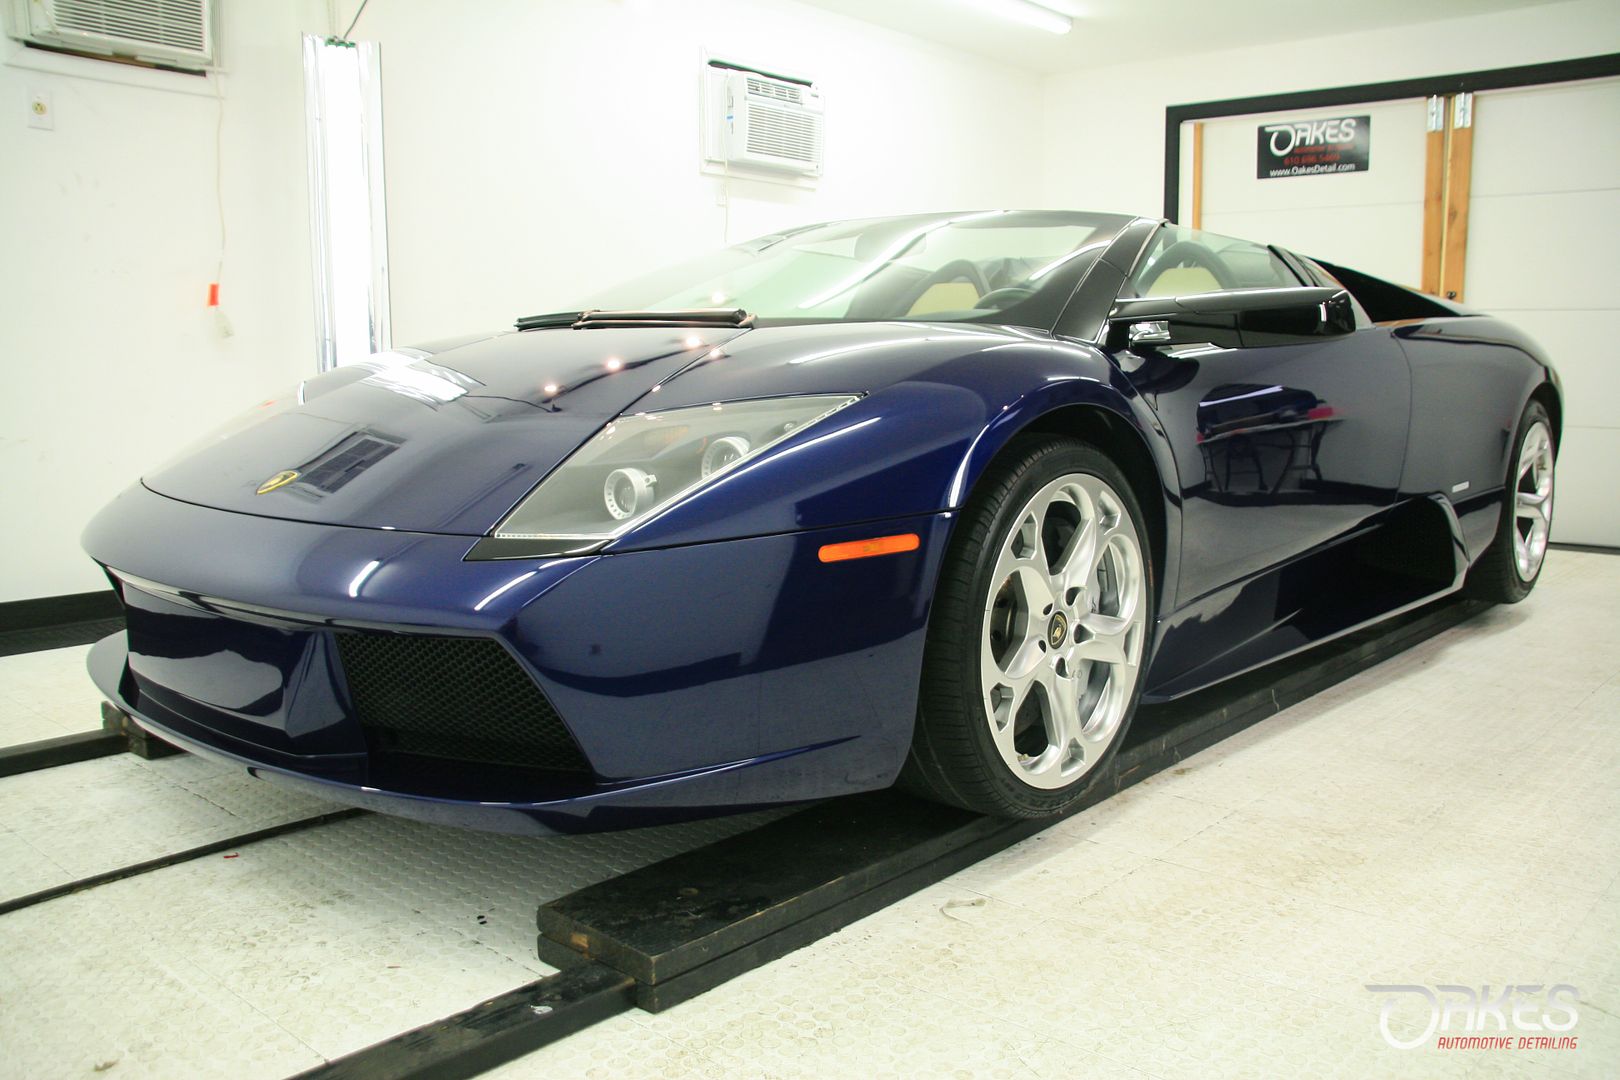
2006 Lamborghini Murcielago Roadster in Blue Hera sporting just nine thousand needed a total make over. New to the owner, my goal was to get it looking better than when it left the factory. Which gave me a roman scrolls worth of work. Starting with removing the existing partial clear bra which looked tired and faded but did it`s job preserving the front end.
This project also included full undercarriage detail, requiring the removal of the wheels, followed up with paint correction and CQuartz Finest ceramic coating. I also installed new Xpel clear film and replacement of the existing battery tender wiring.
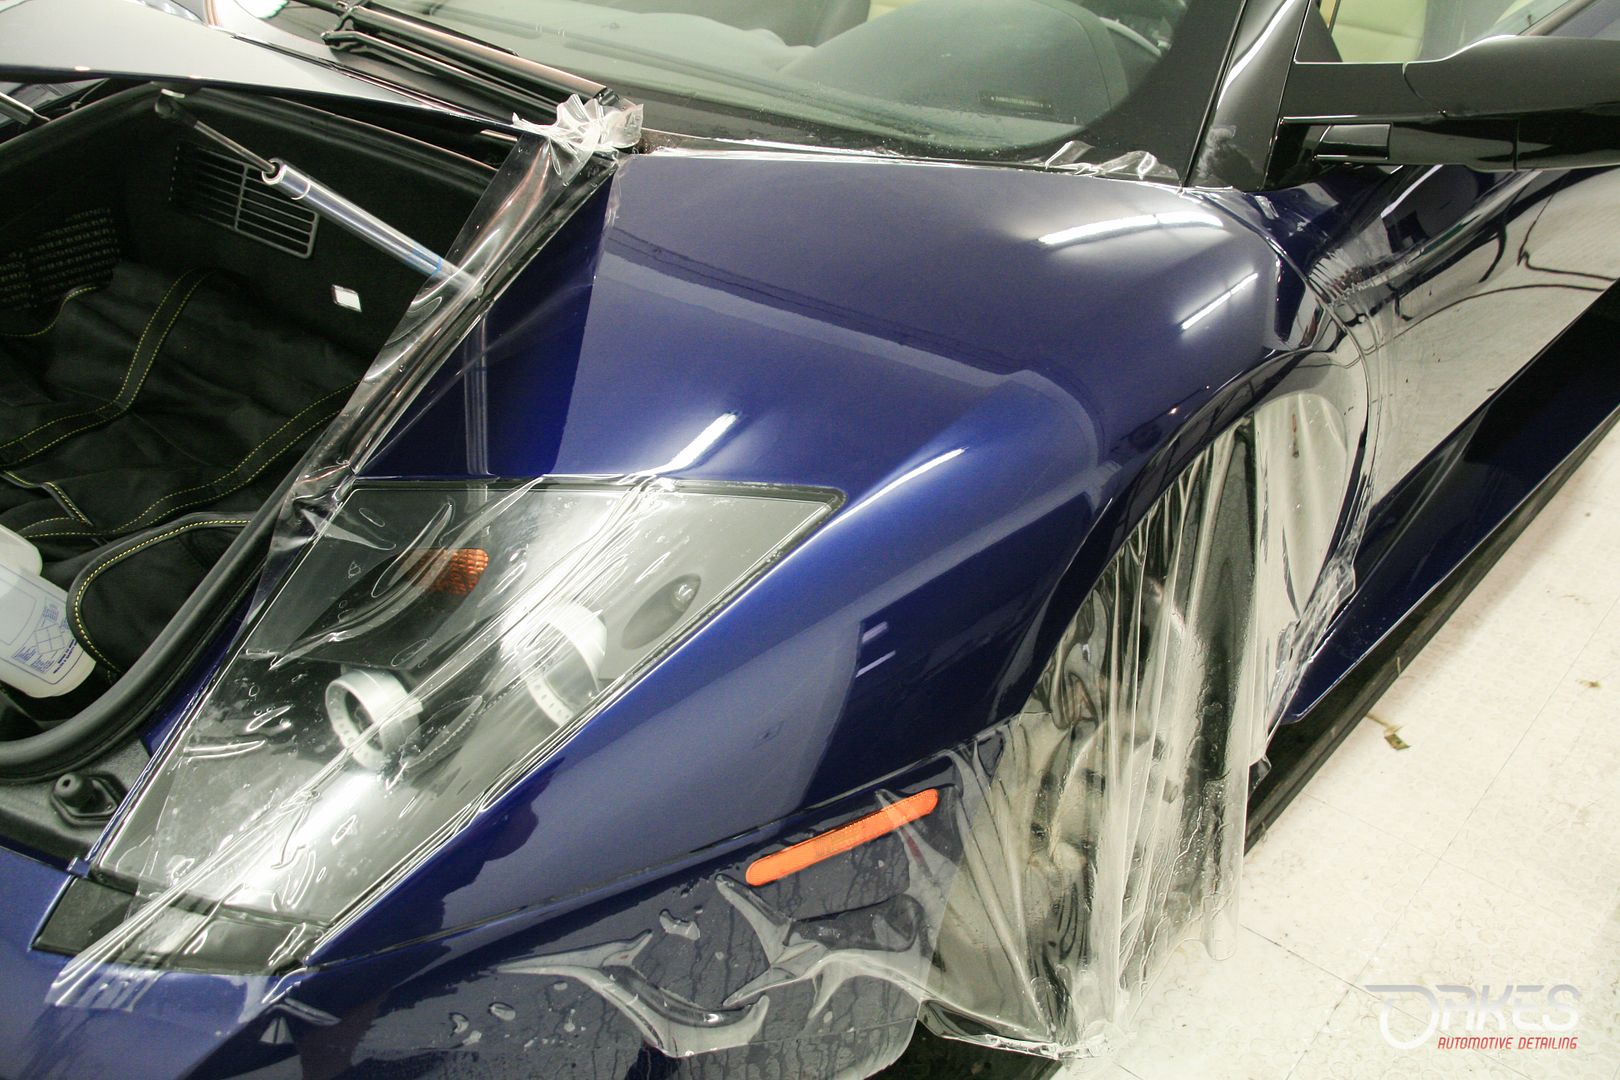
The following photo journey will show you all the start, evolution and finish. The pictures speak for themselves. Starting off with some shots of the existing partial clear bra showing its faded textured and dated templates with far more reliefs than necessary.
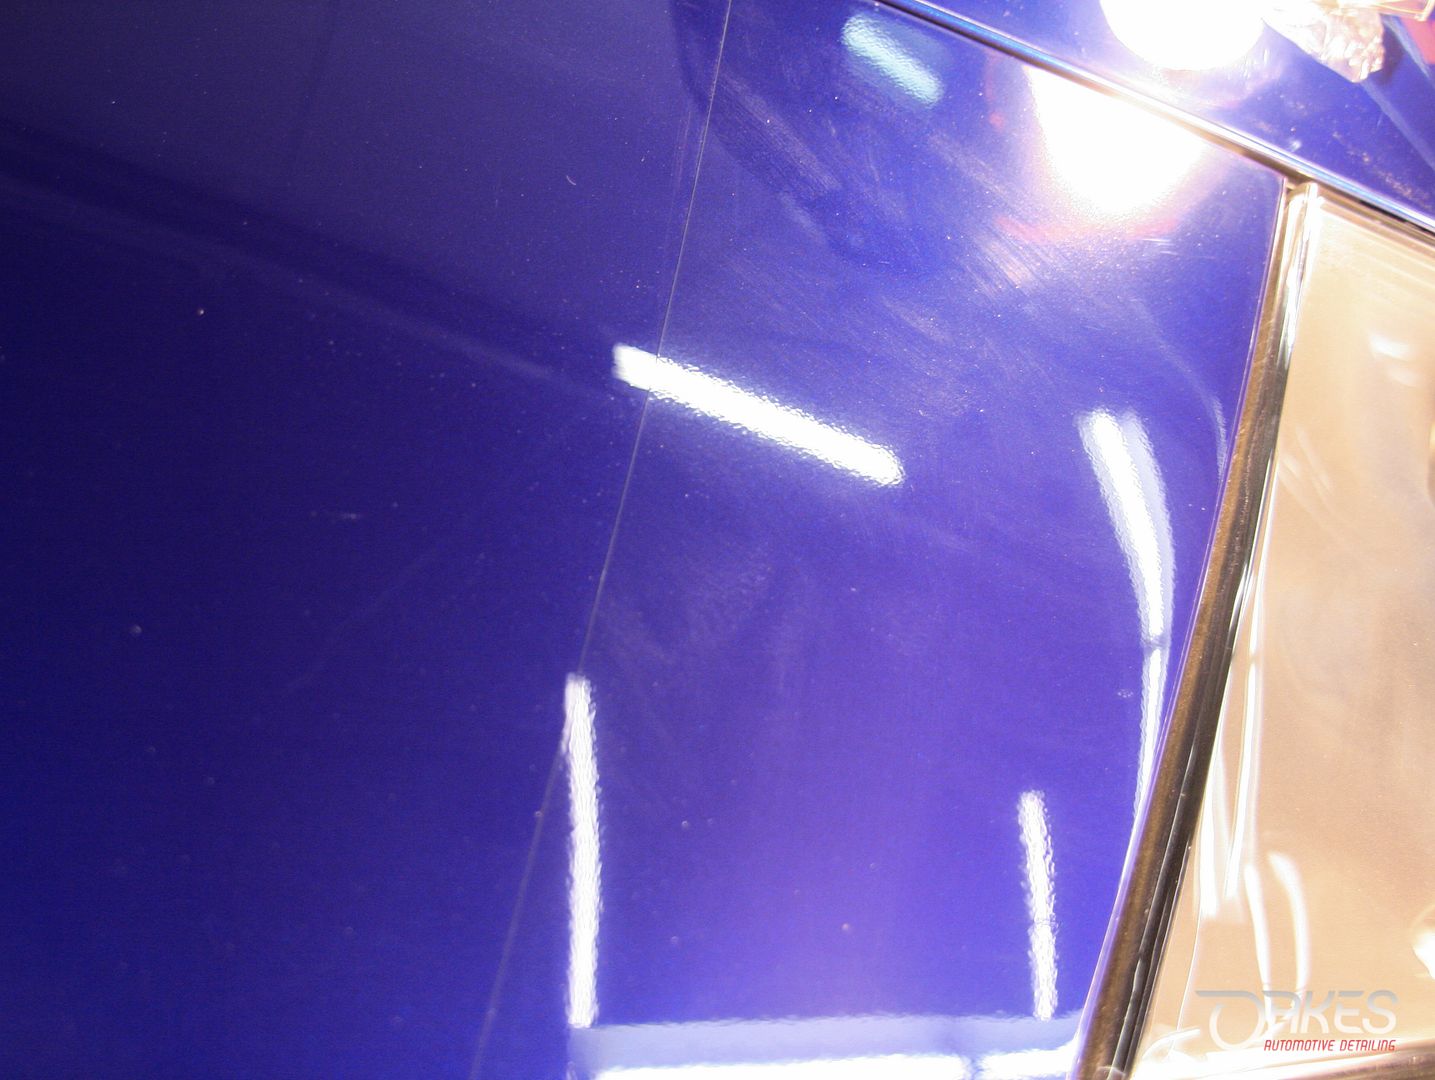
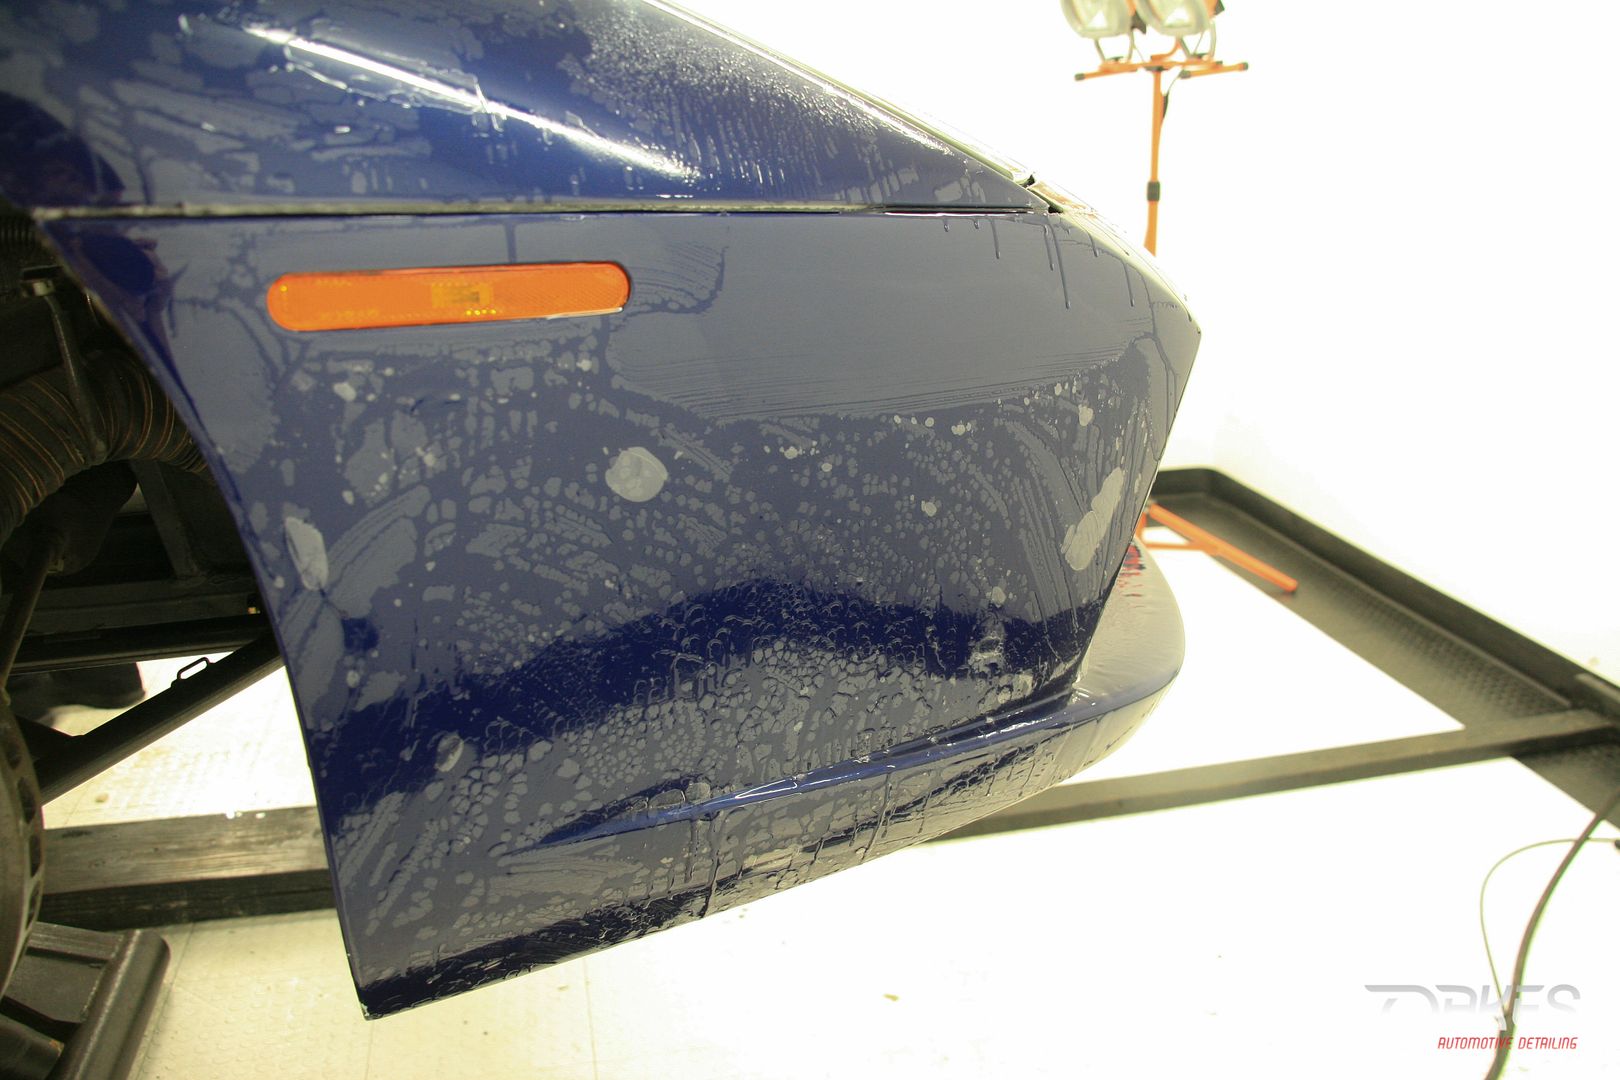
After removing the film, we could see that the front end was preserved in regards to rock chips, however the pre-film detail certainly left it’s mark….
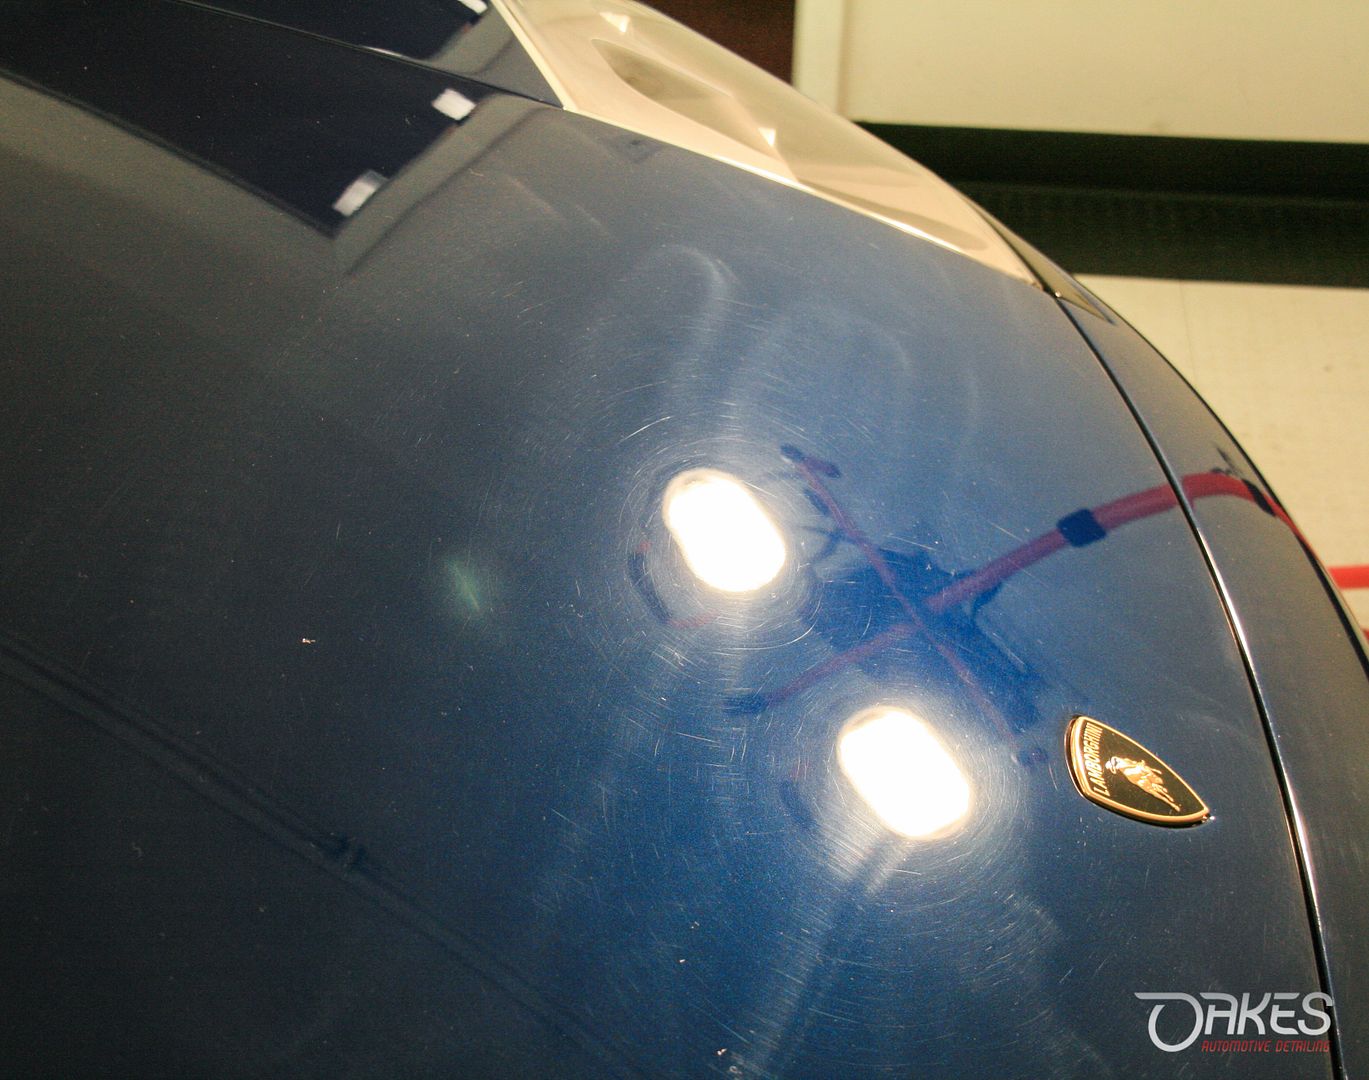
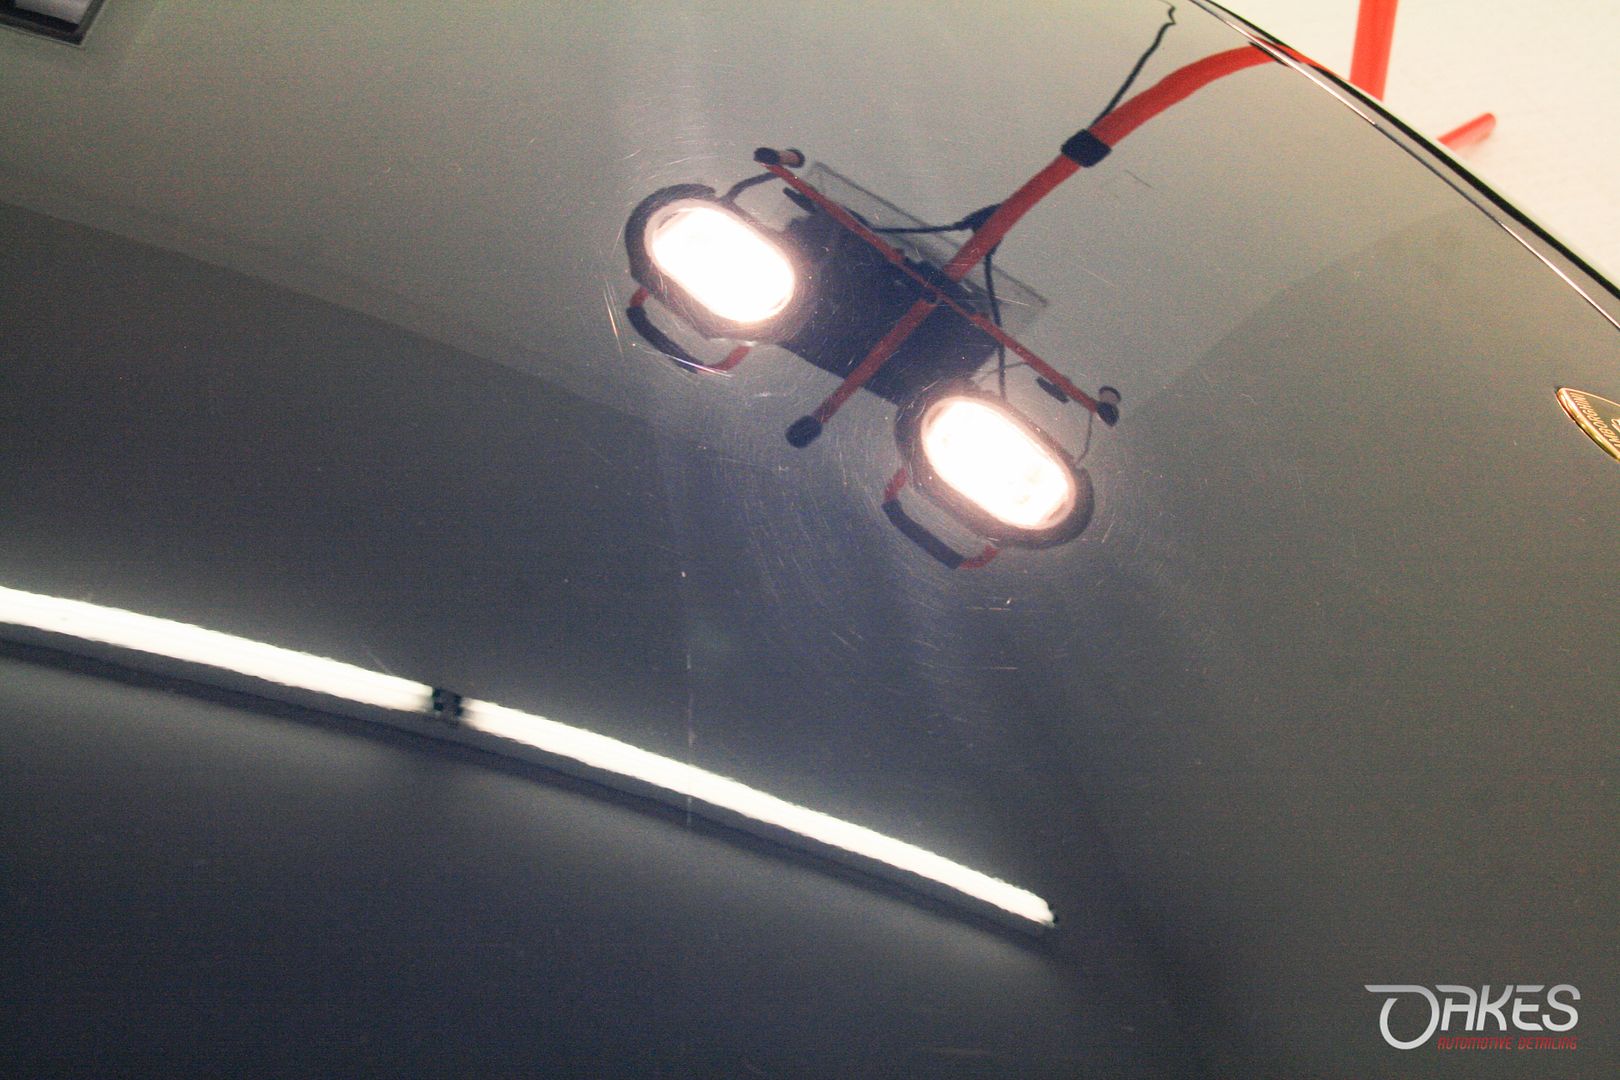

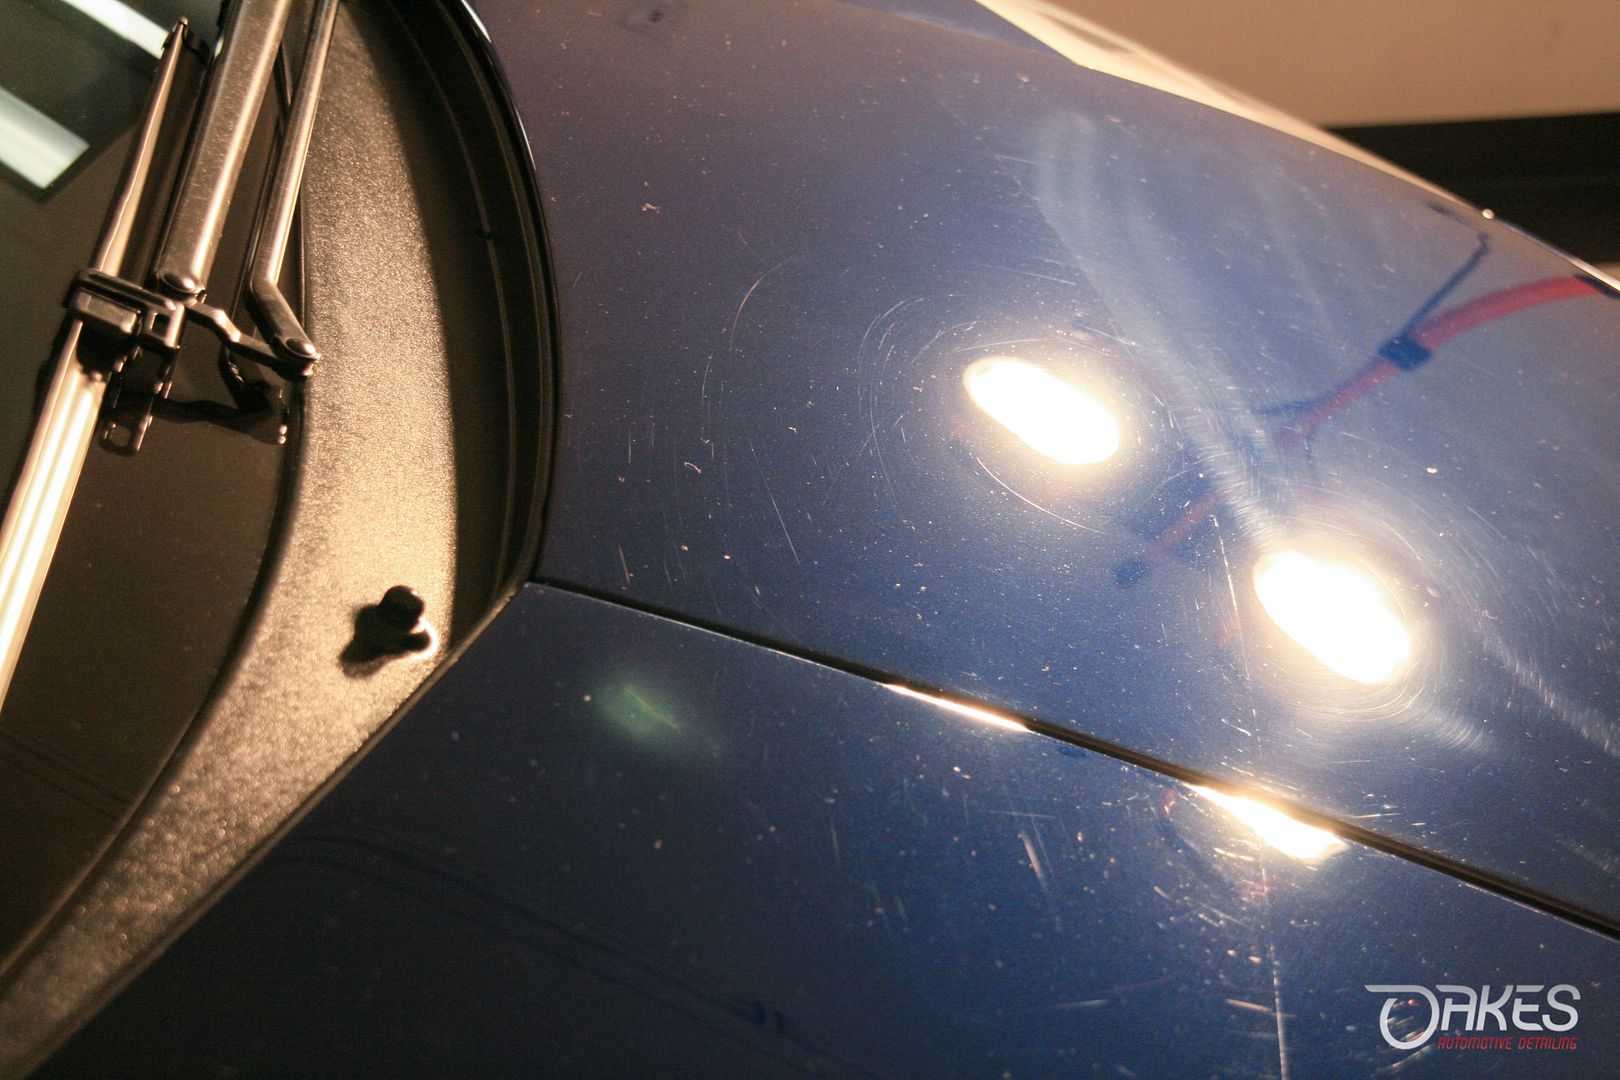
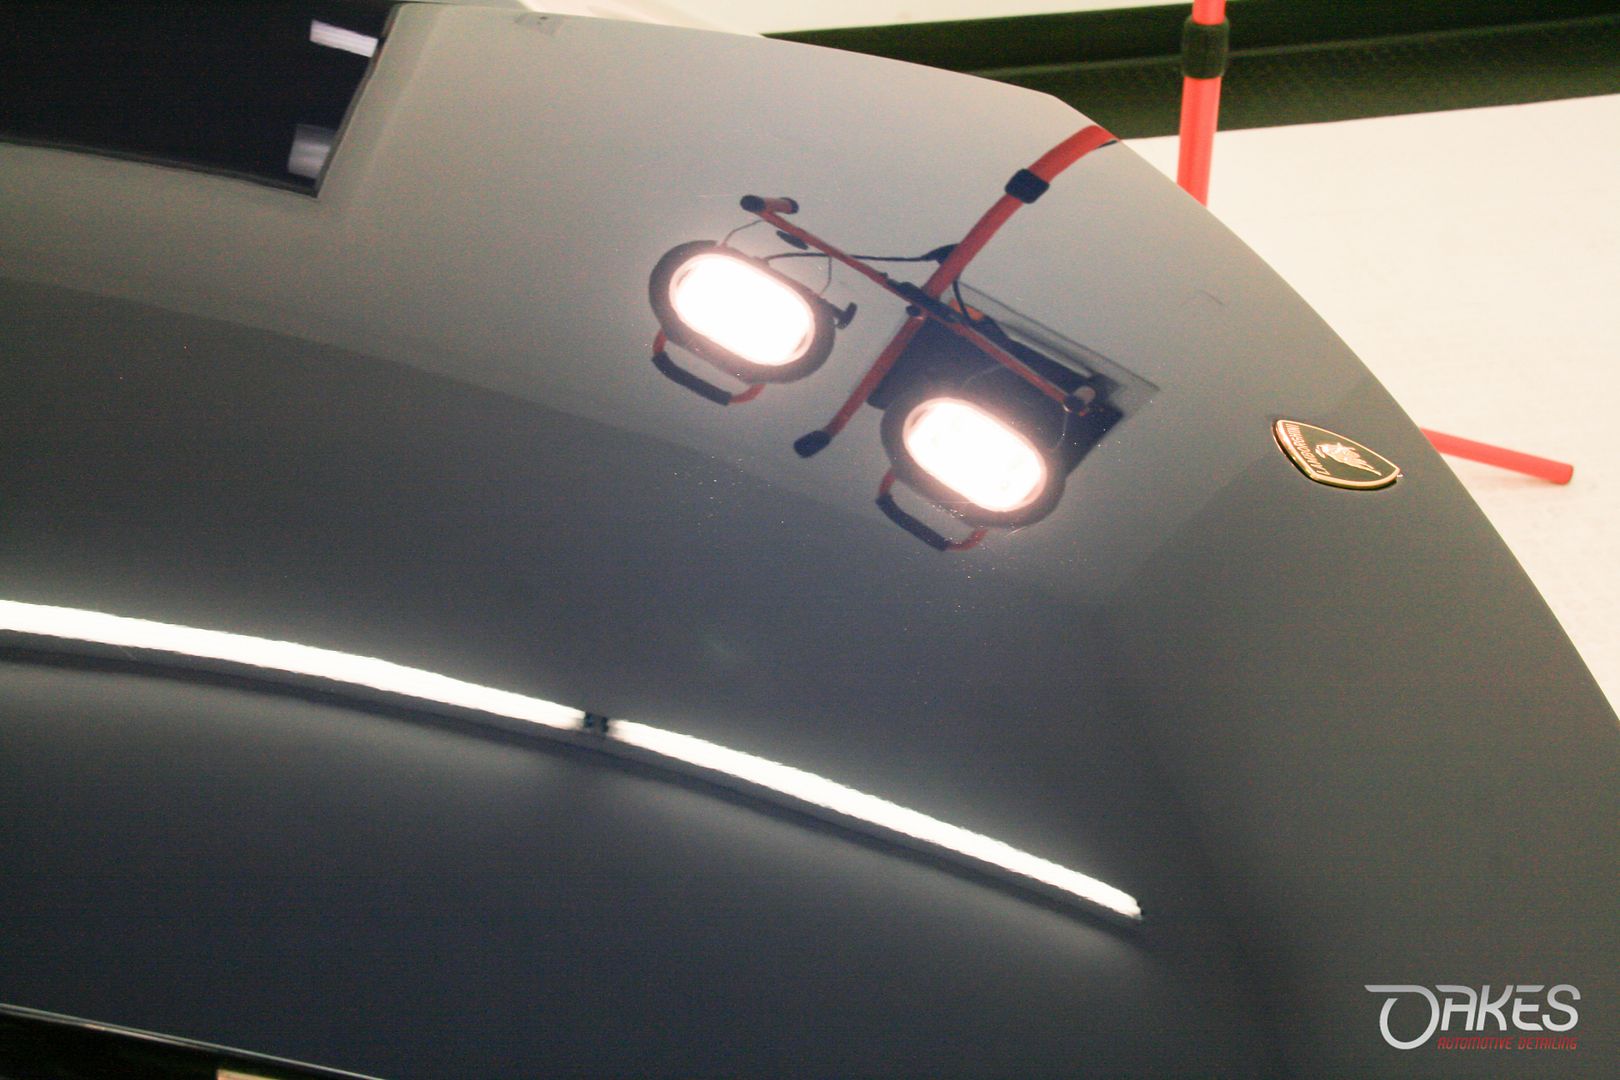
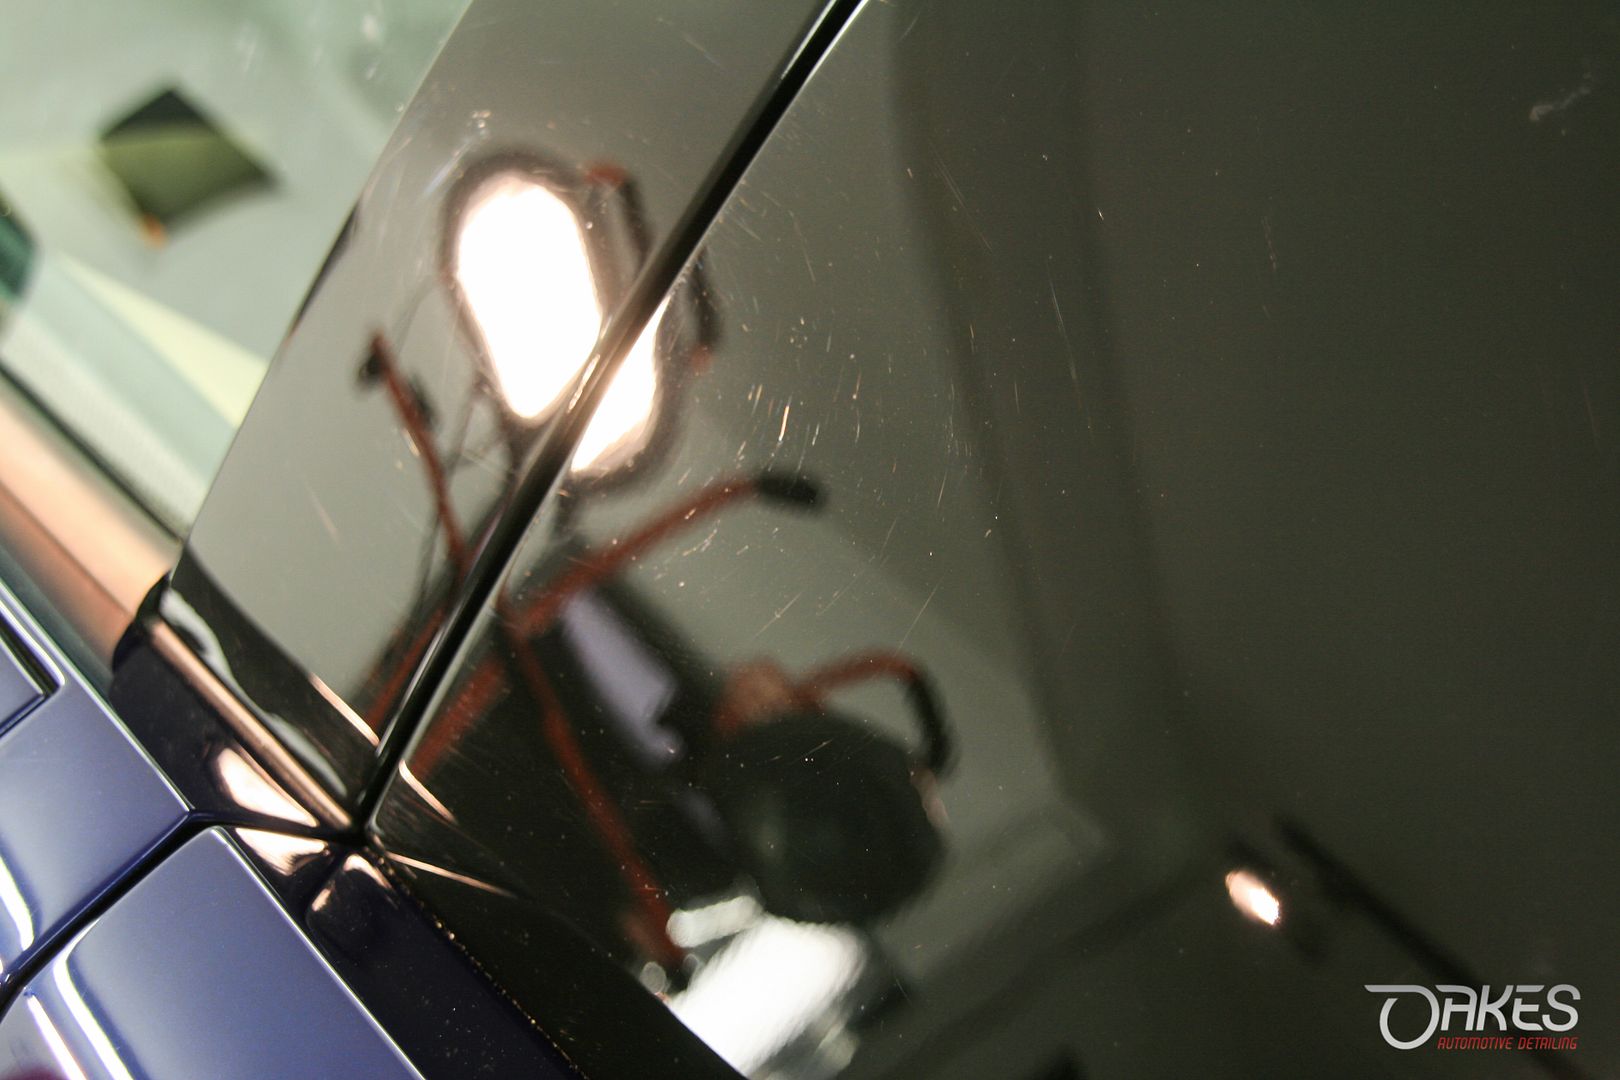
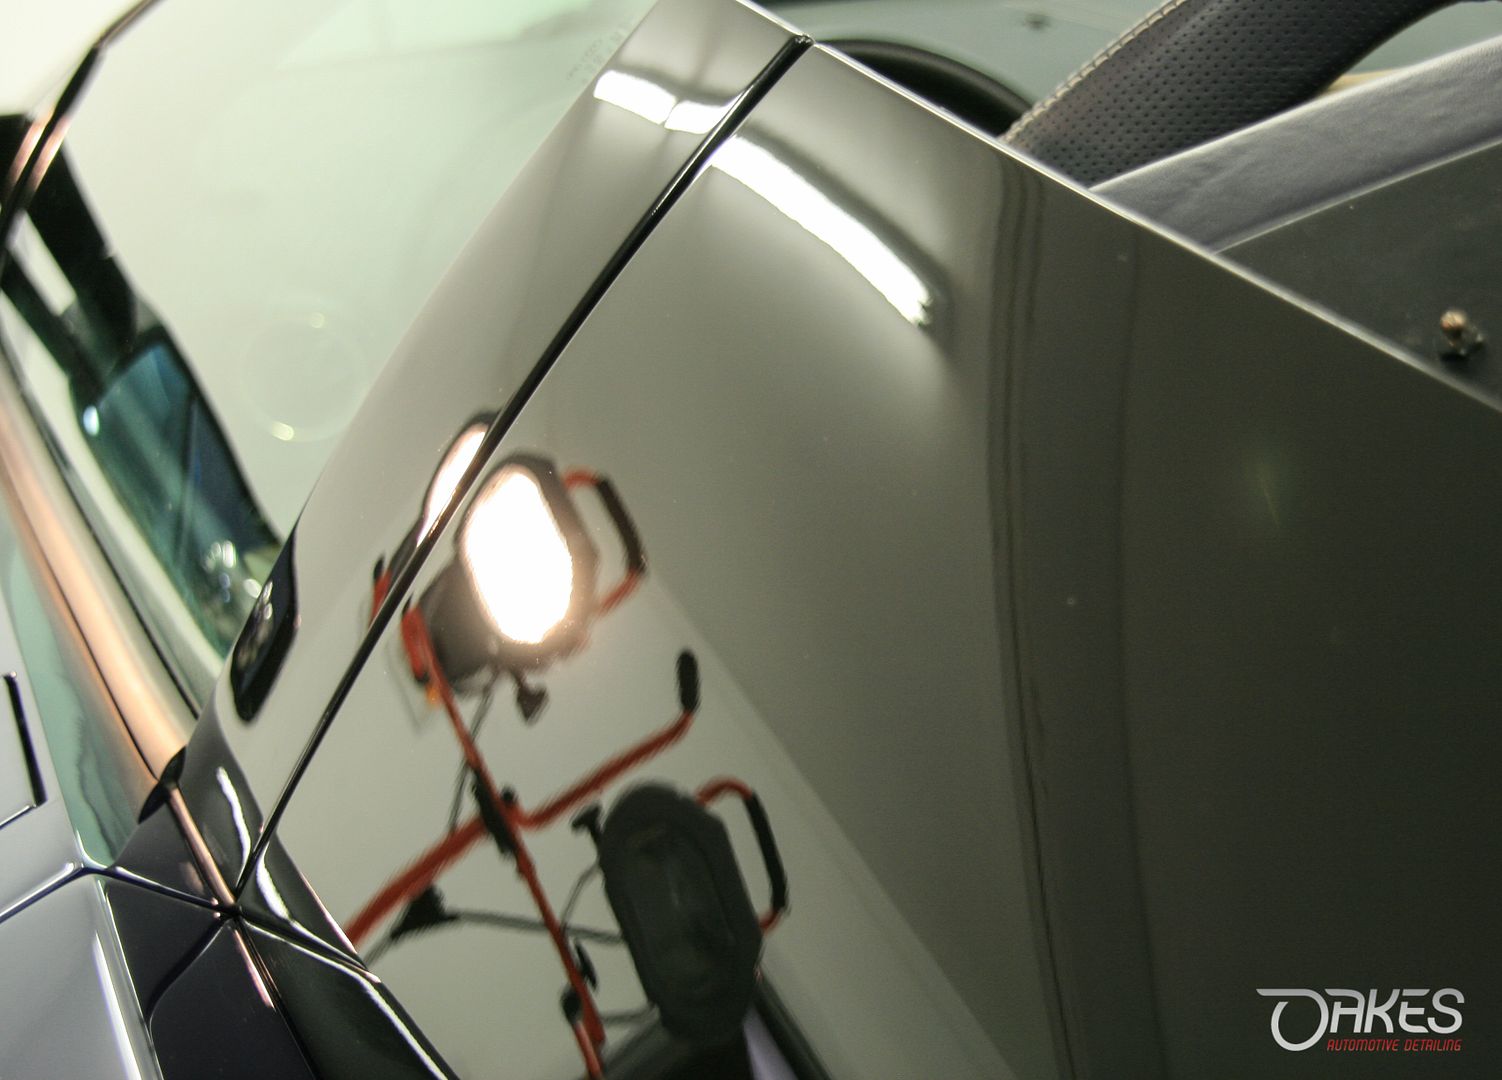
Heavy marring and holograms were rather persistent through the whole vehicle, though most noticeable in the front end. With the film removed and the vehicle prepped, we moved ahead with the multi step correction. Lamborghini paint is a bit notorious for being stubborn but that caused no waiver here. A glimpse at some 50/50 photos and some more before and afters of the paint condition.


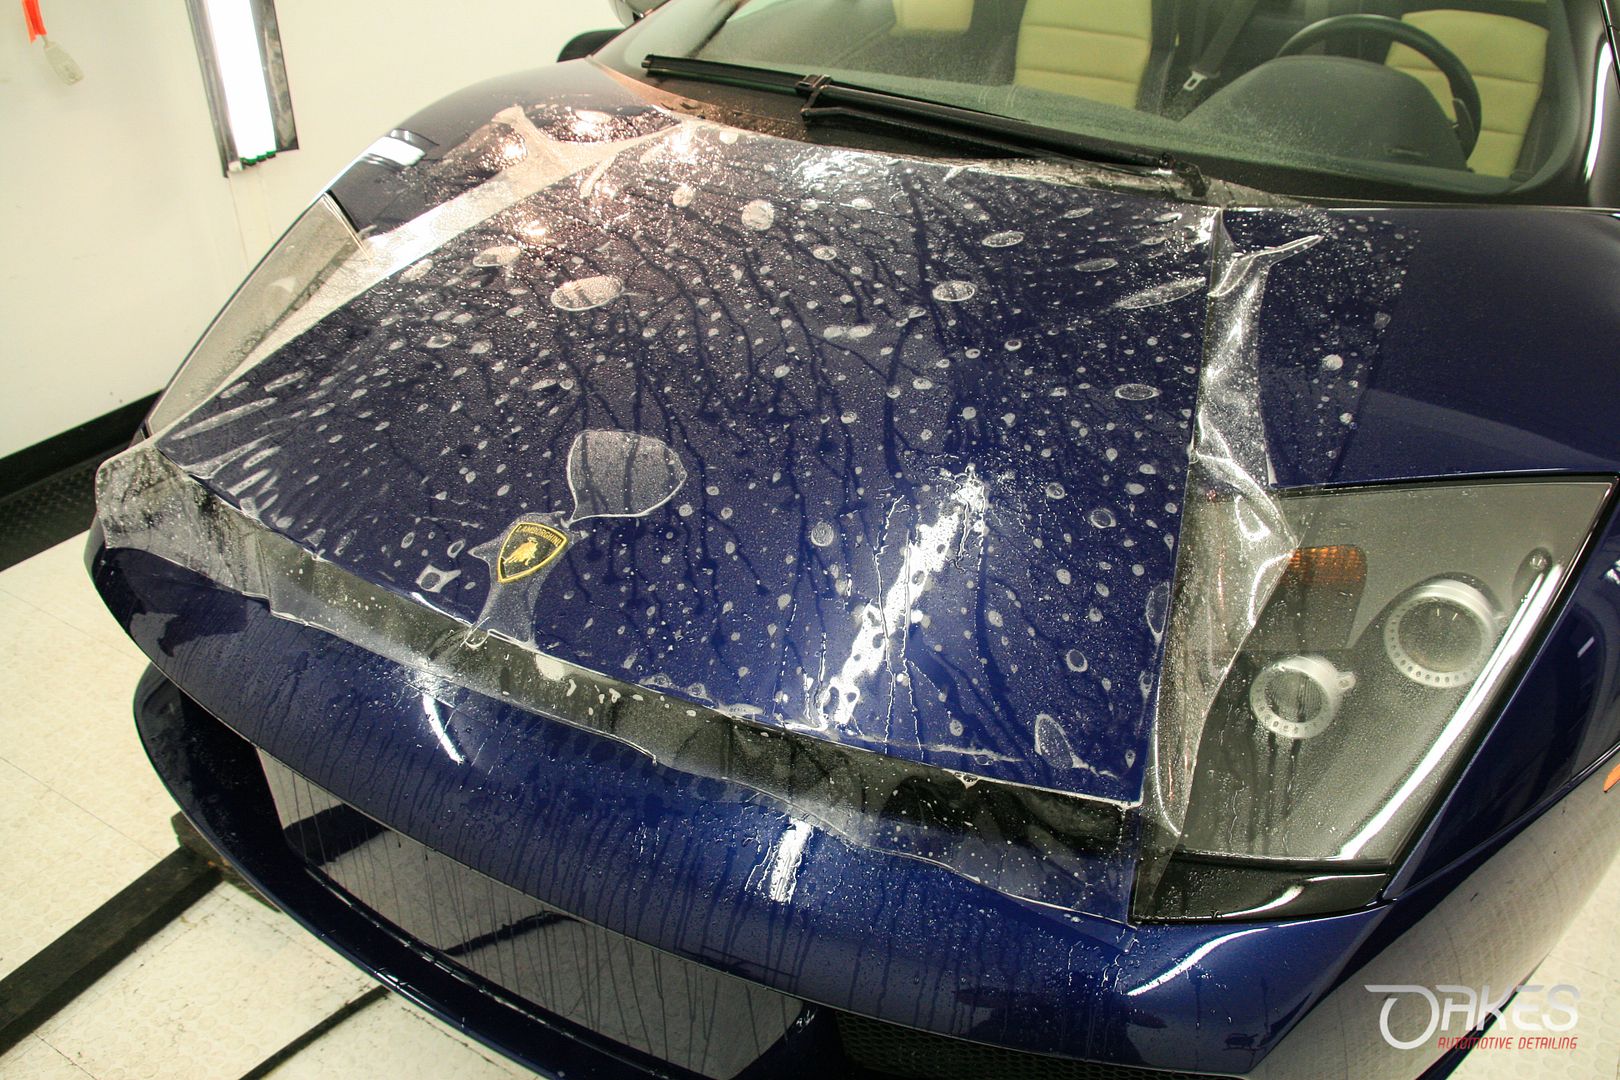
The front end was just the start of bringing the Blue Hera paint back to life, which was being served no justice in the state it was brought to me. The following photos show the front end in the process of being clear wrapped, the vehicle was completely corrected and detailed before the film was applied. Wanted to keep the results together to give more light to the final results from start to finish.
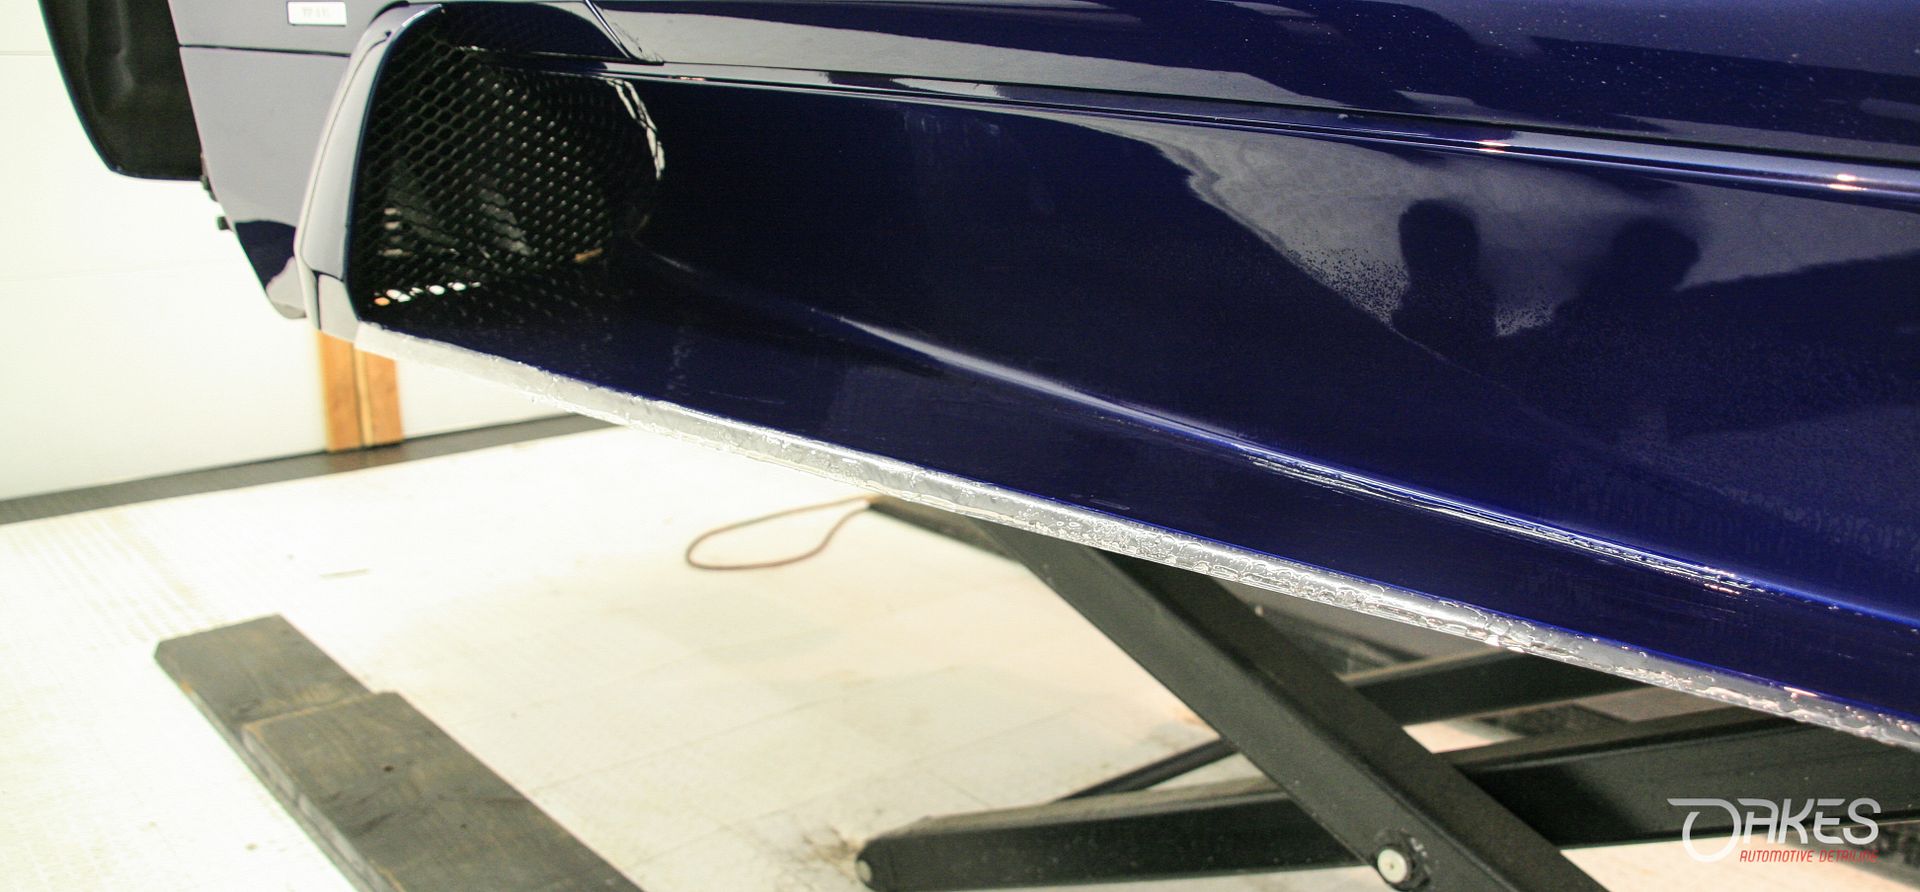
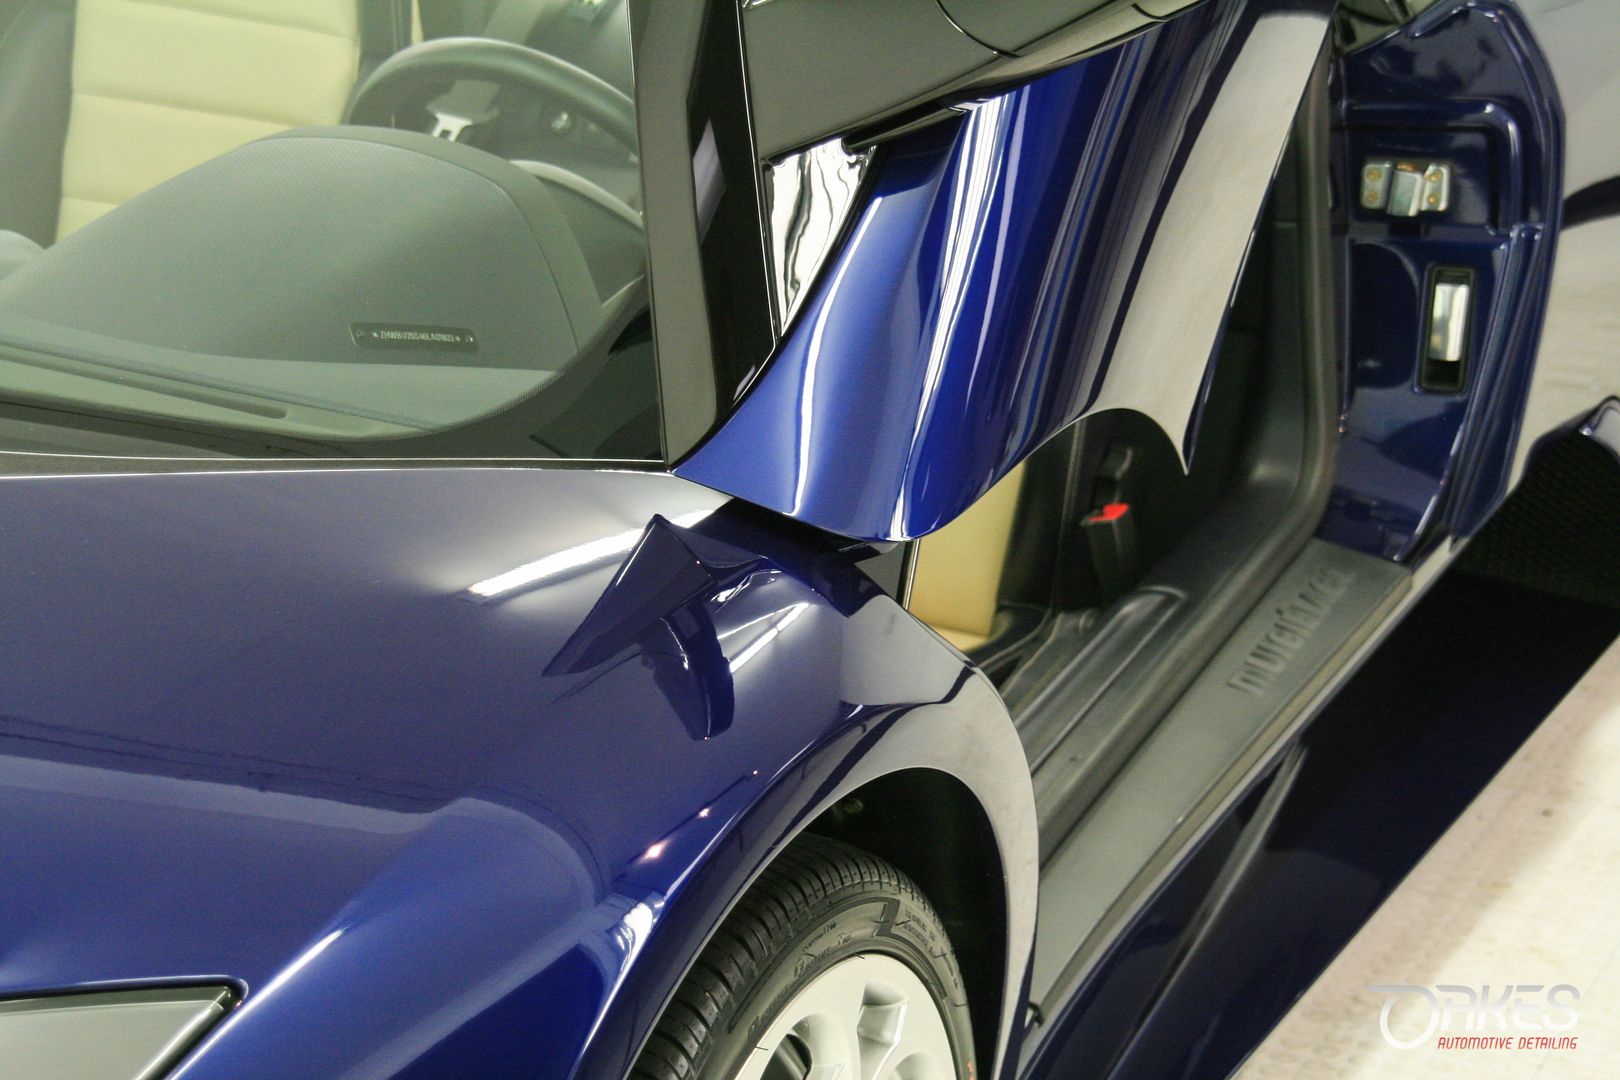
Photos showing the seamless edges and full wrap overs


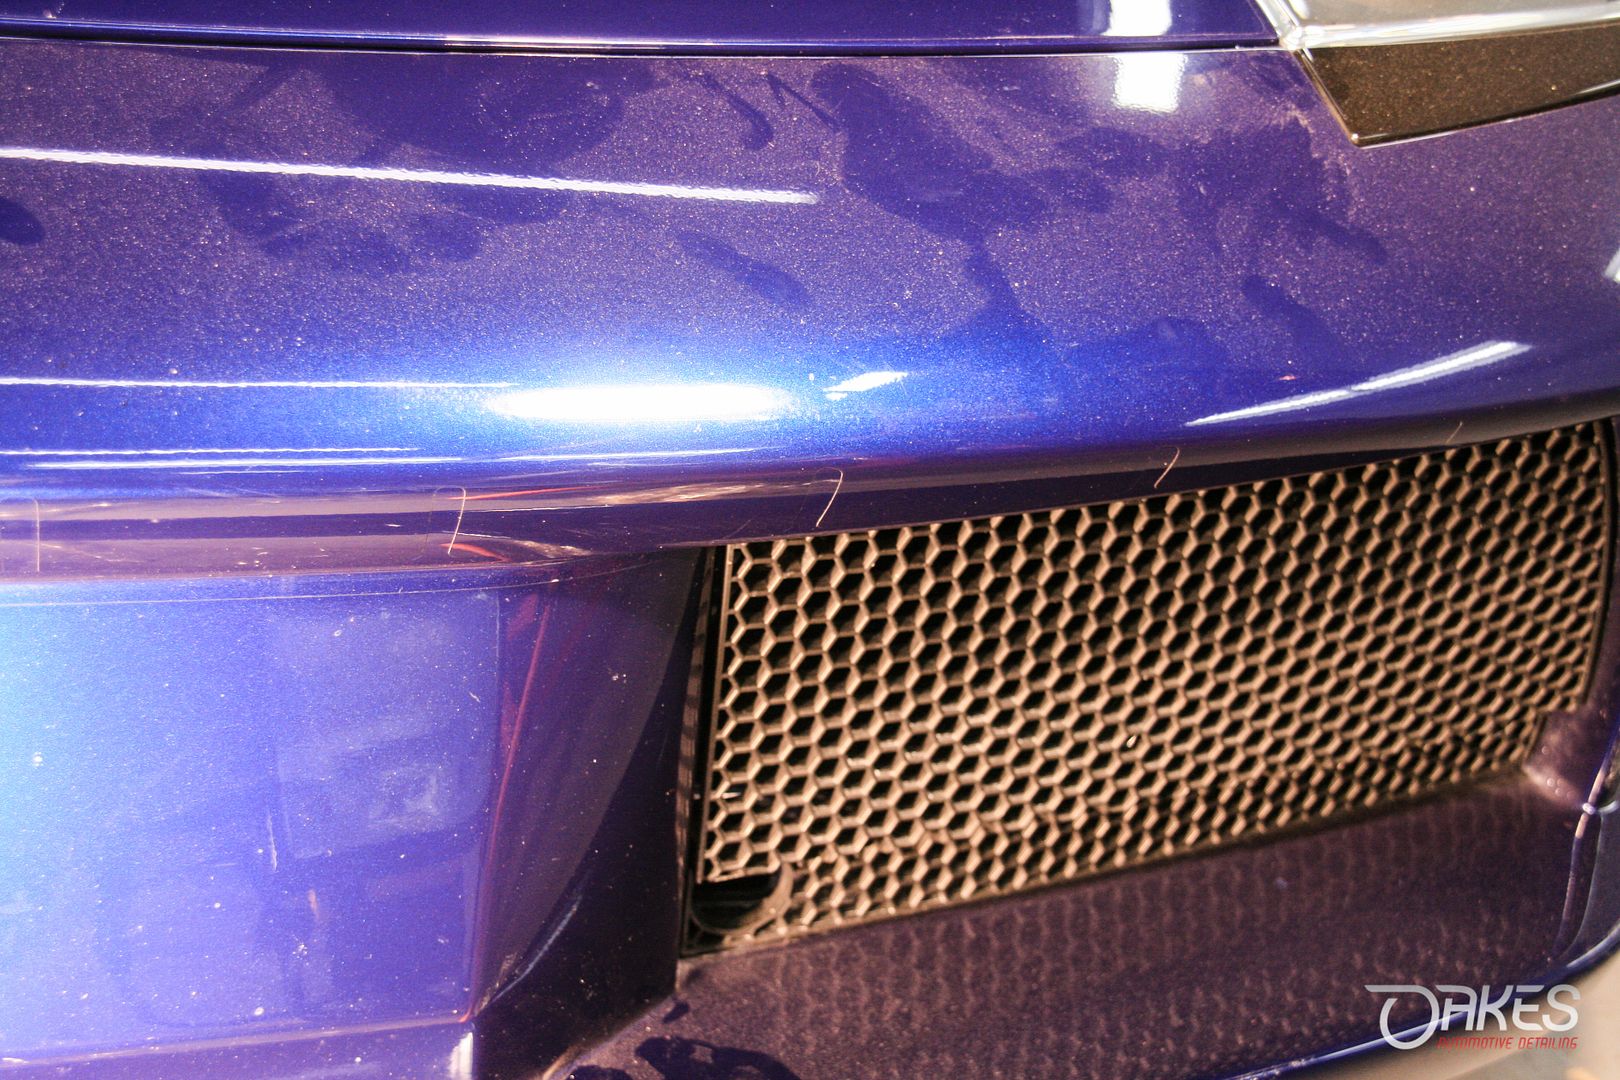
Another before and after photo of the paint correction performed on the B-Pillar/Air Inlet section
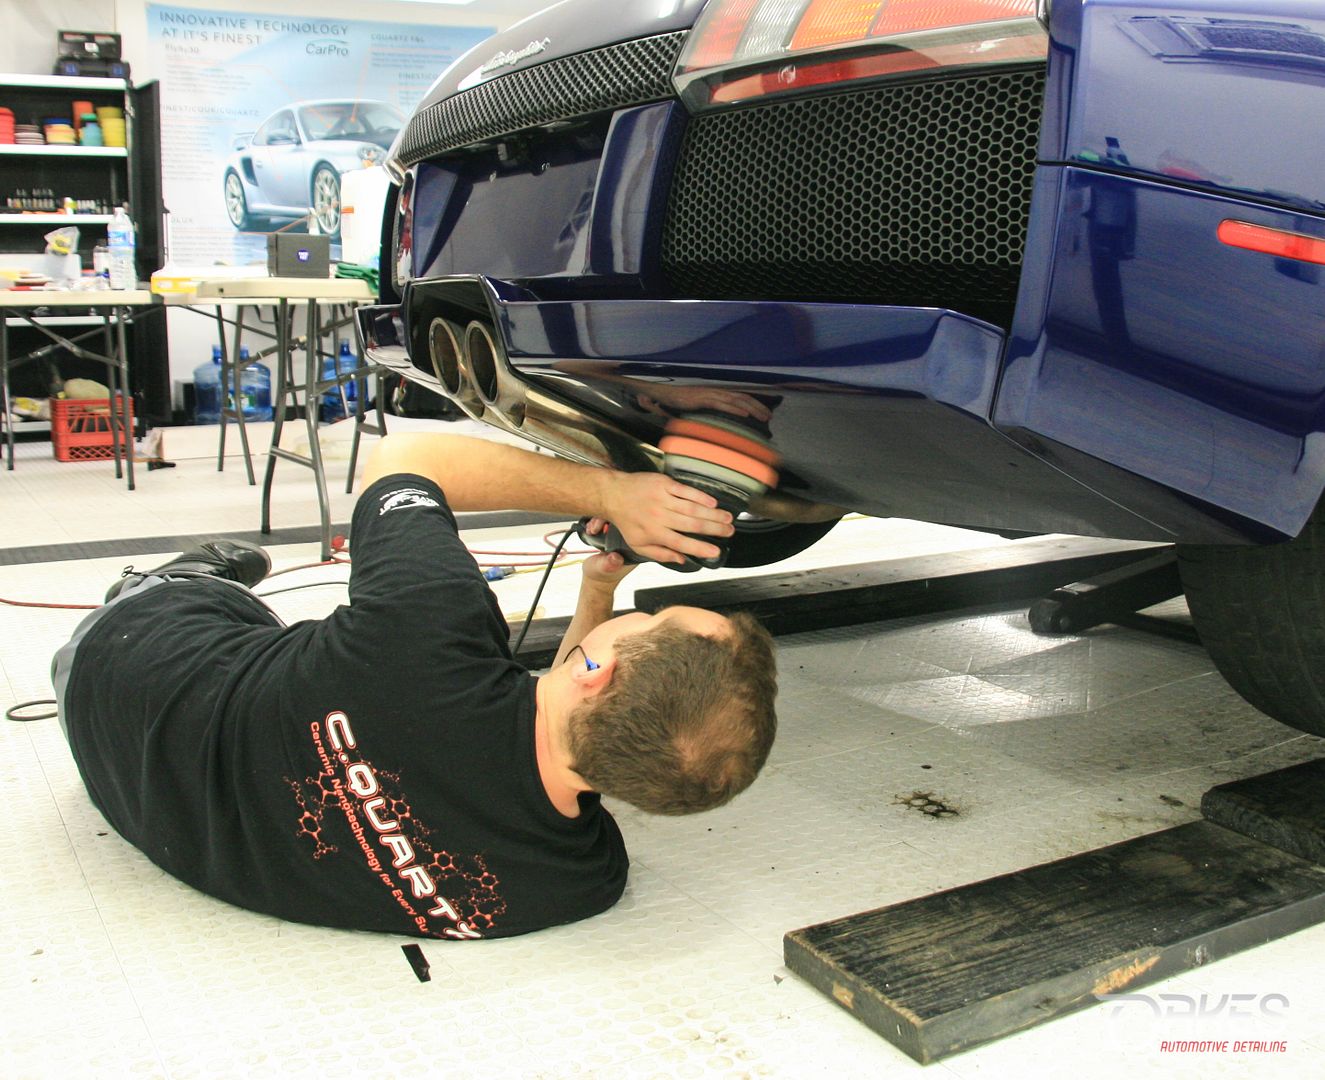
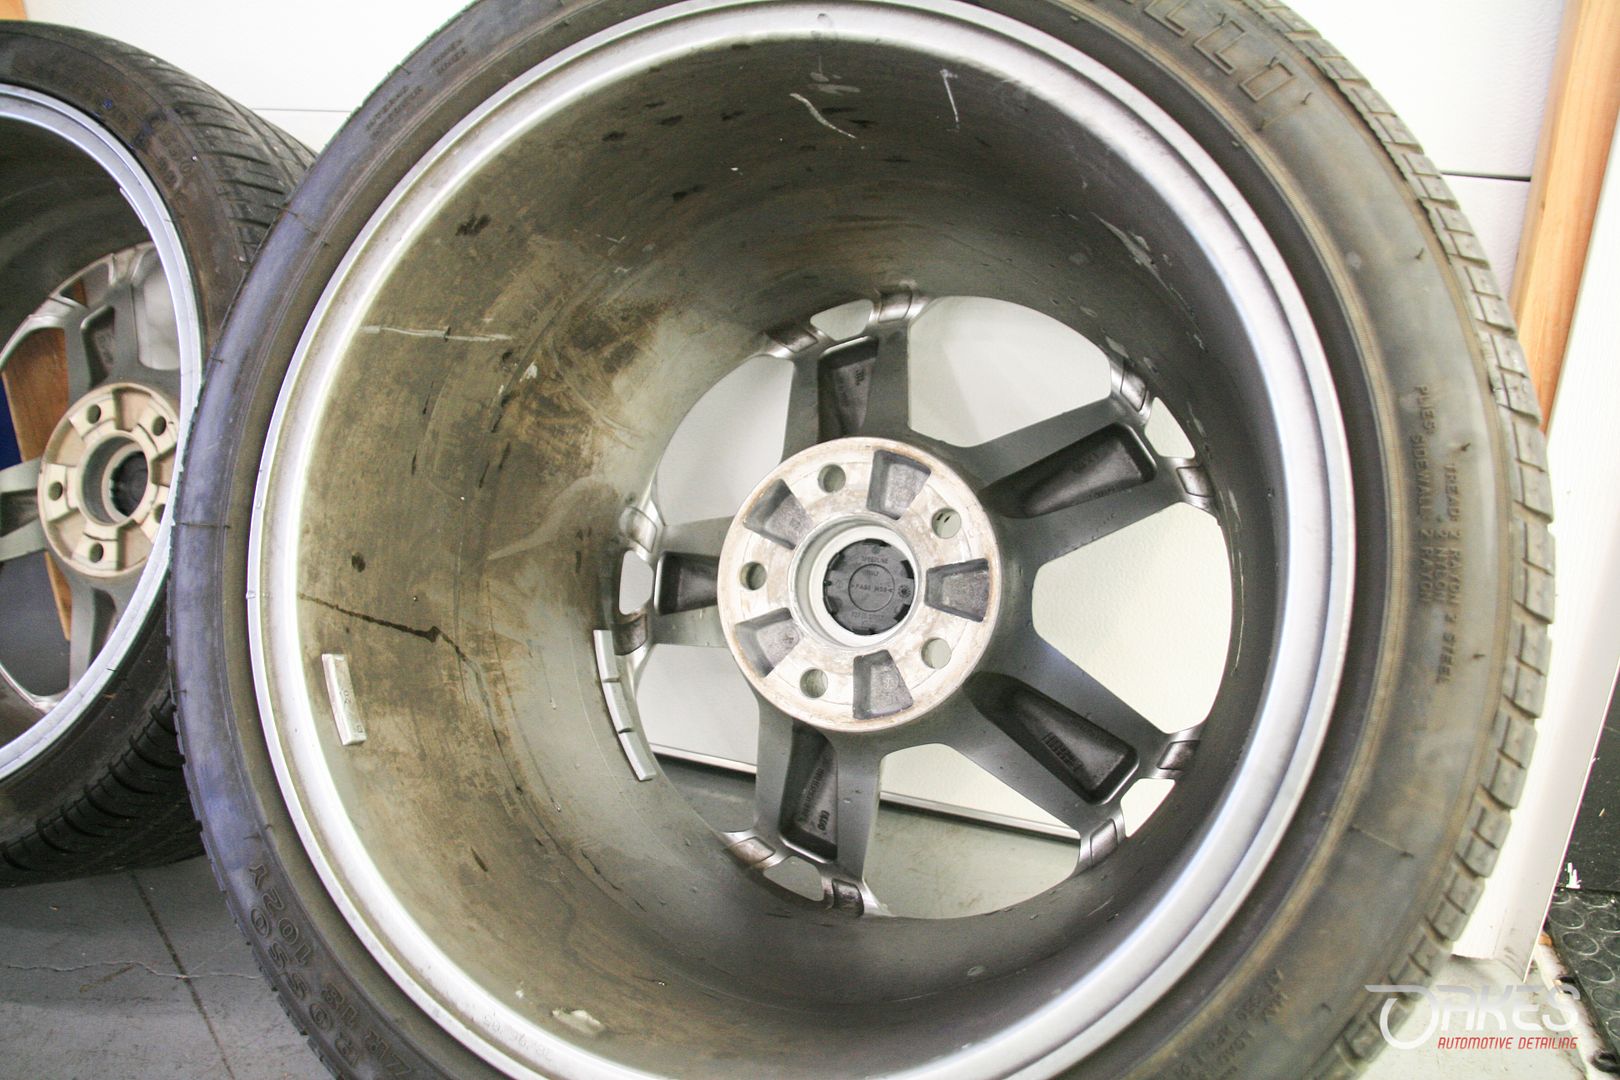
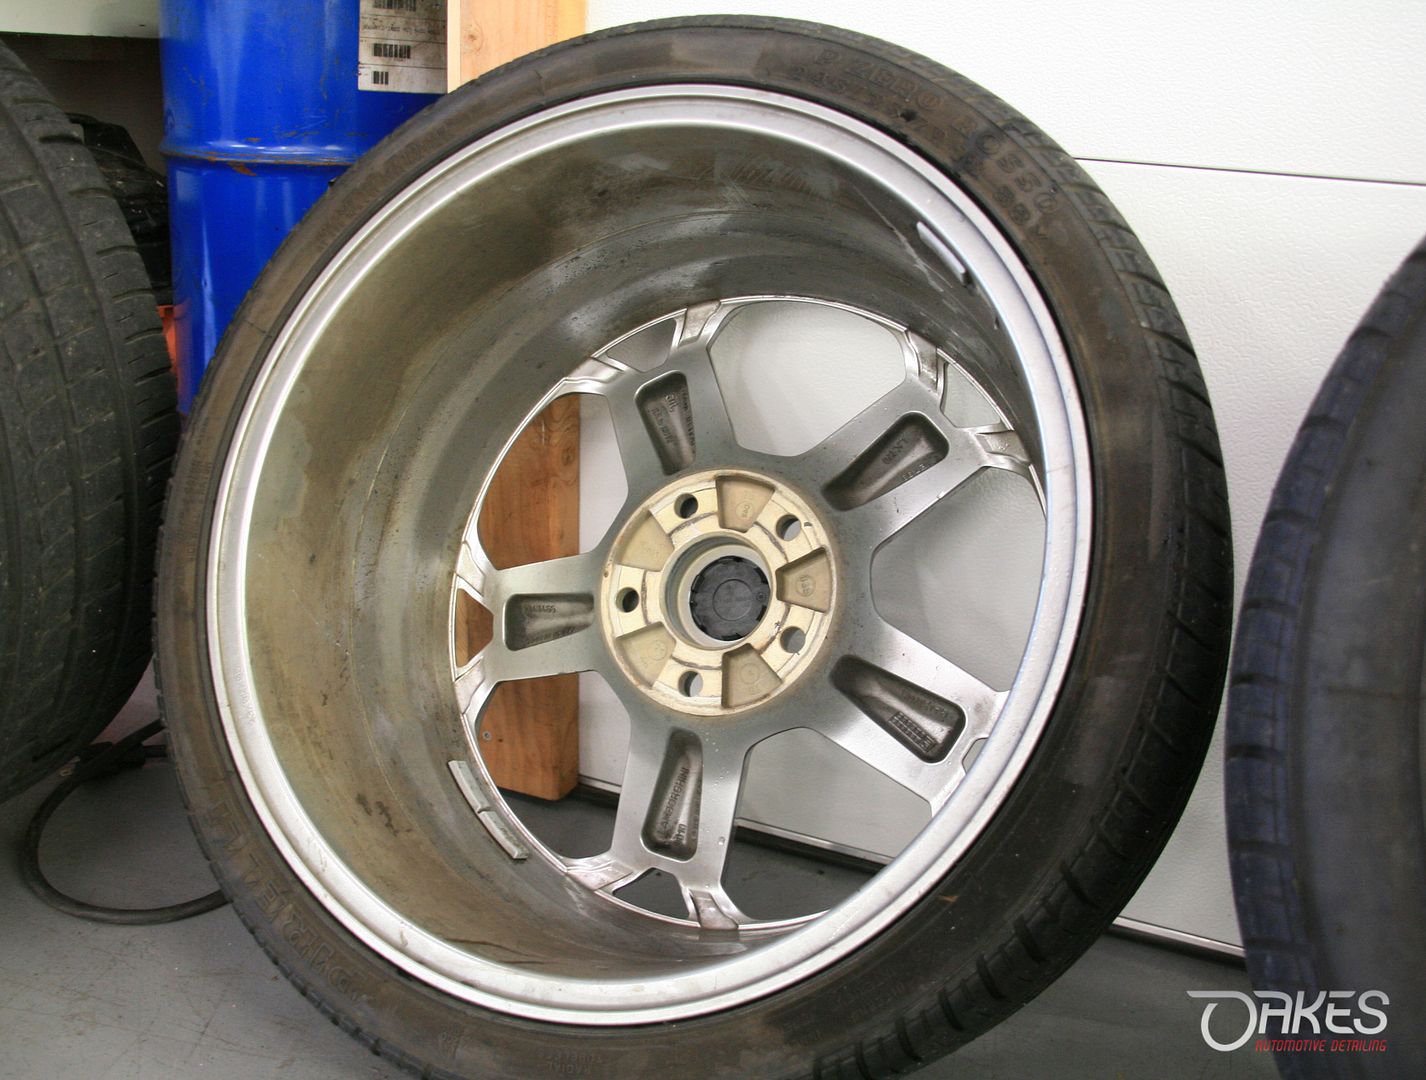
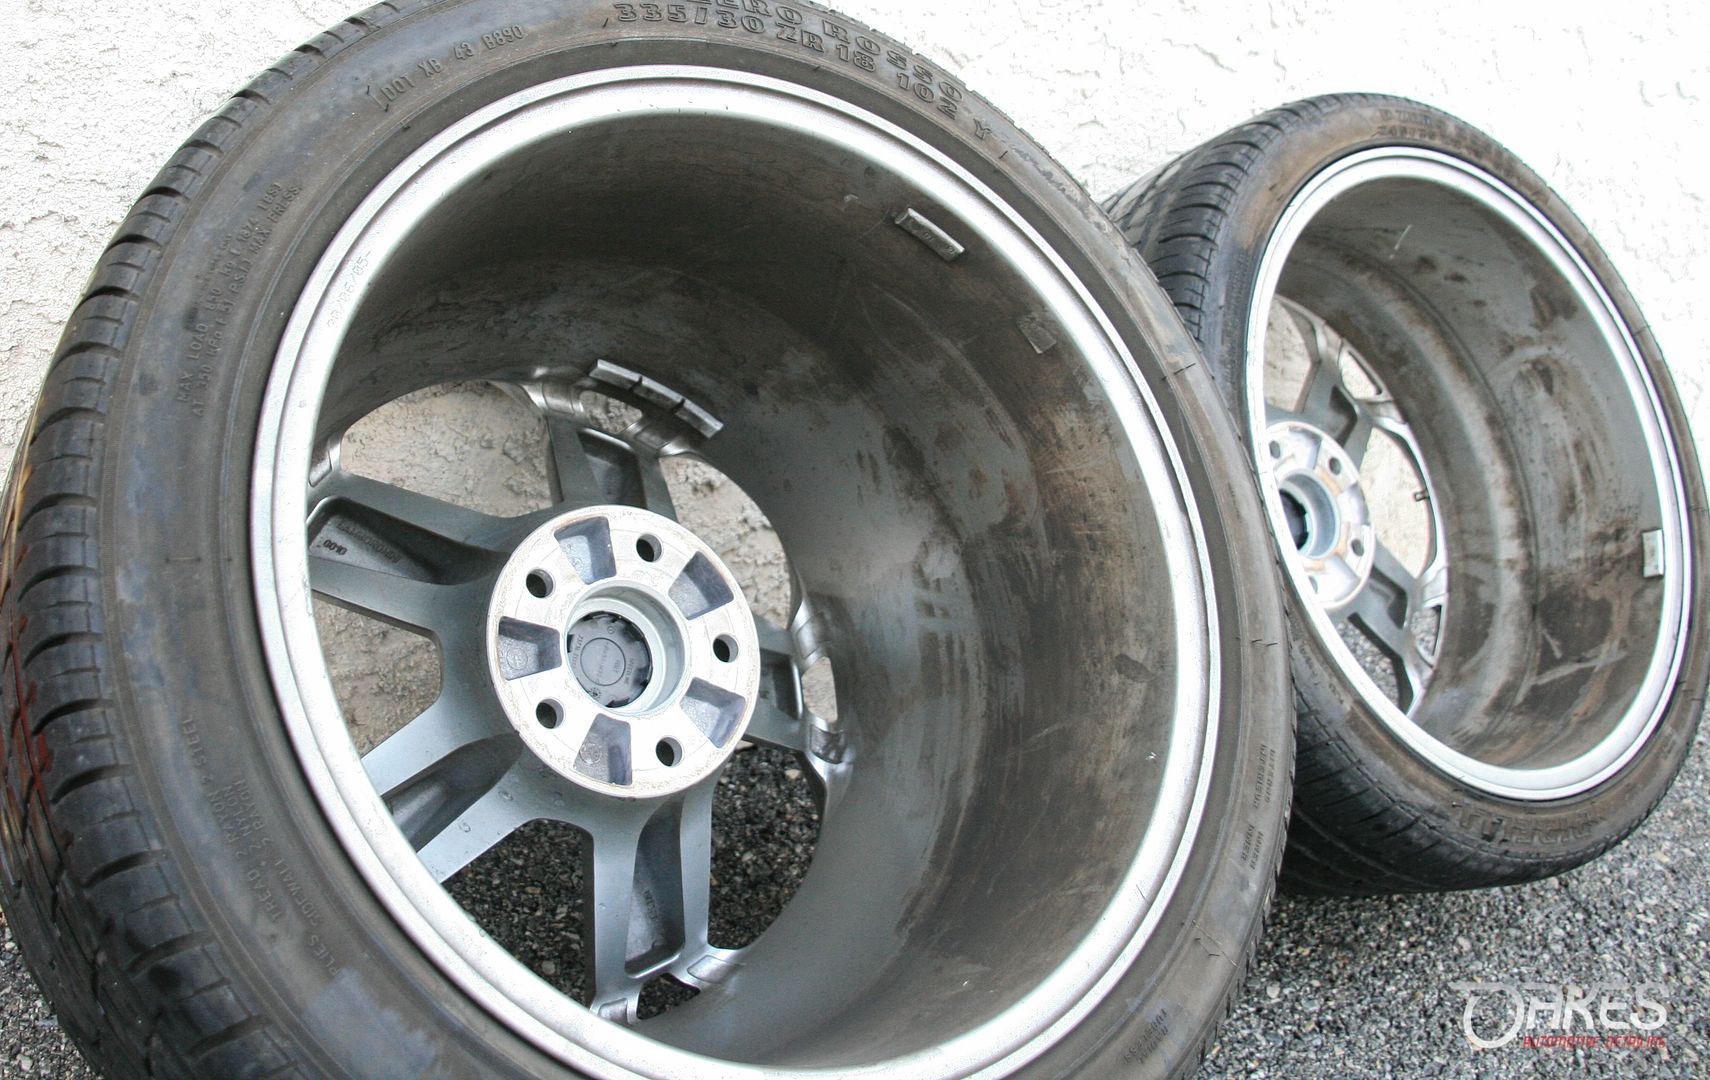
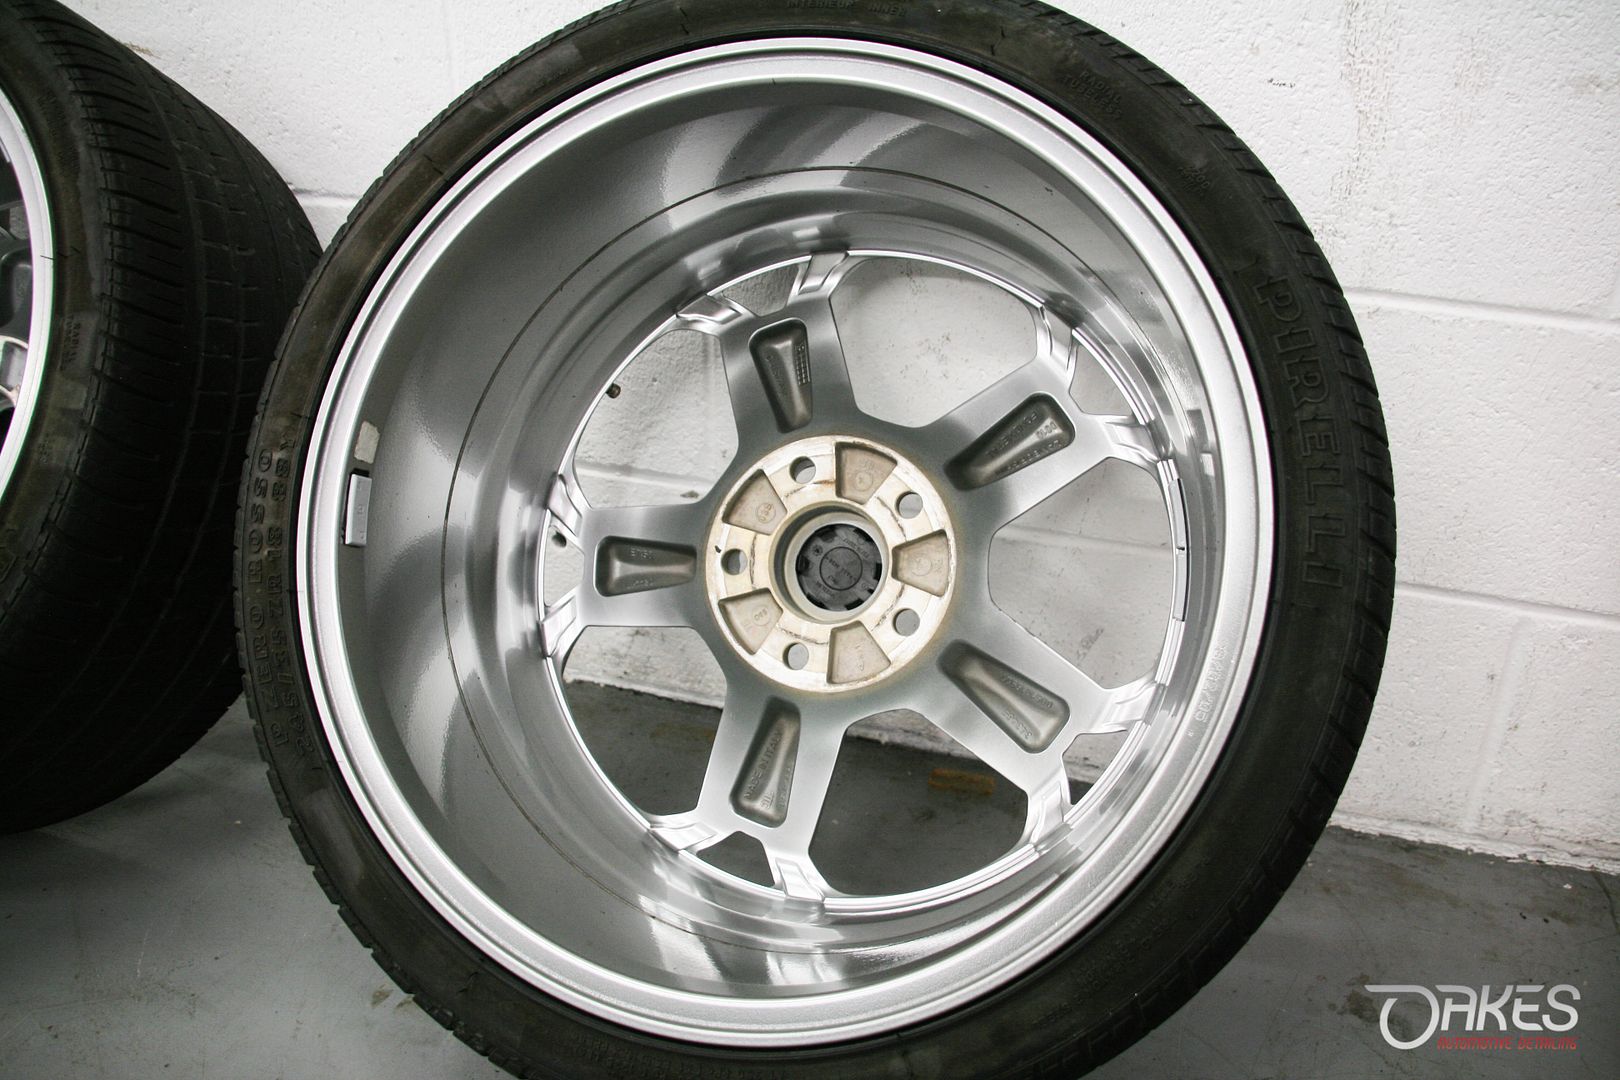
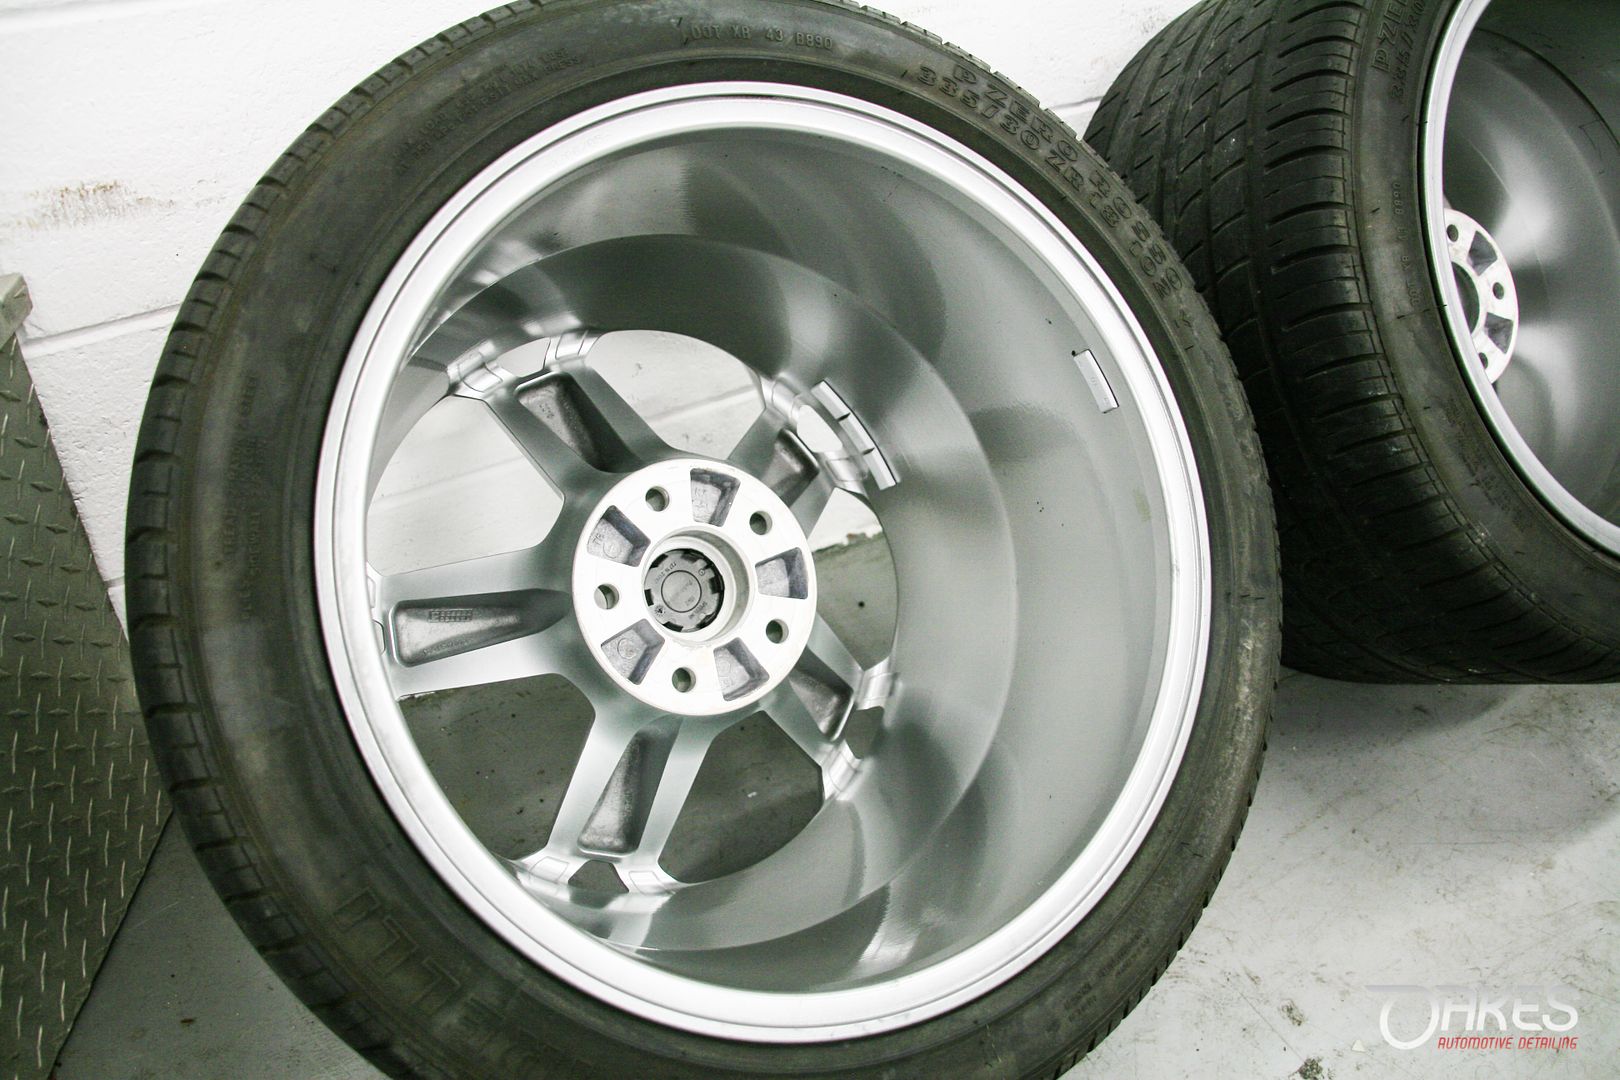
A little out of order but here are the results of the undercarriage and wheel detail work, while on the lift all of four corners were completely degreased and treated. The rear underbody was polished and coated as well

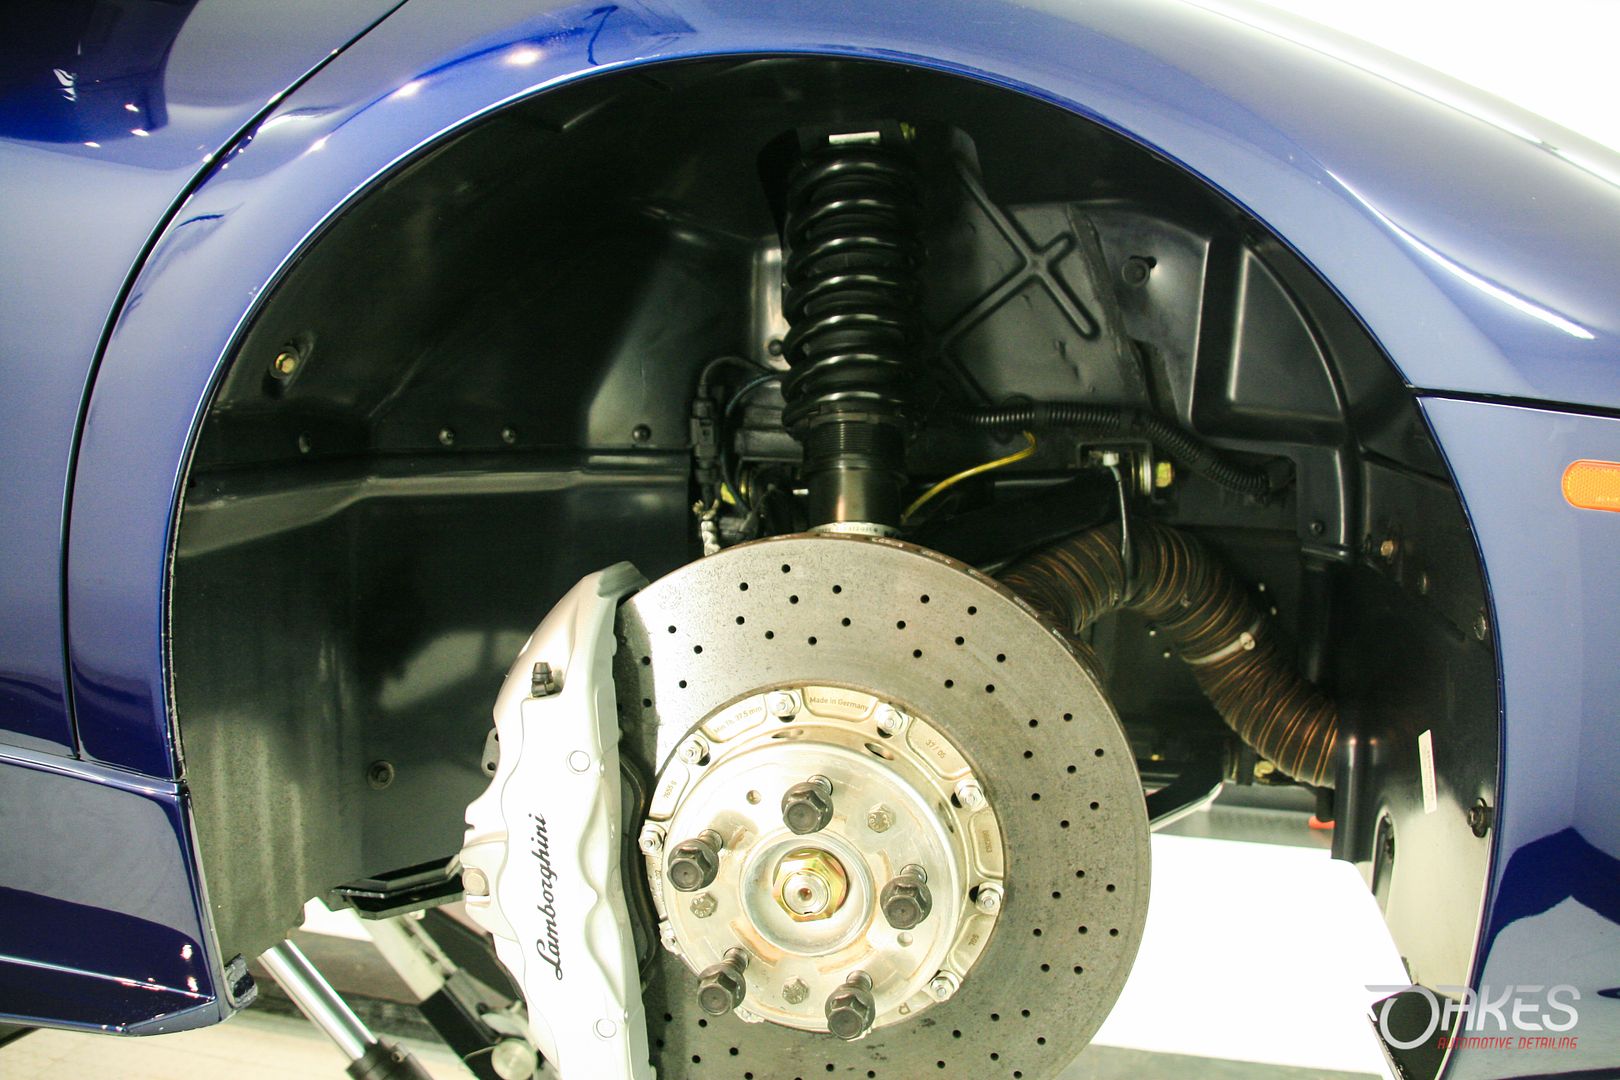
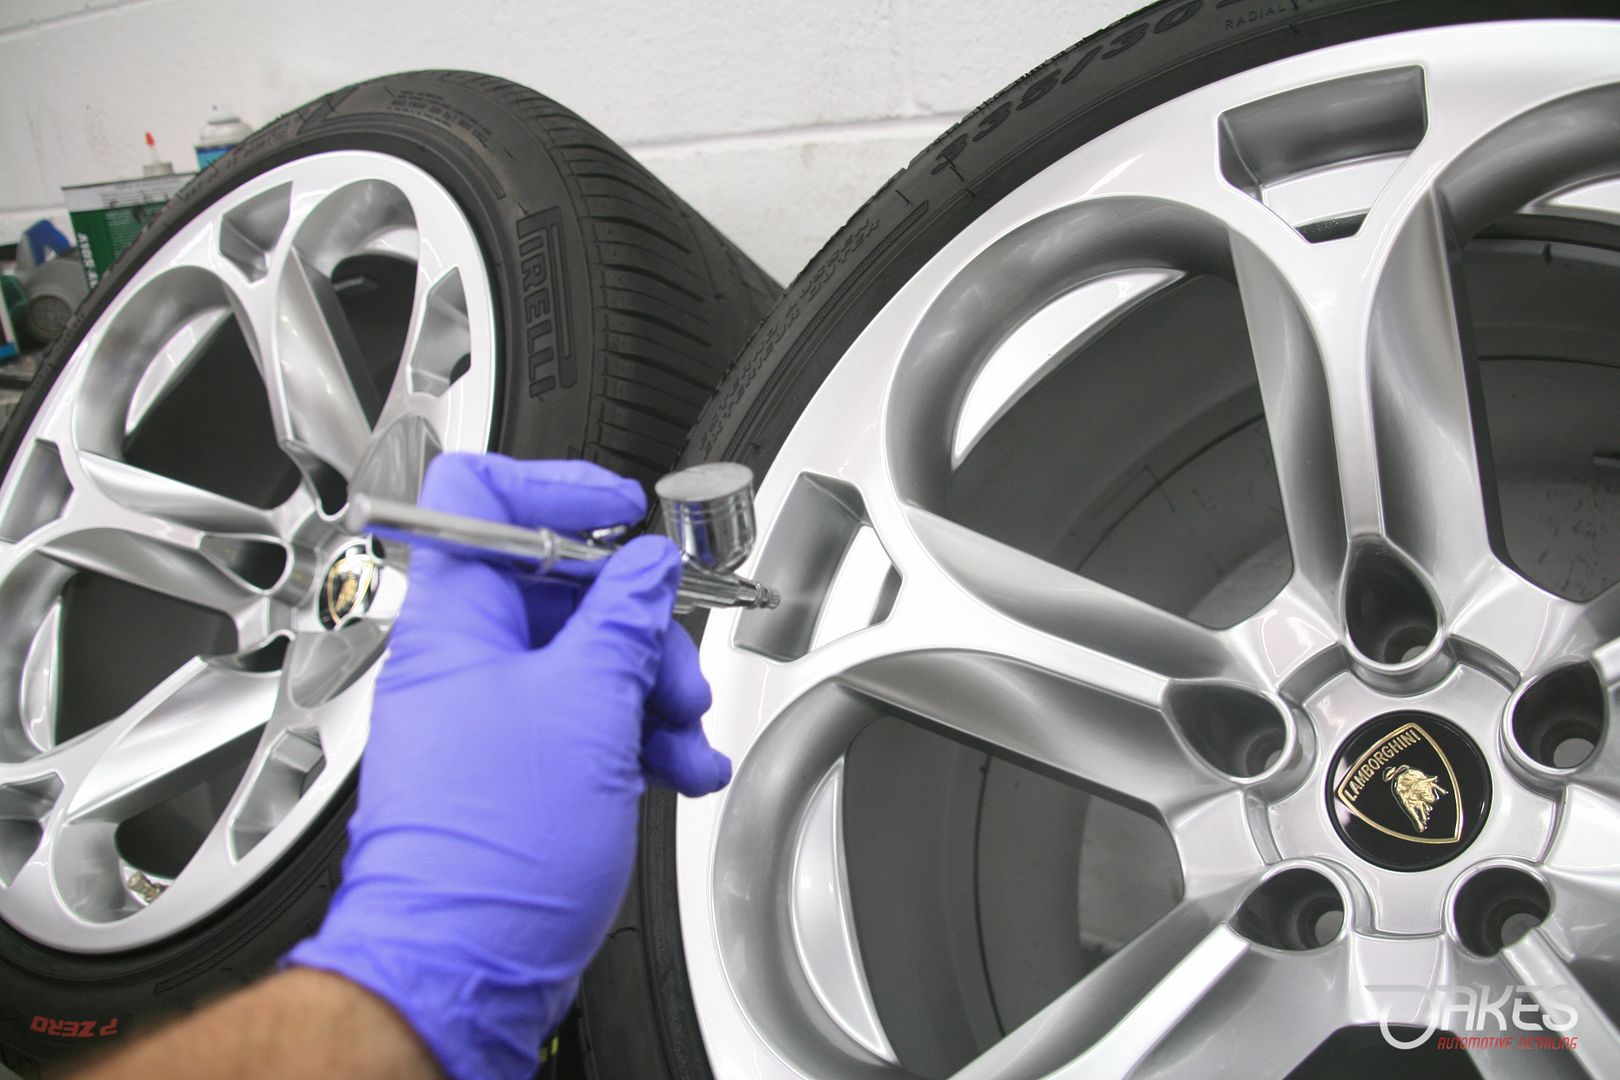
The wheels cleaned, clayed, polished, re-prepped and then airbrushed with Cquartz DLUX ceramic coating
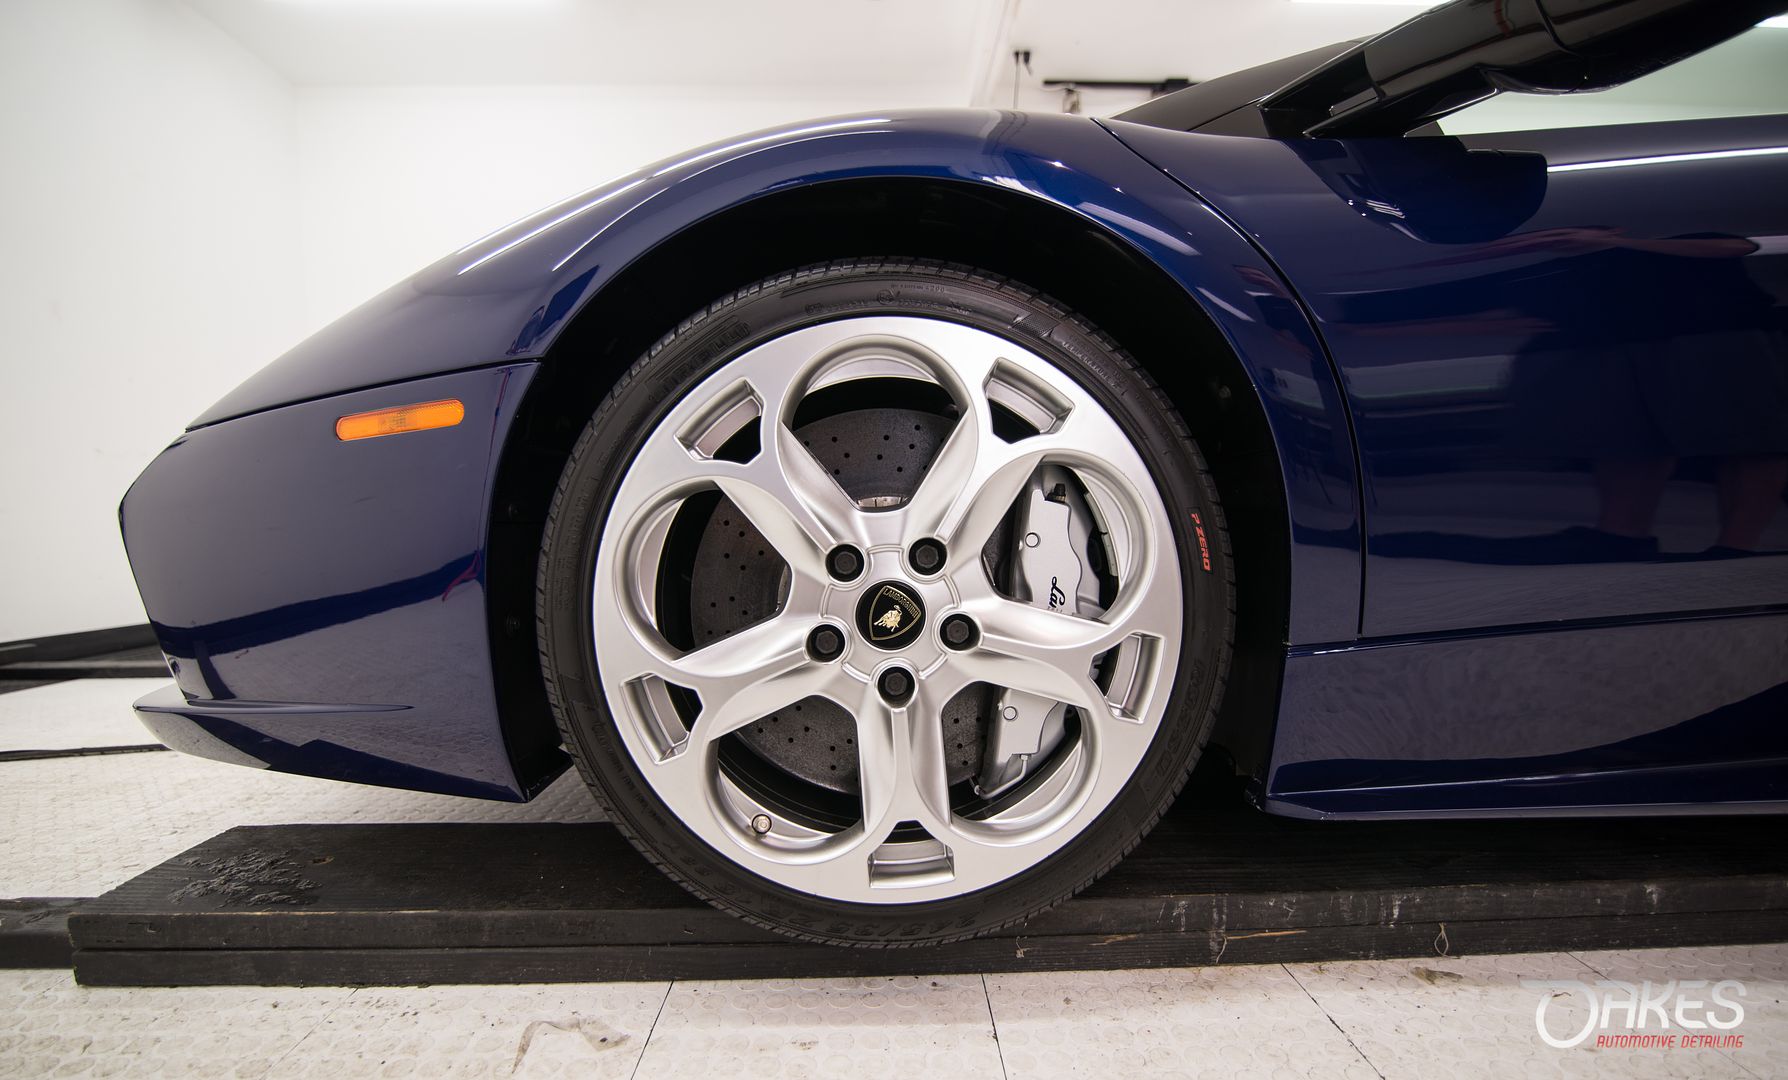
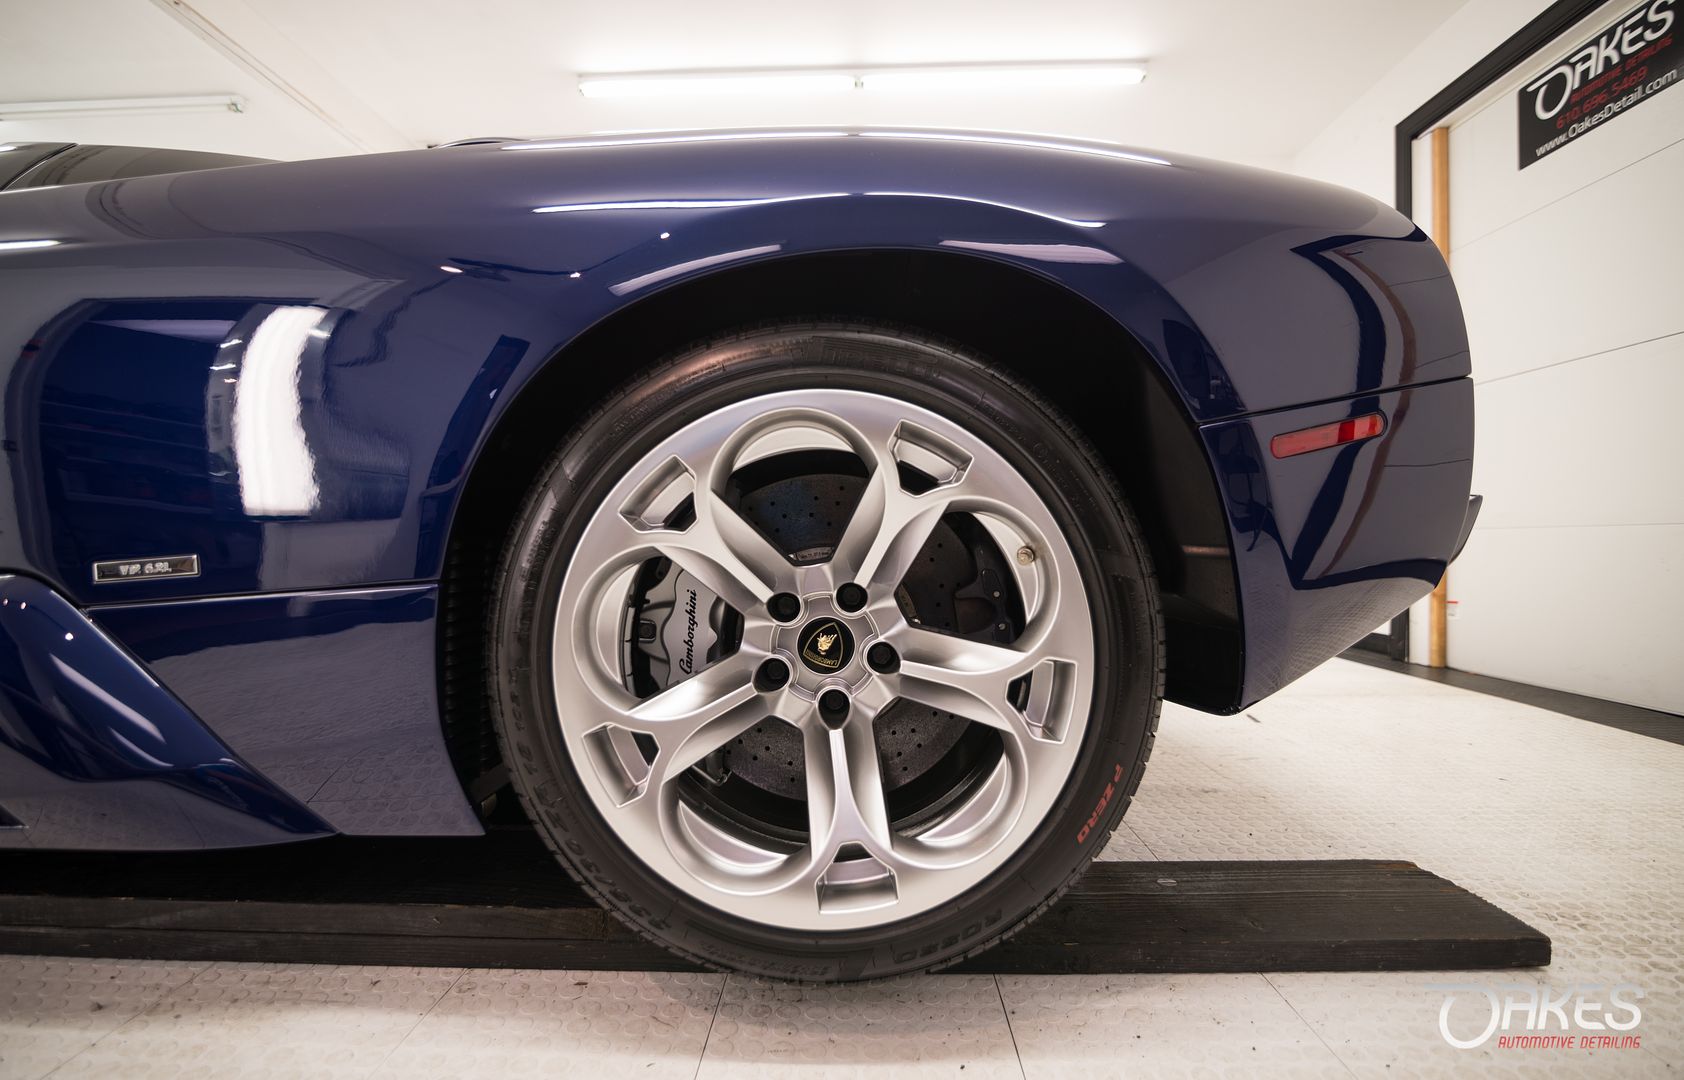
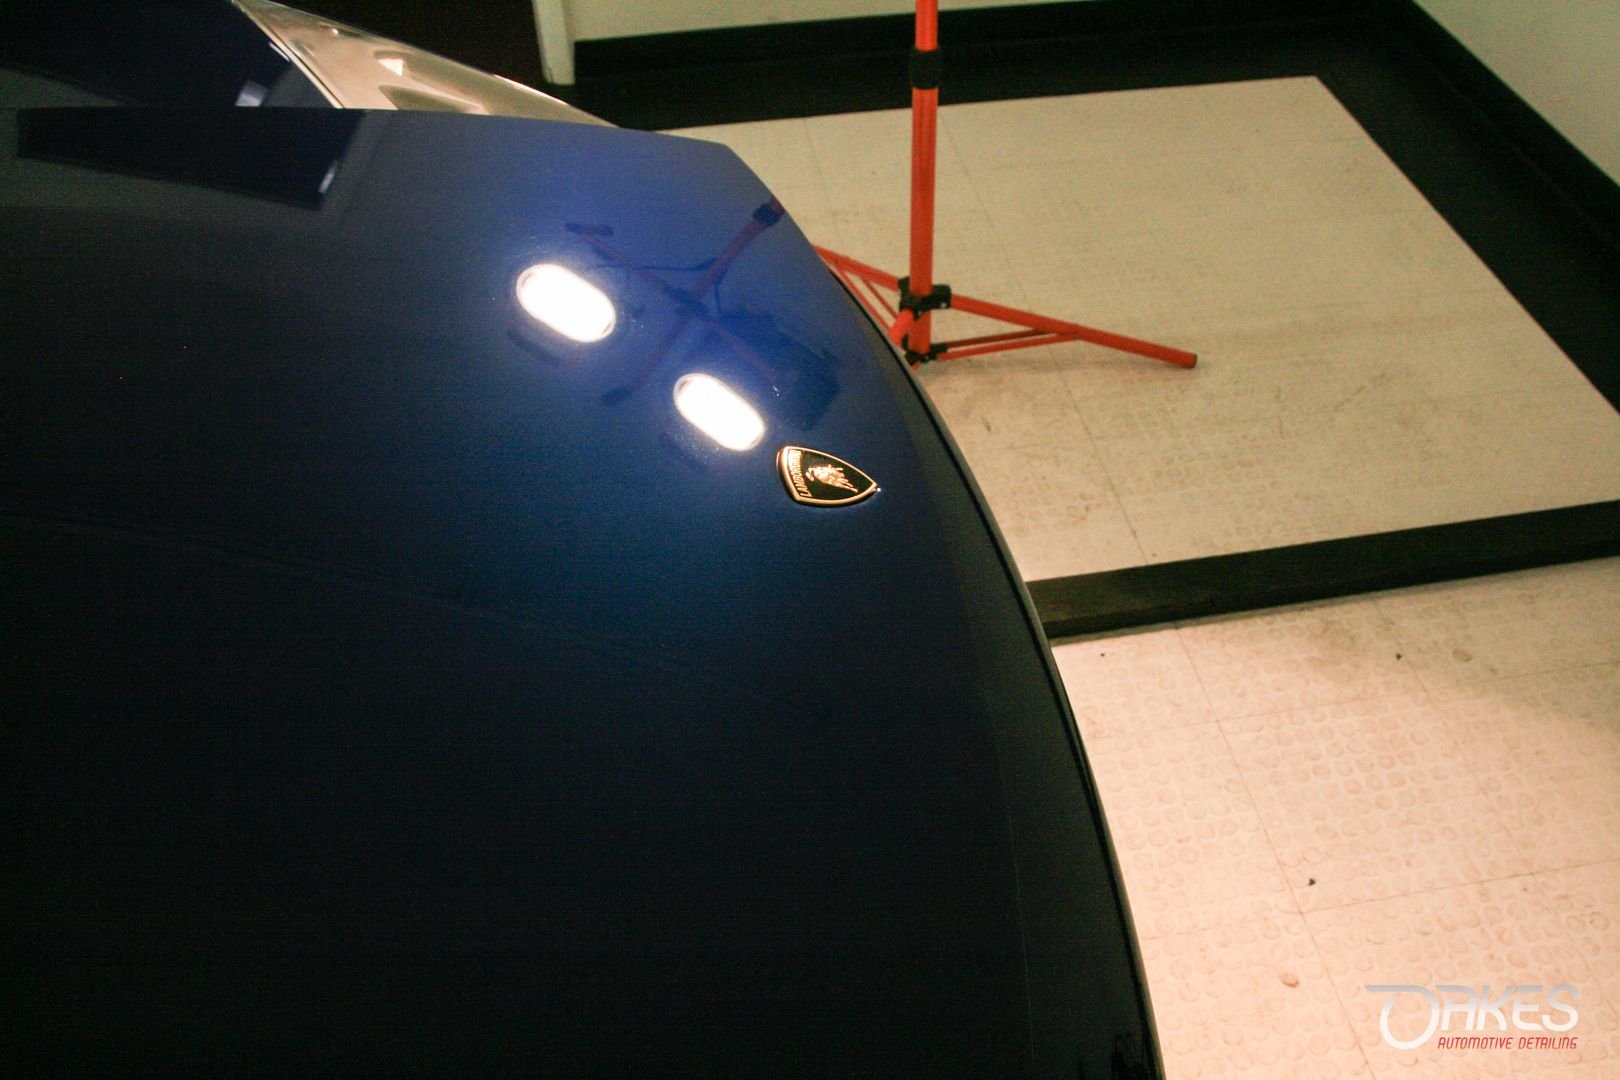
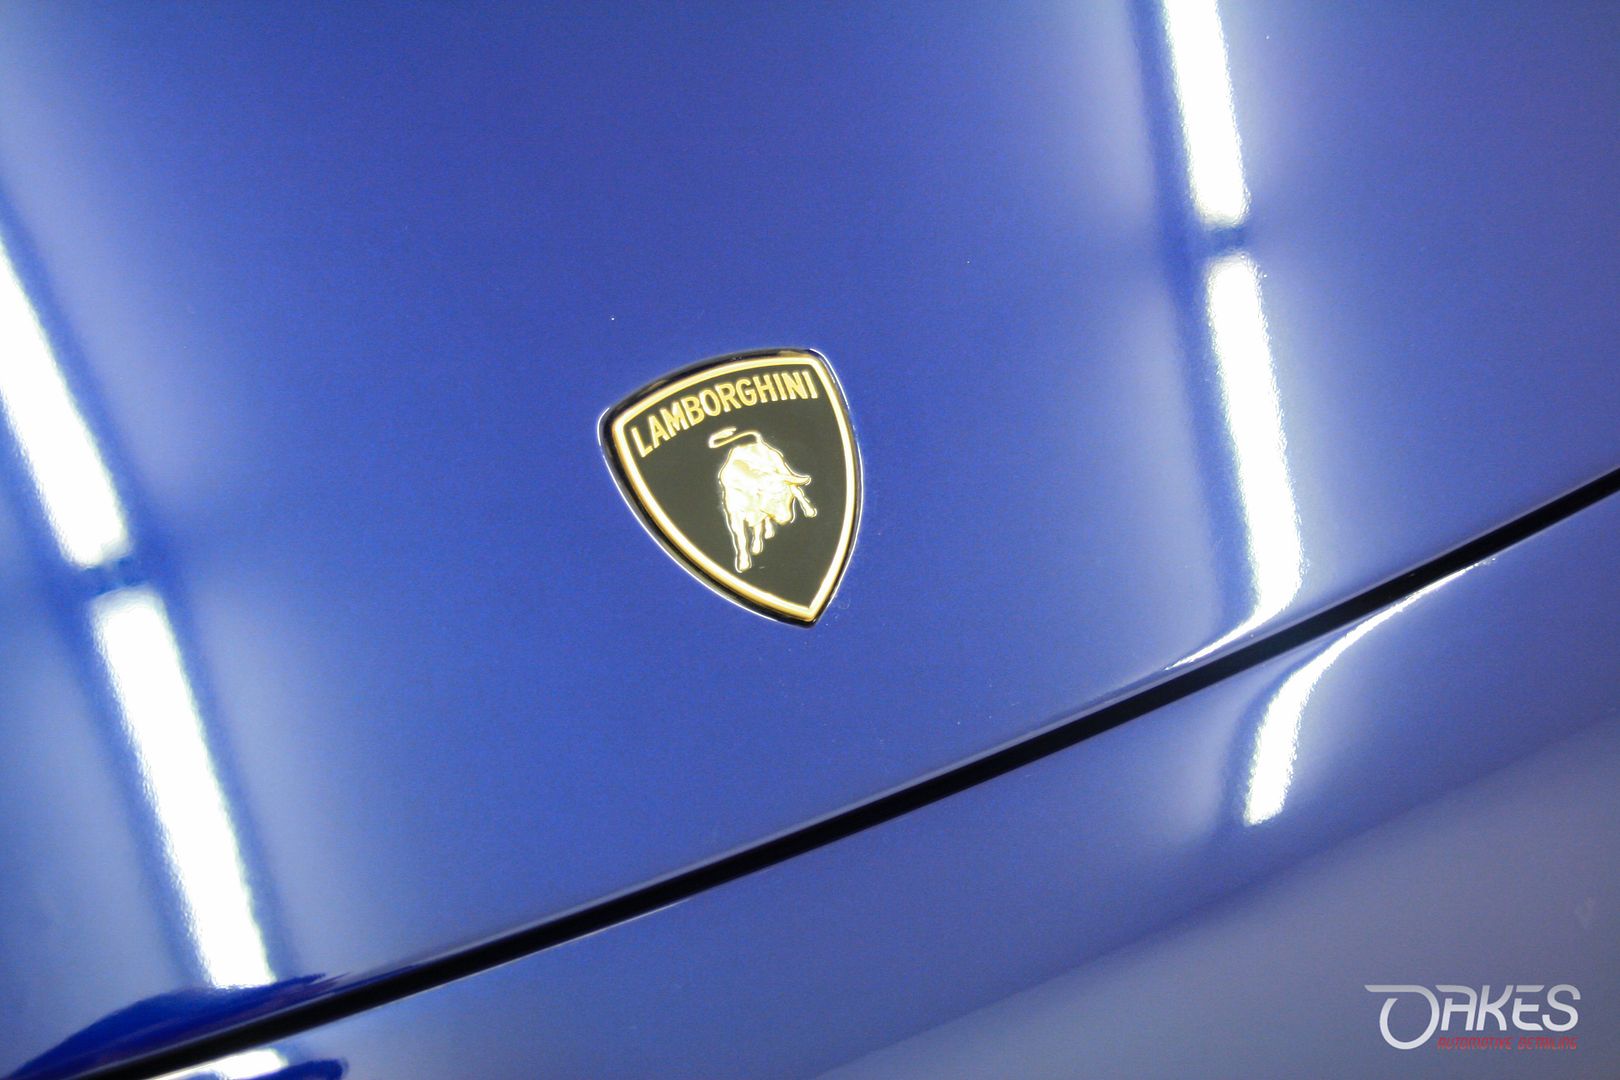
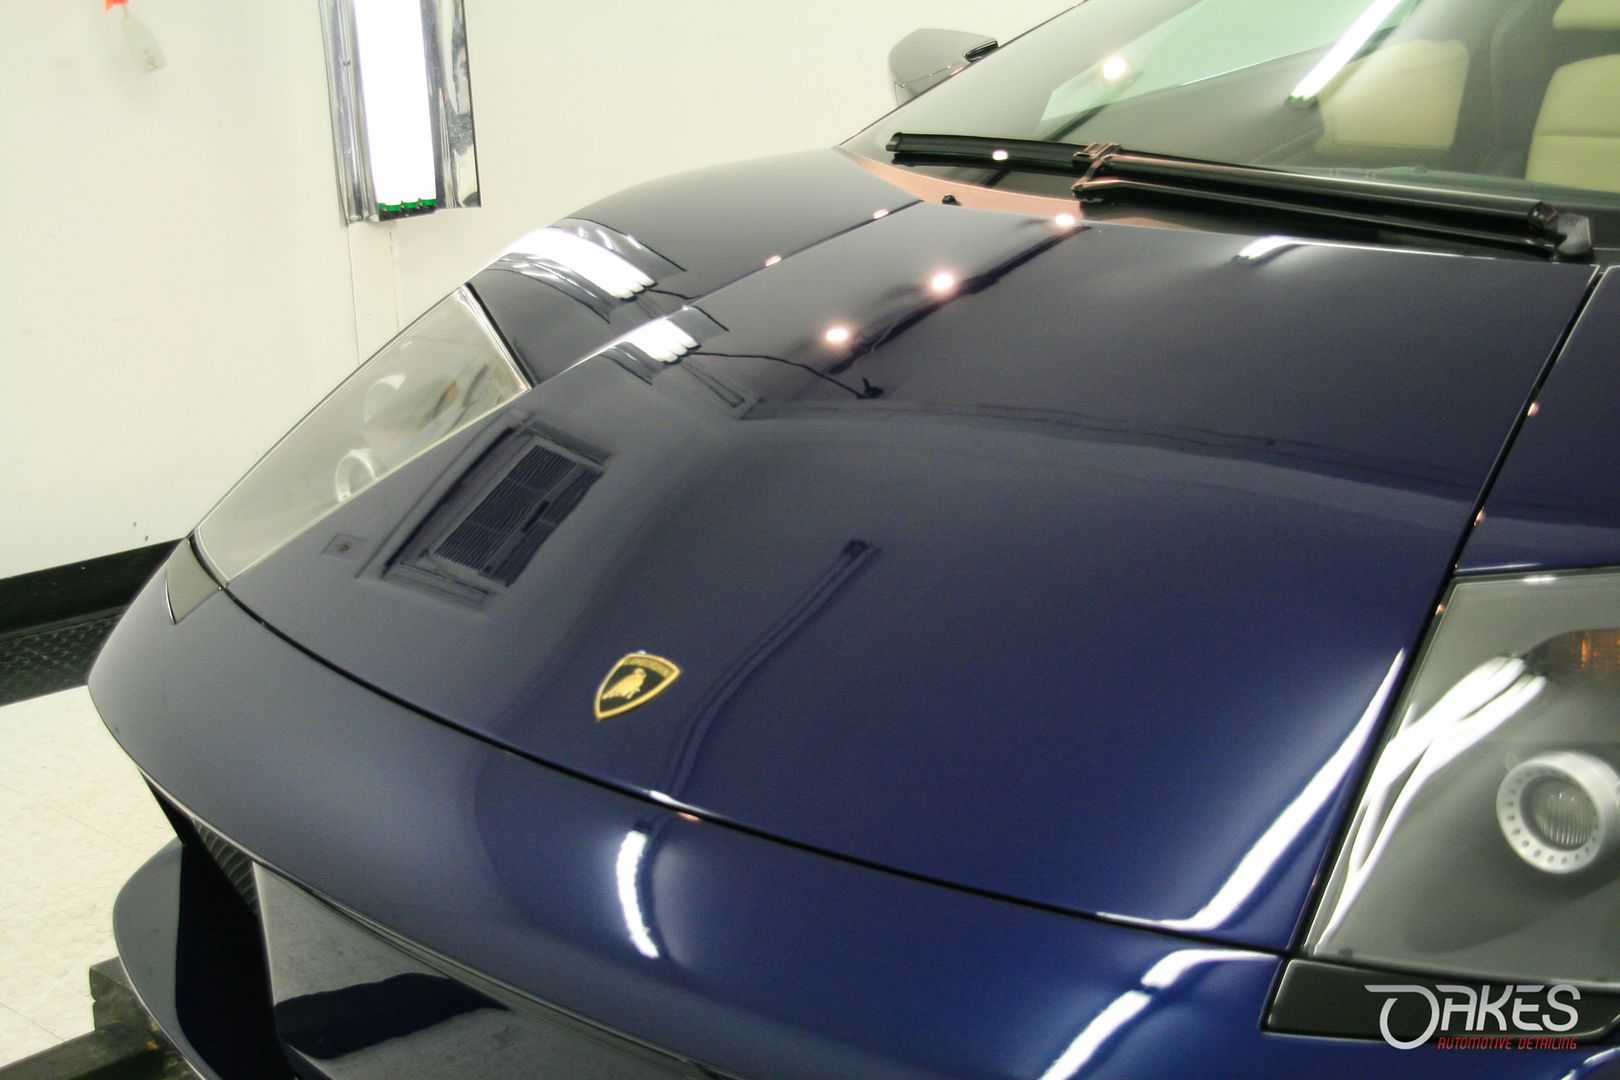
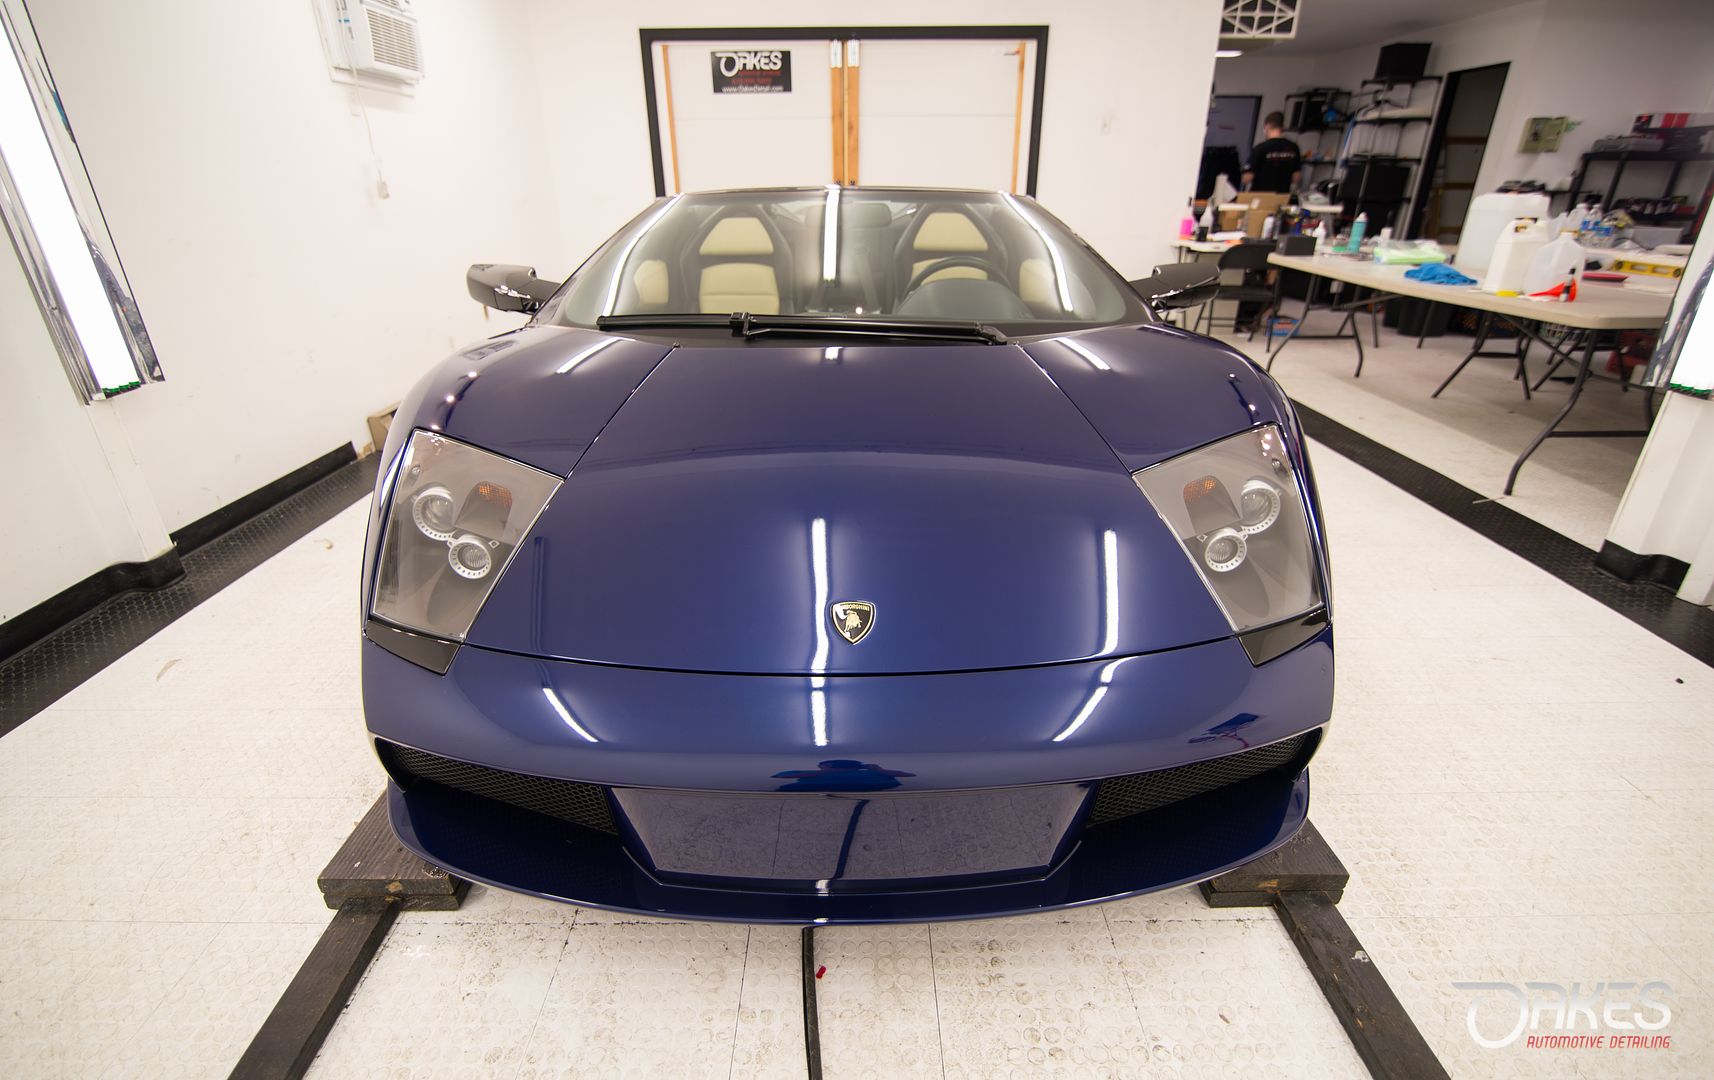
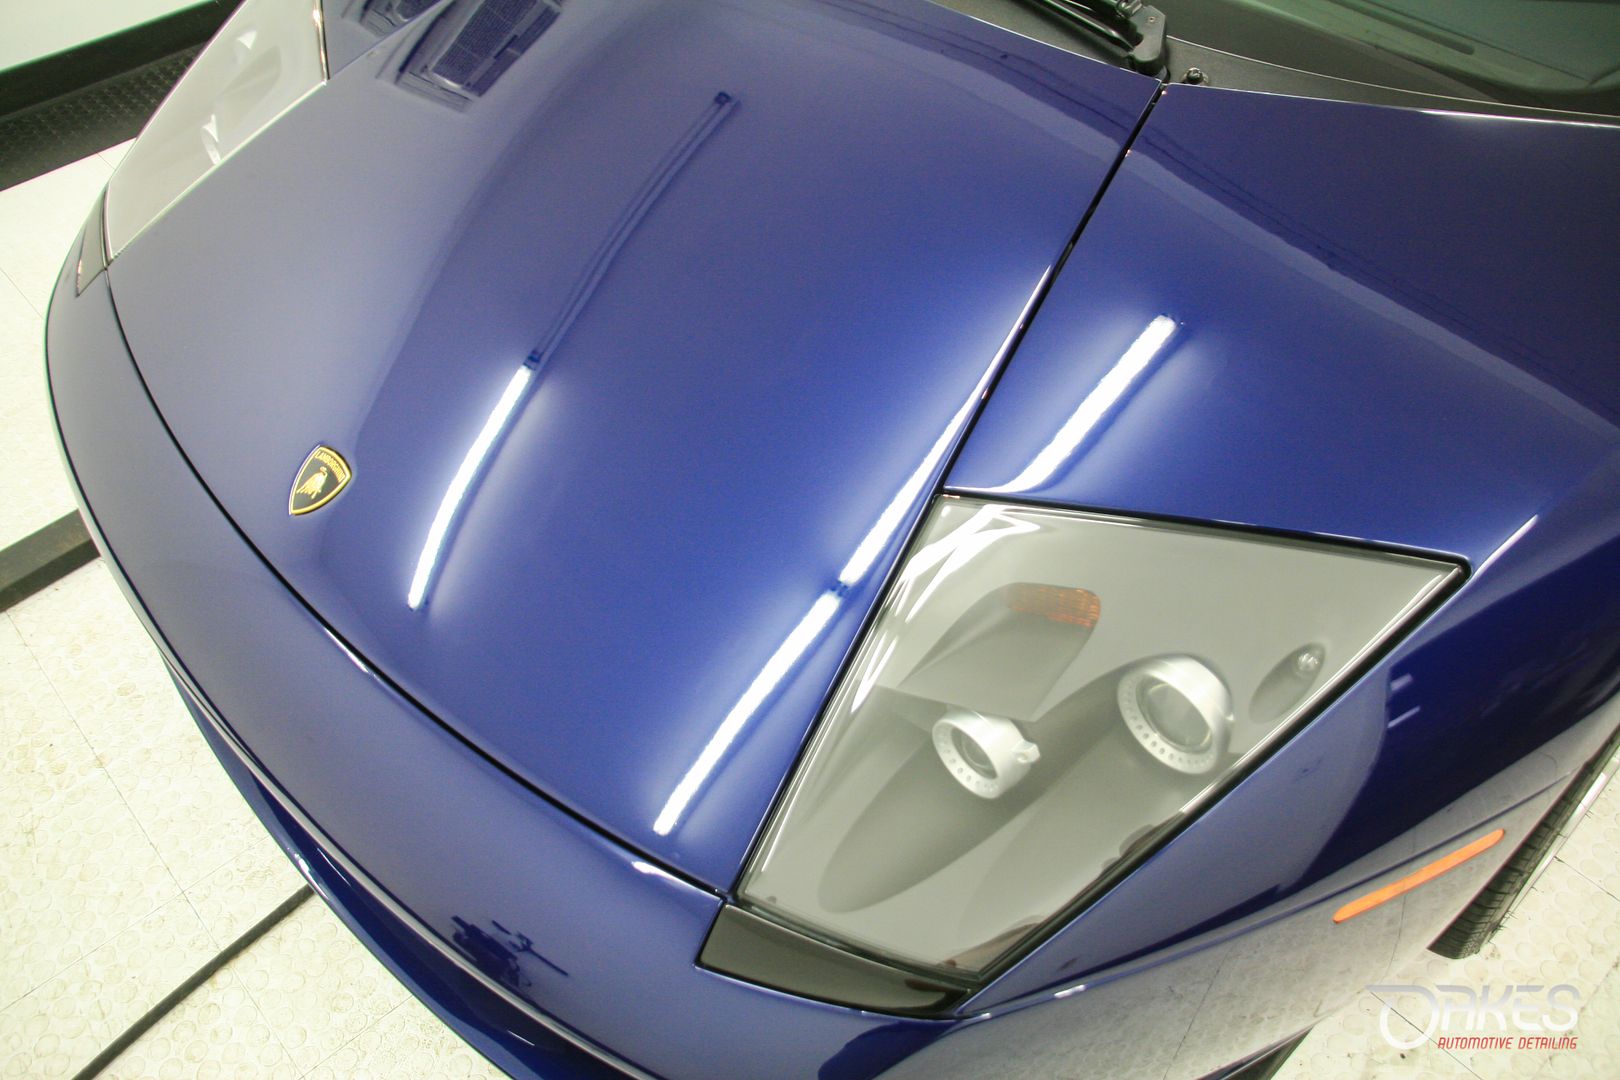
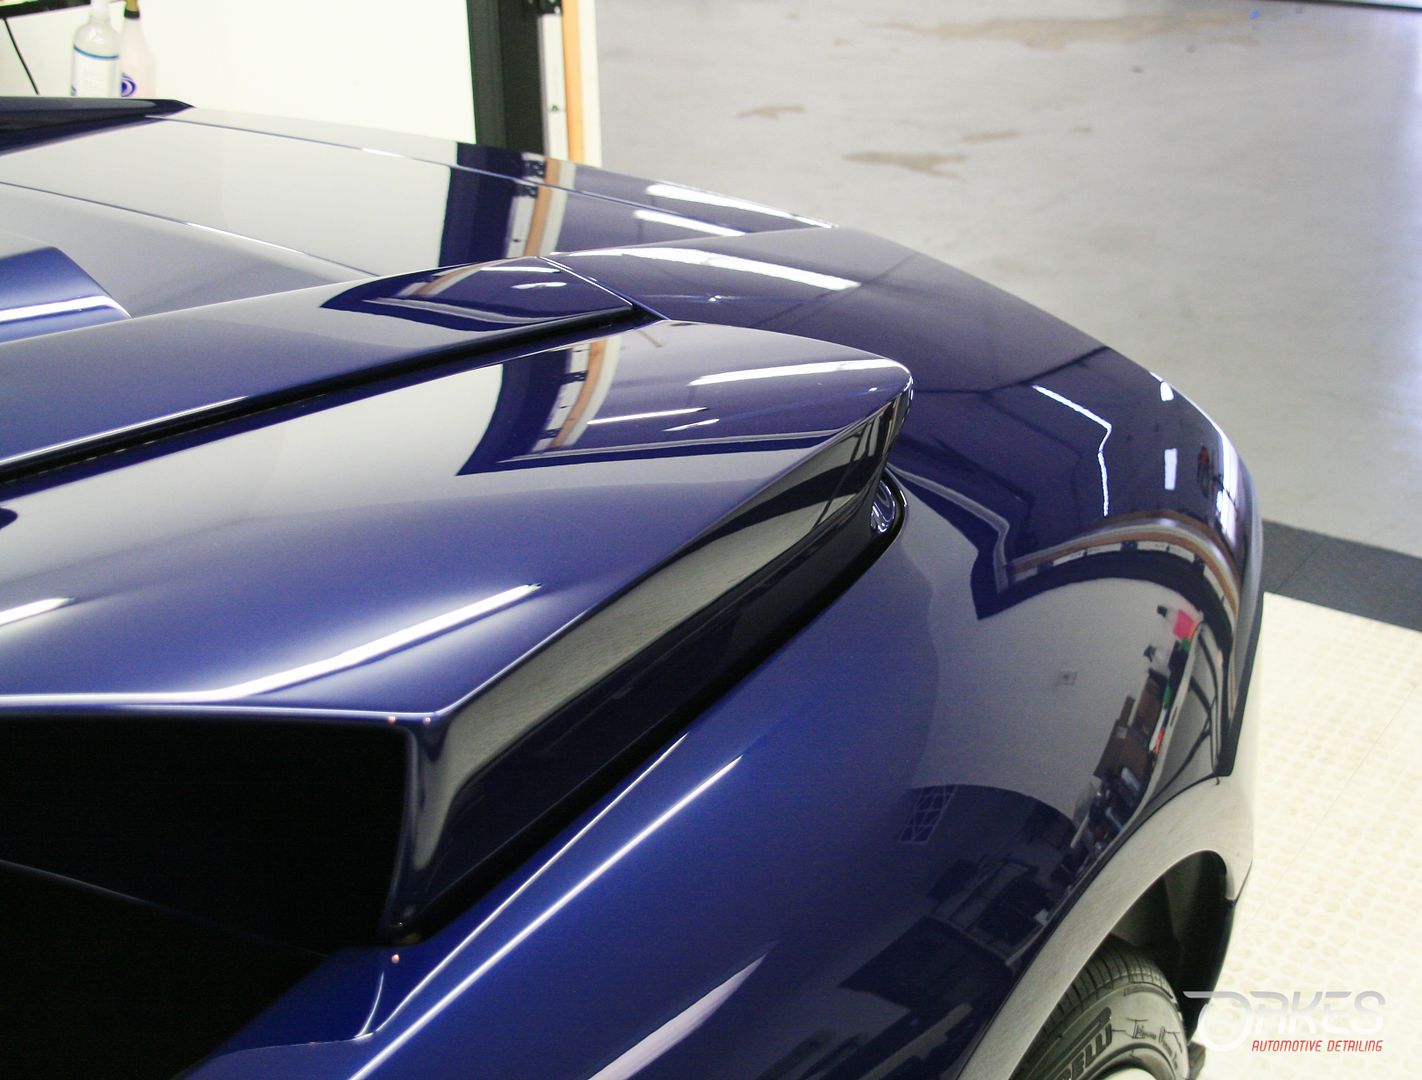
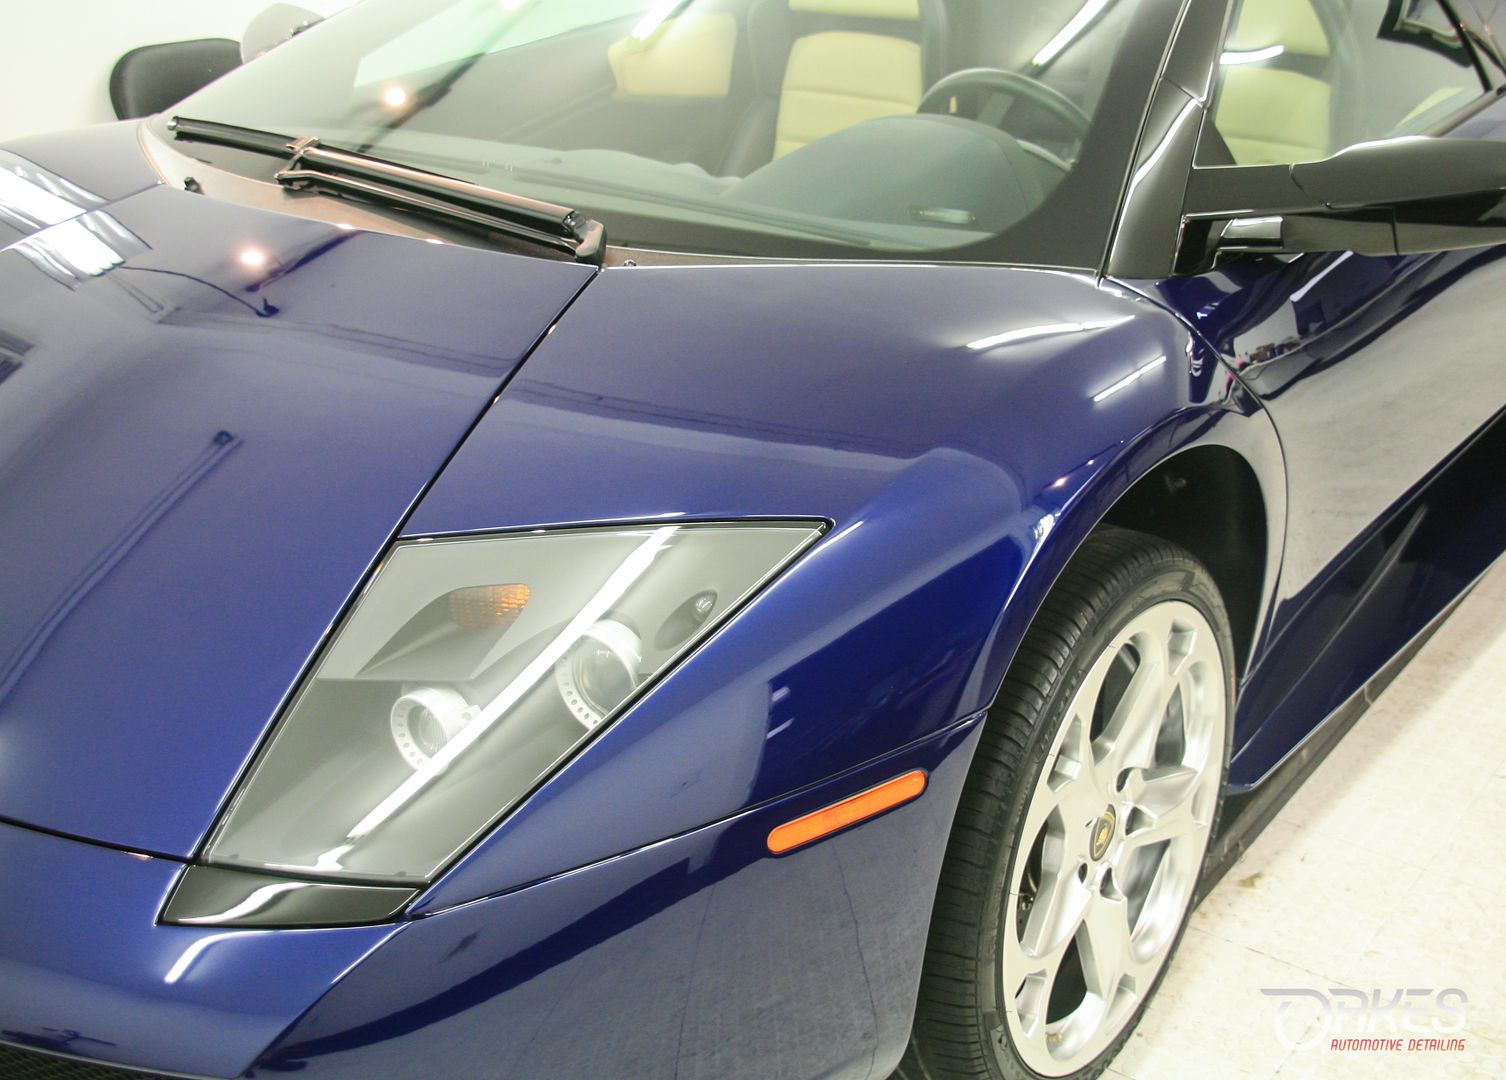
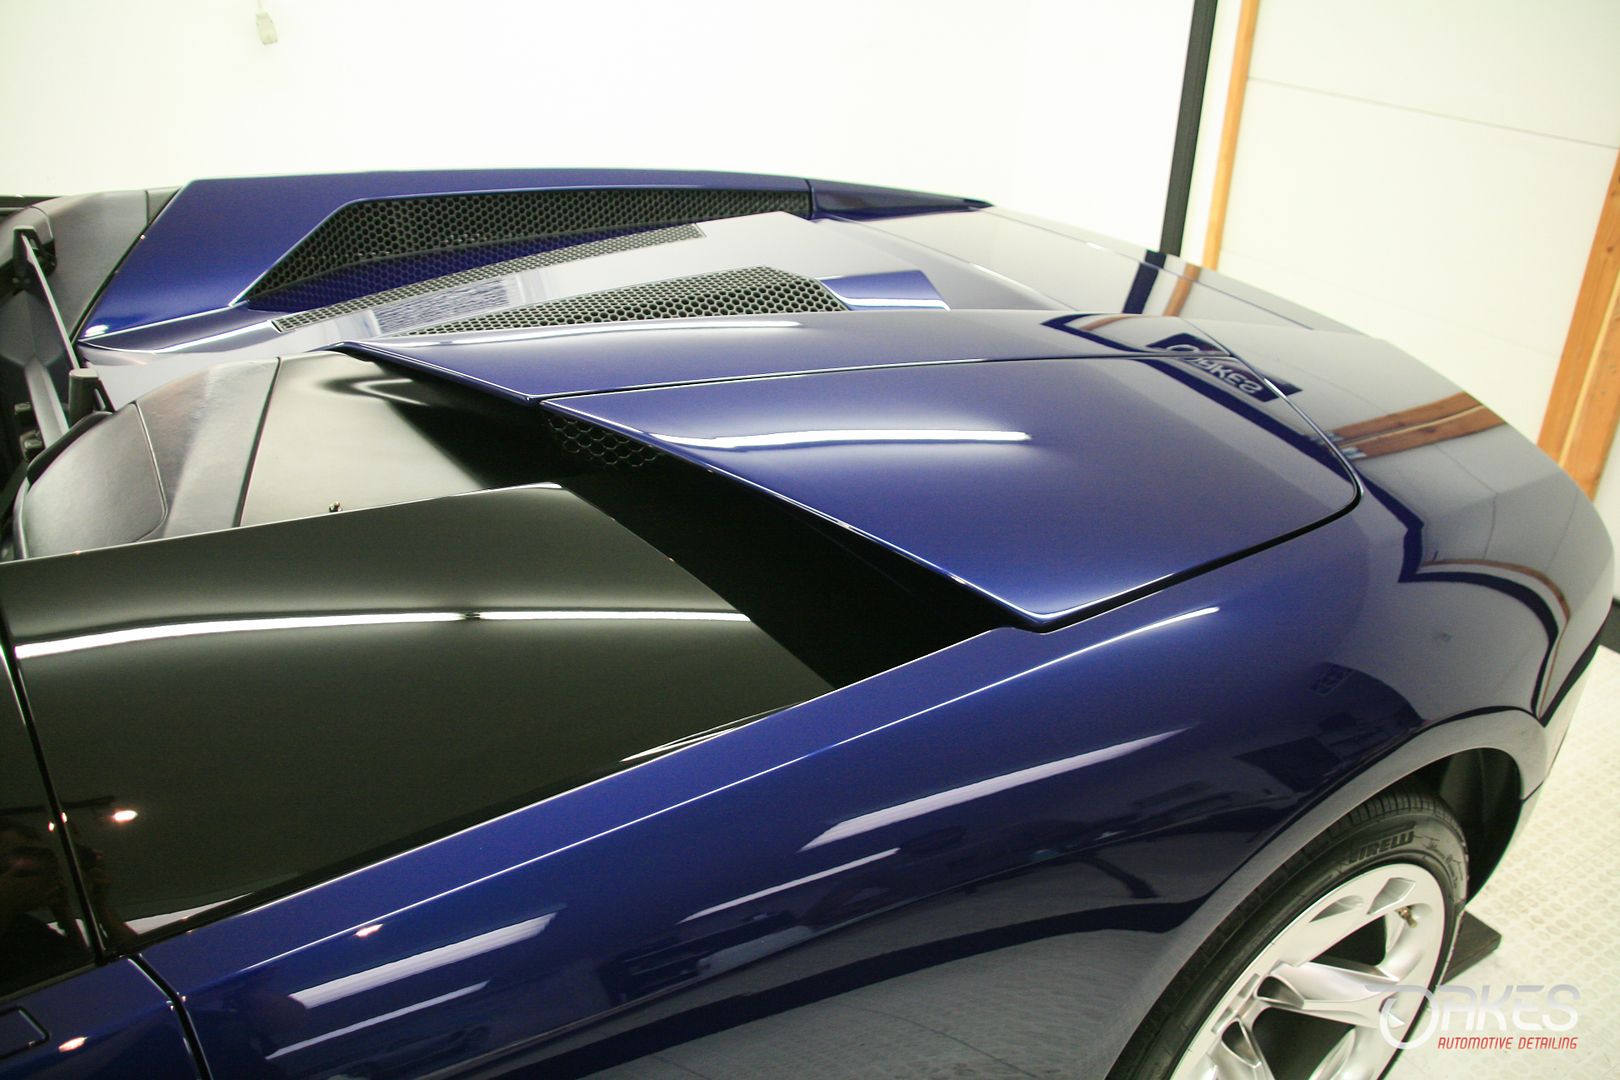
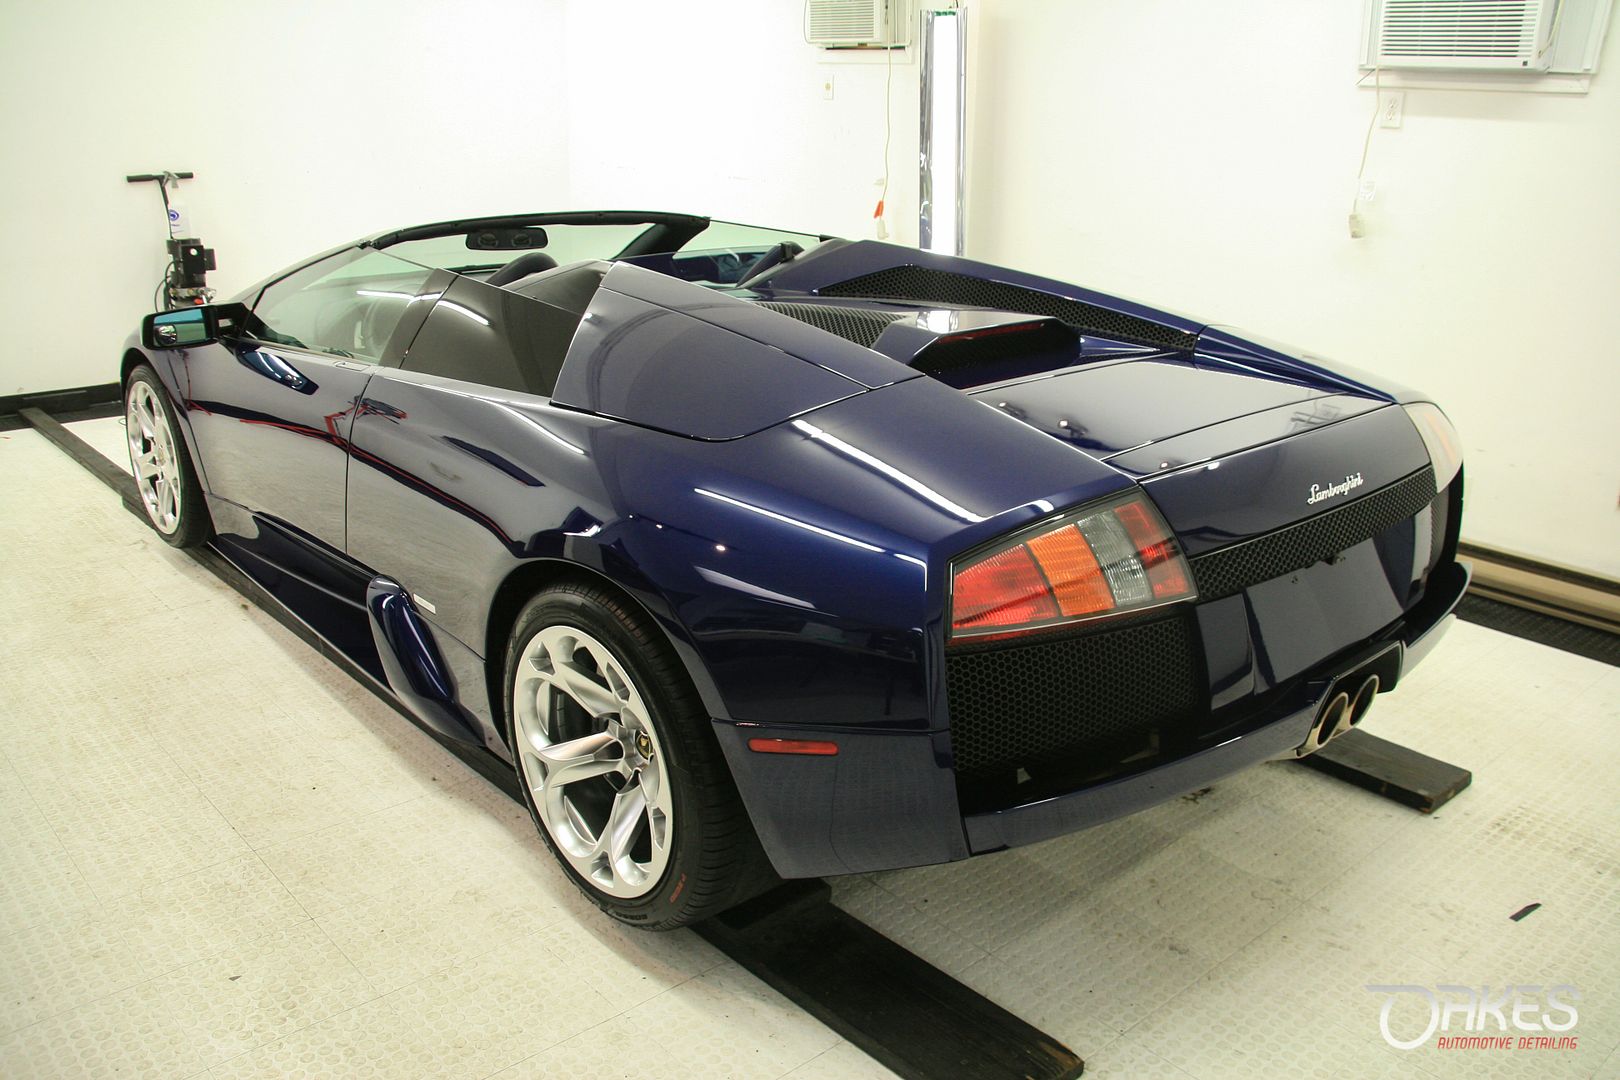
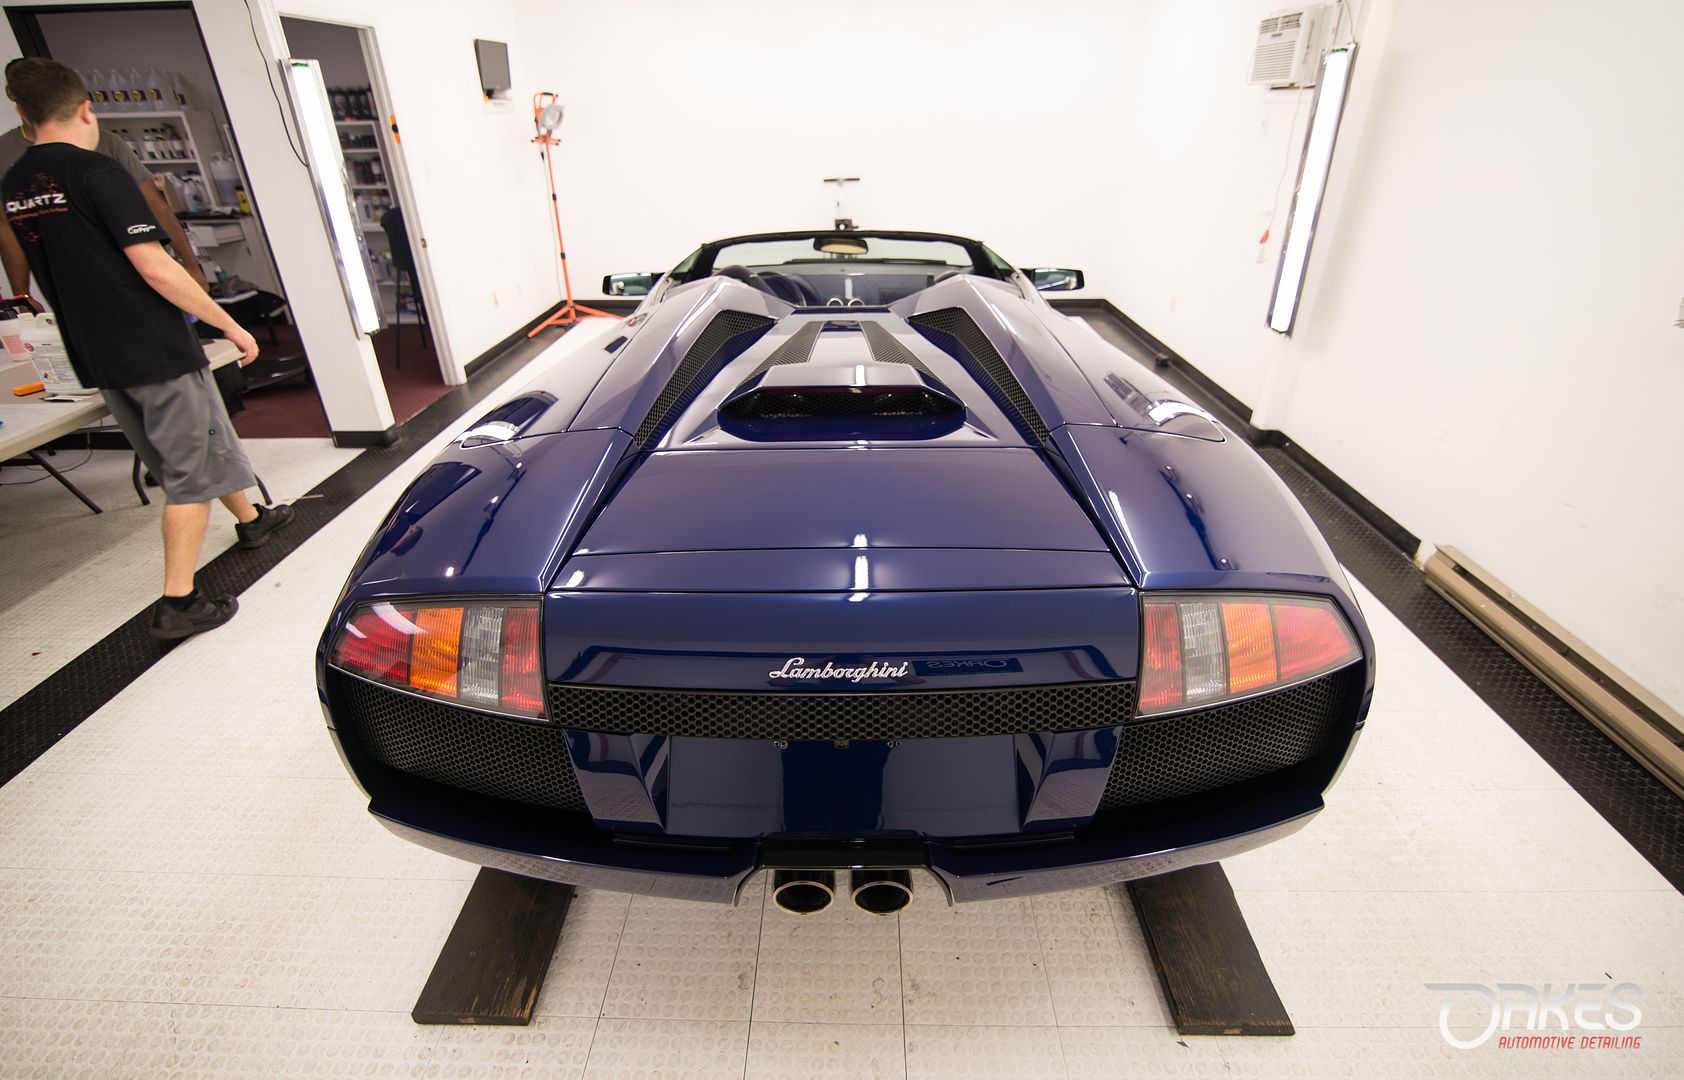
Now for the final shots of this rolling piece of art, showing the flawless film install and the pop from the correction and CQuartz Finest installation!


This project also included full undercarriage detail, requiring the removal of the wheels, followed up with paint correction and CQuartz Finest ceramic coating. I also installed new Xpel clear film and replacement of the existing battery tender wiring.
The following photo journey will show you all the start, evolution and finish. The pictures speak for themselves. Starting off with some shots of the existing partial clear bra showing its faded textured and dated templates with far more reliefs than necessary.


After removing the film, we could see that the front end was preserved in regards to rock chips, however the pre-film detail certainly left it’s mark….


Heavy marring and holograms were rather persistent through the whole vehicle, though most noticeable in the front end. With the film removed and the vehicle prepped, we moved ahead with the multi step correction. Lamborghini paint is a bit notorious for being stubborn but that caused no waiver here. A glimpse at some 50/50 photos and some more before and afters of the paint condition.


The front end was just the start of bringing the Blue Hera paint back to life, which was being served no justice in the state it was brought to me. The following photos show the front end in the process of being clear wrapped, the vehicle was completely corrected and detailed before the film was applied. Wanted to keep the results together to give more light to the final results from start to finish.


Photos showing the seamless edges and full wrap overs


Another before and after photo of the paint correction performed on the B-Pillar/Air Inlet section


A little out of order but here are the results of the undercarriage and wheel detail work, while on the lift all of four corners were completely degreased and treated. The rear underbody was polished and coated as well


The wheels cleaned, clayed, polished, re-prepped and then airbrushed with Cquartz DLUX ceramic coating


Now for the final shots of this rolling piece of art, showing the flawless film install and the pop from the correction and CQuartz Finest installation!


")
