LawrenceSA
New member
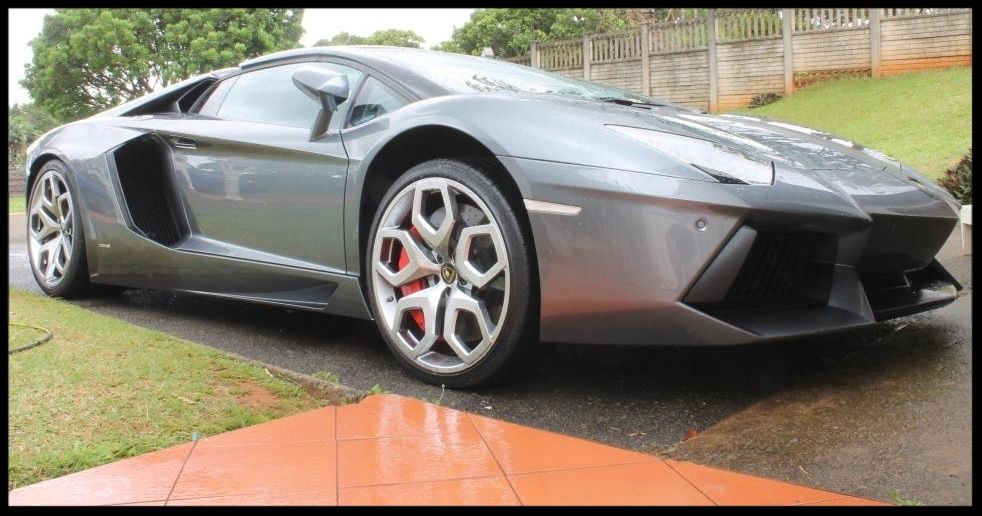
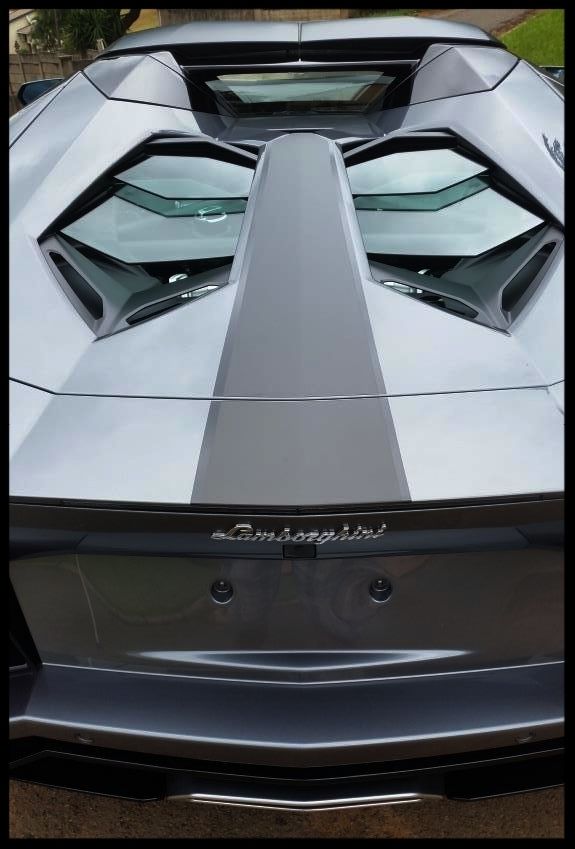
This beauty in a color called 'Grigio Estoque' belongs to a good customer of mine who recently purchased from the original owner, who was using it as a daily :crazy:
This was the first time I've ever been near any Lamborghini, so I was as excited as a little kid on Christmas at the thought of spending 4 days up close and personal with one, and it lived up to all my expectations, and more :grin:
A couple of quick thoughts...
- The way it sounds on start up (especially in the garage) is just :drool:
- The way it sounds when the owner leaves and gives it beans up my road is even better
- Its wide (the middle of the engine bay area is tough to get to)
- Its low, and getting in and out is interesting
- You can't see much of the front end when driving it in or out my garage - I won't lie, I was a tad nervous
- Cleaning the inside of the front windscreen was by far the toughest one I have done - it's deceptively big and the angle with the dash, the the shape of the seats and centre console, means you need to be a contortionist. I'm not. :lol:
So let's get detailing....
Engine bay
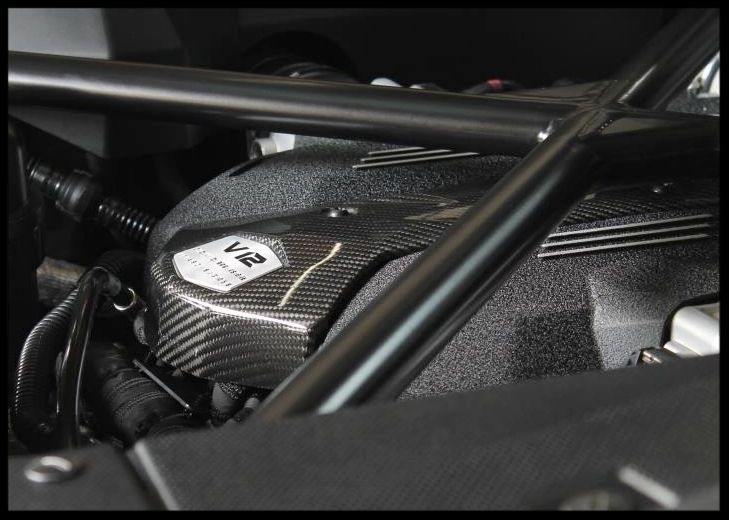
Just look at it. A 6.5l V12 making 515kw / 690nm that rockets it from 0-100 in 3s flat and on to 350km/hr :driving: :drool:
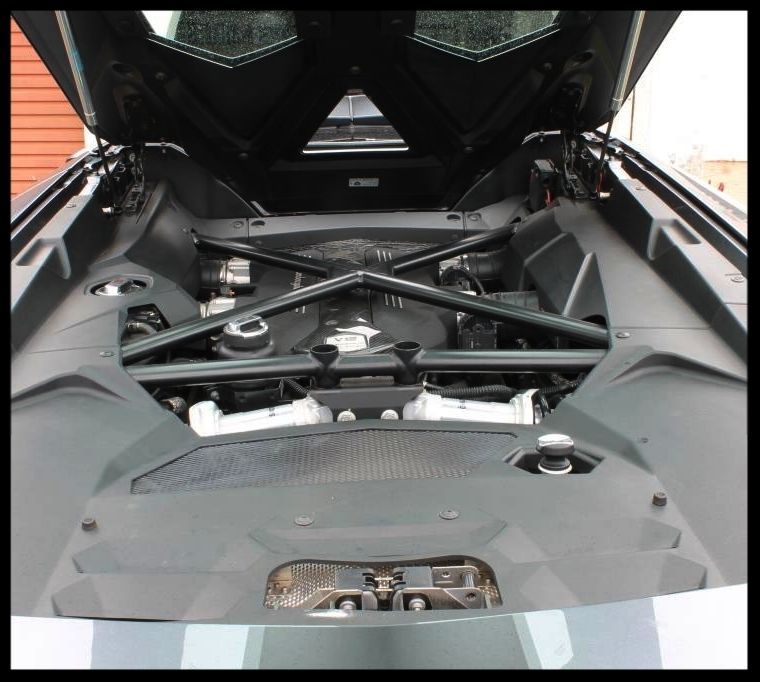
But it needed a clean.

After covering up any sensitive areas the underside of the carbon fibre engine bonnet was given a HP rinse, sprayed with Carchem APC which was left to dwell, before being agitated with various brushes and MF towles and HP rinsed again. I then repeated this process on the entire bay itself including all the plastics, and then dried everything with a blower.
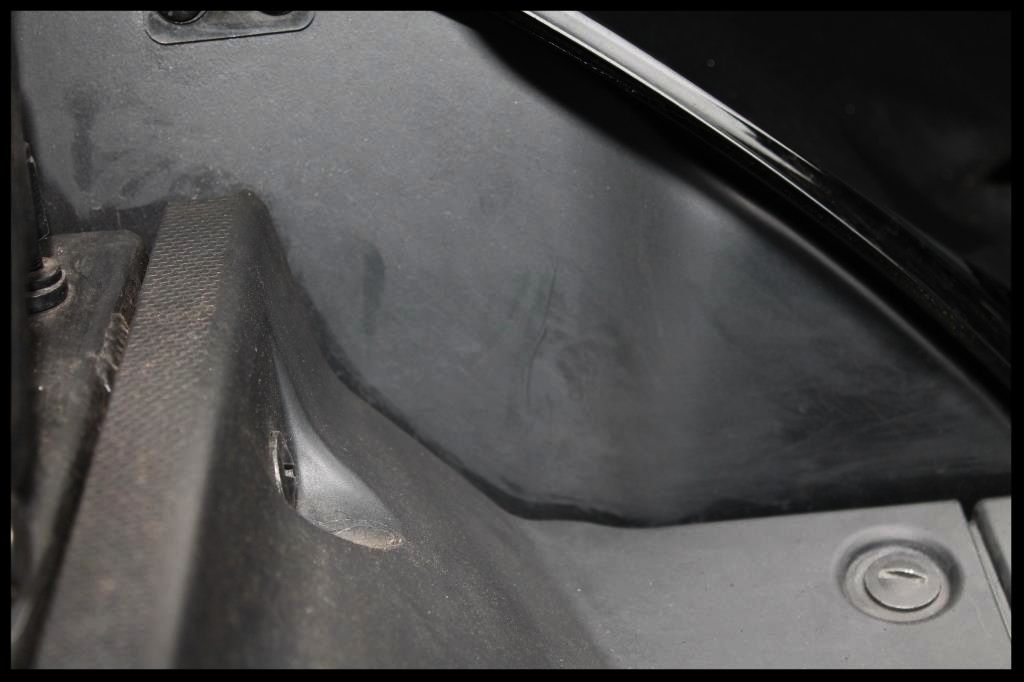
As you can see here, the underside of the engine cover/bonnet didn't look so great.
After trying many glazes and AIO's, then only thing that really worked ok was Meguiars #7, worked in by hand with a MF applicator pad and buffed off.
The carbon fibre cover on the middle of the engine was hand polished using Meznerna 3-in-1
Wheels
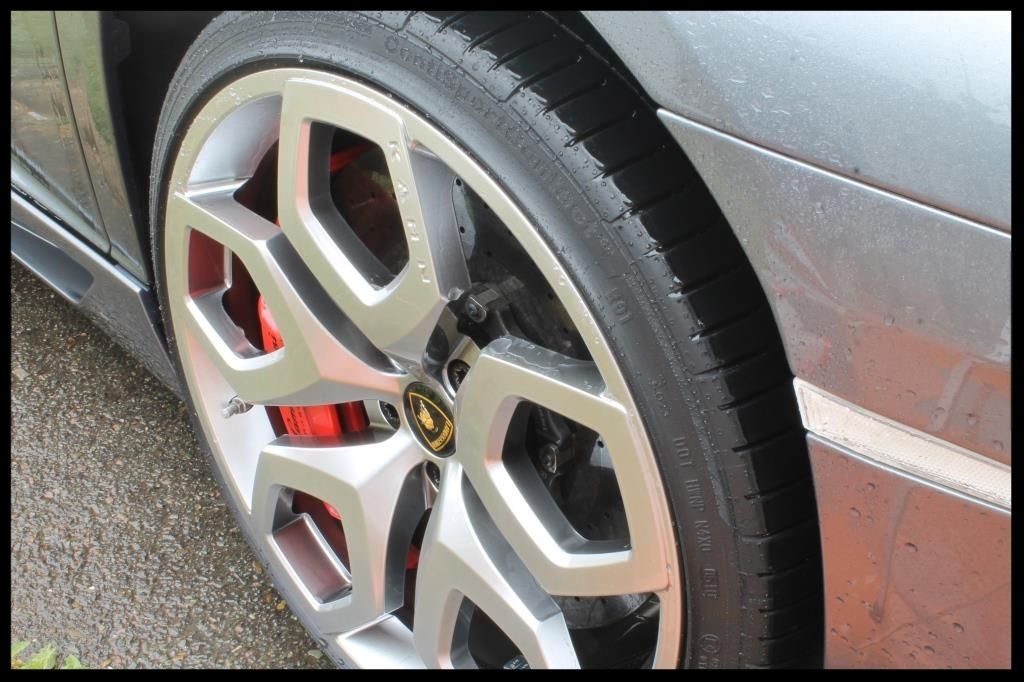
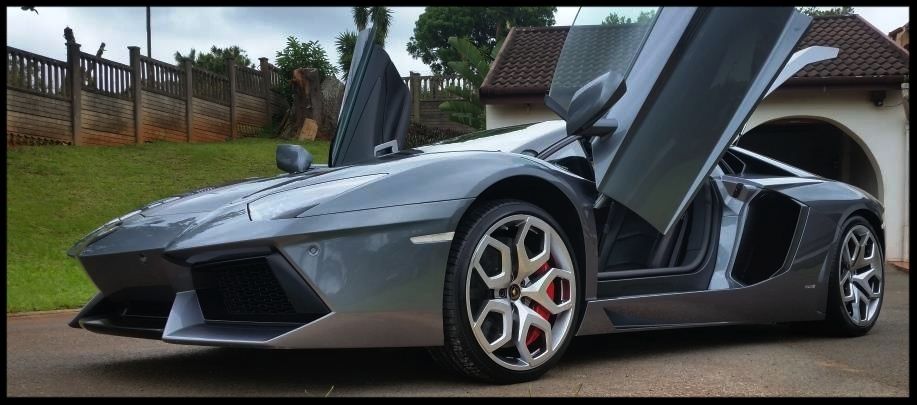
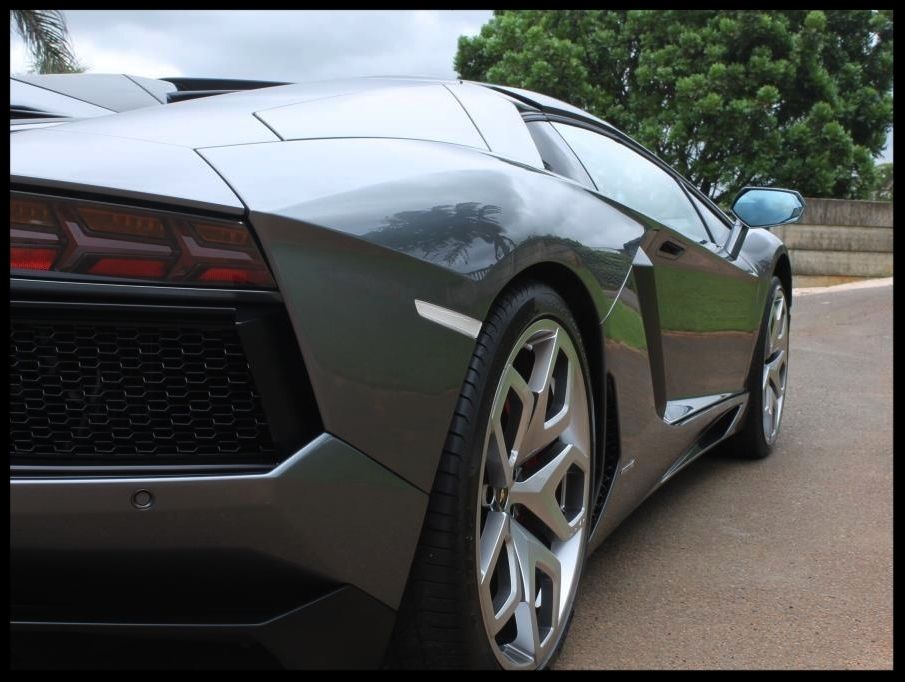
A beautiful set of Khan Santagatas in Silver Platinum :drool:
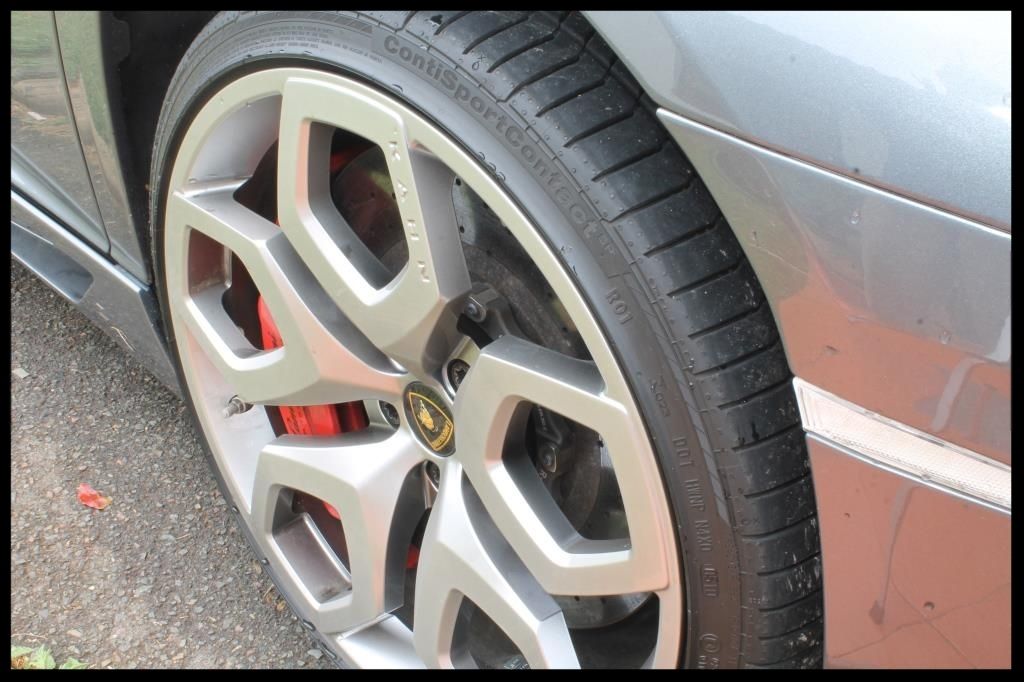
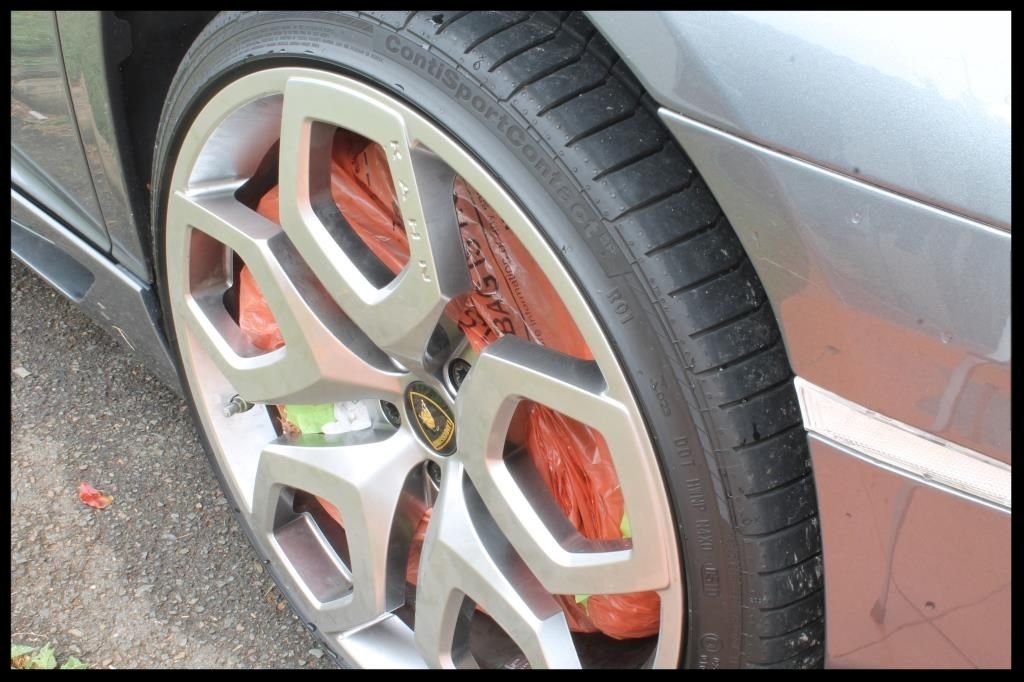
The car is fitted with Carbon Ceramic Brakes and so if you were to get any chemicals on the rotors or pads, they would absorb the chemical as they are porous, causing damage. So I used plastic bags to cover these areas up to avoid an eye watering replacement cost. :fear:
I then HP rinsed the fender wells, tires and wheels. The plastic fender liners in the rear fender wells were cleaned using Carchem APC and various brushes. Regular maintenance washes with a gentle PH neutral cleaner would negate the need for a deep clean with stronger chemicals, but in this case I had to use Angelwax Billberry Wheel Cleaner through a foaming trigger spray bottle.
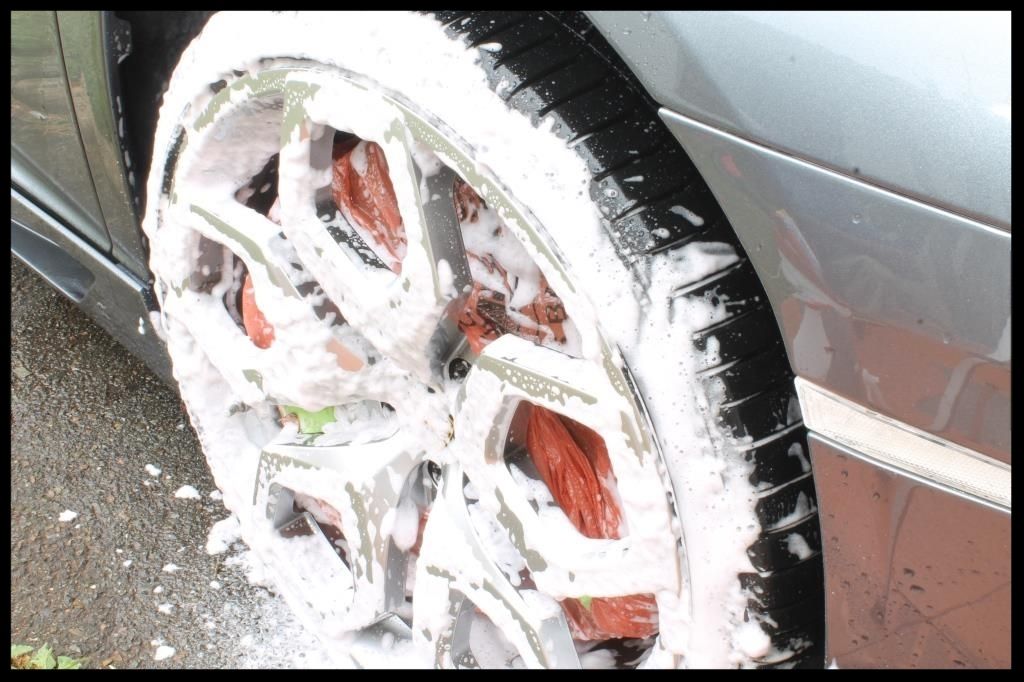
And used it on the tires too
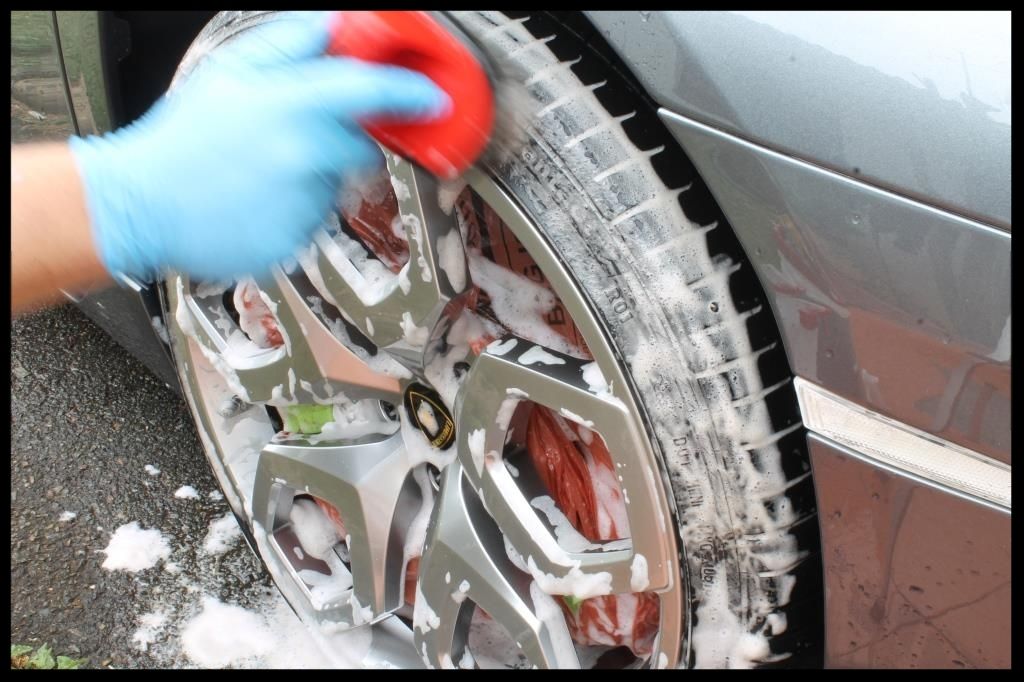

Leaving the tires and wheels clean
Once the car had been pulled back inside the wheels were dried and given a coat of Menznera Powerlock which was left to set up for about an hour, then wiped off and left to cure until the following day, when a 2nd coat was applied.
The tires were also dressed with 2 coats of Carchem Tire and Trim Gel
The plastic fender liners in the rear fender wells were dressed using Autofinesse Dressel, which was sprayed on, left for an hour to settle and then buffed to ensure an even finish with no excess product left behind.
Wash
First, a thorough HP rinsing to remove any loose dirt
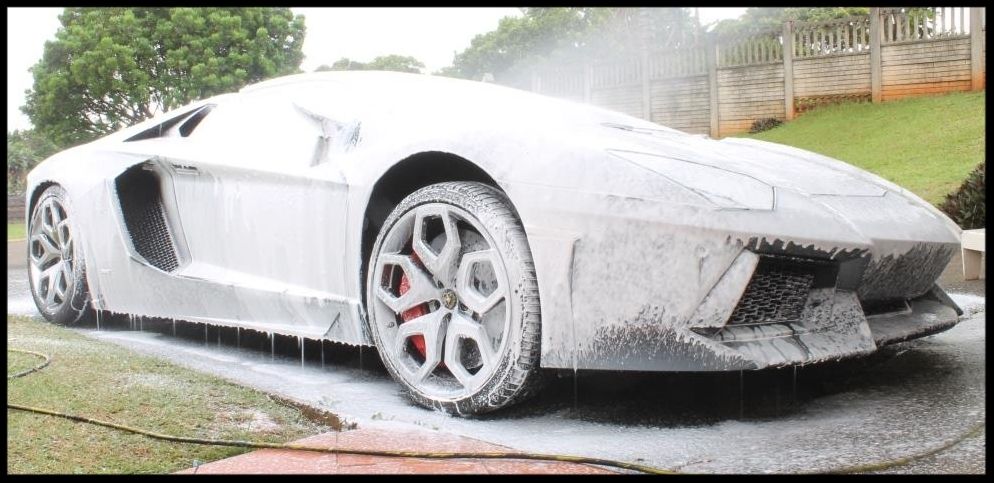
Then Angelwax Fastfoam was applied and left to dwell to help soften the remaining dirt
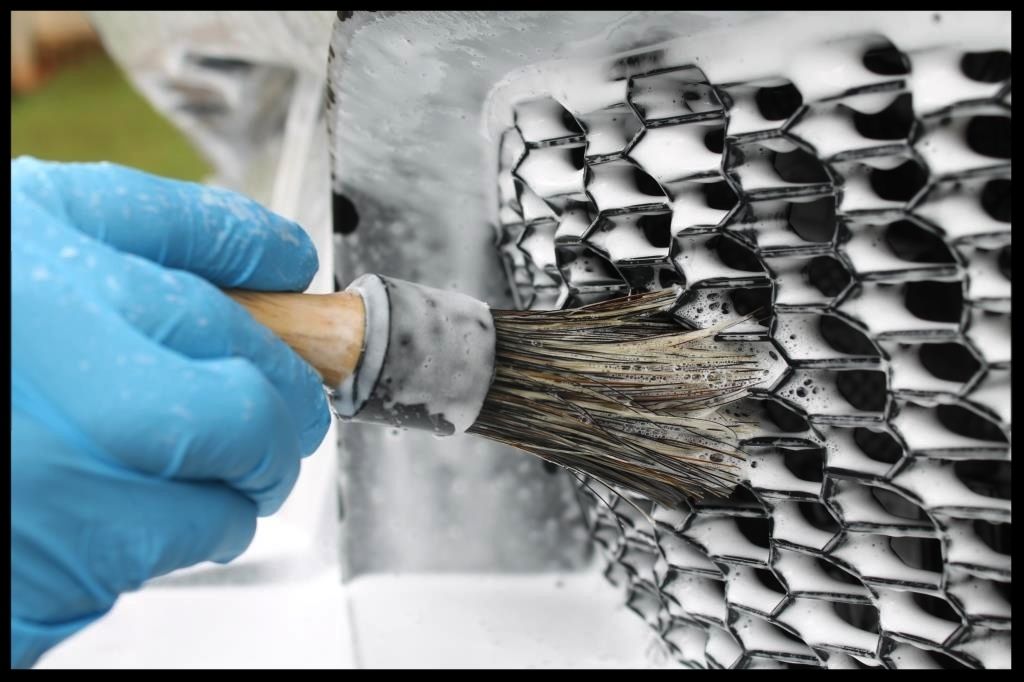
During which time the honeycomb grills and emblems were agitated
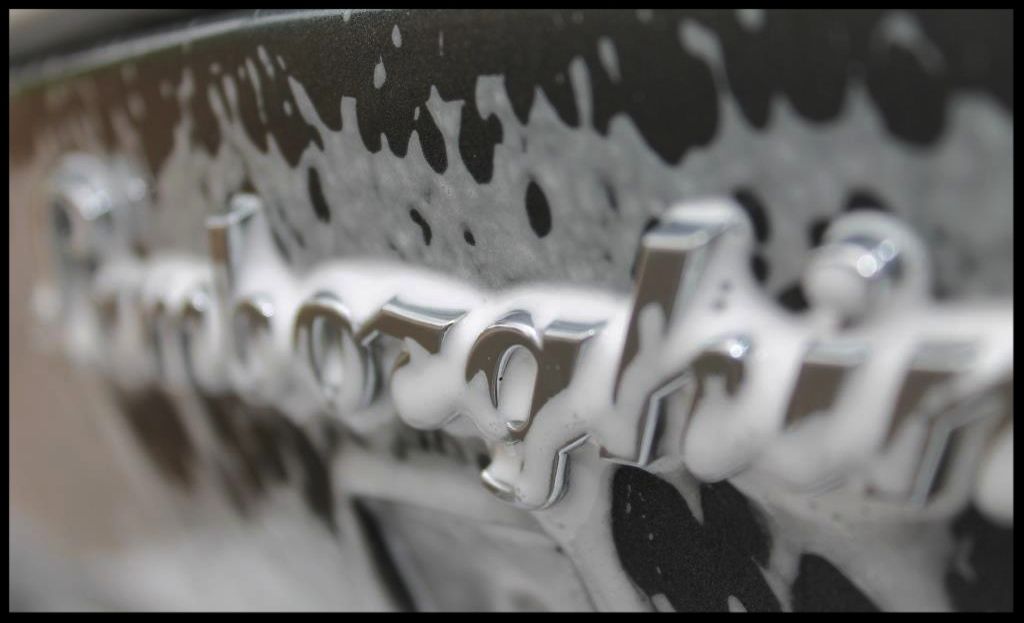
The foam was then HP rinsed off and the car washed using multiple lambswool wash mitts, 2 buckets with grit guards and Carchem Luxury Shampoo in some warm water. Another HP rinse followed by a flood rinse and then I (carefully) pulled the car back into the garage where she was dried off using a combination of a blower and waffle weave drying towels with ONR as a drying aid.
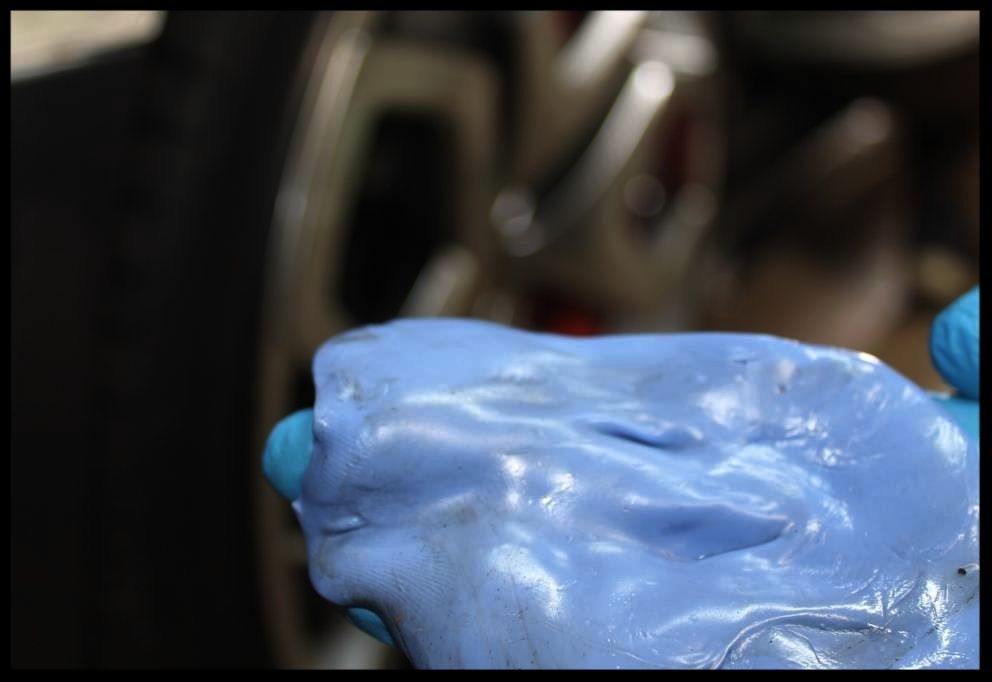
Decontamination
There was a fair amount of contamination on the car and so Shield Heavy Duty Clay was used with ONR as lube - this included all painted surfaces as well as the outside glass (including the panes of glass in the engine cover/bonnet - but more on that later).
Paint Correction
Prior to detailing the car I had watched an episode of 'How its made, dream cars' on the Aventador in which they explained how the painting process involved 200 man-hours. You would think with that much time invested, the paint would be perfect, but sadly it wasn't. The car was riddled with sanding marks that were not removed at the factory and with the paint being hard, I had my work cut out for me.
The engine bonnet/cover, wing and side air inlets are made from carbon fibre, the roof from a different type and the rear fenders and rocker covers from yet another type.
The front fenders, doors and bonnet from aluminium
Where I could obtain paint thickness readings, they ranged from 221µ to 389µ
With so many sharp angles and edges a lot of taping was required in preparation for correction.
The color made it quite difficult to capture the defects and you may have to zoom in on some of the pics to see better (sorry)
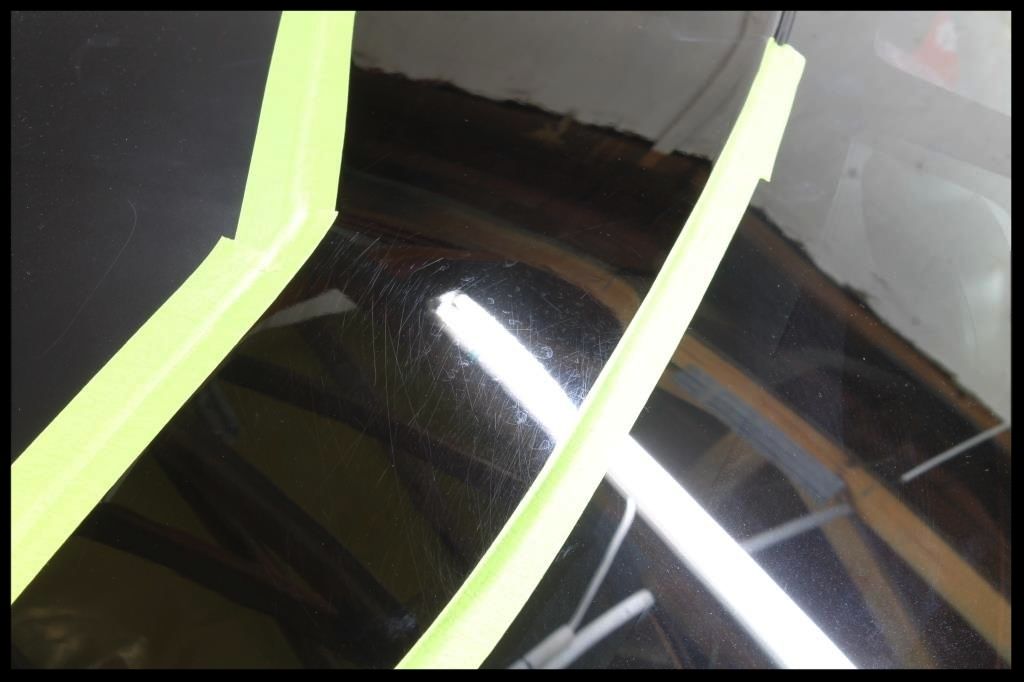
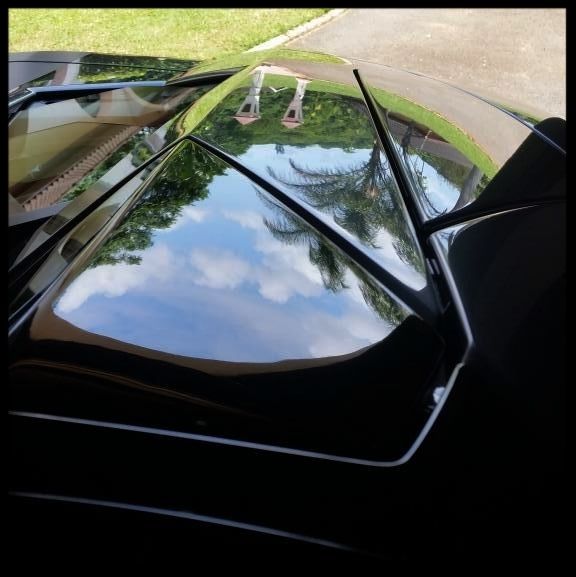
The gloss black section around the front windscreen
Before
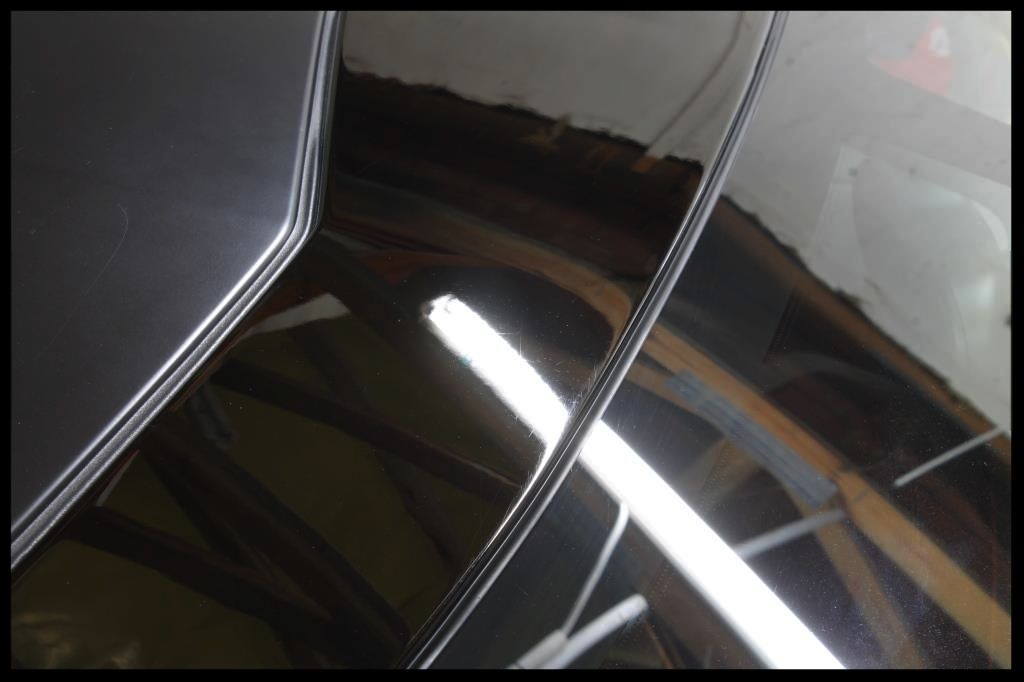
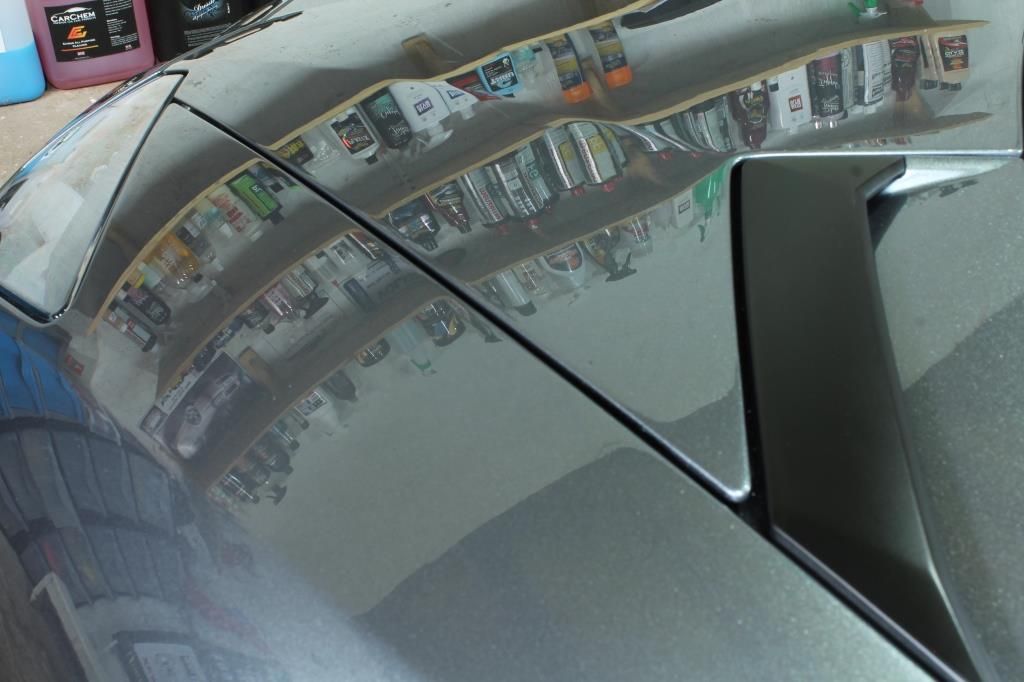
After Flex 3401 | Menzerna FG400 + Orange Lake Country Hybrid | Menzerna SF4000 + Black Lake Country Hybrid
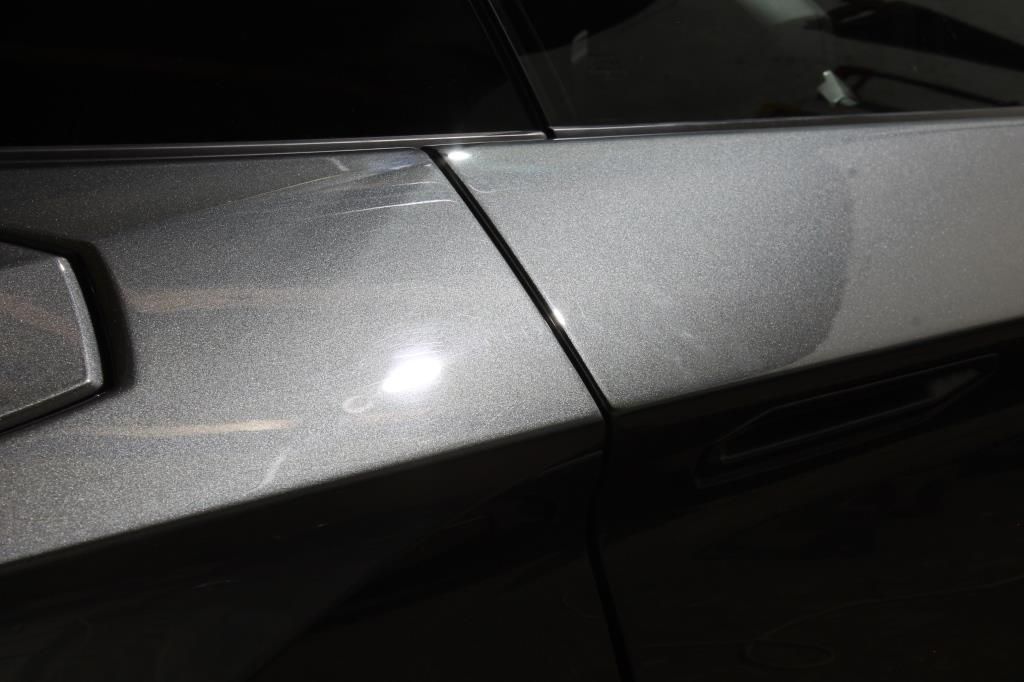
Rear fender before
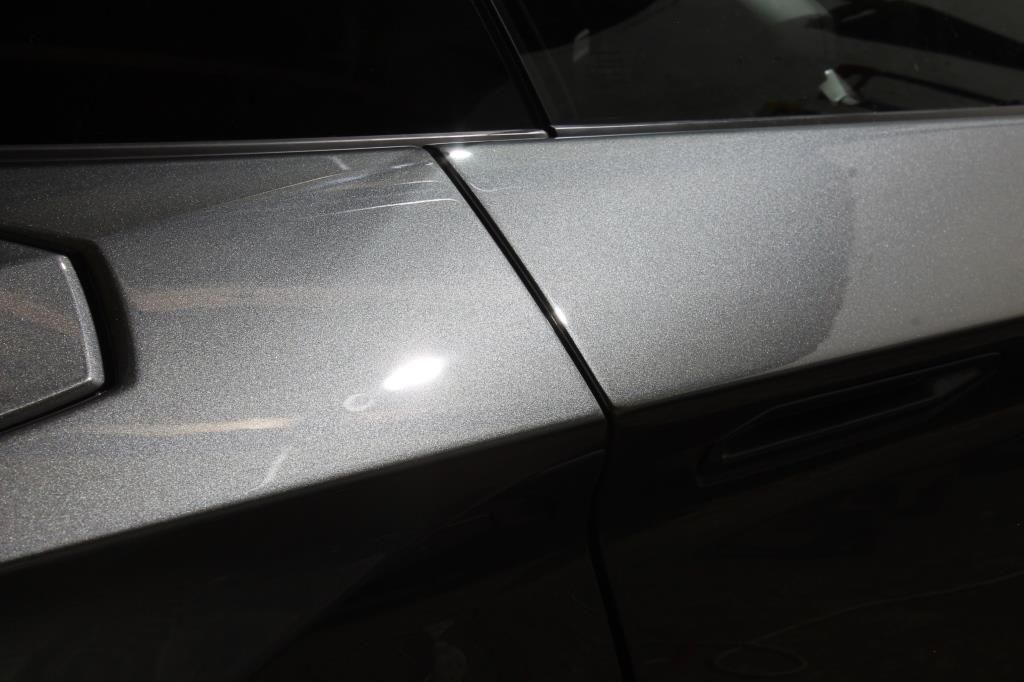
After Flex 3401 | Menzerna FG400 + Wool Lake Country Hybrid | Menzerna SF4000 + Black Lake Country Hybrid
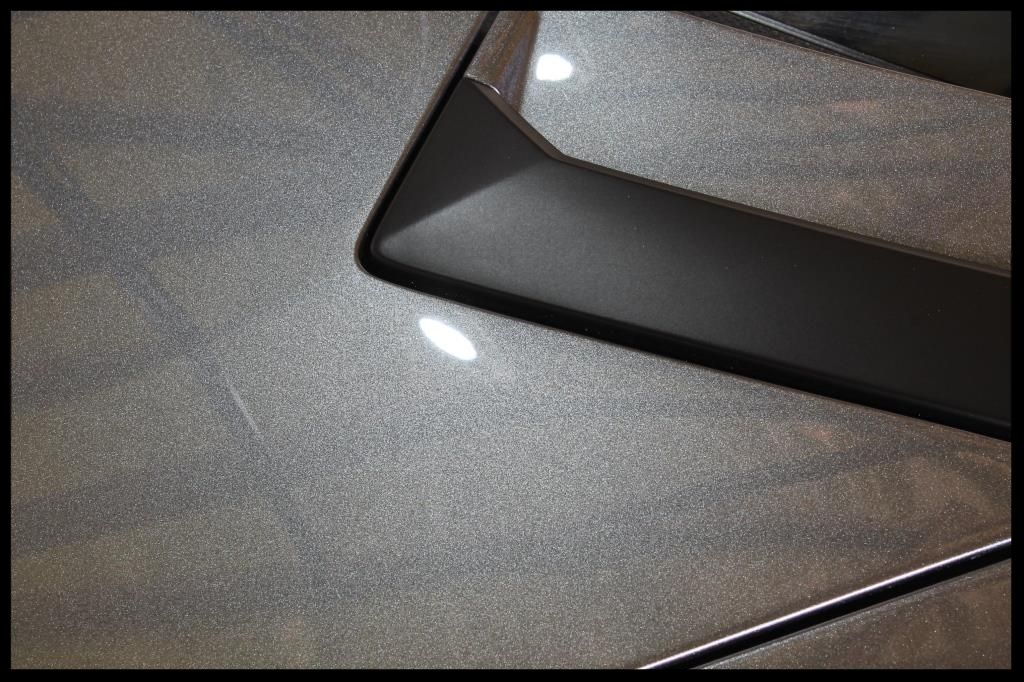
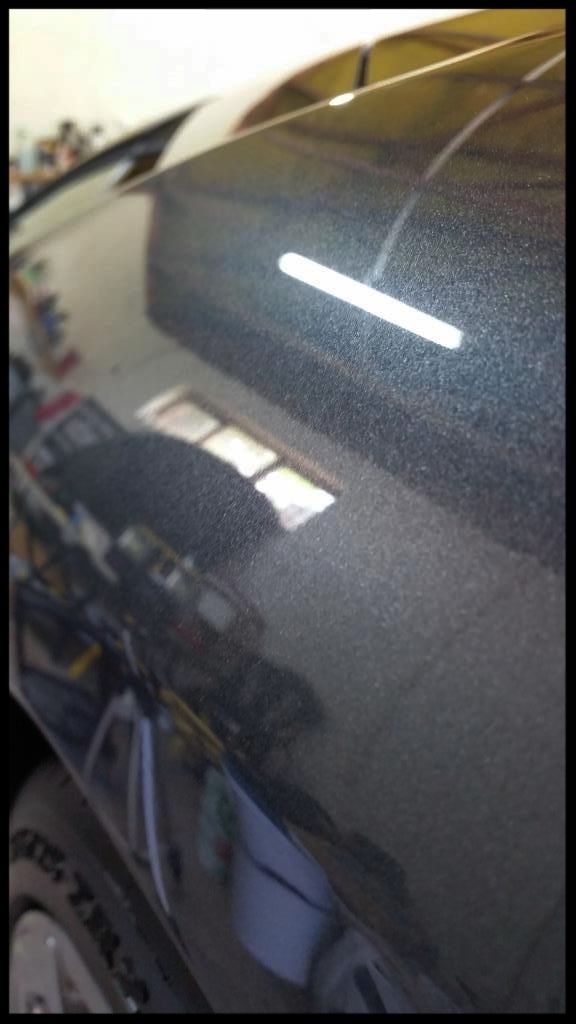
Some sanding marks on the bonnet (to the left of the bottom light reflection) before [zoom in]

After Flex 3401 | Menzerna FG400 + Wool Lake Country Hybrid | Menzerna SF4000 + Black Lake Country Hybrid
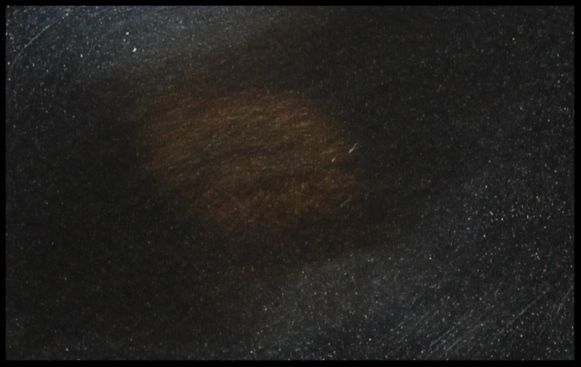
Some etching on the bonnet (look in the left light reflection) before
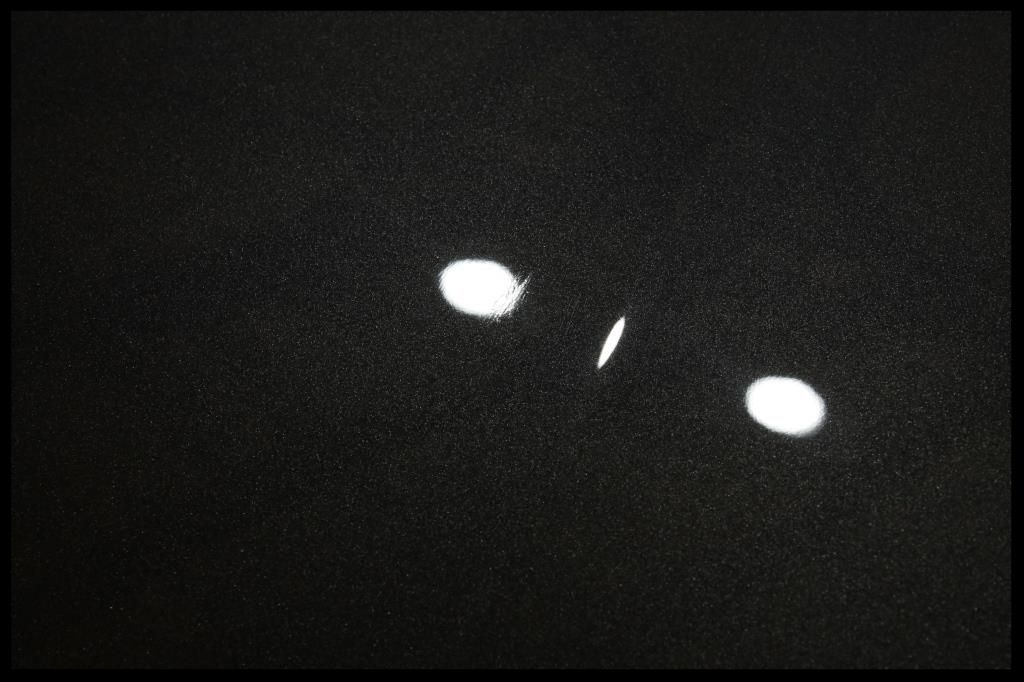
A close up

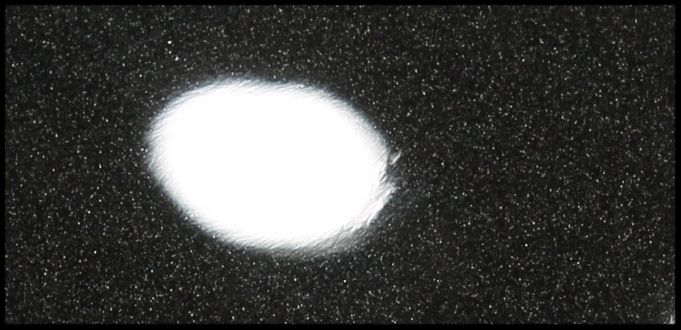
After sanding with 3000 grit
After Flex 3401 | Menzerna FG400 + Wool Lake Country Hybrid | Menzerna SF4000 + Black Lake Country Hybrid
Protection
The car was wiped down with Gyeon Prep to remove any polishing oils and ensure the paint was 100% clean to allow the sealant to properly bond.
I then applied a coat of Dodo Juice Iron Gloss, working panel by panel.
The following day I then topped this with a coat of Dodo Juice Purple Haze.
Exhaust
This was polished using Meguiars NXT All Metal Polish [no pics, sorry]
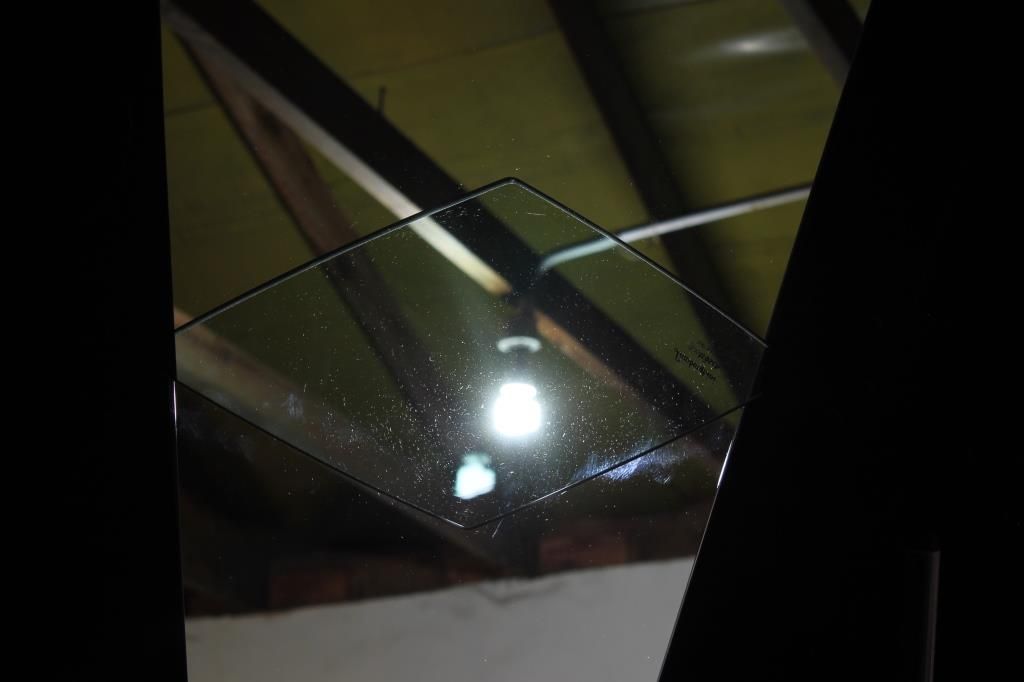
Glass
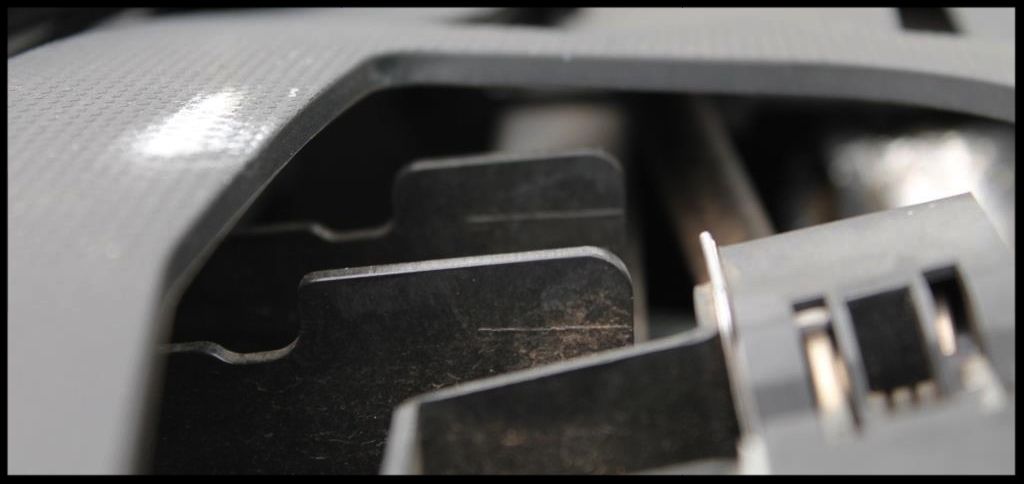
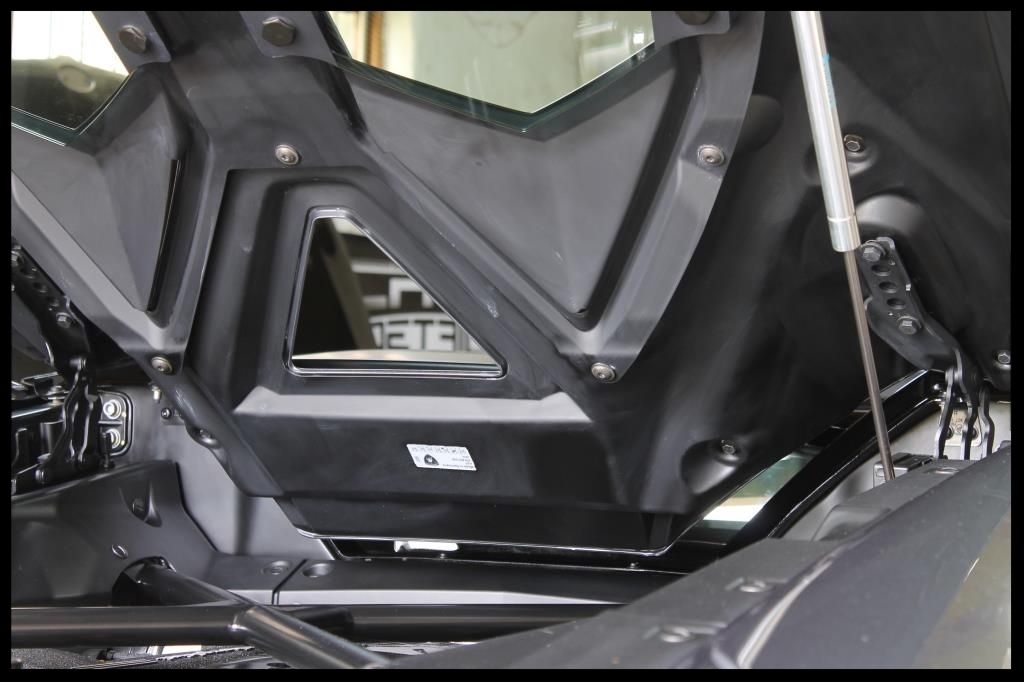
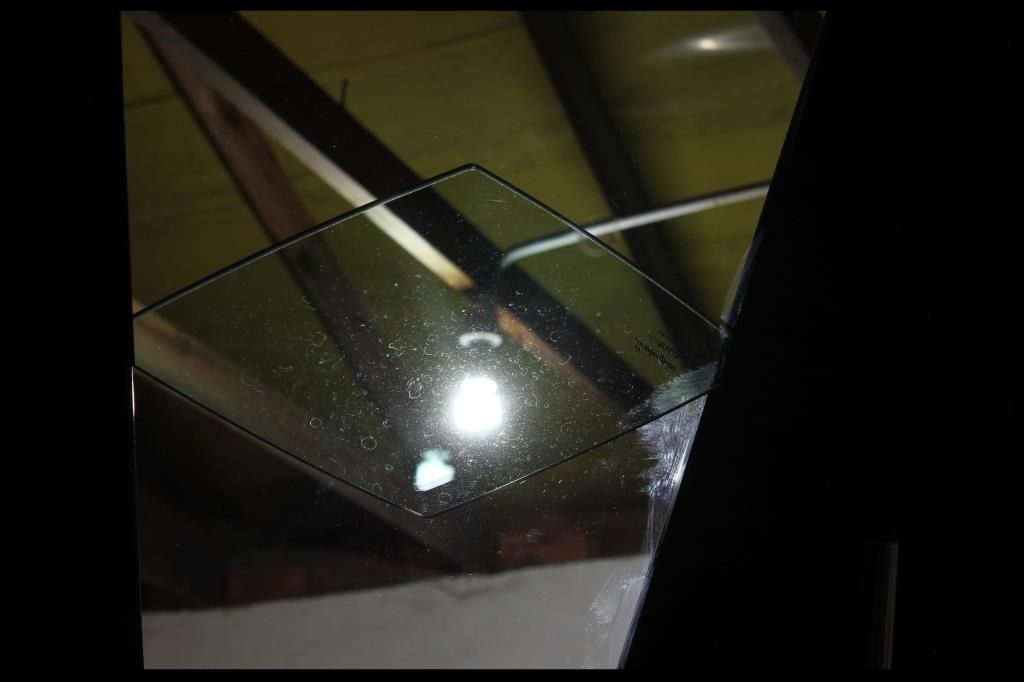
These glass panes located in the engine bonnet/cover were riddled with water spots, primarily where the 2 panes overlap - I presume whomever has been washing it has found it too difficult to dry there properly.
Before
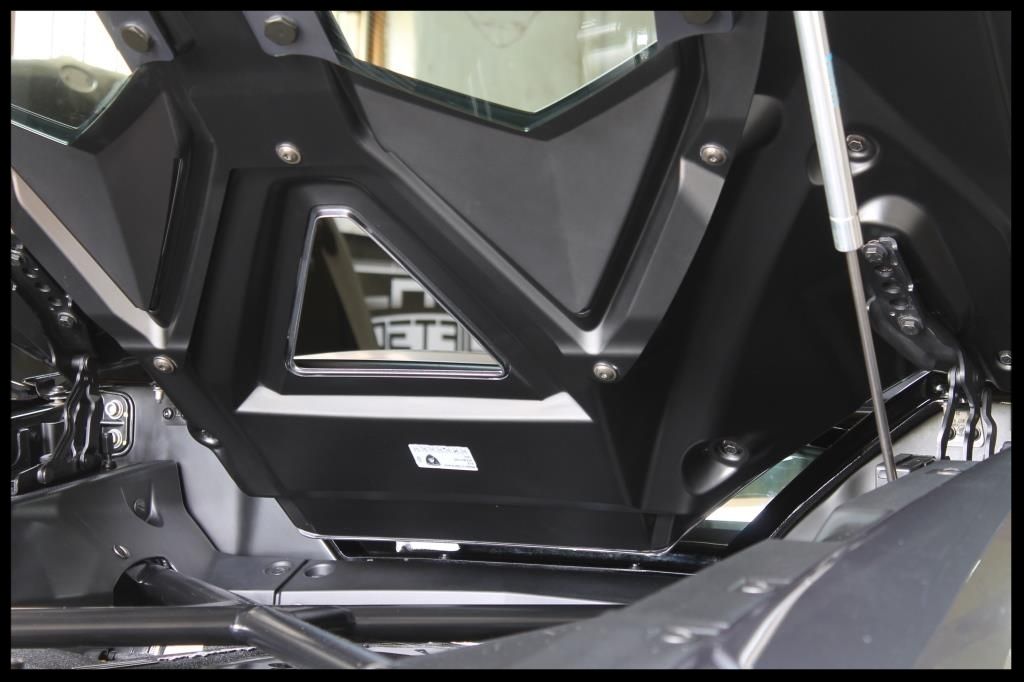
After using Mothers California Gold Water Spot Remover for Glass by hand some improvement was noted
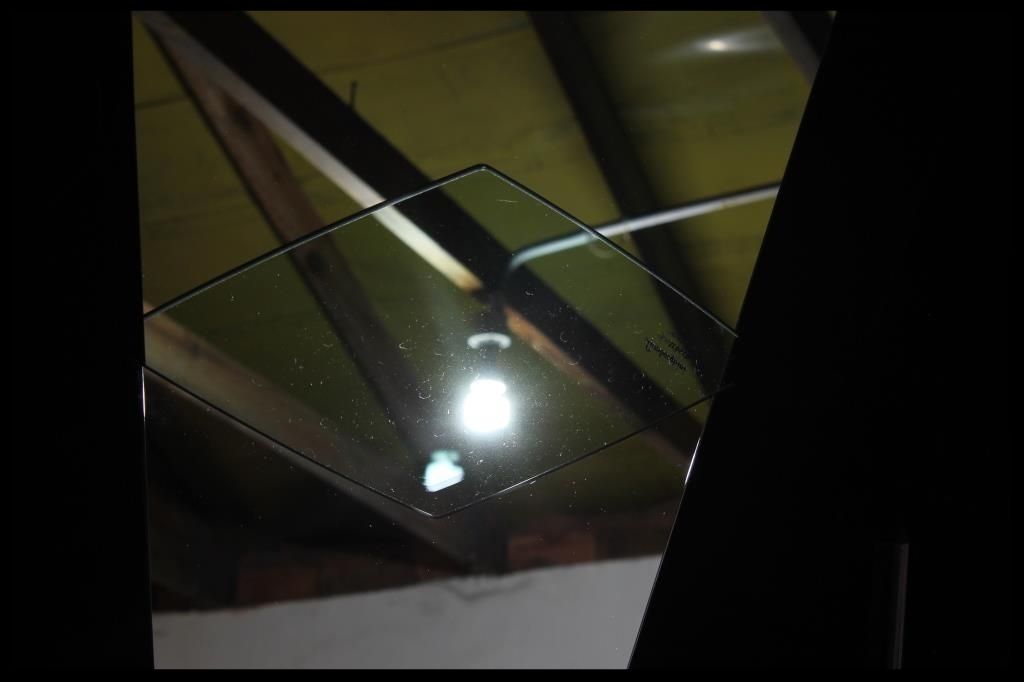
After hitting it again (never-mind the lint on the glass - this would obviously be cleaned off later)
The interior glass was cleaned using Autoglym Fast Glass.
The exterior glass was clayed using Shield Heavy Duty Clay and ONR as lube.
The exterior of the front windscreen was polished using Autoglym Glass Polish | Flex 3401 | Lake Country Green Polishing pad
All the glass was then given 2 coats of Wynn's C-thru
Plastic Honeycomb
This was cleaned using Shield Heavy Duty Vinyl and Rubber Cleaner on a little 'foam stick thing' I picked up at an art store, which fitted perfectly and worked really well, but didn't last all that long - it broke 90% of the way in, but with the amount of honeycomb grills on this car, it probably equates to using one per 'normal' car (say like a golf 6 Gti or similar).... but for the price I paid for it, it's well worth not having to try squish your finger wrapped in a MF towel through the little holes to get the corners clean.
It was then dressed using Autofinesse Dressel
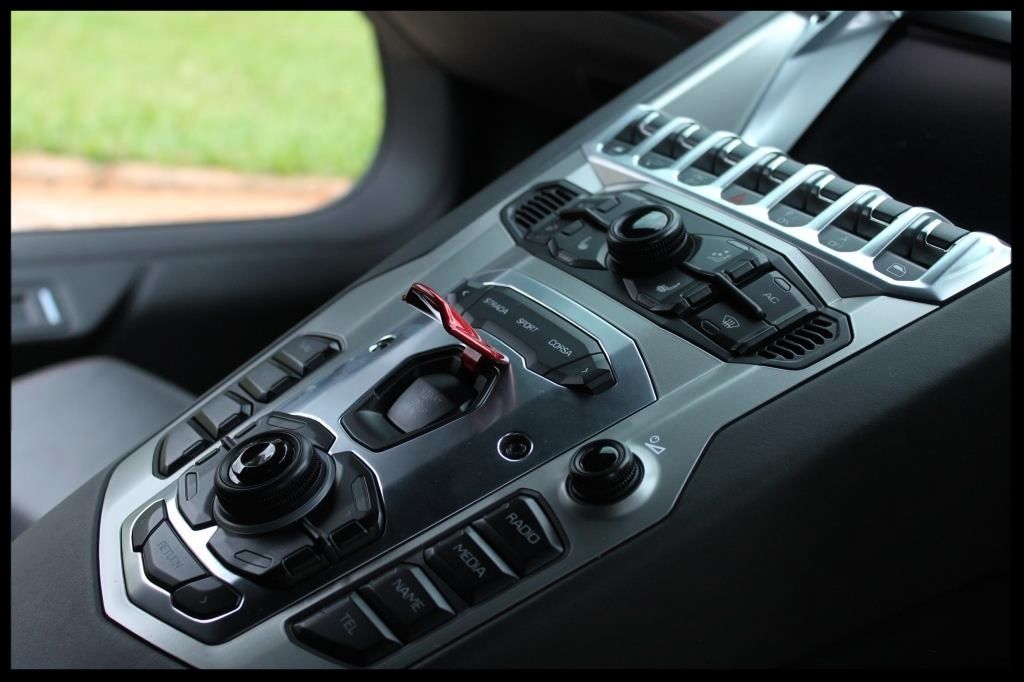
Interior
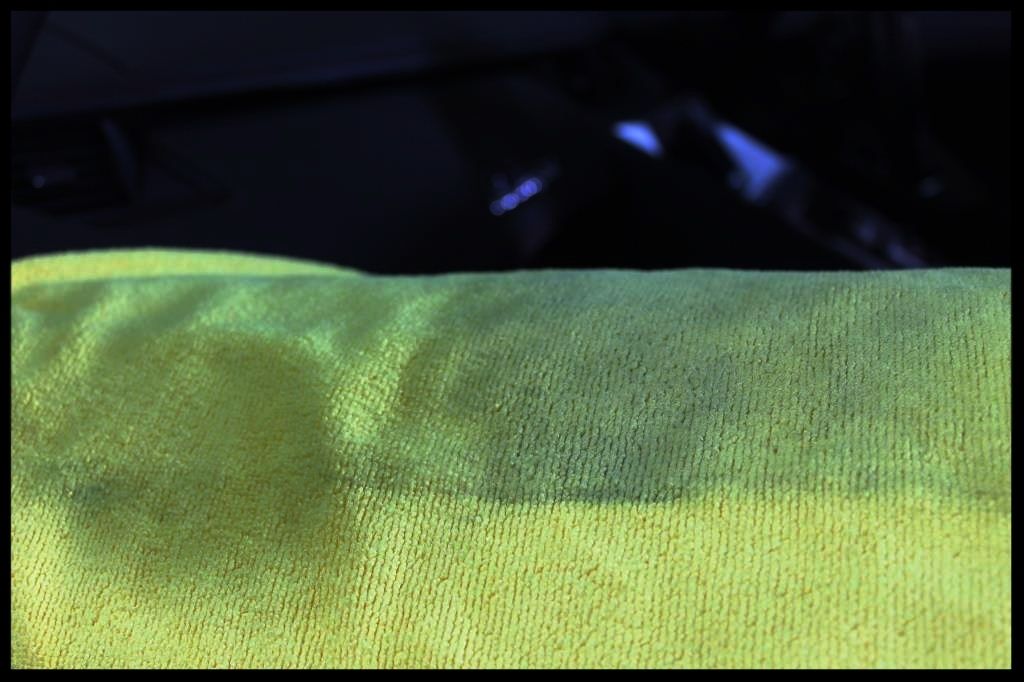
All loose dust was blown out and the the interior vacuumed. The leather was cleaned and protected using Collinite 855. This is the dirt that came off the passenger side of the dash board.
The plastics were cleaned using Carchem APC and protected using Aerospace 303 Protectant.
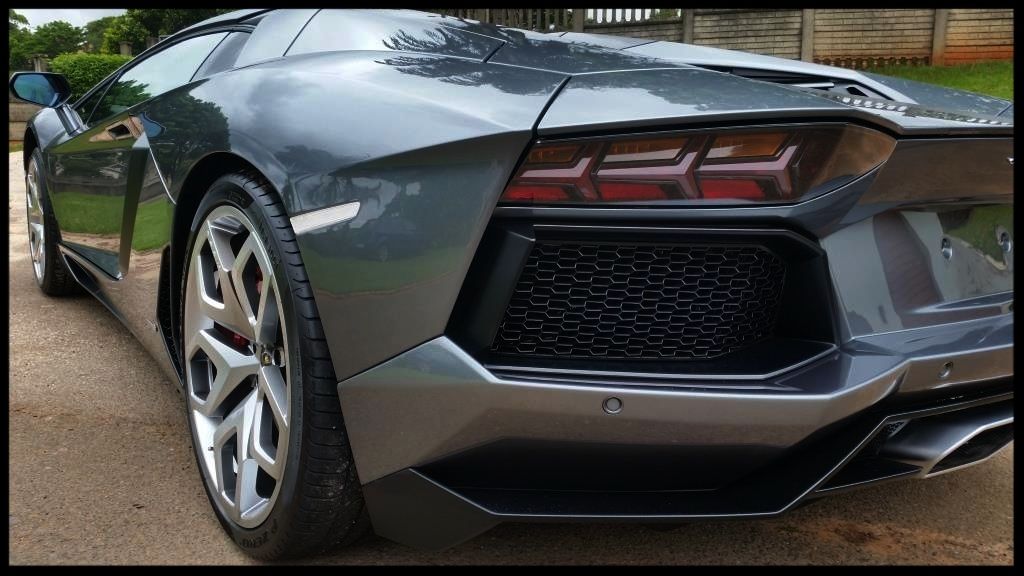
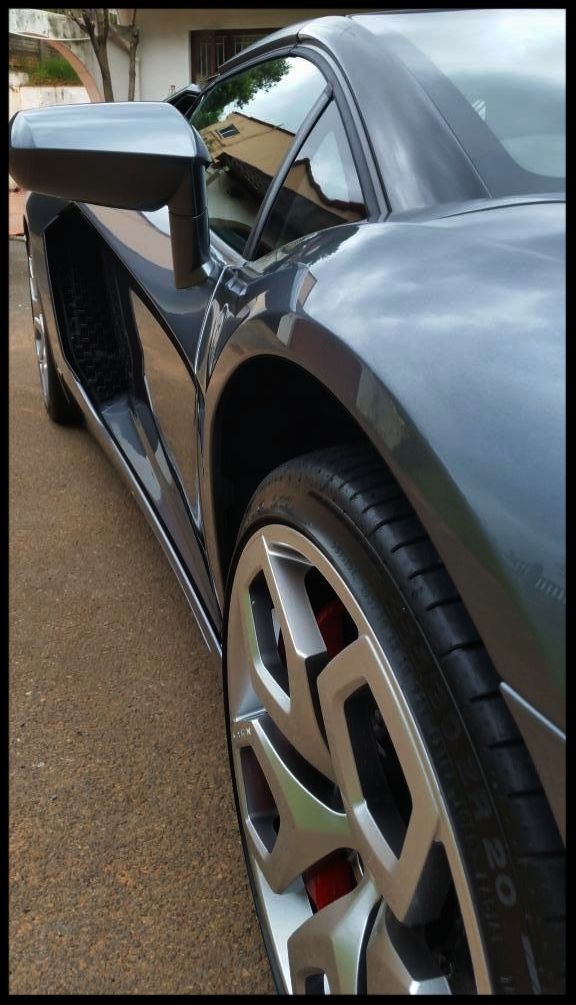
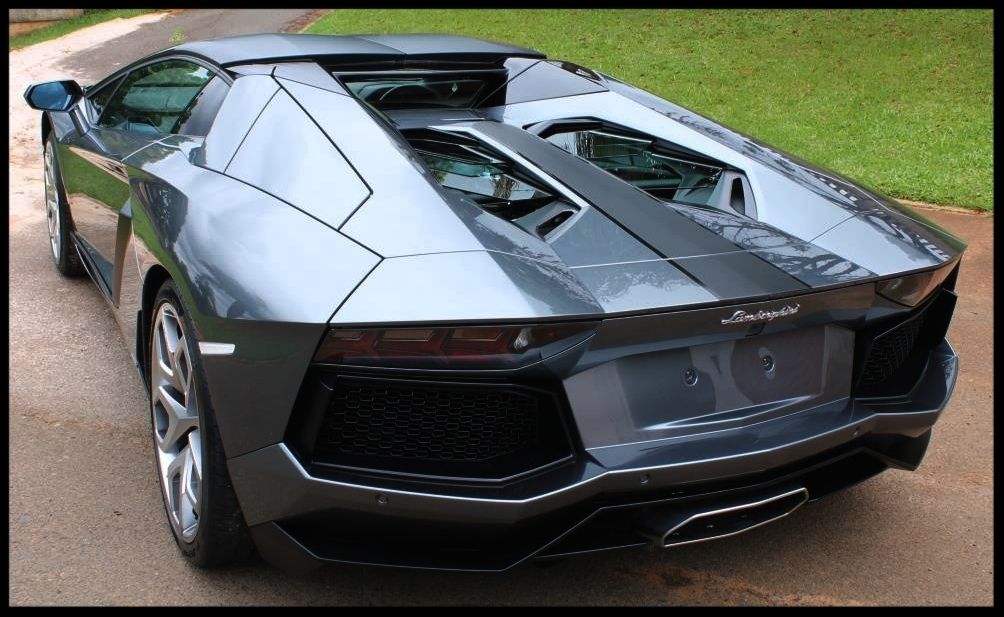
And here are some after shots that I took. It was about to start raining and I was in a hurry and inadvertently left the nose raised - kinda messed up the after shots, but it is what it is....
Some with my cell
This was the first time I've ever been near any Lamborghini, so I was as excited as a little kid on Christmas at the thought of spending 4 days up close and personal with one, and it lived up to all my expectations, and more :grin:
A couple of quick thoughts...
- The way it sounds on start up (especially in the garage) is just :drool:
- The way it sounds when the owner leaves and gives it beans up my road is even better
- Its wide (the middle of the engine bay area is tough to get to)
- Its low, and getting in and out is interesting
- You can't see much of the front end when driving it in or out my garage - I won't lie, I was a tad nervous
- Cleaning the inside of the front windscreen was by far the toughest one I have done - it's deceptively big and the angle with the dash, the the shape of the seats and centre console, means you need to be a contortionist. I'm not. :lol:
So let's get detailing....
Engine bay
Just look at it. A 6.5l V12 making 515kw / 690nm that rockets it from 0-100 in 3s flat and on to 350km/hr :driving: :drool:
But it needed a clean.
After covering up any sensitive areas the underside of the carbon fibre engine bonnet was given a HP rinse, sprayed with Carchem APC which was left to dwell, before being agitated with various brushes and MF towles and HP rinsed again. I then repeated this process on the entire bay itself including all the plastics, and then dried everything with a blower.
As you can see here, the underside of the engine cover/bonnet didn't look so great.
After trying many glazes and AIO's, then only thing that really worked ok was Meguiars #7, worked in by hand with a MF applicator pad and buffed off.
The carbon fibre cover on the middle of the engine was hand polished using Meznerna 3-in-1
Wheels
A beautiful set of Khan Santagatas in Silver Platinum :drool:
The car is fitted with Carbon Ceramic Brakes and so if you were to get any chemicals on the rotors or pads, they would absorb the chemical as they are porous, causing damage. So I used plastic bags to cover these areas up to avoid an eye watering replacement cost. :fear:
I then HP rinsed the fender wells, tires and wheels. The plastic fender liners in the rear fender wells were cleaned using Carchem APC and various brushes. Regular maintenance washes with a gentle PH neutral cleaner would negate the need for a deep clean with stronger chemicals, but in this case I had to use Angelwax Billberry Wheel Cleaner through a foaming trigger spray bottle.
And used it on the tires too
Leaving the tires and wheels clean
Once the car had been pulled back inside the wheels were dried and given a coat of Menznera Powerlock which was left to set up for about an hour, then wiped off and left to cure until the following day, when a 2nd coat was applied.
The tires were also dressed with 2 coats of Carchem Tire and Trim Gel
The plastic fender liners in the rear fender wells were dressed using Autofinesse Dressel, which was sprayed on, left for an hour to settle and then buffed to ensure an even finish with no excess product left behind.
Wash
First, a thorough HP rinsing to remove any loose dirt
Then Angelwax Fastfoam was applied and left to dwell to help soften the remaining dirt
During which time the honeycomb grills and emblems were agitated
The foam was then HP rinsed off and the car washed using multiple lambswool wash mitts, 2 buckets with grit guards and Carchem Luxury Shampoo in some warm water. Another HP rinse followed by a flood rinse and then I (carefully) pulled the car back into the garage where she was dried off using a combination of a blower and waffle weave drying towels with ONR as a drying aid.
Decontamination
There was a fair amount of contamination on the car and so Shield Heavy Duty Clay was used with ONR as lube - this included all painted surfaces as well as the outside glass (including the panes of glass in the engine cover/bonnet - but more on that later).
Paint Correction
Prior to detailing the car I had watched an episode of 'How its made, dream cars' on the Aventador in which they explained how the painting process involved 200 man-hours. You would think with that much time invested, the paint would be perfect, but sadly it wasn't. The car was riddled with sanding marks that were not removed at the factory
and with the paint being hard, I had my work cut out for me.The engine bonnet/cover, wing and side air inlets are made from carbon fibre, the roof from a different type and the rear fenders and rocker covers from yet another type.
The front fenders, doors and bonnet from aluminium
Where I could obtain paint thickness readings, they ranged from 221µ to 389µ
With so many sharp angles and edges a lot of taping was required in preparation for correction.
The color made it quite difficult to capture the defects and you may have to zoom in on some of the pics to see better (sorry)
The gloss black section around the front windscreen
Before
After Flex 3401 | Menzerna FG400 + Orange Lake Country Hybrid | Menzerna SF4000 + Black Lake Country Hybrid
Rear fender before
After Flex 3401 | Menzerna FG400 + Wool Lake Country Hybrid | Menzerna SF4000 + Black Lake Country Hybrid
Some sanding marks on the bonnet (to the left of the bottom light reflection) before [zoom in]
After Flex 3401 | Menzerna FG400 + Wool Lake Country Hybrid | Menzerna SF4000 + Black Lake Country Hybrid
Some etching on the bonnet (look in the left light reflection) before
A close up
After sanding with 3000 grit
After Flex 3401 | Menzerna FG400 + Wool Lake Country Hybrid | Menzerna SF4000 + Black Lake Country Hybrid
Protection
The car was wiped down with Gyeon Prep to remove any polishing oils and ensure the paint was 100% clean to allow the sealant to properly bond.
I then applied a coat of Dodo Juice Iron Gloss, working panel by panel.
The following day I then topped this with a coat of Dodo Juice Purple Haze.
Exhaust
This was polished using Meguiars NXT All Metal Polish [no pics, sorry]
Glass
These glass panes located in the engine bonnet/cover were riddled with water spots, primarily where the 2 panes overlap - I presume whomever has been washing it has found it too difficult to dry there properly.
Before
After using Mothers California Gold Water Spot Remover for Glass by hand some improvement was noted
After hitting it again (never-mind the lint on the glass - this would obviously be cleaned off later)
The interior glass was cleaned using Autoglym Fast Glass.
The exterior glass was clayed using Shield Heavy Duty Clay and ONR as lube.
The exterior of the front windscreen was polished using Autoglym Glass Polish | Flex 3401 | Lake Country Green Polishing pad
All the glass was then given 2 coats of Wynn's C-thru
Plastic Honeycomb
This was cleaned using Shield Heavy Duty Vinyl and Rubber Cleaner on a little 'foam stick thing' I picked up at an art store, which fitted perfectly and worked really well, but didn't last all that long - it broke 90% of the way in, but with the amount of honeycomb grills on this car, it probably equates to using one per 'normal' car (say like a golf 6 Gti or similar).... but for the price I paid for it, it's well worth not having to try squish your finger wrapped in a MF towel through the little holes to get the corners clean.
It was then dressed using Autofinesse Dressel
Interior
All loose dust was blown out and the the interior vacuumed. The leather was cleaned and protected using Collinite 855. This is the dirt that came off the passenger side of the dash board.
The plastics were cleaned using Carchem APC and protected using Aerospace 303 Protectant.
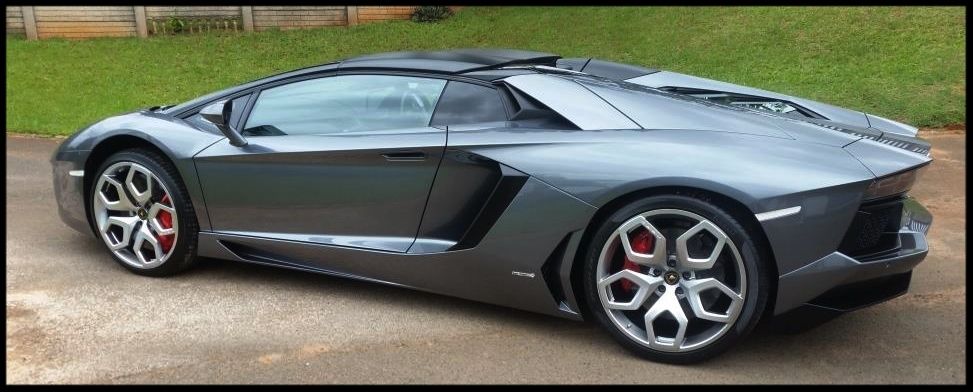
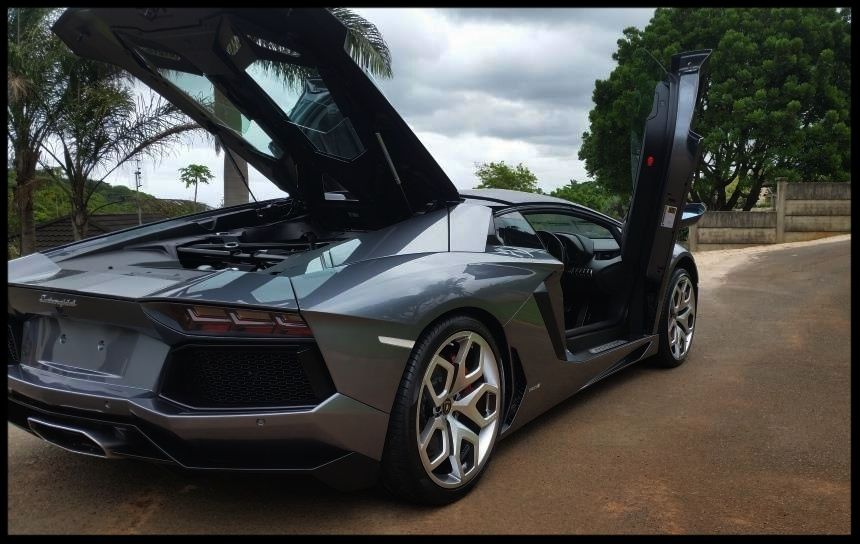
And here are some after shots that I took. It was about to start raining and I was in a hurry and inadvertently left the nose raised - kinda messed up the after shots, but it is what it is....
Some with my cell


")