4u2nvinmtl
New member
Review: Wolfgang Uber Ceramic Coating
Wolfgang Uber Ceramic Coating (Autopia store link)
Wolfgang Uber Ceramic Coating (Autogeek store link)
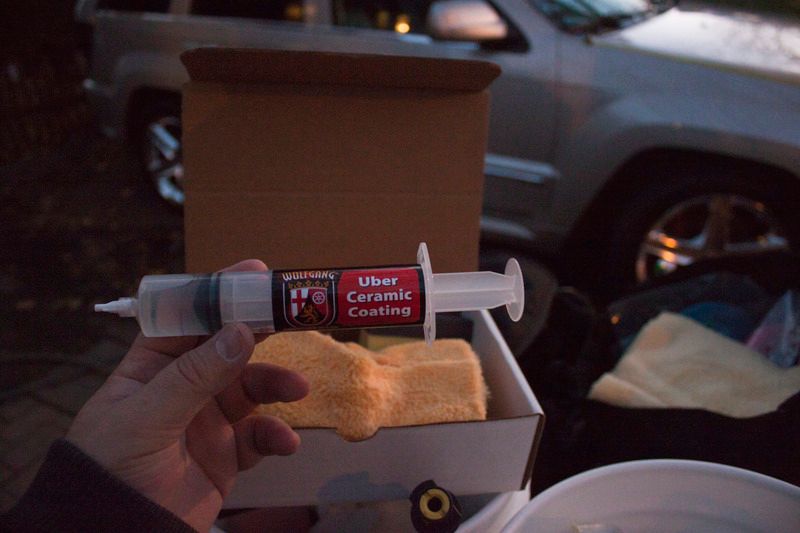
Price: $99.99 for 15cc
Details:
The Wolfgang Uber Ceramic Coating was generously given to me by PBMG via a pre-SEMA online giveaway on the condition of an honest review. As I have never tried a coating I was very excited to be selected to try this product out. Unfortunately, the weather has been uncooperative for the last few weeks and the car I had in mind bailed on me last minute when the weather, was right. With no car to coat car and good weather, I decided to detail my daily driven 09 Jeep SRT8. It had suffered many rain storms and bi-weekly details at best. I noticed the LSP on the hood had taken a beating and was starting to fail due to acidic bird droppings and other animal fesses from the trees above my driveway. The coating quickly came to mine and I came up with a game plan to coat just the hood (to test the product and my skills).
Review:
I got started by inspecting the paint on my hood (post-decontamination). There were no swirls, scratches or RIDS (affirmation my weekly wash method is sound). There was some etching from the tree droppings and minor washed induced marring from me trying to scrub the paint clean were the droppings had started to etch.
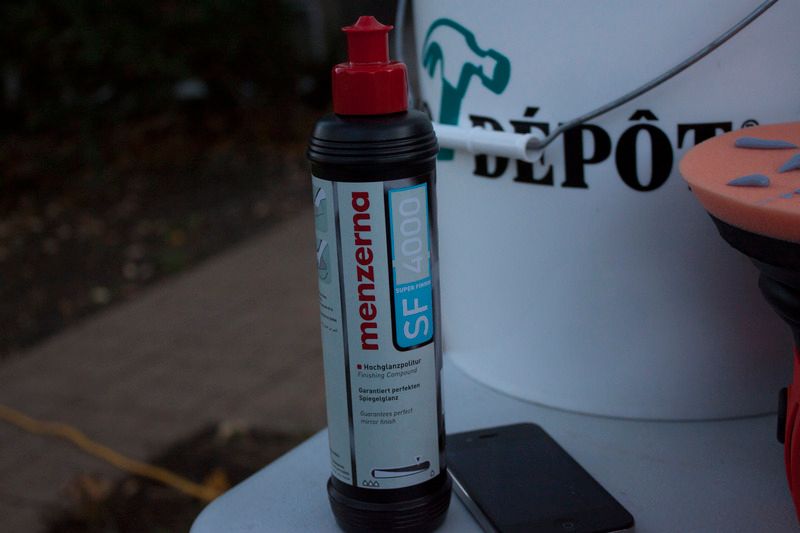
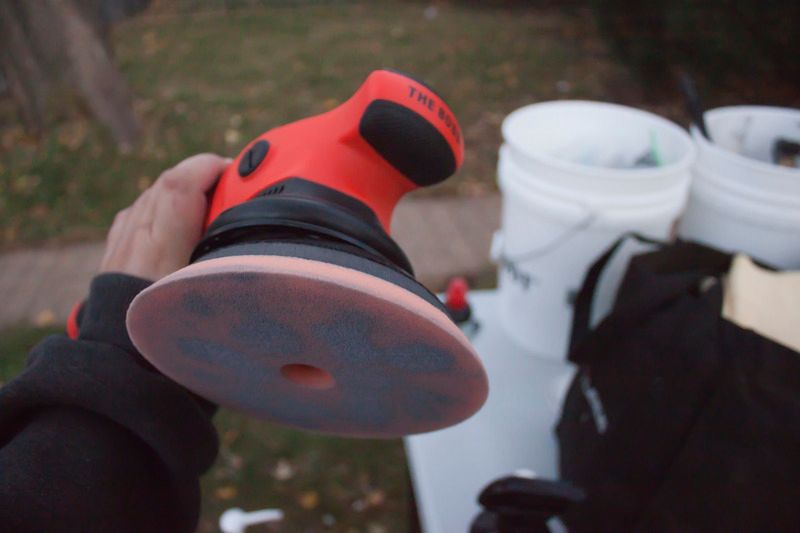
To correct the etching and marring I got my GG Boss G21 out with a 6inch LC HD orange polishing pad and some Menz SF4000 and did a test spot with great success. It was my first time using the G21 and Menz. I found both very easy to work with and proceeded to do the entire hood with 3-5 passes (didn’t really count I just worked the polish until it started to flash). I touched the pad and the paint just after my last pass and they were cool to the touch not even slightly warm (a stark contrast to the steaming hot pads on my PC).
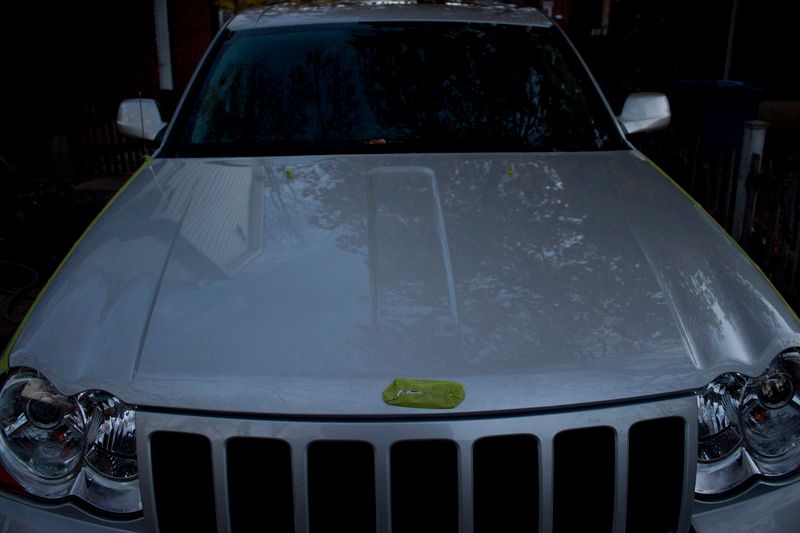
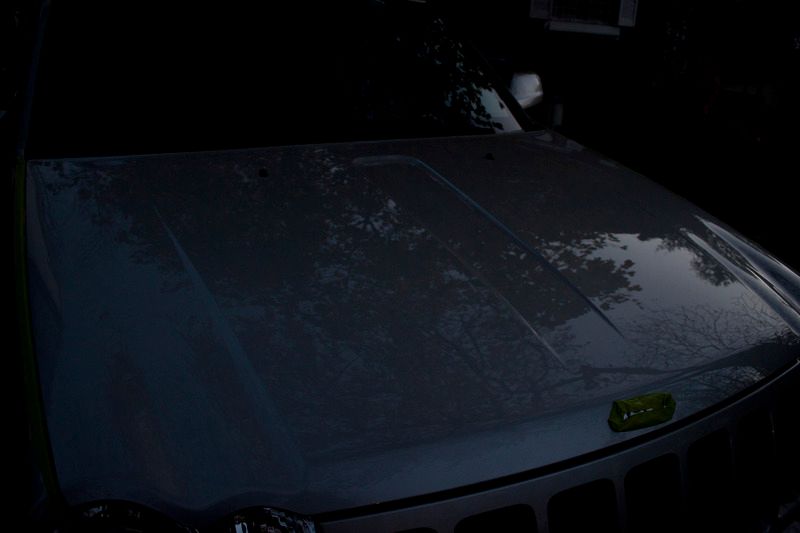
I finished polishing the hood by 5:23 pm and noticed that it’s really getting dark earlier thanks to day light savings time…


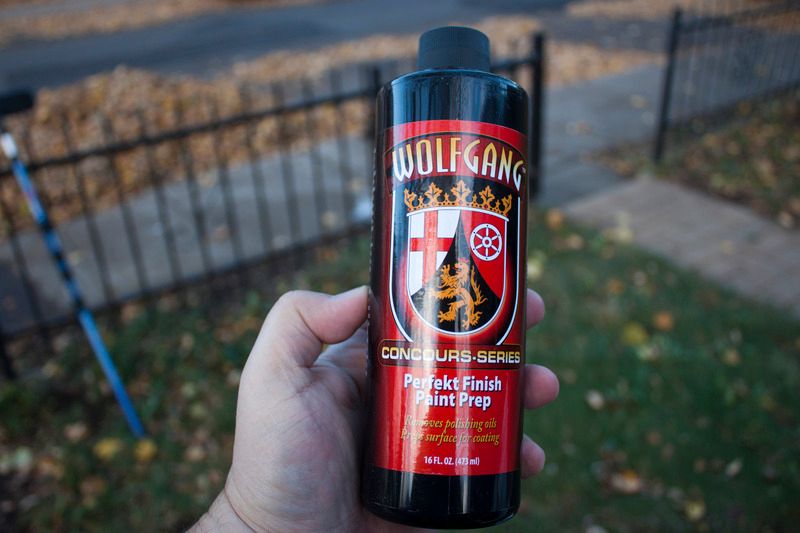
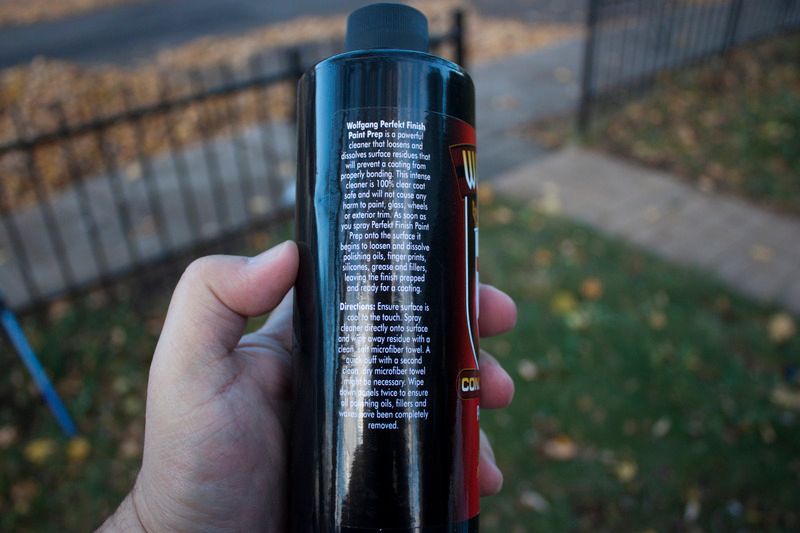
Next I cleaned the paint using Wolfgang Perfekt Finish Paint Prep as per the instructions I sprayed it directly onto the polished paint and used my Zaino Borderless Blonds to effortlessly remove. I must say it had a pleasant bubblegum smell and liquid consistency, slightly sudsy when mixed/shaken. The paint was officially surgically clean and ready for a coating!
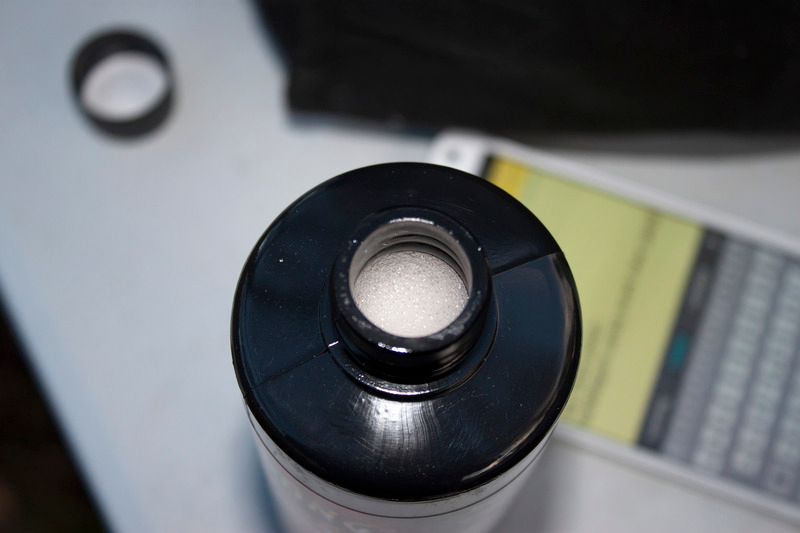
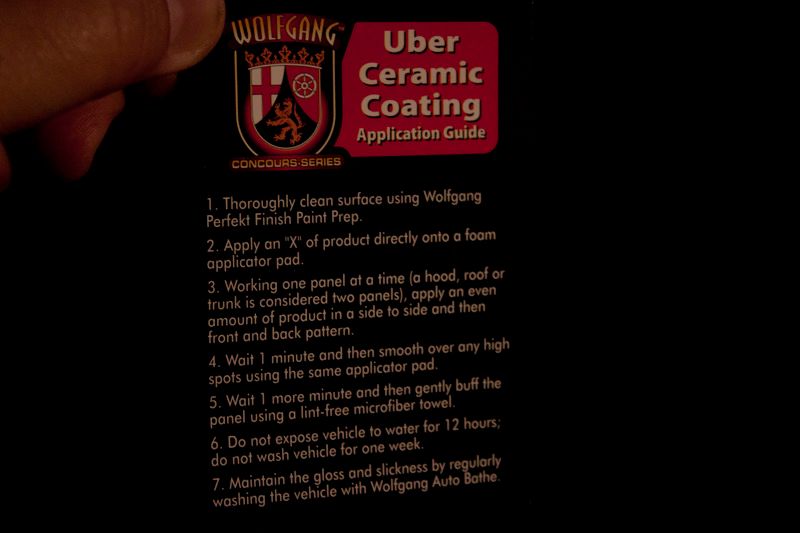
…On to the coating. I quickly reread the instructions as I took a picture and checked the temperature on my phone as I took notes about the nice towel and alien applicator pad (new to me) were. The weather was below ideal coating temperatures (just hovering around the lowest permissible temperature). I proceed to follow the instructions to a T and timed everything precisely. I first primed the pad with an X as instructed and coated the passenger side of the hood first in a cross hatch fashion. The paint was so clean that the applicator screeched across the surface at first until the second pass when I could feel the glassy liquid coating beneath the applicator. This is when I noticed how very little product really goes a long way (it was incredible to use so little LSP to coat). It was gliding effortlessly and I had to stop myself from getting carried away on the final pass. I waited on pins and needles for an entire heart stopping 60 seconds as I started to see some very minor high spots in the coating I reached of the applicator as the alarm sounded. The 60 seconds were up. I got to swiping in a cross hatch pattern over the high spots. I sat back and tried to play it cool another 60 seconds with the towel clutched in my gloved hand (safety first). The alarm sounded and the coating looked great. I gently buffed and started to see that look I had been chasing so long (to me)… I repeated the process for the center/front of the hood and then driver’s side, without any stress or anxiety as it was very easy, almost too easy… Sure enough it was the weather that was being uncooperative, yet again. My phone now indicated a 40% chance of rain and dropping temperatures just after I finished the hood…
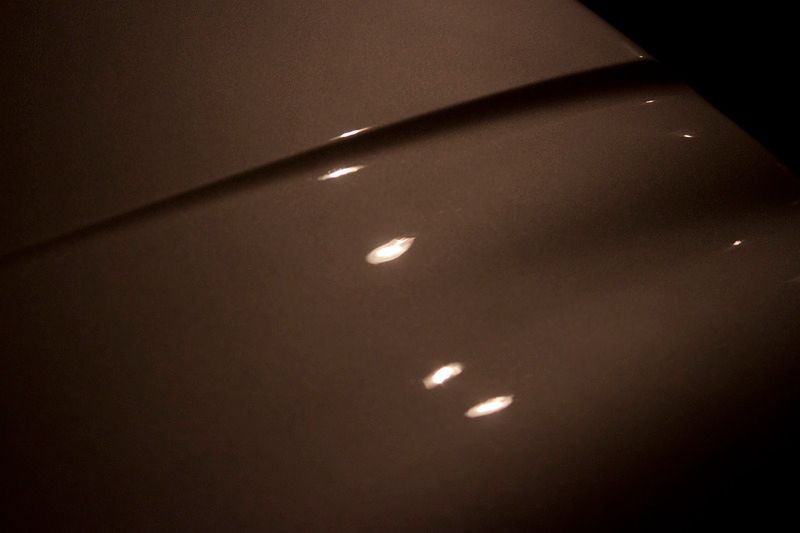
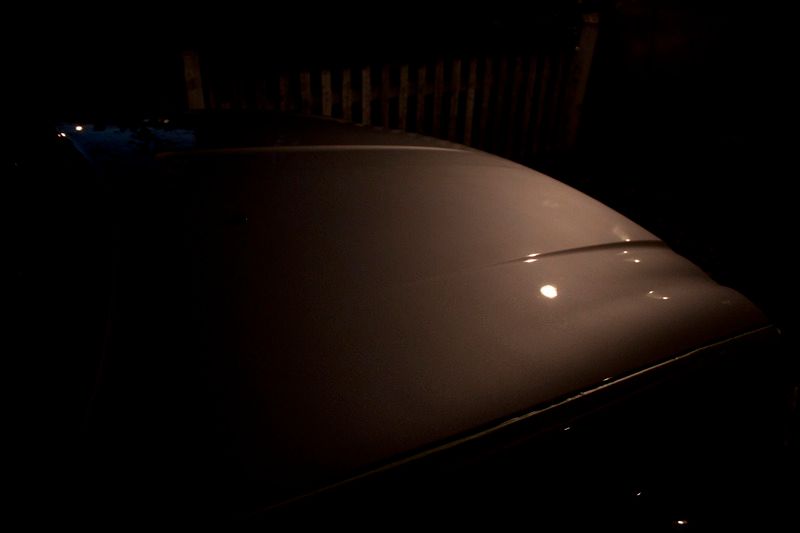
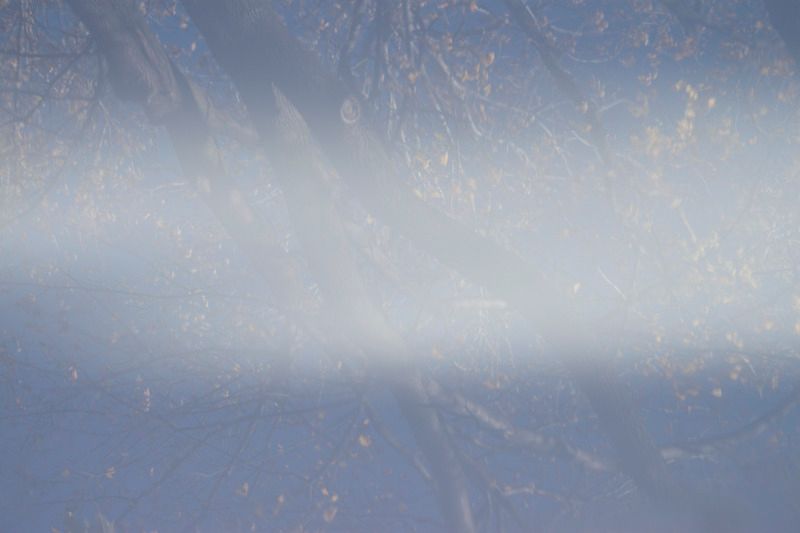
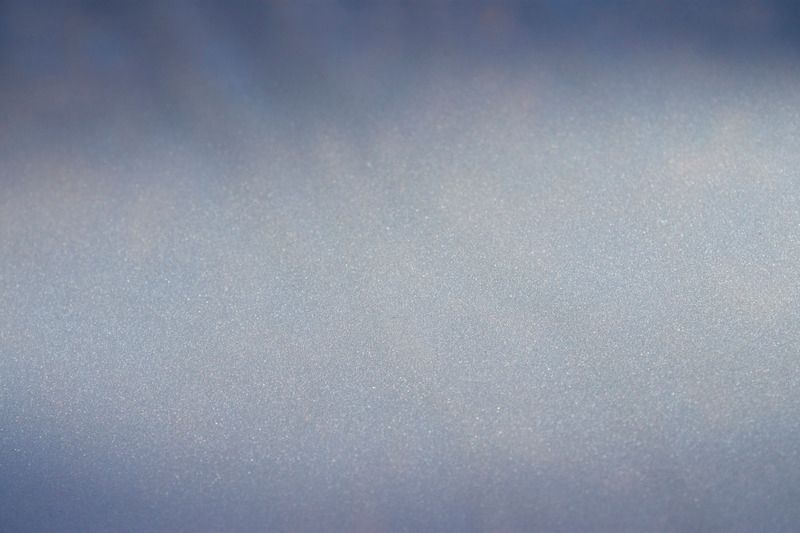
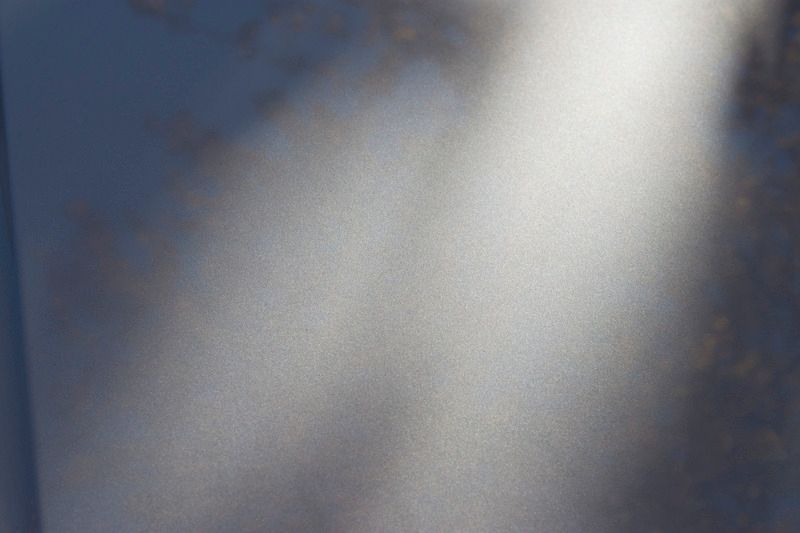
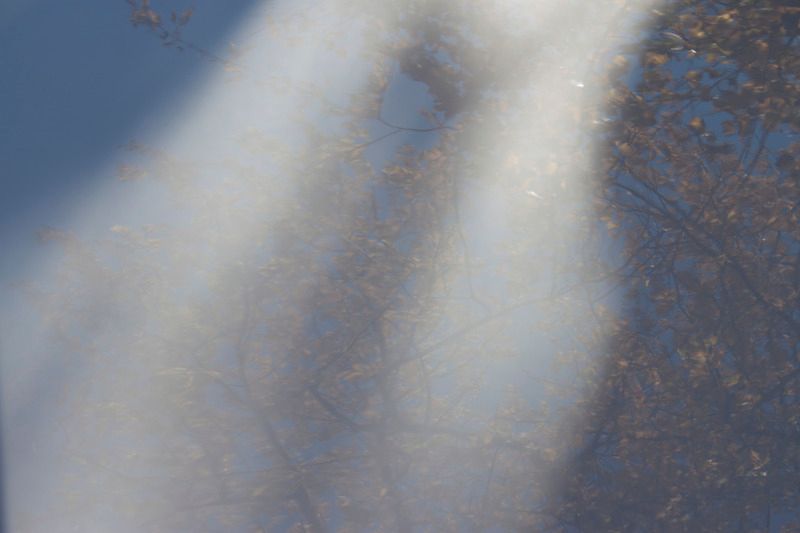
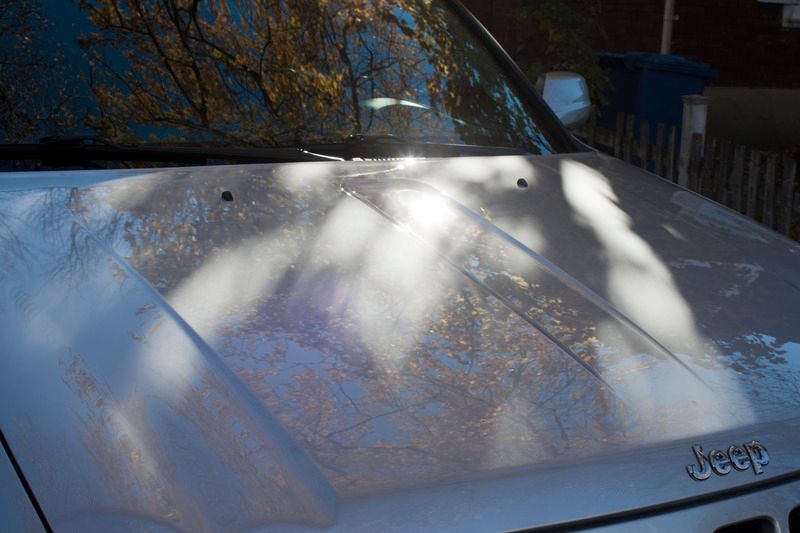
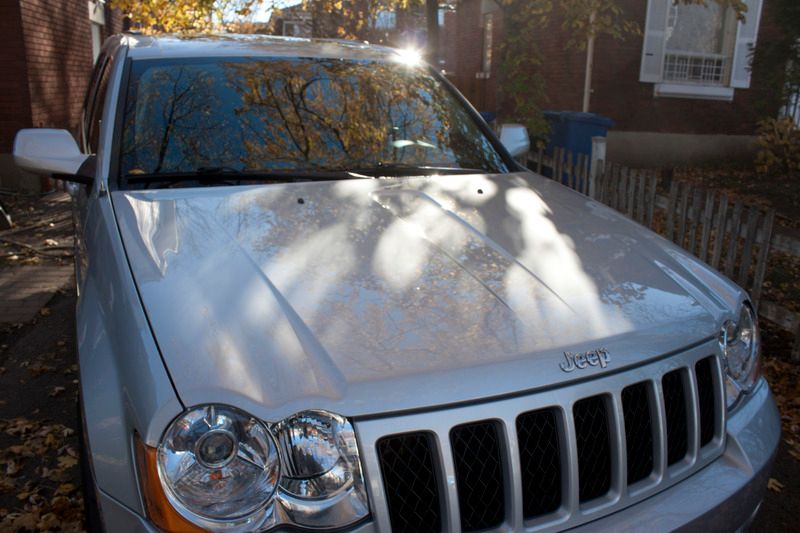
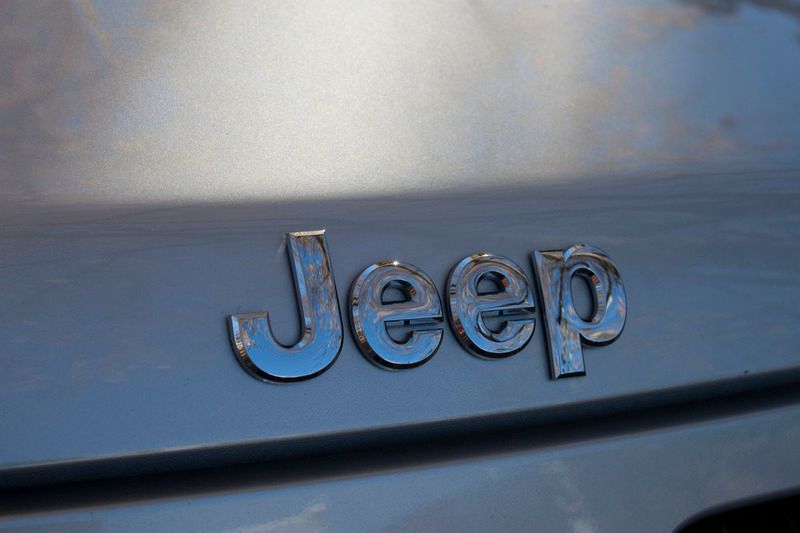
The next morning I jumped out of bed to check on the coating (like a kid on Christmas morning) and picked up breakfast for my 2 sons and wife. The coating looked spectacular and was much more reflective than the other panels, dare I say even more so than the freshly polished glass too! The flake was popping like I’ve only seen with freshly polished naked paint. Pictures don’t really do it justice, but I tried to catch the reflections and the flake pop both in one picture, but they are at different focal lengths so it took multiple pictures at each focal length (some pictures the flake is in focus other pictures the reflection is in focus)…

This part I always couldn’t polish well with my PC-7424, but the Boss G21 was up to the task and really amped up the gloss with the coating.

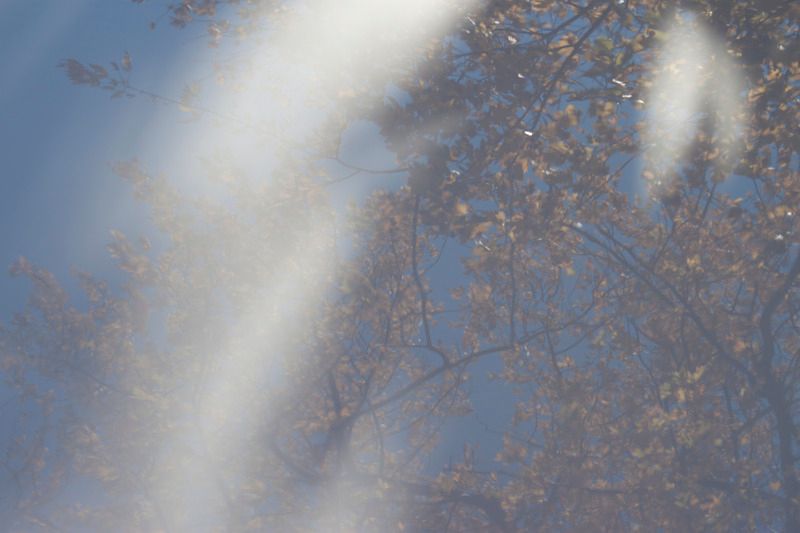
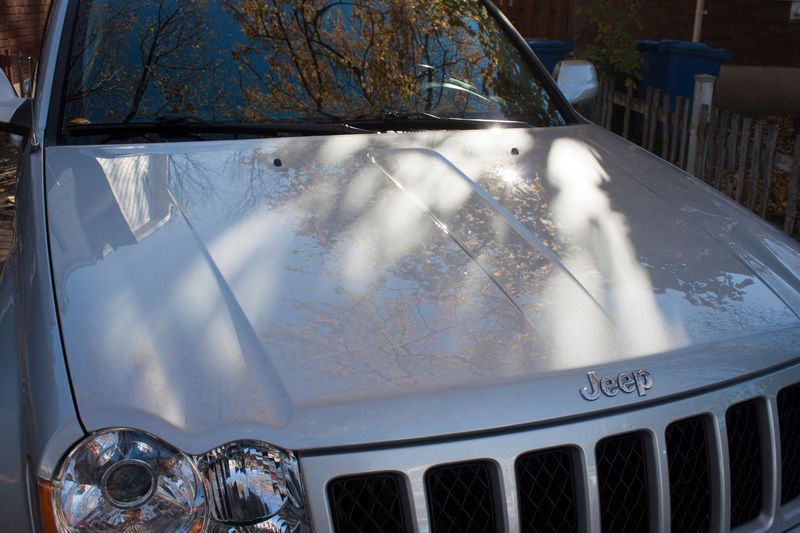
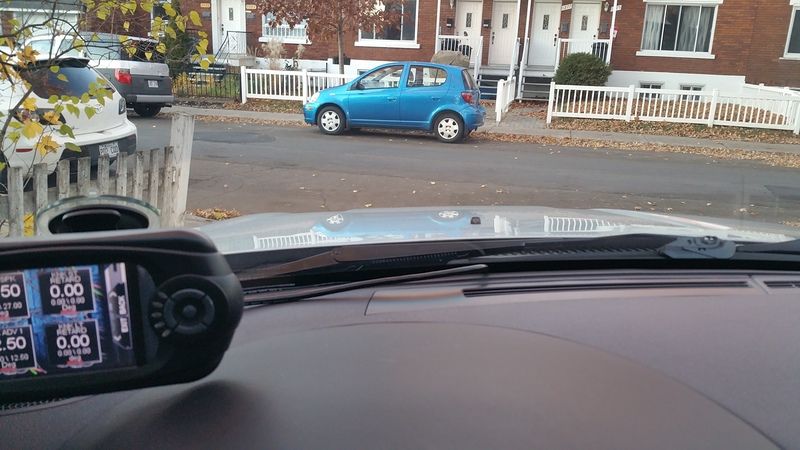
As I sat inside and the reflection of the car across caught my eye and I had to take a picture. Don’t mind the toner tool on the glass…
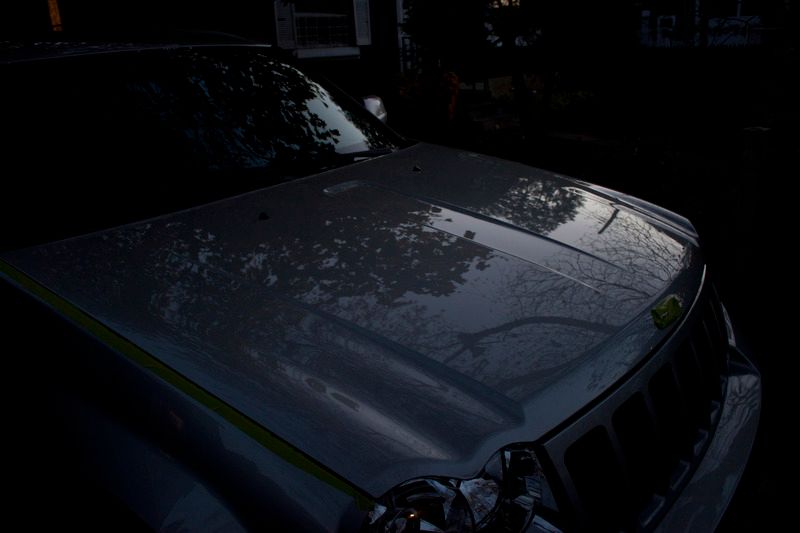
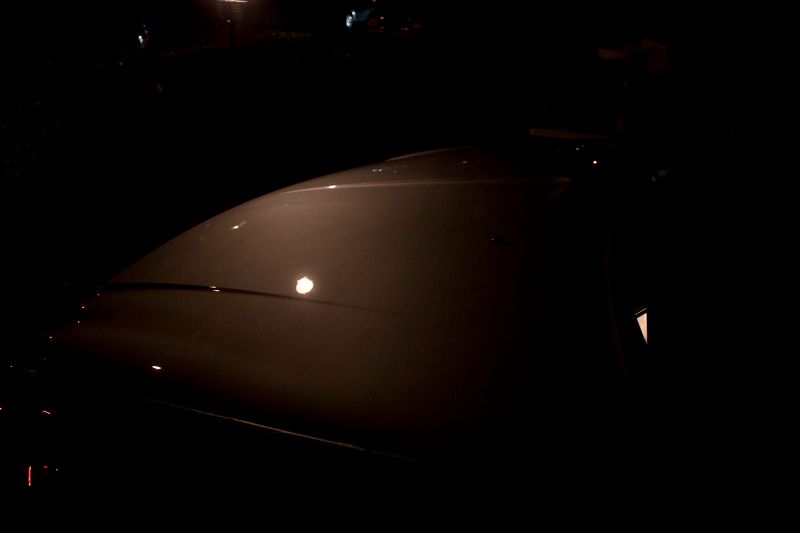
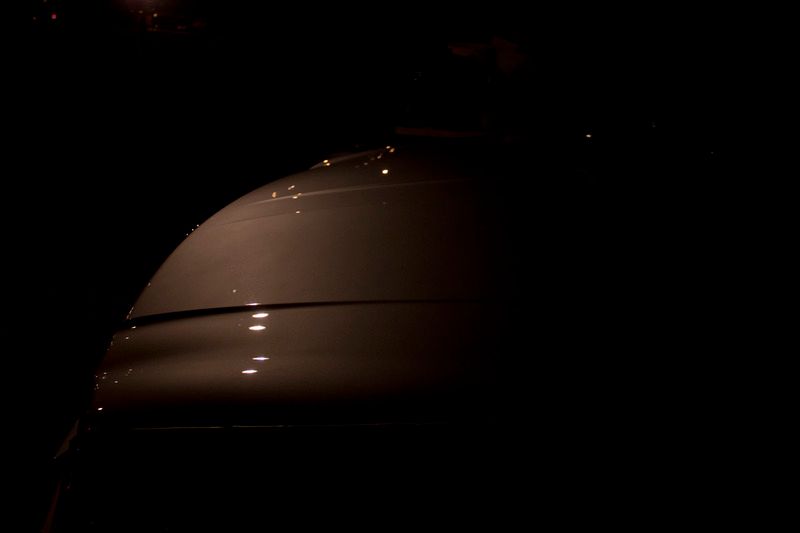
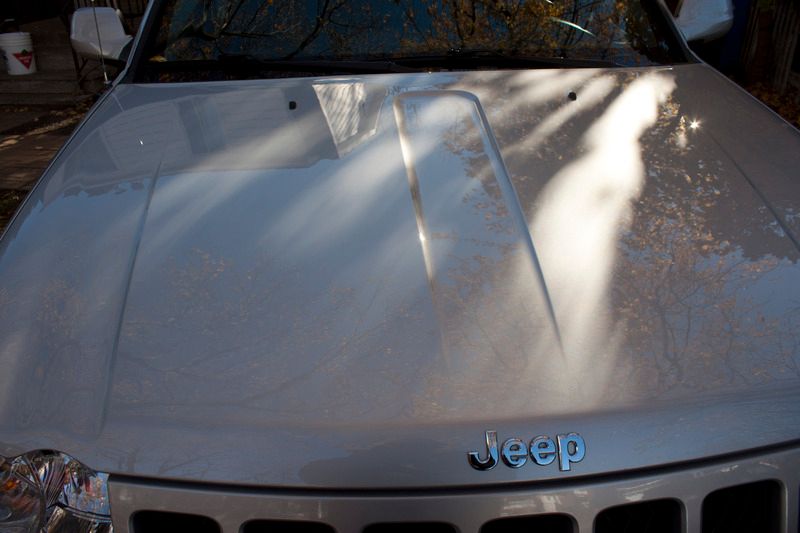
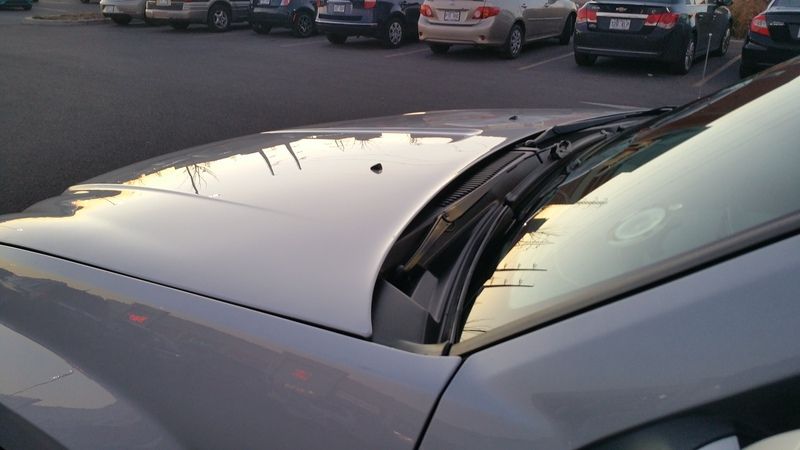
Later last night I went out shopping and snapped a shot of the sun setting off the hood (about 24 hours after coating).
Conclusion:
I would defiantly recommend you try Wolfgang Uber Ceramic Coating if you’re in the market for a new coating or even if it’s your first coating. The ease of use combined with the phenomenal results make this product a clear winner in my eyes. I’m very interested to see how it holds up this winter fully exposed to my daily driving grind. If it lasts until the next summer 2016 I’d be very happy and will defiantly move on to coatings from sealants and waxes. This product will be up against the other LSP’s I’m comparing in another thread, but I’ll be sure to update this one as well over the next months-year with regards to durability and water beading/sheeting.
Thank you PBMC for the great product and opportunity!
Wolfgang Uber Ceramic Coating (Autopia store link)
Wolfgang Uber Ceramic Coating (Autogeek store link)


Price: $99.99 for 15cc
Details:
The Wolfgang Uber Ceramic Coating was generously given to me by PBMG via a pre-SEMA online giveaway on the condition of an honest review. As I have never tried a coating I was very excited to be selected to try this product out. Unfortunately, the weather has been uncooperative for the last few weeks and the car I had in mind bailed on me last minute when the weather, was right. With no car to coat car and good weather, I decided to detail my daily driven 09 Jeep SRT8. It had suffered many rain storms and bi-weekly details at best. I noticed the LSP on the hood had taken a beating and was starting to fail due to acidic bird droppings and other animal fesses from the trees above my driveway. The coating quickly came to mine and I came up with a game plan to coat just the hood (to test the product and my skills).
Review:
I got started by inspecting the paint on my hood (post-decontamination). There were no swirls, scratches or RIDS (affirmation my weekly wash method is sound). There was some etching from the tree droppings and minor washed induced marring from me trying to scrub the paint clean were the droppings had started to etch.
To correct the etching and marring I got my GG Boss G21 out with a 6inch LC HD orange polishing pad and some Menz SF4000 and did a test spot with great success. It was my first time using the G21 and Menz. I found both very easy to work with and proceeded to do the entire hood with 3-5 passes (didn’t really count I just worked the polish until it started to flash). I touched the pad and the paint just after my last pass and they were cool to the touch not even slightly warm (a stark contrast to the steaming hot pads on my PC).


I finished polishing the hood by 5:23 pm and noticed that it’s really getting dark earlier thanks to day light savings time…


Next I cleaned the paint using Wolfgang Perfekt Finish Paint Prep as per the instructions I sprayed it directly onto the polished paint and used my Zaino Borderless Blonds to effortlessly remove. I must say it had a pleasant bubblegum smell and liquid consistency, slightly sudsy when mixed/shaken. The paint was officially surgically clean and ready for a coating!


…On to the coating. I quickly reread the instructions as I took a picture and checked the temperature on my phone as I took notes about the nice towel and alien applicator pad (new to me) were. The weather was below ideal coating temperatures (just hovering around the lowest permissible temperature). I proceed to follow the instructions to a T and timed everything precisely. I first primed the pad with an X as instructed and coated the passenger side of the hood first in a cross hatch fashion. The paint was so clean that the applicator screeched across the surface at first until the second pass when I could feel the glassy liquid coating beneath the applicator. This is when I noticed how very little product really goes a long way (it was incredible to use so little LSP to coat). It was gliding effortlessly and I had to stop myself from getting carried away on the final pass. I waited on pins and needles for an entire heart stopping 60 seconds as I started to see some very minor high spots in the coating I reached of the applicator as the alarm sounded. The 60 seconds were up. I got to swiping in a cross hatch pattern over the high spots. I sat back and tried to play it cool another 60 seconds with the towel clutched in my gloved hand (safety first). The alarm sounded and the coating looked great. I gently buffed and started to see that look I had been chasing so long (to me)… I repeated the process for the center/front of the hood and then driver’s side, without any stress or anxiety as it was very easy, almost too easy… Sure enough it was the weather that was being uncooperative, yet again. My phone now indicated a 40% chance of rain and dropping temperatures just after I finished the hood…


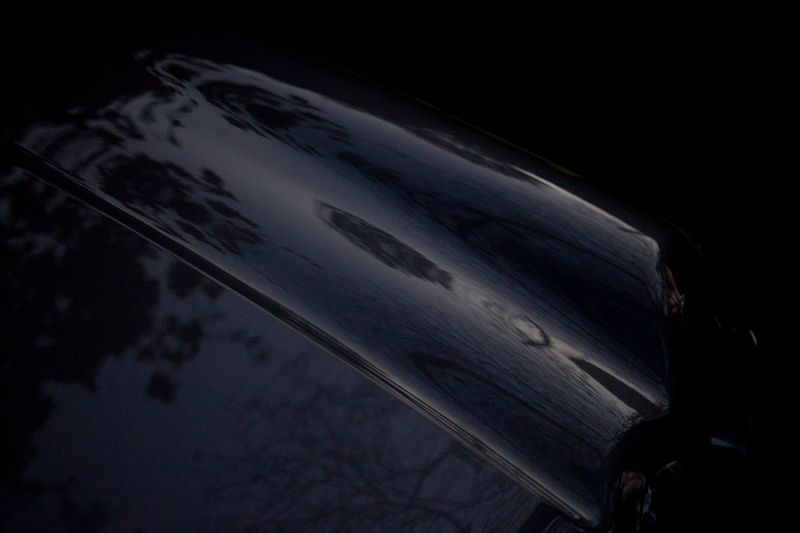
The next morning I jumped out of bed to check on the coating (like a kid on Christmas morning) and picked up breakfast for my 2 sons and wife. The coating looked spectacular and was much more reflective than the other panels, dare I say even more so than the freshly polished glass too! The flake was popping like I’ve only seen with freshly polished naked paint. Pictures don’t really do it justice, but I tried to catch the reflections and the flake pop both in one picture, but they are at different focal lengths so it took multiple pictures at each focal length (some pictures the flake is in focus other pictures the reflection is in focus)…


This part I always couldn’t polish well with my PC-7424, but the Boss G21 was up to the task and really amped up the gloss with the coating.


As I sat inside and the reflection of the car across caught my eye and I had to take a picture. Don’t mind the toner tool on the glass…

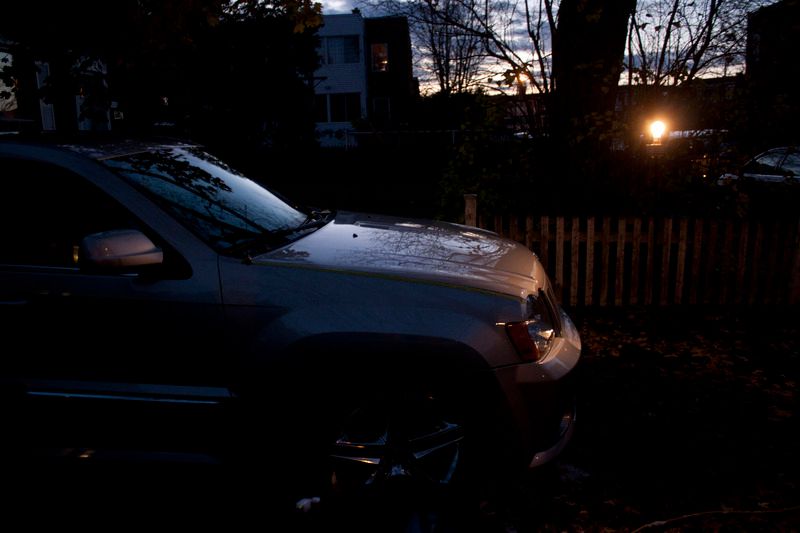
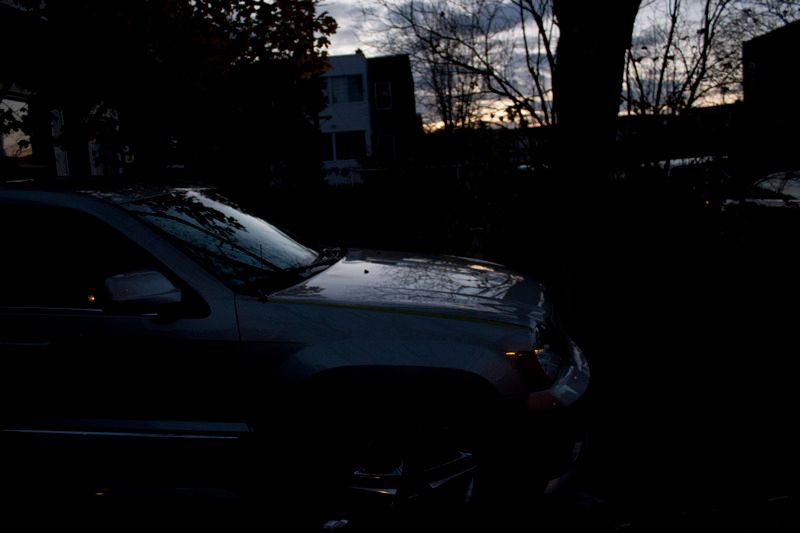
Later last night I went out shopping and snapped a shot of the sun setting off the hood (about 24 hours after coating).

Conclusion:
I would defiantly recommend you try Wolfgang Uber Ceramic Coating if you’re in the market for a new coating or even if it’s your first coating. The ease of use combined with the phenomenal results make this product a clear winner in my eyes. I’m very interested to see how it holds up this winter fully exposed to my daily driving grind. If it lasts until the next summer 2016 I’d be very happy and will defiantly move on to coatings from sealants and waxes. This product will be up against the other LSP’s I’m comparing in another thread, but I’ll be sure to update this one as well over the next months-year with regards to durability and water beading/sheeting.
Thank you PBMC for the great product and opportunity!


