4u2nvinmtl
New member
A close in-law recently had his car keyed shortly after purchase (grey 2015 Toyota Corolla). He immediately thought of me and came over about a week ago. I checked it out and told him it was too deep for me to fix "needs paint". Well he came over again today with a bottle of spiced rum in exchange for my "best effort"...
I went out and picked up some 3M wet sanding paper and sanding discs (1500, 2000, and 3000 grit). I have never wet sanded before, so I was really going outside of my comfort zone. I brushed up by watching some wet sanding videos. After watching the videos I couldn't wait to get started wet sanding by hand...
Process:
I started by inspecting the depth of the scratch (again) and determined it was deep into the primer but only in some parts. I cleaned the area with UWW+ and a few towels. I had 1500, 2000, and 3000 grit paper soaking for about 45mins. I figured I'd start with 2000 grit and wrapped it around a sanding block. I moved the block against the paint at a 45degree angle (not side to side or up and down). I went only one direction (i.e. / or \ only) and inspected after every 5-8 swipes. I noticed the clear coat around the scratches started to level down to the bottom of the scratch (after about 30-45 swipes) and I switched directions (X pattern). I did another 20-35 swipes in the opposing 45 degree angle (to level the sanding marks). I then switched to 3000 grit and moved side to side and then up and down for about 40 swipes in each direction over a larger area. It was visually obvious when the 3000 grit had done its job just as it was obvious when the 2000 grit had gotten to the bottom of the scratch. After finishing with the 3000 grit, I moved on to my PC7424 with a 5.5'' Cyan Hydro-tech pad and M101. I "seasoned" the pad and put one small drop of m101 for 4 passes and inspected. I was blown away how quickly the m101 took away all the sanding marks and looked LSP ready! I followed up with a tangerine Hydro-tech pad and made the mistake of using m101 again rather than the m205 (look the same) but it helped bring even more gloss to the area. I took another tangerine pad and m205 to finish off with another 6 passes (m205 really worked long). The area finished off better than my OP removal process on my own car! Unfortunately, the scratch was just too deep to completely remove but the owner was more than happy with the results and will be picking up some touch-up paint for the small part of the scratch that remains.
All and all not bad for a first wet sanding attempt without a paint thickness gauge. Thanks to all the online video detailers especially; Larry Kosilla, Mike Phillips, Kevin Brown, Jason Rose, and Junkman!
Pictures...
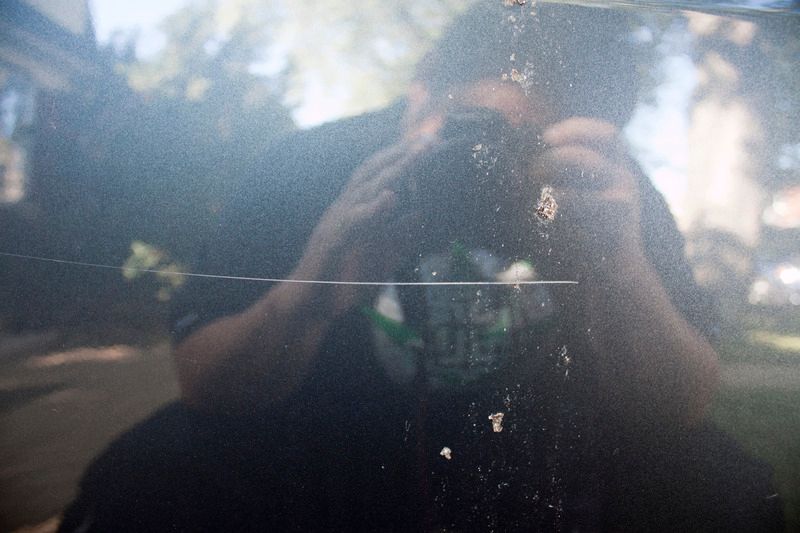
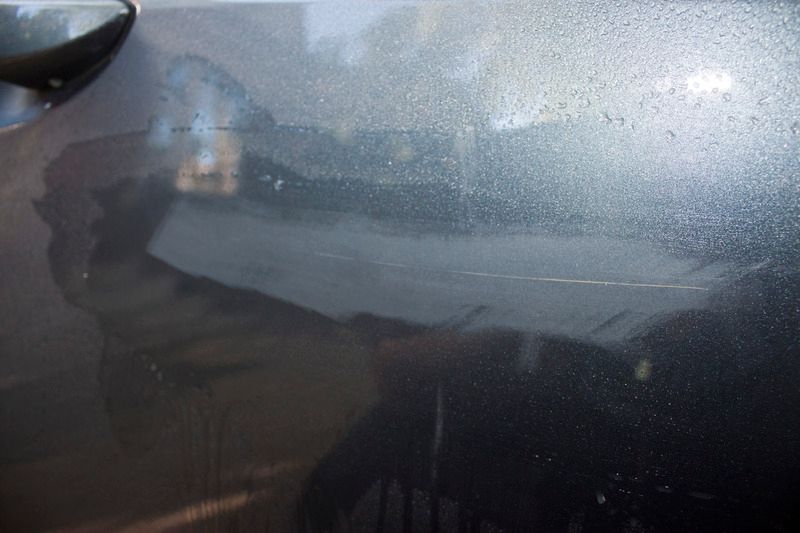
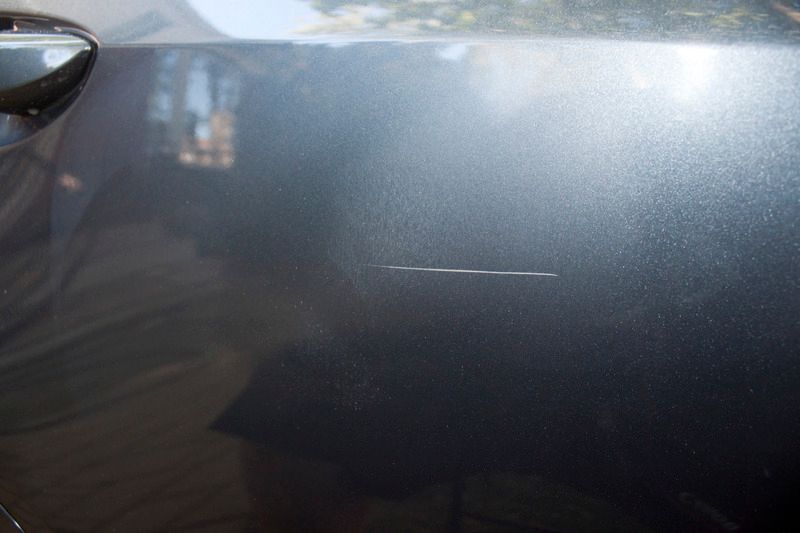
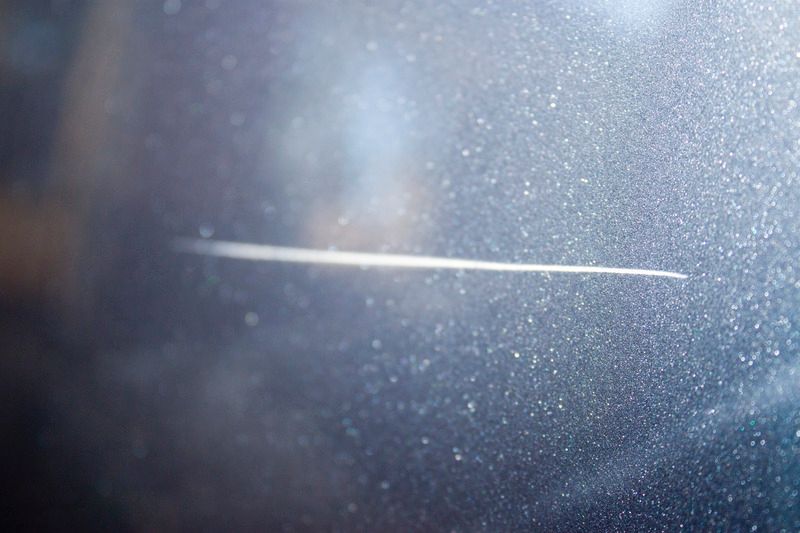
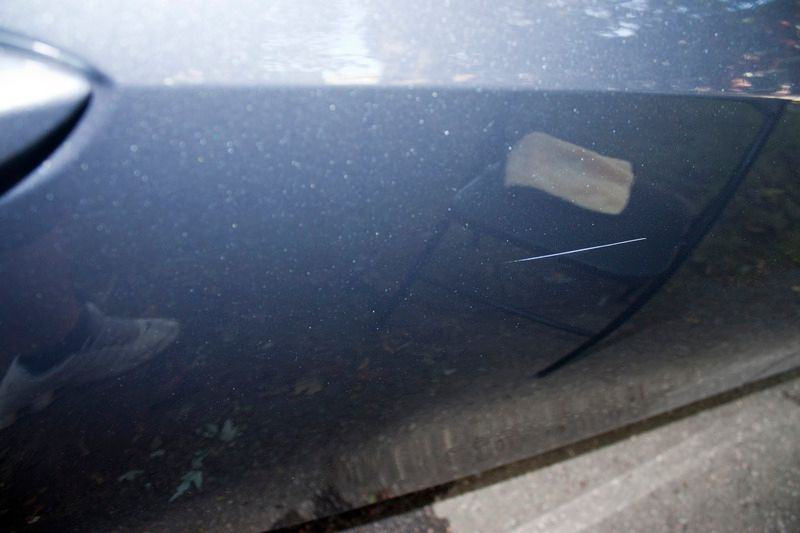
Dirty panel scratch:
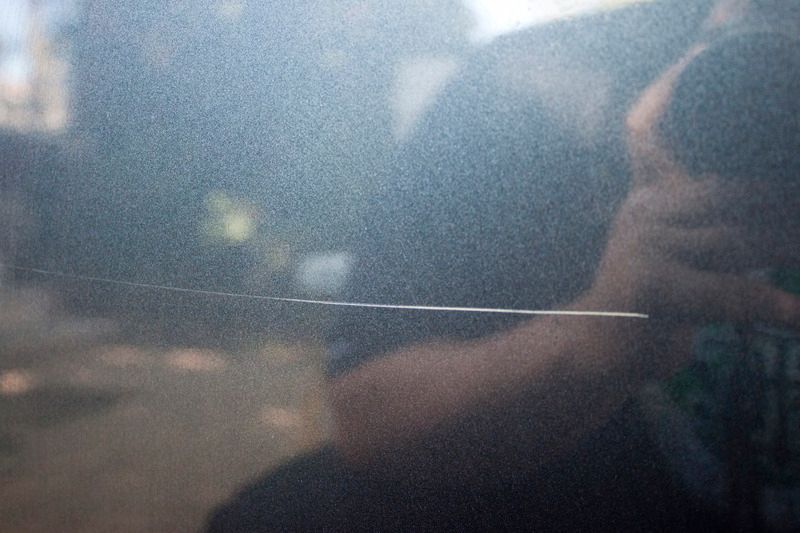
Cleaned panel scratch (inspection):
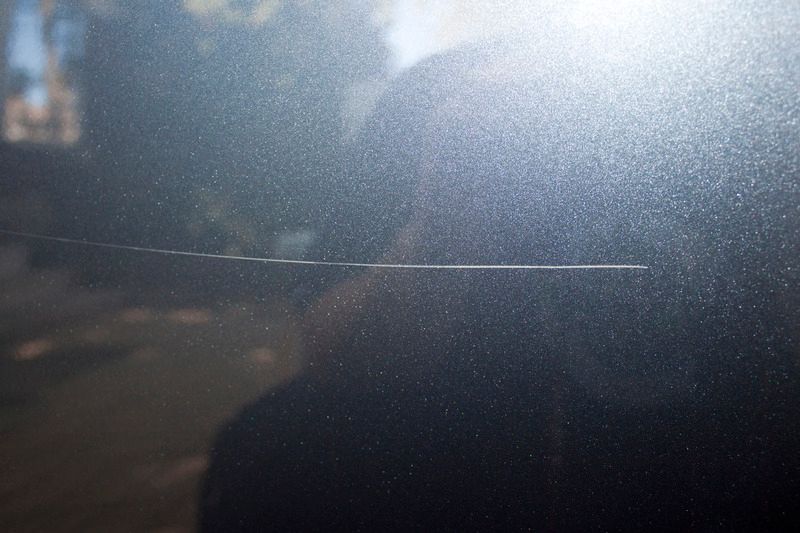
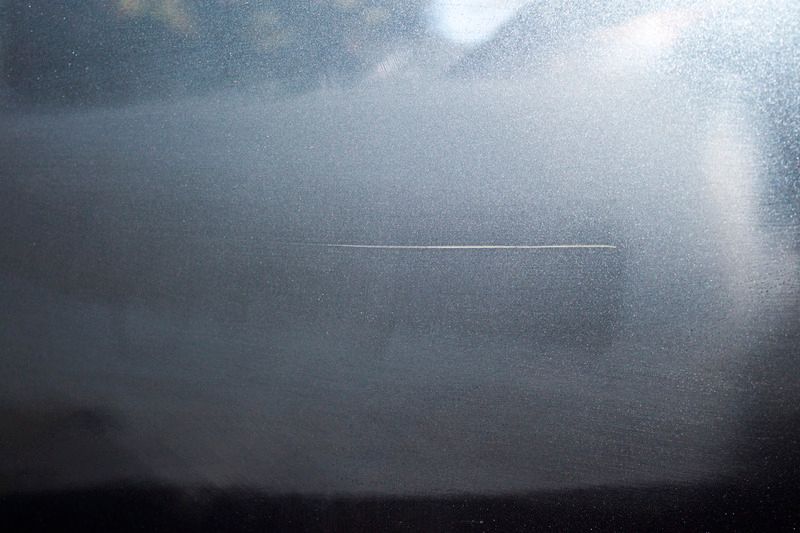
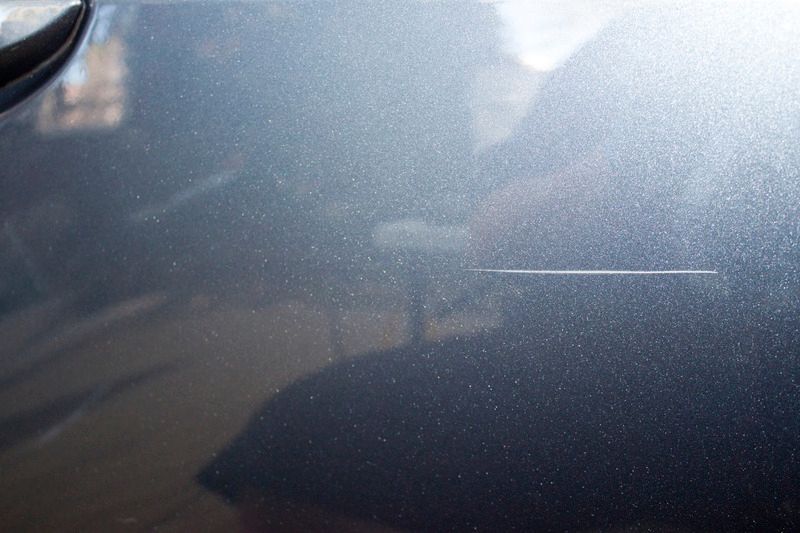
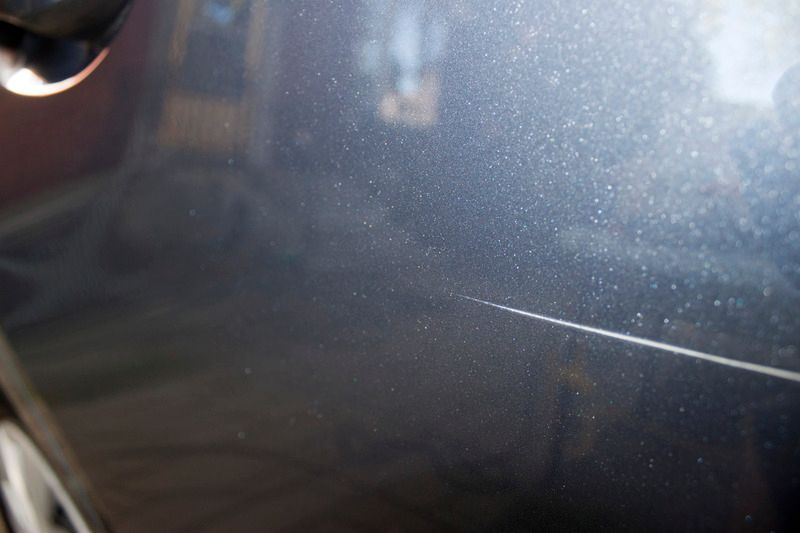
2000 Grit:
You can see ~half the scratch is gone from one picture to the next (2000 grit):

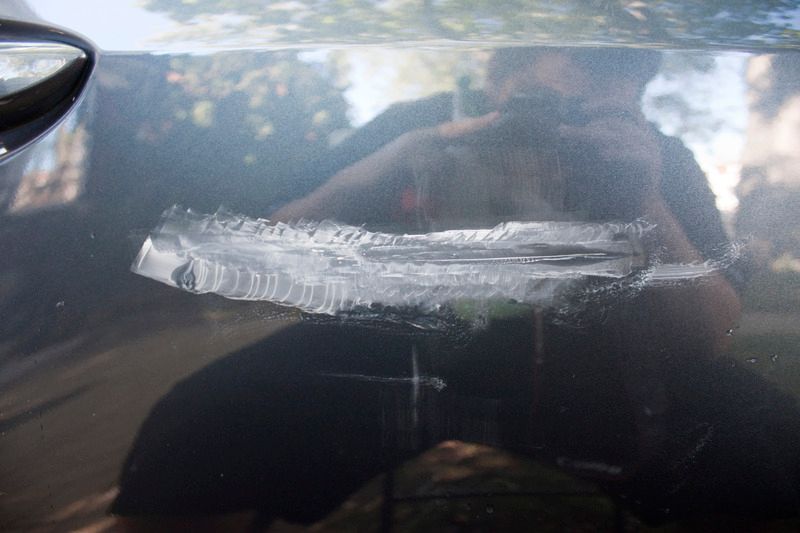
300 grit:

M101 4th pass pre-wipe off:
M101 4th pass wiped off:
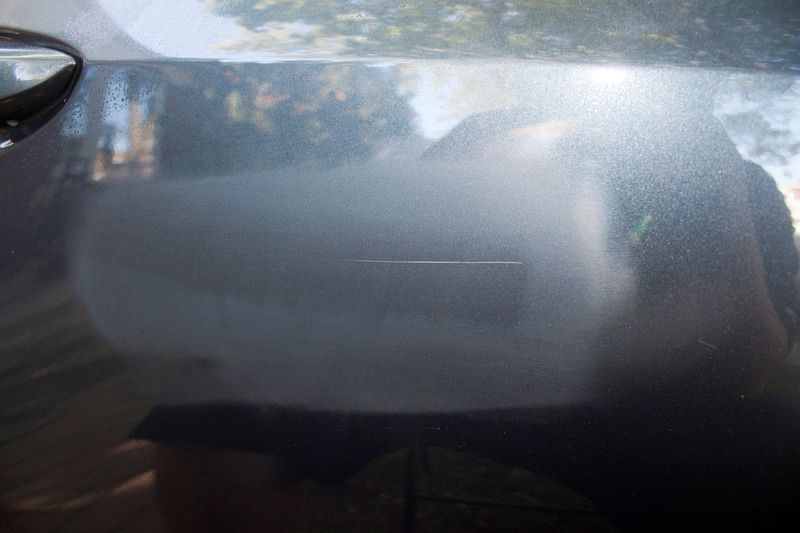
M101 8-10th pass:
M205 6th pass reflection OP free:
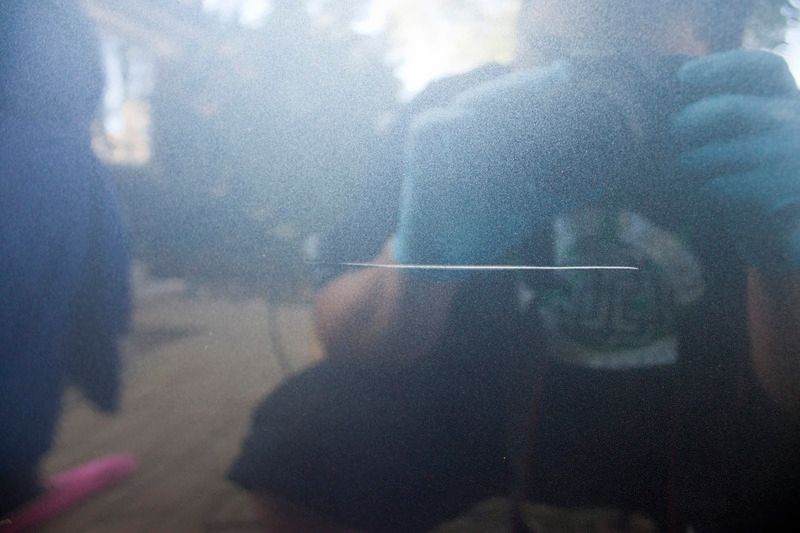
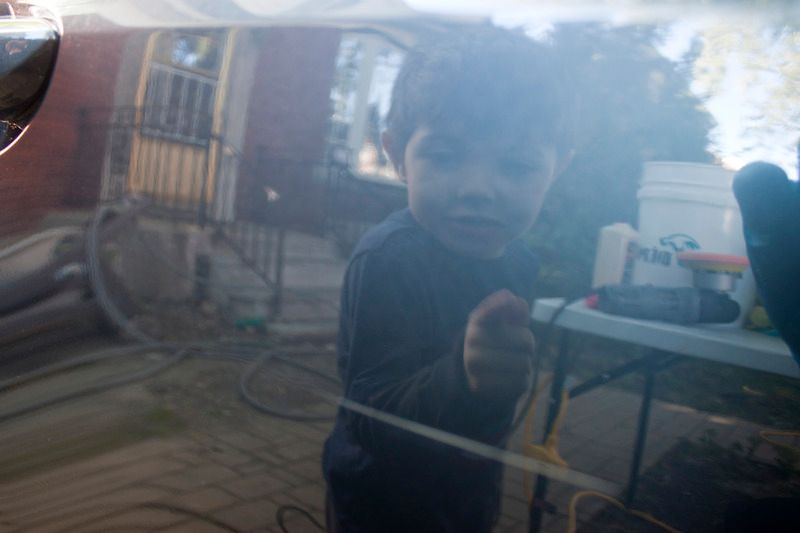
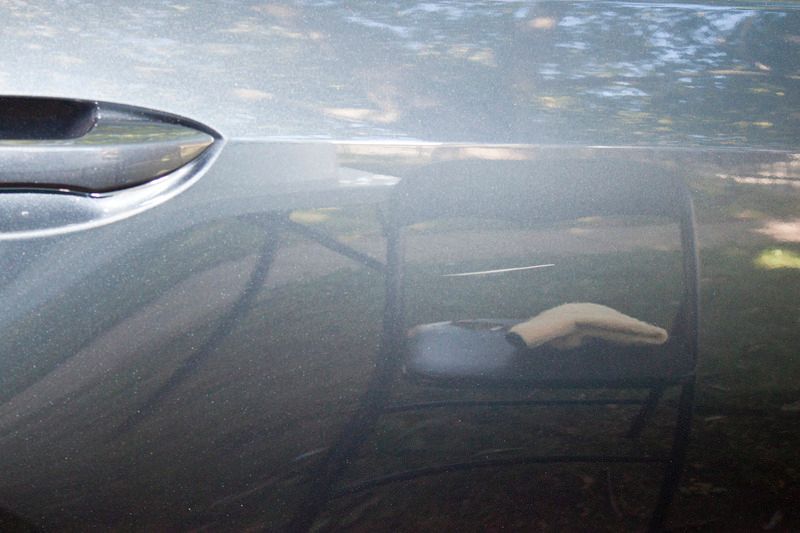
My son pointing out that the scratch is still there! LOL
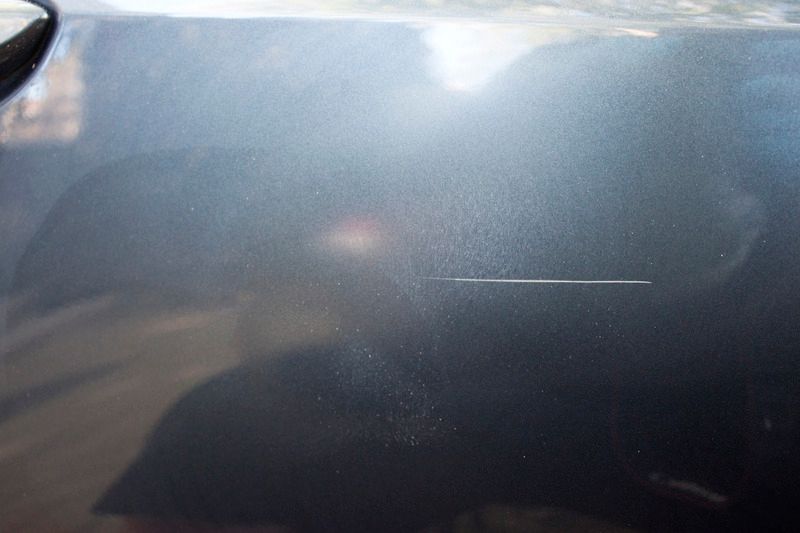
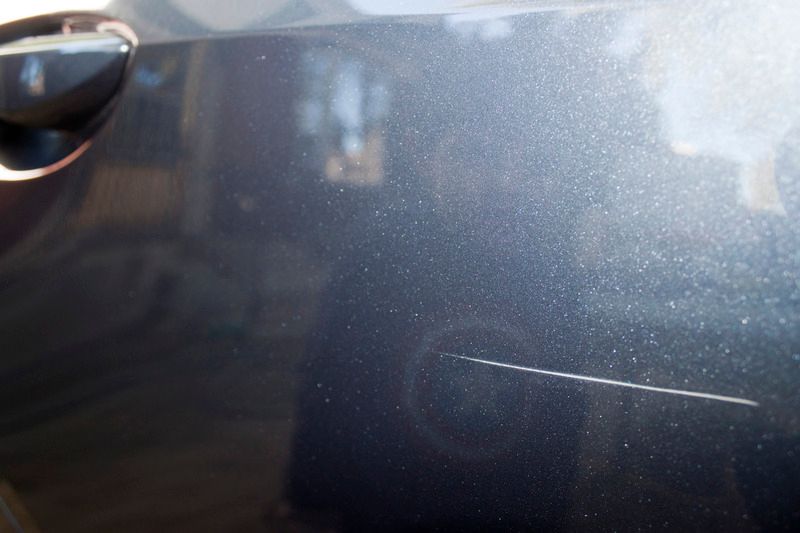
Fine focus on the scratch after 6th pass of m205:


Finished:
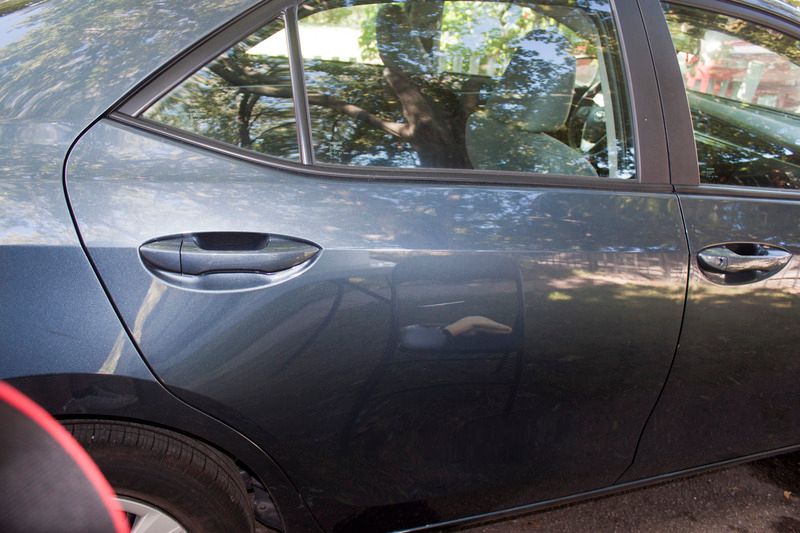
Before:
After:
I went out and picked up some 3M wet sanding paper and sanding discs (1500, 2000, and 3000 grit). I have never wet sanded before, so I was really going outside of my comfort zone. I brushed up by watching some wet sanding videos. After watching the videos I couldn't wait to get started wet sanding by hand...
Process:
I started by inspecting the depth of the scratch (again) and determined it was deep into the primer but only in some parts. I cleaned the area with UWW+ and a few towels. I had 1500, 2000, and 3000 grit paper soaking for about 45mins. I figured I'd start with 2000 grit and wrapped it around a sanding block. I moved the block against the paint at a 45degree angle (not side to side or up and down). I went only one direction (i.e. / or \ only) and inspected after every 5-8 swipes. I noticed the clear coat around the scratches started to level down to the bottom of the scratch (after about 30-45 swipes) and I switched directions (X pattern). I did another 20-35 swipes in the opposing 45 degree angle (to level the sanding marks). I then switched to 3000 grit and moved side to side and then up and down for about 40 swipes in each direction over a larger area. It was visually obvious when the 3000 grit had done its job just as it was obvious when the 2000 grit had gotten to the bottom of the scratch. After finishing with the 3000 grit, I moved on to my PC7424 with a 5.5'' Cyan Hydro-tech pad and M101. I "seasoned" the pad and put one small drop of m101 for 4 passes and inspected. I was blown away how quickly the m101 took away all the sanding marks and looked LSP ready! I followed up with a tangerine Hydro-tech pad and made the mistake of using m101 again rather than the m205 (look the same) but it helped bring even more gloss to the area. I took another tangerine pad and m205 to finish off with another 6 passes (m205 really worked long). The area finished off better than my OP removal process on my own car! Unfortunately, the scratch was just too deep to completely remove but the owner was more than happy with the results and will be picking up some touch-up paint for the small part of the scratch that remains.
All and all not bad for a first wet sanding attempt without a paint thickness gauge. Thanks to all the online video detailers especially; Larry Kosilla, Mike Phillips, Kevin Brown, Jason Rose, and Junkman!
Pictures...
Dirty panel scratch:

Cleaned panel scratch (inspection):


2000 Grit:

You can see ~half the scratch is gone from one picture to the next (2000 grit):


300 grit:


M101 4th pass pre-wipe off:

M101 4th pass wiped off:

M101 8-10th pass:


M205 6th pass reflection OP free:

My son pointing out that the scratch is still there! LOL

Fine focus on the scratch after 6th pass of m205:


Finished:


Before:
After:
