zmcgovern45
New member
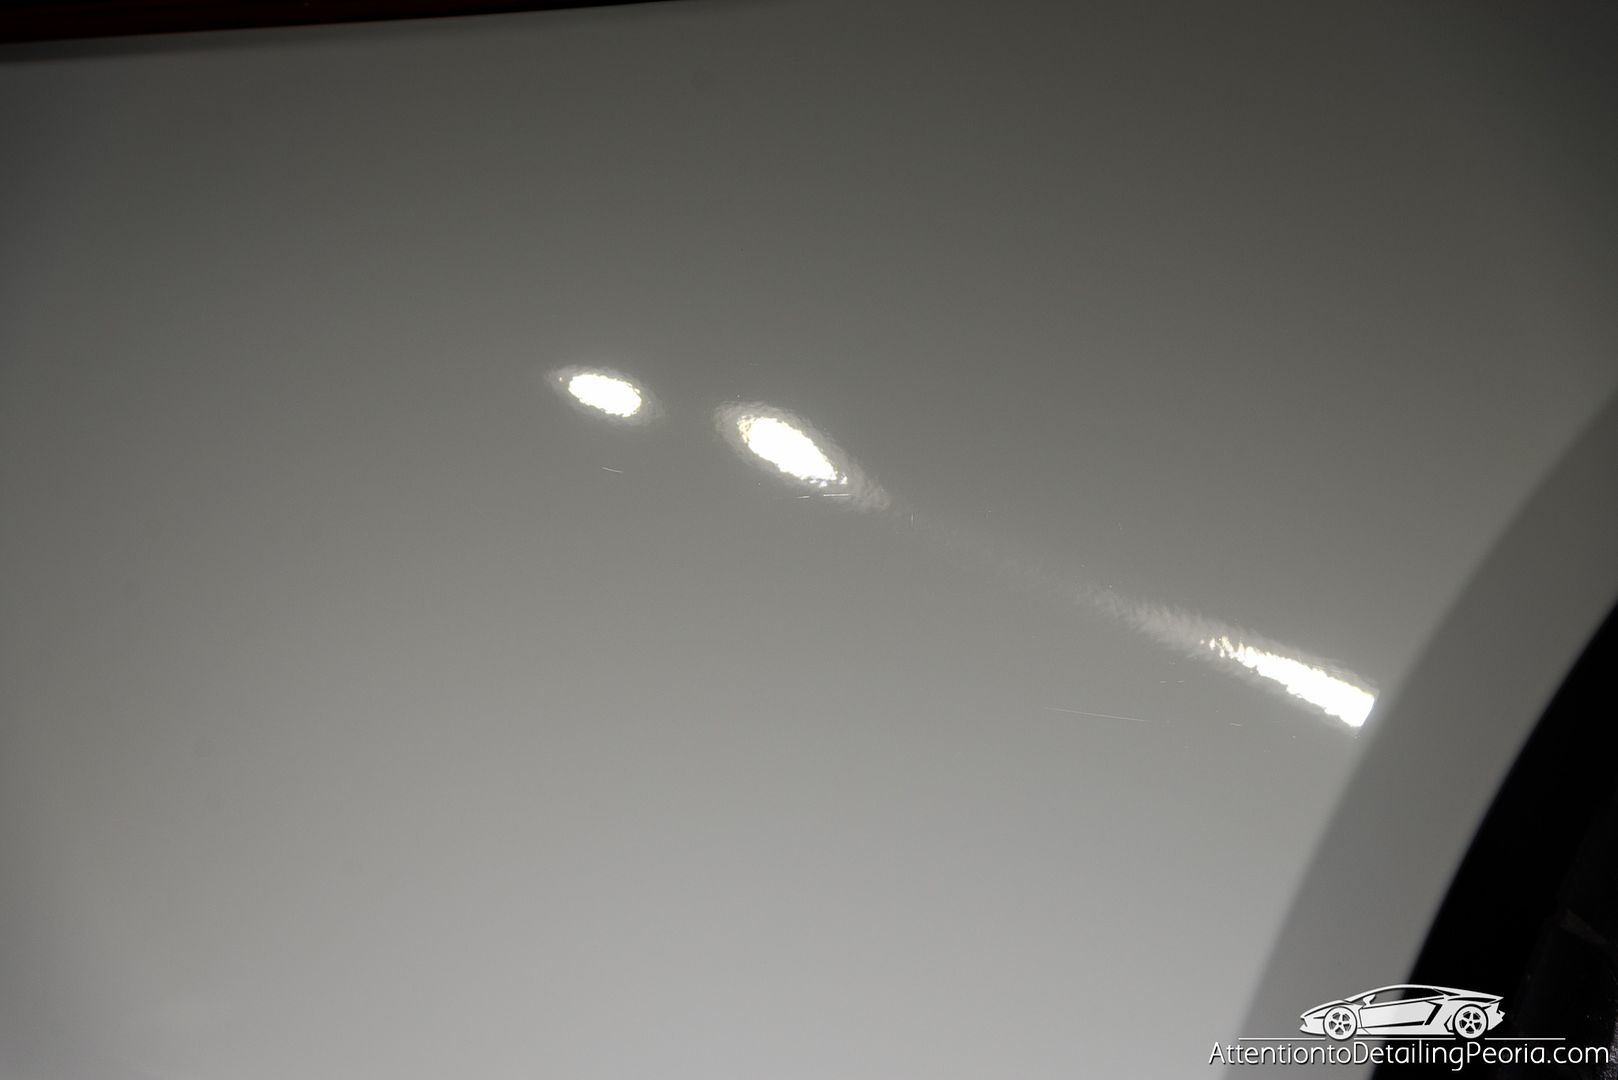
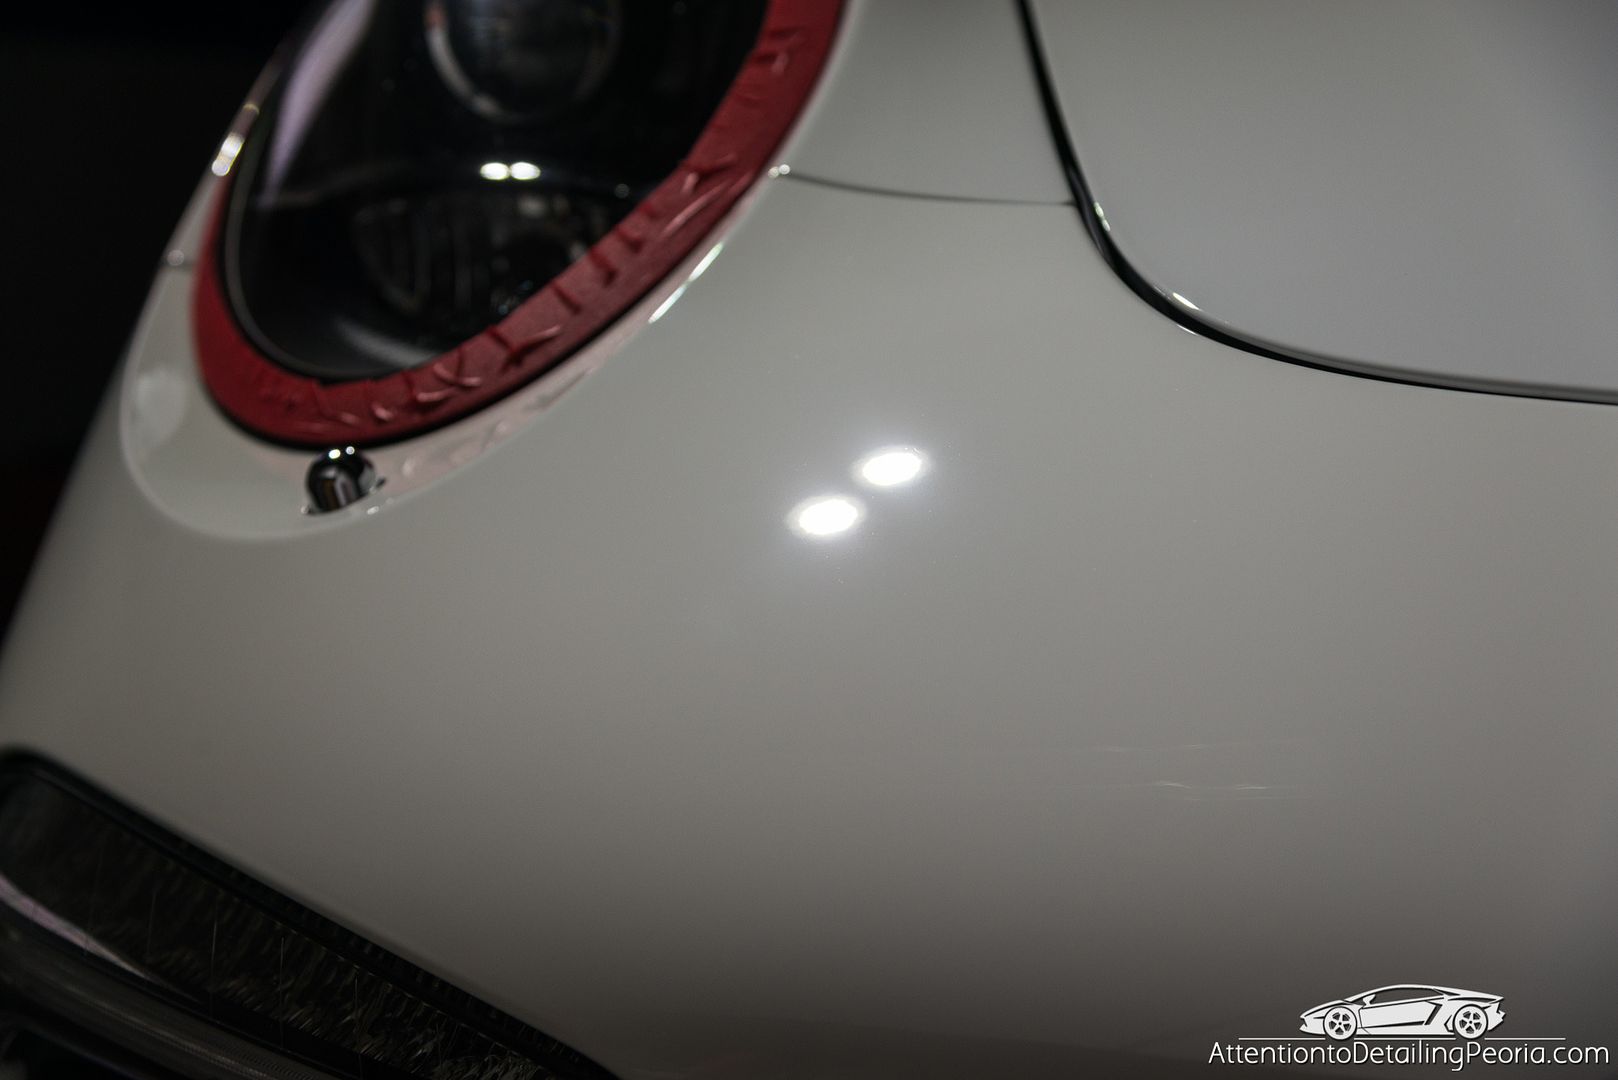
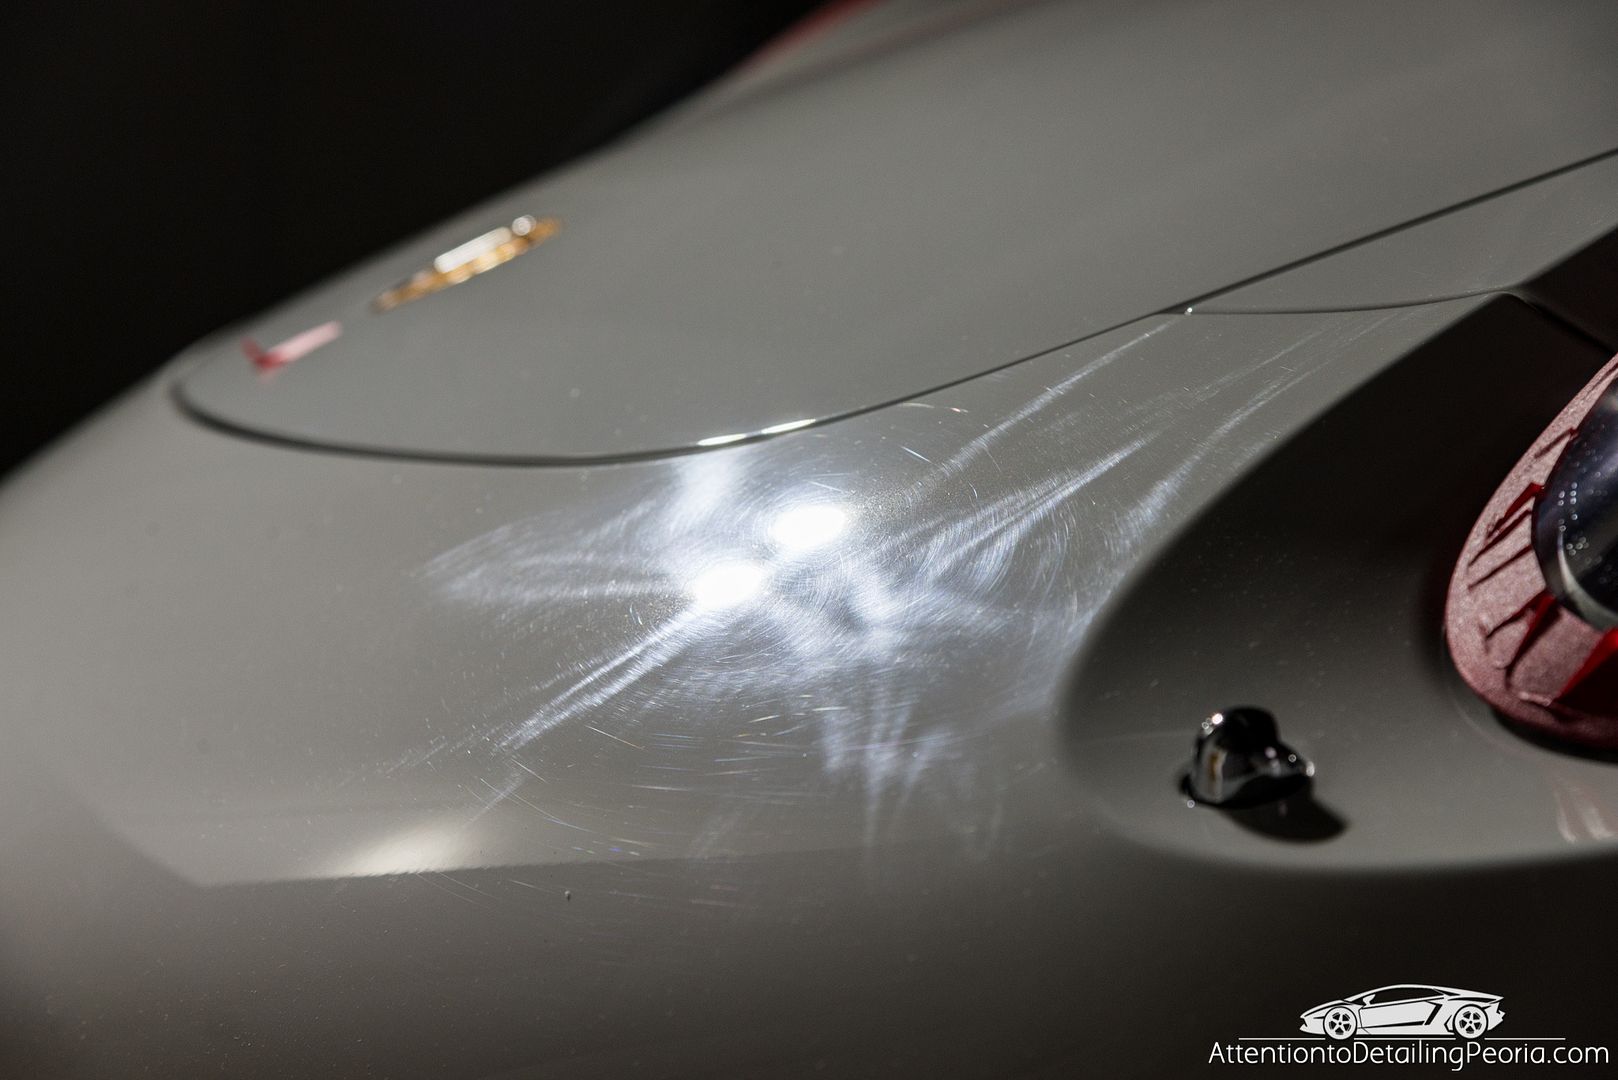
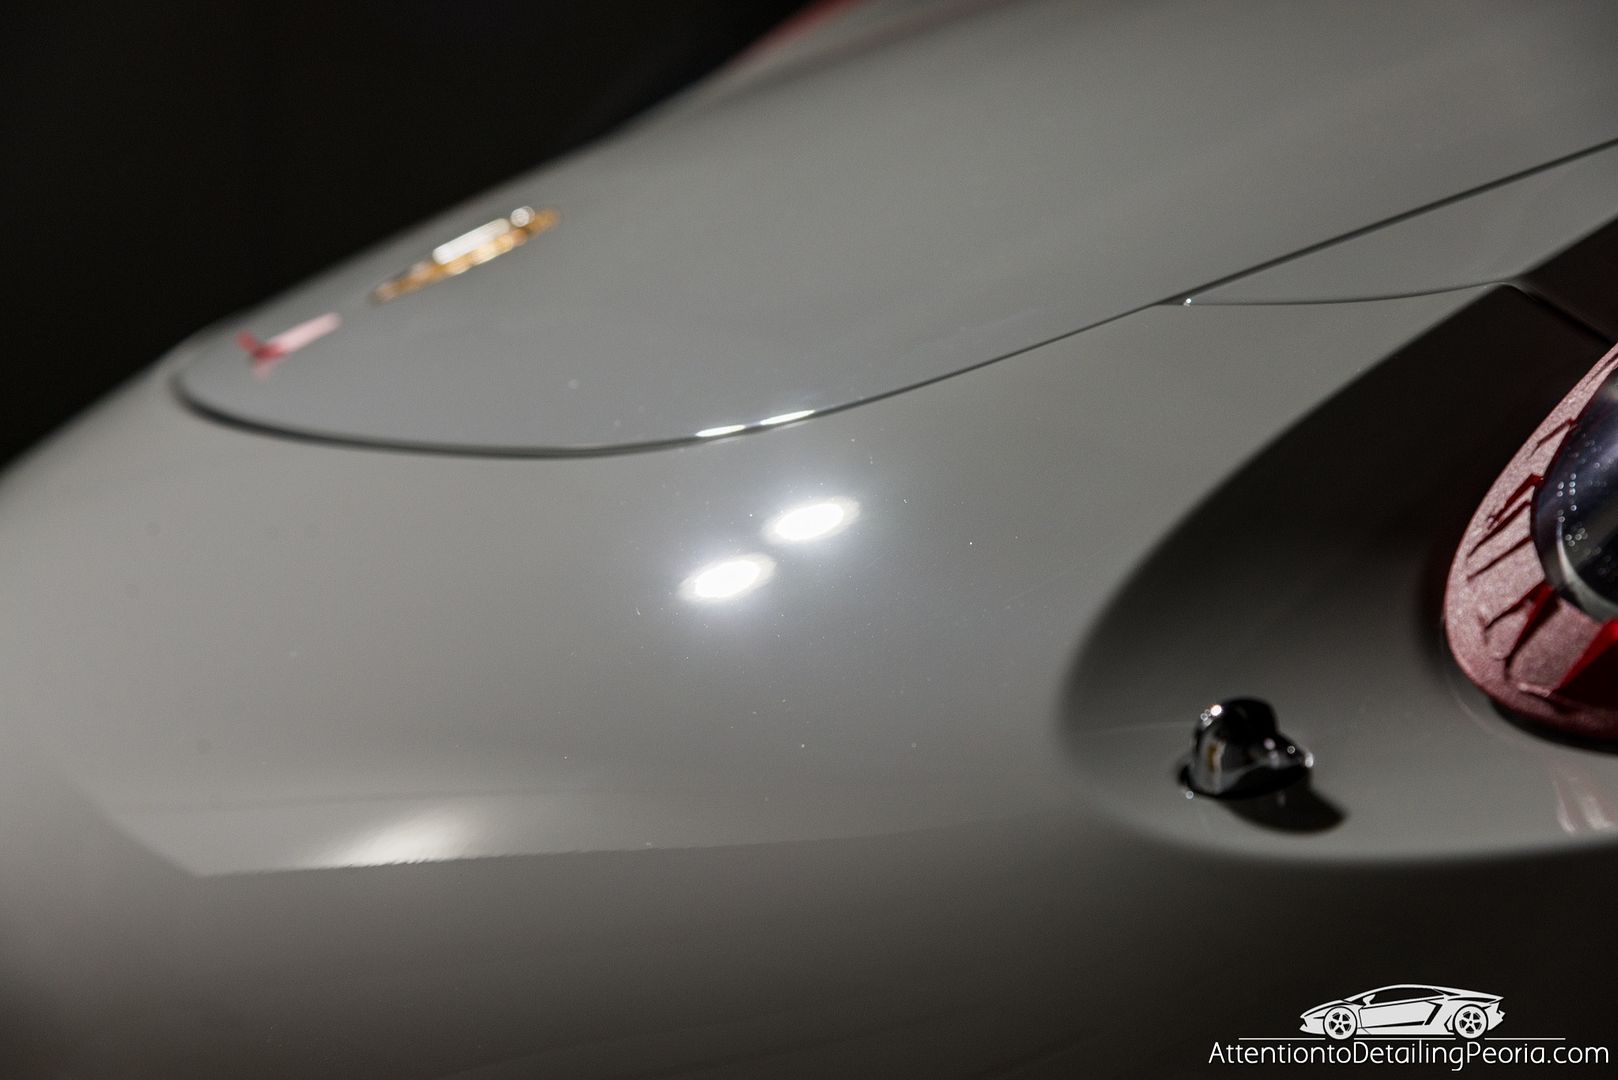
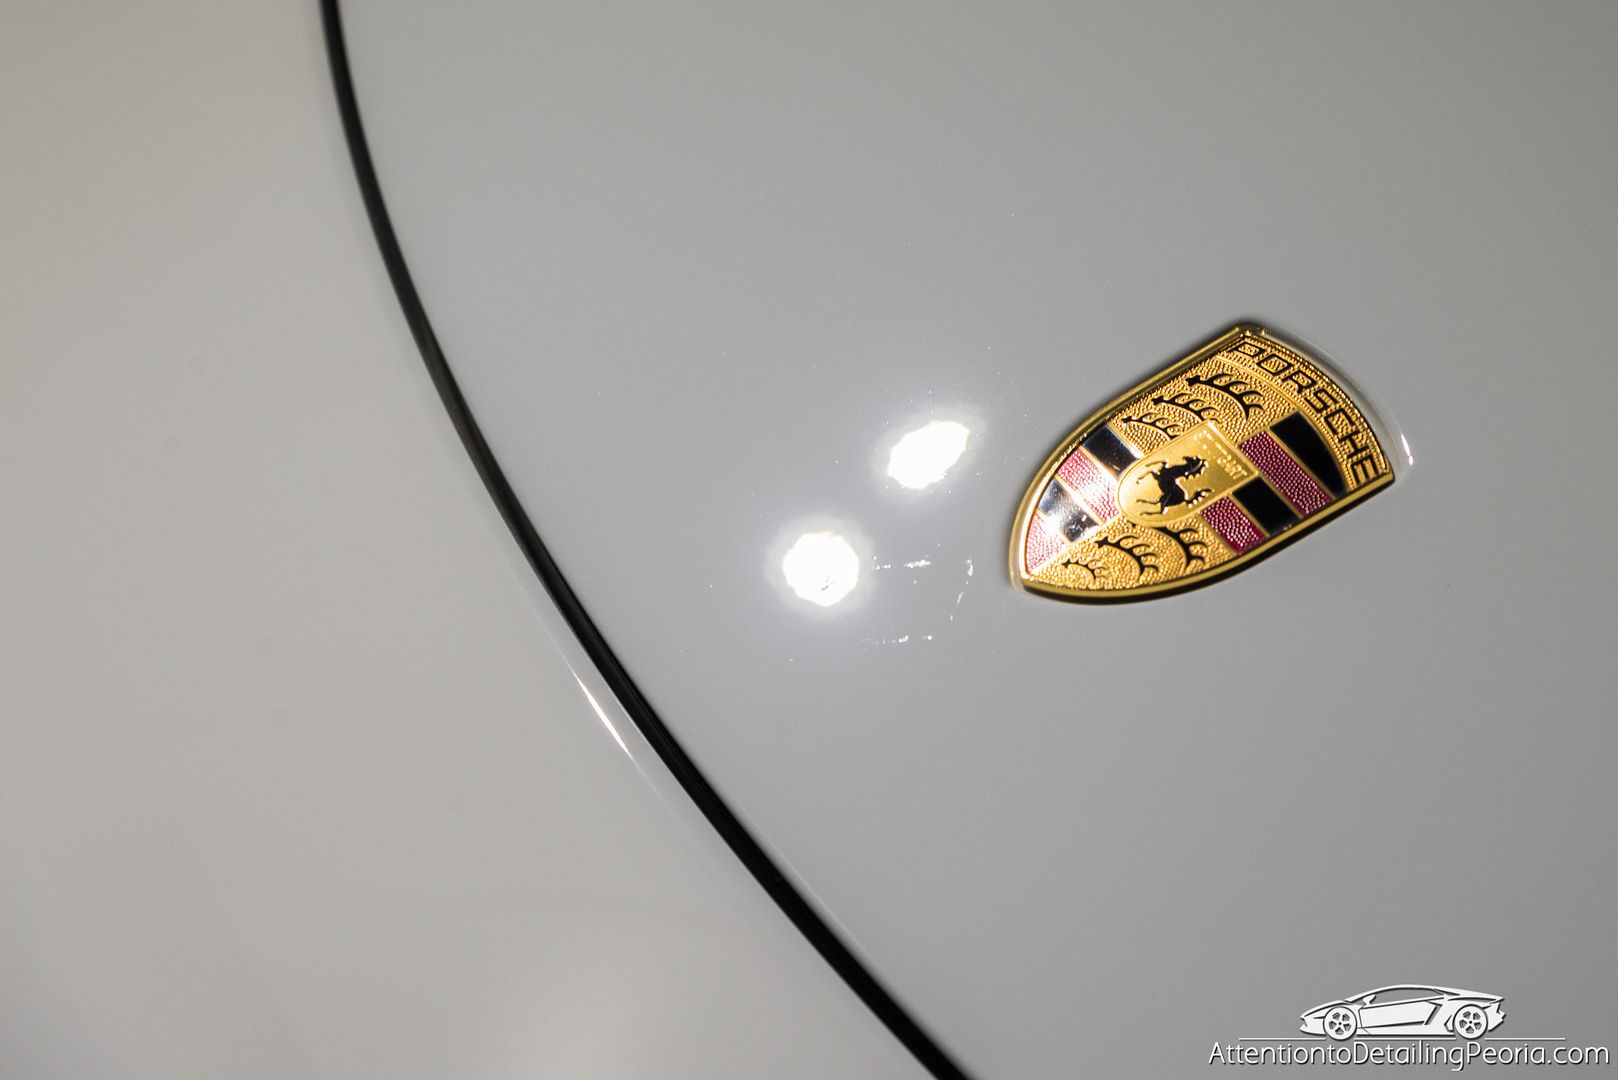
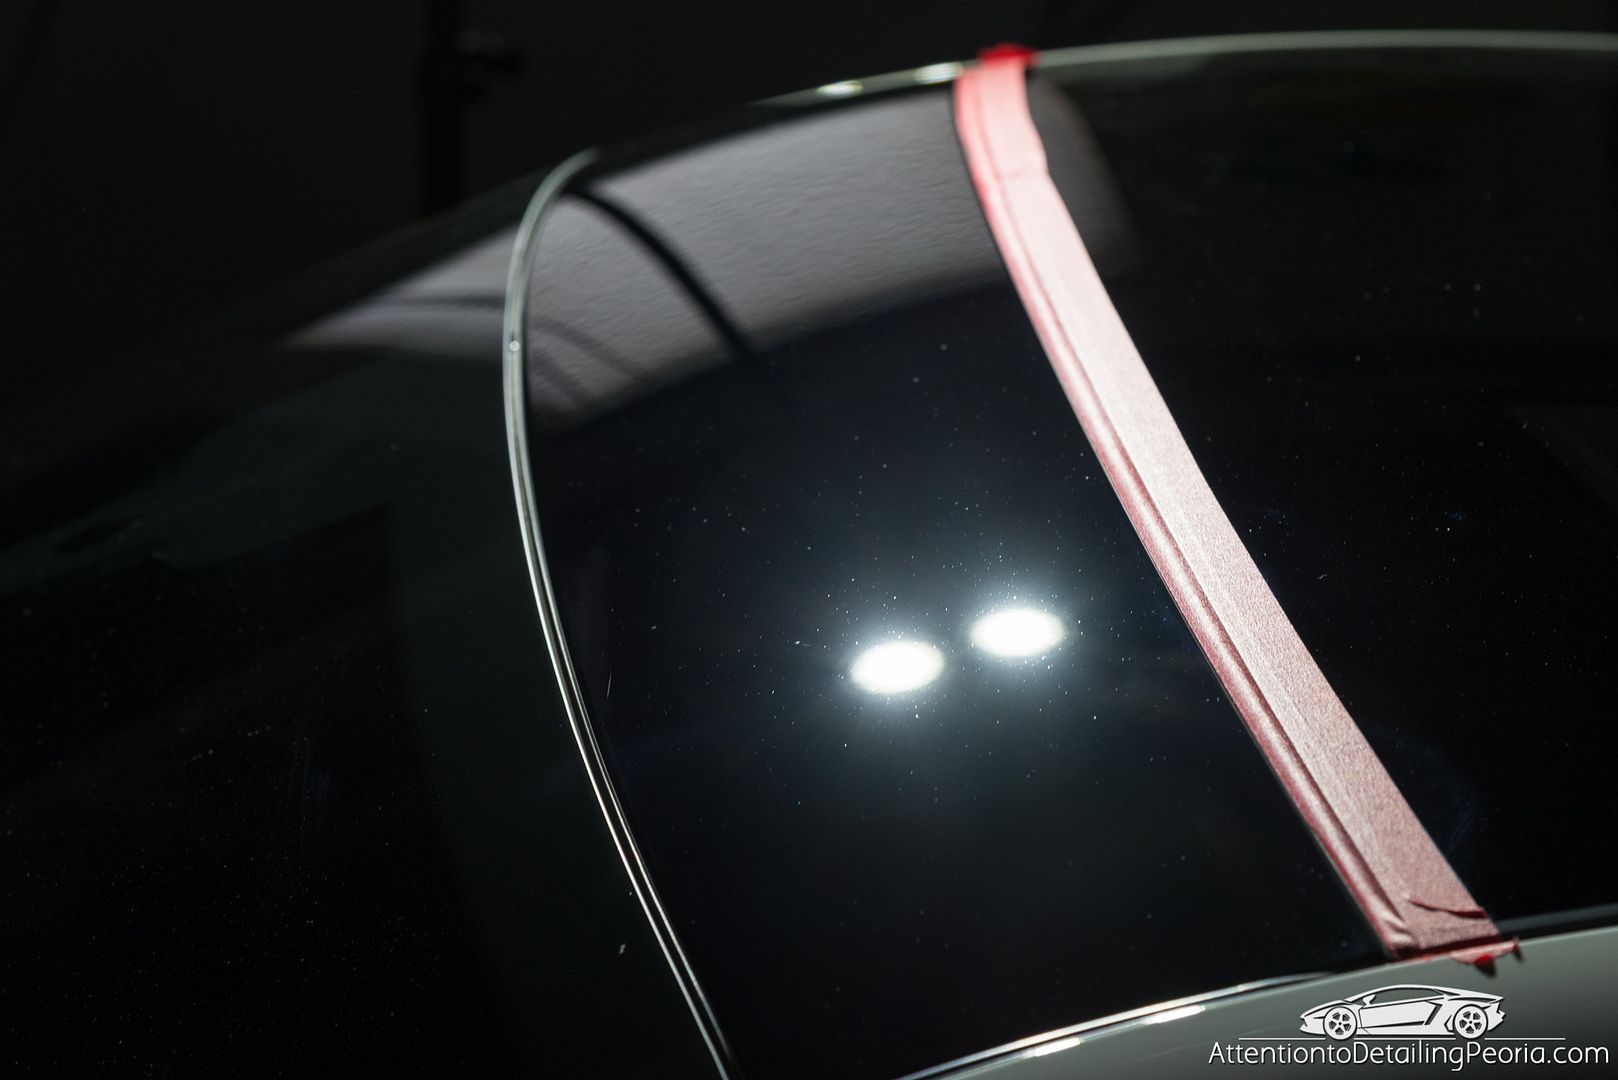
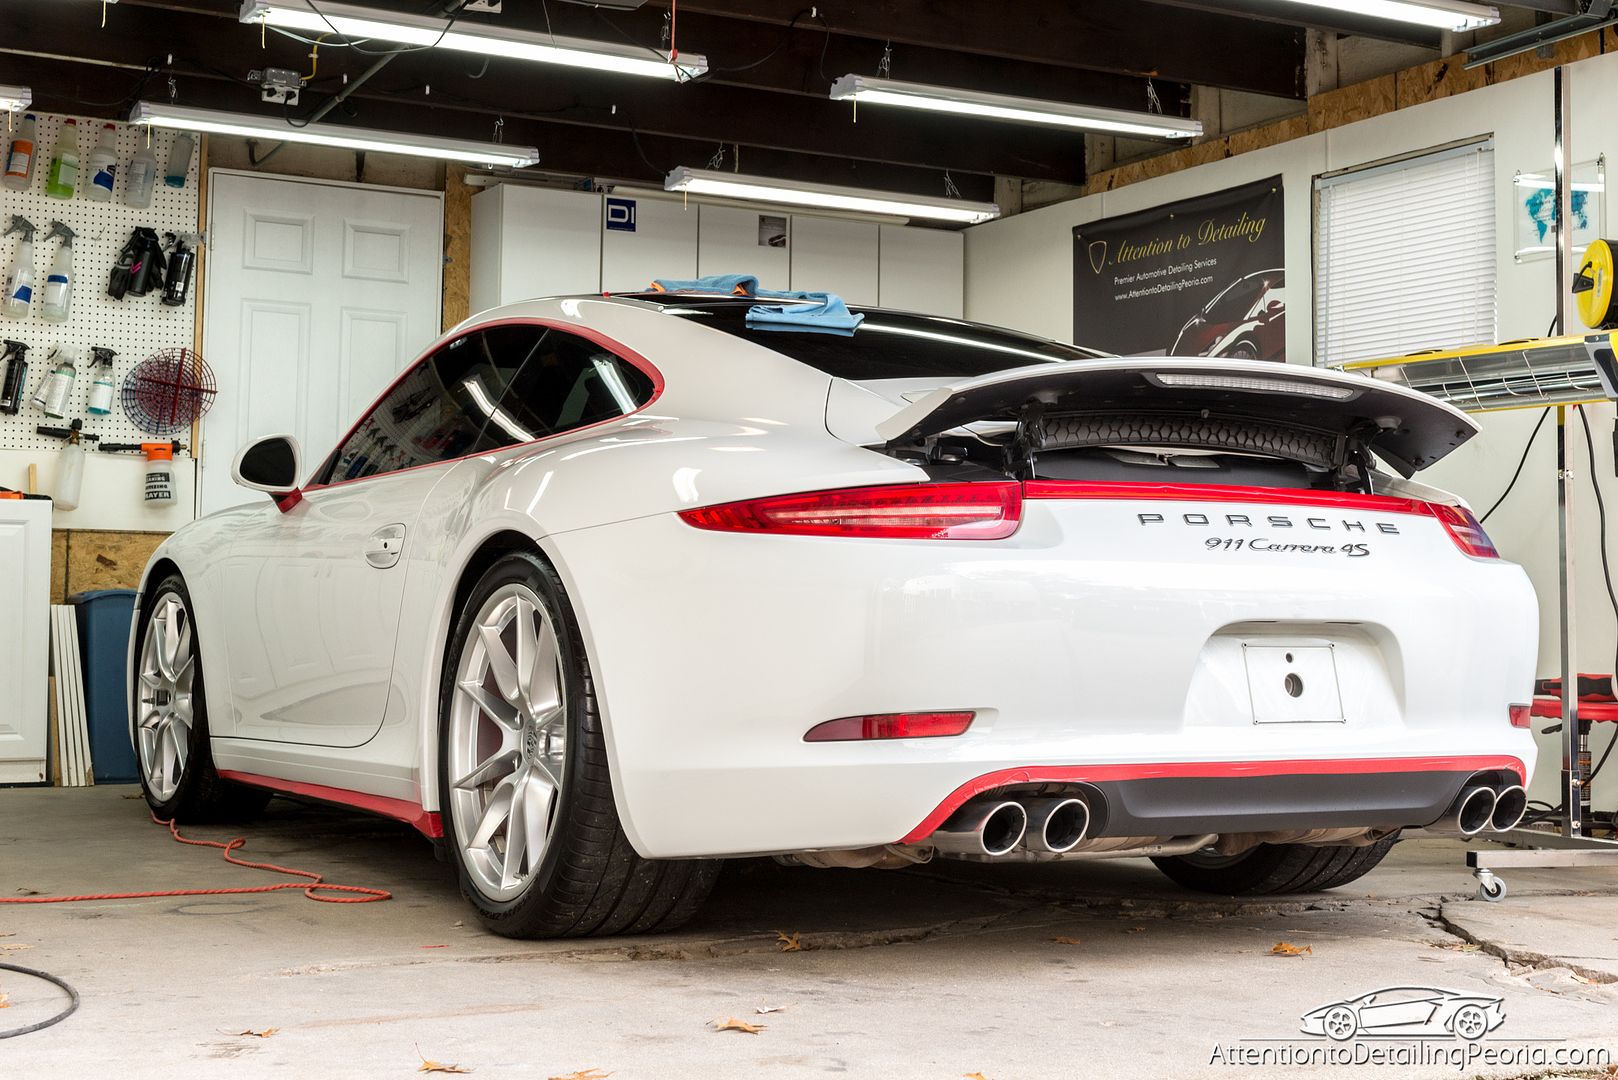
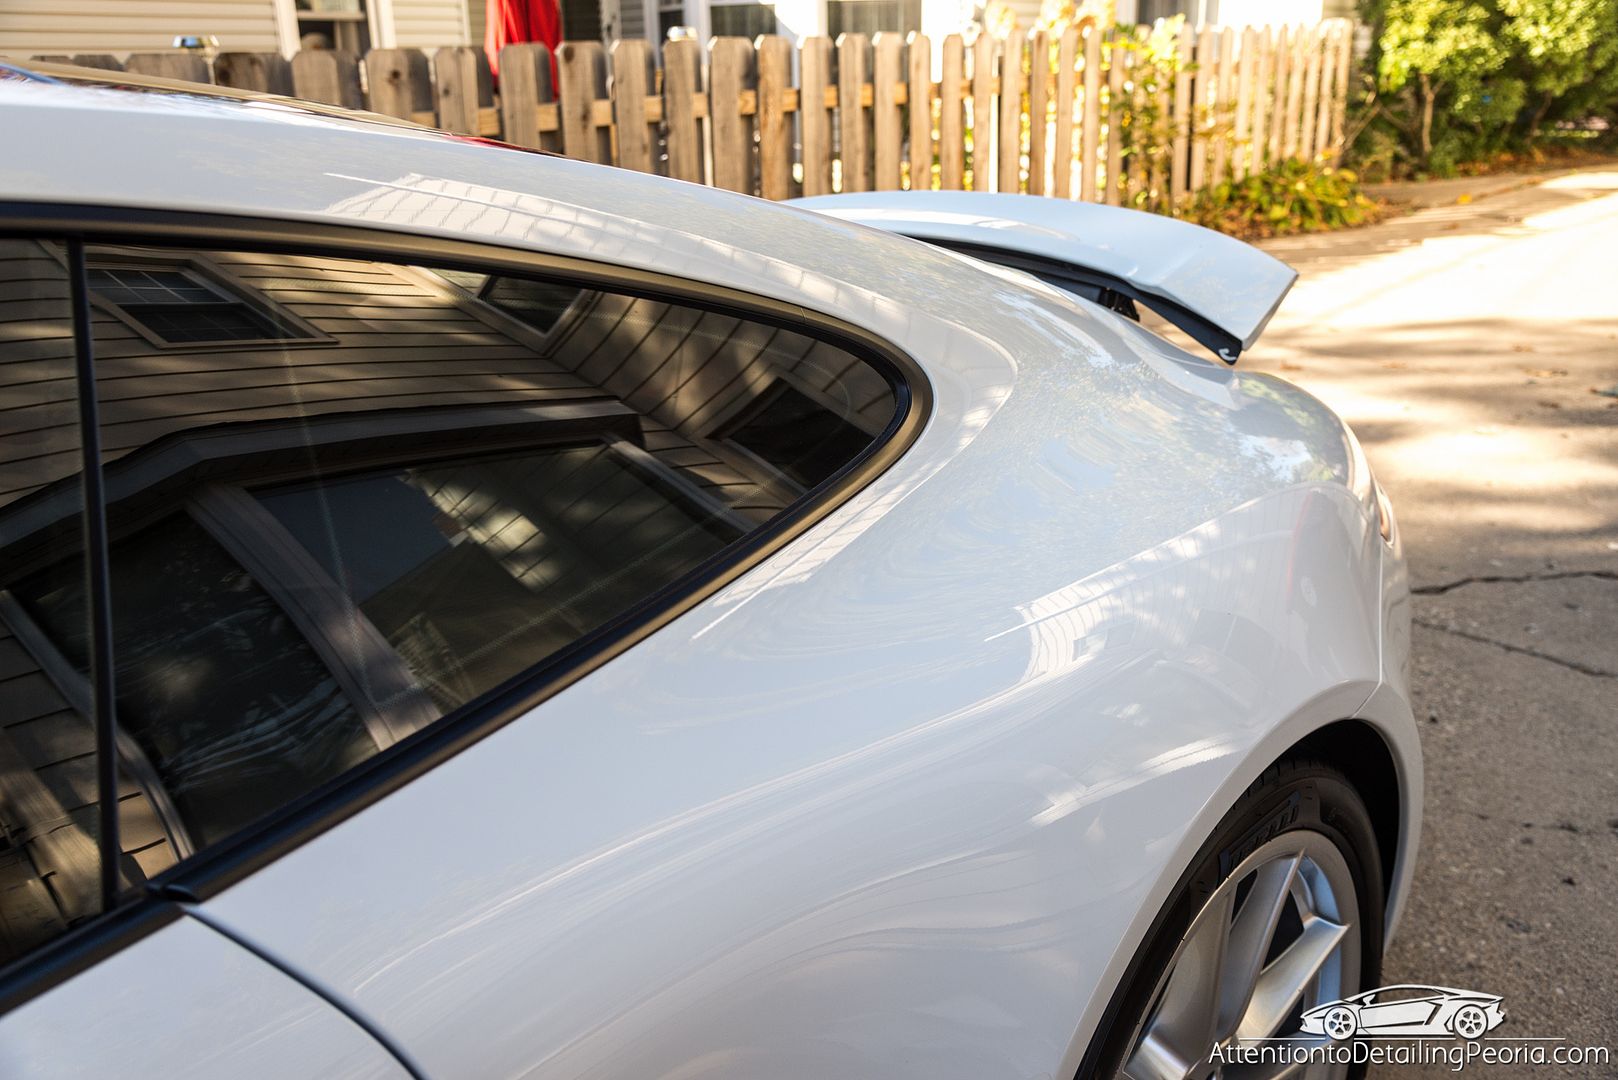
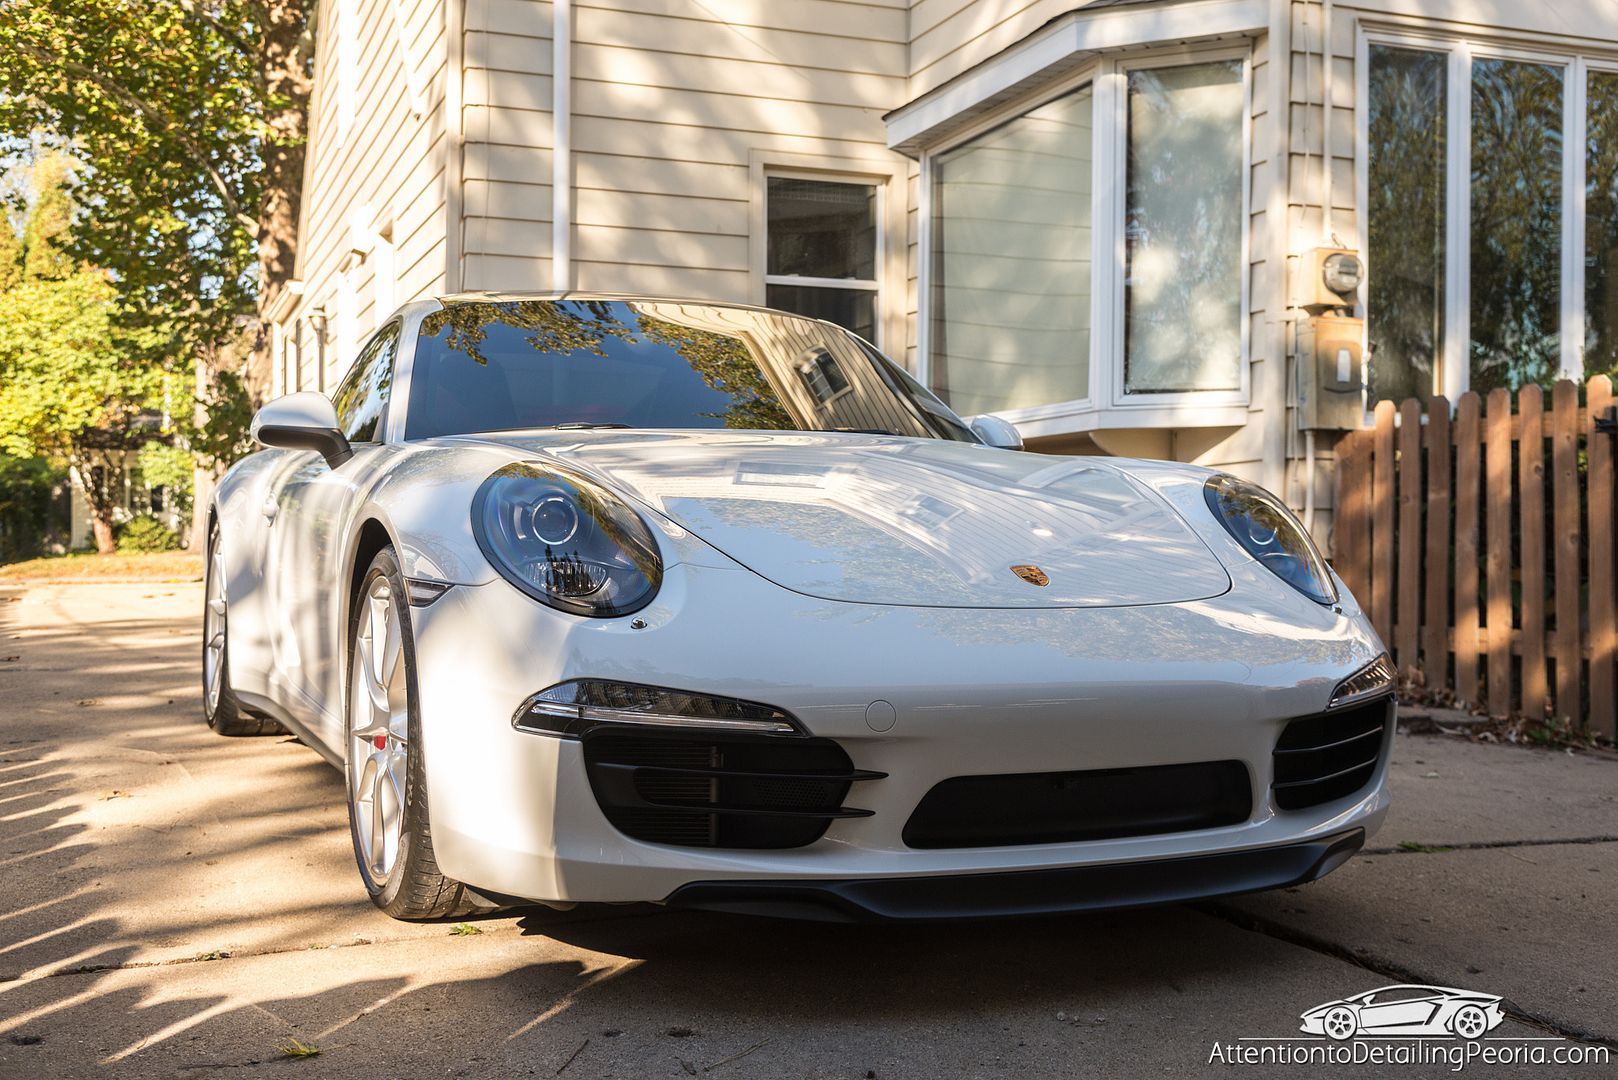
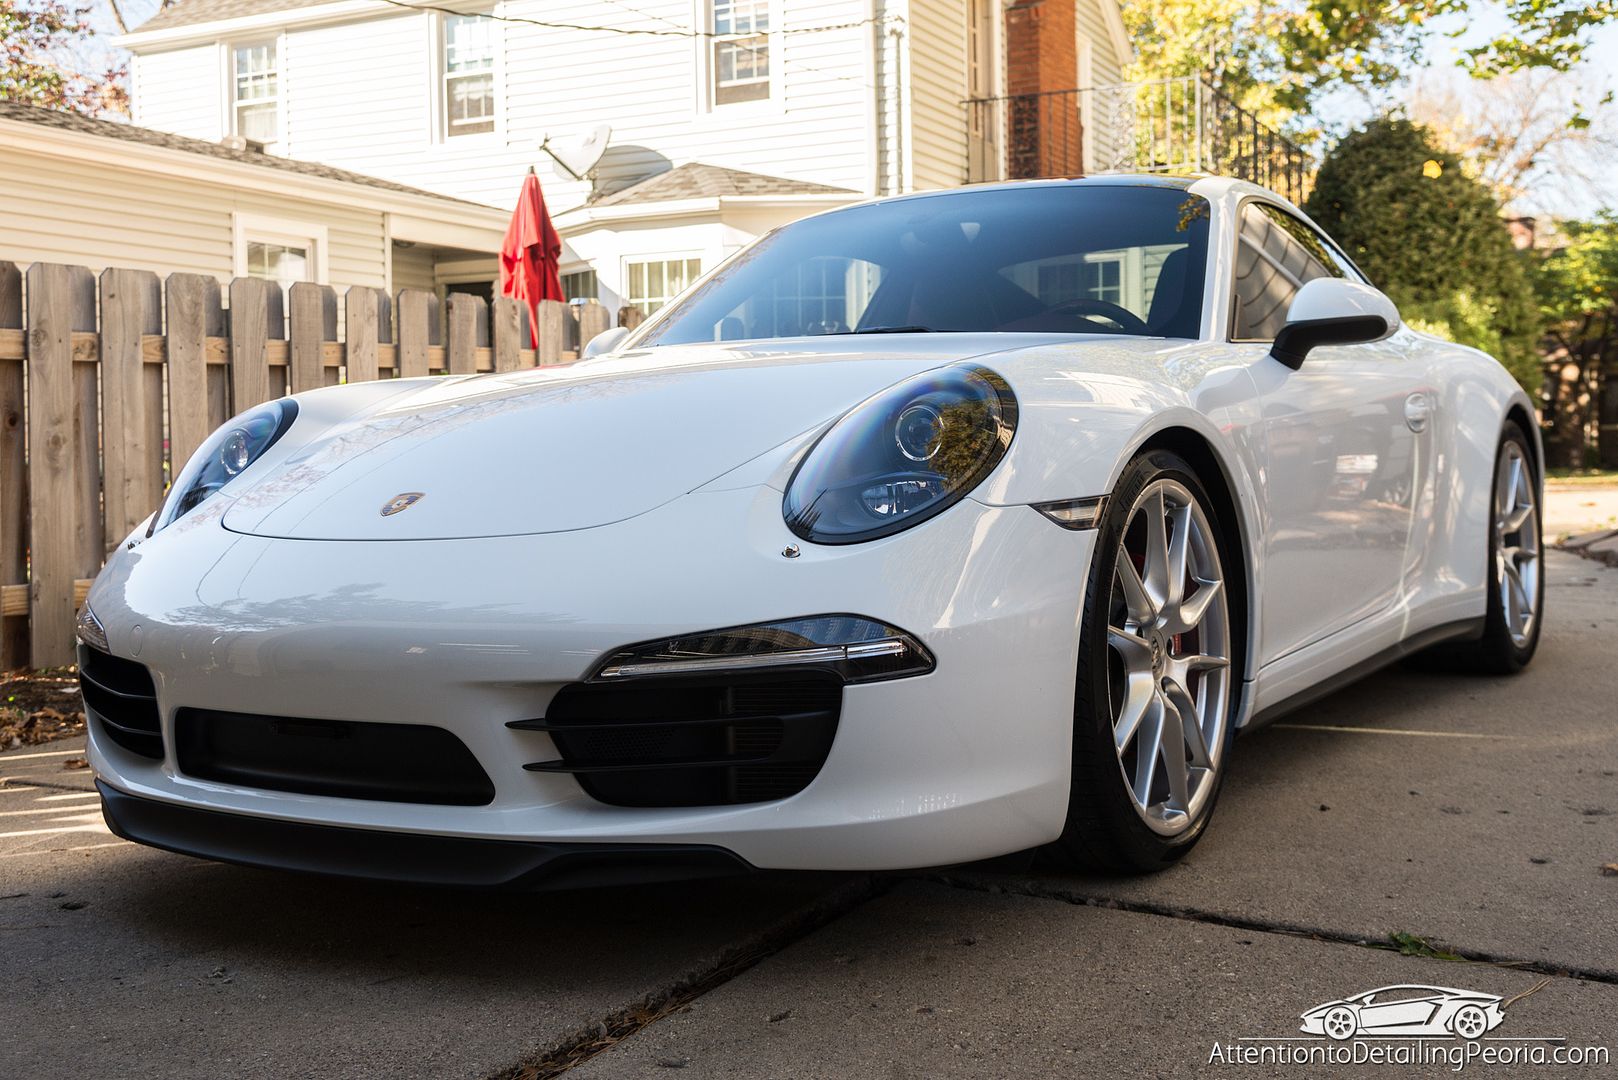
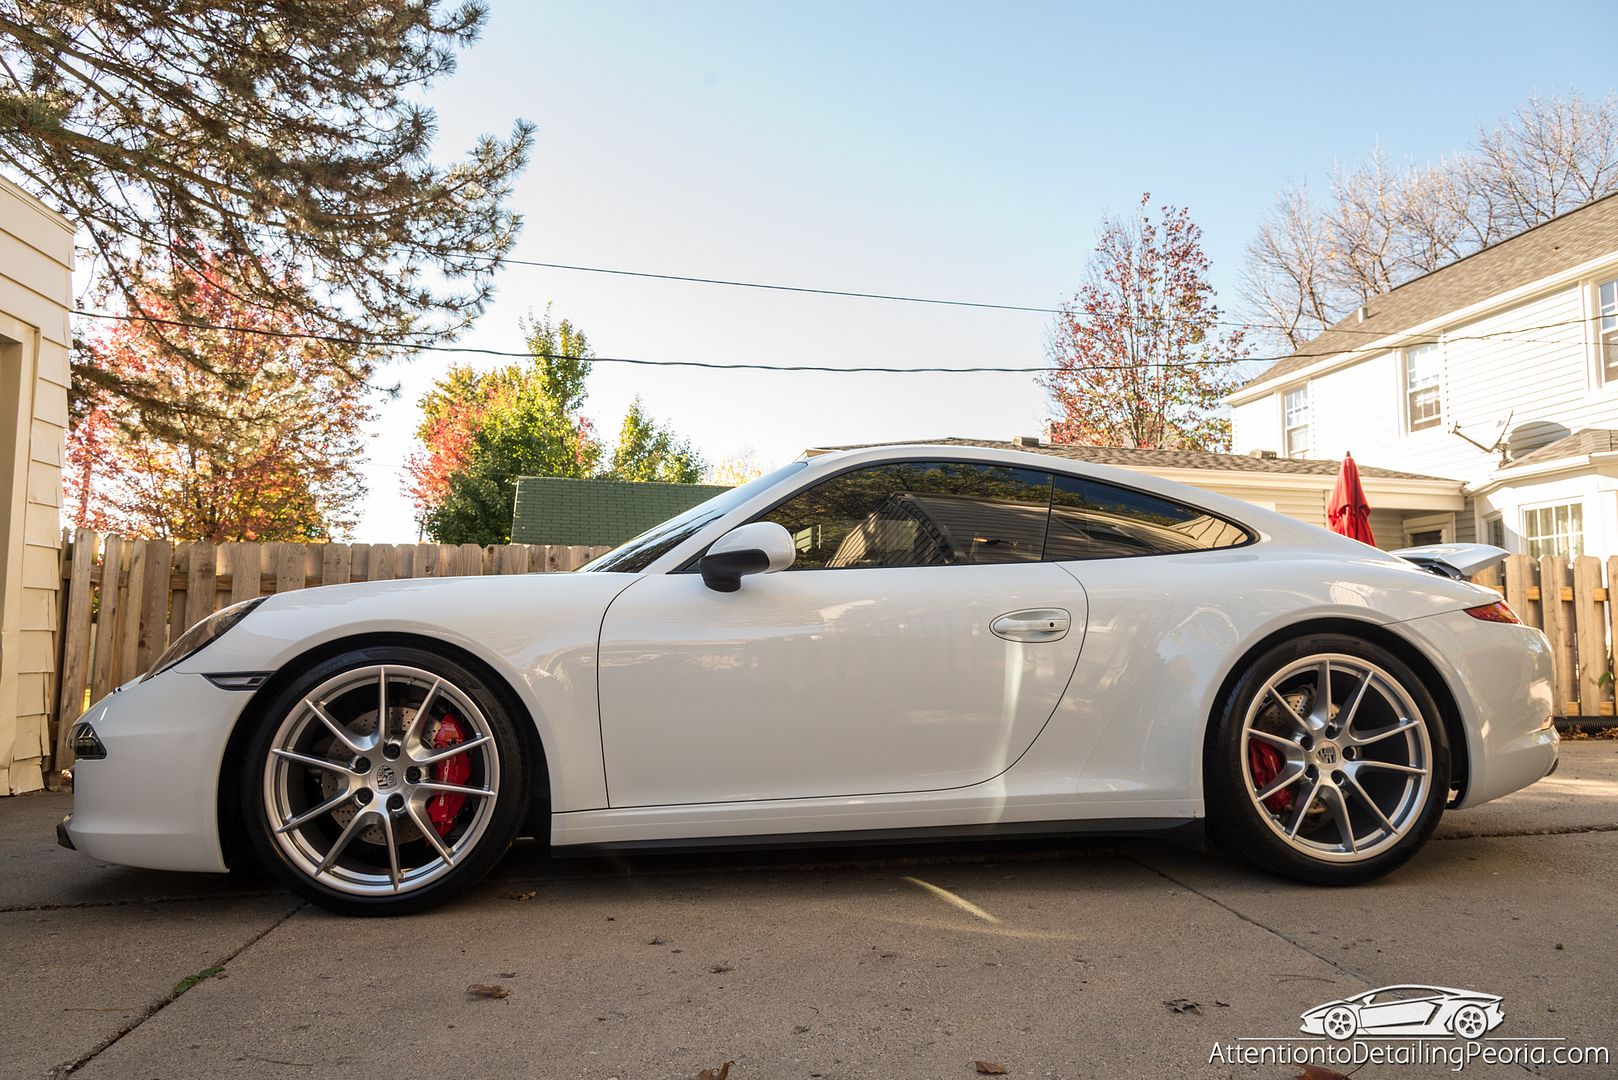
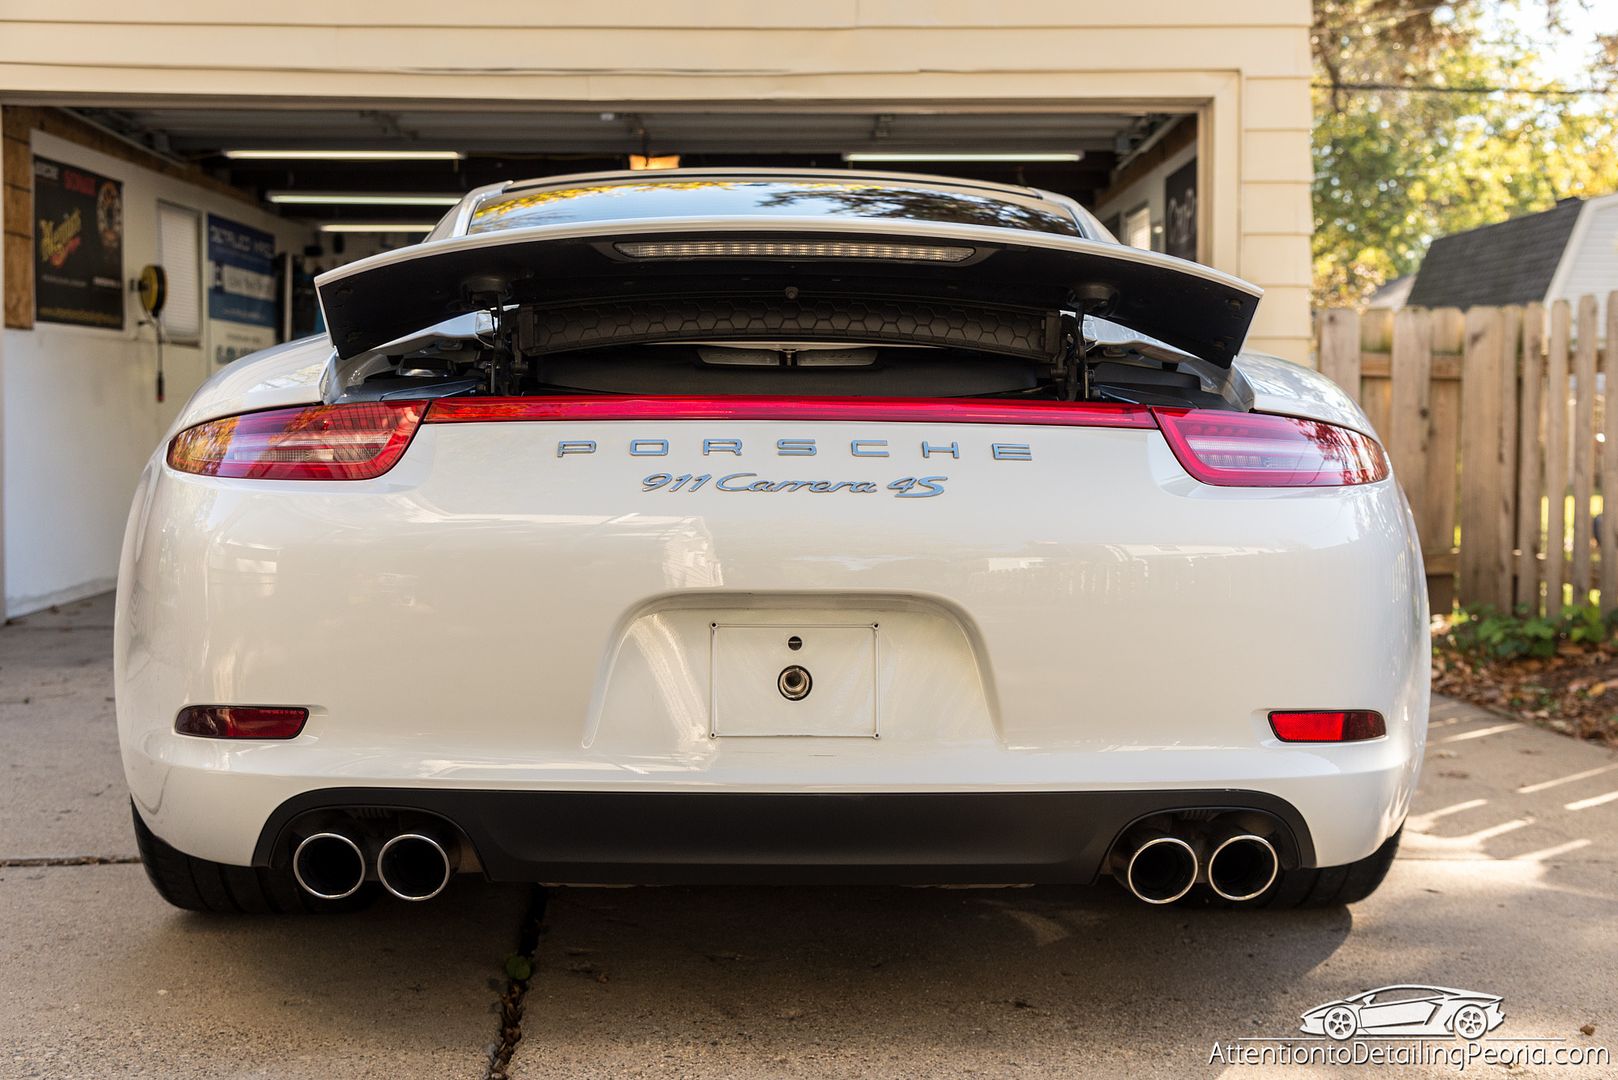
The owner of this vehicle contacted me because he had been referred by a coworker and was interested in having his paint corrected and protected for his newly acquired, beautiful Porsche. We opted for a 2 step correction to remove the majority of moderate to light defects, though some scratches were too deep to safely remove. This process really brightened up the paint and increased the gloss and clarity in the paint. 2 coats of protection were then applied and baked for even richer gloss and years of durable protection and easy maintenance. This is one gorgeous car!
Process
Tires: Tuf Shine Tire Cleaner & Tire Brush
Wheels: P21S Gel Wheel Cleaner & Various Brushes
Foam Soak: Citrus Wash via DI Foam Lance
Wash: Citrus Wash
Chemical Decontamination: CarPro Iron X & Stoner Tarminator
Wash: Citrus Wash
Mechanical Decontamination: Nanoskin Speedy Prep Towel, Clay, Nanoskin Glide as Lubrication
Wash: ONR
Dry: DI Waffle Weave Towels & Master Blaster
Paint Thickness Readings: Defelsko Combo Gauge
Inspection: DIY LED work lights, Coast HP7, Brinkmann Dual Xenon
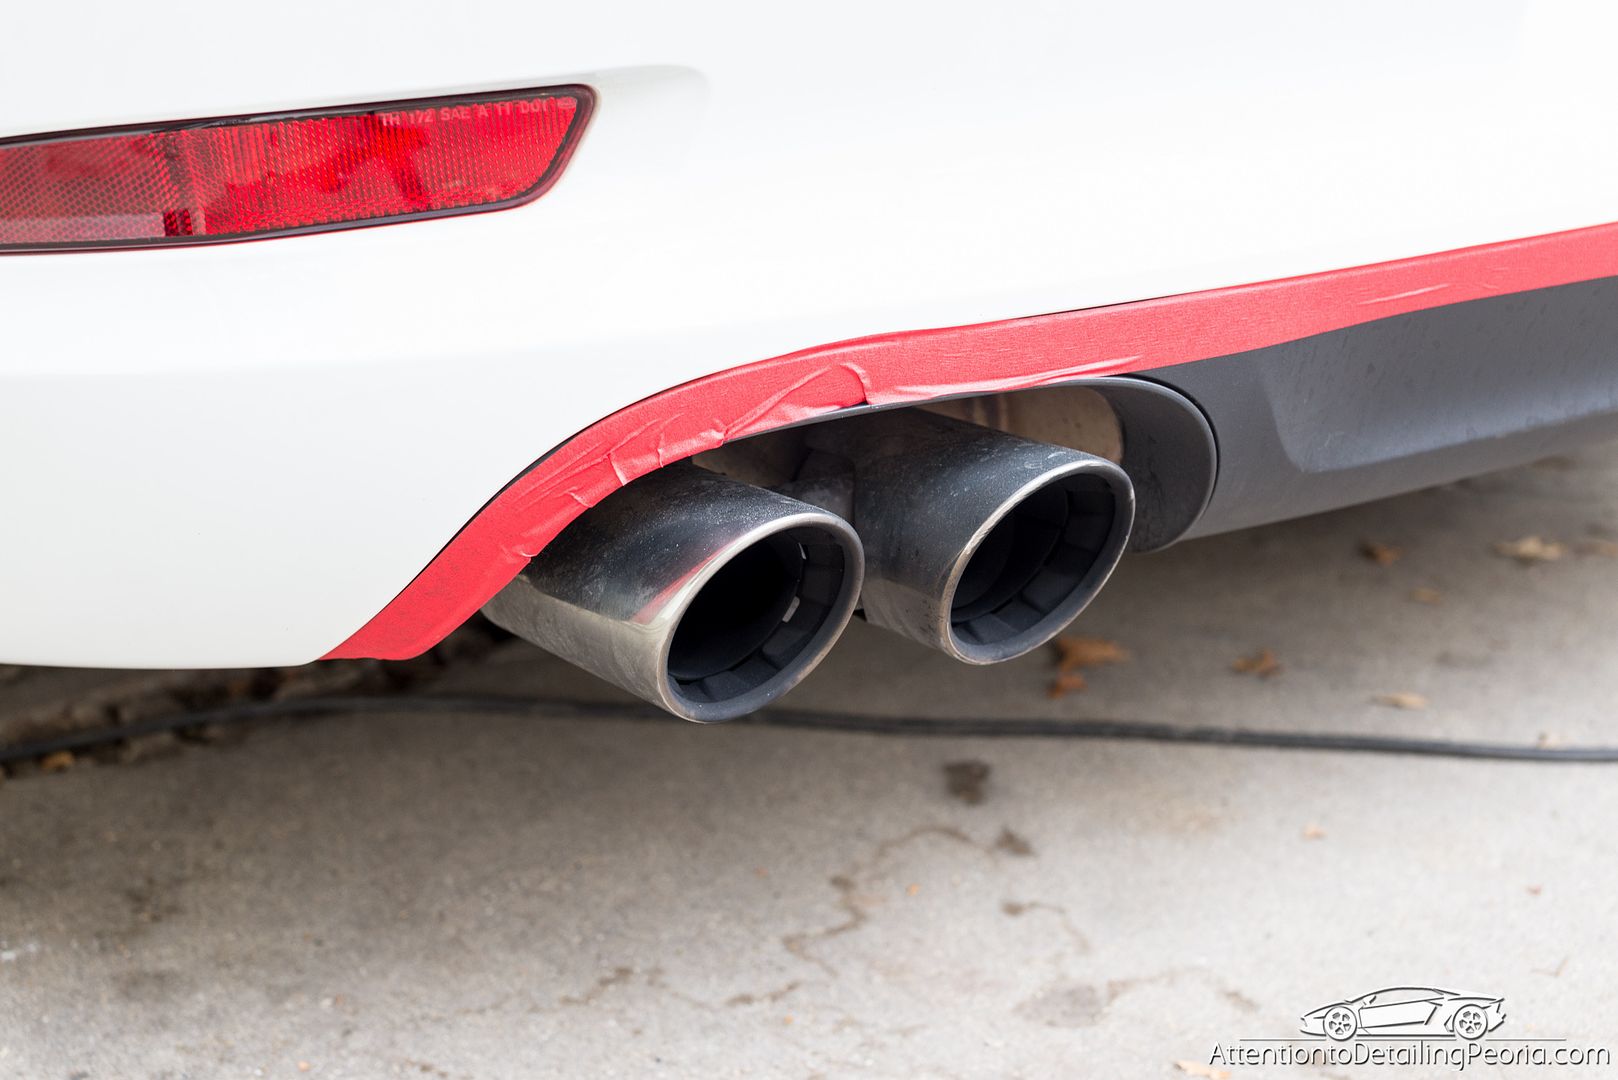
Tape off trim and delicate areas: CarPro Tape (<- the best tape!)
Paint Correction: Griot's Fast Correcting Creme on MF Pads via G21 & Rupes LHR75e
Polishing: M205 on Yellow Rupes Pads via G21 & Rupes LHR75e
Surface Prep: CarPro Eraser & Microfiber Madness Crazy Pile
Paint Protection: CarPro CQuartz Finest (2 coats)
Wheel Protection: CarPro HydrO2
Tire Dressing: CarPro PERL (neat)
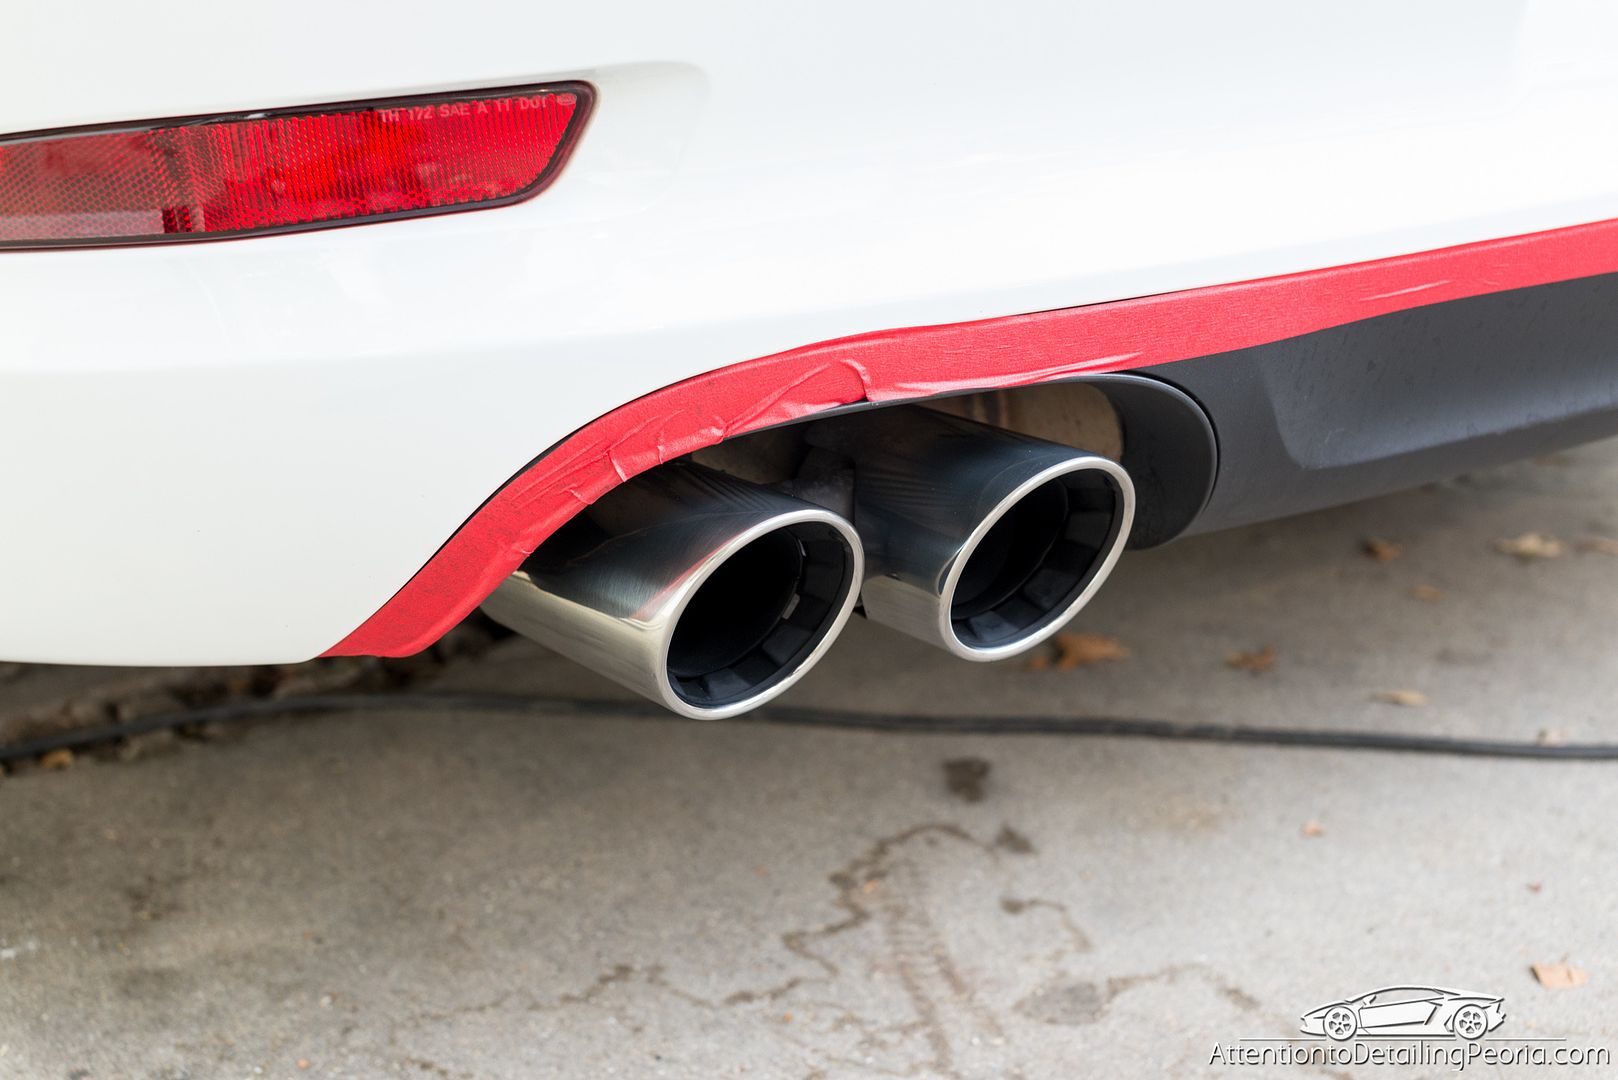
Exhaust: CG Metal Polish via MF towel
Glass: Meguair's D120
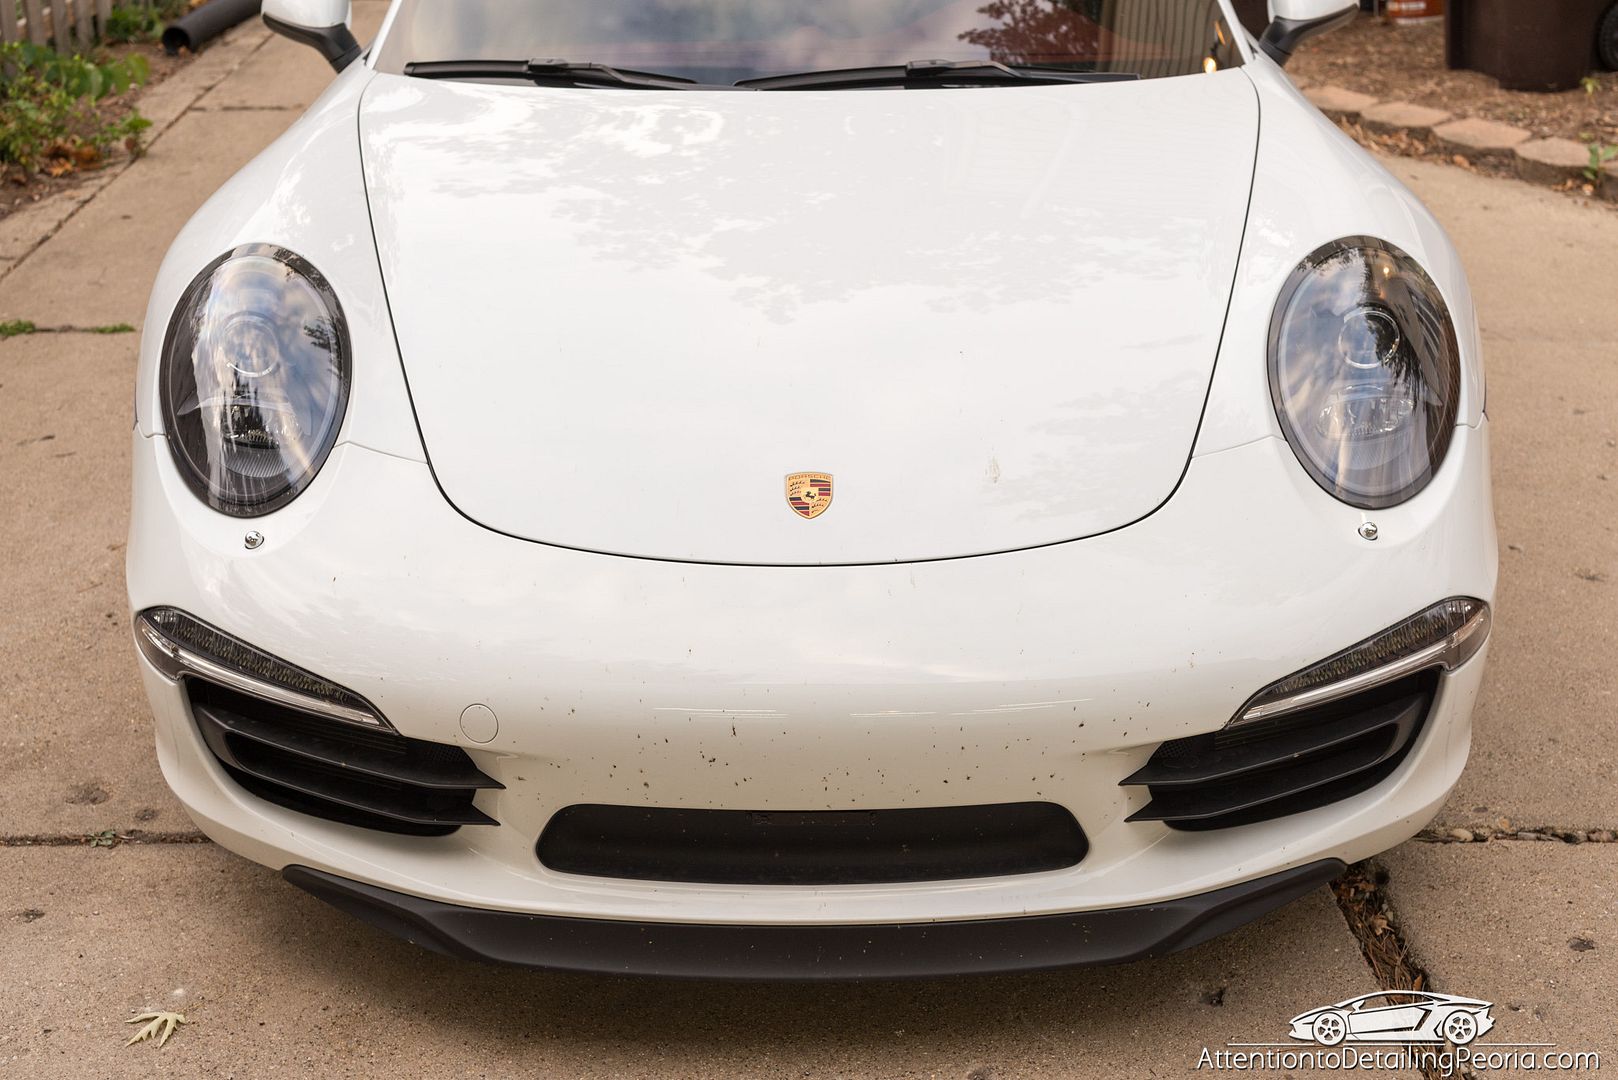
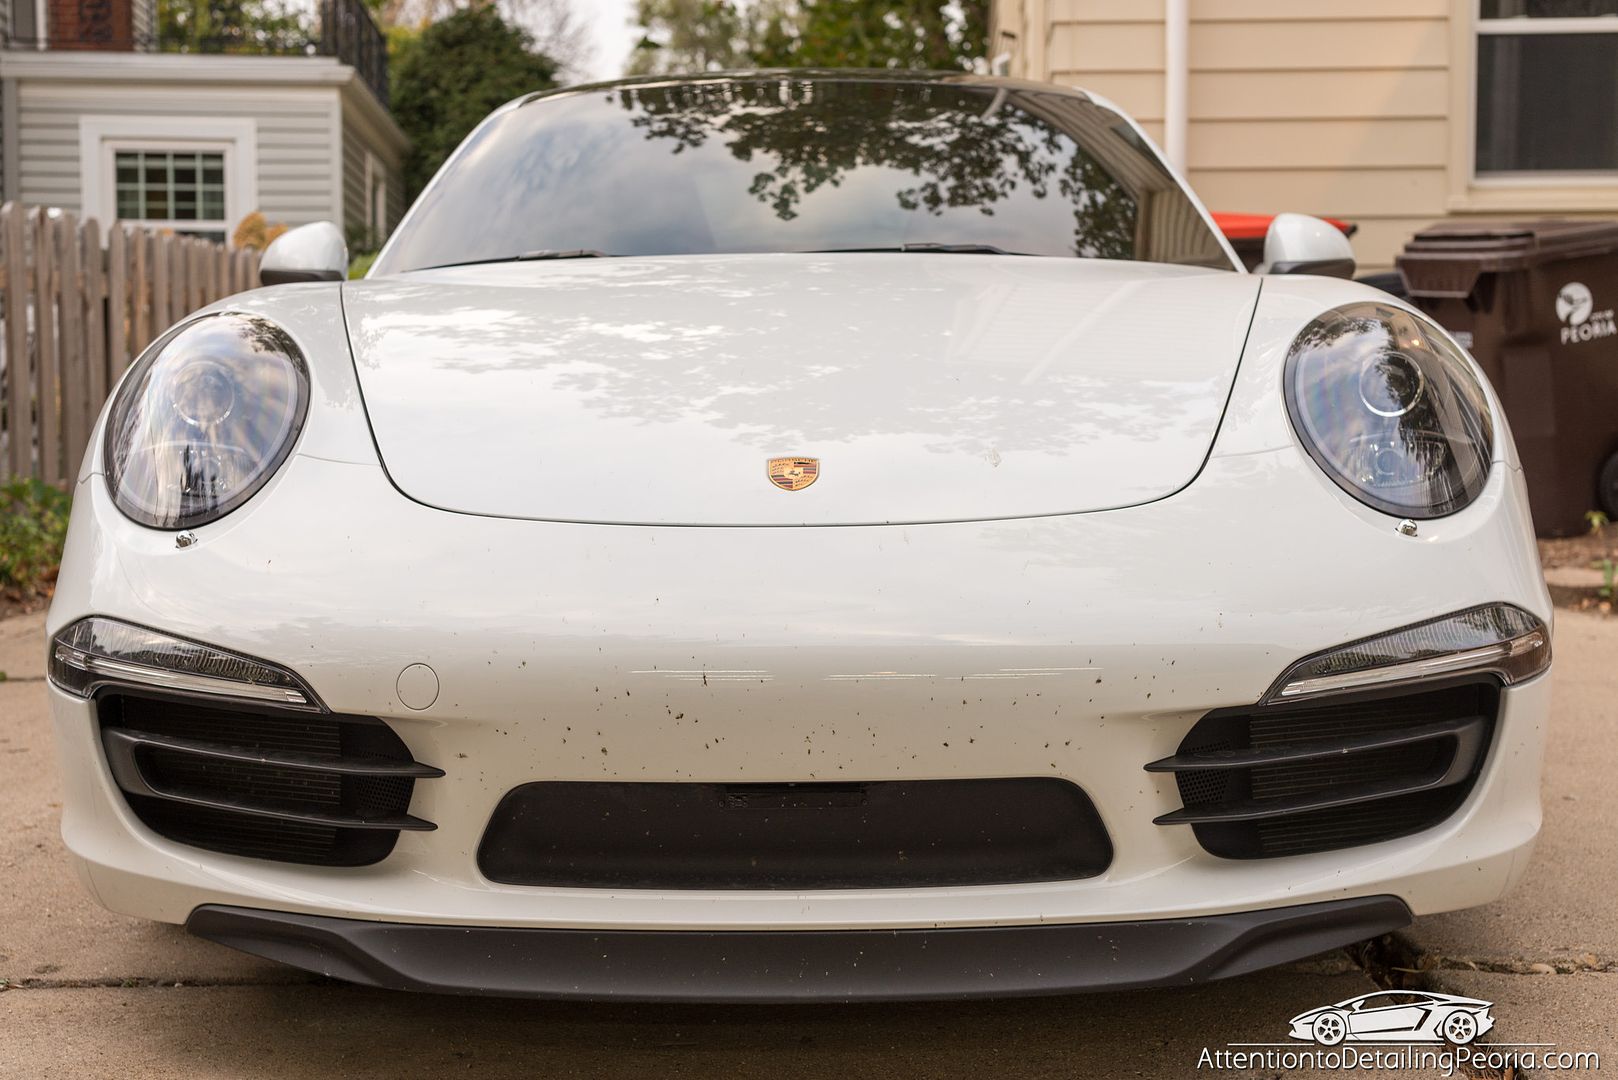
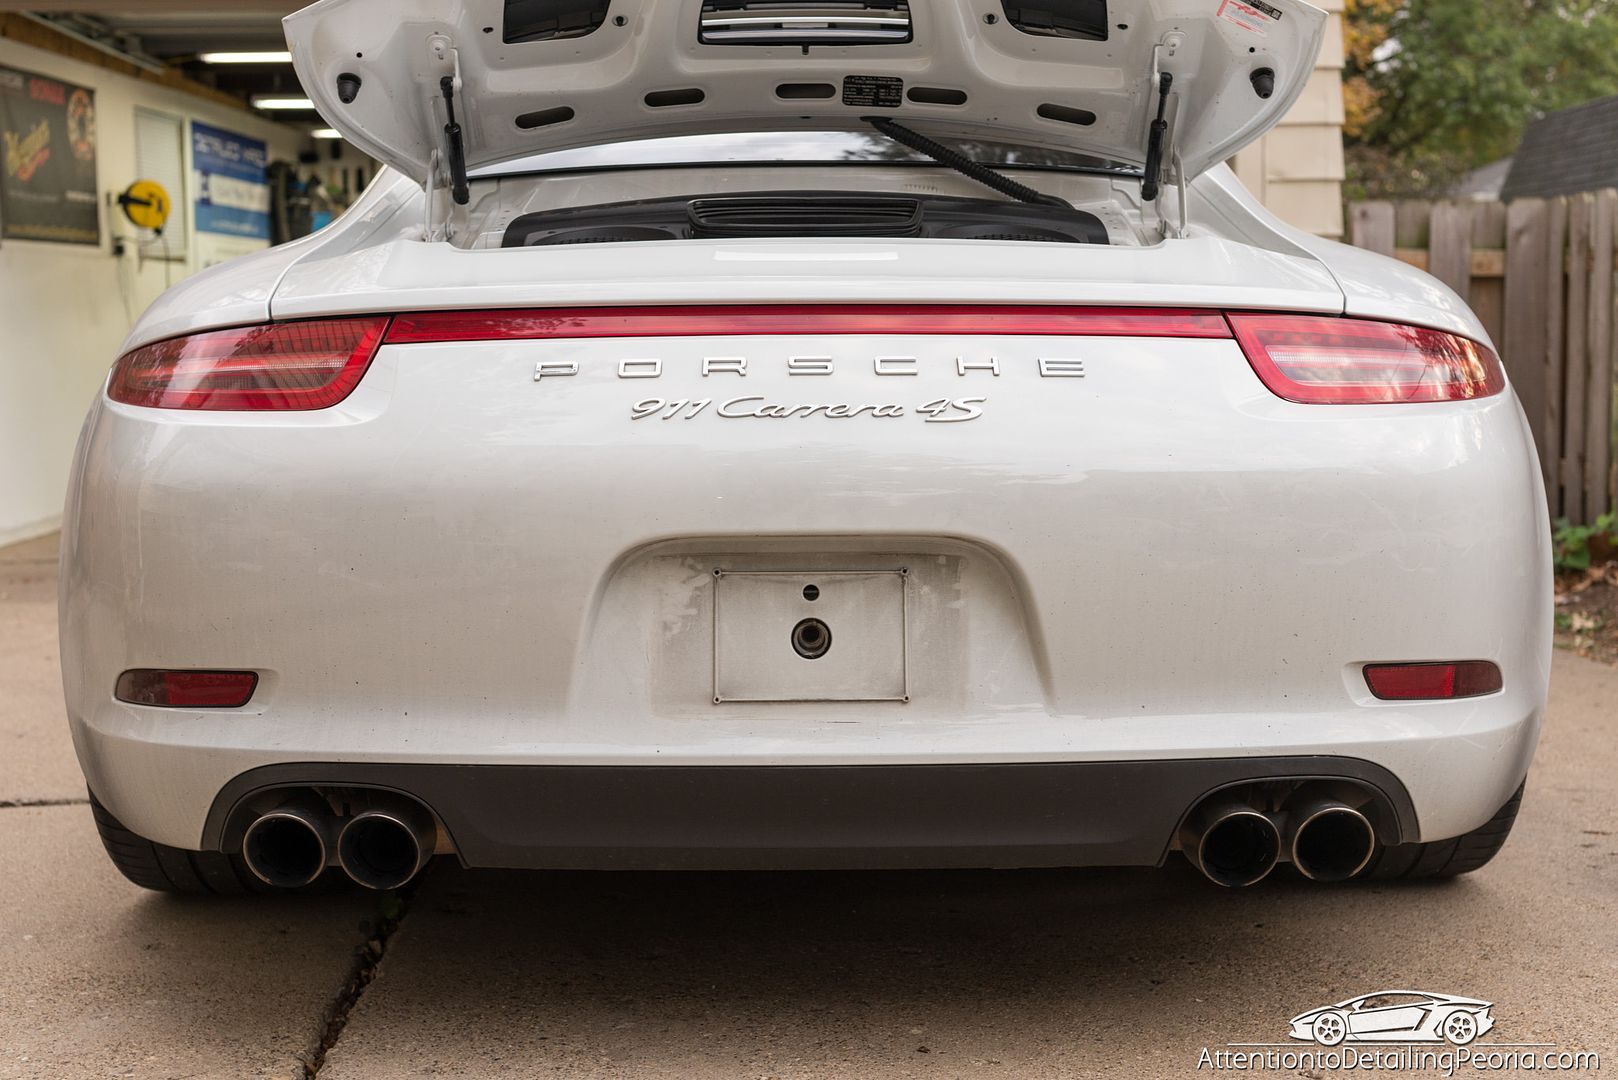
The vehicle was dropped off with a heavy layer of dirt, grime, and bug guts.
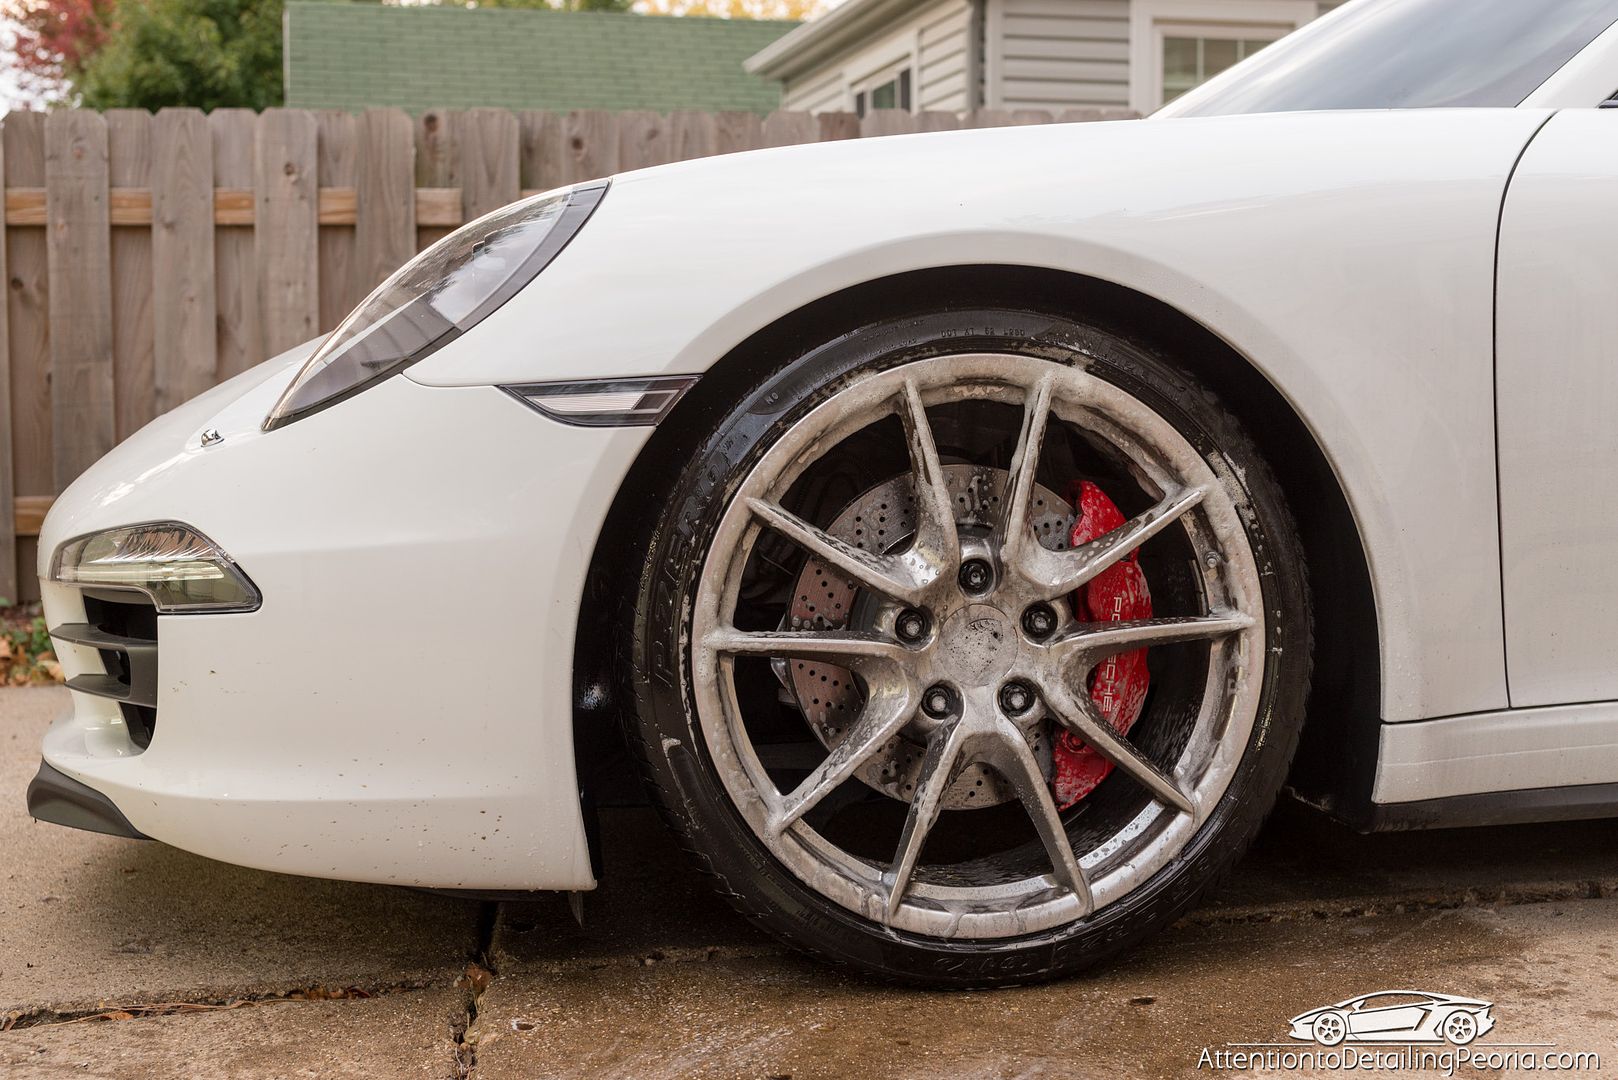
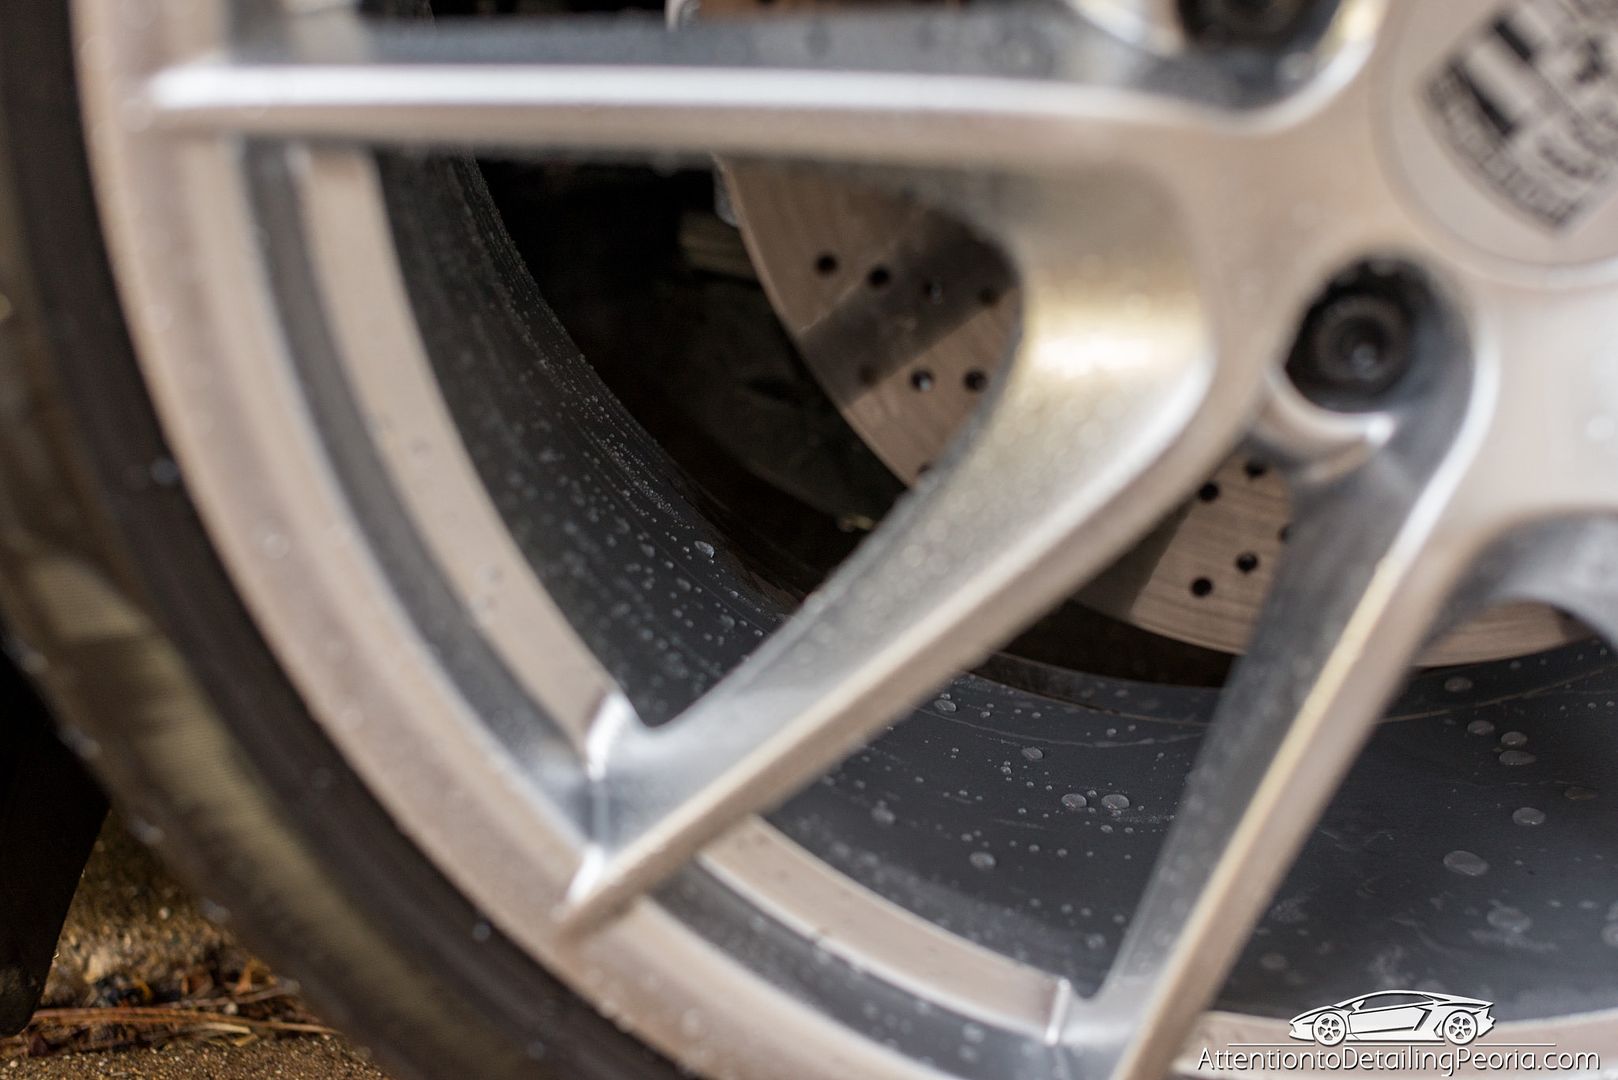
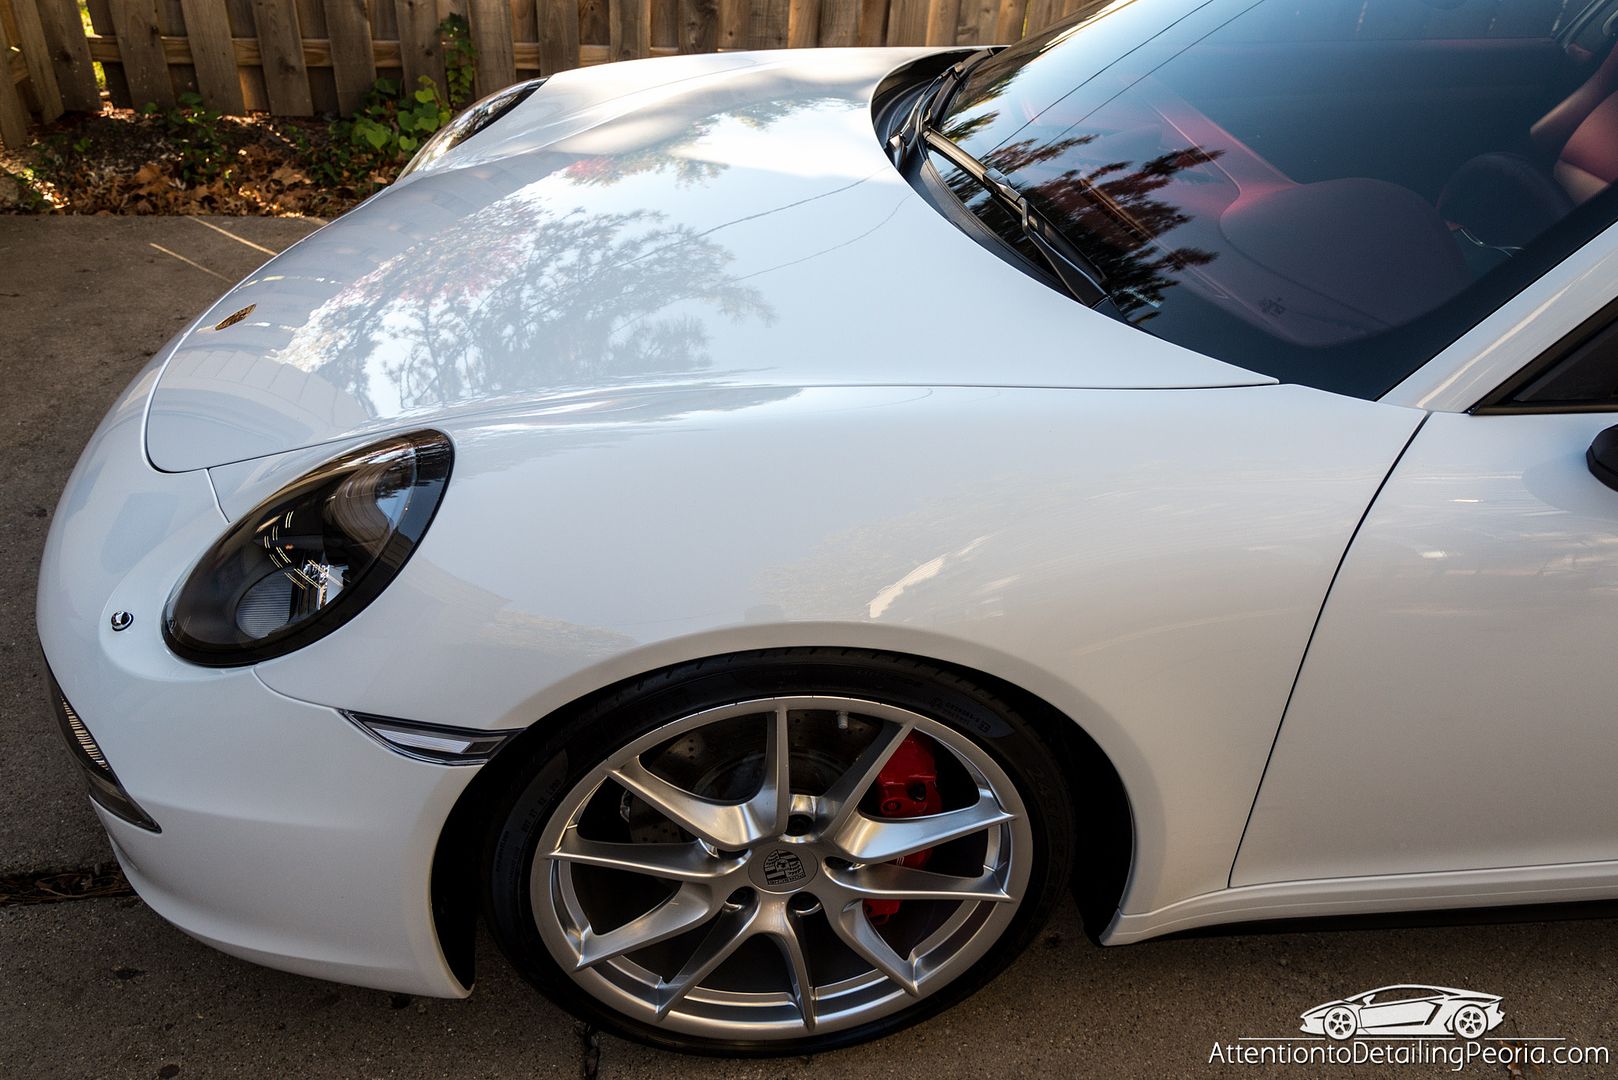
As with all performance vehicles, the wheels were exceptionally dirty.
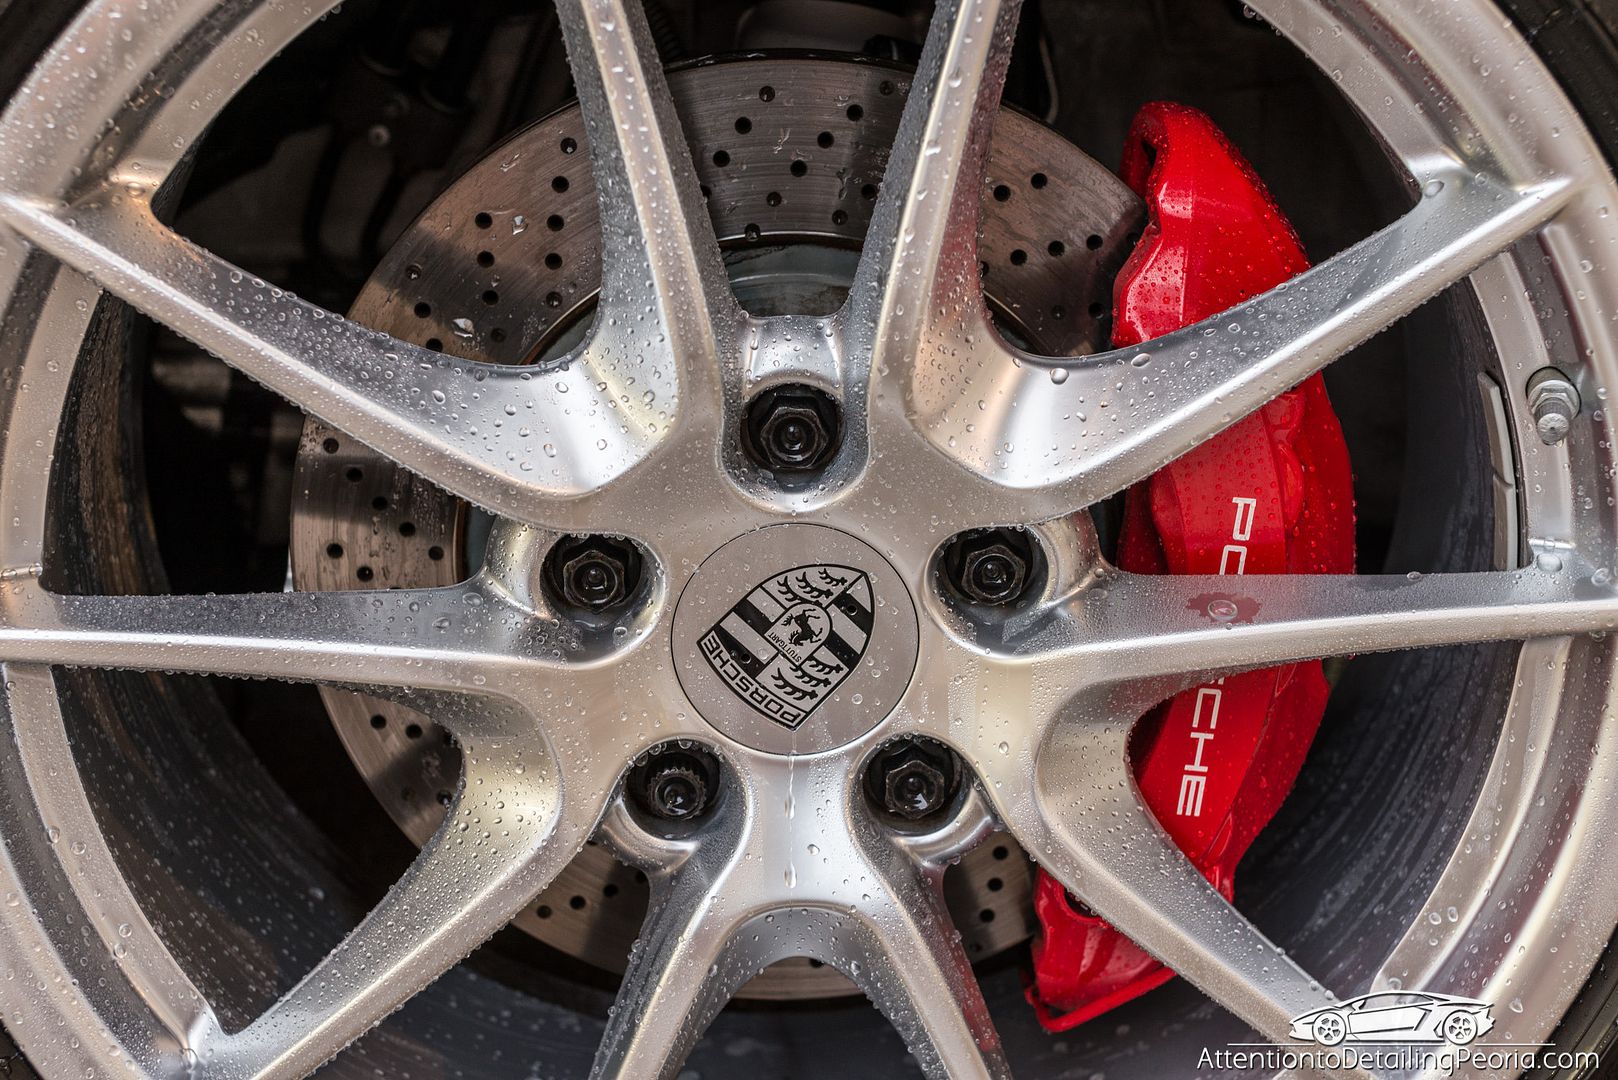
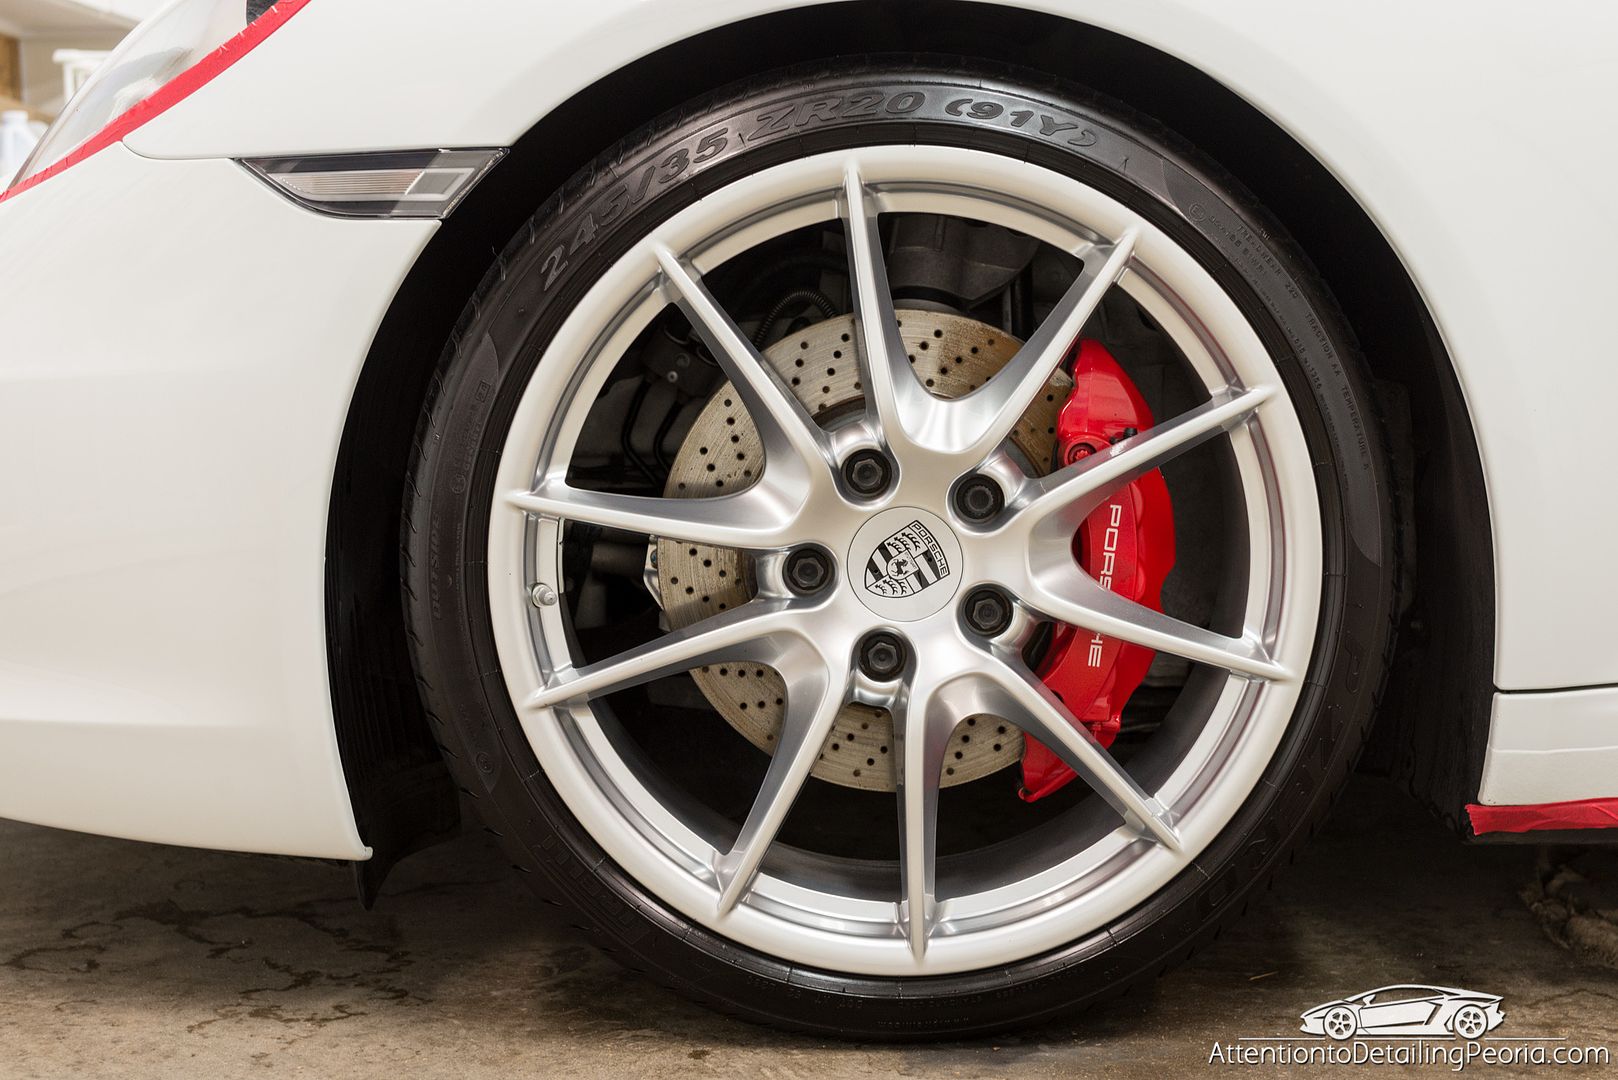
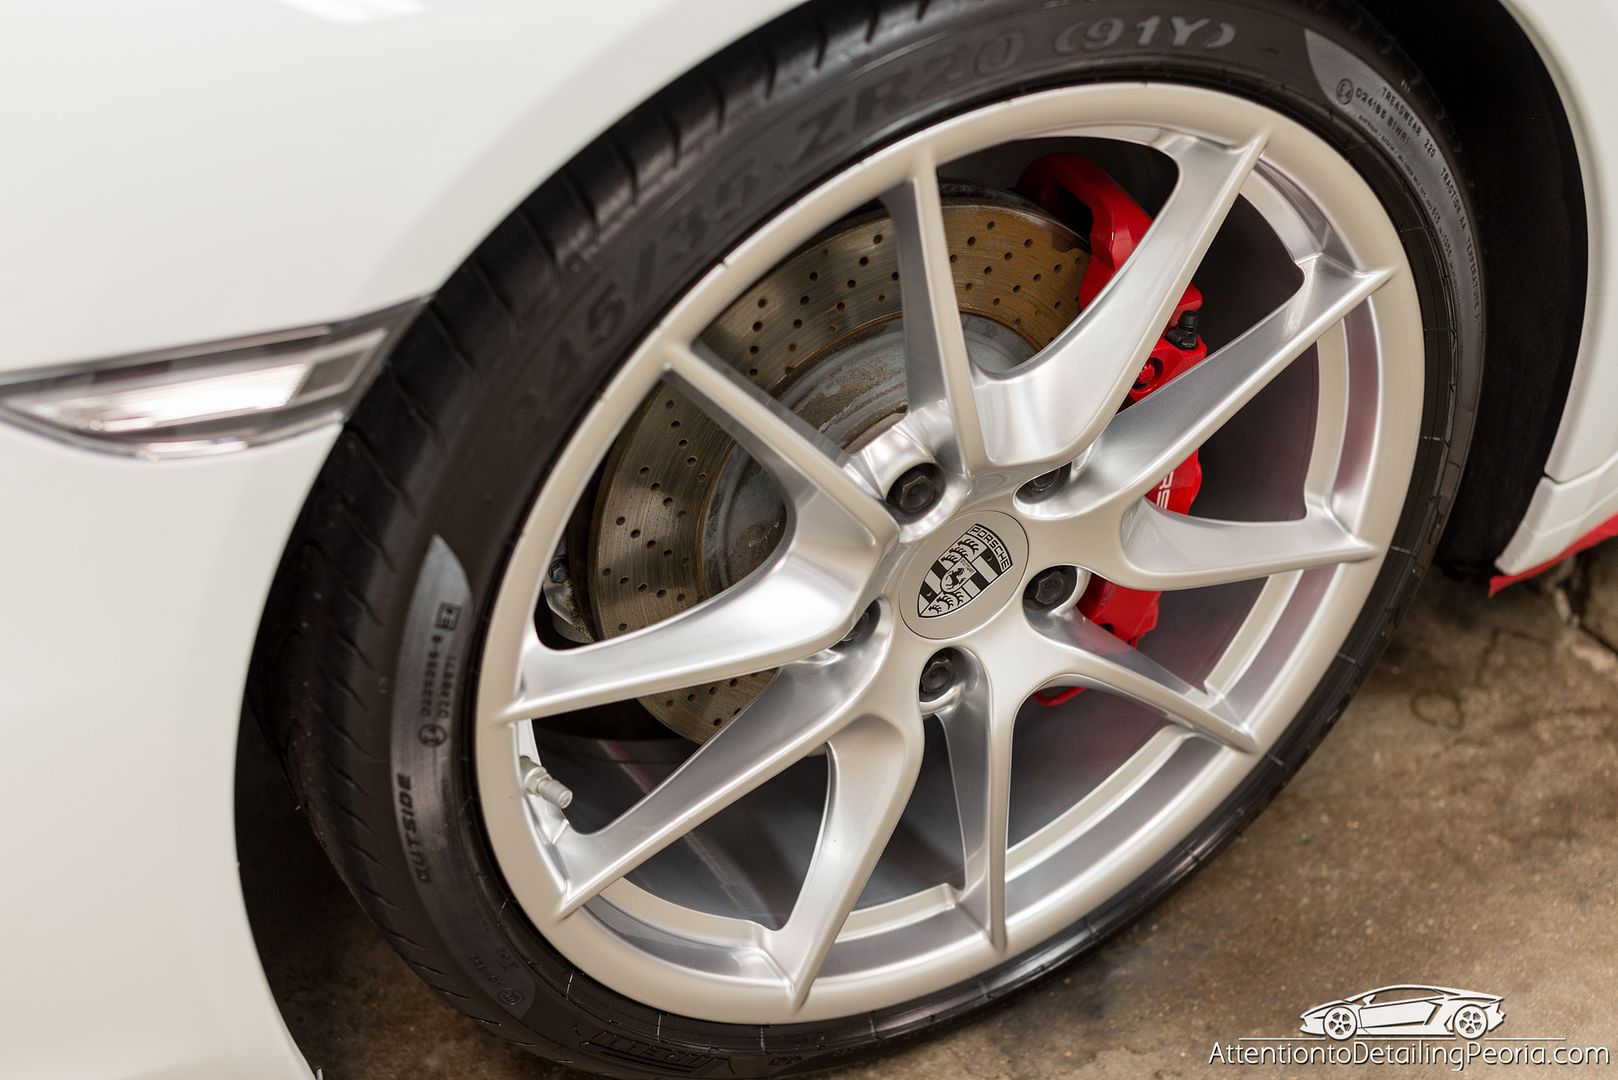
As always, I began by thoroughly cleaning the tires and wheels
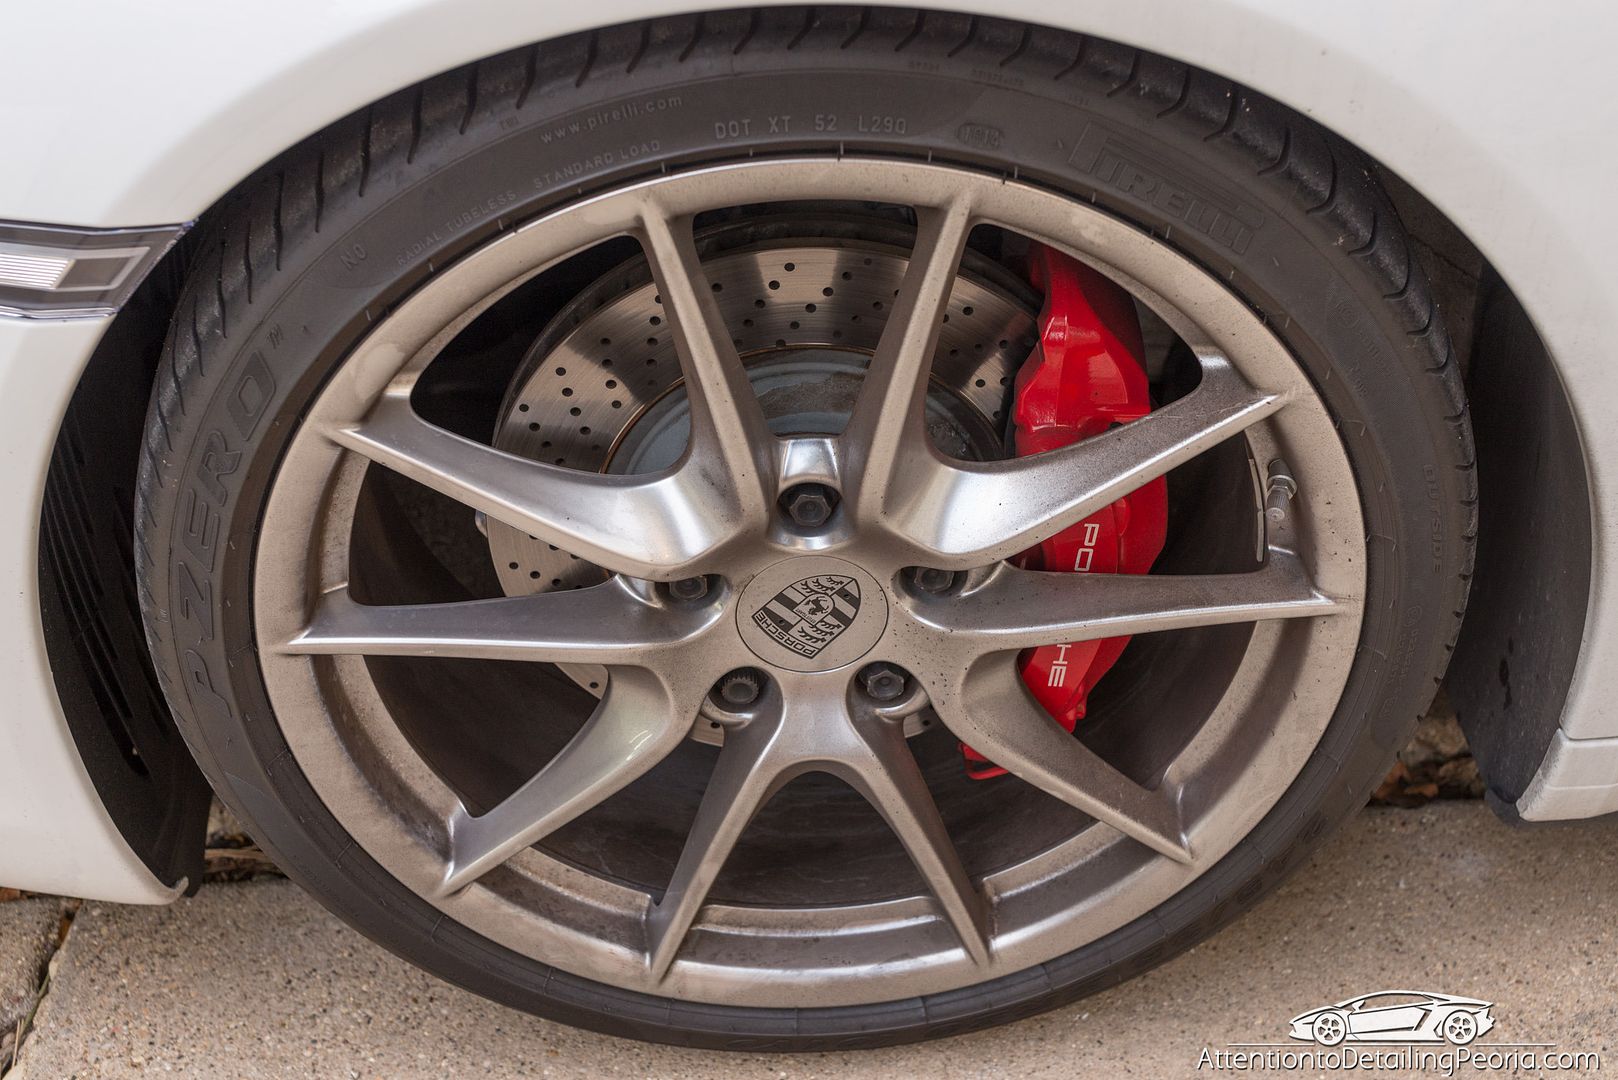
The wheels revealed a bright silver finish once cleaned.
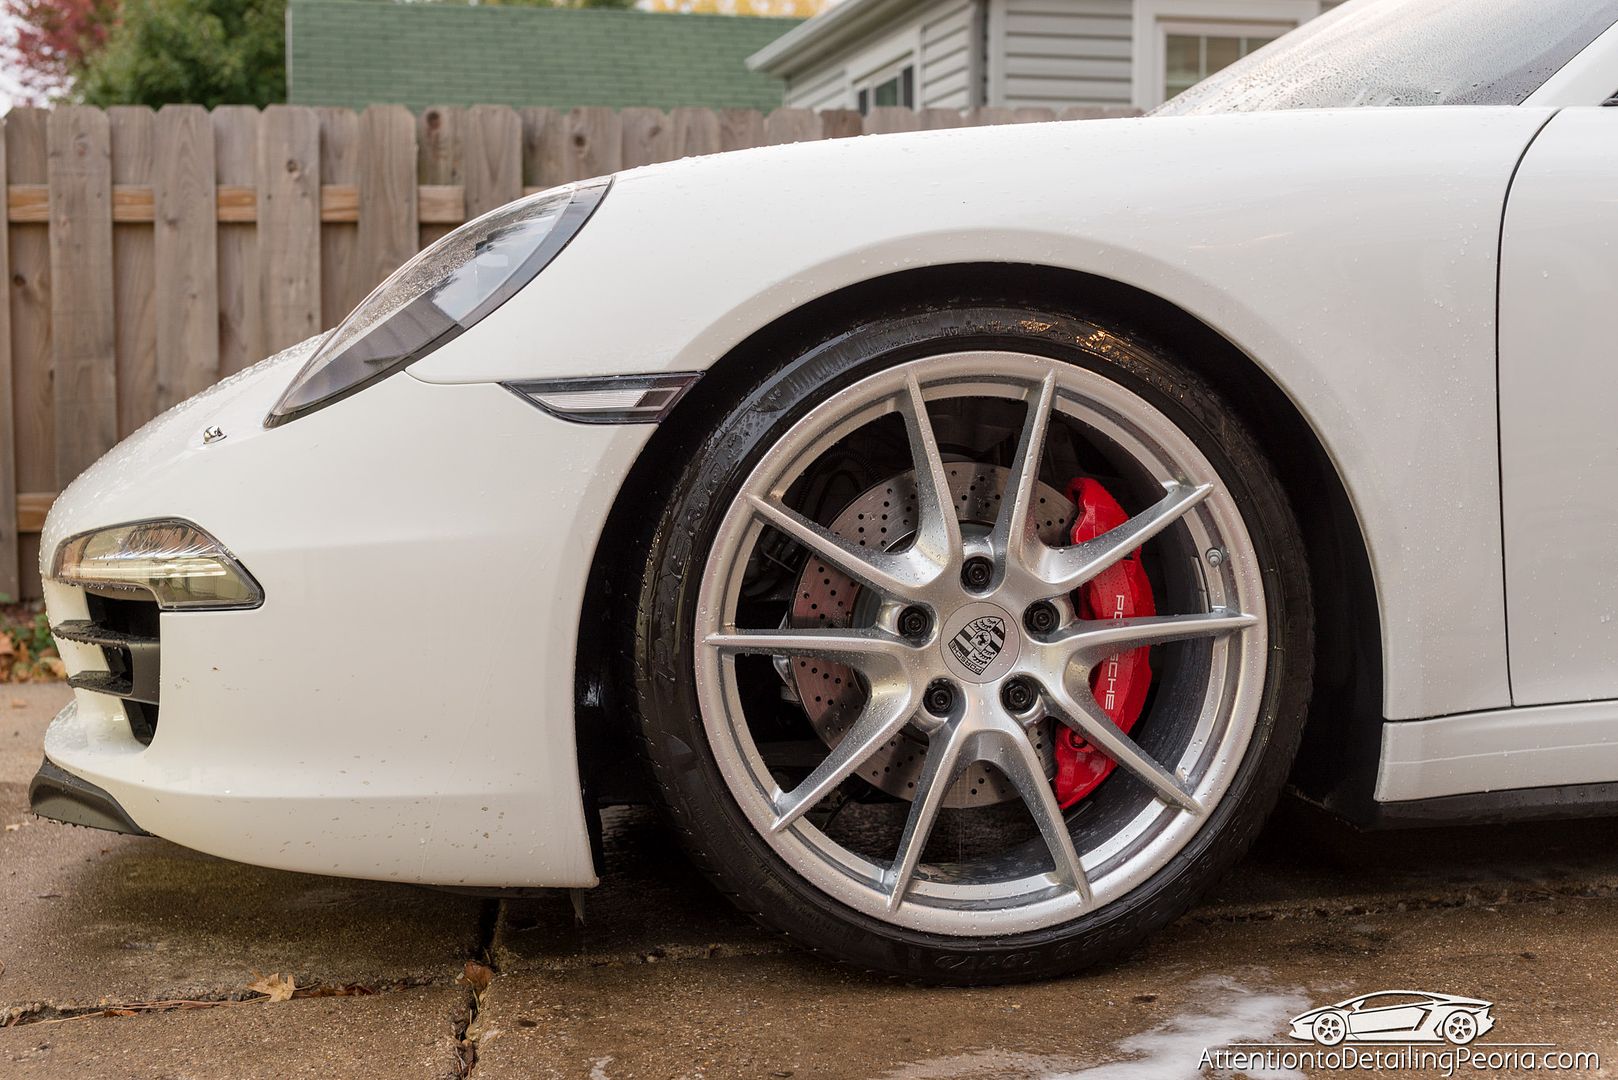
The wheels were sealed for easier cleaning
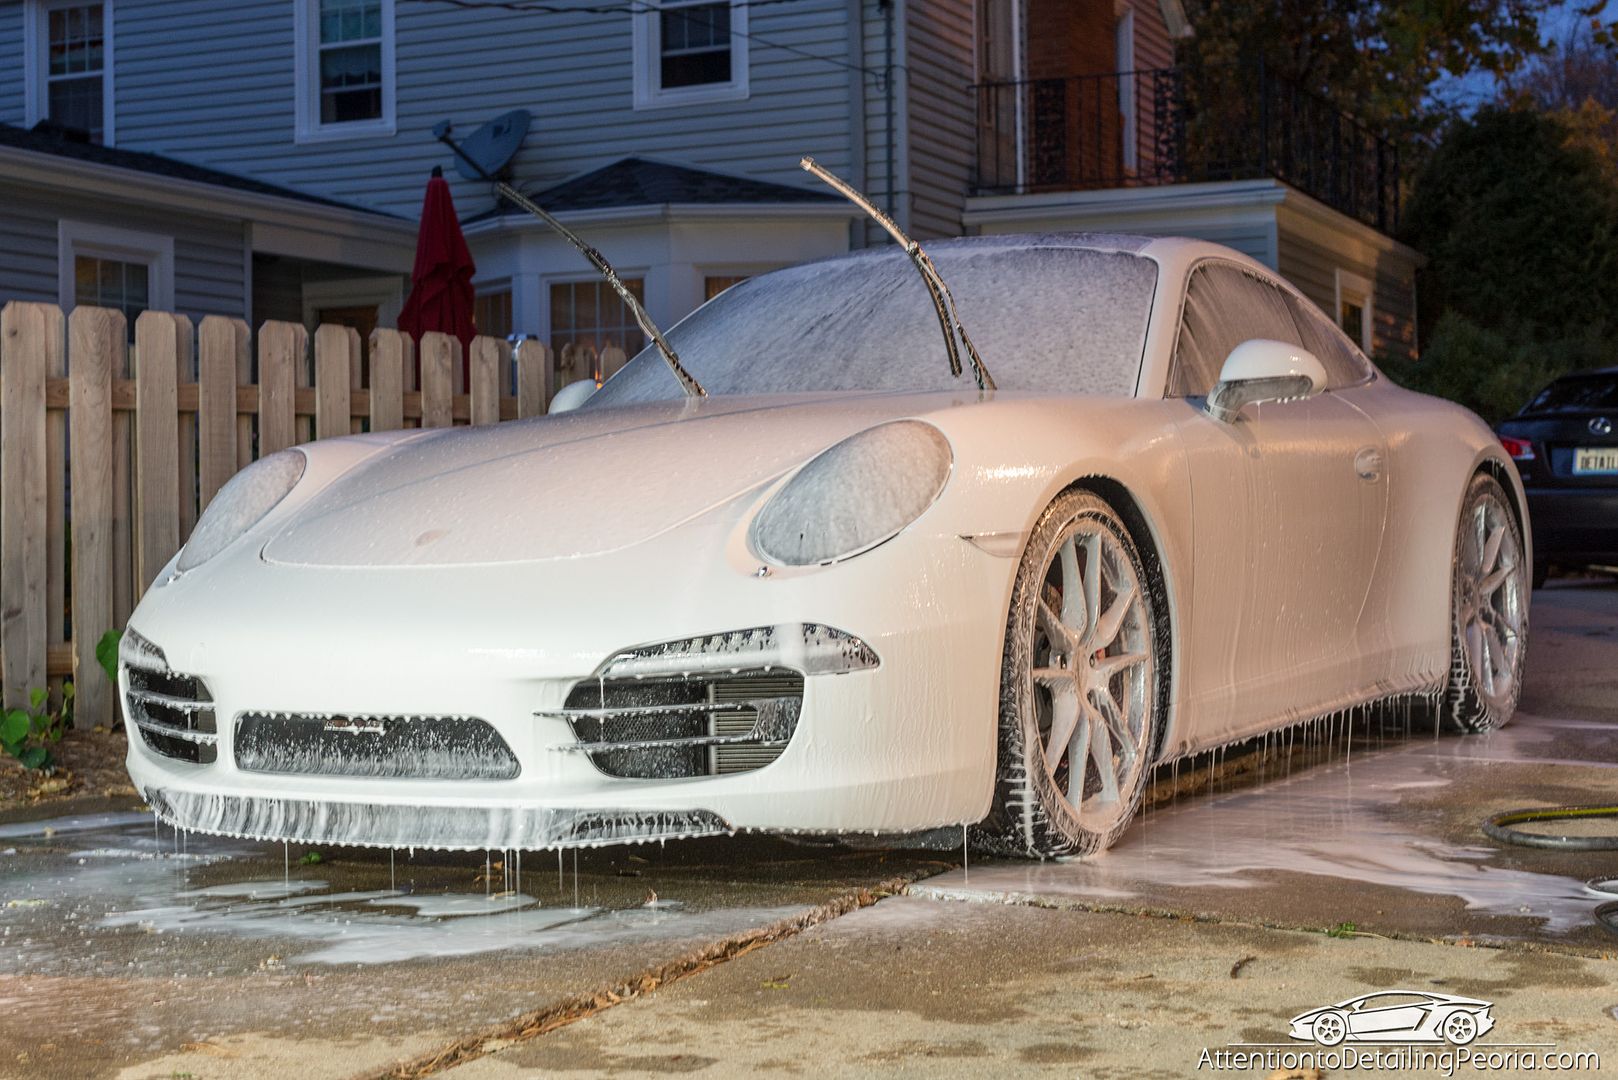
I then turned my attention to the paint. The vehicle was soaked with a strong shampoo to help loosen surface contaminates before washing. The vehicle then underwent a multi-step process of washing & decontamination
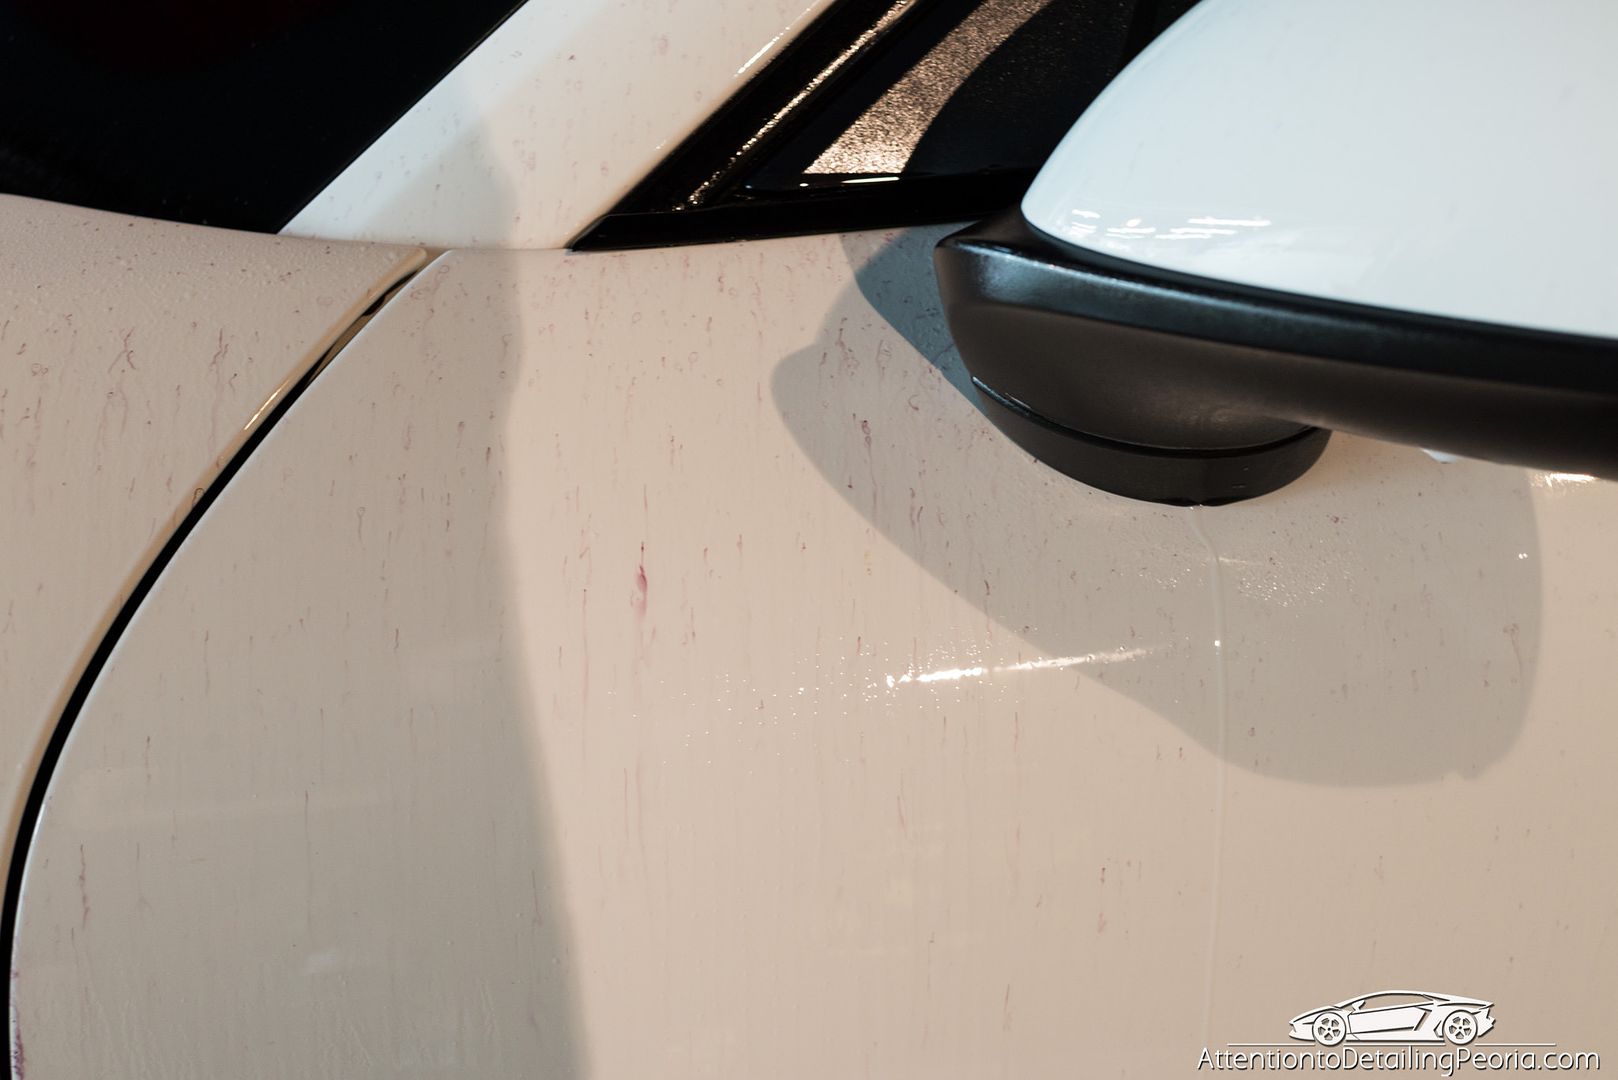
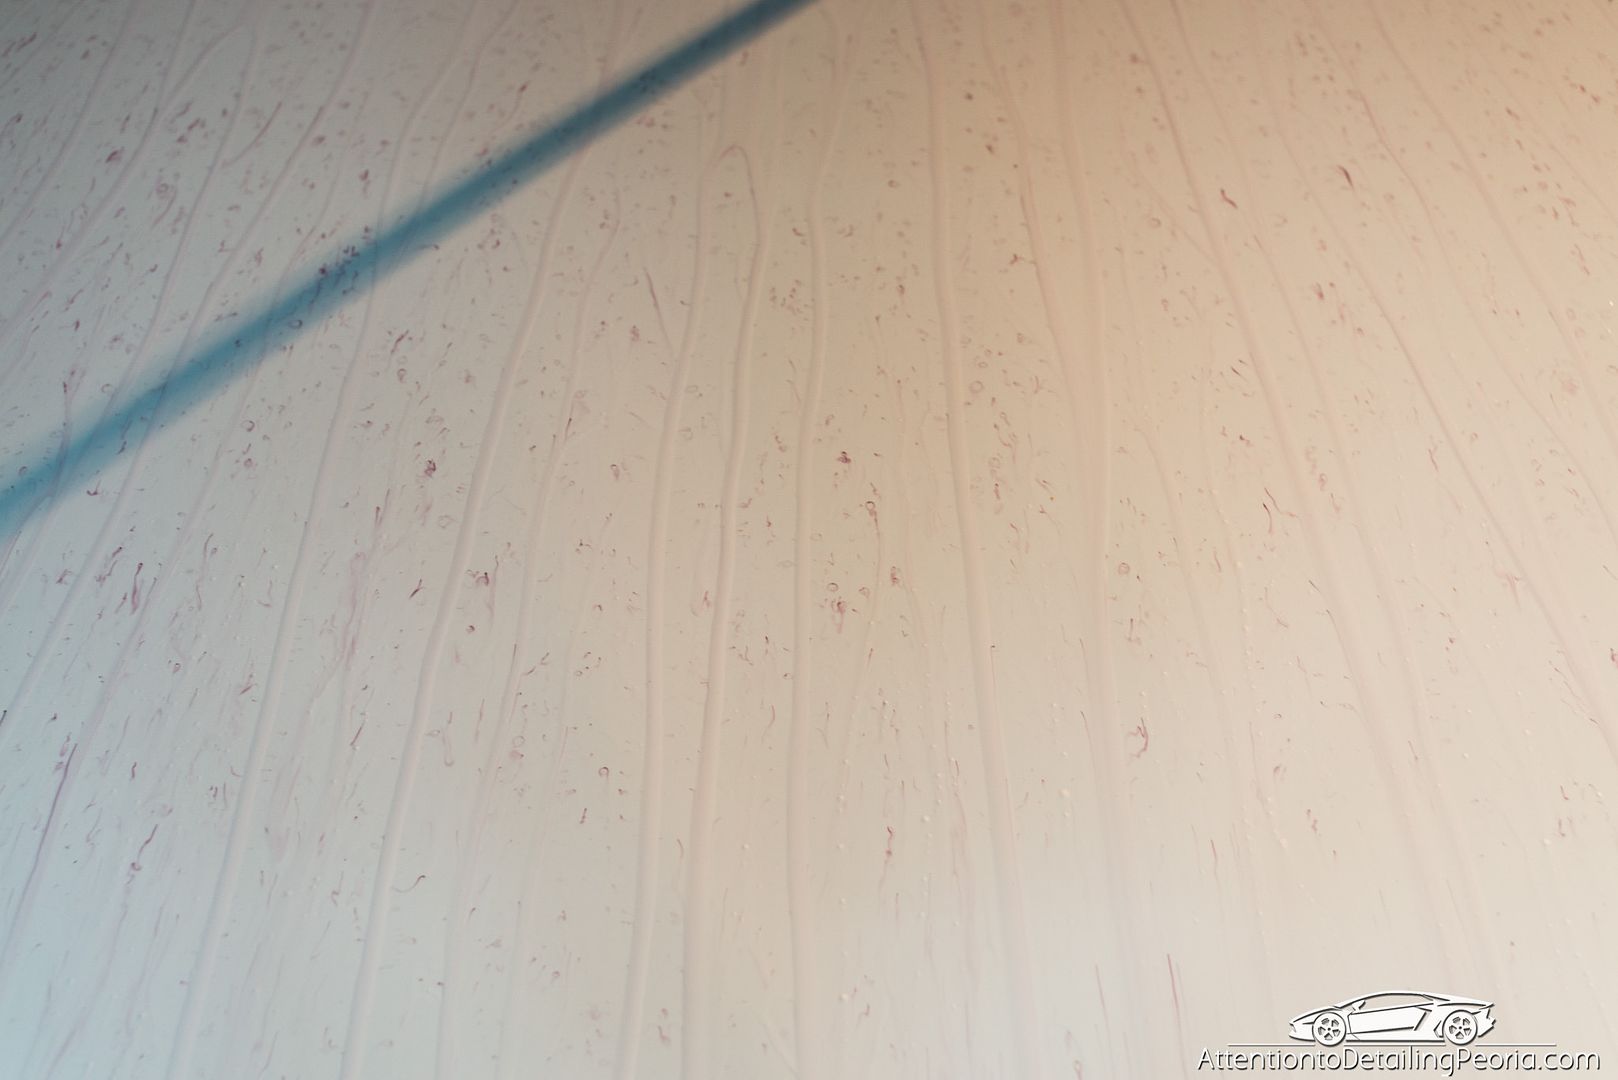
IronX was used to remove bonded iron particles from the paint prior to claying.
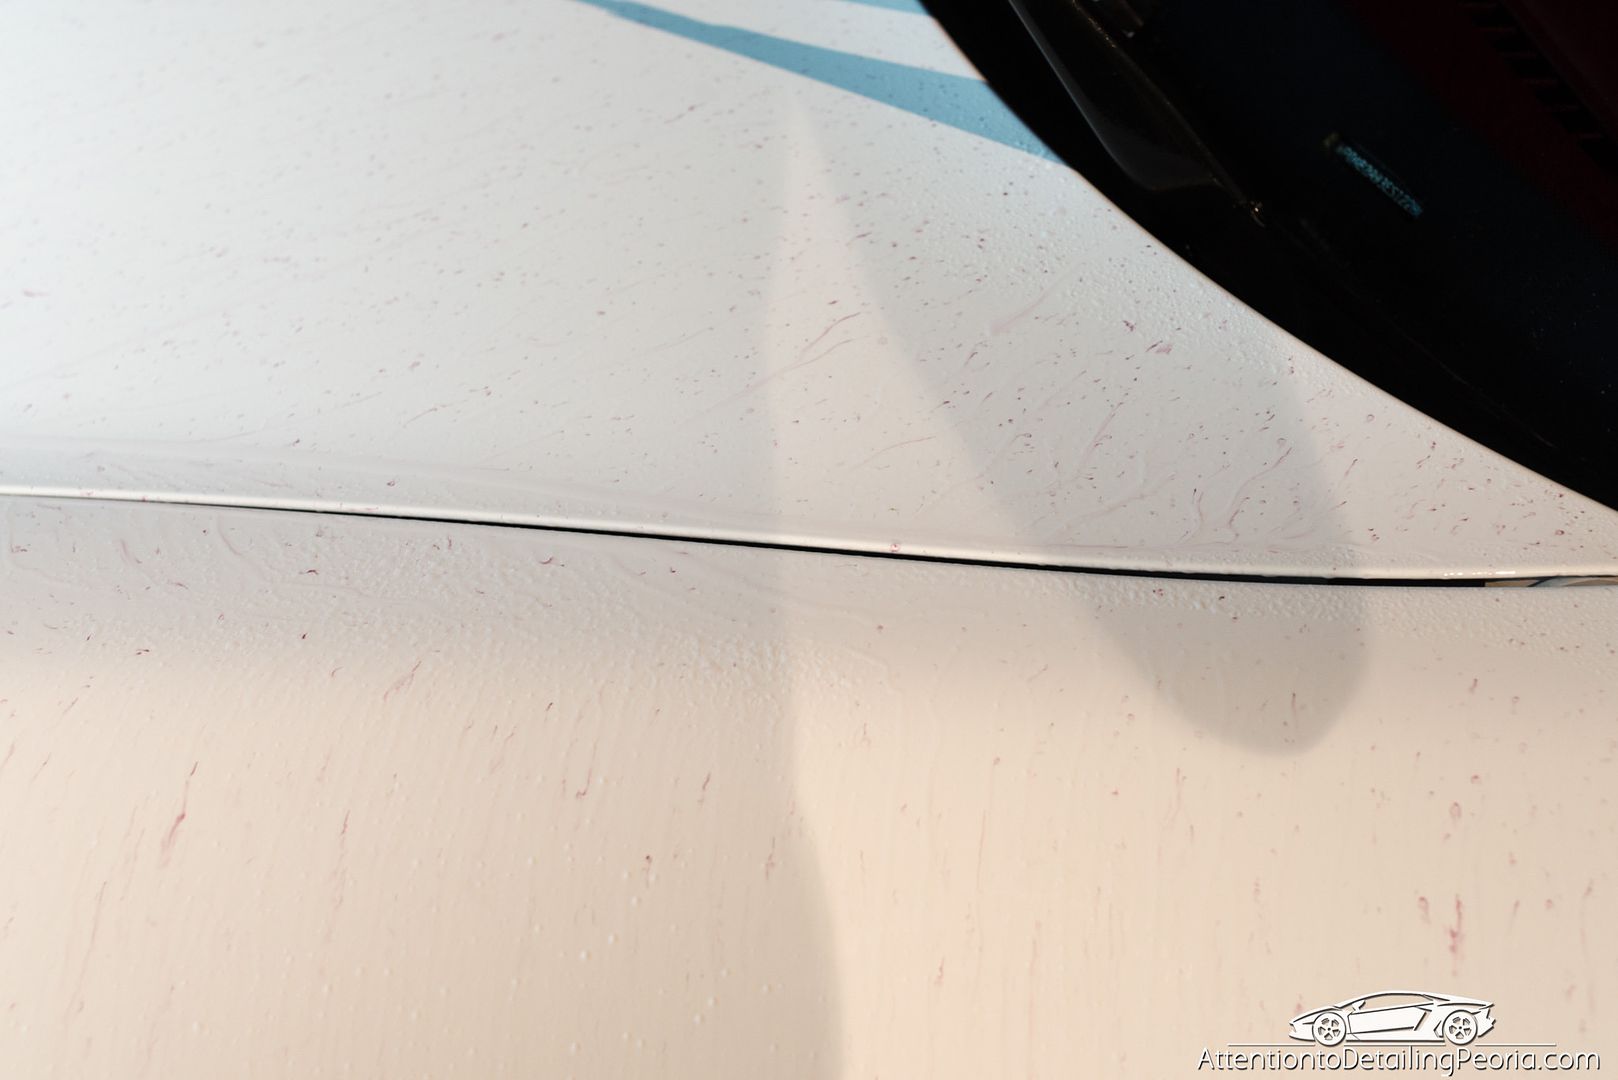
IronX is a clear liquid that turns purple as it reacts iwth iron particles and begins to dissolve them.
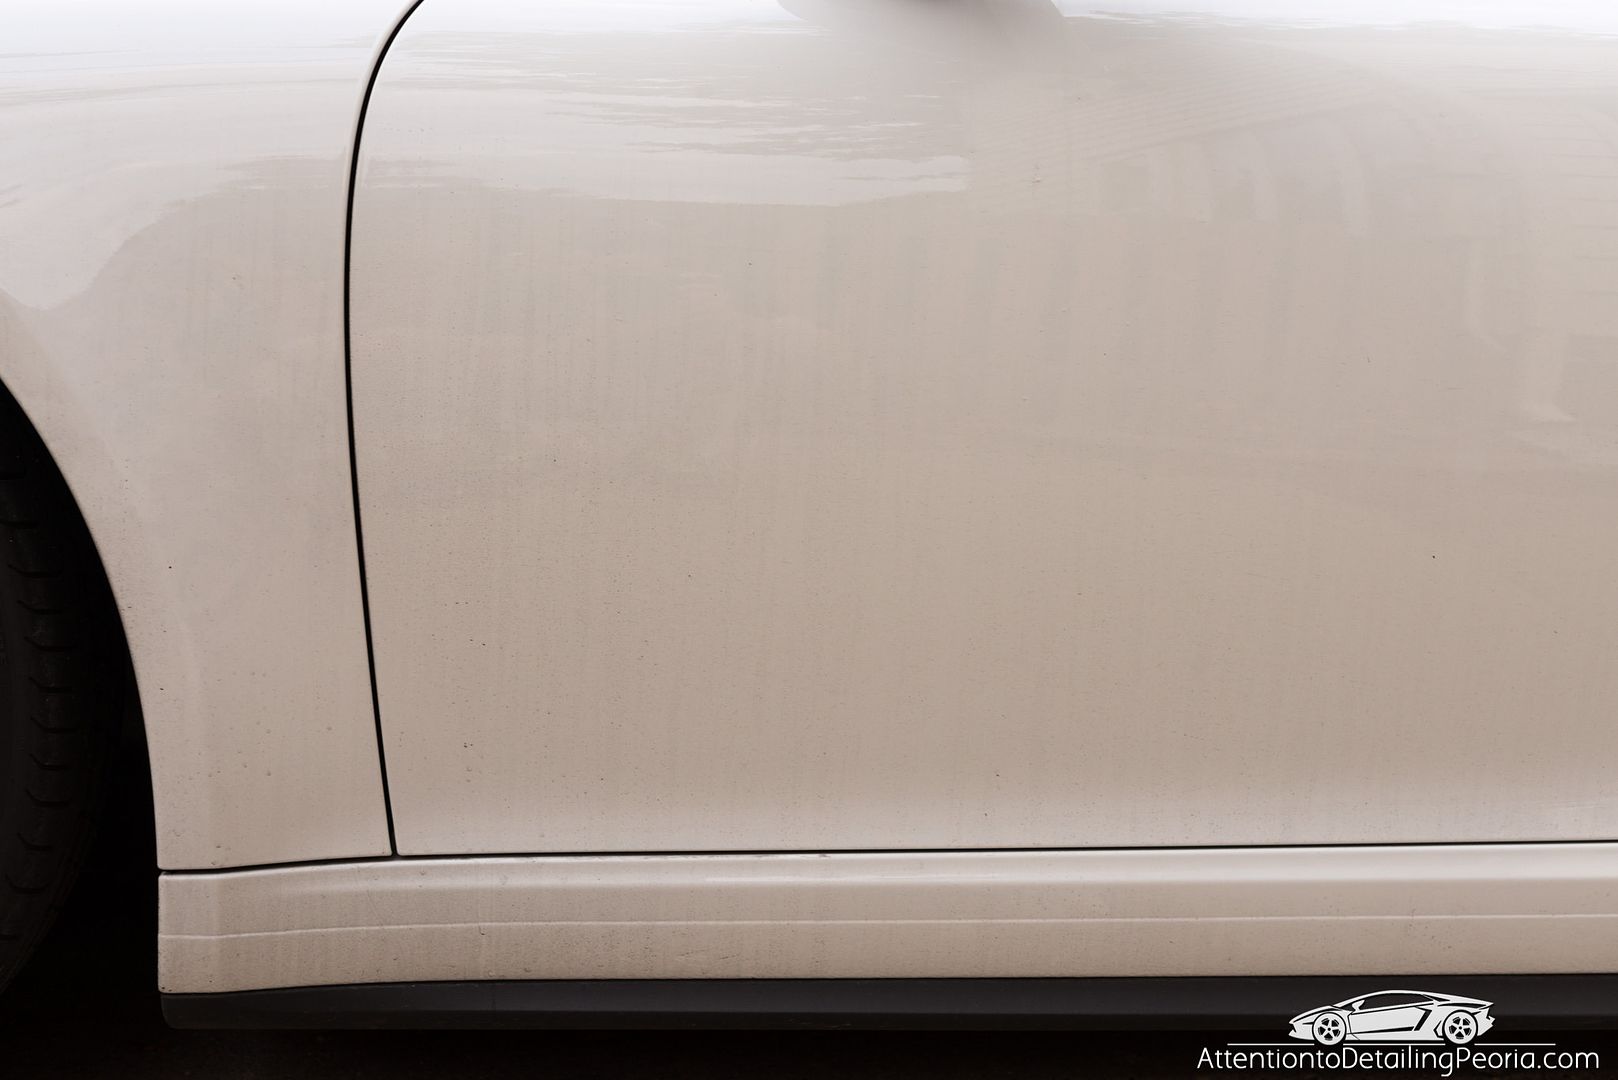
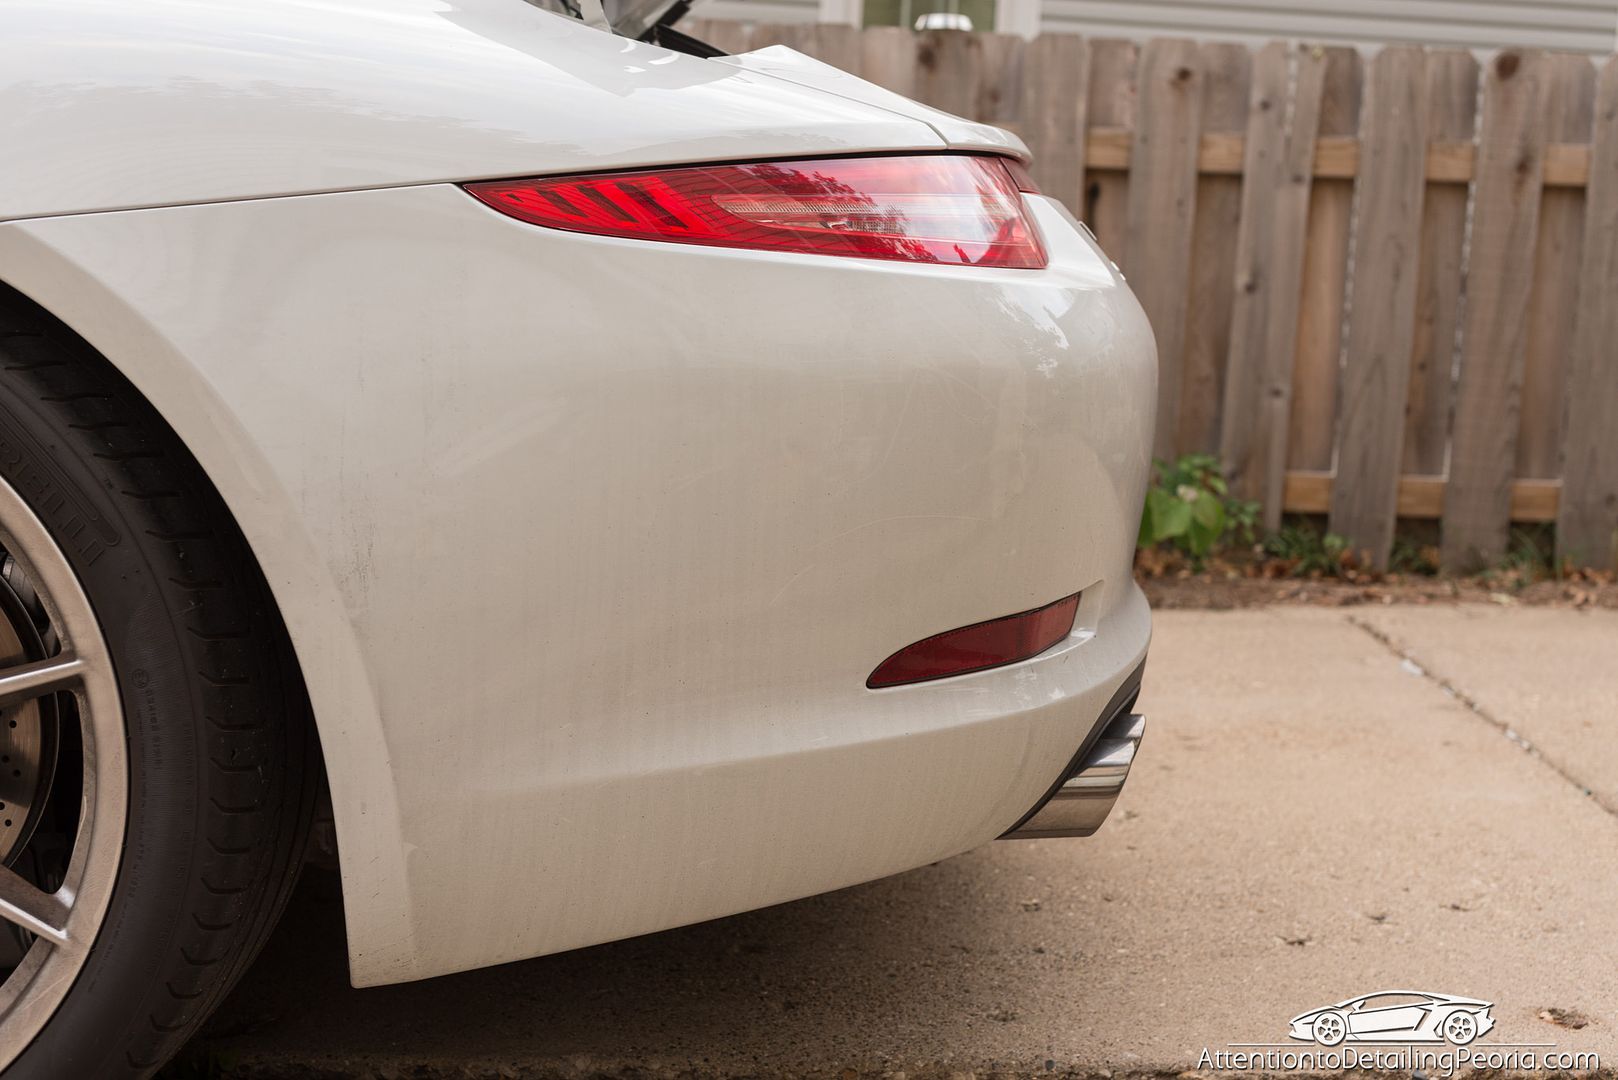
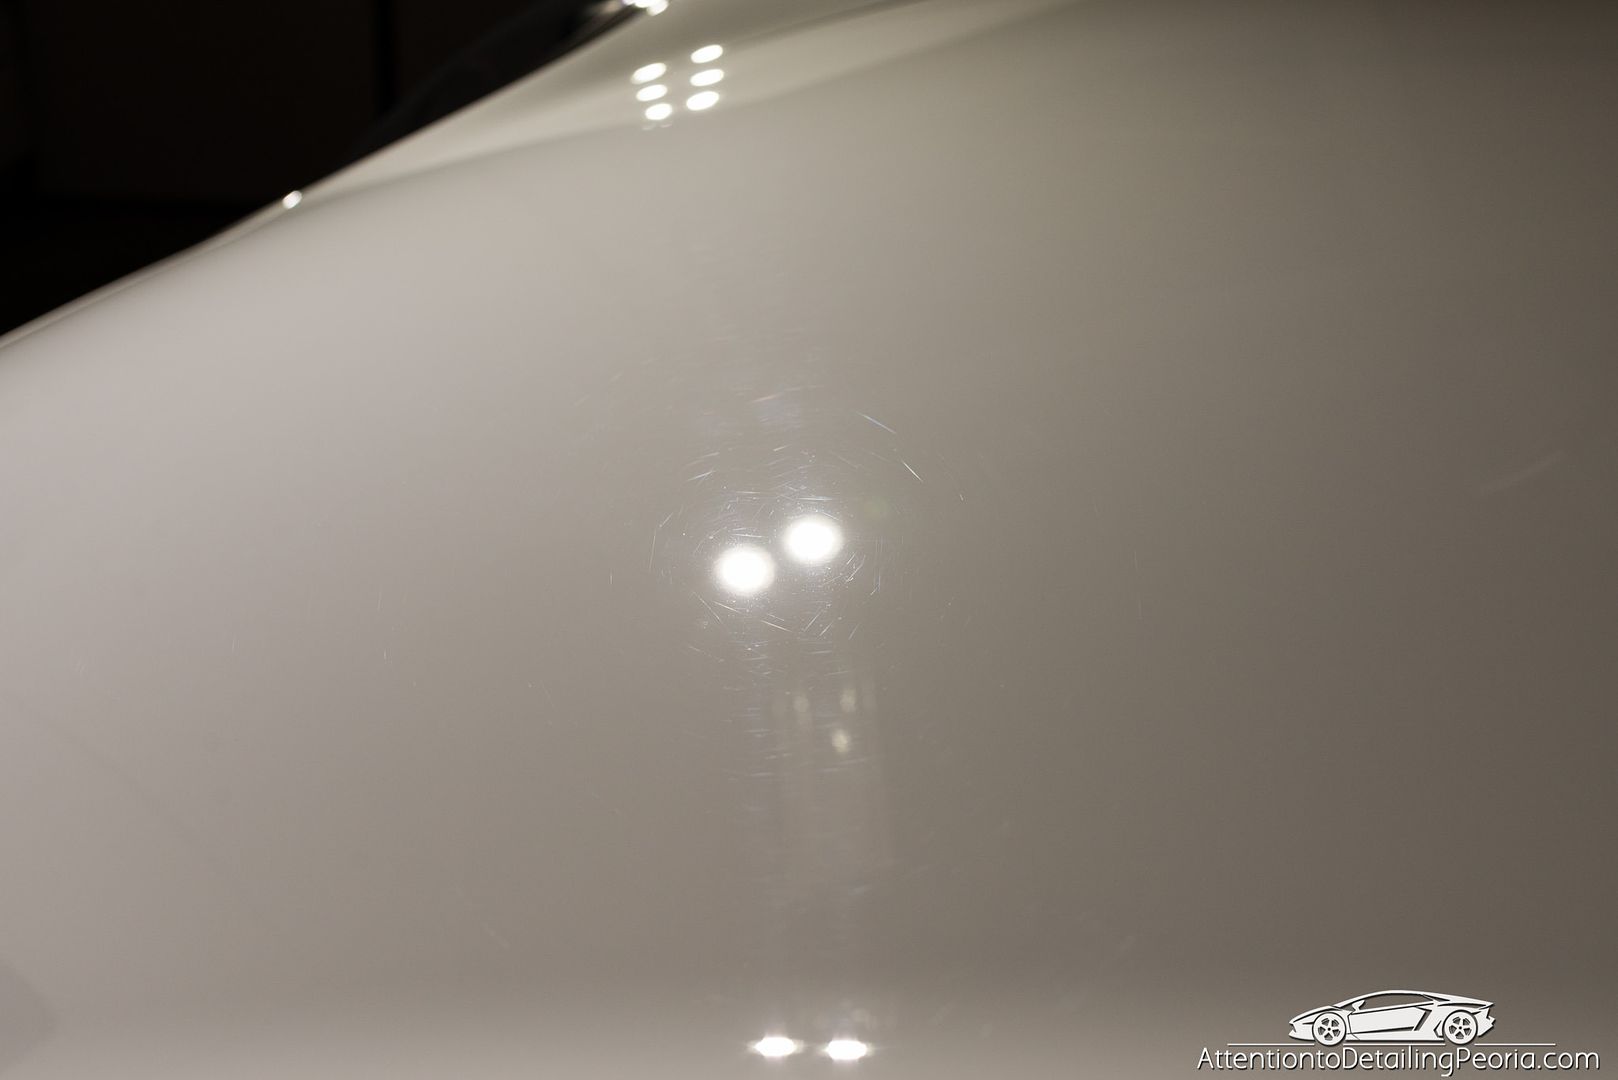
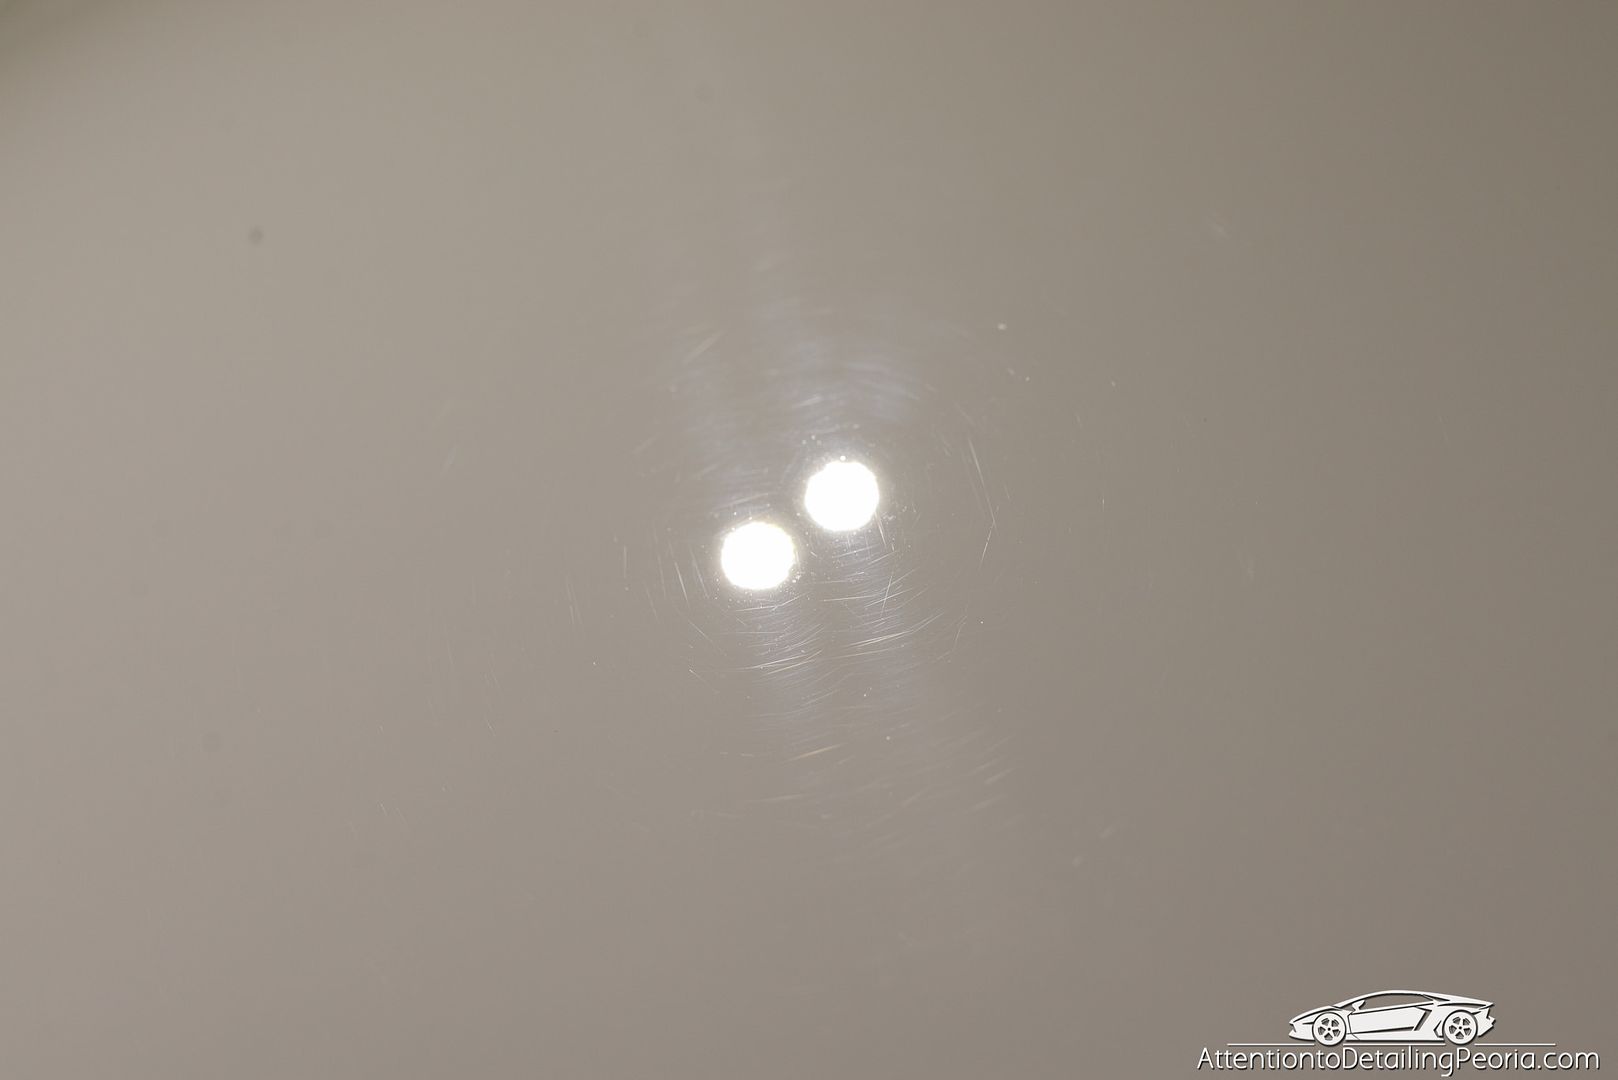
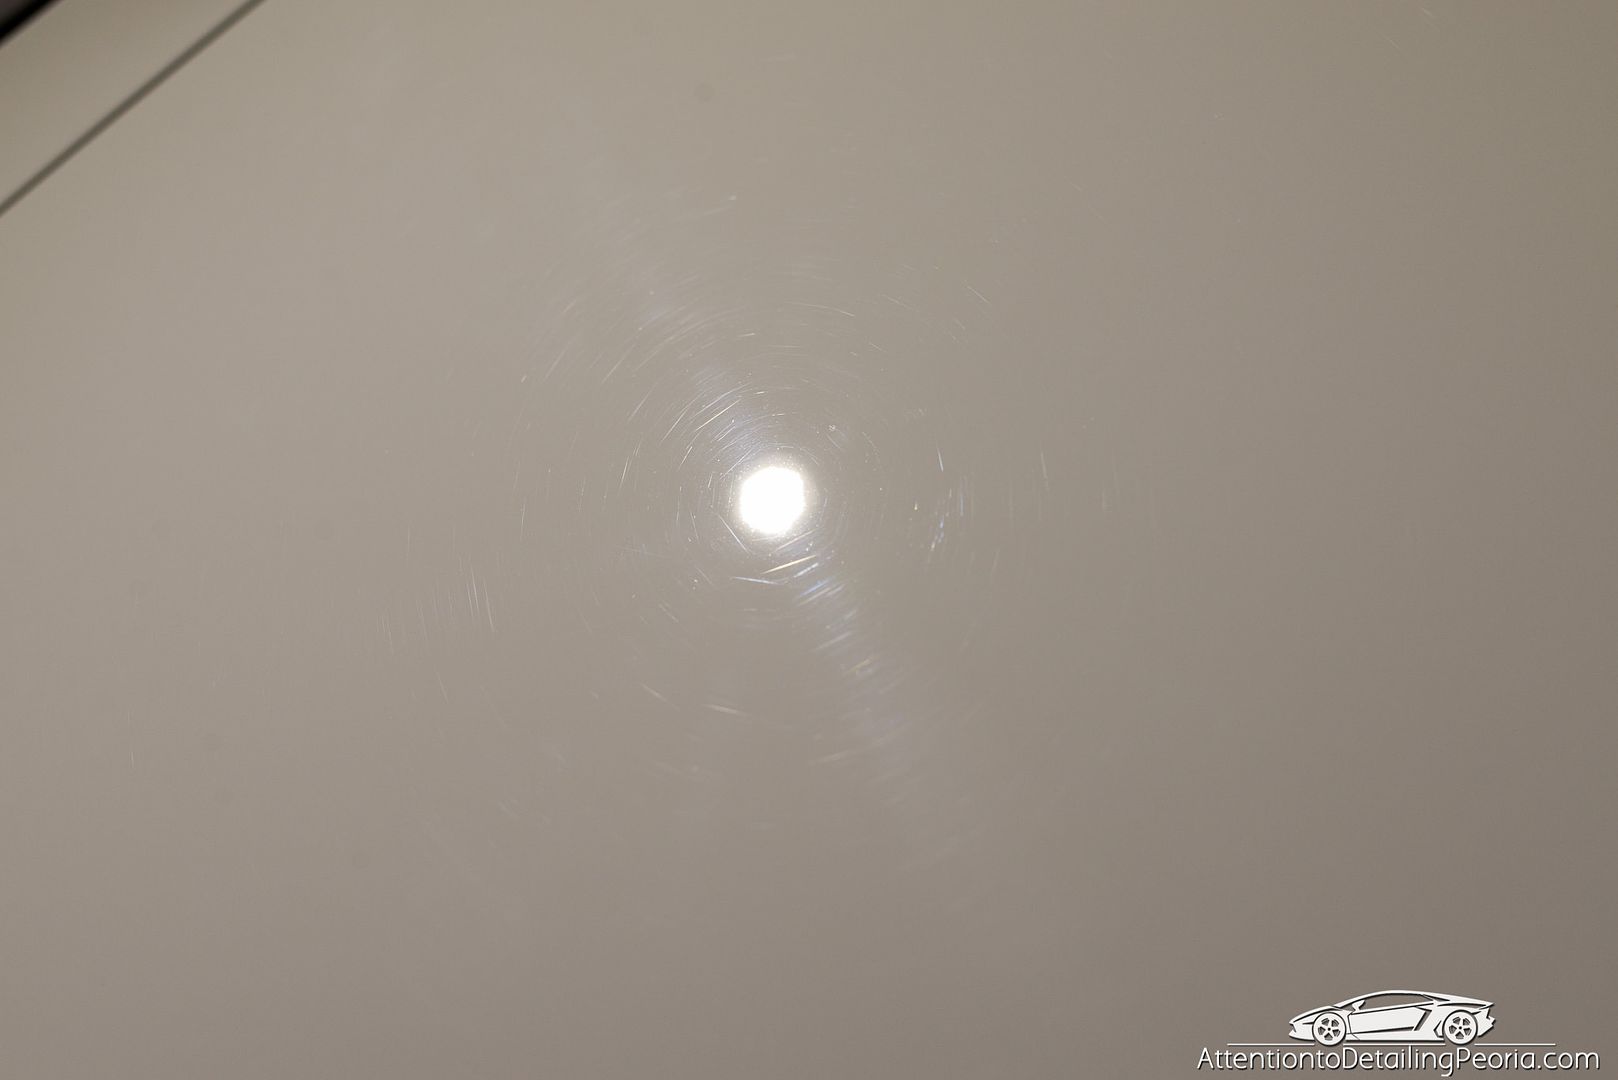
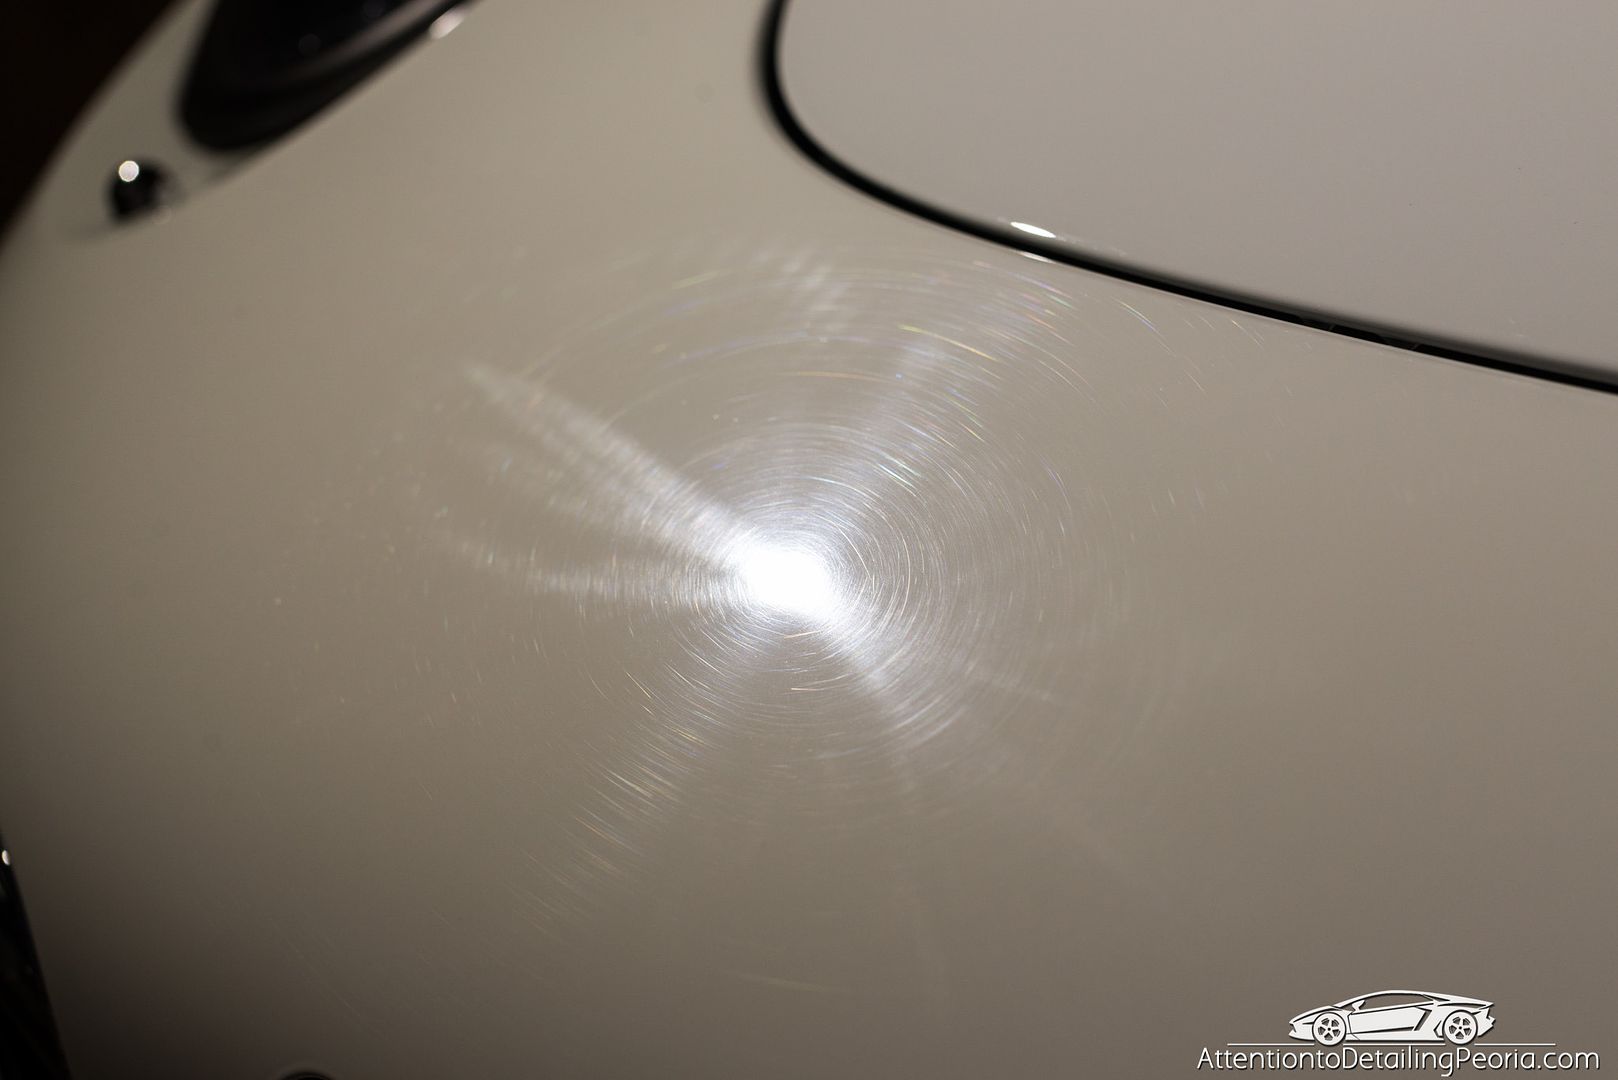
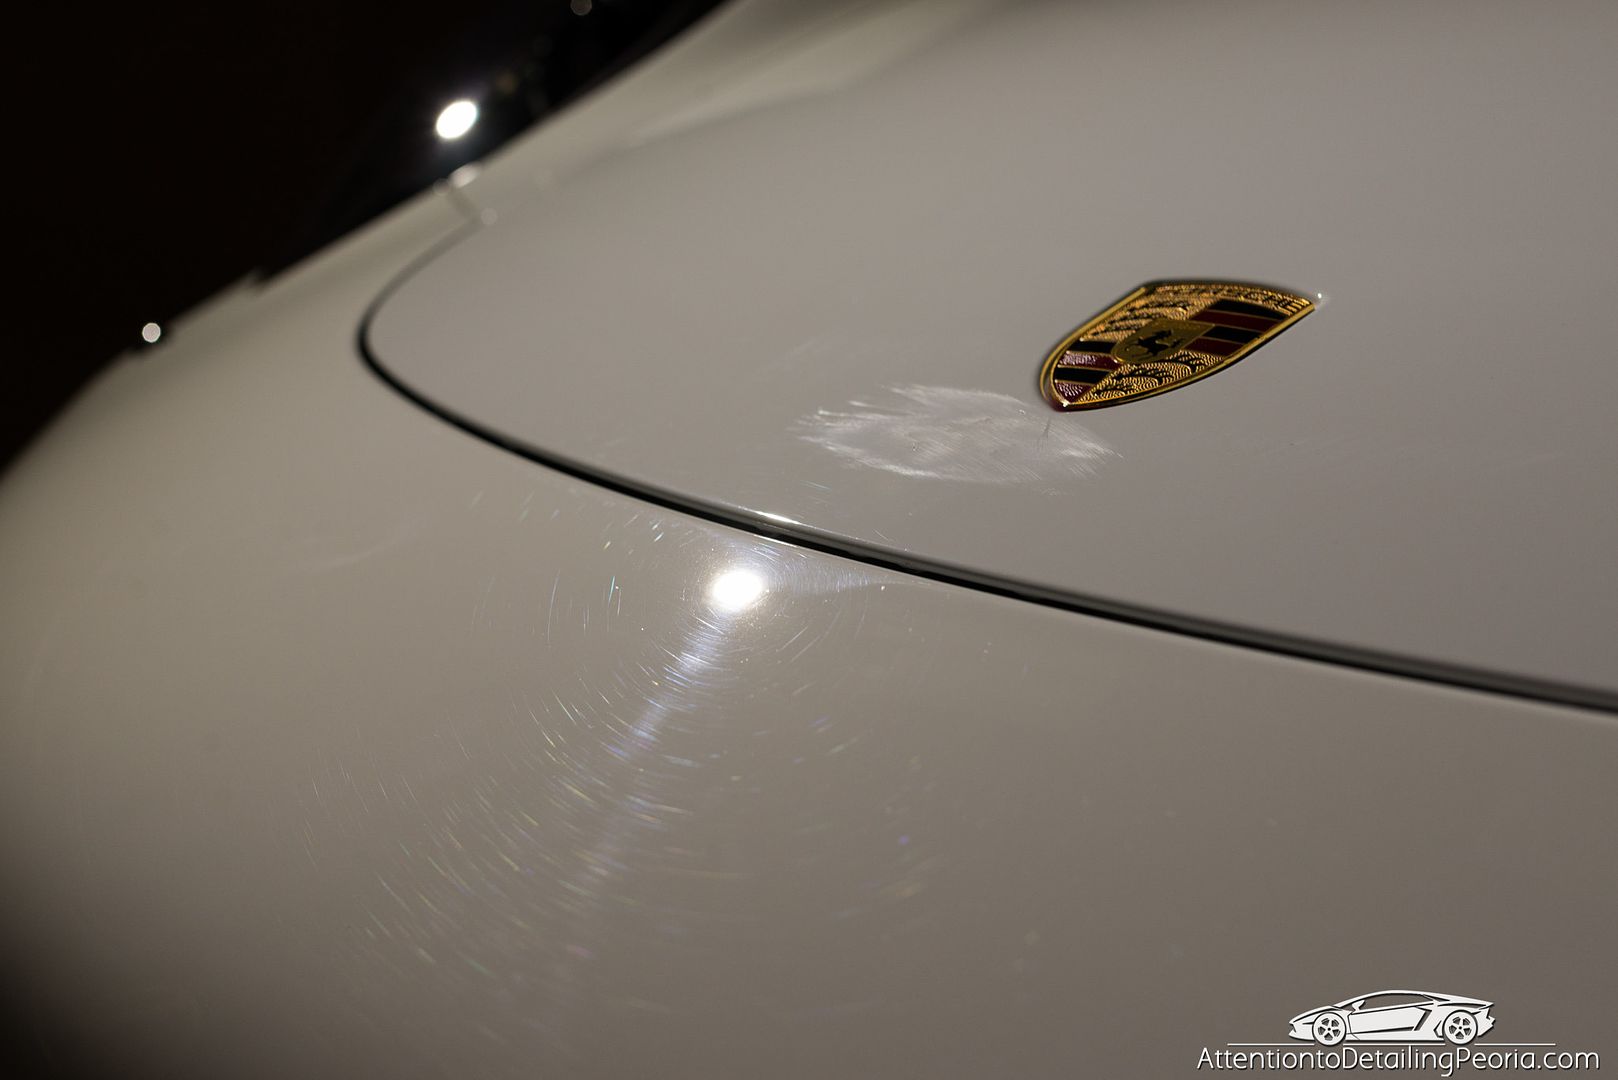
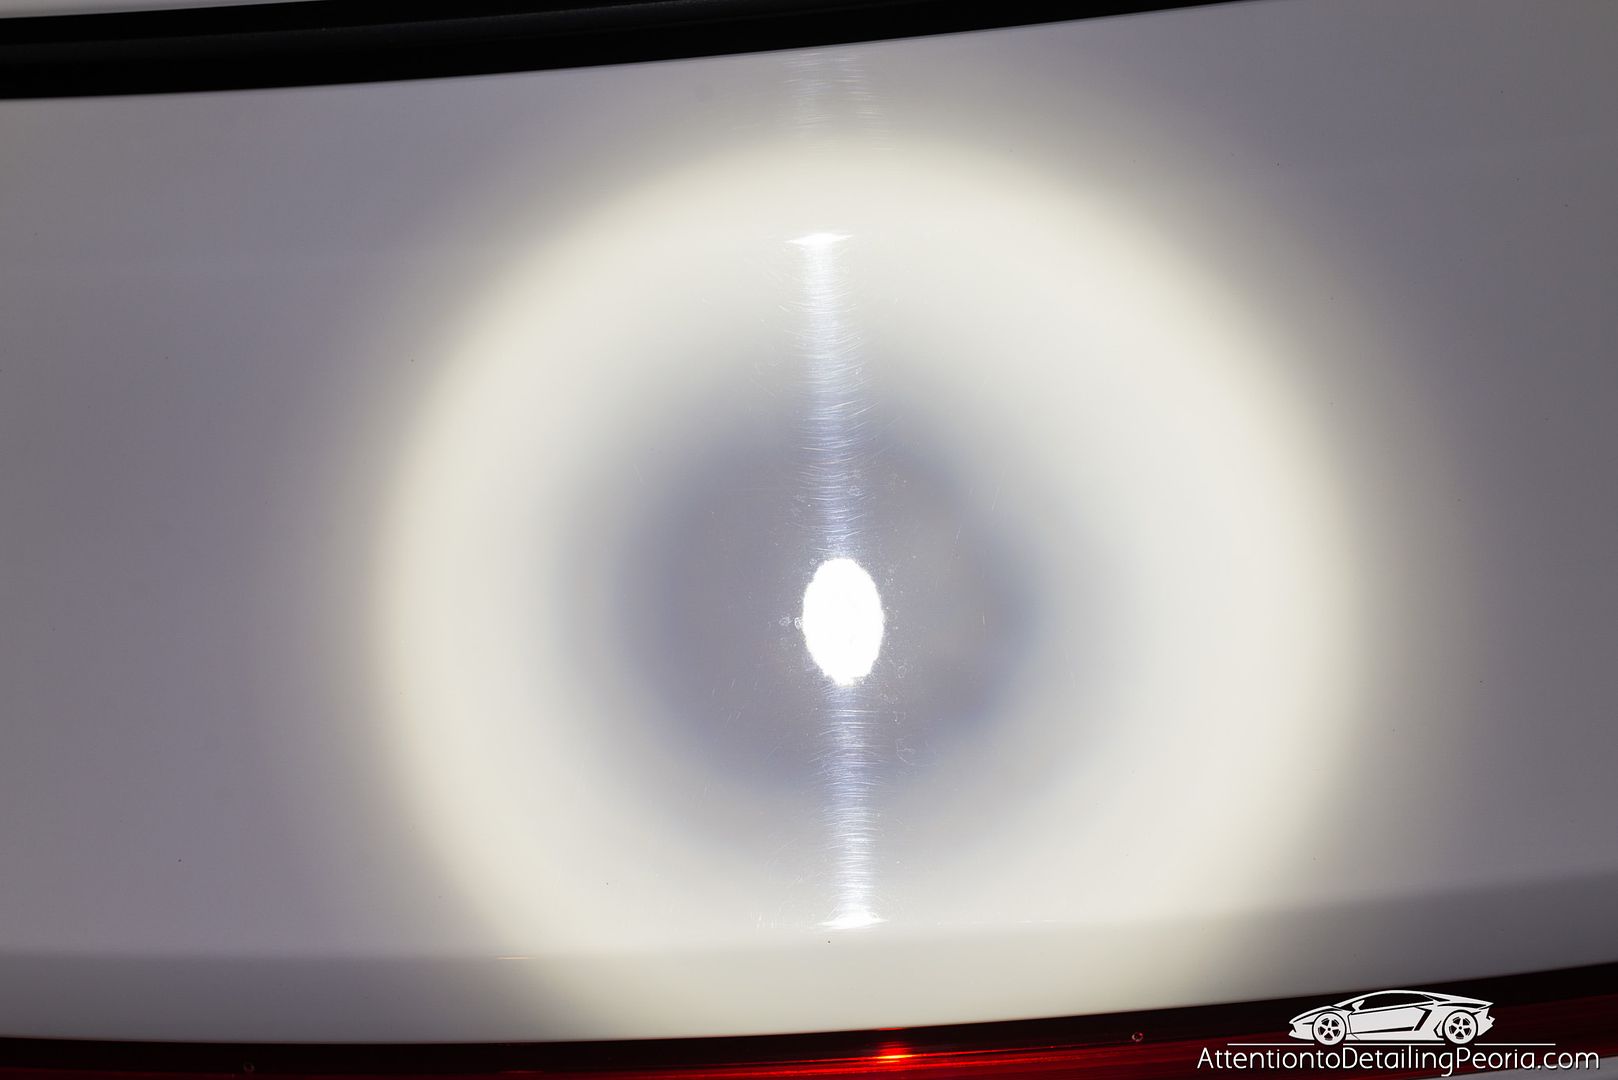
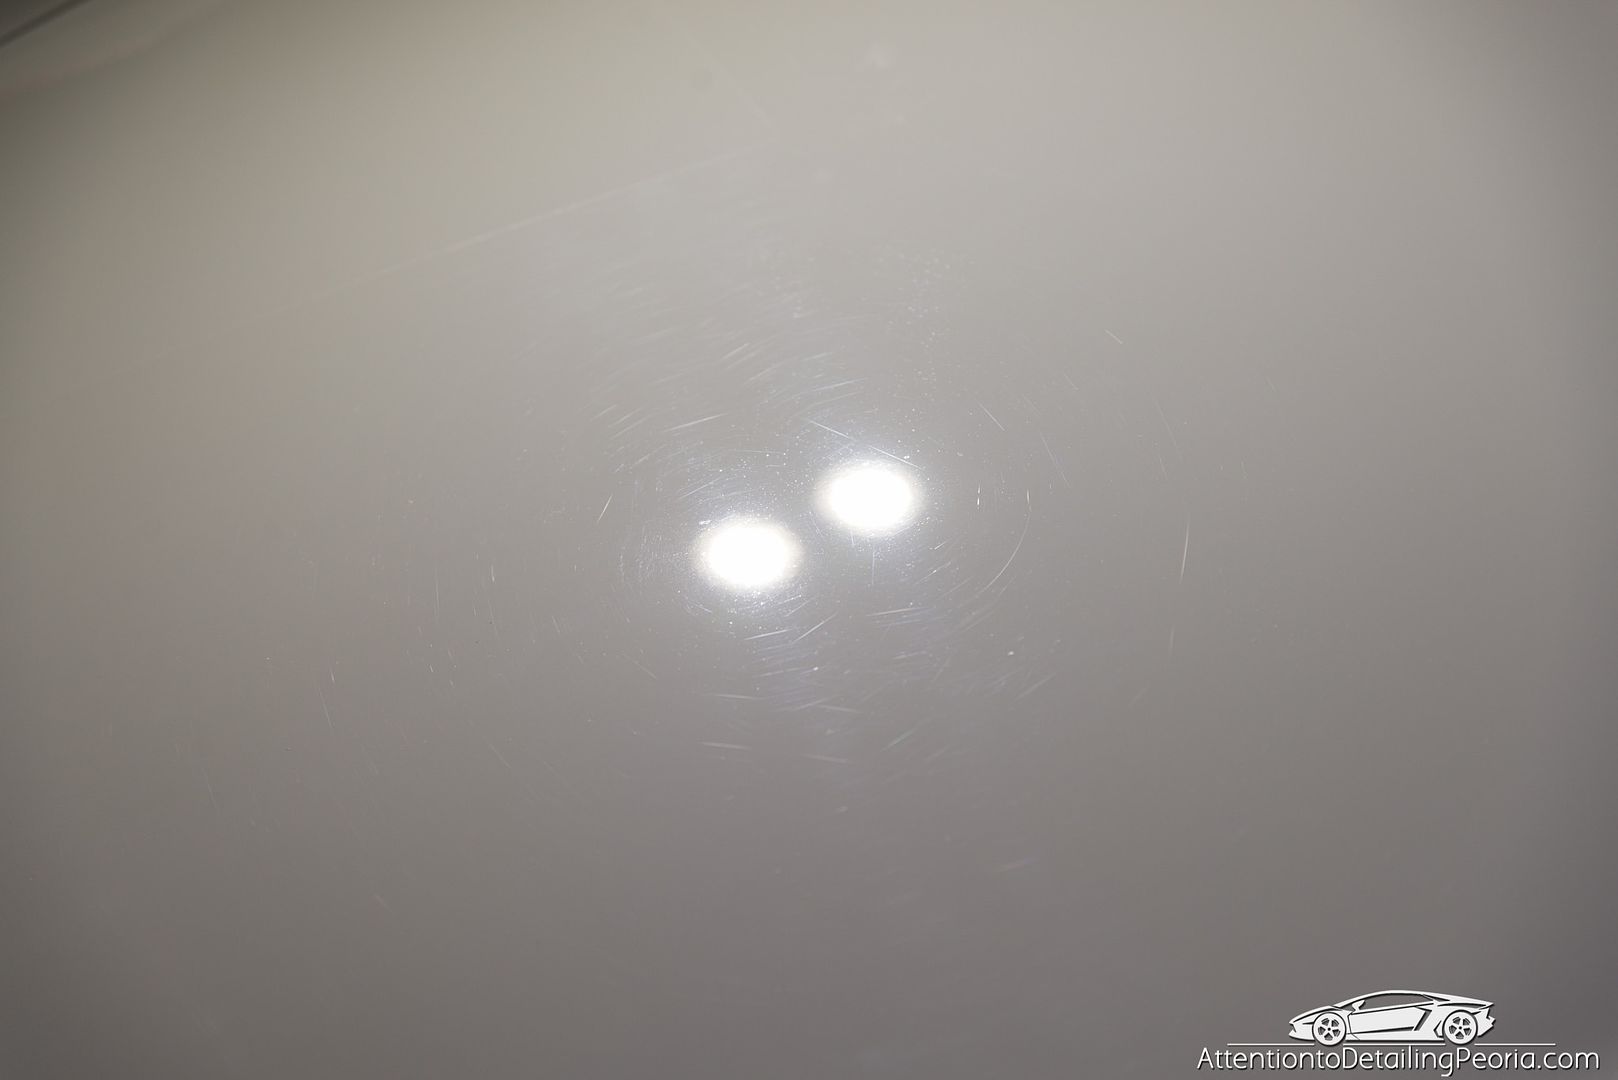
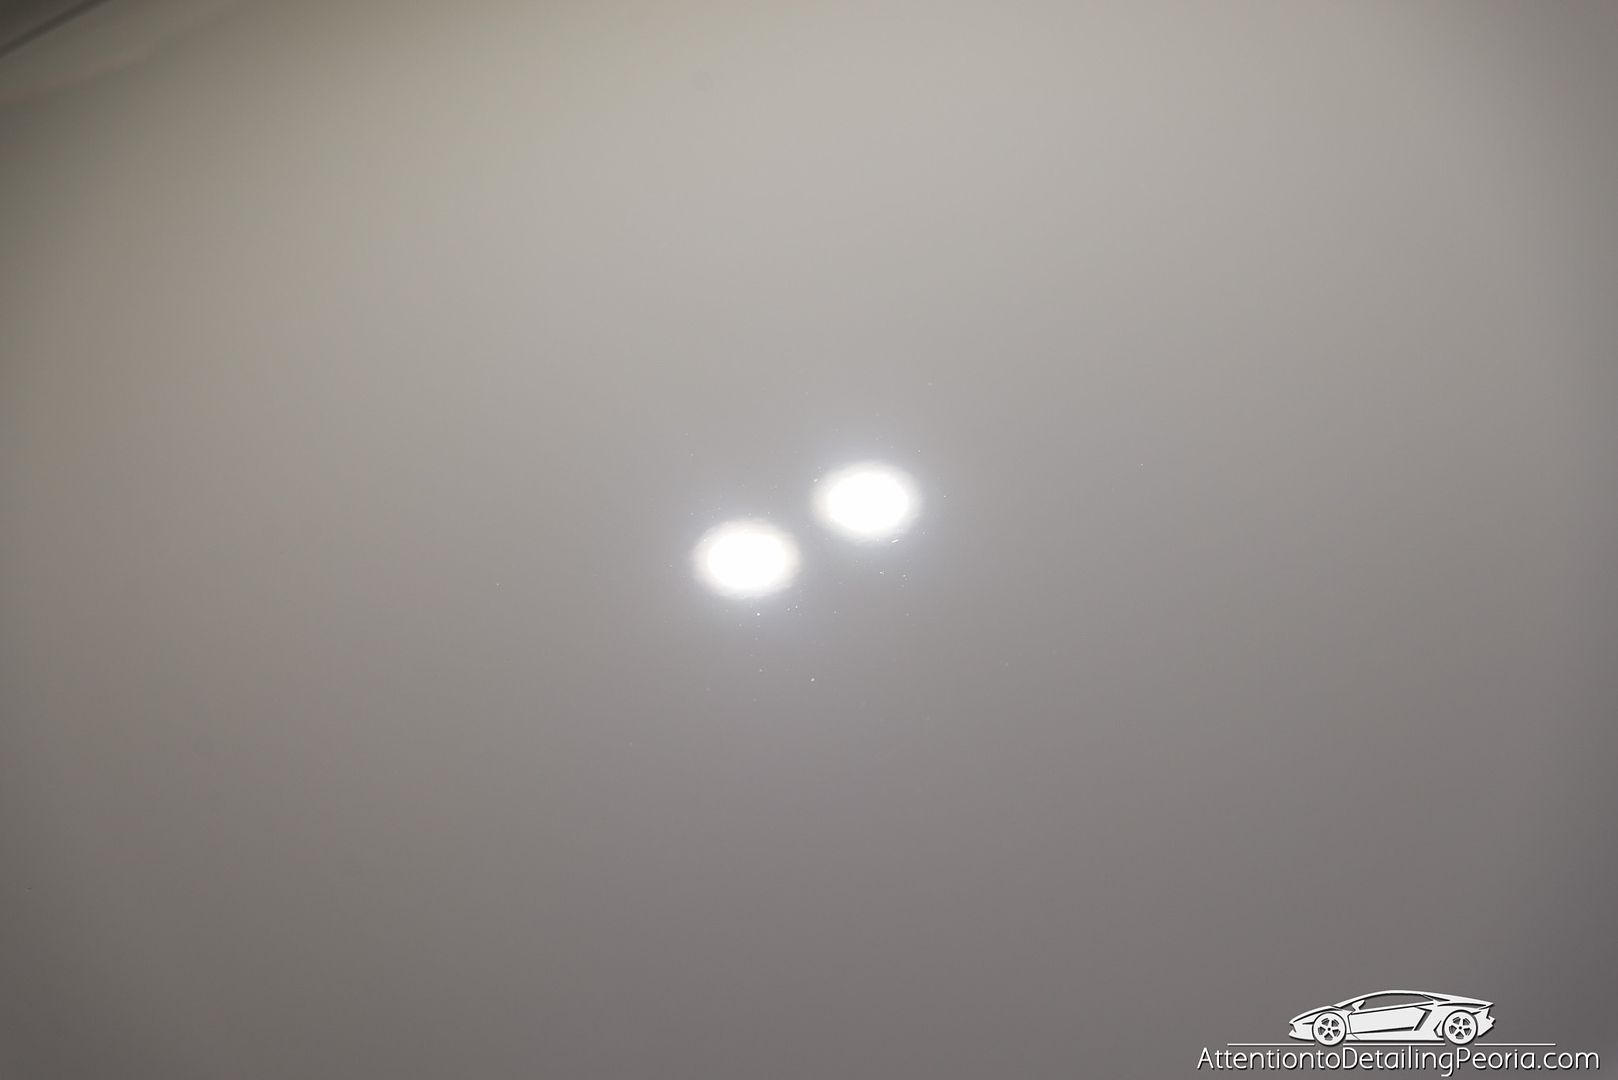
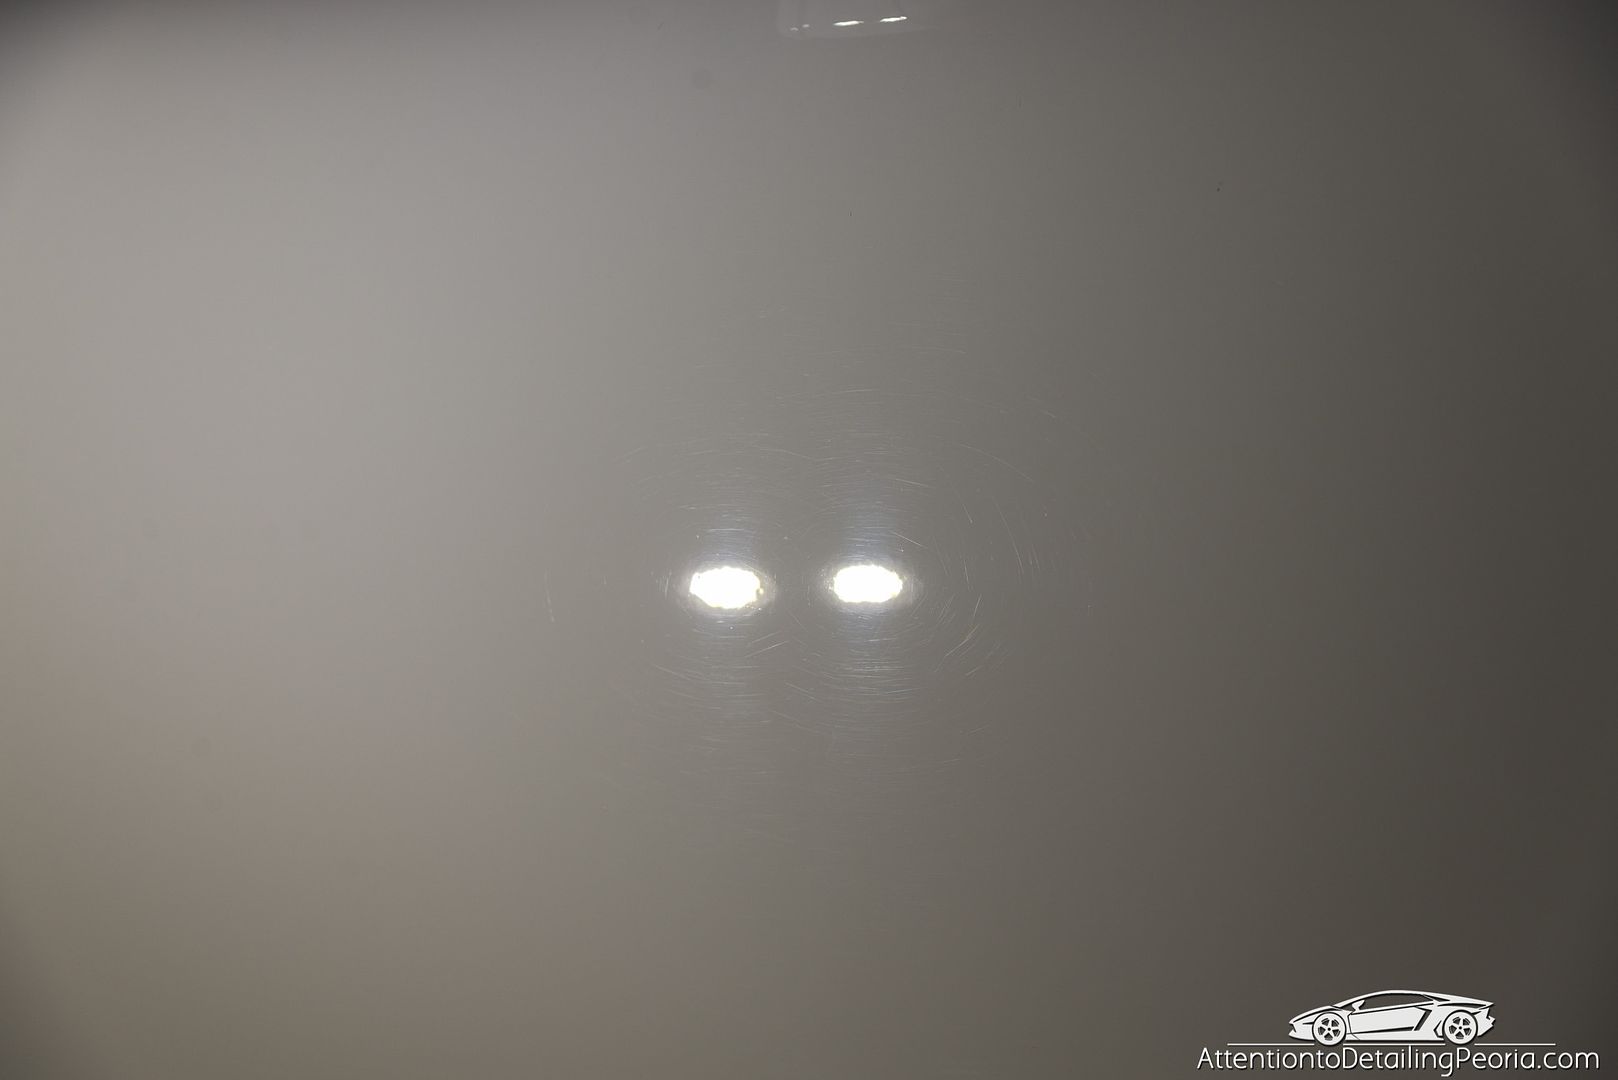
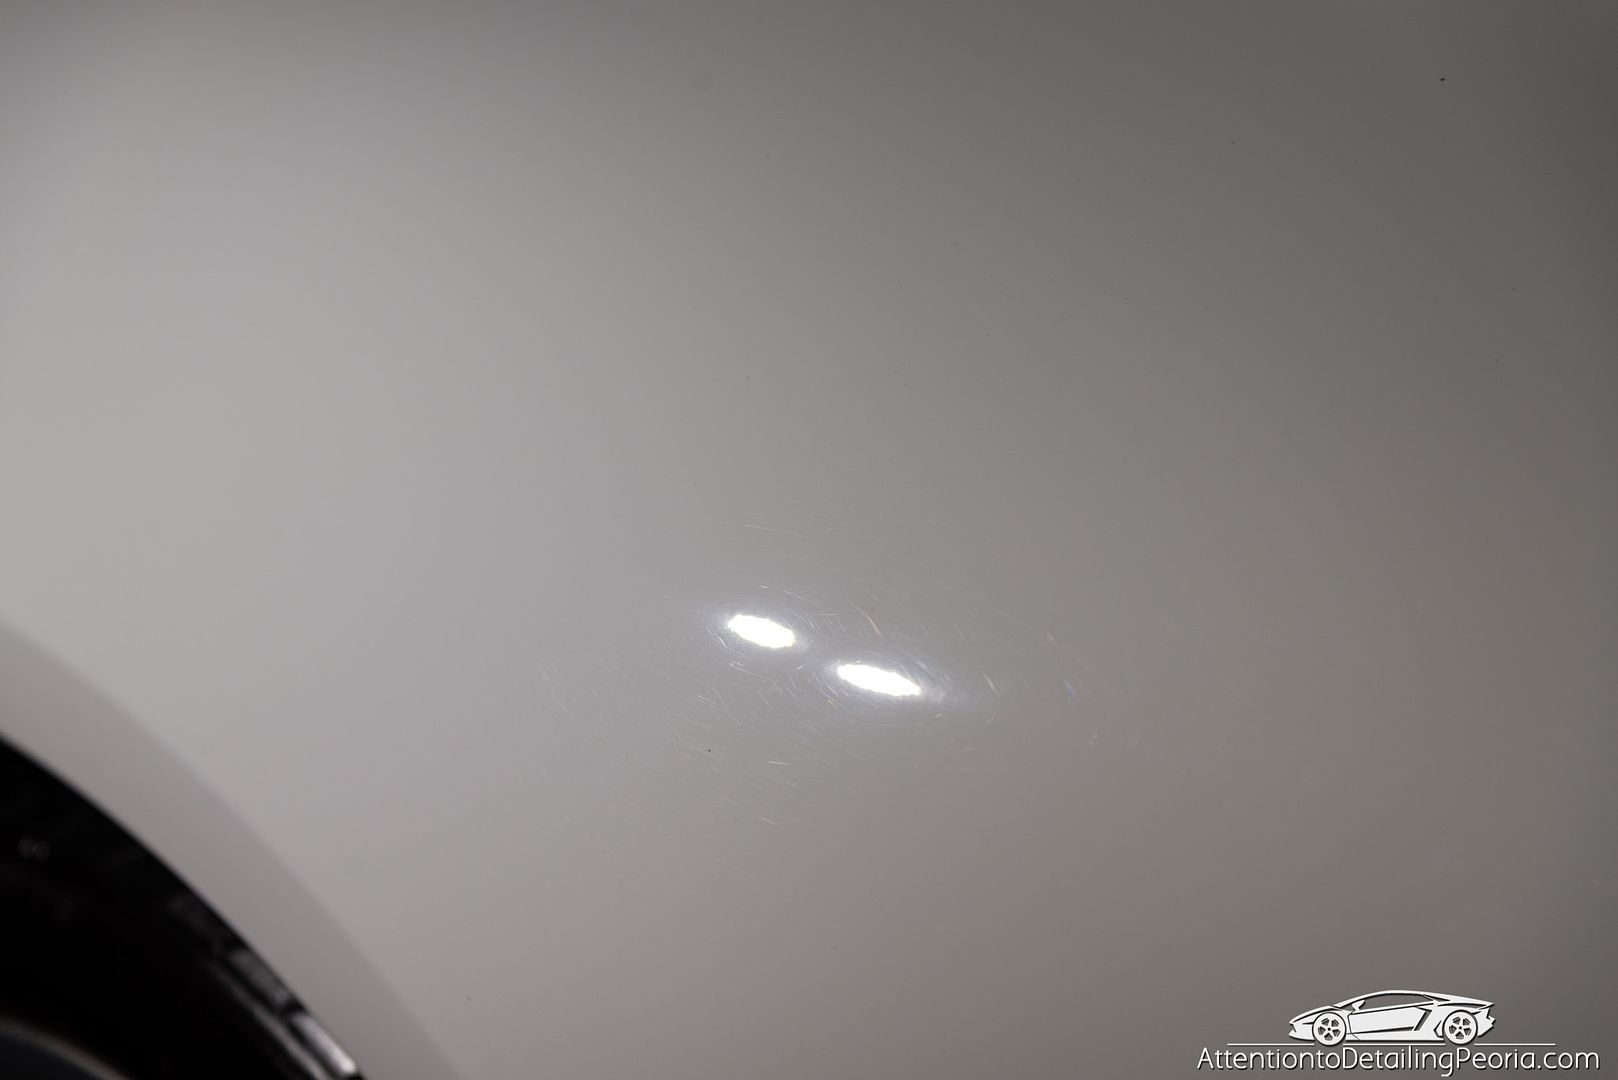
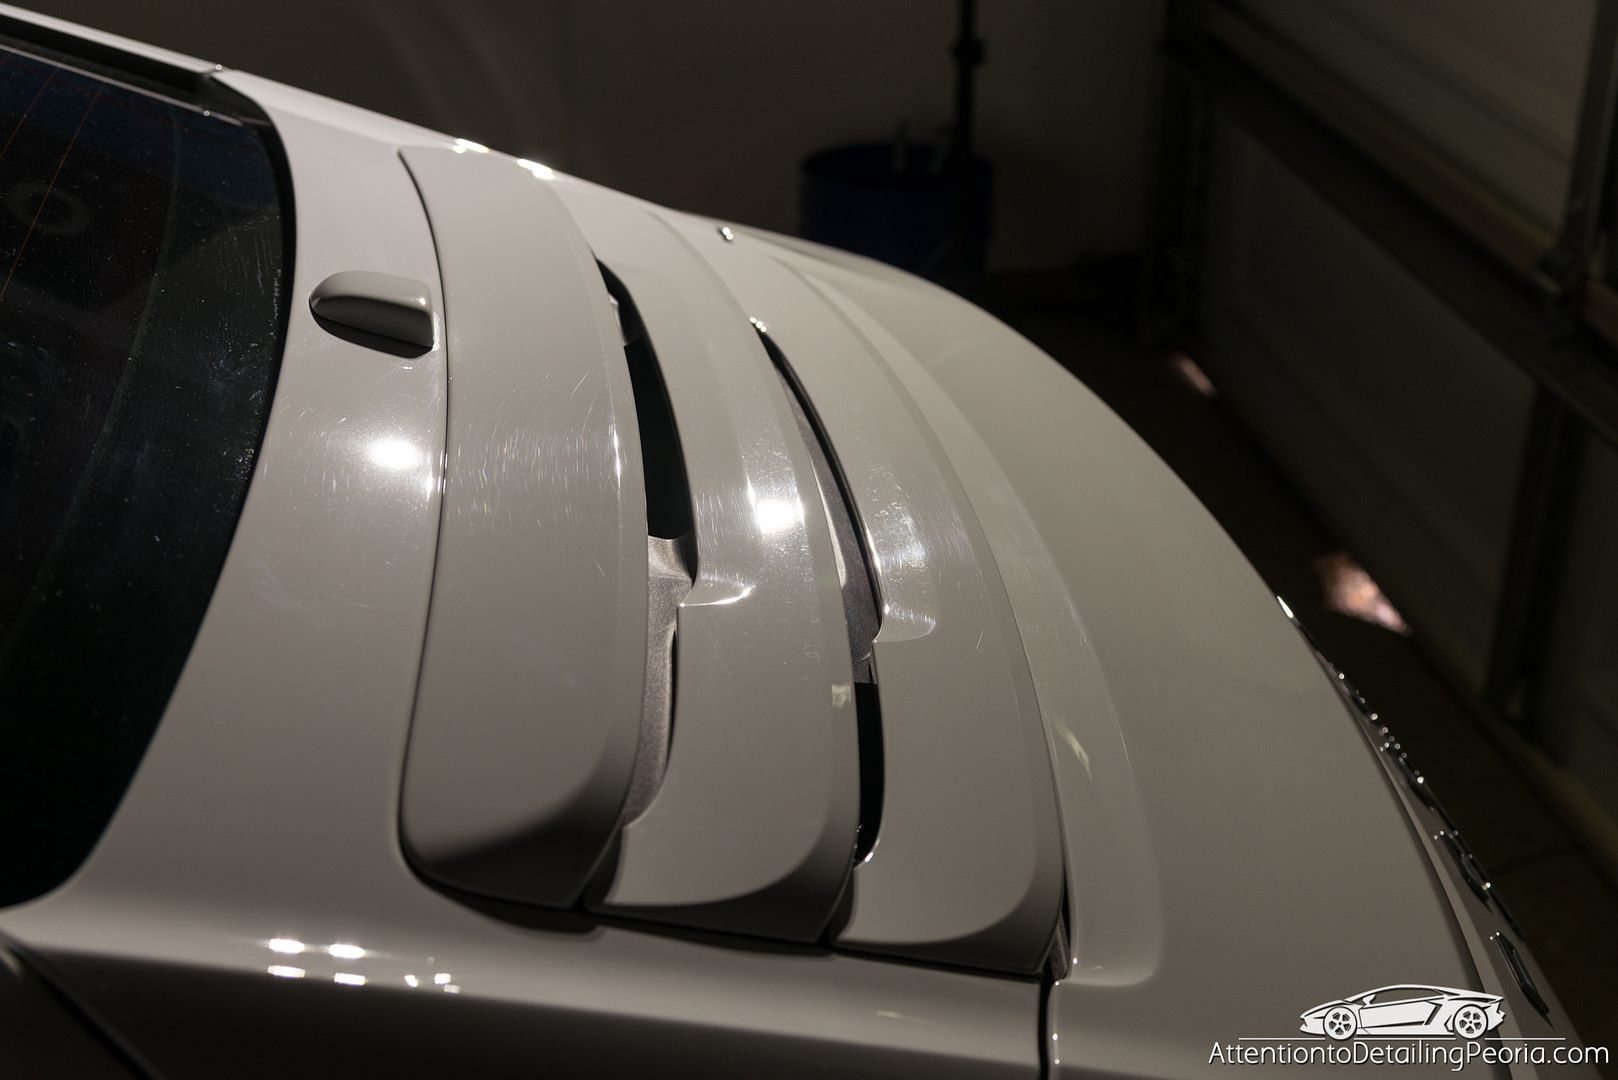
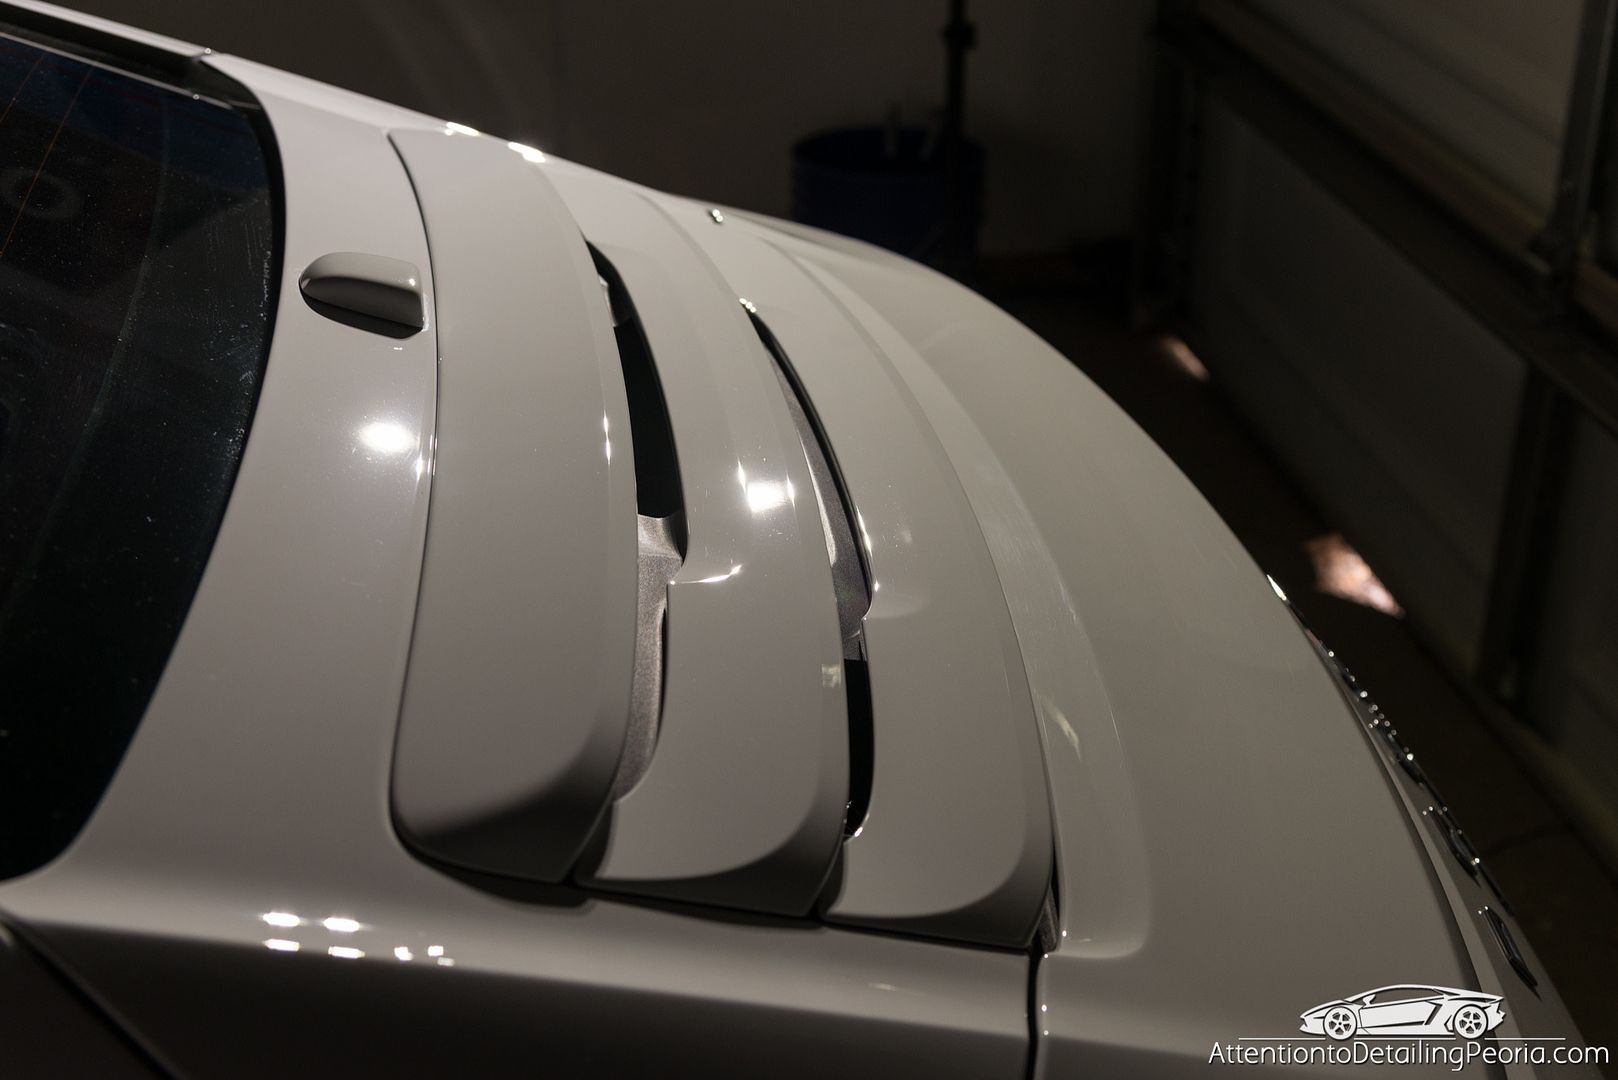
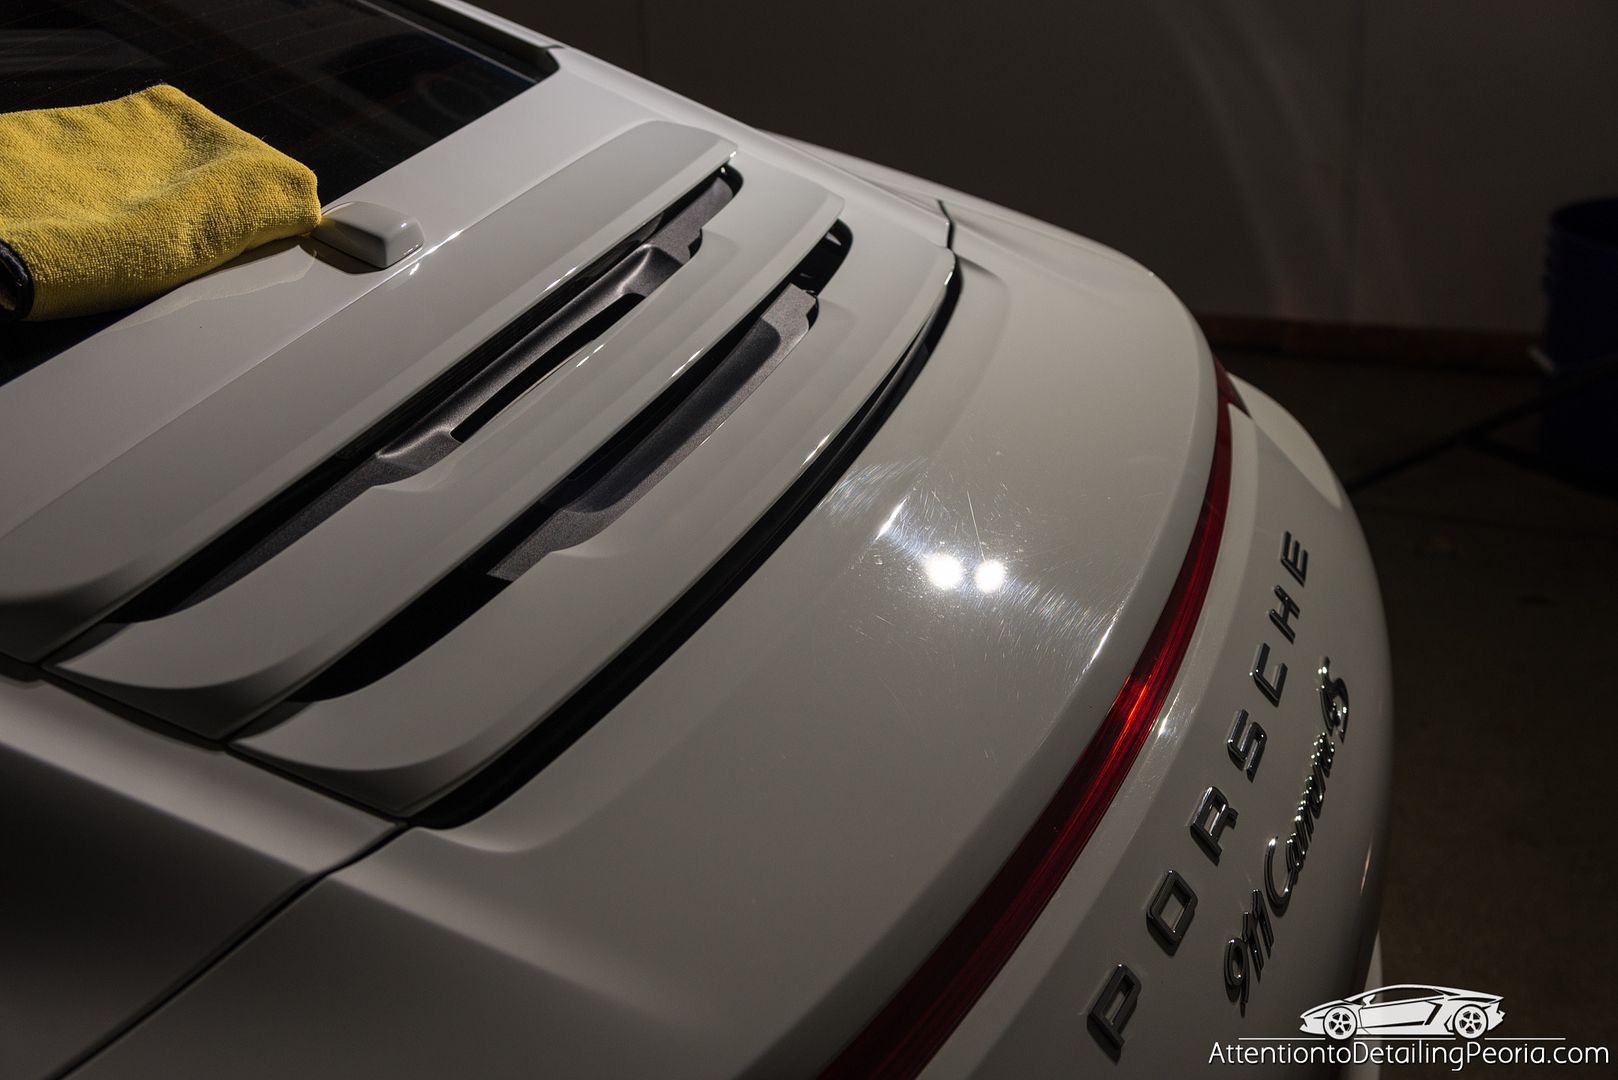
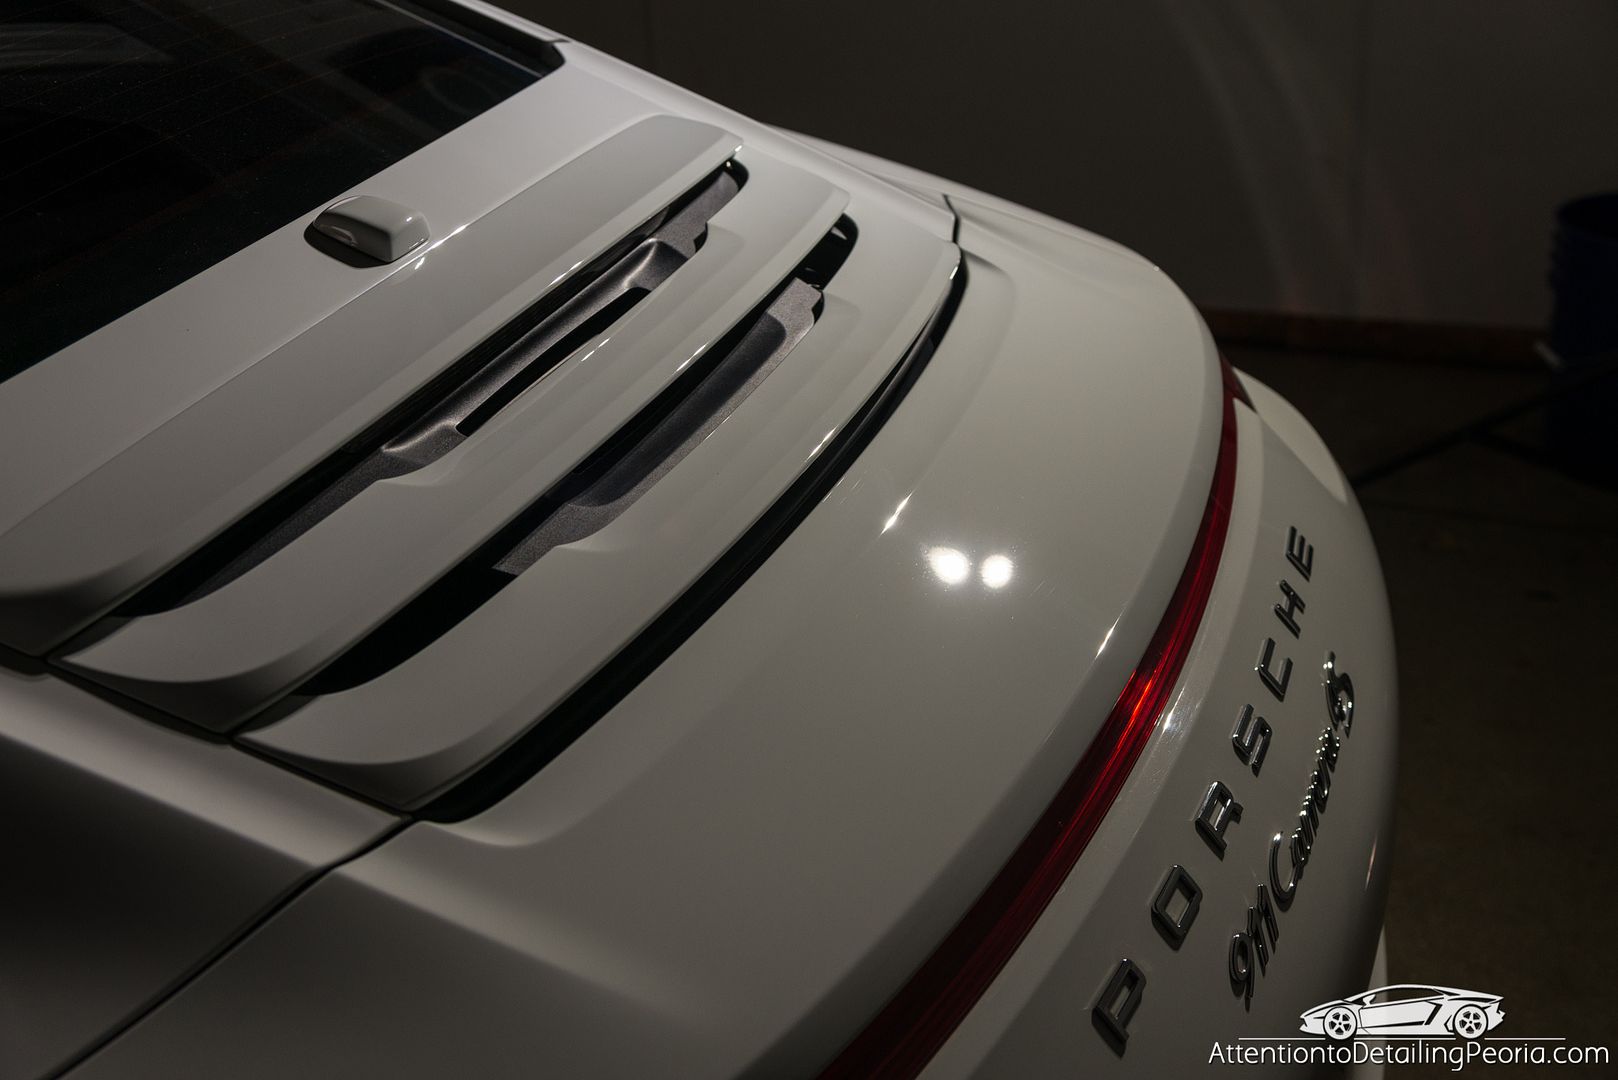
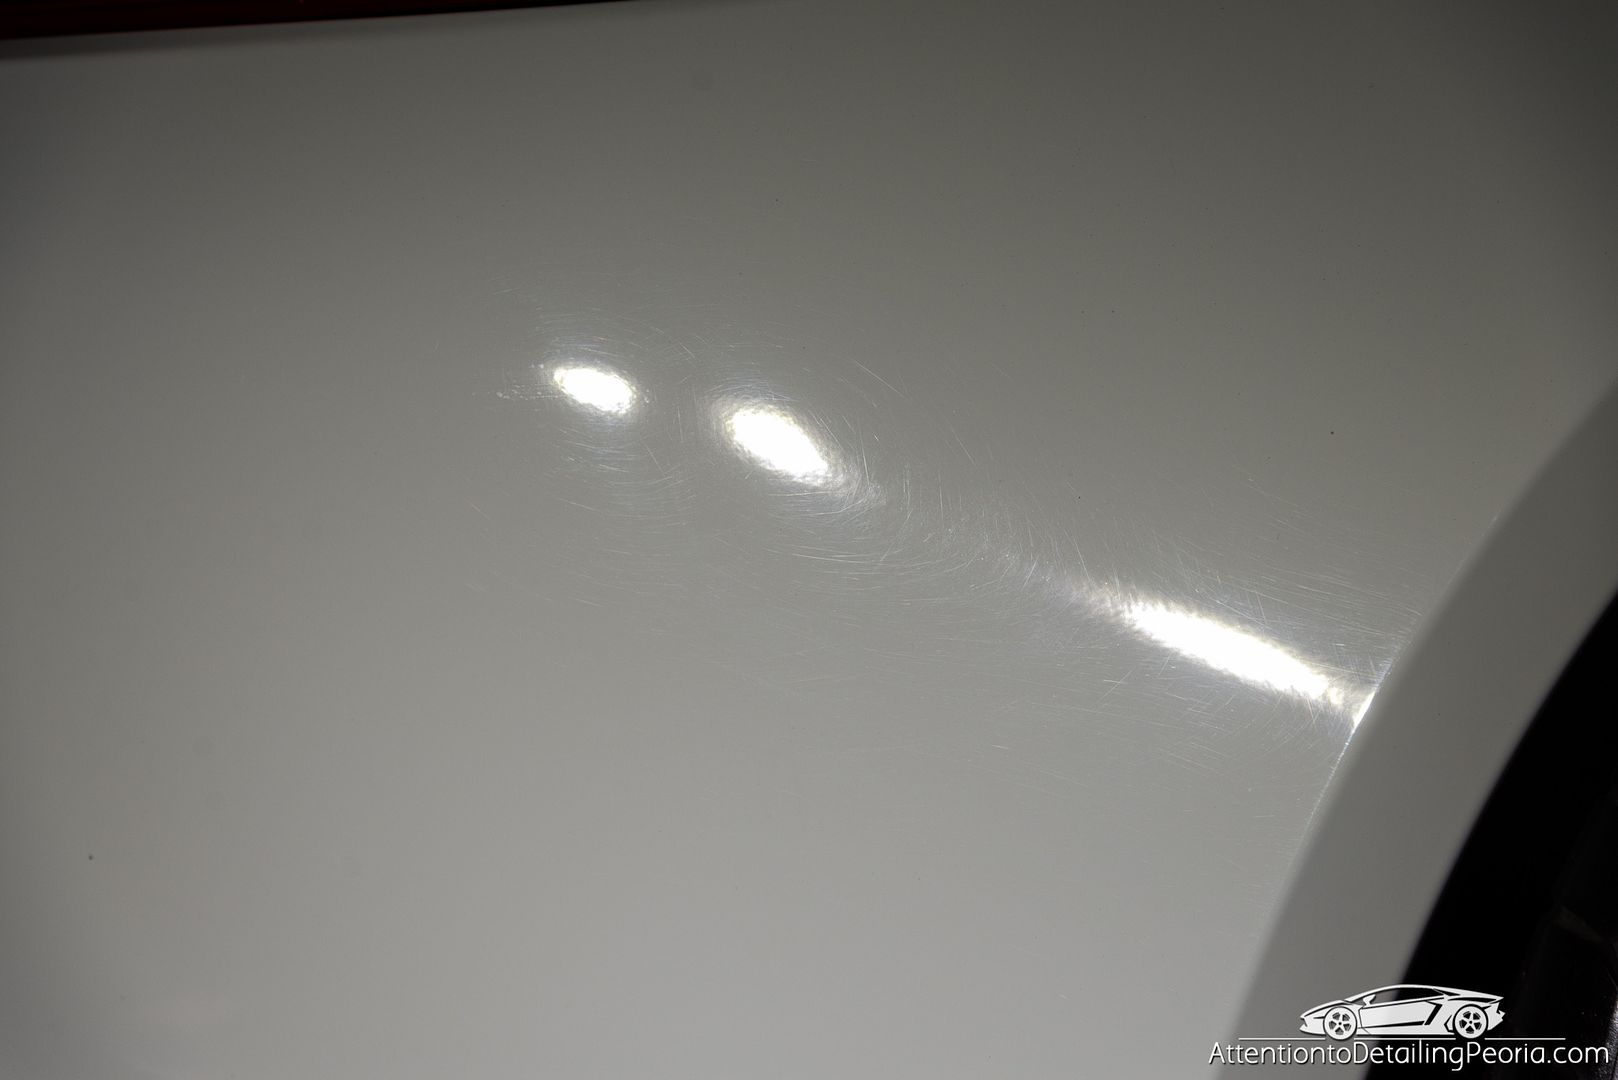
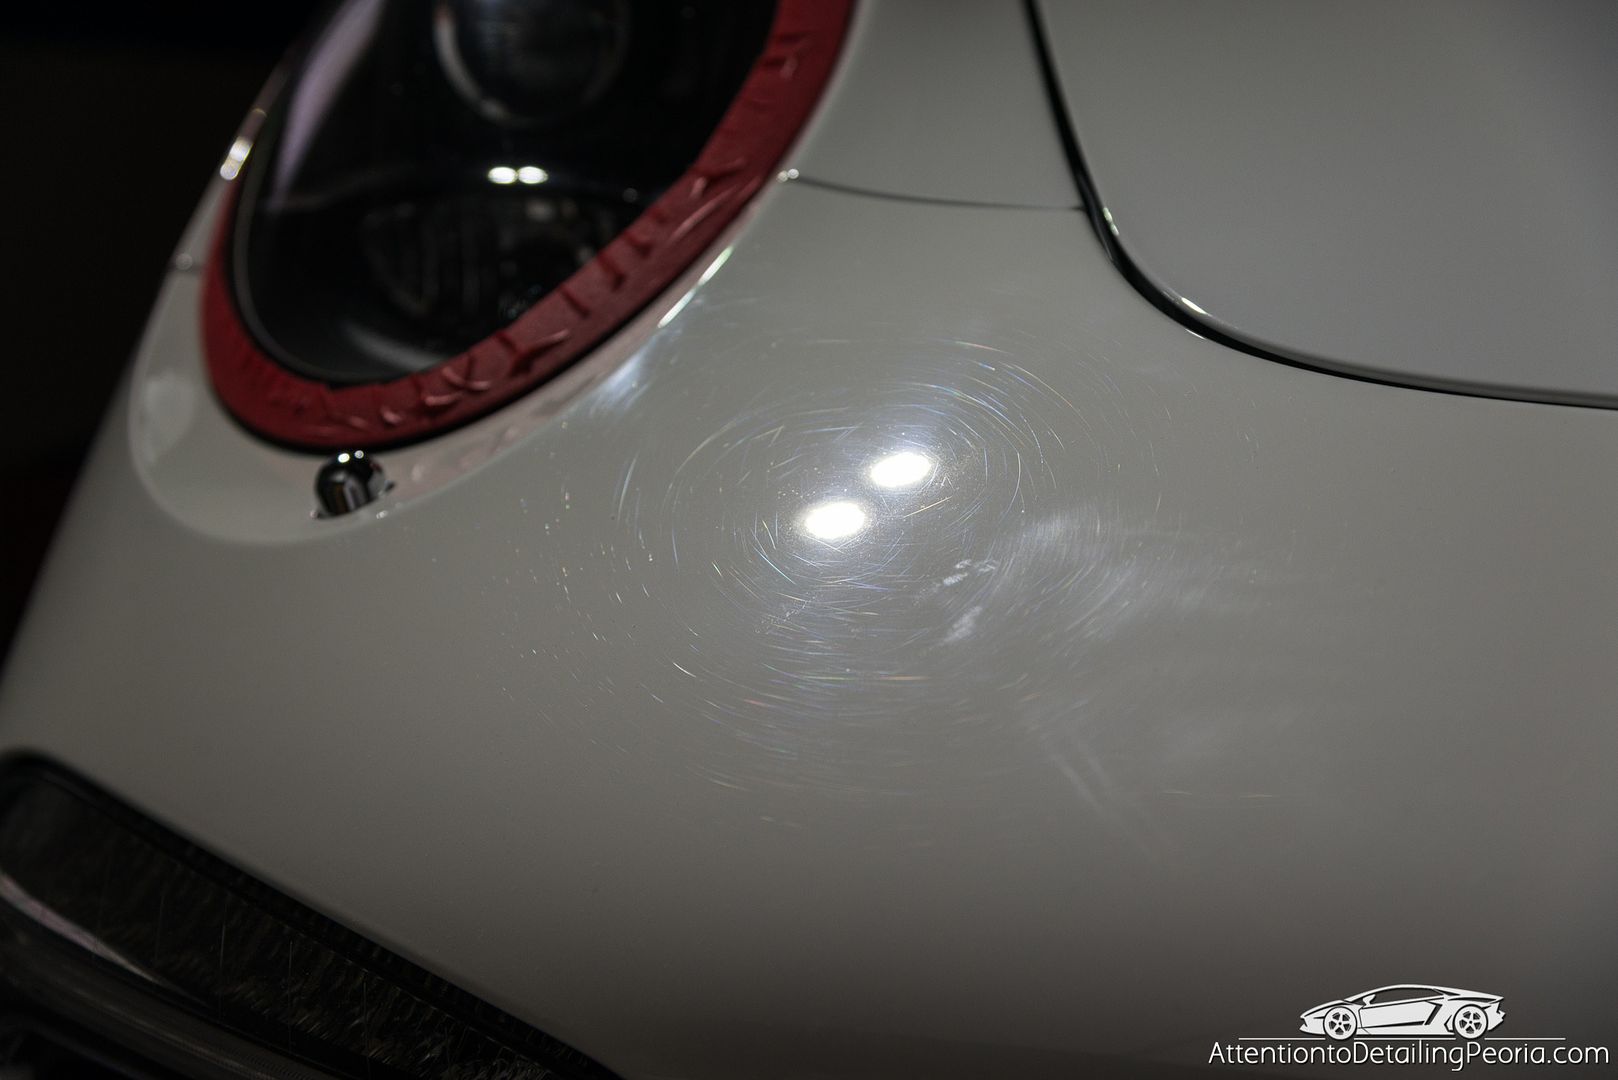
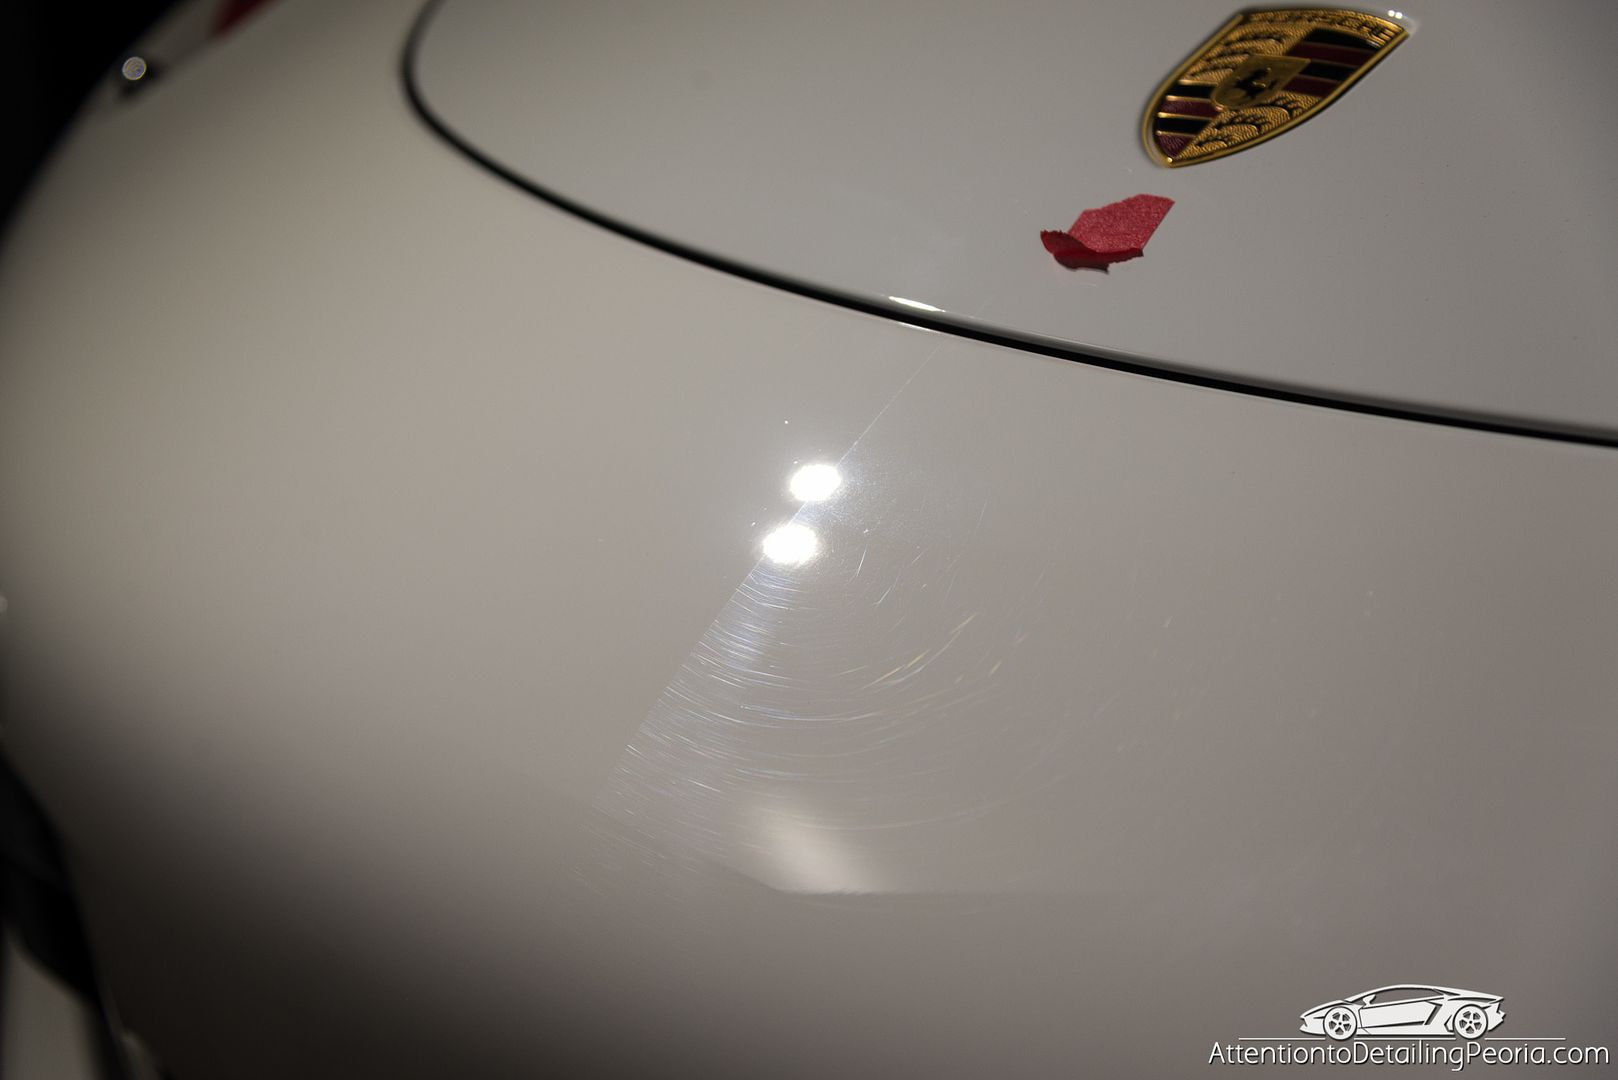
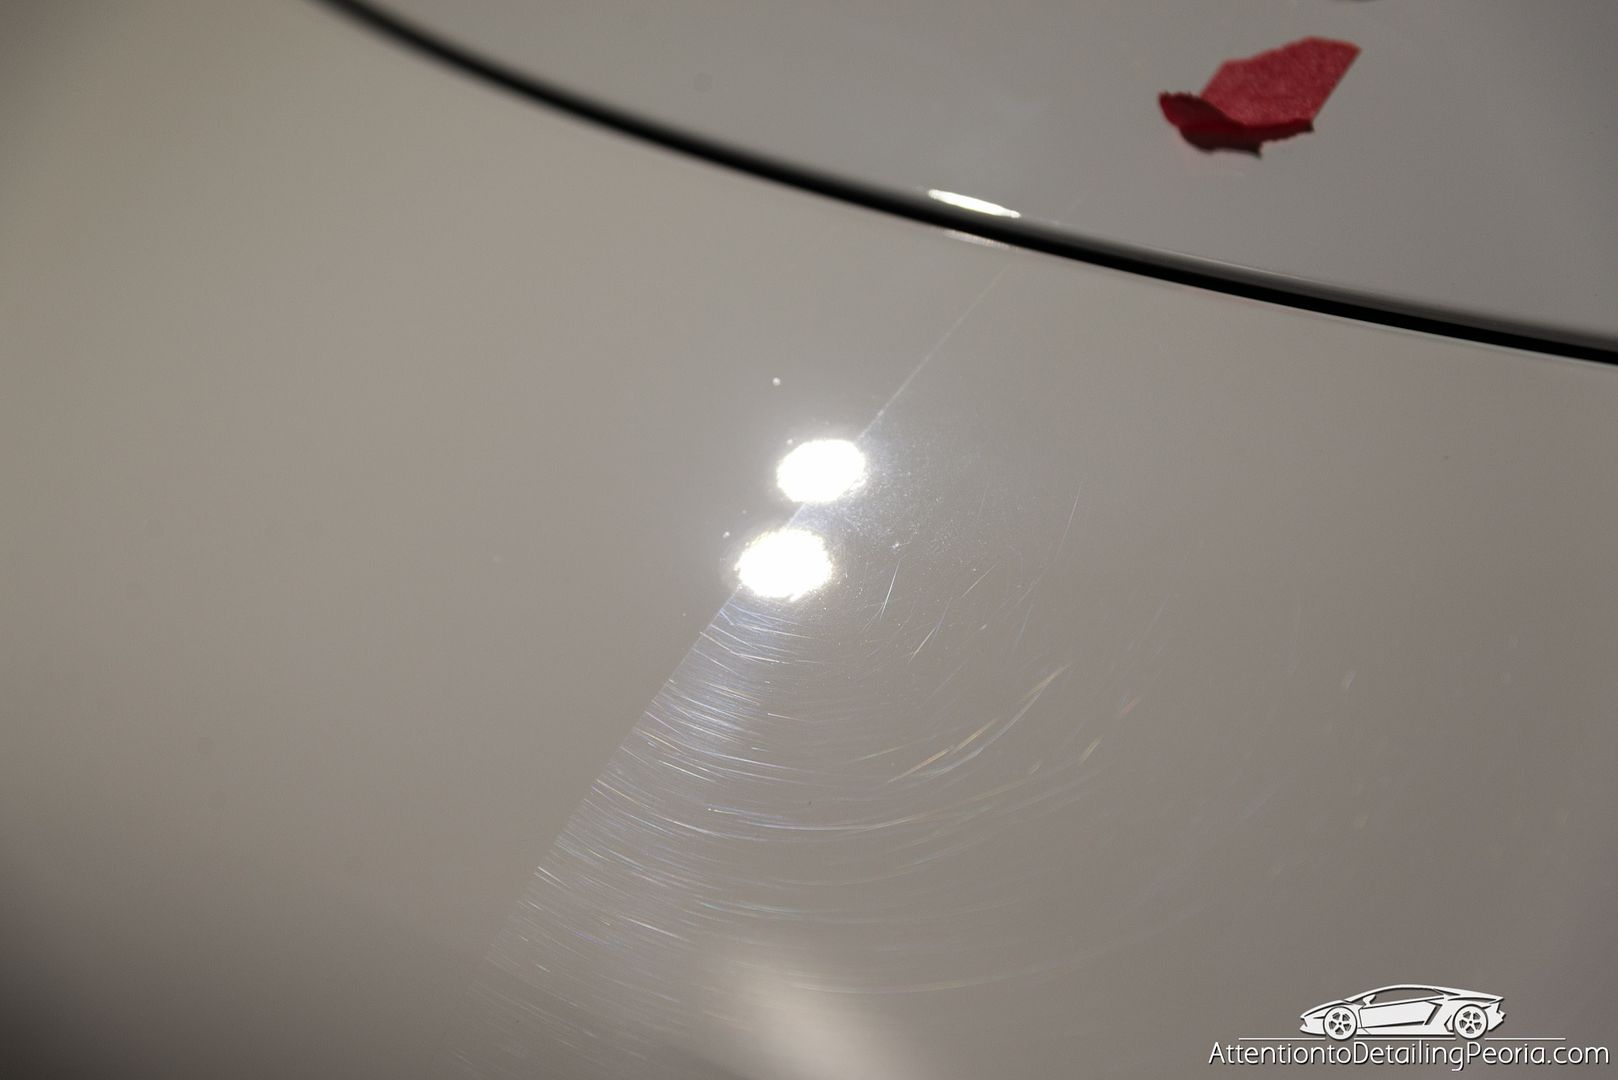
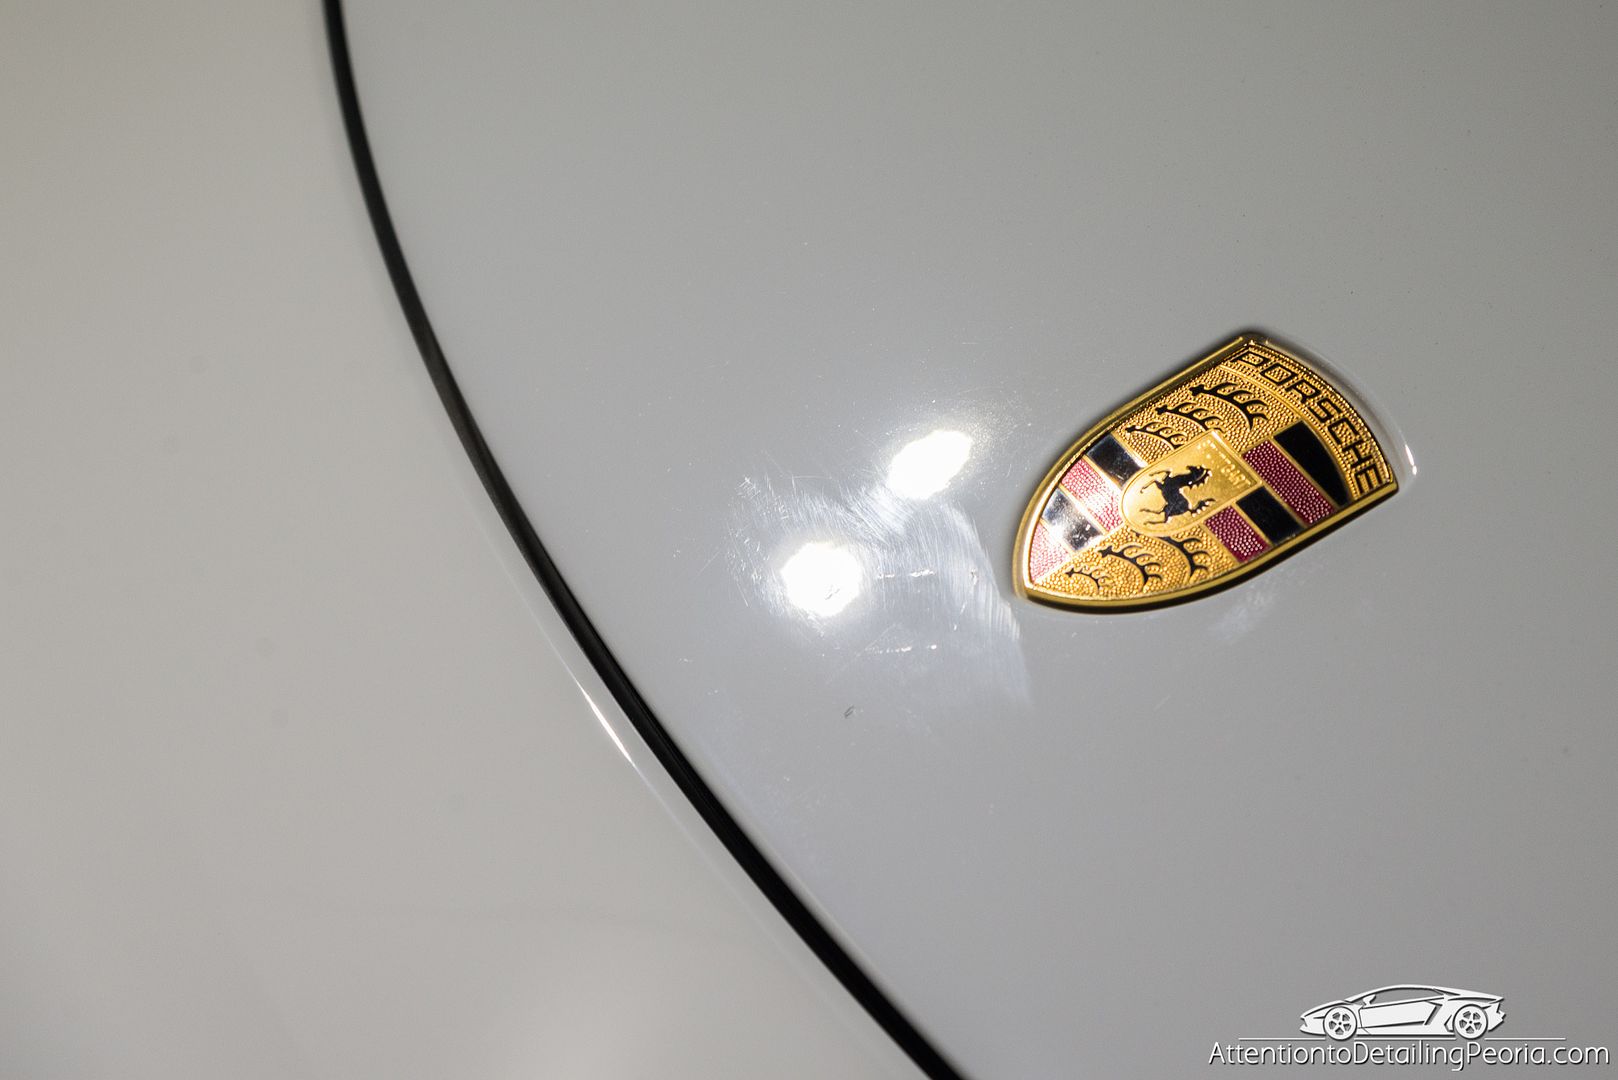
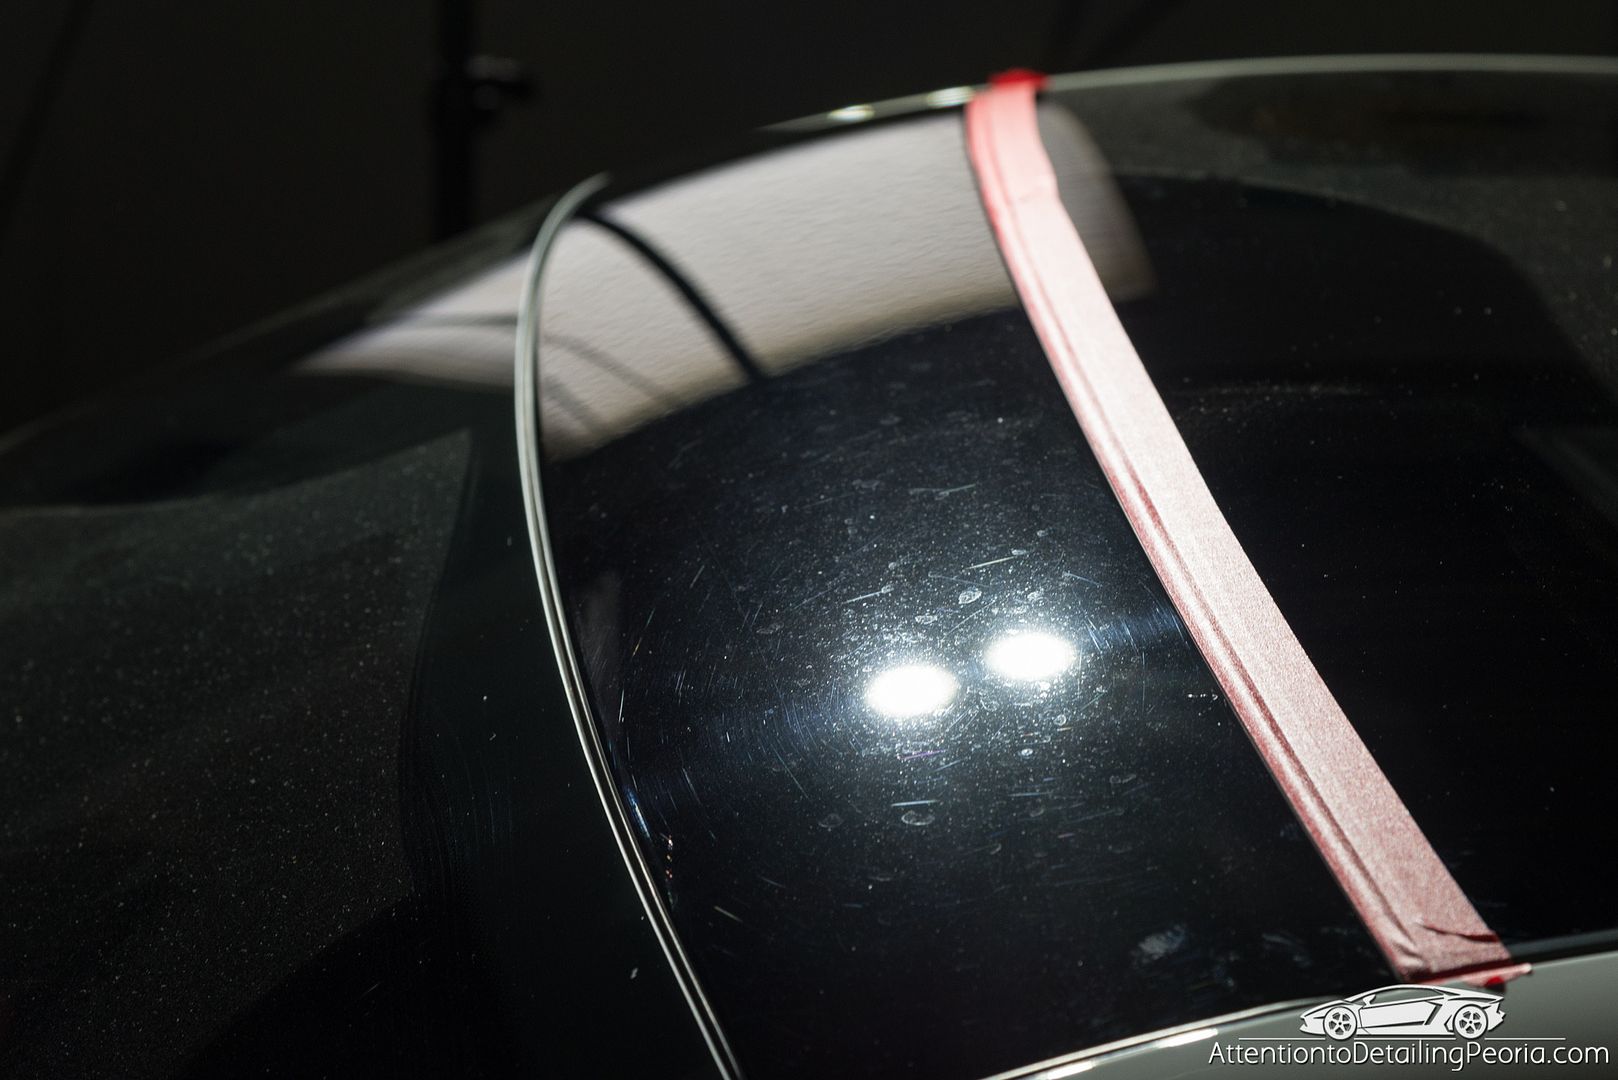
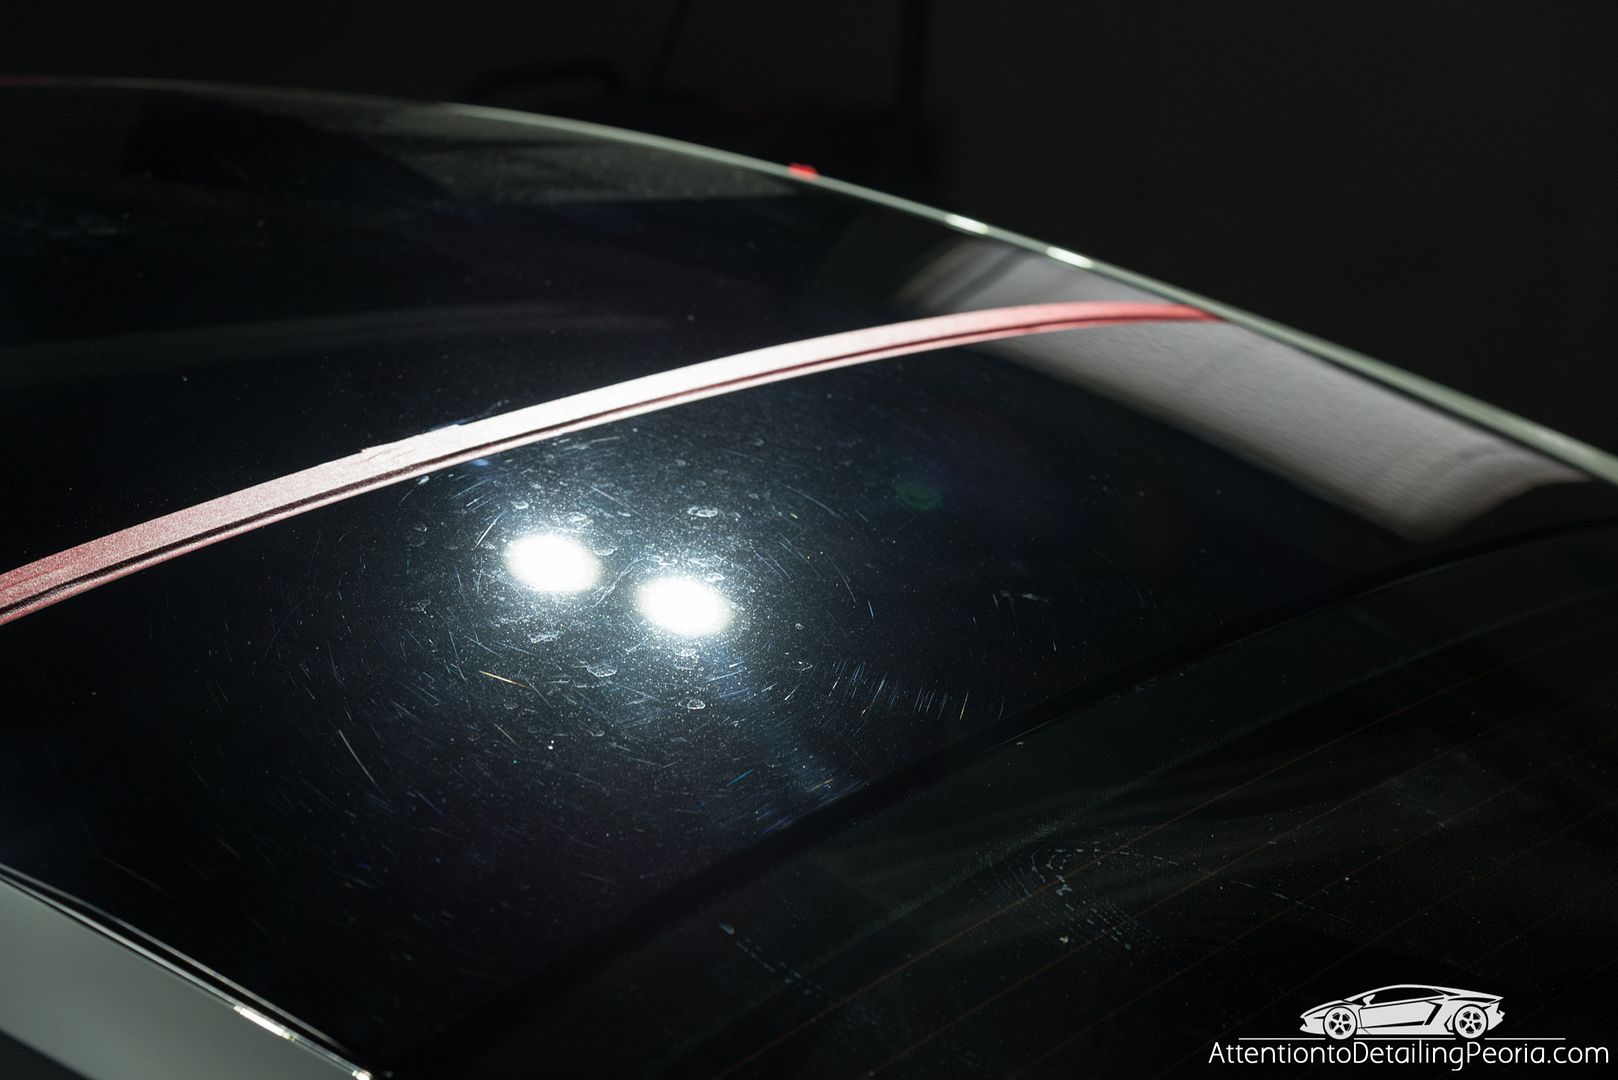
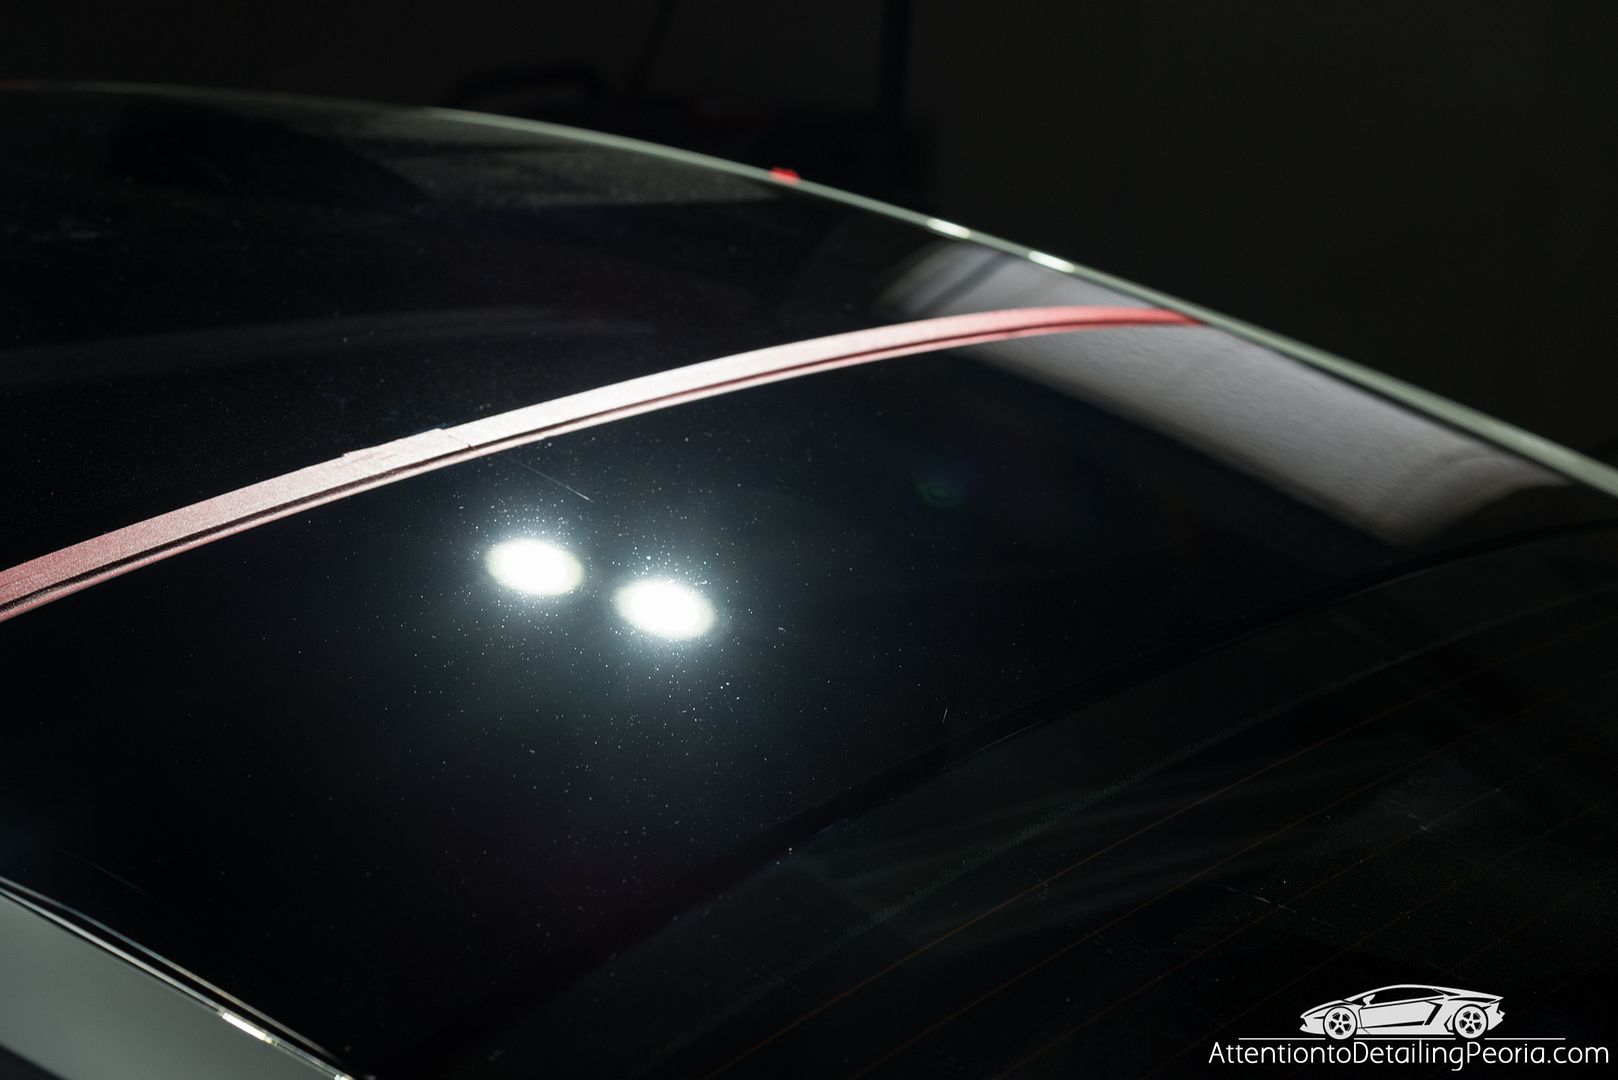
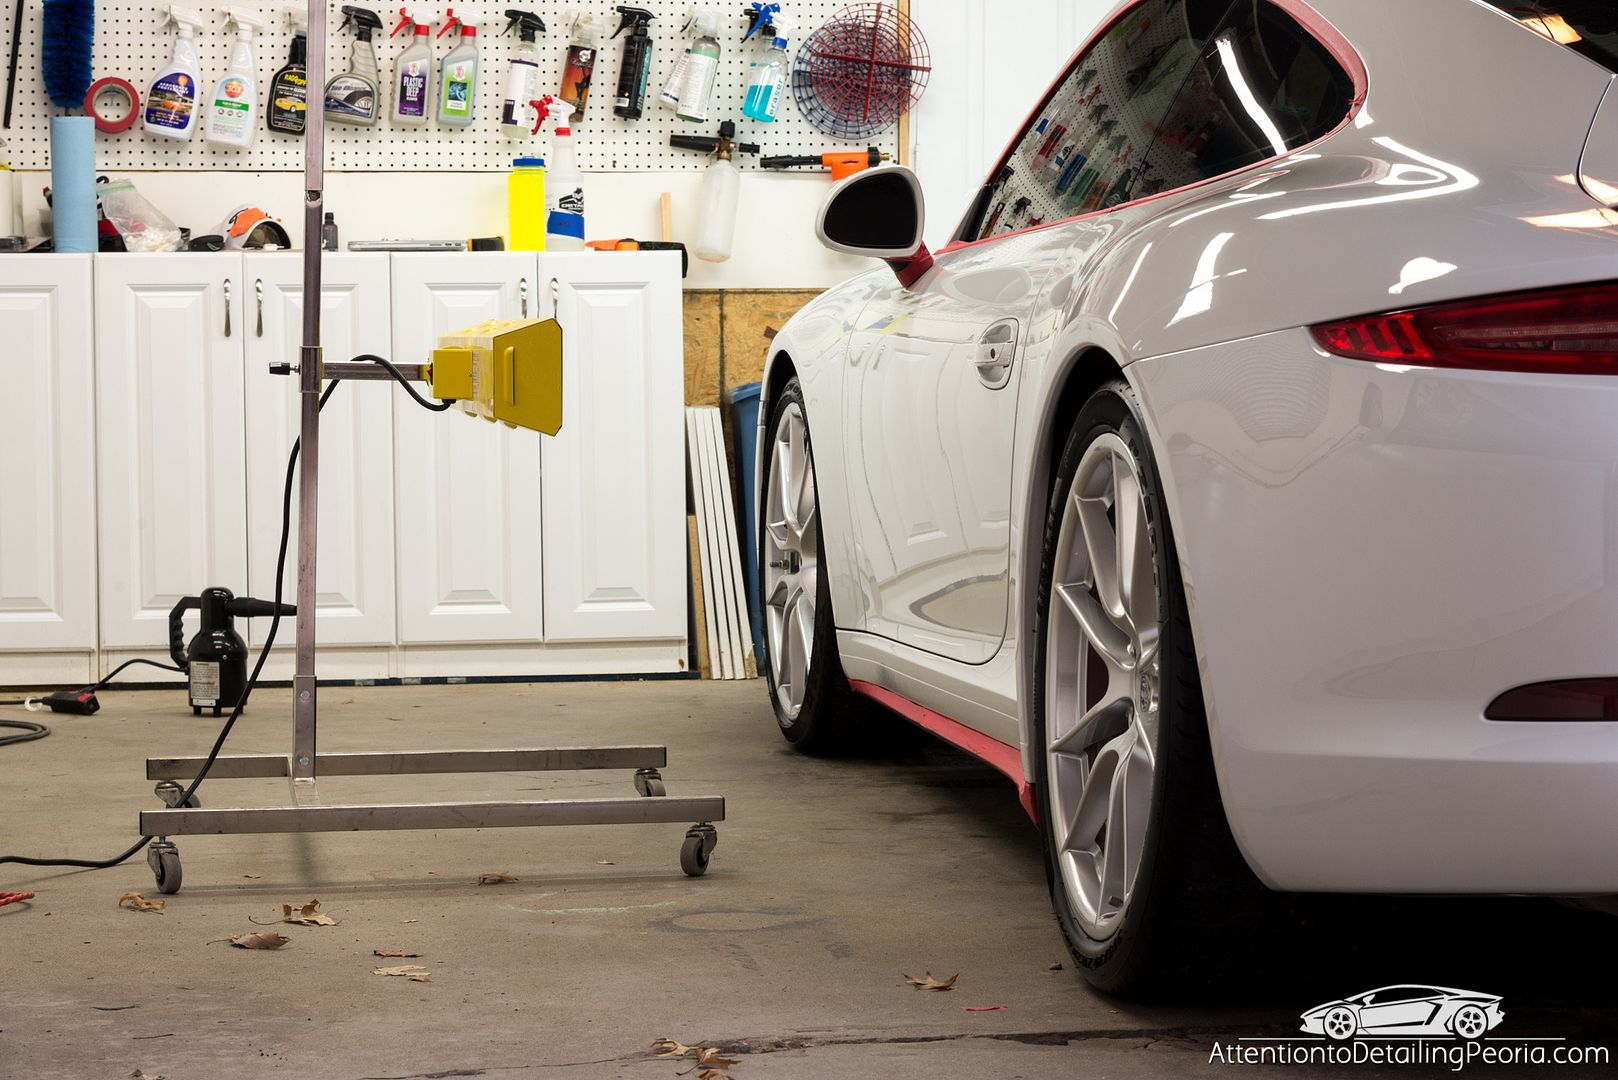
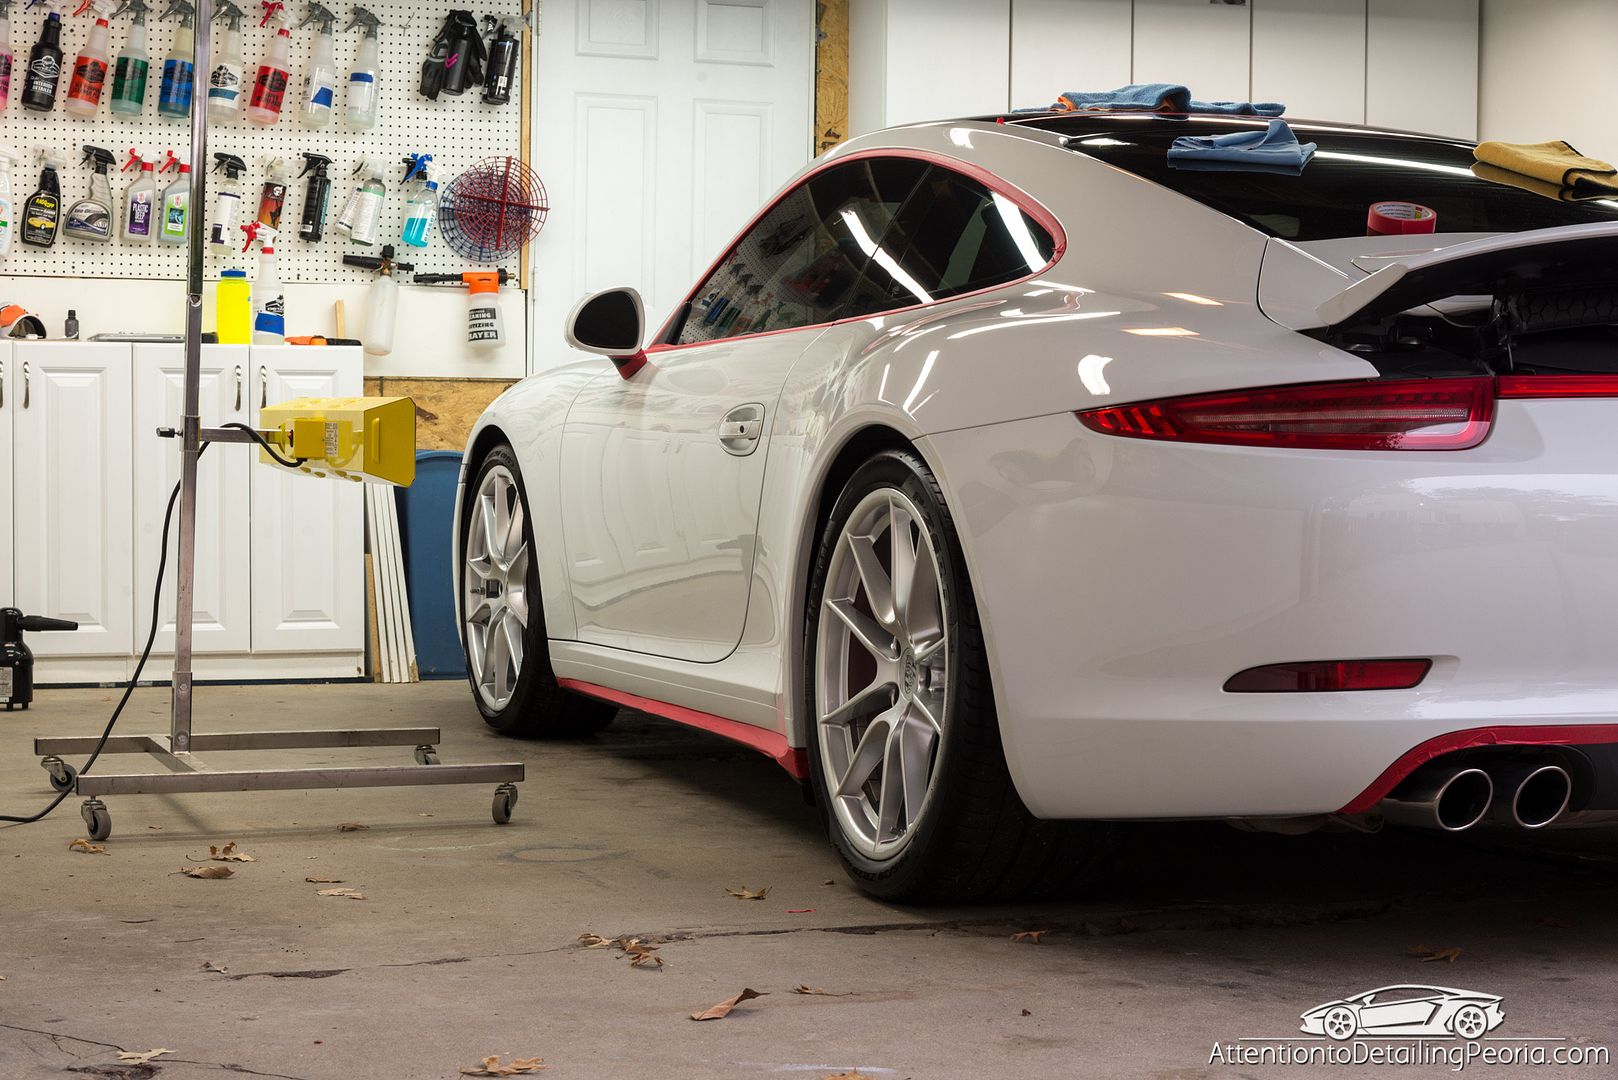
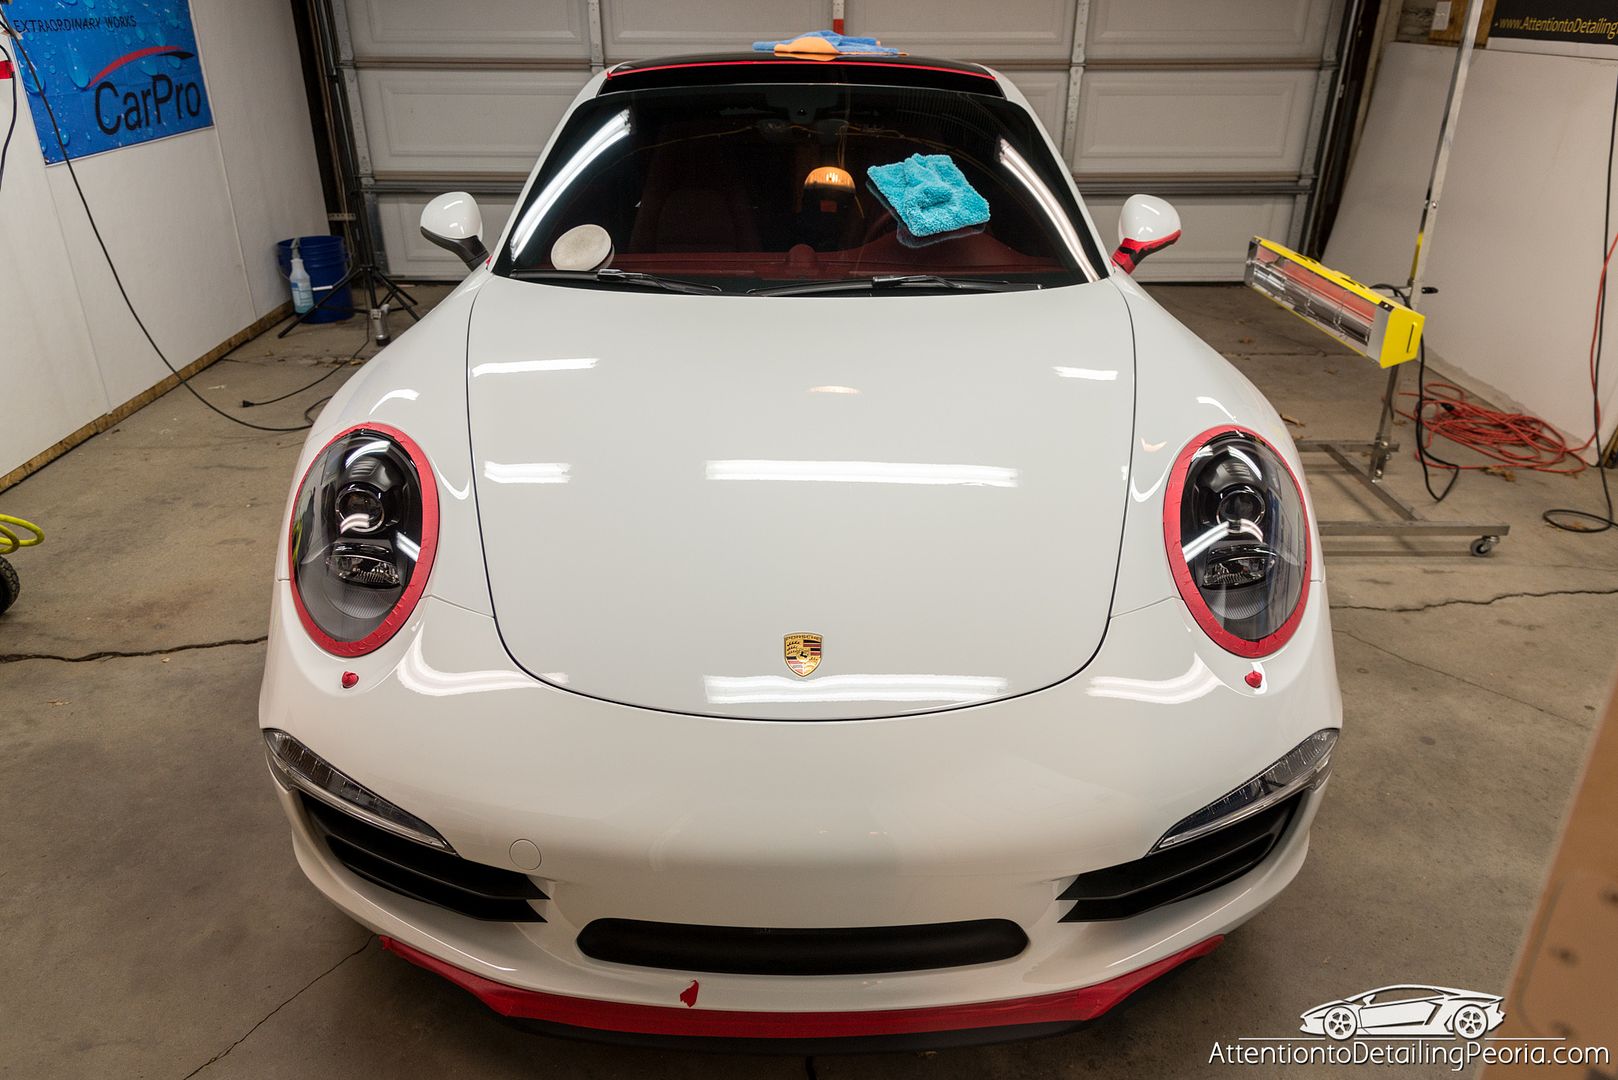
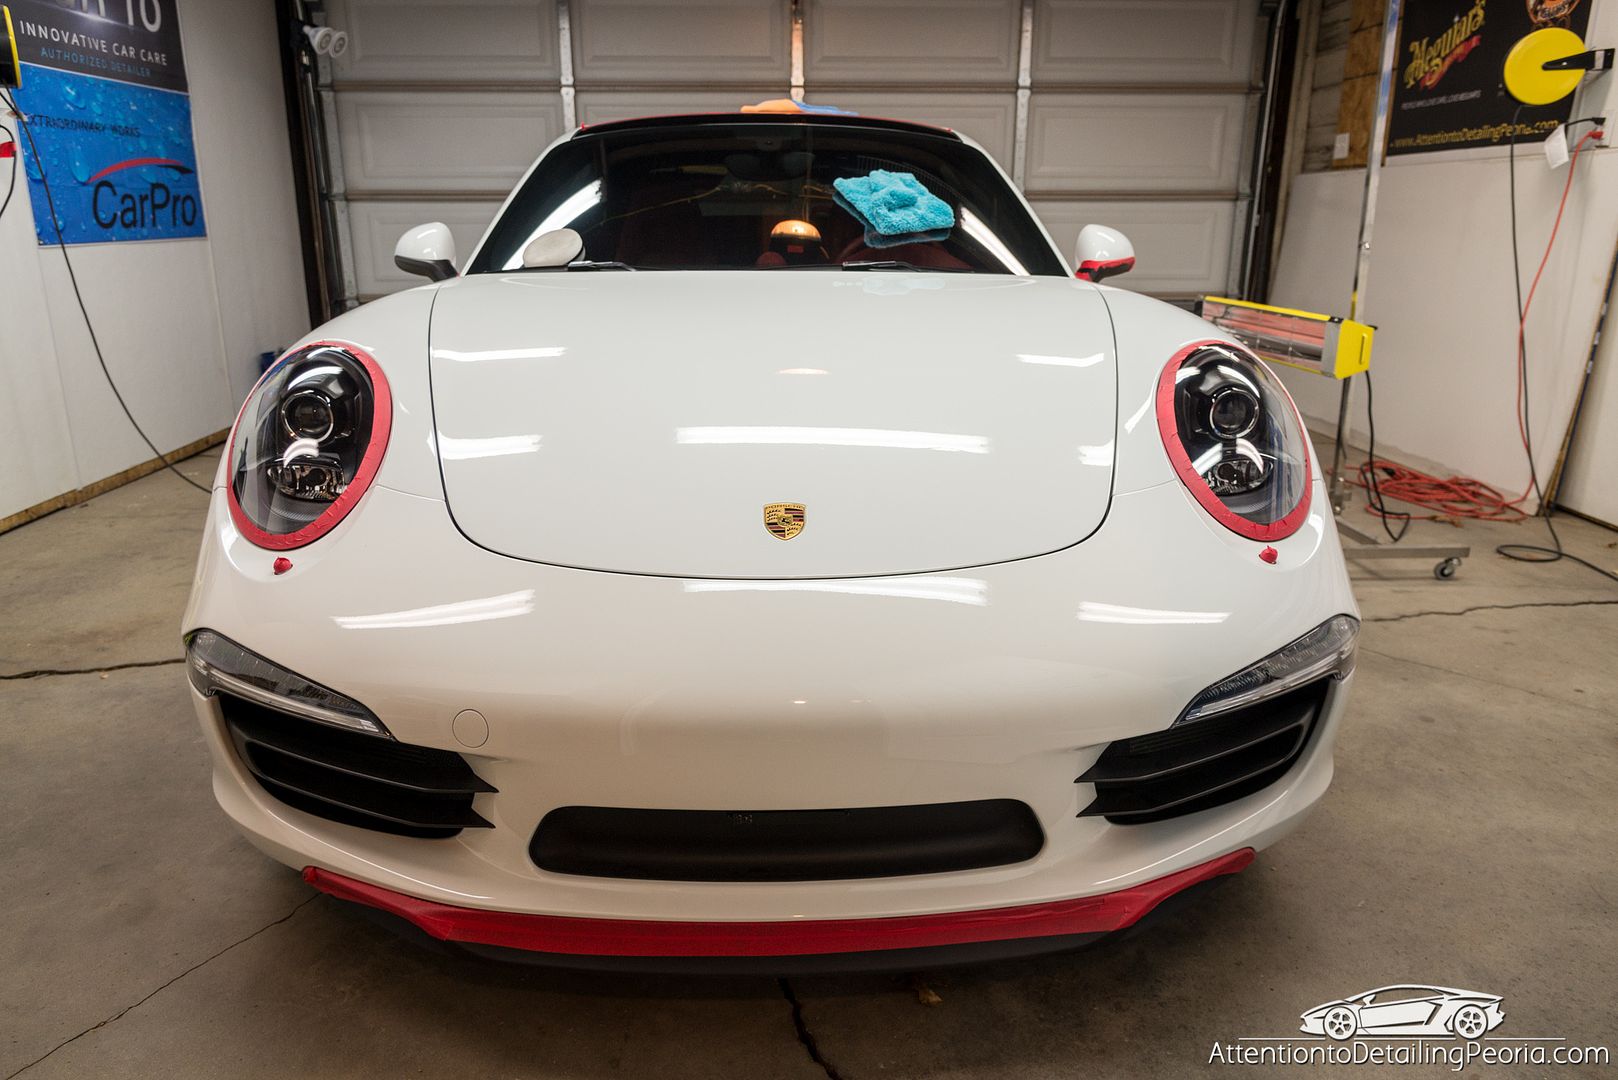
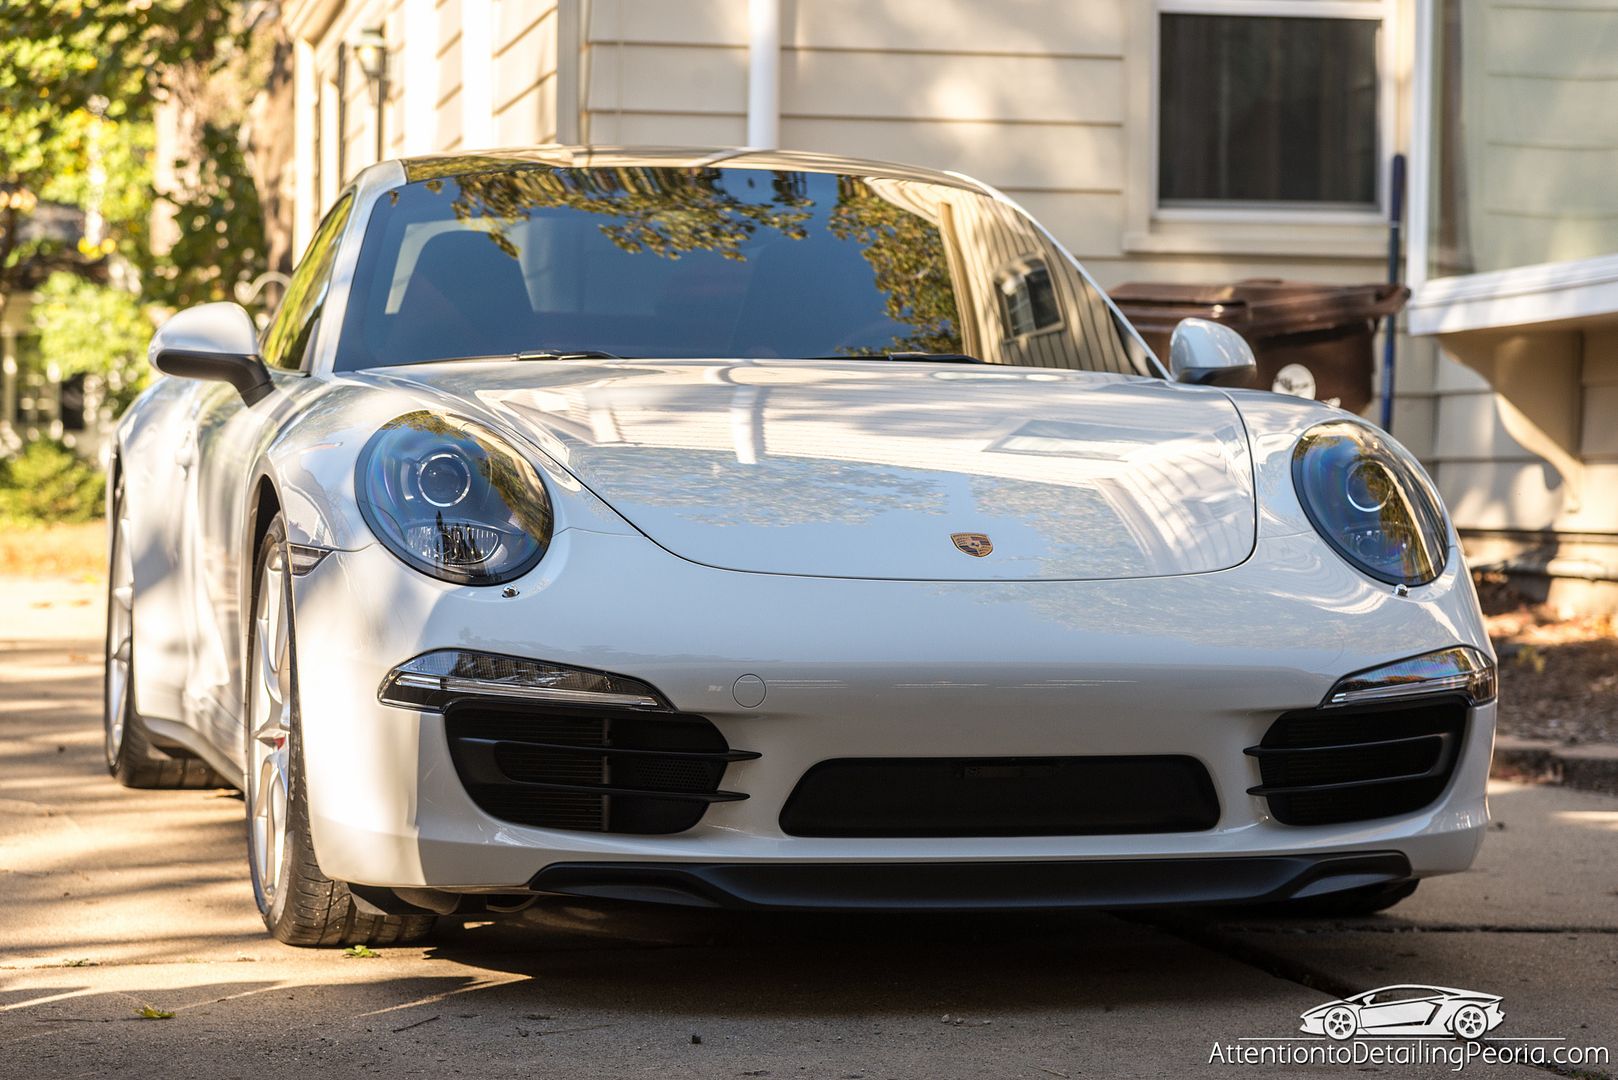
Once the paint was completely clean, the vehicle was brought inside for thorough inspection. It is clear that the paint needed a fair amount of work as there were swirl marks, scratches, and holograms that needed to be removed to reveal the true beauty of this bright white paint.
Process
Tires: Tuf Shine Tire Cleaner & Tire Brush
Wheels: P21S Gel Wheel Cleaner & Various Brushes
Foam Soak: Citrus Wash via DI Foam Lance
Wash: Citrus Wash
Chemical Decontamination: CarPro Iron X & Stoner Tarminator
Wash: Citrus Wash
Mechanical Decontamination: Nanoskin Speedy Prep Towel, Clay, Nanoskin Glide as Lubrication
Wash: ONR
Dry: DI Waffle Weave Towels & Master Blaster
Paint Thickness Readings: Defelsko Combo Gauge
Inspection: DIY LED work lights, Coast HP7, Brinkmann Dual Xenon
Tape off trim and delicate areas: CarPro Tape (<- the best tape!)
Paint Correction: Griot's Fast Correcting Creme on MF Pads via G21 & Rupes LHR75e
Polishing: M205 on Yellow Rupes Pads via G21 & Rupes LHR75e
Surface Prep: CarPro Eraser & Microfiber Madness Crazy Pile
Paint Protection: CarPro CQuartz Finest (2 coats)
Wheel Protection: CarPro HydrO2
Tire Dressing: CarPro PERL (neat)
Exhaust: CG Metal Polish via MF towel
Glass: Meguair's D120
The vehicle was dropped off with a heavy layer of dirt, grime, and bug guts.
As with all performance vehicles, the wheels were exceptionally dirty.
As always, I began by thoroughly cleaning the tires and wheels
The wheels revealed a bright silver finish once cleaned.
The wheels were sealed for easier cleaning
I then turned my attention to the paint. The vehicle was soaked with a strong shampoo to help loosen surface contaminates before washing. The vehicle then underwent a multi-step process of washing & decontamination
IronX was used to remove bonded iron particles from the paint prior to claying.
IronX is a clear liquid that turns purple as it reacts iwth iron particles and begins to dissolve them.
Once the paint was completely clean, the vehicle was brought inside for thorough inspection. It is clear that the paint needed a fair amount of work as there were swirl marks, scratches, and holograms that needed to be removed to reveal the true beauty of this bright white paint.


")
")