PrideAutoDetail
New member
FROM STANDARD 3 CAR 30X30 GARAGE EVOLVING INTO WORLD CLASS DETAIL THEATRE Check out other detailing content at prideautodetailing.com/blog
[/COLOR]
[COLOR=rgba(26, 26, 26, 0.701961)]
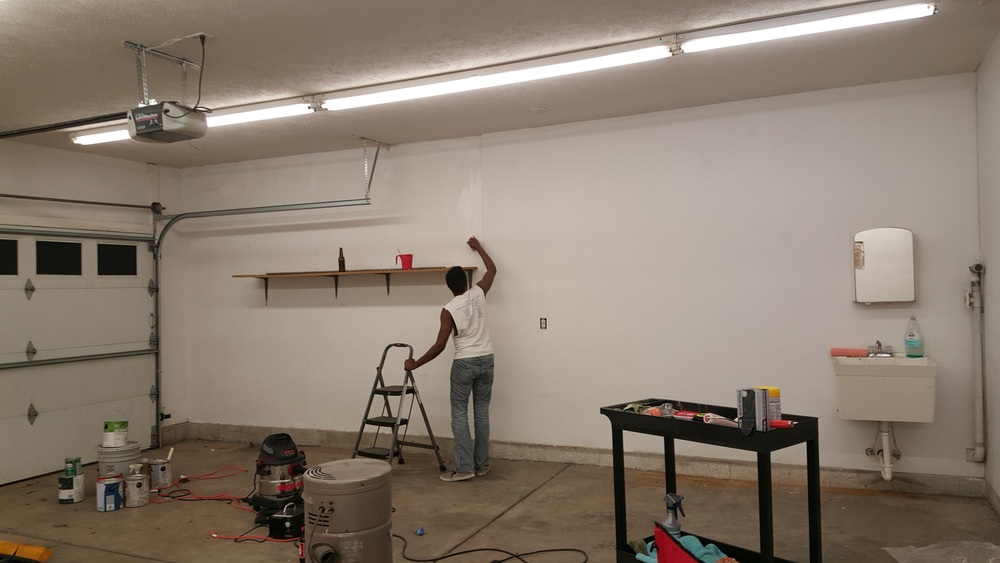
PRIMING THE WALLS
The Garage is outfitted with full shop lighting and a usable sink. In this picture we are priming the finishing up priming the walls for paint.
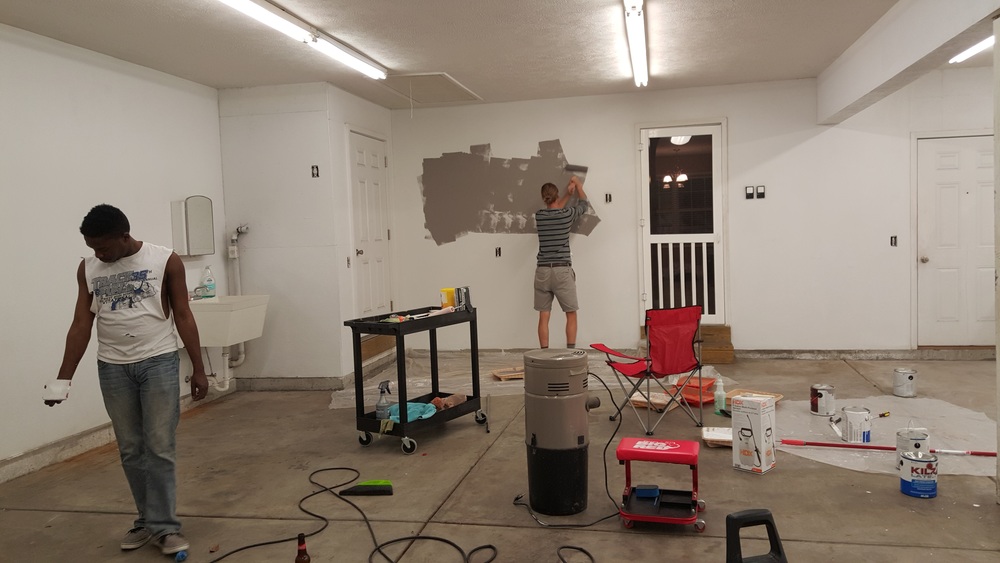
ALL PRIMED UP AND READY FOR PAINT!
We have just finished priming the garage now you can see us putting down the first layer of grey that will cover the walls
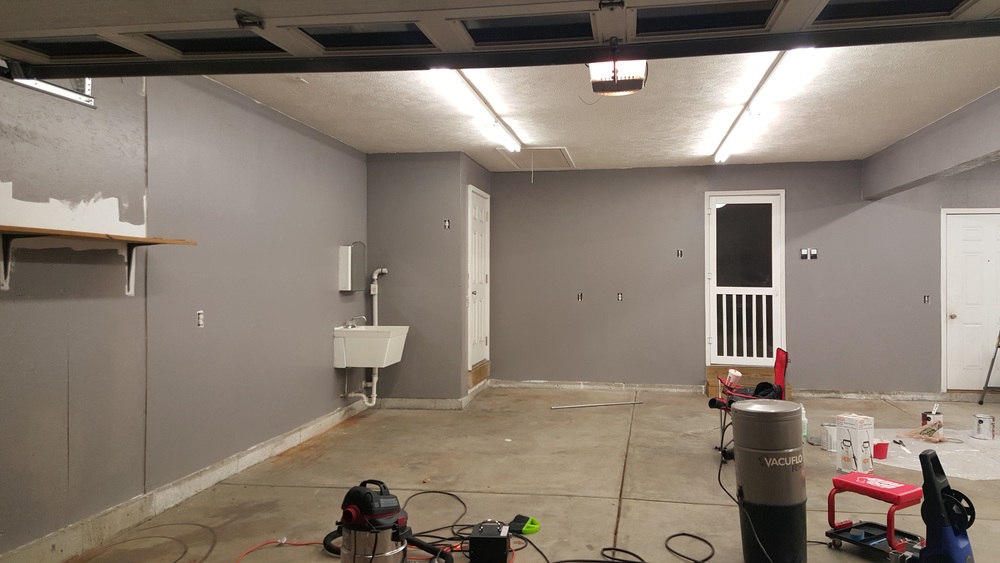
99% PAINTED!
Just a few areas to touch up and then its time for the floors!
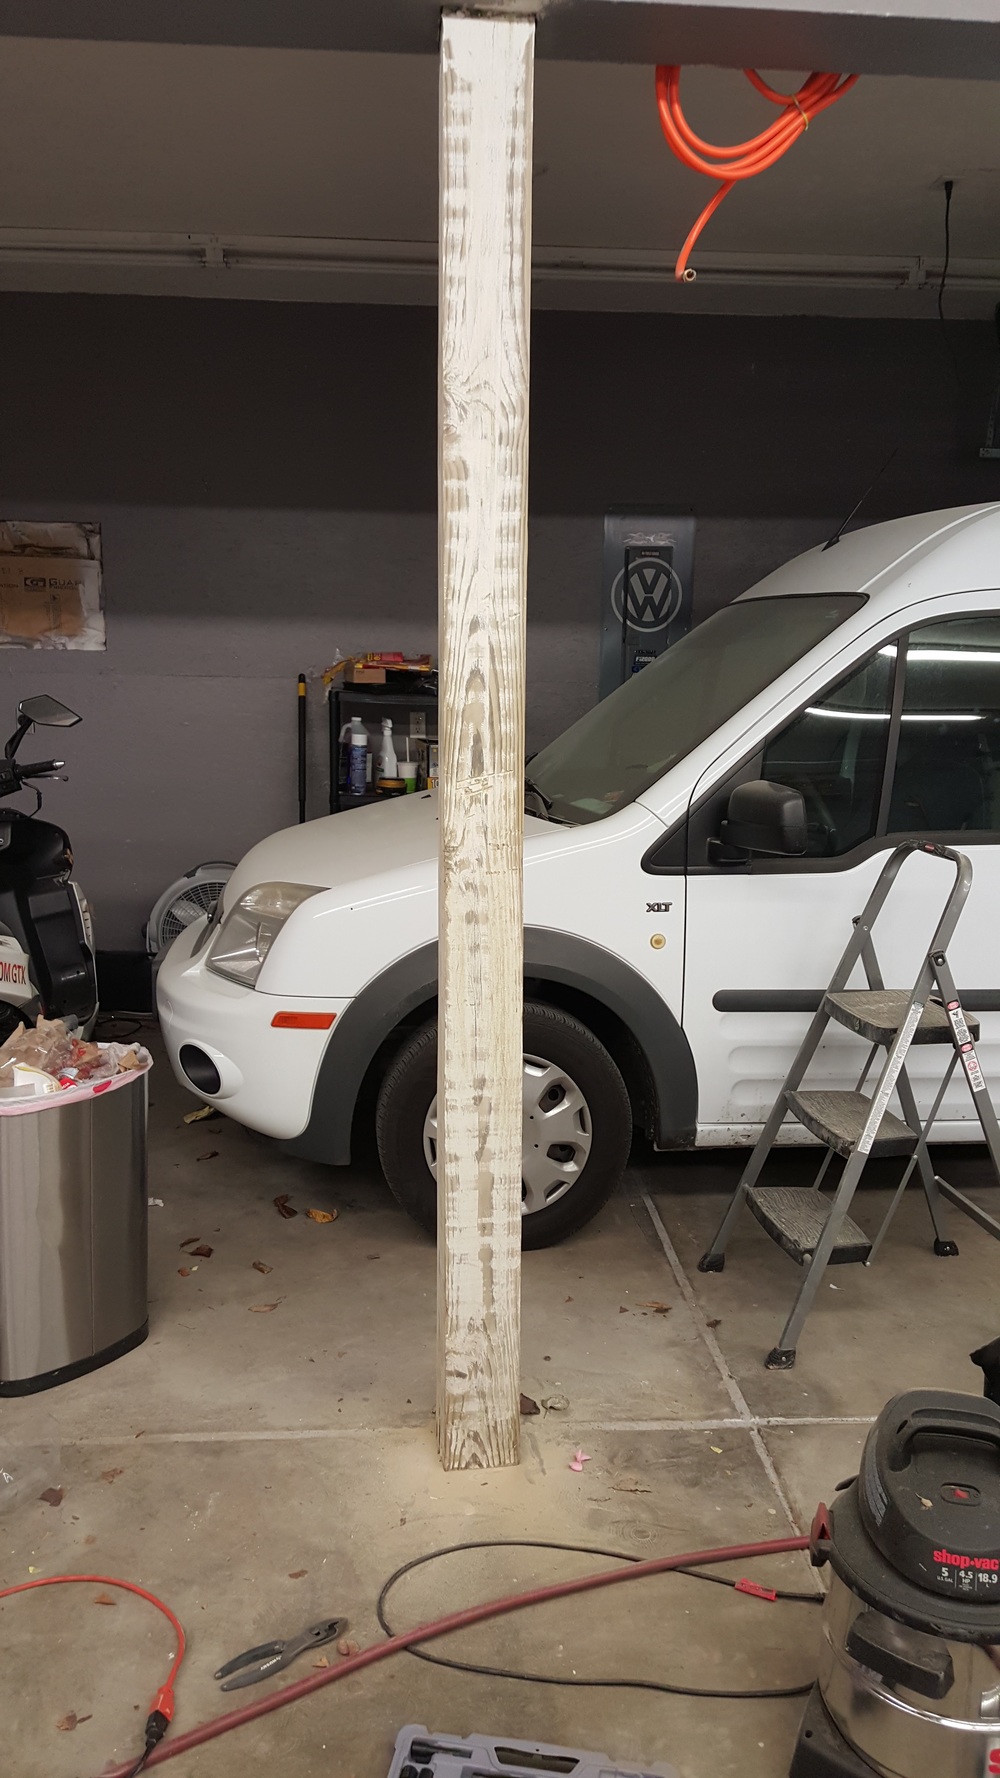
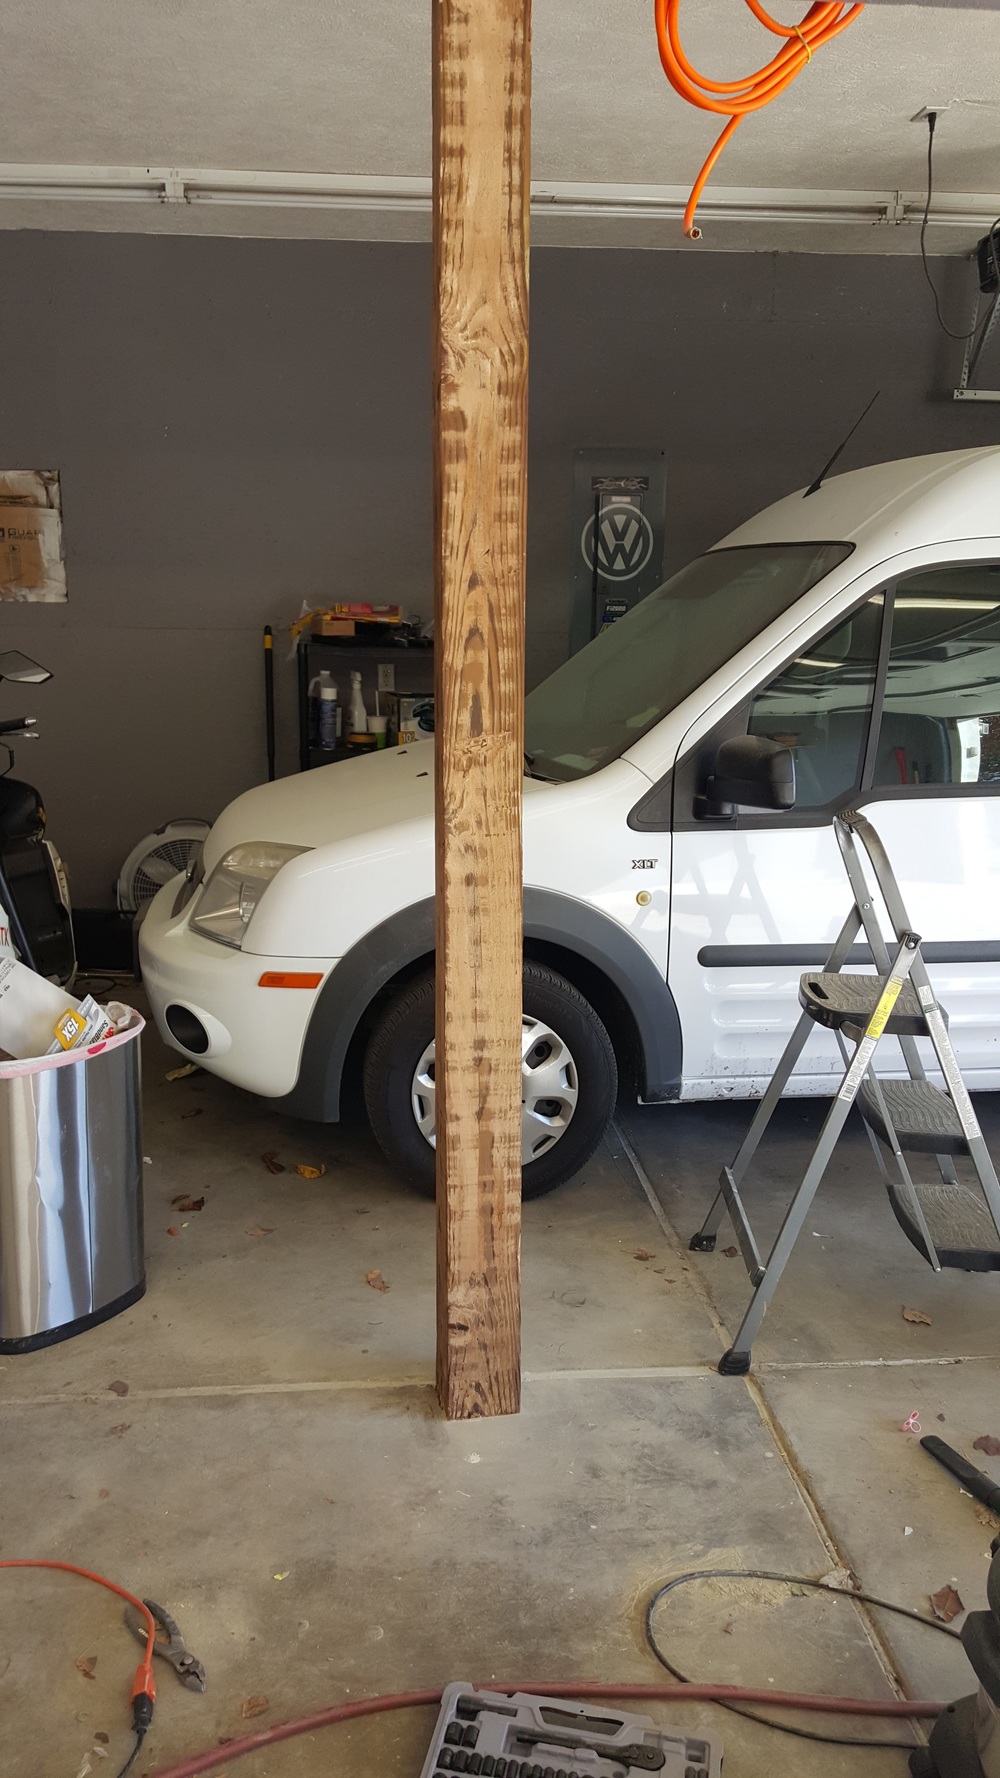
SANDING THE POLE...
We took some time to sand down this pole tehe. Then cover it with 2 coats of American Walnut wood stain.
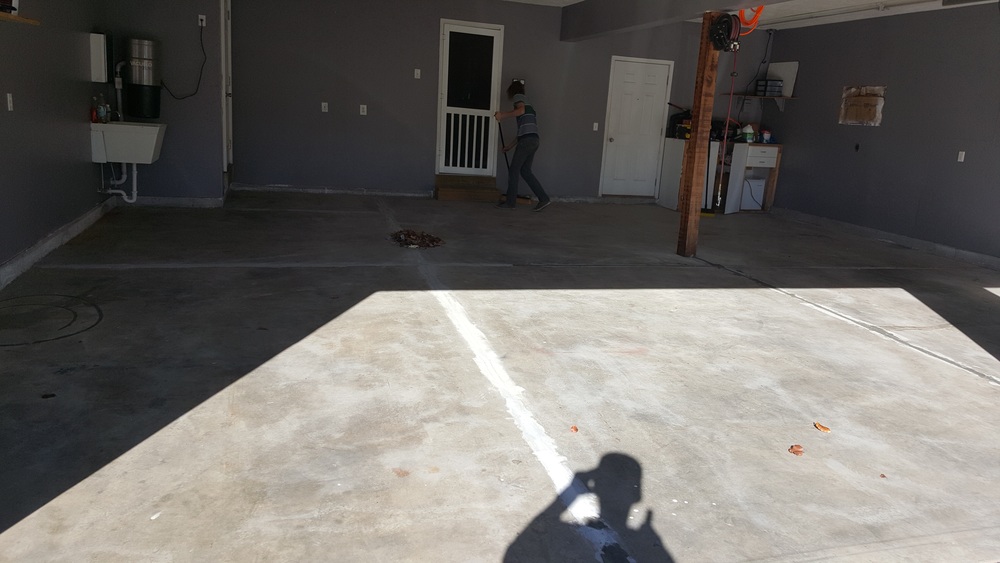
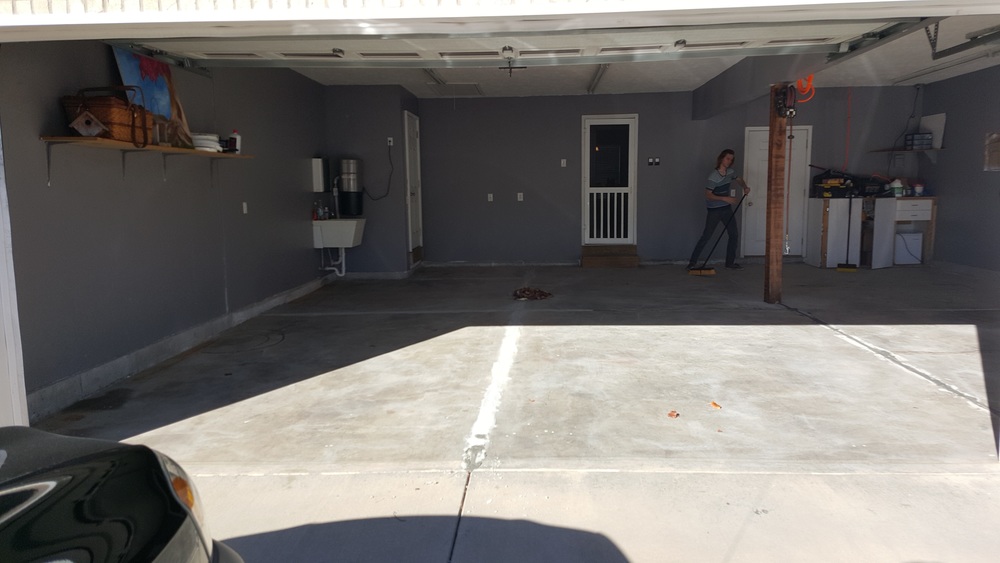
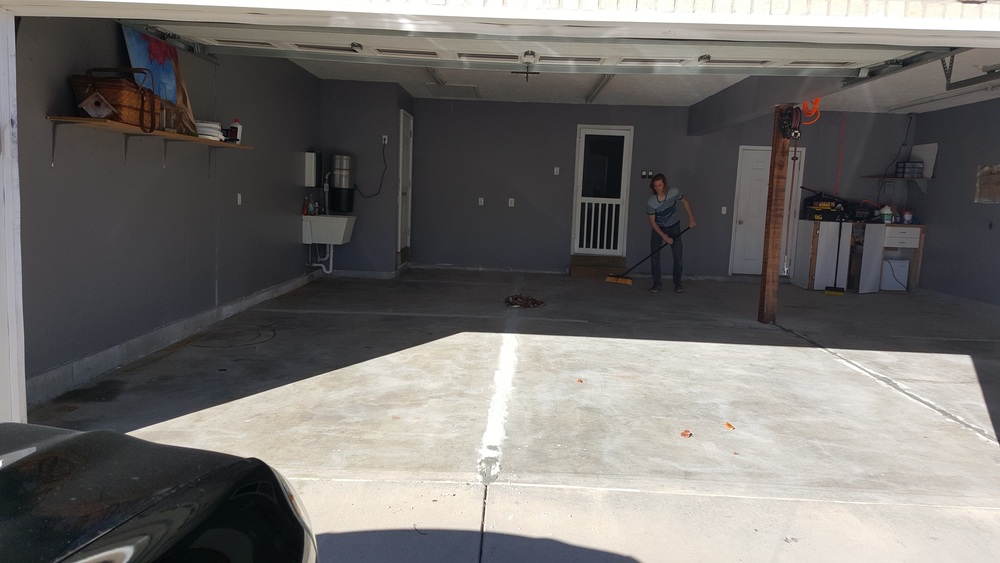
CLEARING AND CLEANING
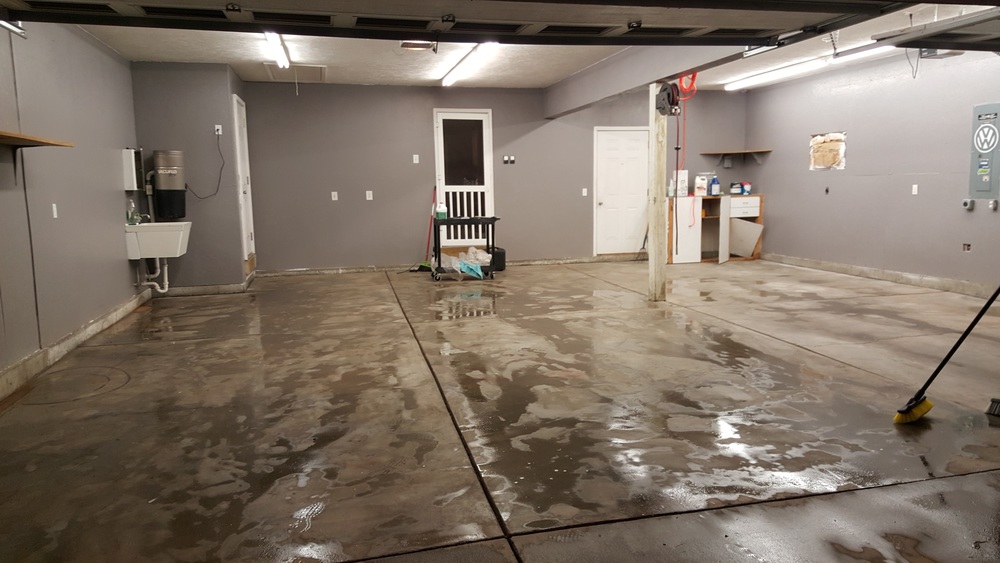
We decided to use a epoxy system for our garage floors. In order to do that you need a perfectly clean surface. So the entire garage was cleaned throughly. And the floors were acid etched so the concrete would hold the epoxy resin.
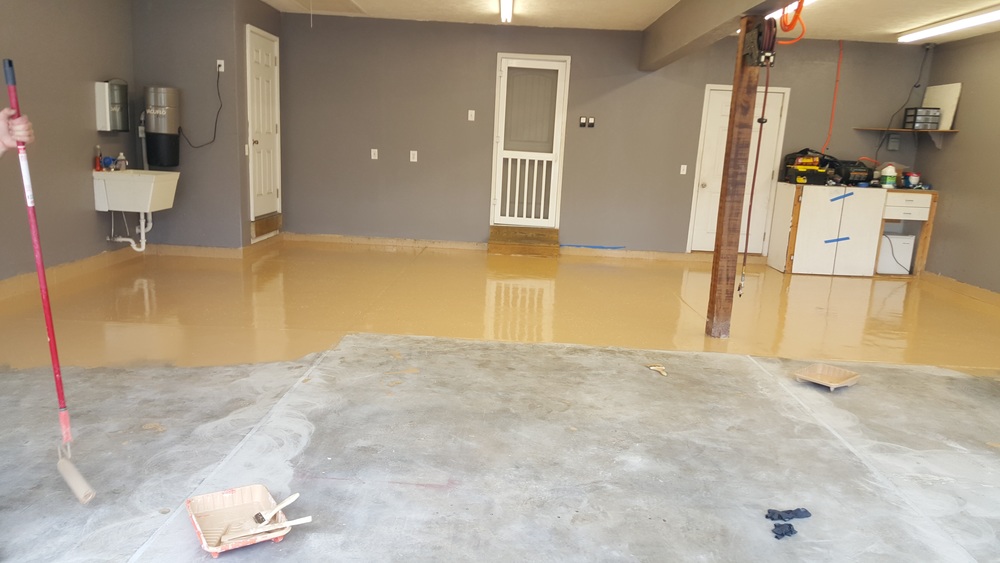
AFTER FIRST COAT!
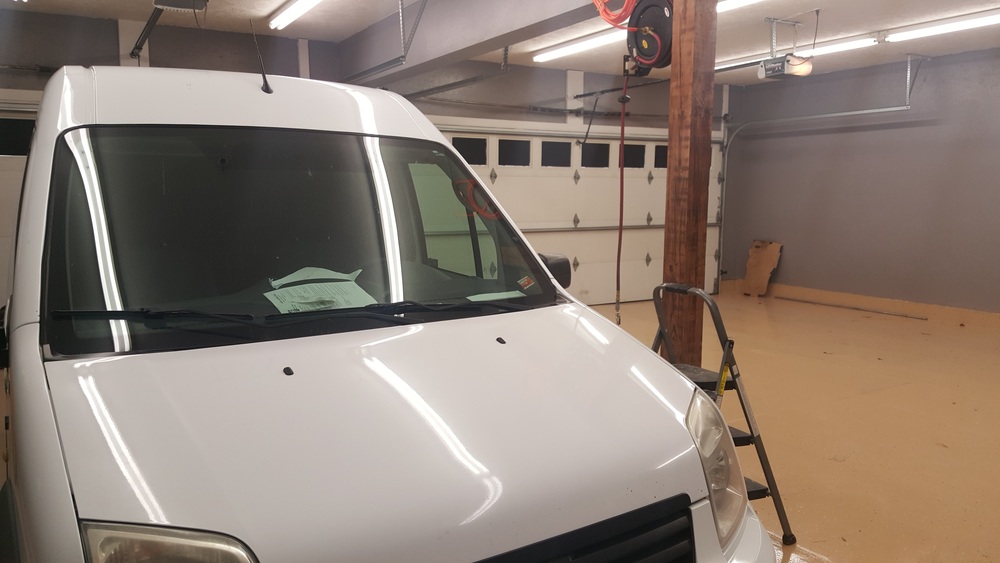
Pole Starting to look a bit better. You can see our Mobile Detailing Unit there as well.
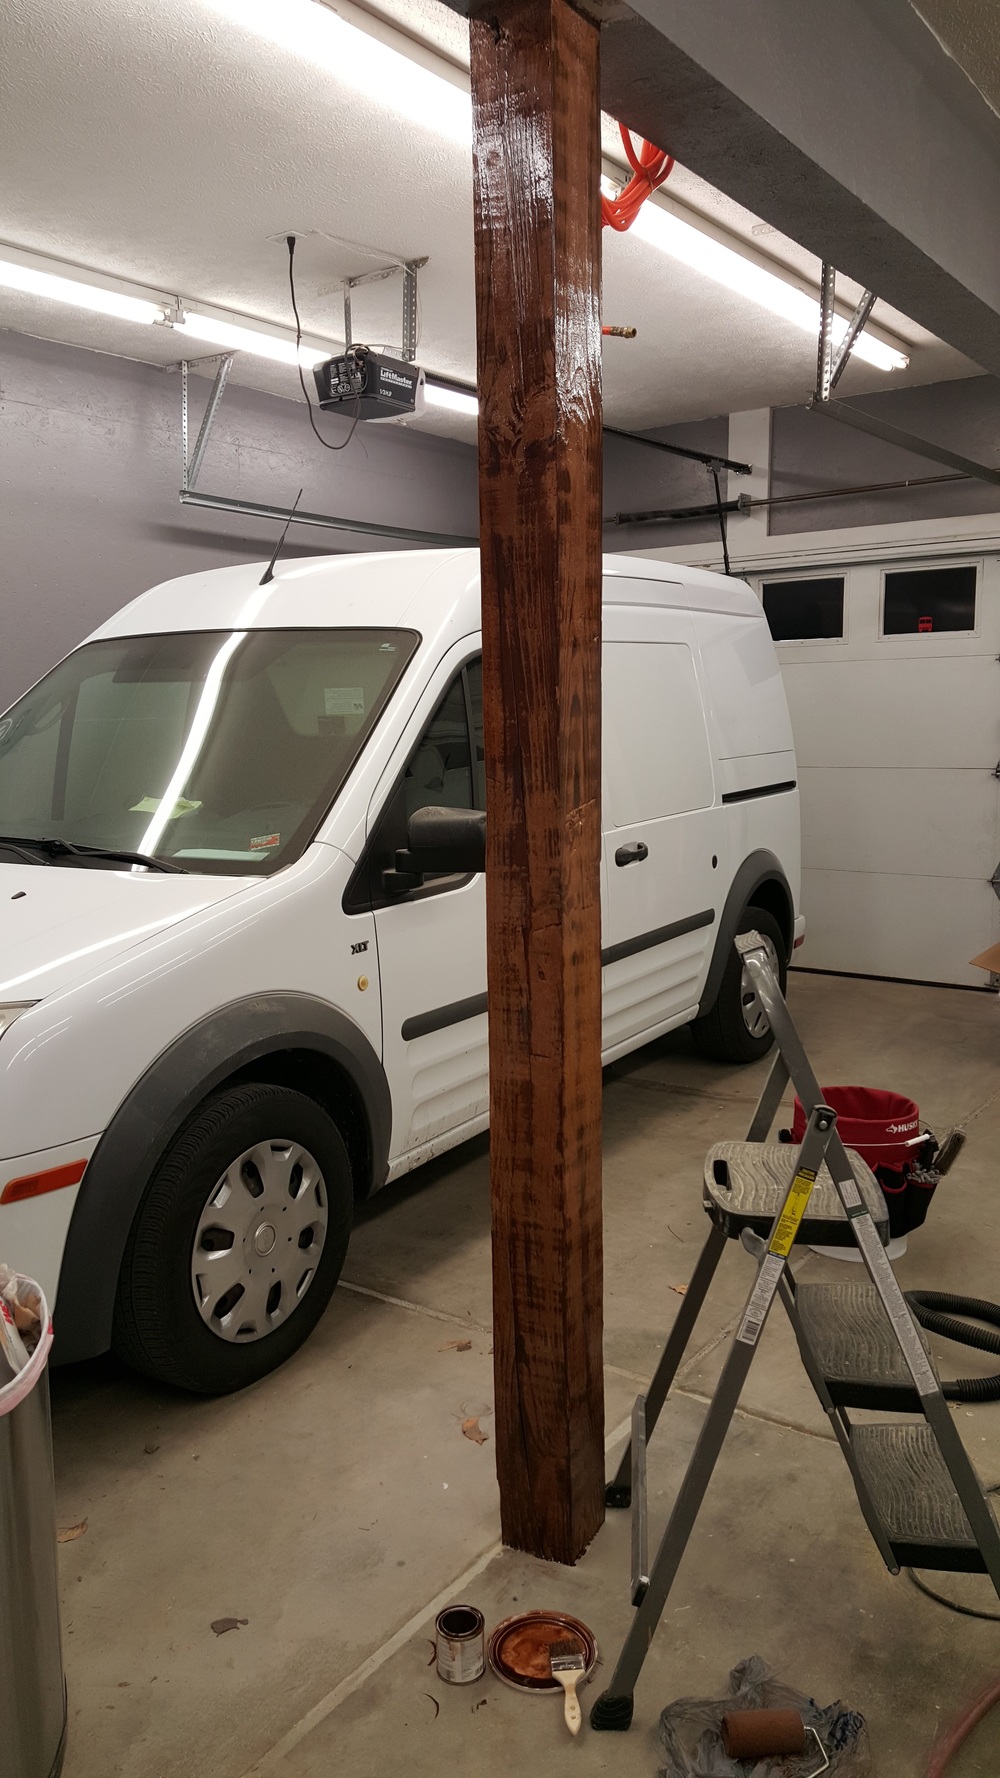
BEAUTIFUL FINISH
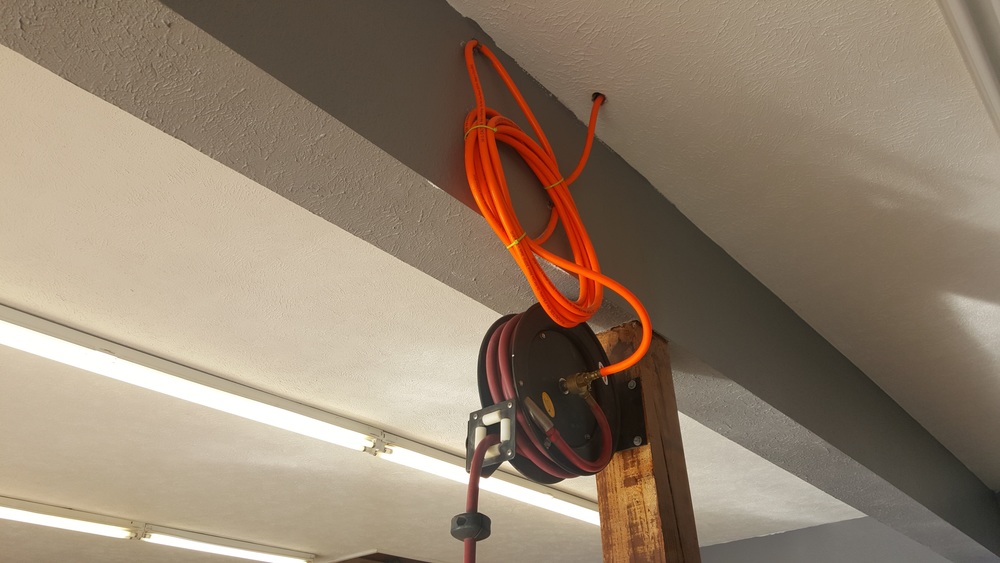
As you can see the pole looks great with 2 coats of stain. Above the pole you can see the line hanging down. We ran air compressor hosing all through the garage for easy access and efficient working.

FILLING THE CRACKS!
We were looking for a seemless system so we filled all expansion joints with concrete. Then we sanded them down covered the tops with a polyurea filler.
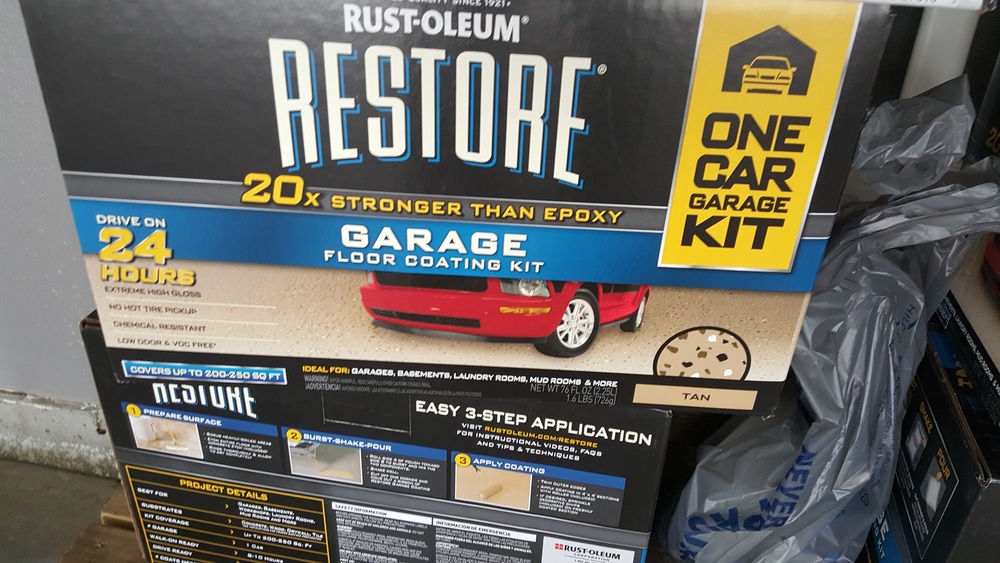
RUSTOLEUM FLOOR SYSTEM
This is the floor system we used.
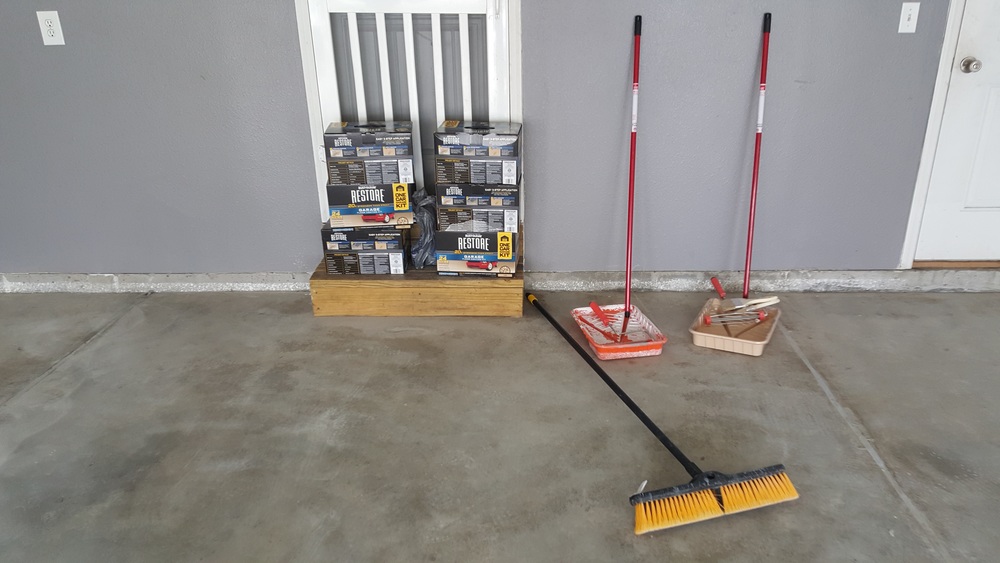
6 KITS BOUGHT IT TOOK 5
It took us about 5 kits to cover the garage this epoxy system was very thick and much more difficult to work with then normal paint.
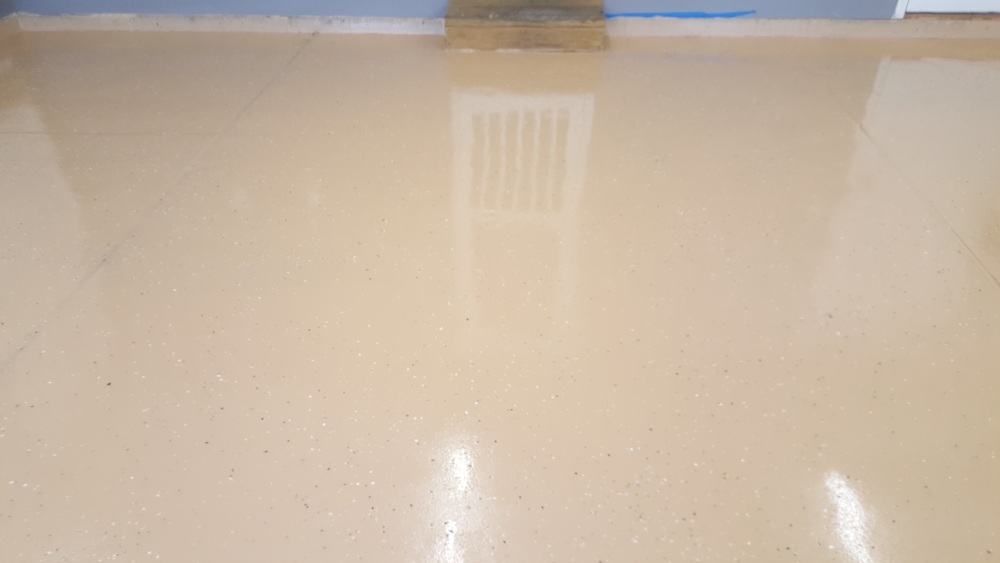
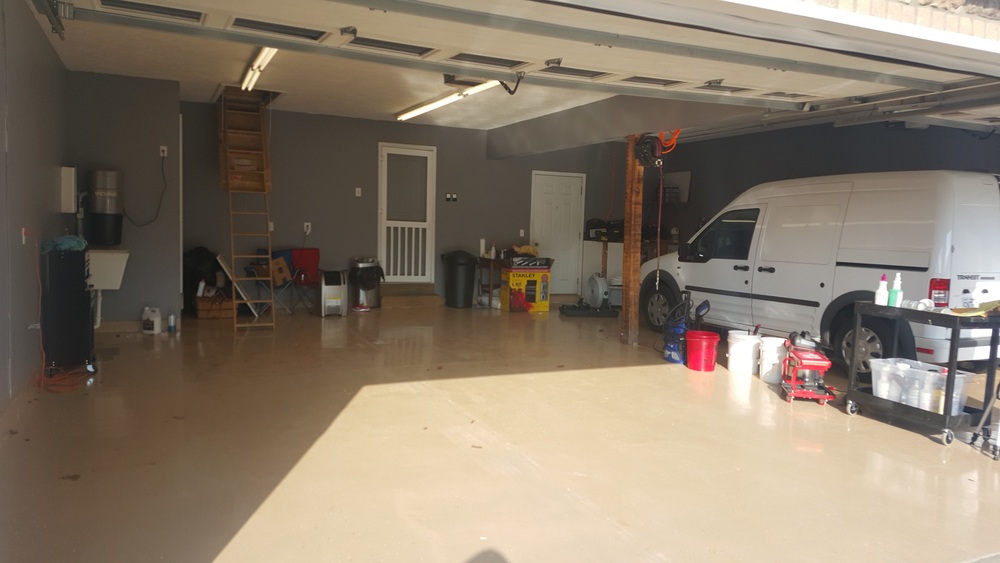
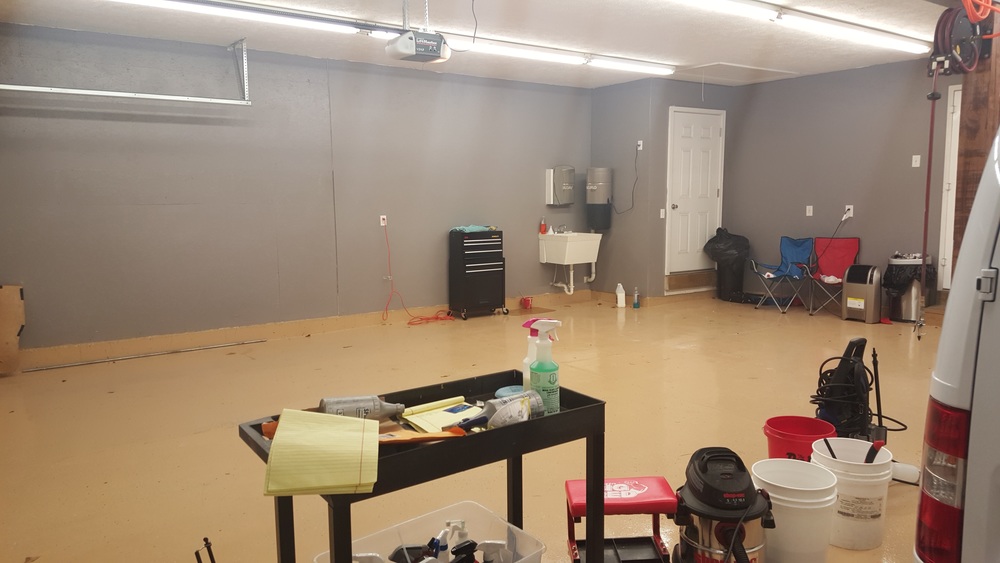
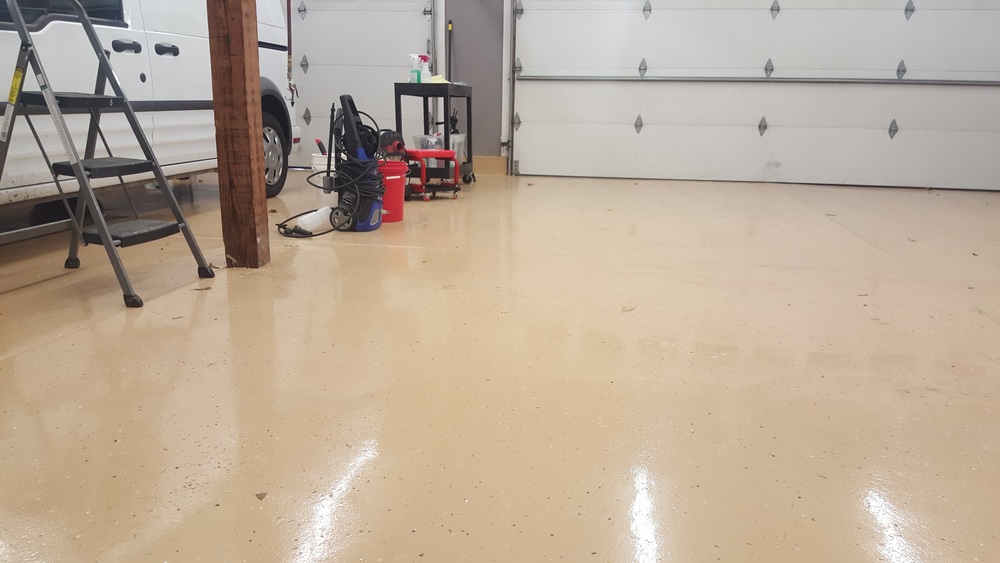
FINISHED PRODUCT
We included flakes and anti skid sand to keep this floor safe to walk on and looking good for years to come!
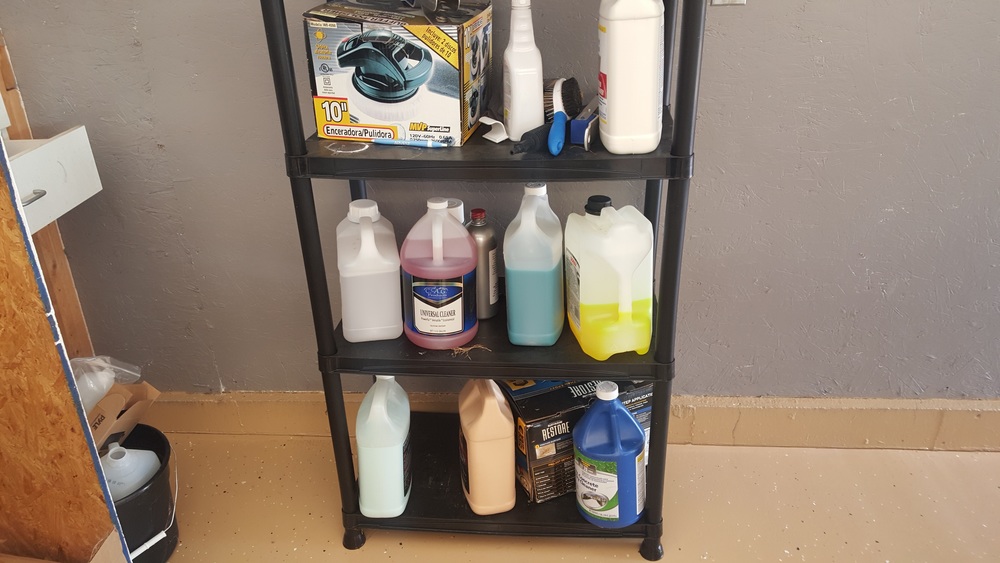


DETAILING EXCELLENCE!
THANKS FOR VIEWING!
[/COLOR]
[/COLOR]
[COLOR=rgba(26, 26, 26, 0.701961)]
PRIMING THE WALLS
The Garage is outfitted with full shop lighting and a usable sink. In this picture we are priming the finishing up priming the walls for paint.
ALL PRIMED UP AND READY FOR PAINT!
We have just finished priming the garage now you can see us putting down the first layer of grey that will cover the walls
99% PAINTED!
Just a few areas to touch up and then its time for the floors!
SANDING THE POLE...
We took some time to sand down this pole tehe. Then cover it with 2 coats of American Walnut wood stain.
CLEARING AND CLEANING
We decided to use a epoxy system for our garage floors. In order to do that you need a perfectly clean surface. So the entire garage was cleaned throughly. And the floors were acid etched so the concrete would hold the epoxy resin.
AFTER FIRST COAT!
Pole Starting to look a bit better. You can see our Mobile Detailing Unit there as well.
BEAUTIFUL FINISH
As you can see the pole looks great with 2 coats of stain. Above the pole you can see the line hanging down. We ran air compressor hosing all through the garage for easy access and efficient working.
FILLING THE CRACKS!
We were looking for a seemless system so we filled all expansion joints with concrete. Then we sanded them down covered the tops with a polyurea filler.
RUSTOLEUM FLOOR SYSTEM
This is the floor system we used.
6 KITS BOUGHT IT TOOK 5
It took us about 5 kits to cover the garage this epoxy system was very thick and much more difficult to work with then normal paint.
FINISHED PRODUCT
We included flakes and anti skid sand to keep this floor safe to walk on and looking good for years to come!
DETAILING EXCELLENCE!
THANKS FOR VIEWING!
[/COLOR]