*Warning! Rated OMG!* 2004 Black 350z Full detail + touch up

Tru_Shine

New member
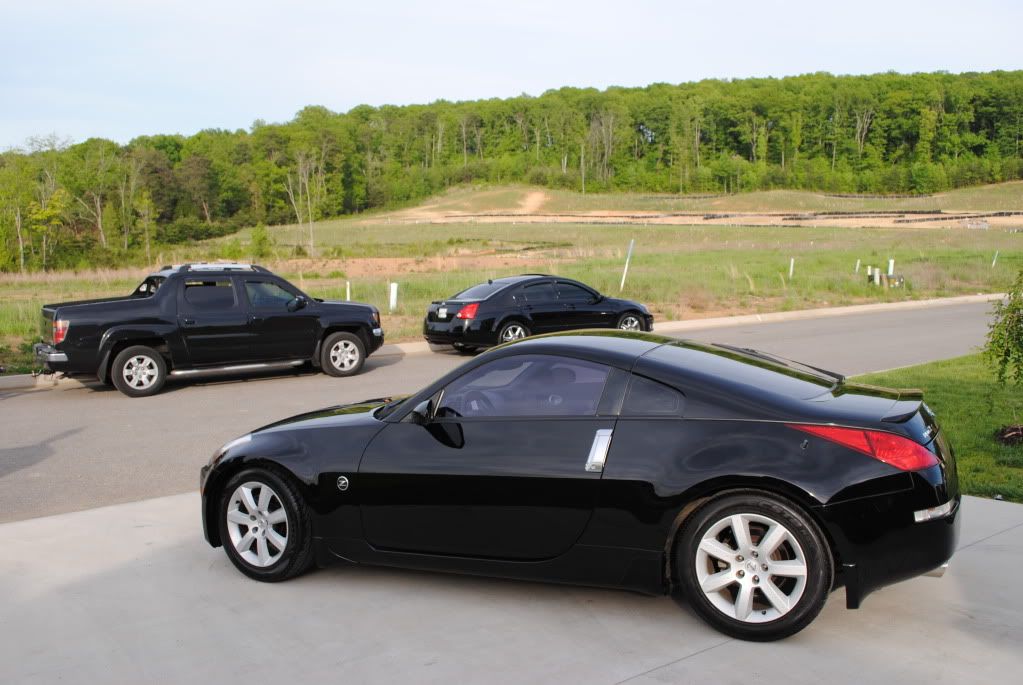
This 2004 350z was a very special job because it belongs to a family that is very dear to me. This car was purchased back in 08 as a suprise for the Father of the Family, who has now passed away. The 350Z was the fathers Dream car and he only had the car 4 months before his passing.

here is a video of the family giving him the 350z.

[ame=http://www.youtube.com/watch?v=BEhnq7gpGTg]YouTube - Surprising Dad With 350Z[/ame]


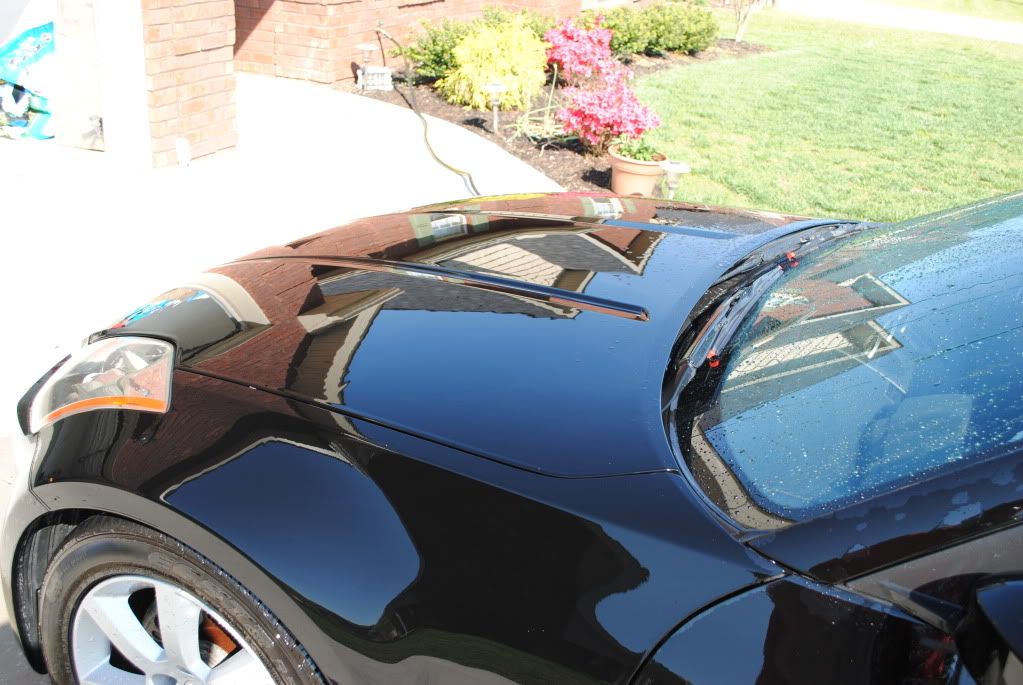
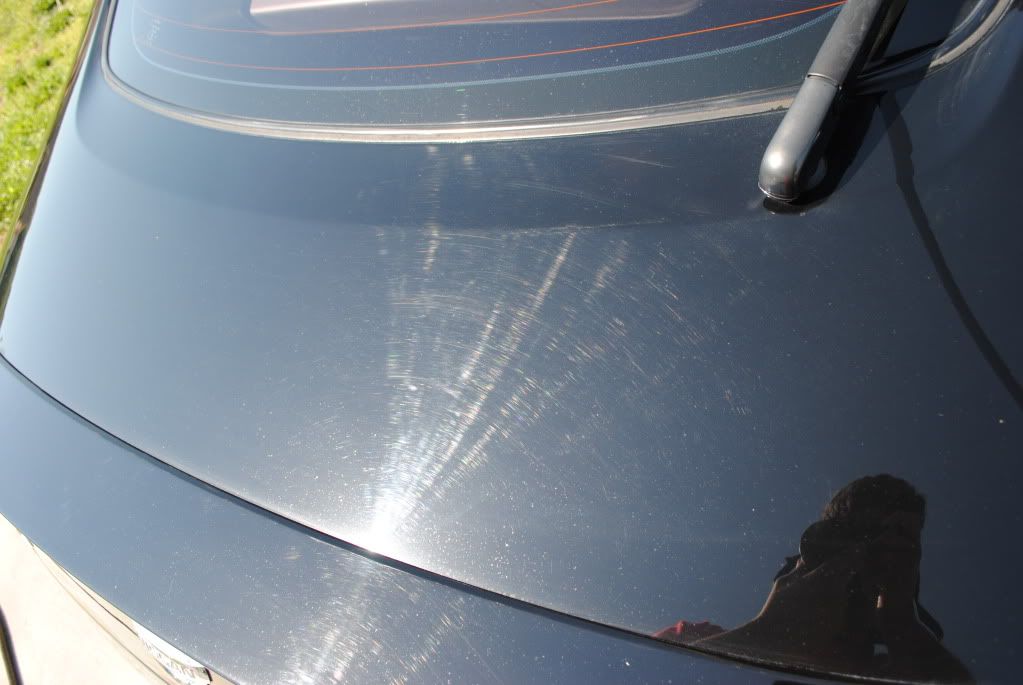
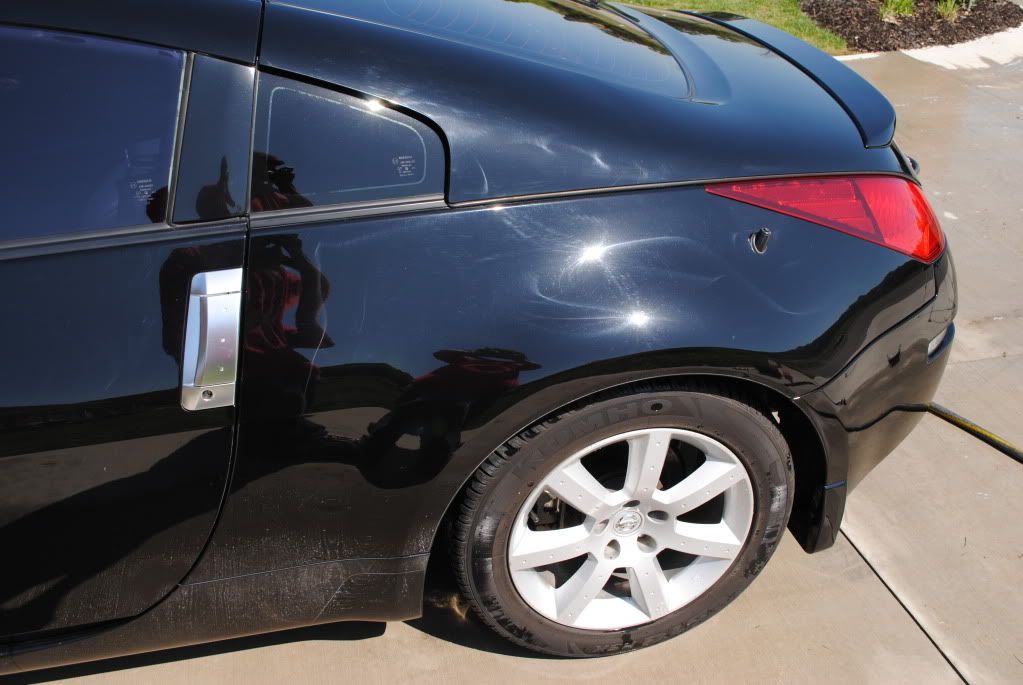
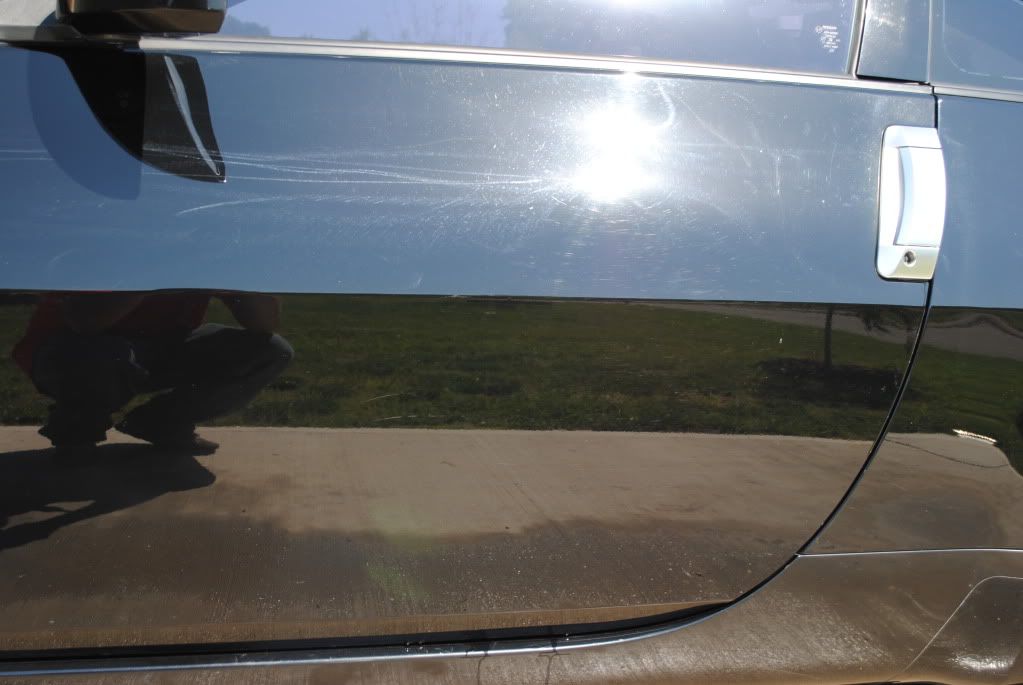
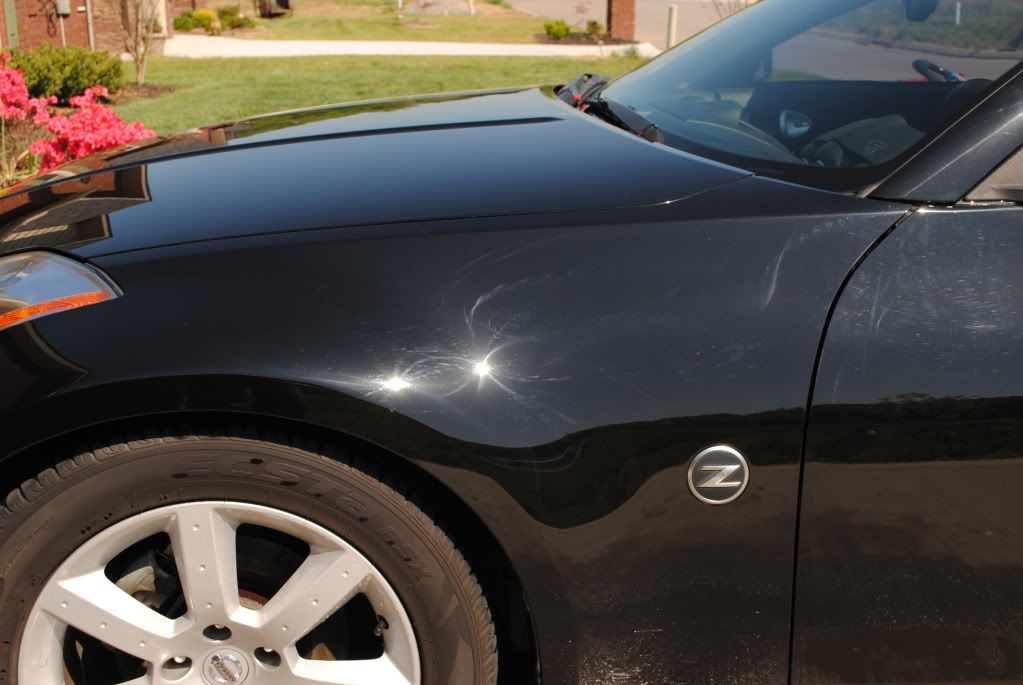
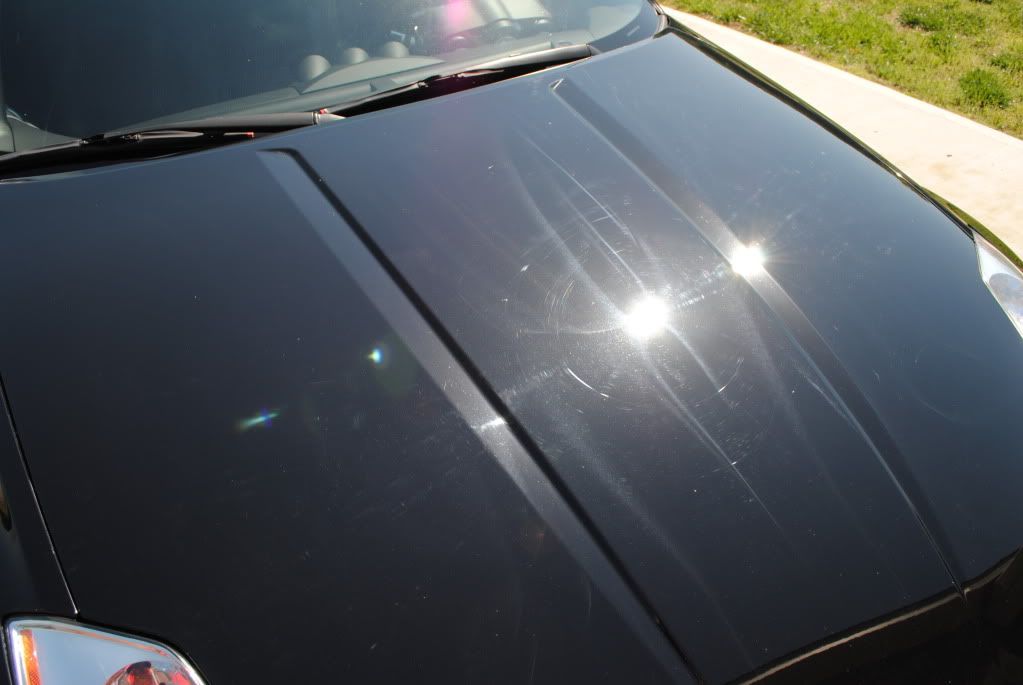
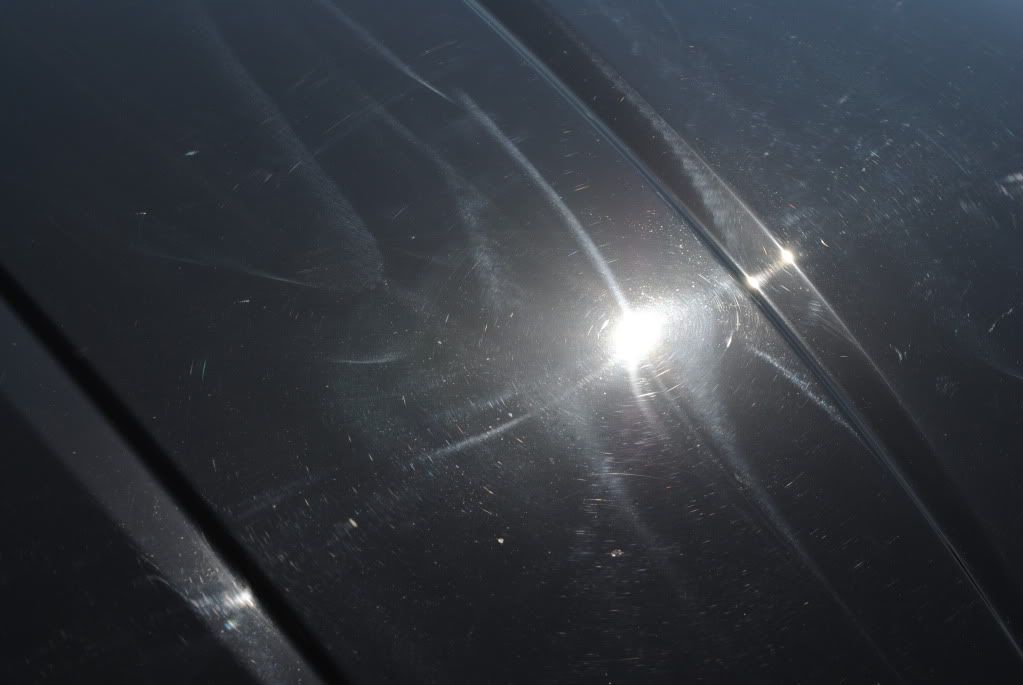
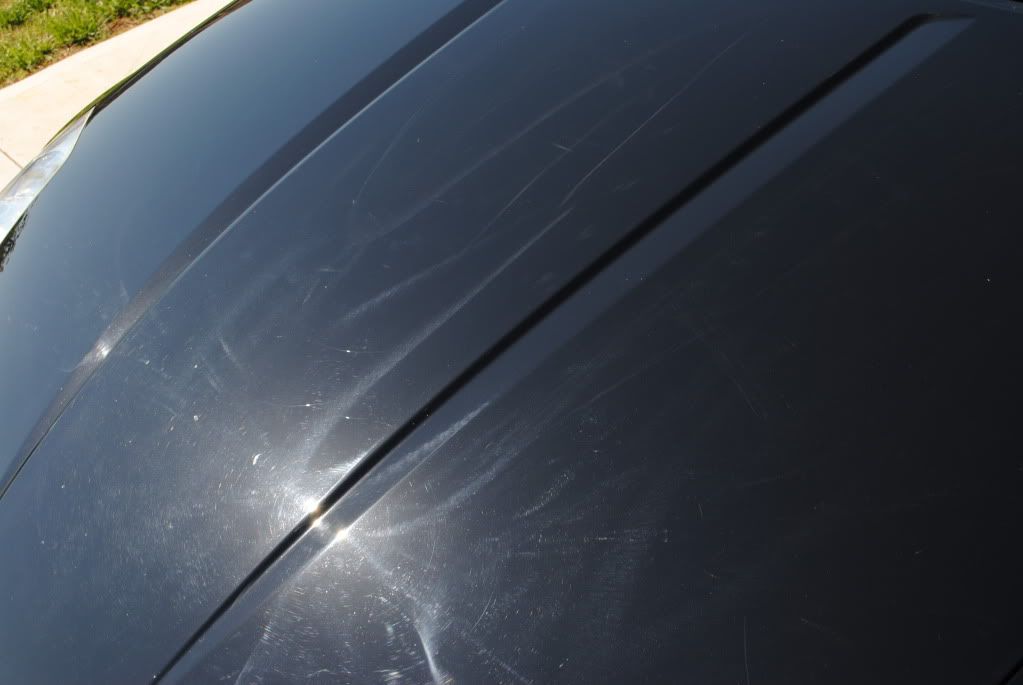
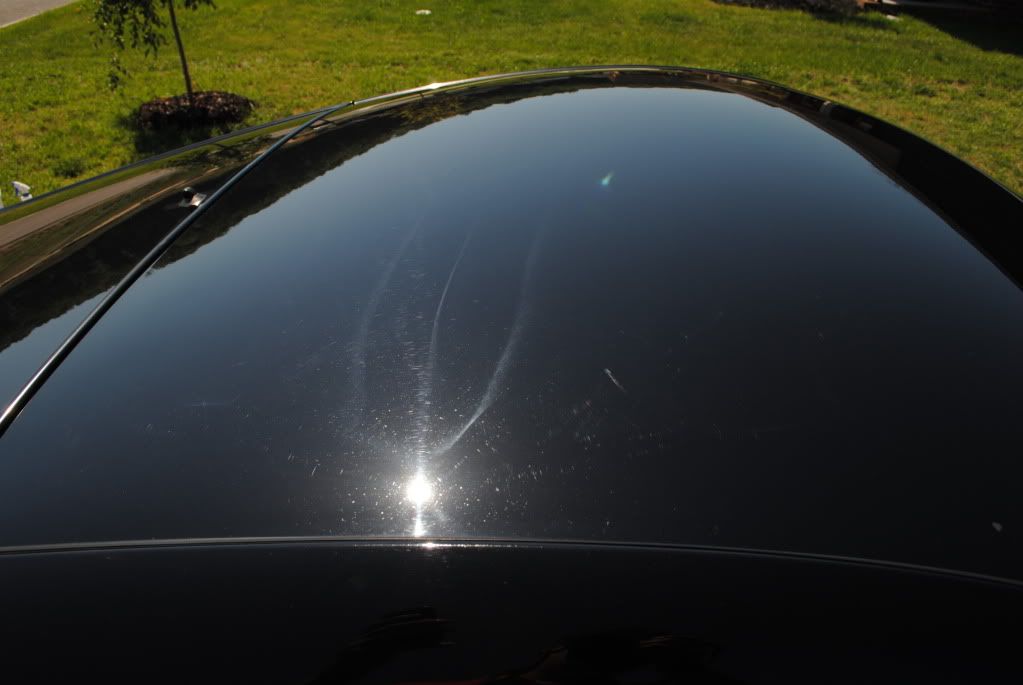
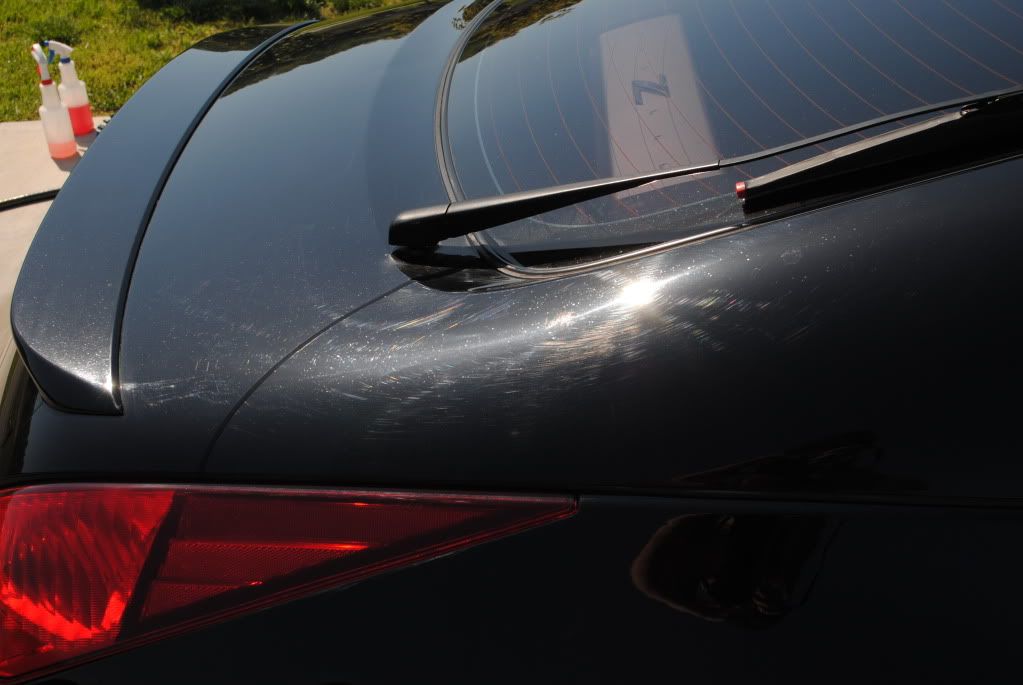
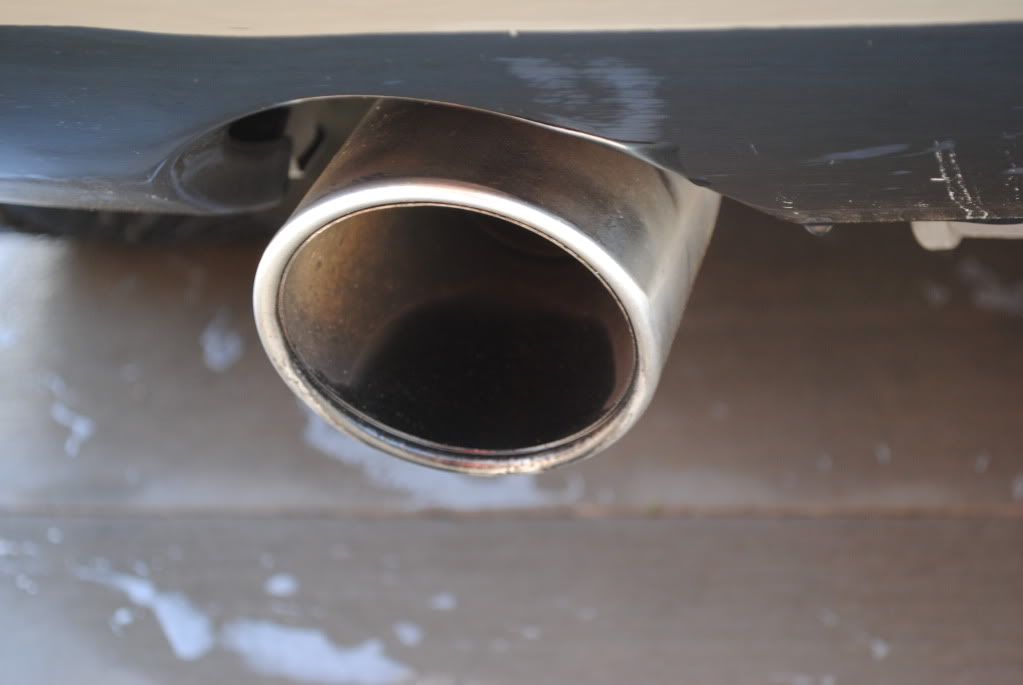
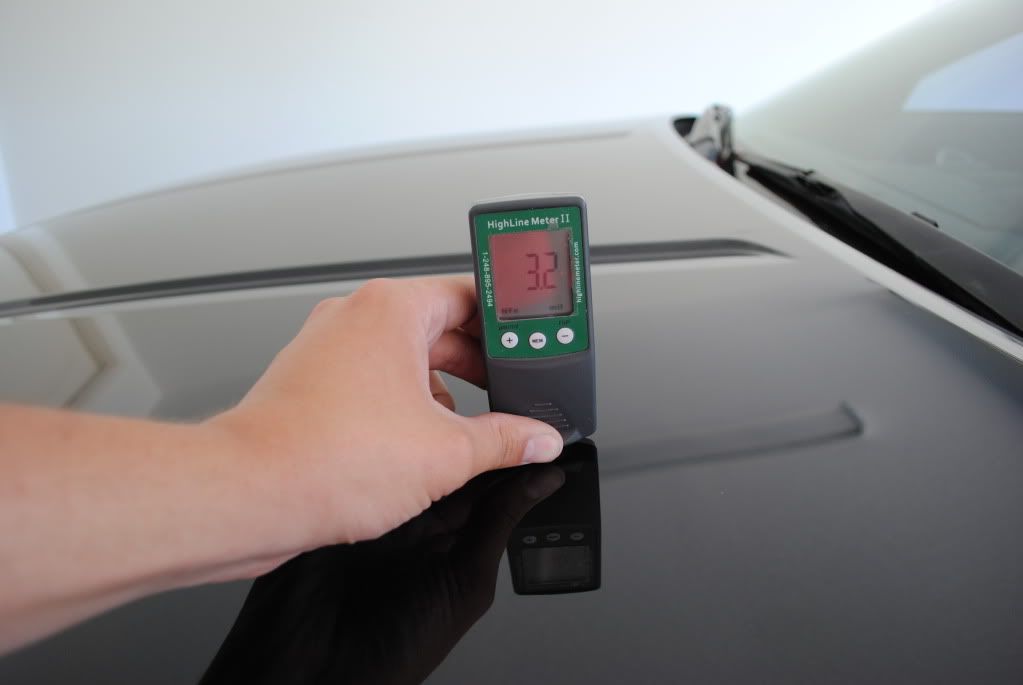
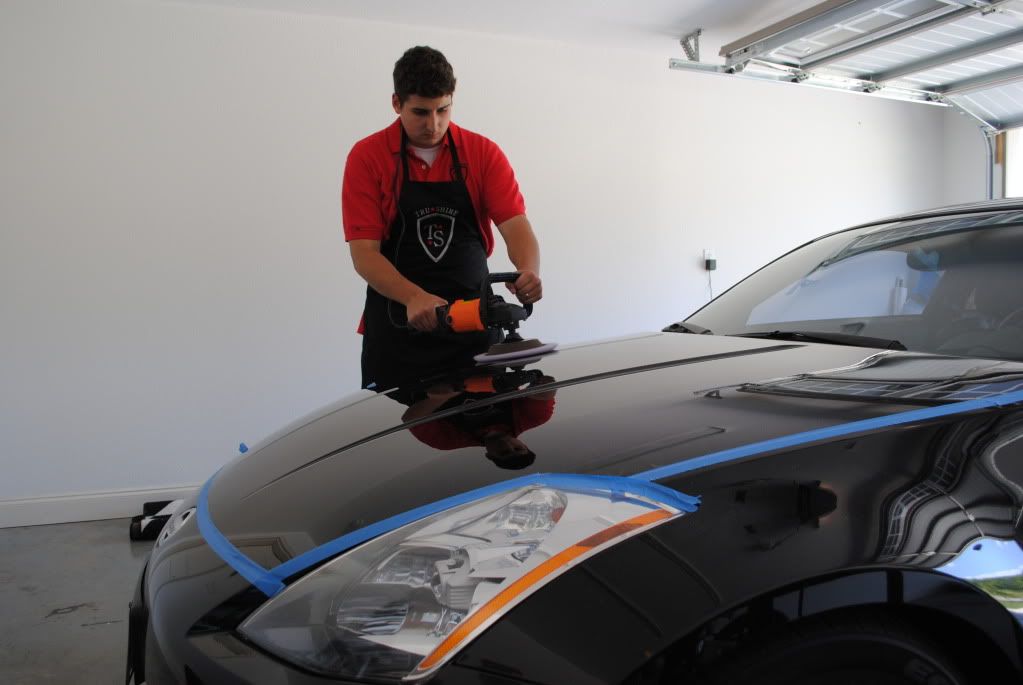
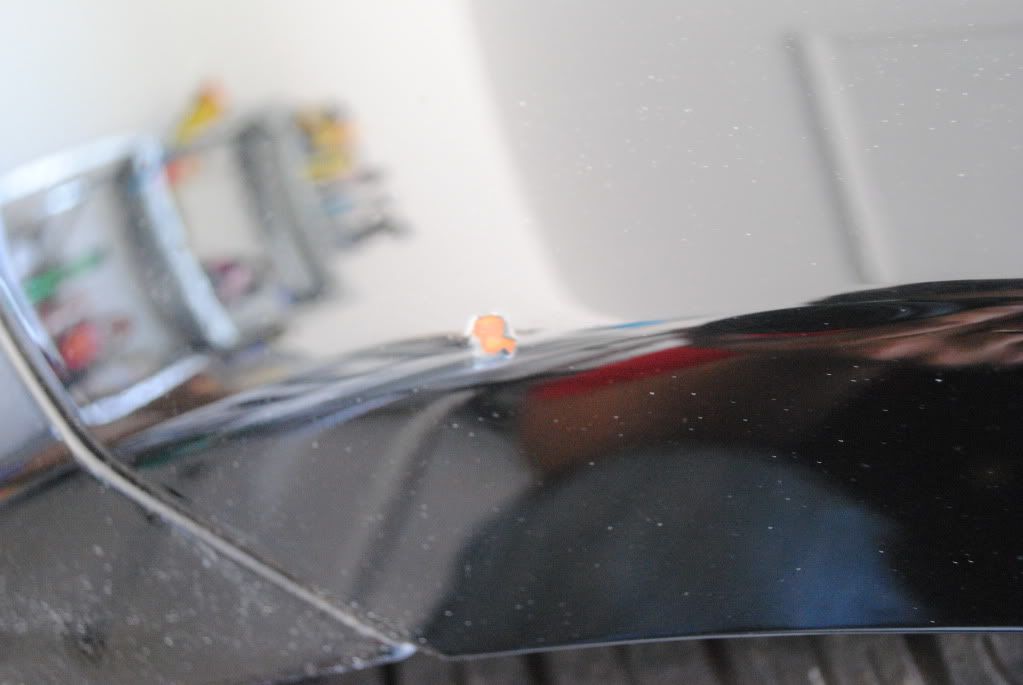
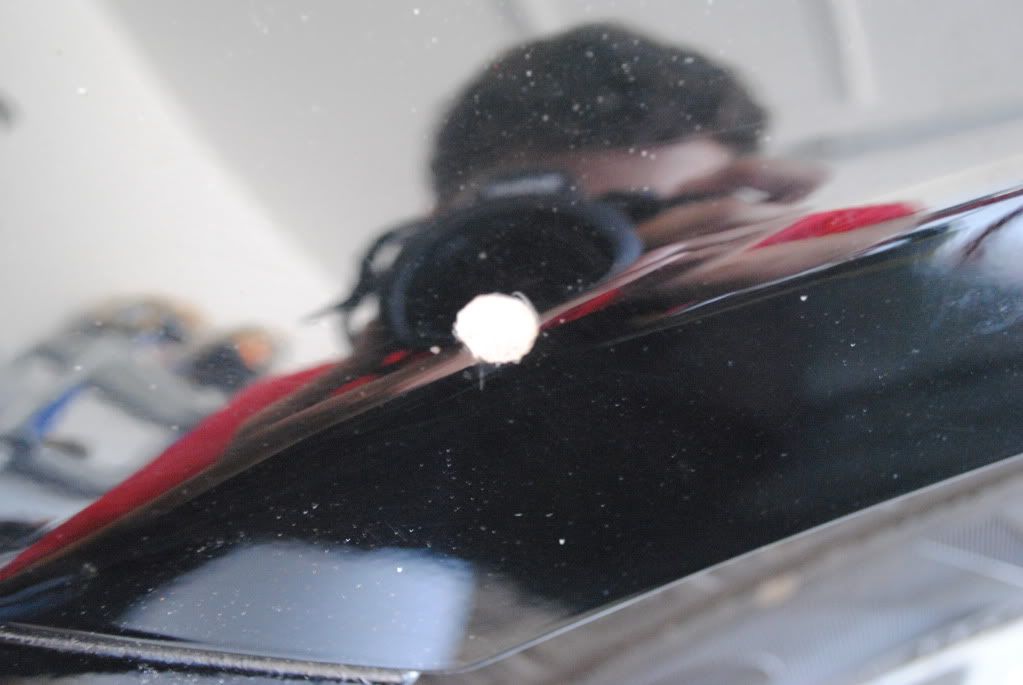
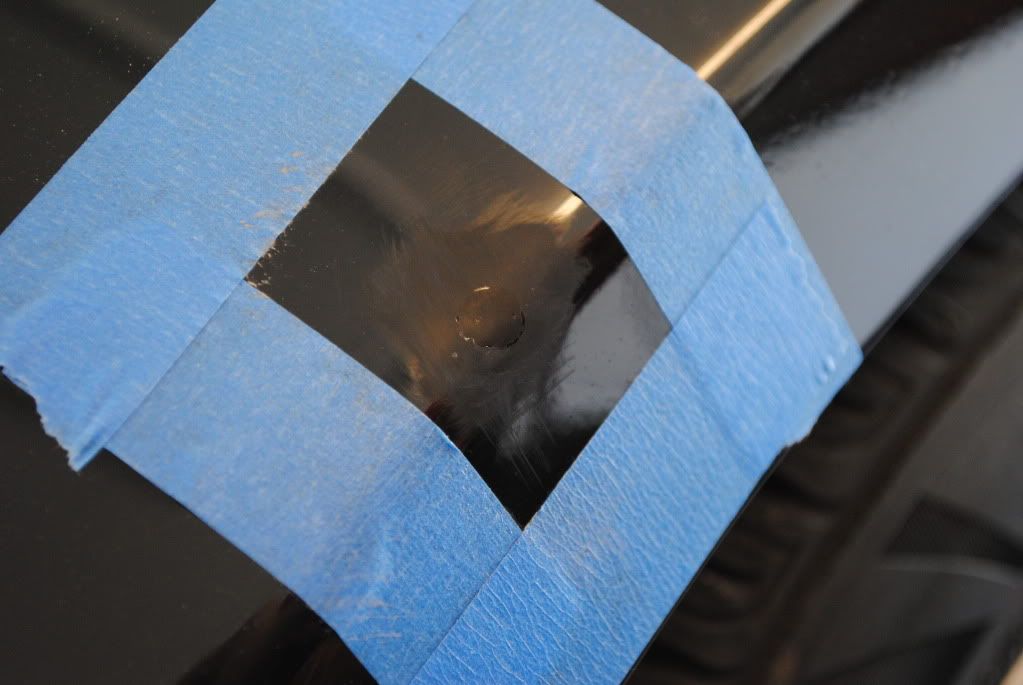
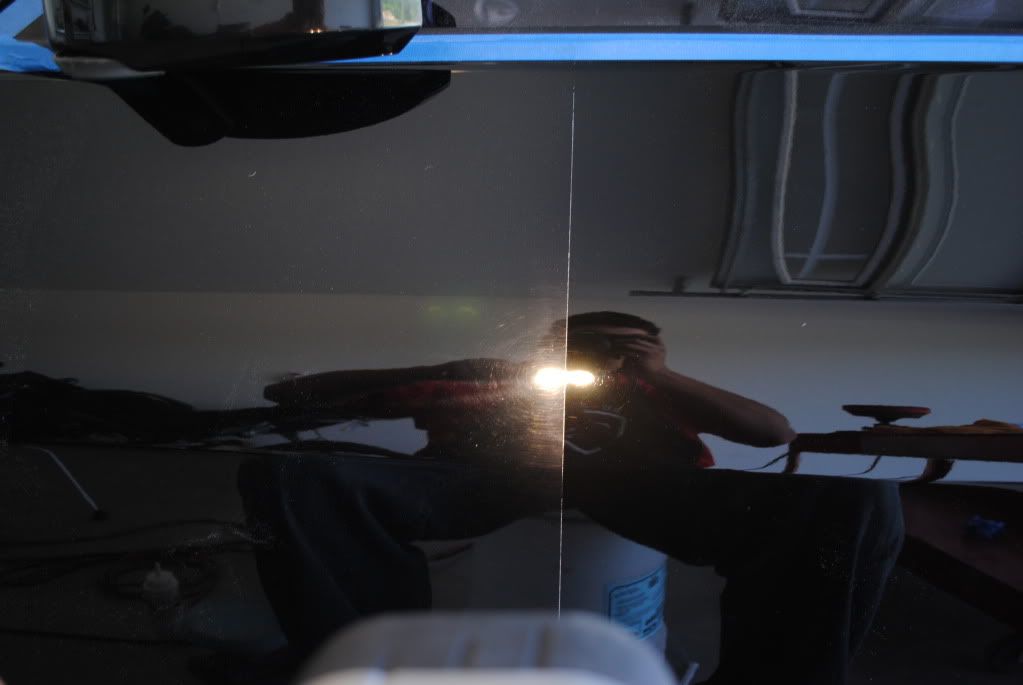
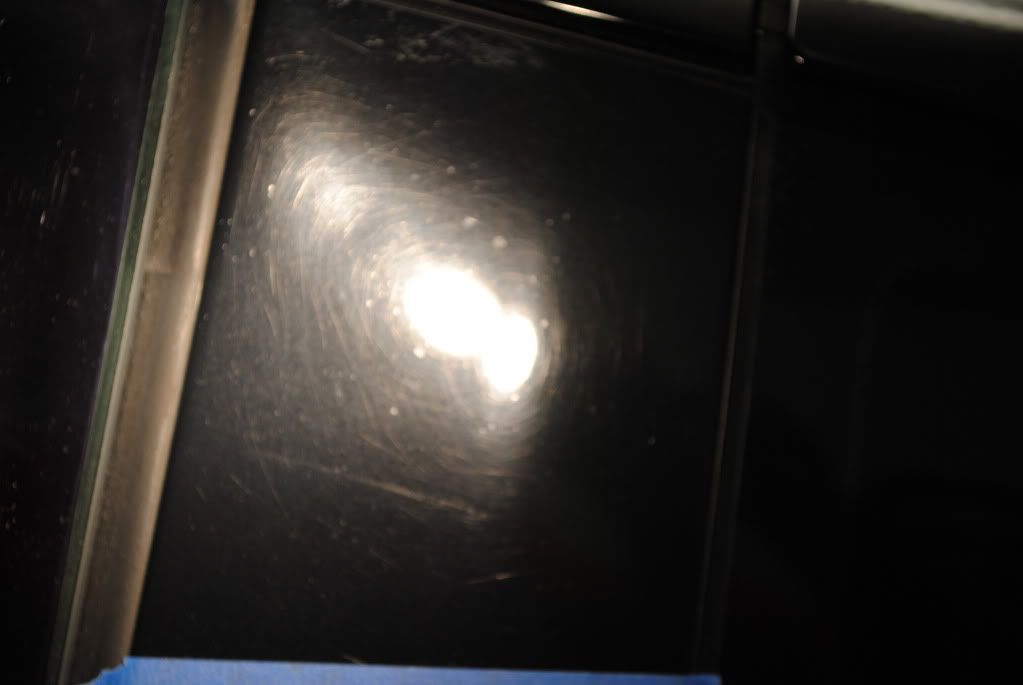
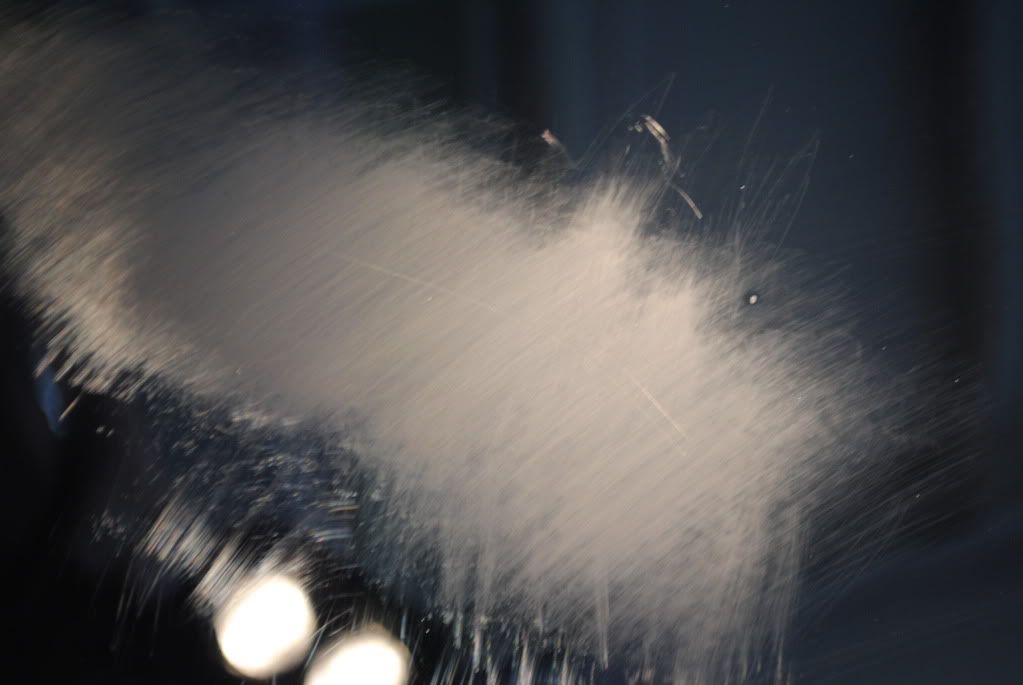
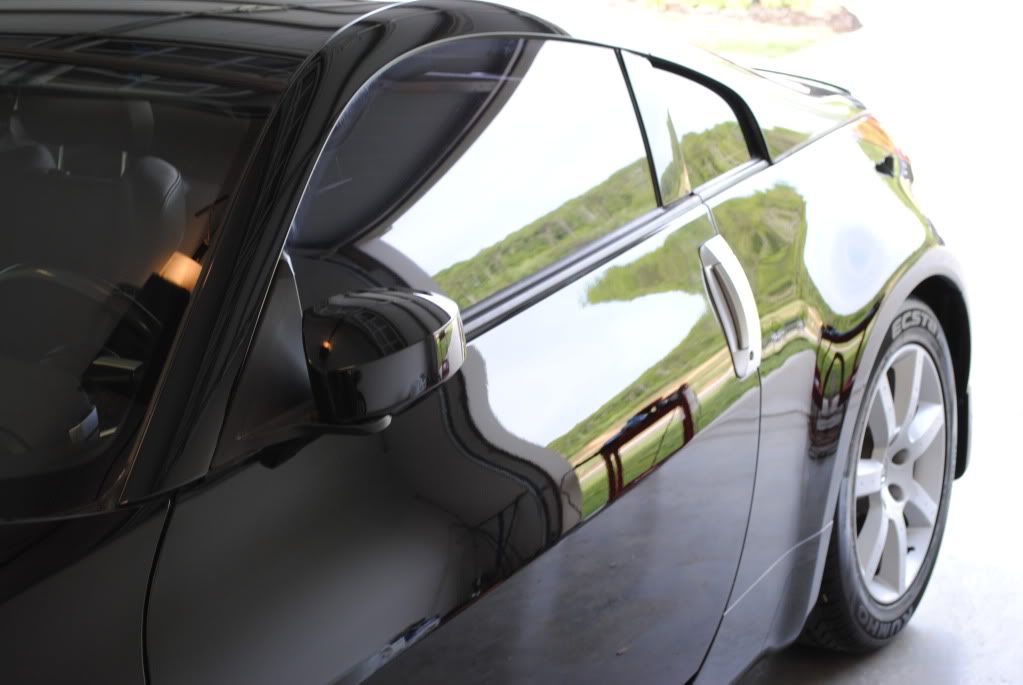
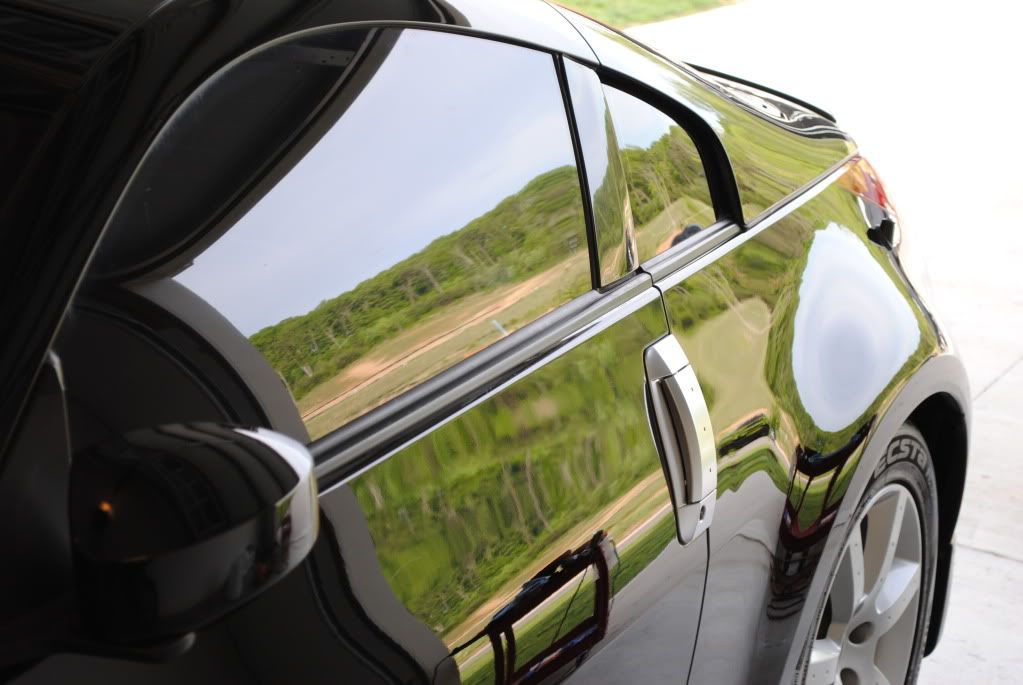
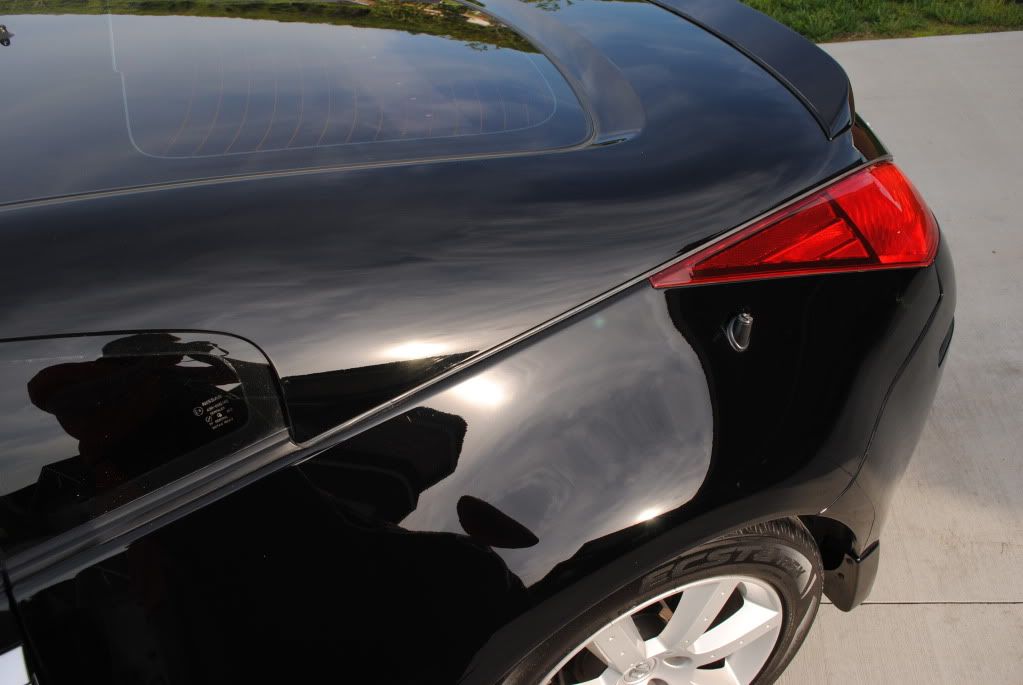
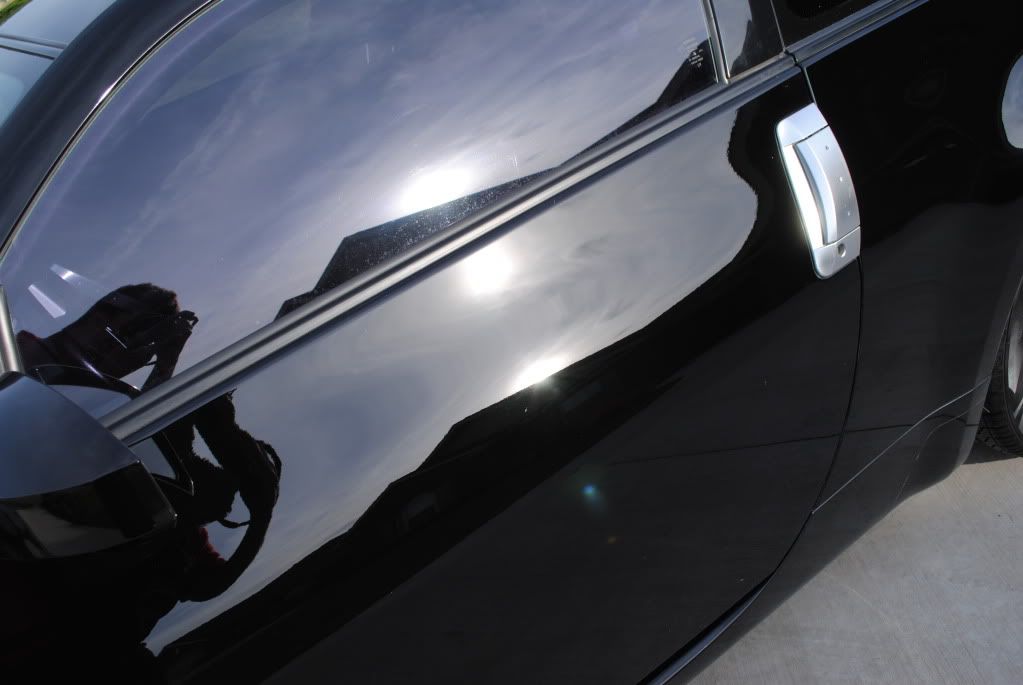
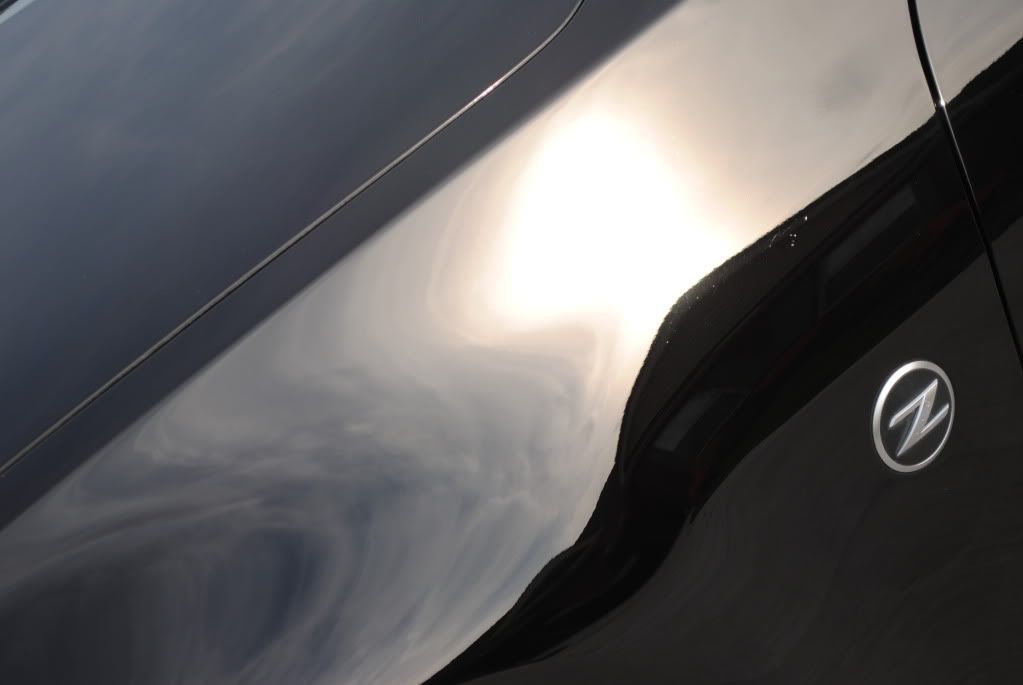
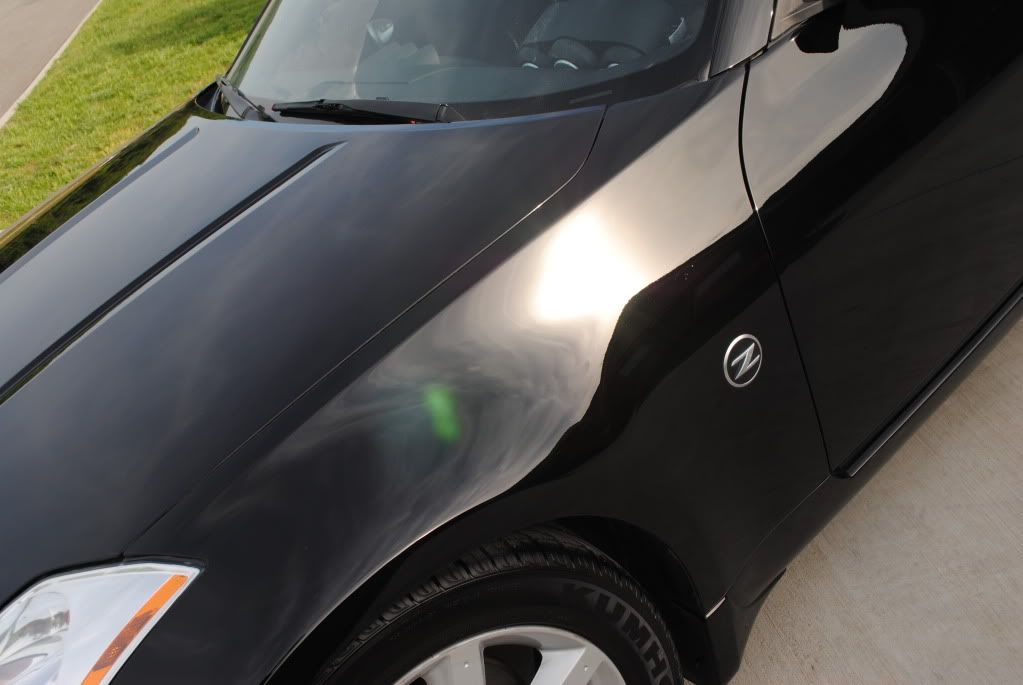
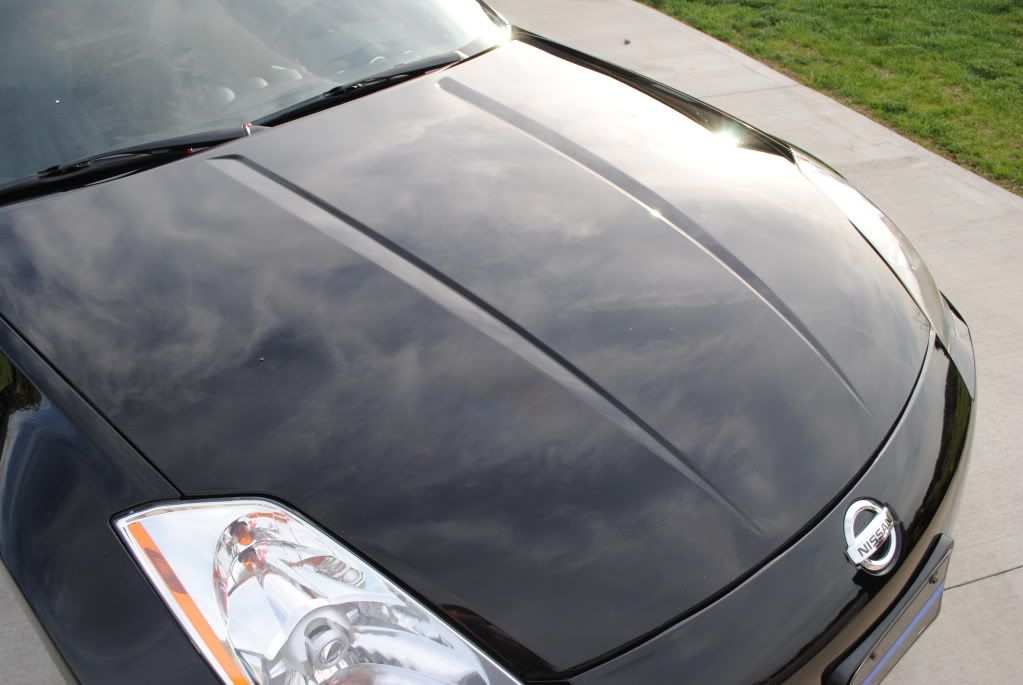
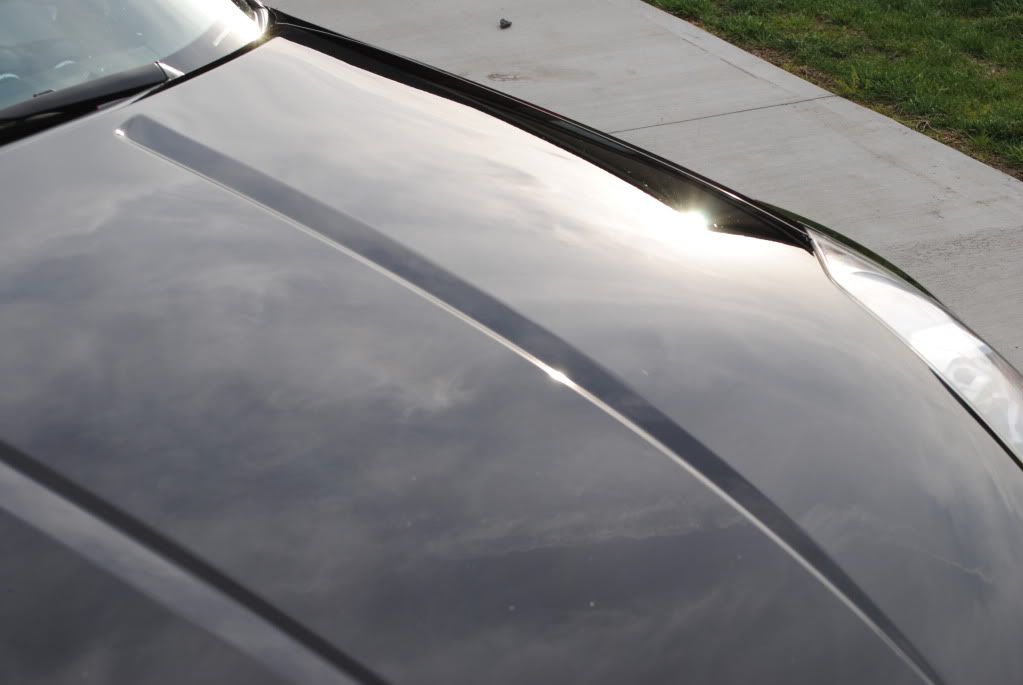
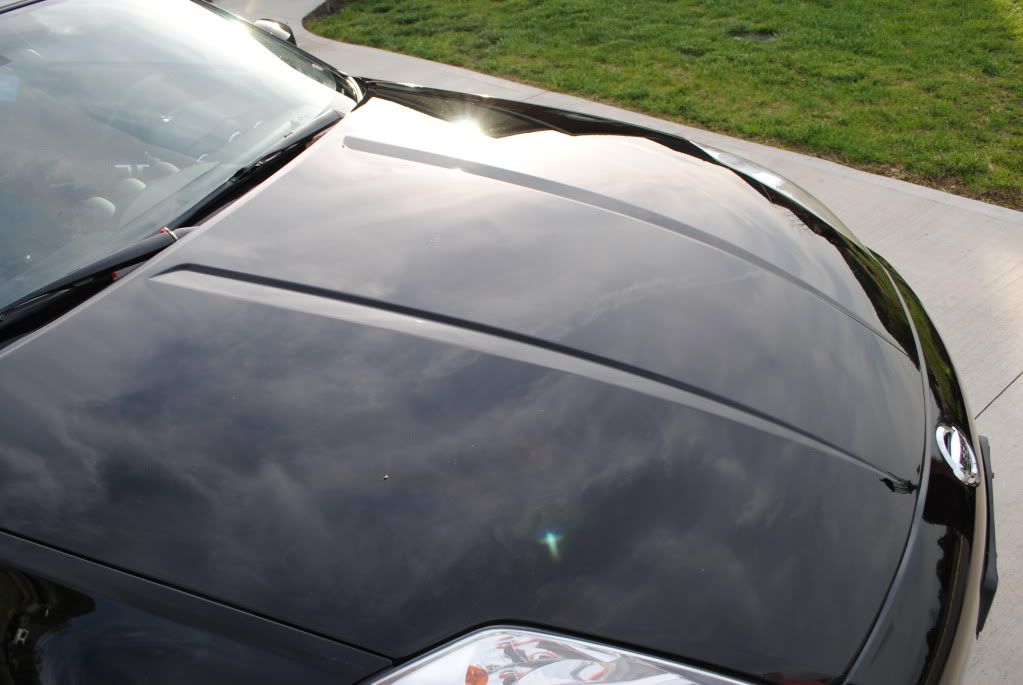
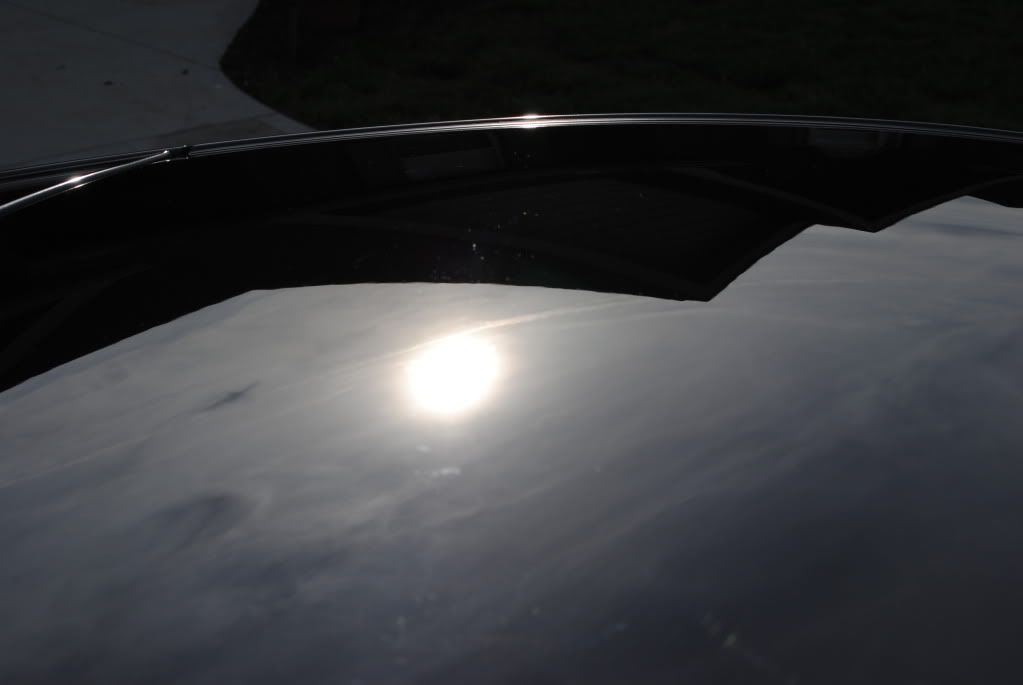
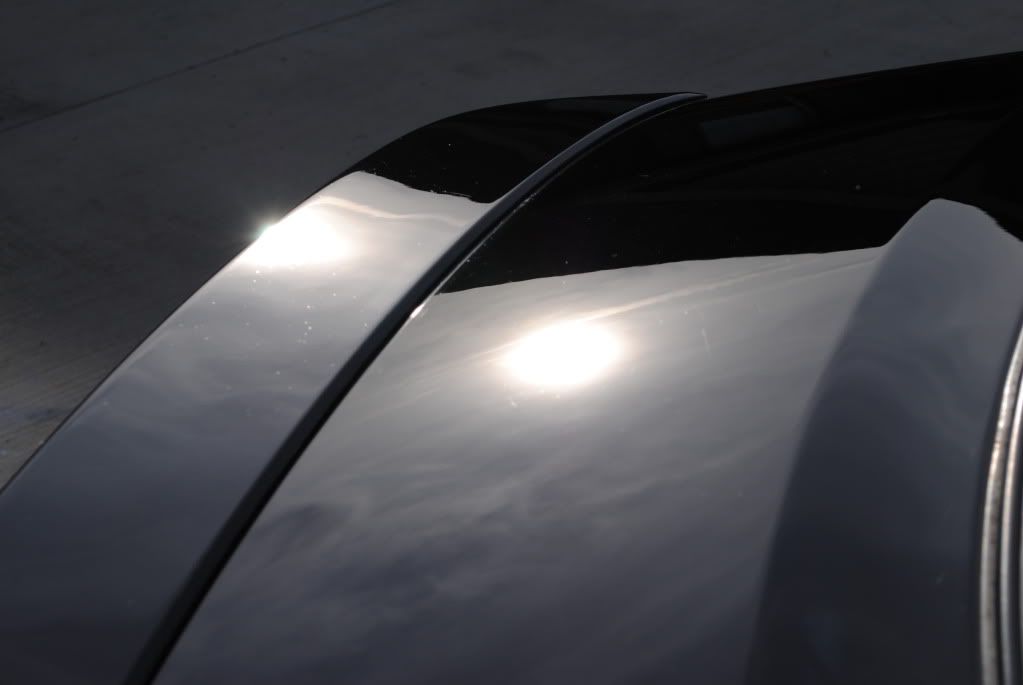
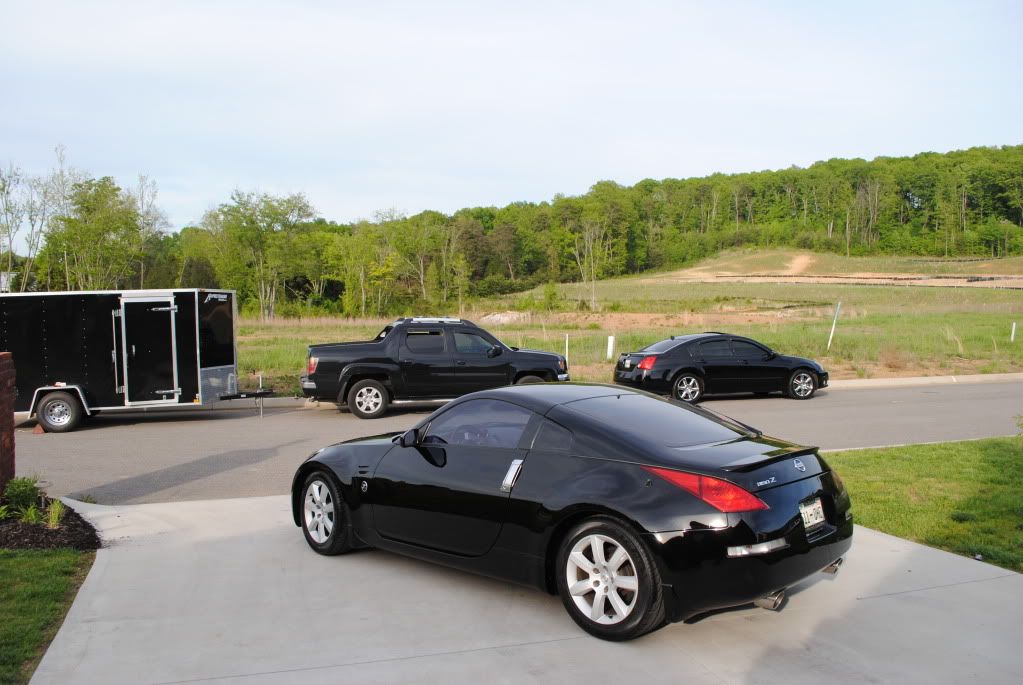
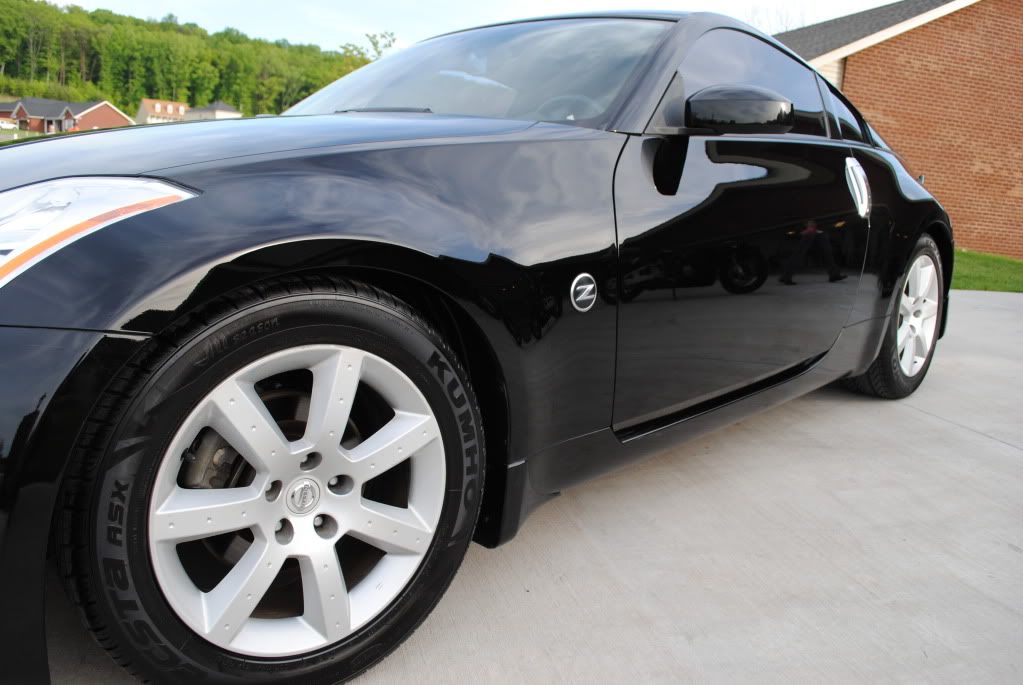
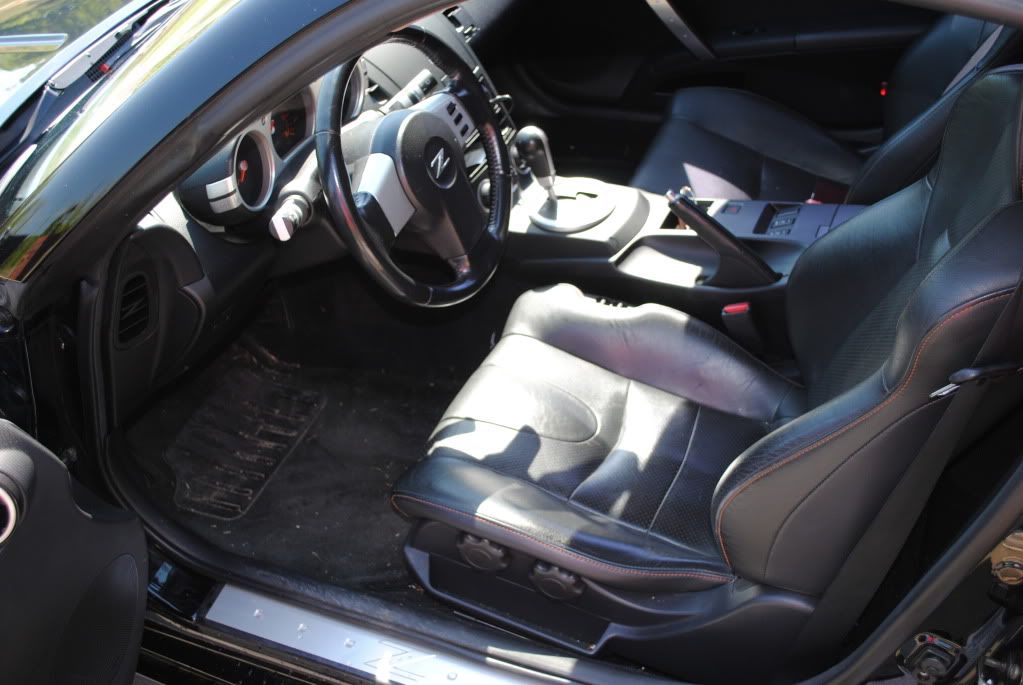
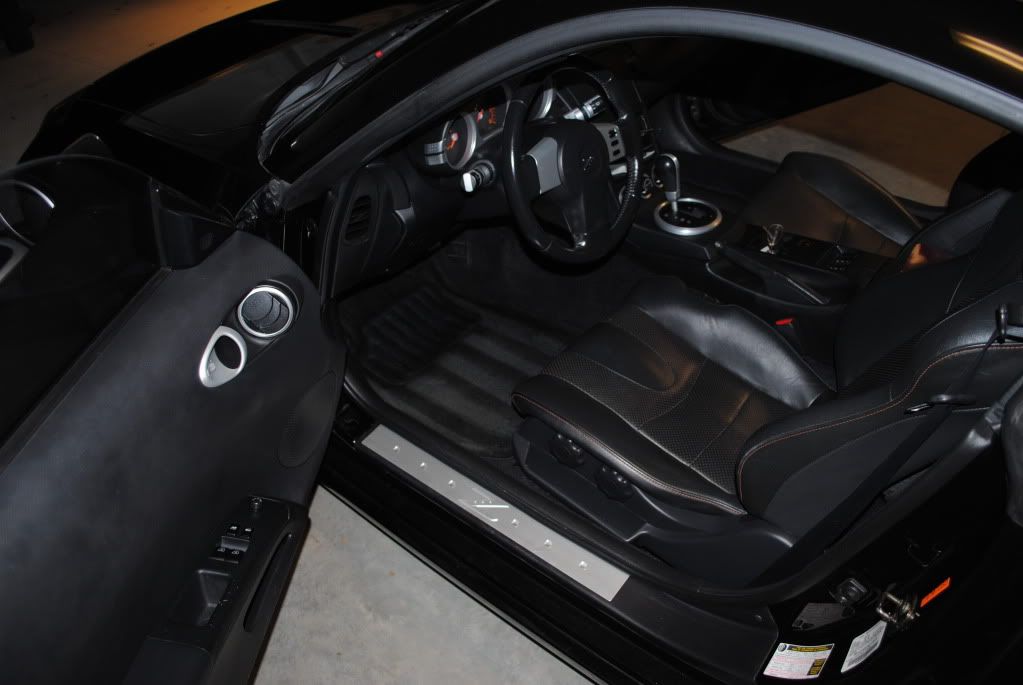
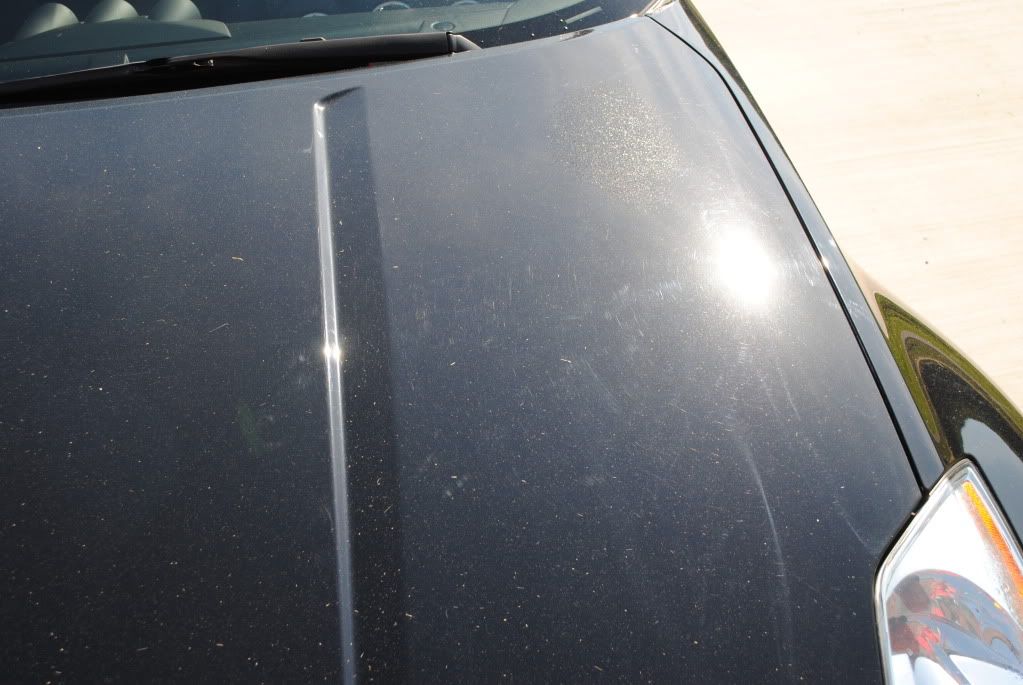
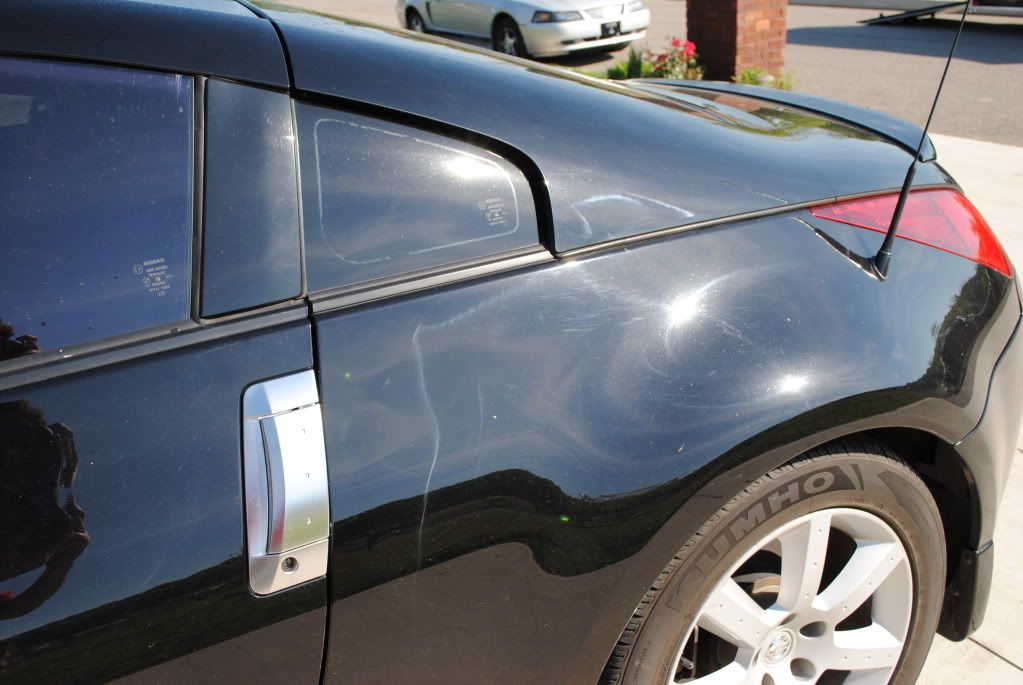
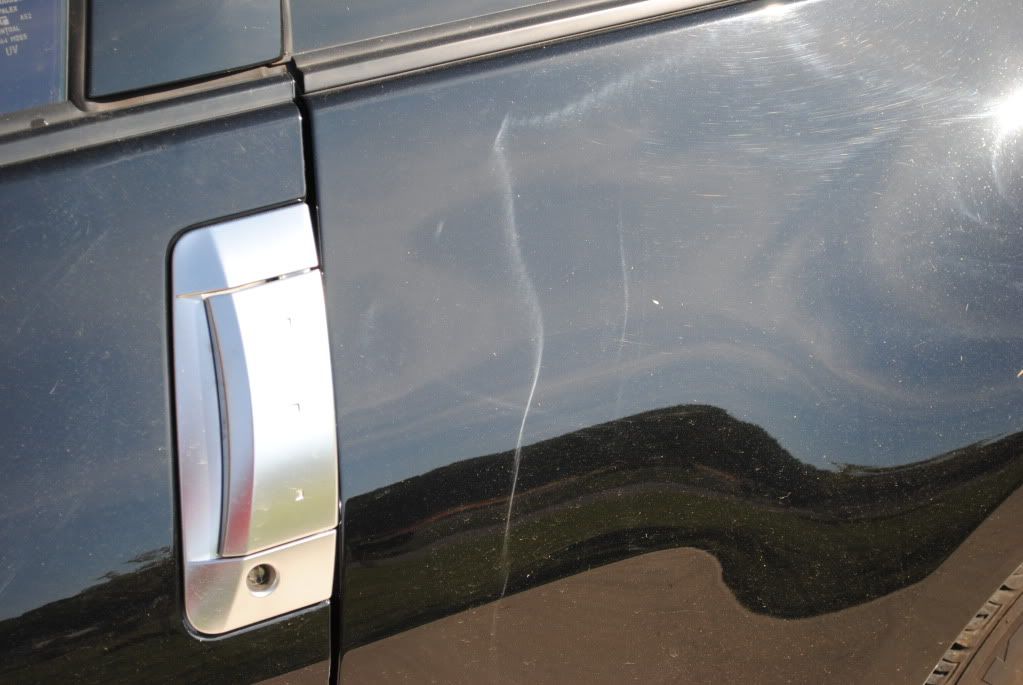
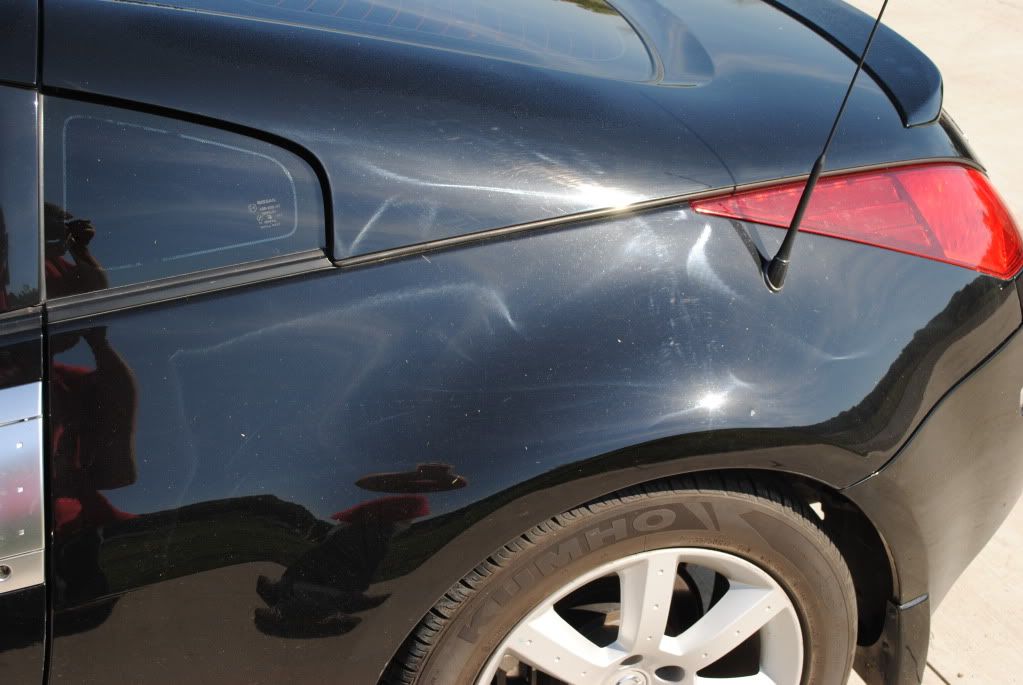
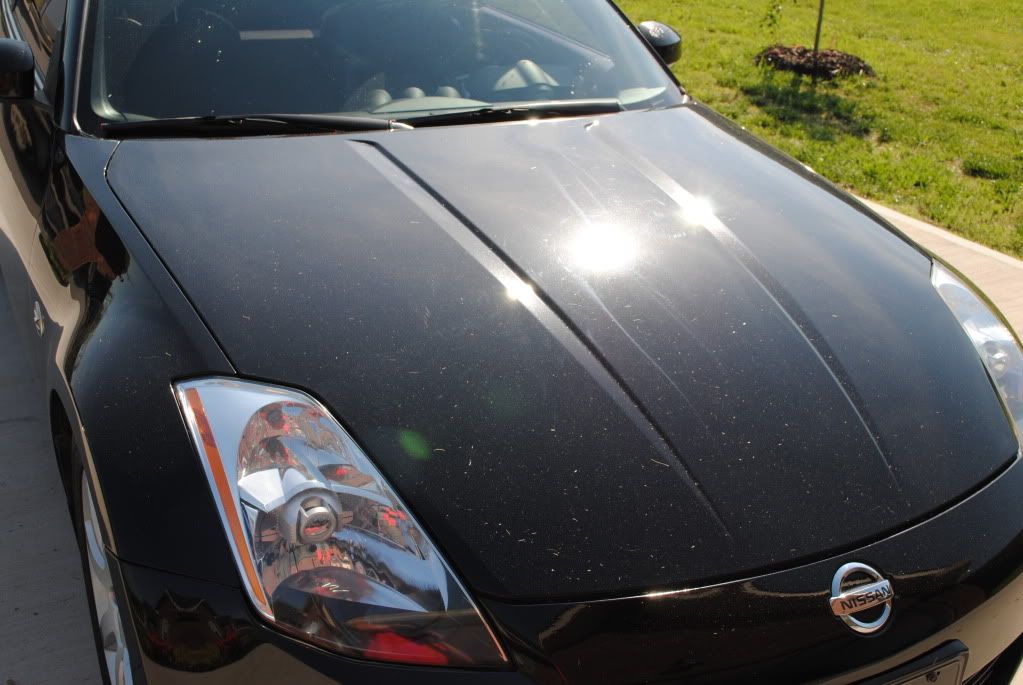
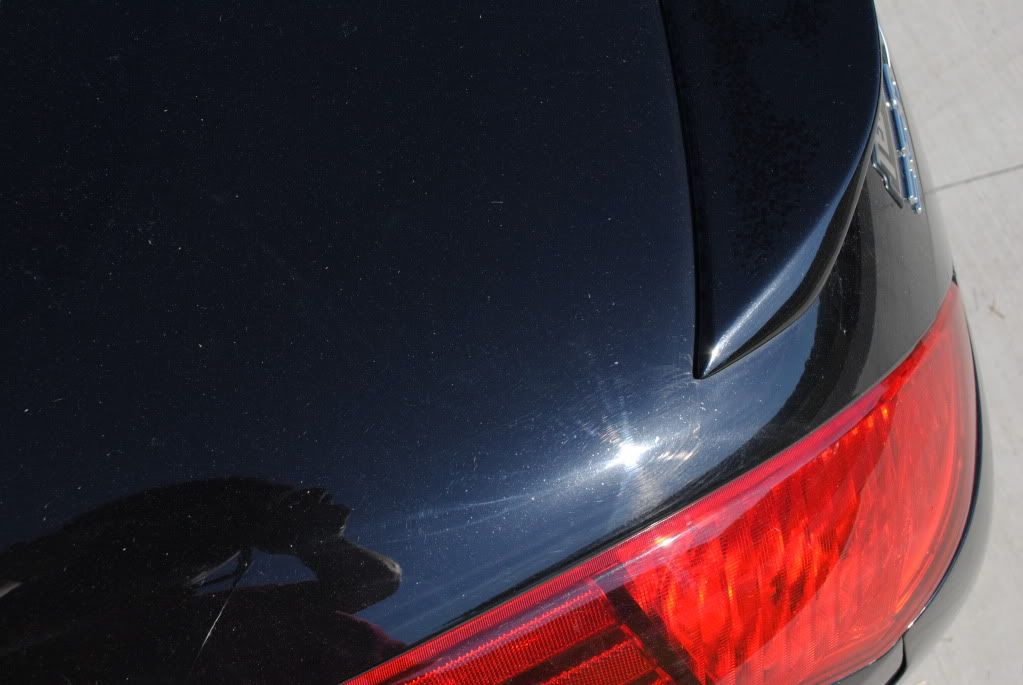
Now this car had been severely neglected, and needed A LOT of attention. This job took over 15 hours non stop to complete. This is what I pulled up to. (*Warning images may not be subtable for children under the age of 18*)

DSC_0208.jpg


DSC_0205.jpg


DSC_0204.jpg


DSC_0203.jpg


DSC_0209.jpg


DSC_0211.jpg


DSC_0214.jpg


DSC_0215.jpg


So my Weapons of Choice for Washing
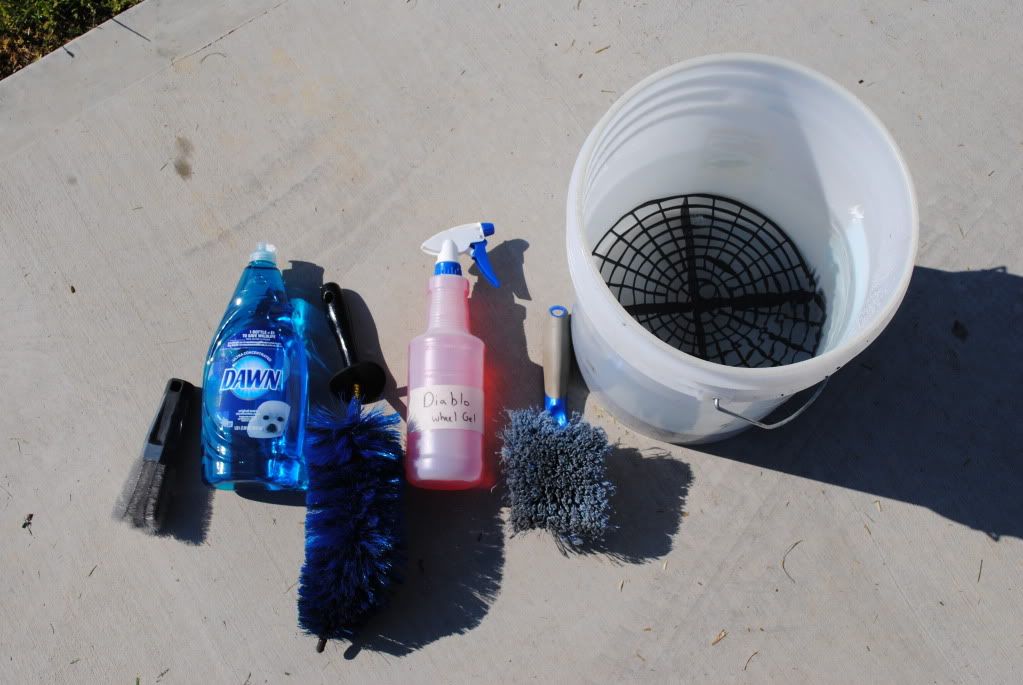
DSC_0219.jpg


5 gal bucket

Dawn soap (Highly concentrated)

Grit gaurd

100% sheep skin wash mitt

Ez Detail brush

misc brush

lugnut brush

Chemical Guys Diablo Wheel Gel 3:1 ratio

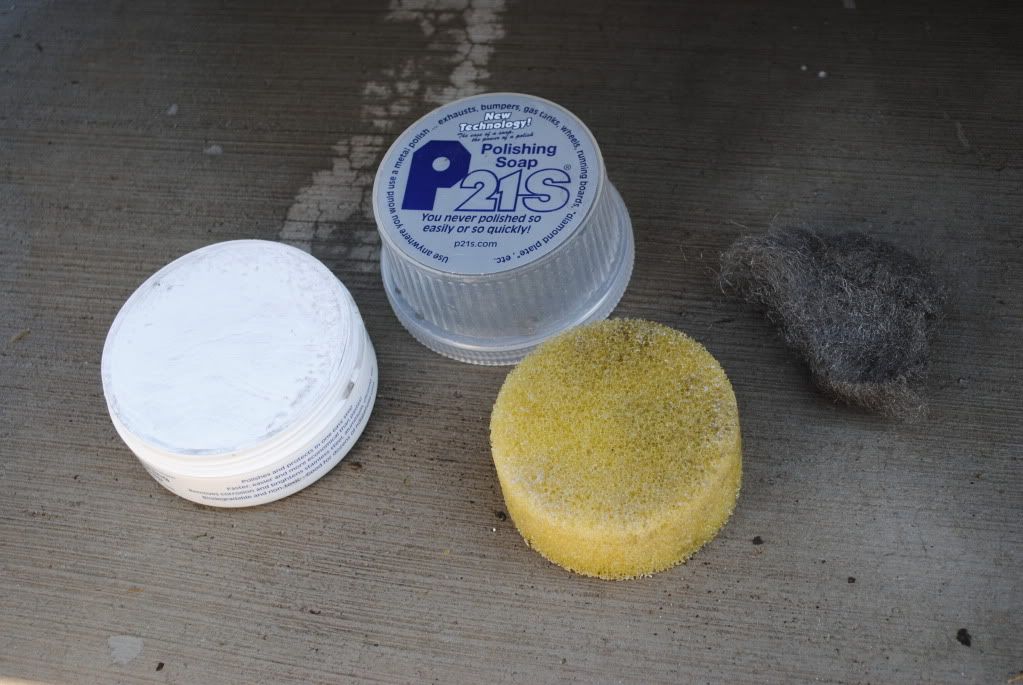
Automagic Fine blue clay

Clay lube used was the soapy water.

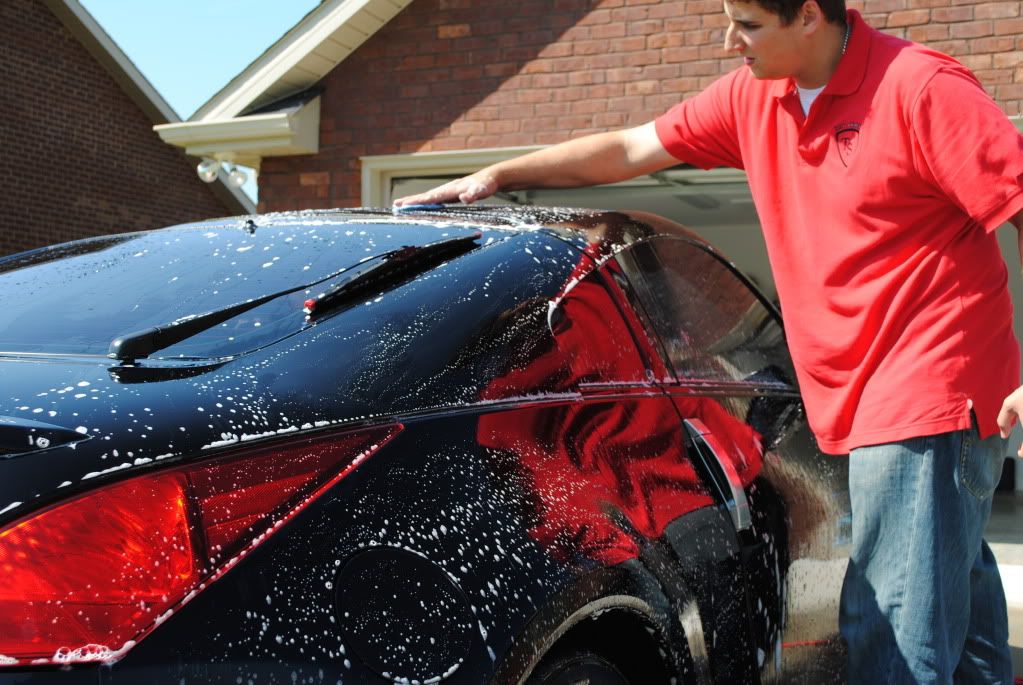
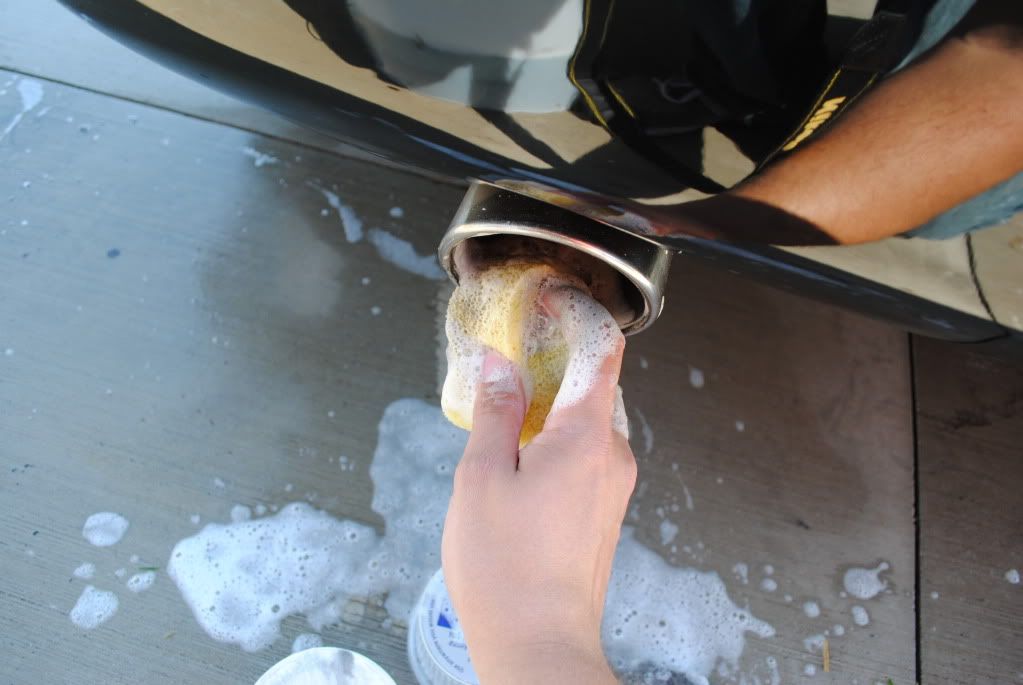
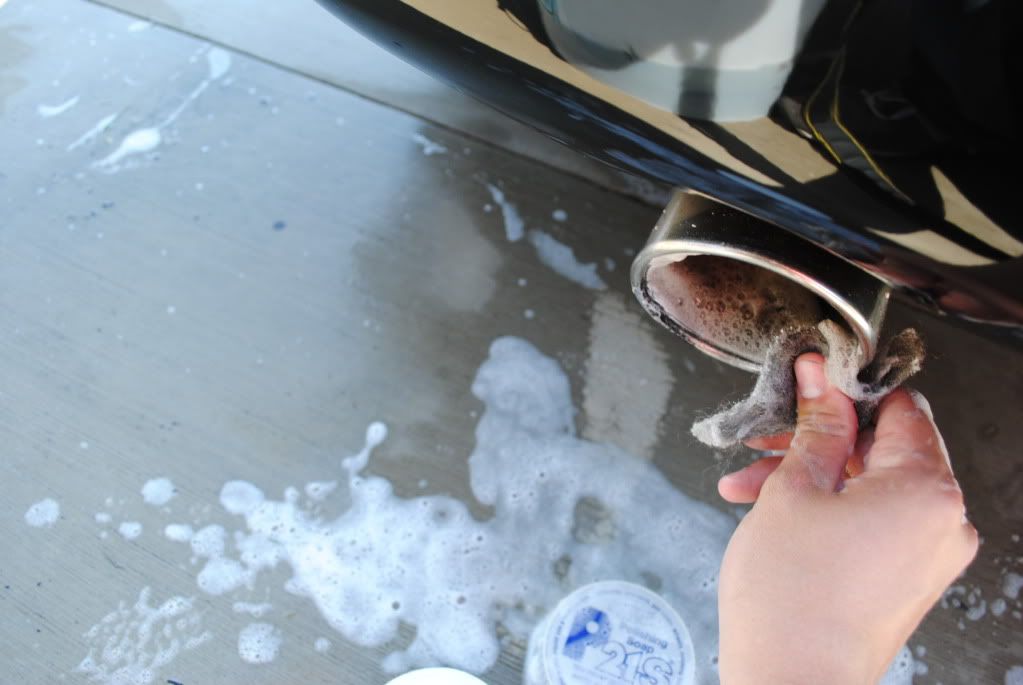
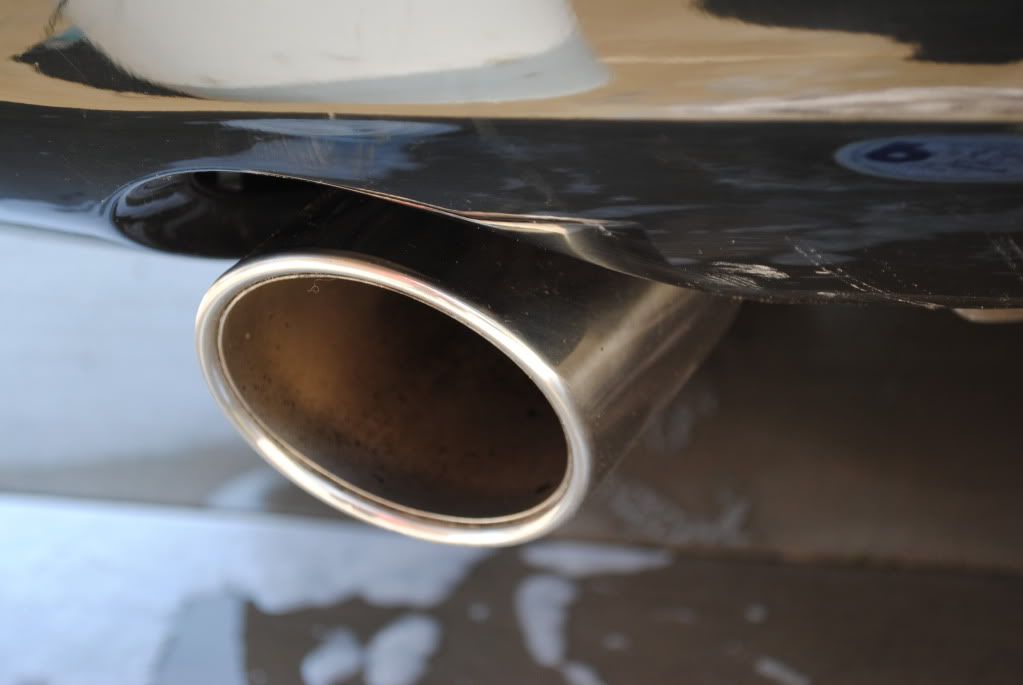
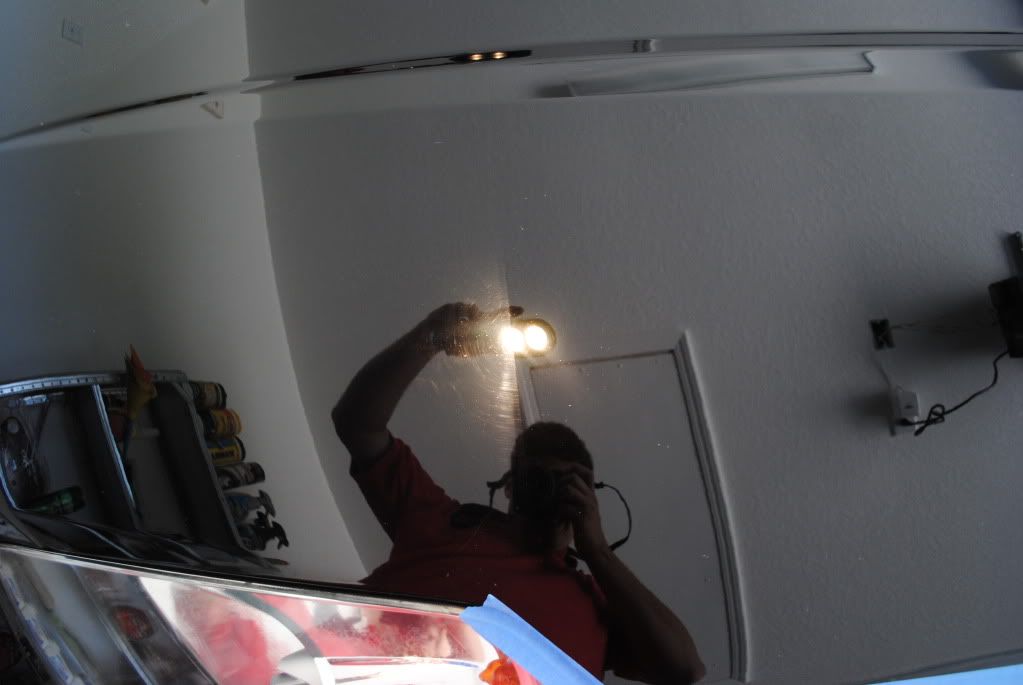
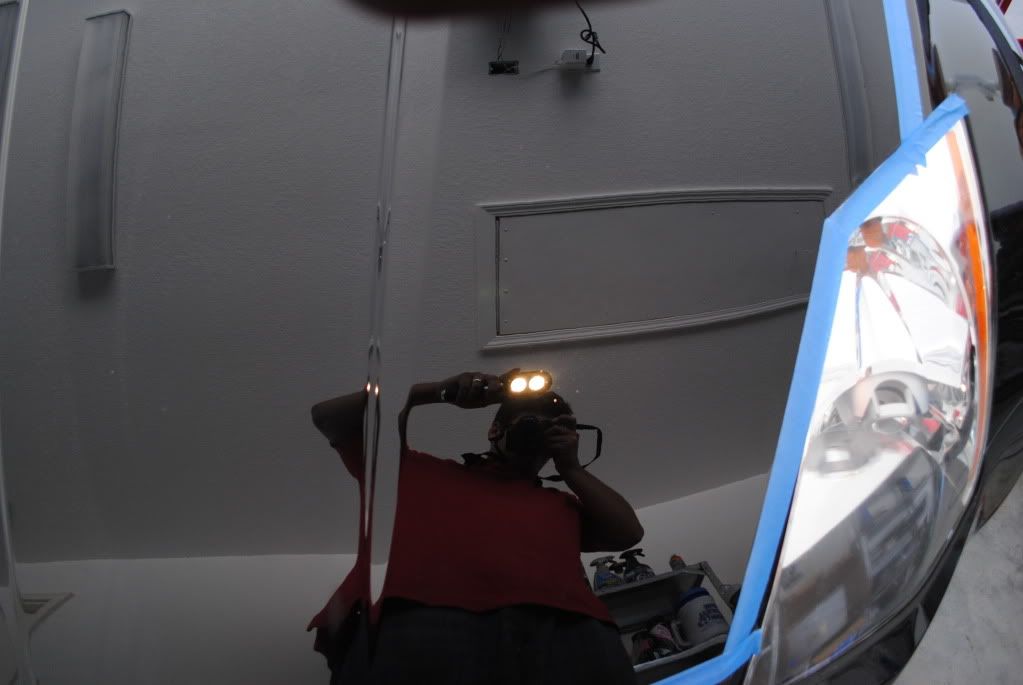
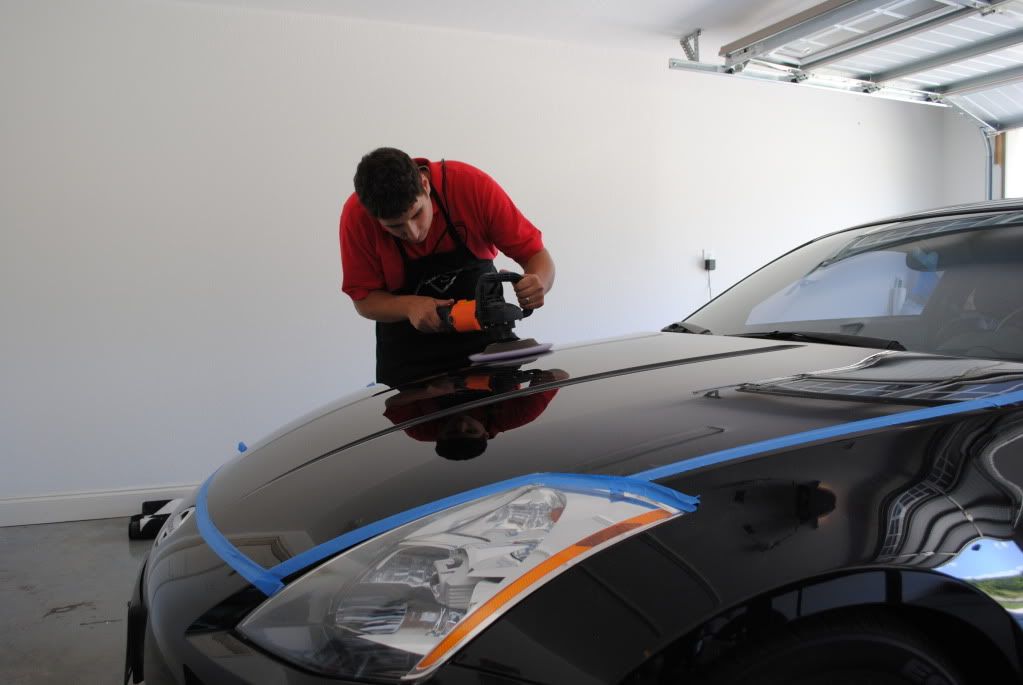
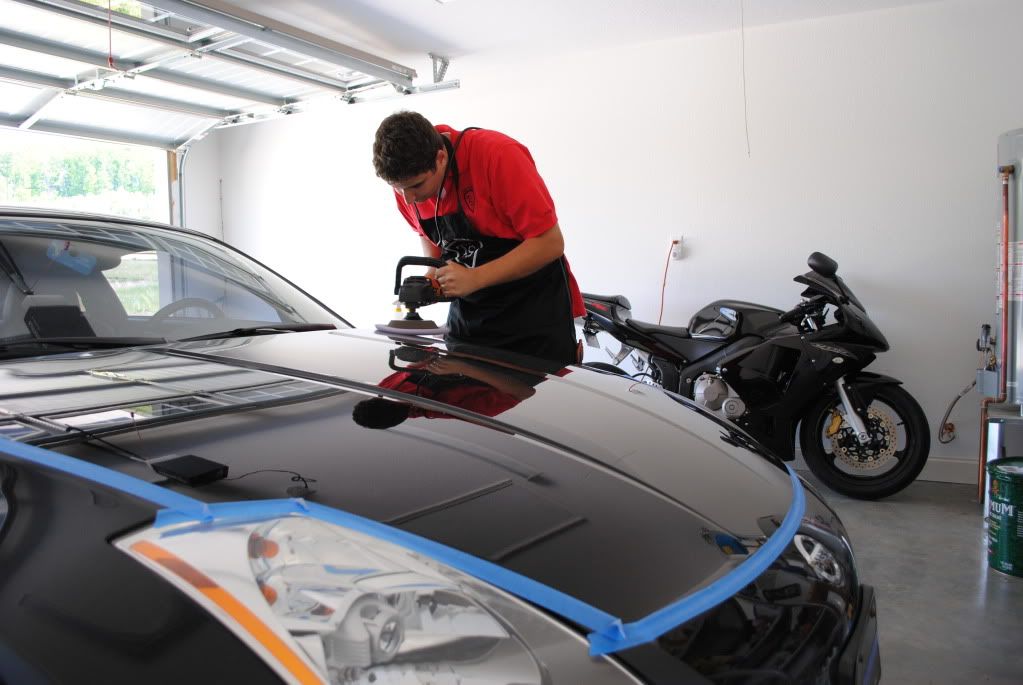
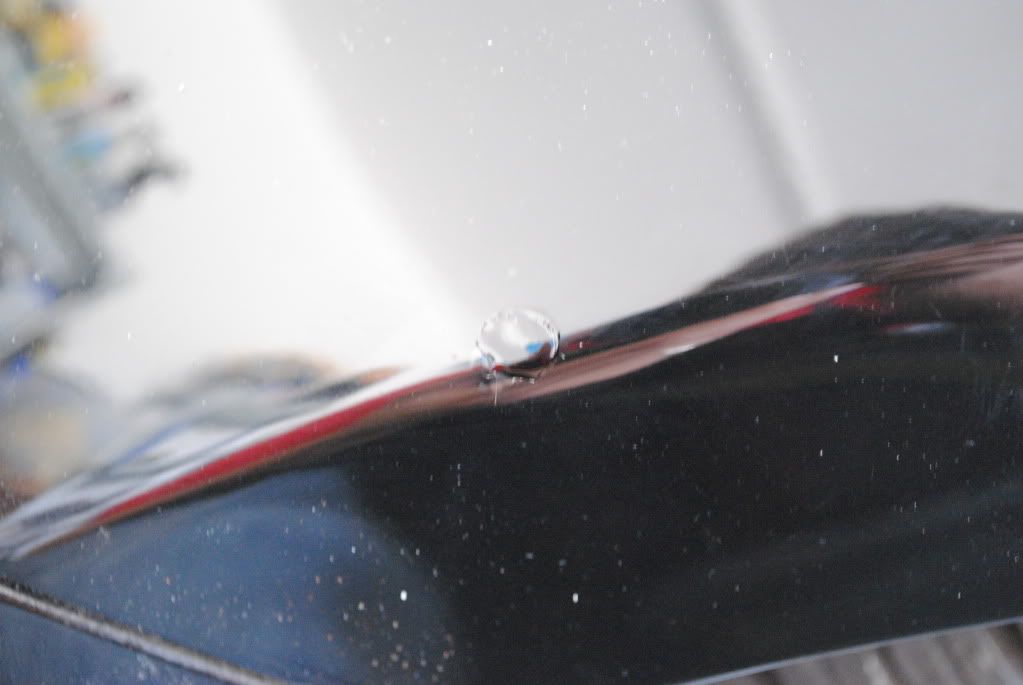
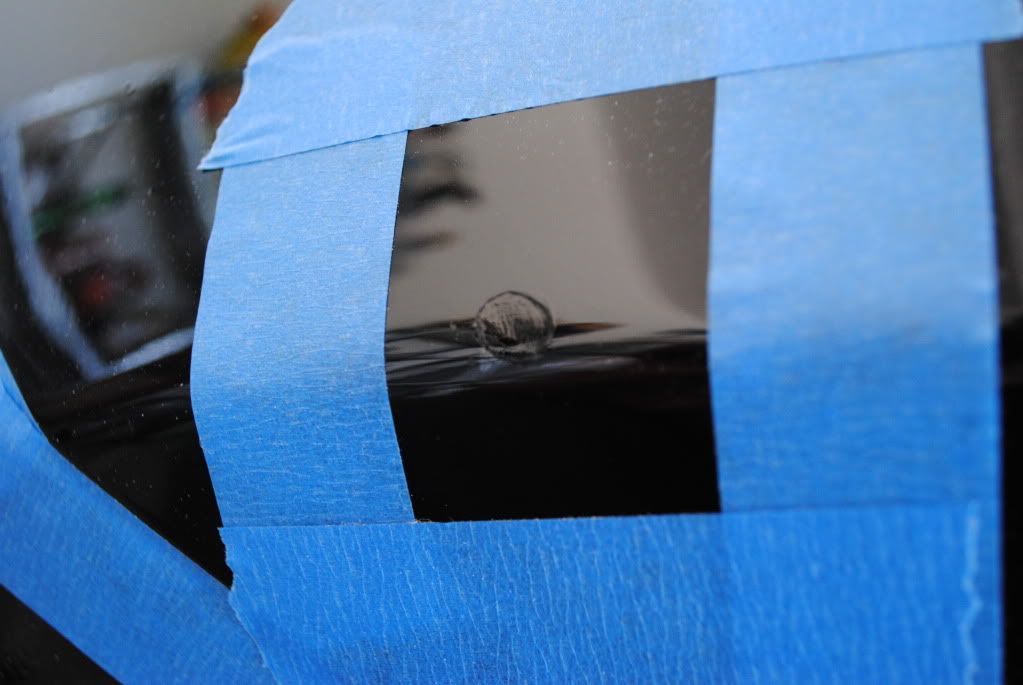
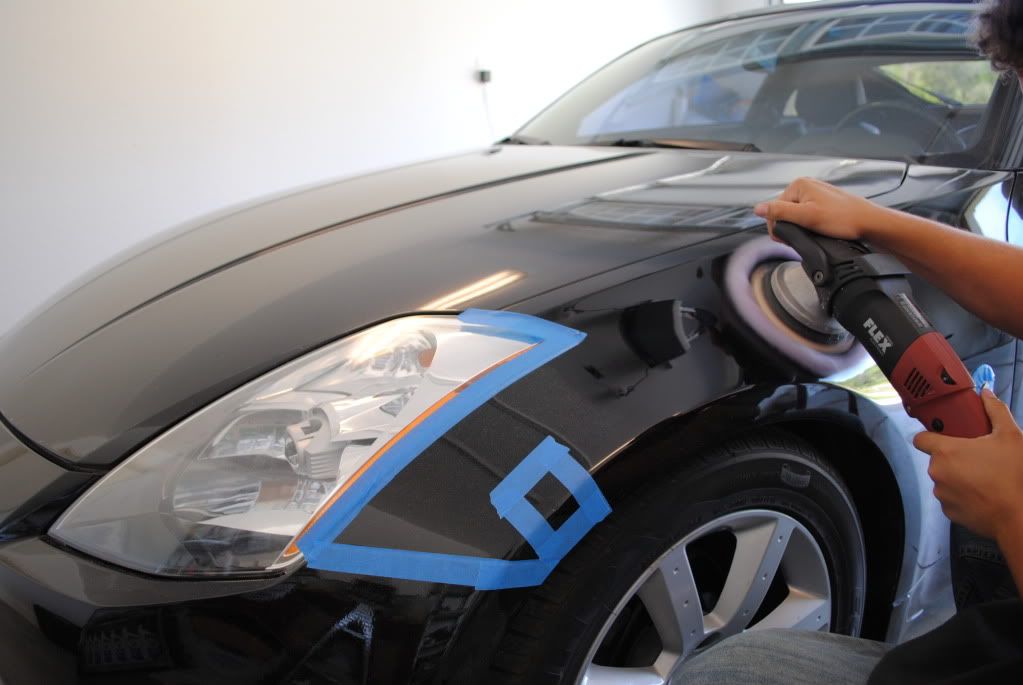
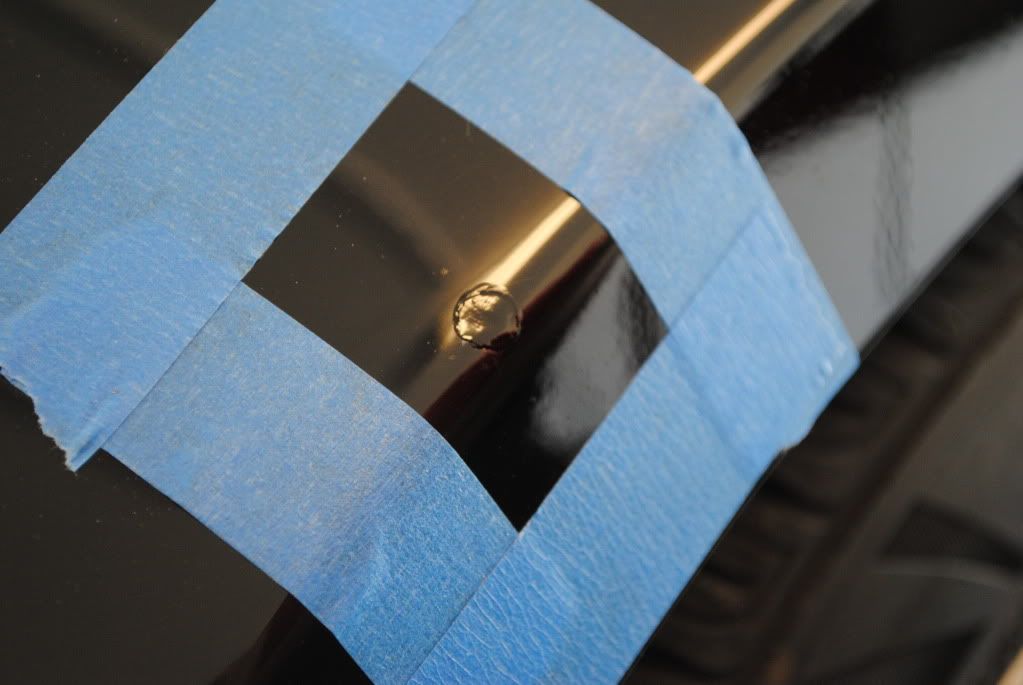
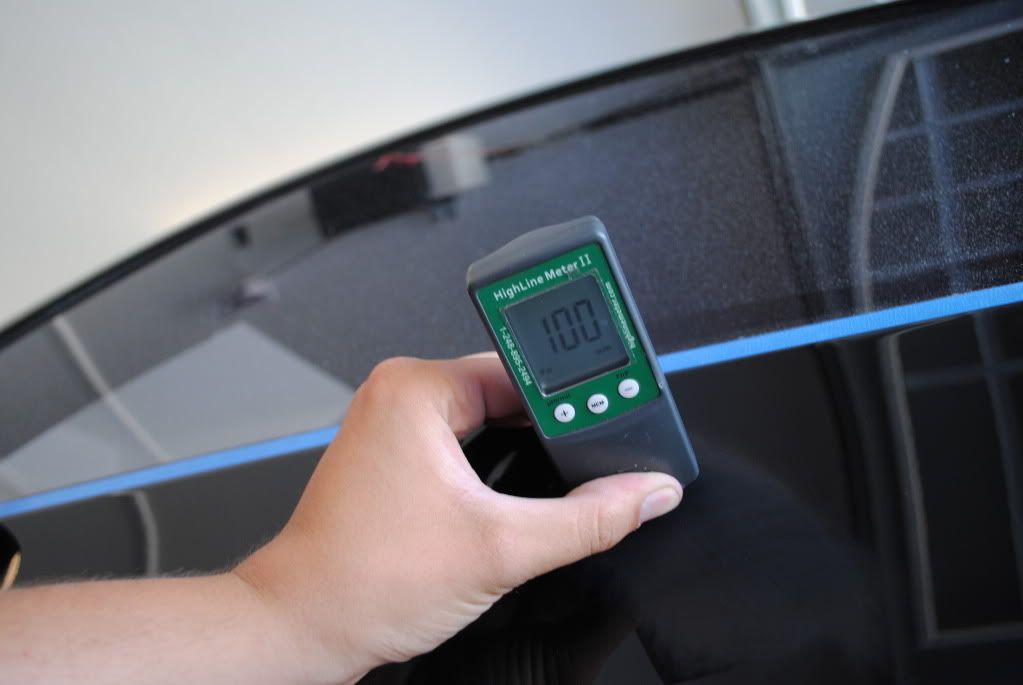
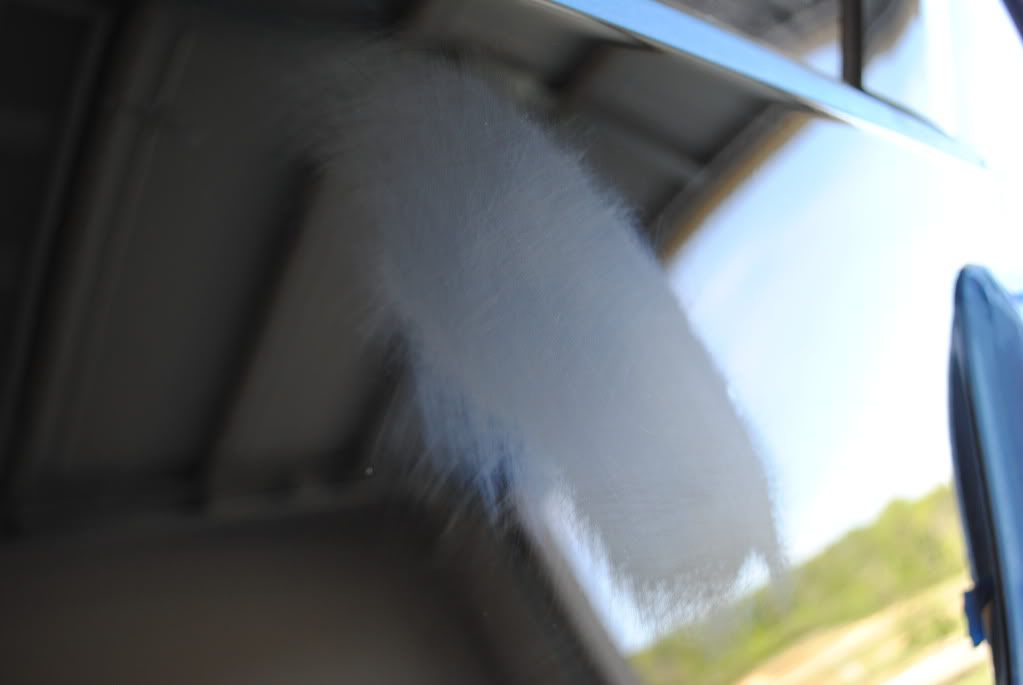
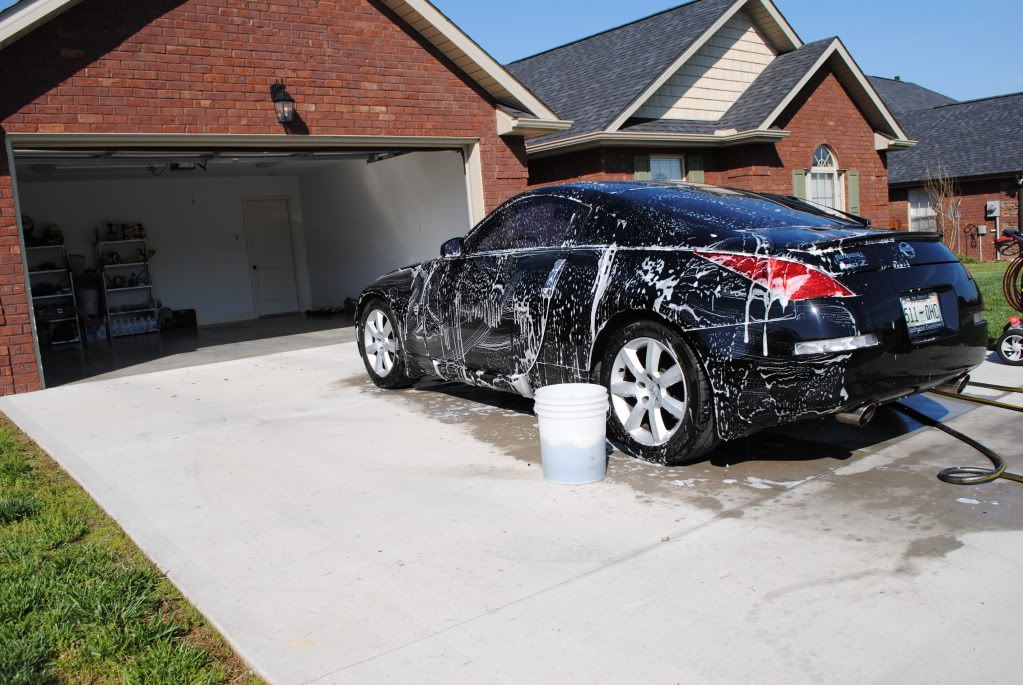
I began washing the car with Highly concentrated Dawn soap to strip off ALL wax (if there was any), haha j/k. (kinda) anyways. here are a few shot of me washing, cleaning the wheels and claying.

DSC_0220.jpg


Continued below...... Dont Post until im done thanks!

 
Last edited by a moderator:


DSC_0228.jpg


DSC_0231.jpg


After the rinse there was no beading of the water and none of it was rolling off! that's what you are looking for!


DSC_0222.jpg


DSC_0225.jpg


So now the Tru Surface was revealed!


DSC_0233.jpg


DSC_0235.jpg


DSC_0237.jpg


DSC_0238.jpg


DSC_0241.jpg


DSC_0249.jpg


DSC_0254.jpg


DSC_0244.jpg


DSC_0247.jpg


I used P21s polishing Soap on the exhaust tips with some #0000 steel wool.


DSC_0273.jpg


DSC_0271.jpg


DSC_0274.jpg


Some of the black soot stains wouldn't come off, thats what the steel wool was for


DSC_0276.jpg


DSC_0279.jpg


Now for the paint correction.


I took my paint thickness measurements


DSC_0293.jpg


pretty low. but this Z had been buffed on before. So I knew to be extra careful


I done a few test spots and ended up going with the Good Ol' Rotary w/ Megs W66 backing plate with LC purple foamed wool pad and Meguiars M105 compound.


DSC_0289.jpg


DSC_0291.jpg


Here is a before


DSC_0300.jpg


Here is a after


DSC_0303.jpg


DSC_0305.jpg


here is Mr. TruShine himself in action!


(TruShine Apron Shot)

DSC_0308.jpg


DSC_0309.jpg


Does that Motorcycle look familiar?


DSC_0312.jpg


Now for some touch-up


The Front fender had a rock chip that was starting to Rust, I first began by taking a razor blade and flaking away all of the paint that was flaking off and then I scraped all of the rust away as much as I could. Just try to scrape off as much as you can until you dont see any more.


DSC_0314.jpg


Then it turned into this ( bare shiny metal)


DSC_0316.jpg


Then I dabbed some of the Dupli-Color 2in1 touch up paint into the chip letting it dry for about 10-15 until it hardened.


DSC_0317.jpg


After the paint dries it seeps into the chip and settles down. Somtimes you only have to apply paint once but in this case I had to put down 2 layers.


I taped arround this so I have a clean wetsand area, you can tell in the pics how much it settled into the chip


DSC_0326.jpg


I worked on the panel while the touch up was drying.


DSC_0327.jpg


after the second coat of touch up It turned out like this


DSC_0328.jpg


Then After it was Fully Dried I wet sanded with 2000 grit paper and here is what it looked like


DSC_0330.jpg


Continued below.......


After that I buffed it out with my flex and here is the Final Outcome (not %100 but close)


DSC_0334.jpg


DSC_0338.jpg


DSC_0335.jpg


and Walaaaaa!!


So back to the Paint Correction


DSC_0339.jpg


DSC_0344.jpg


And here are the pillar pieces


DSC_0413.jpg


DSC_0414.jpg


Here was another Deep scratch that Needed to be Wet sanded on.


look closely in the wetsanded area


DSC_0349.jpg


I took during PTG readings to see how many microns I wetsanded off


I started with a little over 107 microns and after Sanding the scratch away completely i ended up with only 100 microns


DSC_0353.jpg


But no more scratches


DSC_0357.jpg


DSC_0358.jpg


OK so after 9 hours into it, I finished the Driver side. I wanted some good Sun Shots but I knew It would be Dark before I got completly finished So here are some Wet and Succulent Sun Shots of the Driver Side. I didn't finish the car until Midnight.


The Final Sealant was Black Fire Wet Diamond


DSC_0363.jpg


DSC_0371.jpg


DSC_0374.jpg


DSC_0376.jpg


DSC_0380.jpg


DSC_0382.jpg


DSC_0384.jpg


DSC_0385.jpg


DSC_0387.jpg


DSC_0388.jpg


DSC_0391.jpg


DSC_0392.jpg


DSC_0395.jpg


DSC_0397.jpg


DSC_0398.jpg


DSC_0399.jpg


DSC_0402.jpg


DSC_0404.jpg


DSC_0405.jpg


DSC_0406.jpg


DSC_0410.jpg


A quick cleaning of the interior was done too.


Before:

DSC_0268.jpg


After:

DSC_0427.jpg


Thank you for Viewing and don't forget to check out that video of their father recieving his dream car. thanks

 
That was nasty! Was that a HF rotary? How do you like it?


The video was actually quite sad knowing that the dad had passed since it was taken.
 
Great work Eric!


Sorry to here about the loss of a friend. :(


Maybe I missed it but what did you follow up with after the M105 PFW?
 
Mindflux said:
Looks like a Makita to me with the bail handle.


^That thing is definitely a harbor freight rotary.


Great work on the fairlady! That car is stunning now.


Theres a little trick you can learn in getting the paint chips looking better and more flushed. Apply several layers of paint as you did, letting each coat dry properly and before you do any type of sanding take an old plastic credit cars and fold a shop towel around it. Take some lacquer thinner and wet one side of the card. Now what you do is lightly skim over the of the paint chip. The edge of the card will stay flush with the panel and the laquer thinner on th edge will lightly taking off the excess paint and level/even it out much better. Then sand to blend...etc. You know the rest.
 
Nice work!


lasthope05 said:
^That thing is definitely a harbor freight rotary.


Great work on the fairlady! That car is stunning now.


Theres a little trick you can learn in getting the paint chips looking better and more flushed. Apply several layers of paint as you did, letting each coat dry properly and before you do any type of sanding take an old plastic credit cars and fold a shop towel around it. Take some lacquer thinner and wet one side of the card. Now what you do is lightly skim over the of the paint chip. The edge of the card will stay flush with the panel and the laquer thinner on th edge will lightly taking off the excess paint and level/even it out much better. Then sand to blend...etc. You know the rest.


When you say lightly skim over the paint: are you using the edge of the card or laying the card flat against the paint? Thanks!
 
I think its sad that you took out all the cool looking spiral galaxies in the paint, they added such a cosmic touch, now its just a plain black background with no character!


Cheers,

GREG
 
mrclrider said:
That was nasty! Was that a HF rotary? How do you like it?


The video was actually quite sad knowing that the dad had passed since it was taken.


I love my HF rotary, it has been working great every since christmas, and I have another one that Ive had about 5 years. still going strong.


Mindflux said:
Looks like a Makita to me with the bail handle.
nope sorry, this one came with the same type of bail handle though just a lot less expensive.


RaskyR1 said:
Great work Eric!


Sorry to here about the loss of a friend. :(


Maybe I missed it but what did you follow up with after the M105 PFW?


Opps sorry, I finished the whole car in M105/ cyan hydrotech pad. Ive began to learn if you work the m105 all the way until its clear when your polishing, then the final finish is AMAZING, Ive done the last three cars like this, but this one I had to knock out some bad stuff with the PFW first. and LSP was BFWD my Favorite!:getdown


jaynick808 said:
at least u know hes smiling down looking at how great it looks.

Thats for sure! that was a nice comment to read thanks!


lasthope05 said:
^That thing is definitely a harbor freight rotary.


Great work on the fairlady! That car is stunning now.


Theres a little trick you can learn in getting the paint chips looking better and more flushed. Apply several layers of paint as you did, letting each coat dry properly and before you do any type of sanding take an old plastic credit cars and fold a shop towel around it. Take some lacquer thinner and wet one side of the card. Now what you do is lightly skim over the of the paint chip. The edge of the card will stay flush with the panel and the laquer thinner on th edge will lightly taking off the excess paint and level/even it out much better. Then sand to blend...etc. You know the rest.


Thanks, I'll give that a shot, that chip was a little difficult being on the corner of that edge on the fender, but I'll try your method next time.


JohnKleven said:
Great work, that black paint looks dripping wet. Which polishes and LSP did you use?


John


Final polish was done by working down m105 with a cyan lc pad. and LSP was black fire wet diamond
 
Back
Top