imported_Dave KG
New member
As a detailer who likes the social side of what I do, tuition details are one of my favourite parts of detailing - working with someone and teaching the detailing process on a car as you see the results for yourself. Very rewarding ")
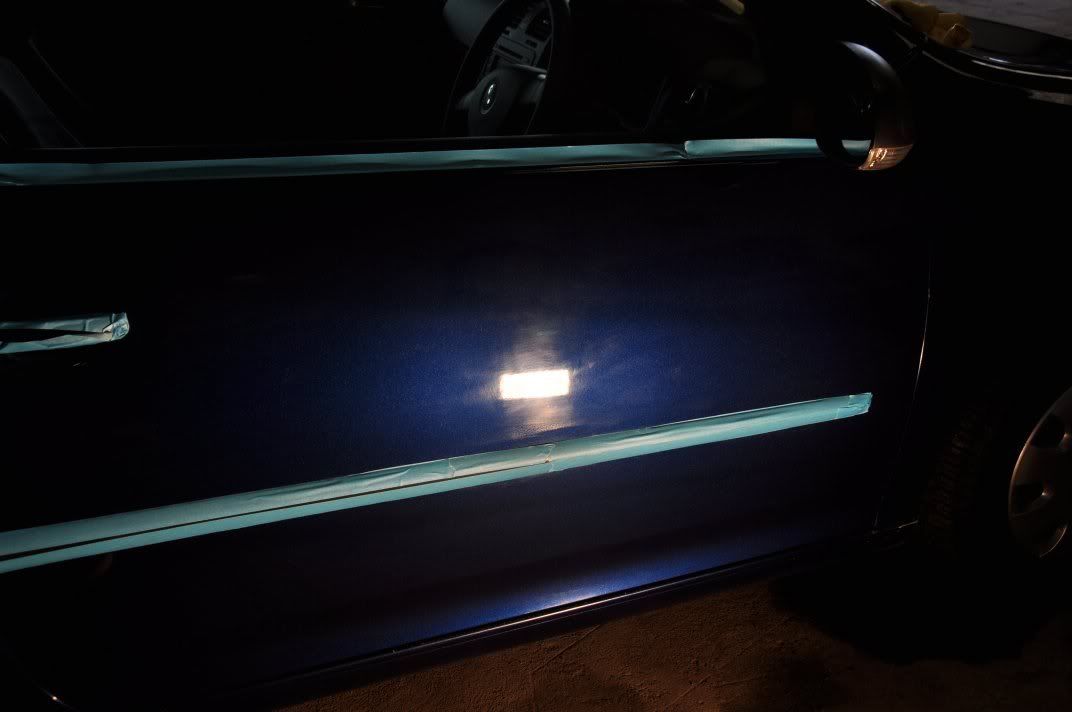
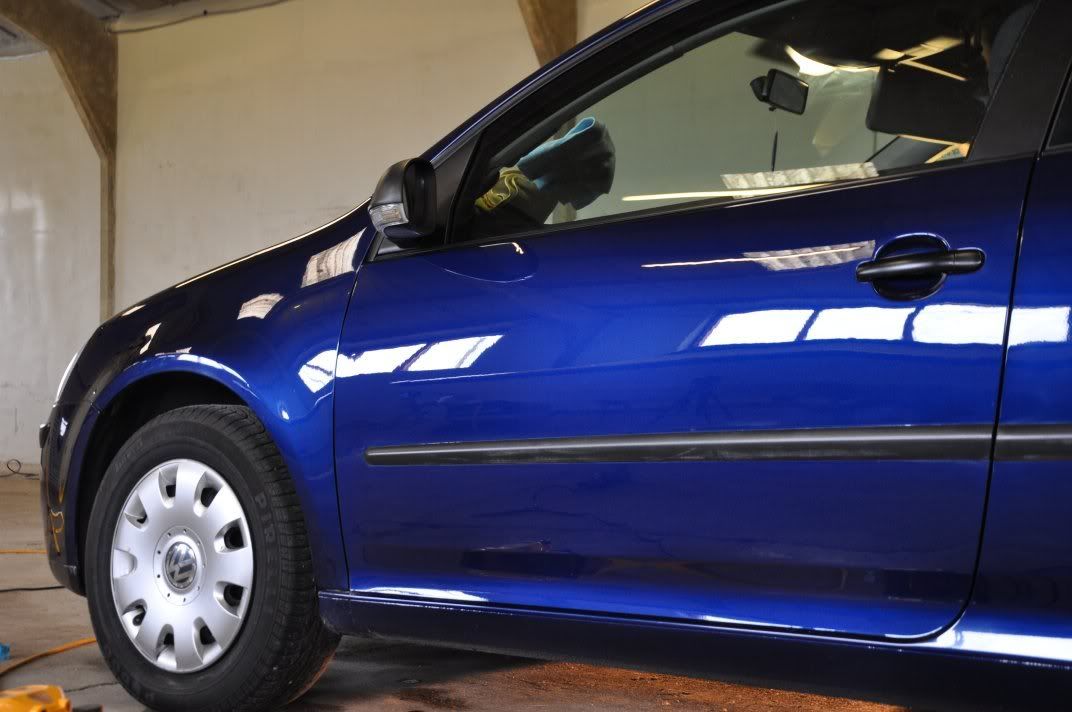
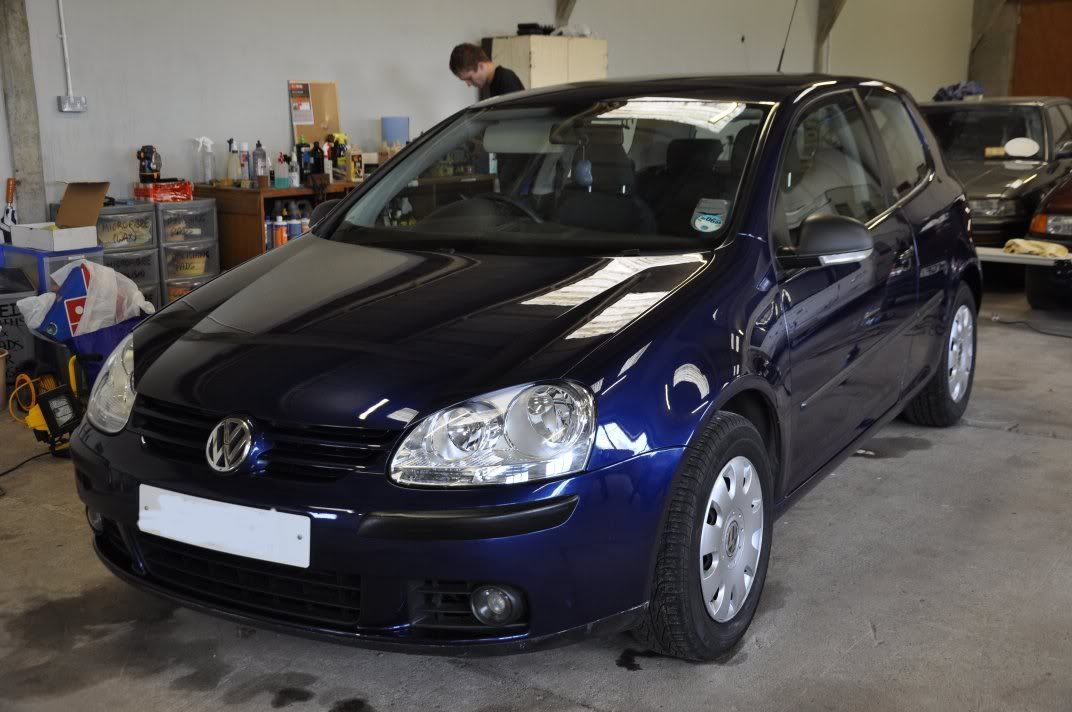
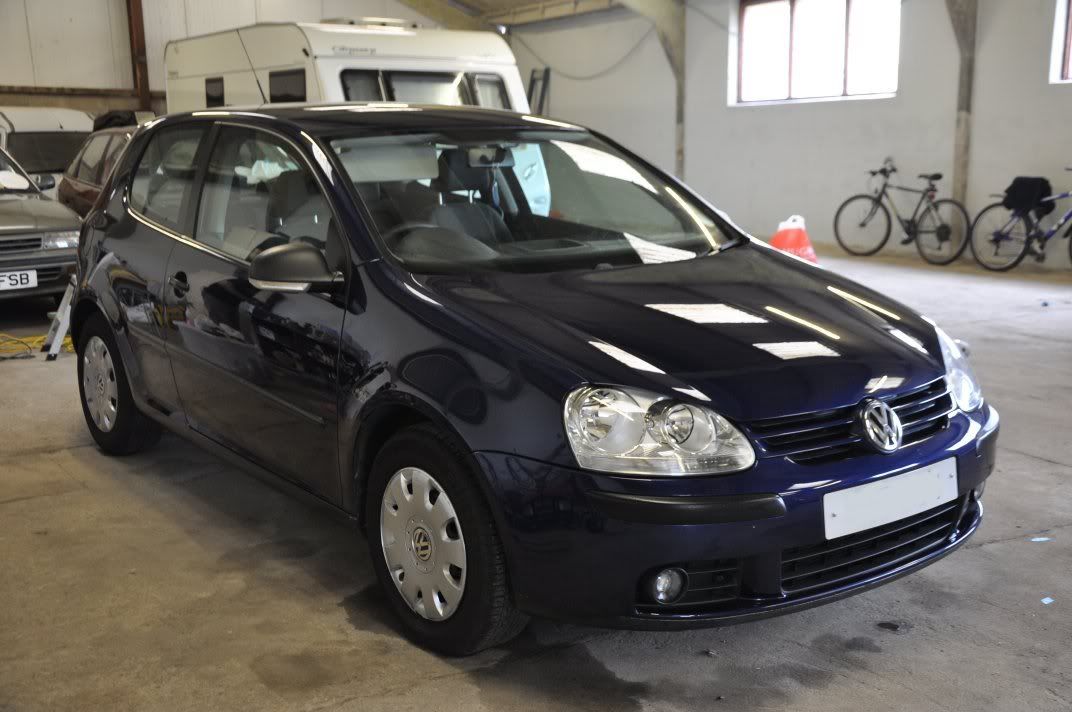
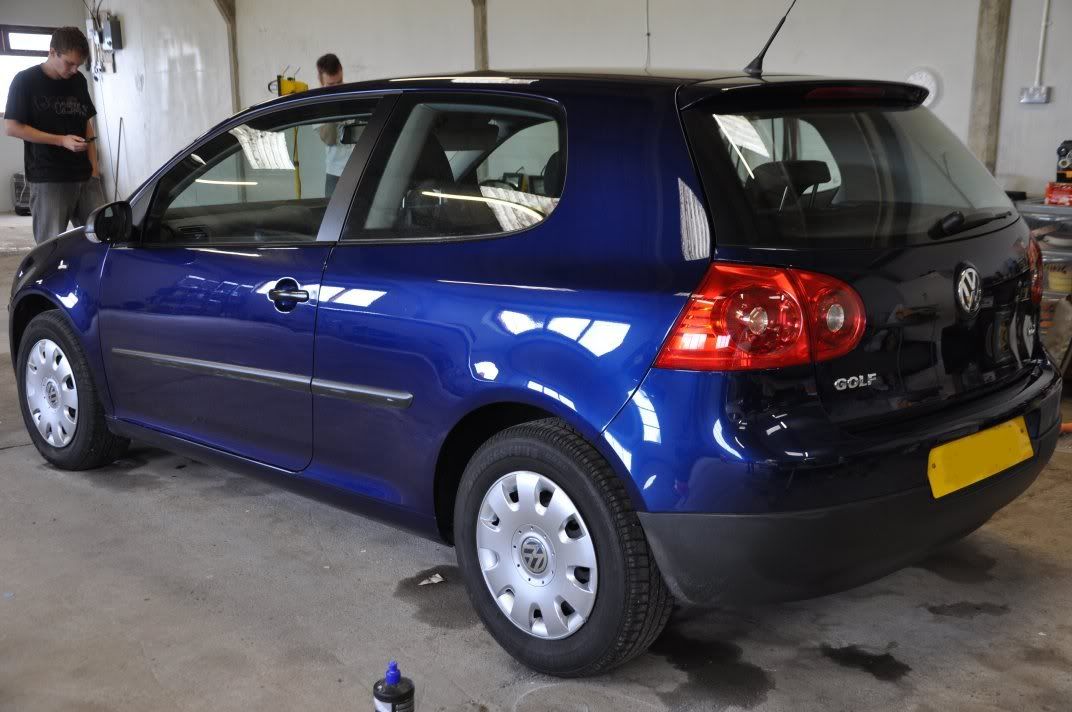
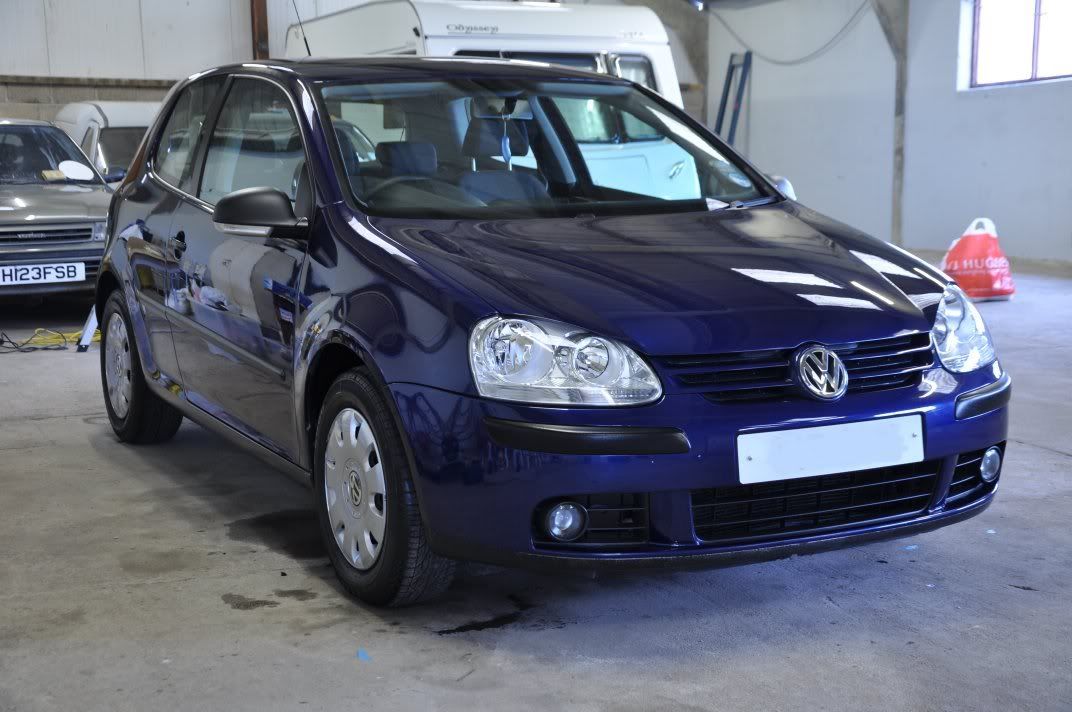
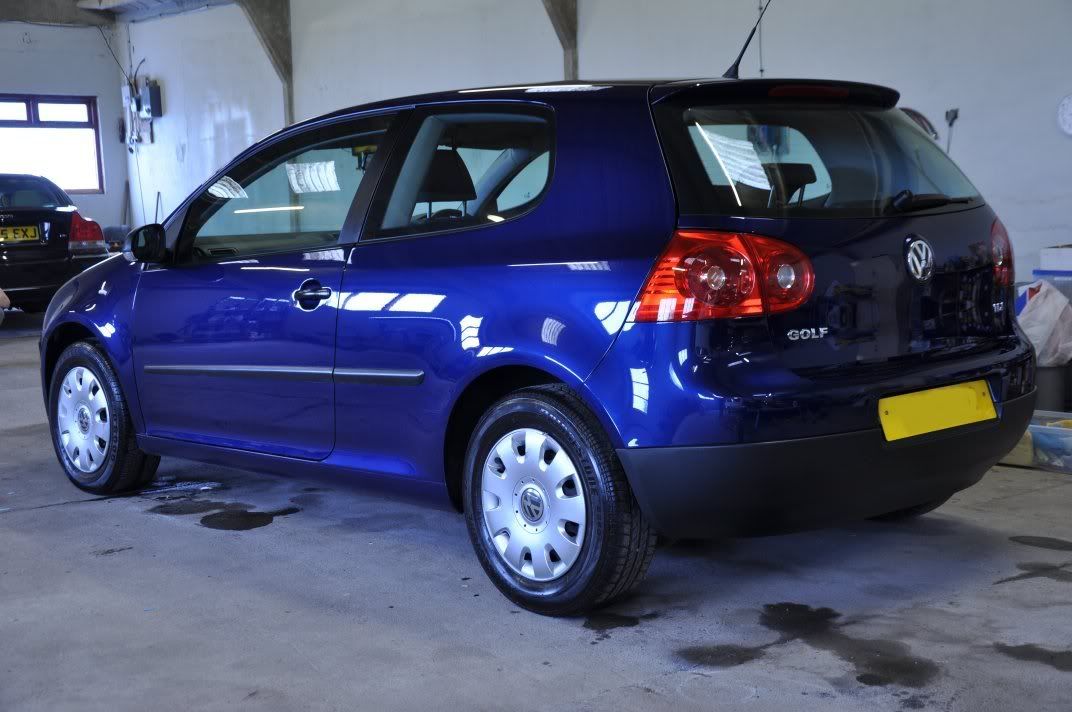
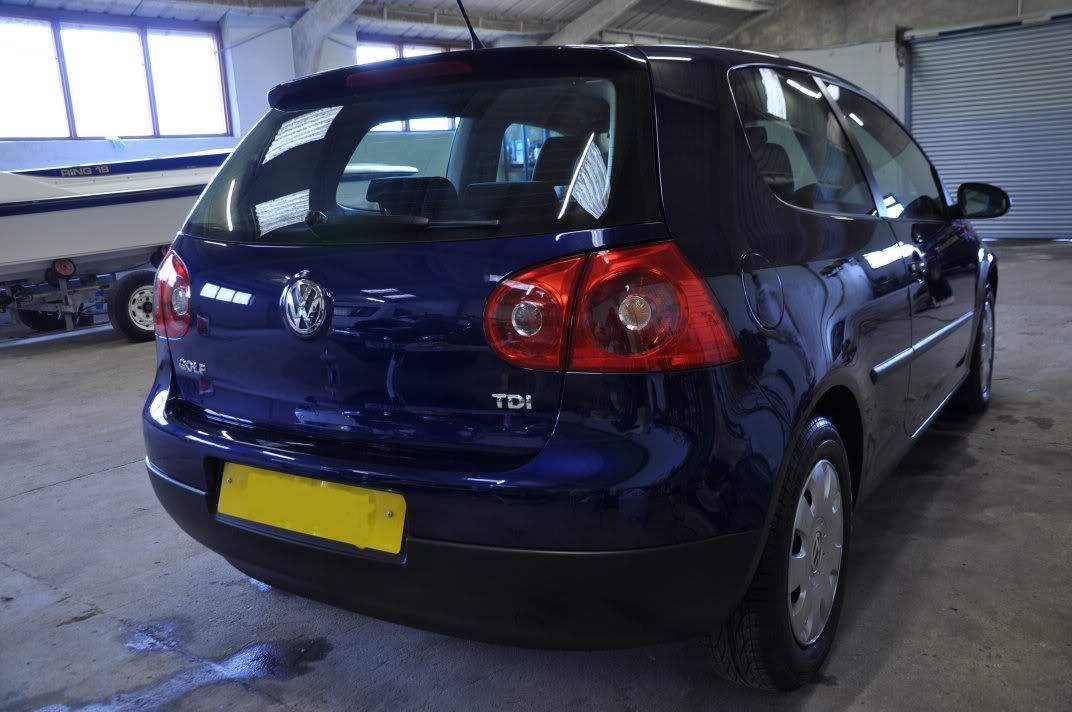
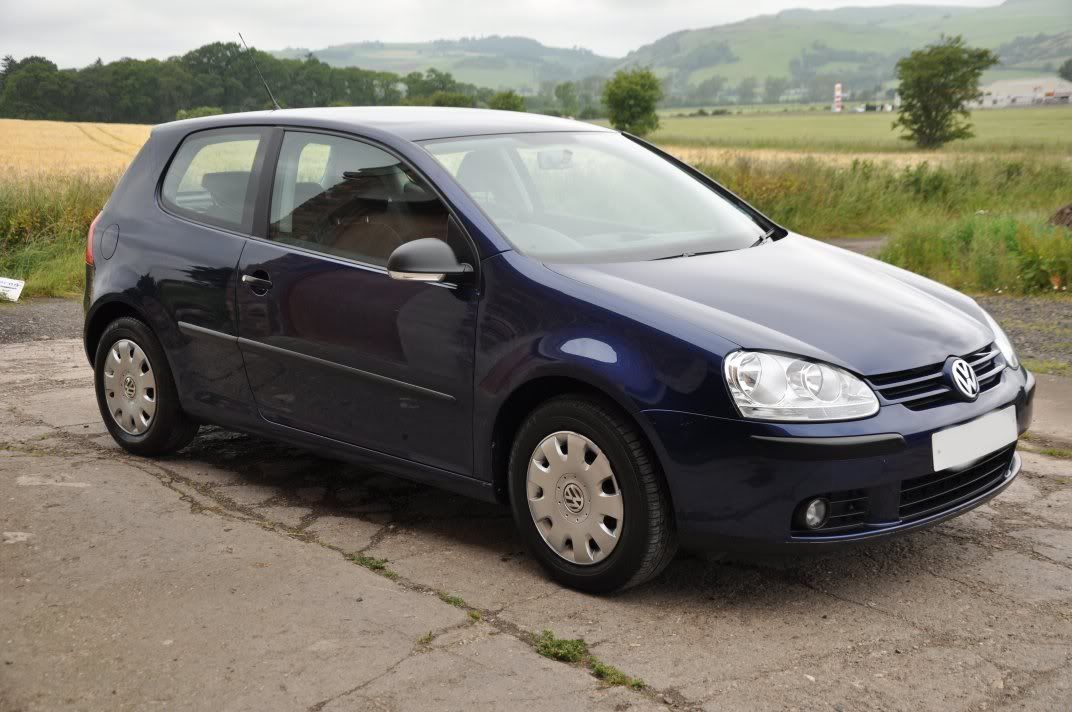
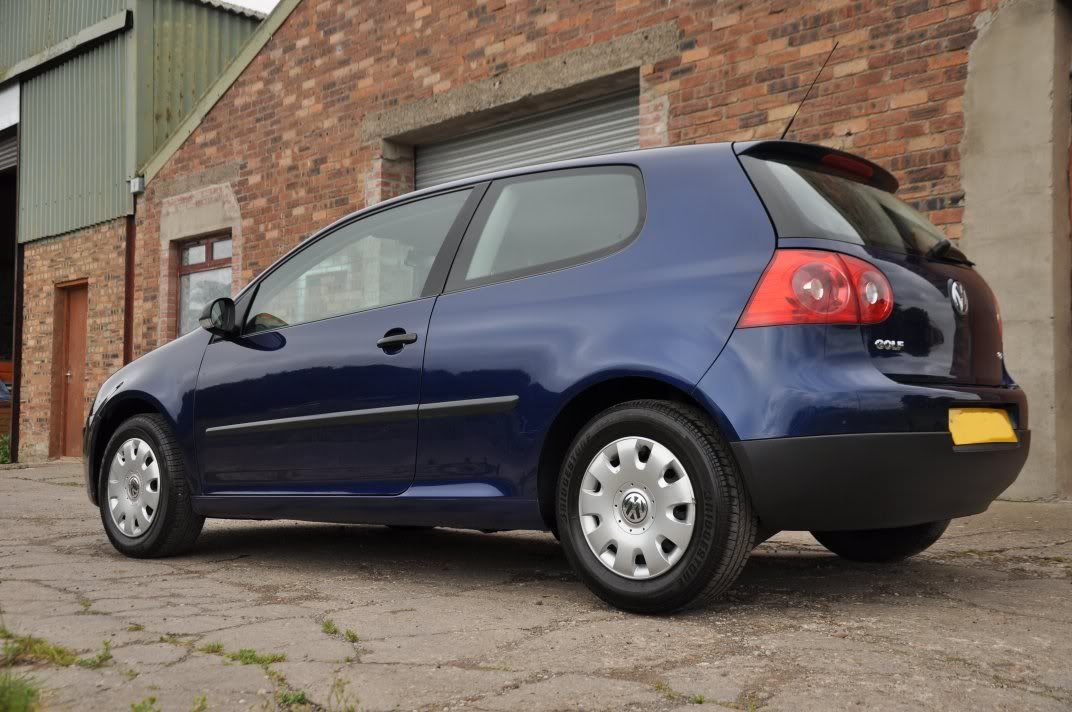
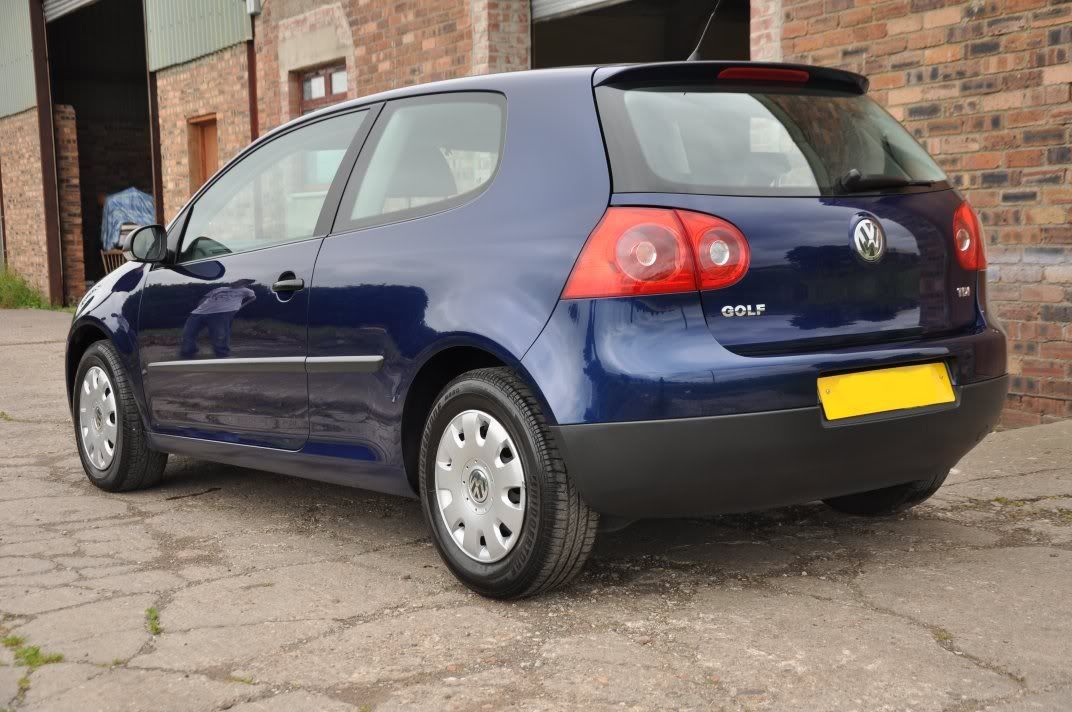
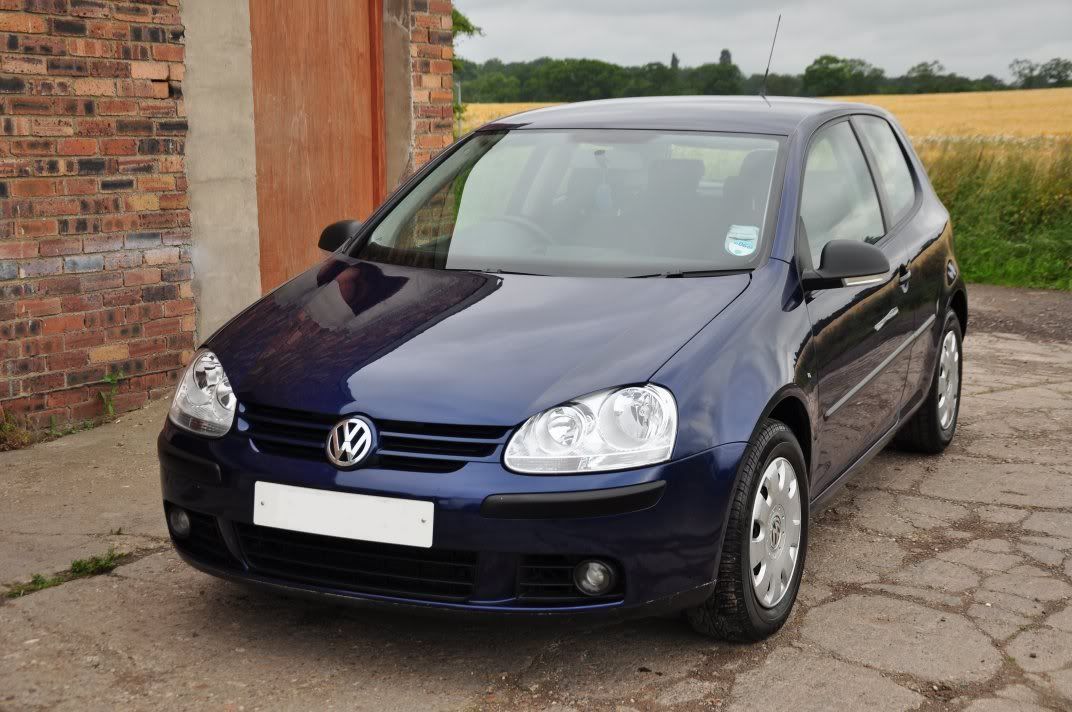
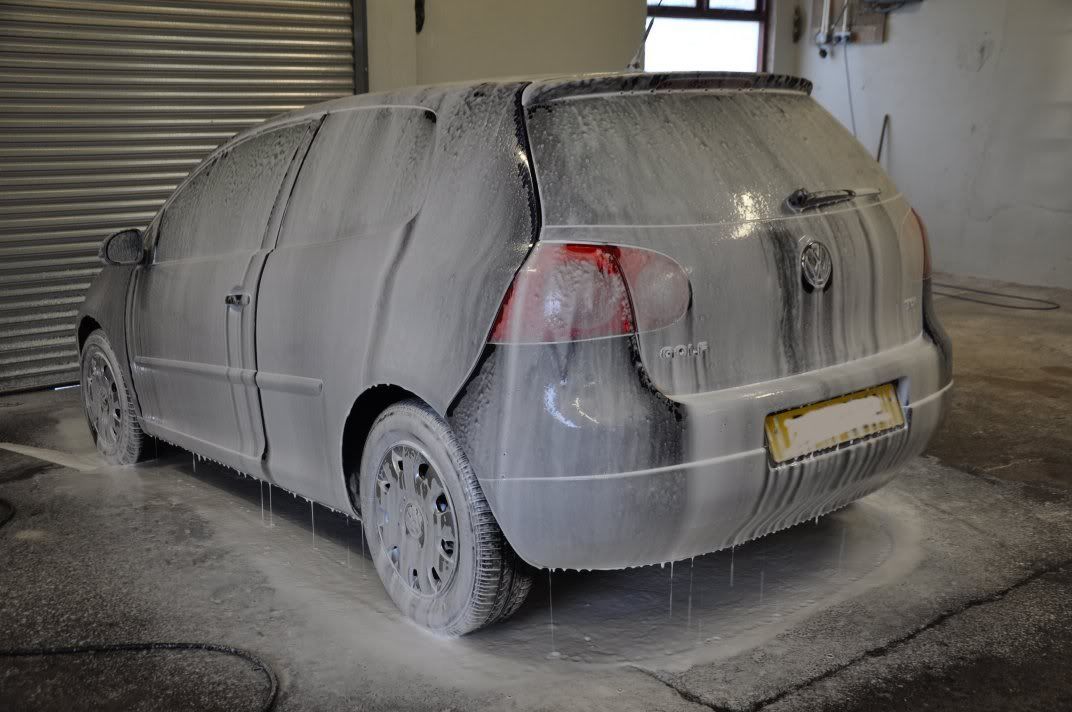
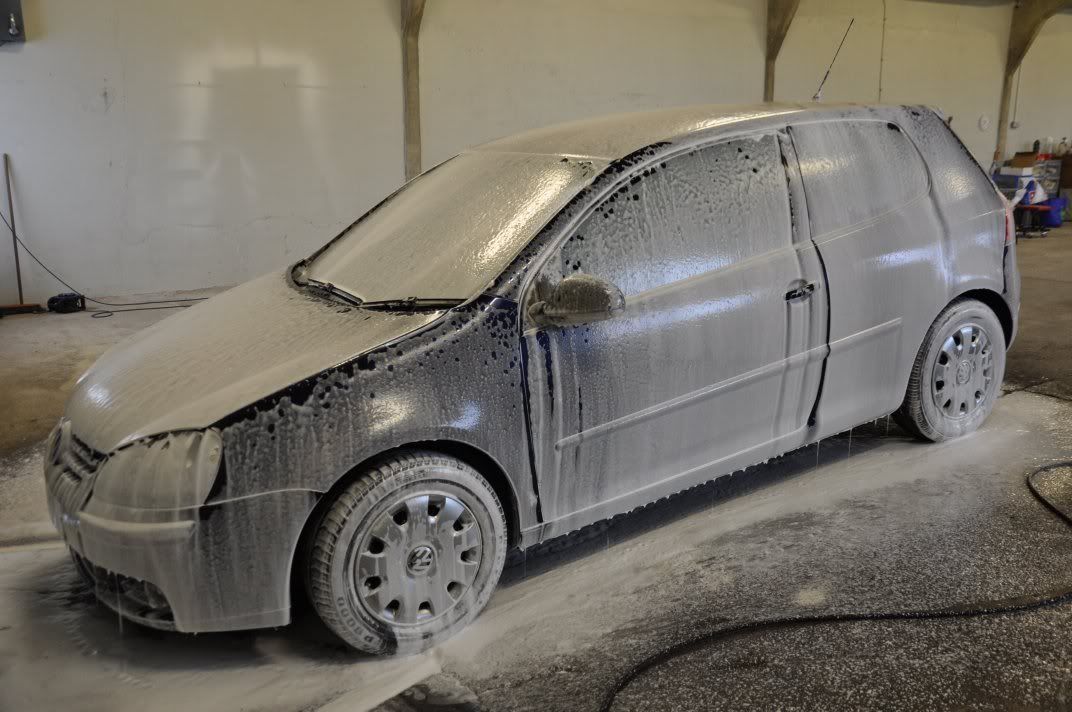
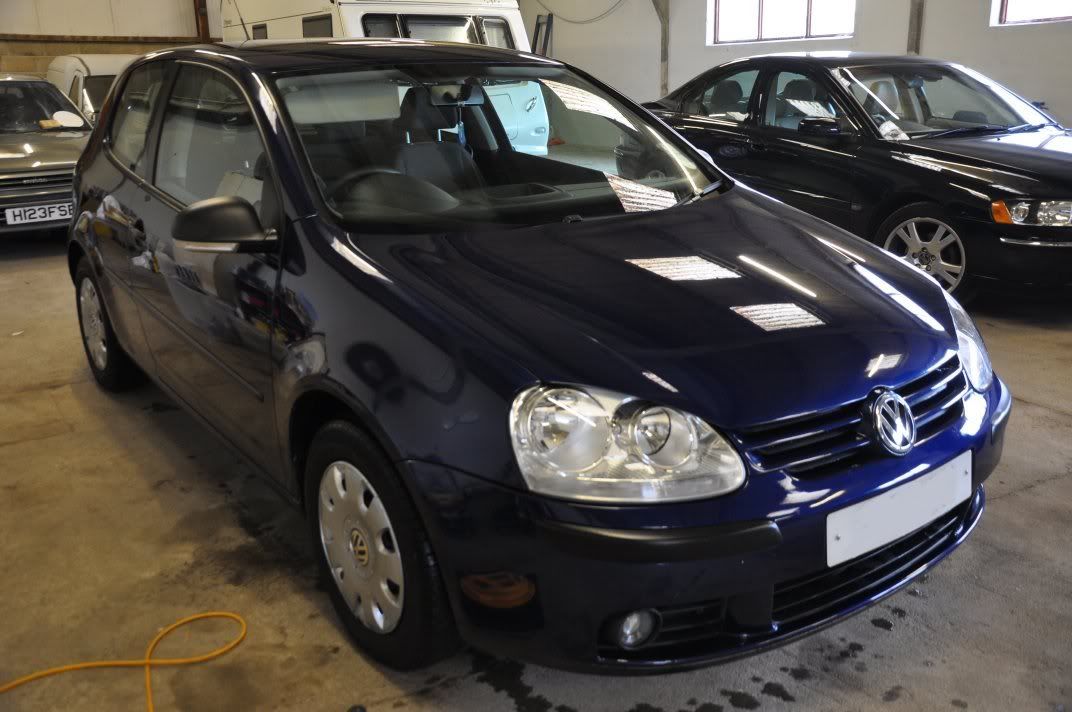
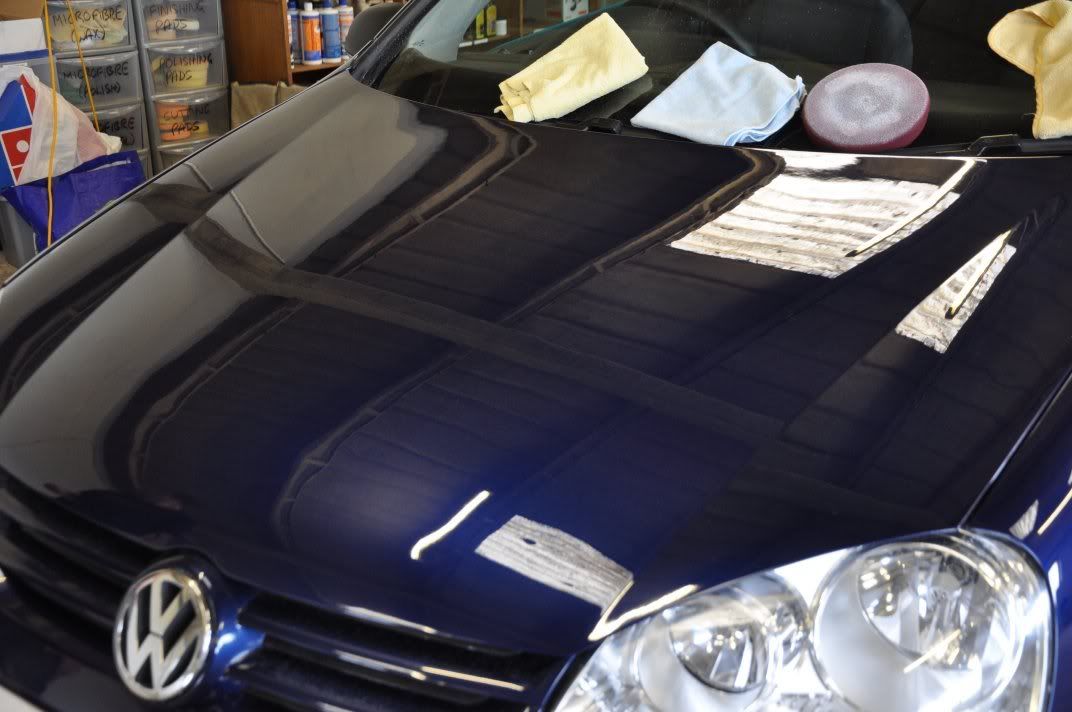
The subject of today's tuition detail belongs to Stuart (Spoony), who came up today with his mate Andrew and a rather nice blue VW Golf TDi. Only thing was, the paint was looking a little flat, especially at the front where there had been a front end respray - so the task of the day was the general swirl correction and the restoration of the gloss to the resprayed areas.
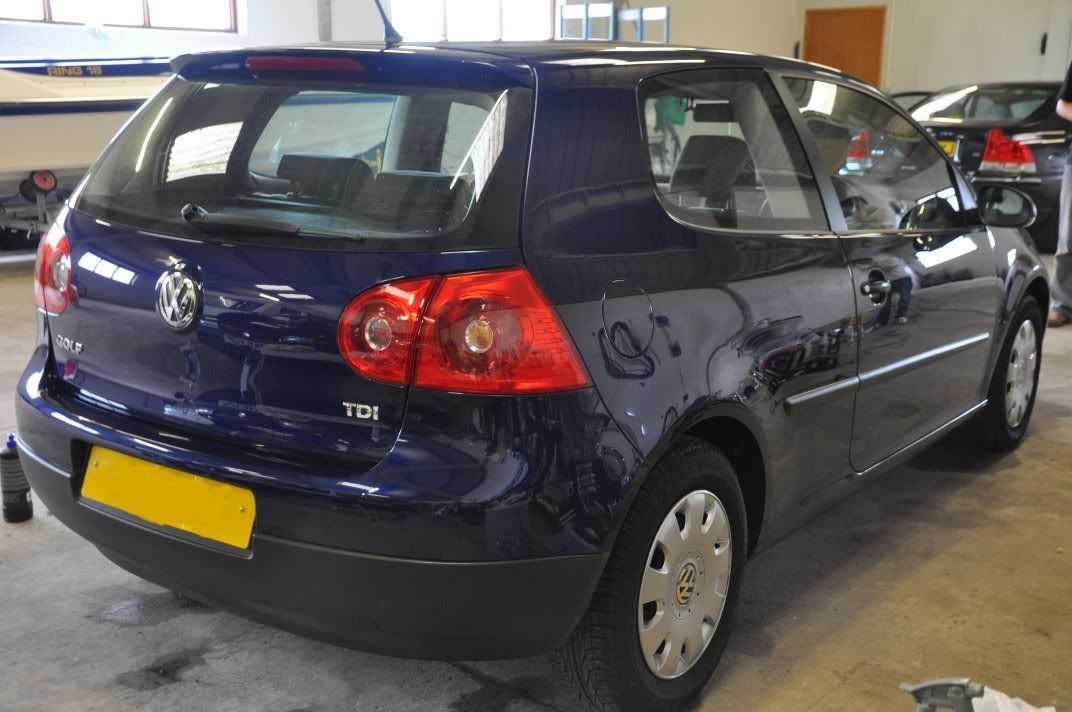
The car on arrival:
First up were the wheels which were cleaned with Bilberry cut 4:1, and the arches cleaned with Meguiars All Purpose Cleanser cut 4:1... Agitation on wheels with a Swissvax Wheel Brush (possibly the best wheel brush on the market for wheel faces? I think so)...
The onto the washing stage - before the two bucket was the car was foamed and rinsed - no point in inflicting any mkore marks from poor washing at the start of a detail just because its being machine polished anyway... besides this allows a useful part of the tuition detail, covering the washing techniques. Meguiars Shampoo Plus through the foam lance...
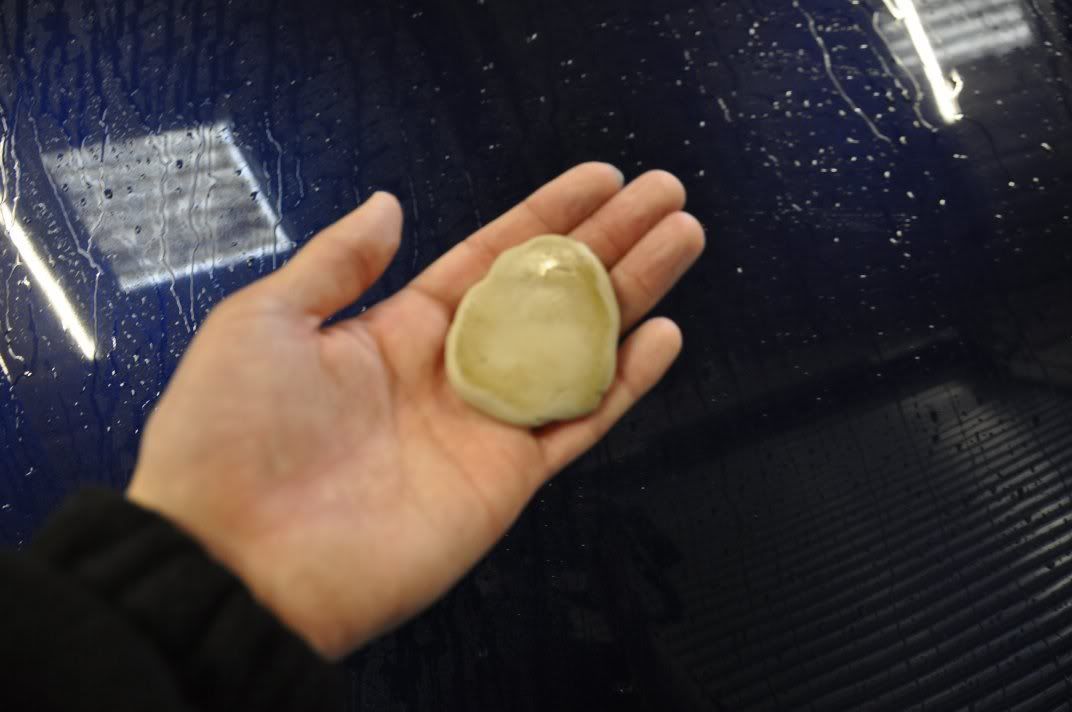
After the washing stage, it was onto claying... Bilt Hamber Soft Clay was used here, using Last Touch as a lube (yes, I know its designed to be used with water, but I like the slickness of the lube an on cars with a lot of large rough fallout, it is less prone to light marring). Light pressure, keeping the clay in the palm of my hand (not the finger tips, as pressure here will inflict marring if not careful - palm of the hand is more evenly spread)...
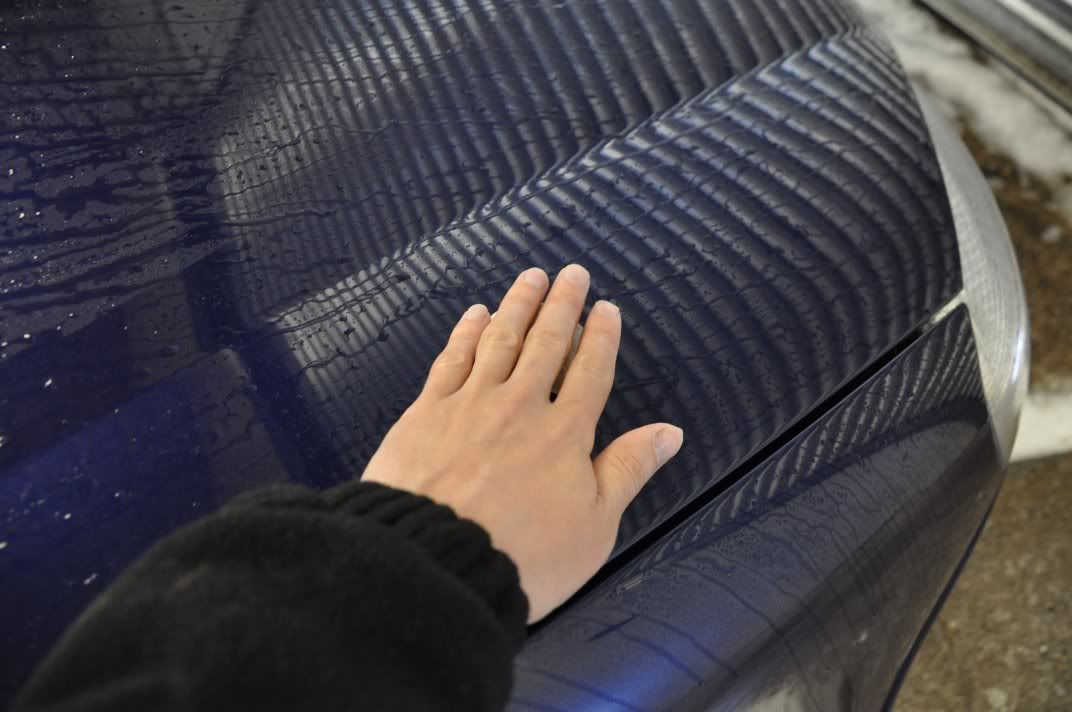
Sweep clay side to side until it feels like it is running smooth... You can see the grime the clay is picking up out of the paint:
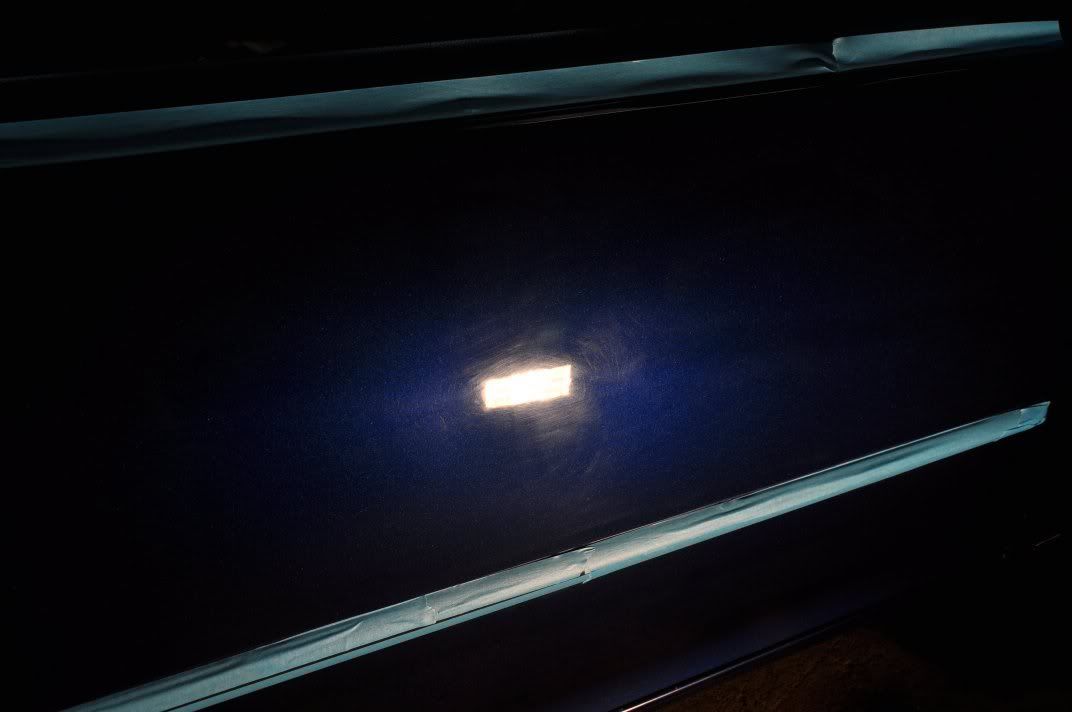
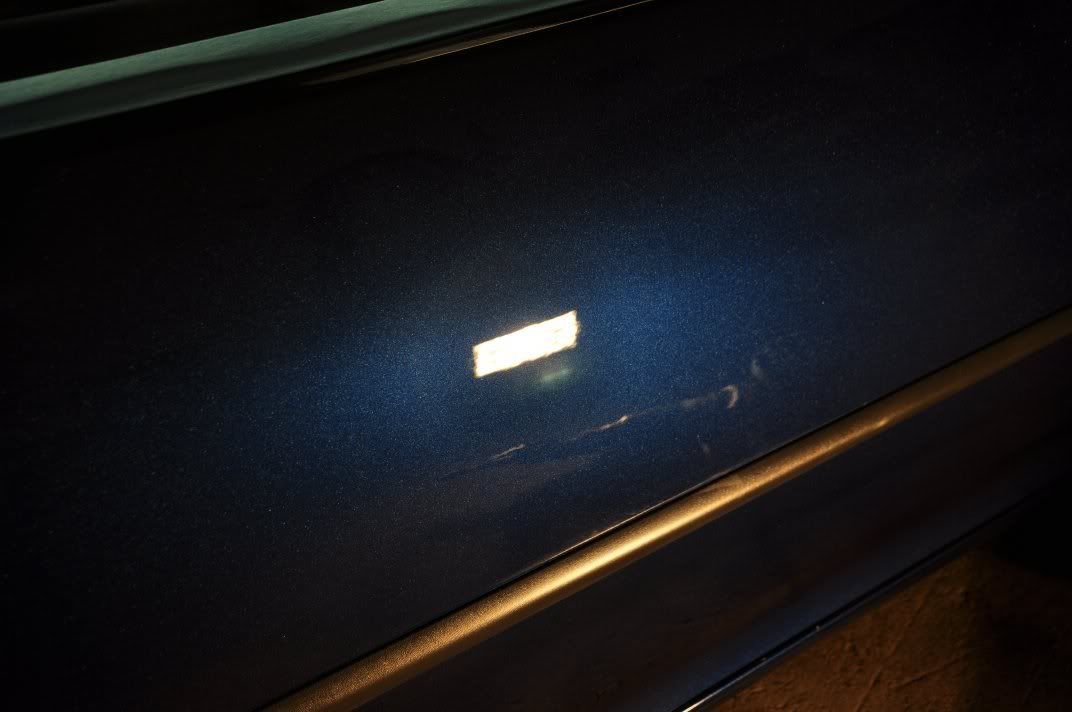
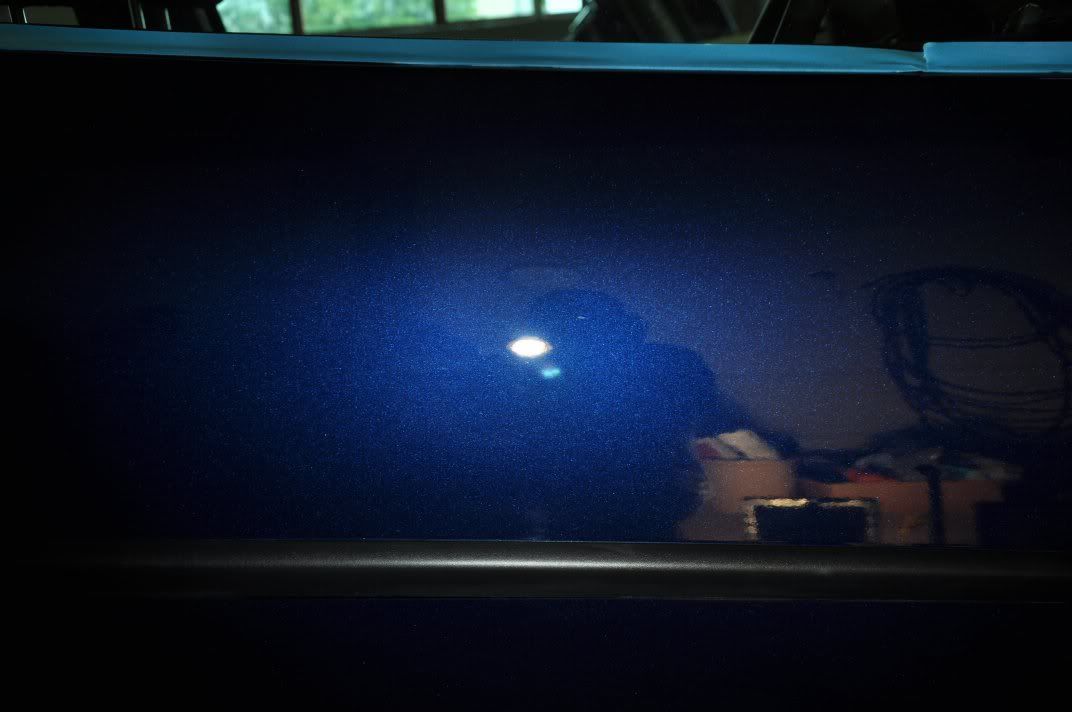
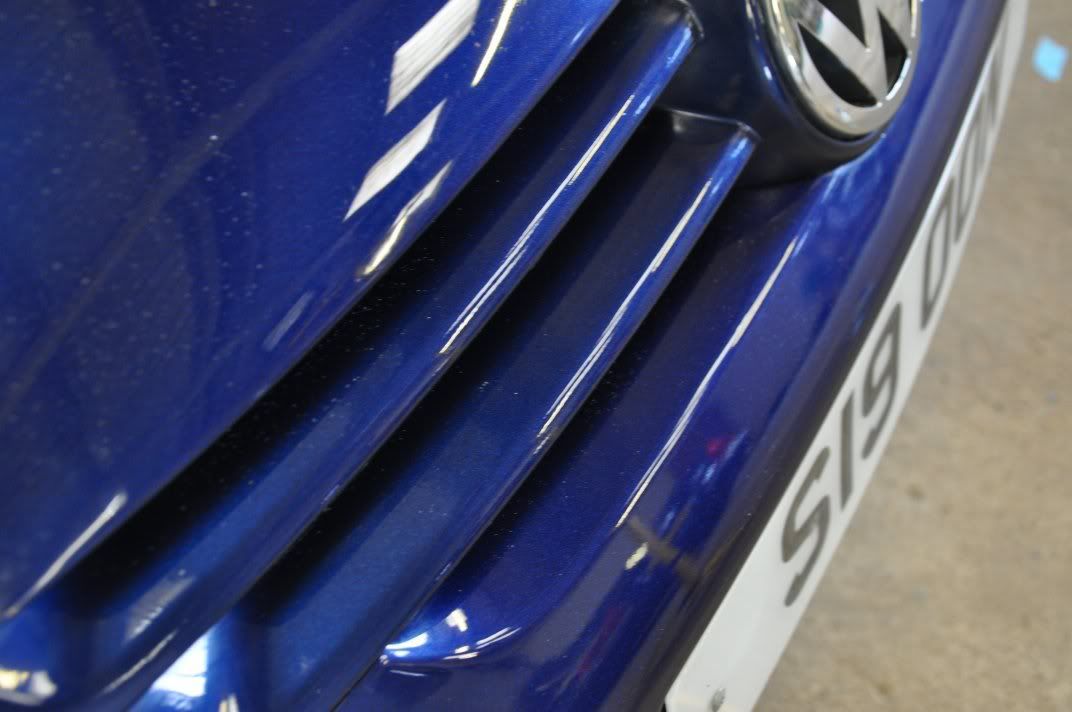
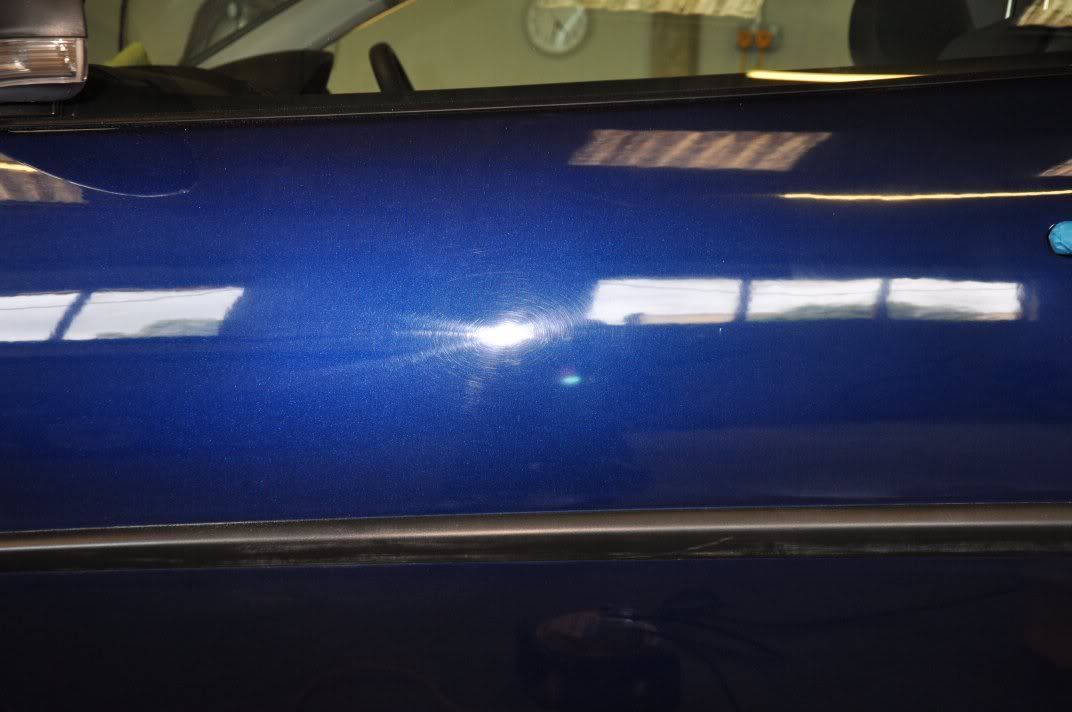
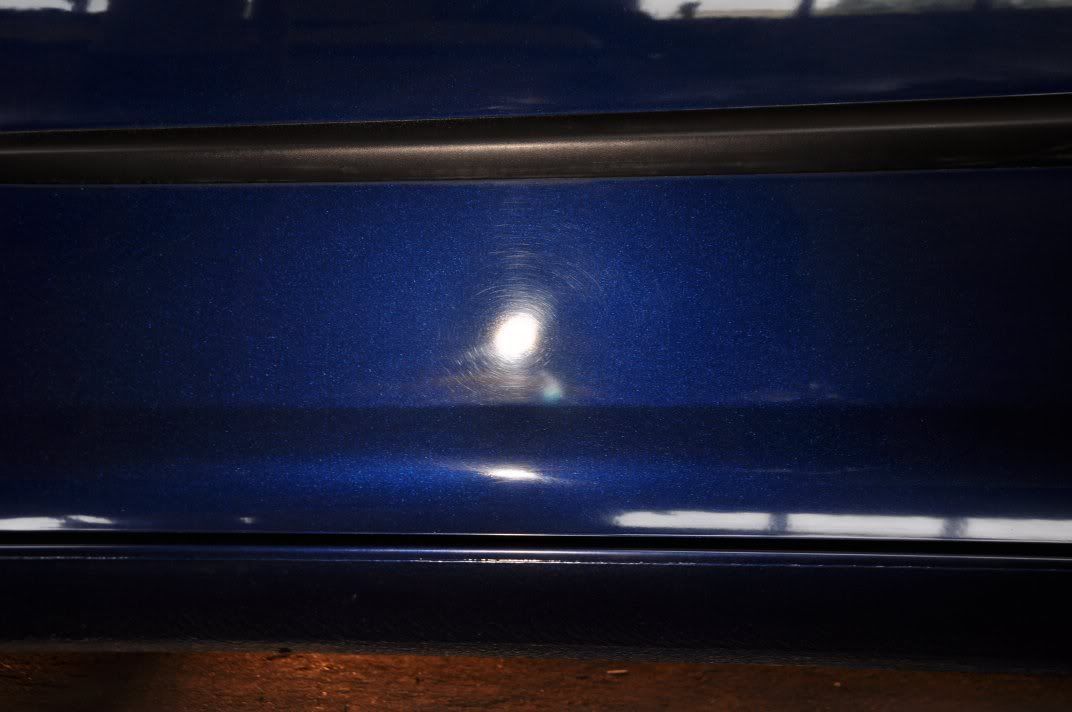
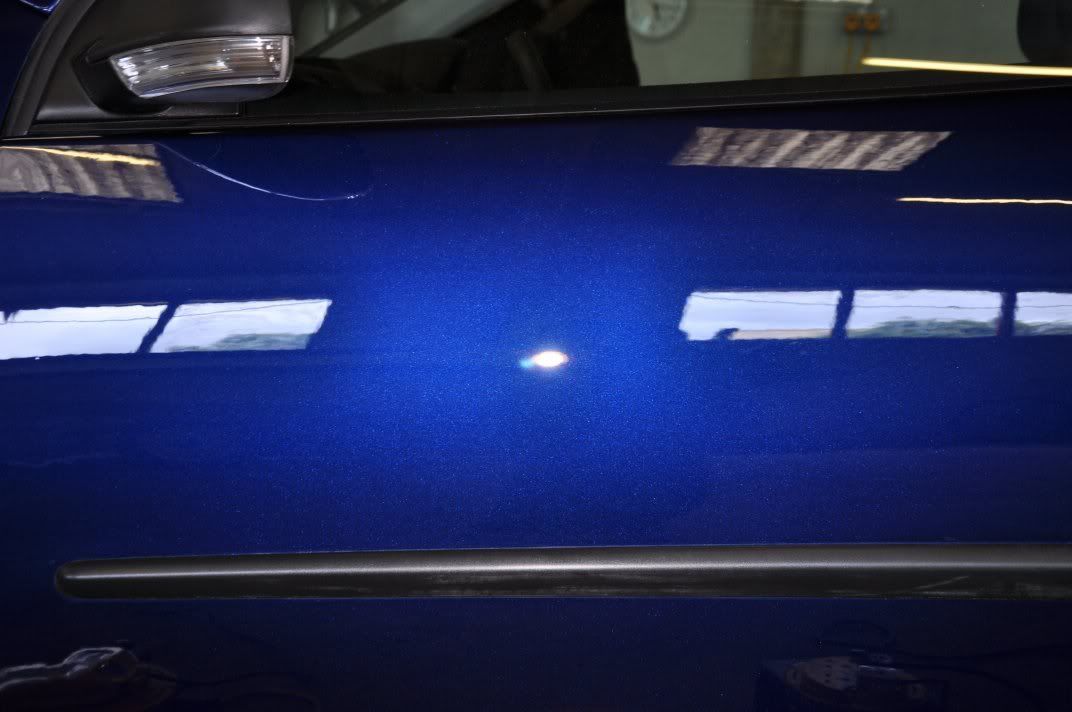
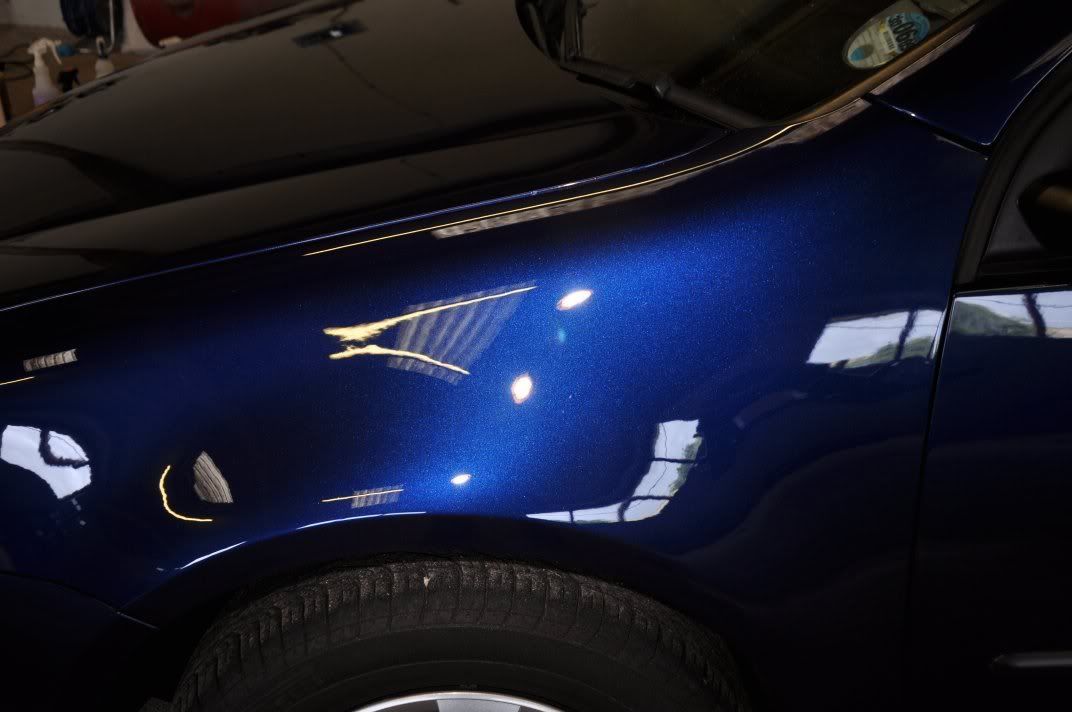
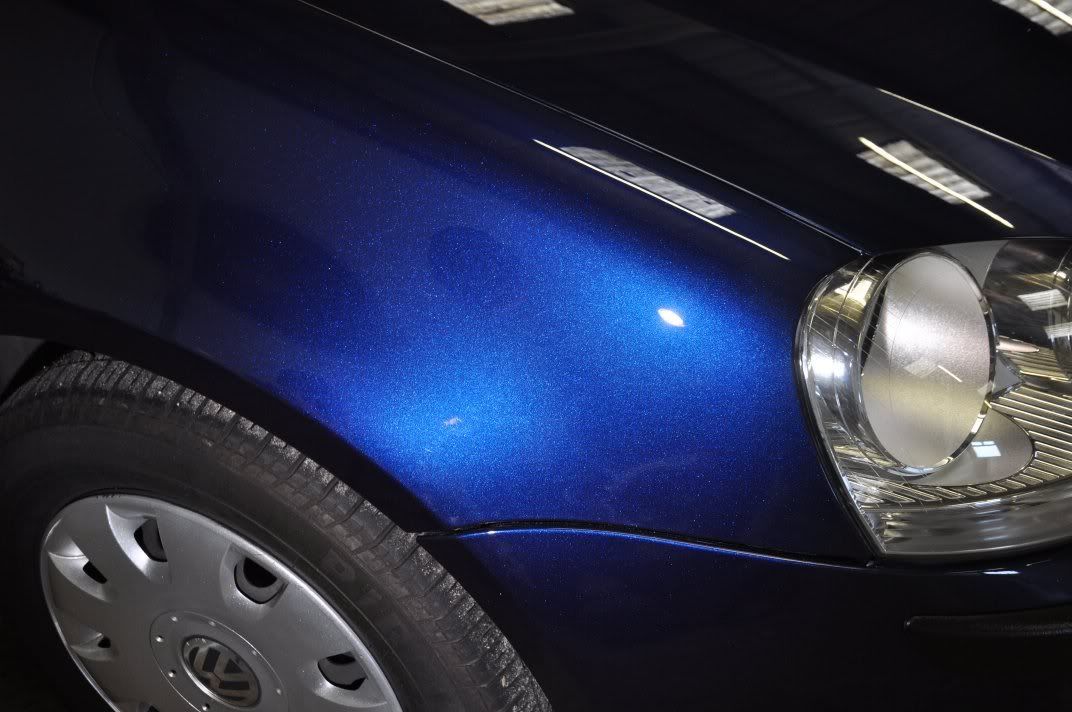
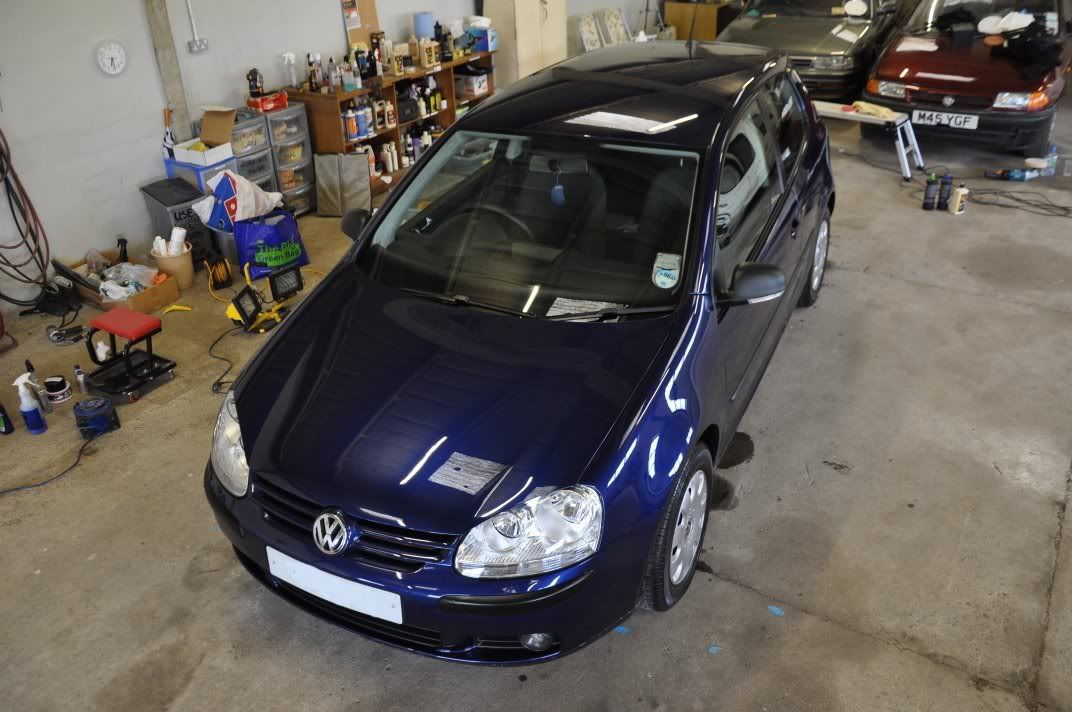
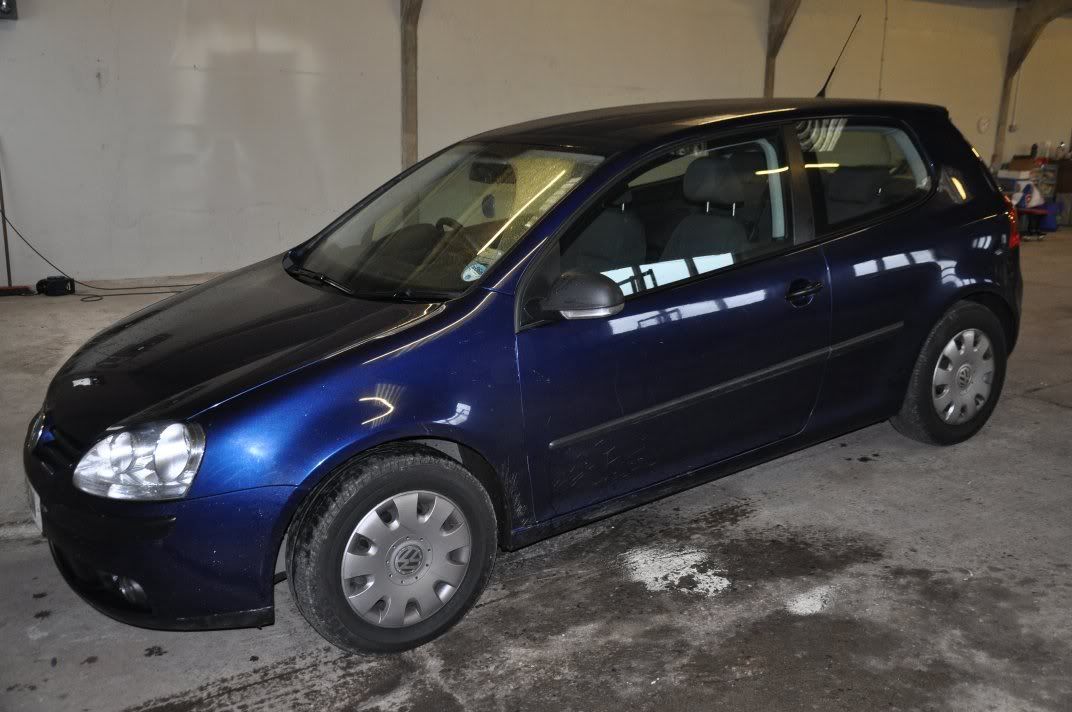
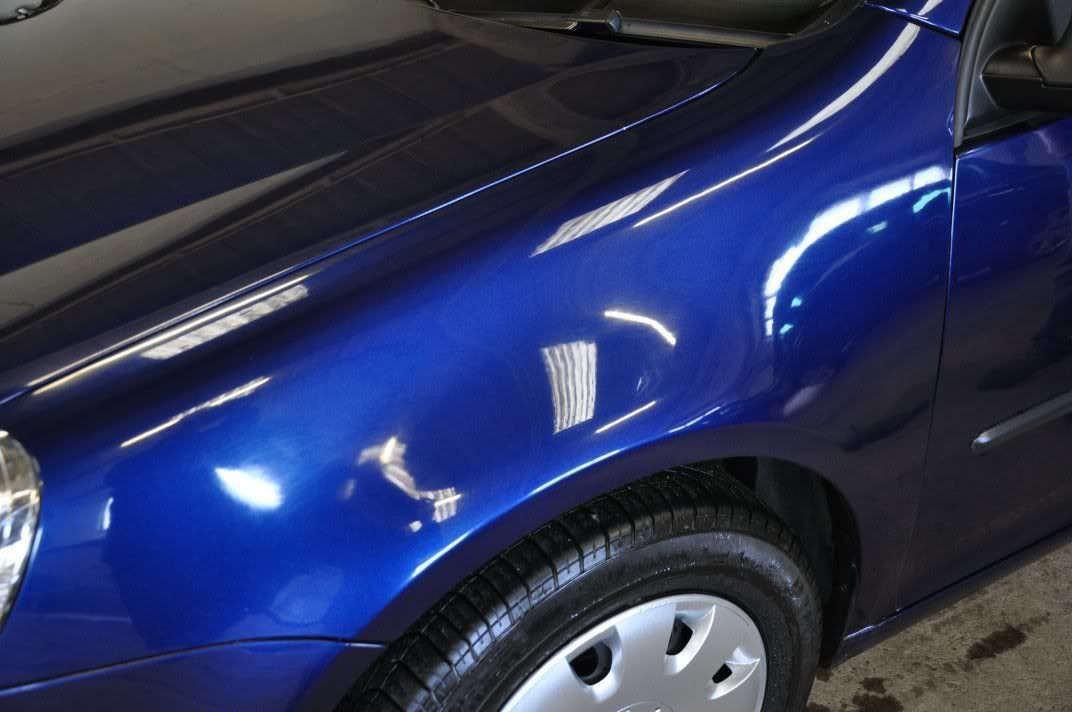
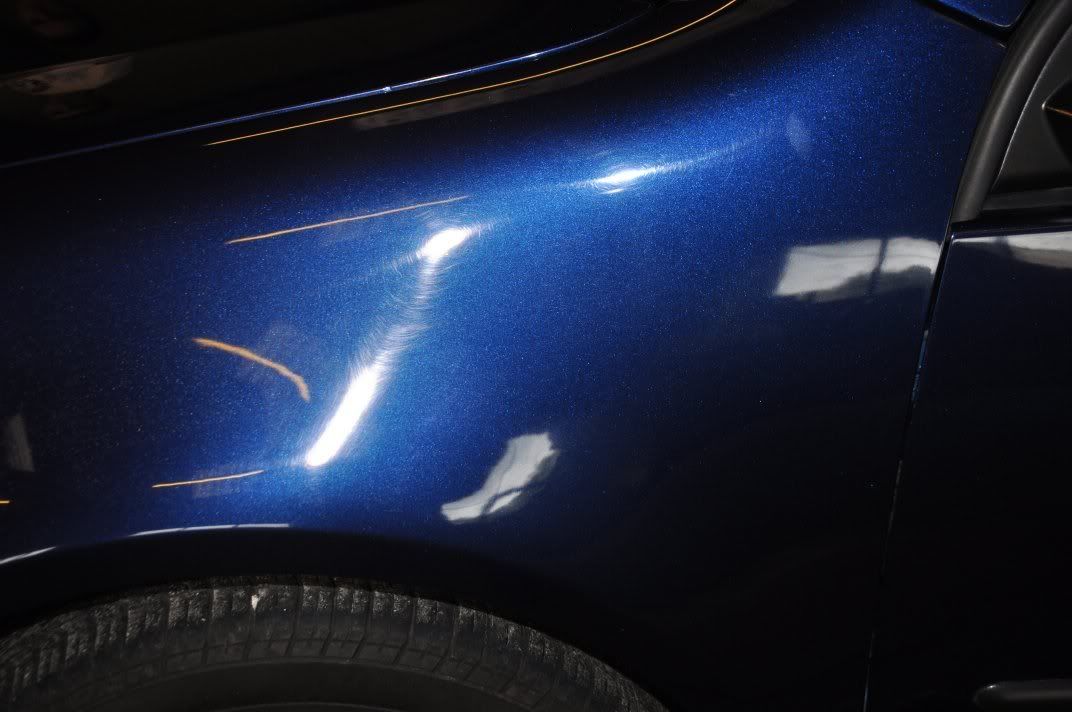
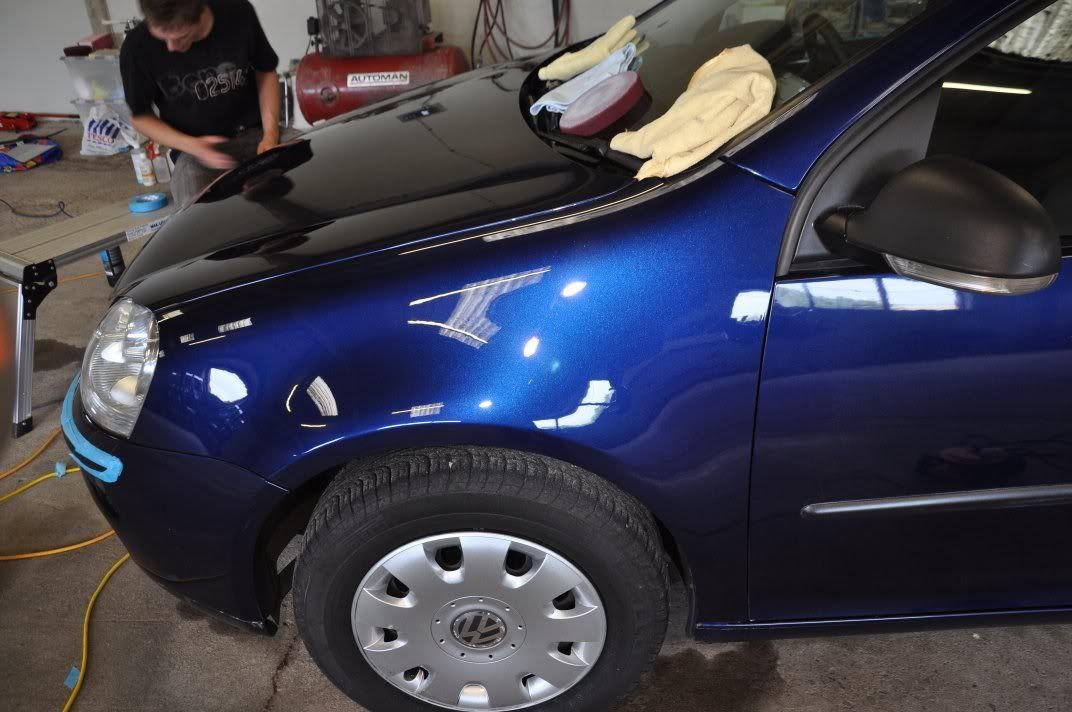
With the car clayed, it was time to move up to the polishing bay for the paint correction... After a good wash and clay, the car was already looking much better but you could see the deep blue was no shining to its full potential:
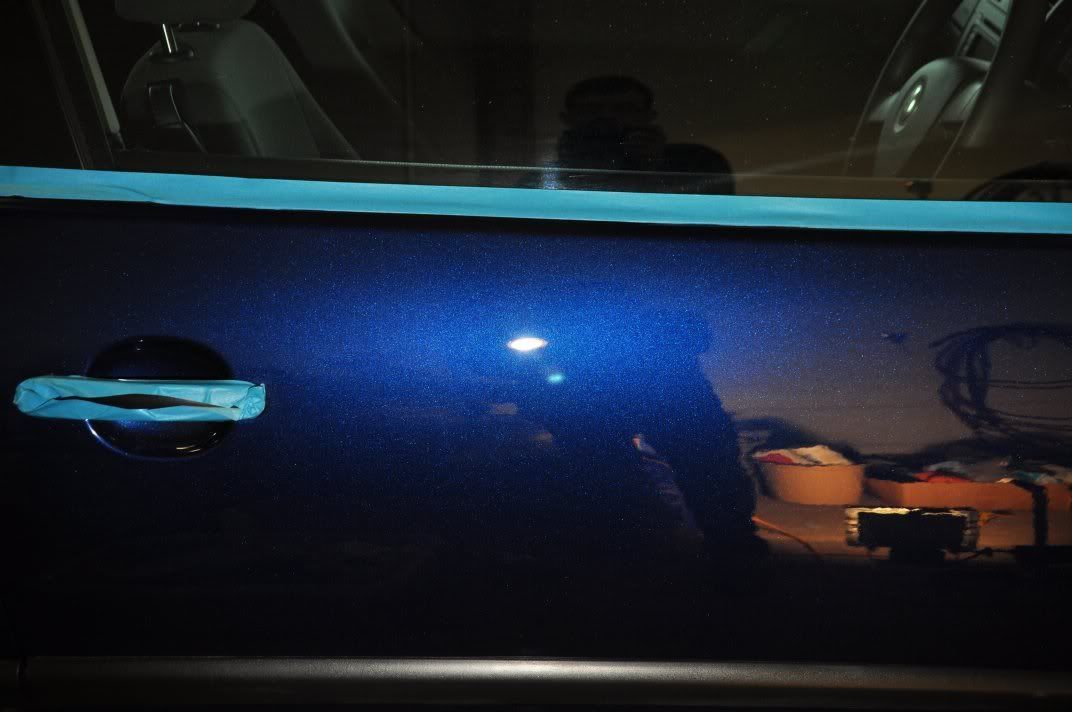
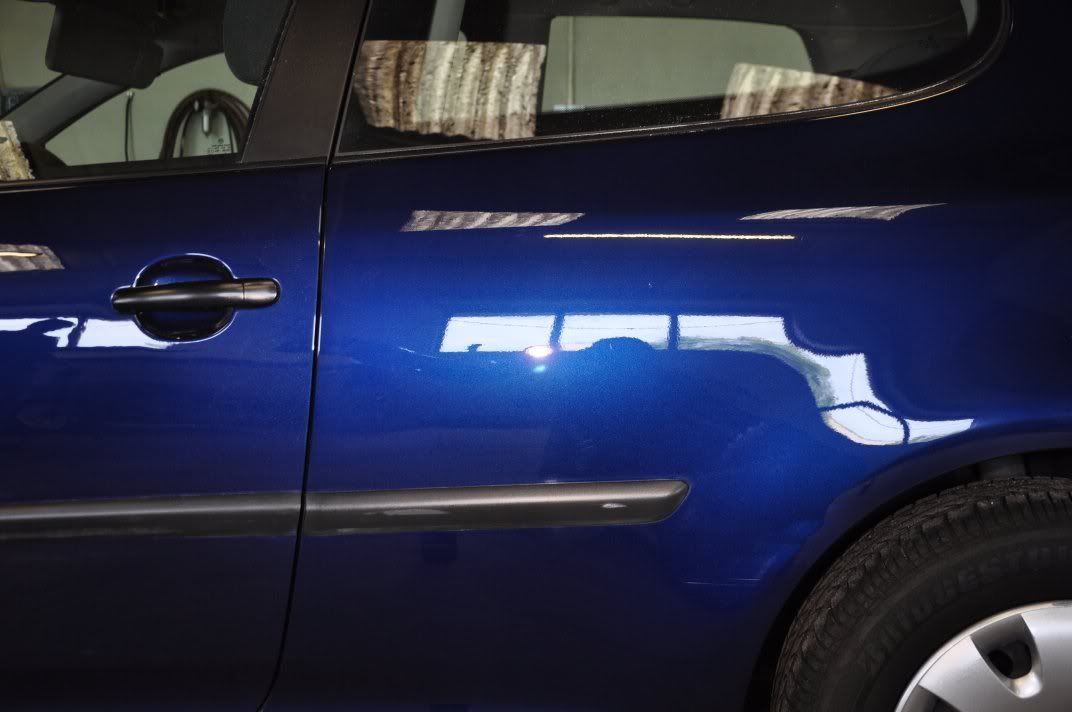
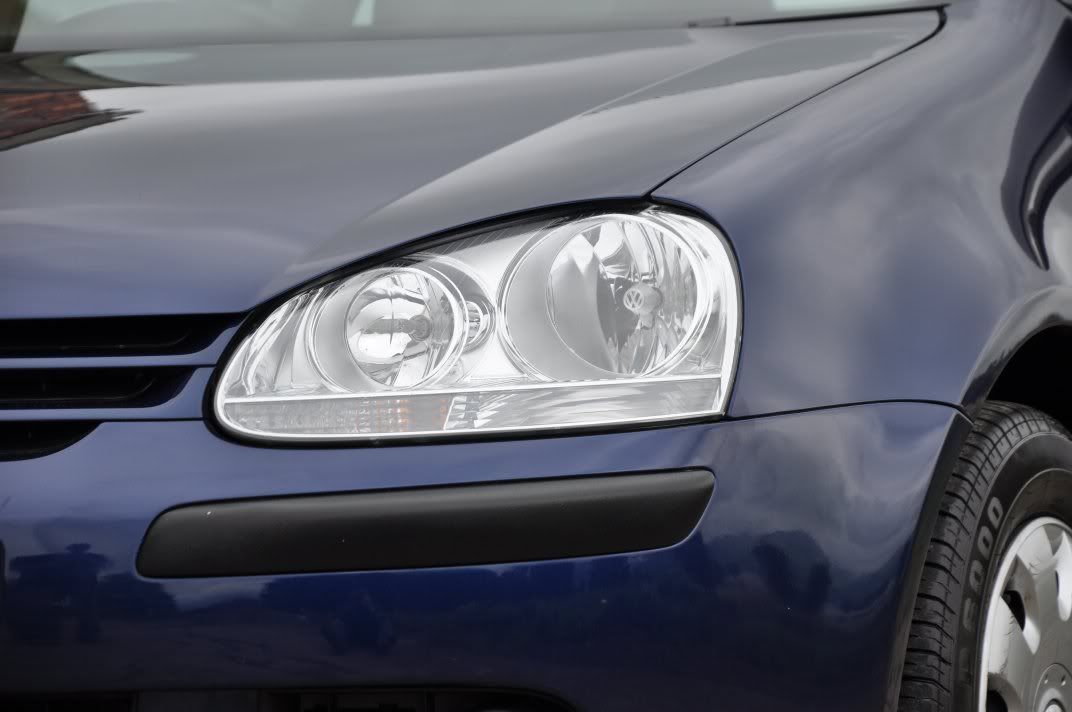
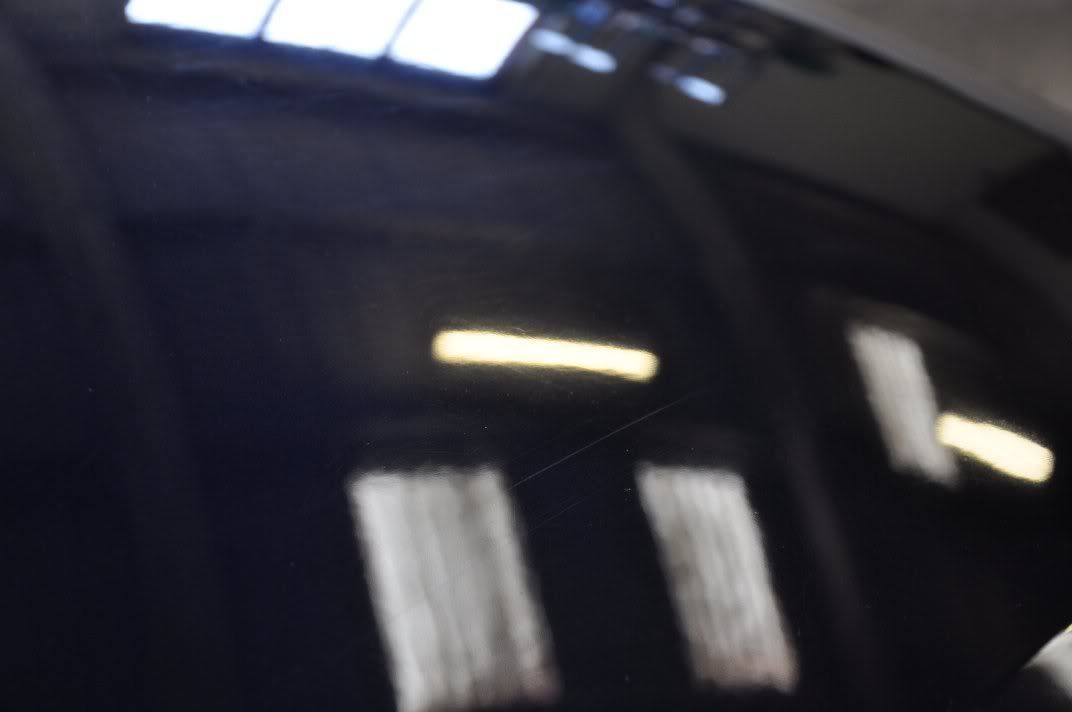
A closer look reveals why. The respray finishing not quite up to standard, leaving a haze and dullness to the finish, combined with deeper scratches and general swirls robbing the paint of its true beauty.
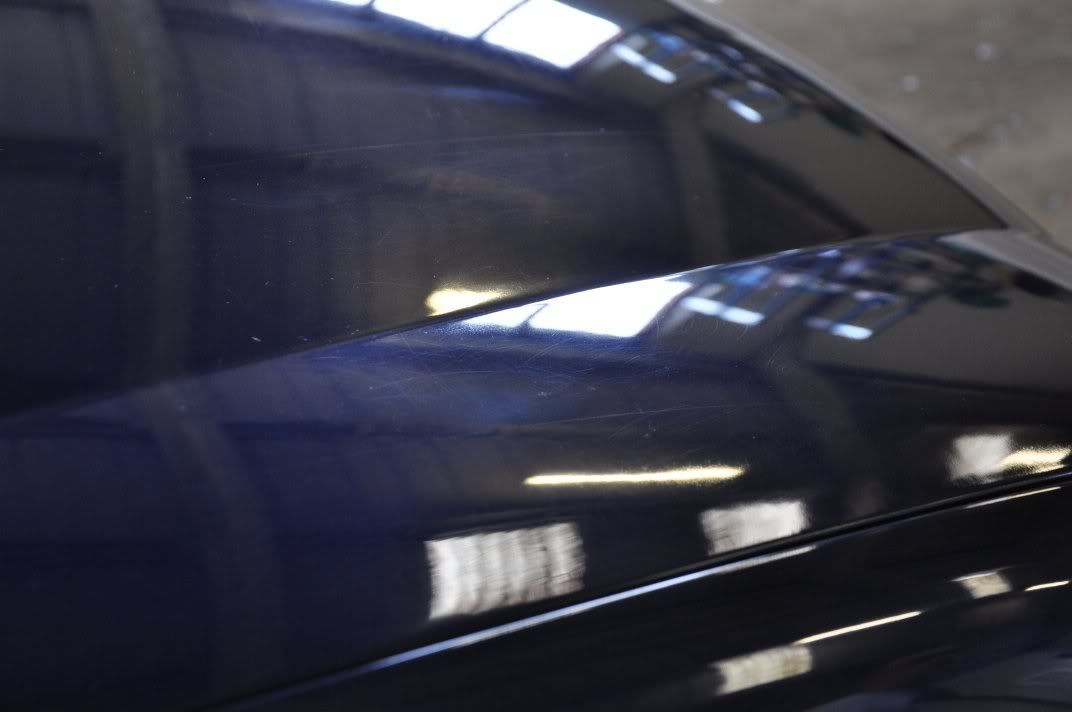
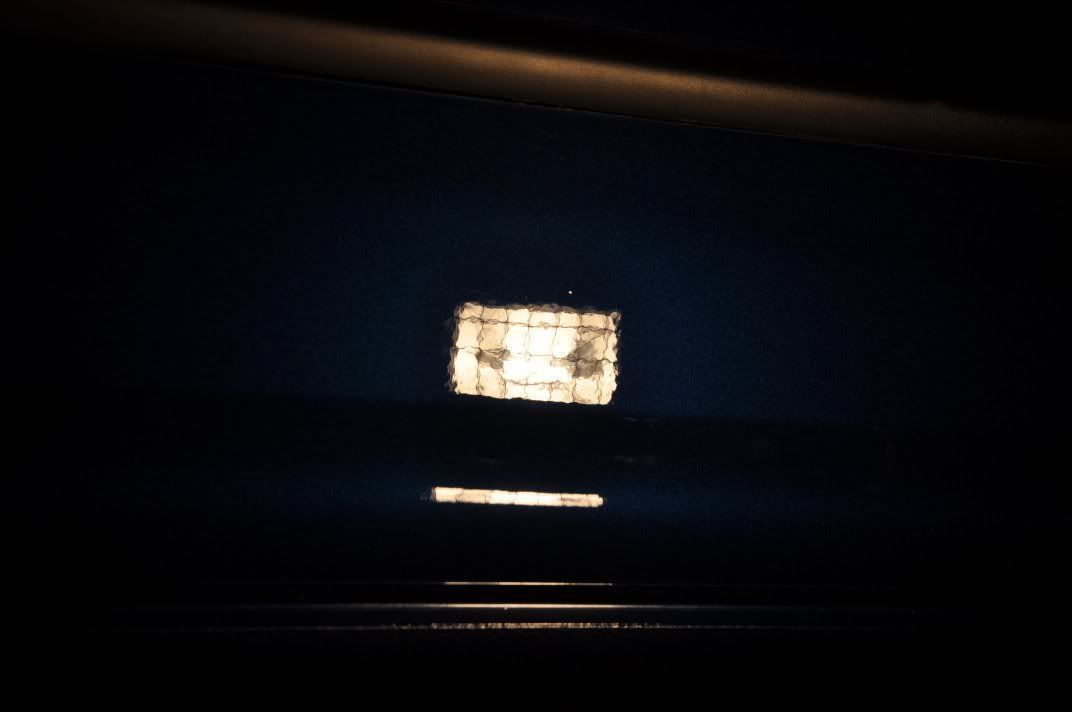
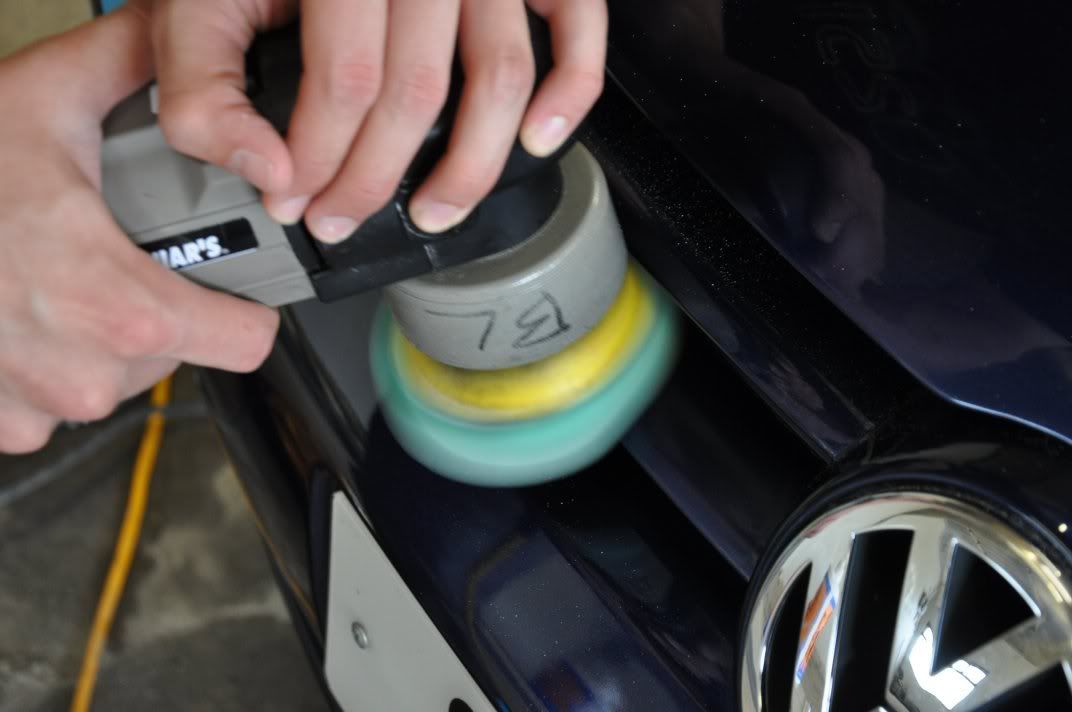
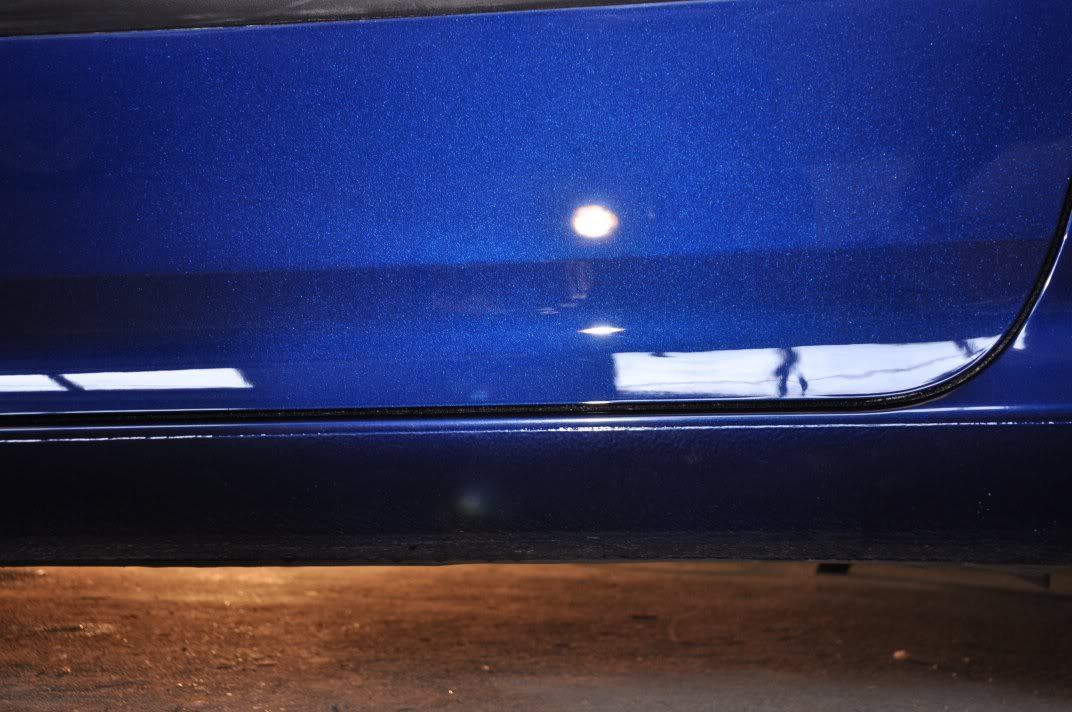
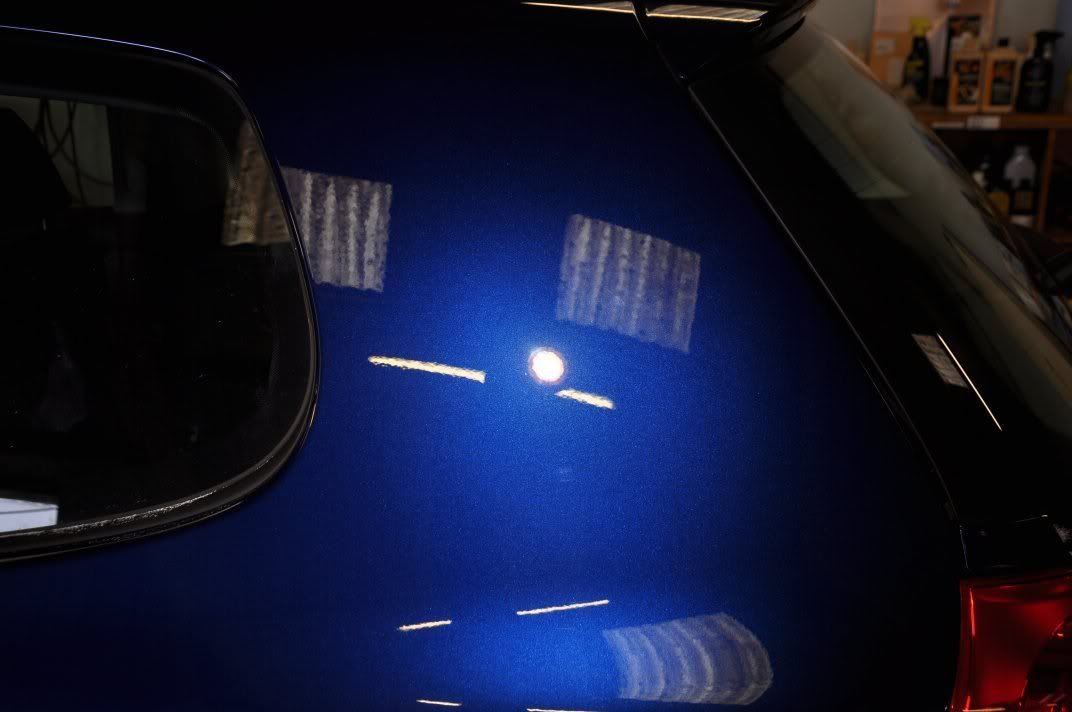
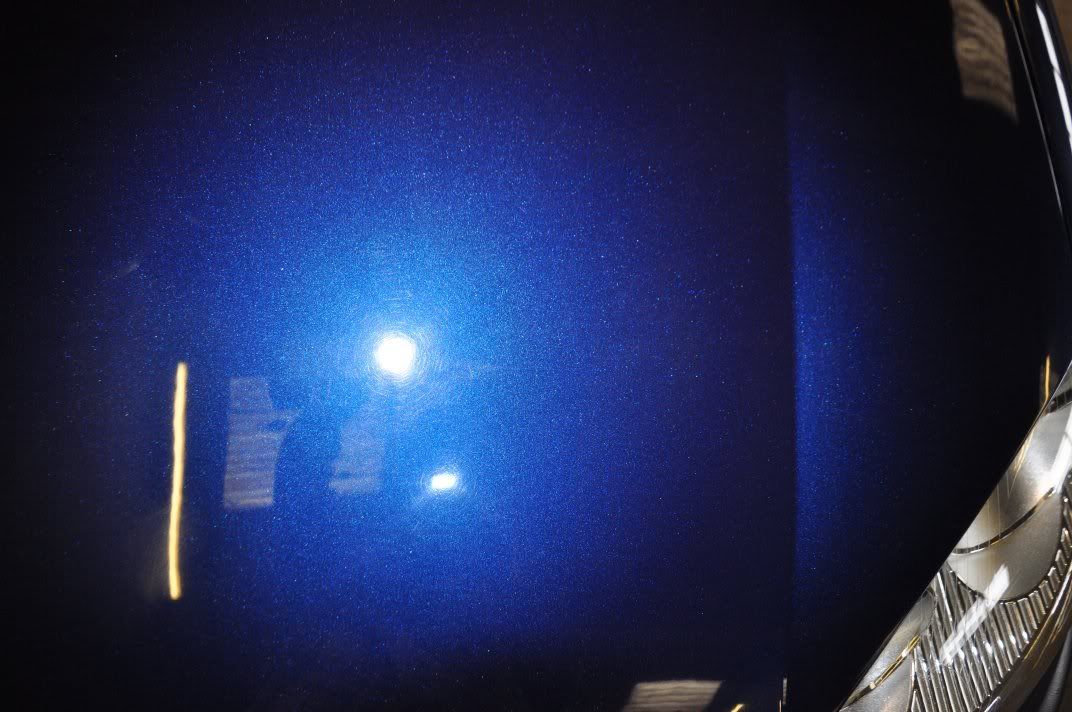
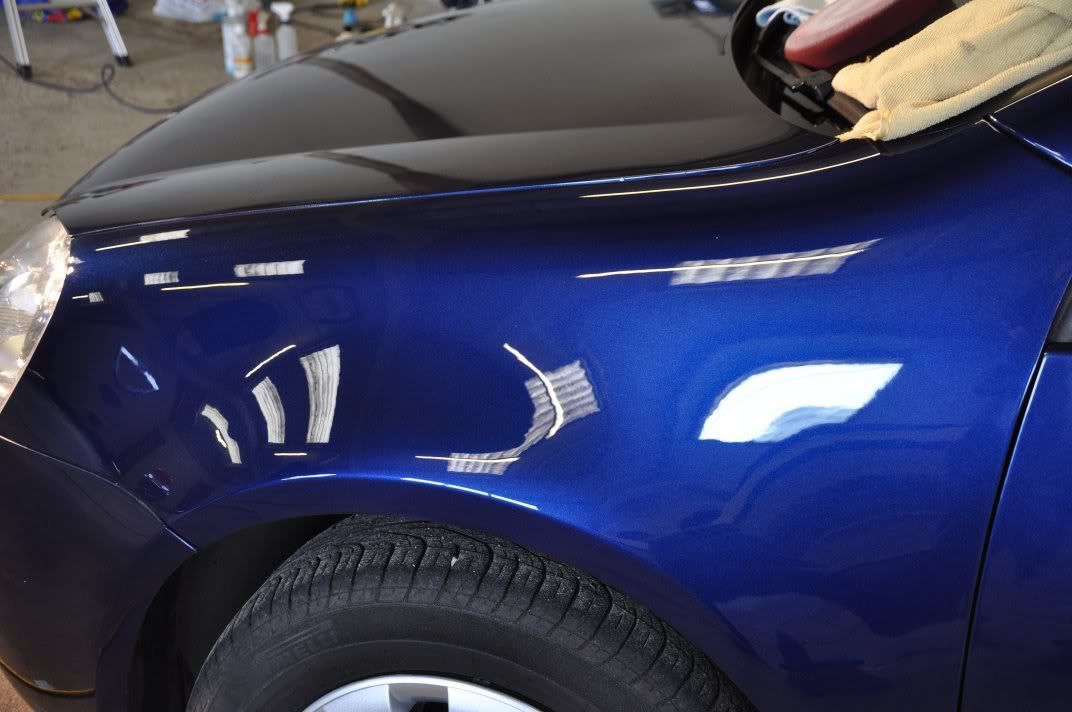
So, onto the front end first of all and working up through the abrasive scale by rotary we found that 3M Fast Cut Plus on a Meguiars W7006 cutting pad was the way forward. The paintwork under the gun before:


The process.
Correction and gloss restoration was carried out using 3M Fast Cut, applied on a W7006 pad as follows:
No refinement stages here, this was saved for the finishing polish, and the choice here was Meguiars #205 Ultra Finishing Polish. The more I use this, the more I like it, and love its flexibility. Application here was a "Double Zenith Point" method which I have been working on quietly in my "detailing lab" for the past wee while which as given me the best results out of the product. Basically, both the speeds and the pressures are increased to the working level, and then both reduced at the same time...
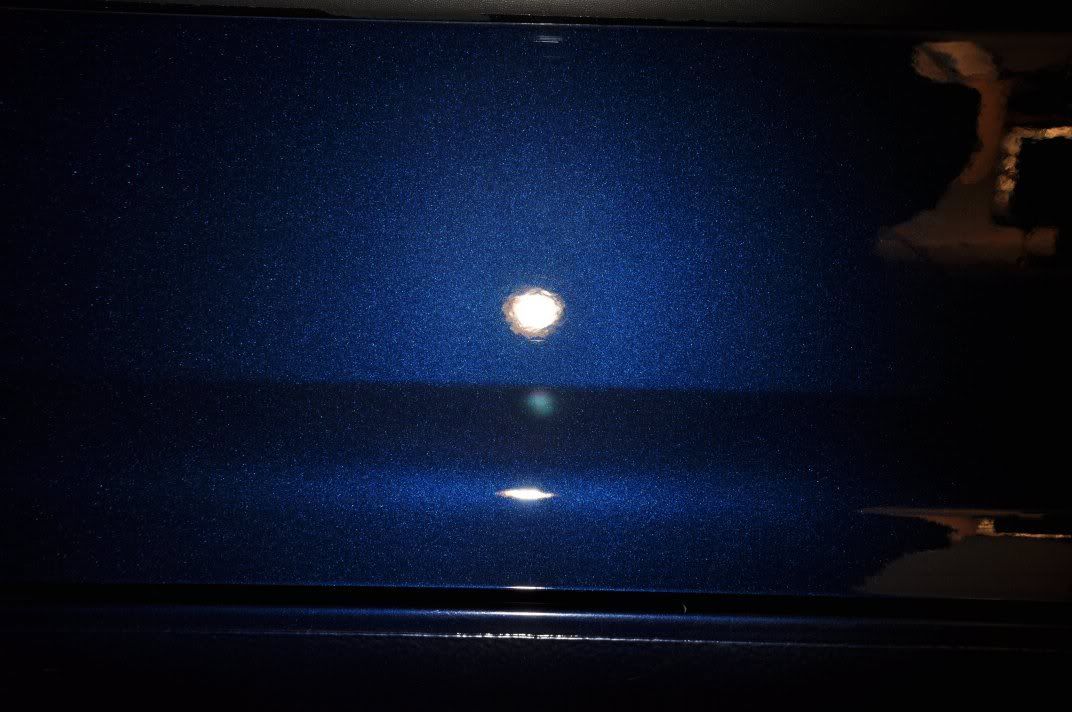
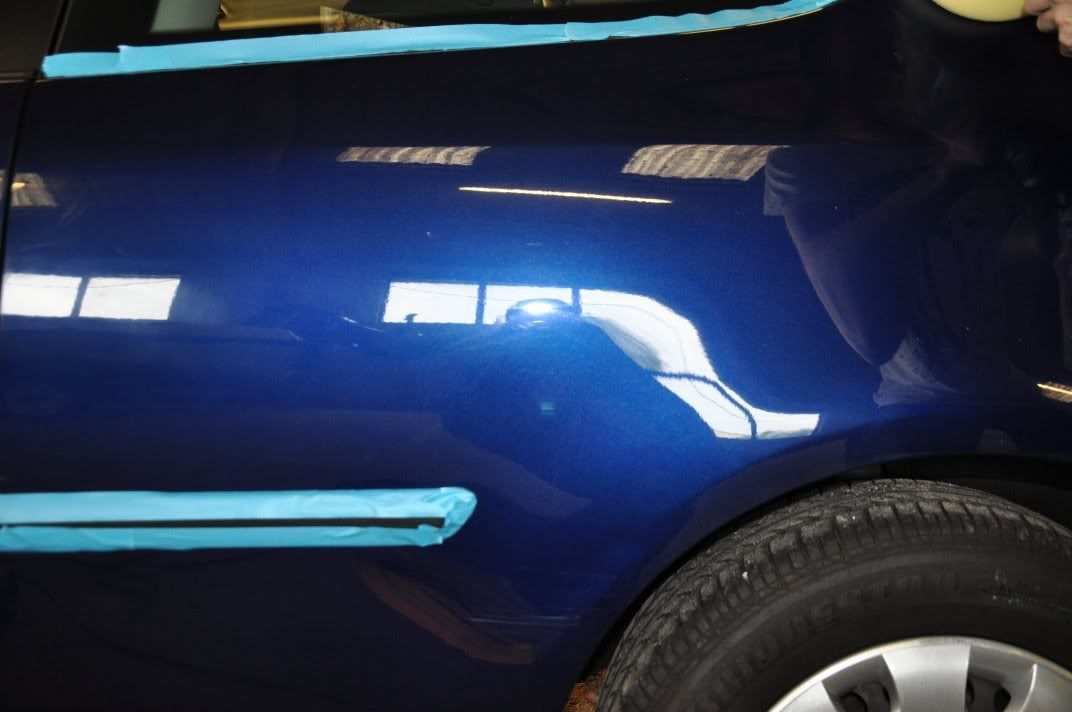
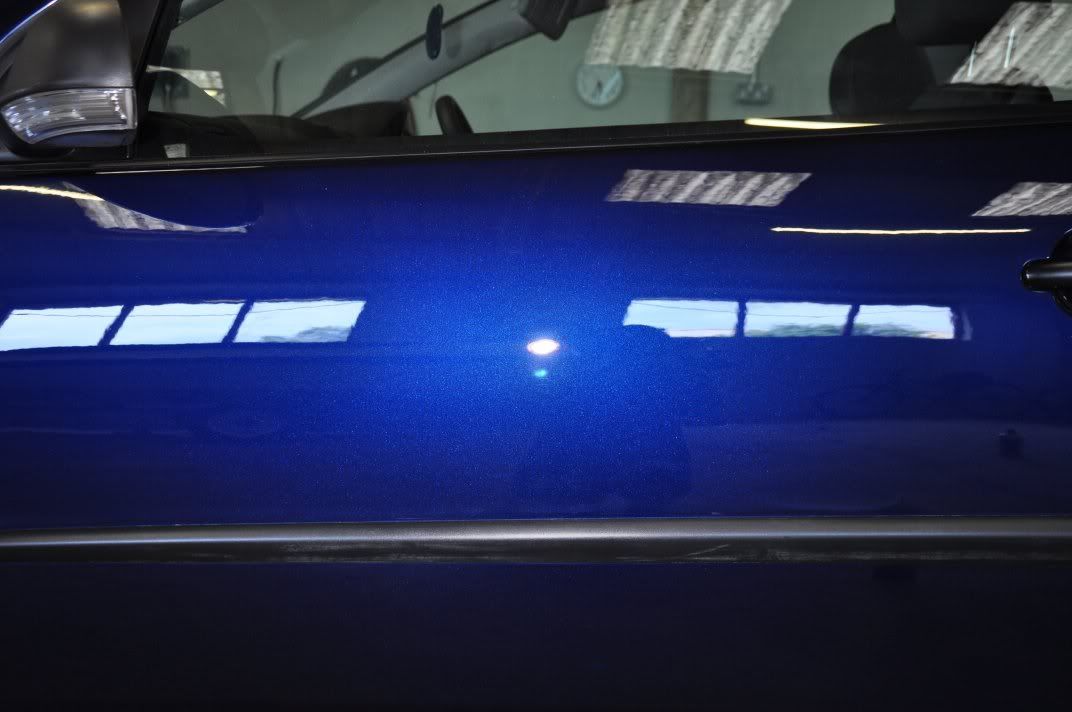
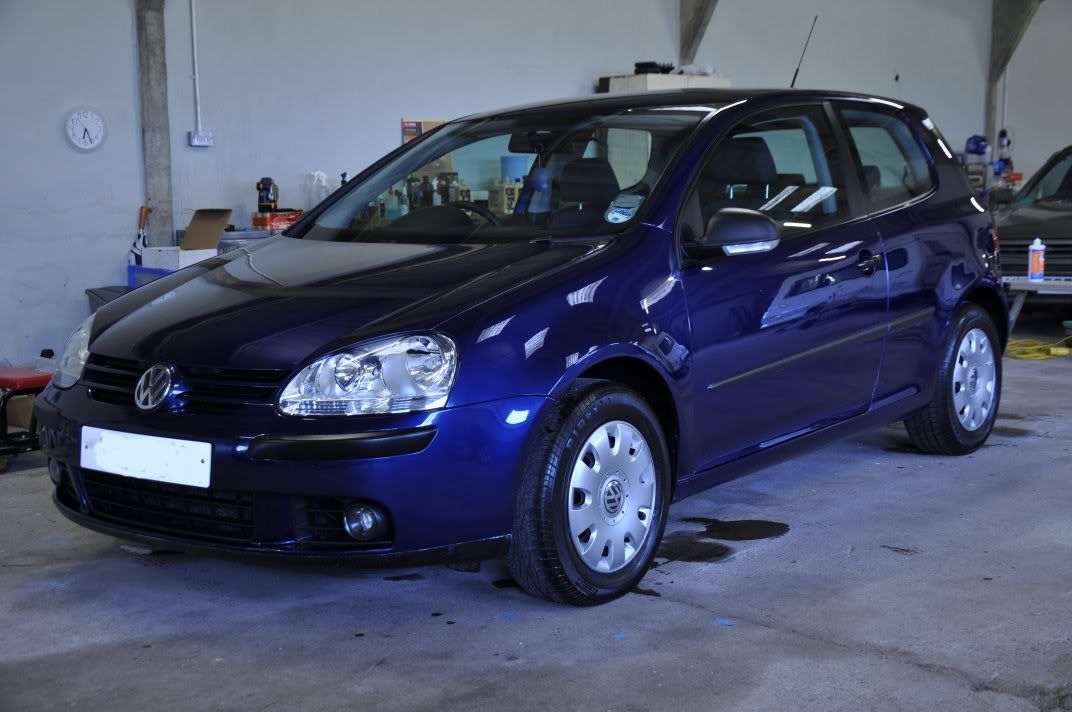
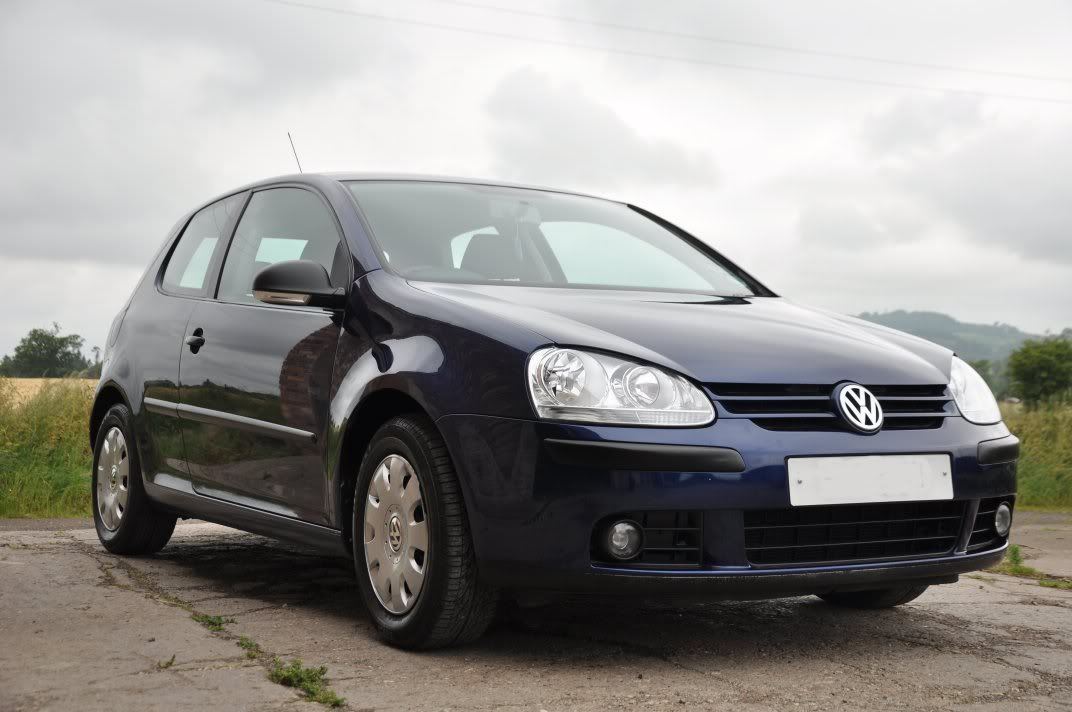
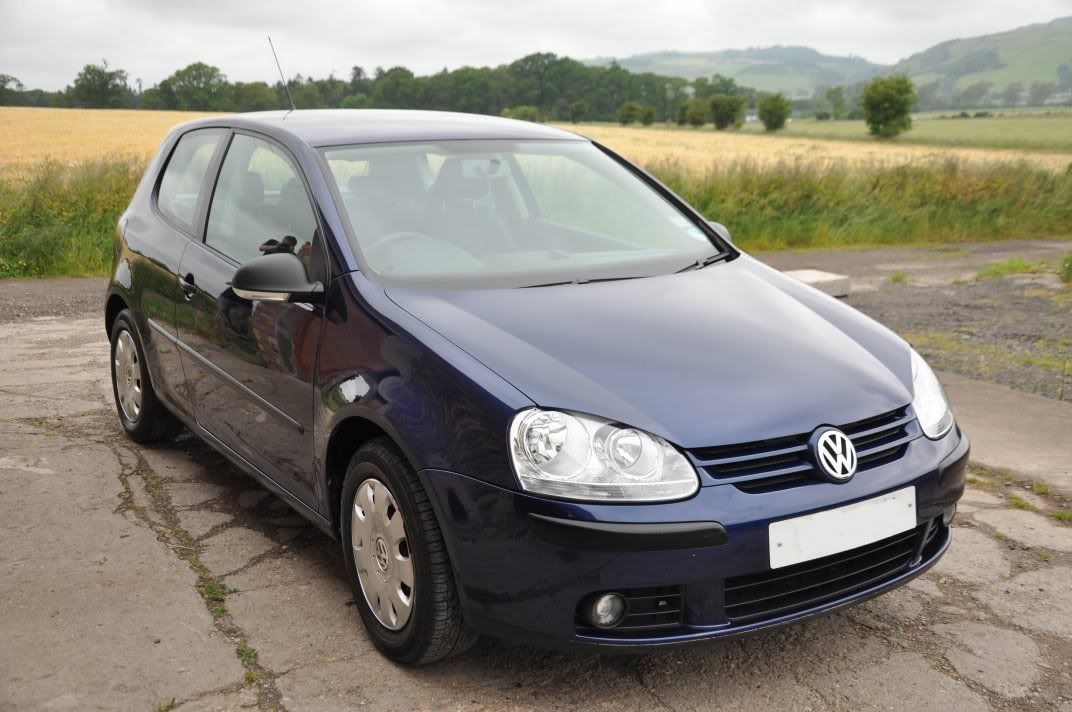
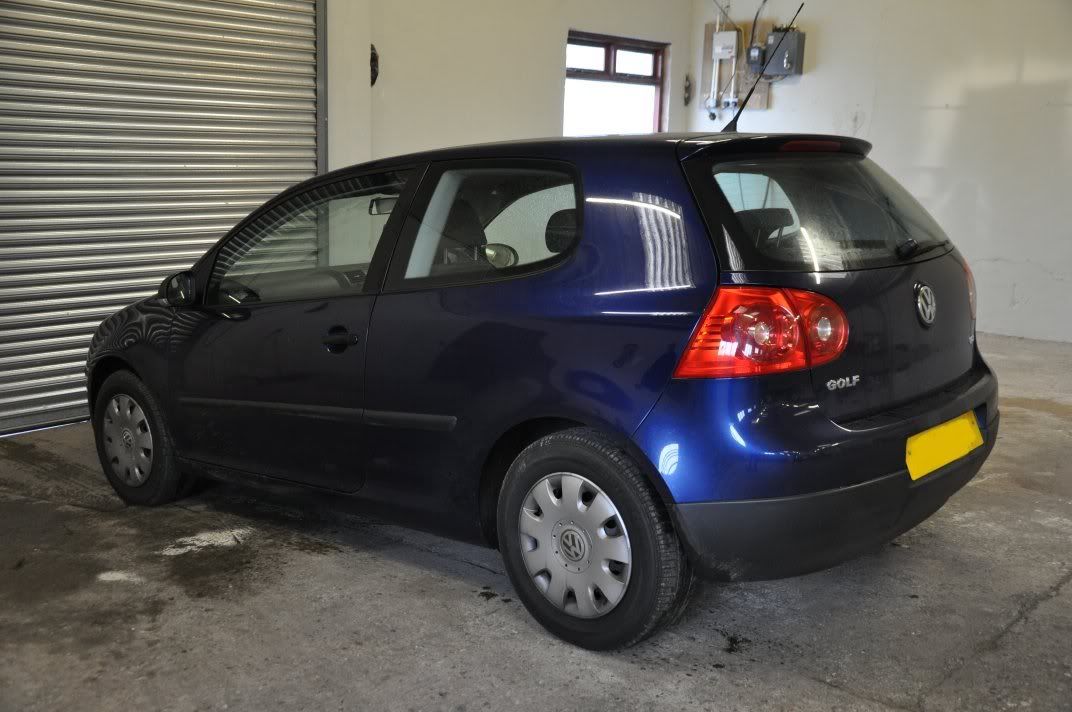
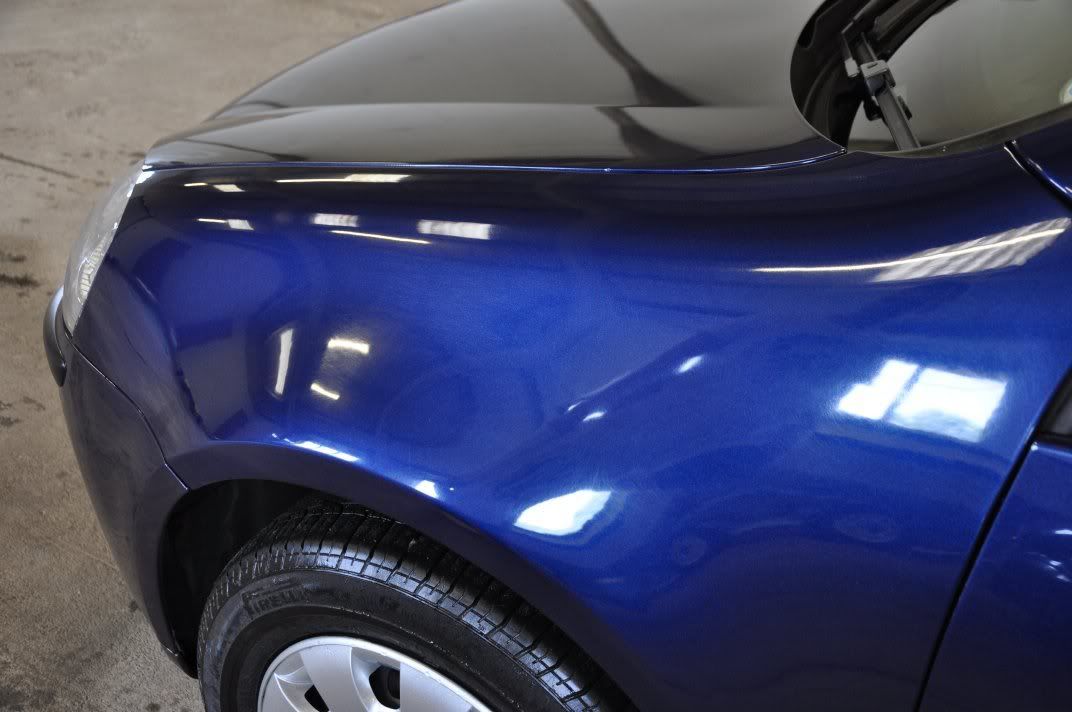
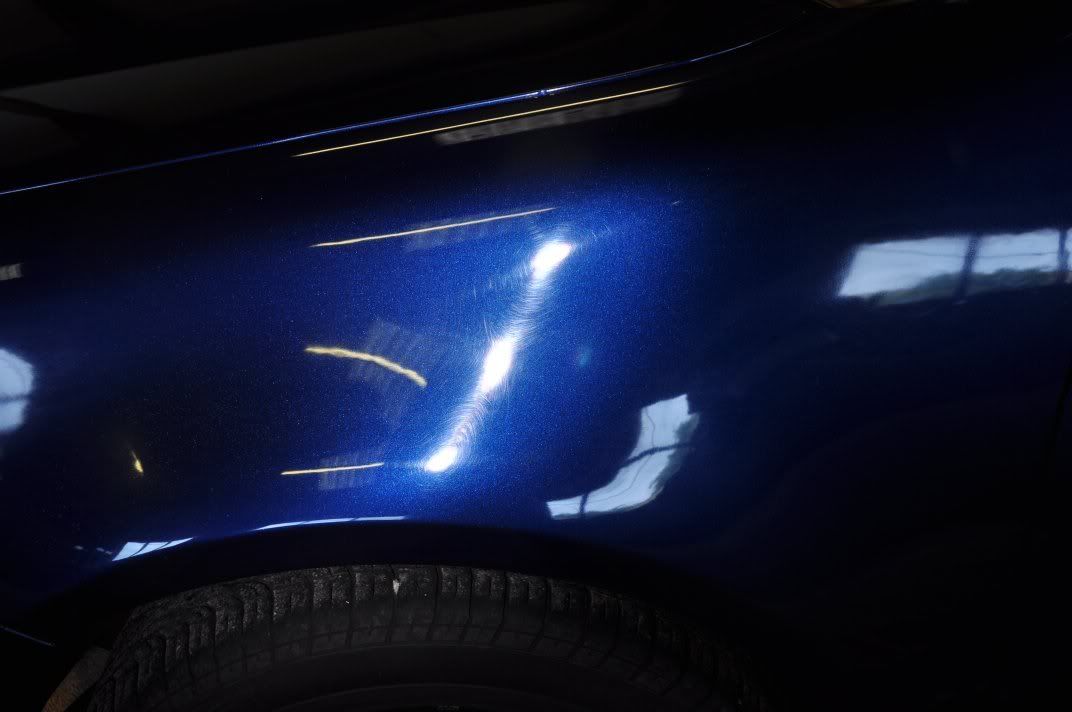
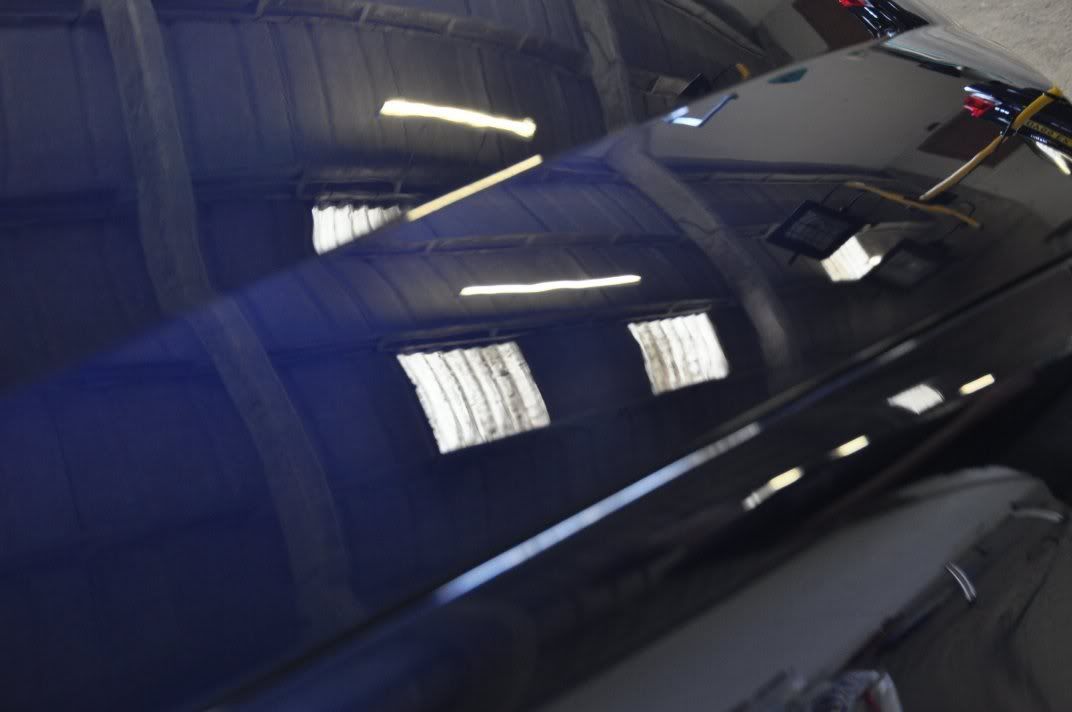
The result of this machining process was a dramatic increase in the depth, gloss and clarity of the finish:
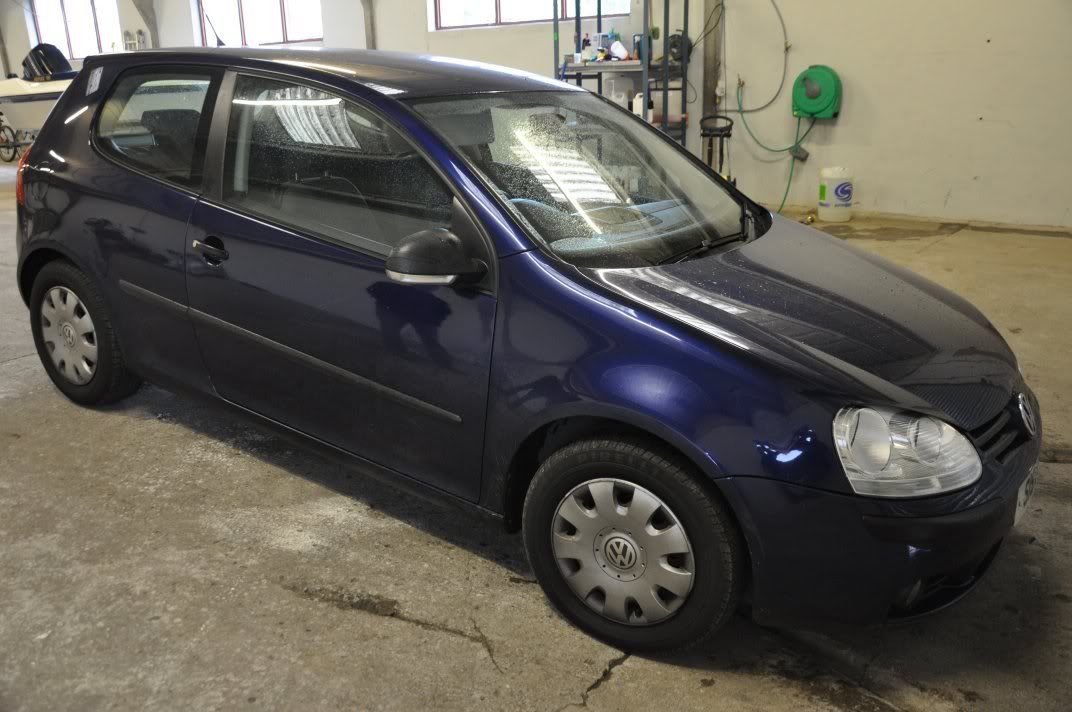
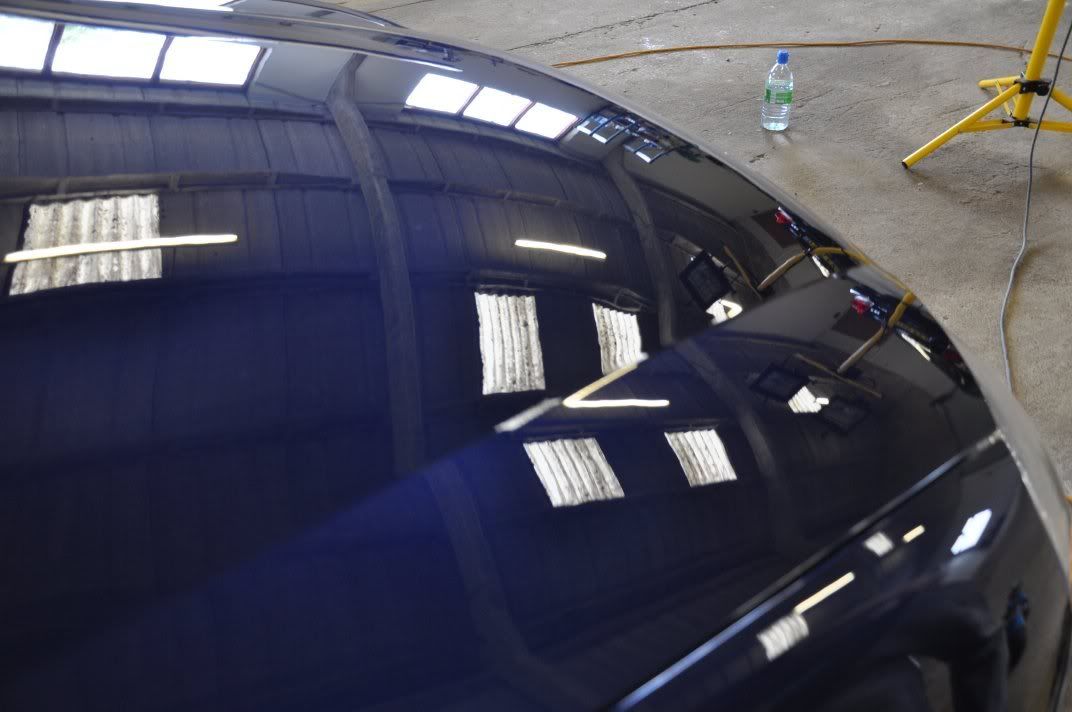
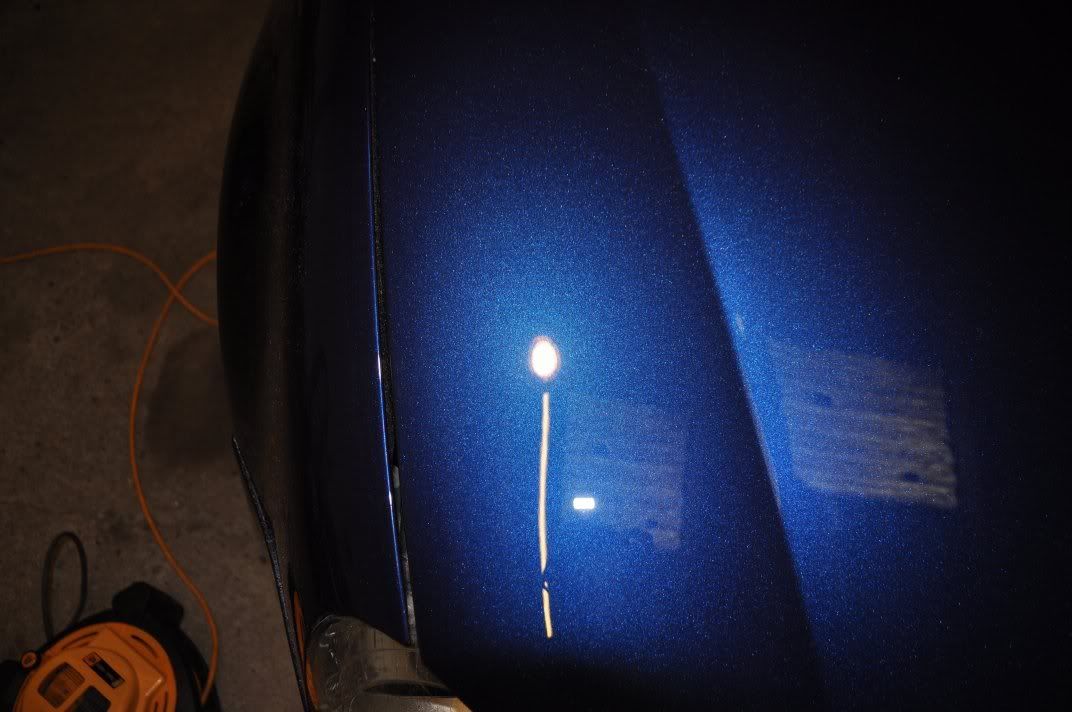
Deep scratches and hazing removed...
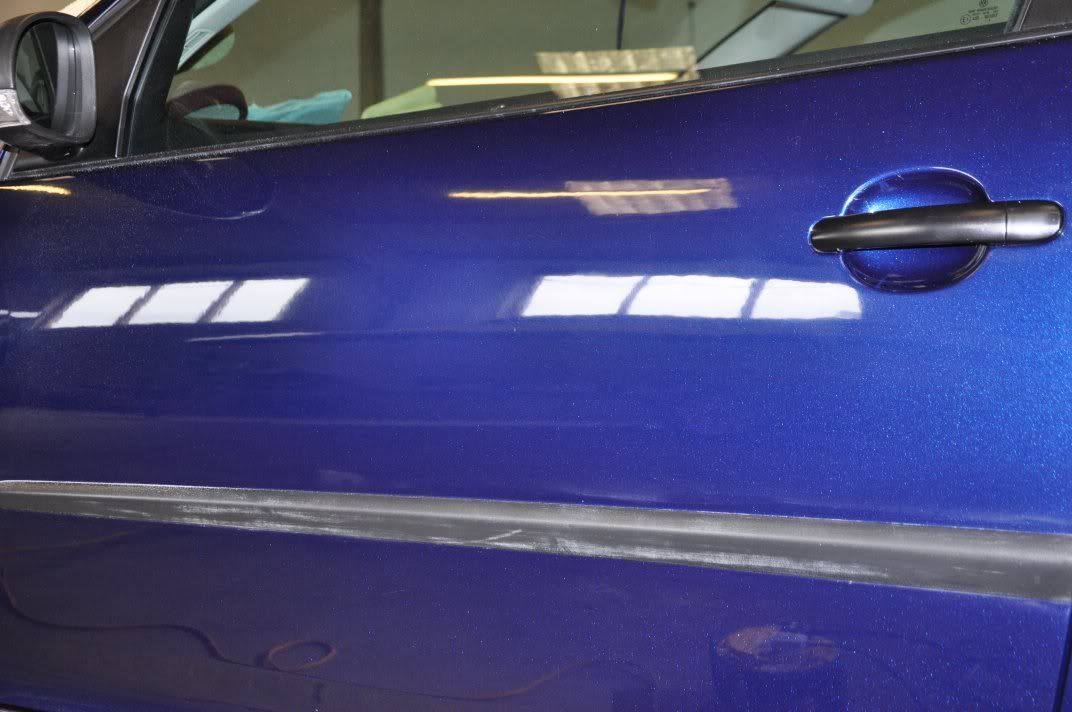
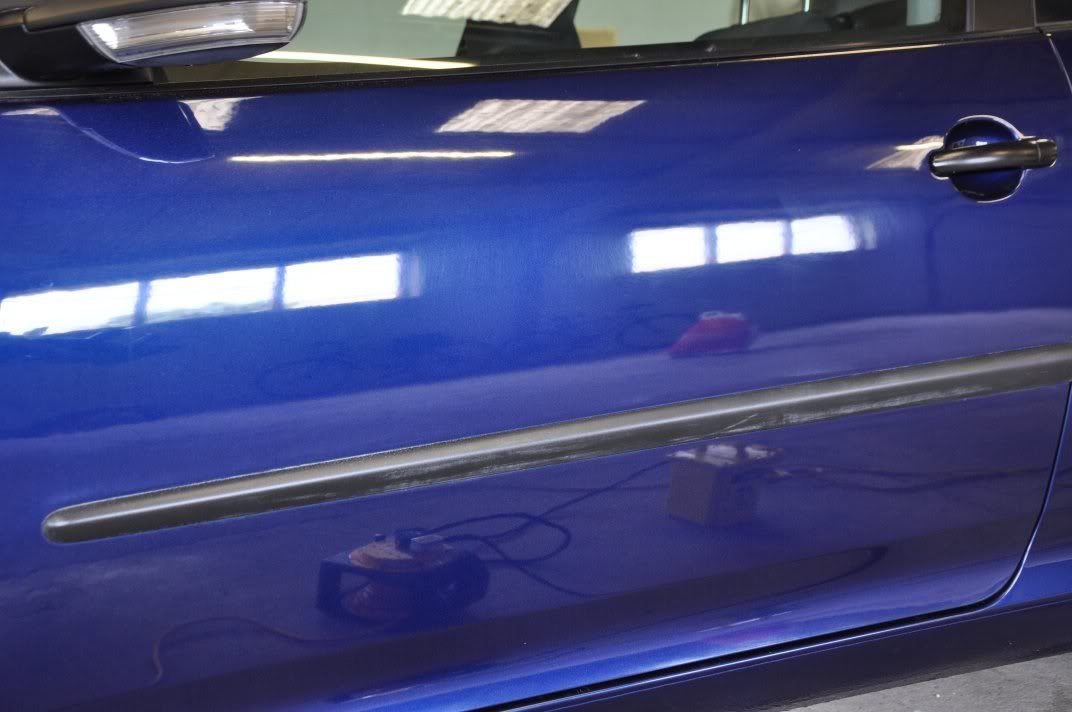
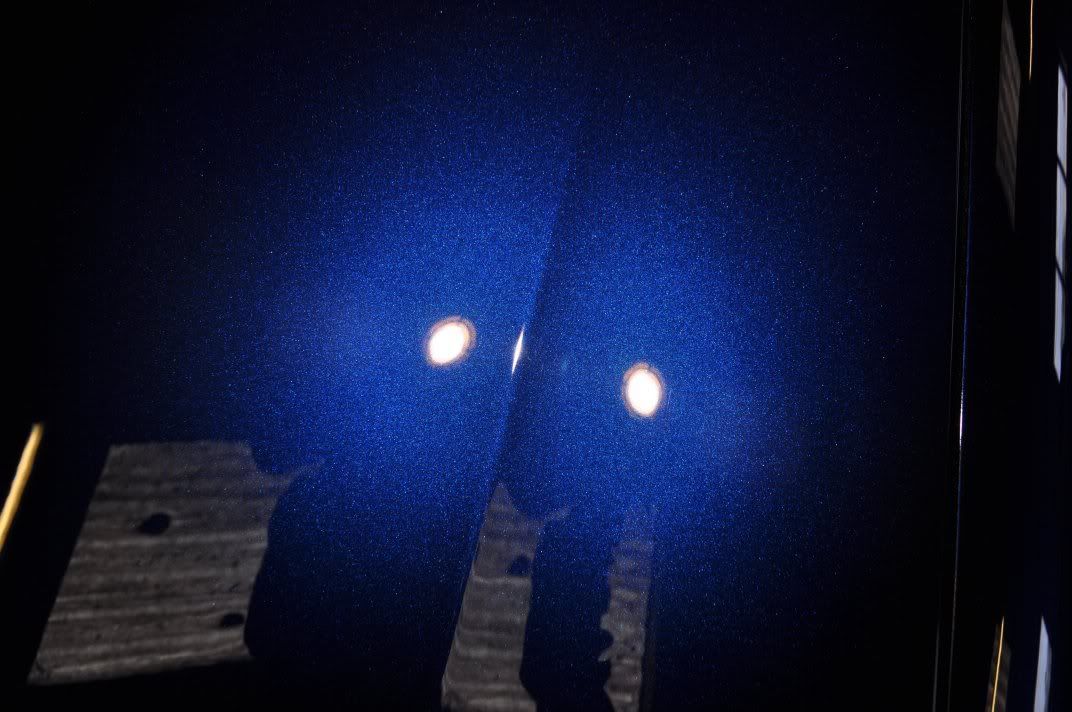
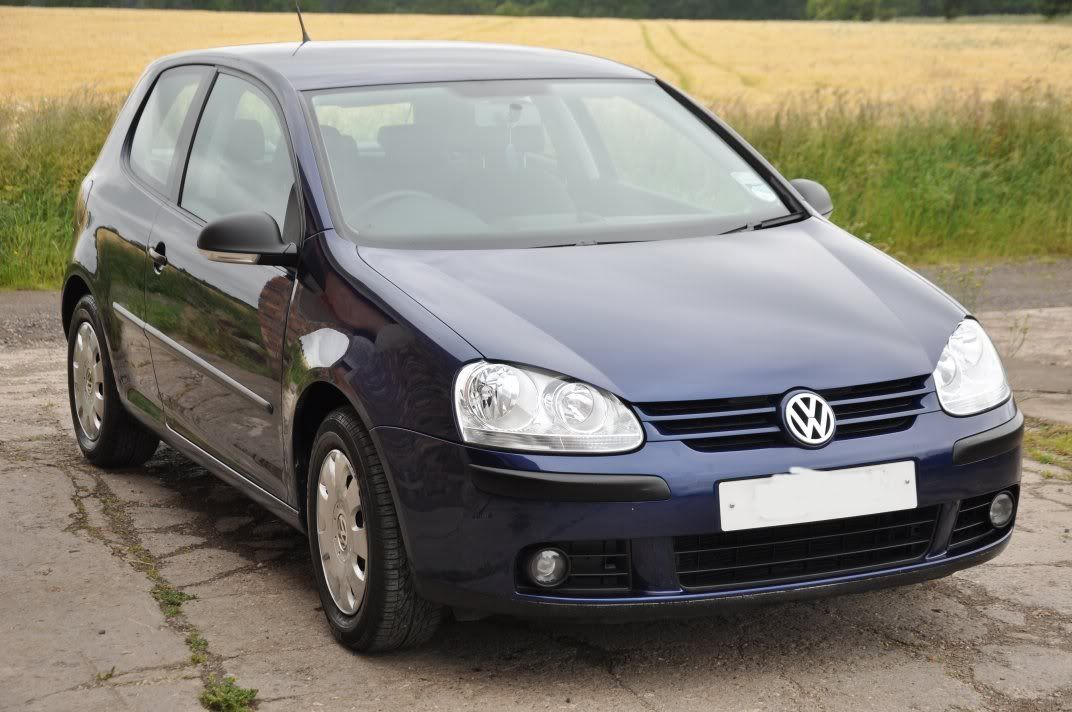
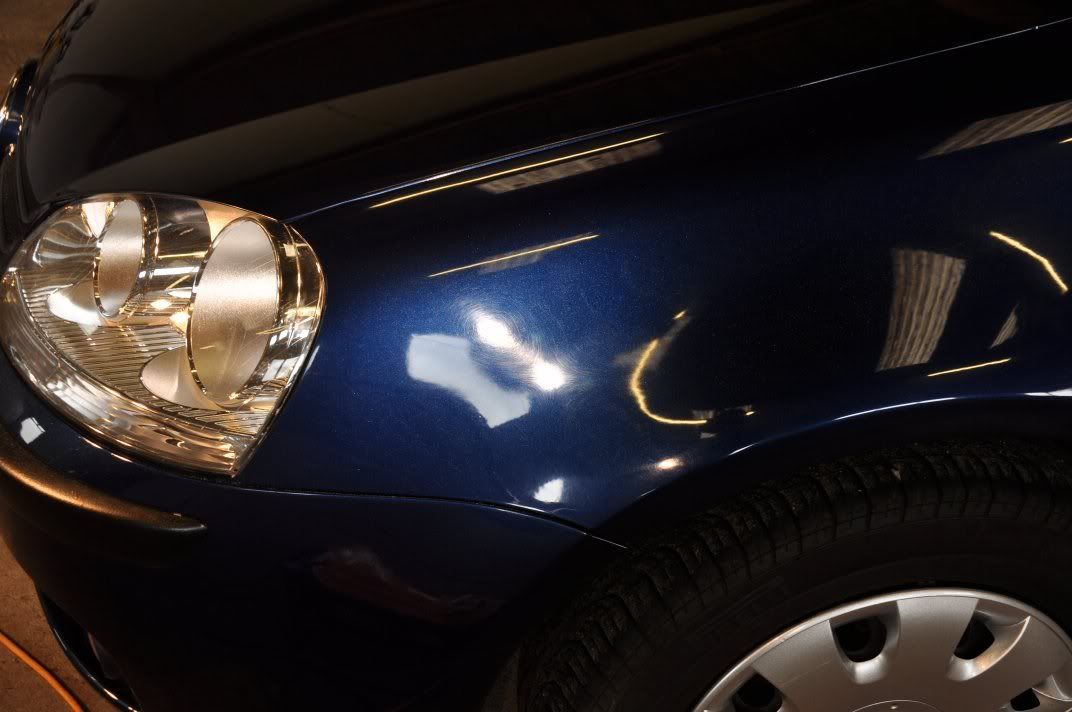
Couple of after shots under the gun... (more at the end of the machine section, after IPA wipe):
The subject of today's tuition detail belongs to Stuart (Spoony), who came up today with his mate Andrew and a rather nice blue VW Golf TDi. Only thing was, the paint was looking a little flat, especially at the front where there had been a front end respray - so the task of the day was the general swirl correction and the restoration of the gloss to the resprayed areas.
The car on arrival:
First up were the wheels which were cleaned with Bilberry cut 4:1, and the arches cleaned with Meguiars All Purpose Cleanser cut 4:1... Agitation on wheels with a Swissvax Wheel Brush (possibly the best wheel brush on the market for wheel faces? I think so
)...The onto the washing stage - before the two bucket was the car was foamed and rinsed - no point in inflicting any mkore marks from poor washing at the start of a detail just because its being machine polished anyway... besides this allows a useful part of the tuition detail, covering the washing techniques. Meguiars Shampoo Plus through the foam lance...
After the washing stage, it was onto claying... Bilt Hamber Soft Clay was used here, using Last Touch as a lube (yes, I know its designed to be used with water, but I like the slickness of the lube an on cars with a lot of large rough fallout, it is less prone to light marring). Light pressure, keeping the clay in the palm of my hand (not the finger tips, as pressure here will inflict marring if not careful - palm of the hand is more evenly spread)...
Sweep clay side to side until it feels like it is running smooth... You can see the grime the clay is picking up out of the paint:
With the car clayed, it was time to move up to the polishing bay for the paint correction... After a good wash and clay, the car was already looking much better but you could see the deep blue was no shining to its full potential:
A closer look reveals why. The respray finishing not quite up to standard, leaving a haze and dullness to the finish, combined with deeper scratches and general swirls robbing the paint of its true beauty.
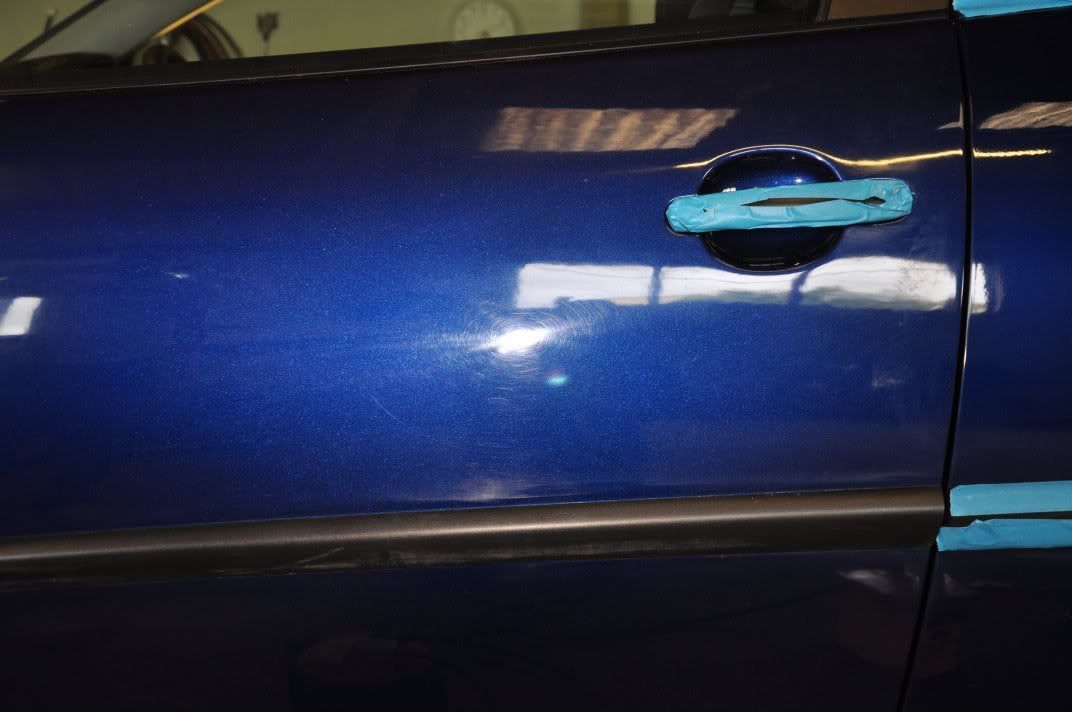
So, onto the front end first of all and working up through the abrasive scale by rotary we found that 3M Fast Cut Plus on a Meguiars W7006 cutting pad was the way forward. The paintwork under the gun before:
The process.
Correction and gloss restoration was carried out using 3M Fast Cut, applied on a W7006 pad as follows:
- Spread at 600rpm
- Builf speed to 1200rpm, get residue spread evenly
- Increase the pressure and move speed to 2000rpm and then work at this pace, reducing pressure towards the end of the set
- Buff off residue
No refinement stages here, this was saved for the finishing polish, and the choice here was Meguiars #205 Ultra Finishing Polish. The more I use this, the more I like it, and love its flexibility. Application here was a "Double Zenith Point" method which I have been working on quietly in my "detailing lab" for the past wee while which as given me the best results out of the product. Basically, both the speeds and the pressures are increased to the working level, and then both reduced at the same time...
- Spread at 600rpm , light pressure
- Begin working at 1200rpm, light to moderate pressure
- Work at 1500rpm for two to three minutes, with medium pressure
- Refine at 1200rpm, light to moderate pressure
- Burnish at 900rpm, light pressure and slow (one inch per sec) machine movements
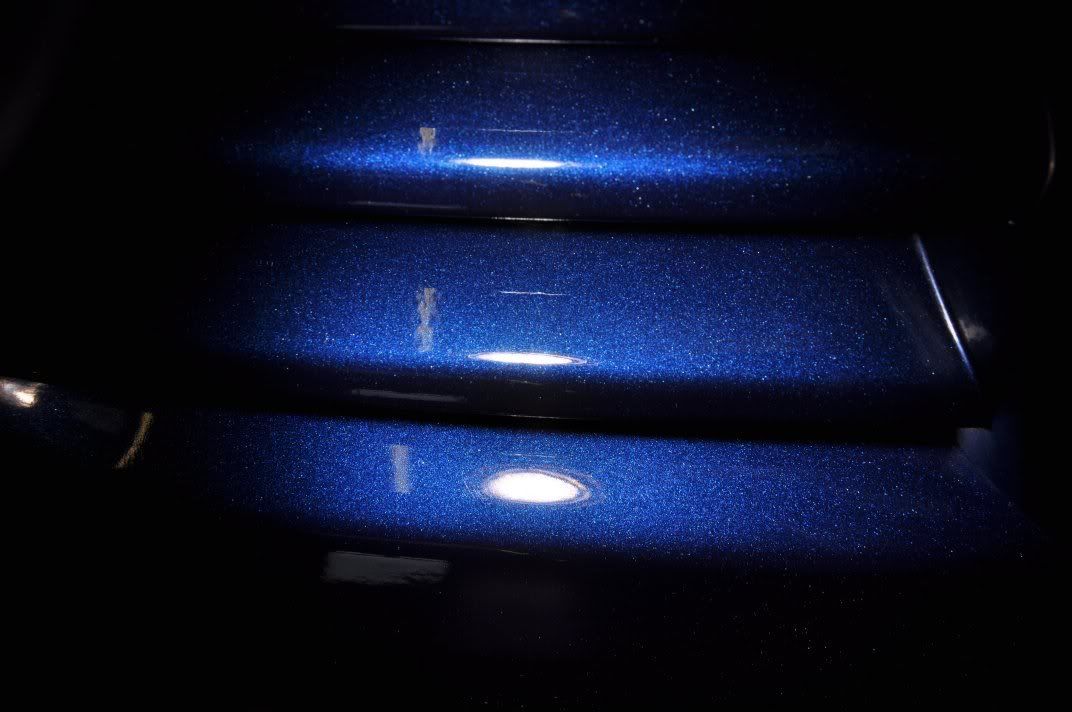
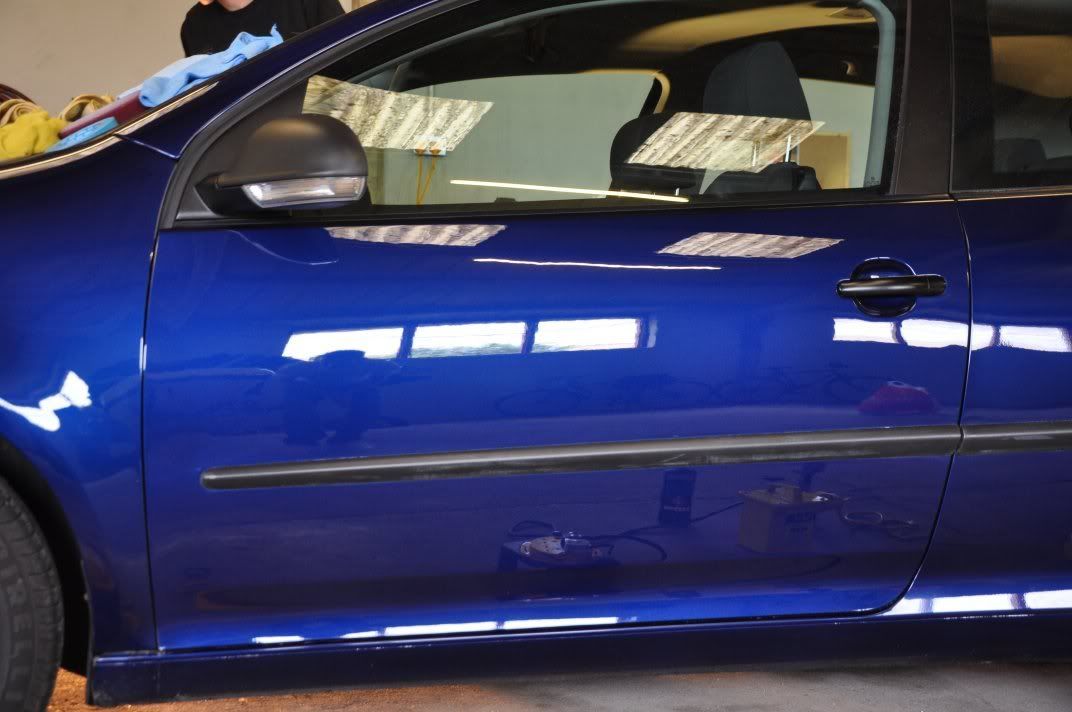
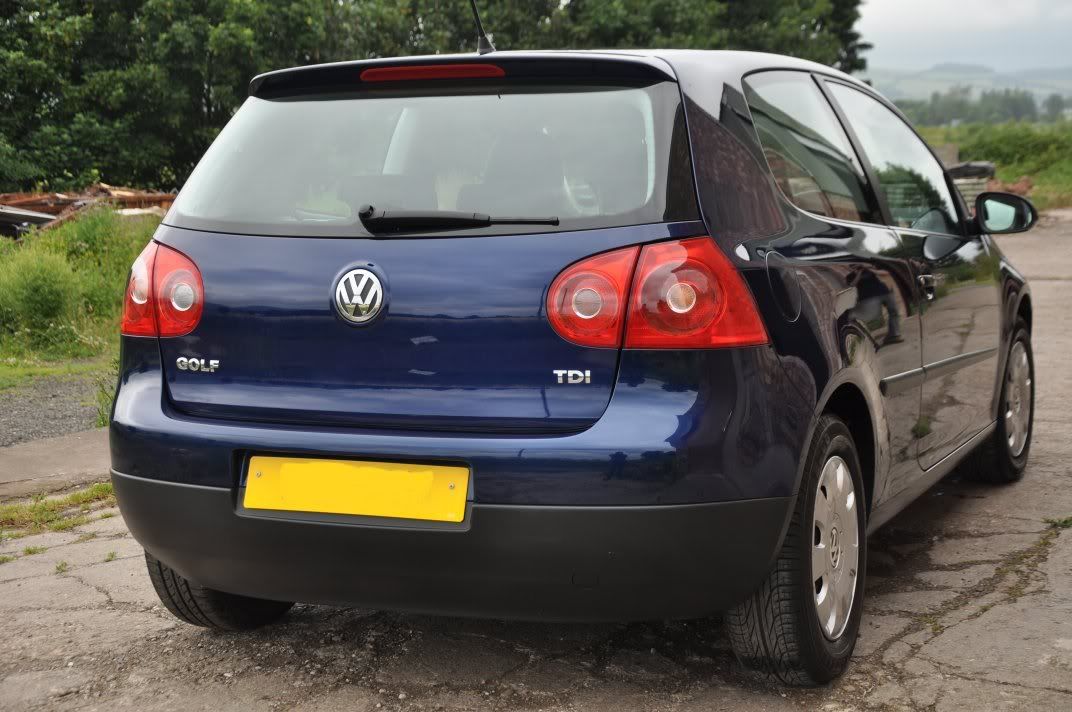
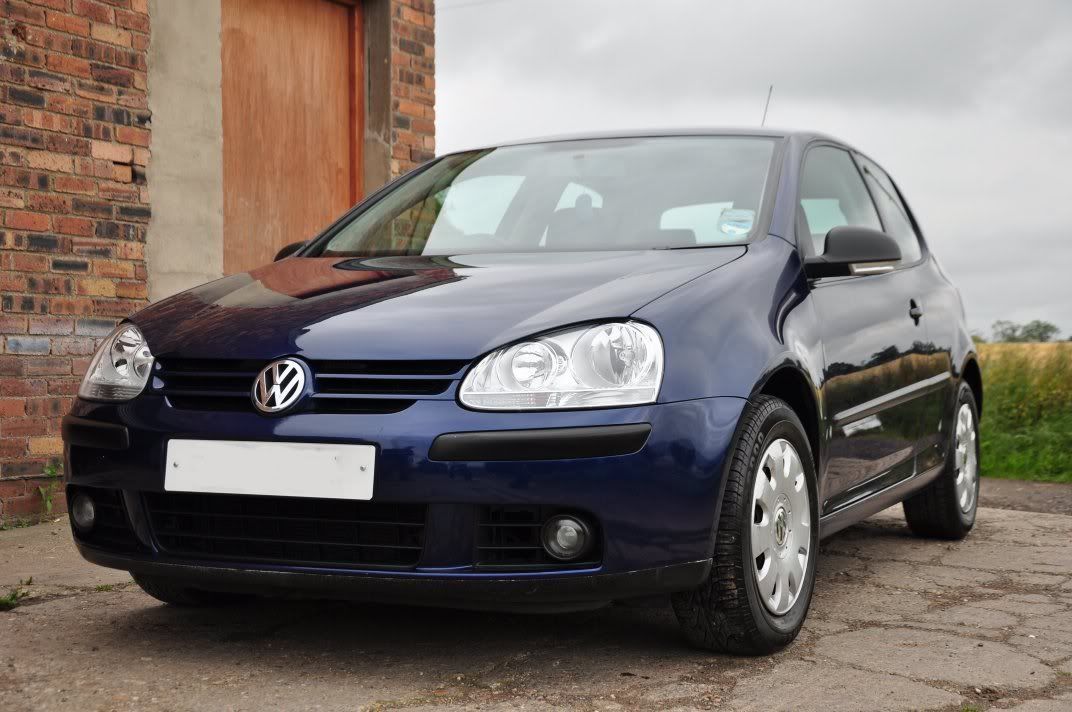
The result of this machining process was a dramatic increase in the depth, gloss and clarity of the finish:
Deep scratches and hazing removed...
Couple of after shots under the gun... (more at the end of the machine section, after IPA wipe
):