imported_Dave KG
New member
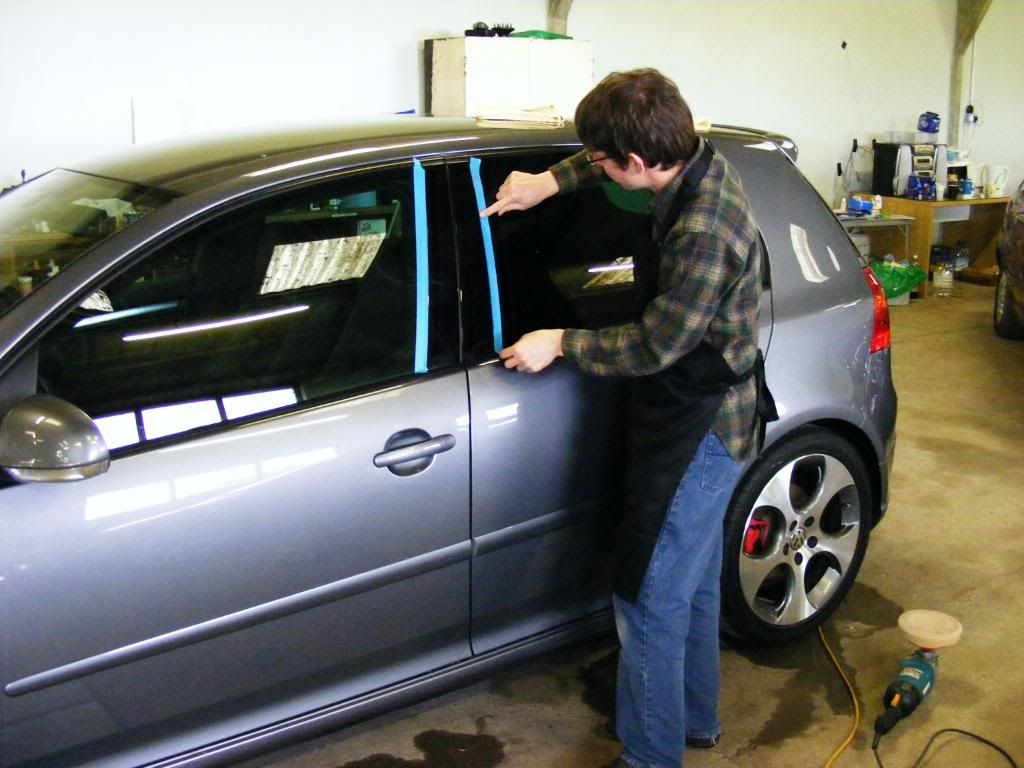
A tuition detail this one - rather than the detail just being carried out by myself, the owner stays for the whole detail and plays an active role in all aspects of it to gain some experience of detailing themselves ")
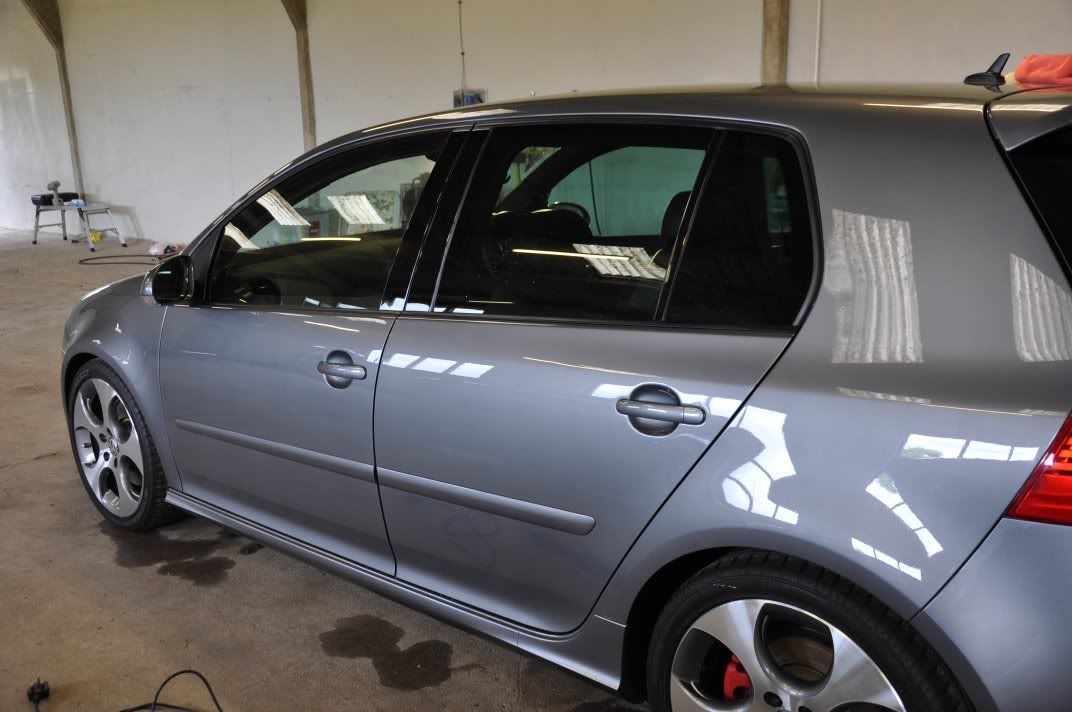
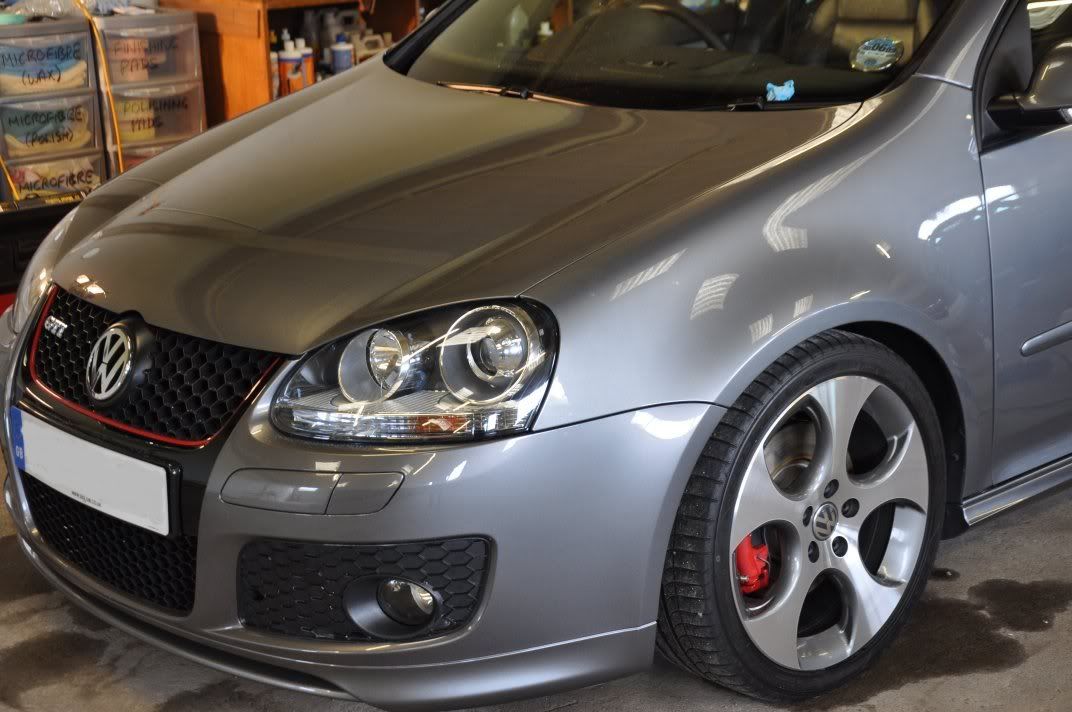
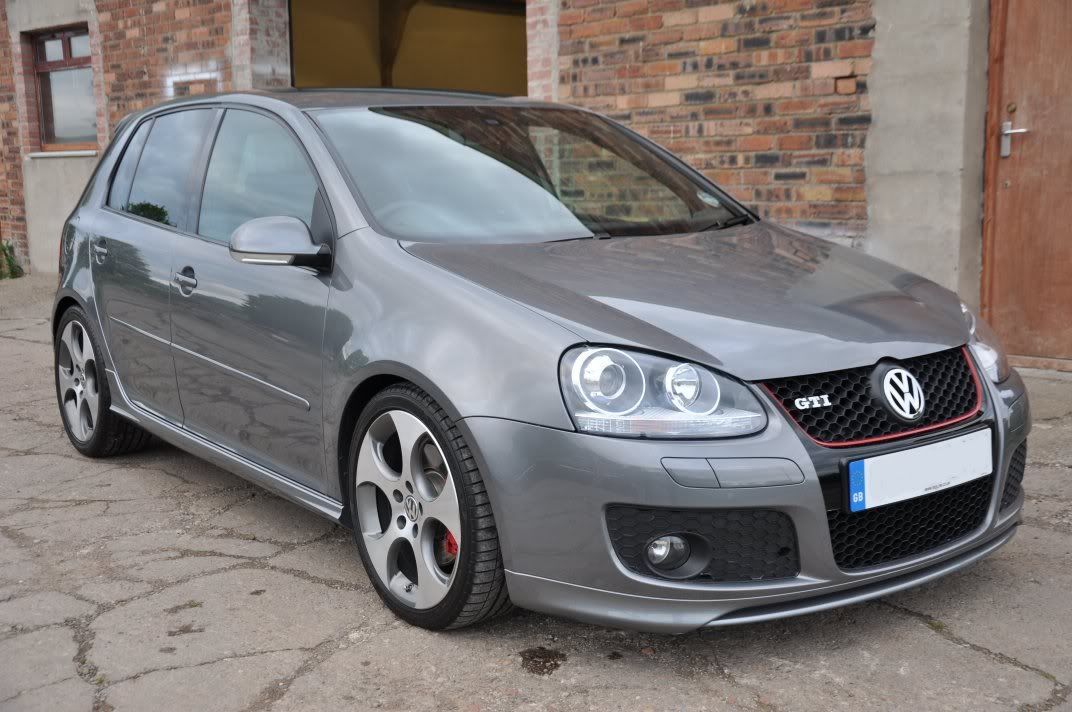
This Golf was meticulously cared for - you could tell the minute it arrived, where it was already 90% corrected :lol: In that, the owner's wash technique was good to the point there were not swirls on most of the car. However, there were deeper RDS spoiling the otherwise perfect finish and the odd region of swirls here and there that were to be corrected while the whole car was to be given an overall lift with a finishing polish
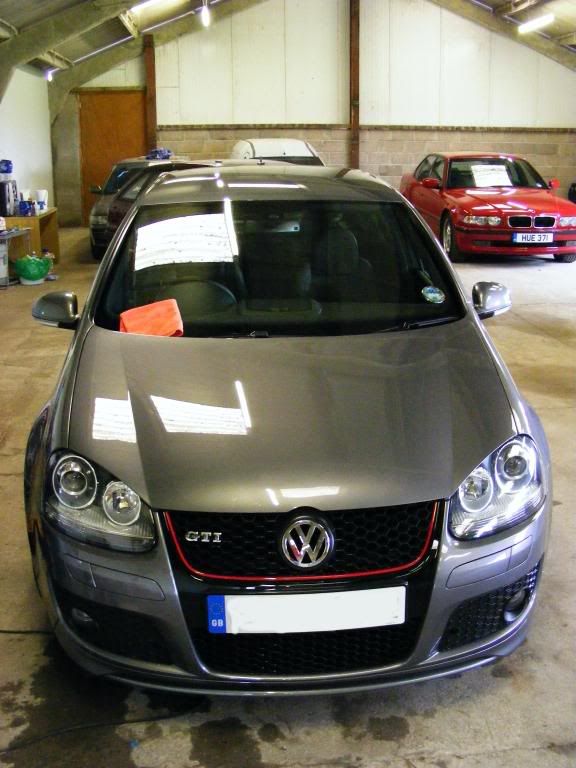
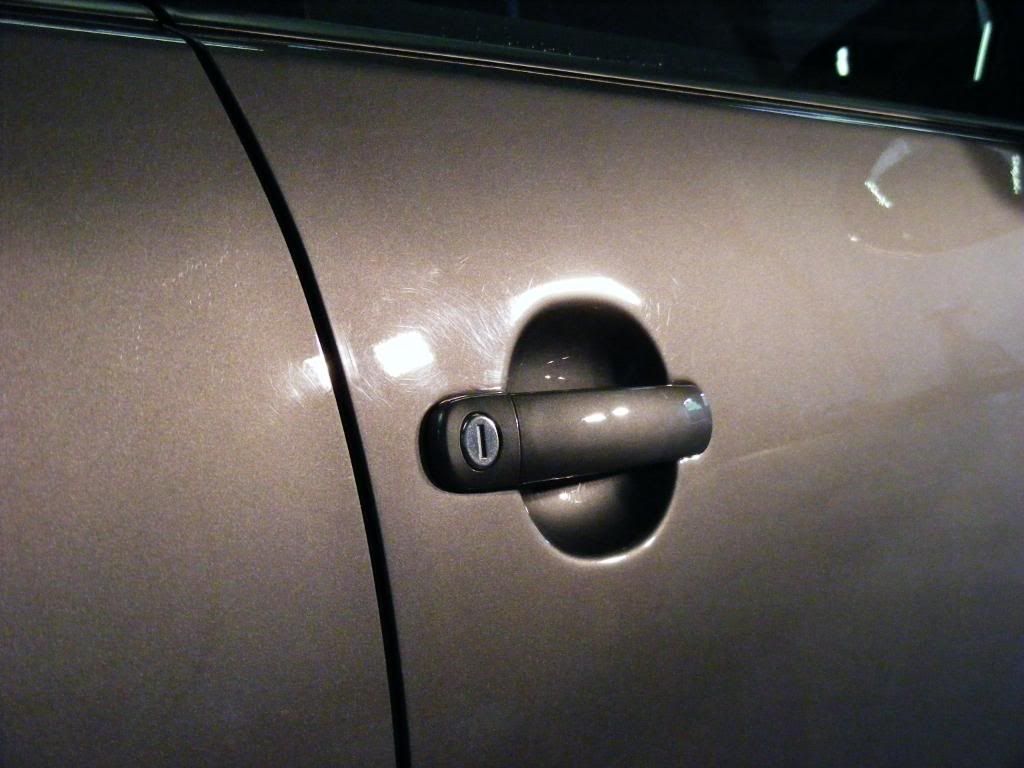
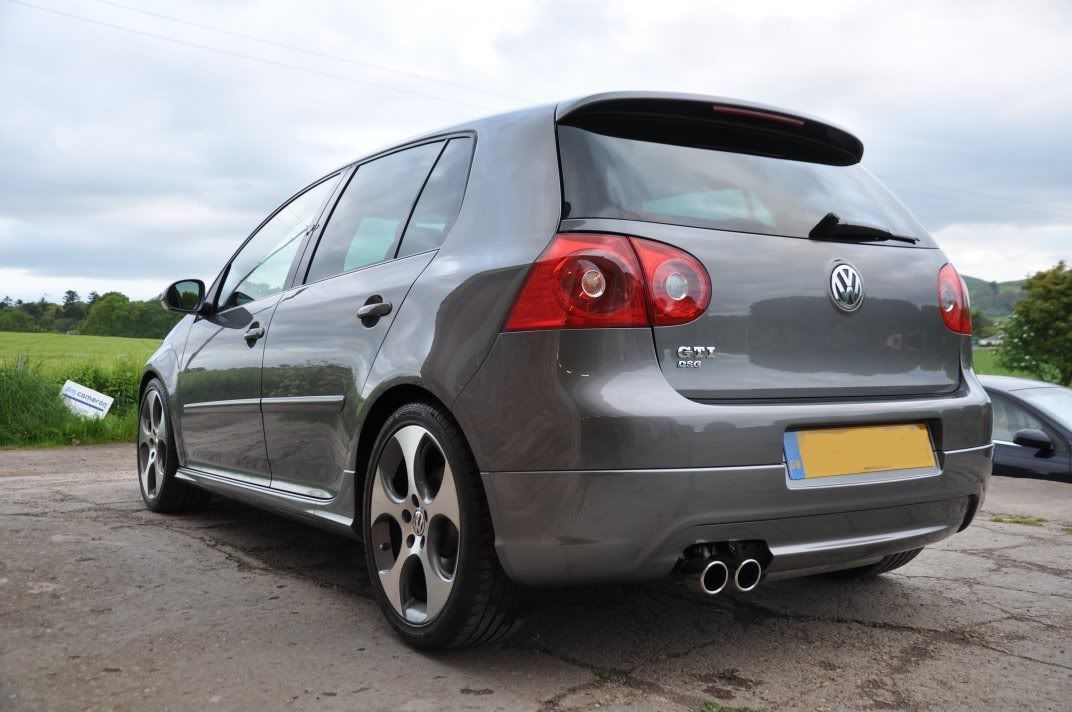
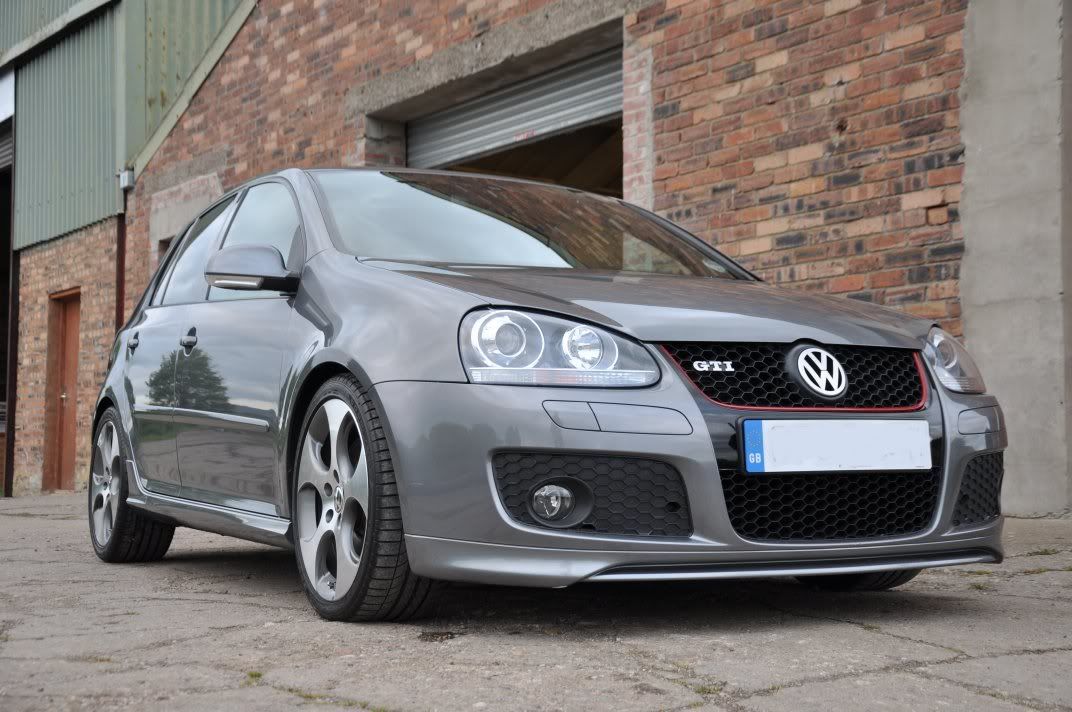
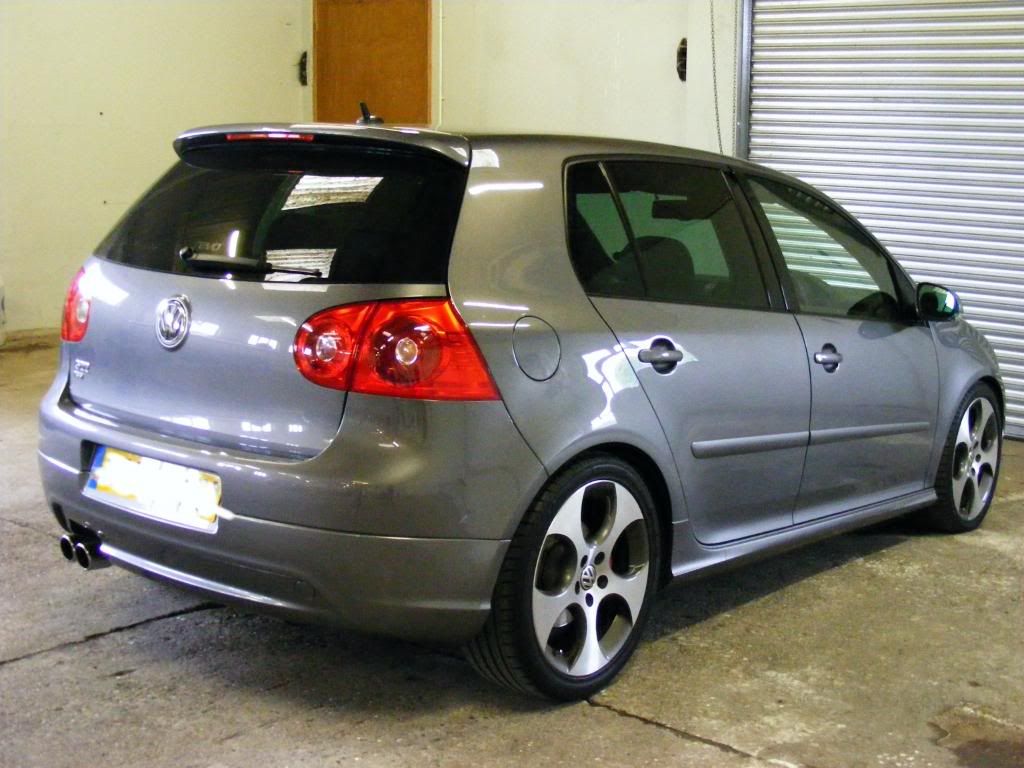
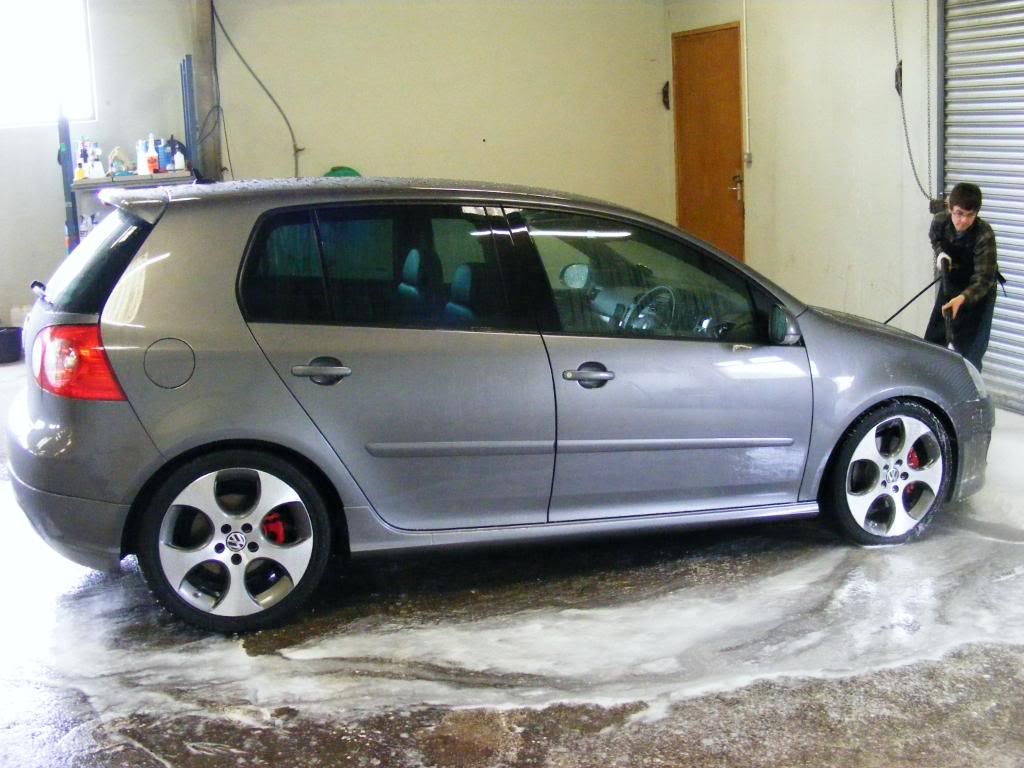
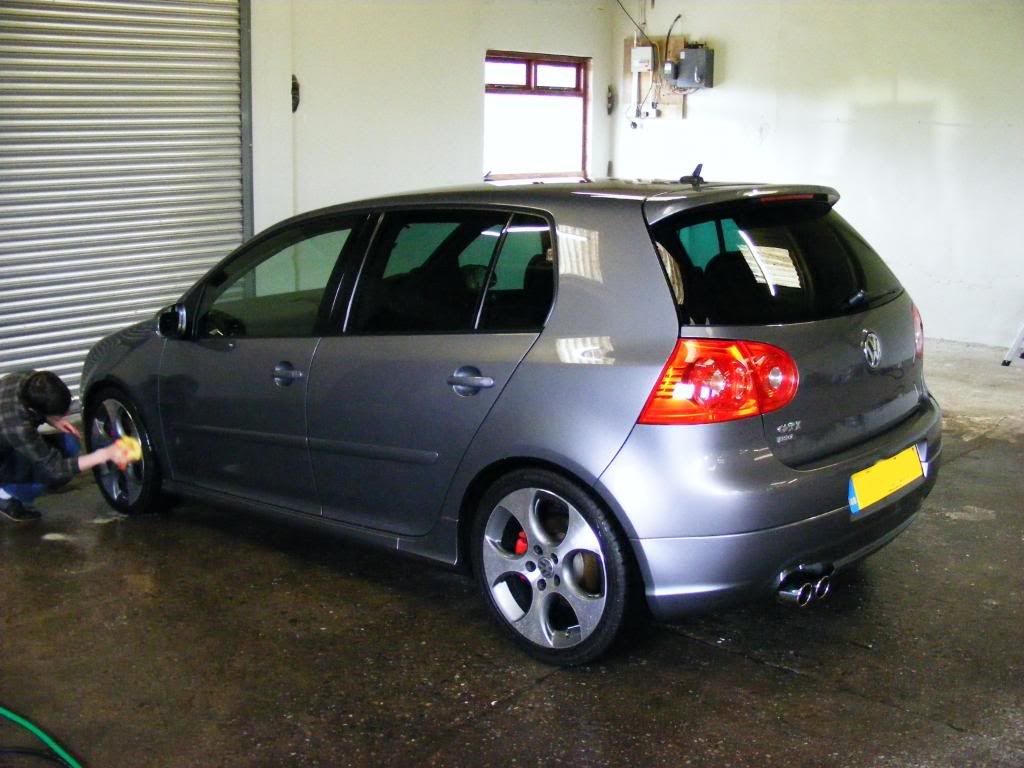
The car arrived looking superbly clean after its trip up from Edinburgh...

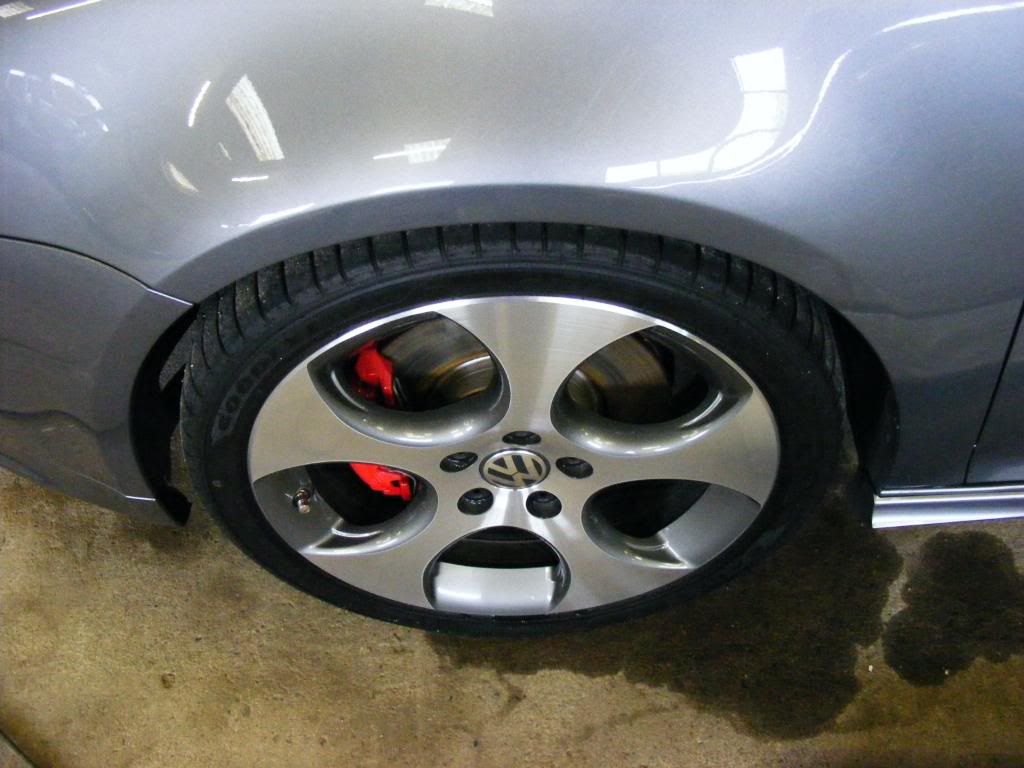
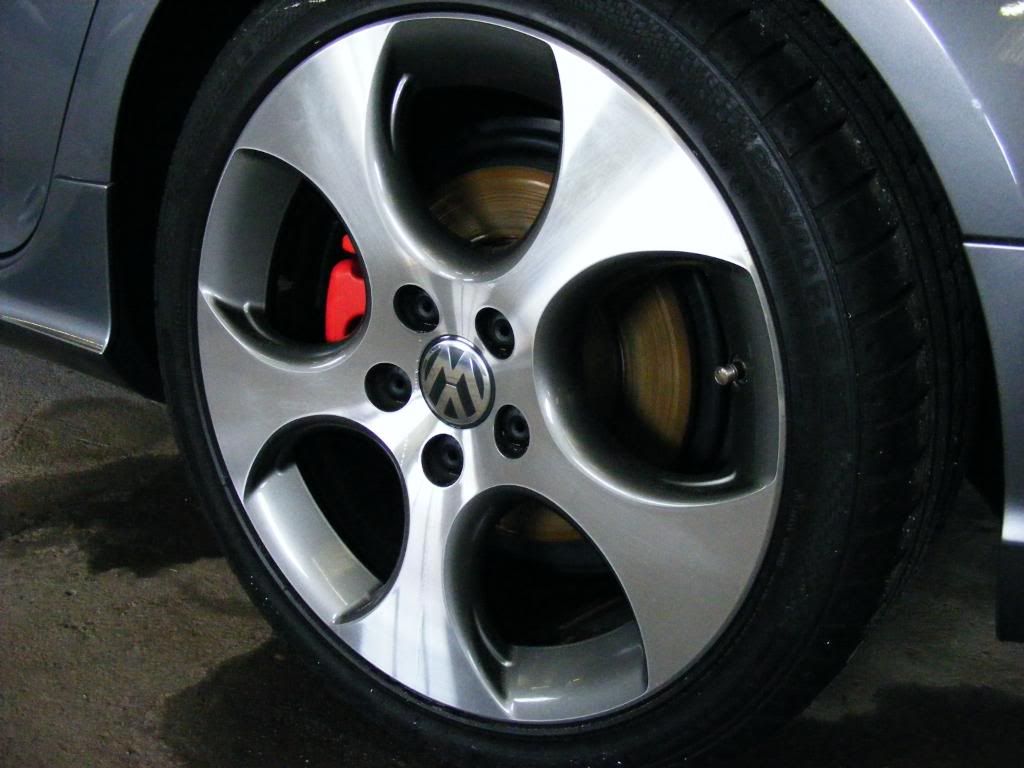
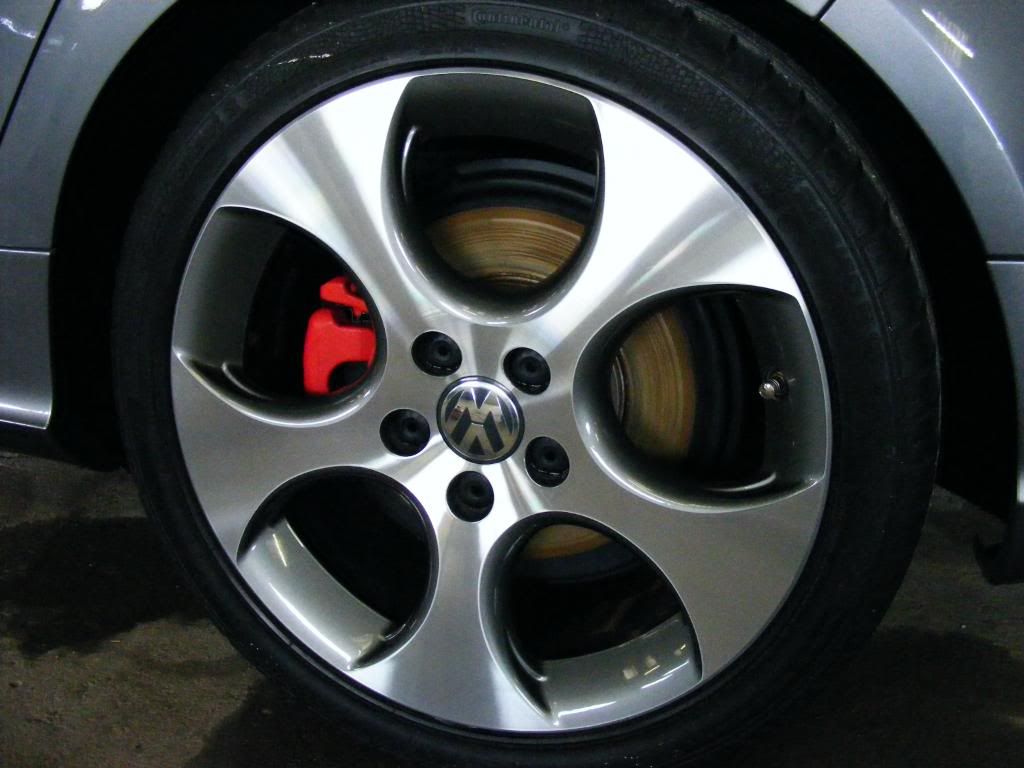
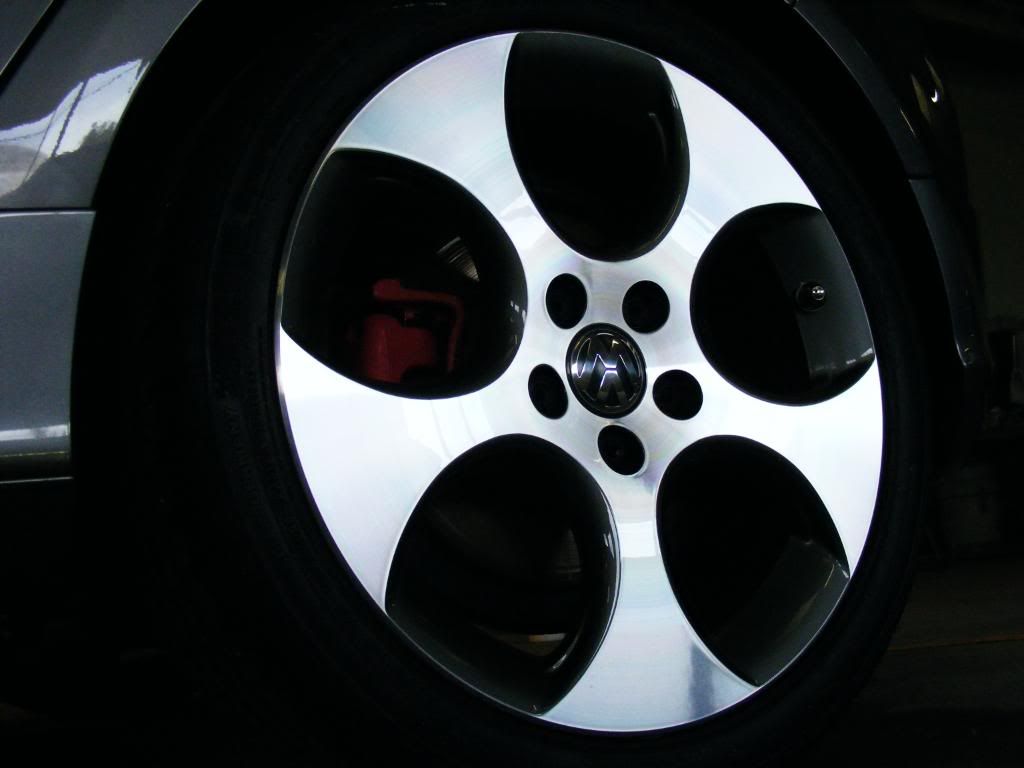
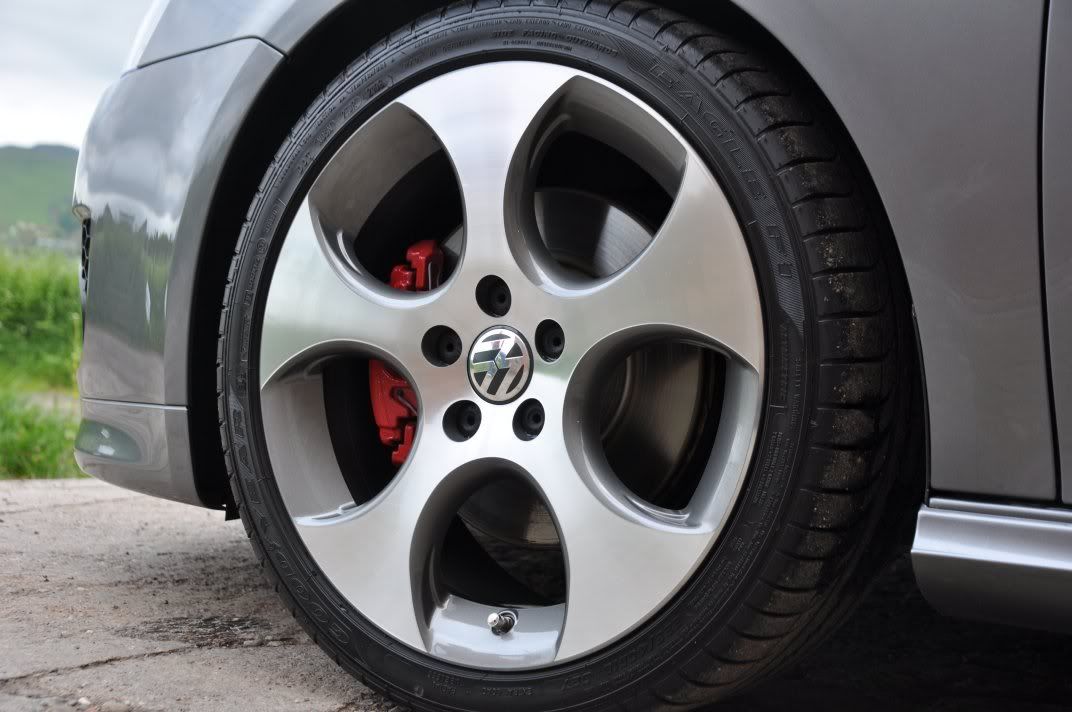
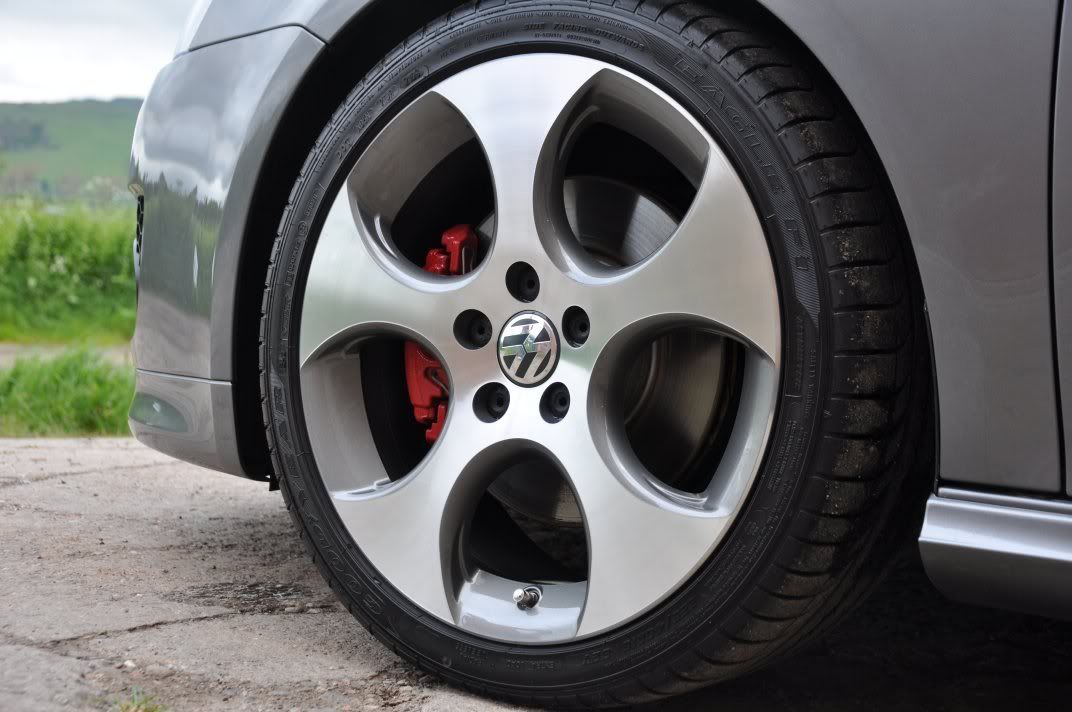
First thing was the wheels and arches - wheels cleaned with Bilberry Wheel Cleaner and arches with Meguiars All Purpose Cleaner...

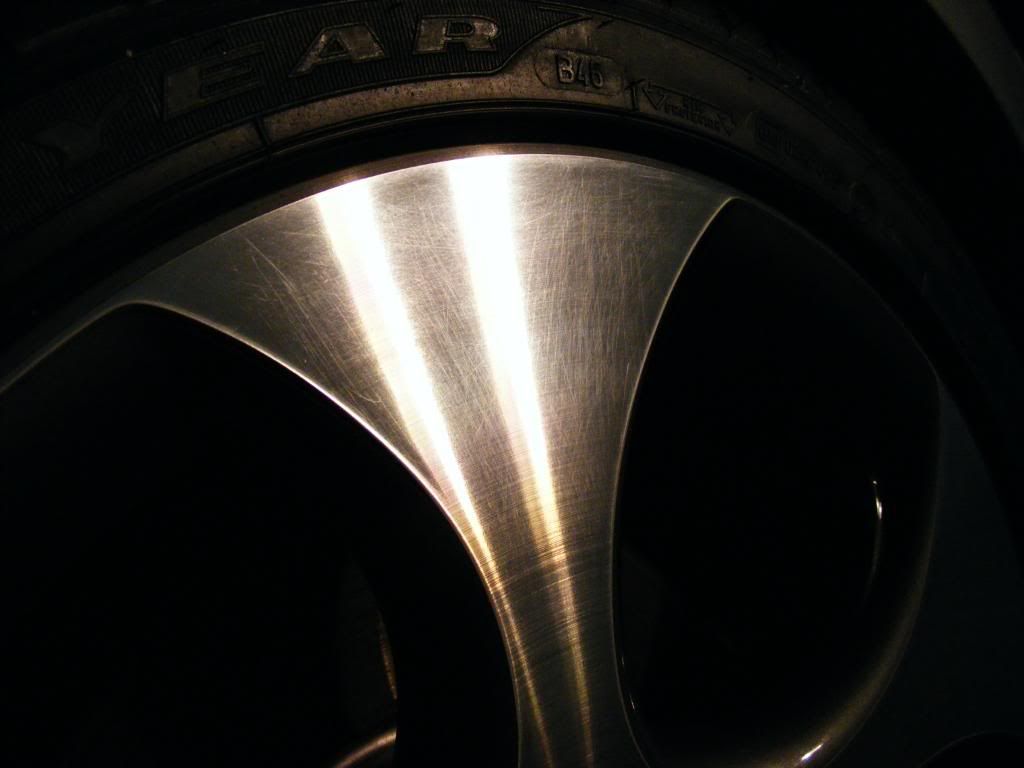
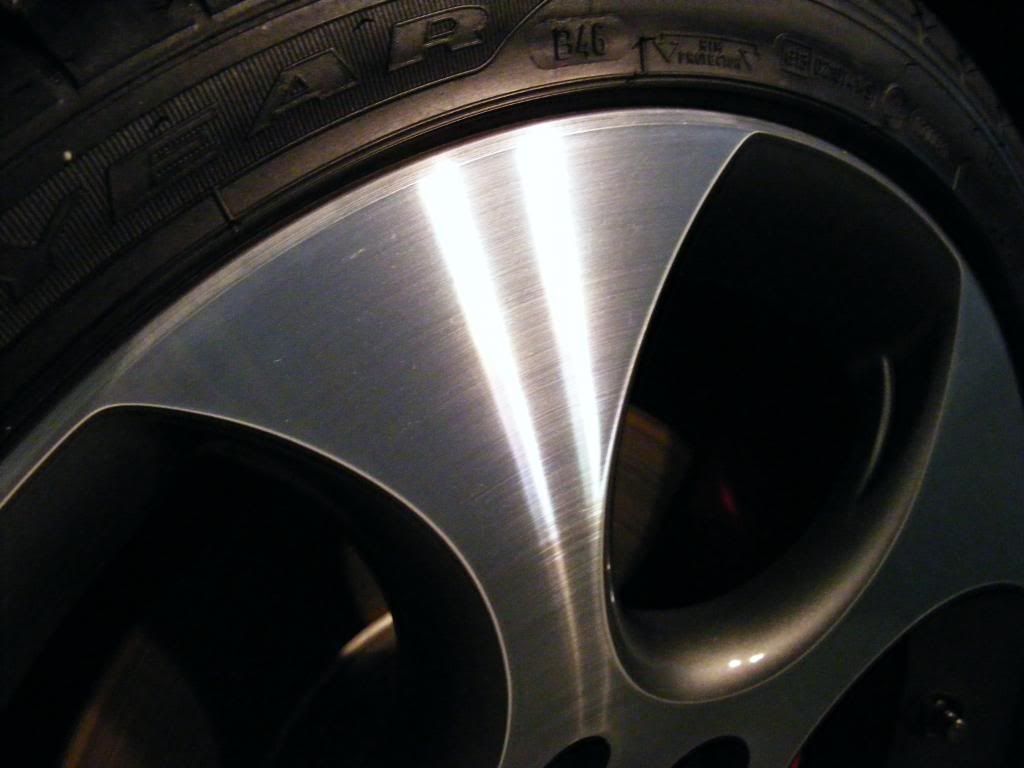
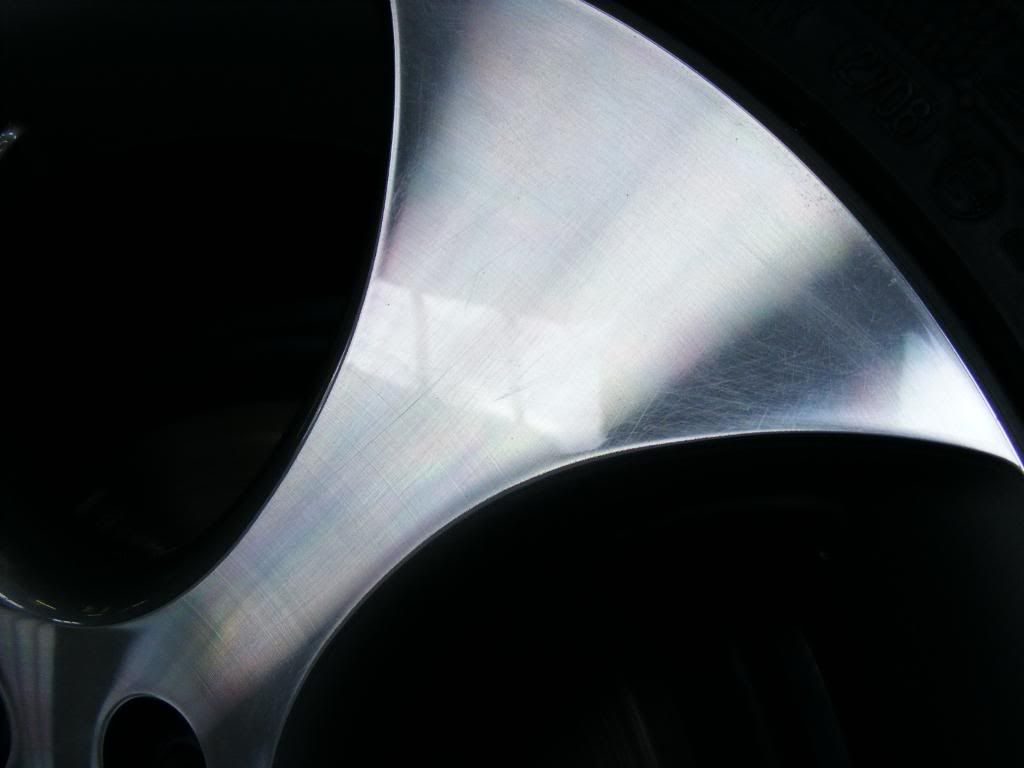
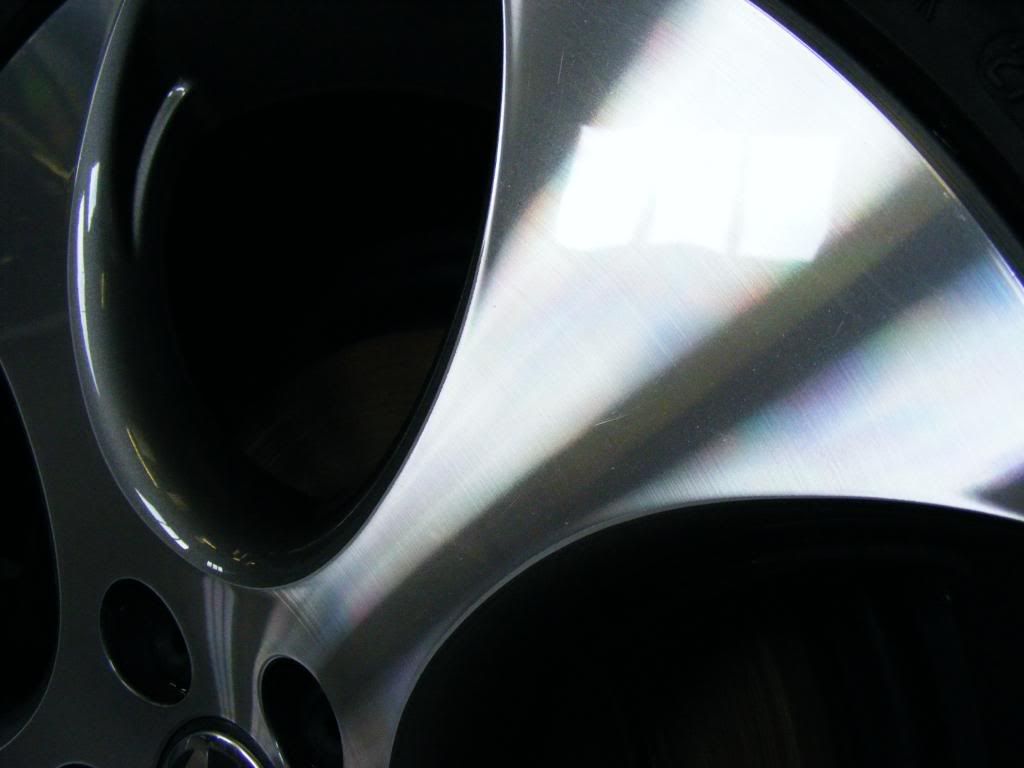
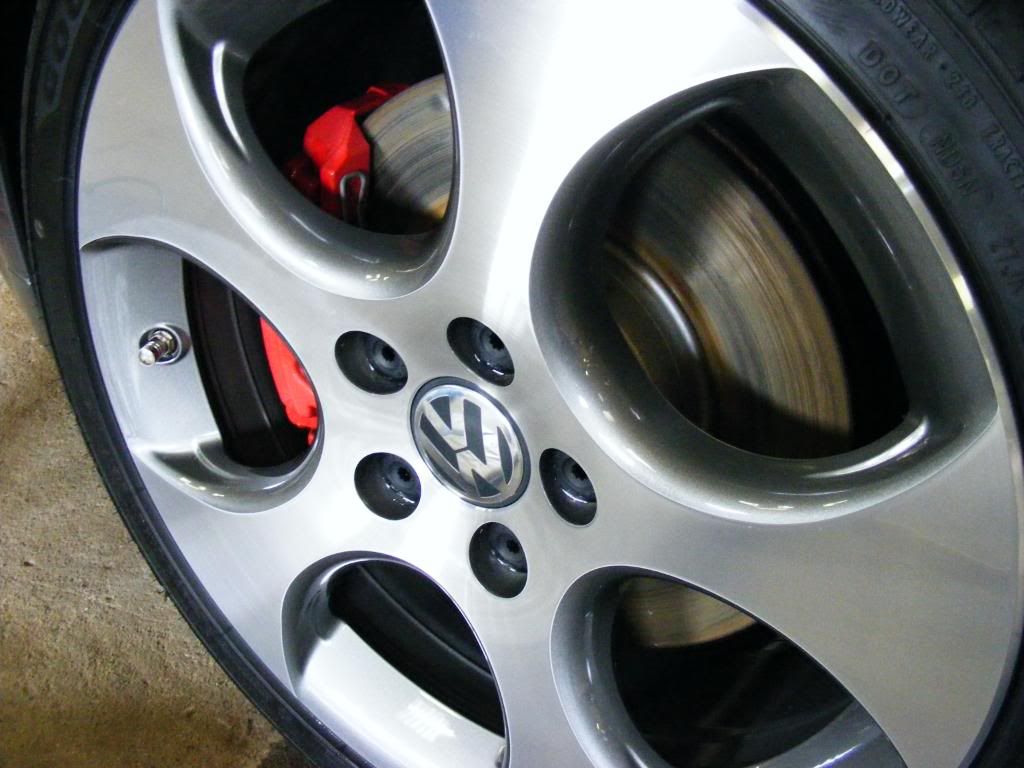
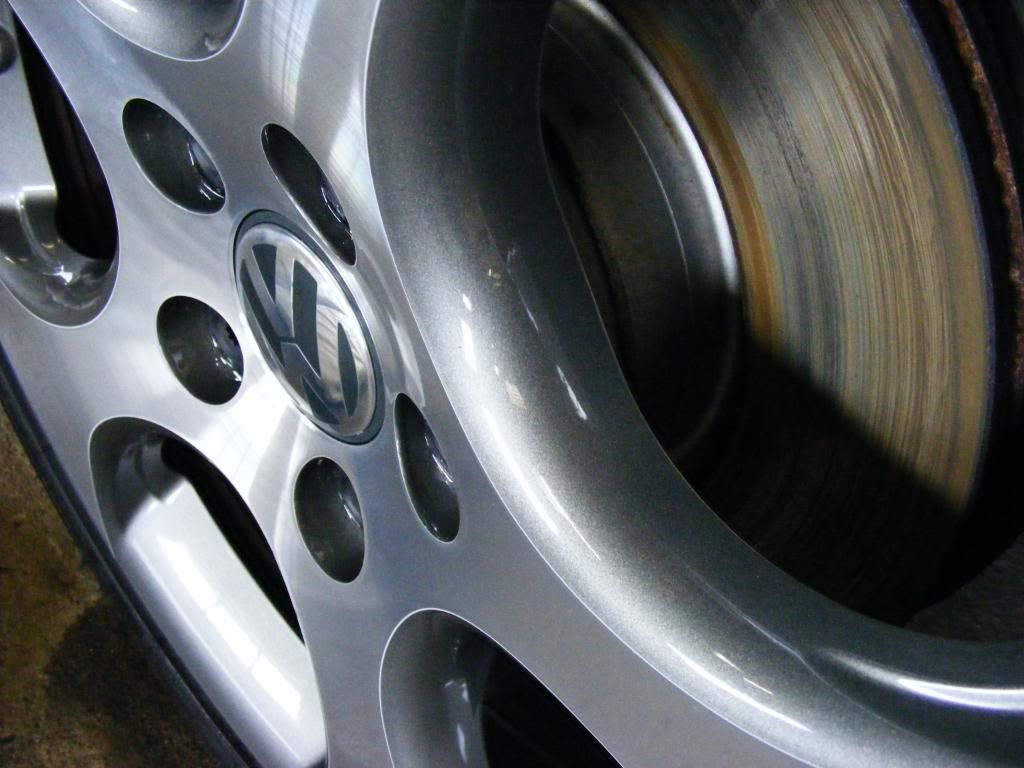
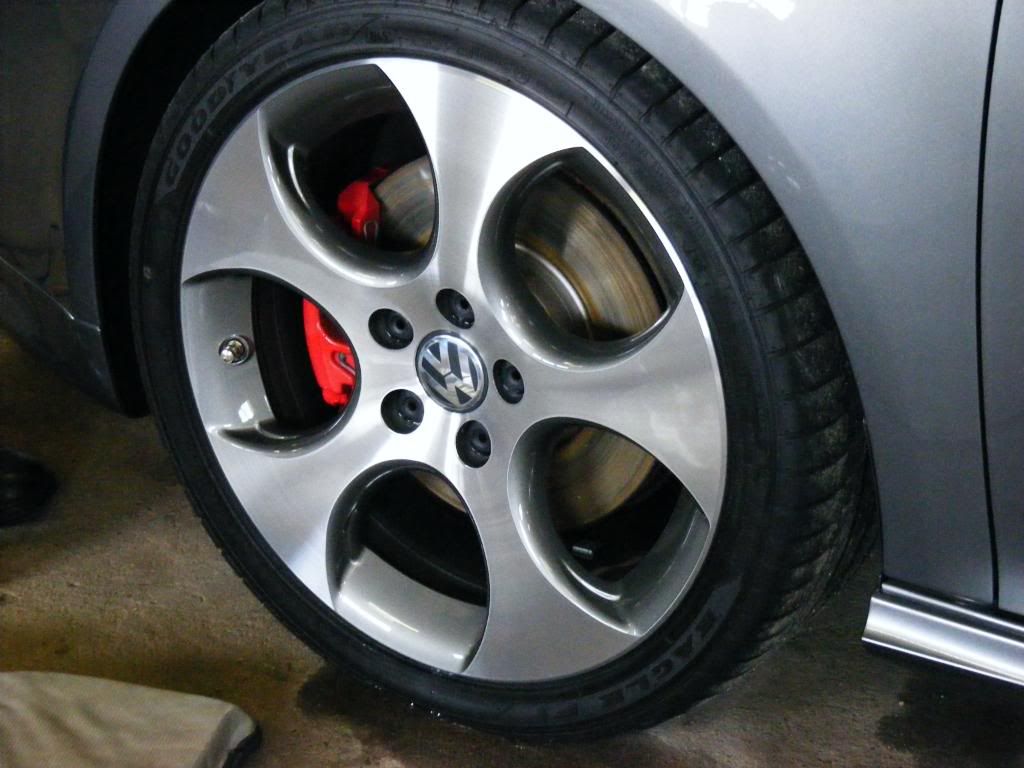
While this cleaned the wheels up very nicely the remaining finish was quite disappointing due to scratches all over the wheel rims - possible use of too hard a brush in the past? In any case, more on the wheels a little later")
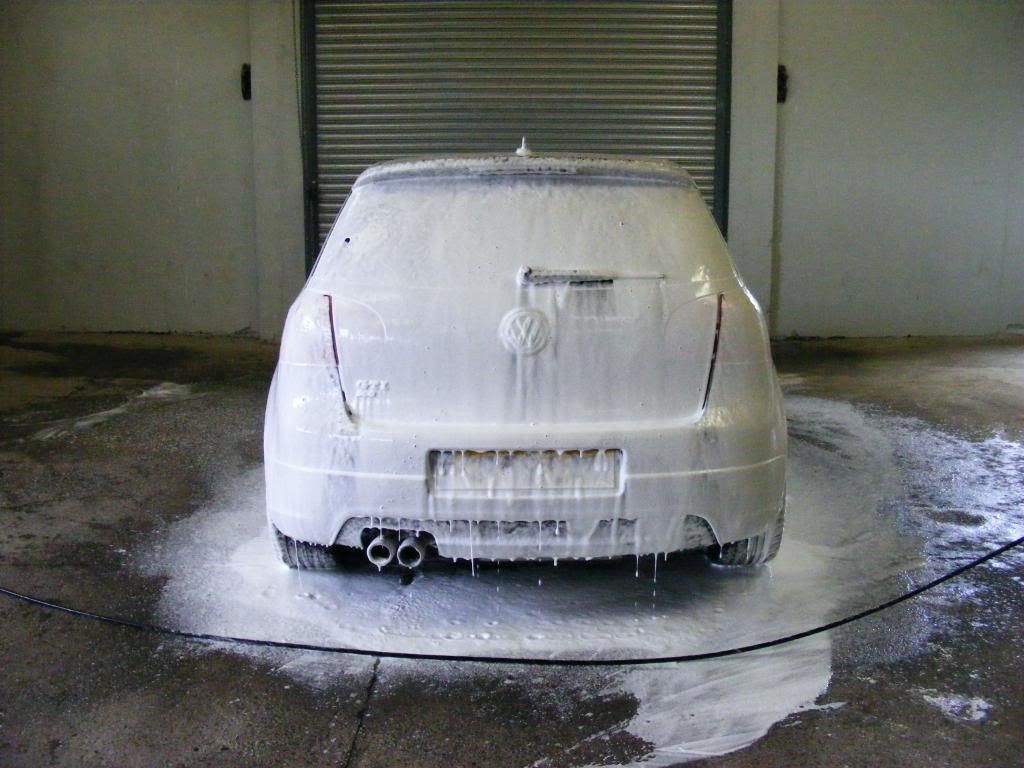
Onto the washing stage, and the car was first foamed with Supa Snow Foam:
and then rinsed...
The car was clayed with Zaino Z18 Clay with Last Touch as a lube and then rinsed and dried off...
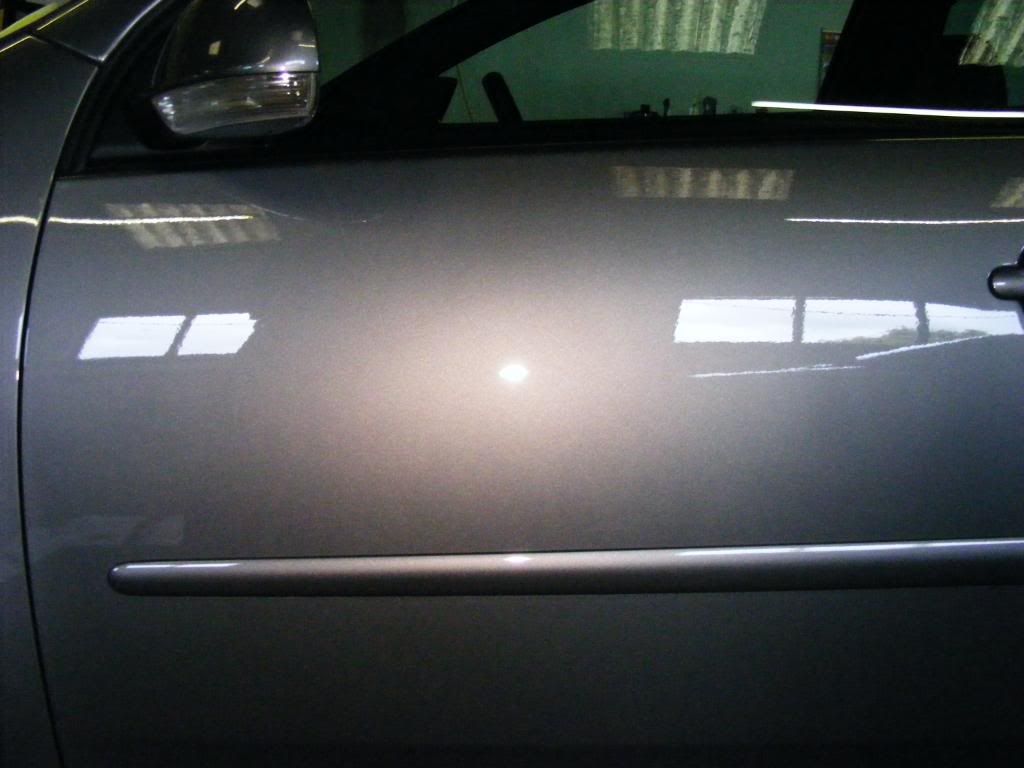
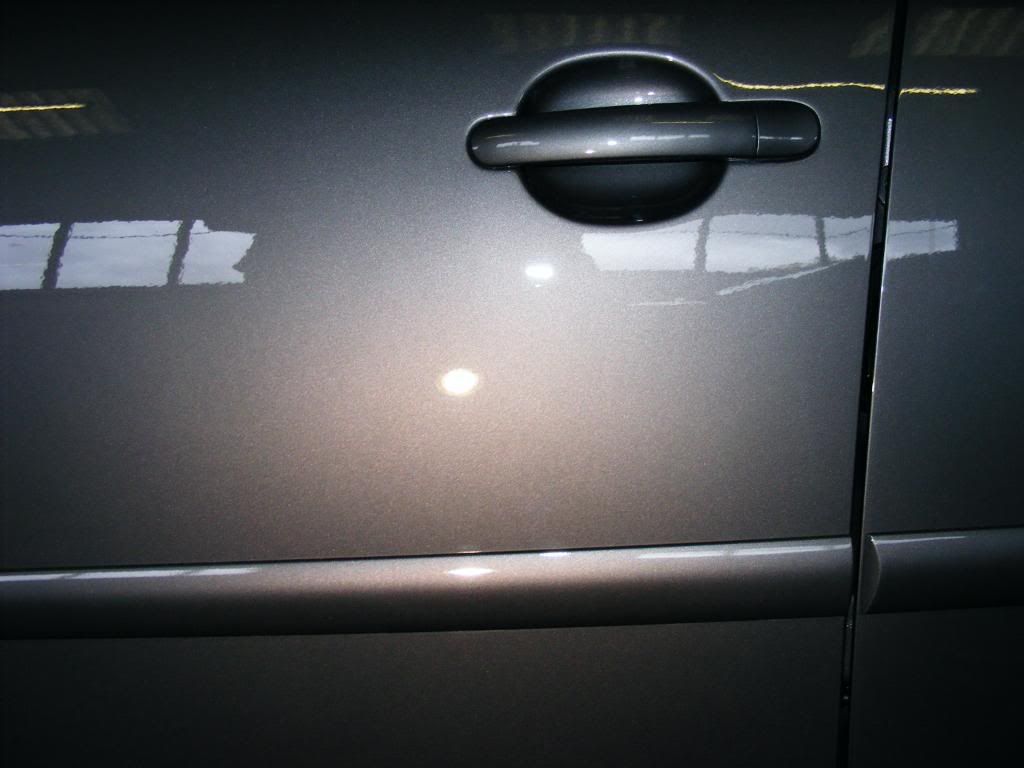
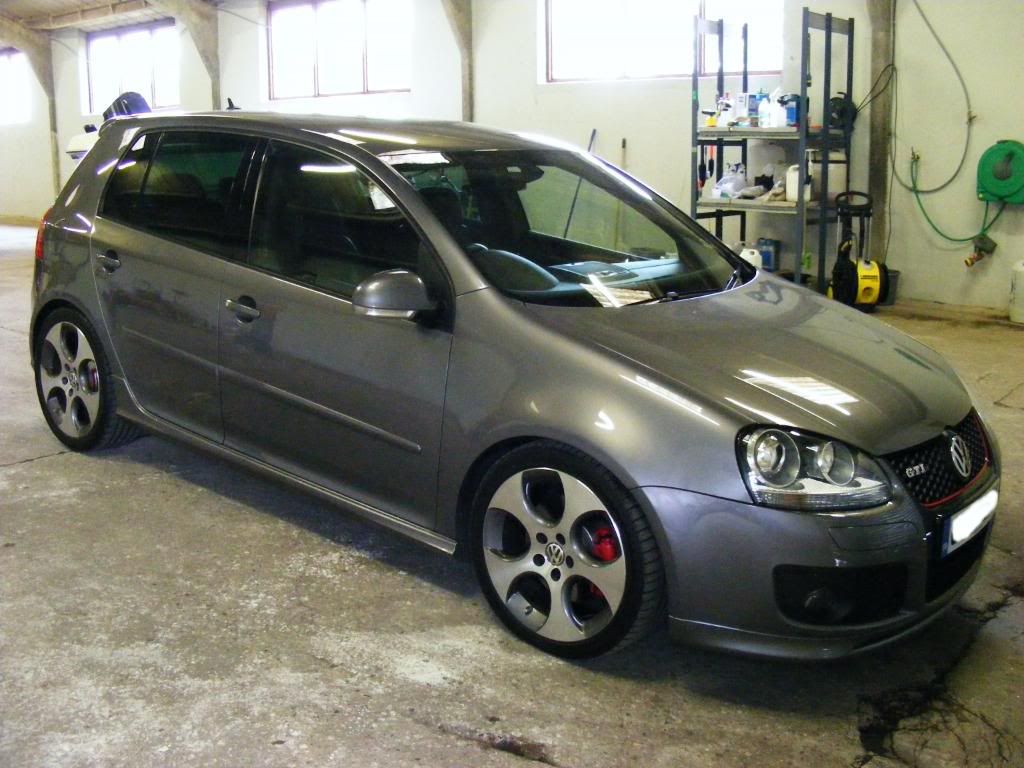
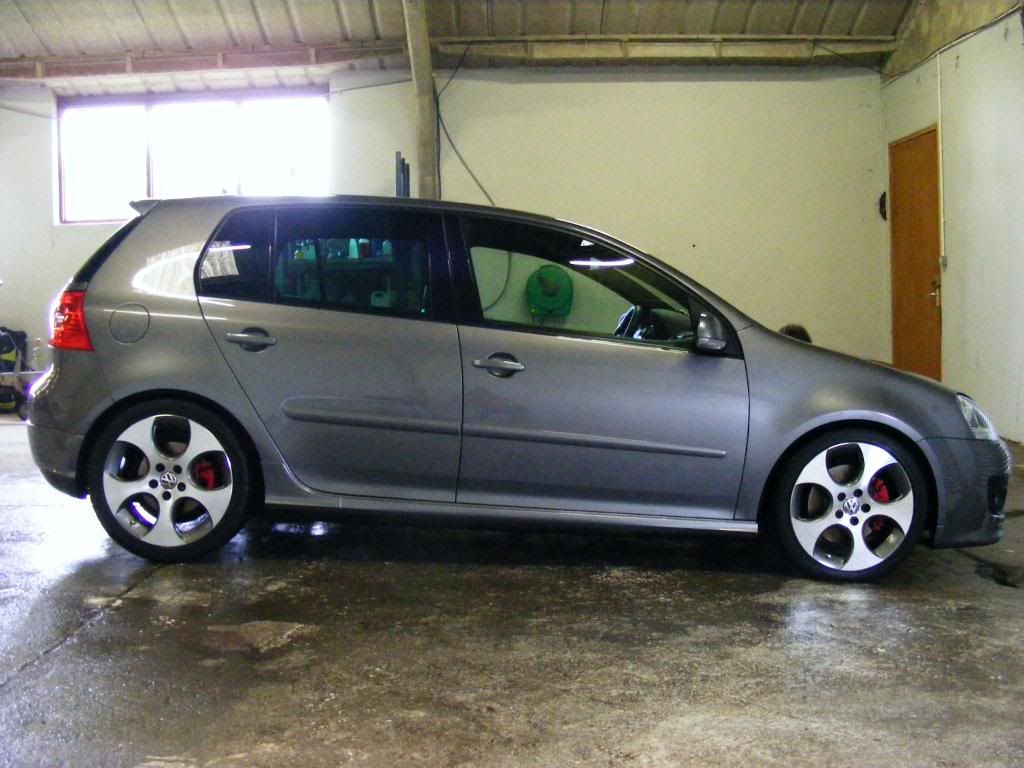
After just a good wash, the car was looking superb - a credit to its owner...

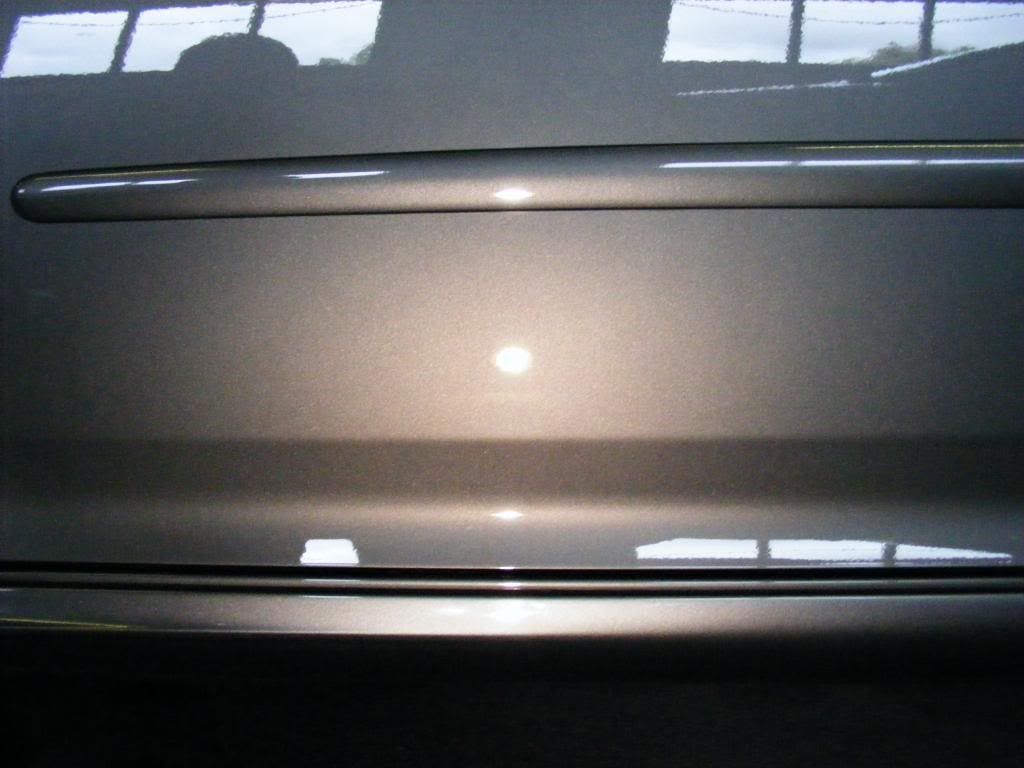
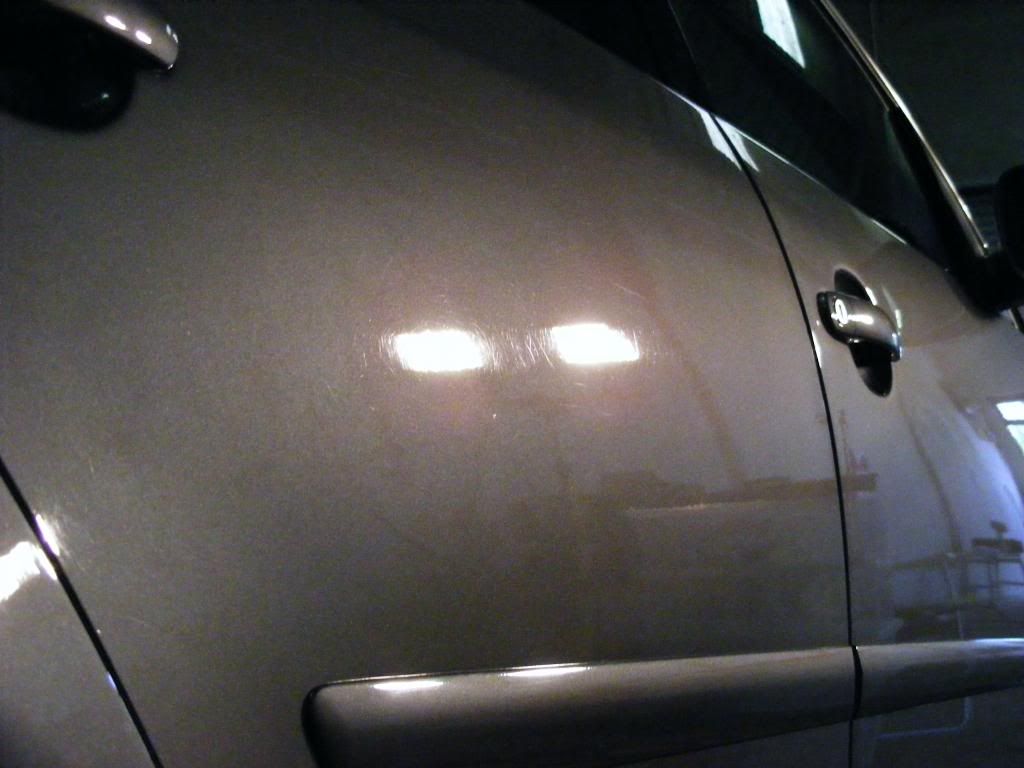
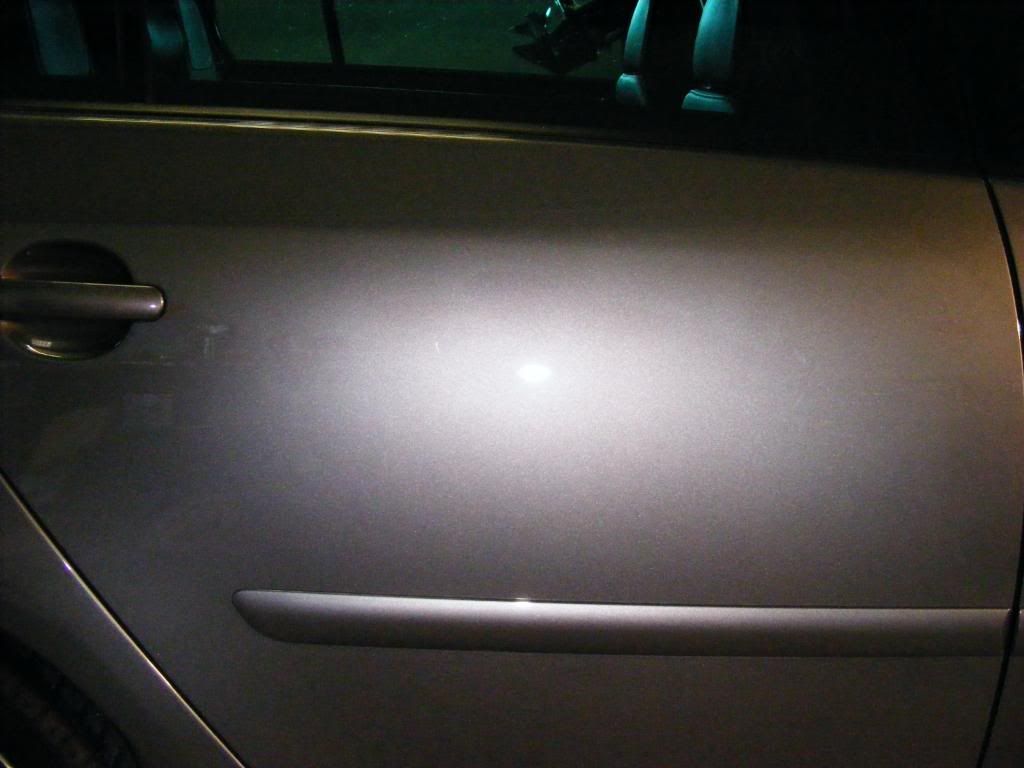
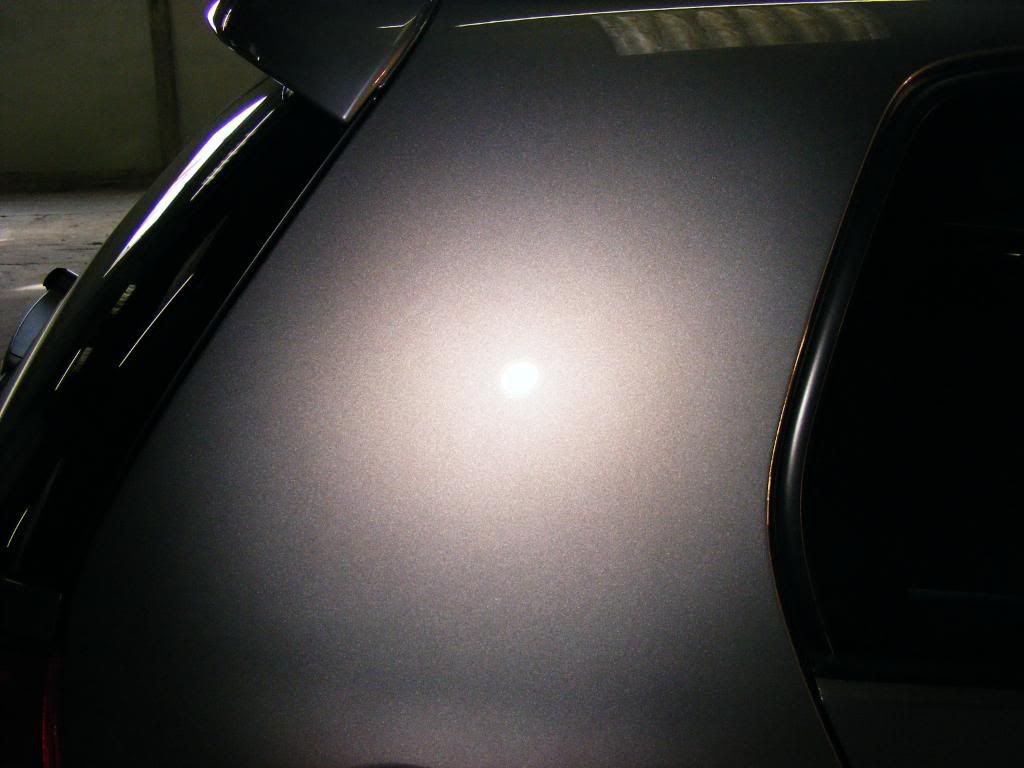
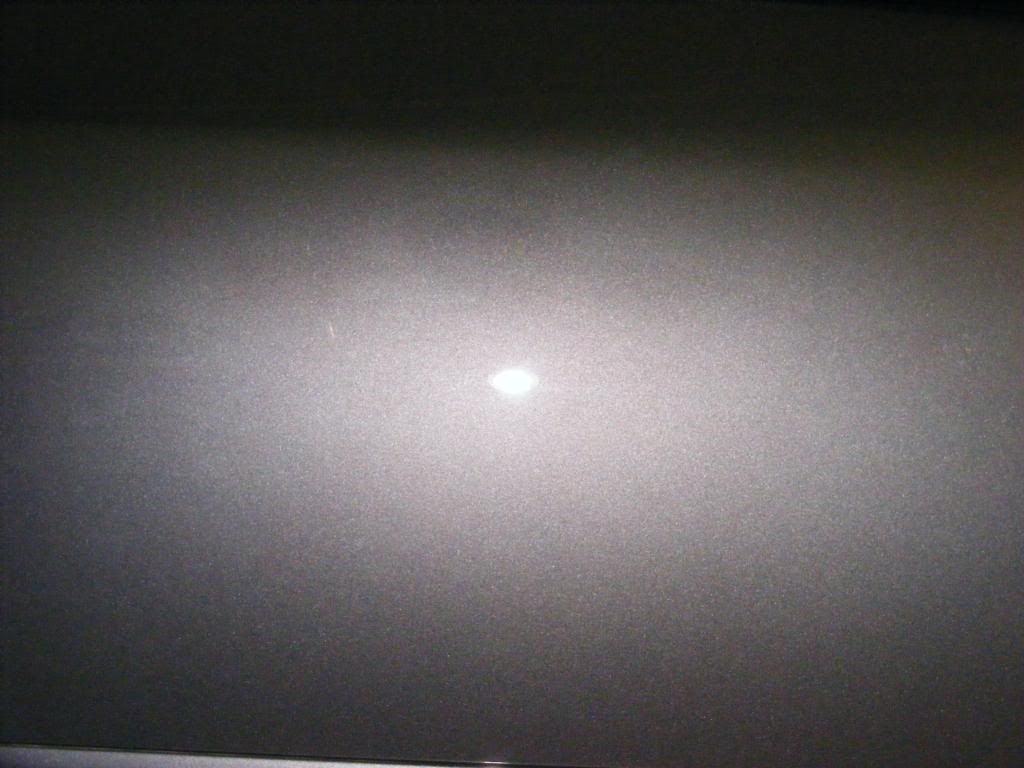
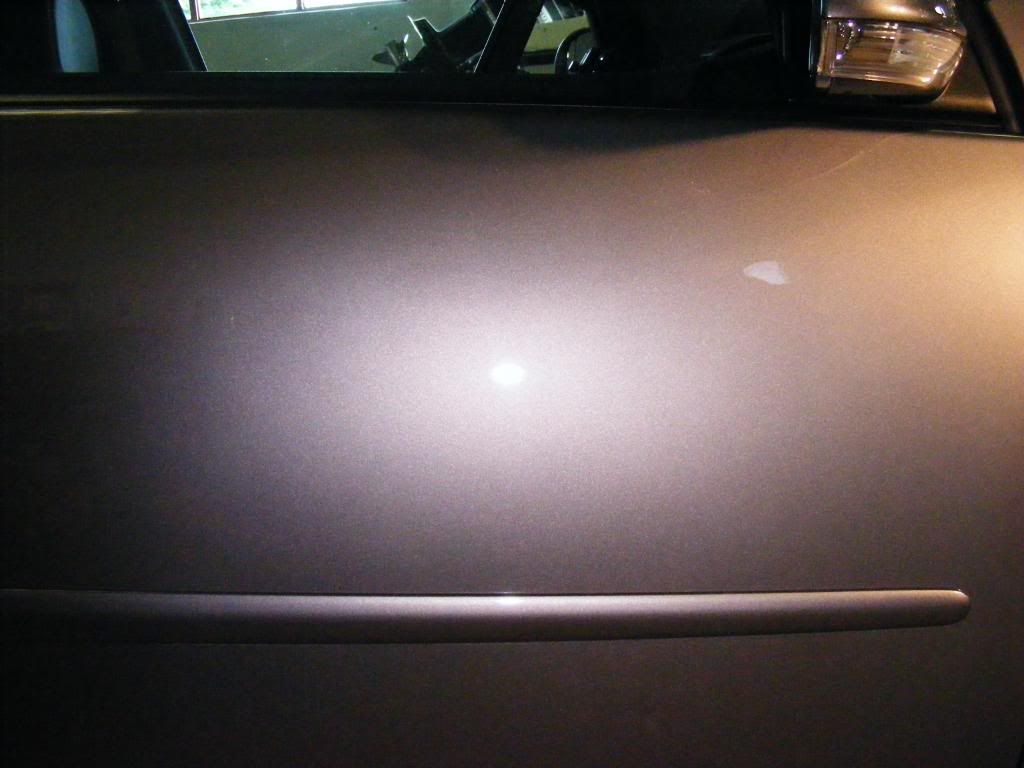
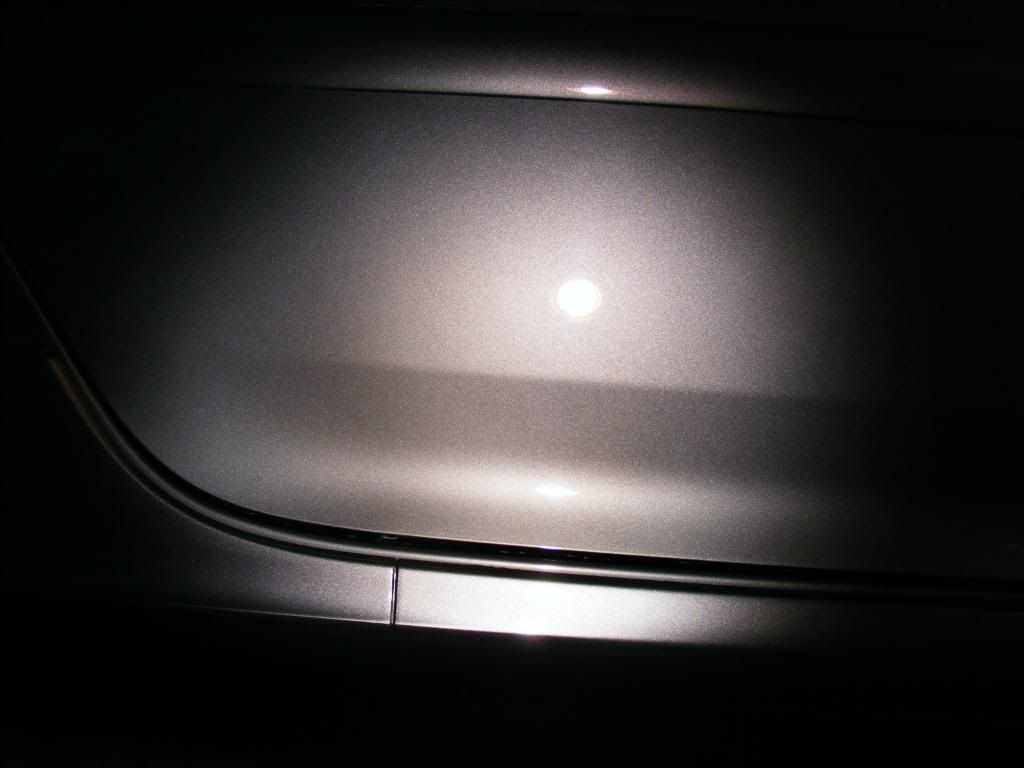
The Sun Gun is a cruel mistress though and it was used to show up regions of light swirls and marring on the paint...

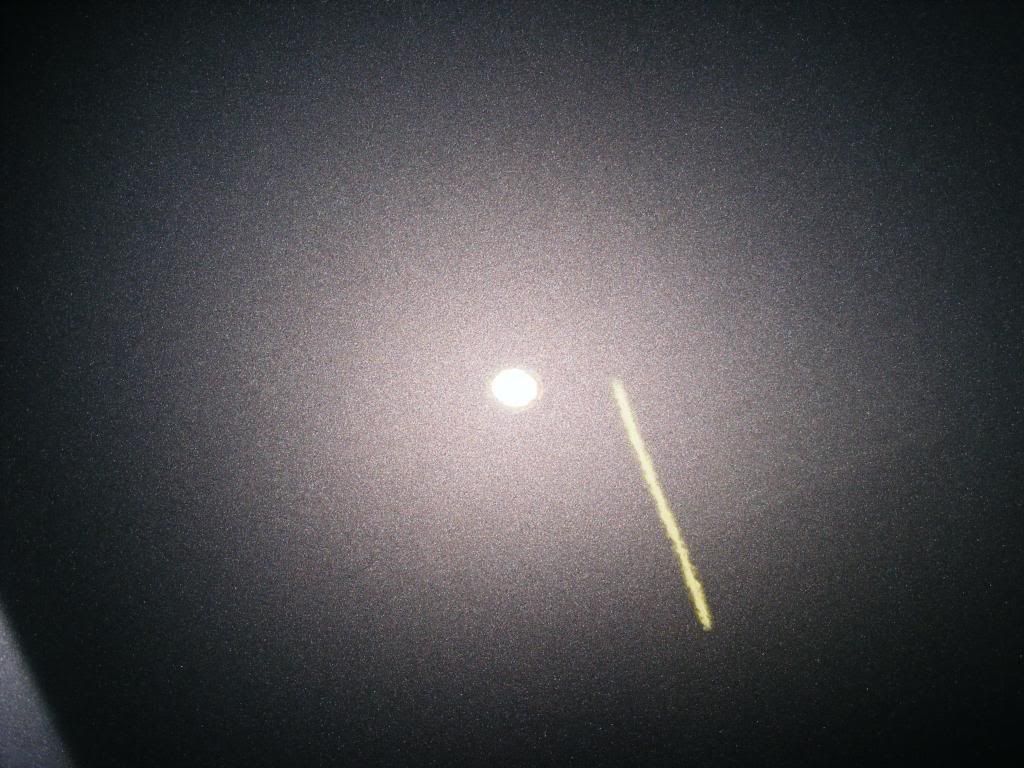
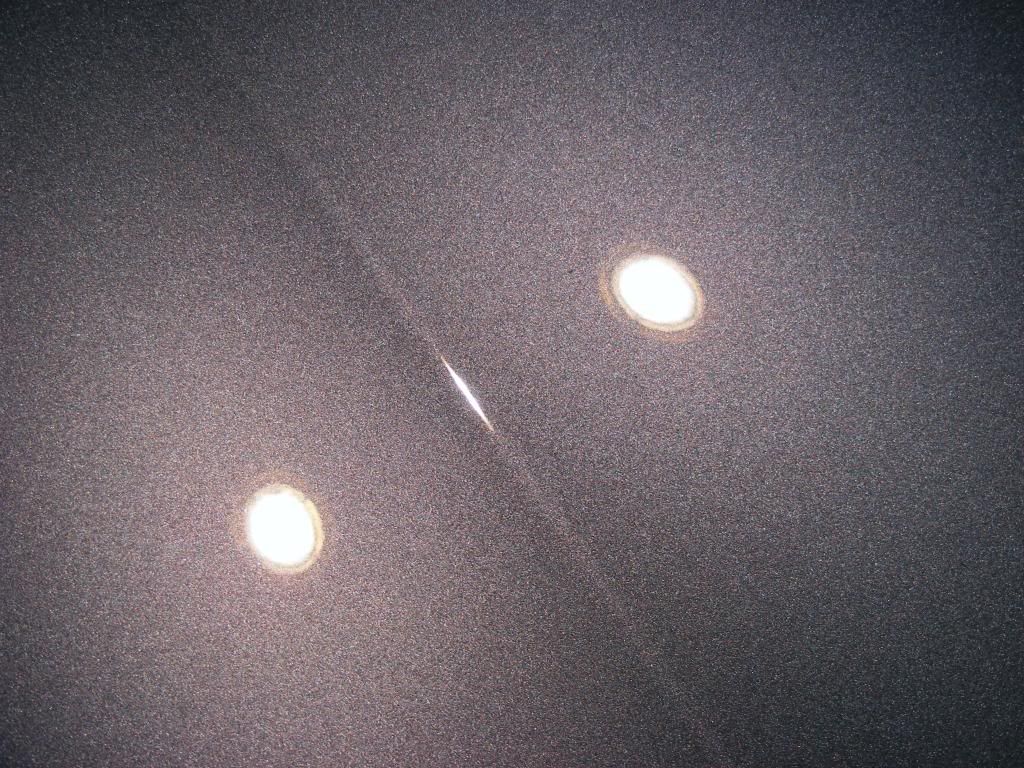
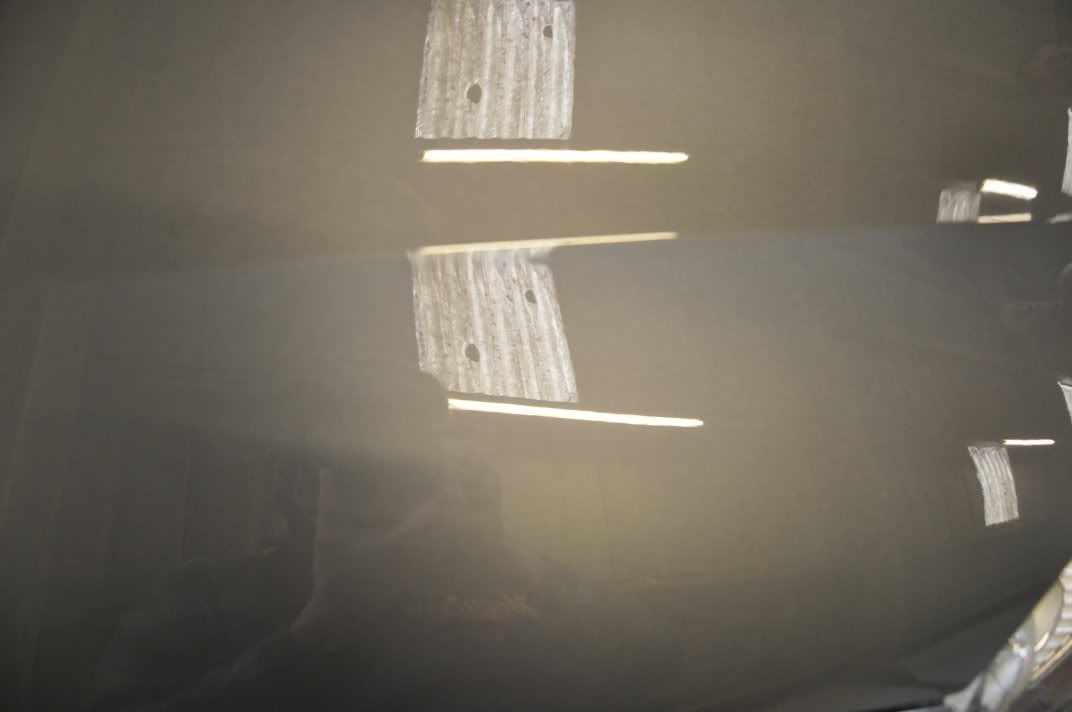
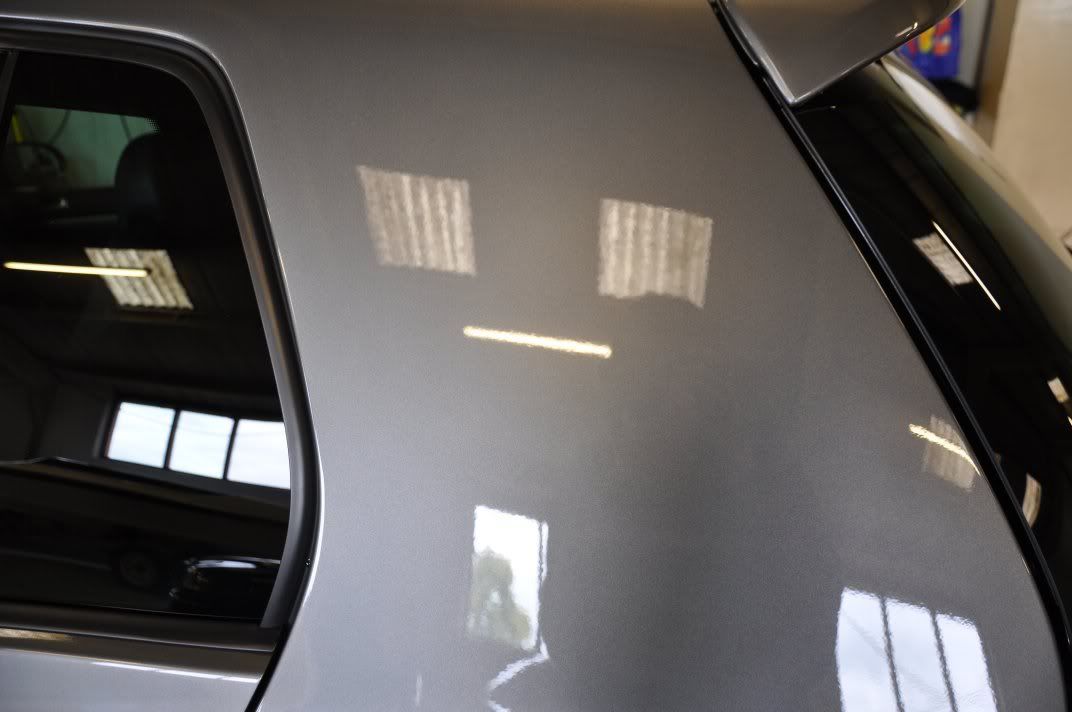
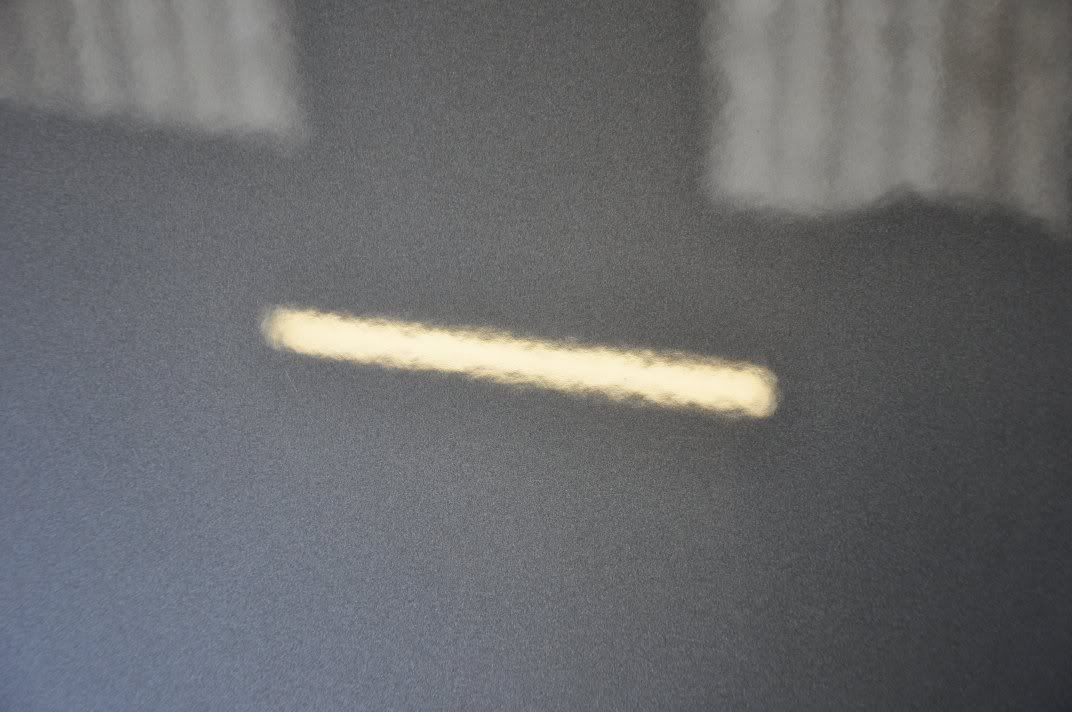
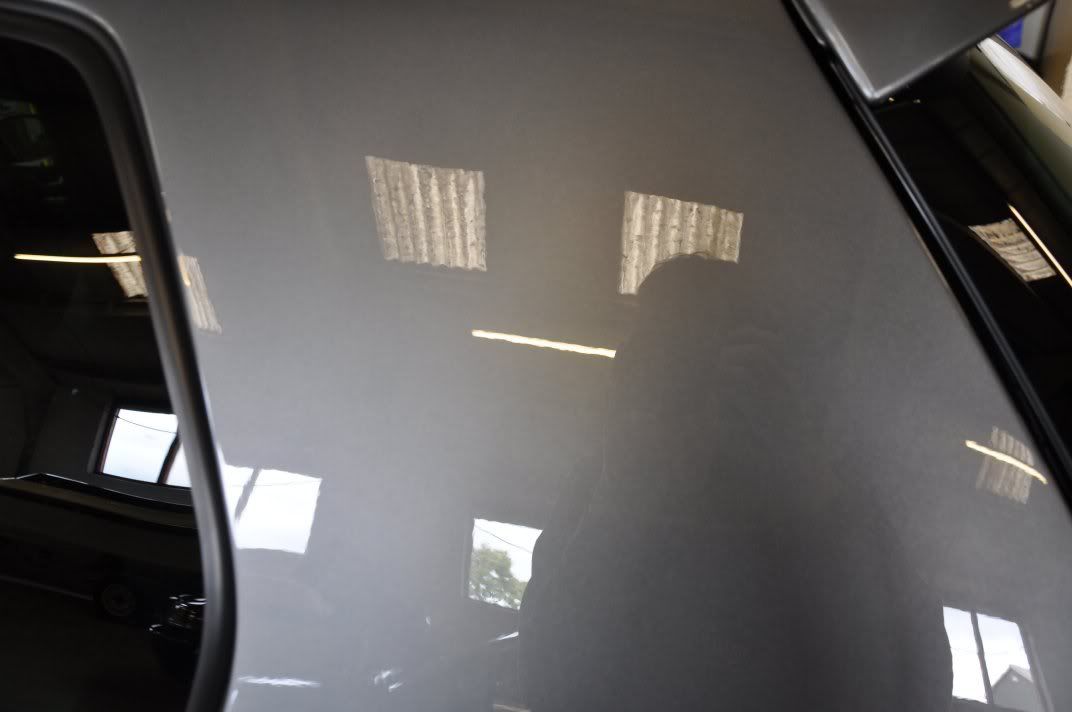
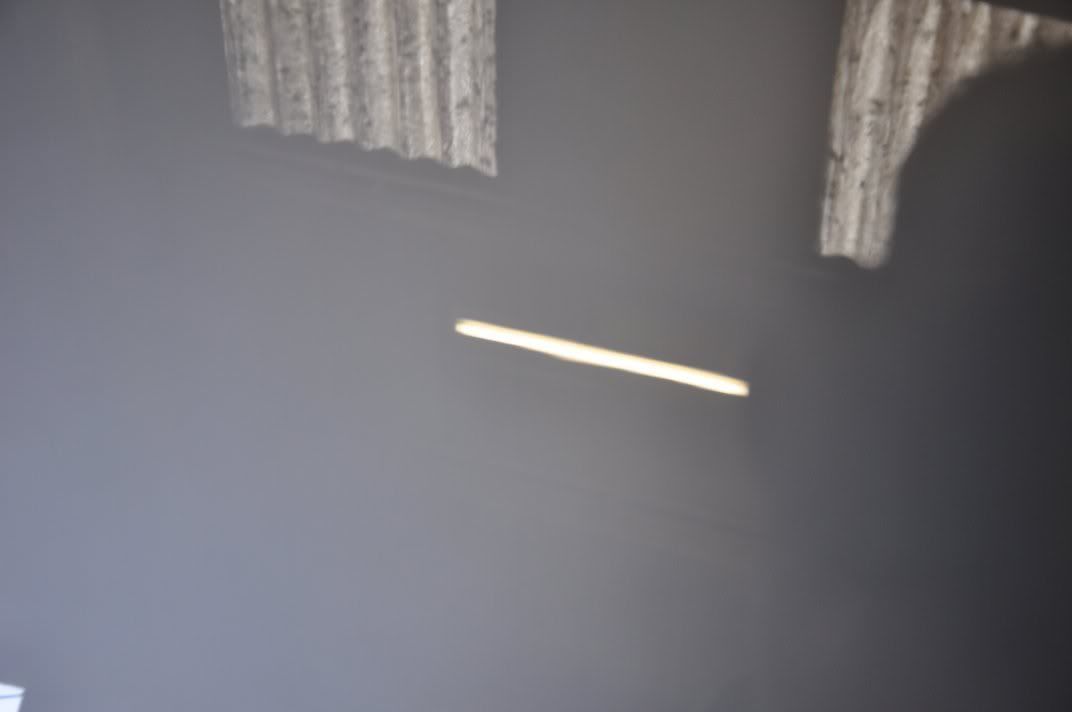
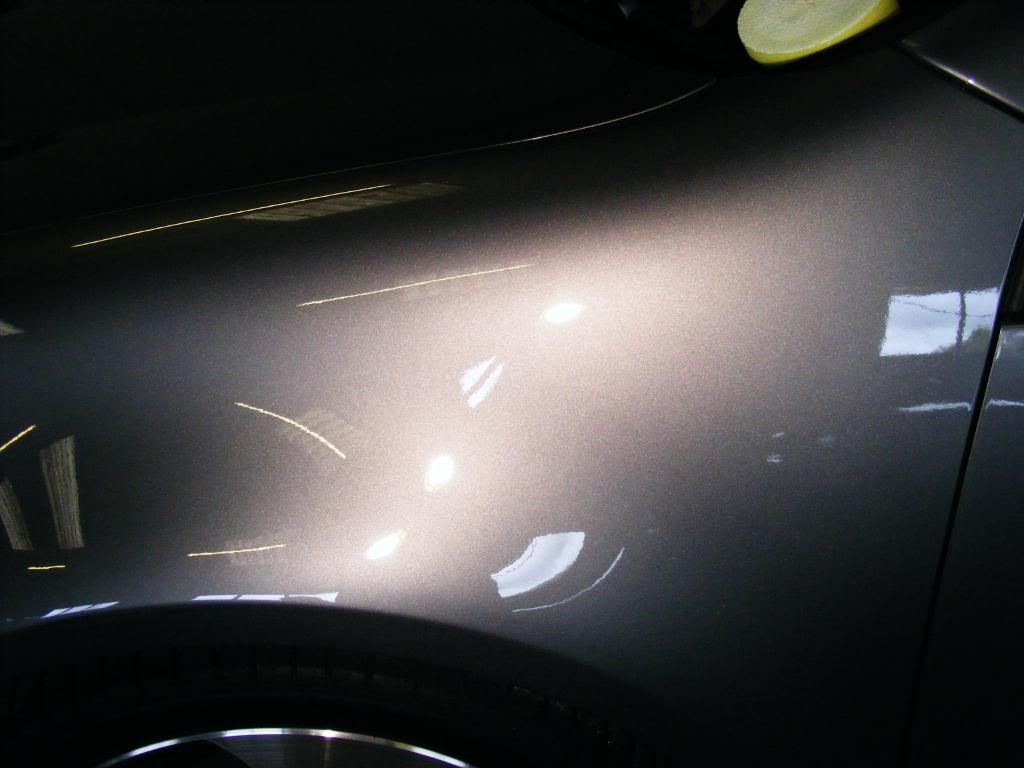
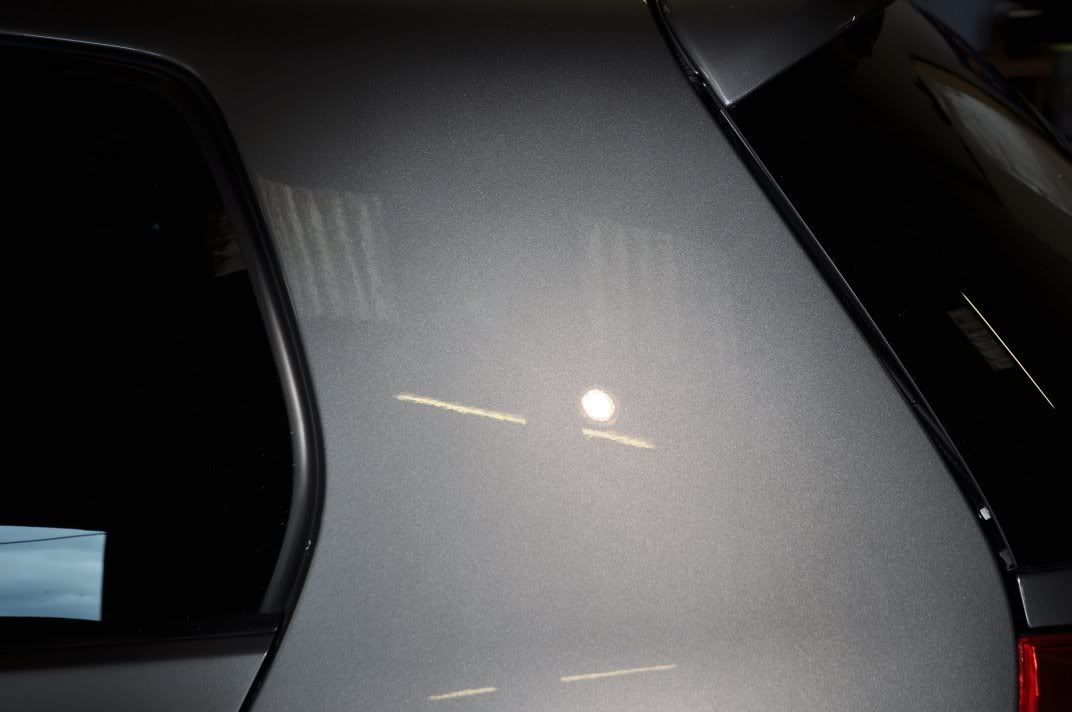
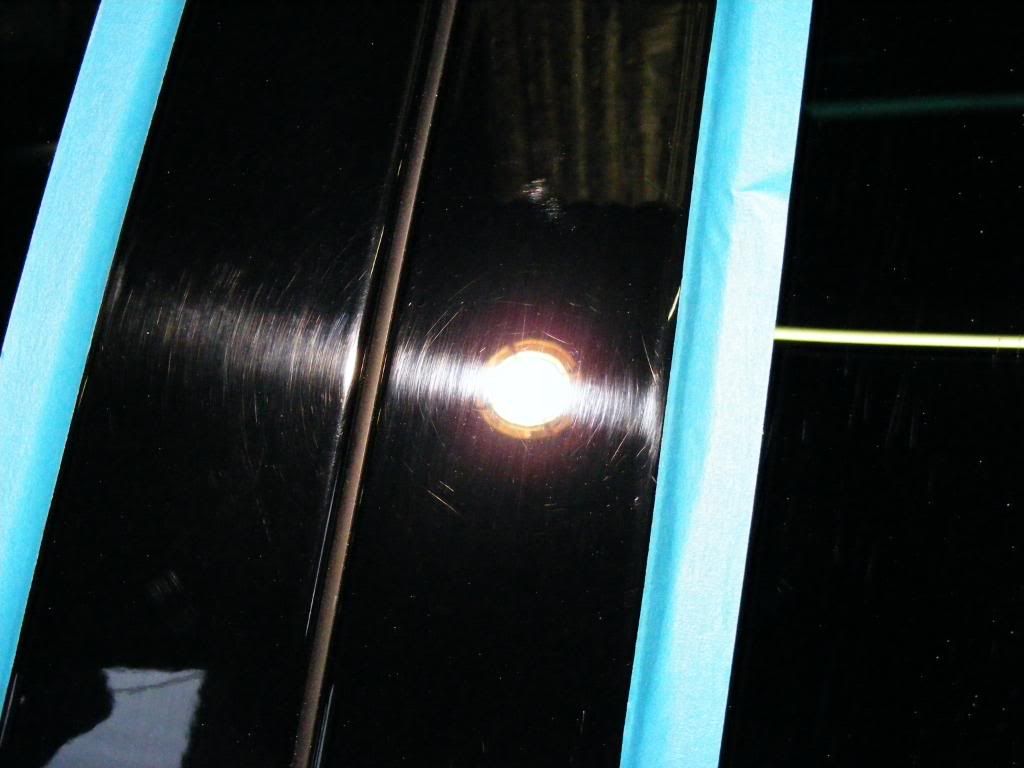
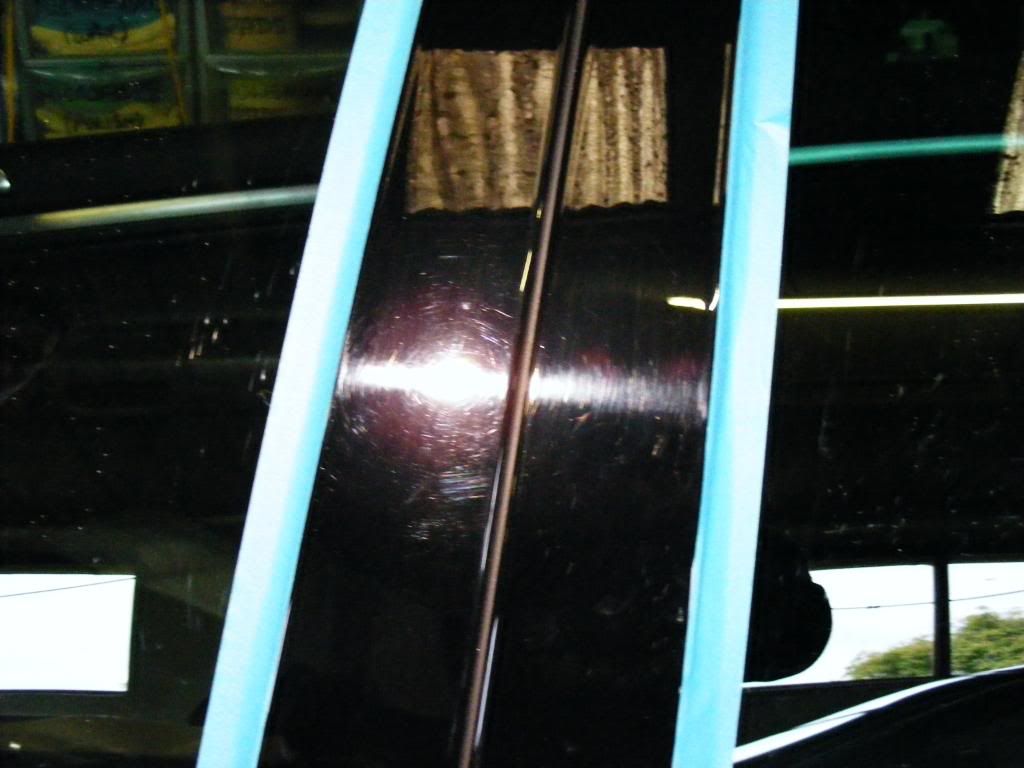
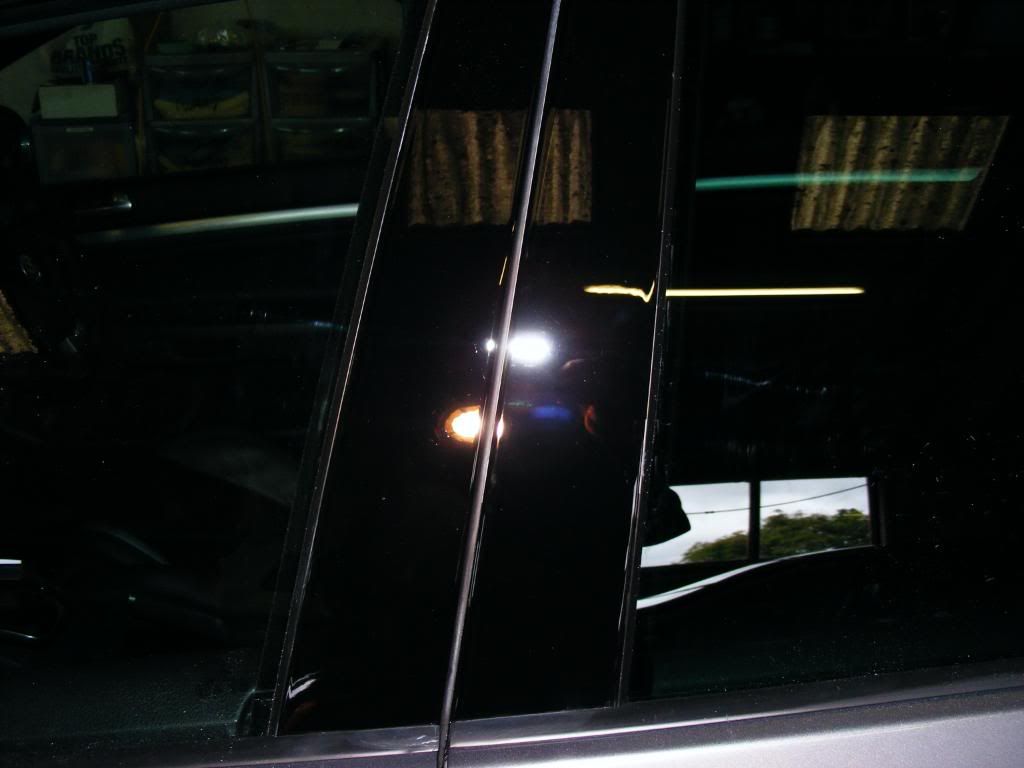
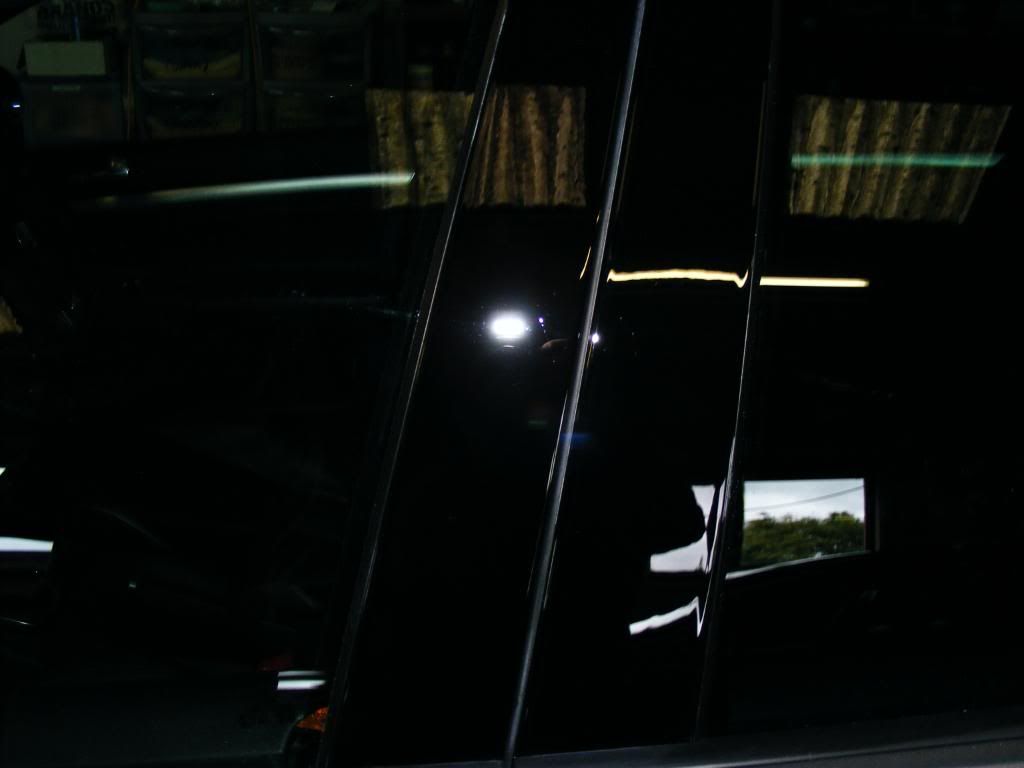
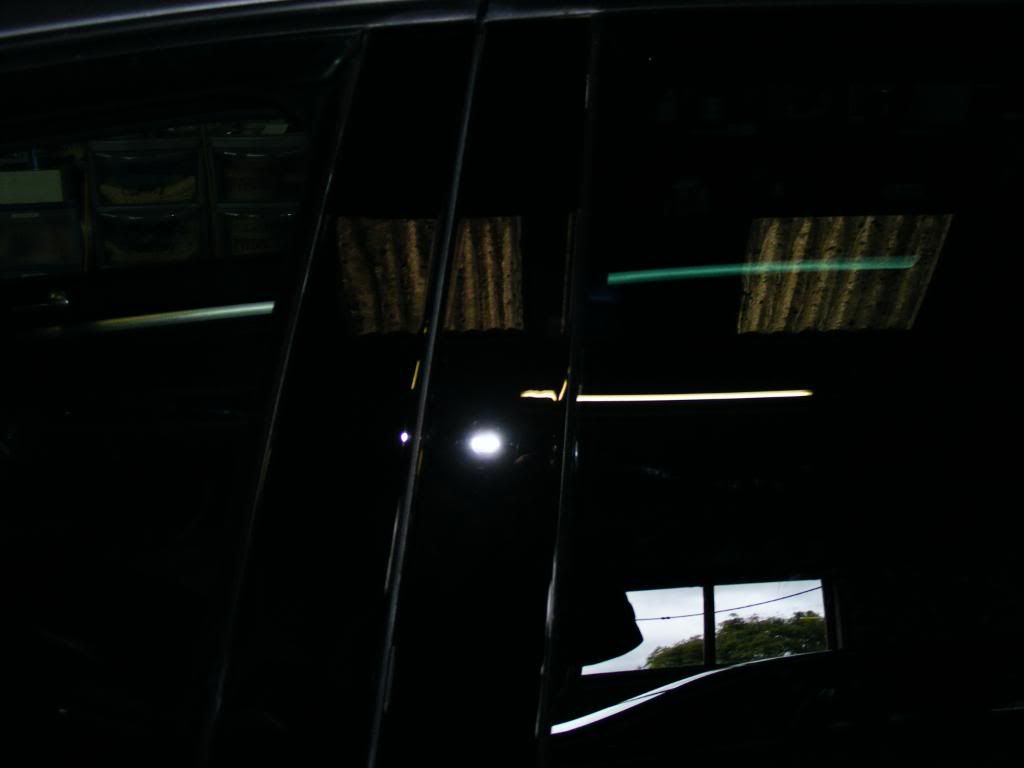
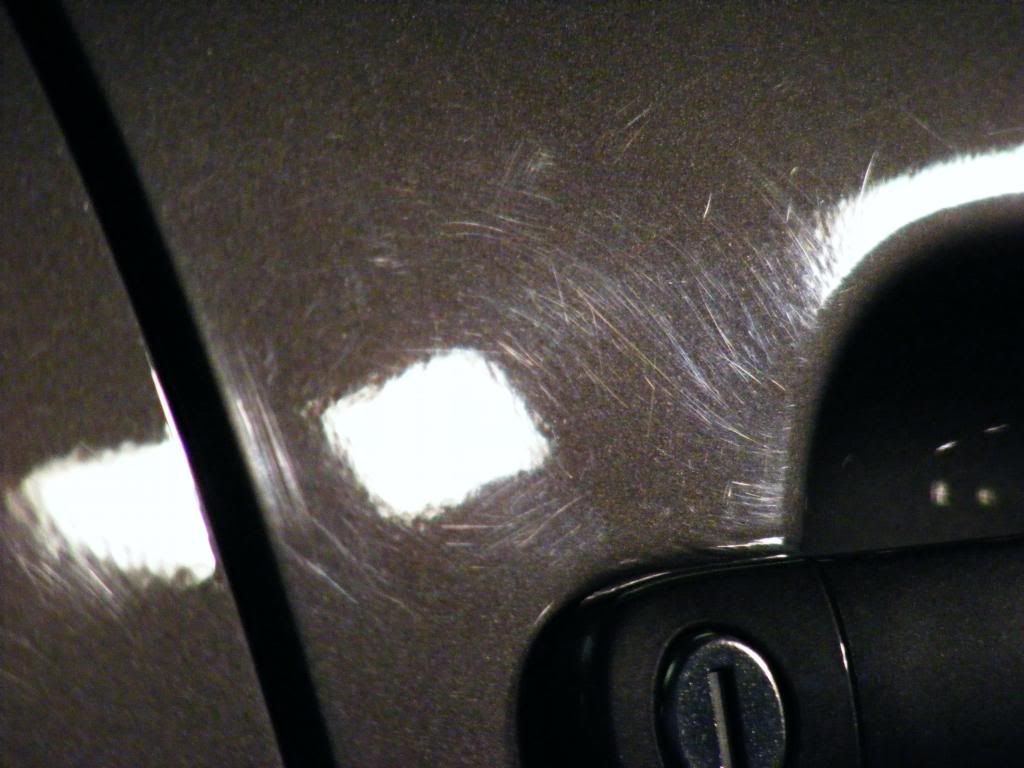
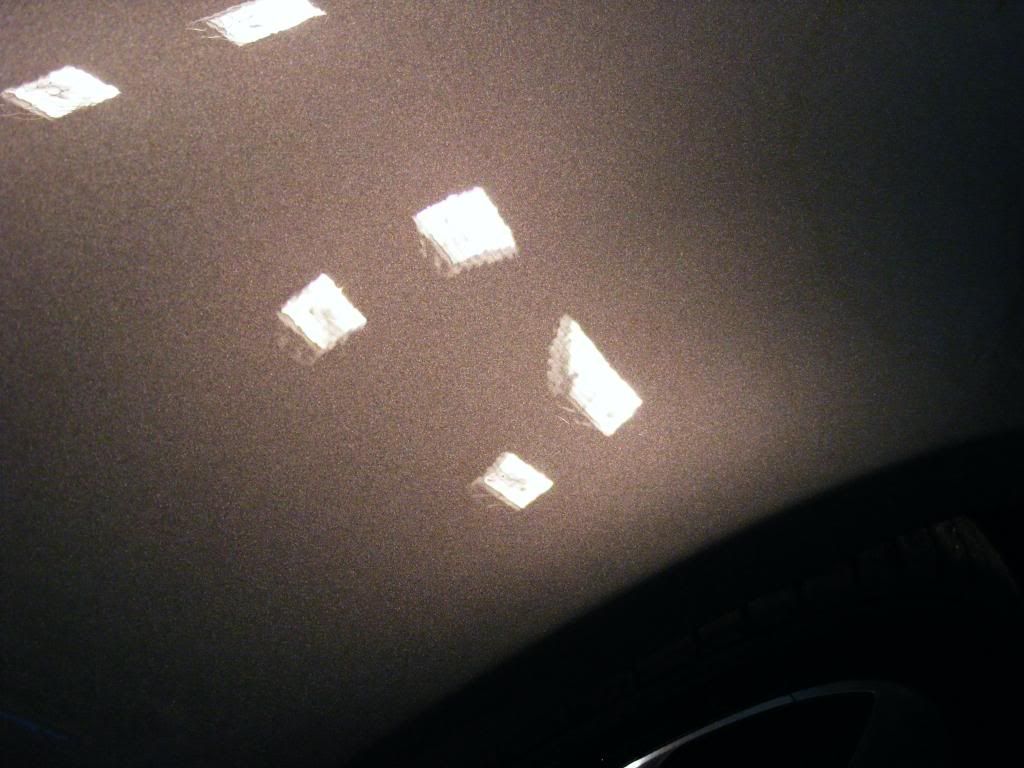
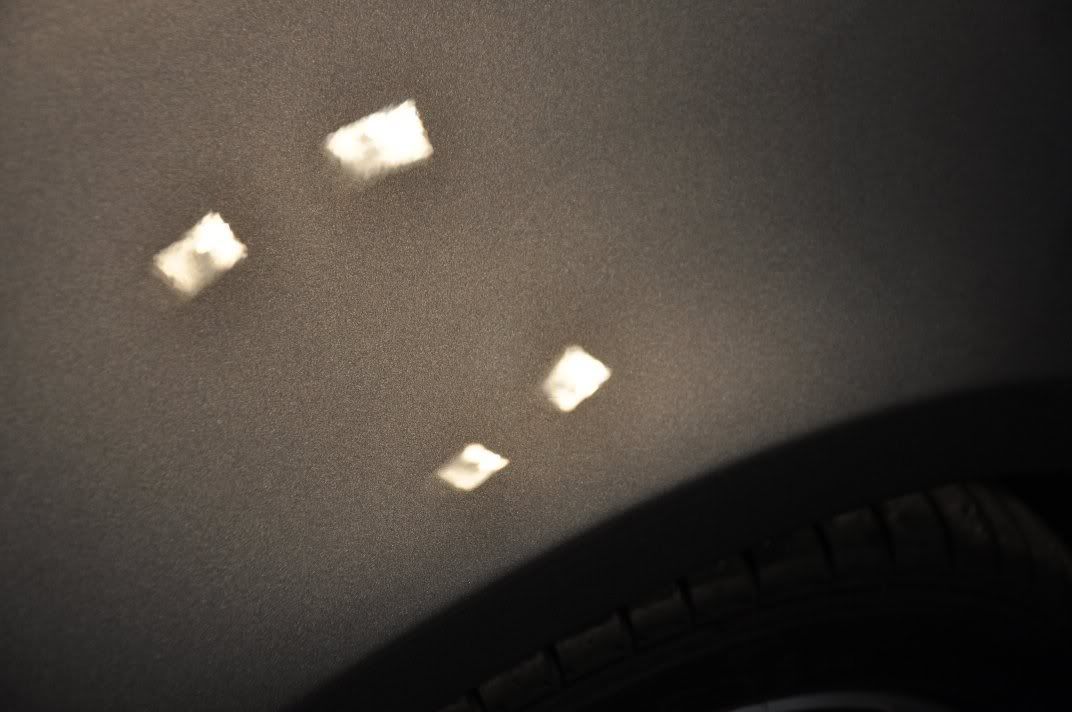
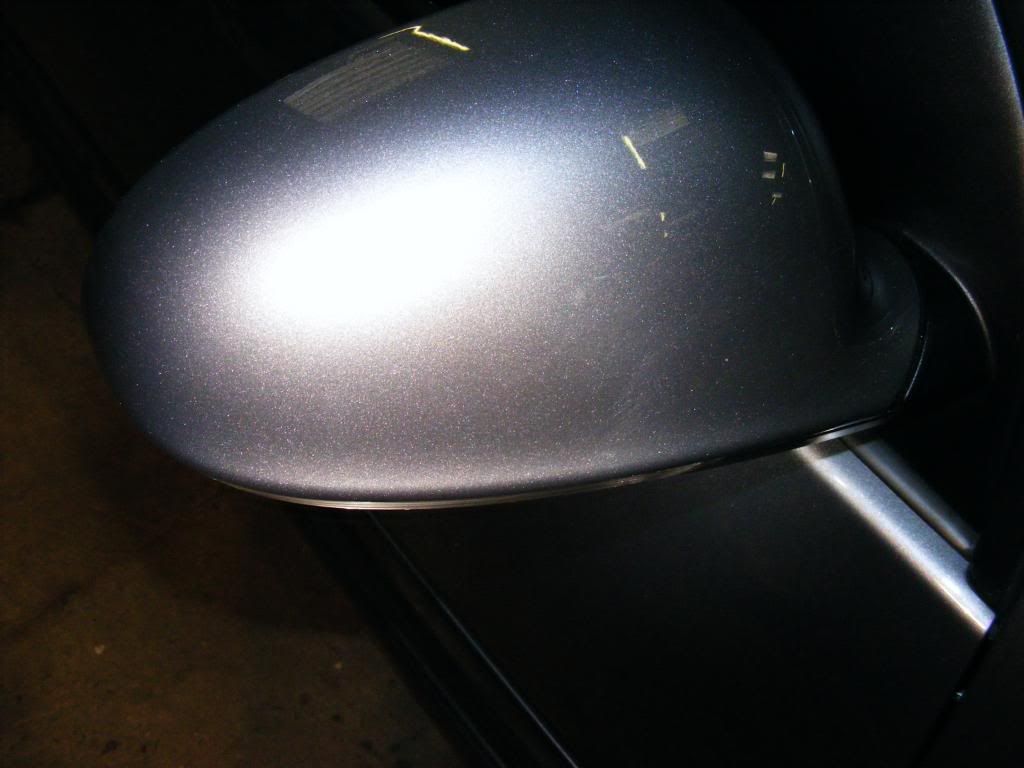
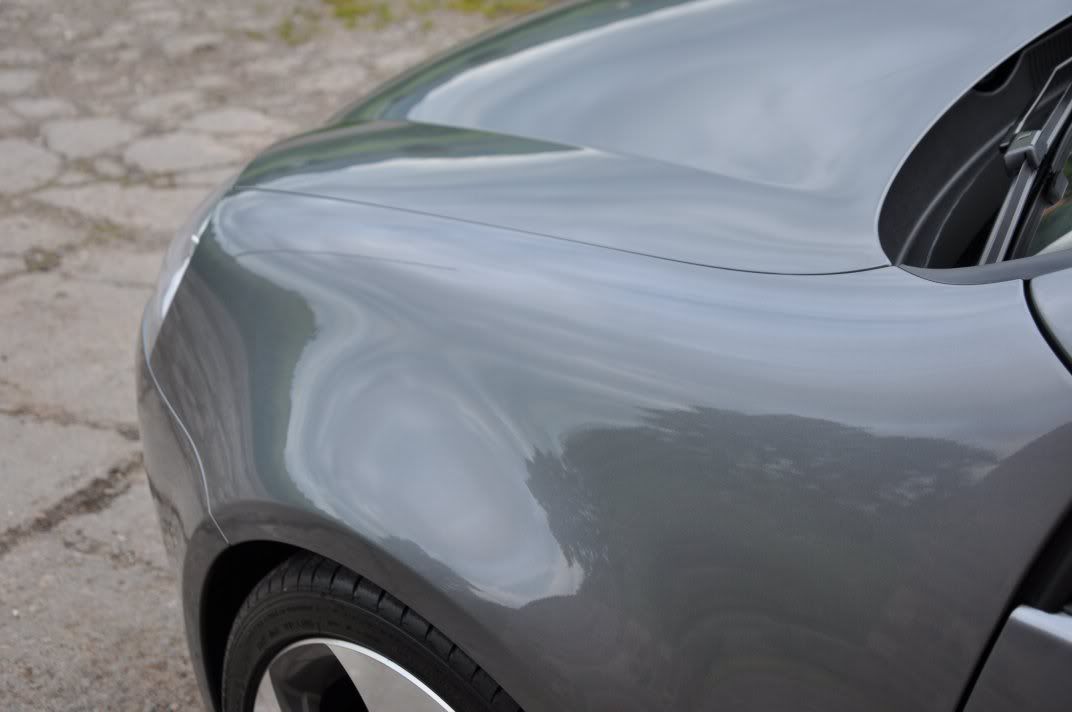
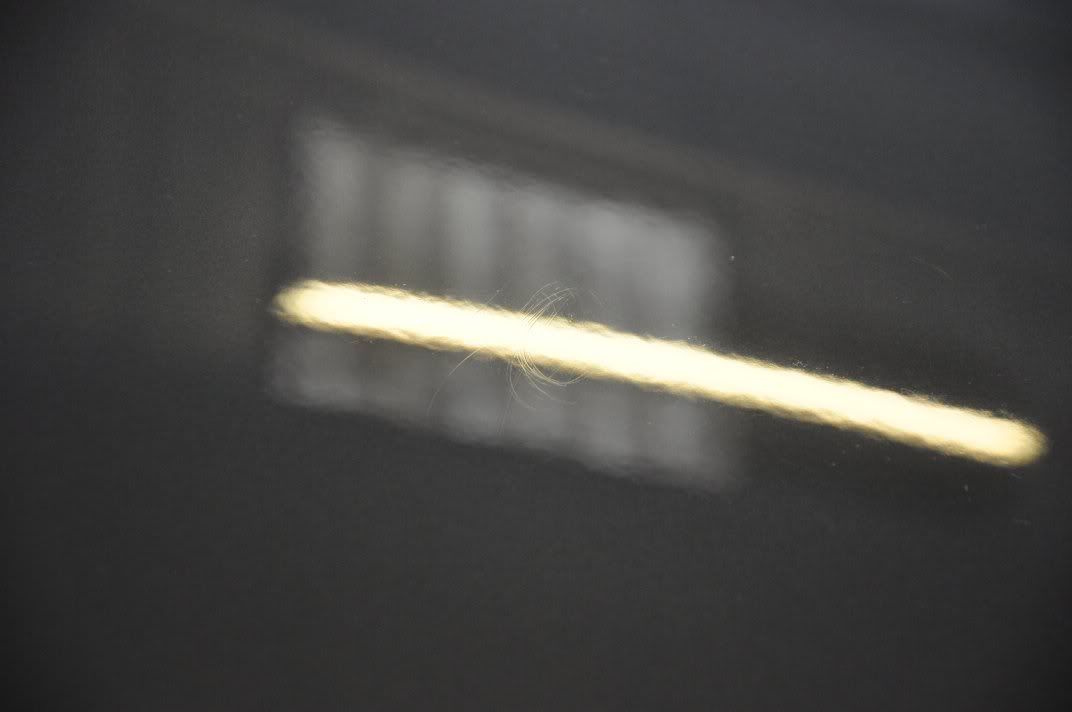
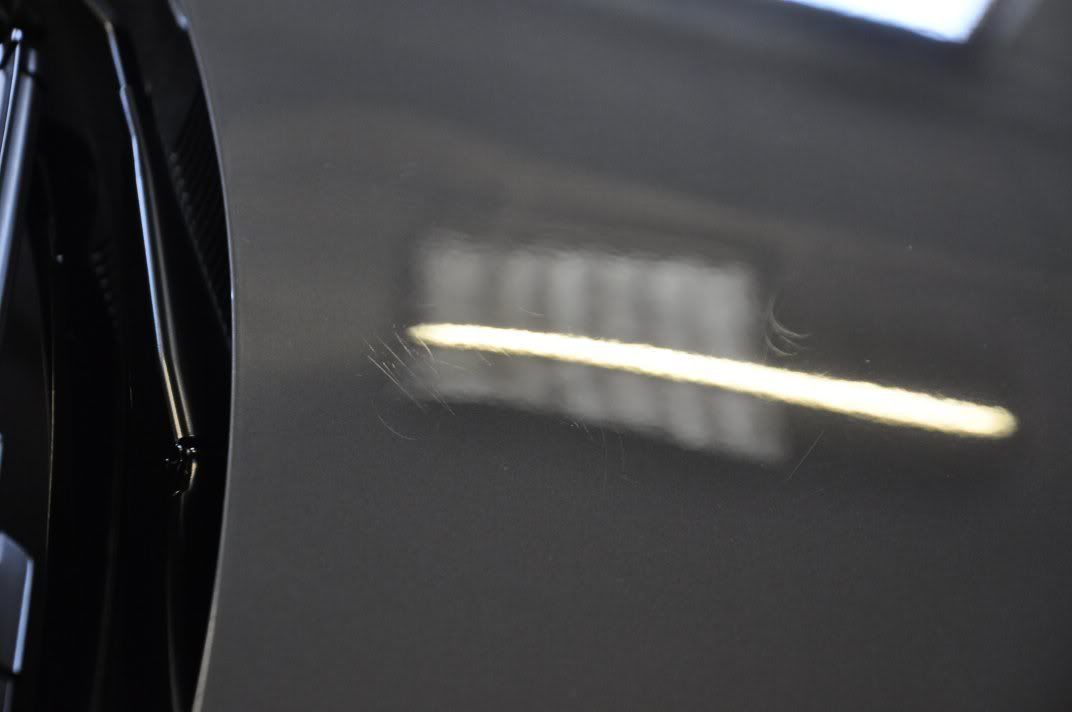
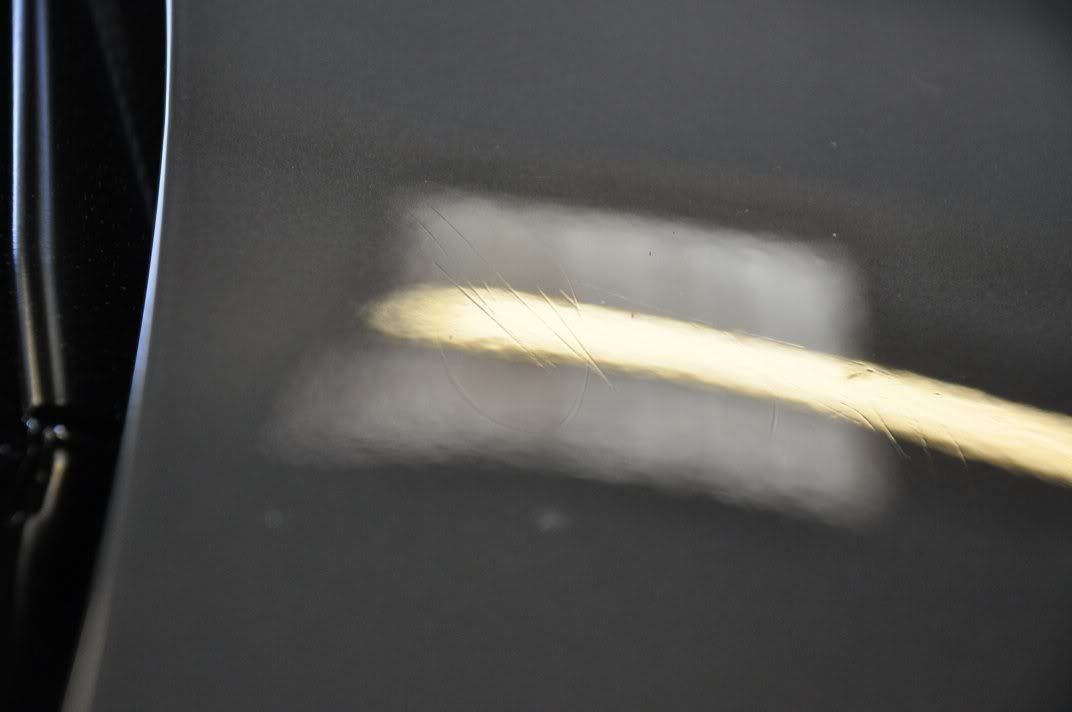
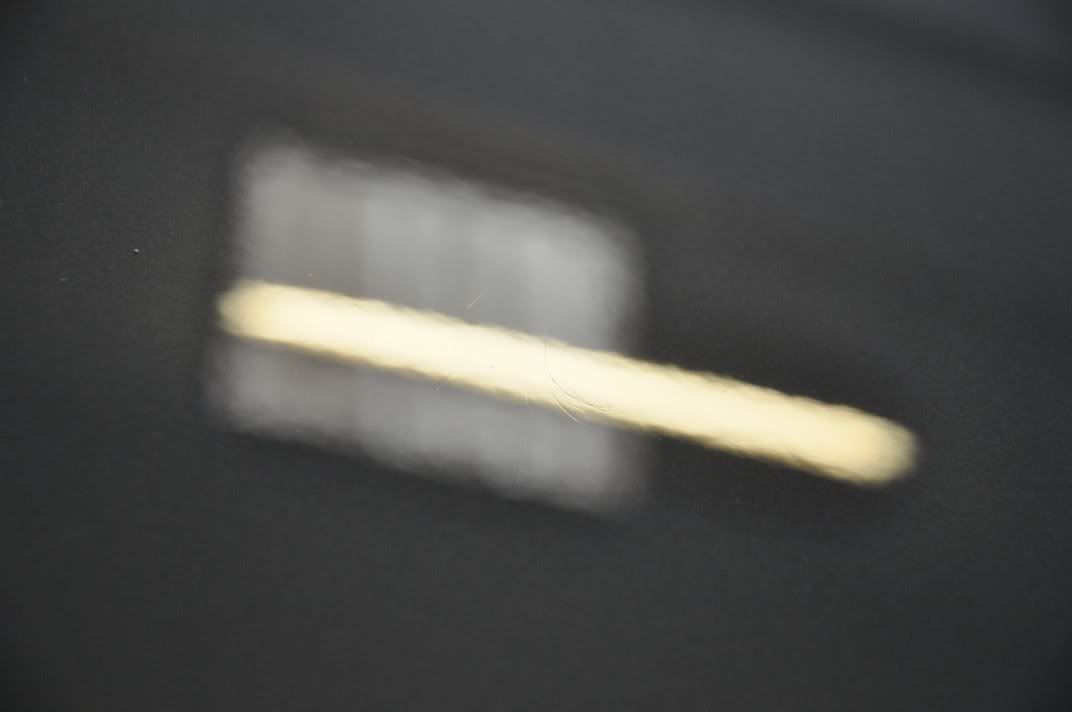
However, much harder to notice on the finish was the RDS - but there were a few that were spoiling to overall look... Switched camera to my SLR to photograph them as I could use the manual focus to focus accurately on the marks. As always, the strip lighting was used to look for RDS - using bright light sources to spot RDS is largely pointless as the glare of a bright light will mask the mark. An example of the deeper marks...

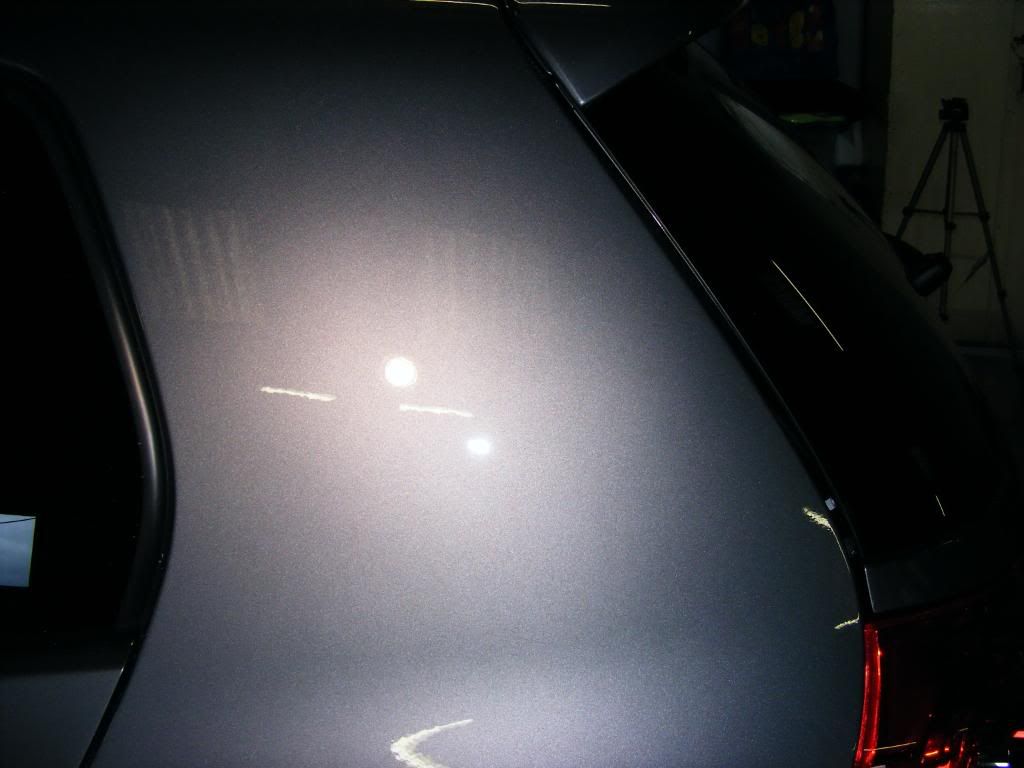
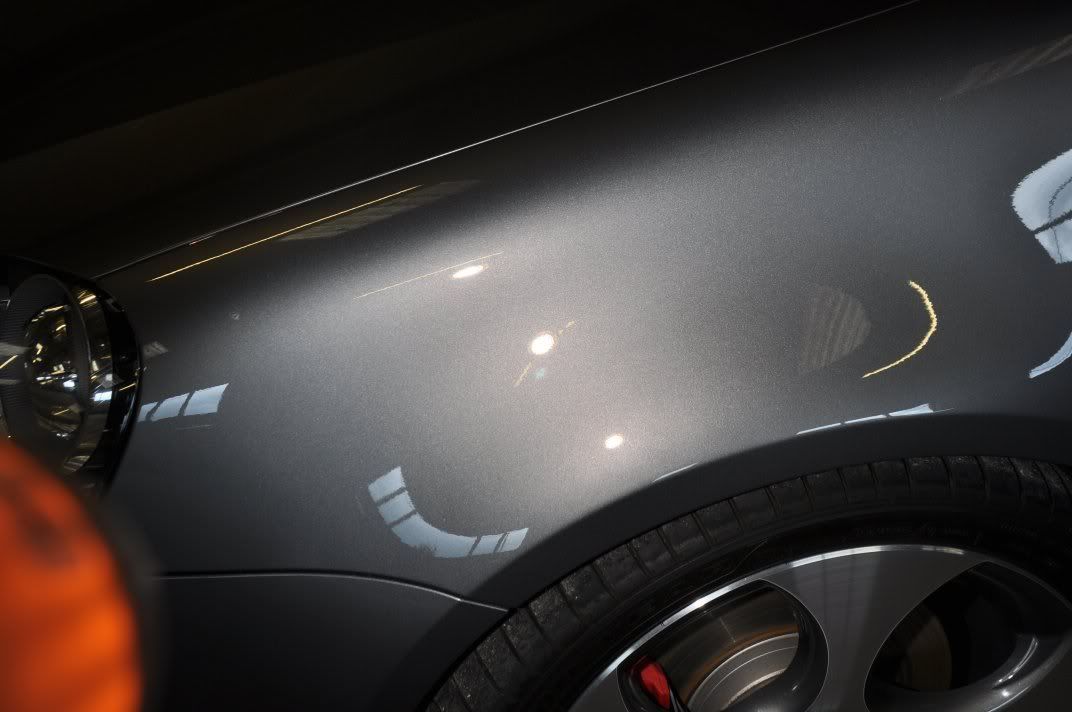
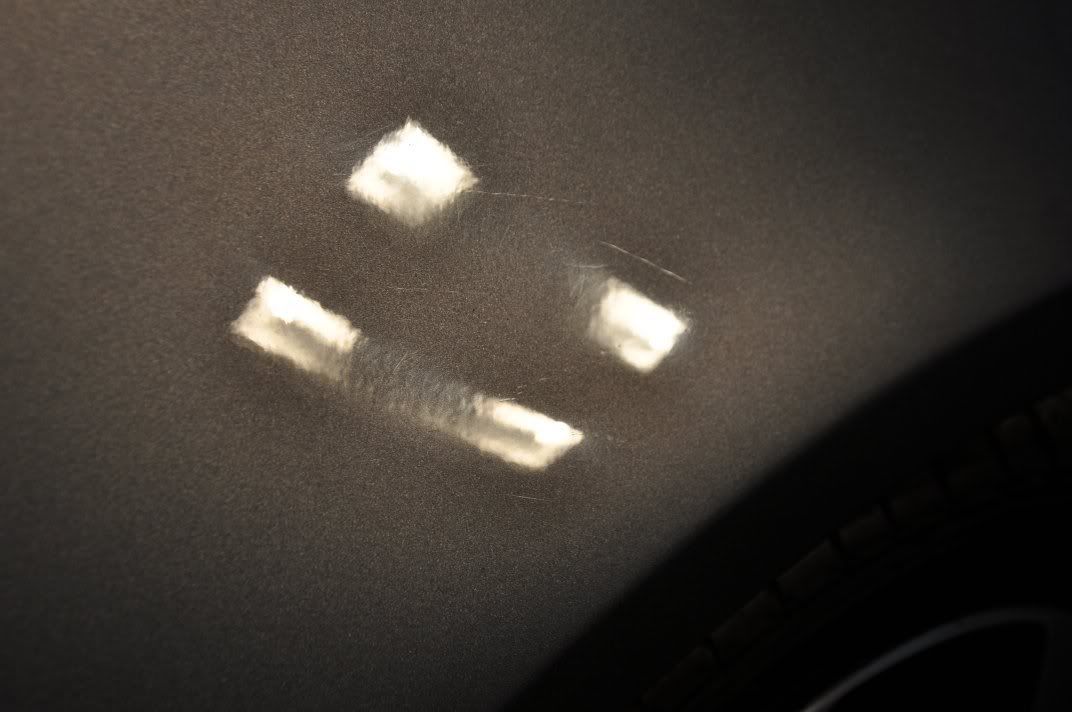
Top of the bonnet had a few severe marks...
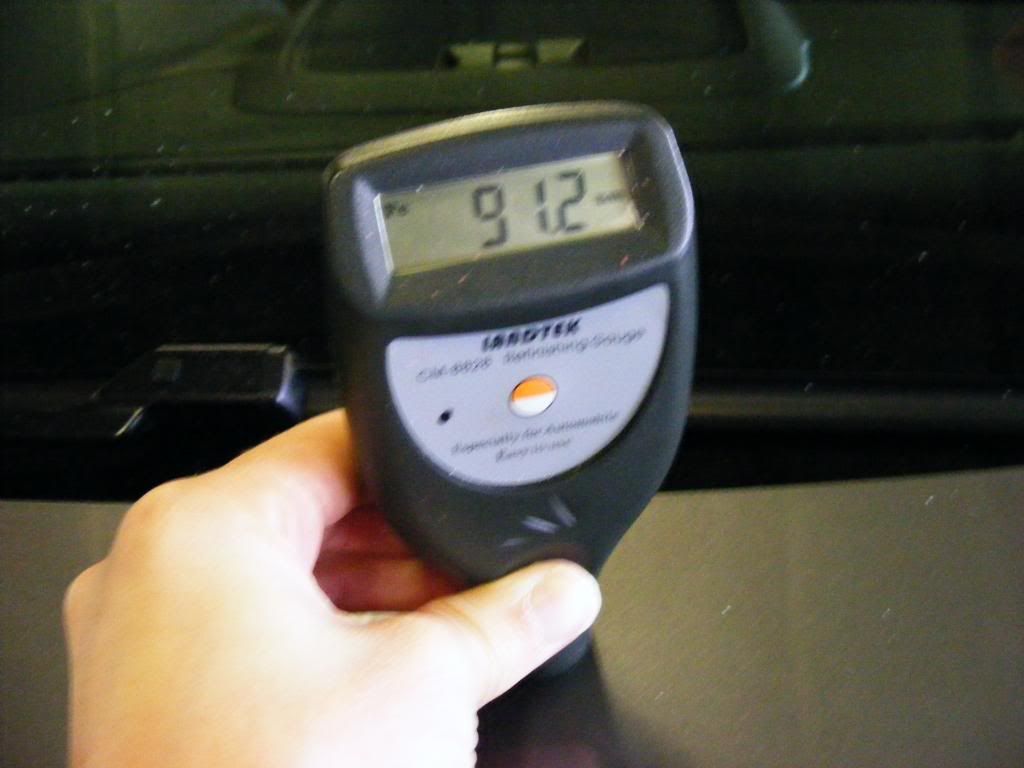
Over the majority of the bonnet the deeper RDS were removed using 3M Fast Cut Plus on a Menzerna Orange Polishing pad at 1800 - 2000rpm. One or two hits as required. Thickness was very carefully monitored throughout the process, and the marks at the top of the bonnet unfortunately fell in a thinv region... With a consistent 120 - 140um across the car, these thickness readings of 91um were a concern...
Despite this, a fast pass with Fast Cut to knock back the marks a little and then Menzerna Intensive Polish was used to round off the marks a little more so they were less noticeable while still leaving plenty of paint in the thinner region...
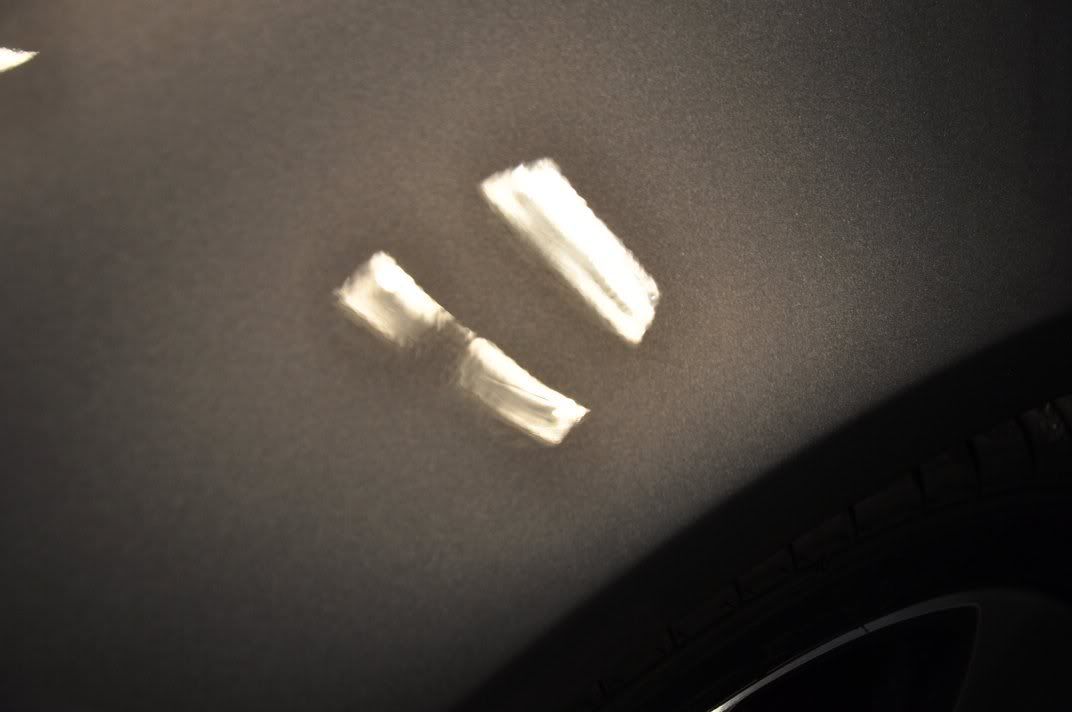
The most important part of machine polishing correction like this is knowing when to stop - more significant correction would have been achieved with further passes of Fast Cut, but the cost of the paint would have been more severe and on thin spots it is something to be avoided! Other deeper marks could be easily removed...
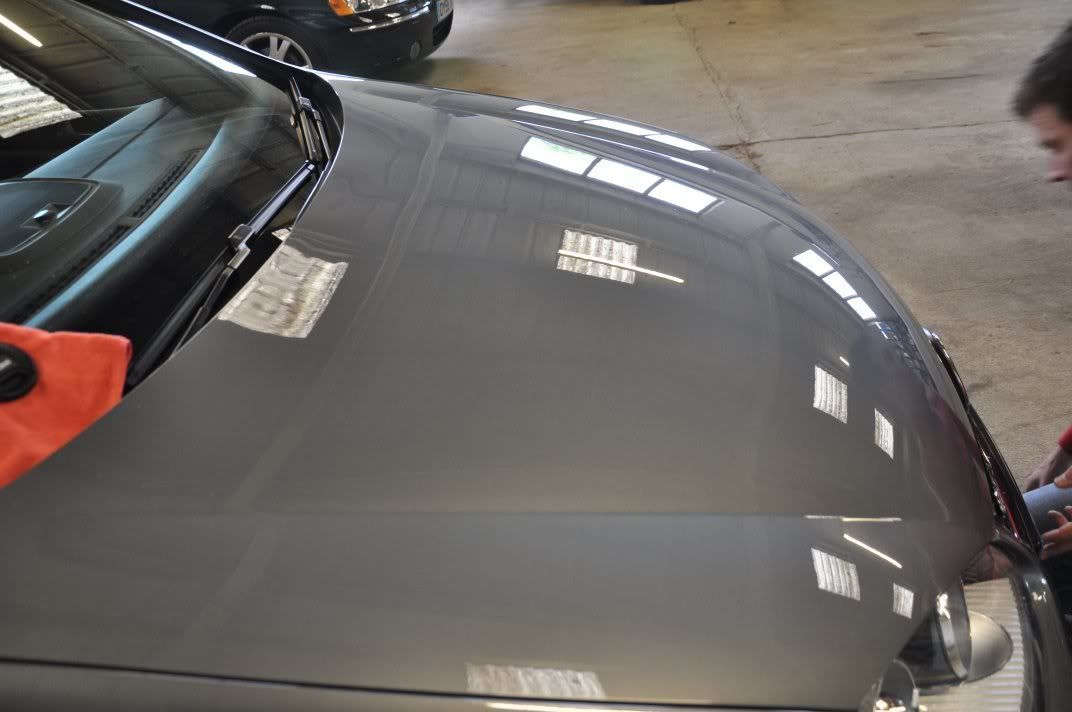
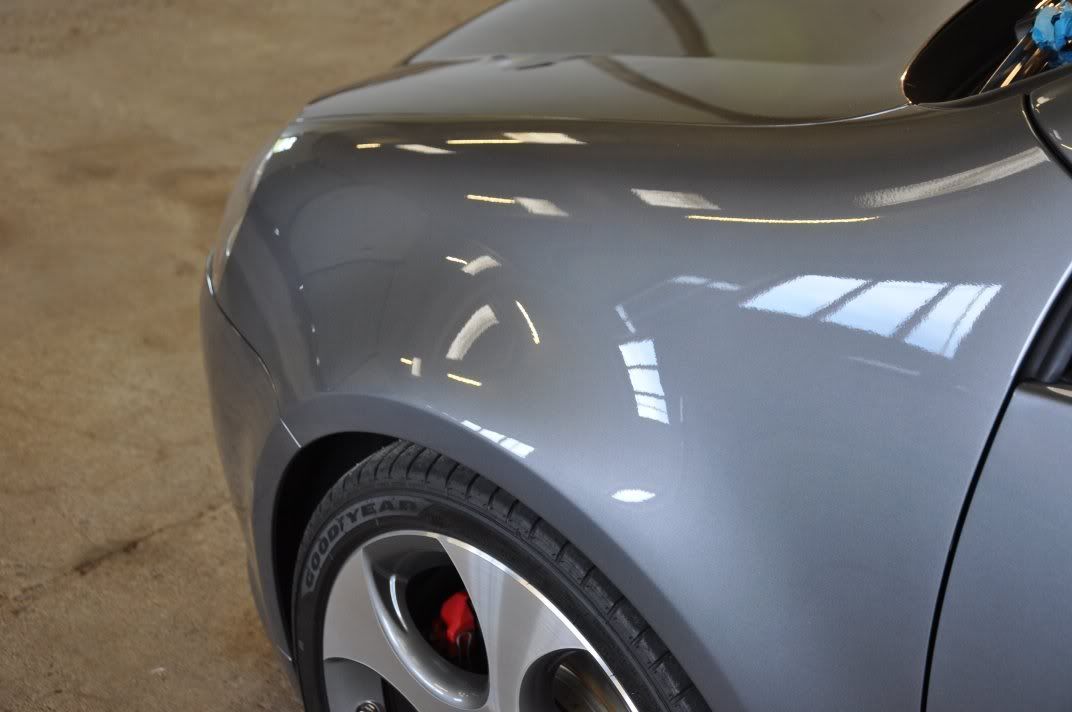
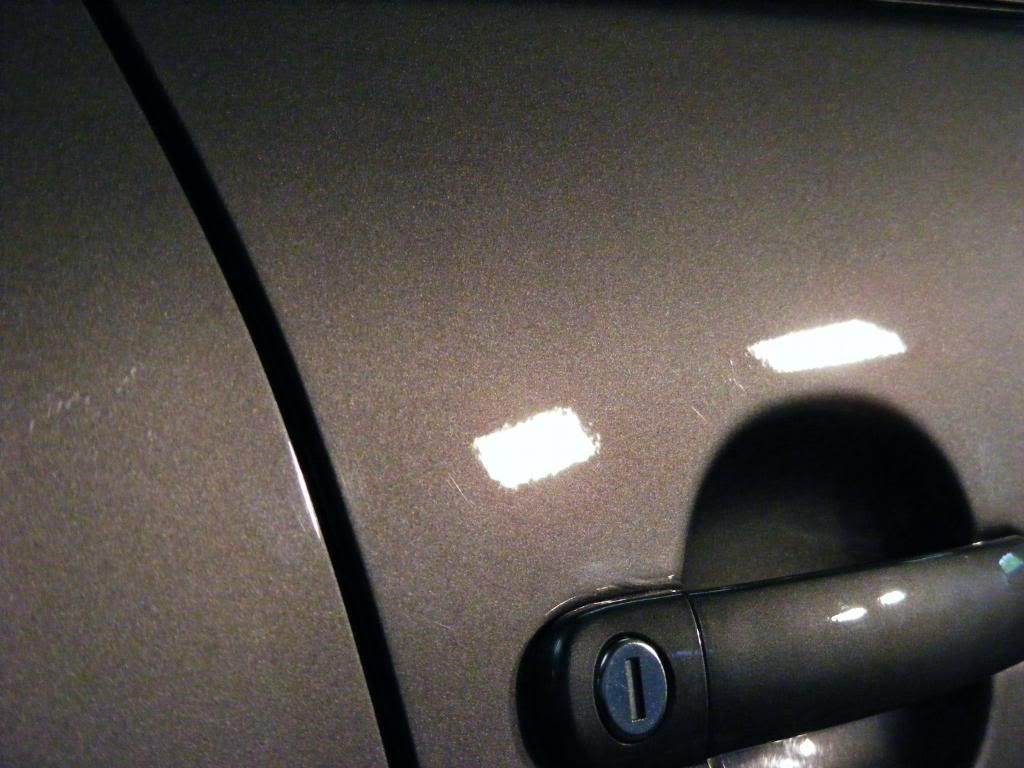
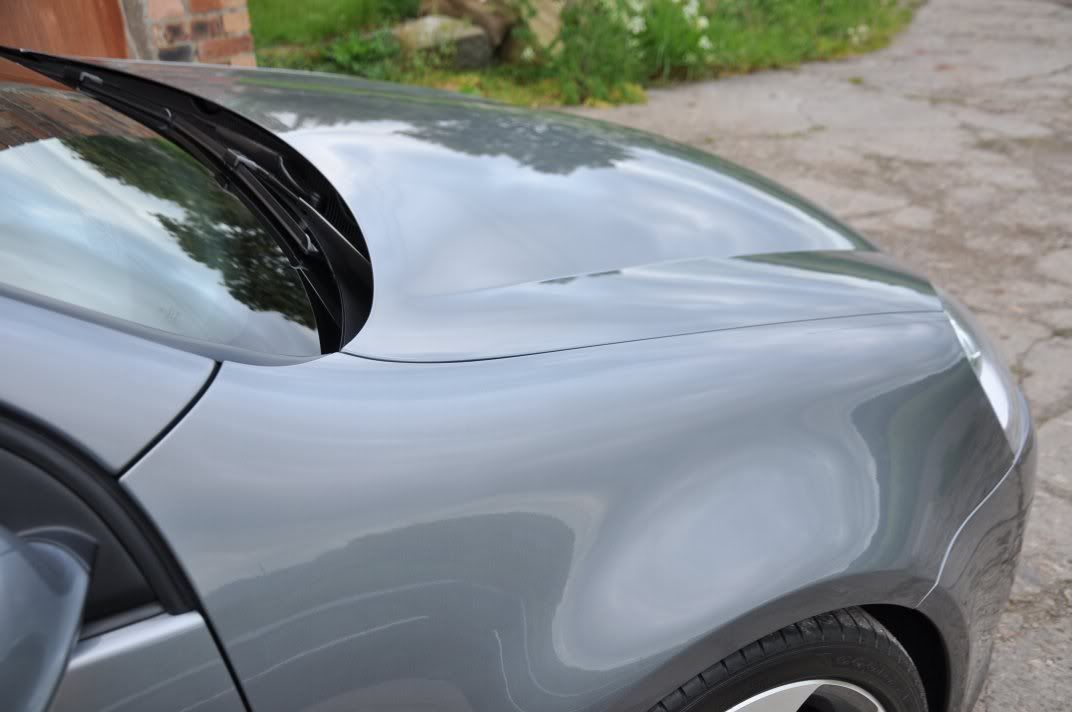
Once the deeper marks were corrected, the whole area was polished with Meguiars #205 Ultra Finishing Polish on a Meguiars W9006 tan finishing pad... a break from the norm from my details which are usually finished with Menzerna PO85RD. But given the performance of 205 in testing where it has shown itself to be one of the finest finishing polishes available and easily a match for 85RD, expect to see #205 a bigger part of my detailing in future.
This Golf was meticulously cared for - you could tell the minute it arrived, where it was already 90% corrected :lol: In that, the owner's wash technique was good to the point there were not swirls on most of the car. However, there were deeper RDS spoiling the otherwise perfect finish and the odd region of swirls here and there that were to be corrected while the whole car was to be given an overall lift with a finishing polish
The car arrived looking superbly clean after its trip up from Edinburgh...
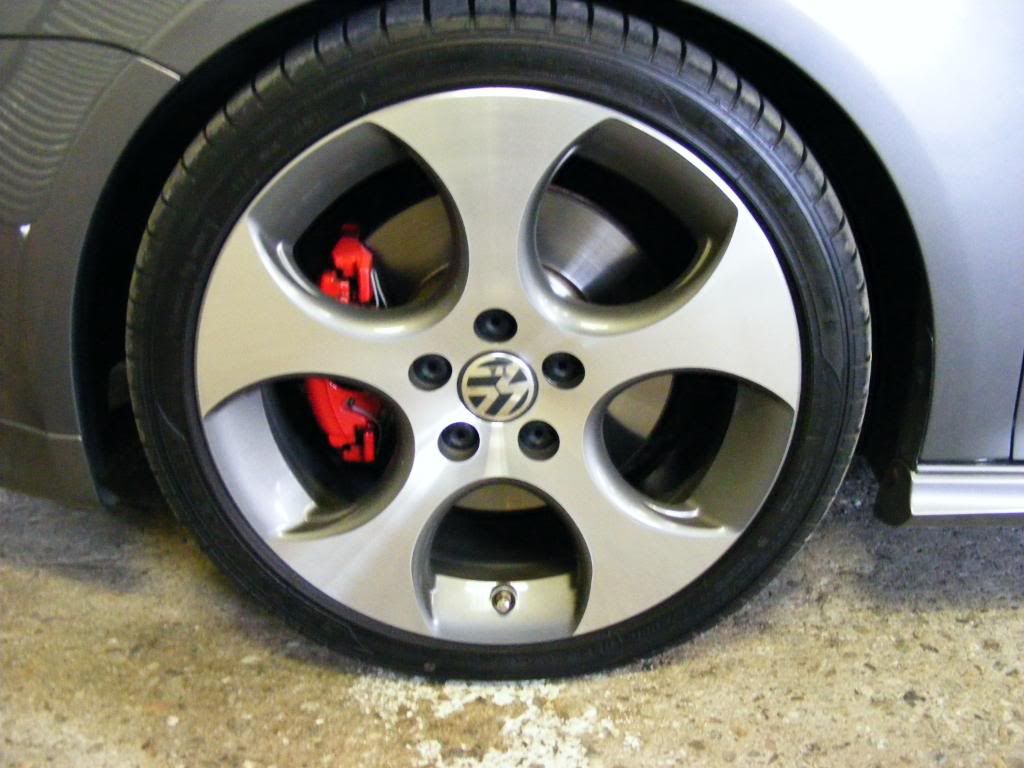
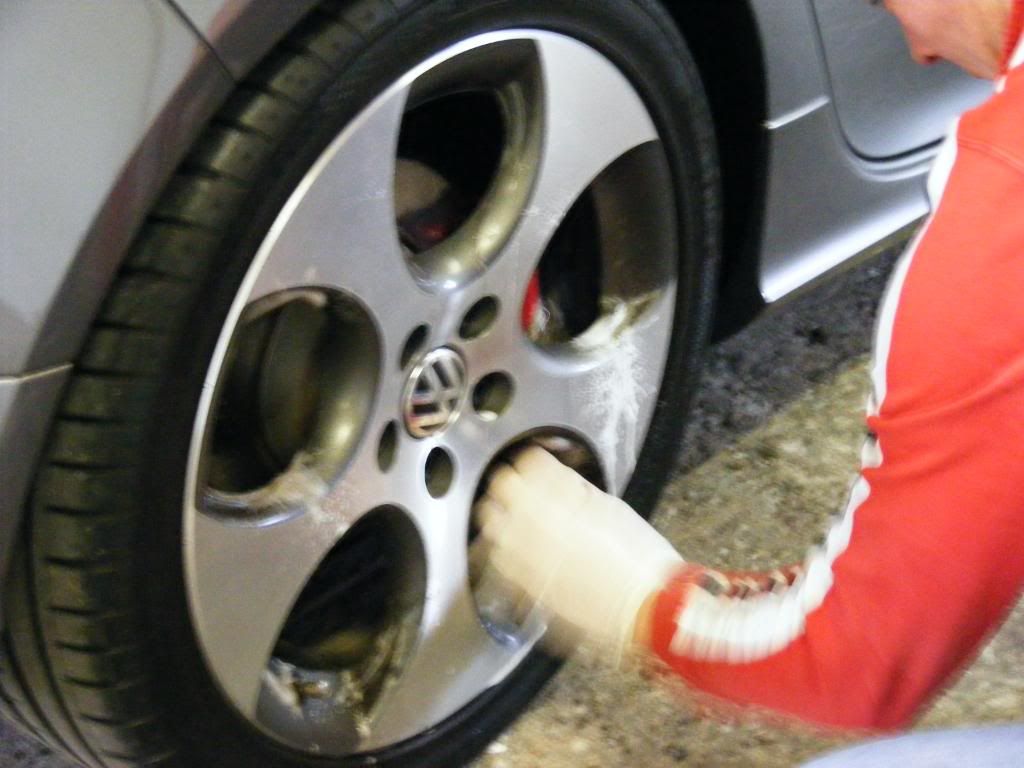
First thing was the wheels and arches - wheels cleaned with Bilberry Wheel Cleaner and arches with Meguiars All Purpose Cleaner...
While this cleaned the wheels up very nicely the remaining finish was quite disappointing due to scratches all over the wheel rims - possible use of too hard a brush in the past? In any case, more on the wheels a little later
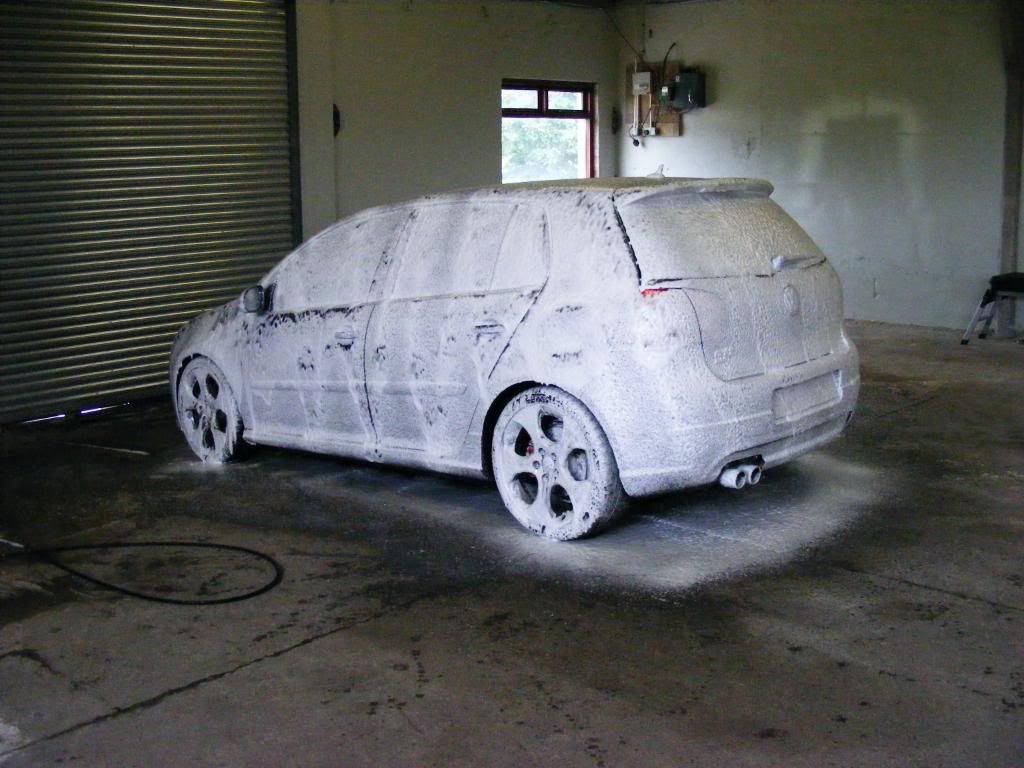
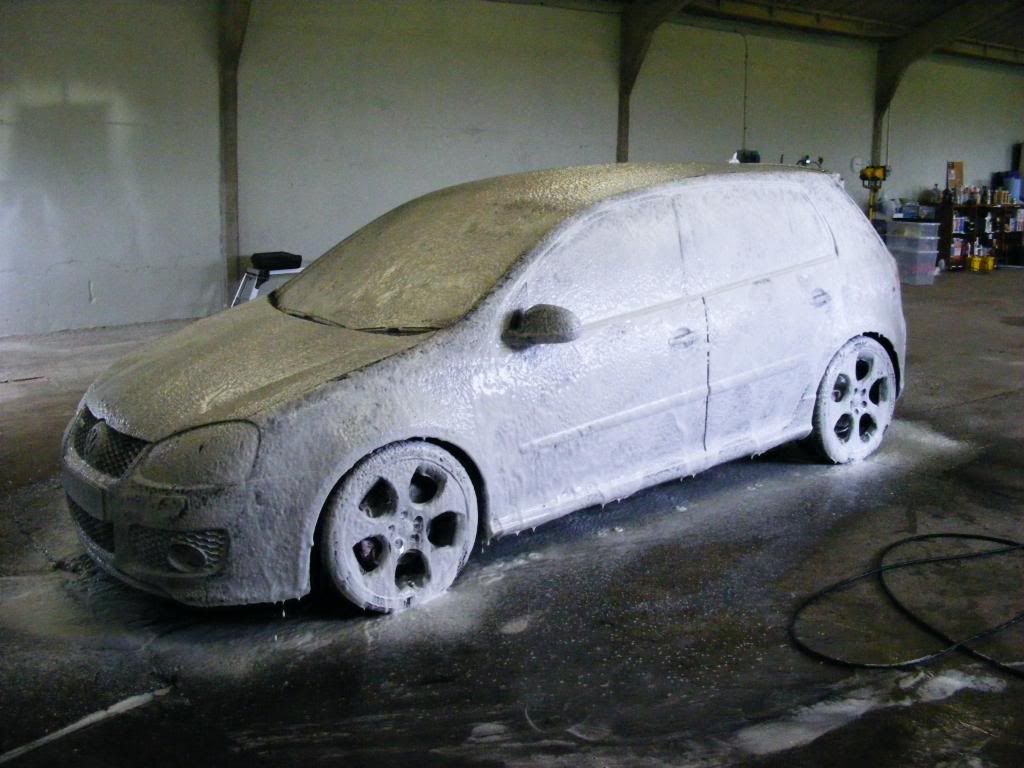
Onto the washing stage, and the car was first foamed with Supa Snow Foam:
and then rinsed...
The car was clayed with Zaino Z18 Clay with Last Touch as a lube and then rinsed and dried off...
After just a good wash, the car was looking superb - a credit to its owner...
The Sun Gun is a cruel mistress though and it was used to show up regions of light swirls and marring on the paint...
However, much harder to notice on the finish was the RDS - but there were a few that were spoiling to overall look... Switched camera to my SLR to photograph them as I could use the manual focus to focus accurately on the marks. As always, the strip lighting was used to look for RDS - using bright light sources to spot RDS is largely pointless as the glare of a bright light will mask the mark. An example of the deeper marks...
Top of the bonnet had a few severe marks...
Over the majority of the bonnet the deeper RDS were removed using 3M Fast Cut Plus on a Menzerna Orange Polishing pad at 1800 - 2000rpm. One or two hits as required. Thickness was very carefully monitored throughout the process, and the marks at the top of the bonnet unfortunately fell in a thinv region... With a consistent 120 - 140um across the car, these thickness readings of 91um were a concern...
Despite this, a fast pass with Fast Cut to knock back the marks a little and then Menzerna Intensive Polish was used to round off the marks a little more so they were less noticeable while still leaving plenty of paint in the thinner region...
The most important part of machine polishing correction like this is knowing when to stop - more significant correction would have been achieved with further passes of Fast Cut, but the cost of the paint would have been more severe and on thin spots it is something to be avoided! Other deeper marks could be easily removed...
Once the deeper marks were corrected, the whole area was polished with Meguiars #205 Ultra Finishing Polish on a Meguiars W9006 tan finishing pad... a break from the norm from my details which are usually finished with Menzerna PO85RD. But given the performance of 205 in testing where it has shown itself to be one of the finest finishing polishes available and easily a match for 85RD, expect to see #205 a bigger part of my detailing in future.