imported_Dave KG
New member
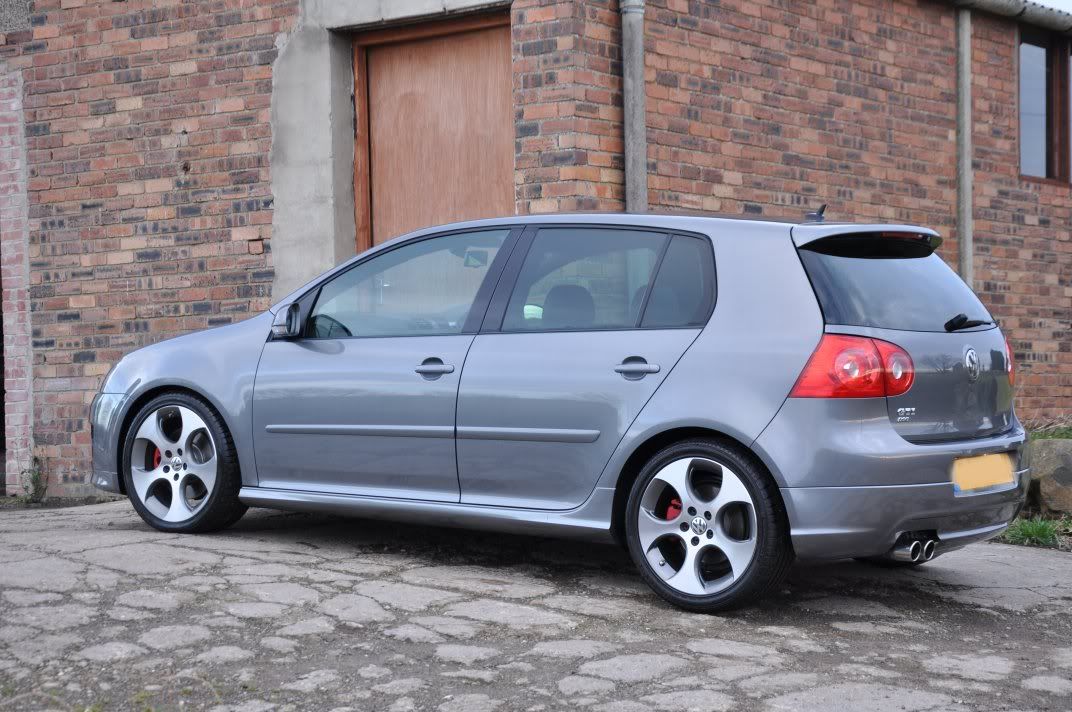
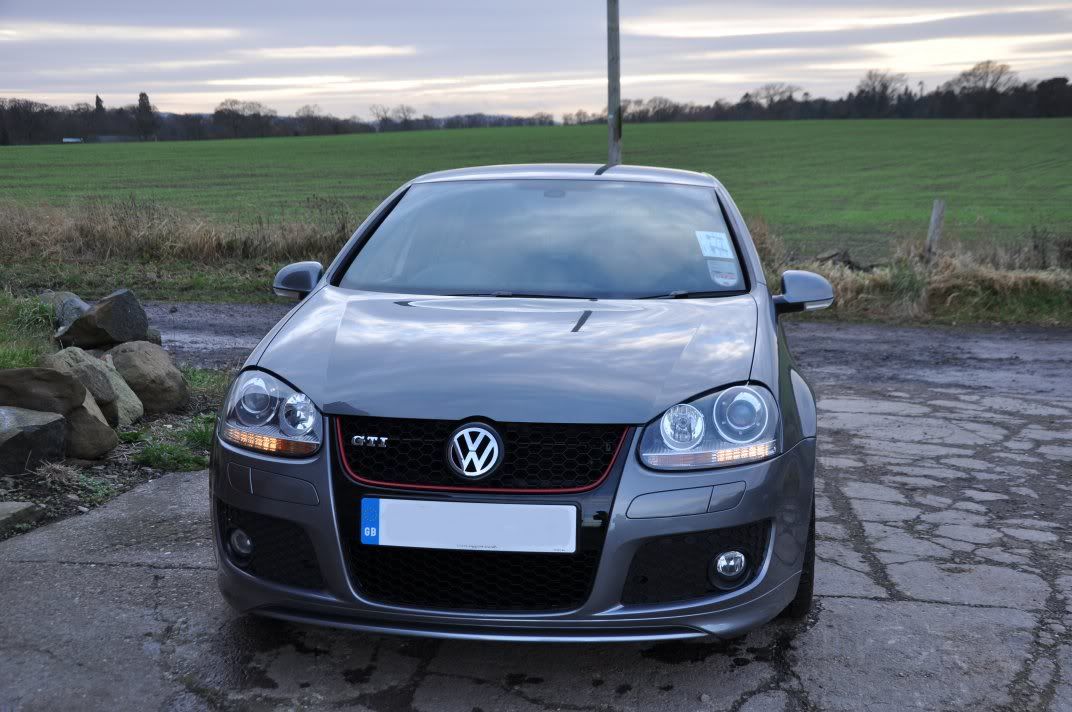
Today's detail was on a rather nice two year old VW Golf GTi D
SG, in grey metallic... The owner wanted the car cleaned and protected for the winter months, and also have the opportunity to see some detailing in action with emphasis on seeing and having a go at claying.
The car arrived looking like many cars on the roads at the moment, after a drive up the motorway - covered with salt!
First tackled on the car were the wheels and arches... Meguiars APC cut 4:1 was sprayed using a foaming spray head into the wheel arches and allowed to dwell while the wheels were cleaned. Bilberry Wheel Cleaner, cut 4:1, was used to clean the wheels:
It was clear at this stage that the owner of this car keeps it very well as no aggressive cleaners or tar removers were required to bring the wheels up spotless...
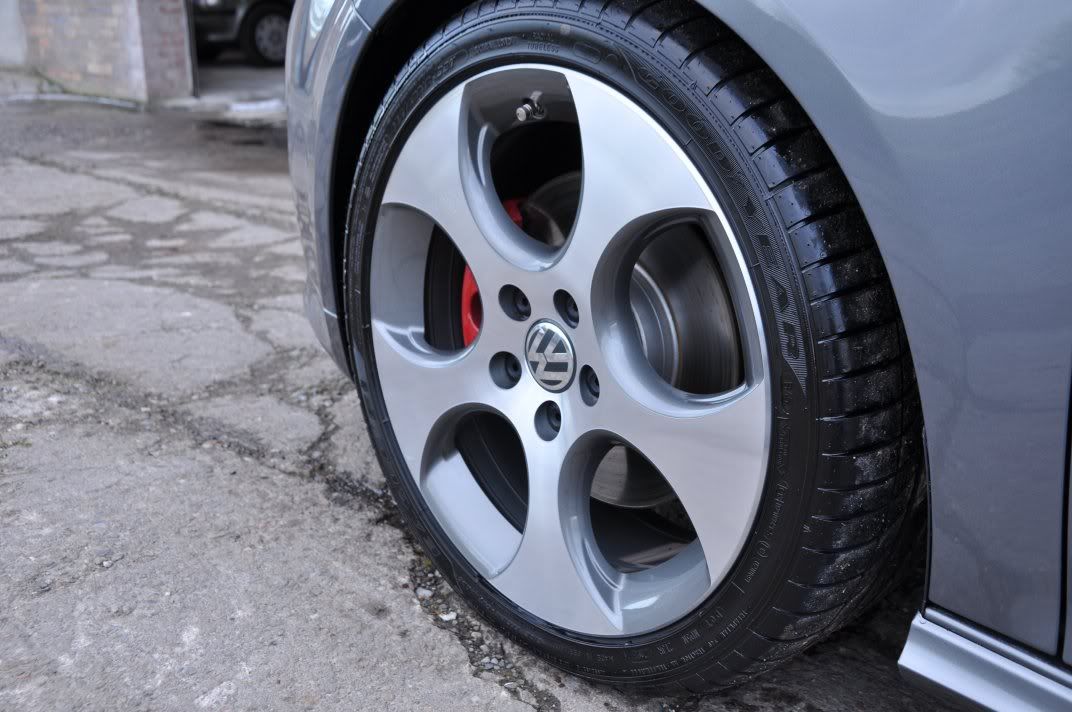
(after pic)
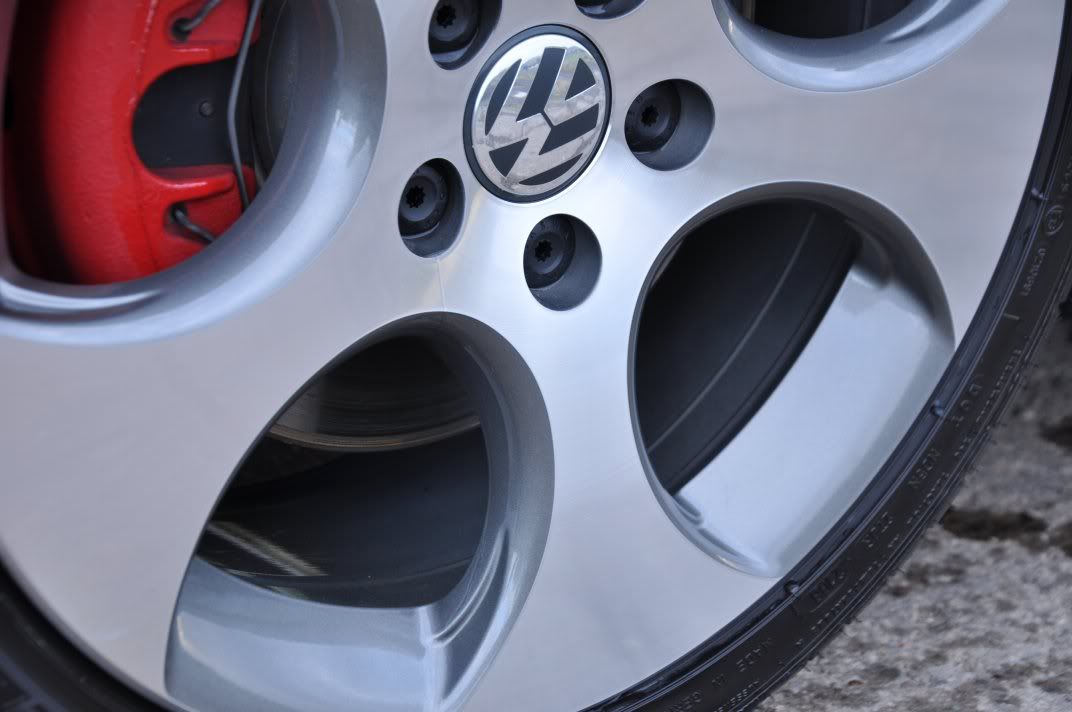
(after pic)
Note the wheel insides cleaned easily here - can typically take a lot more effort where they have never been cleaned before:

The arches were rinsed out under pressure before rinsing the wheels, and using my hand along the insder of the arch rim to gently loosen trapped dirt where the arch liner goes in towards the wing panel, ensuring all dirt was removed from the arches... may seem stranhge to do that atthis time of year, but if a job is worth doing...")
With the wheels and arches cleaned, it was on with the bodywork... Stu foamed and rinsed the bodywork first using Supa Snow foam and then with Bilt Hamber Acti-Foam (my preferred), just to show the owner the differences:

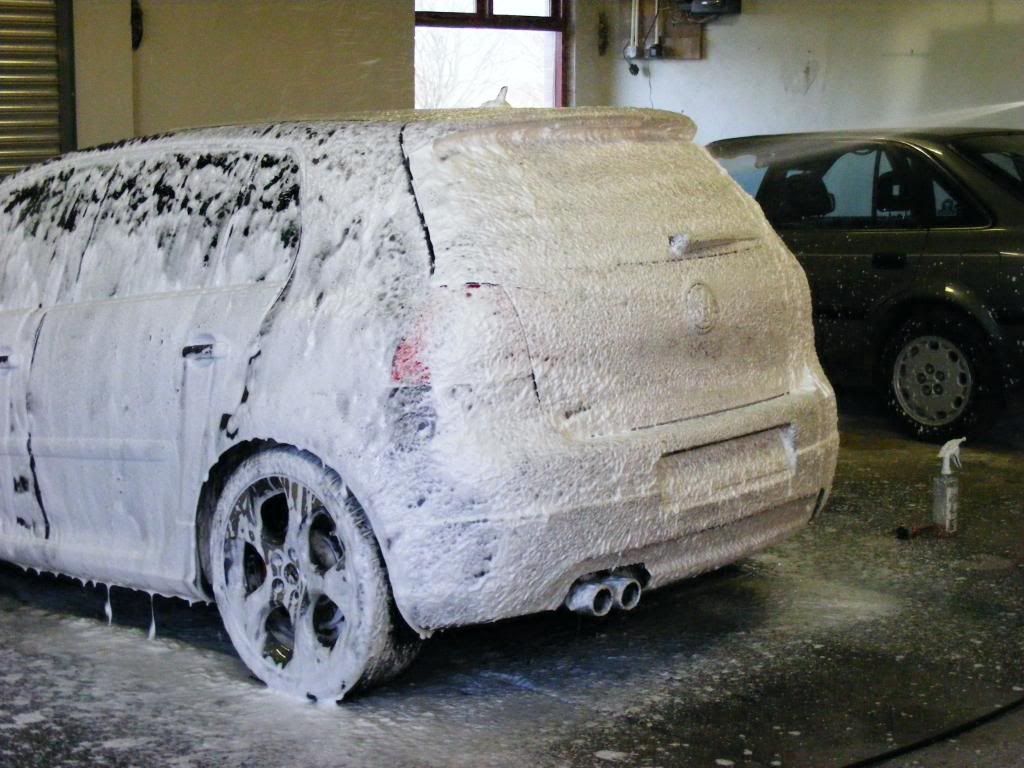
The car was then rinsed, removing most of the dirt without needing to use a mitt - the joys of foam The car was then washed using the two bucket method and some Meguiars Shampoo Plus, before being rinsed ready for claying.
Only a light clay was required here - Meguiars Mirror Glaze Blue Mild clay, using Last Touch as a clay lube. Light sweeping stroked and you could feel it pulling out contamination so keep going until the clay runs smooth... the owner of the car had a shot, was keen to learn this stage and picked the clay bar up nice and easily and happily worked on door
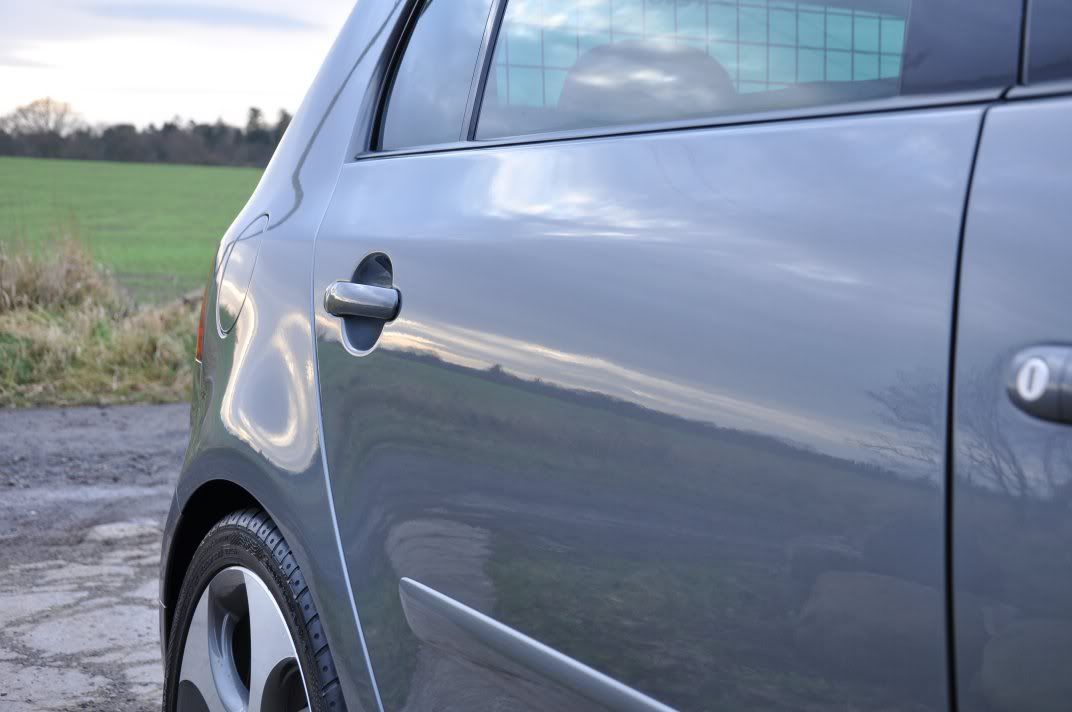
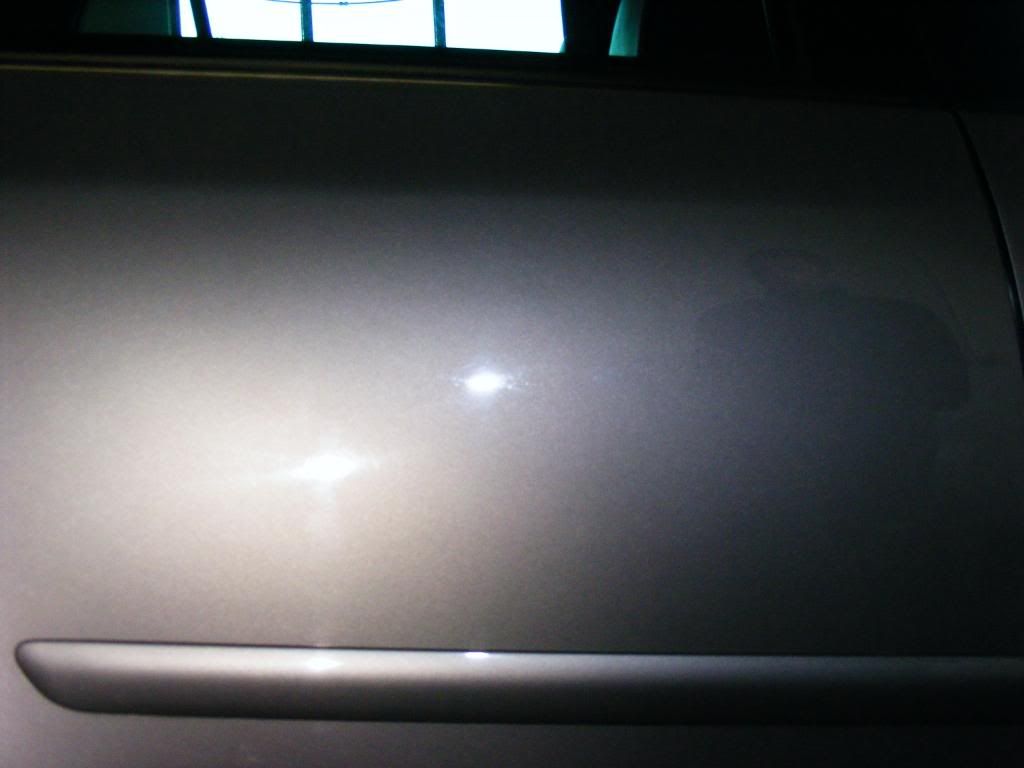
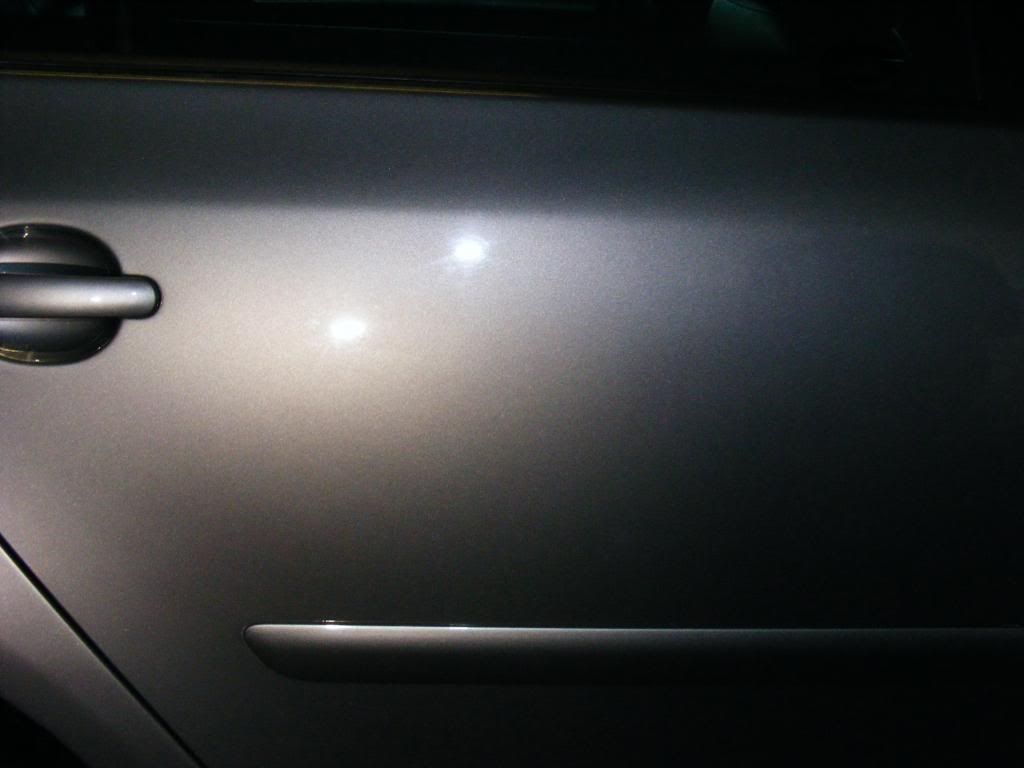
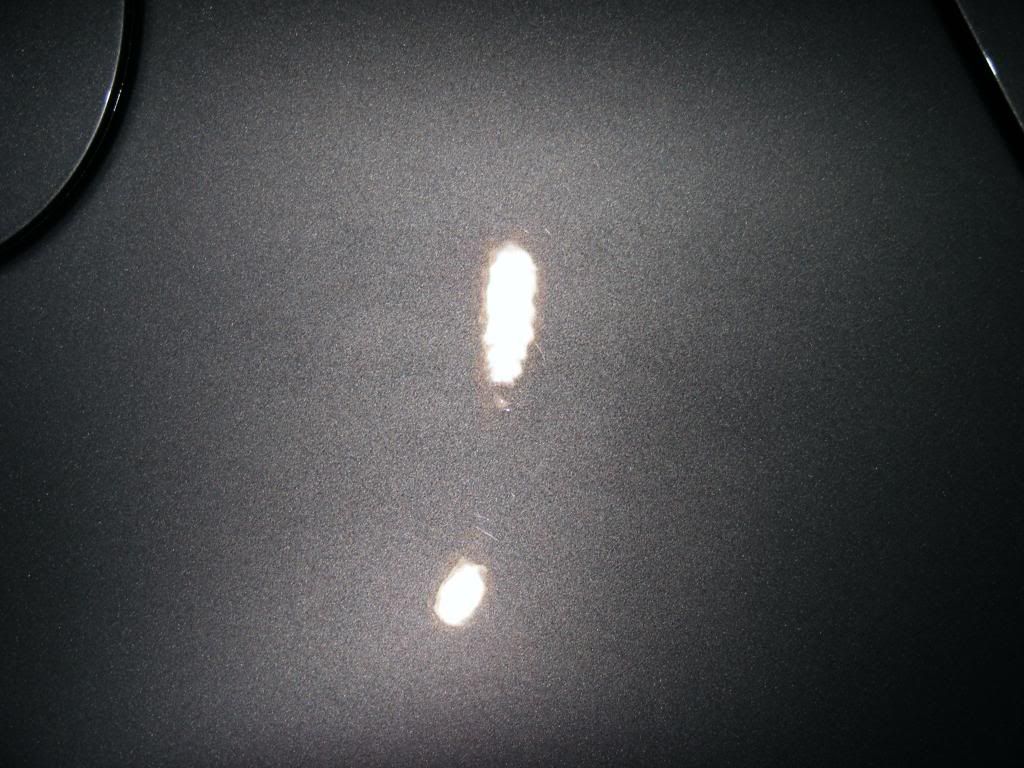
With the car clayted, it was time for the cleanse and protection stage for the paintwork... but first, a scan around the car using the Sun Gun revealed the dirver's rear door and rear 3/4 had notably more swirls and holograms than the rest of the car:
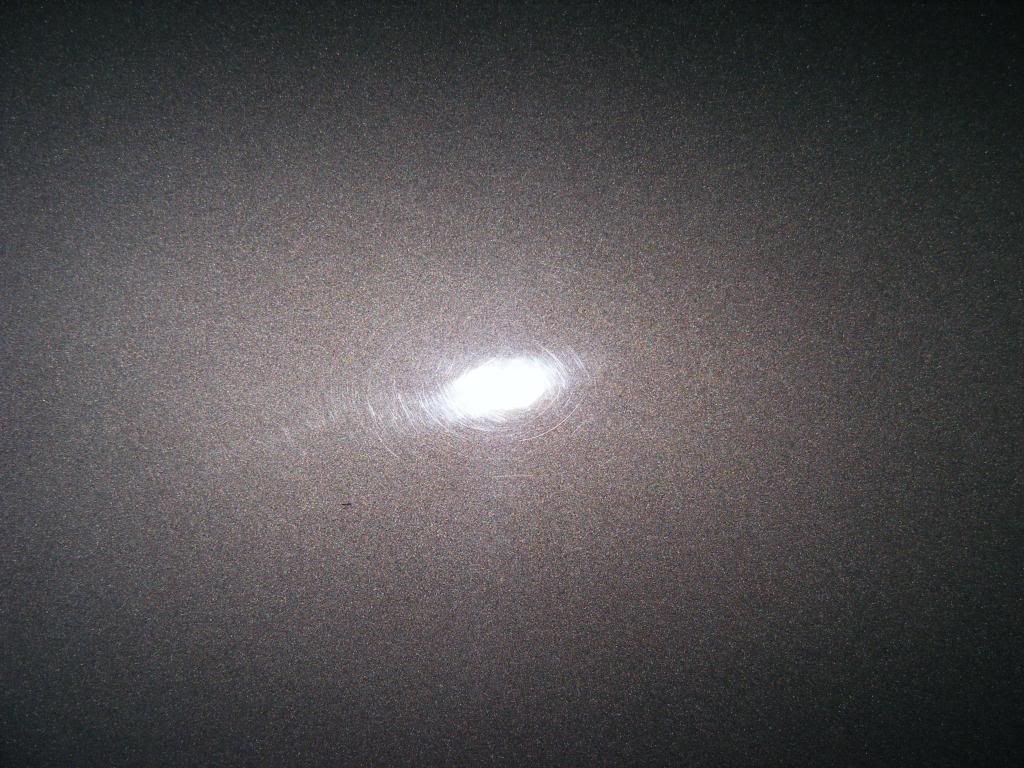
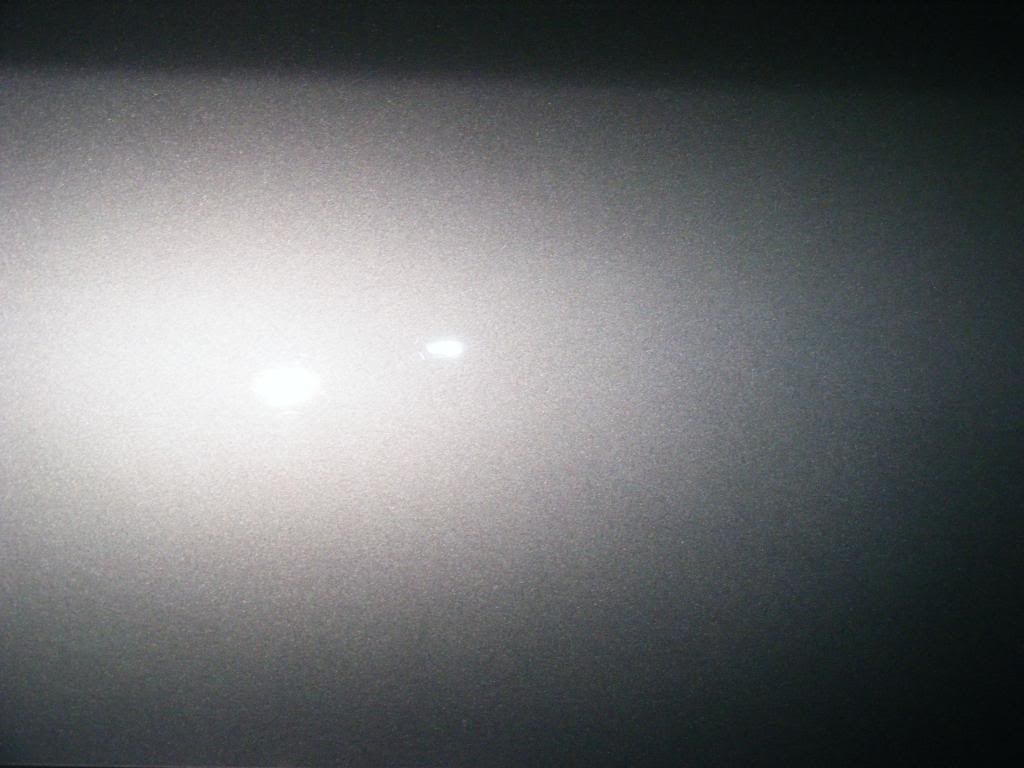
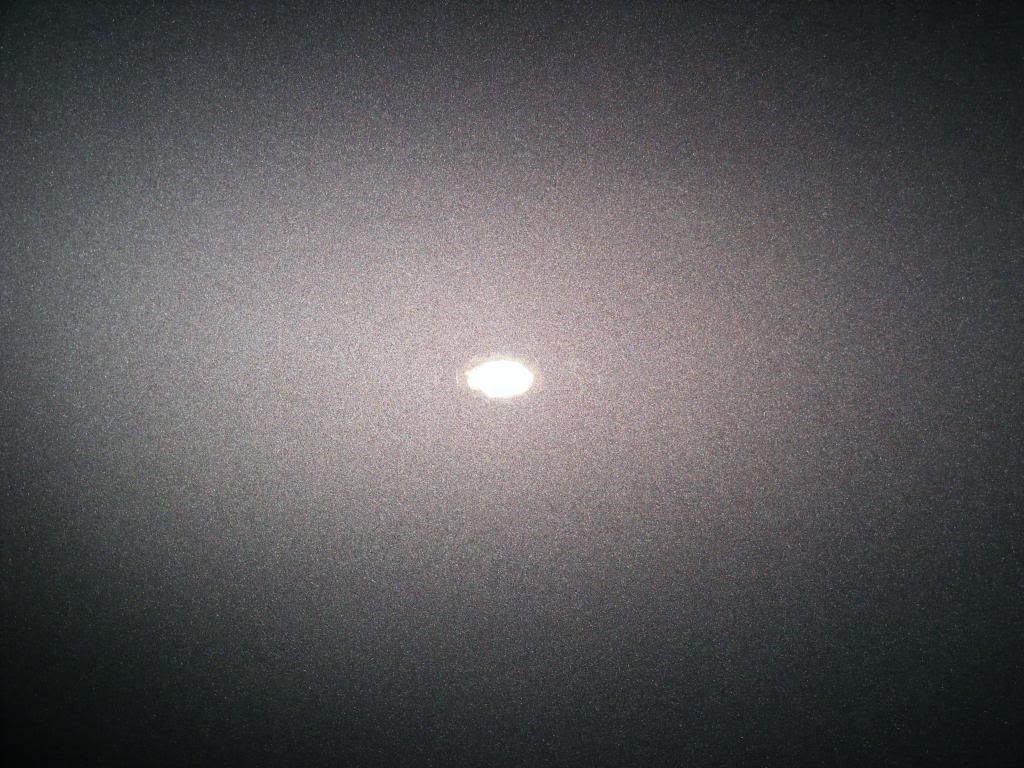
Bodyshop repair here... so to get this to match with the rest of the car which was relatively swirl free bar some deeper RDS, these areas were machine polished by rotary using Menzerna PO106FA Final Finish before the cleasning stage... This tidied these areas up beautifully, much to the owner's delight, and ensured there weren't patches on the car with more swirls than the rest:
This was not a correcton detail, but I was keen to see these little bits corrected.
The paintwork was then cleansed, using Klasse AIO - a product I really like on silvers and greys (seems to leave a slightly "cold" gloss that suits these colours very well IMHO... Applied by hand, using medium pressure and worked for abiout one minute per 2' square section before being buffed off... This cleansed the paint and added a first layer of protection for added durability... and the car was looking good after this:
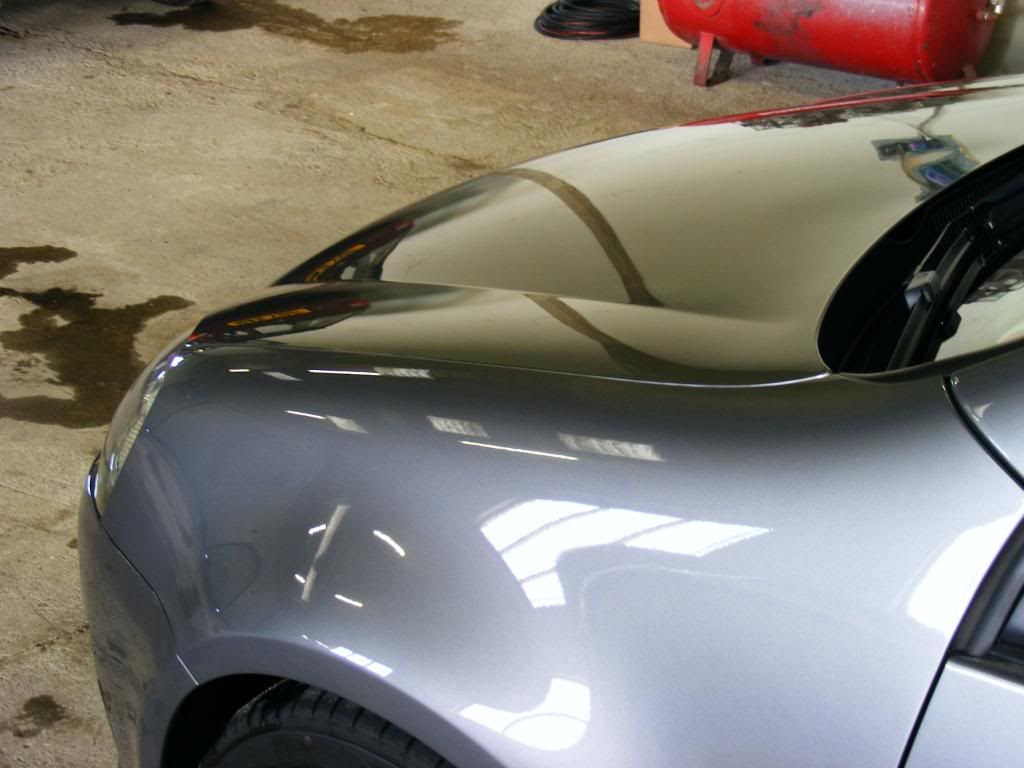
One the paintwork was cleased, it was prtoected using Collinite 476S wax, applied in a nice thin layer and removed after a few moments... keeping the layers thin to ensure ease of removal. Collinite was chosen for its proven durability for protection through the winter months.
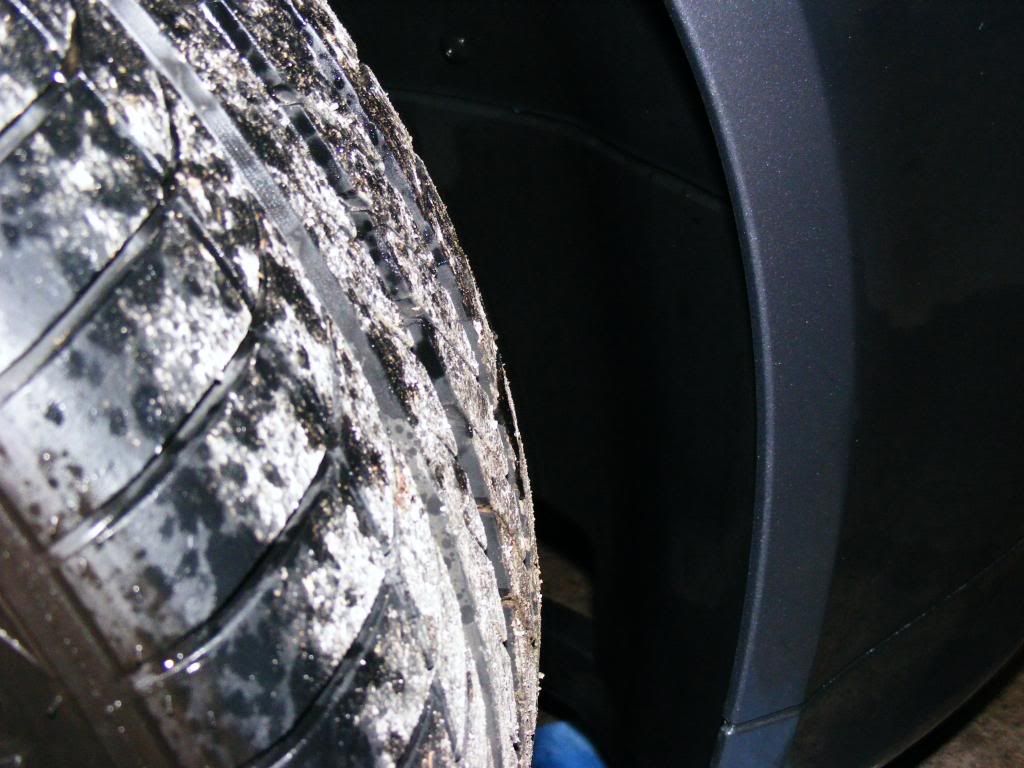
The wheels were protected also with Collinite 476S - a product I have been testing on wheels of late, and have found to exceed the durability of most dedicated wheels waxes!! So after thorough testing its now going to see use in this department as well! Tyres were dressed with Meguiars Hot Shine applied by aplicator, and arches with Meguiars All Seasons Dressing:
The arch...
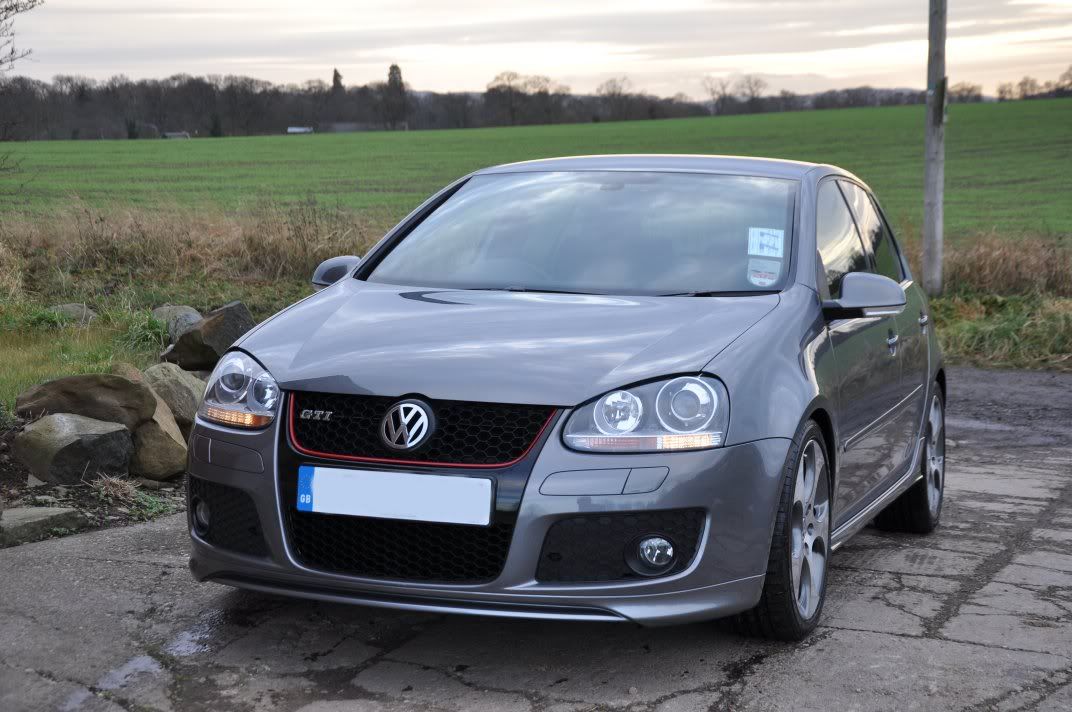
Glass was cleaned using Meguiars Glass Cleaner Concentrate, plastics and rubbers with Black Wow (the front honeycomb grille took a good while to dress!).
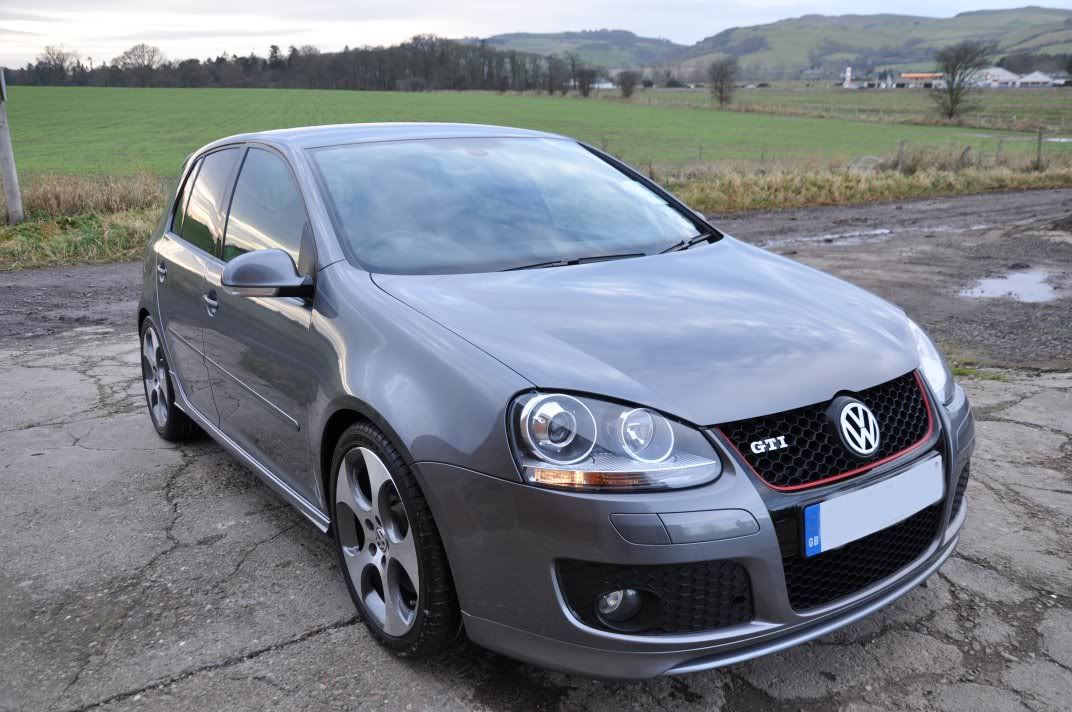
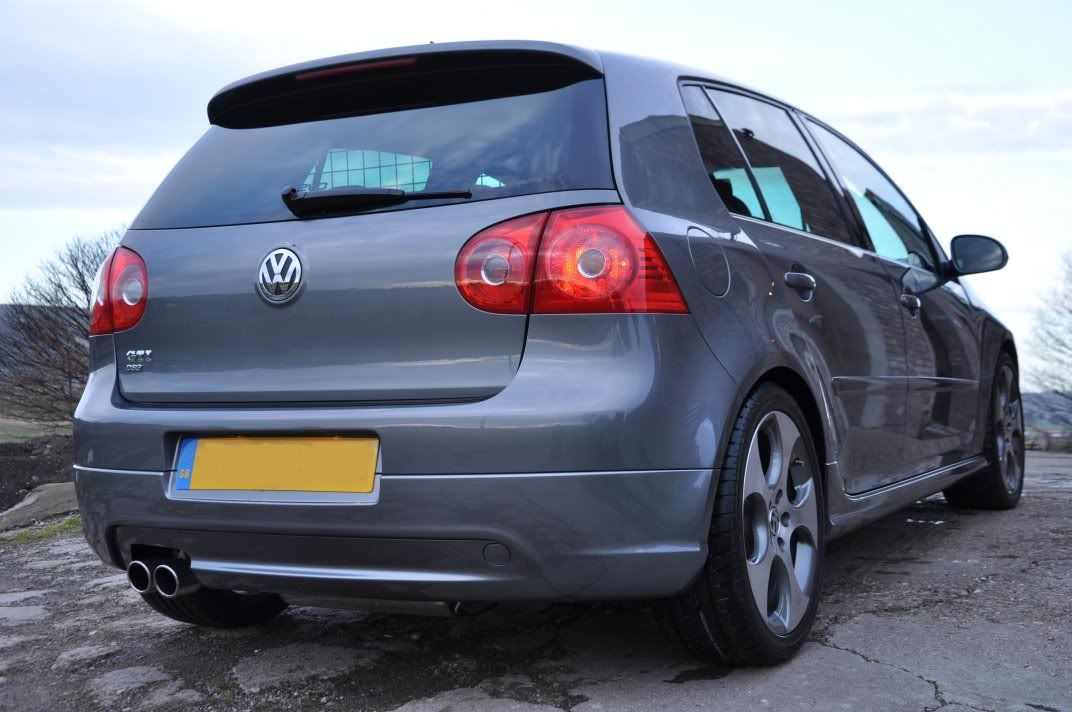
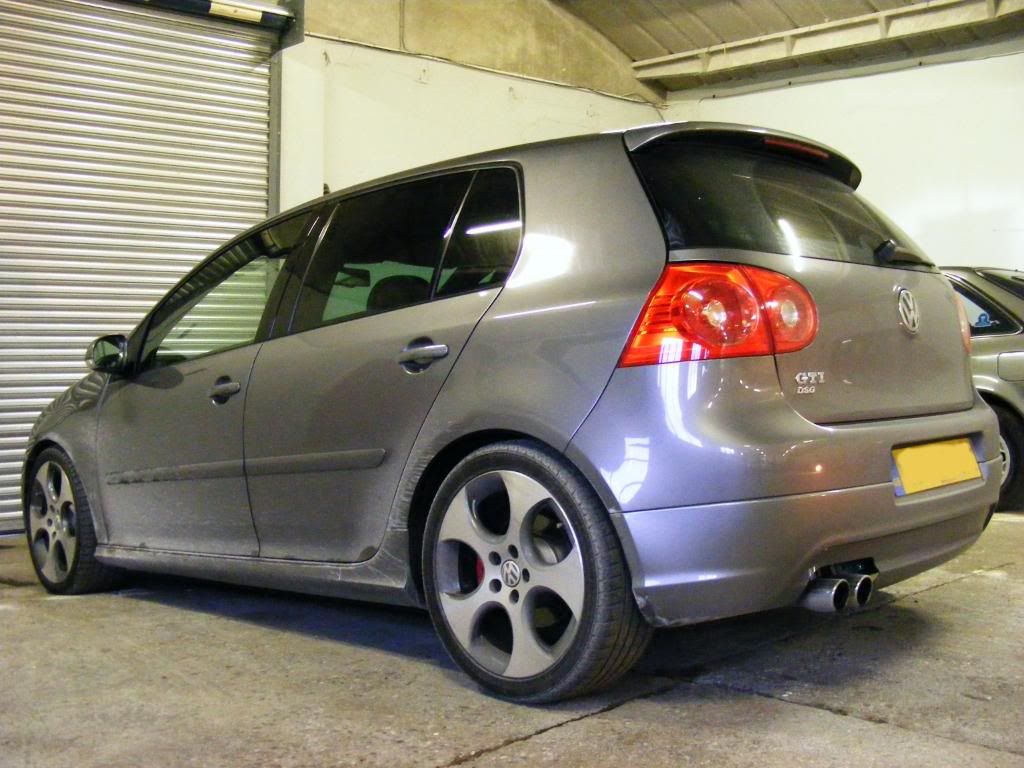
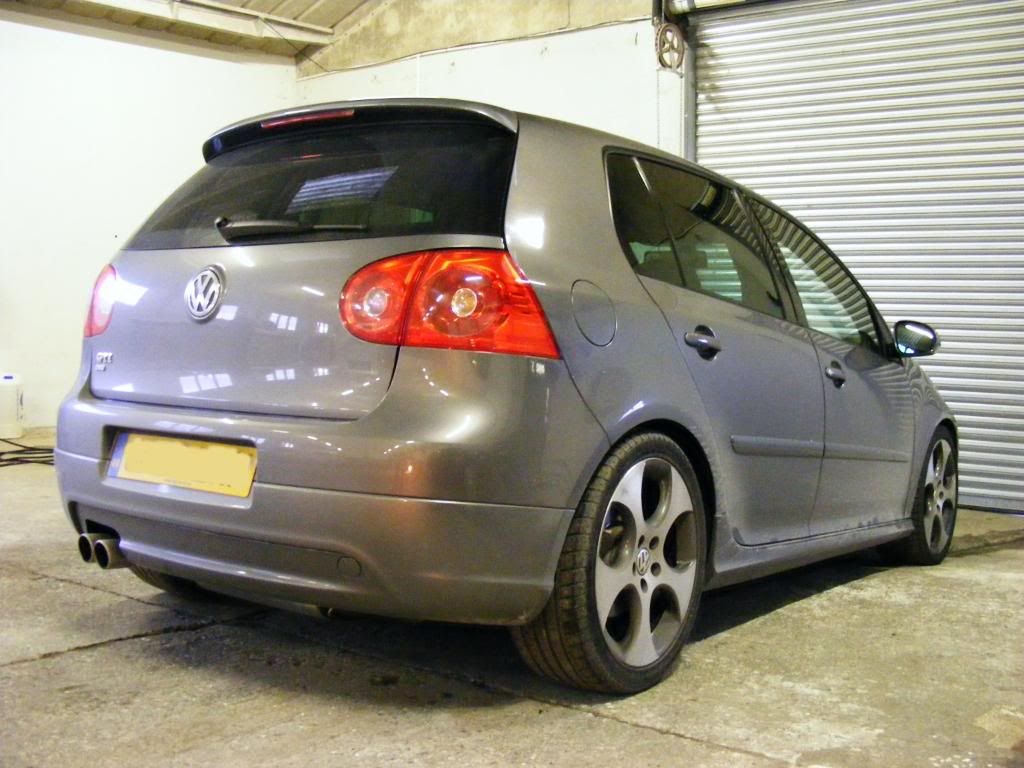
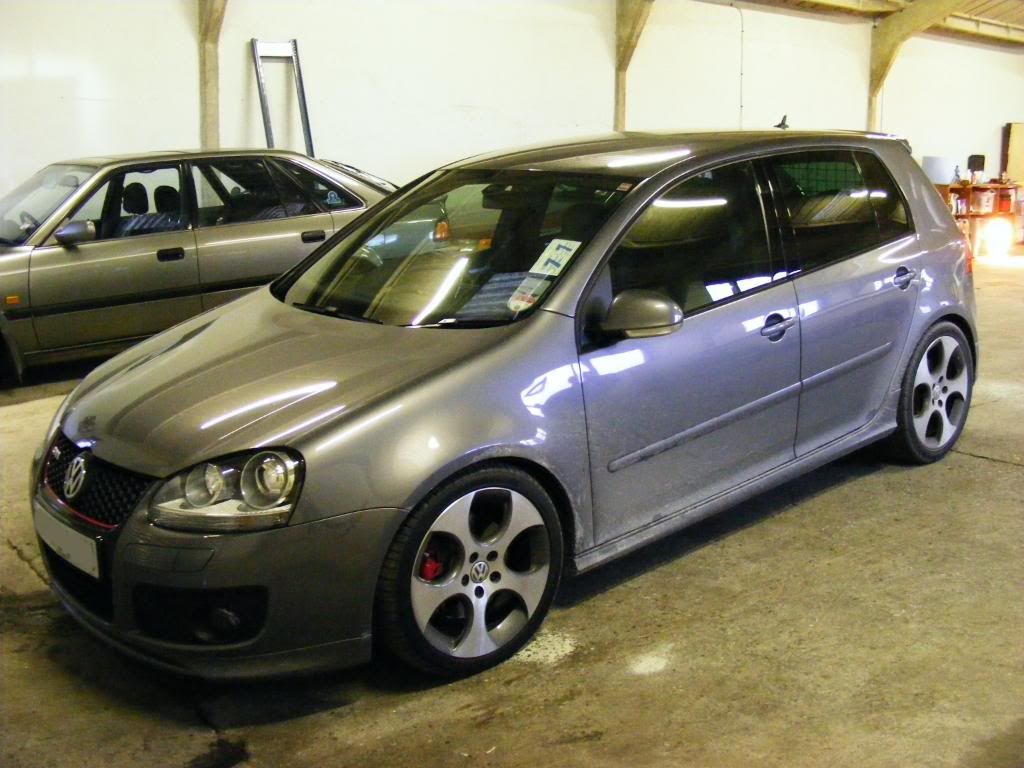
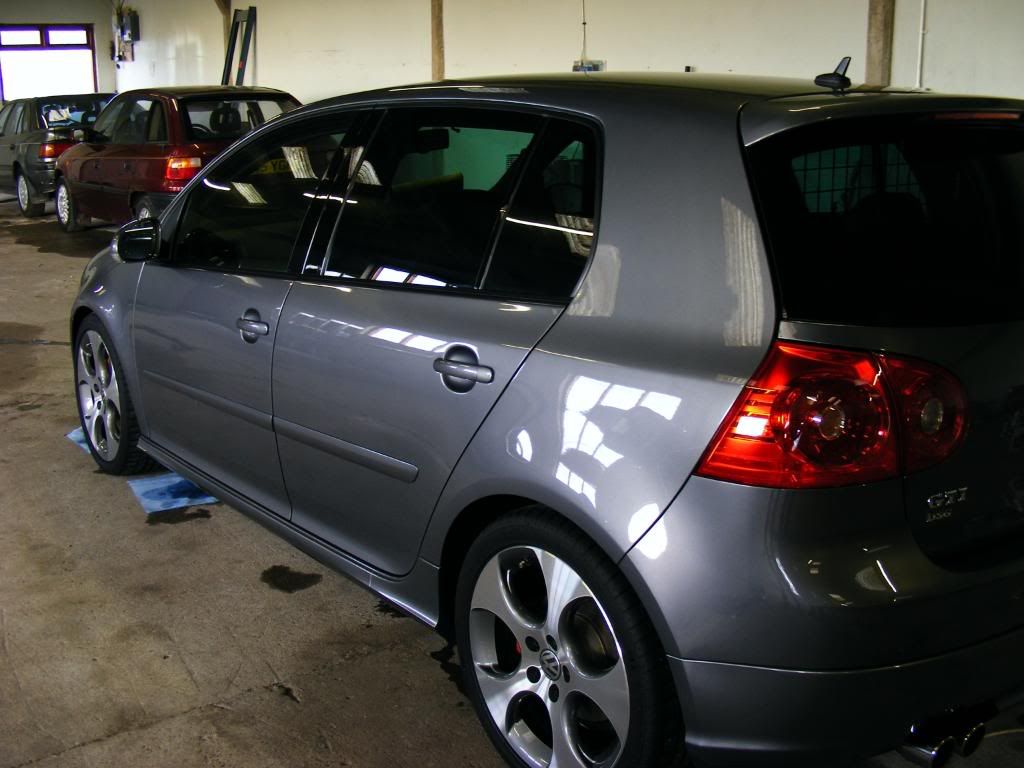
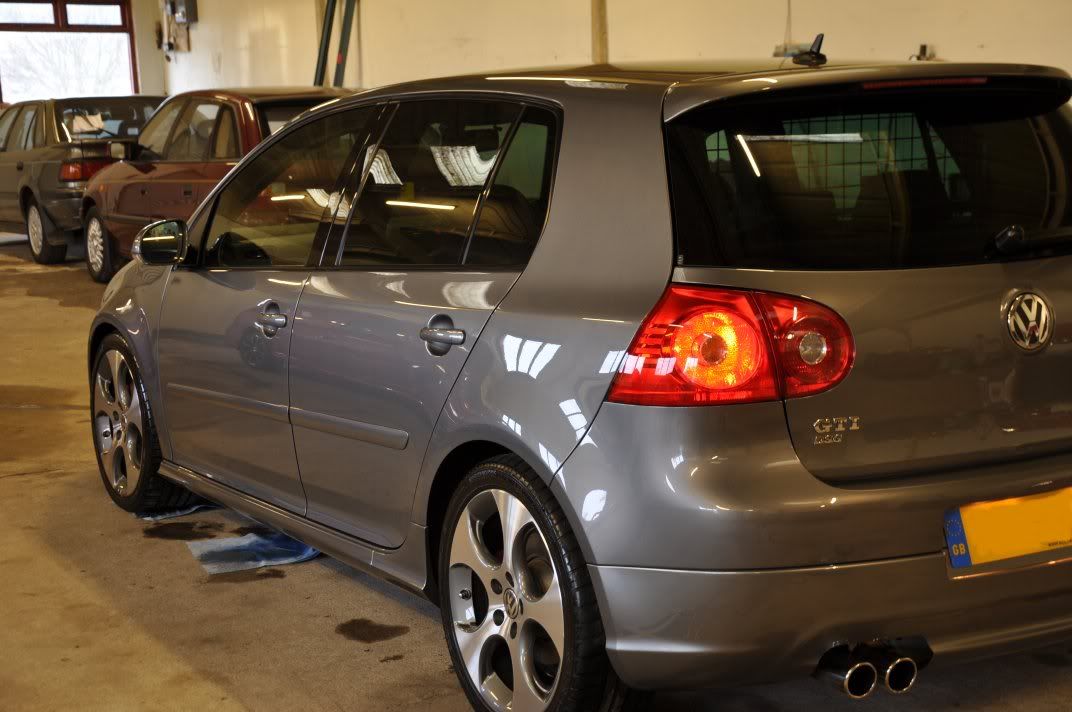
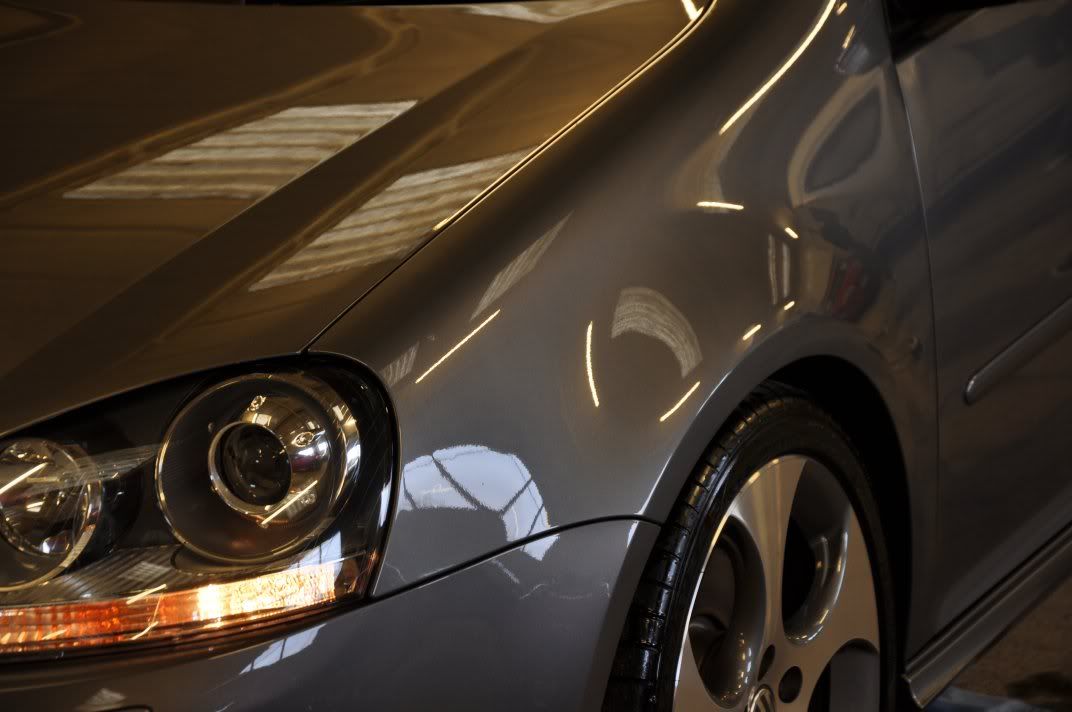
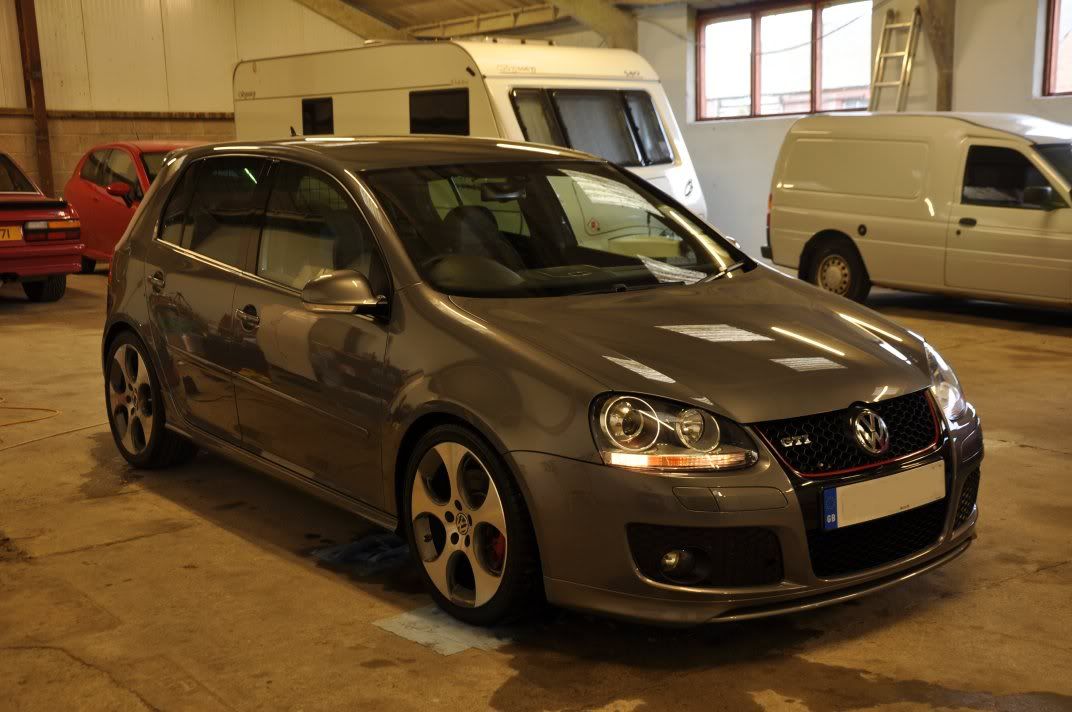
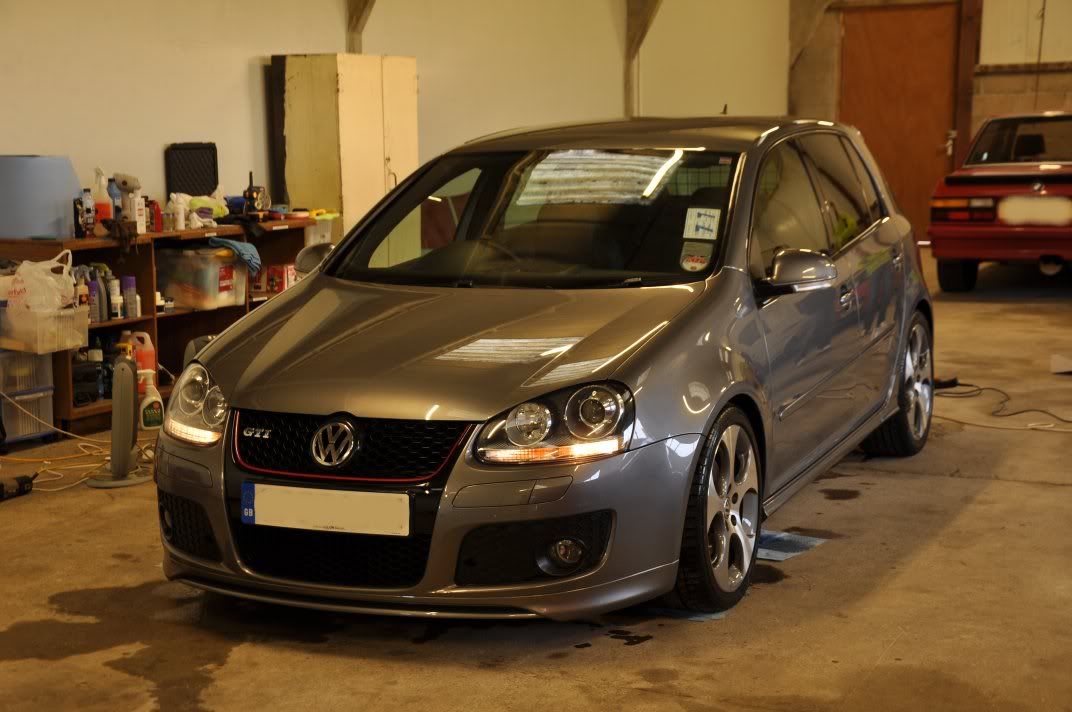
The car finsihed, in the unit:

SG, in grey metallic... The owner wanted the car cleaned and protected for the winter months, and also have the opportunity to see some detailing in action with emphasis on seeing and having a go at claying.
The car arrived looking like many cars on the roads at the moment, after a drive up the motorway - covered with salt!
First tackled on the car were the wheels and arches... Meguiars APC cut 4:1 was sprayed using a foaming spray head into the wheel arches and allowed to dwell while the wheels were cleaned. Bilberry Wheel Cleaner, cut 4:1, was used to clean the wheels:
- Spray on
- Leave a moment to dwell
- Agitate the wheel insides using a long bursh, through the spokes to remove dirt
- Clean the wheel faces using a Swissvax Wheel Brush
- Rinse thoroughly using the pressure washer
It was clear at this stage that the owner of this car keeps it very well as no aggressive cleaners or tar removers were required to bring the wheels up spotless...
(after pic)
(after pic)
Note the wheel insides cleaned easily here - can typically take a lot more effort where they have never been cleaned before:
The arches were rinsed out under pressure before rinsing the wheels, and using my hand along the insder of the arch rim to gently loosen trapped dirt where the arch liner goes in towards the wing panel, ensuring all dirt was removed from the arches... may seem stranhge to do that atthis time of year, but if a job is worth doing...
With the wheels and arches cleaned, it was on with the bodywork... Stu foamed and rinsed the bodywork first using Supa Snow foam and then with Bilt Hamber Acti-Foam (my preferred), just to show the owner the differences:
The car was then rinsed, removing most of the dirt without needing to use a mitt - the joys of foam
The car was then washed using the two bucket method and some Meguiars Shampoo Plus, before being rinsed ready for claying.Only a light clay was required here - Meguiars Mirror Glaze Blue Mild clay, using Last Touch as a clay lube. Light sweeping stroked and you could feel it pulling out contamination so keep going until the clay runs smooth... the owner of the car had a shot, was keen to learn this stage and picked the clay bar up nice and easily and happily worked on door
With the car clayted, it was time for the cleanse and protection stage for the paintwork... but first, a scan around the car using the Sun Gun revealed the dirver's rear door and rear 3/4 had notably more swirls and holograms than the rest of the car:
Bodyshop repair here... so to get this to match with the rest of the car which was relatively swirl free bar some deeper RDS, these areas were machine polished by rotary using Menzerna PO106FA Final Finish before the cleasning stage... This tidied these areas up beautifully, much to the owner's delight, and ensured there weren't patches on the car with more swirls than the rest:
This was not a correcton detail, but I was keen to see these little bits corrected.
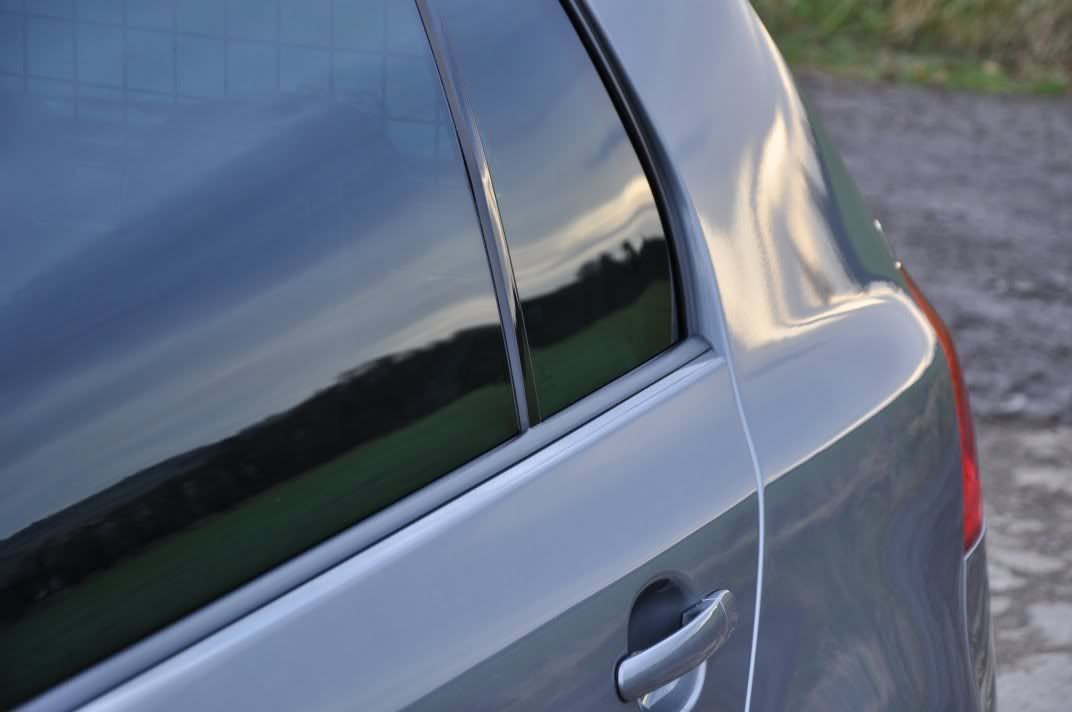
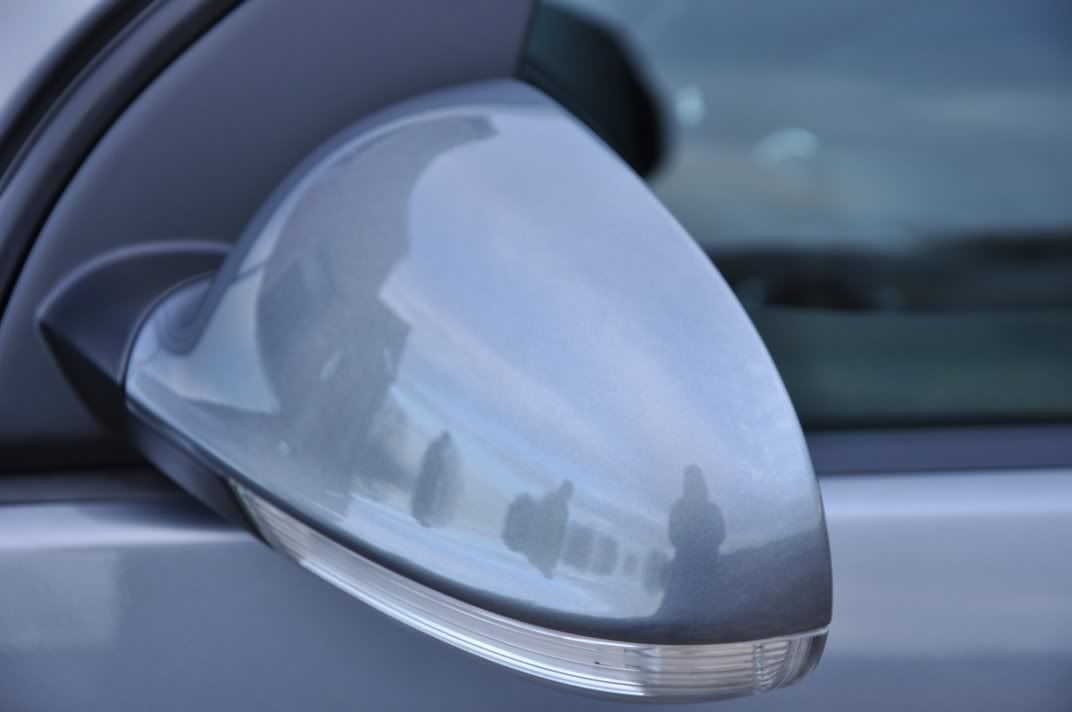
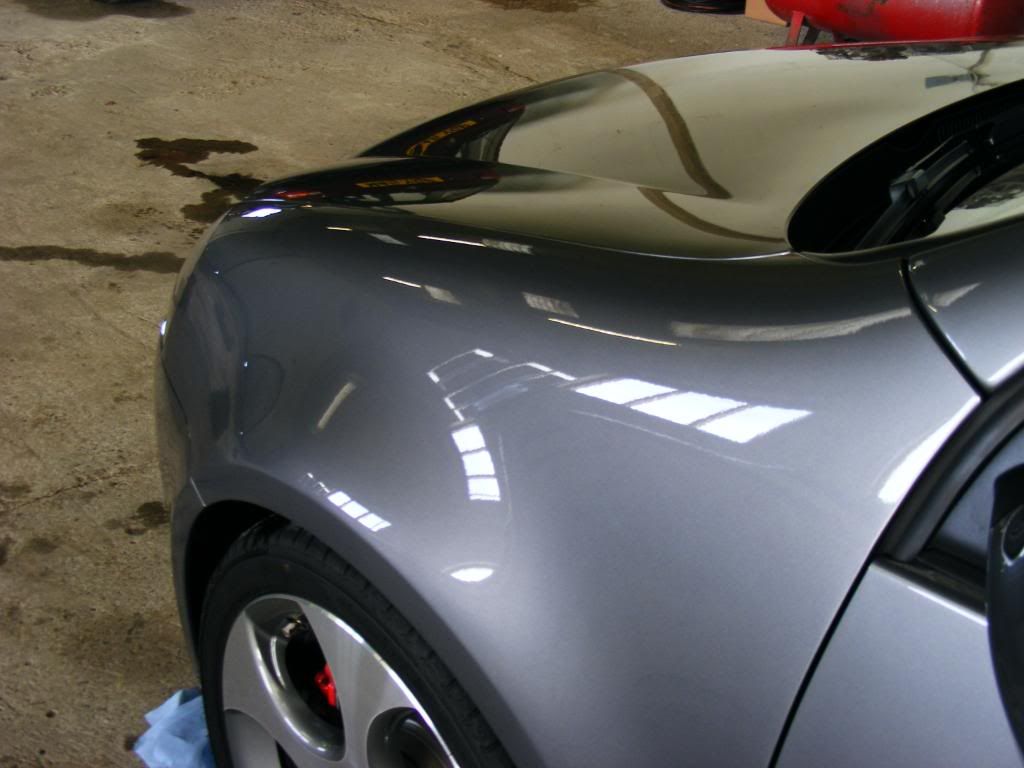
The paintwork was then cleansed, using Klasse AIO - a product I really like on silvers and greys (seems to leave a slightly "cold" gloss that suits these colours very well IMHO... Applied by hand, using medium pressure and worked for abiout one minute per 2' square section before being buffed off... This cleansed the paint and added a first layer of protection for added durability... and the car was looking good after this:
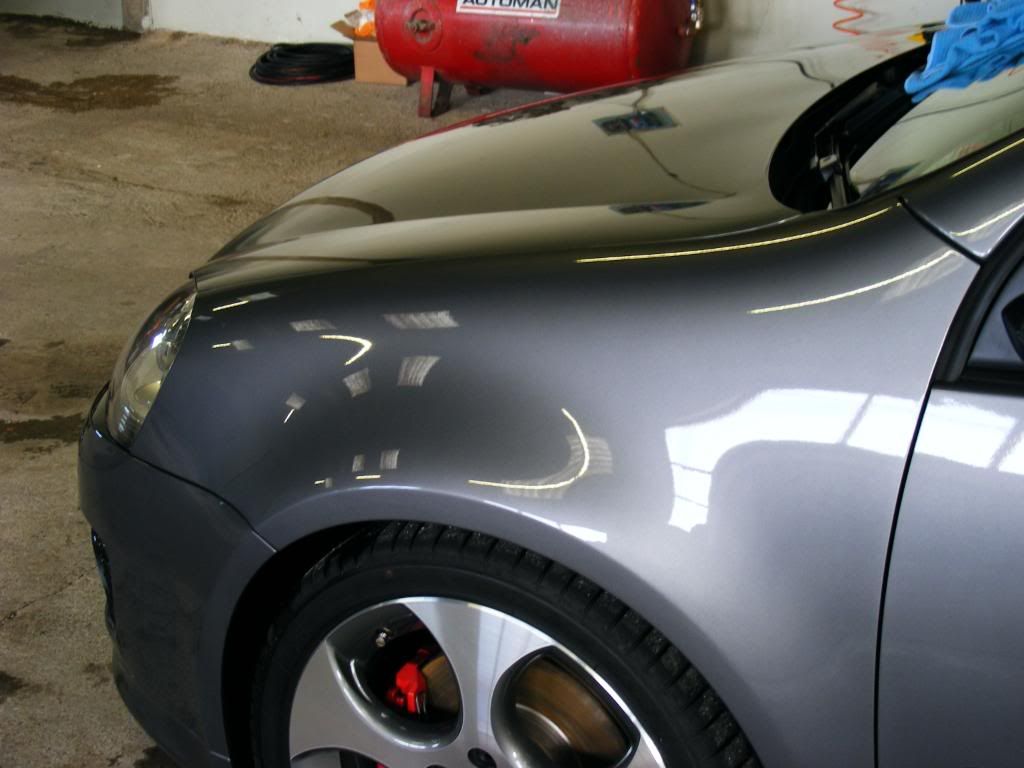
One the paintwork was cleased, it was prtoected using Collinite 476S wax, applied in a nice thin layer and removed after a few moments... keeping the layers thin to ensure ease of removal. Collinite was chosen for its proven durability for protection through the winter months.
The wheels were protected also with Collinite 476S - a product I have been testing on wheels of late, and have found to exceed the durability of most dedicated wheels waxes!! So after thorough testing its now going to see use in this department as well! Tyres were dressed with Meguiars Hot Shine applied by aplicator, and arches with Meguiars All Seasons Dressing:
The arch...
Glass was cleaned using Meguiars Glass Cleaner Concentrate, plastics and rubbers with Black Wow (the front honeycomb grille took a good while to dress!).
The car finsihed, in the unit: